
Once again, .050 brass was used for this project.

The piece after a couple rounds of pounding and annealing.

The backside was filled with molten pitch and then laid in a larger pitch bowl to chase down the front side.

Fitting the panel to the contour of the light housing took a lot of time. It is a slow process of sanding and re-shaping edges.
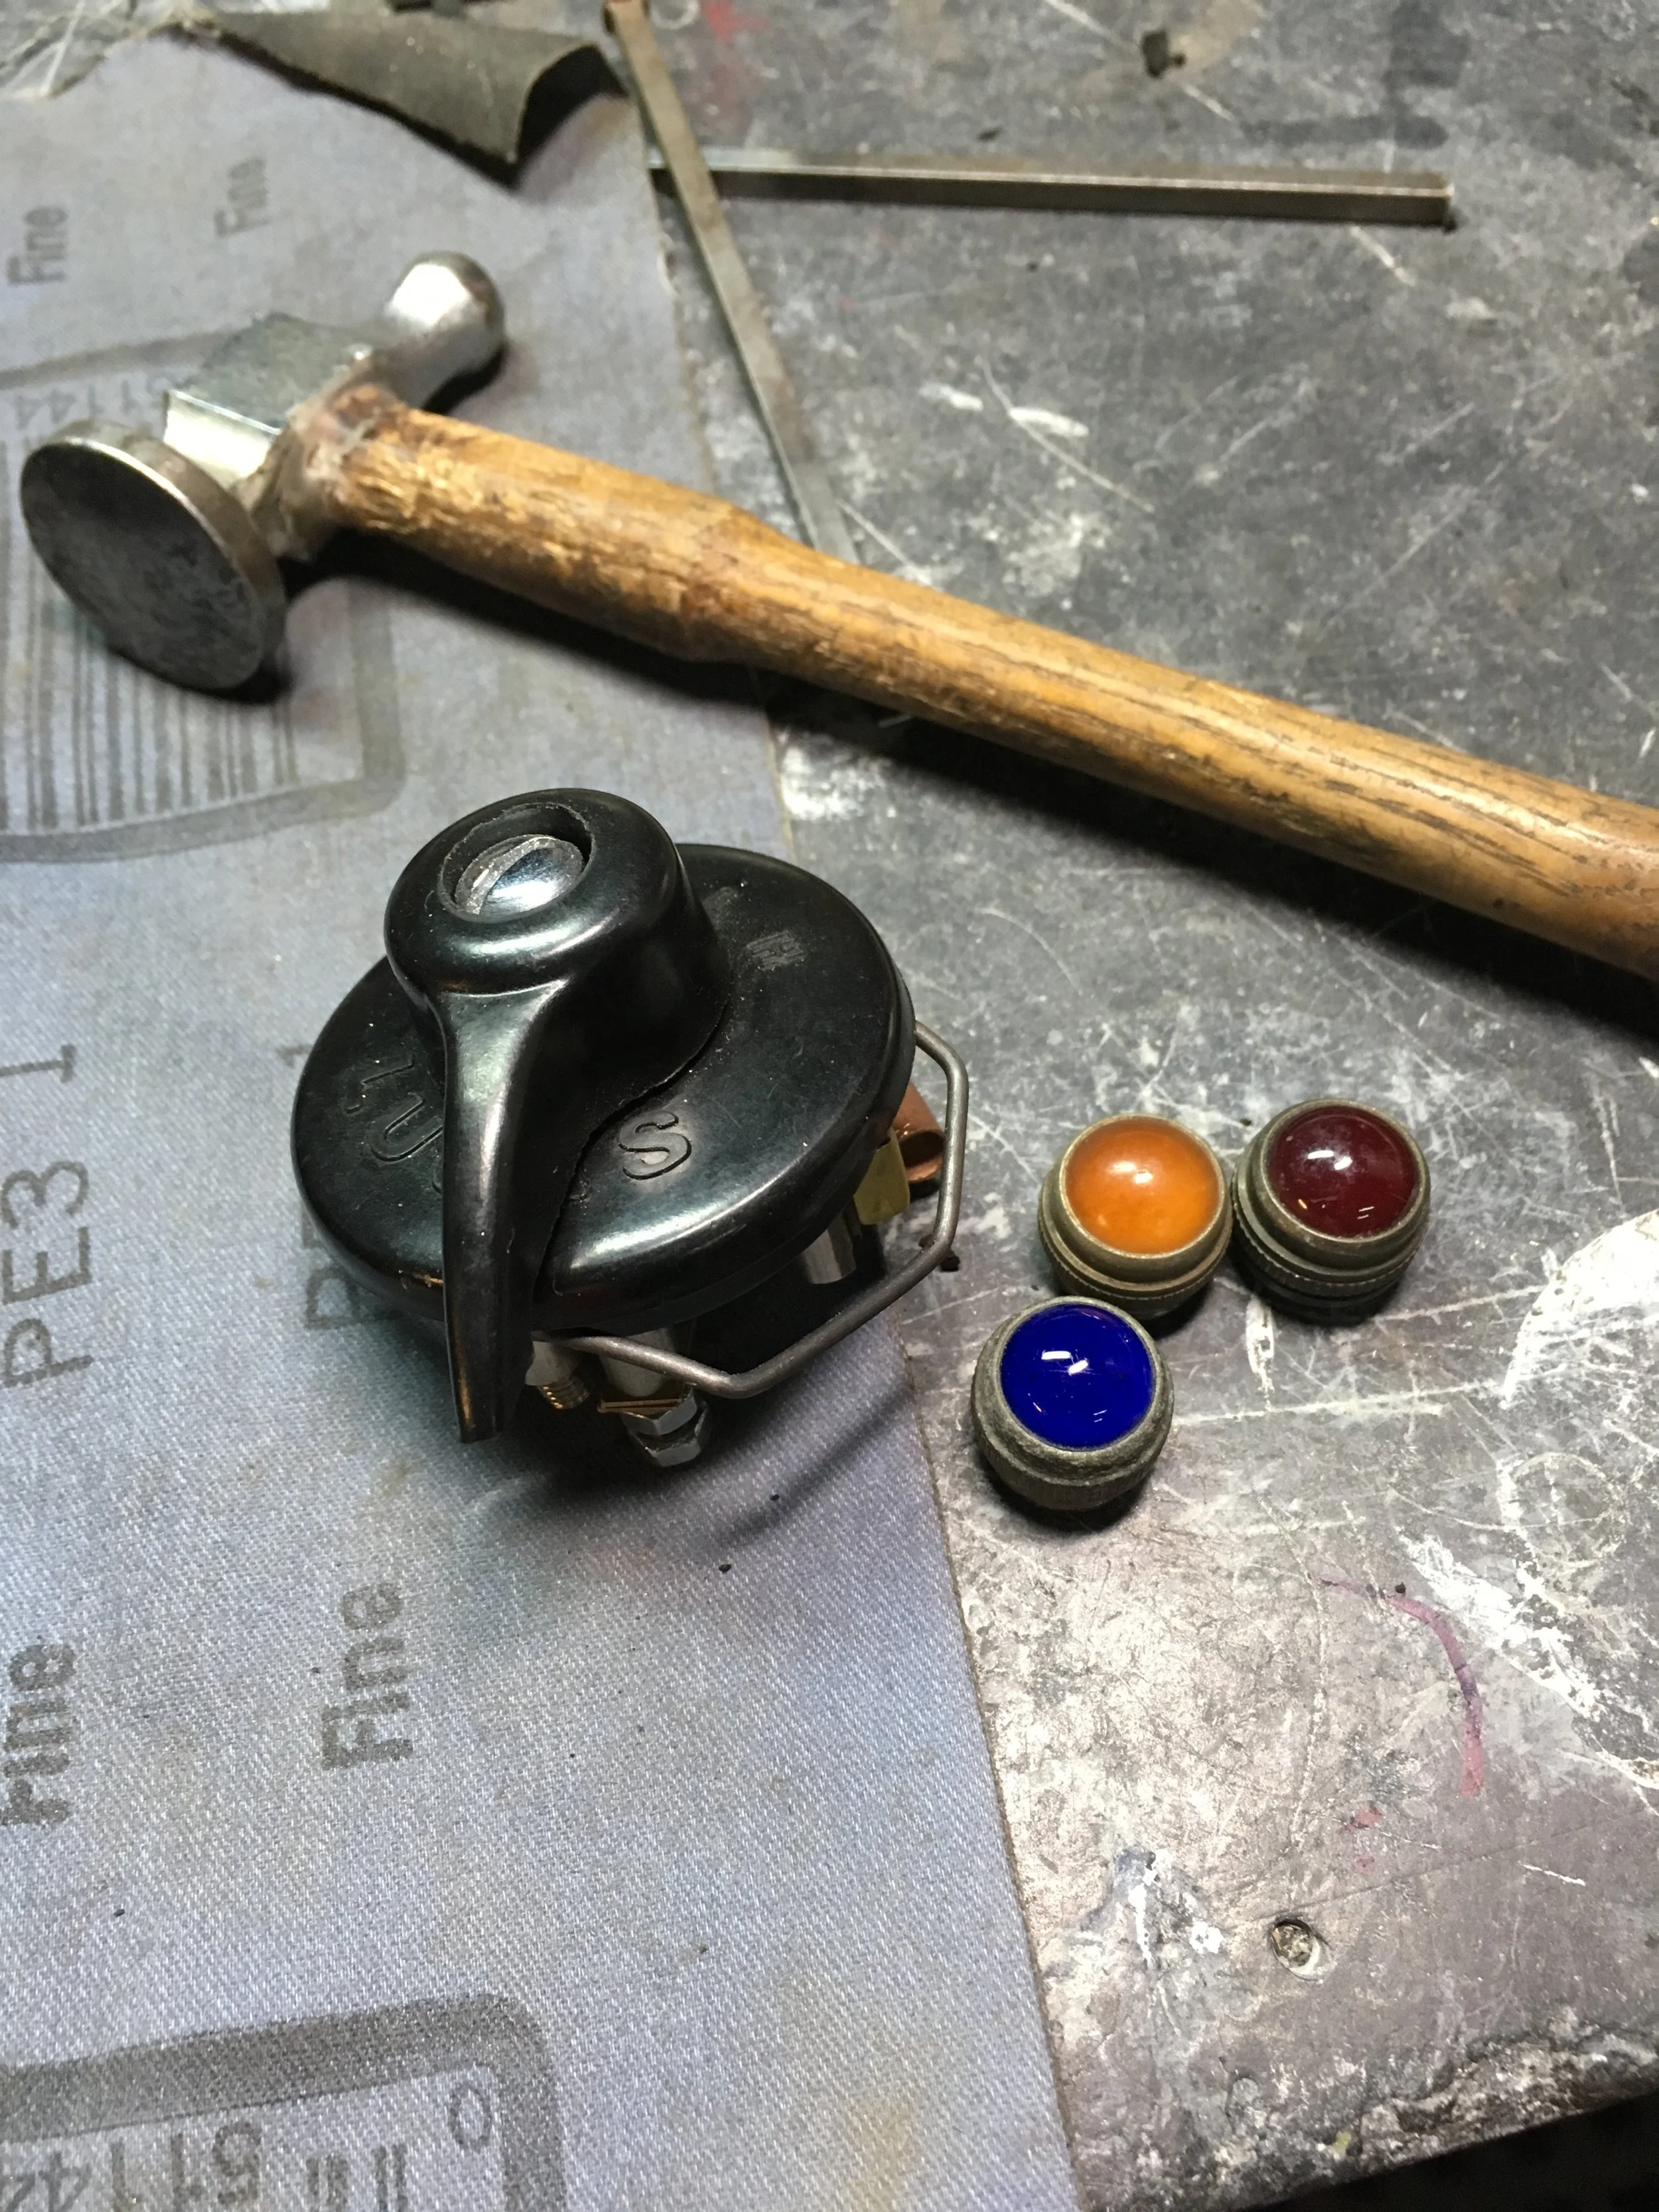
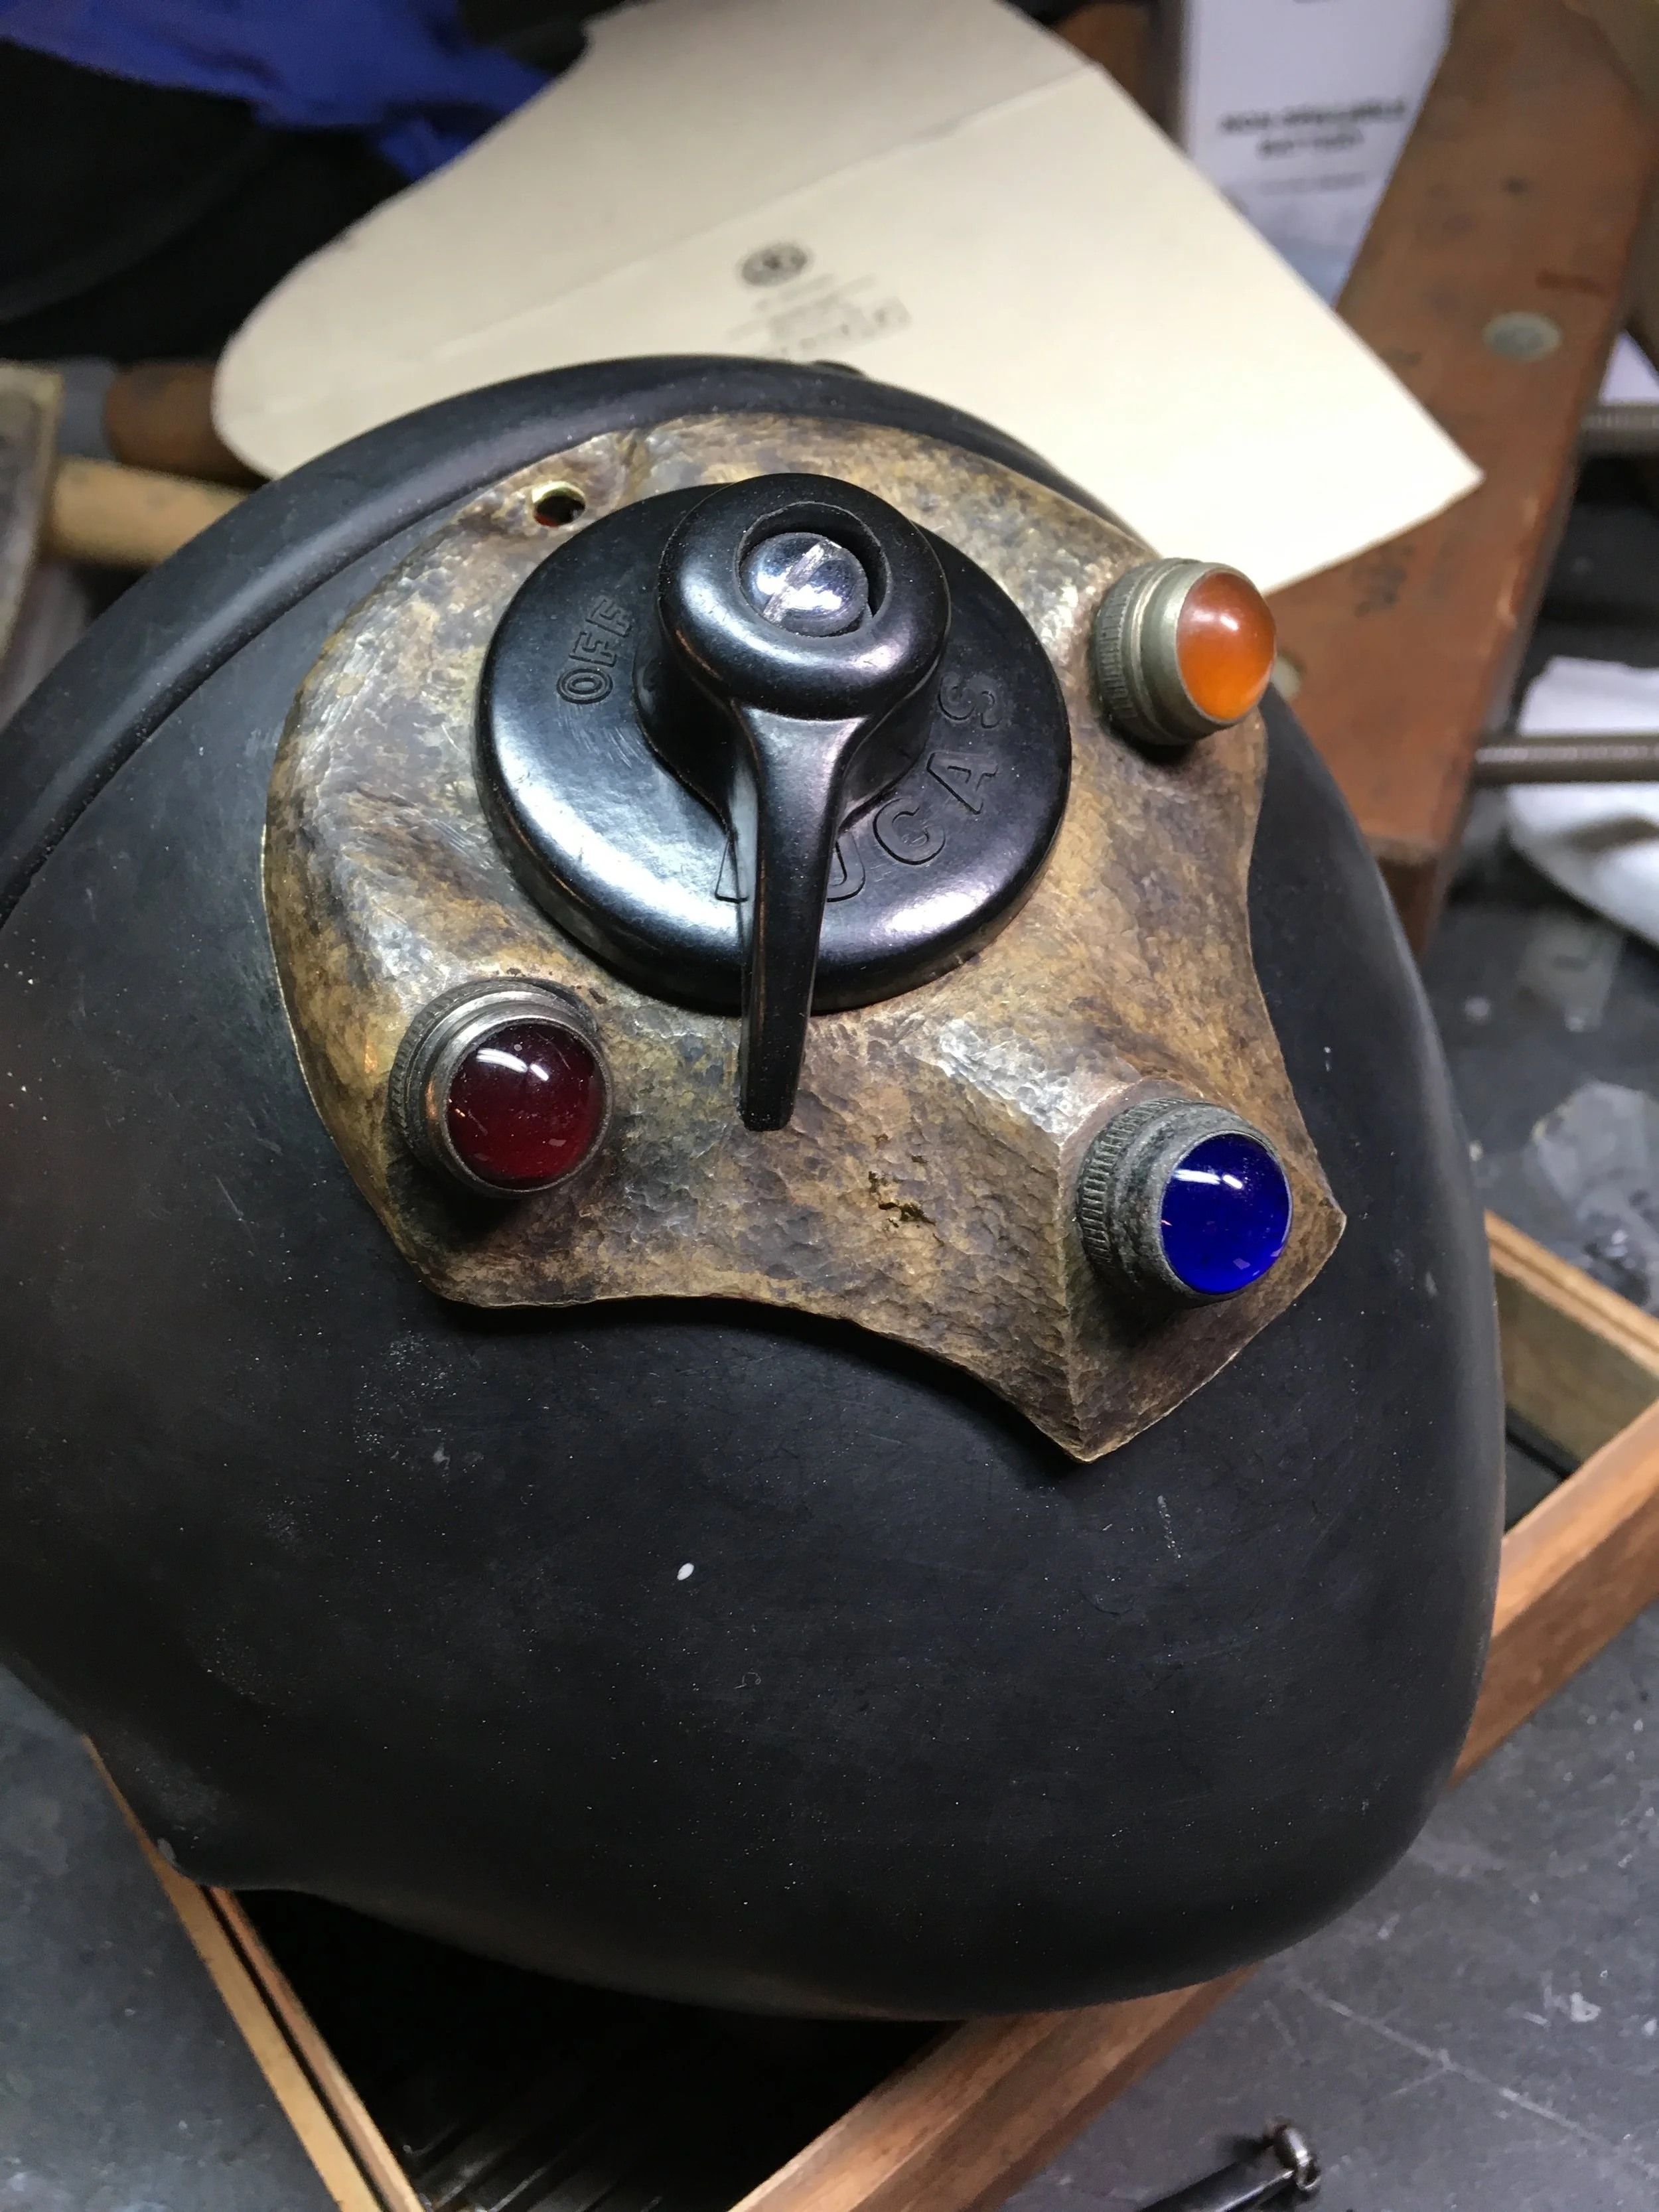
A new Lucas three-position light switch and WW2 era aircraft panel lenses were used. Primary colors are my favorite.

The big hole for the switch was cut out with the aid of a jewelers saw, leaving some tabs to keep it from turning. Small brass screws were silver soldered to the backside to hold the piece down, and a recess was made toward the top of the piece to allow the headlight rim securing screw to be used.

After some sanding and fire coloring.

One of my complaints with the 1967 Bonneville indicator lights is that they are set at such an angle that I have to get right over them to see if they are lit during the day. These guys are going to be a lot easier to see from the normal riding position. The other great thing is that the panel looks like the face of a small dog looking at you…a reminder to watch out for small dogs when riding!