Finalizing the gascap and taillight on the 1957 Triumph freebird bike

Finally getting around to some small details. The gas cap still needed to have the seal finished up. There needs to be something to cover the spring and screw that hang under the cap and a baffle to help keep sloshing gas away from the seal. There also needs to be a small air vent. On the tail light, an LED was placed inside the housing and a neat way to secure the wiring under the fender was worked out.

The finished cap. It operates easily with one hand, and stays open on its own. A cotter pin was added to the screw holding the locking lever on. Some people might frown on a cotter pin on the gas cap hinge, but after seeing one on a Vincent, I figur…

The finished cap. It operates easily with one hand, and stays open on its own. A cotter pin was added to the screw holding the locking lever on. Some people might frown on a cotter pin on the gas cap hinge, but after seeing one on a Vincent, I figure its legit.

The inner cap and air vent for the gas cap. A failed attempt made from some brass tube is in the background. It took more than an hour to beat that ugly piece of crap, and about half that time I was questioning whether it would make the cut. Sometim…

The inner cap and air vent for the gas cap. A failed attempt made from some brass tube is in the background. It took more than an hour to beat that ugly piece of crap, and about half that time I was questioning whether it would make the cut. Sometimes you just have to start over.

Making the cap was a lot easier the second time. The piece of brass was domed a little on a beater bag first, and then placed inside a used brake caliper piston to form the flange. There were probably ten annealing sessions to keep the metal soft.

Making the cap was a lot easier the second time. The piece of brass was domed a little on a beater bag first, and then placed inside a used brake caliper piston to form the flange. There were probably ten annealing sessions to keep the metal soft.

Here the cap flange is being flattened out with the aid of a vise, steel plate, a steel drift and the brake piston..

Here the cap flange is being flattened out with the aid of a vise, steel plate, a steel drift and the brake piston..

Some Fel-Pro cork gasket material was used for the seal. The spring mechanism for the locking lever can be seen under the cap.

Some Fel-Pro cork gasket material was used for the seal. The spring mechanism for the locking lever can be seen under the cap.

The nice thing about the shape of the cap is that the taper on the edges holds the thick gasket material in place which in turn holds the inner cap in place.

The nice thing about the shape of the cap is that the taper on the edges holds the thick gasket material in place which in turn holds the inner cap in place.

Had to make some brass washers partially because the hardware store did not carry just the right dimensions needed, and partially because I didn’t want to wait to get some online.

Had to make some brass washers partially because the hardware store did not carry just the right dimensions needed, and partially because I didn’t want to wait to get some online.

This is how you finish up the edges on the washers after they are punched out. After they are chucked up, they can be spun against the belt sander, then some finer sand paper, and then the buffer. They are placed on a piece of rod and buffed agin to…

This is how you finish up the edges on the washers after they are punched out. After they are chucked up, they can be spun against the belt sander, then some finer sand paper, and then the buffer. They are placed on a piece of rod and buffed agin to break the edges.

The washers were to mount the front fender bracket. Everything is getting a rubber mount on the body work. There are nylon lock nuts on the backside.

The washers were to mount the front fender bracket. Everything is getting a rubber mount on the body work. There are nylon lock nuts on the backside.

The inside of the tail light housing got a bracket soldered on and a Supernova LED light. These lights come from Revival Cycles in Austin and are super bright.

The inside of the tail light housing got a bracket soldered on and a Supernova LED light. These lights come from Revival Cycles in Austin and are super bright.

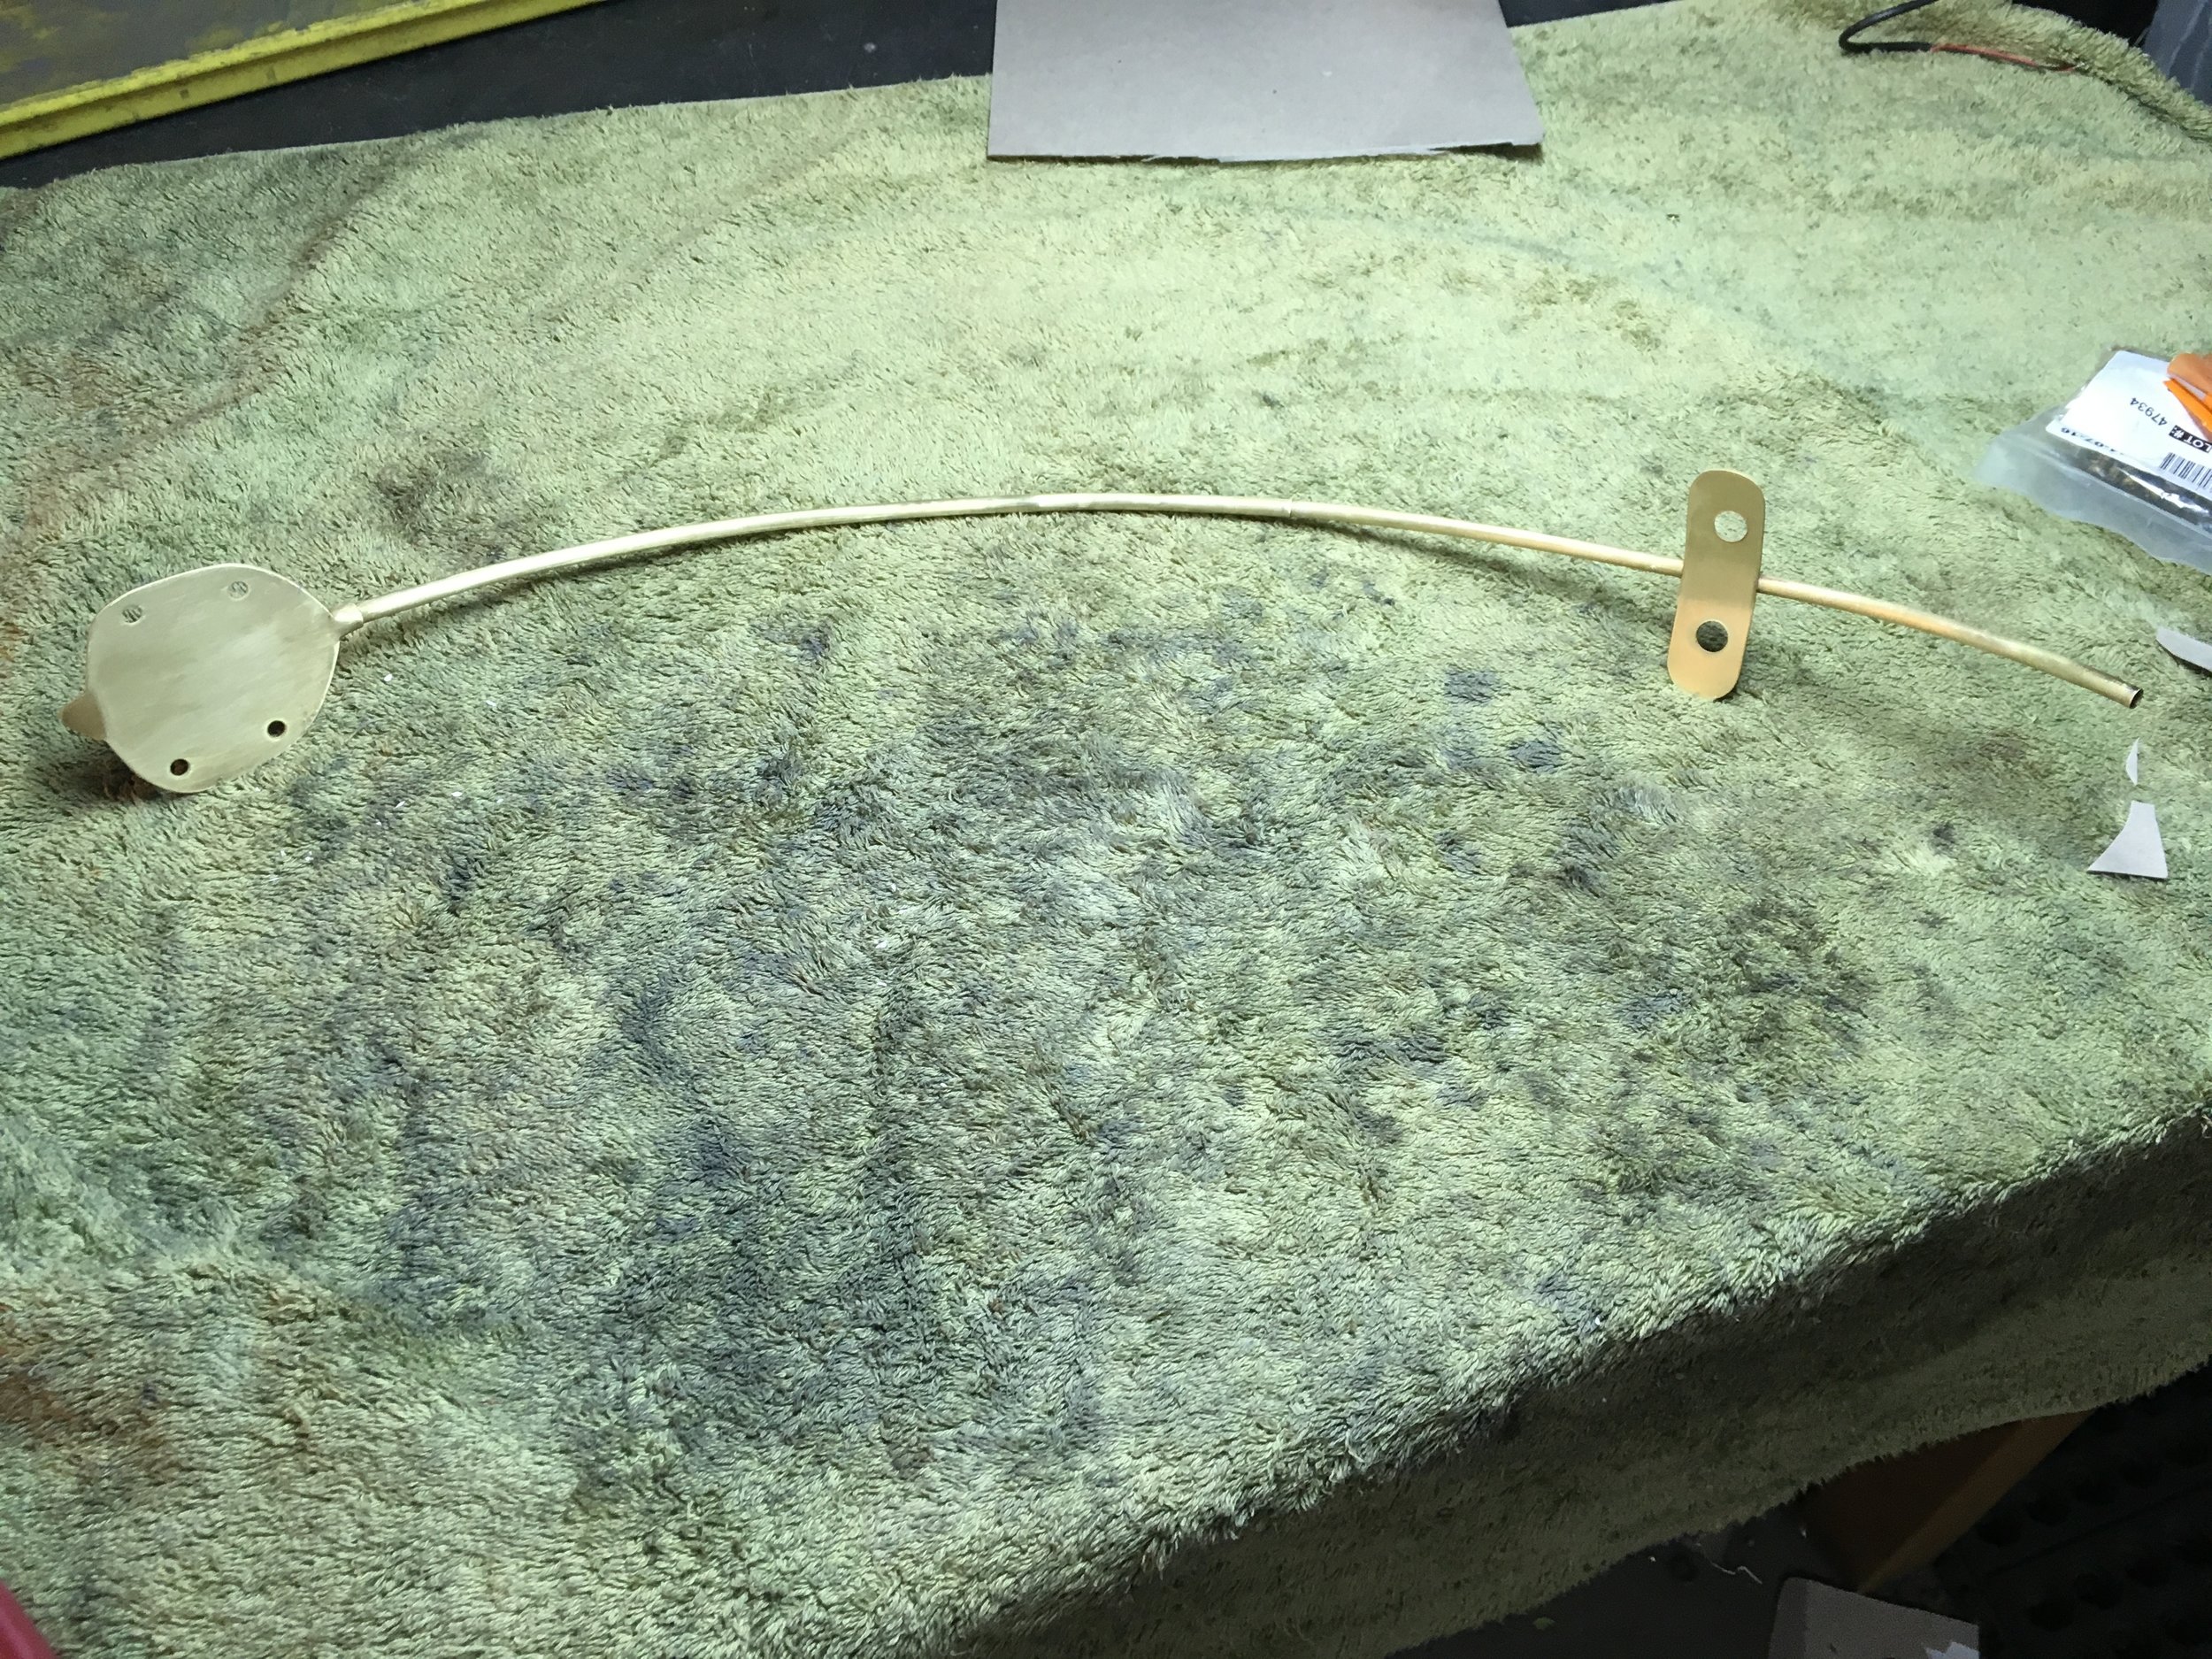
Trying to figure a tidy and secure way to run the tail light wiring. This tubular brass bracket was put together to solve the problem.

Trying to figure a tidy and secure way to run the tail light wiring. This tubular brass bracket was put together to solve the problem.

The bracket in place. The lower end of the tube and wiring will be made to exit the fender and go to the power source, but that will be worked out when the fender is mounted back on the bike.

The bracket in place. The lower end of the tube and wiring will be made to exit the fender and go to the power source, but that will be worked out when the fender is mounted back on the bike.

Really liking how the flair of green on the end of the fender looks with the light.

Really liking how the flair of green on the end of the fender looks with the light.

the 1957 Triumph Freebird engine rebuild continues.

All mocked up with the rocker boxes sitting on top, the alloy pre unit head is all but done.

All mocked up with the rocker boxes sitting on top, the alloy pre unit head is all but done.

There are a lot of jobs that cannot be finished until parts get back from chrome, so anything that can be done in the meantime is what is being done around here. There was another set of rocker covers that was polished, but they were for an iron hea…

There are a lot of jobs that cannot be finished until parts get back from chrome, so anything that can be done in the meantime is what is being done around here. There was another set of rocker covers that was polished, but they were for an iron head. After switching to an alloy head, these boxes were polished up and reassembled using the new brass parts. The oil passages were all blown and poked out and new seals used in the job. The O-rings the inspection caps came with were probably fine functionally, but I really like the red line the vintage fibre seals make.

Cadmium plated hardware for this bike and some others back from the plating shop. One more of the time-consuming jobs that go along with this sort of work. Having everything in organizing boxes makes the rebuild a lot smoother.

Cadmium plated hardware for this bike and some others back from the plating shop. One more of the time-consuming jobs that go along with this sort of work. Having everything in organizing boxes makes the rebuild a lot smoother.

The cylinders were blasted in prep for some paint. They are at the powder coat shop now getting a baked-on ceramic silver paint job.

The cylinders were blasted in prep for some paint. They are at the powder coat shop now getting a baked-on ceramic silver paint job.

Took the alloy head to Big D Cycles for some new valves, springs and guides. There were several helicoils and a spark-hole insert placed into stripped screw holes, and some new exhaust spigots were put in.

Took the alloy head to Big D Cycles for some new valves, springs and guides. There were several helicoils and a spark-hole insert placed into stripped screw holes, and some new exhaust spigots were put in.

Just waiting on the clutch actuator arm and some case screws to come back from chrome to finish the gearbox assembly.

Just waiting on the clutch actuator arm and some case screws to come back from chrome to finish the gearbox assembly.

The bottom end waiting for the cylinders to come back. Studs are all back in the block.

The bottom end waiting for the cylinders to come back. Studs are all back in the block.

While putting the first cylinder base stud in, it occurred to me that a set of nuts welded to handles would make installation easier. The time it can take to extract a stud can be a few minutes if it is really stuck, if the wrenches slip off the nut…

While putting the first cylinder base stud in, it occurred to me that a set of nuts welded to handles would make installation easier. The time it can take to extract a stud can be a few minutes if it is really stuck, if the wrenches slip off the nuts or round off the nuts edges, or if you drop the nuts or stud in the case. The other problem is that it messes up the finish of the nuts even if the edges are still good. This simple tool takes away those problems and the install/removal takes less than 30 seconds. I have used the double nut method for stud extraction and installation for years, but after seeing how well these work, there are some other common sizes that would be useful to have around the shop. Both tools are identical and the handles are slightly bent to clear adjacent screws and the timing case.

Seriously, 30 seconds or less.

Seriously, 30 seconds or less.

The primary cover just waiting for the rest of the engine.

The primary cover just waiting for the rest of the engine.

The 1957 Triumph Freebird paint is done, petcock mods, and metal finishing.

The 1957 Triumph Freebird build is moving along, with paint done and parts starting to go back together. Jason Small of Small Time Motors did a flawless job on the paint. He was easy to work with and possesses a wealth of experience and knowledge on the subject of vintage paint colors and schemes. I have seen dozens of his paint jobs on finely restored British and Italian bikes, and the work is always impeccable. When I was sixteen, I had a 1963 Ford Econoline van that I customized and took to a local paint shop. Because the body work I had done was pretty sad, the paint job thrown on top of it sucked too. It took me forty-plus years to finally let someone else paint one of my customs again, but there is so much going on around the shop, it makes sense now. Given the quality of Jason’s work, don’t know if I will ever be able to justify painting one again myself.

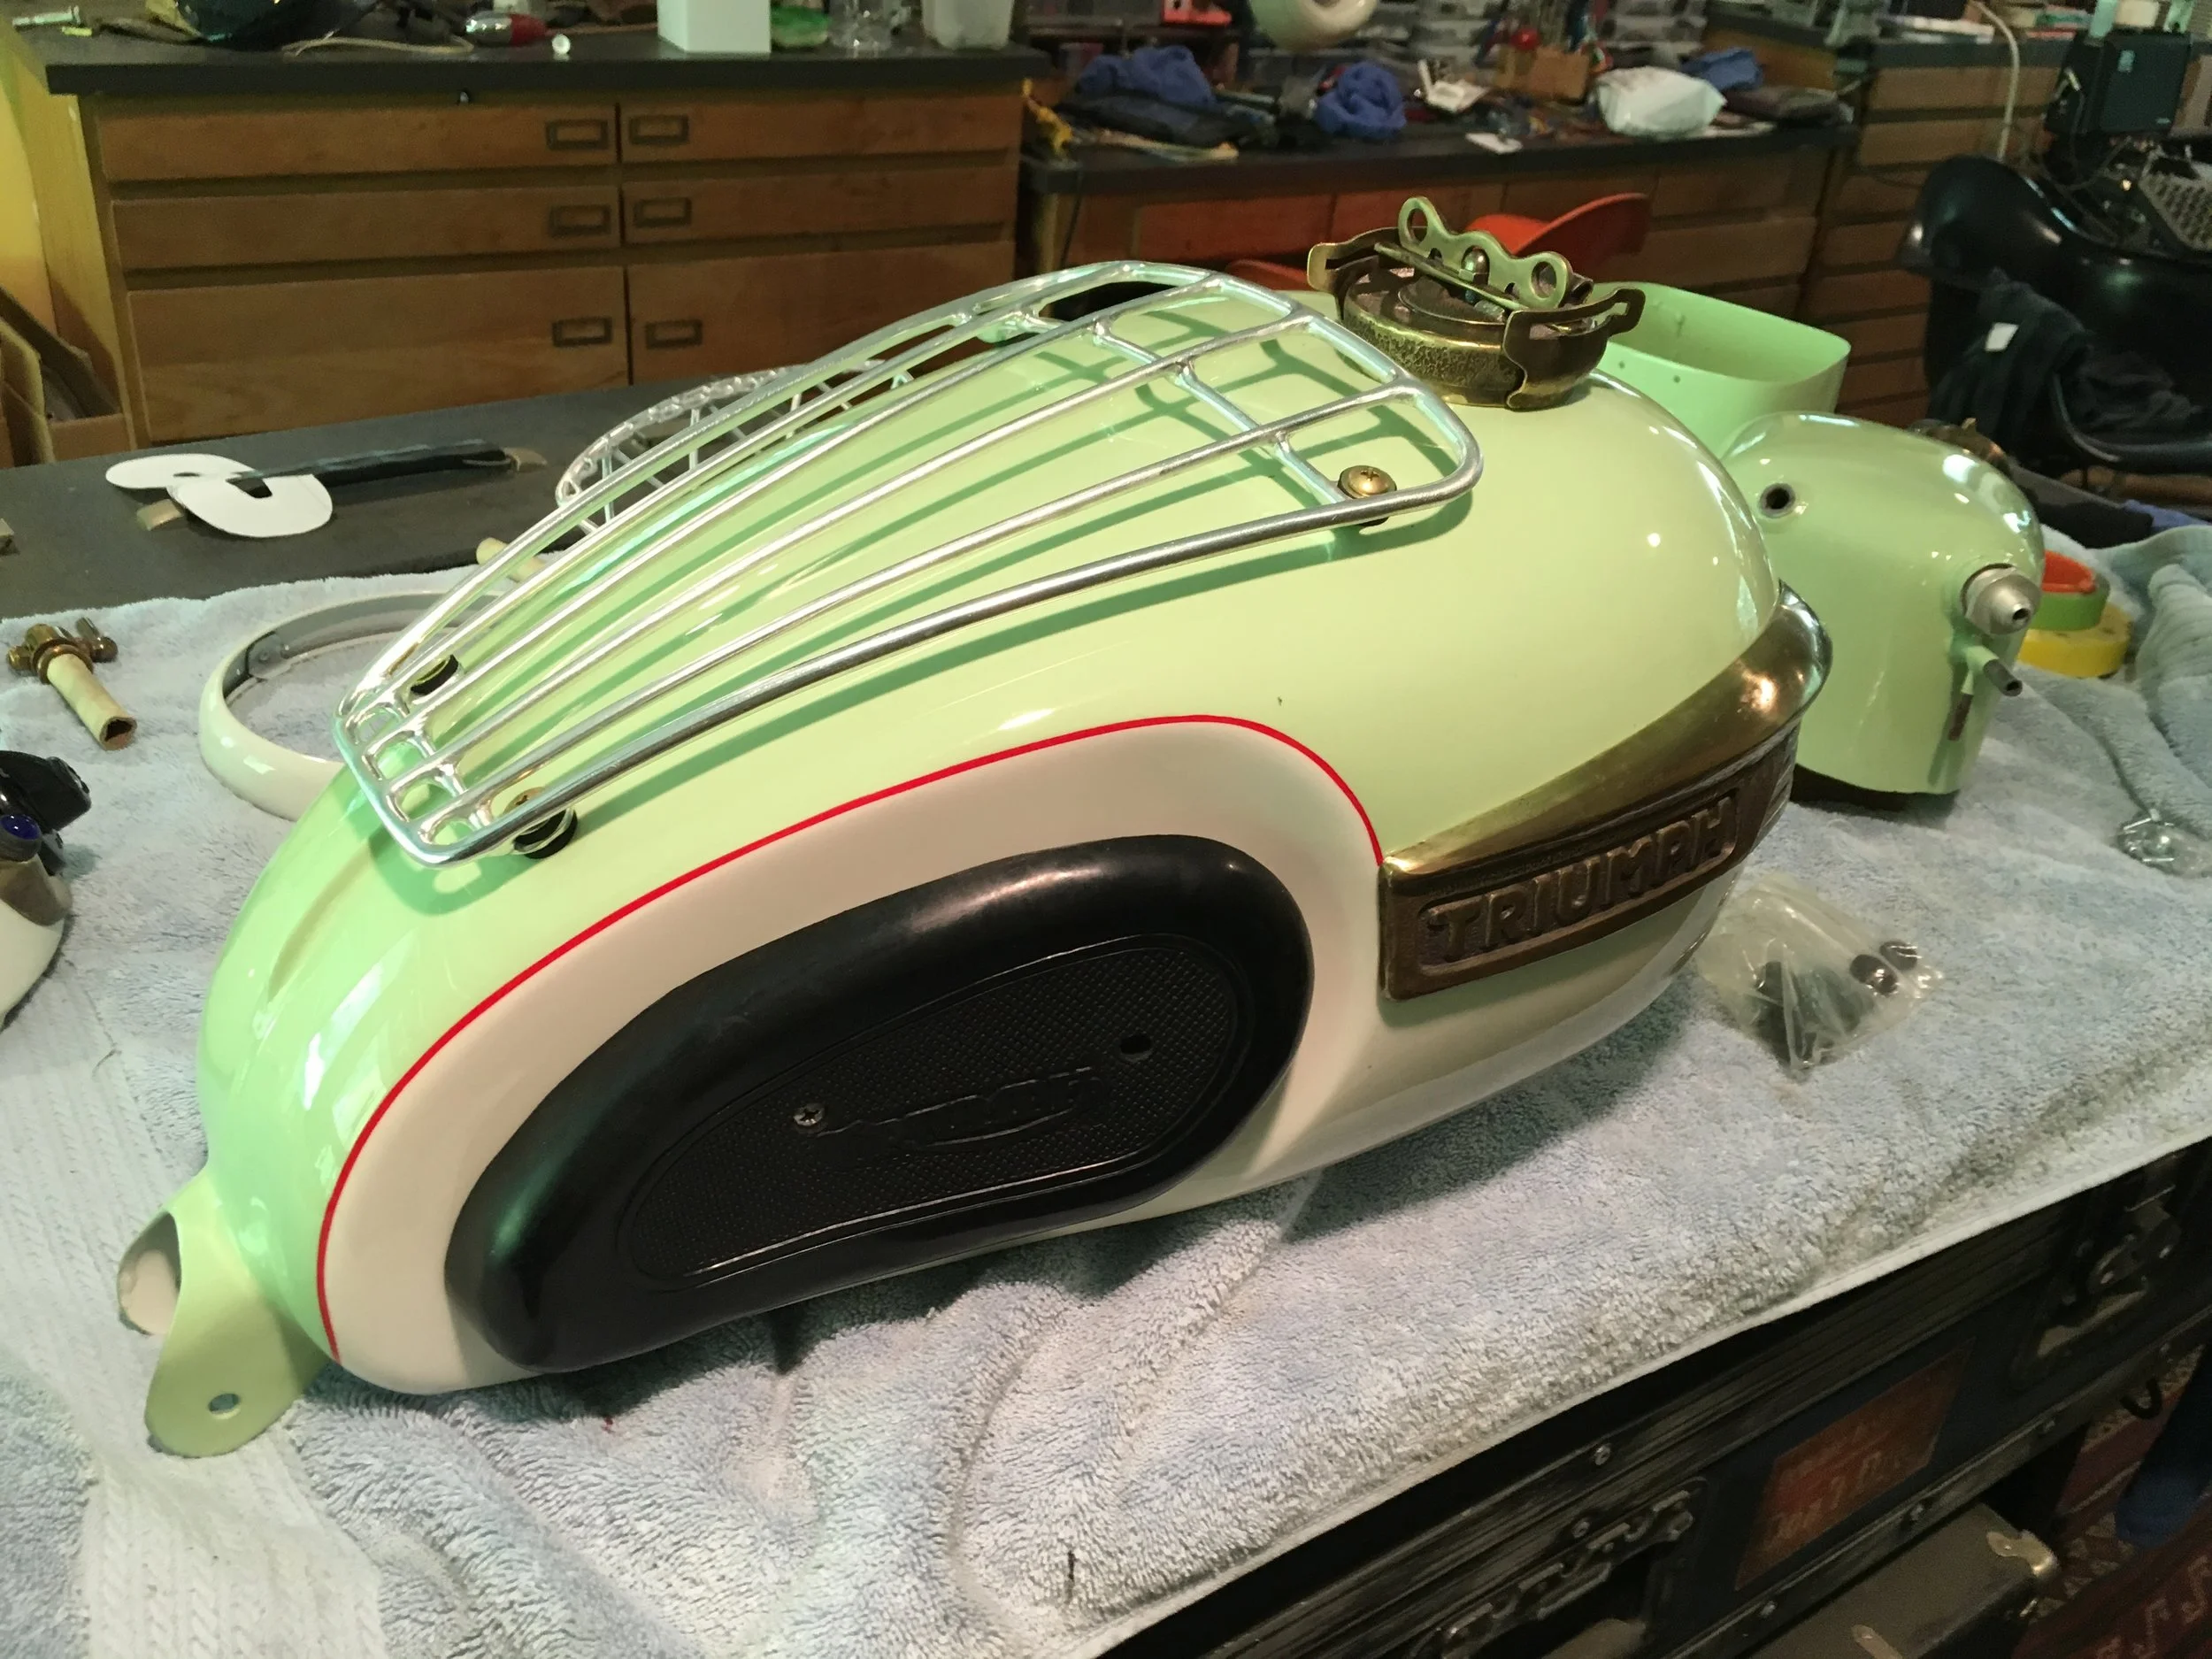
Getting the badges mounting tabs took a little time, but digging how they look with the paint. The idea was a vintage color to compliment the other colors, but still keep things minimal and light. There will be a lot of chrome and flake at the Bornf…

Getting the badges mounting tabs took a little time, but digging how they look with the paint. The idea was a vintage color to compliment the other colors, but still keep things minimal and light. There will be a lot of chrome and flake at the Bornfree show, and there is no way to out-flake or out-bling anyone, so this bike went the other way.

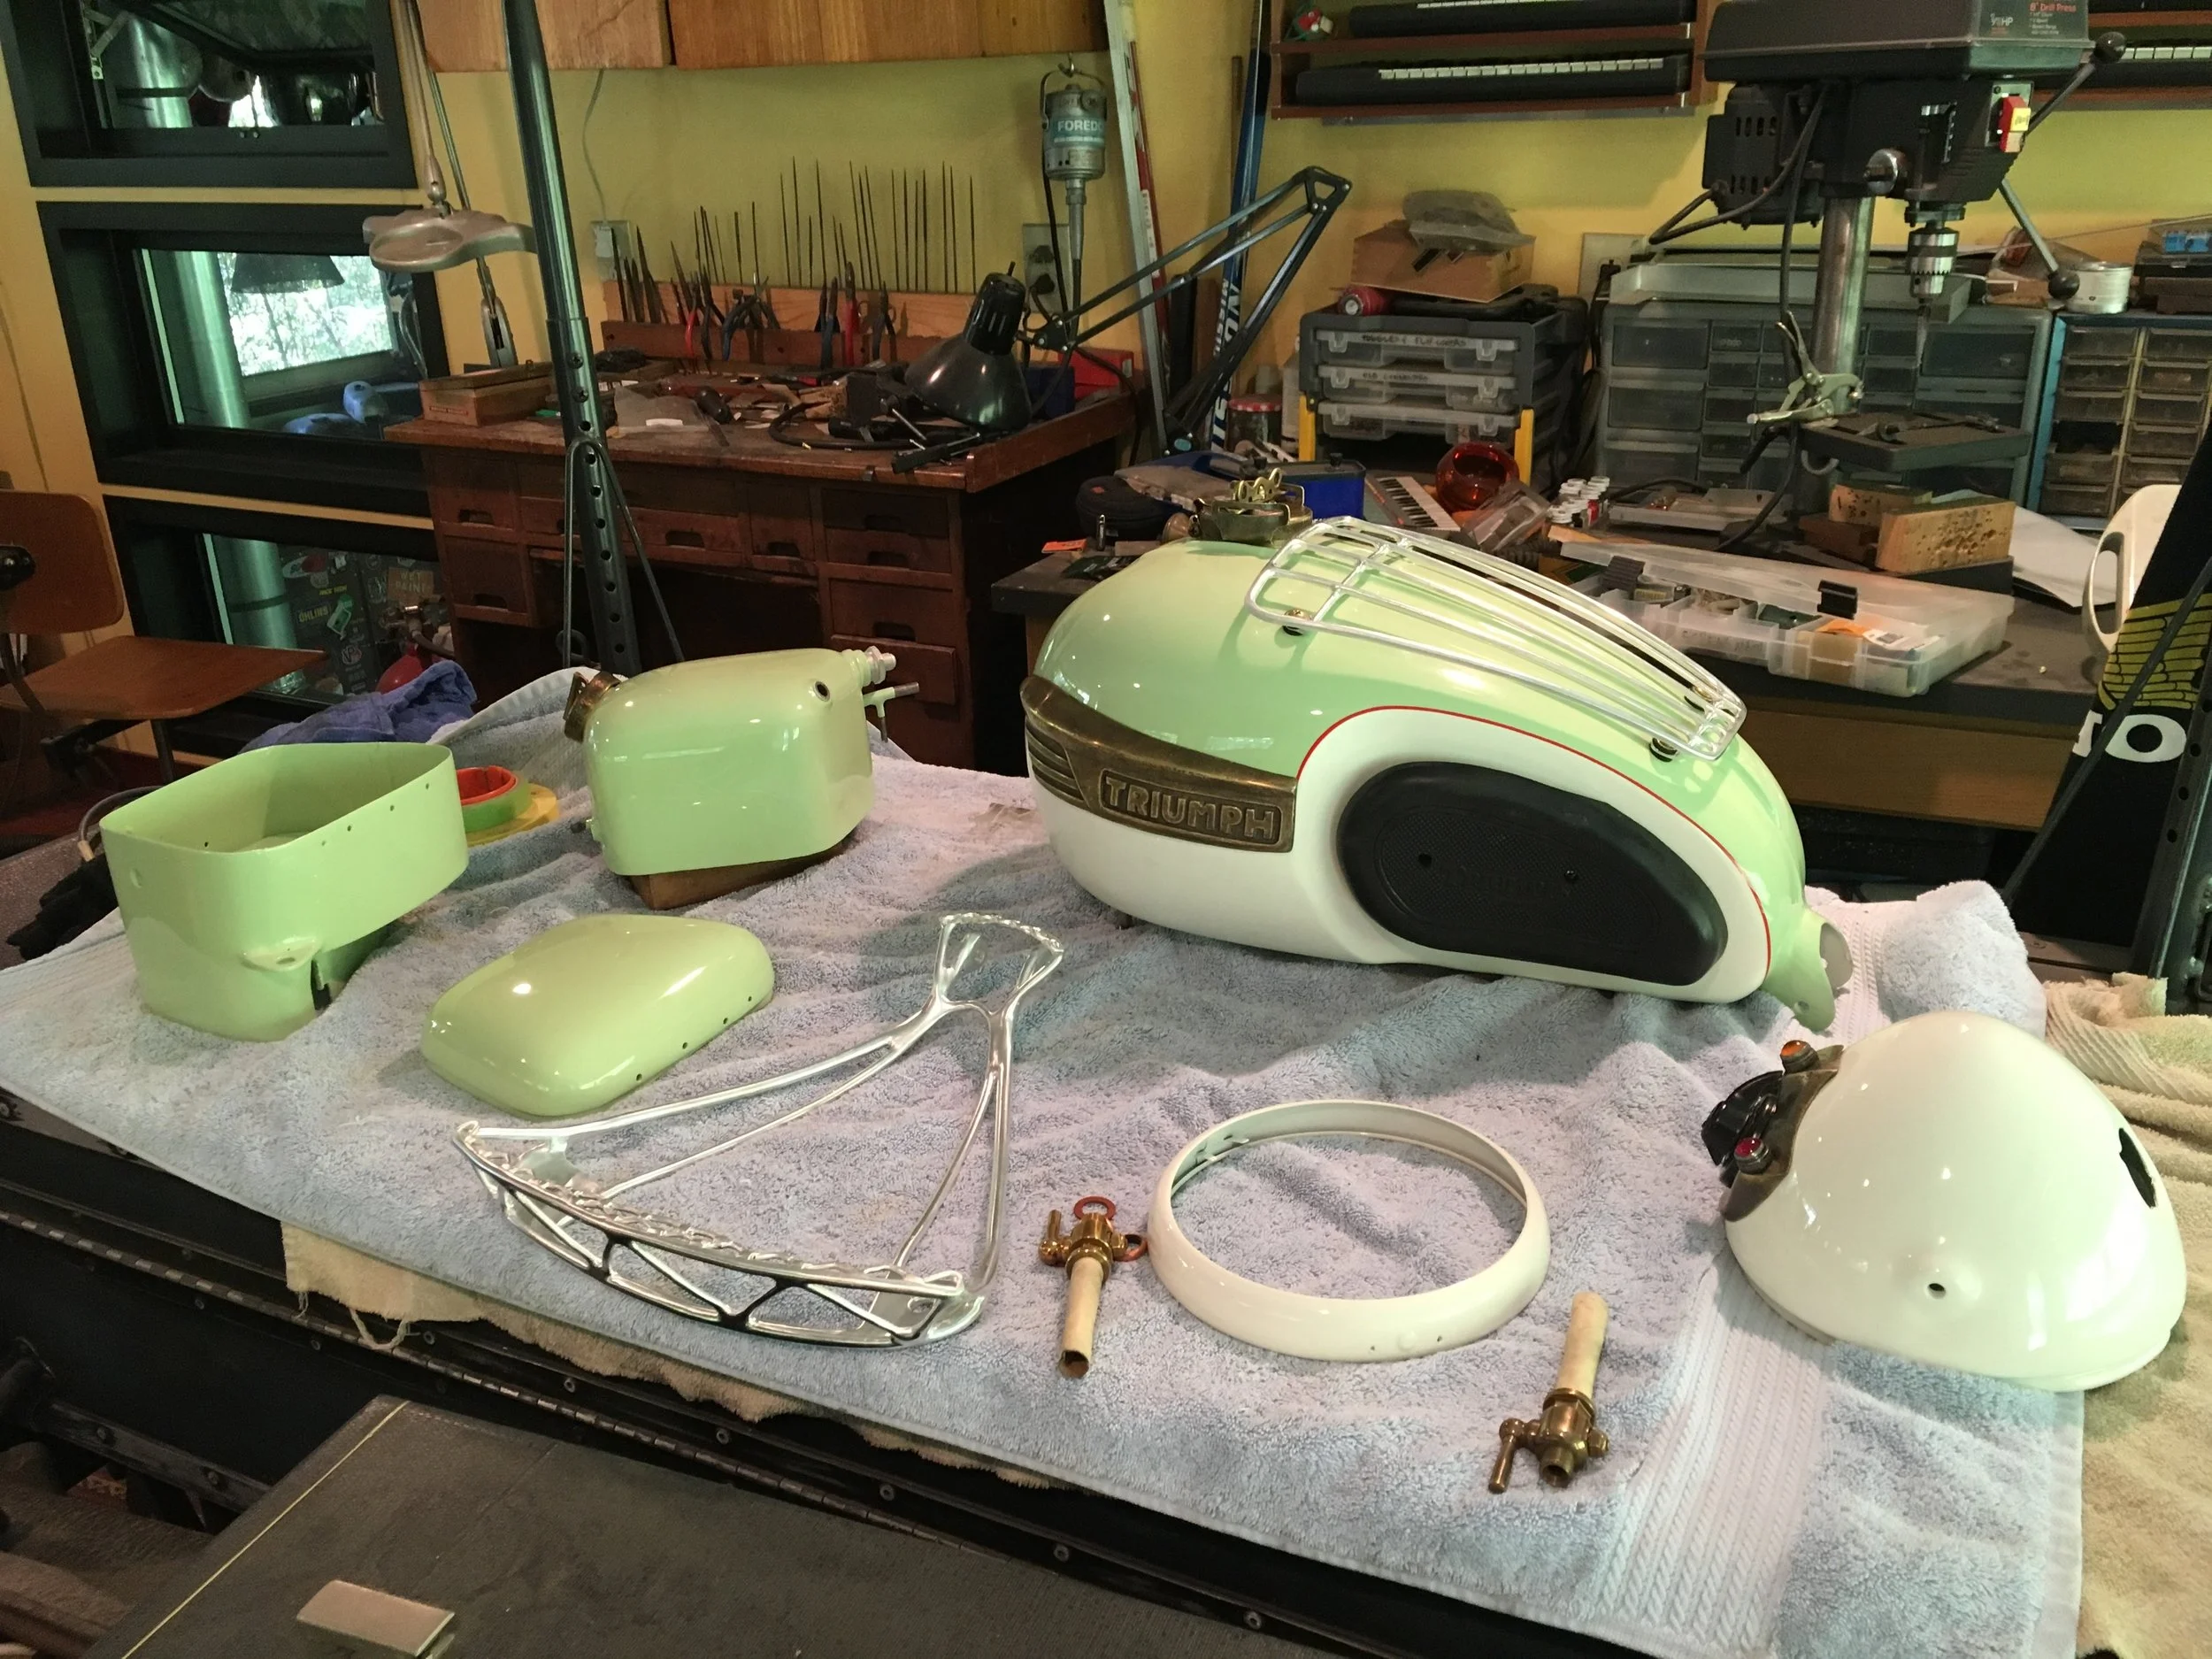
The table of finished pieces is growing.

The table of finished pieces is growing.

Testing the fit of the tail light. The fenders were a reversal of the usual white stripe on green on traditional Triumph paint schemes.

Testing the fit of the tail light. The fenders were a reversal of the usual white stripe on green on traditional Triumph paint schemes.

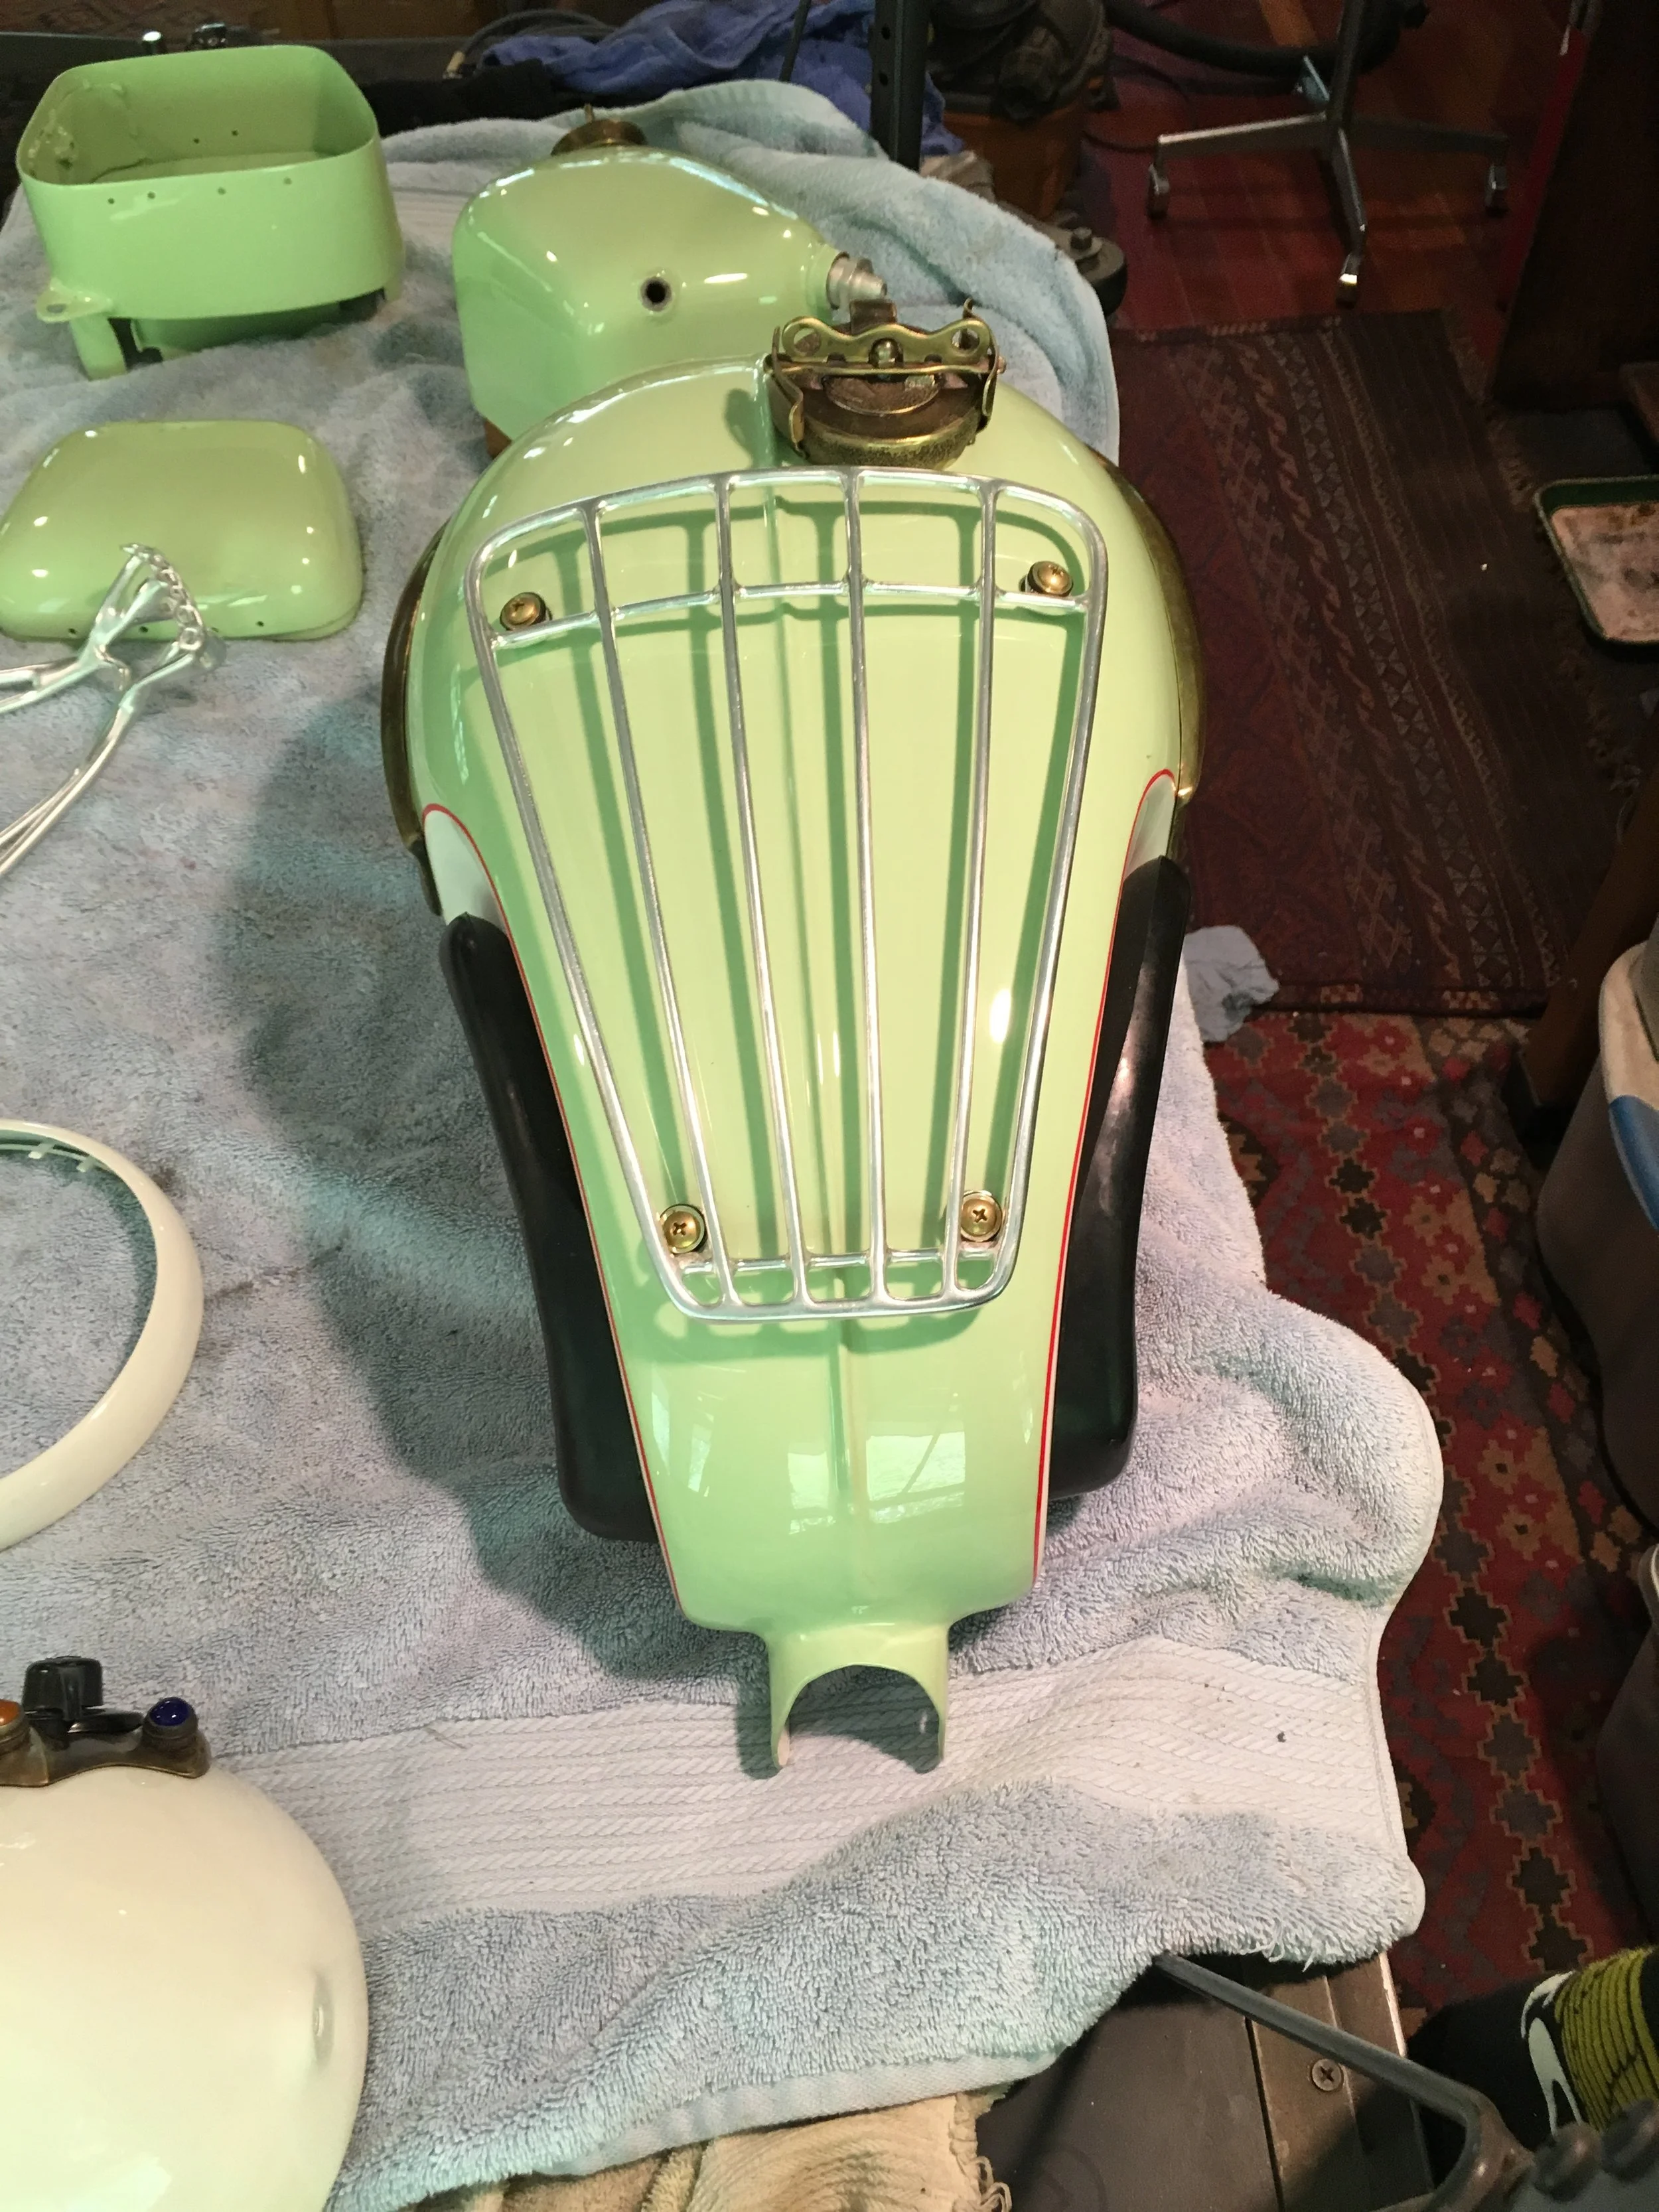
The rear taper of the tank sows how much it was cut down. Always a big fan of the Slim-Line Triumph tanks and the skinny waist they produce on a bike.

The rear taper of the tank sows how much it was cut down. Always a big fan of the Slim-Line Triumph tanks and the skinny waist they produce on a bike.

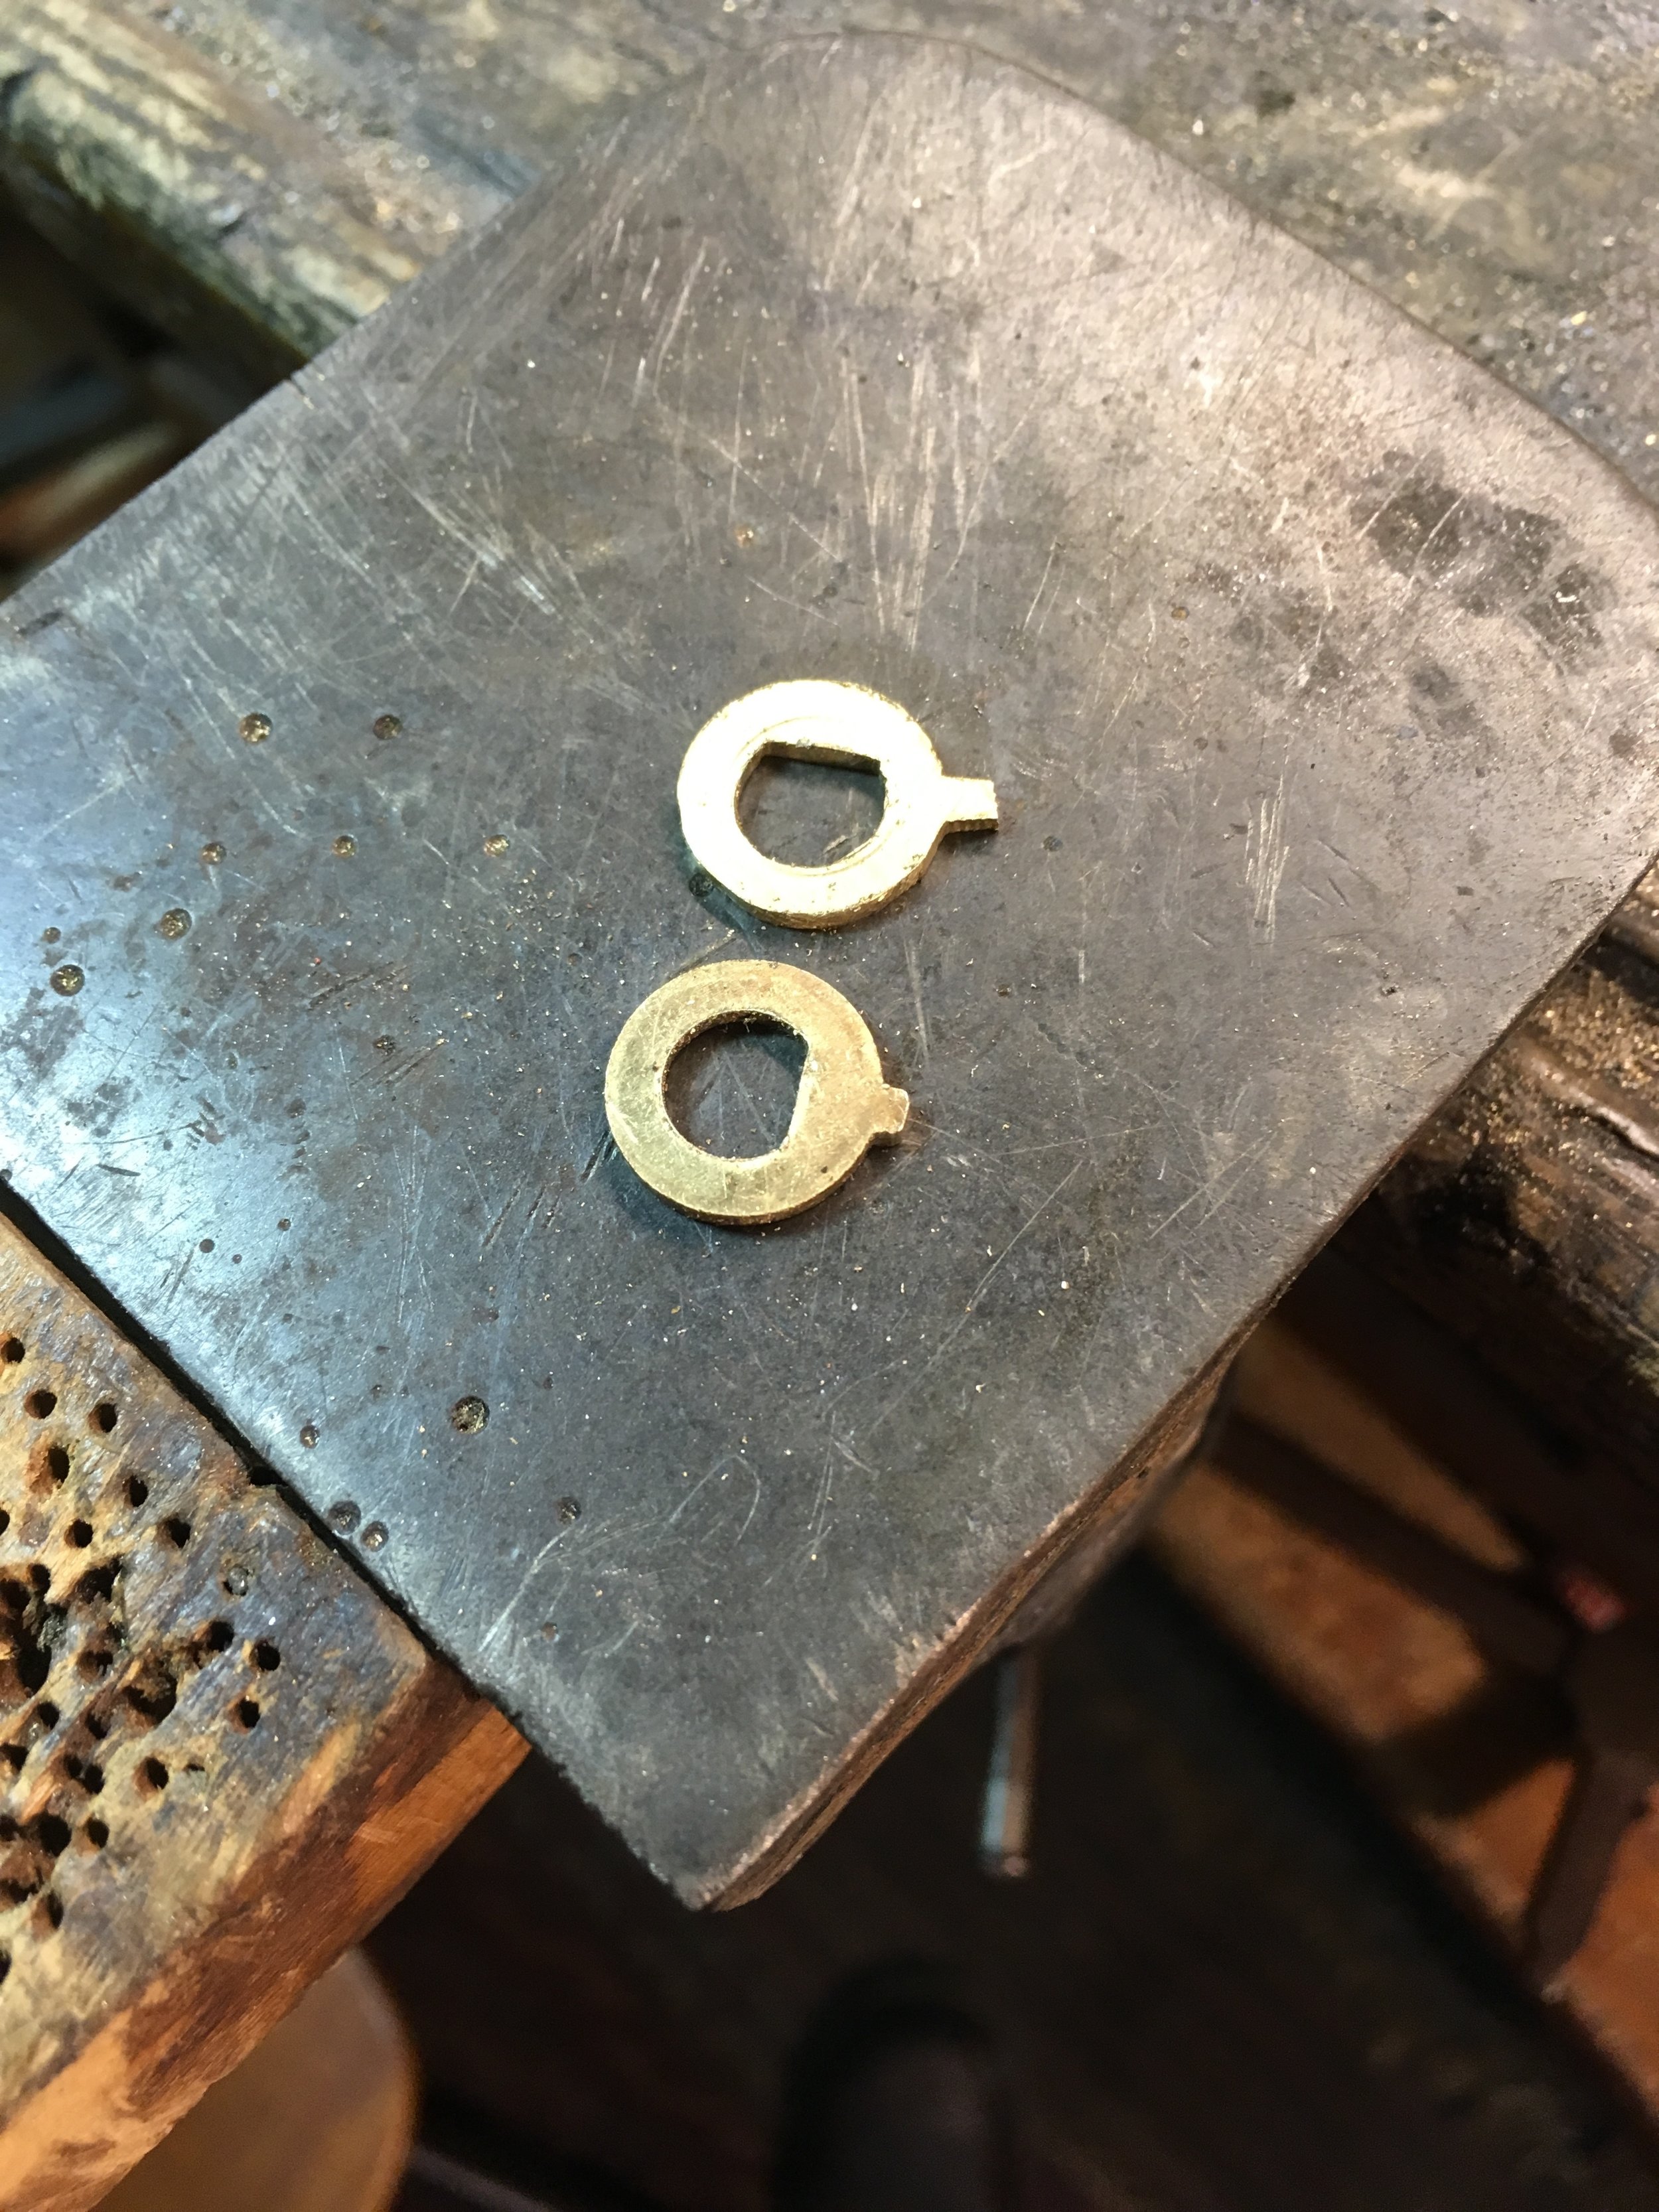
The small details of custom bike building. These are the detente plates for the left petcock, controlling how far and what direction the petcock handle turns. The one on top was made from .050 brass sheet to allow the petcock to open in the opposite…

The small details of custom bike building. These are the detente plates for the left petcock, controlling how far and what direction the petcock handle turns. The one on top was made from .050 brass sheet to allow the petcock to open in the opposite direction from stock.

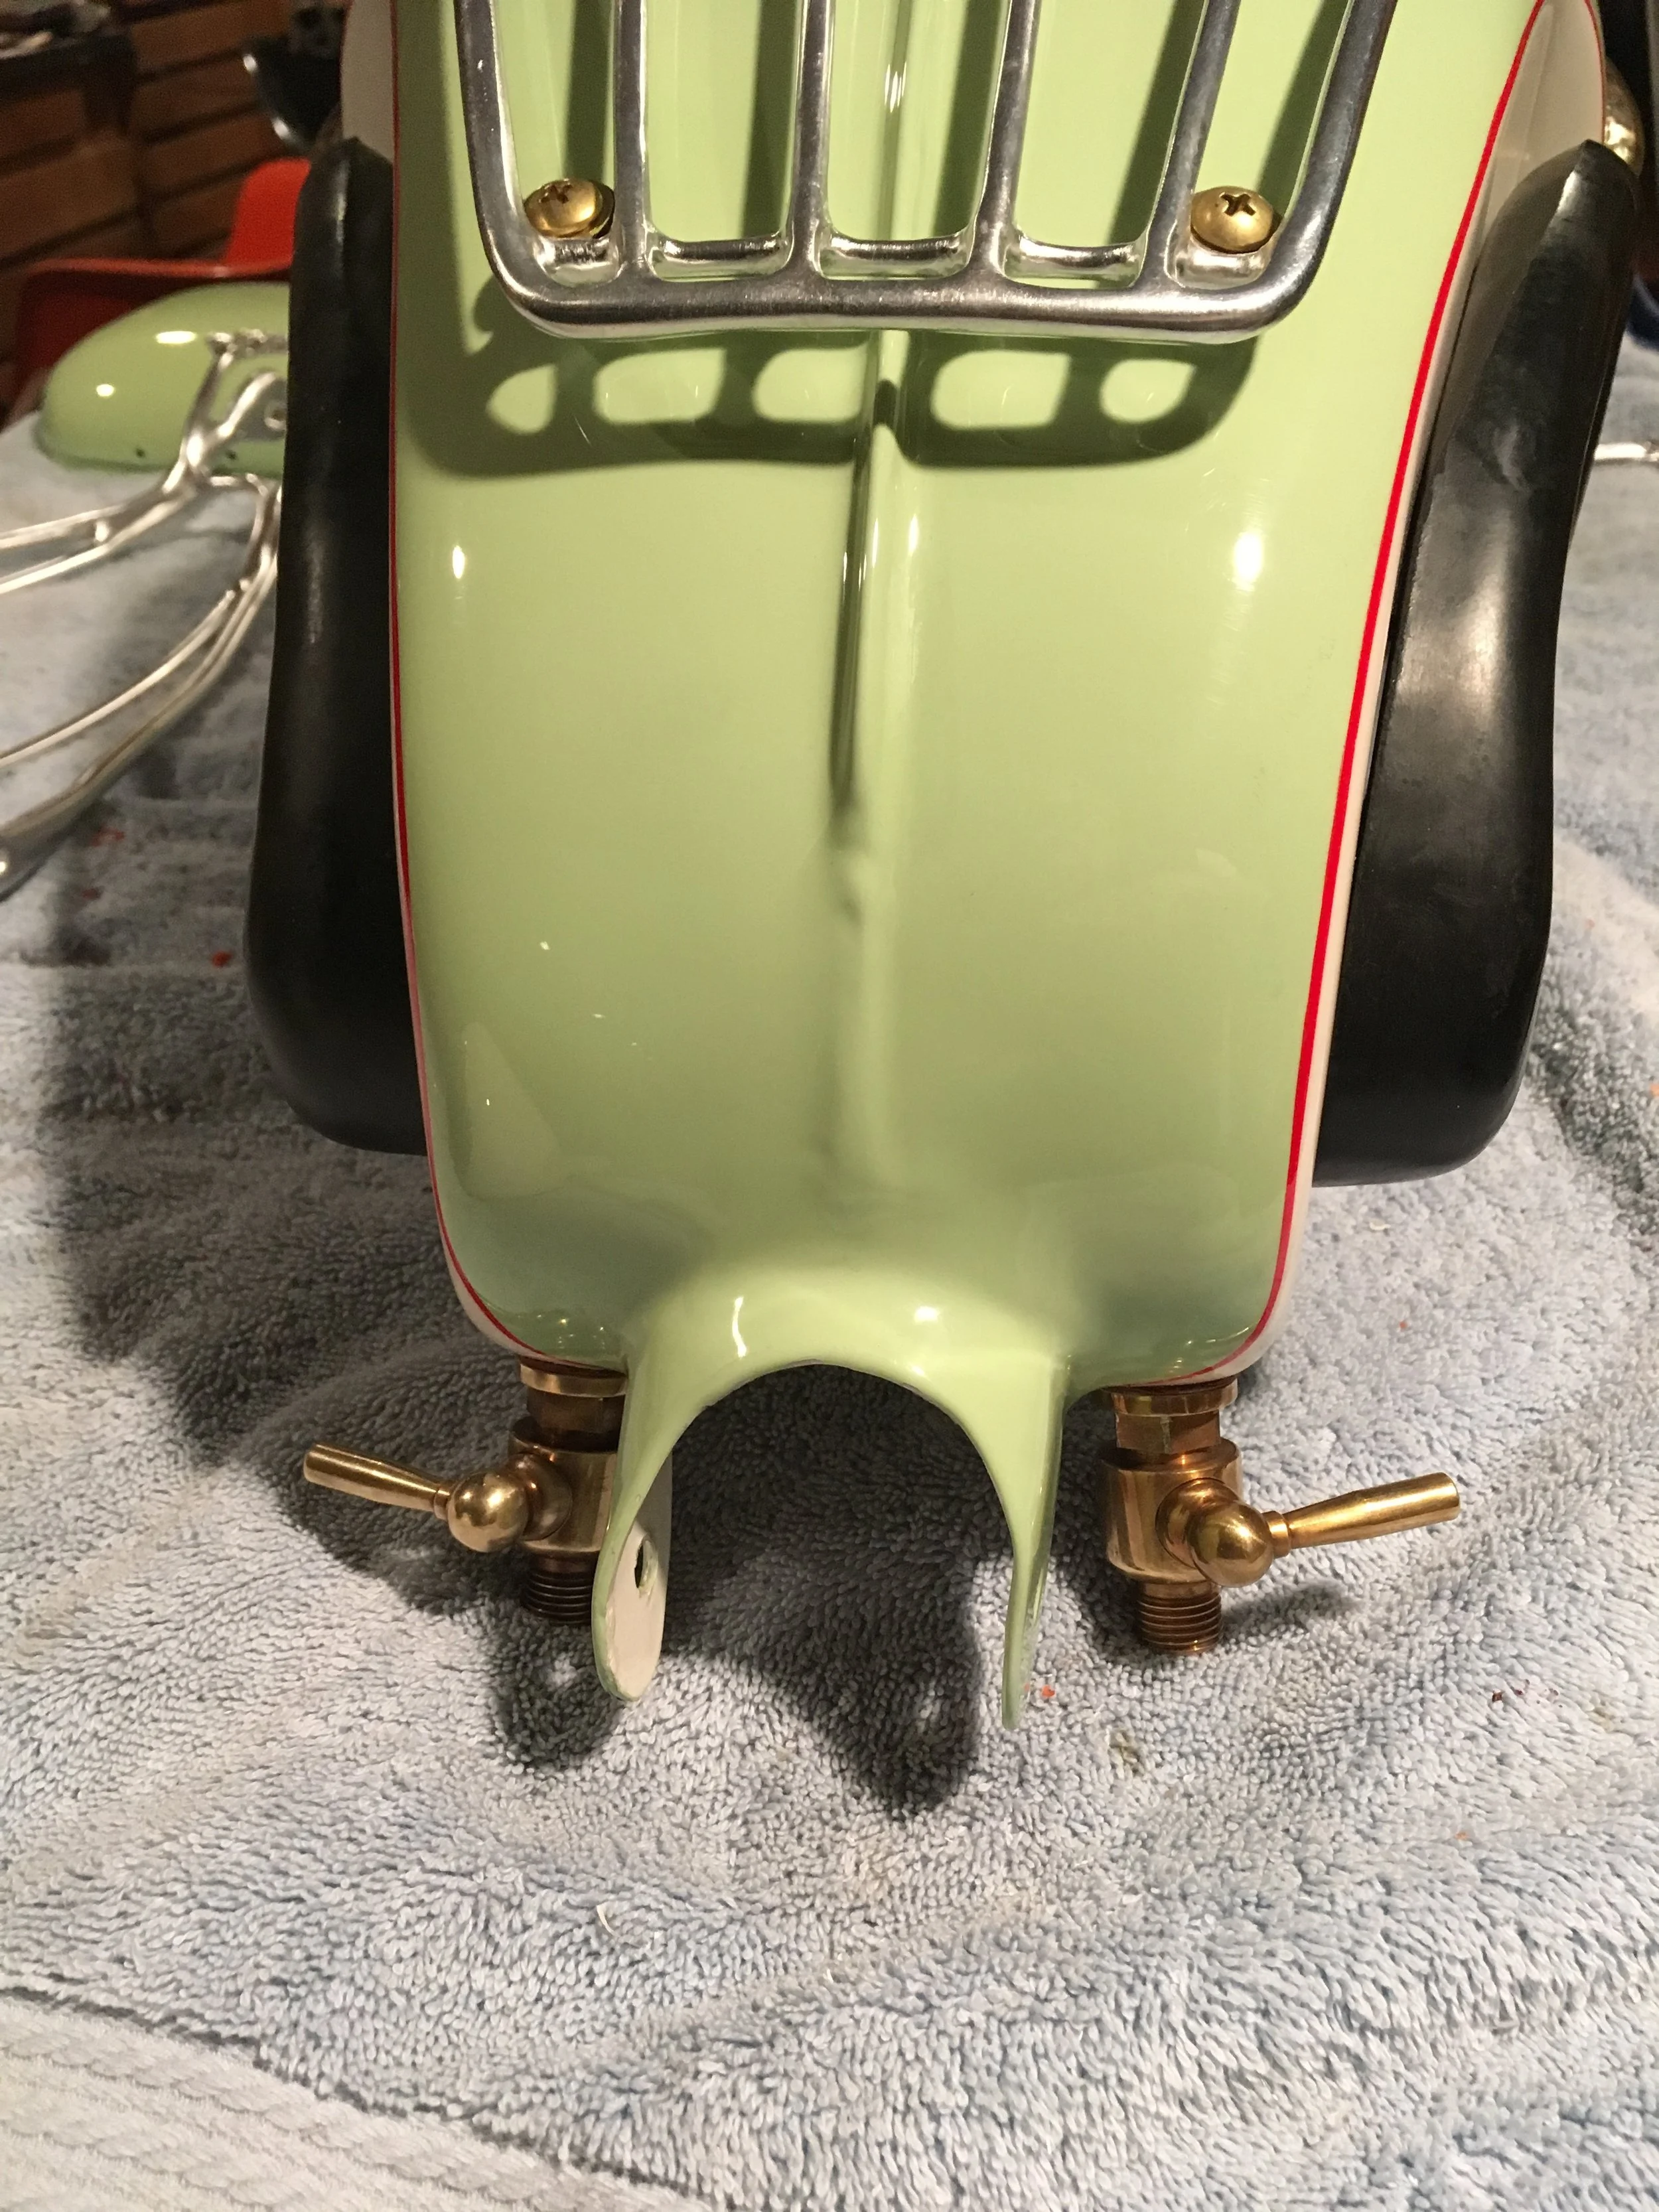
Changing the direction the left petcock opens made it where they could be mounted in a mirror image of each other without hitting the mounting bracket. Of note in this picture is the level of finish Jason routinely gives his paint jobs, with the und…

Changing the direction the left petcock opens made it where they could be mounted in a mirror image of each other without hitting the mounting bracket. Of note in this picture is the level of finish Jason routinely gives his paint jobs, with the underside finished as nicely as the top side.

in place now, the opposed handles give a symmetry to the petcocks.

in place now, the opposed handles give a symmetry to the petcocks.

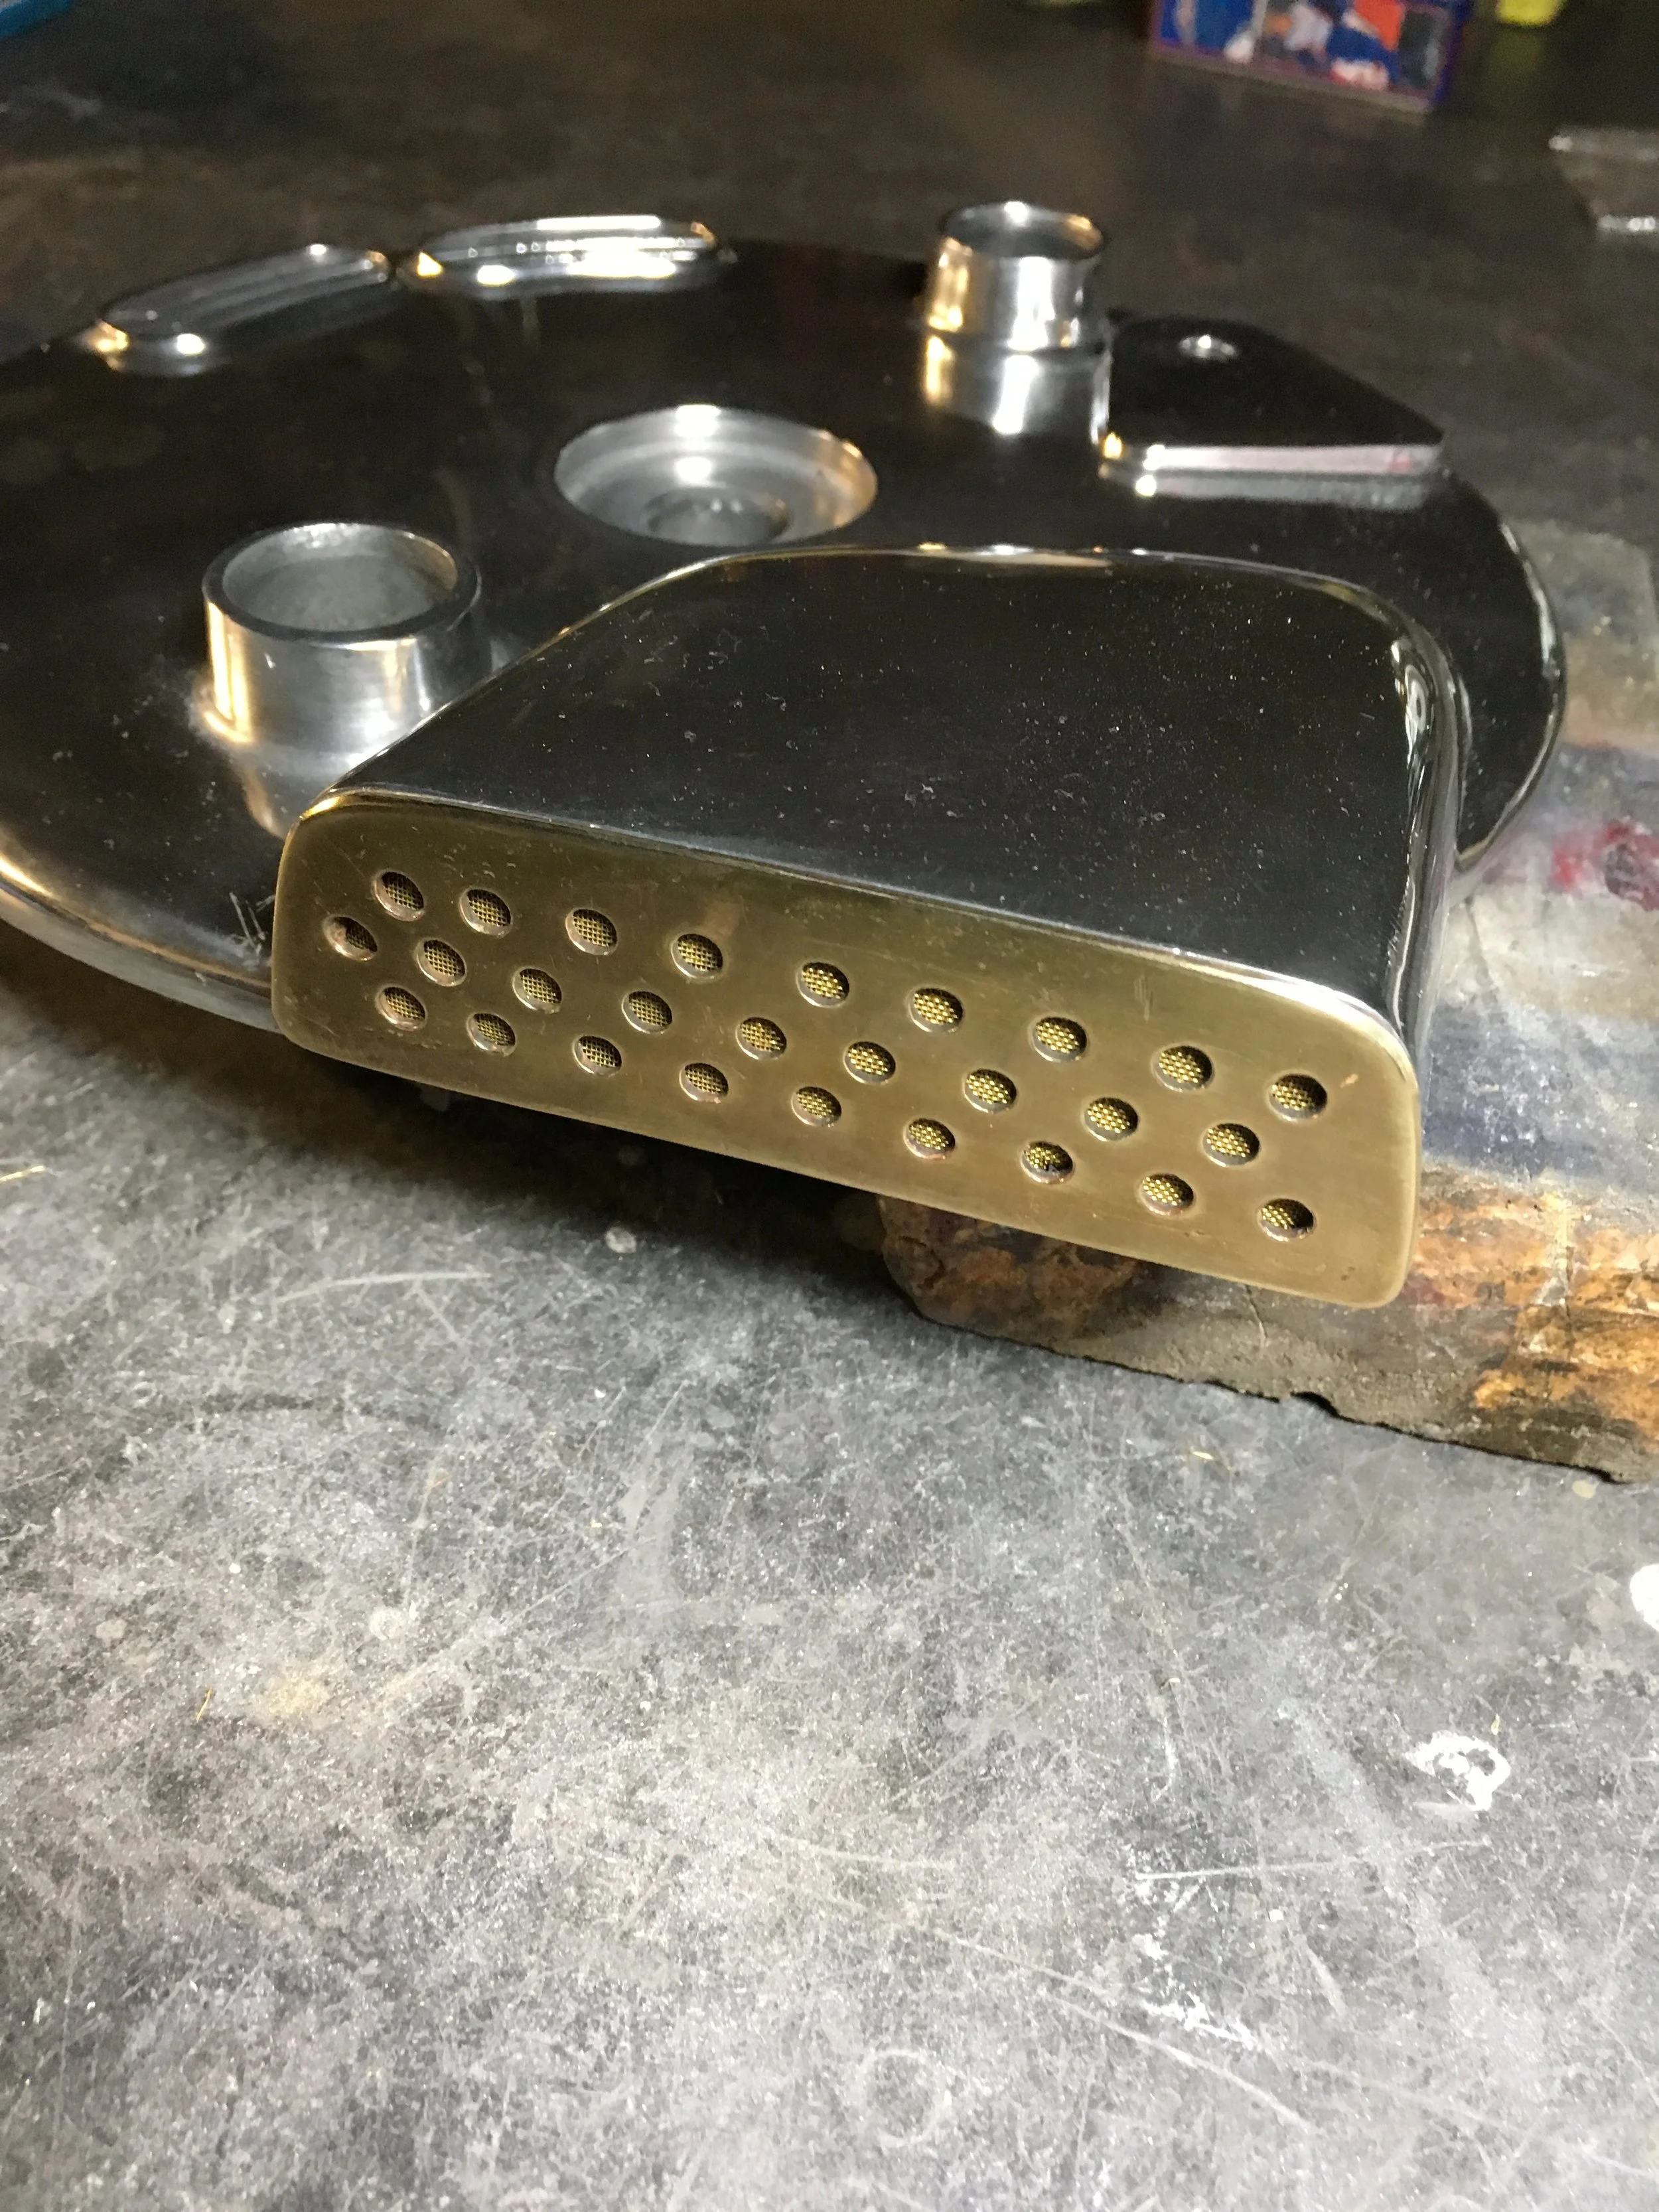
A grill for the front brake panel was made from brass sheet and screen.

A grill for the front brake panel was made from brass sheet and screen.

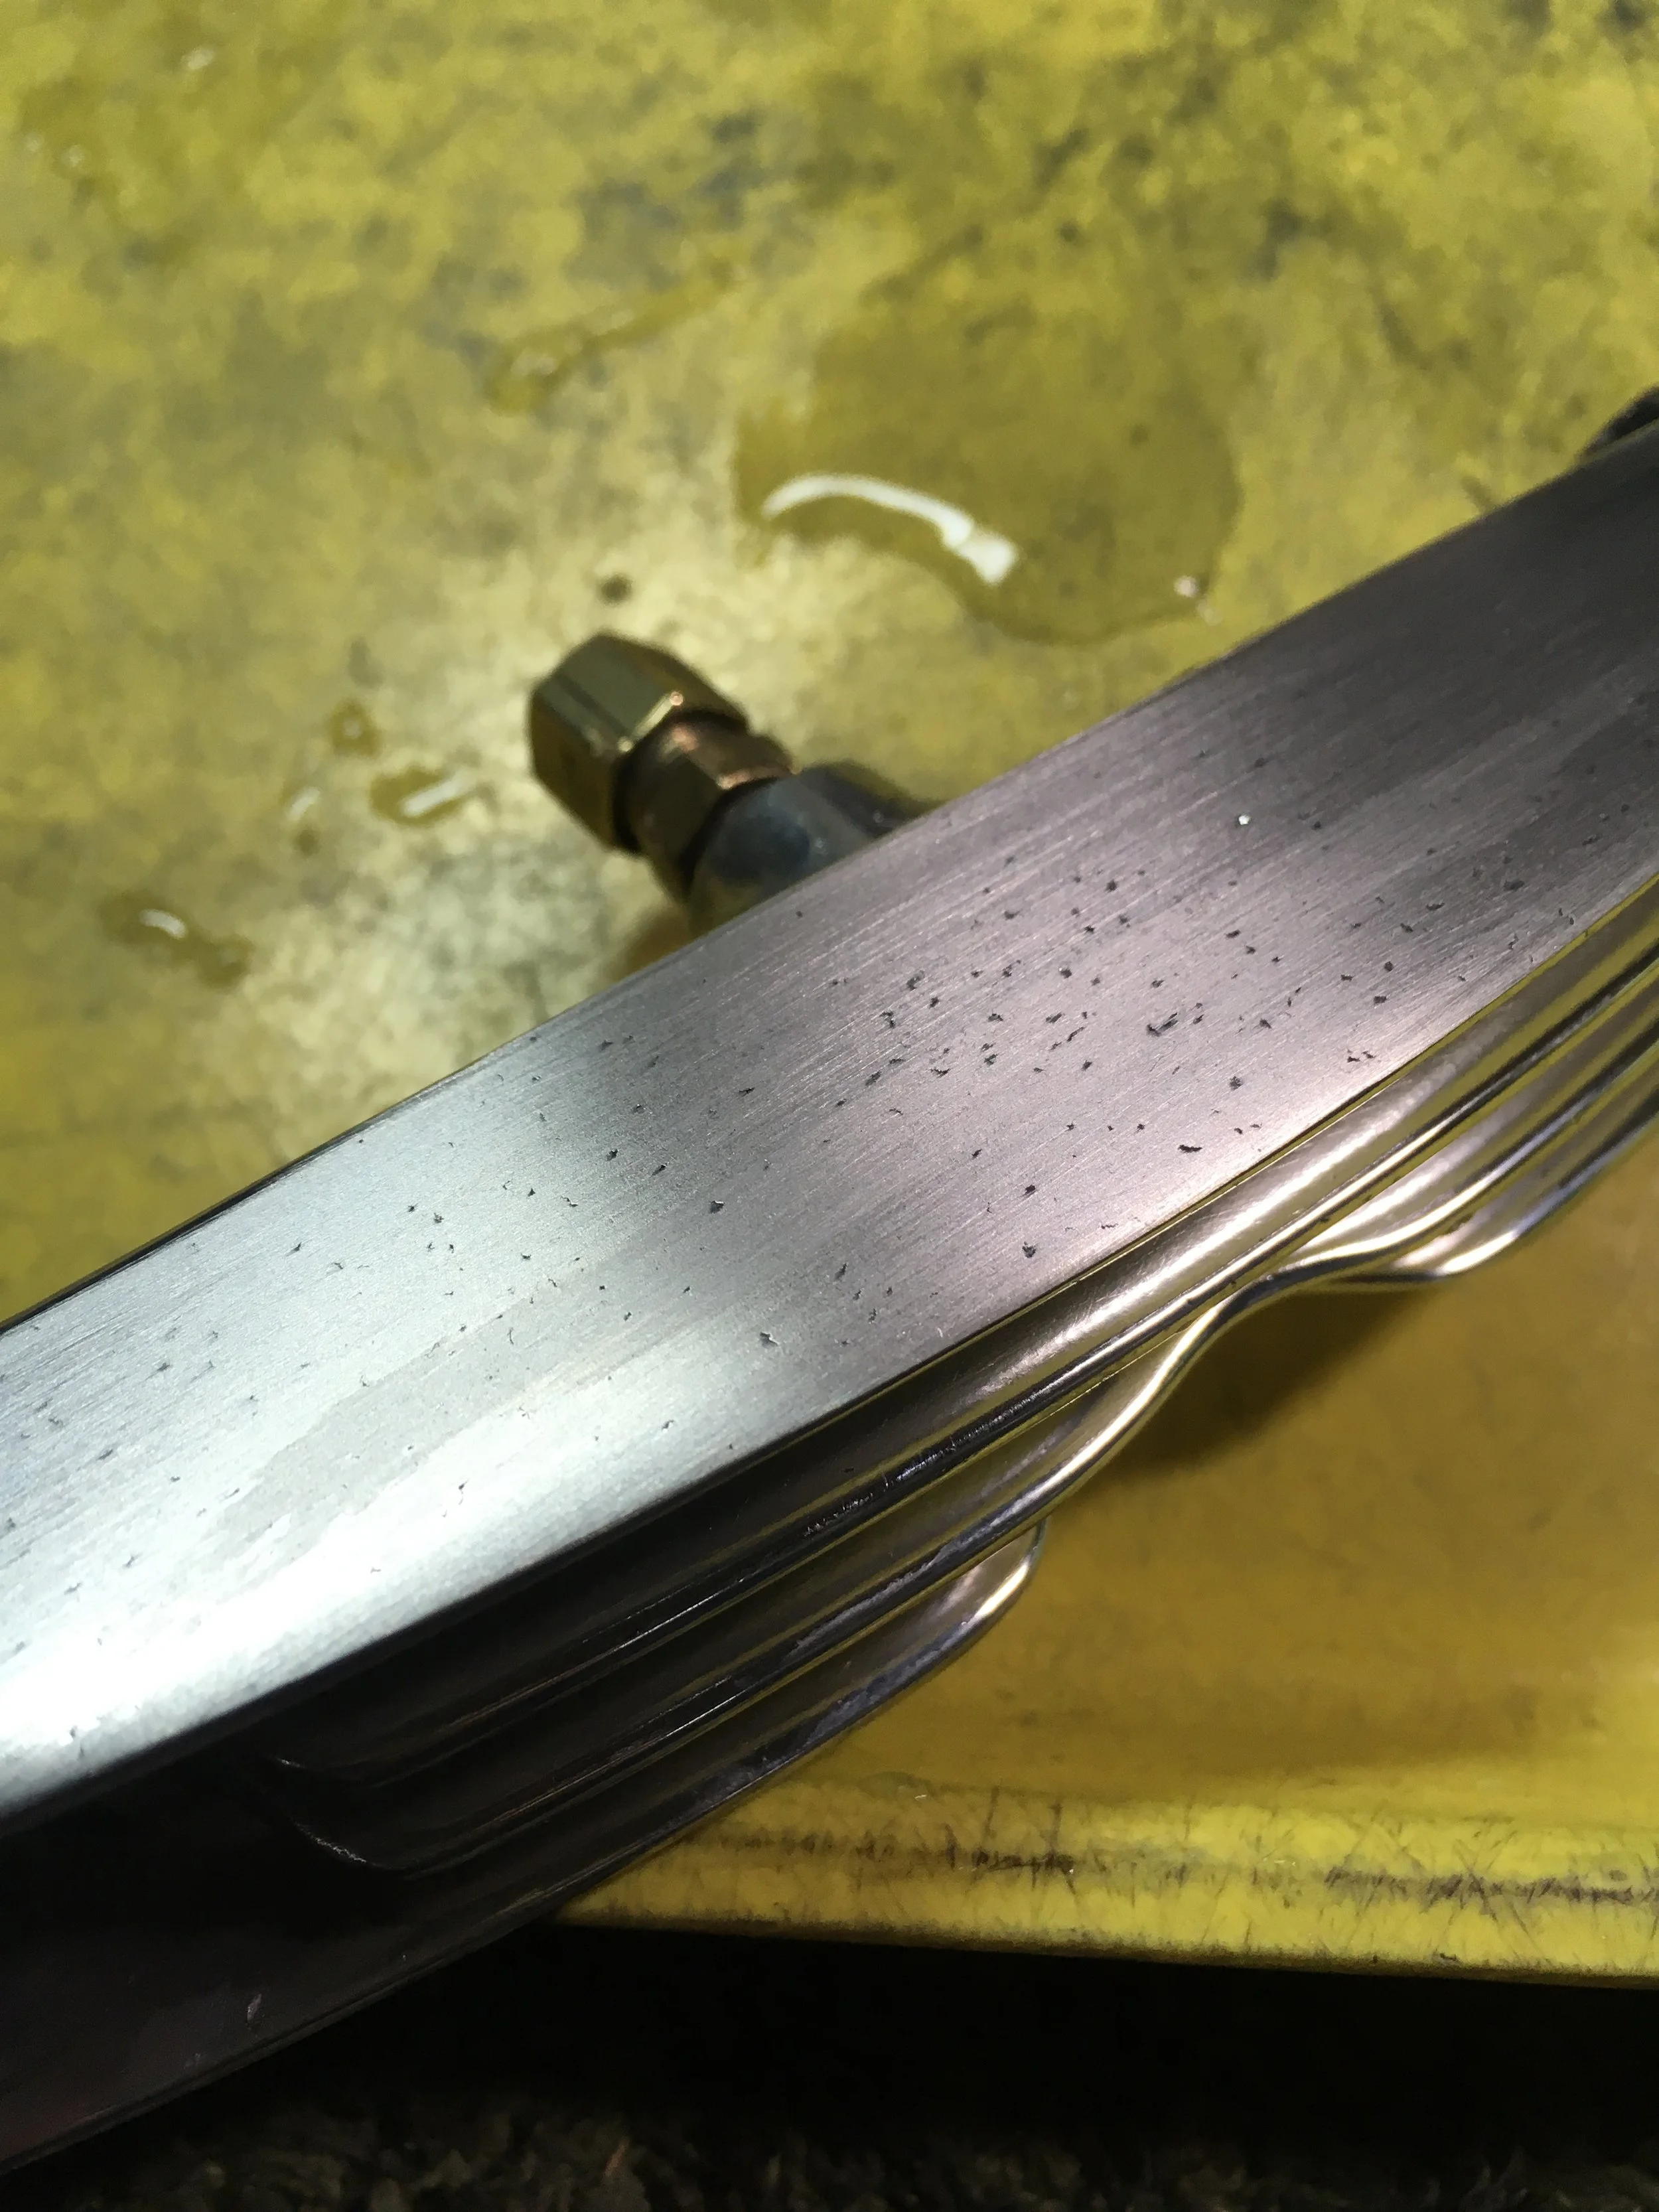
Another polishing-shop fail, this Webco rocker box oiler had pitting that was made worse by simply polishing without sanding. This was after a little sanding.

Another polishing-shop fail, this Webco rocker box oiler had pitting that was made worse by simply polishing without sanding. This was after a little sanding.

The finished piece after some sanding and buffing. There are some very small pits, but since this is a hollow structure, don’t want to grind it too far. I always think of a saying from medicine” sometimes a good result is superior to an excellent on…

The finished piece after some sanding and buffing. There are some very small pits, but since this is a hollow structure, don’t want to grind it too far. I always think of a saying from medicine” sometimes a good result is superior to an excellent one.” It means to stop while you are ahead.