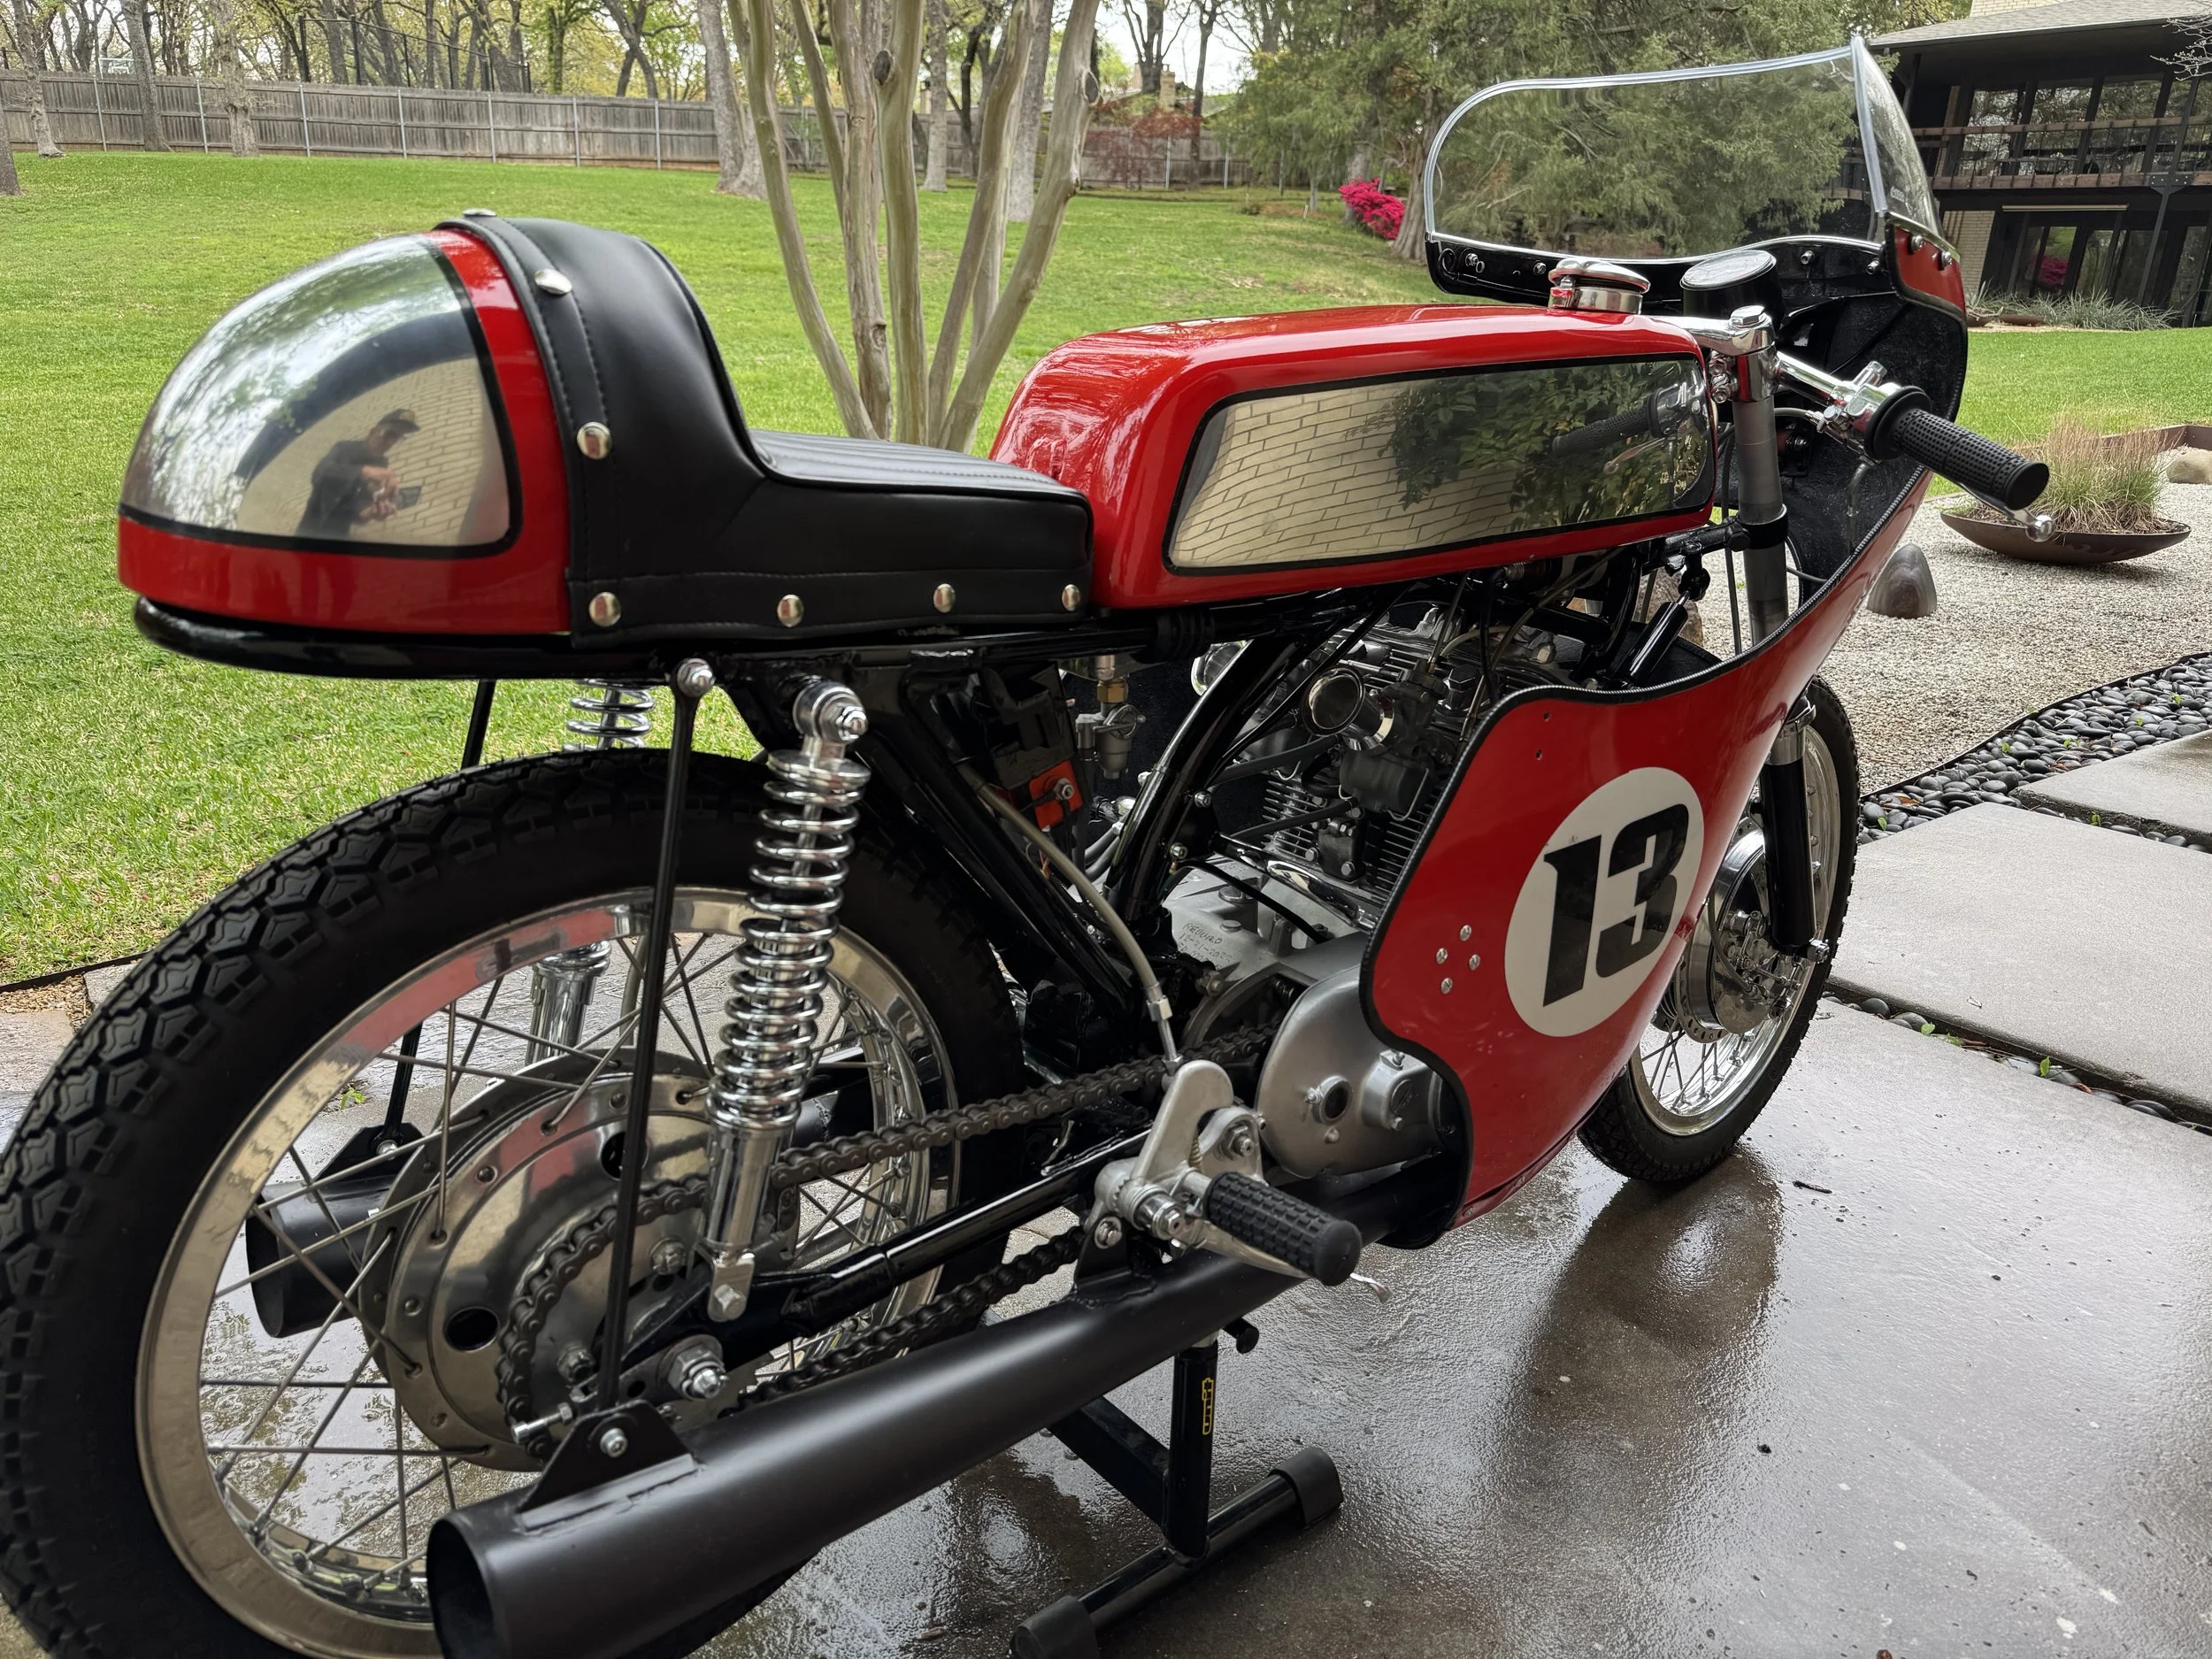
Although not one of my builds technically, some serious time and thought went into the completion of this bike. My friend Steve Webster managed the build, getting the engine rebuilt, frame powder coated, body kit painted, wheels and tires, and other parts together before bringing it to me. The owner bought the project at auction, as a roller in need of an engine rebuild and finishing. The bike came with poorly fitted brake panels on the Suzuki wheel, so we decided to switch back to some Suzuki originals, and mill them to fit the original Honda forks.
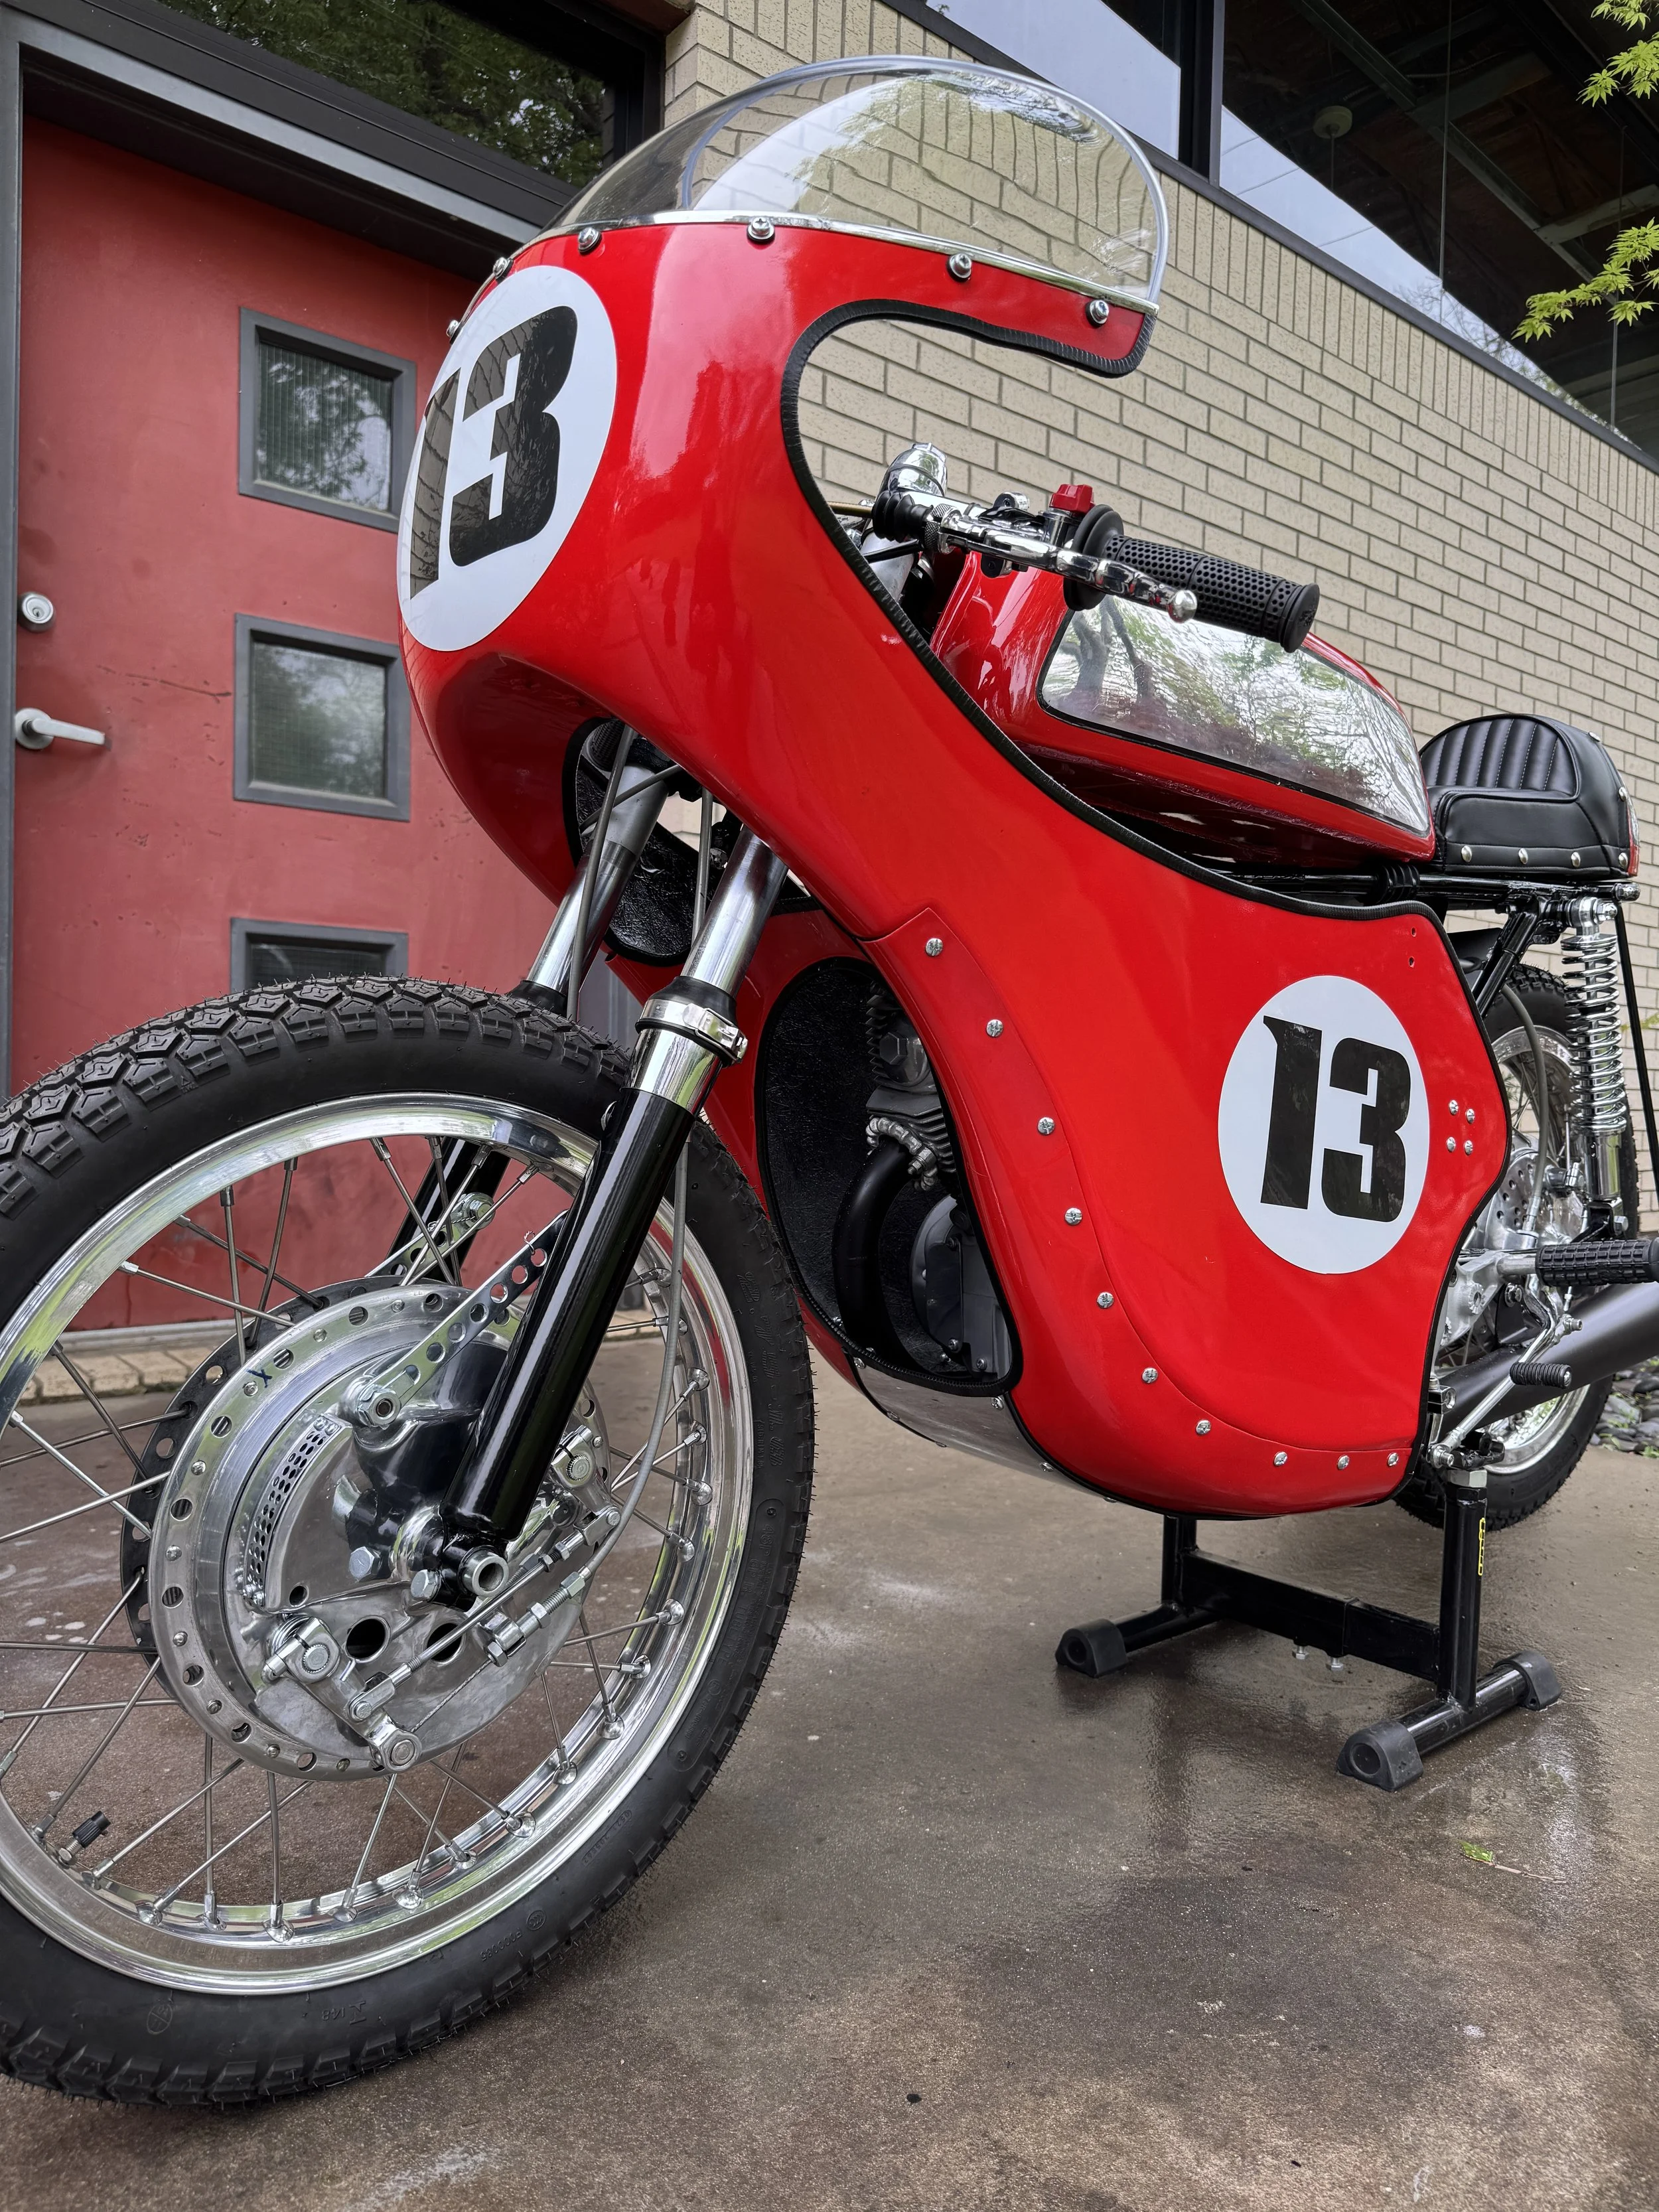
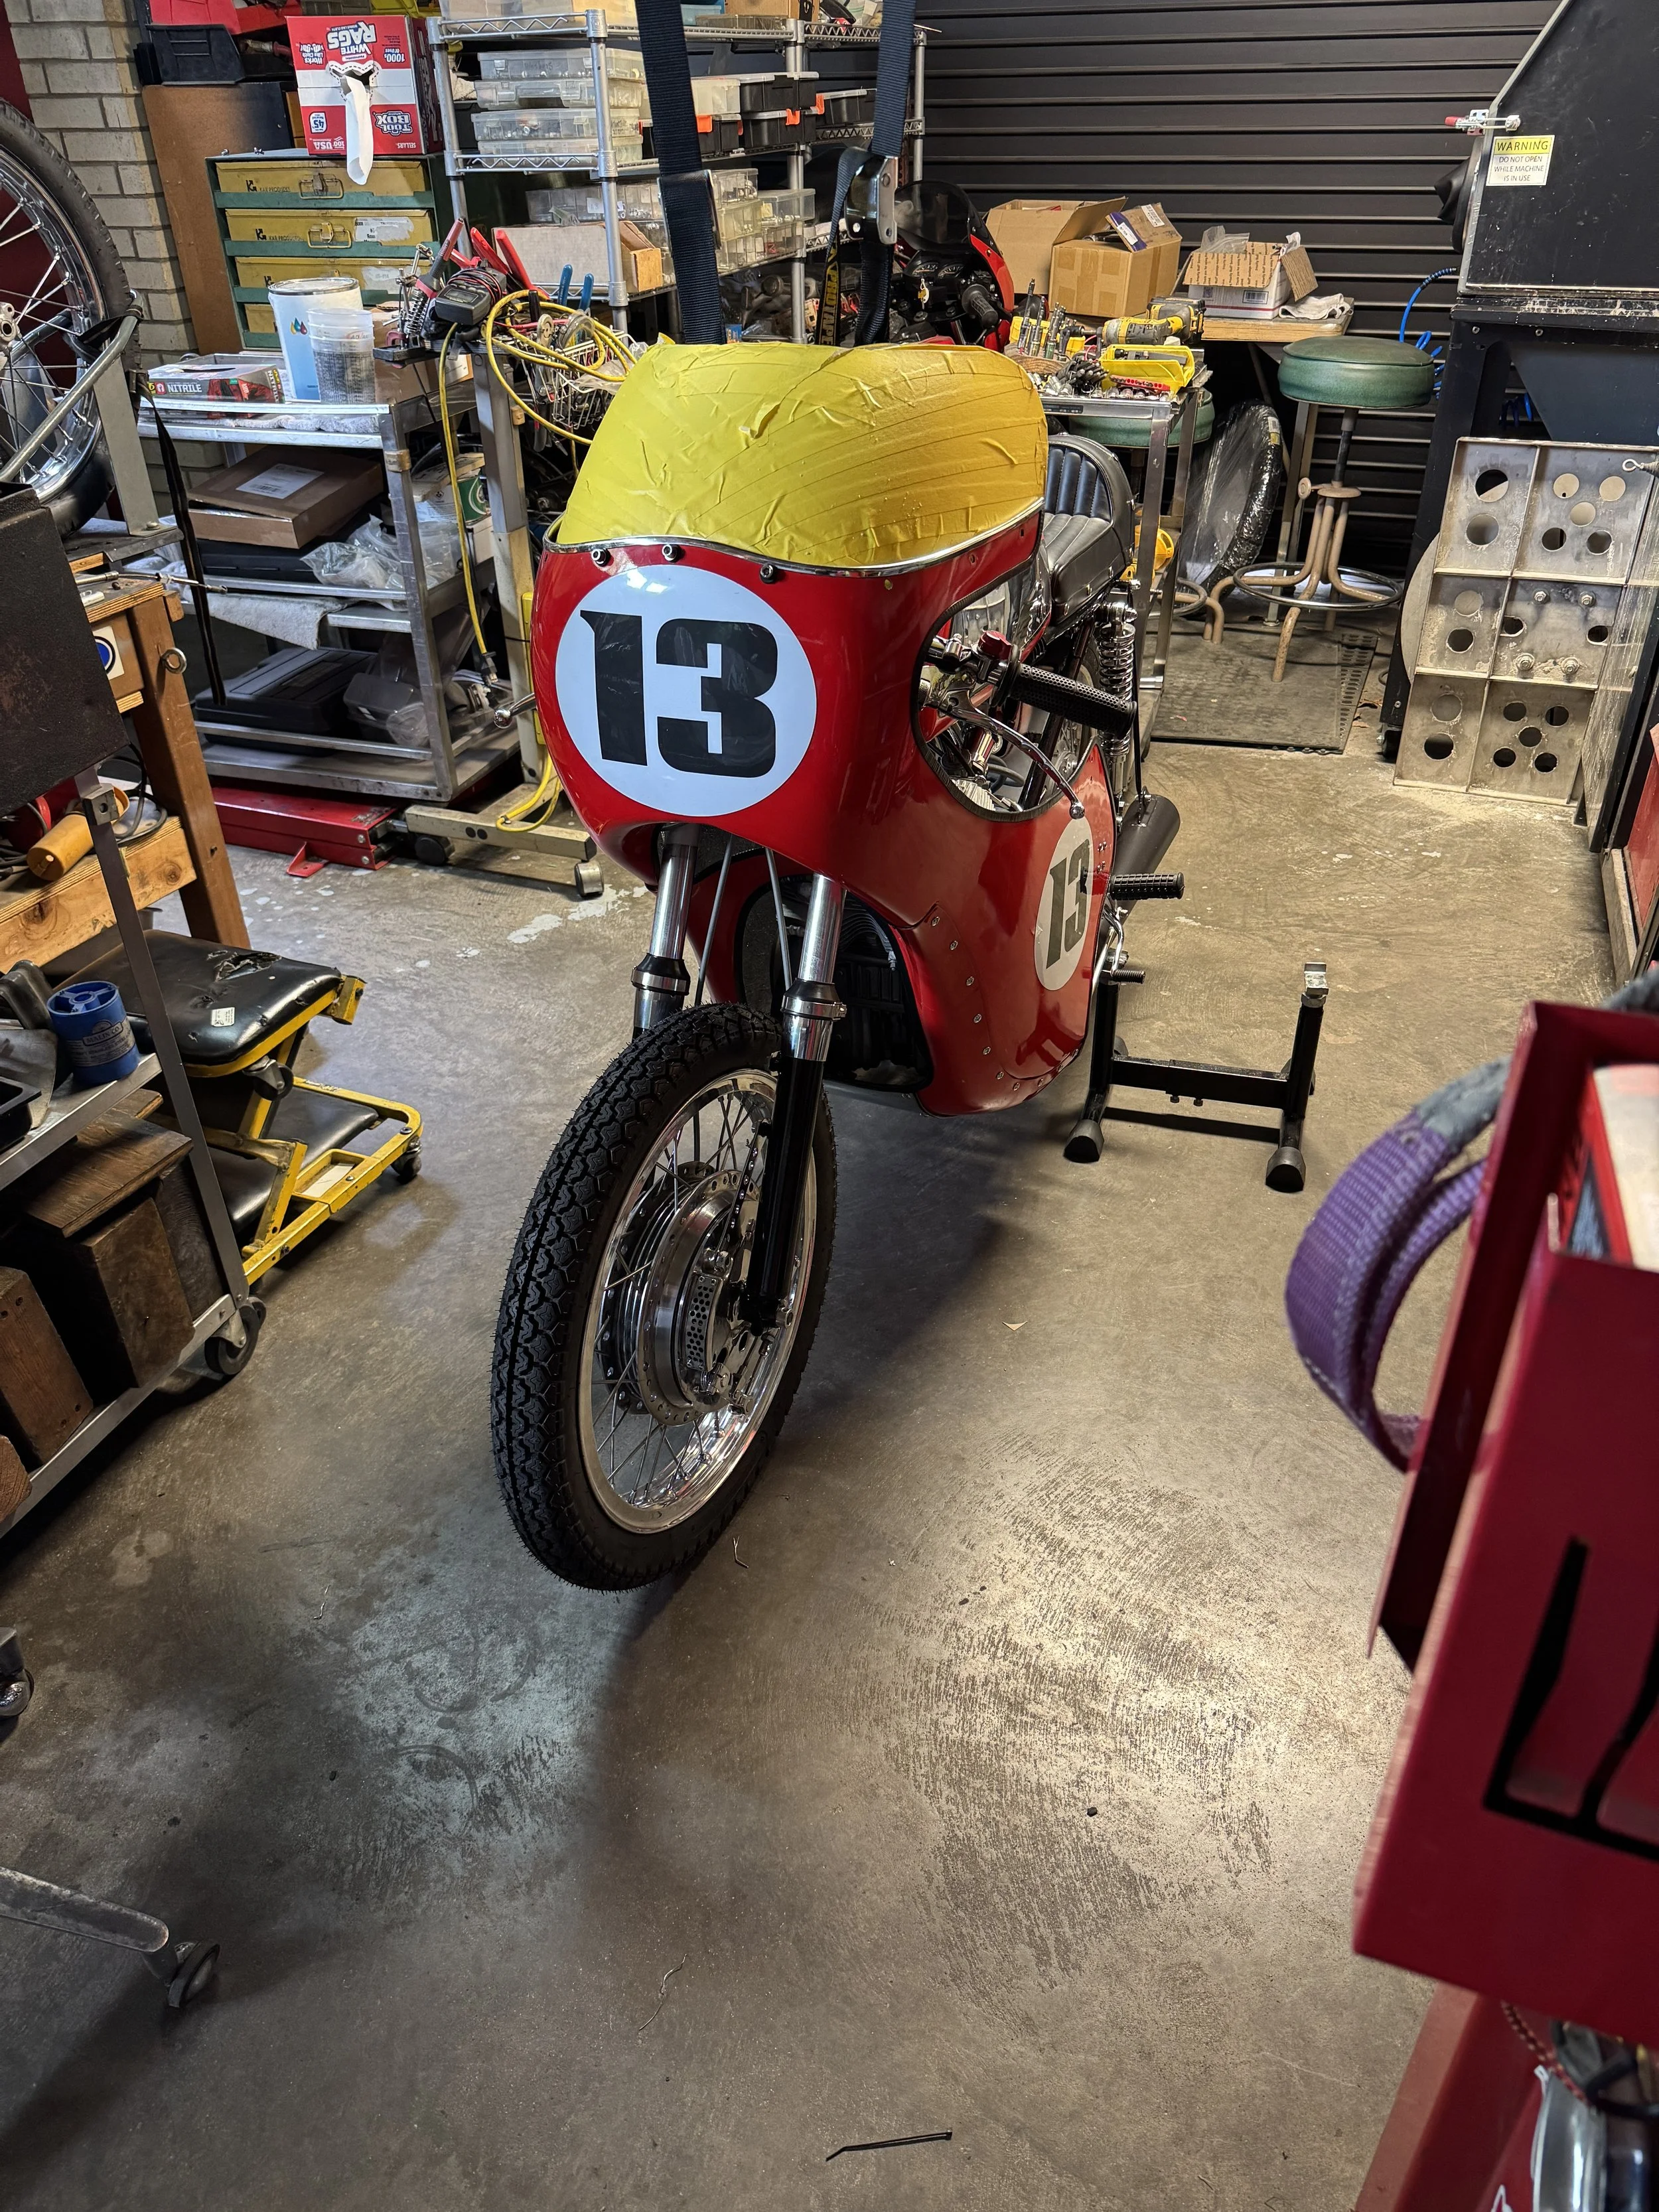
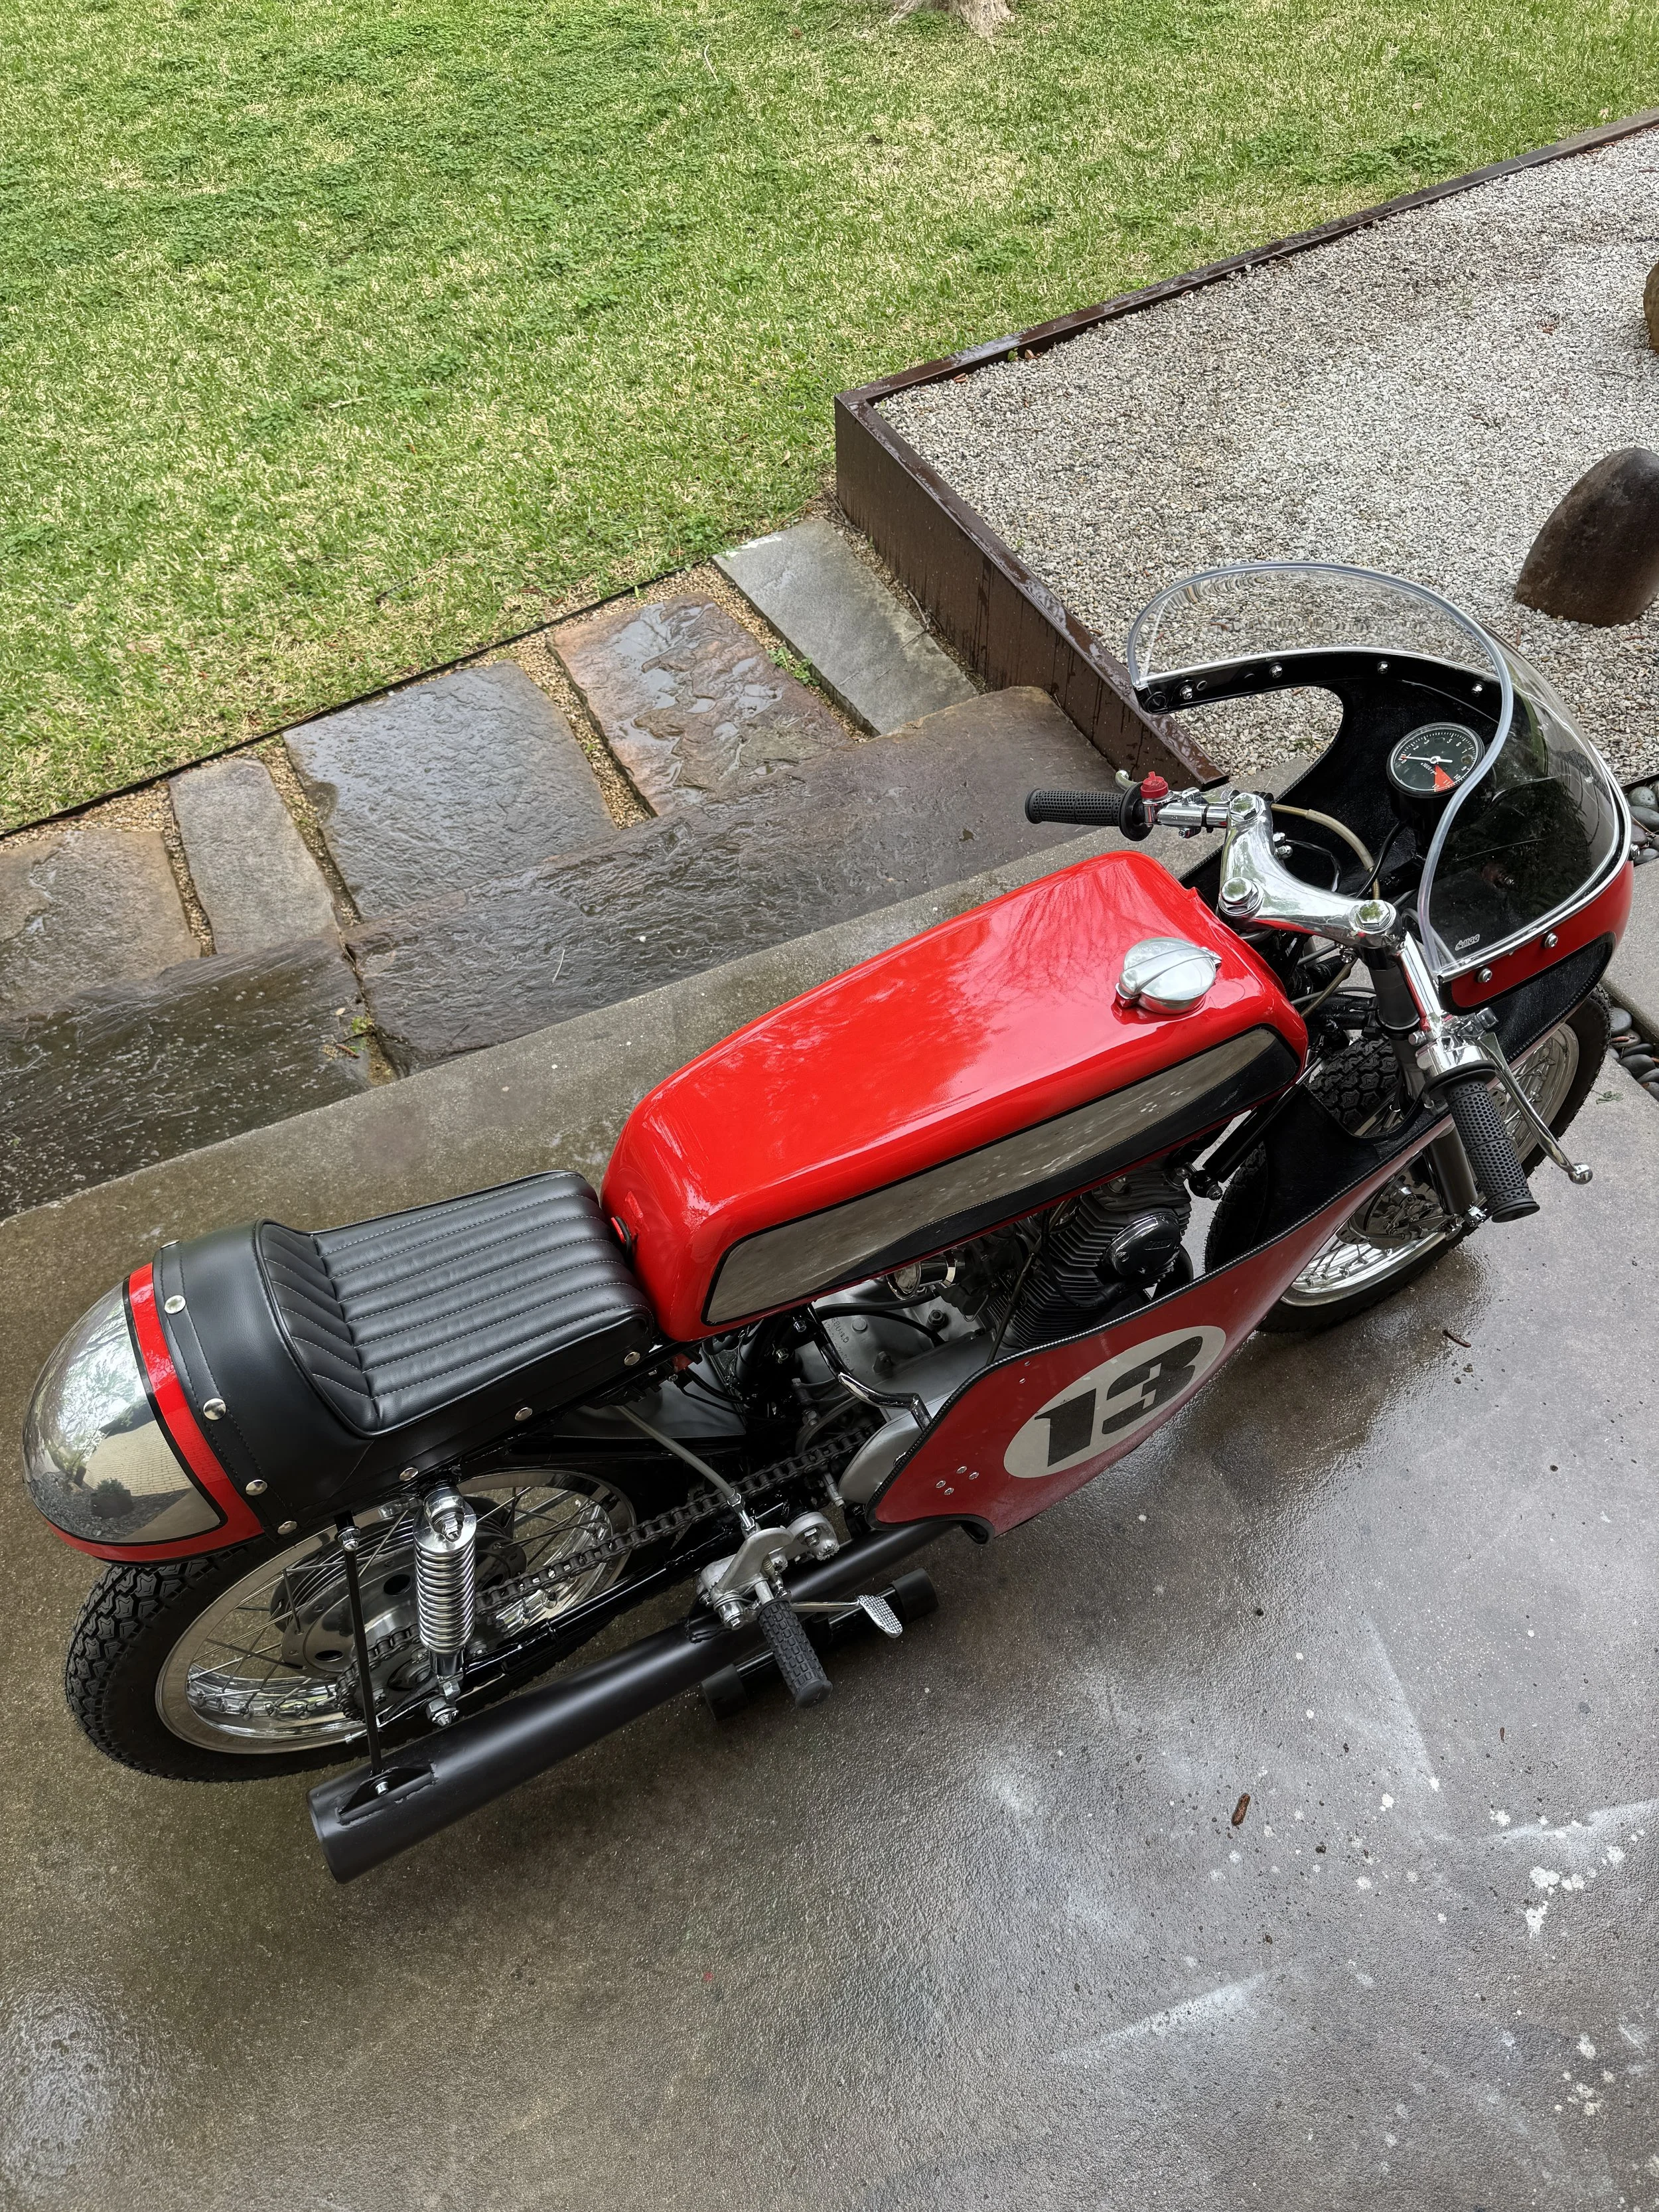
The 1962 Honda CB77 frame and CL72 engine, mated together with the Suzuki front brake and race fairing. The fairing was loosely attached, in need of trimming, and missing a belly pan. The windshield was badly fogged, the tank and seat were just sitting on the frame unattached, the rear sets components were in need of repair and installation, and the front wheel brake panels needed to be modified to fit the forks. There were other details, large and small, like the wiring harness that was built from scratch, brake cable joints machined from stainless steel, and tiny parts that needed to be refined and re-plated.
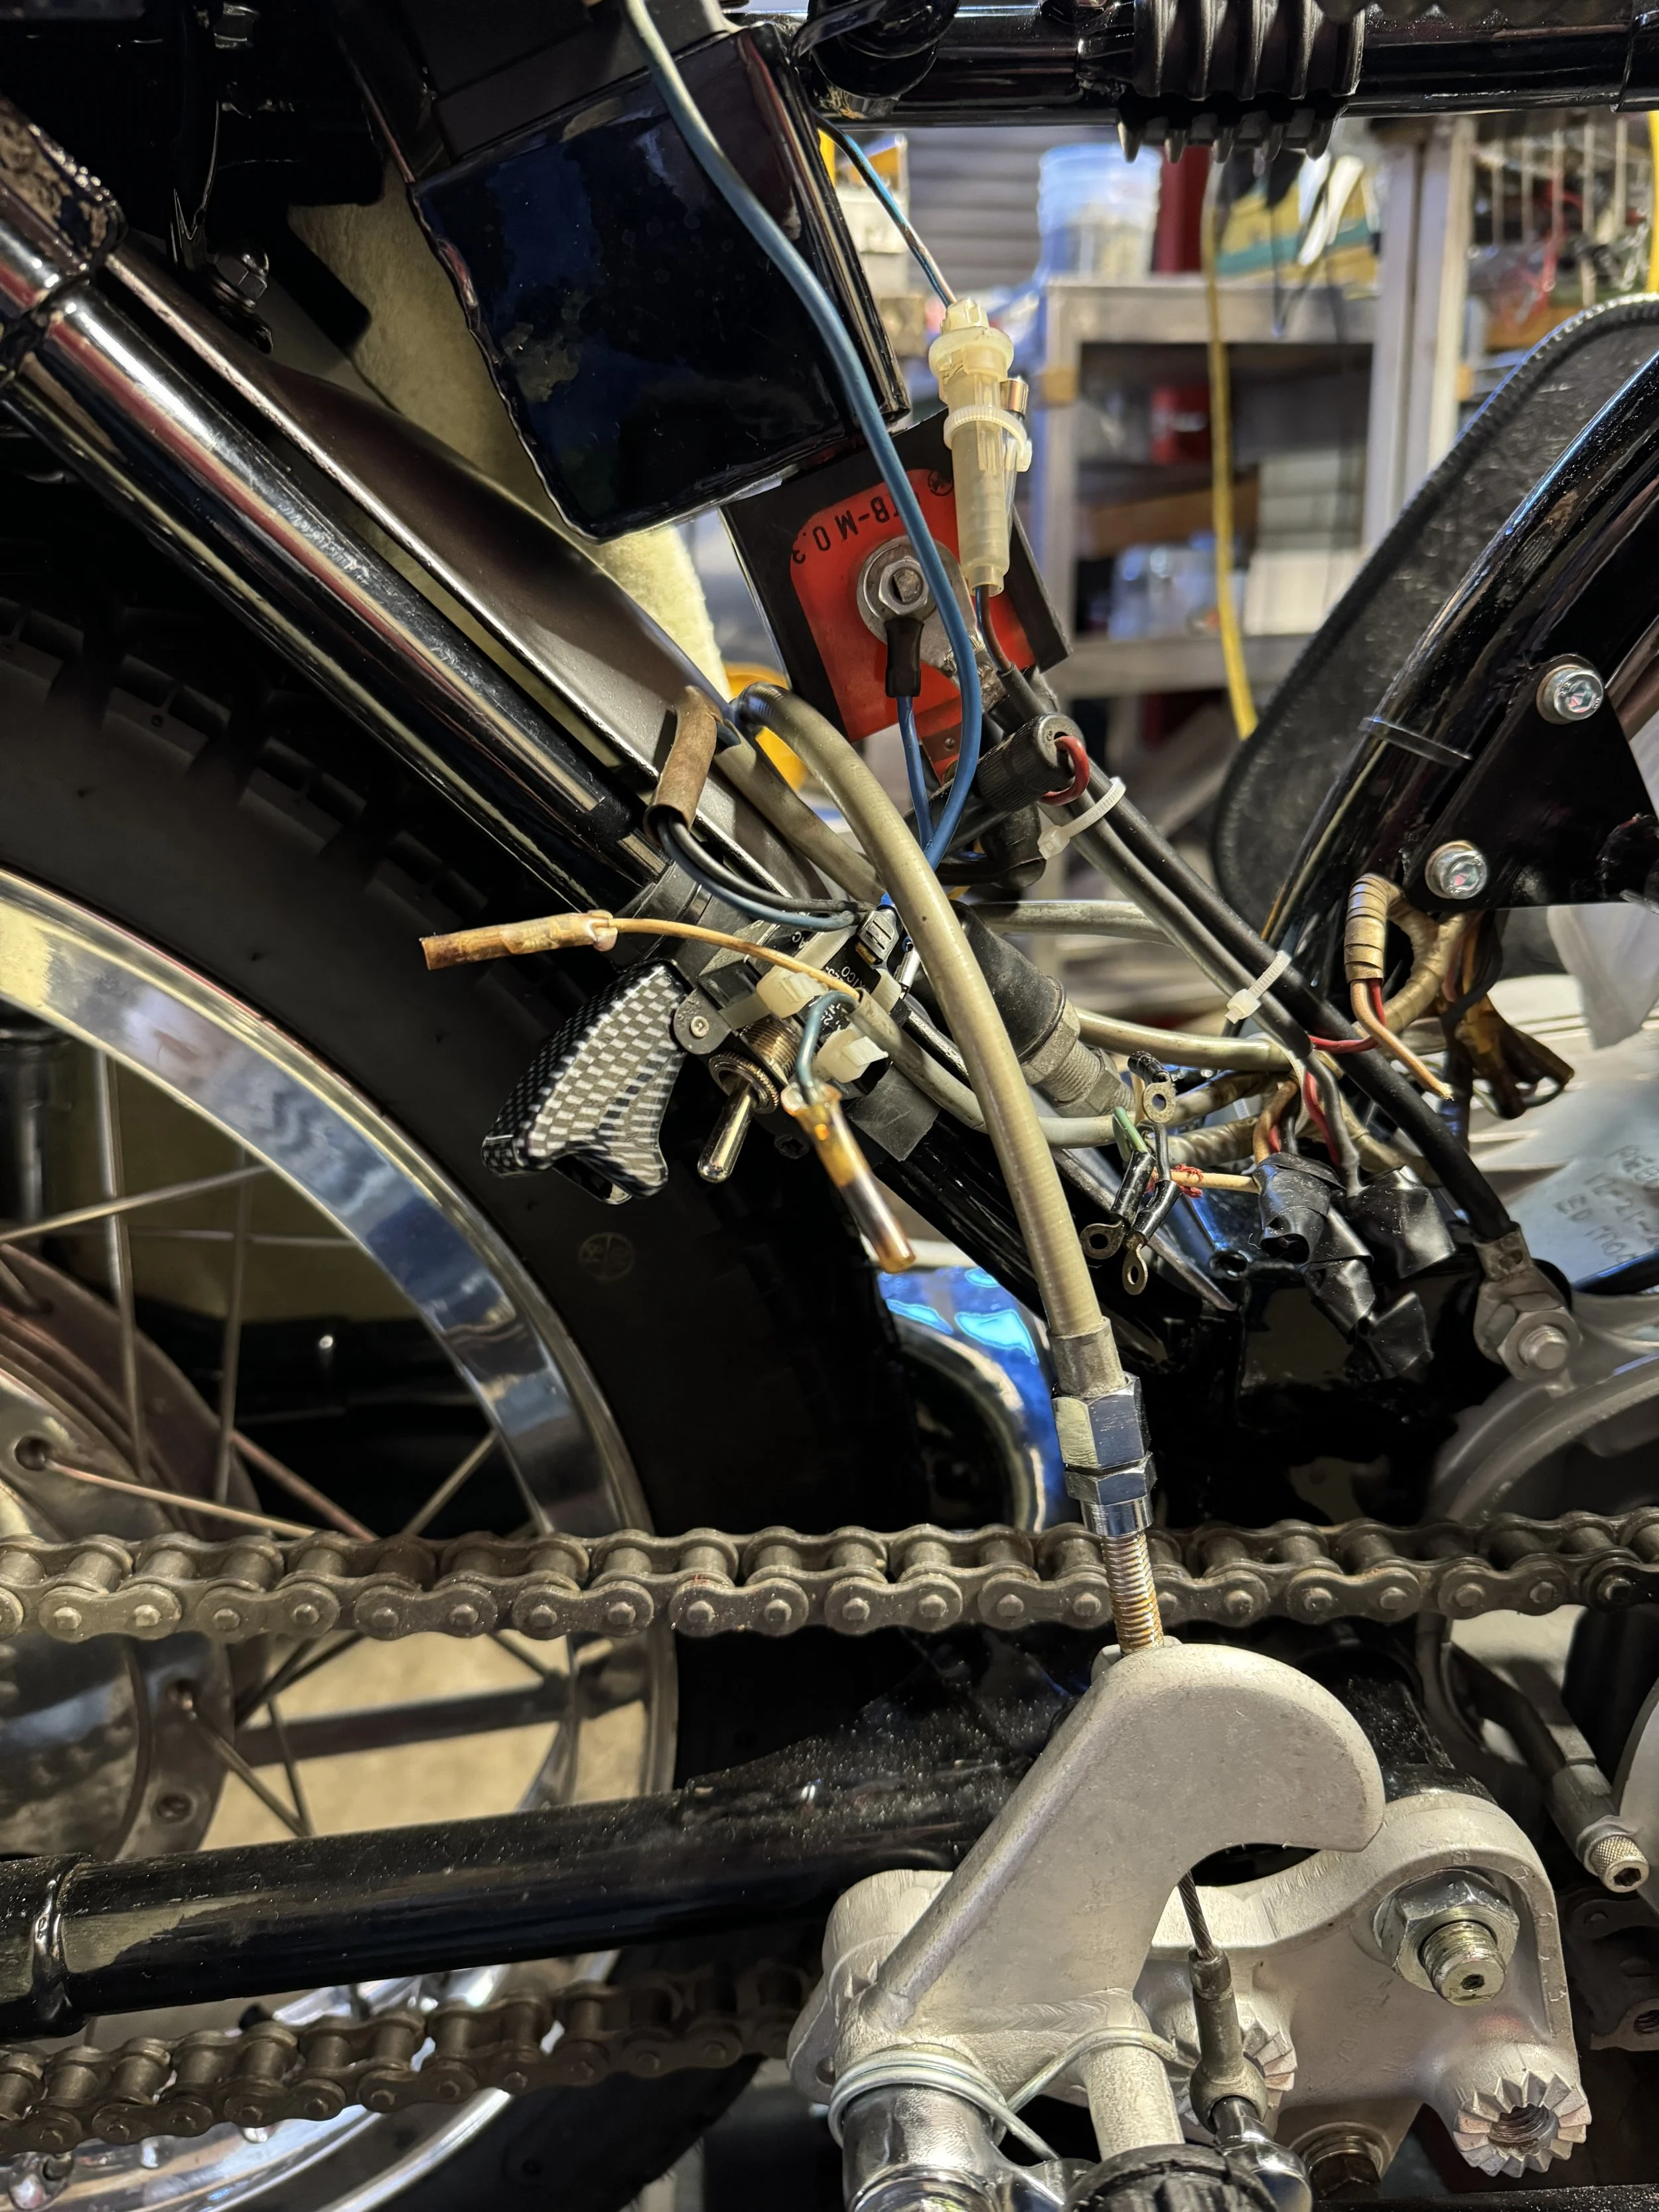
The wiring was in place enough to establish spark, but in need of a custom harness.
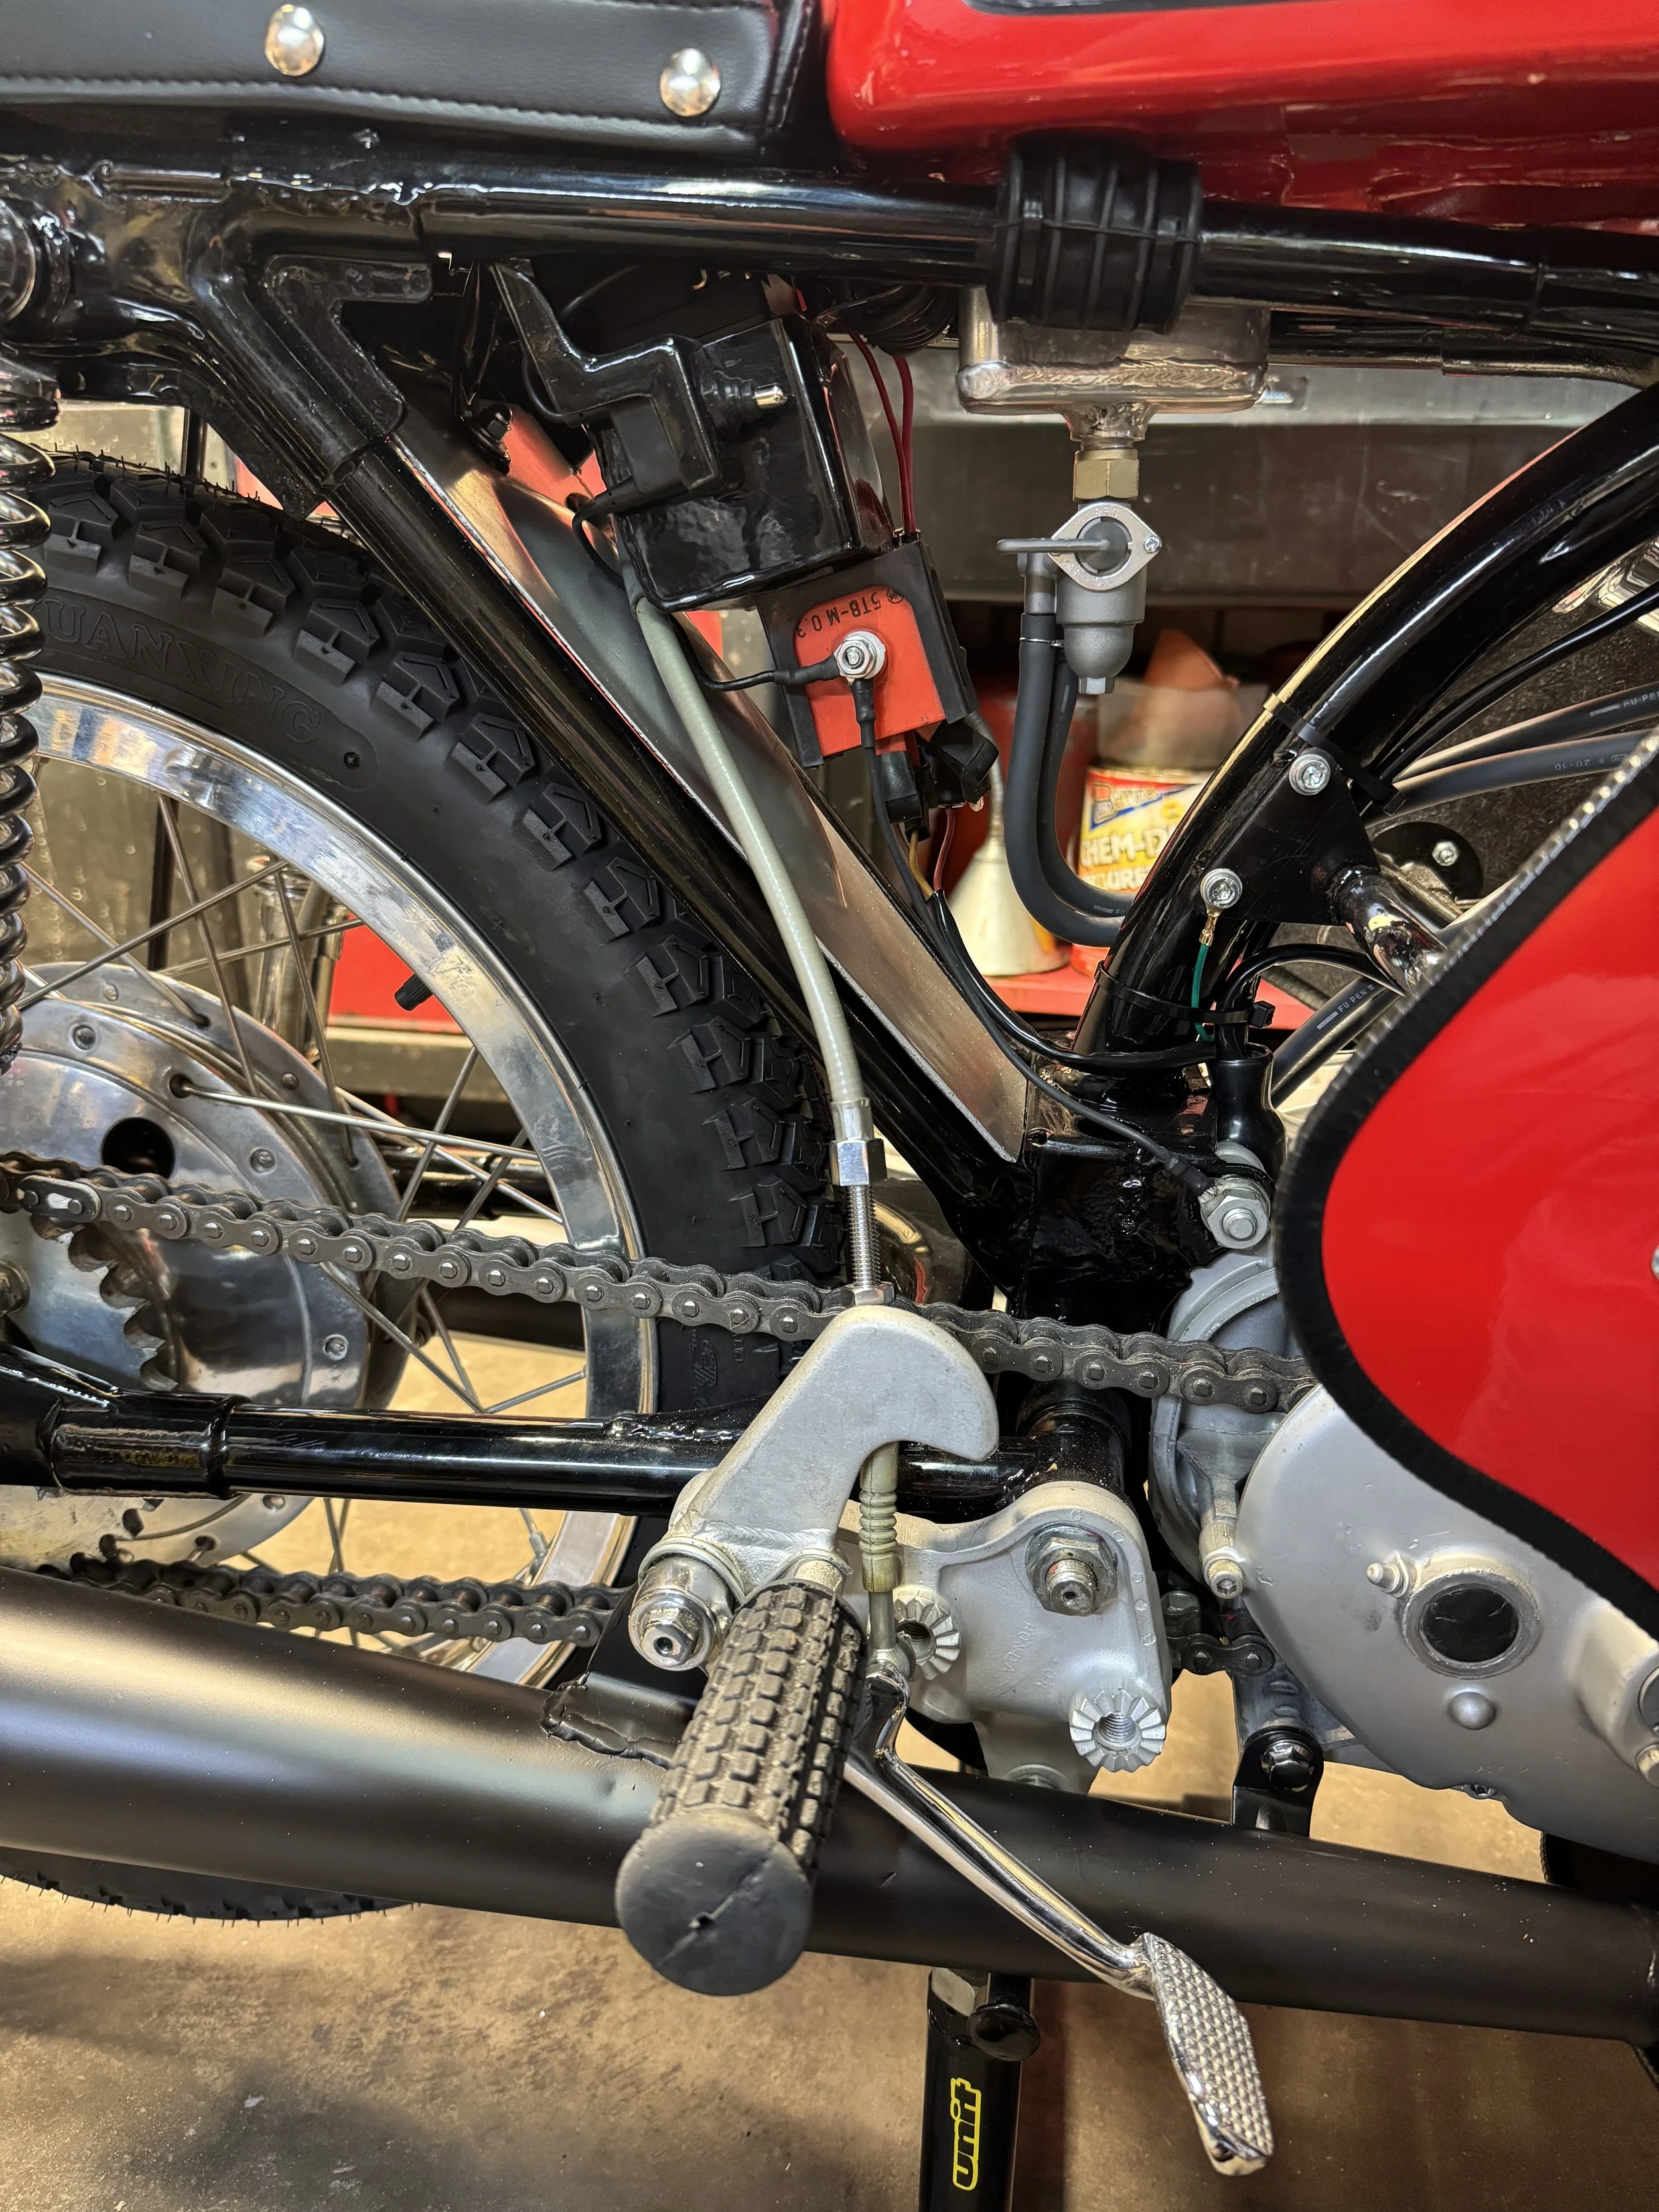
A power switch was tucked up next to the battery. The remainder of the harness was covered in black sheathing, and is all but invisible in comparison to its previous state. A Honda CB360 petcock made by Keihin was rebuilt along with new hoses and clamps to plumb the carbs. Just above the petcock, Suzuki-style mounting rubber can be seen, supporting the tank. The two middle mounts can be seen on the muffler, one at the back of the footpeg, and the other at the rear of the engine case.
The rear sets were gone through, repaired, and then sent out for chrome and zinc plating, before final installation. Original style footpeg rubber was sourced from Spain.

A bracket to fit around the upper edge of the fairing was made to stabilize the fairing and allow the thin wings of the faring to be positioned in relation to the bike.
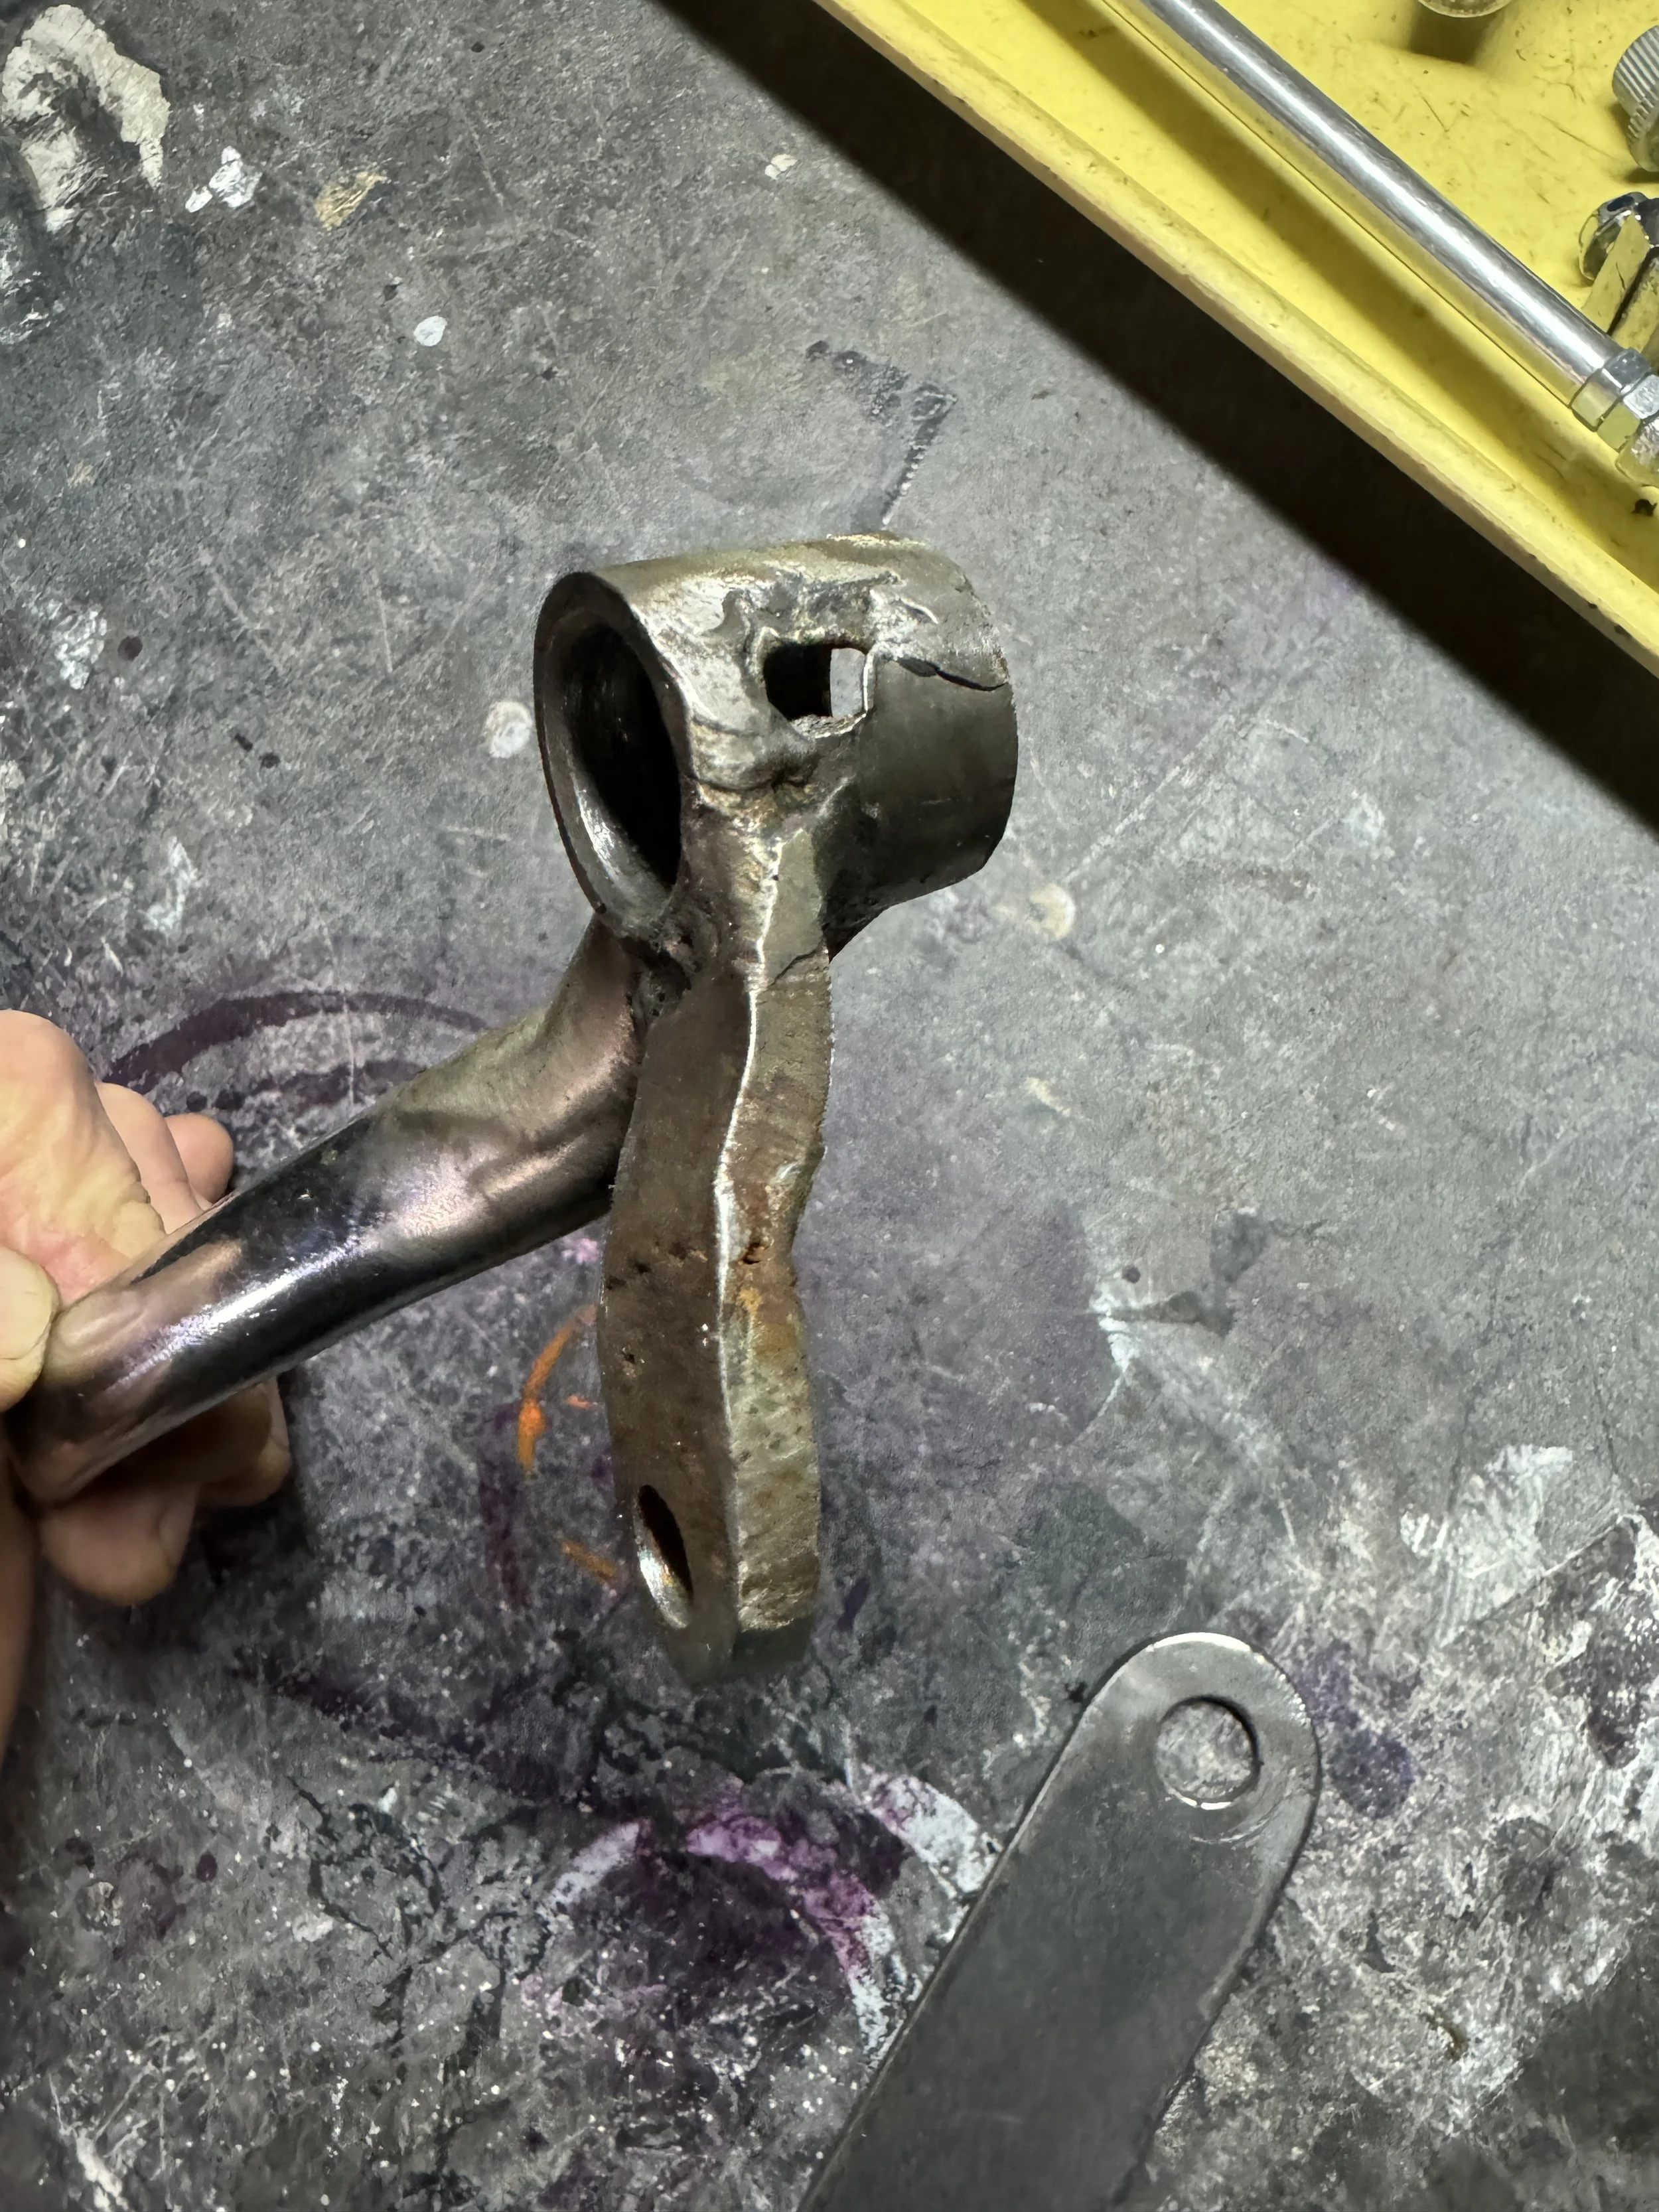
Some of the parts that came with the bike were salvageable, but it took some re-welding and machining to make them like new again.
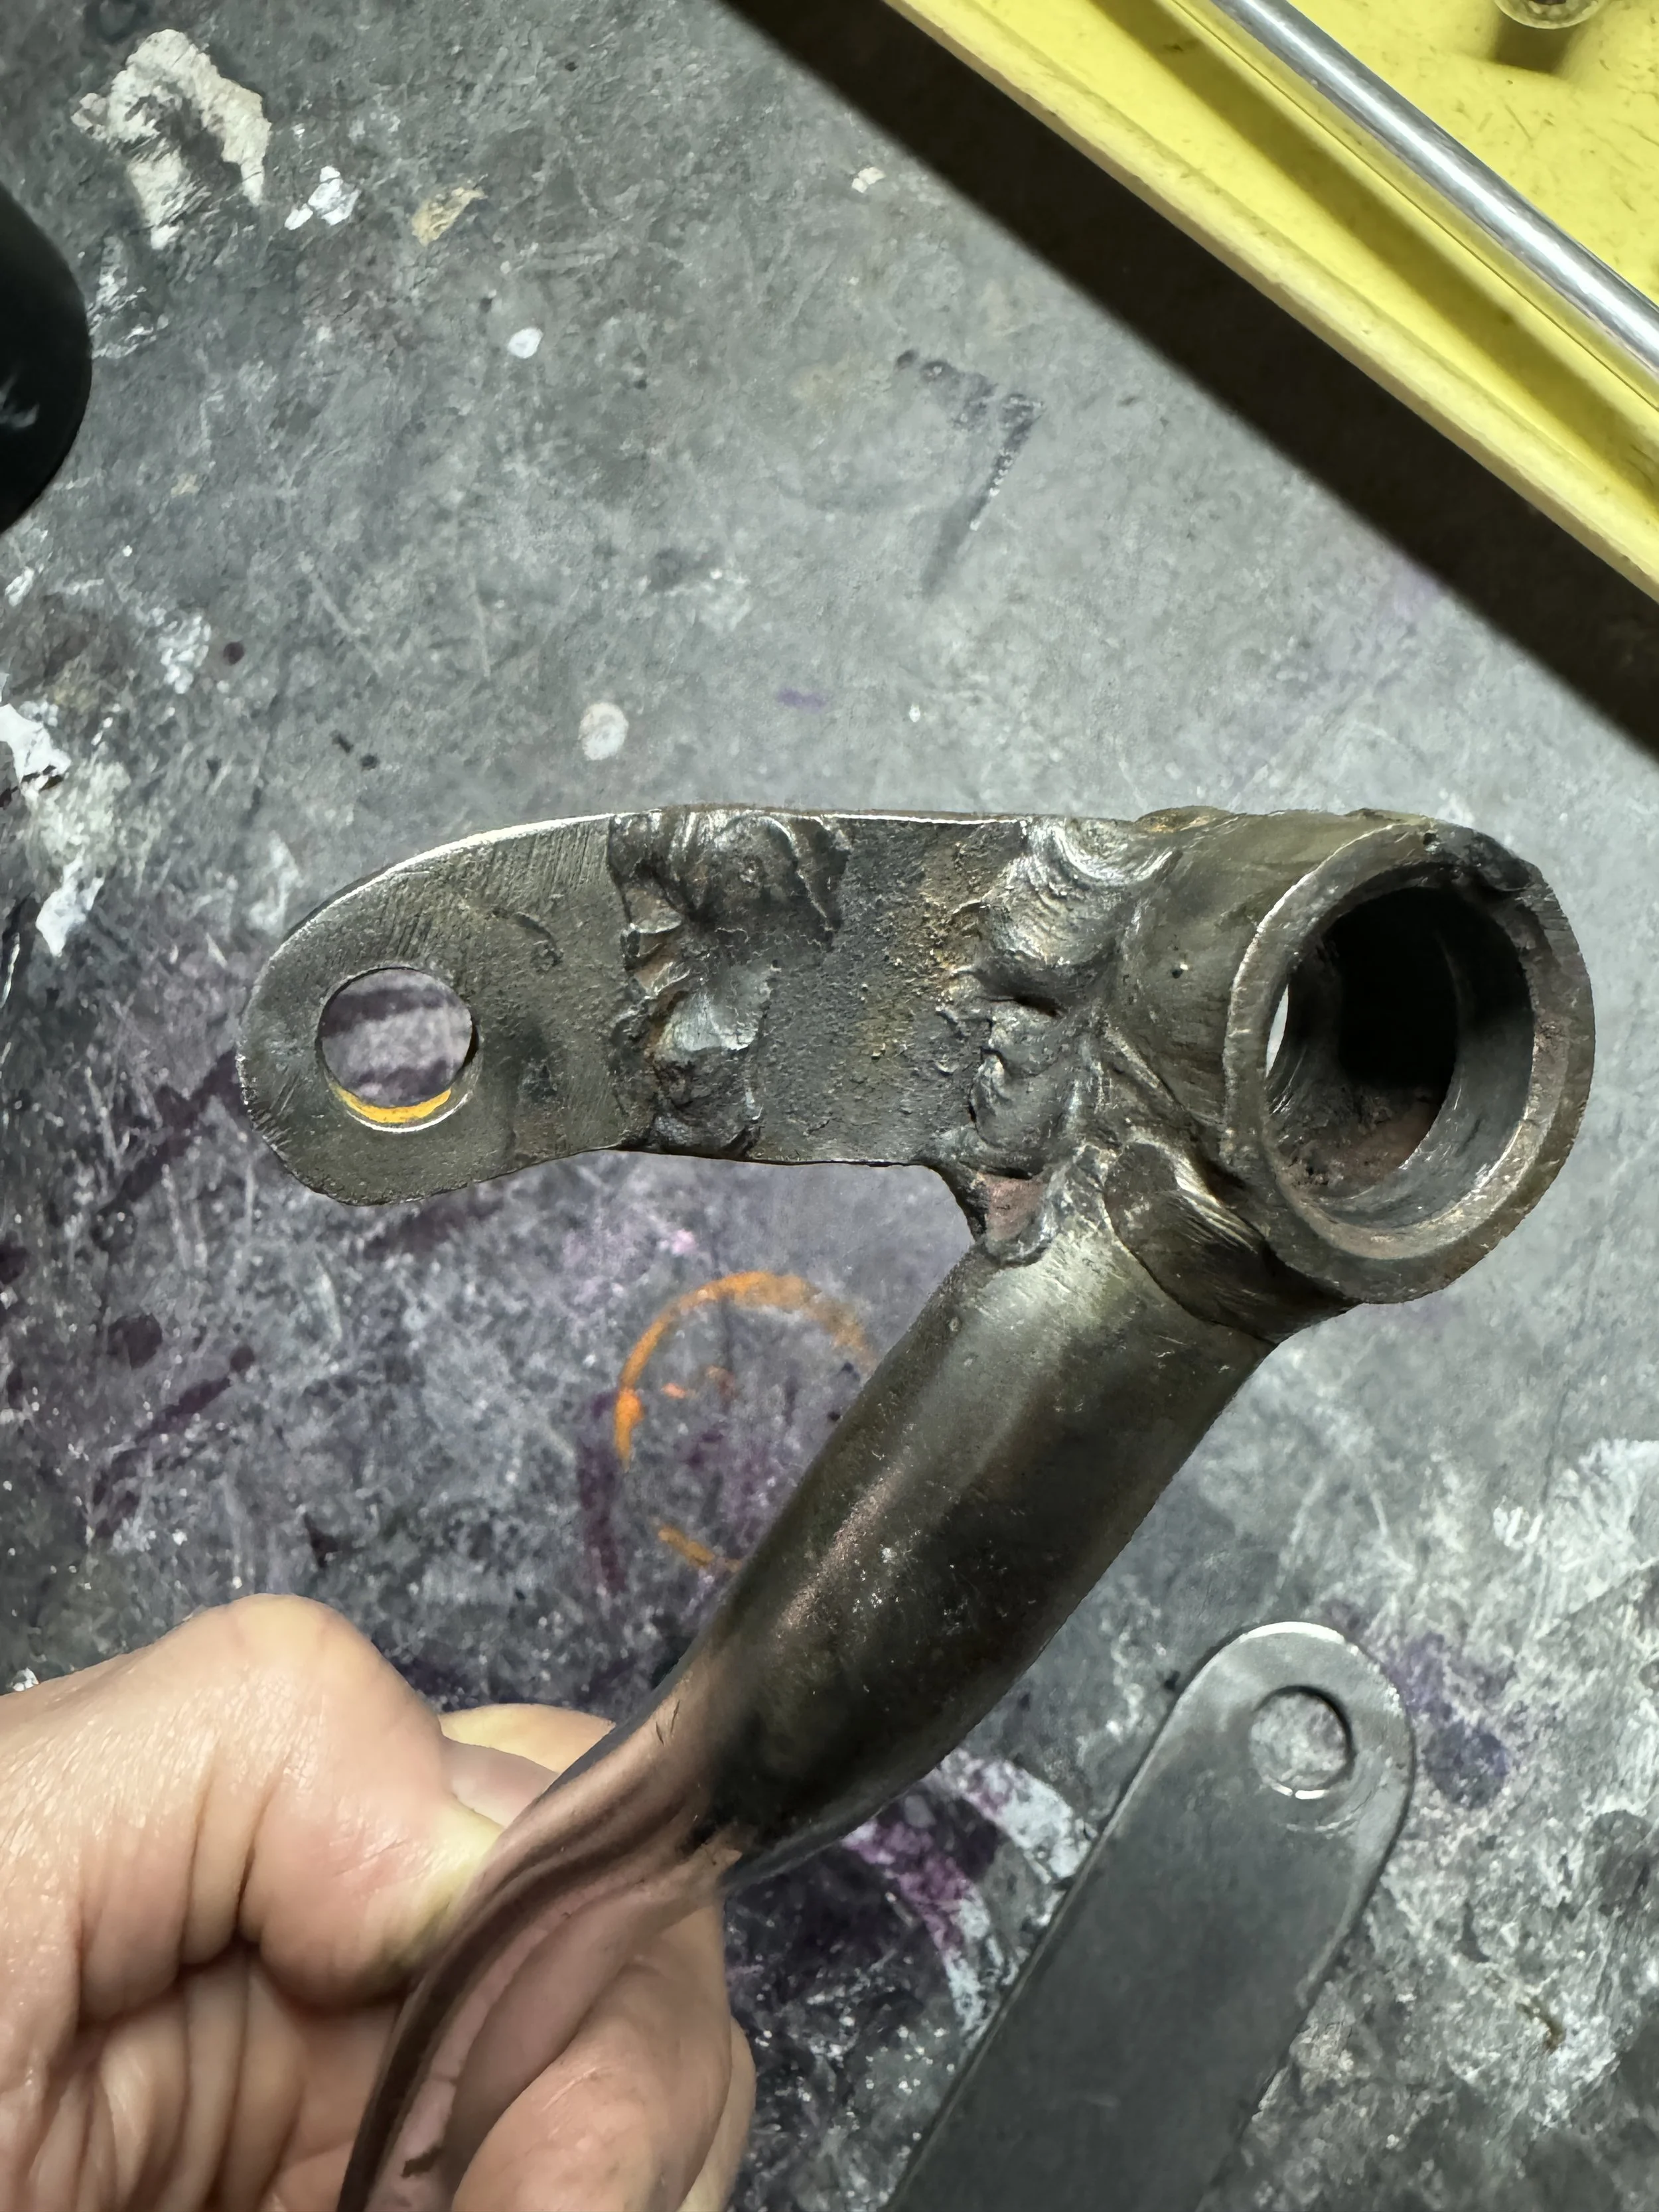
Even though these welds look somewhat passable, grinding them out revealed porosity under this surface.
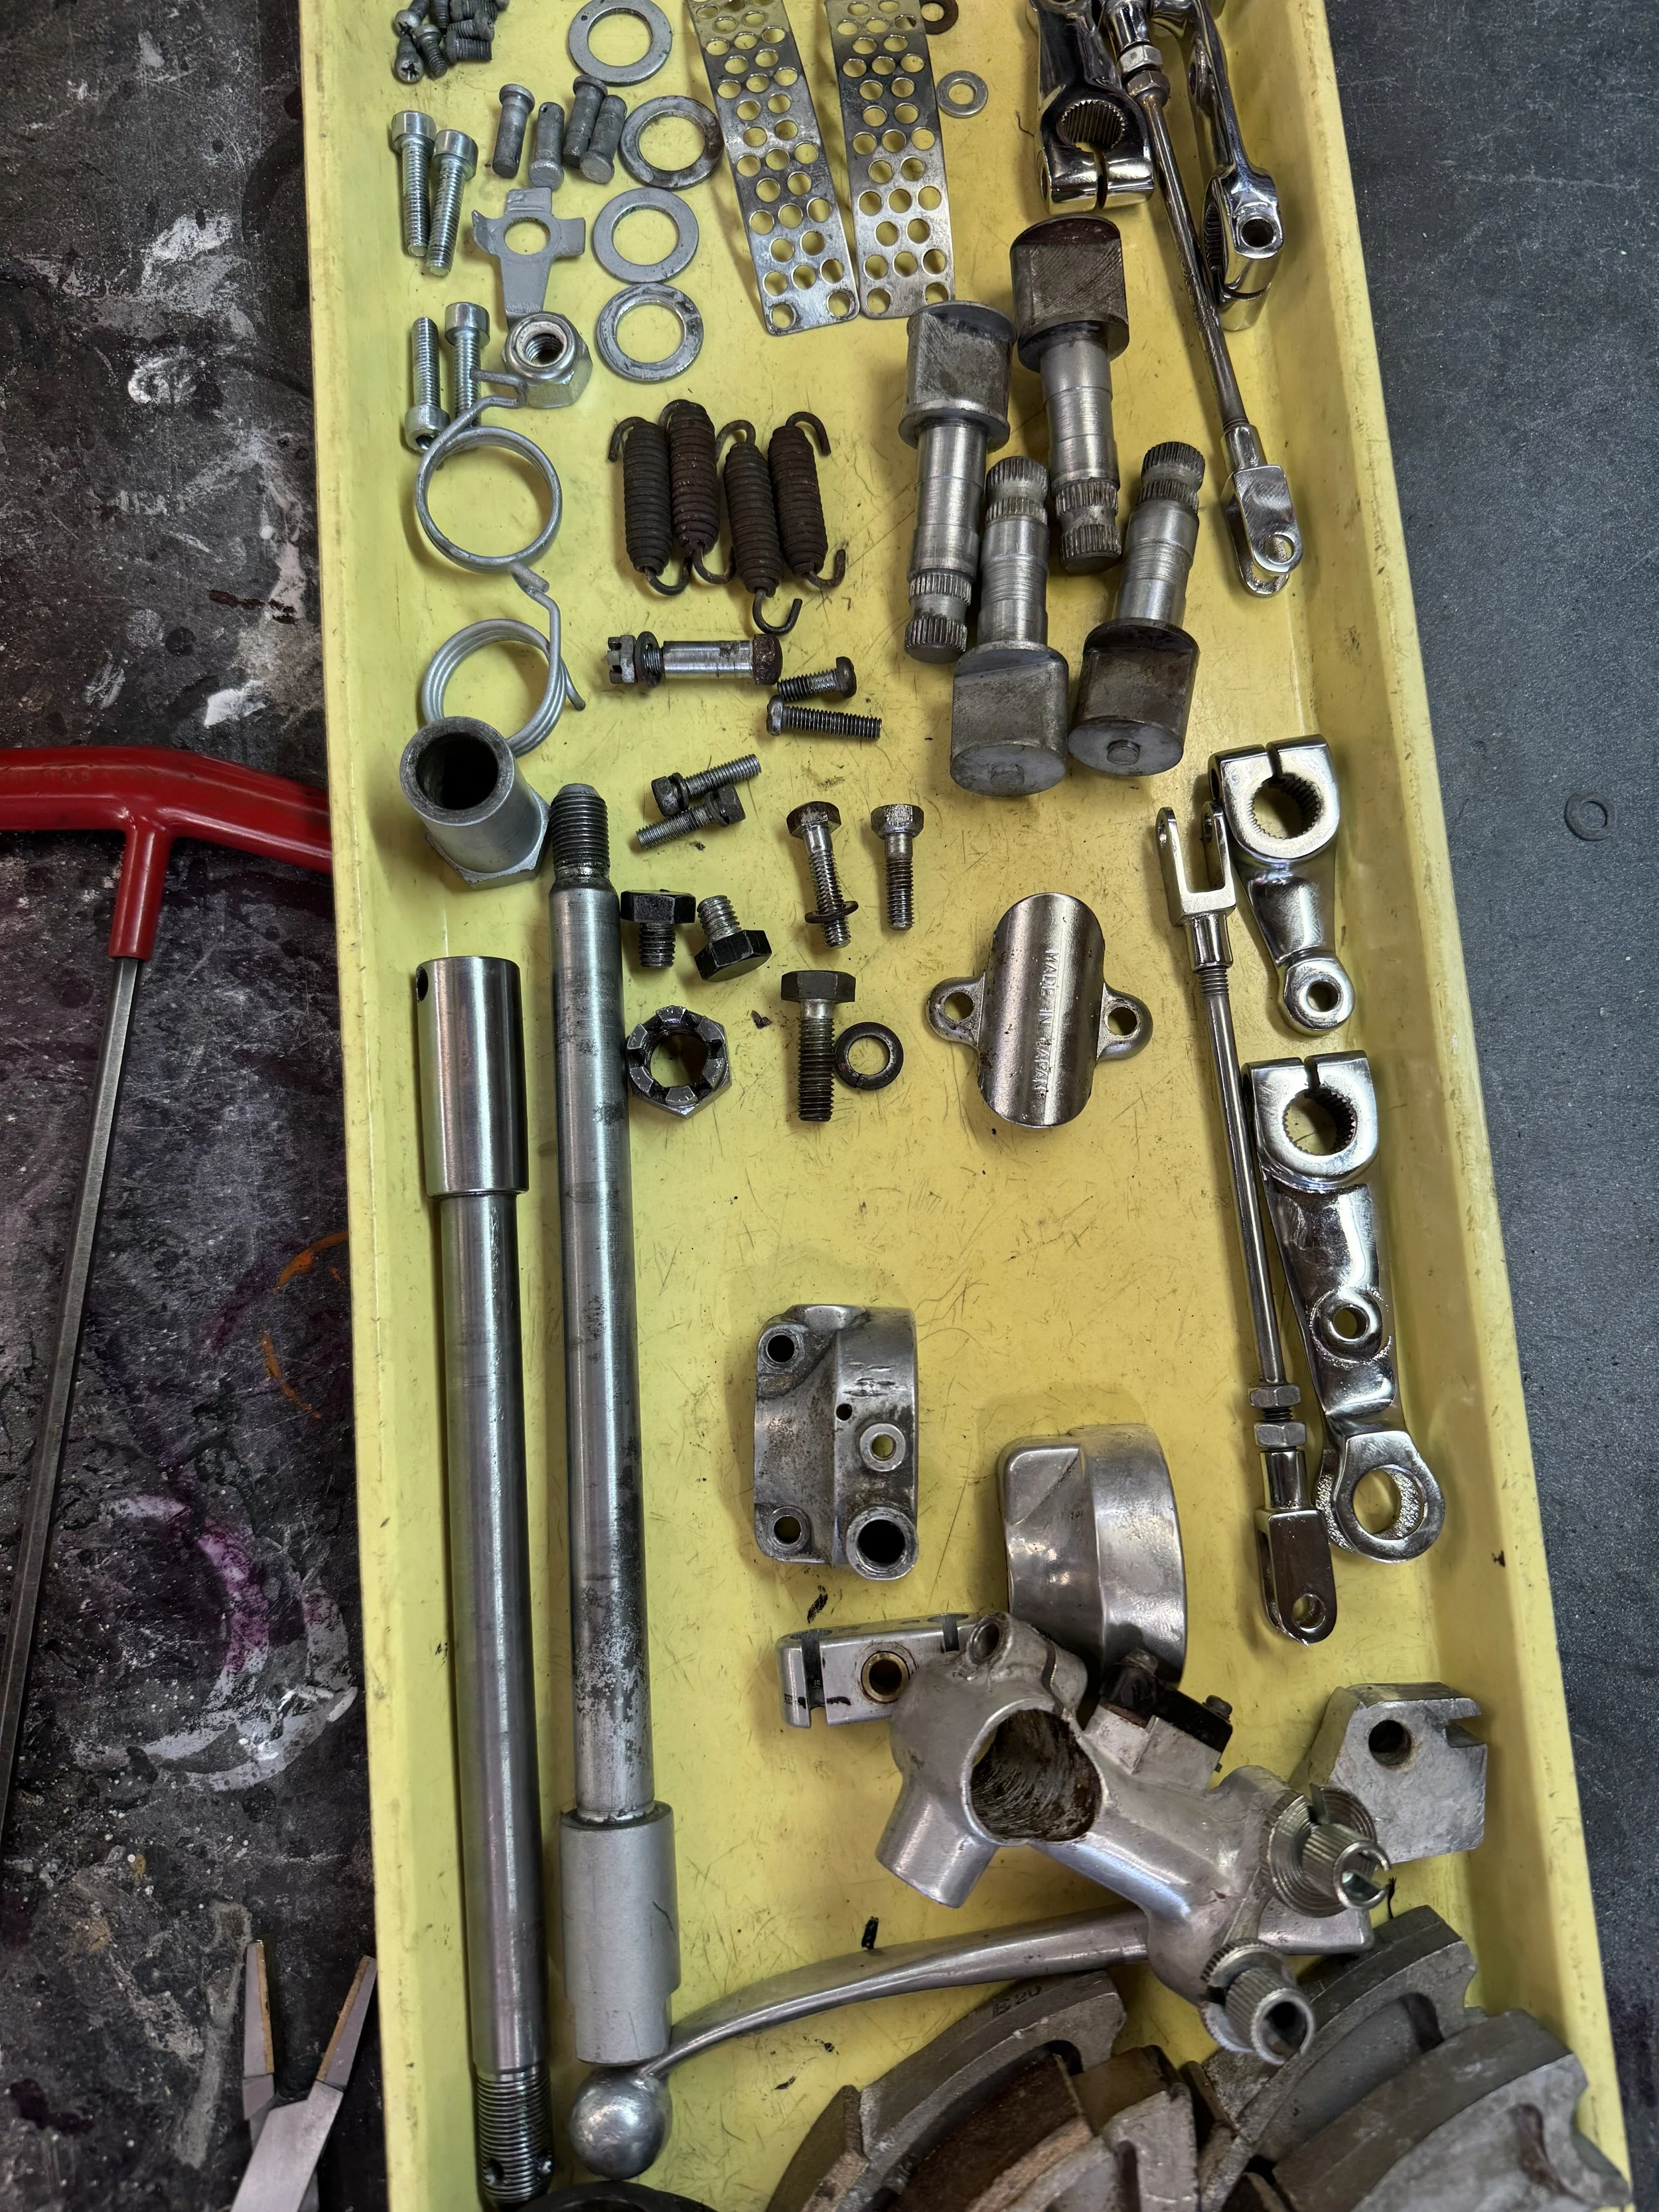
Some of the parts before polishing and prep for zinc plating. The plated parts go through a multi step process, with hot ultrasound degreasing, vapor honing, de-burring, sanding and then wire wheel burnishing before being sent off.
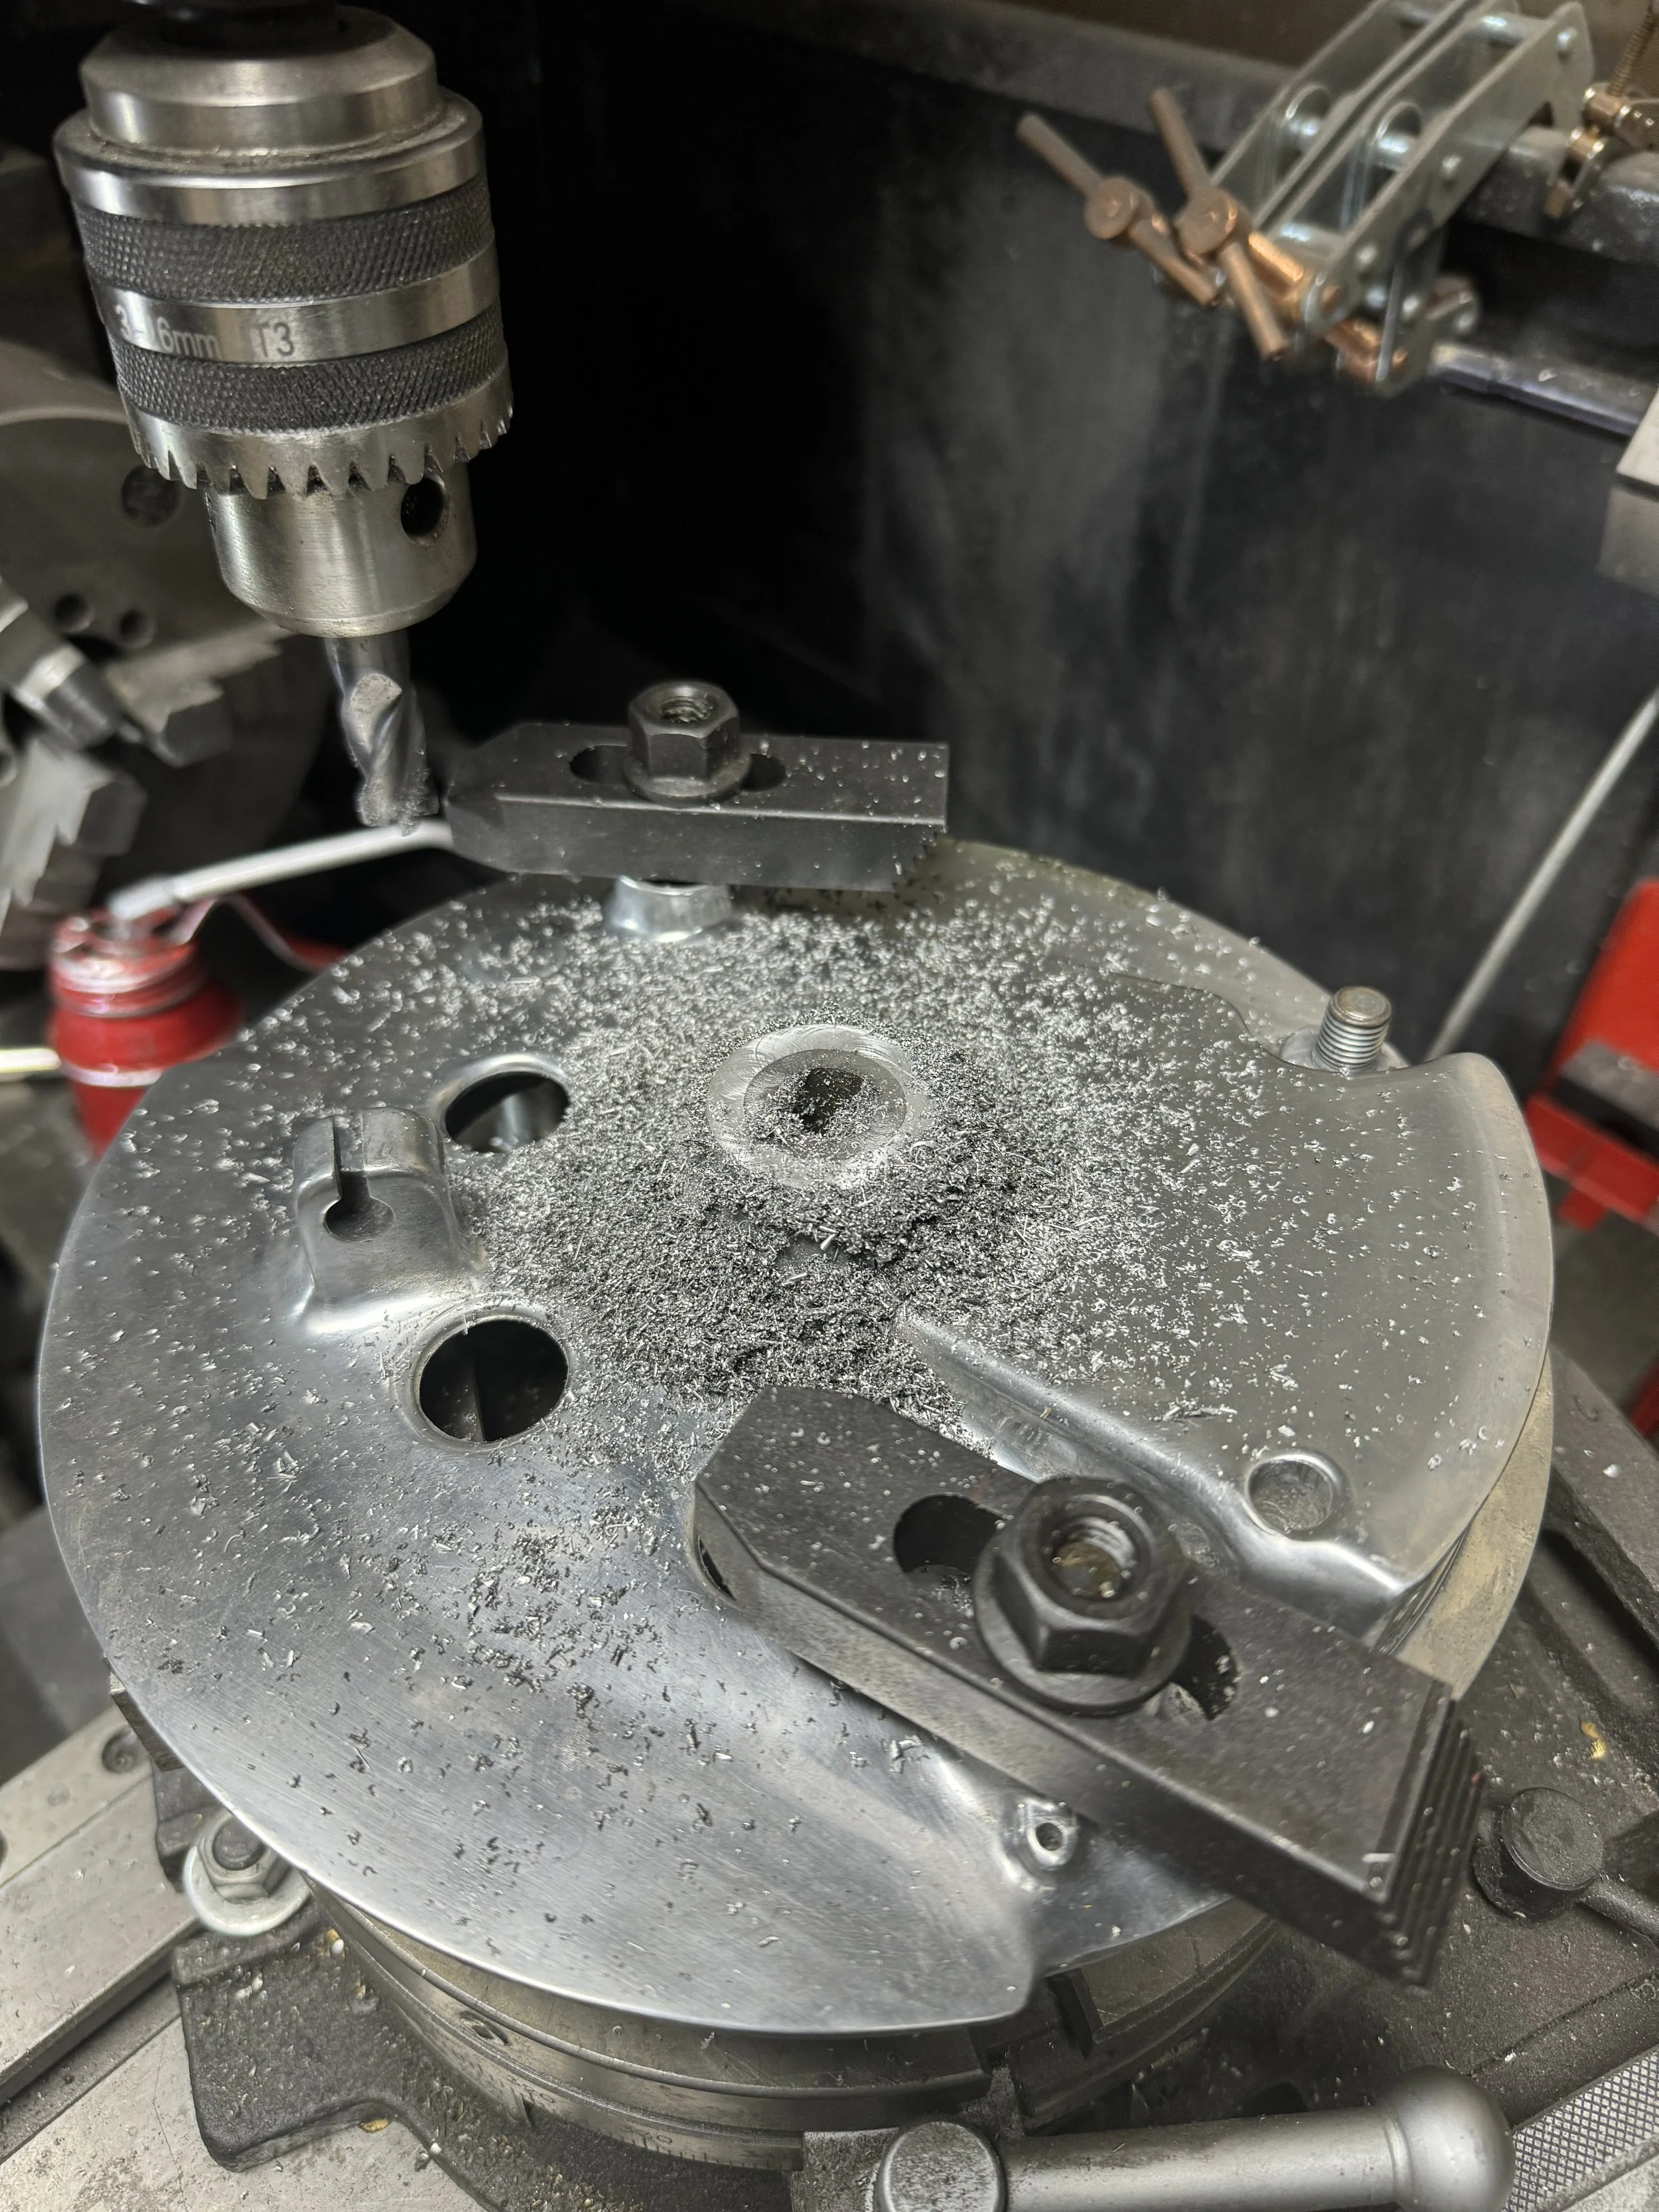
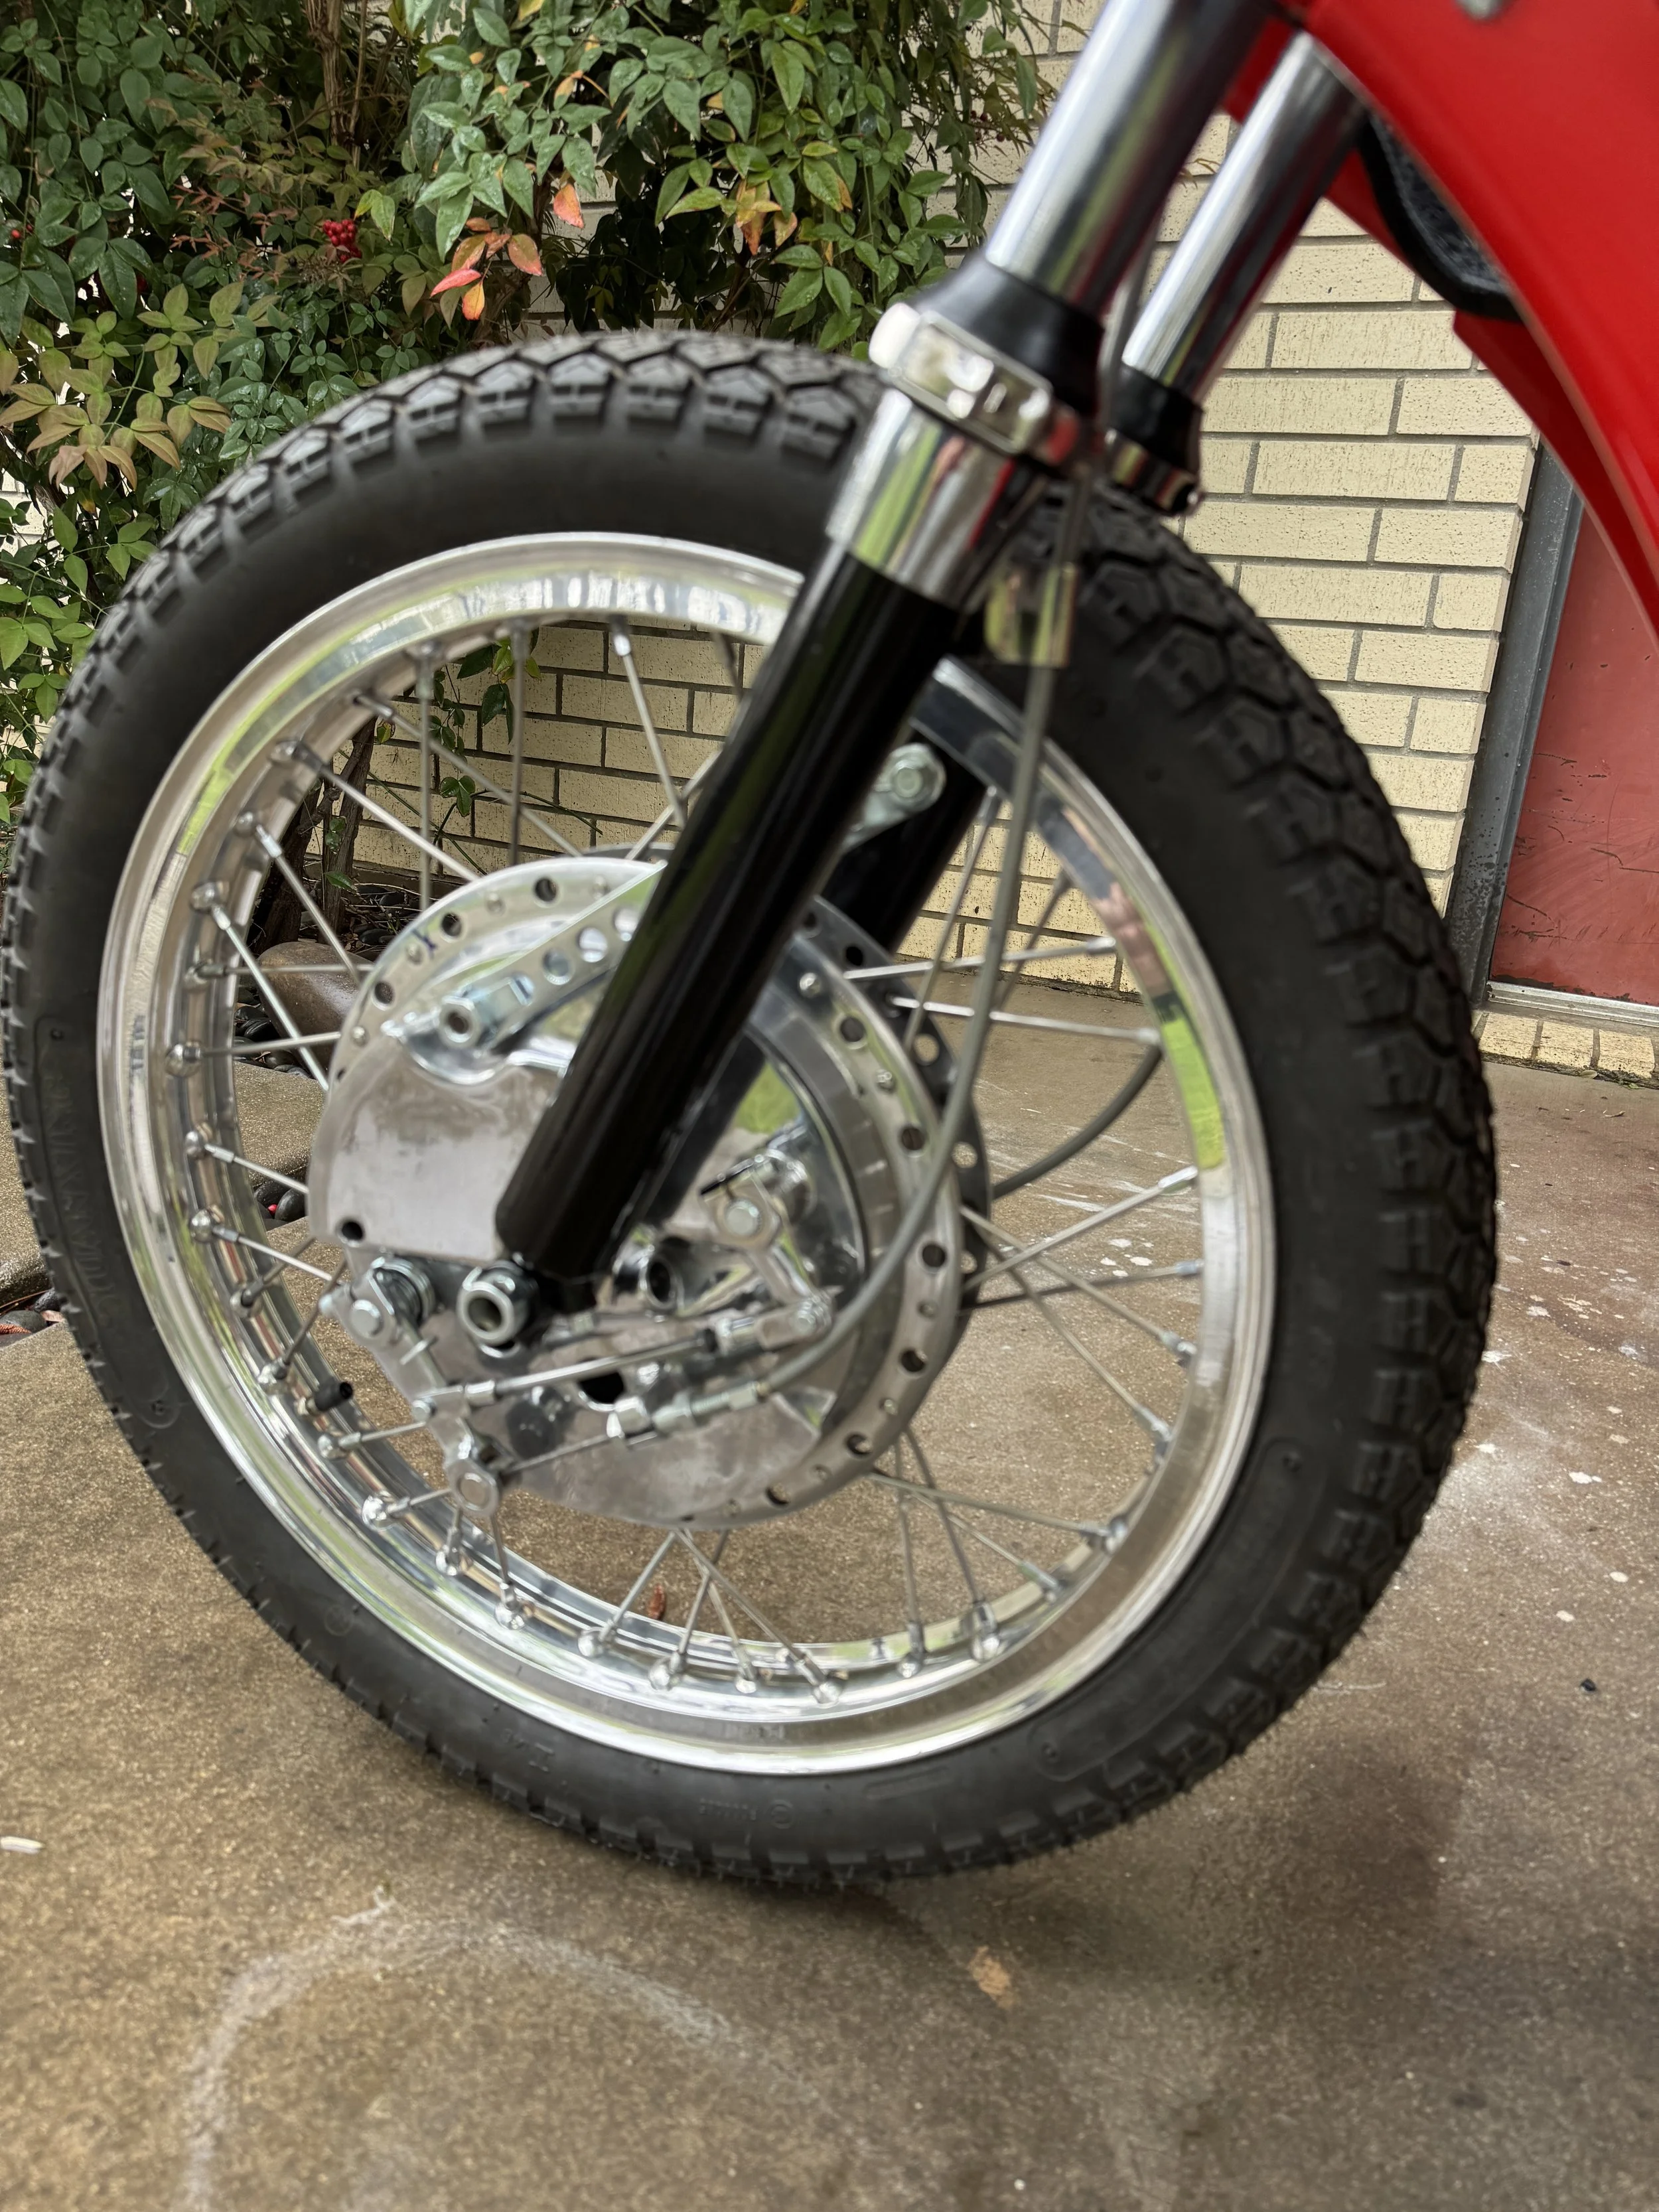
The Suzuki GT750 “Water Buffalo” front wheel hub with two sets of twin leading shoe brakes. They had to be machined 9/16” on each brake panel to fit the Honda forks.
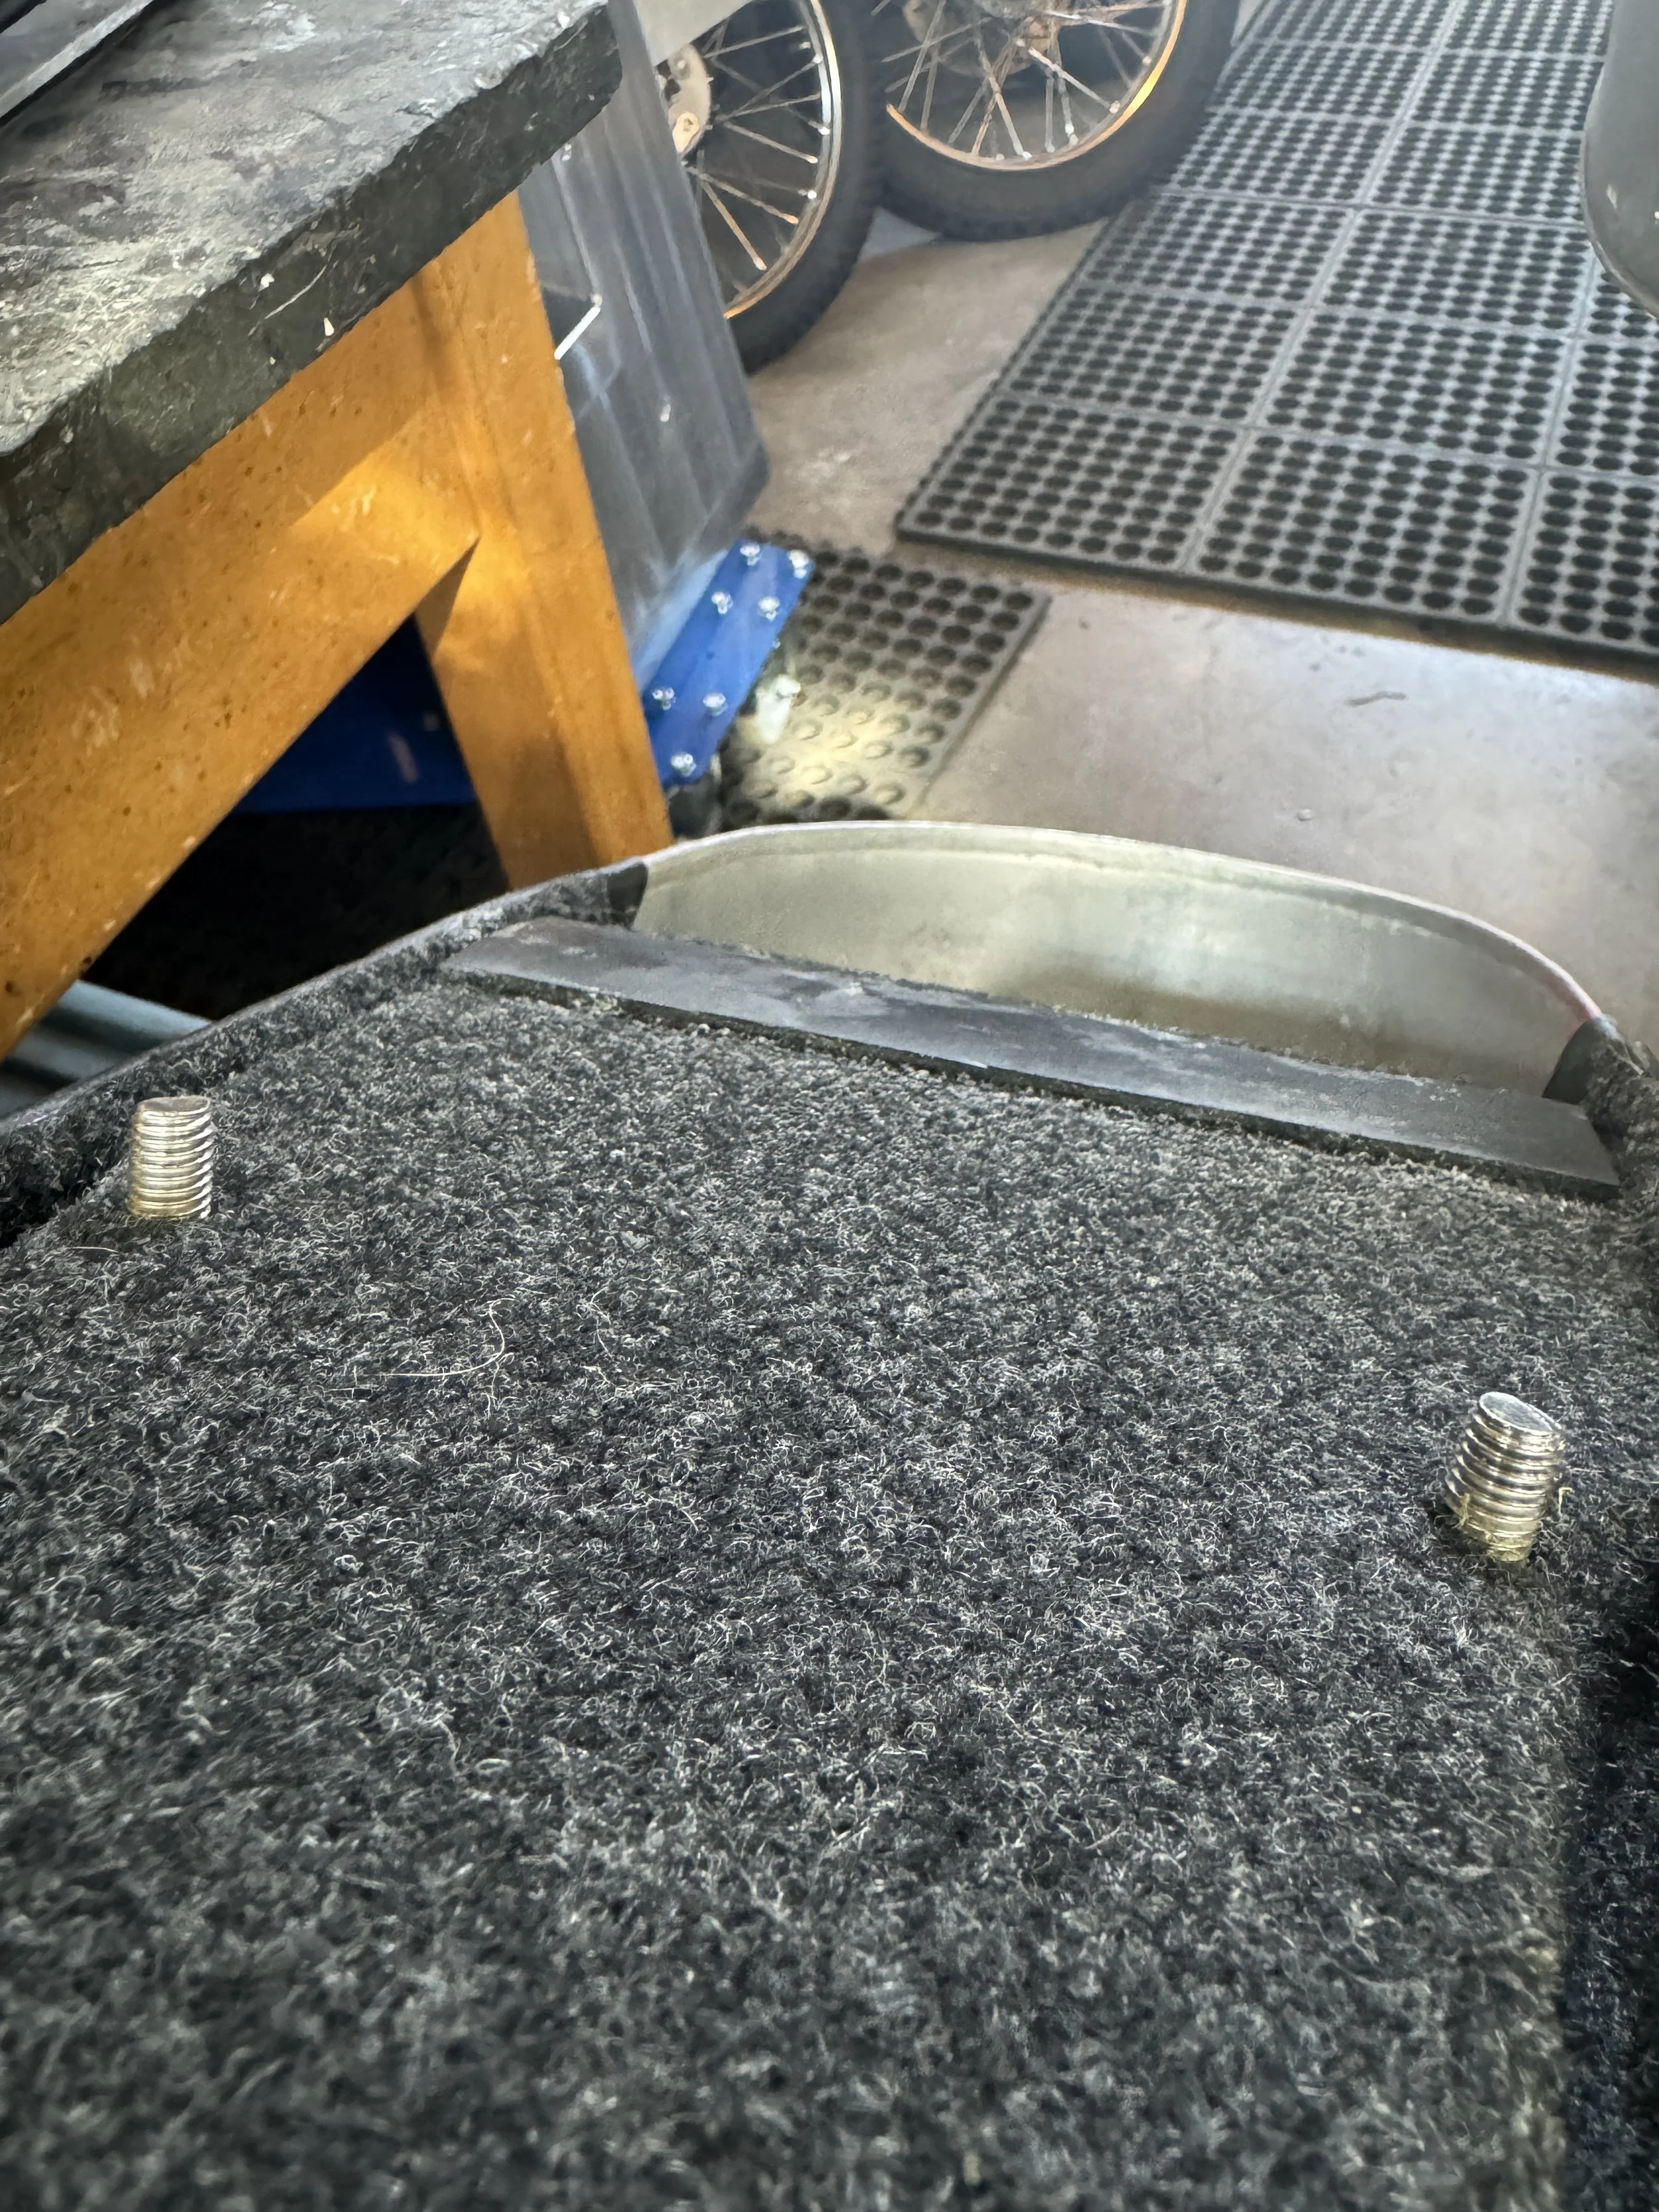
Some of the small detail stuff like short seat mount bolts required attention. The foam was stripped off, and a new bracket welded up and installed.
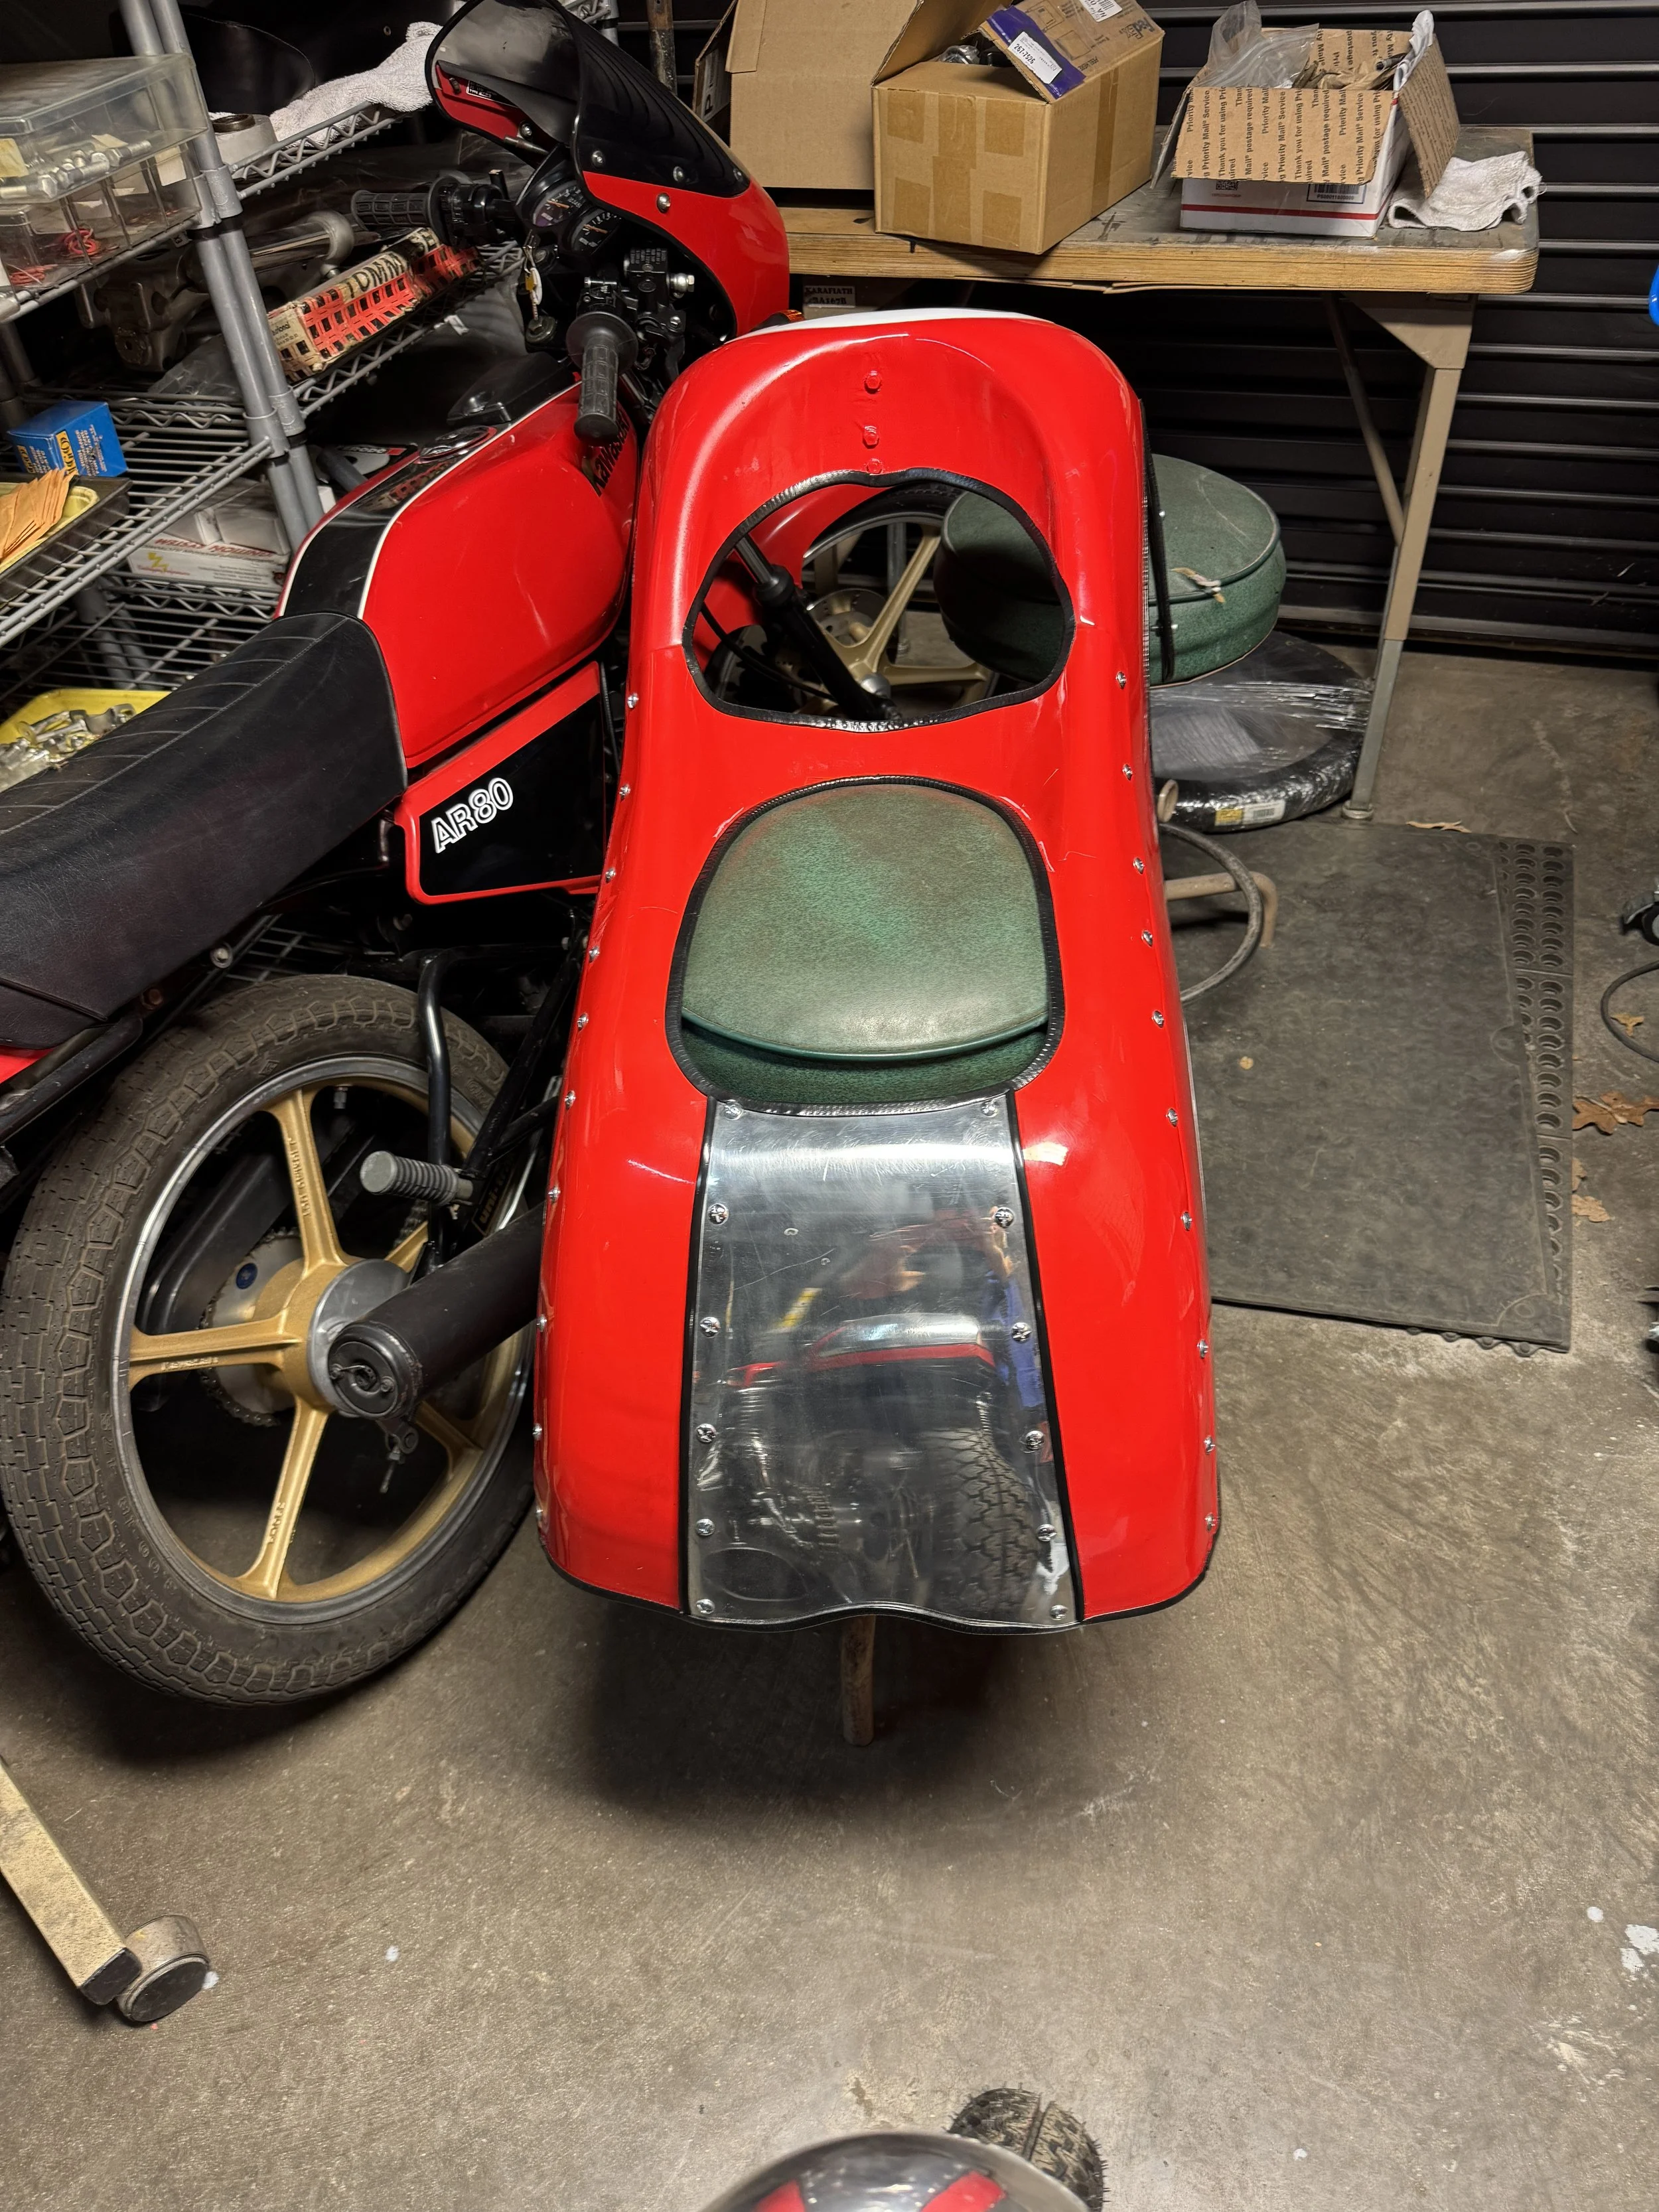
The belly pan for the fairing was made from .060” 6061 aluminum. It was hand formed and smoothed on the English wheel, and then high polished to match the rest of the body kit. The fork opening of the fairing was in need of trimming. New chrome, black,, and clear edging was applied to all the openings and edges.
The badly fogged and scratched windshield and deteriorating rubber mounts, before repair.
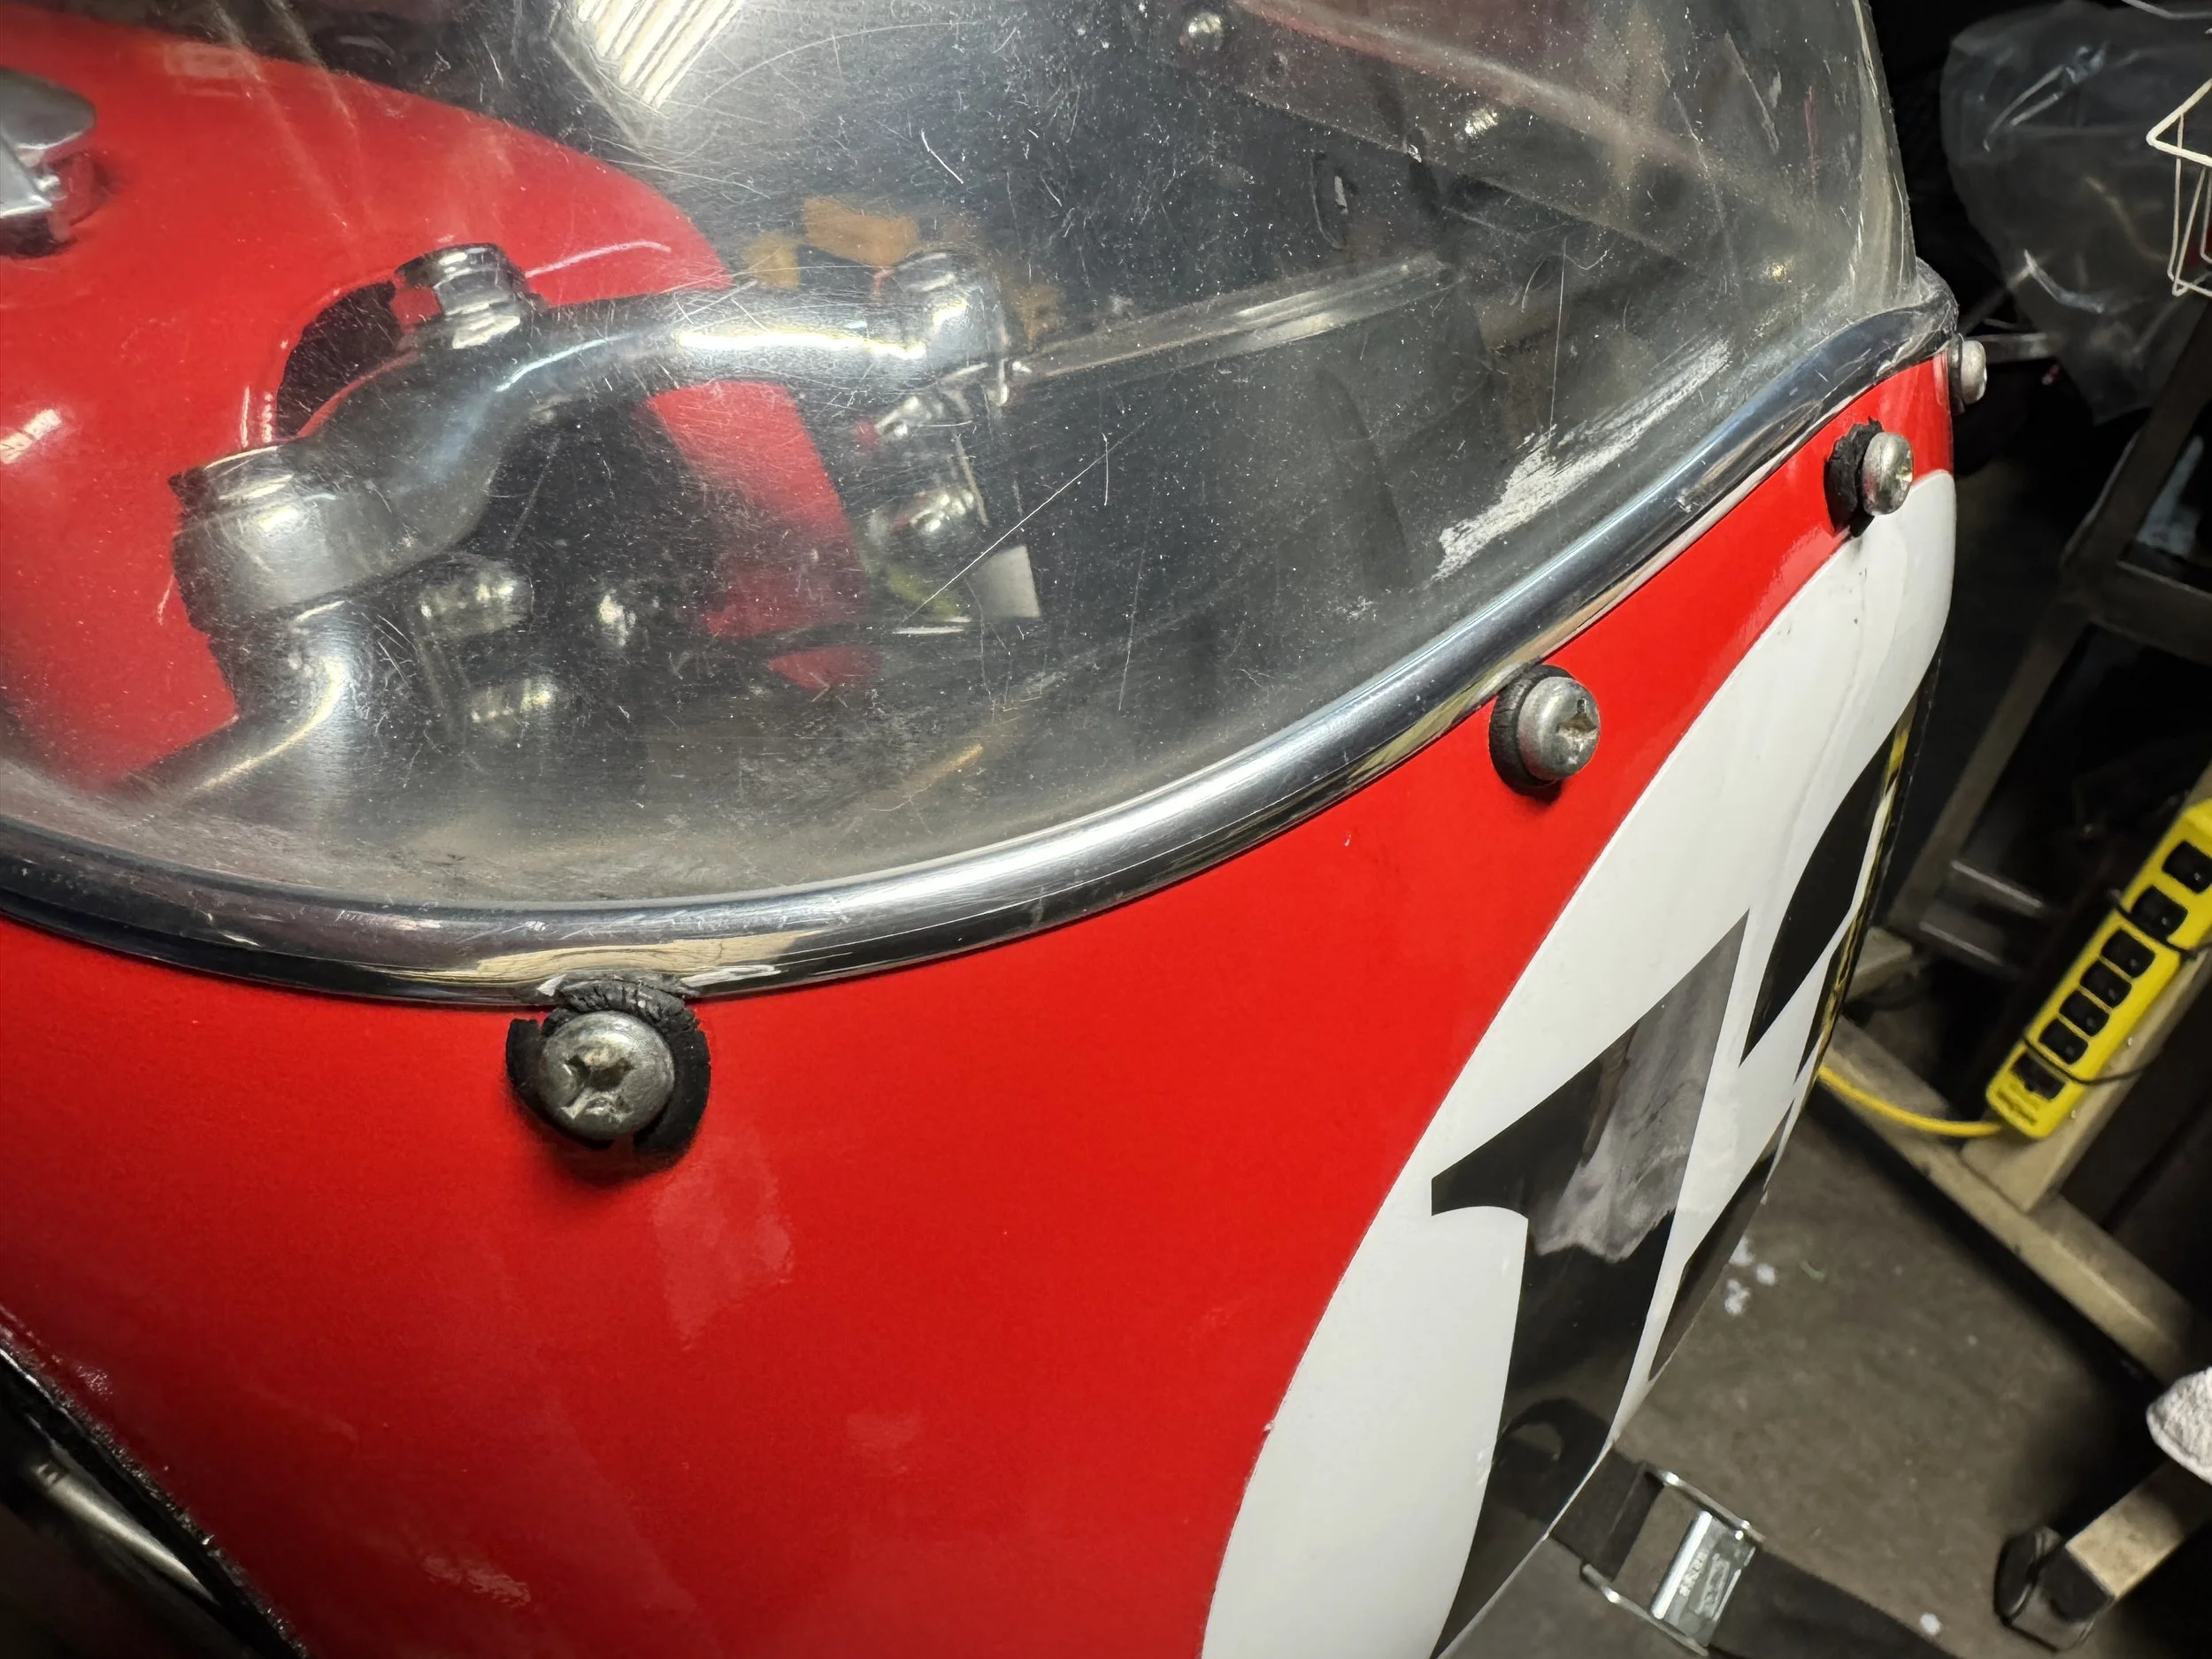
Not taking any chances on scratches during the windshield install. The bottom of the windshield had to be trimmed, but it wasn’t too hard with the old windshield as a template.
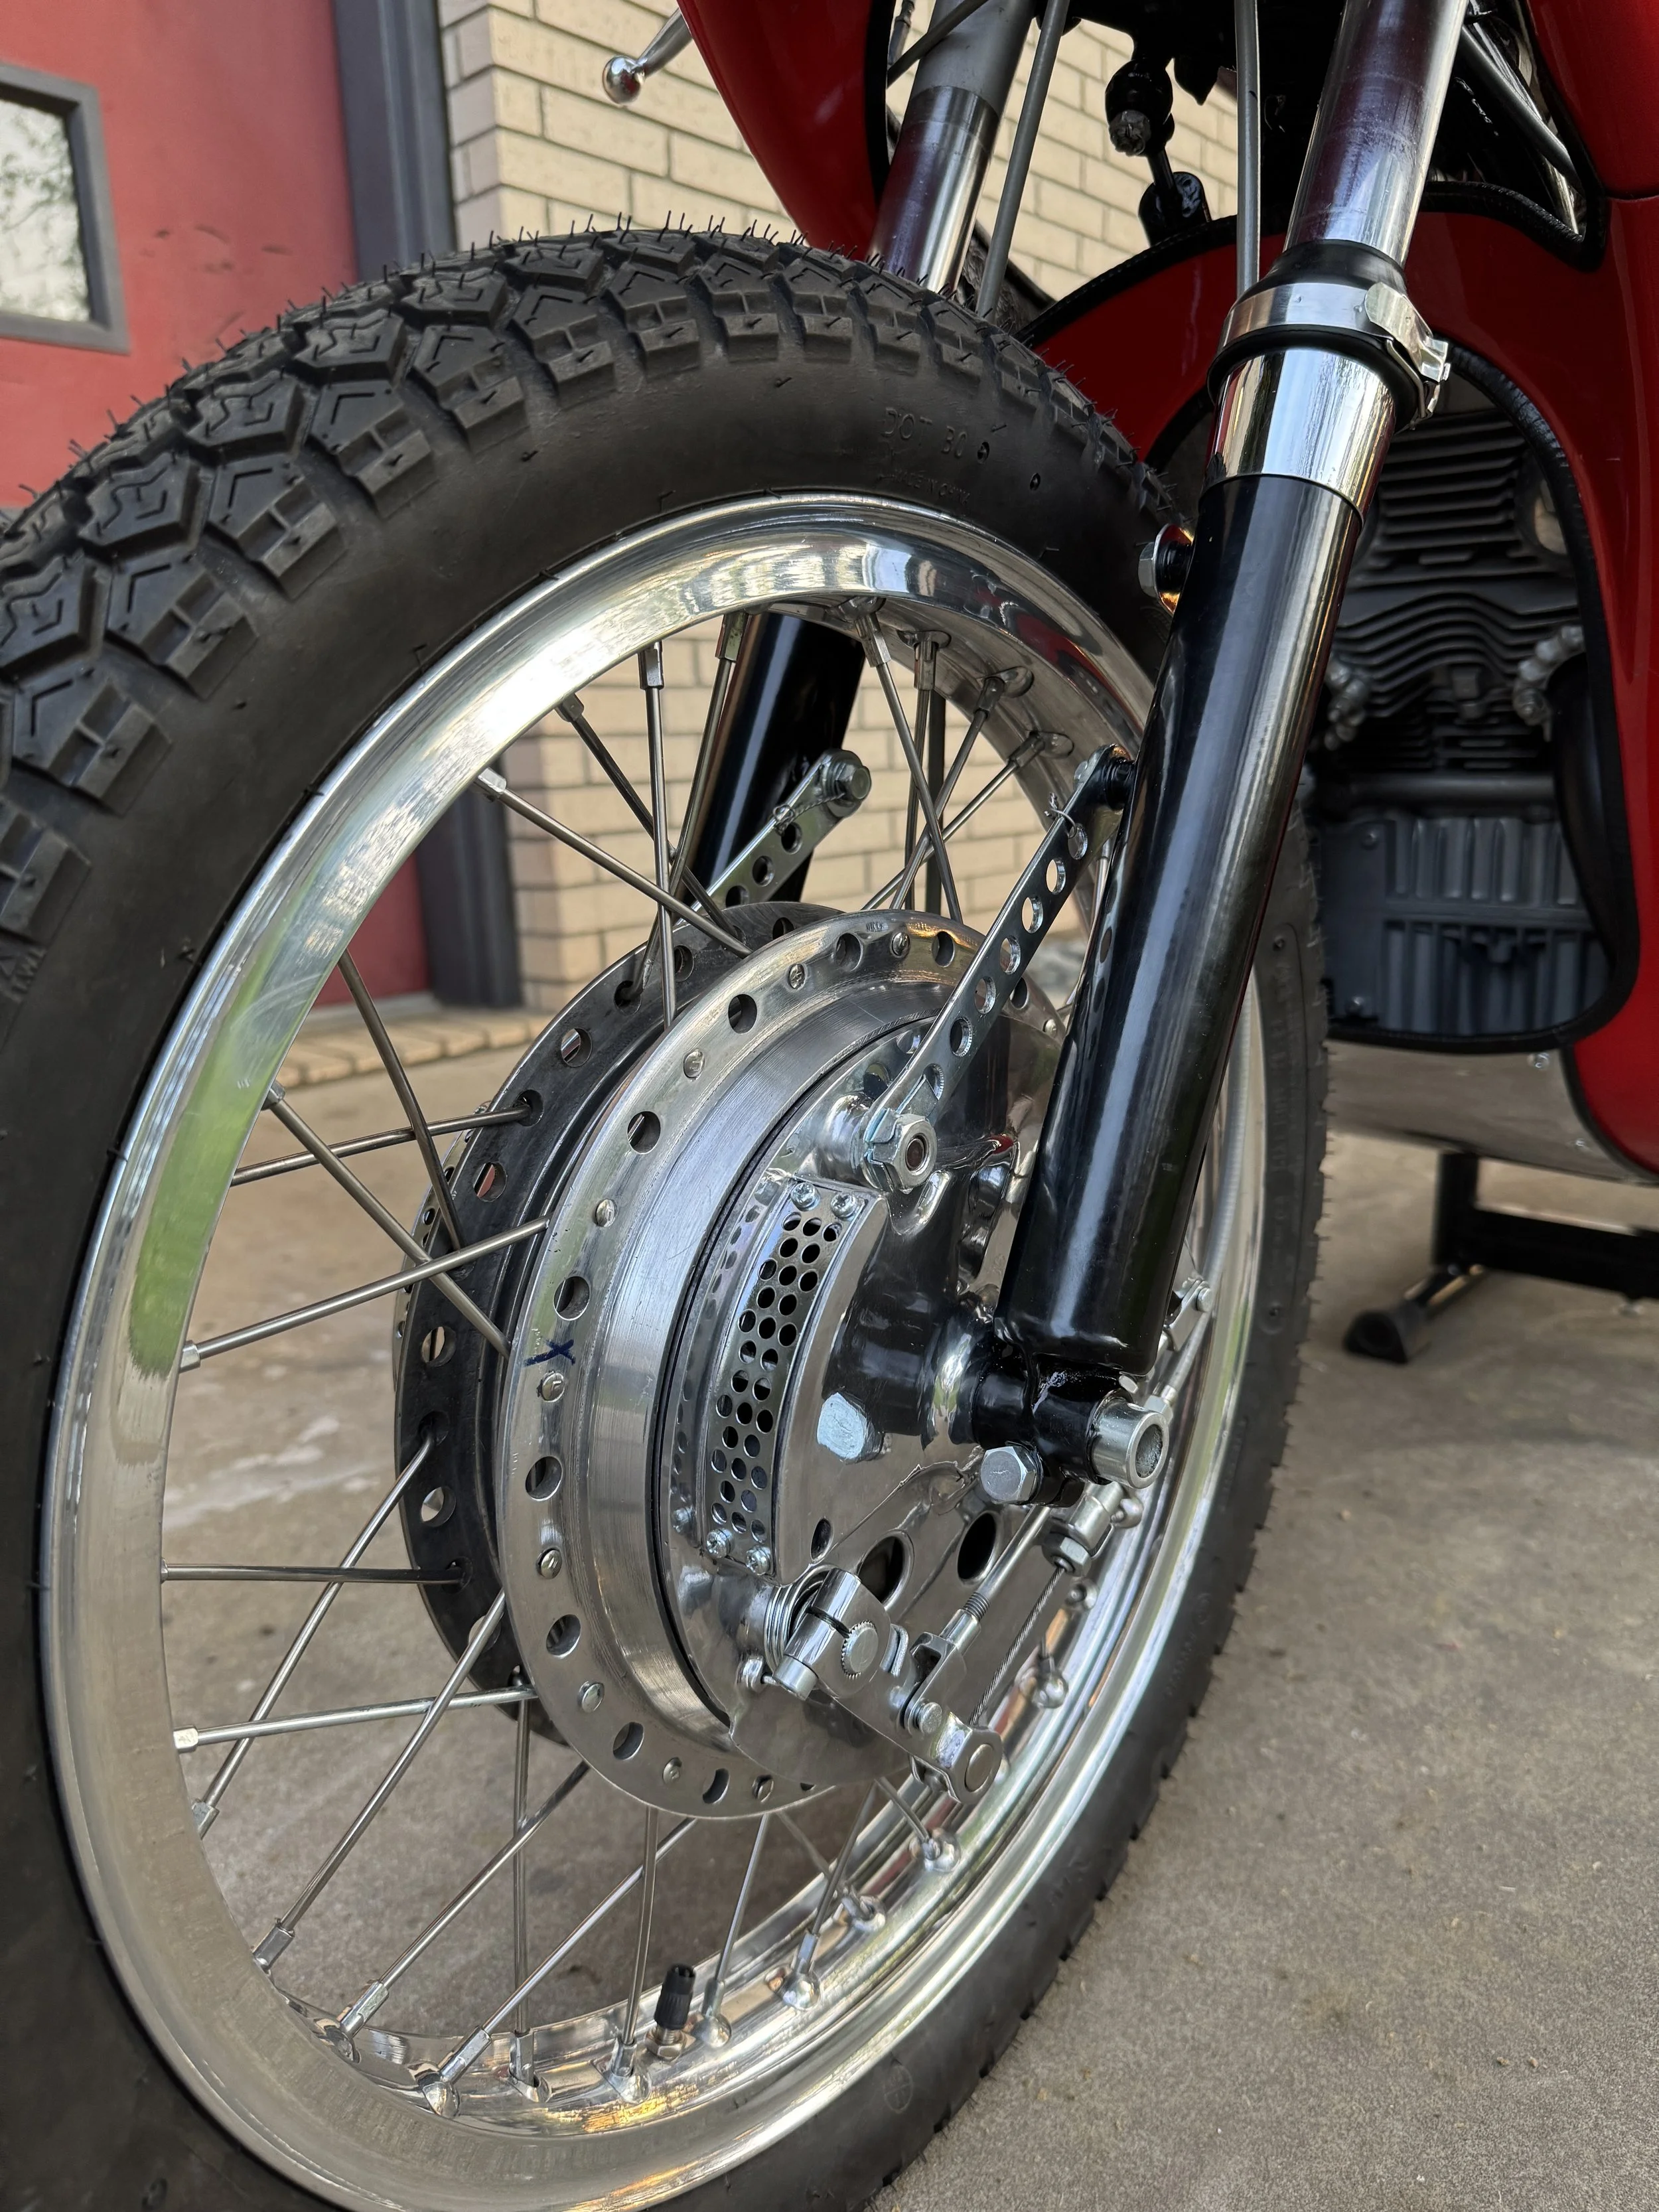
The Suzuki GT750 front wheel hub all done up. After narrowing a total of 1 1/8”, and hardware re-plating, the front wheel looks pretty happy with these forks. Custom brake panel stays were built, along with stainless steel cable stays to keep the cables in place. The fork lowers were stripped, ground, and painted, then finished off with Ceriani style dust covers and clamps.

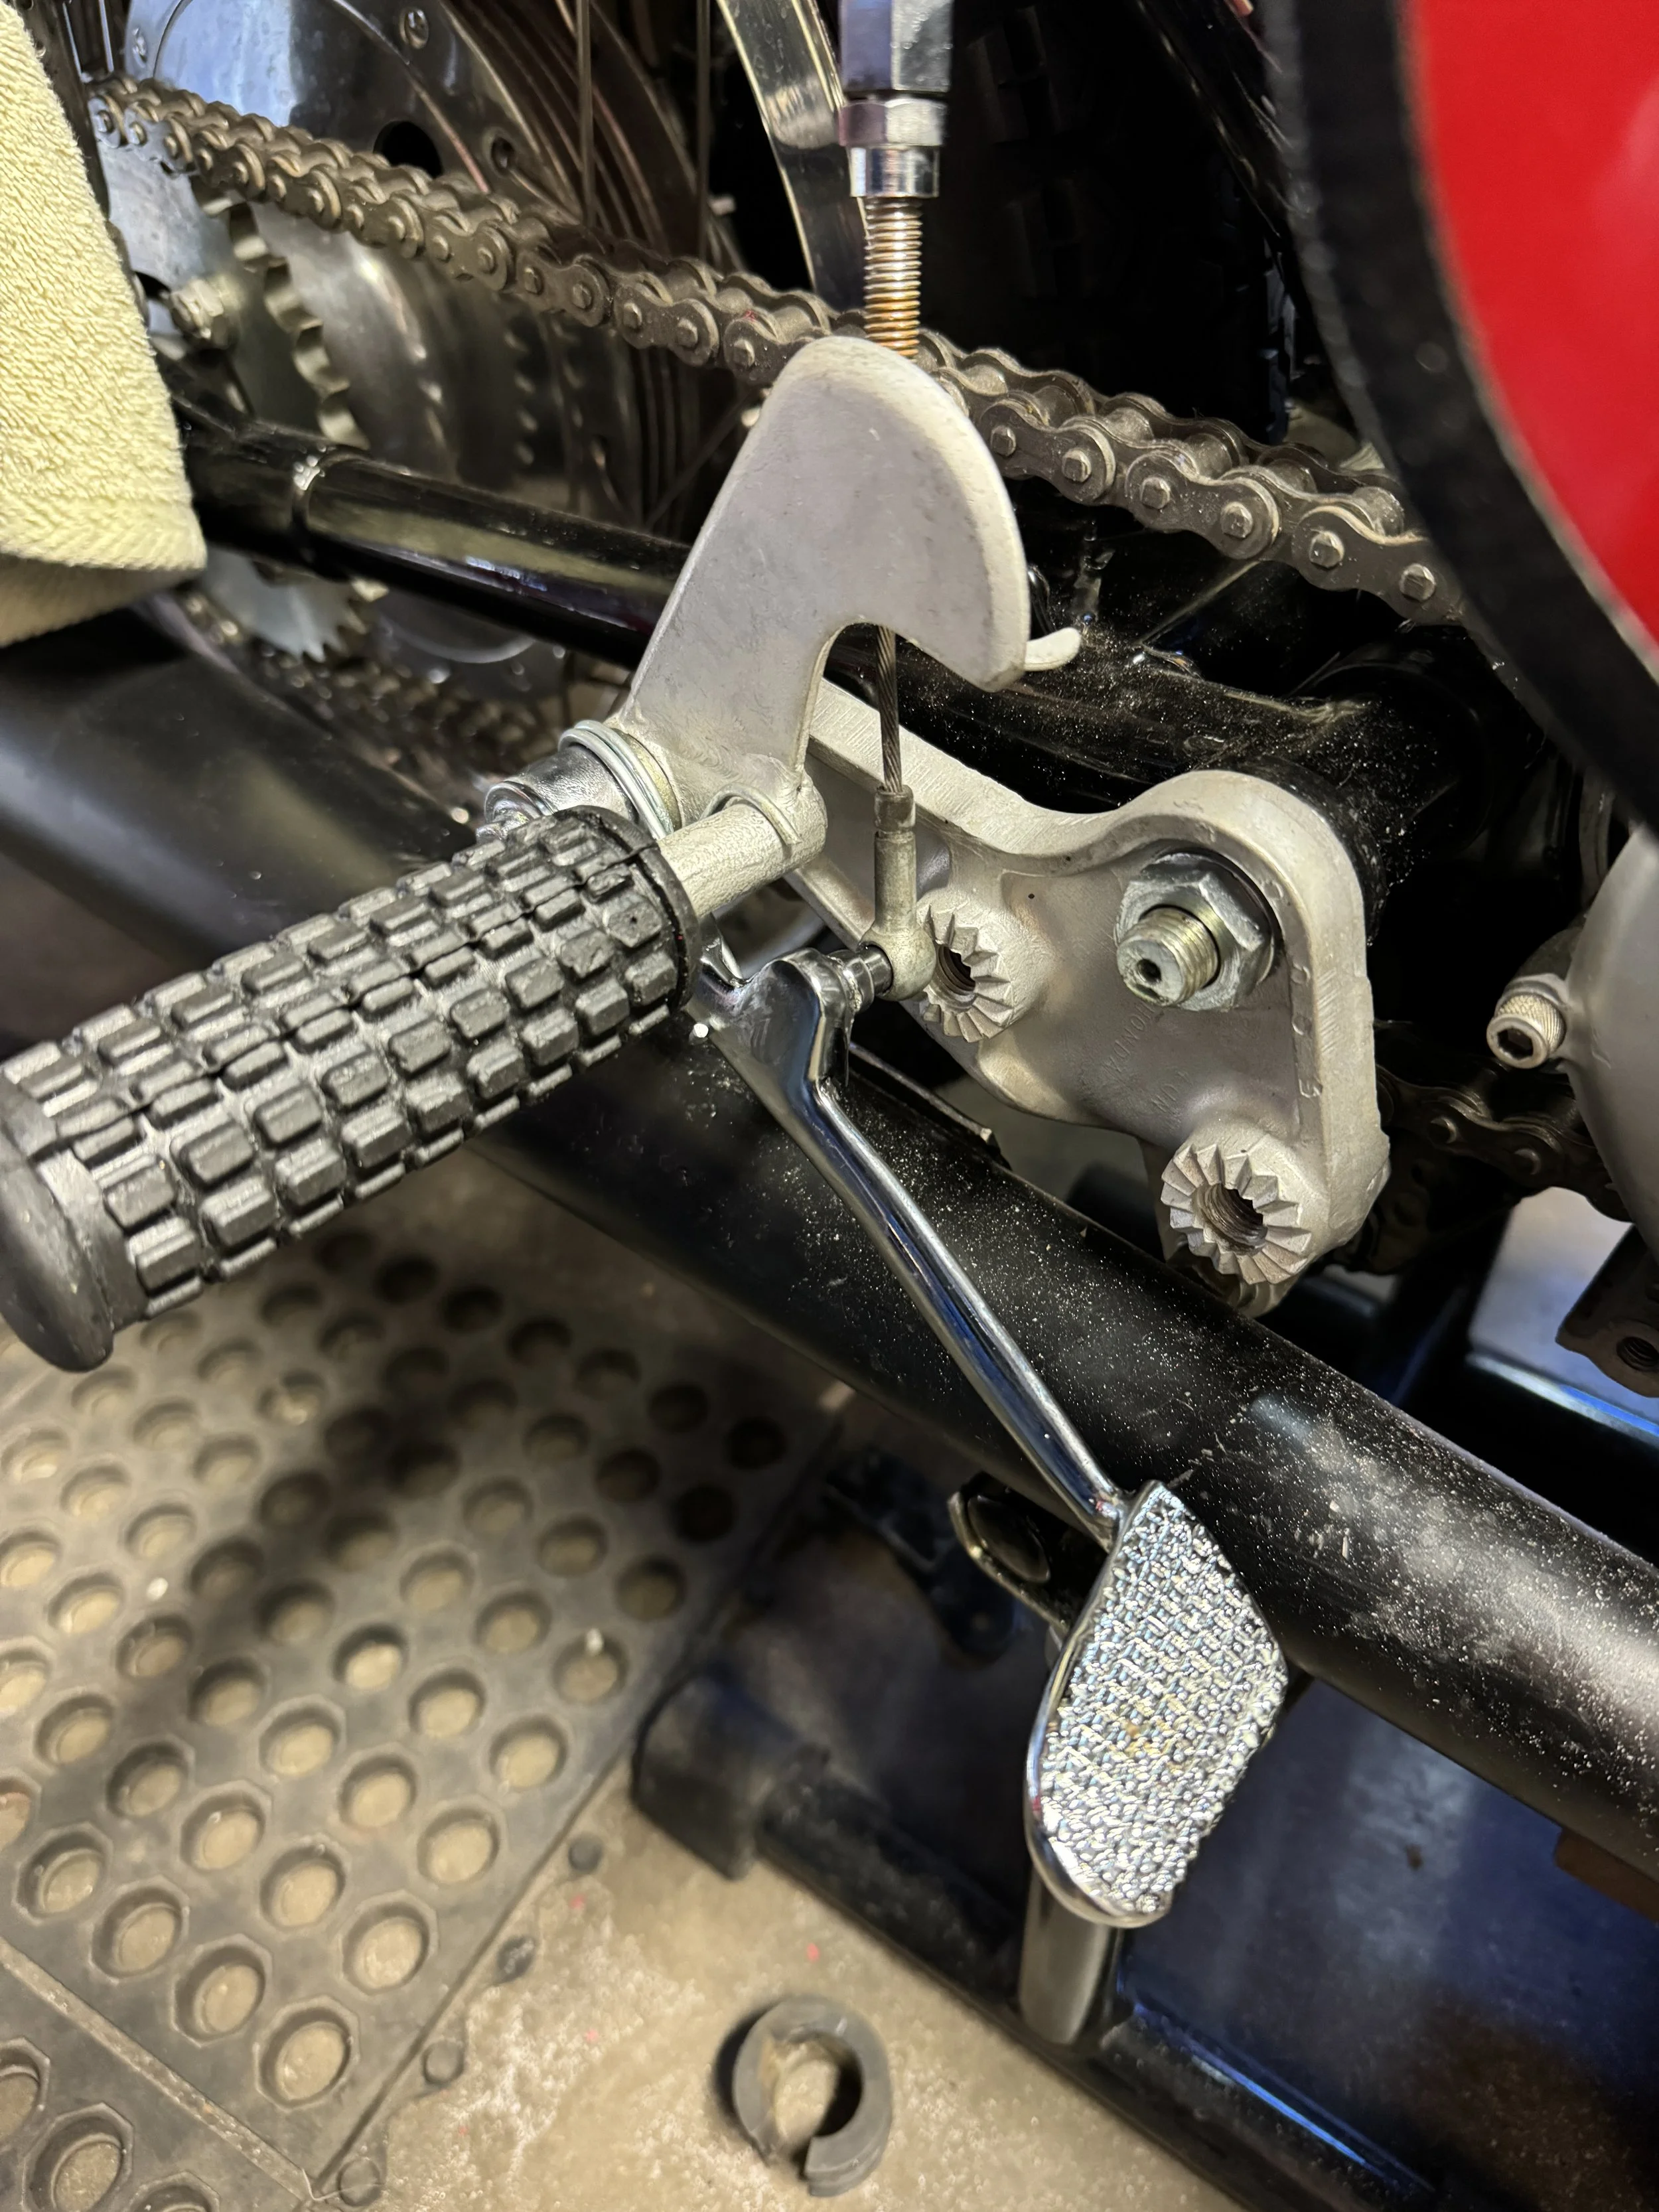
It looks fine now, but the rear brake panel came as a custom piece and was in need of some work to get it to be functional. The brake arm had to be cut and re-welded to get the geometry right, a stainless cable mounting yoke was made, and a custom set up to allow the cable end to fit in the brake panel mount. The rear brake cable is a stock NOS unit, sourced from the Netherlands. Vent holes were drilled, and the whole thing sanded and polished. The megaphone exhaust had been built without the two middle mounting brackets on each side, so those were added. The exhaust has a baked-on ceramic coating. The chrome shocks are an aftermarket set made for the Honda CB360.
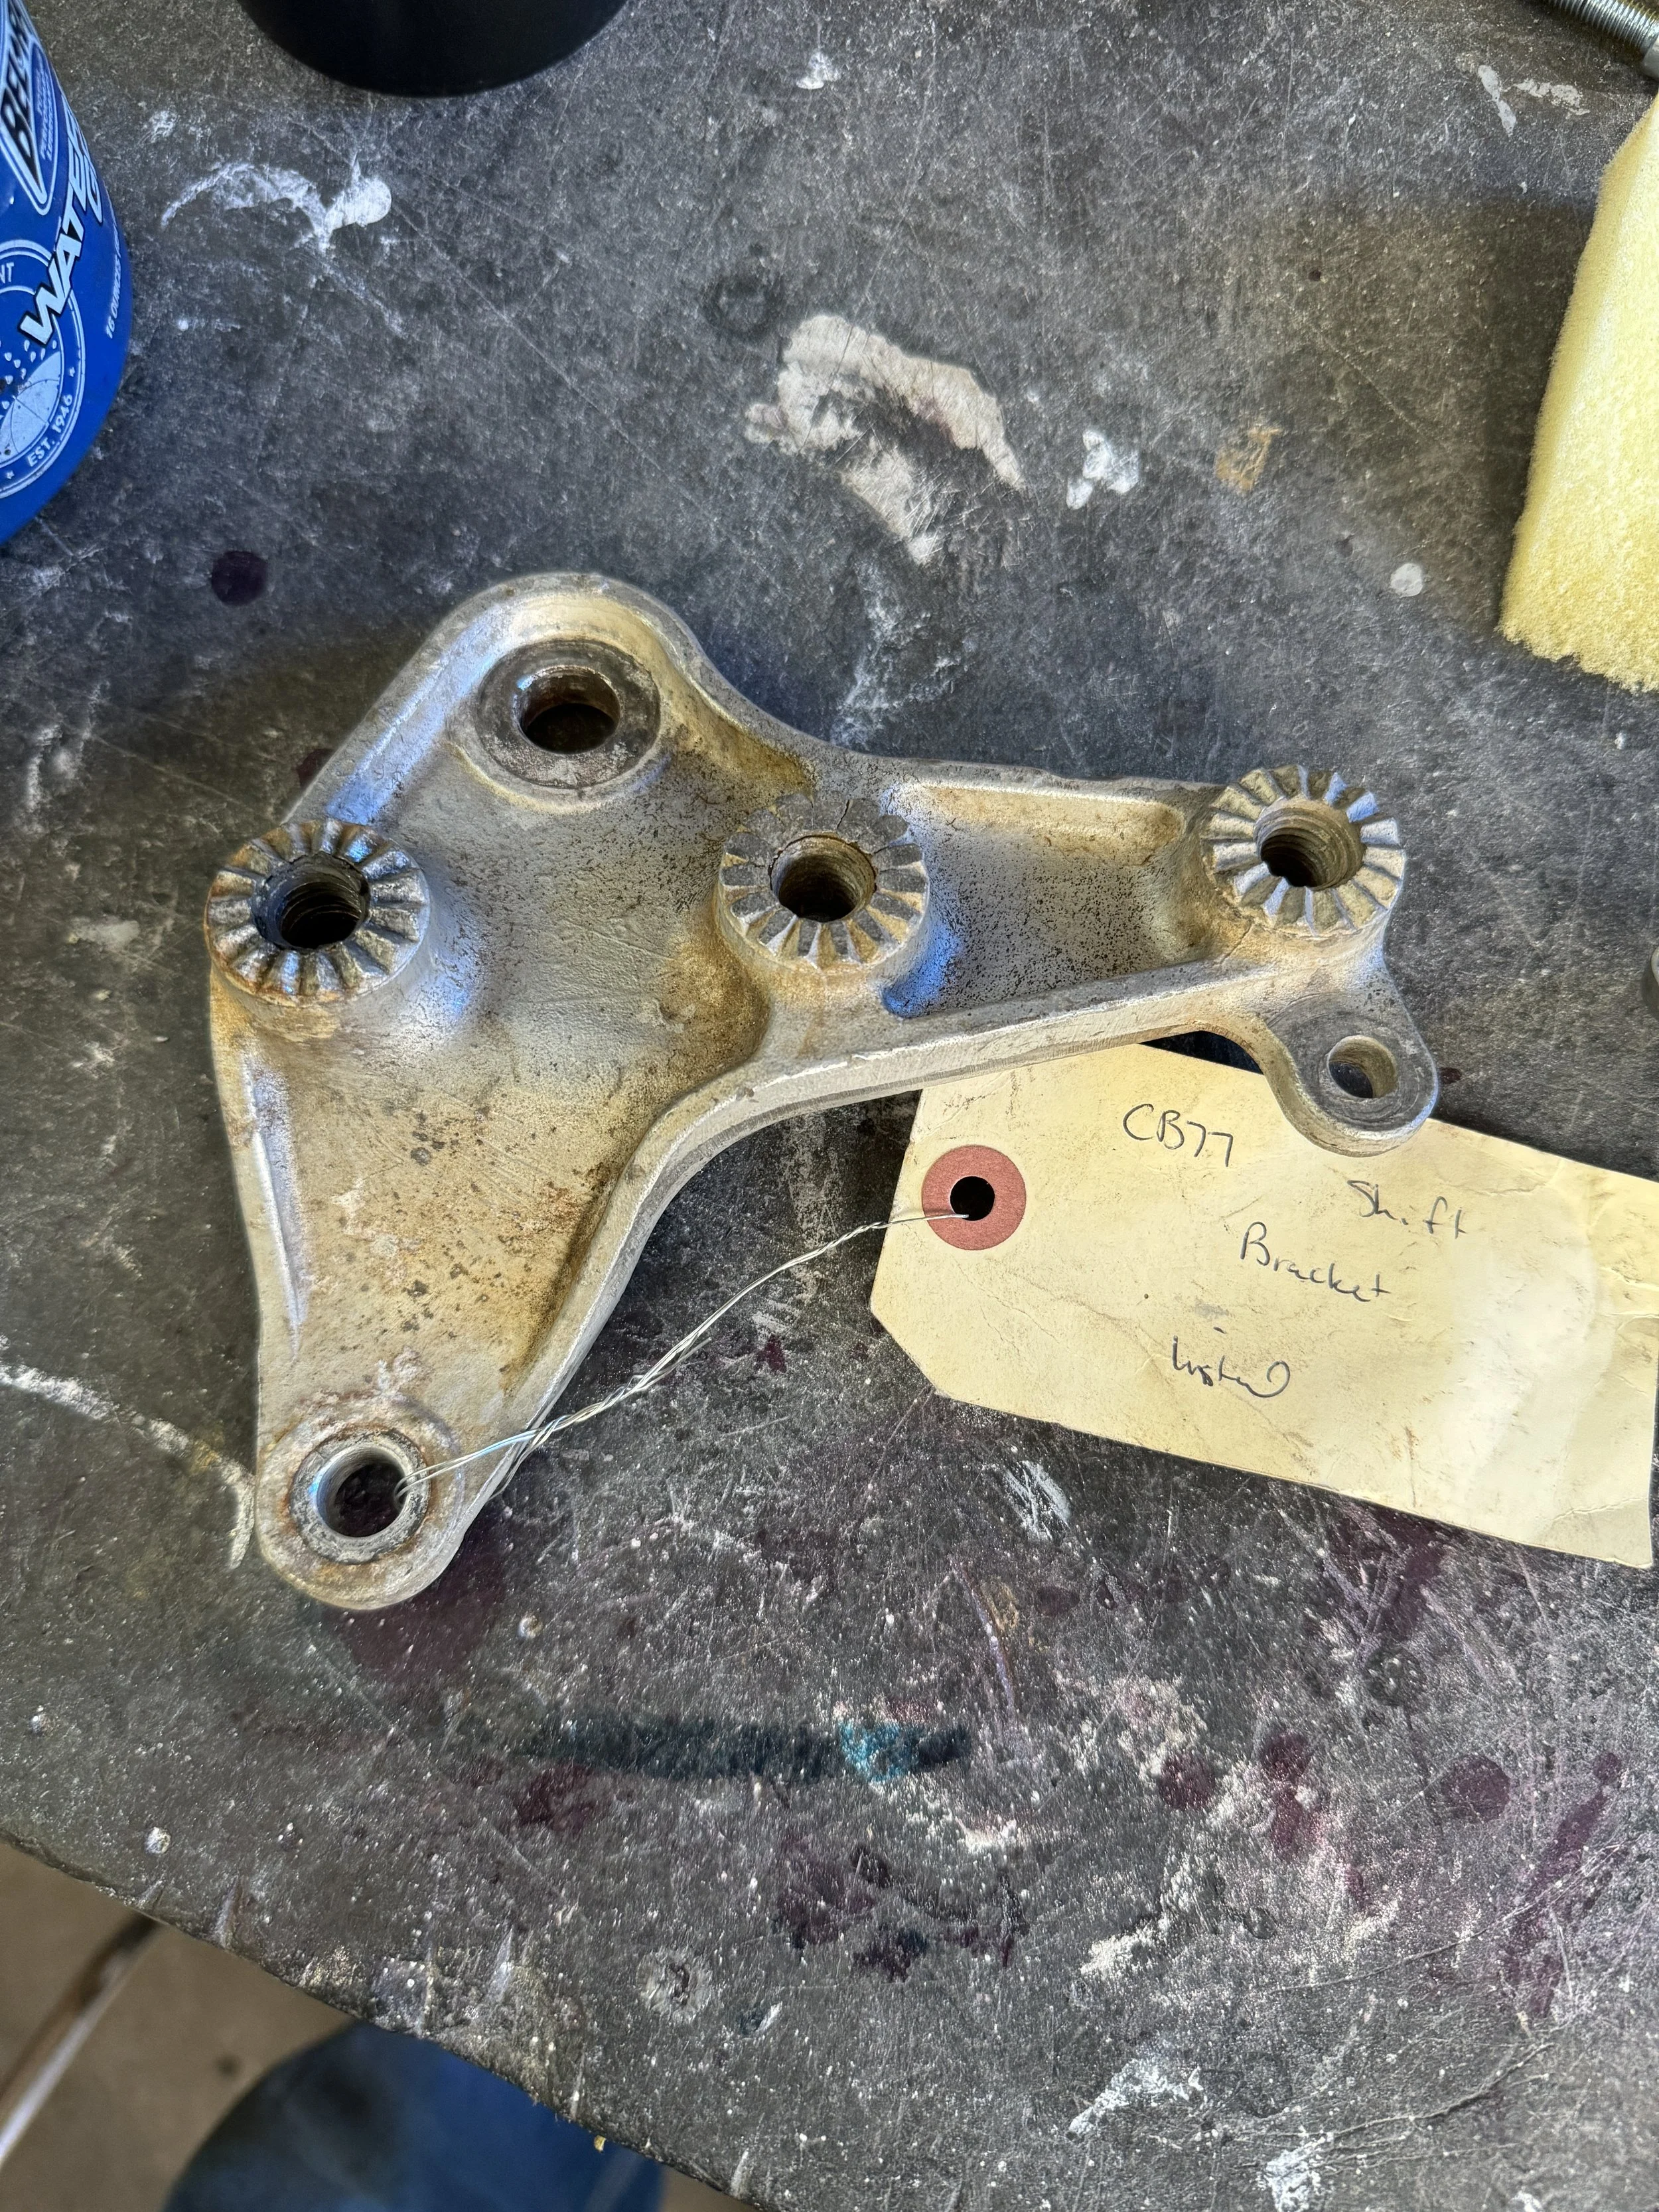
An OEM left footpeg bracket was needed because of a missing muffler mounting tab, necessary because of the new middle muffler mounts.
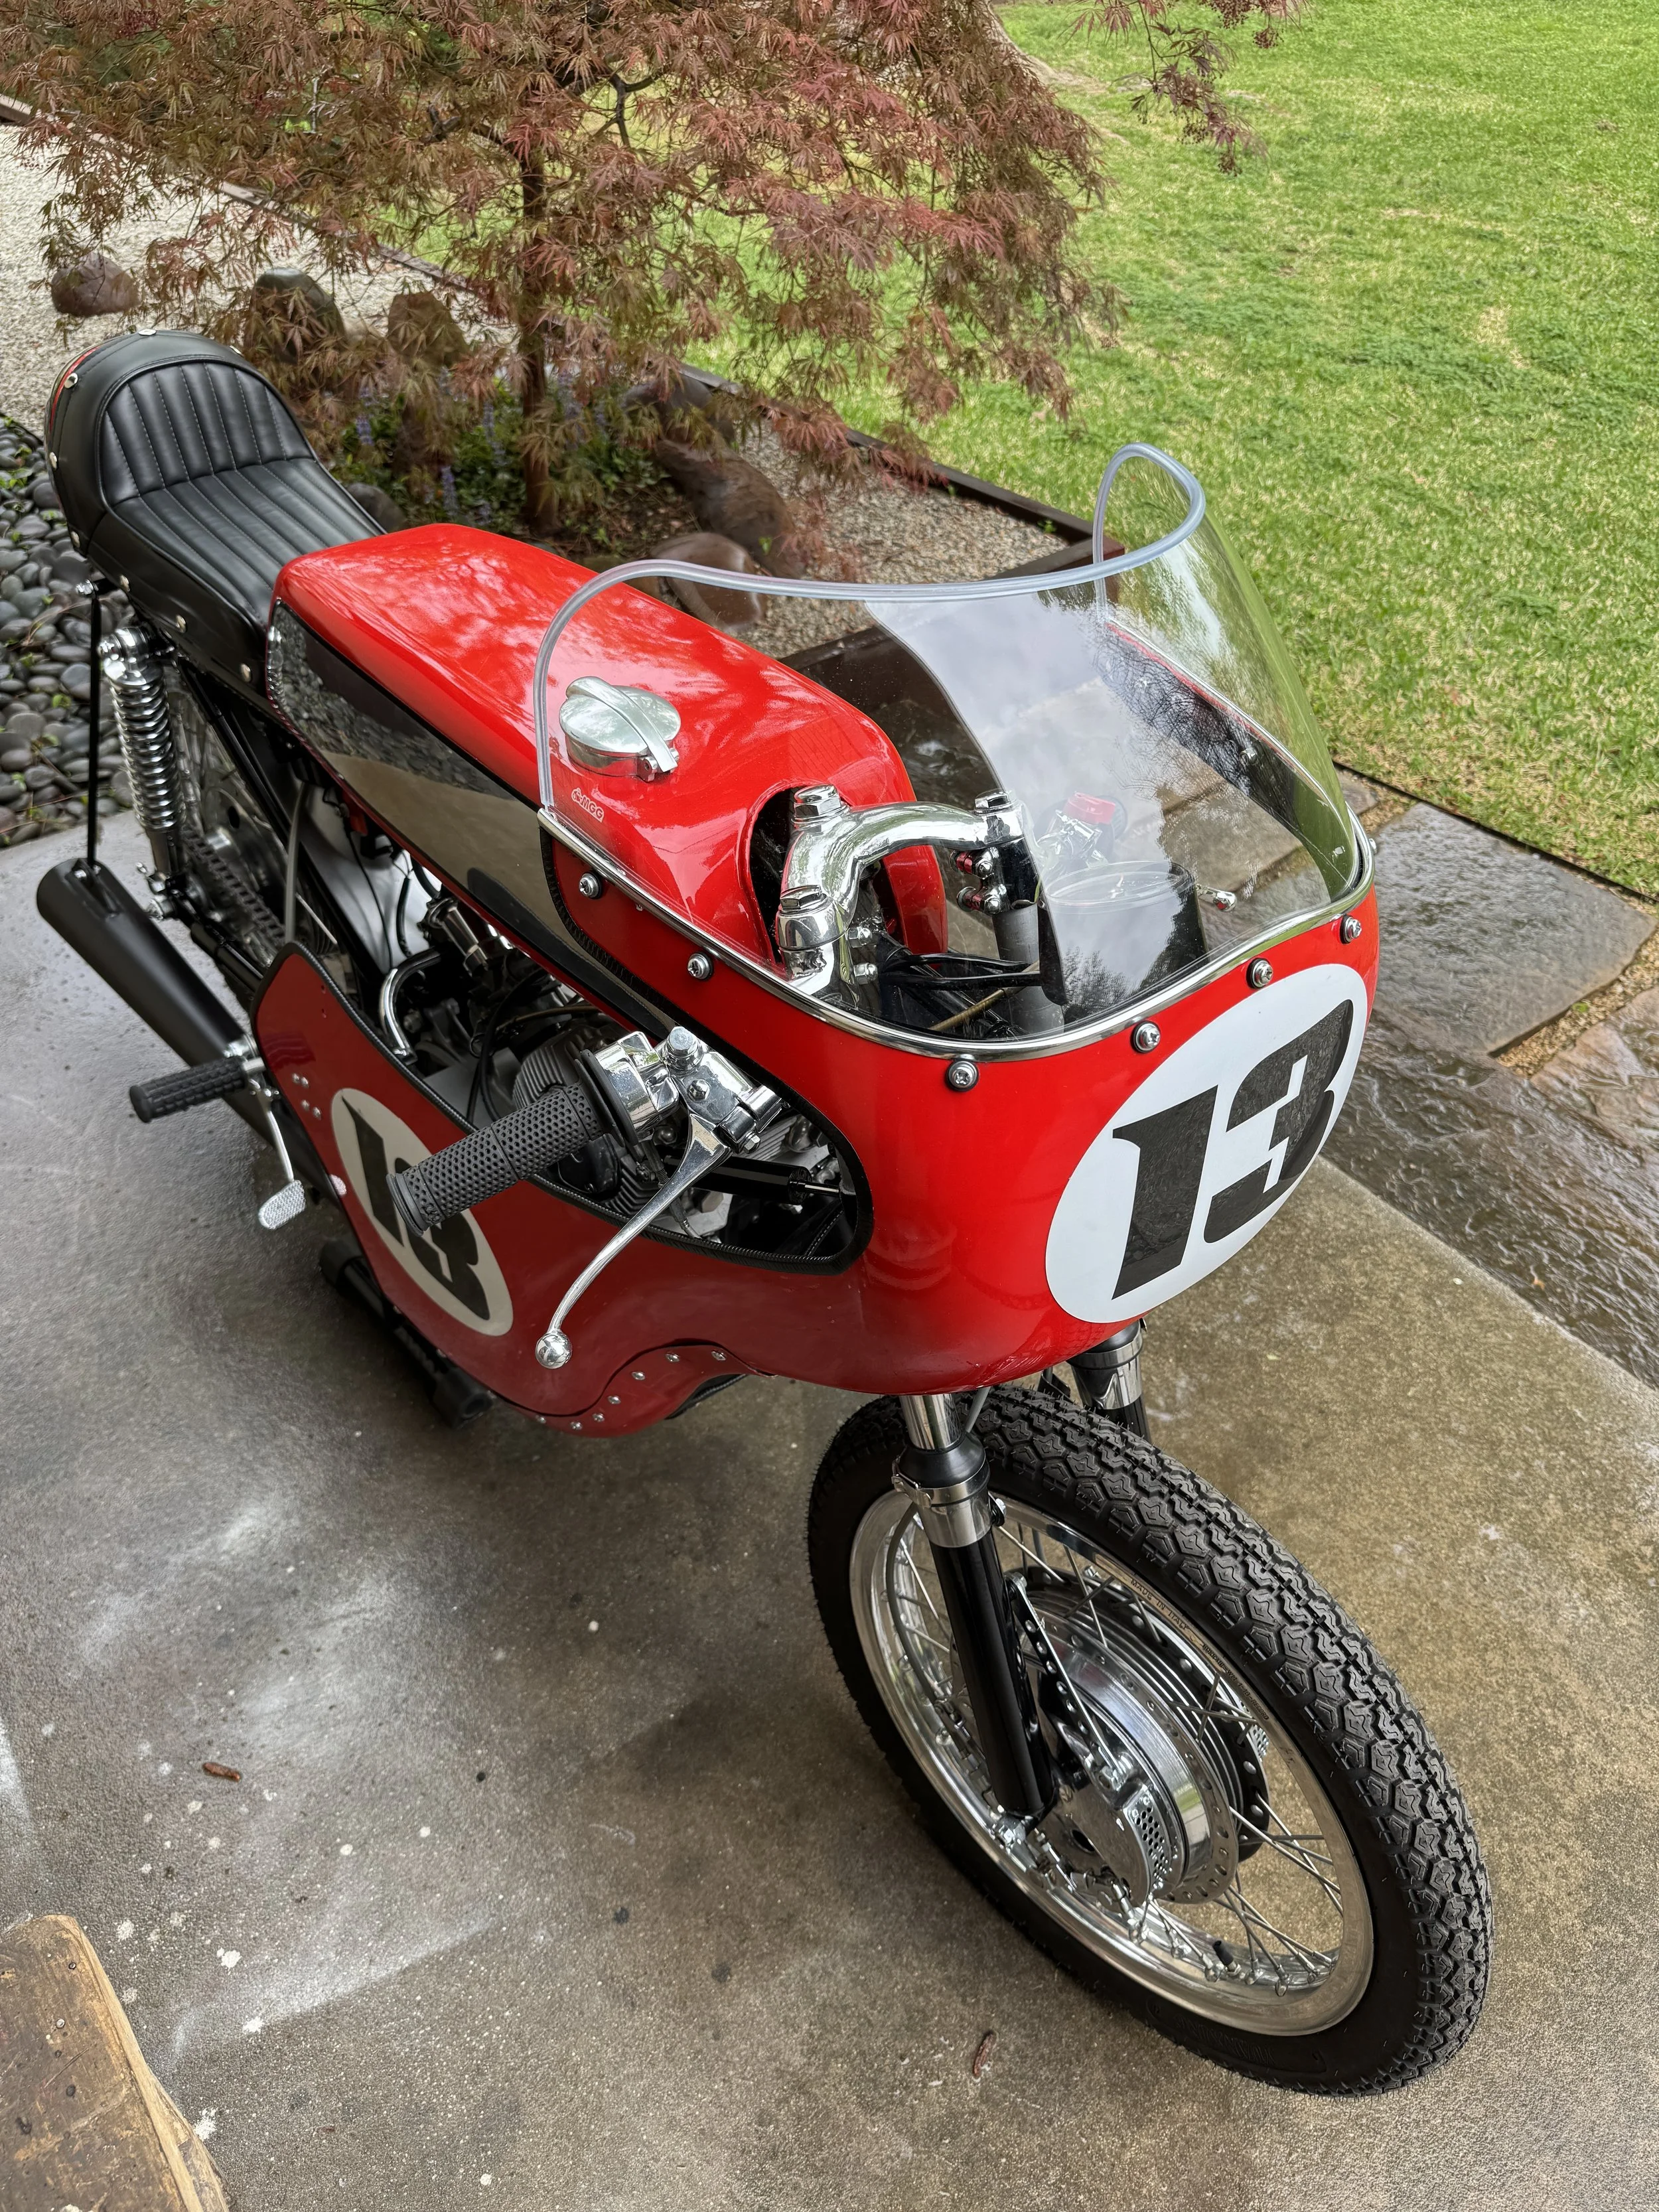
It took some research to determine that the windshield was from a 1983-85 Suzuki GS750. Unfortunately, the only vendor that is selling an all clear version was in Poland. It took a little while to get it, but it looks excellent! All new mounting hardware and rubber was used to mount get it mounted.
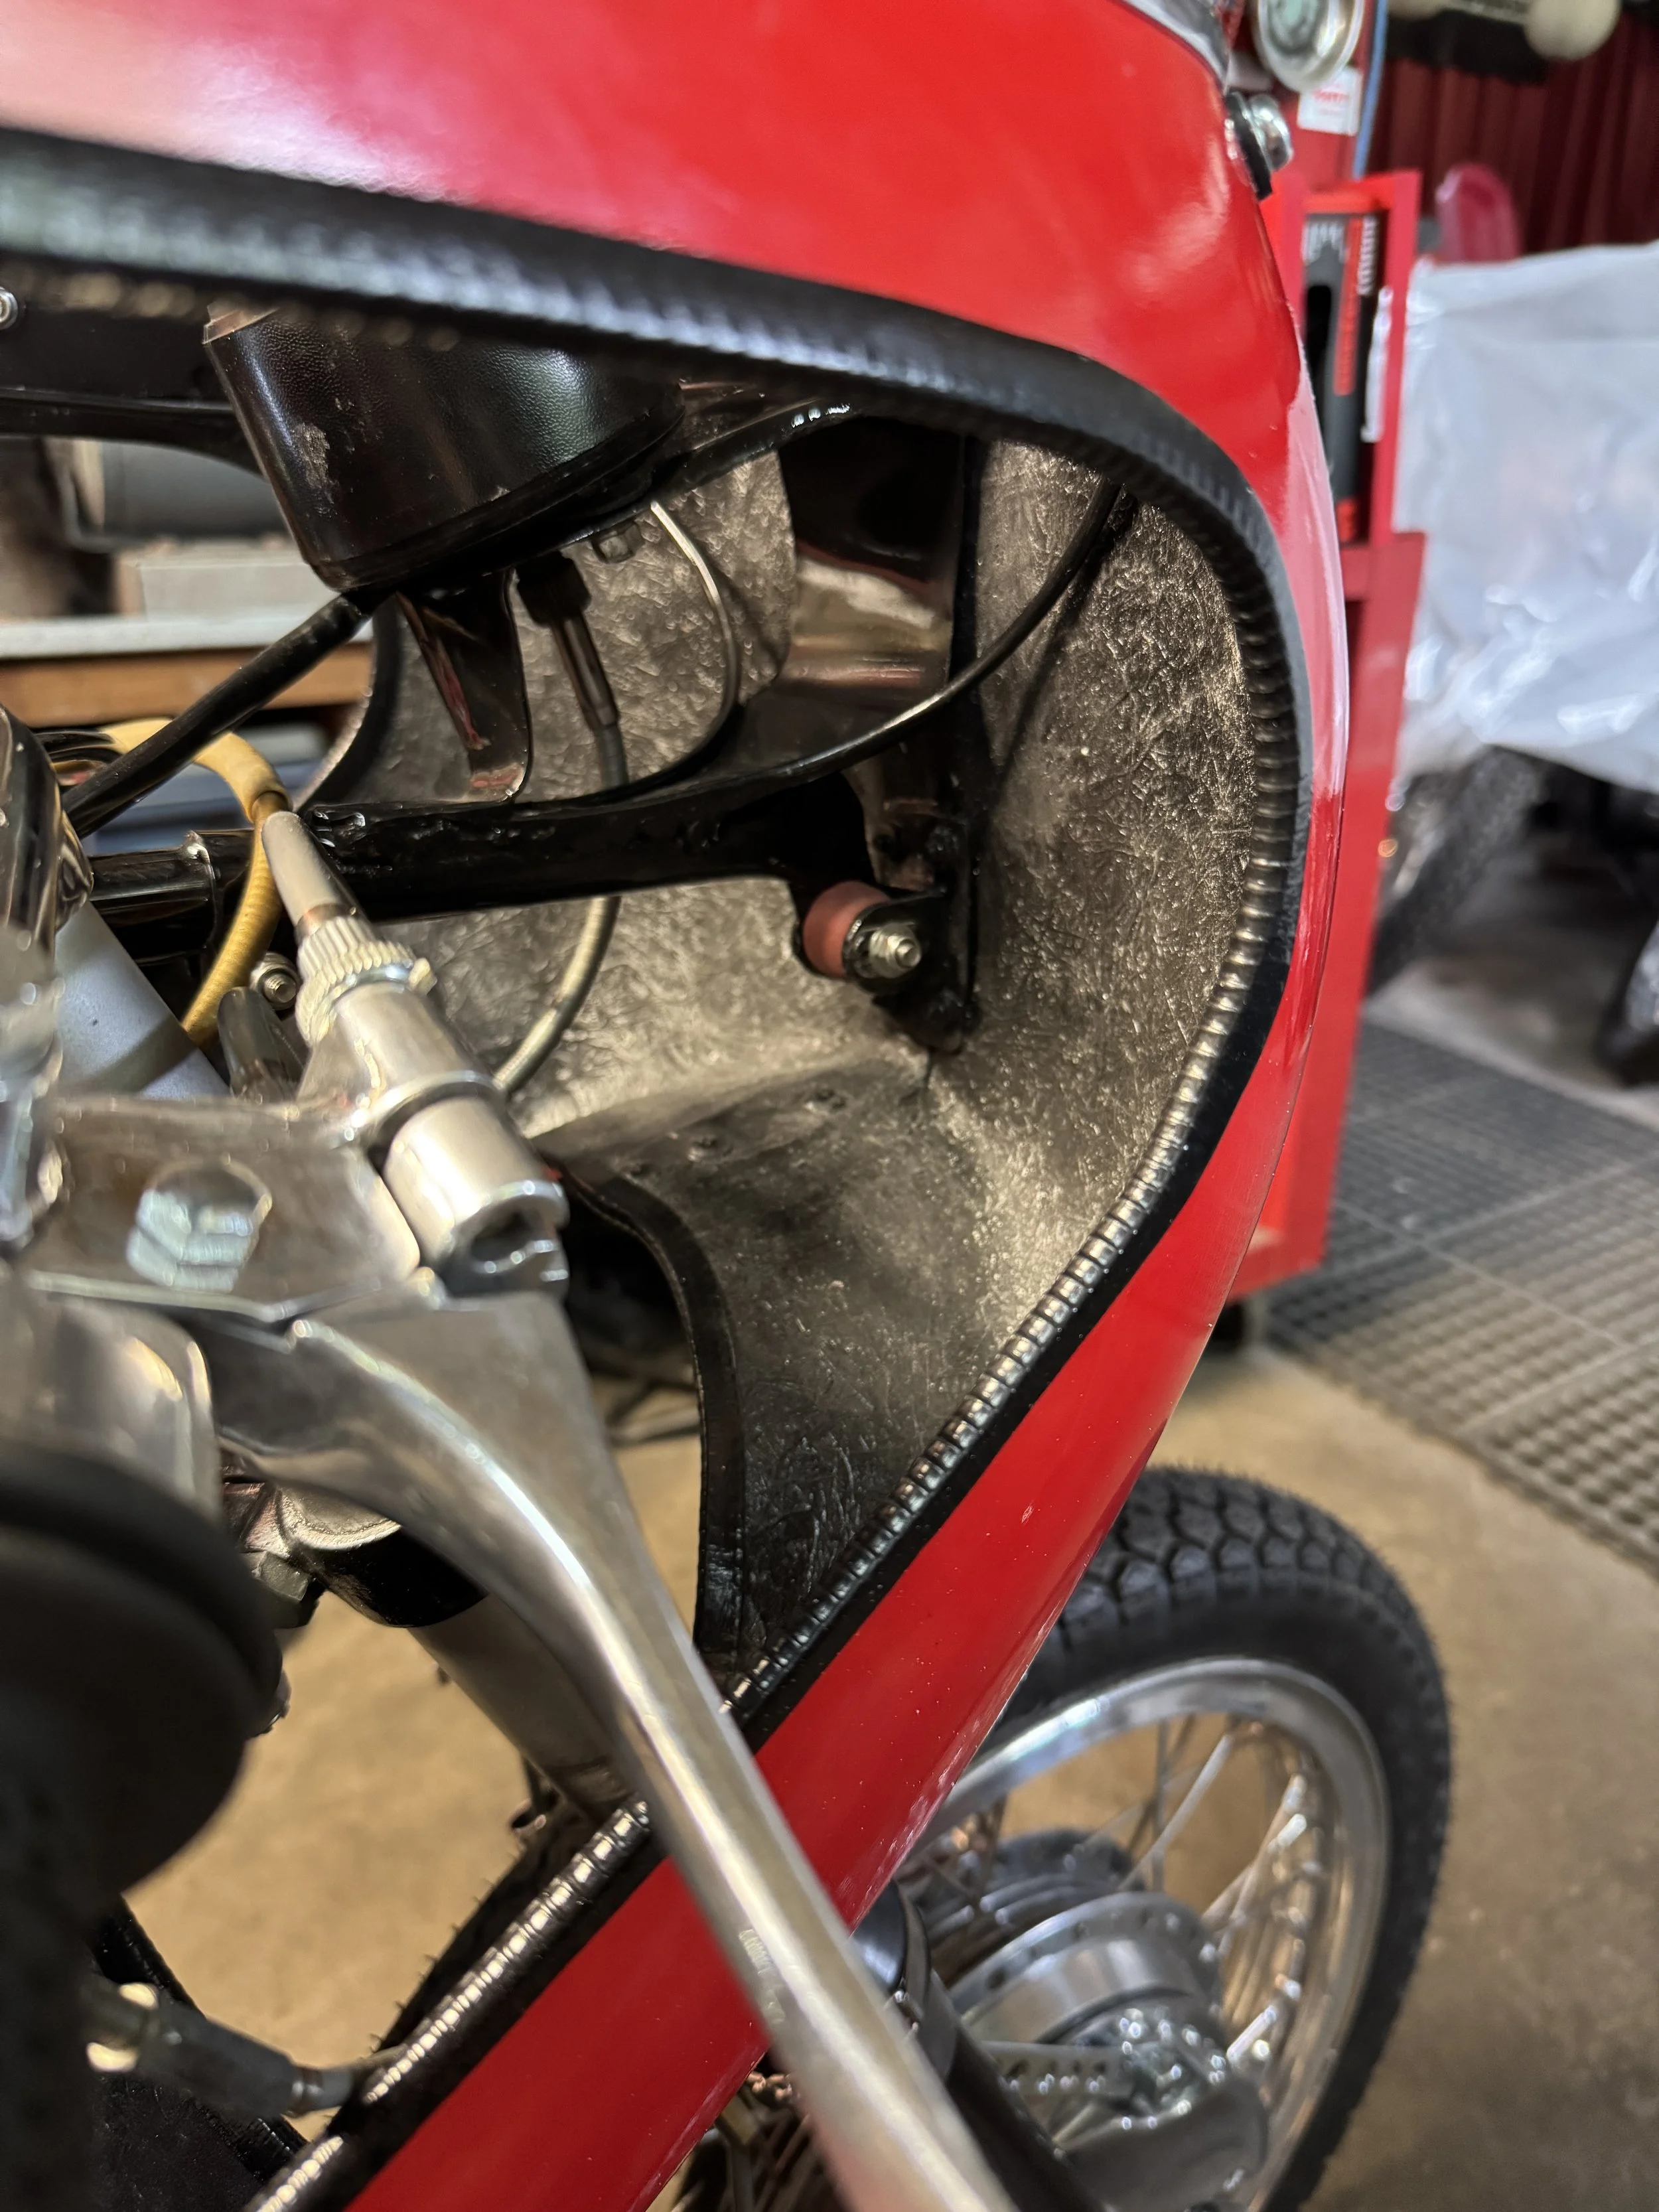
The front fairing support was rubber mounted, and lowered an inch and a quarter to get the fit on everything just right. Some of the fairing support bracket and tachometer mount can be seen from this angle.
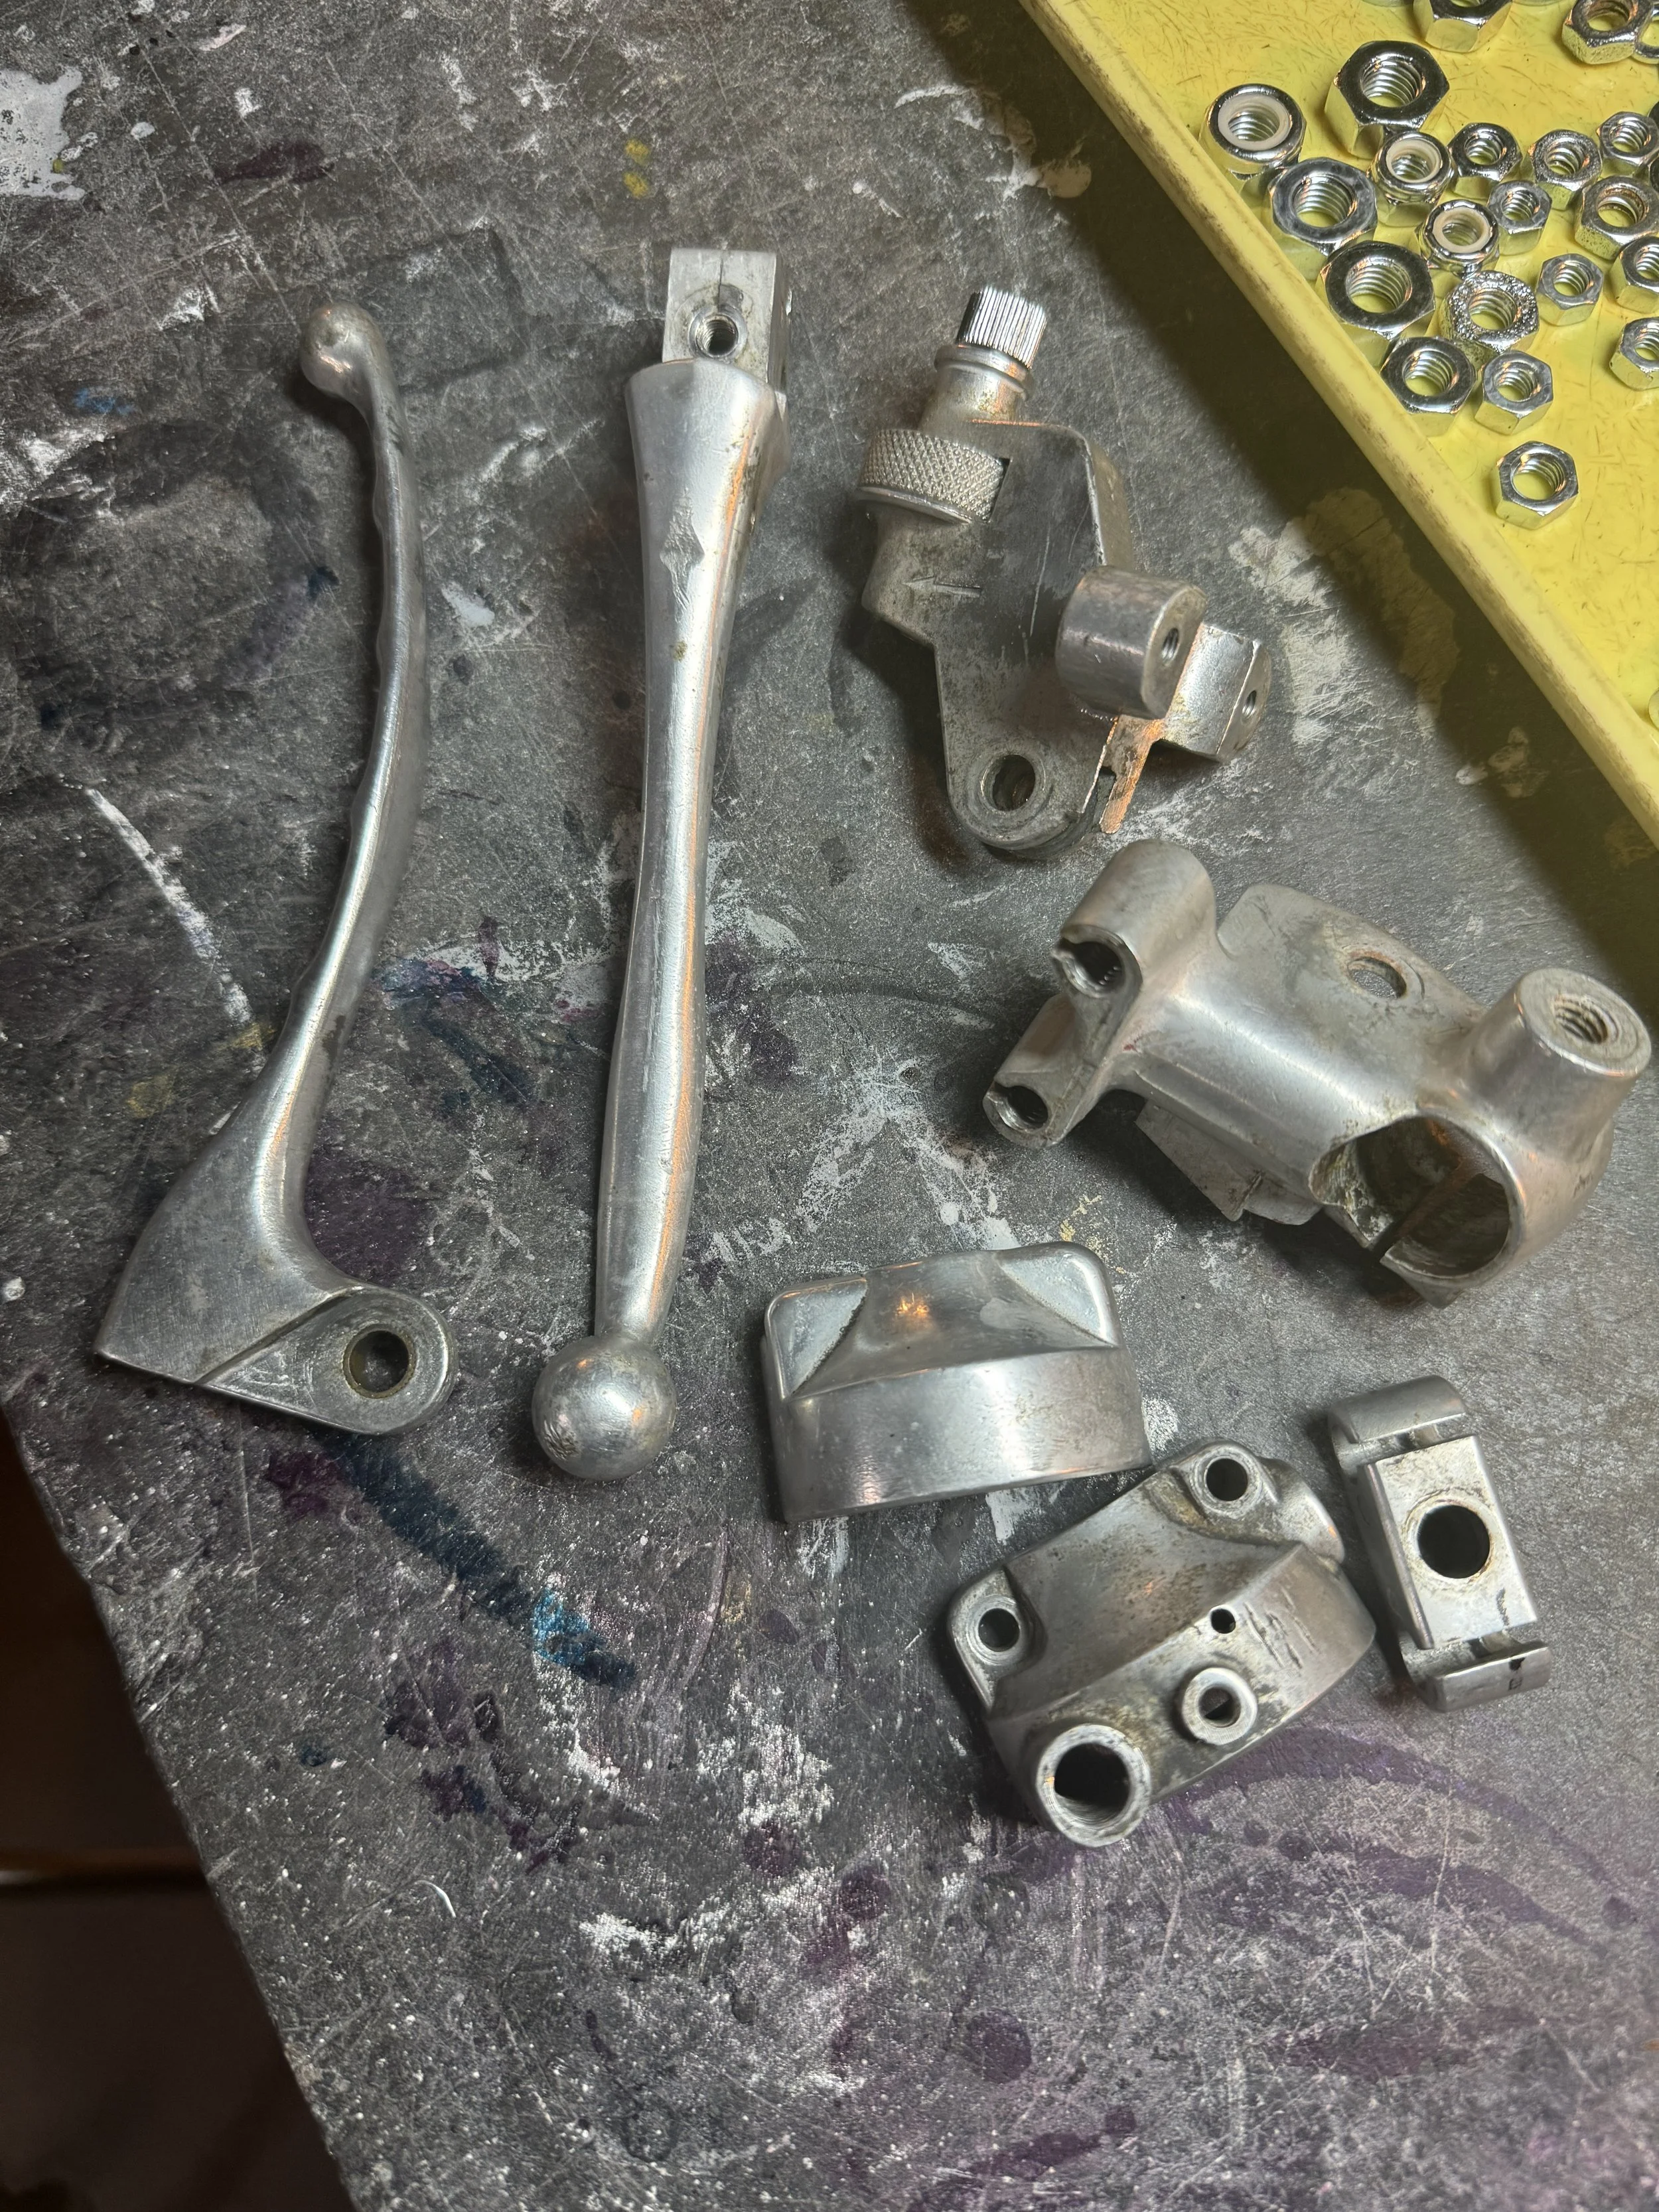
Some of the aluminum polishing pile before.After machine polishing, the parts will be given a going over by hand with some cream polish.
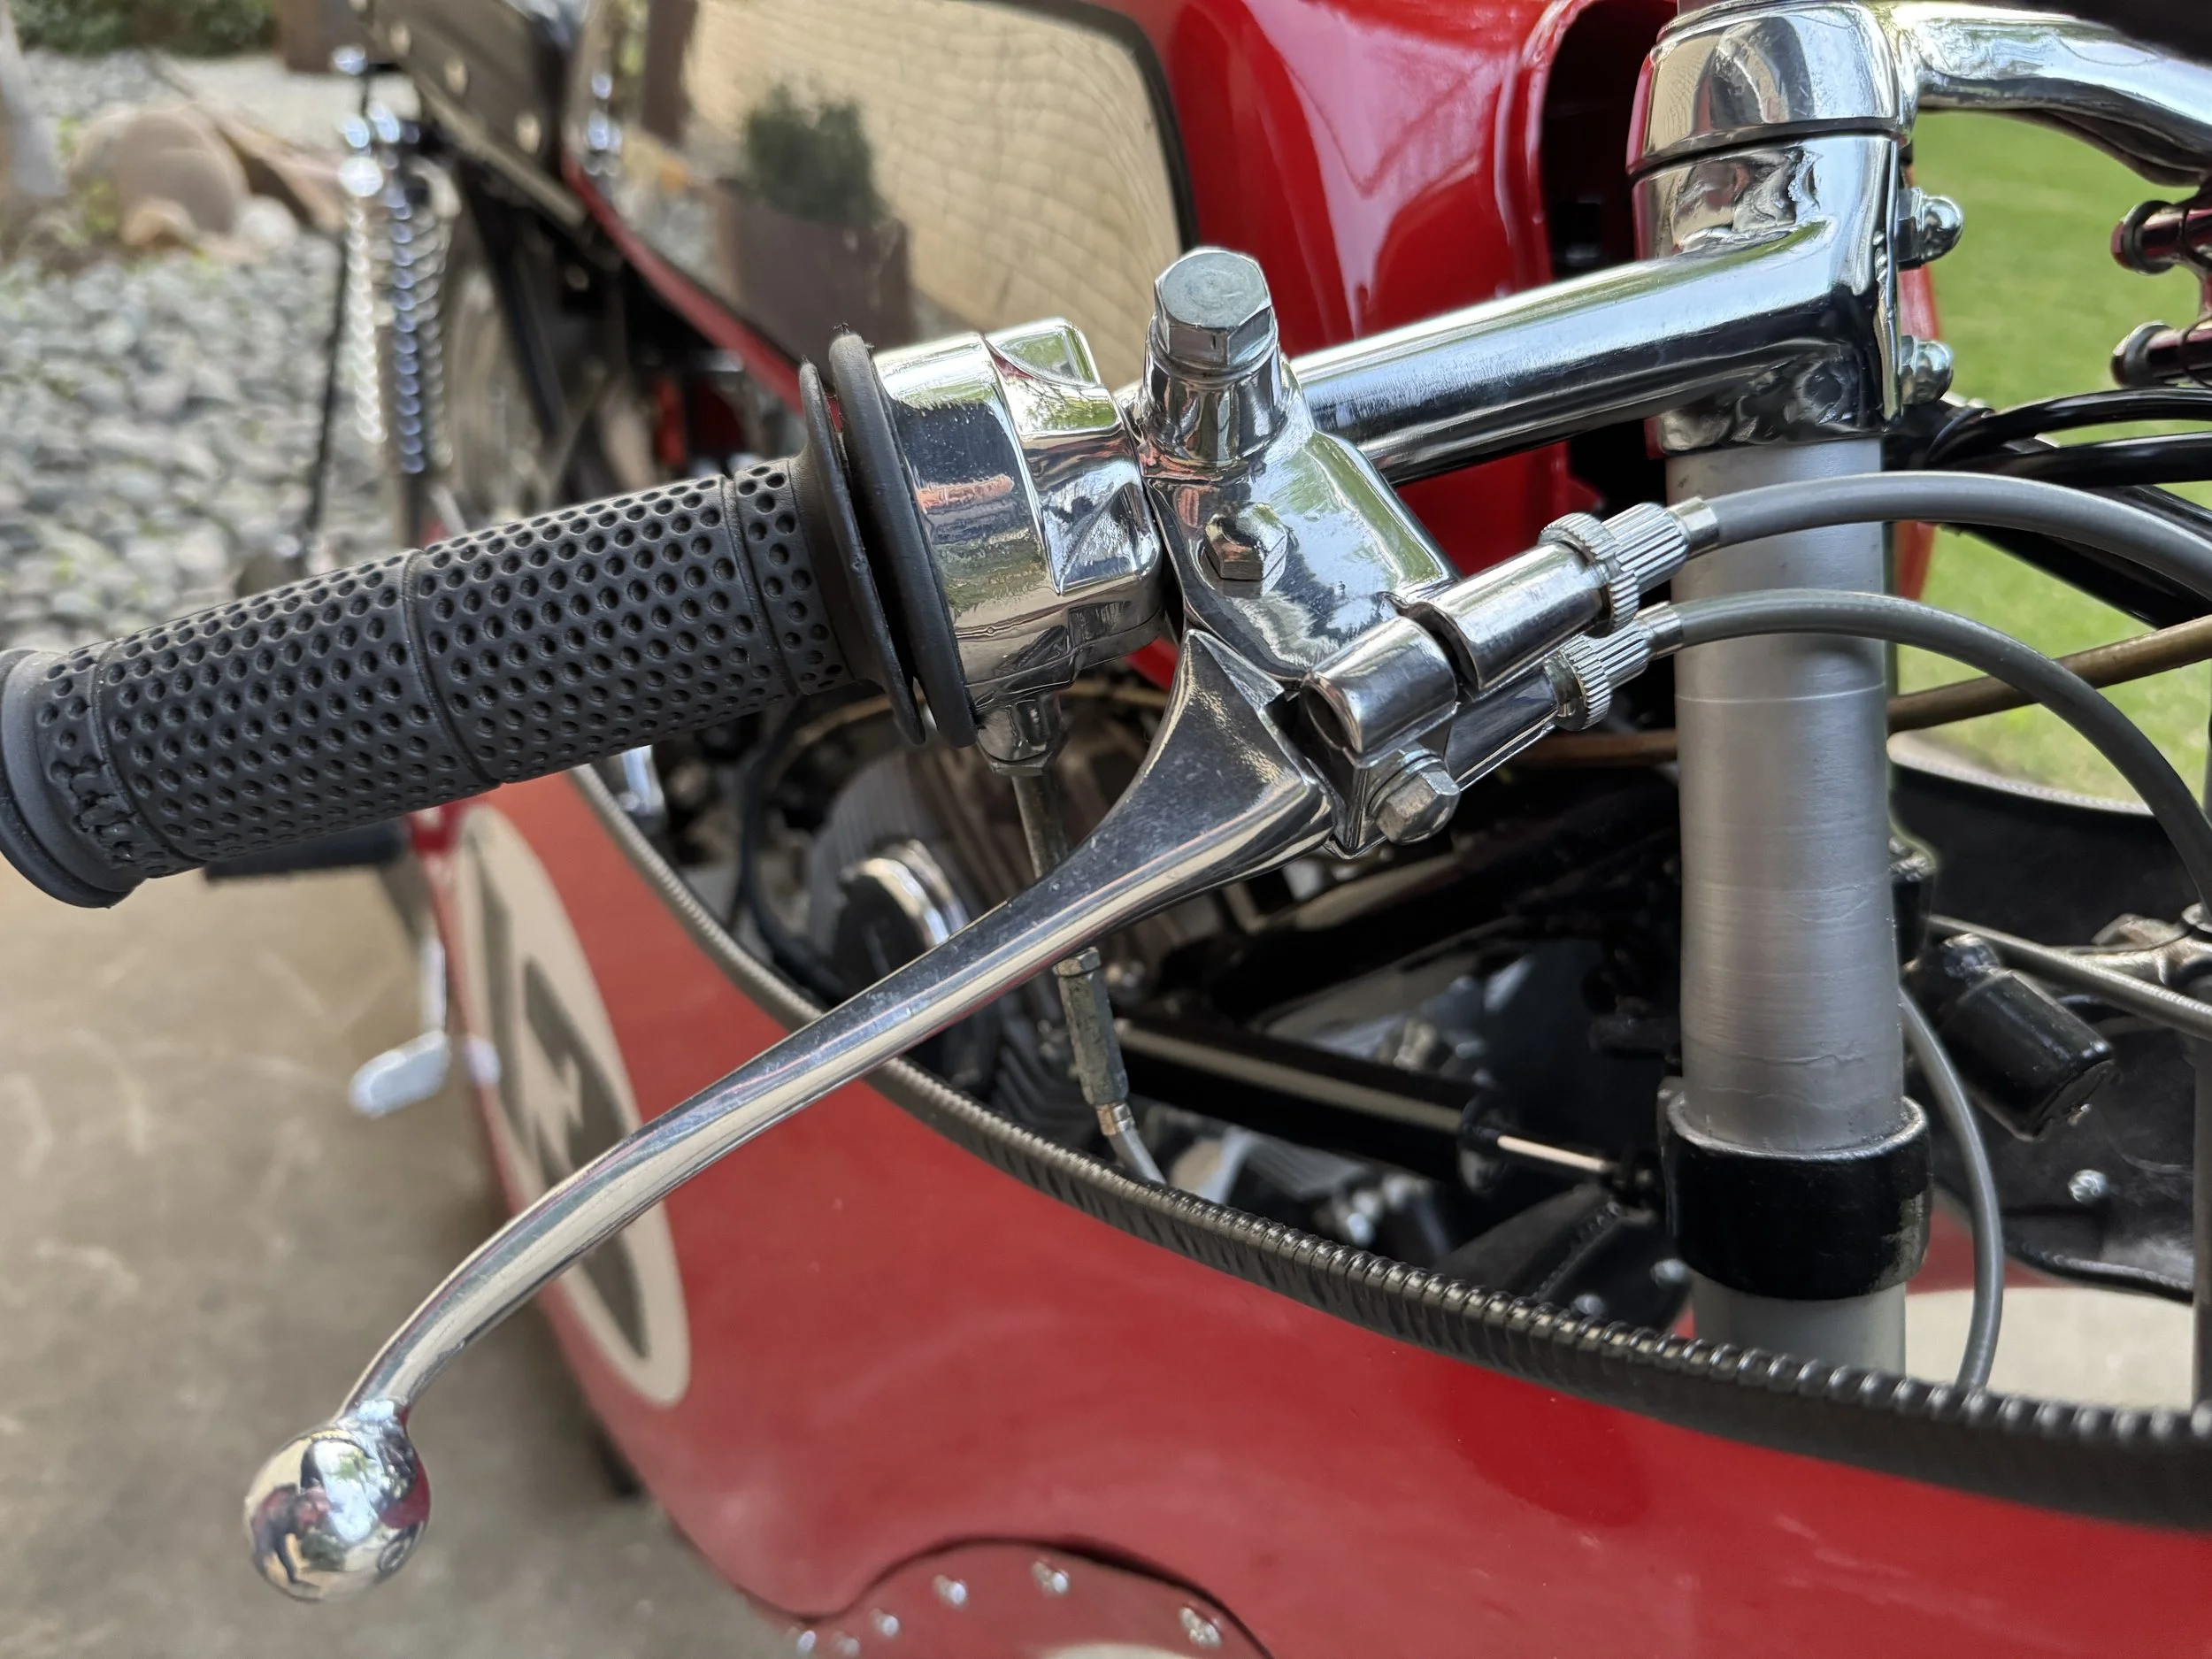
The unique water buffalo brake lever with two cables. The hardware on the clip-on handlebars were a mix of head sizes, so some OEM Honda hardware made for a CRF150R was substituted.The steering damper can be seen below the lever. It was painted and mounted using original hardware and rubber. Kind of cool that this was a factory part.
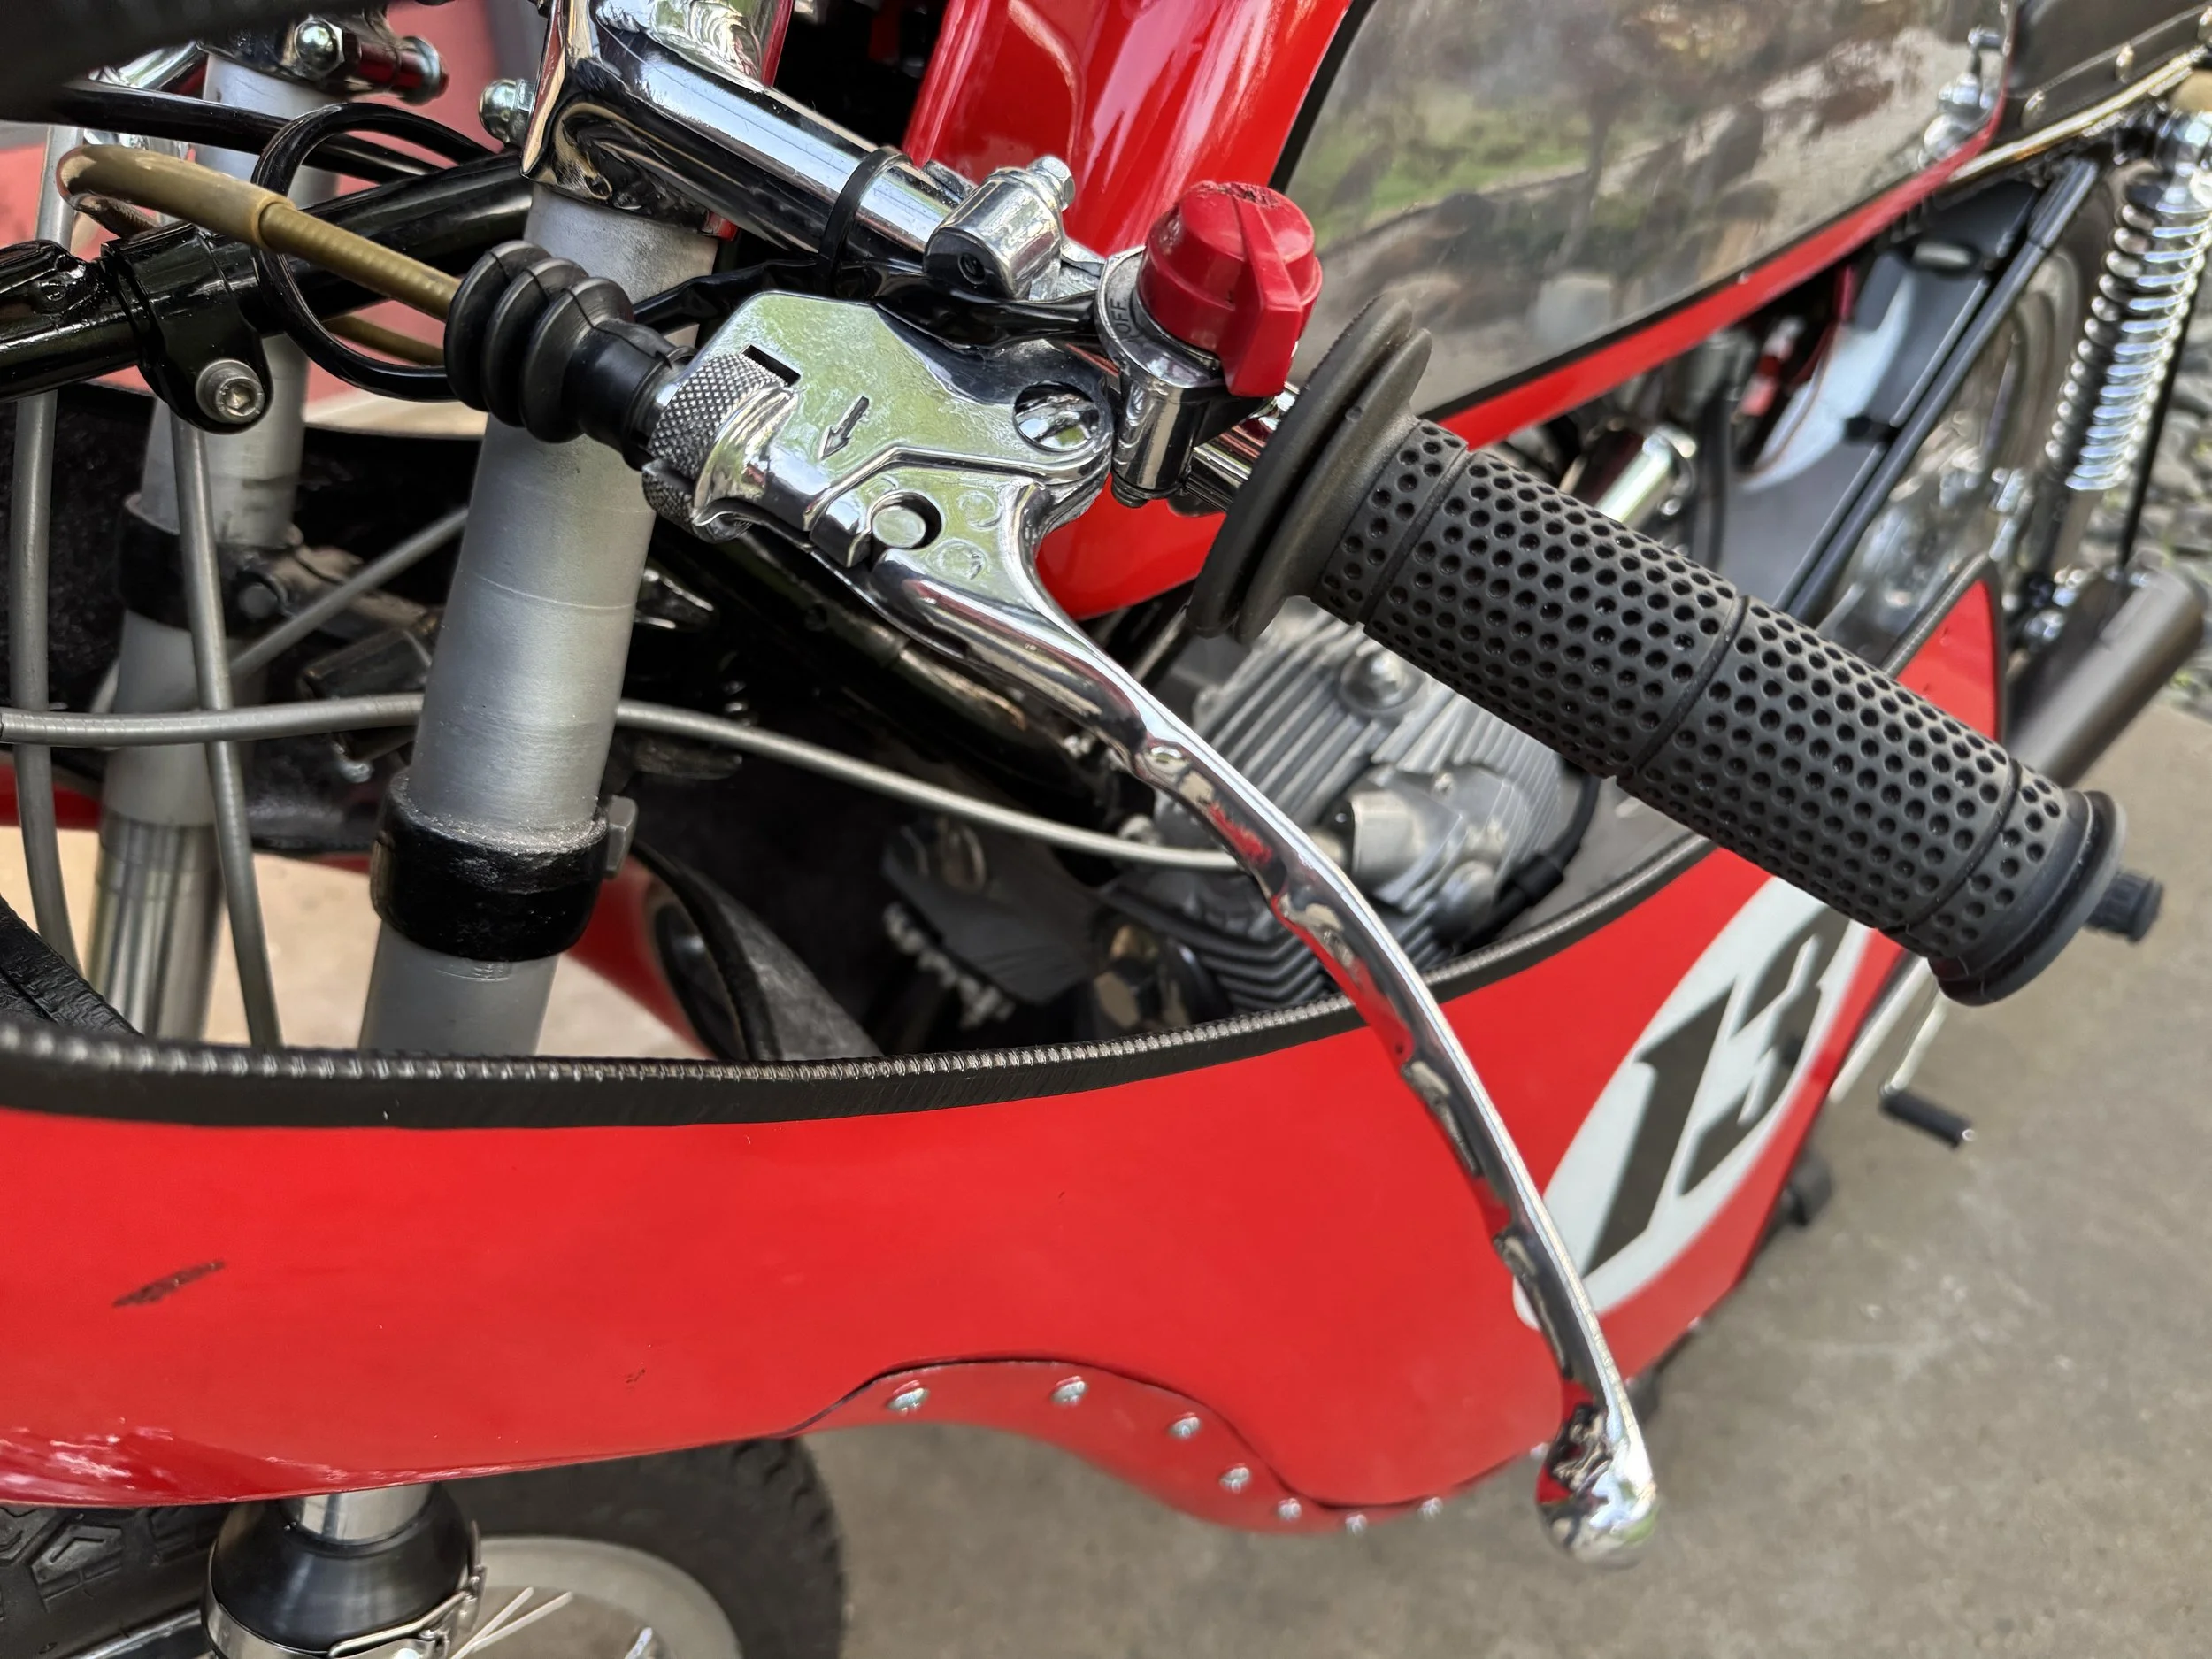
The Tomaselli clutch levers are so fine! A new cable bellows was found to finish it off, and the kill-switch body was high polished.
Steve had the seat cover made, and it is a beauty.
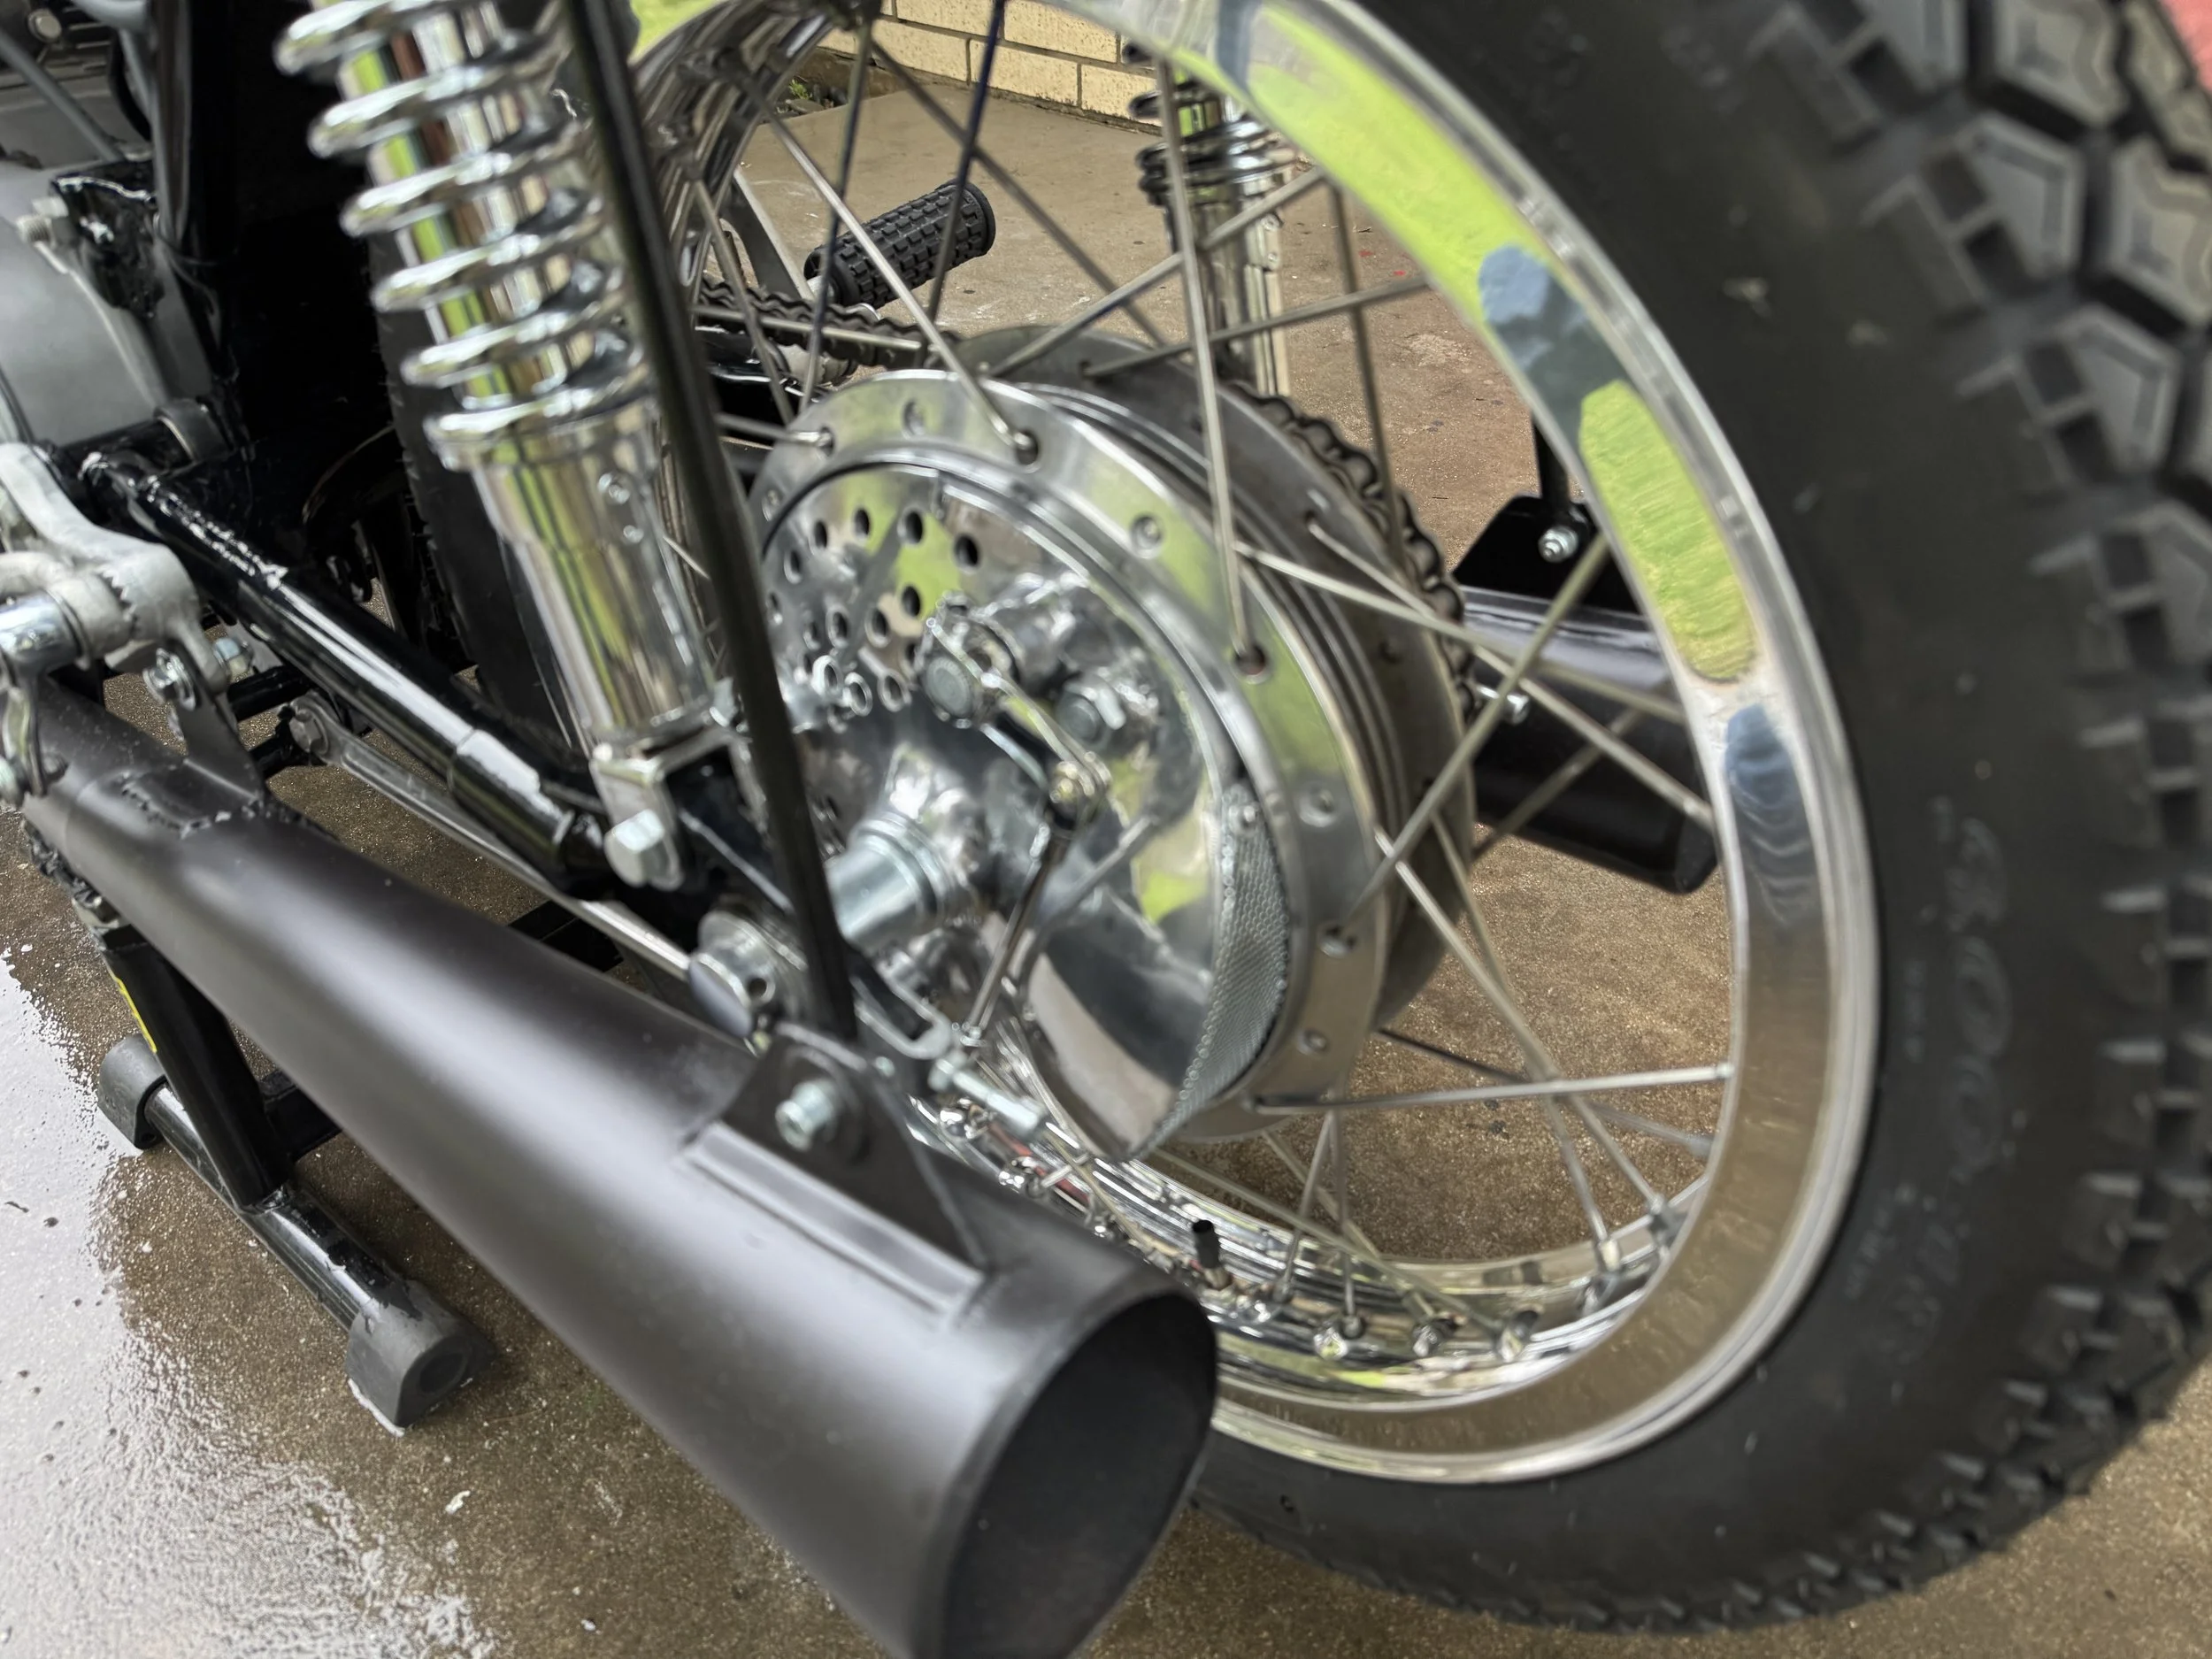
Not quite sure what it was made from, but parts of two different brake panels and a brake stay arm were put together to make the rear brake panel. After drilling venting holes, polishing, and getting the hardware plated, it looks a lot better. With the scoop facing the wrong direction to air flow, I felt the vent holes were needed to make it work.
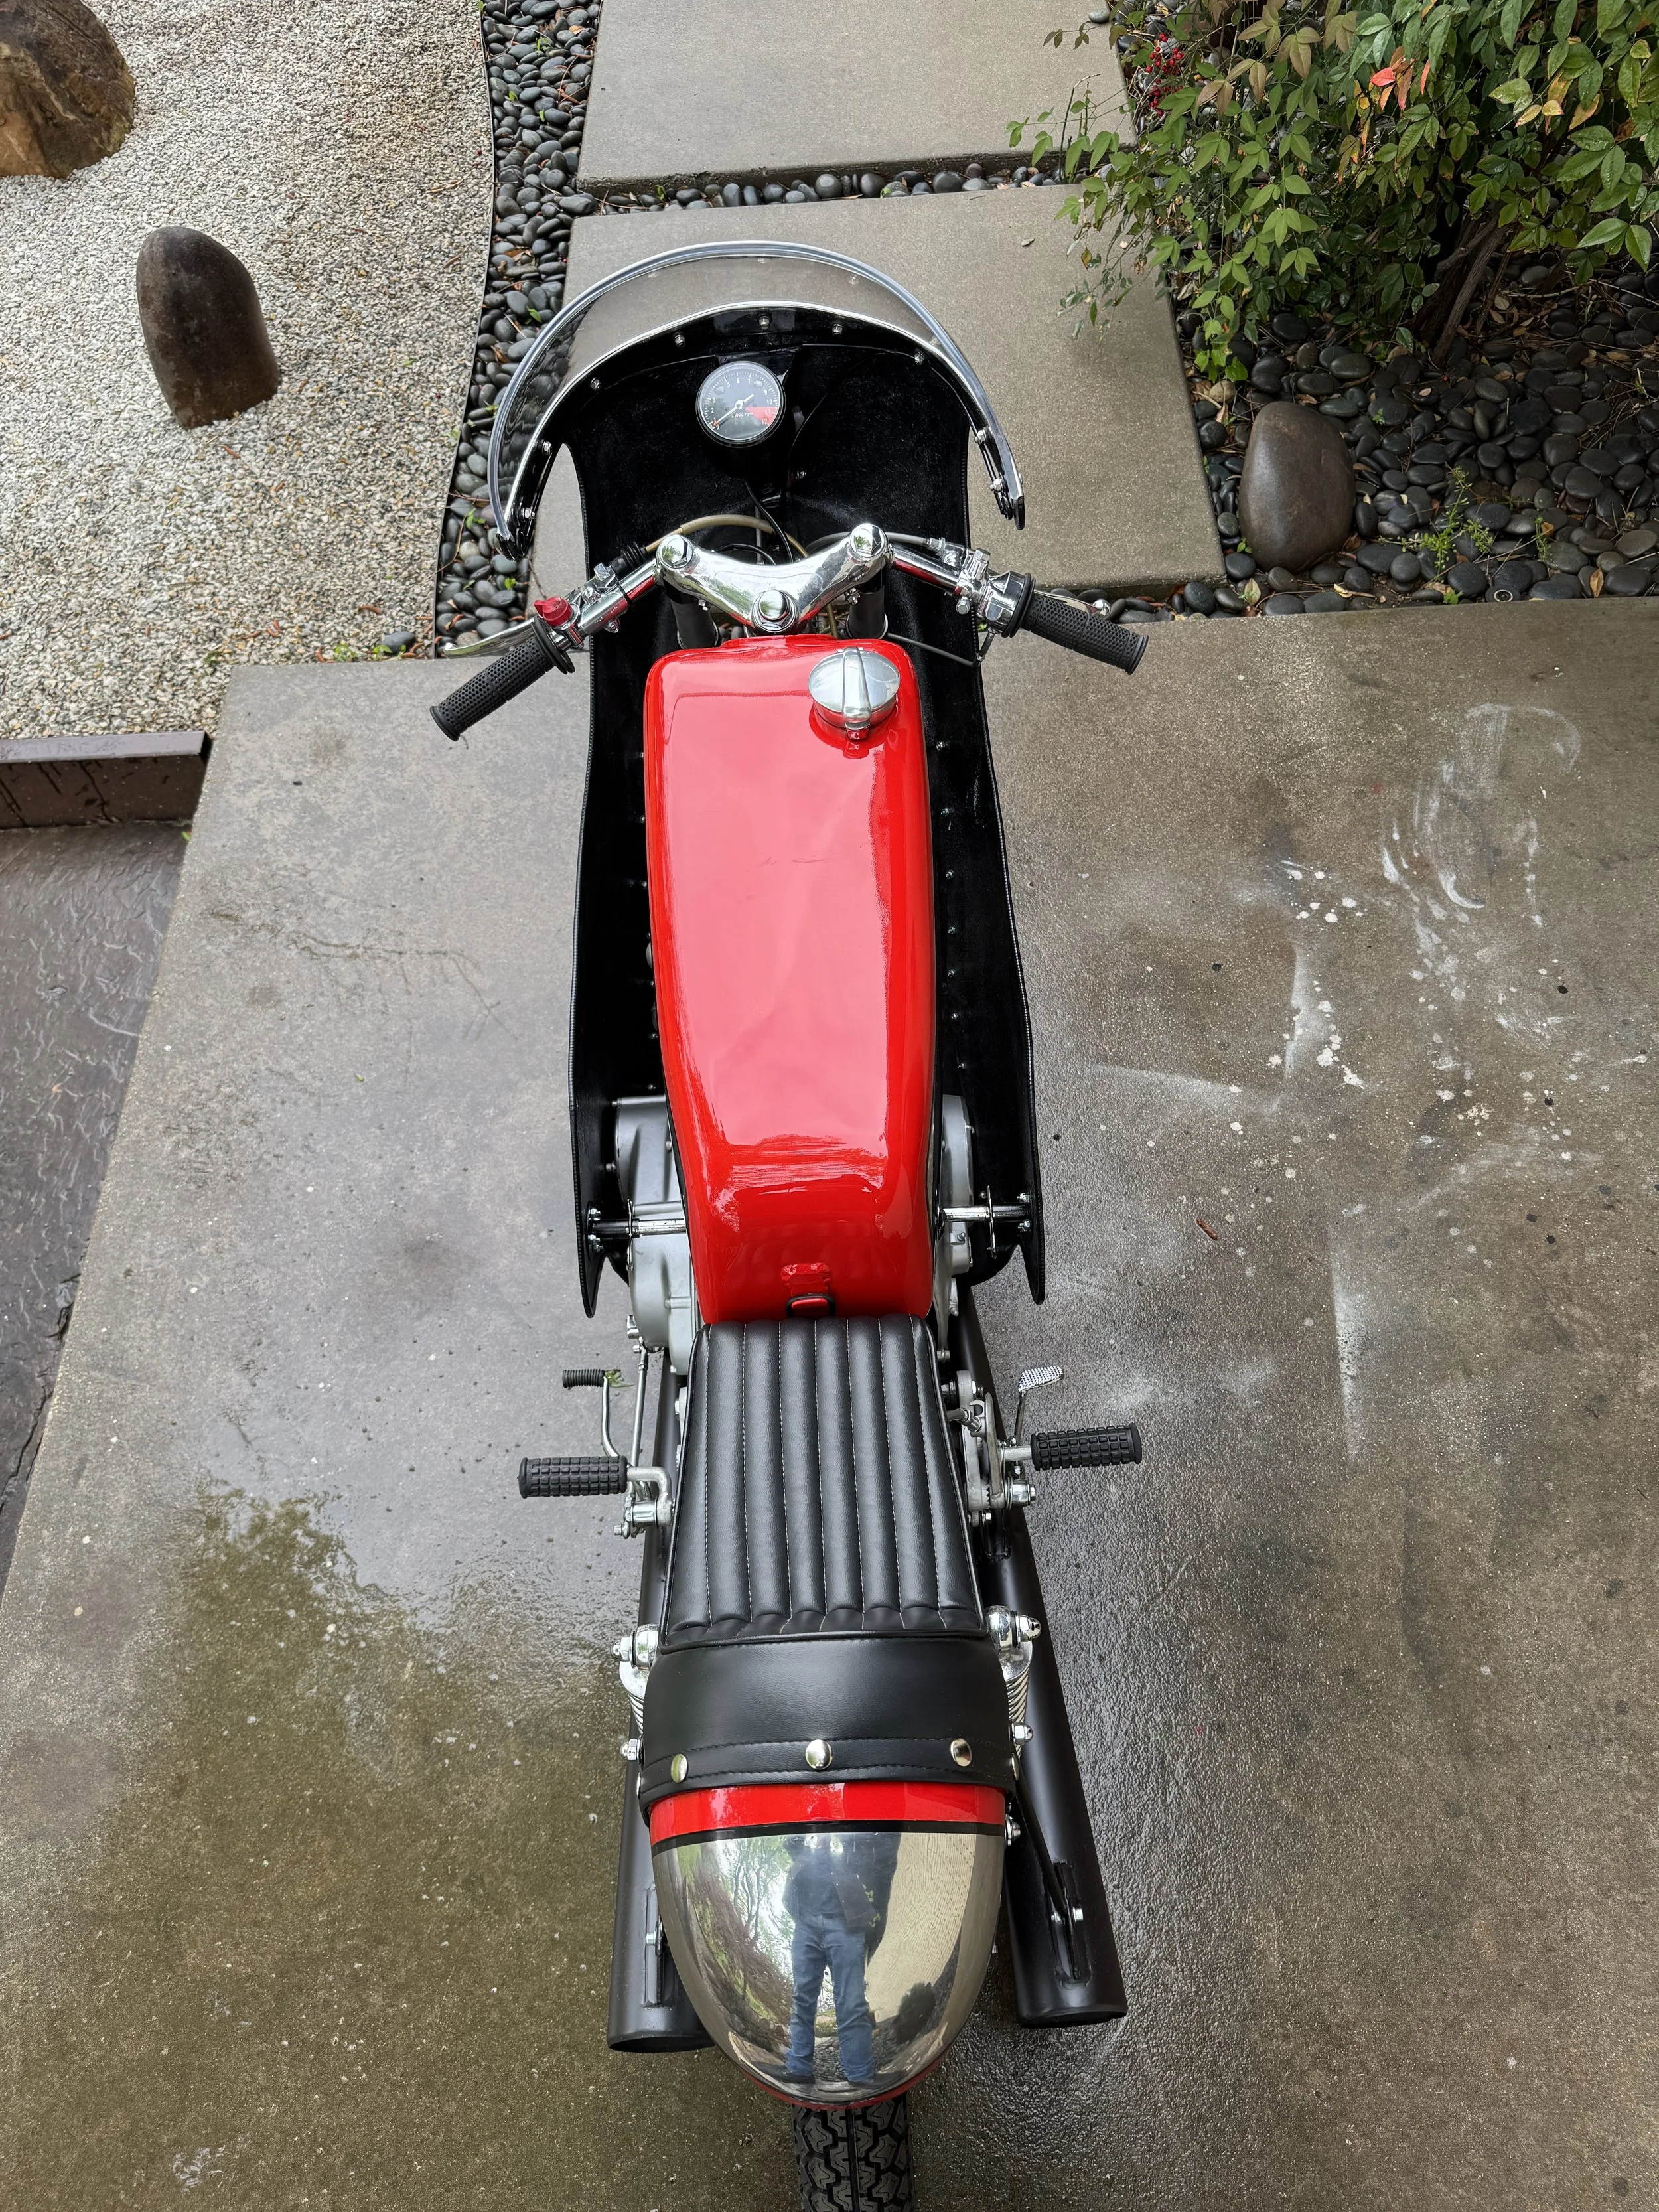
After the tank was cushioned on the bottom, a simple loop over the rear hook secures the tank.
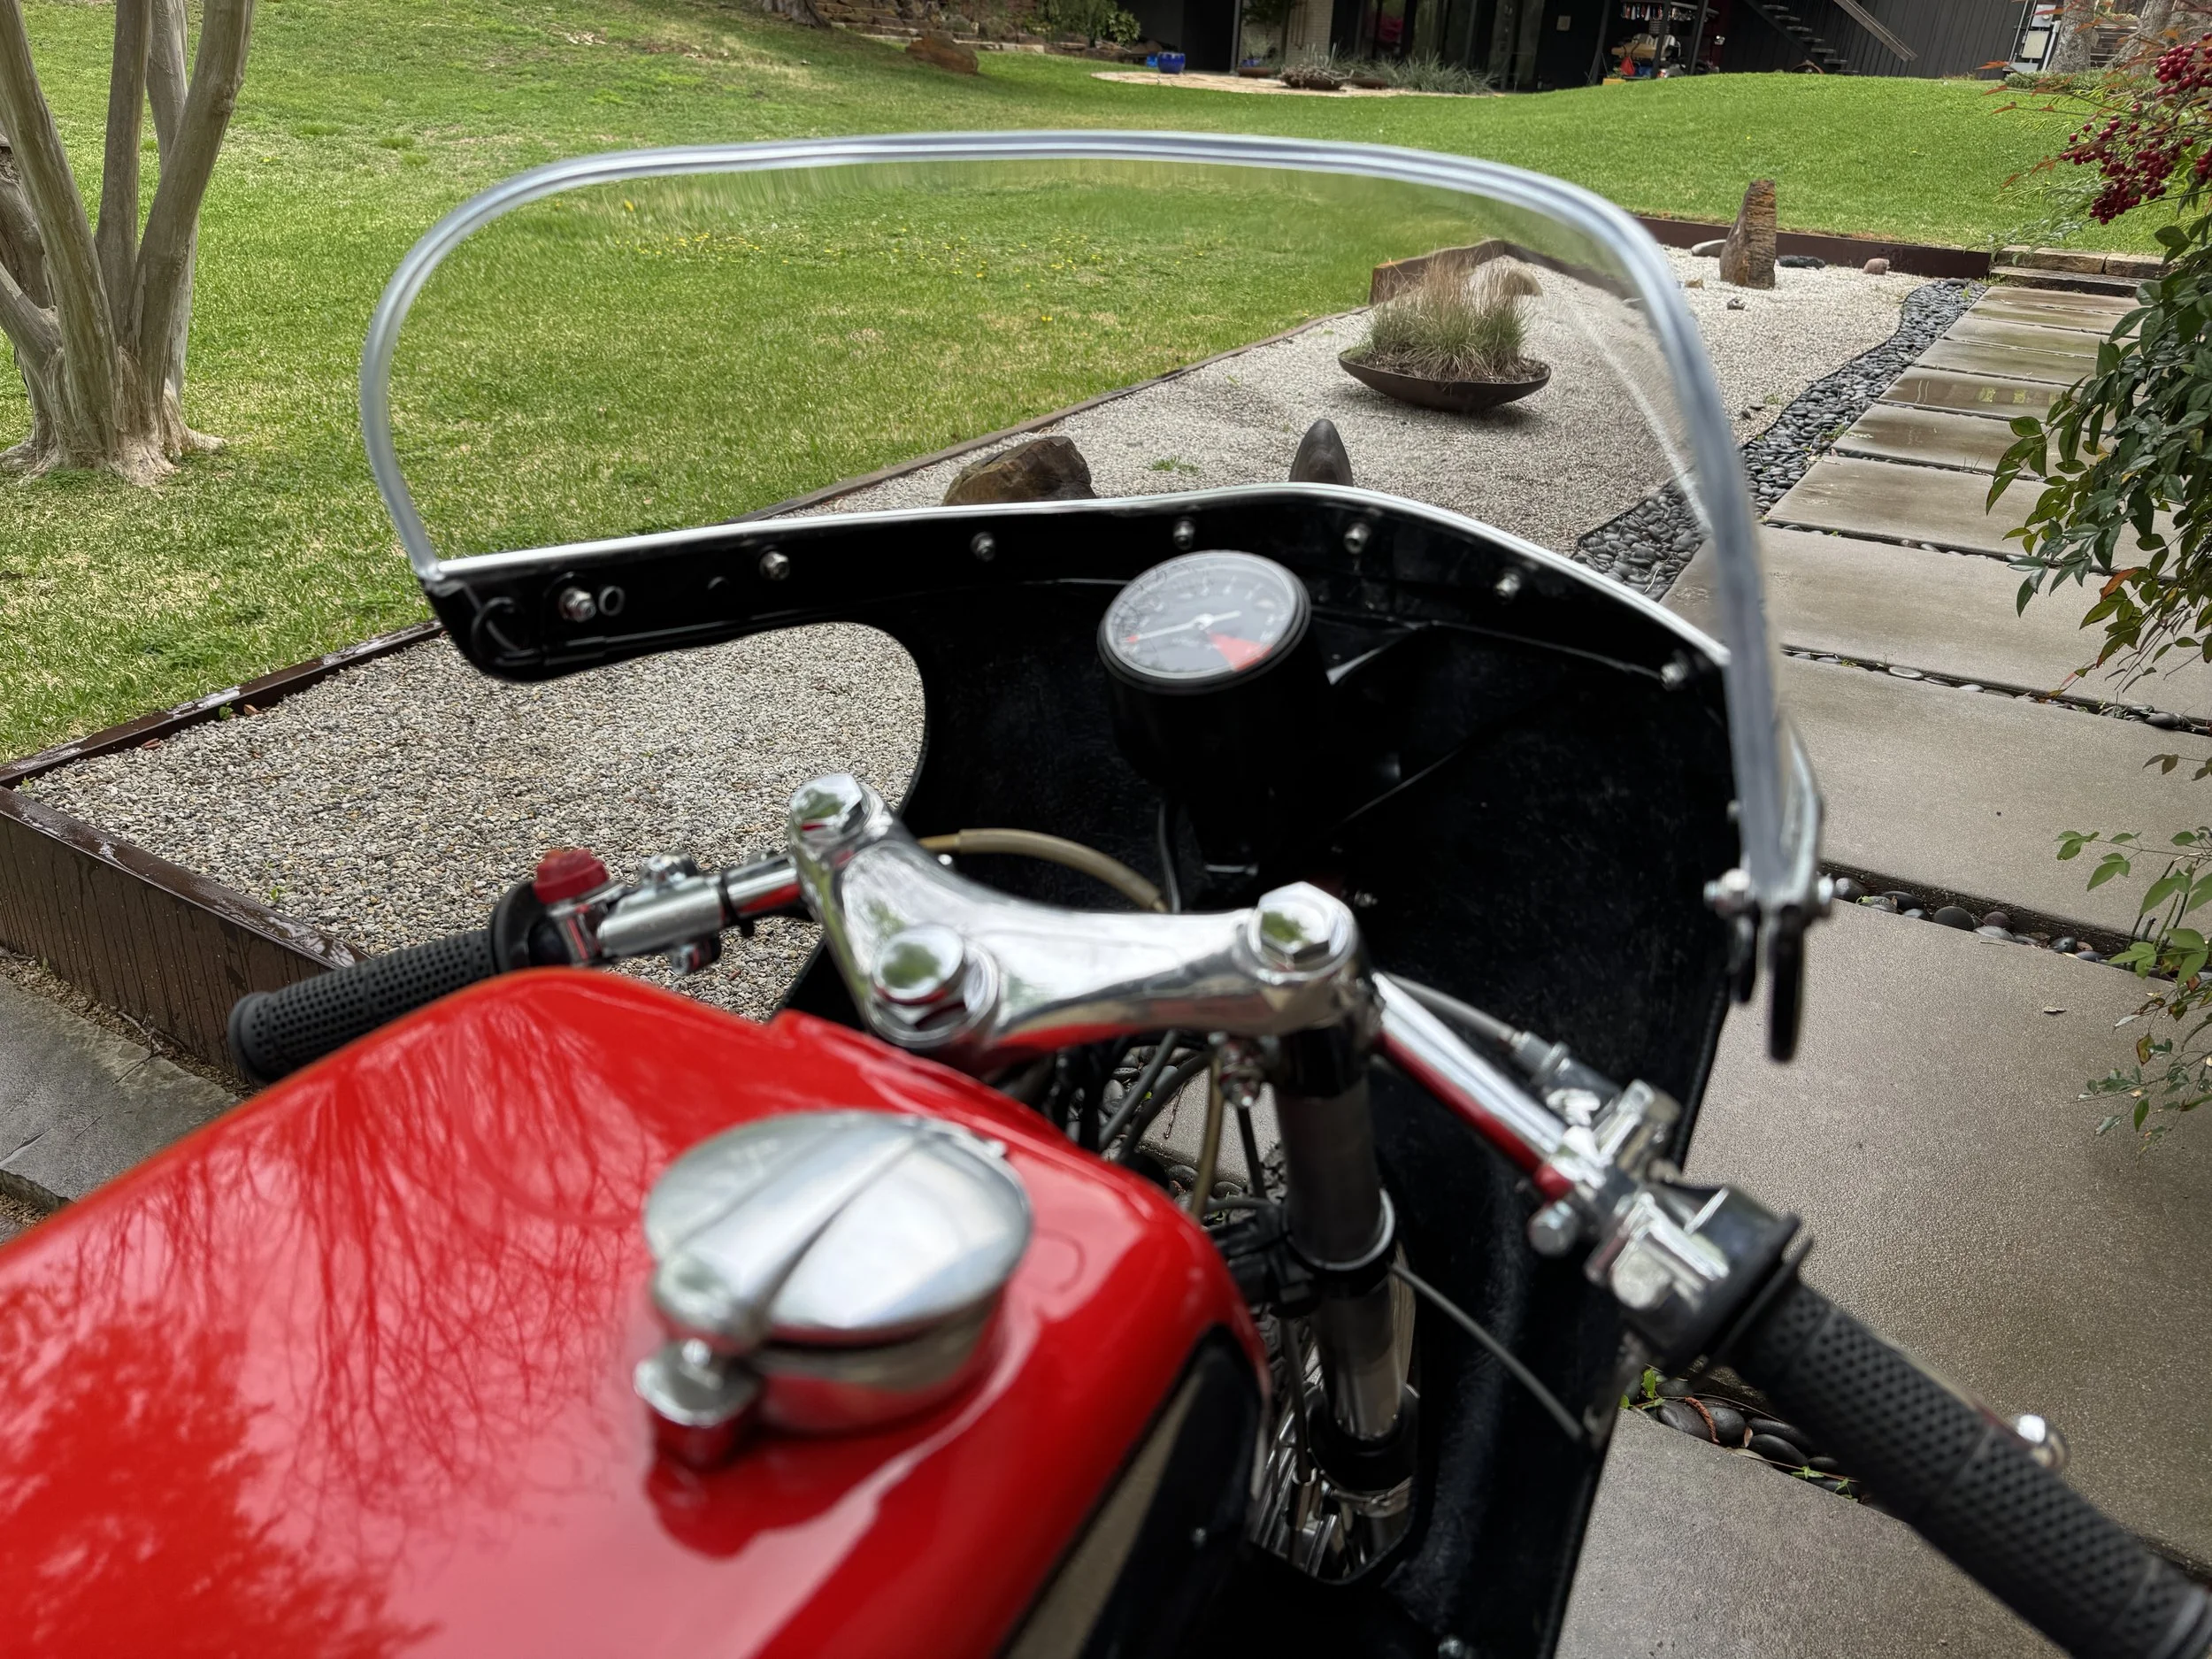
So glad to find the clear windshield.
One of the only pictures I got of the stainless cable stays. They keep the cables well away from the tires.