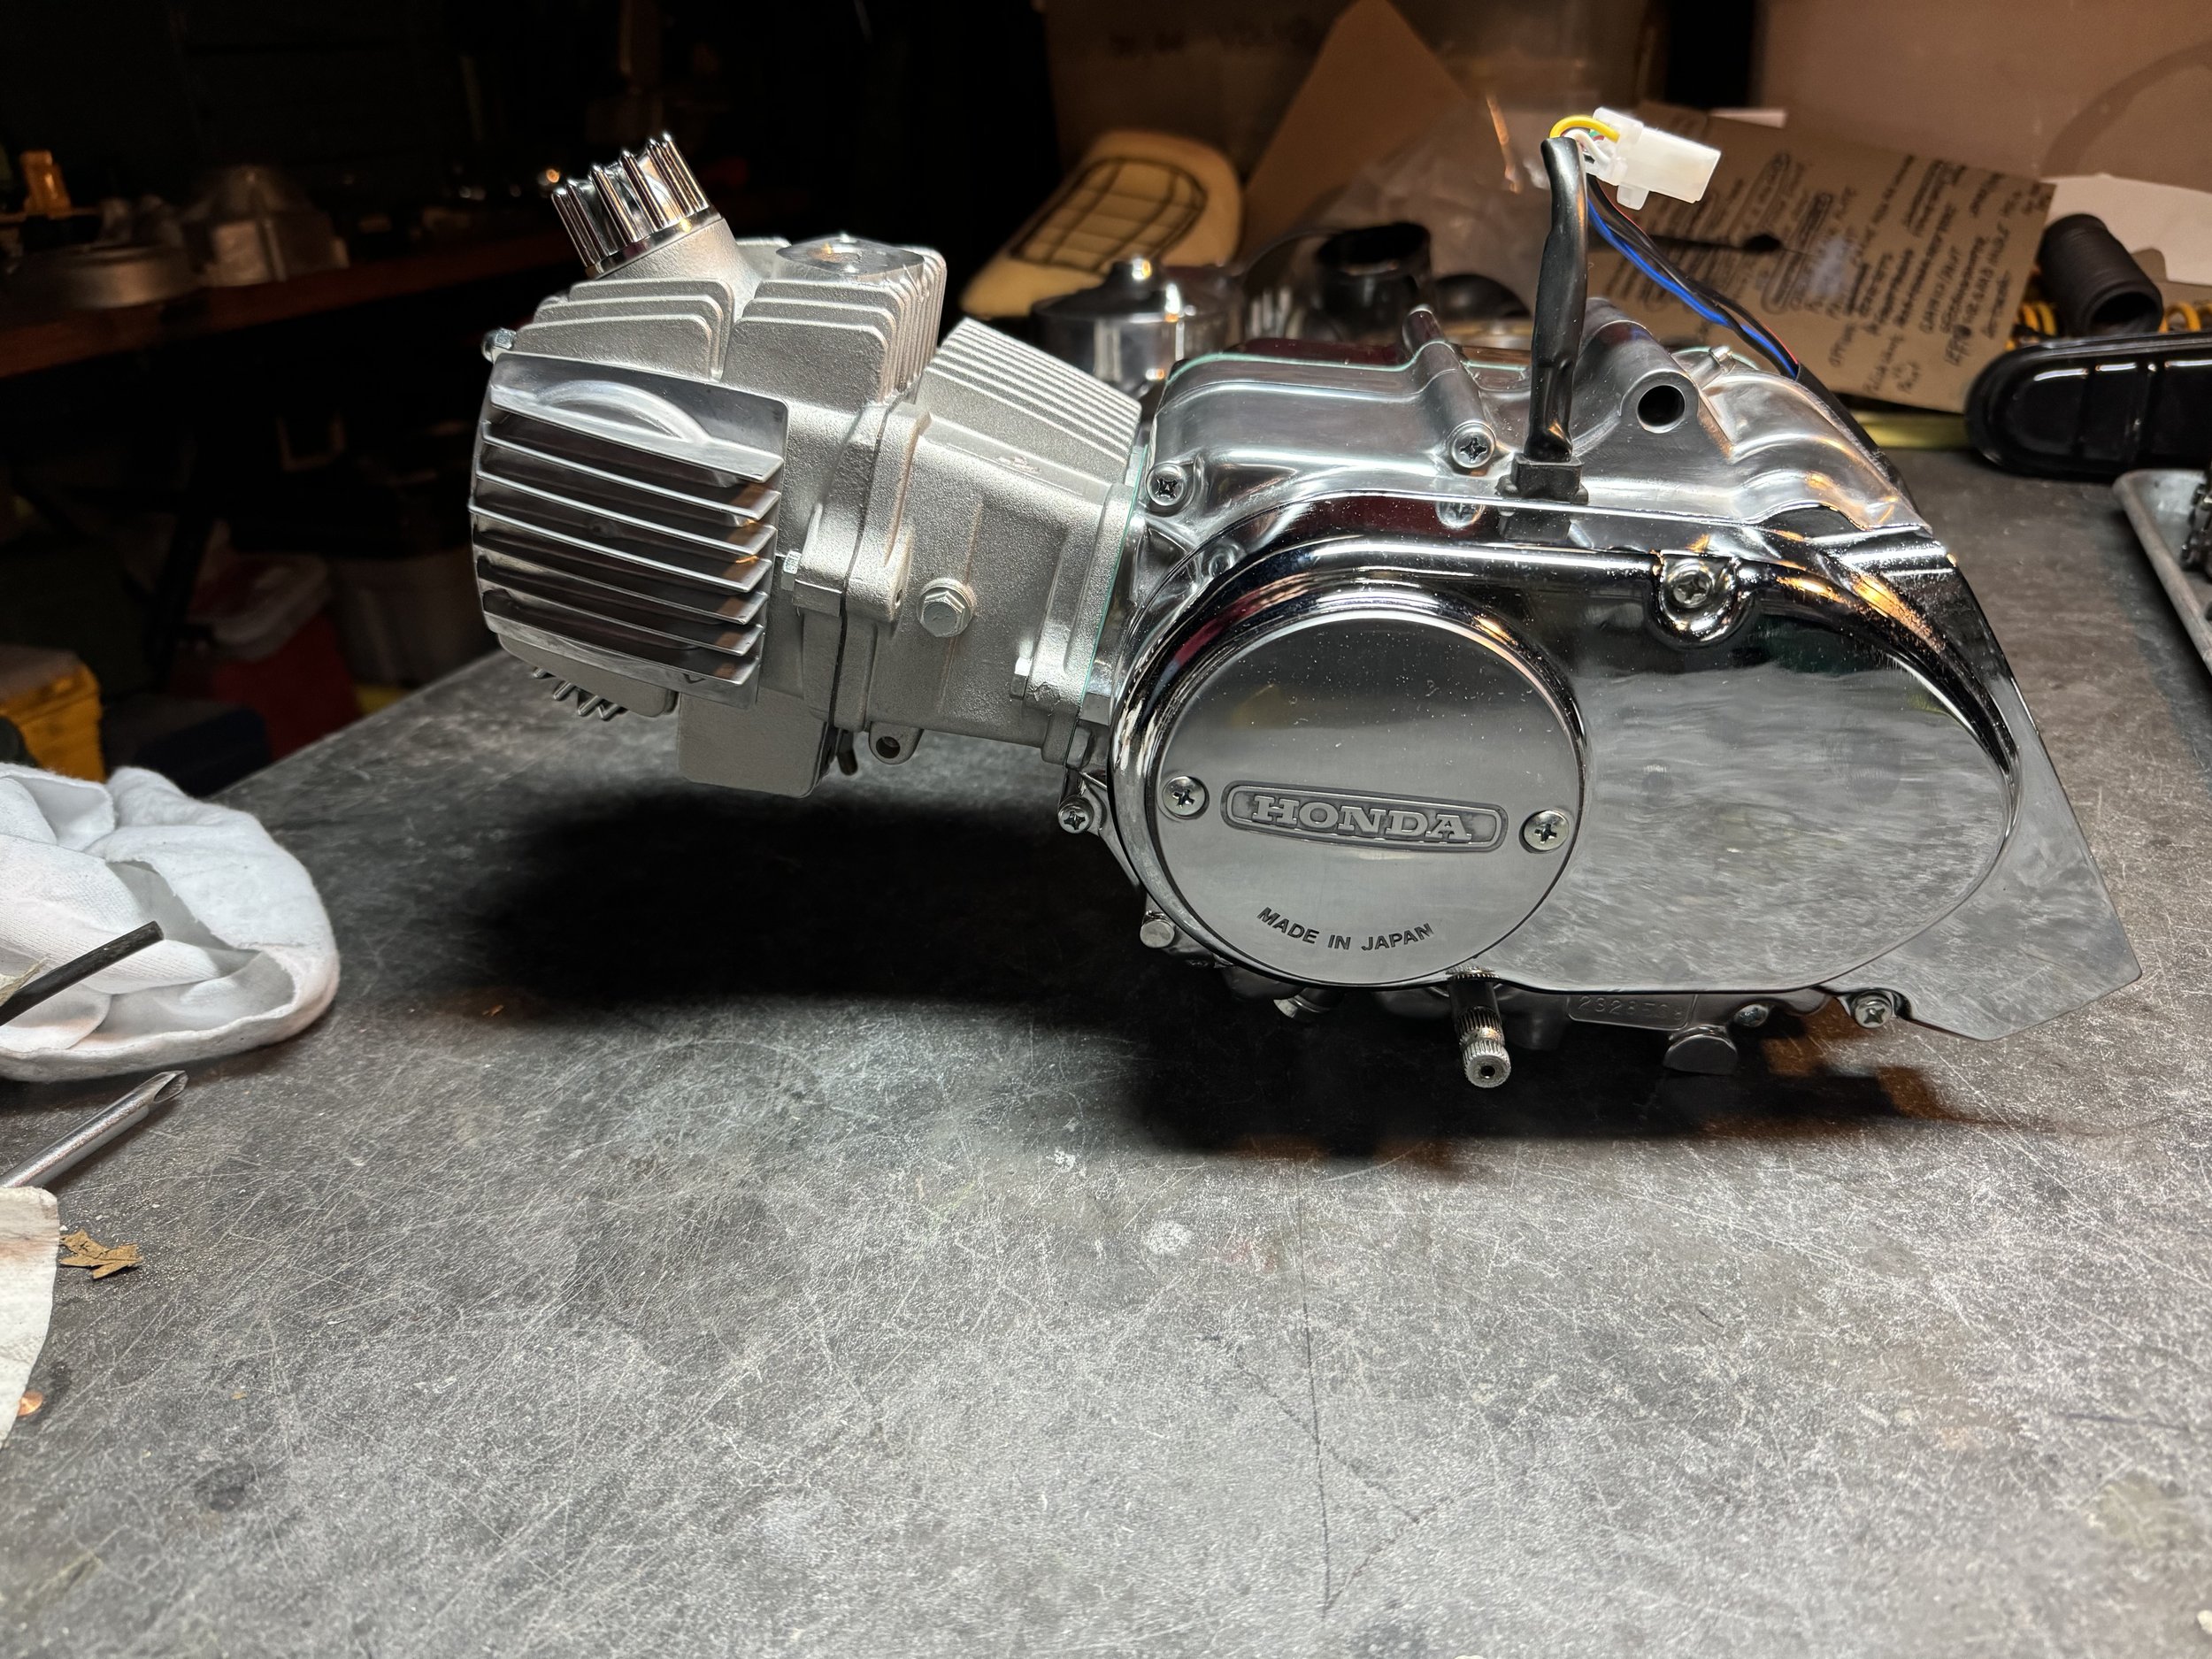
With parts still out for finishes, attention was turned to the engine. The plan was to give it some more power with an 88cc bore kit, and race head and cam. This is a familiar upgrade, and delivers the extra punch needed to move a full-sized adult. Some bling was added as well, with polished engine cases and chromed side covers. The stator was upgraded to a 12Volt system with CDI ignition. A high volume oil pump and heavy duty clutch round out the internal upgrades. Wear items, seals and gaskets were replaced, and all hardware was either new or replated OEM.

The 88cc big bore kit and race head are from Hondatrailbikes.com, as are the heavy duty clutch and high volume oil pump. The chromed clutch and magneto covers were ones I had saved for a personal build, but decided to let go for this one. With the black of the brush guard, chain guard, footpeg assembly, and exhaust, and the deep dark tone of the paint, something was needed to balance it out. The heat shields on the muffler and brush guard are being chromed as well, to keep the dark colors from dominating too much. The extra wires coming out of the engine harness are for the CDI module.
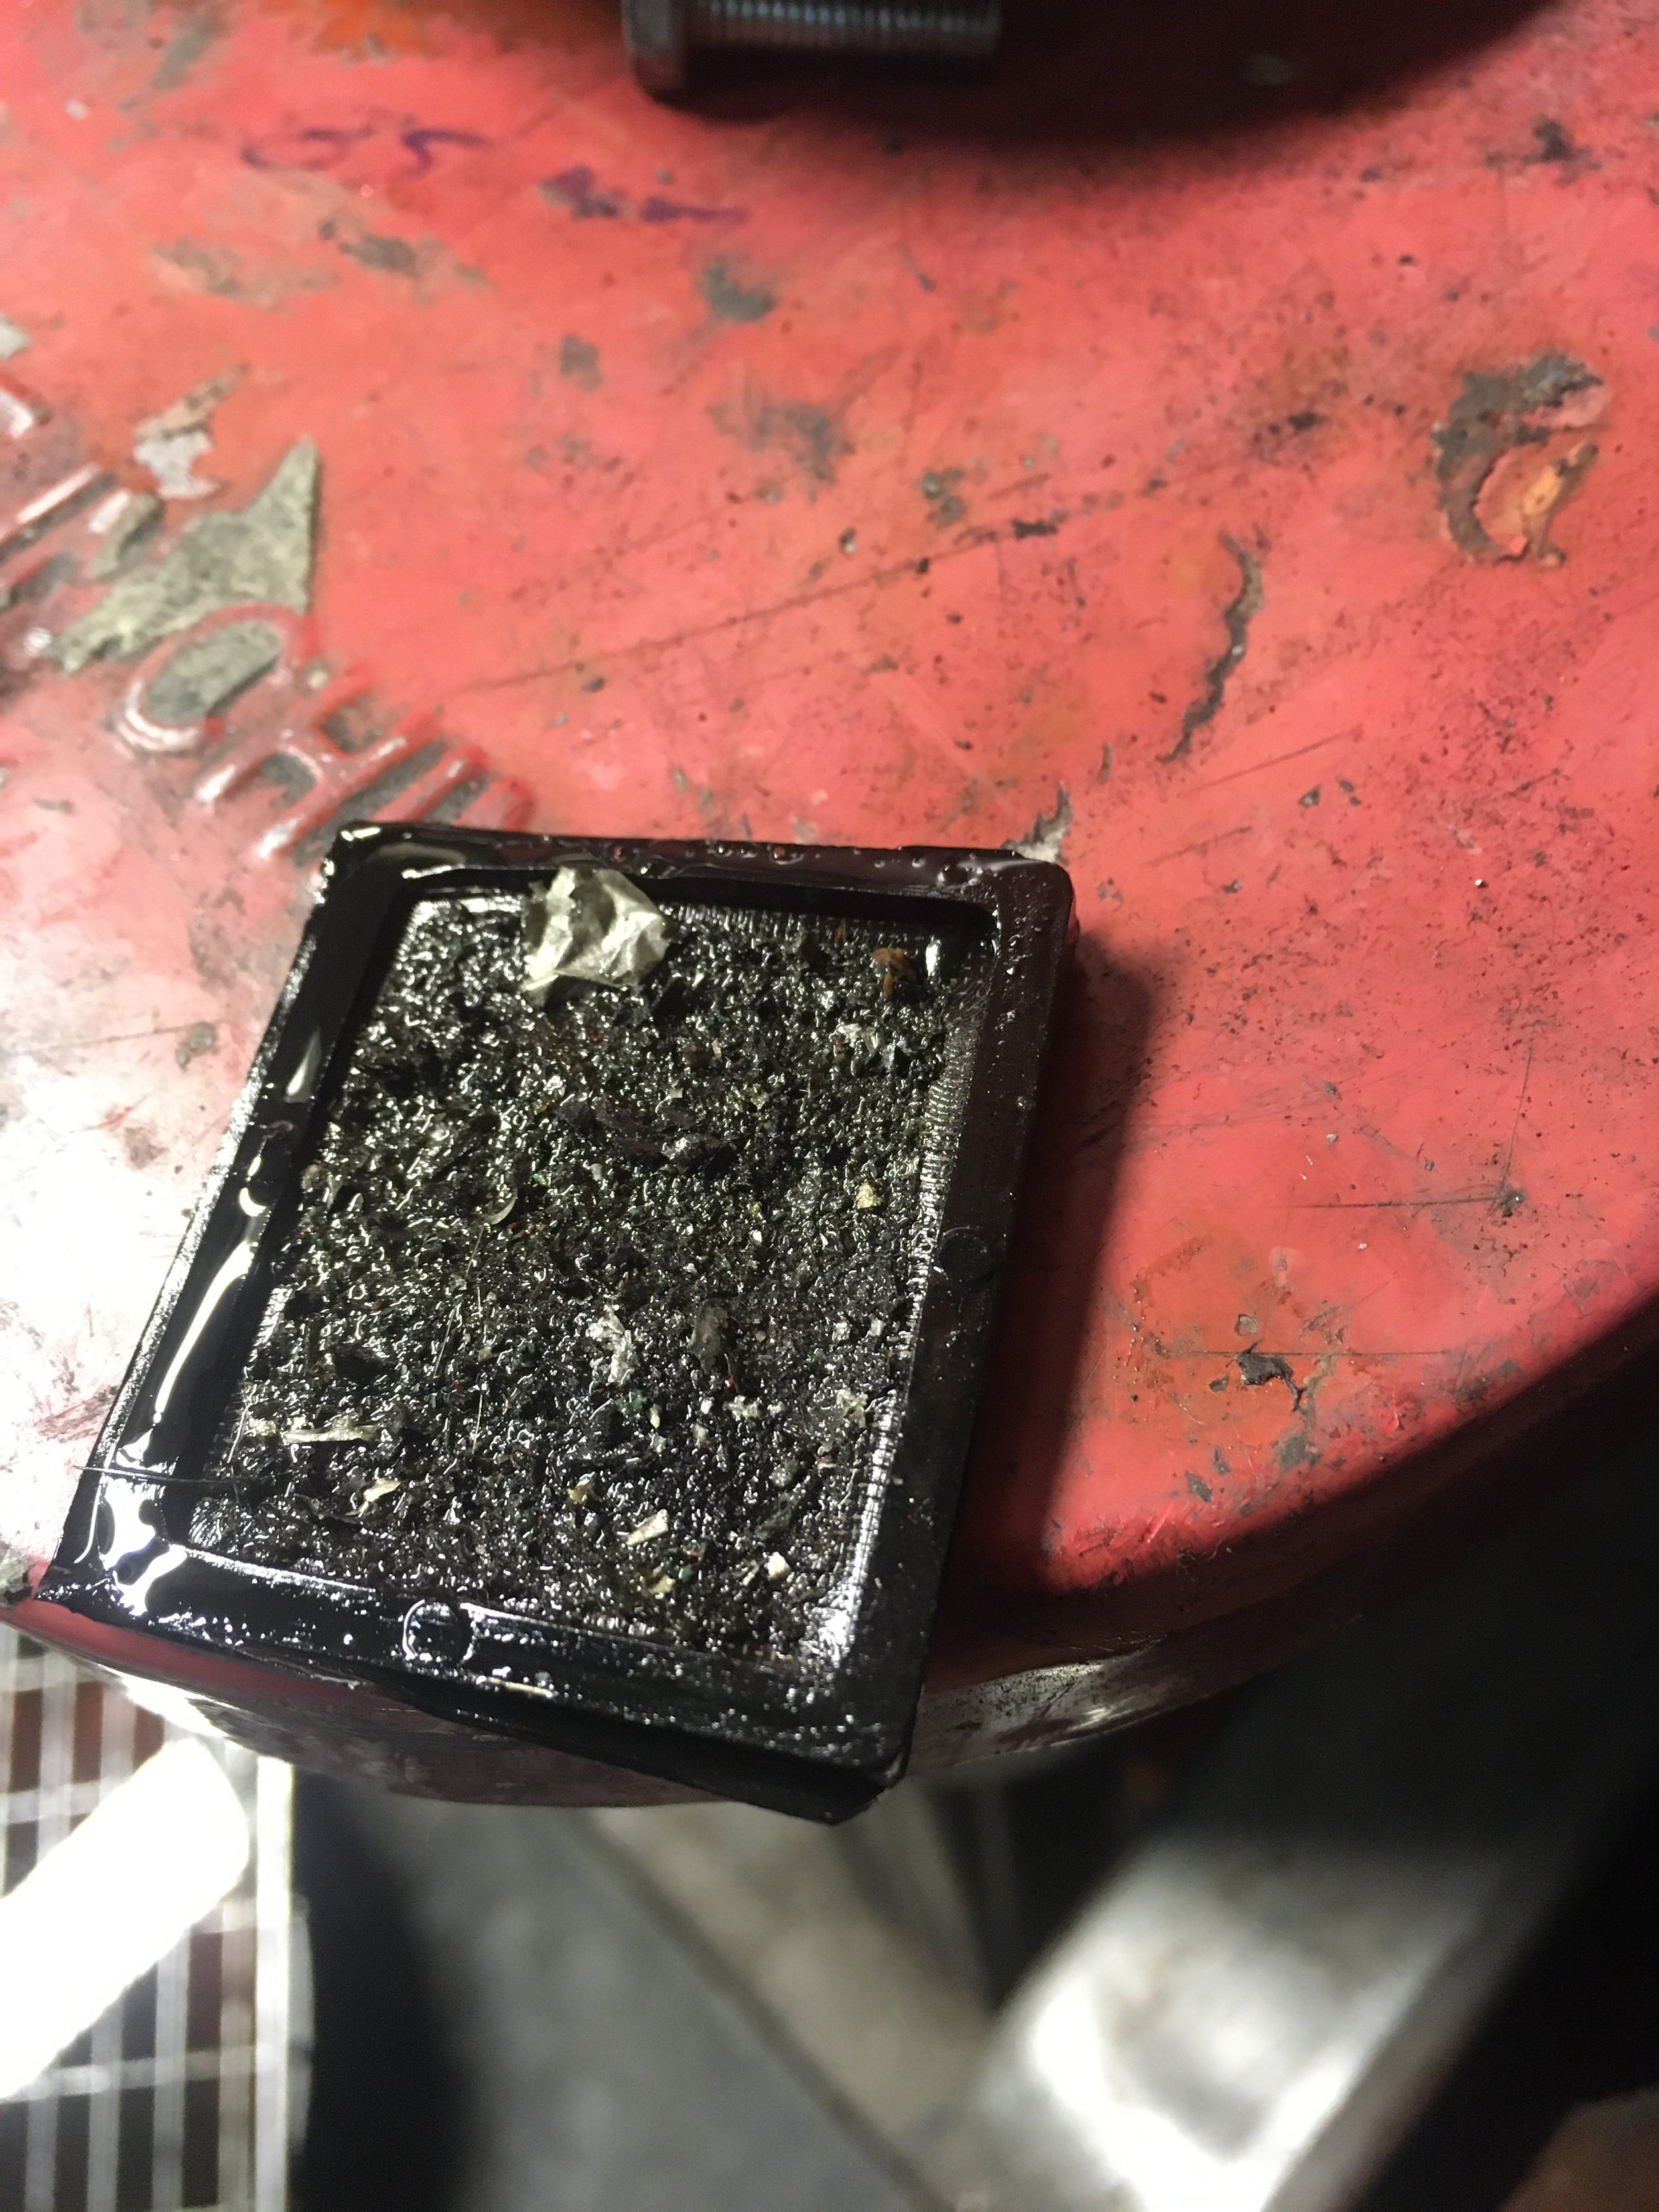
Without a doubt, the dirtiest oil filter I have ever seen on over sixty rebuilds of these small Honda horizontals. Normally, this screen is see-through, and often with little or no debris even on high milage engines. This almost impenetrable screen would have been starving out the clutch and head portion of the engine…good thing they were replaced. This kind of debris is likely to be gasket scrapings, left inside after previous work done on the engine. The center case of the engine had an aftermarket gasket, and the clutch had been removed as well, indicating the engine was completely split open at some point.
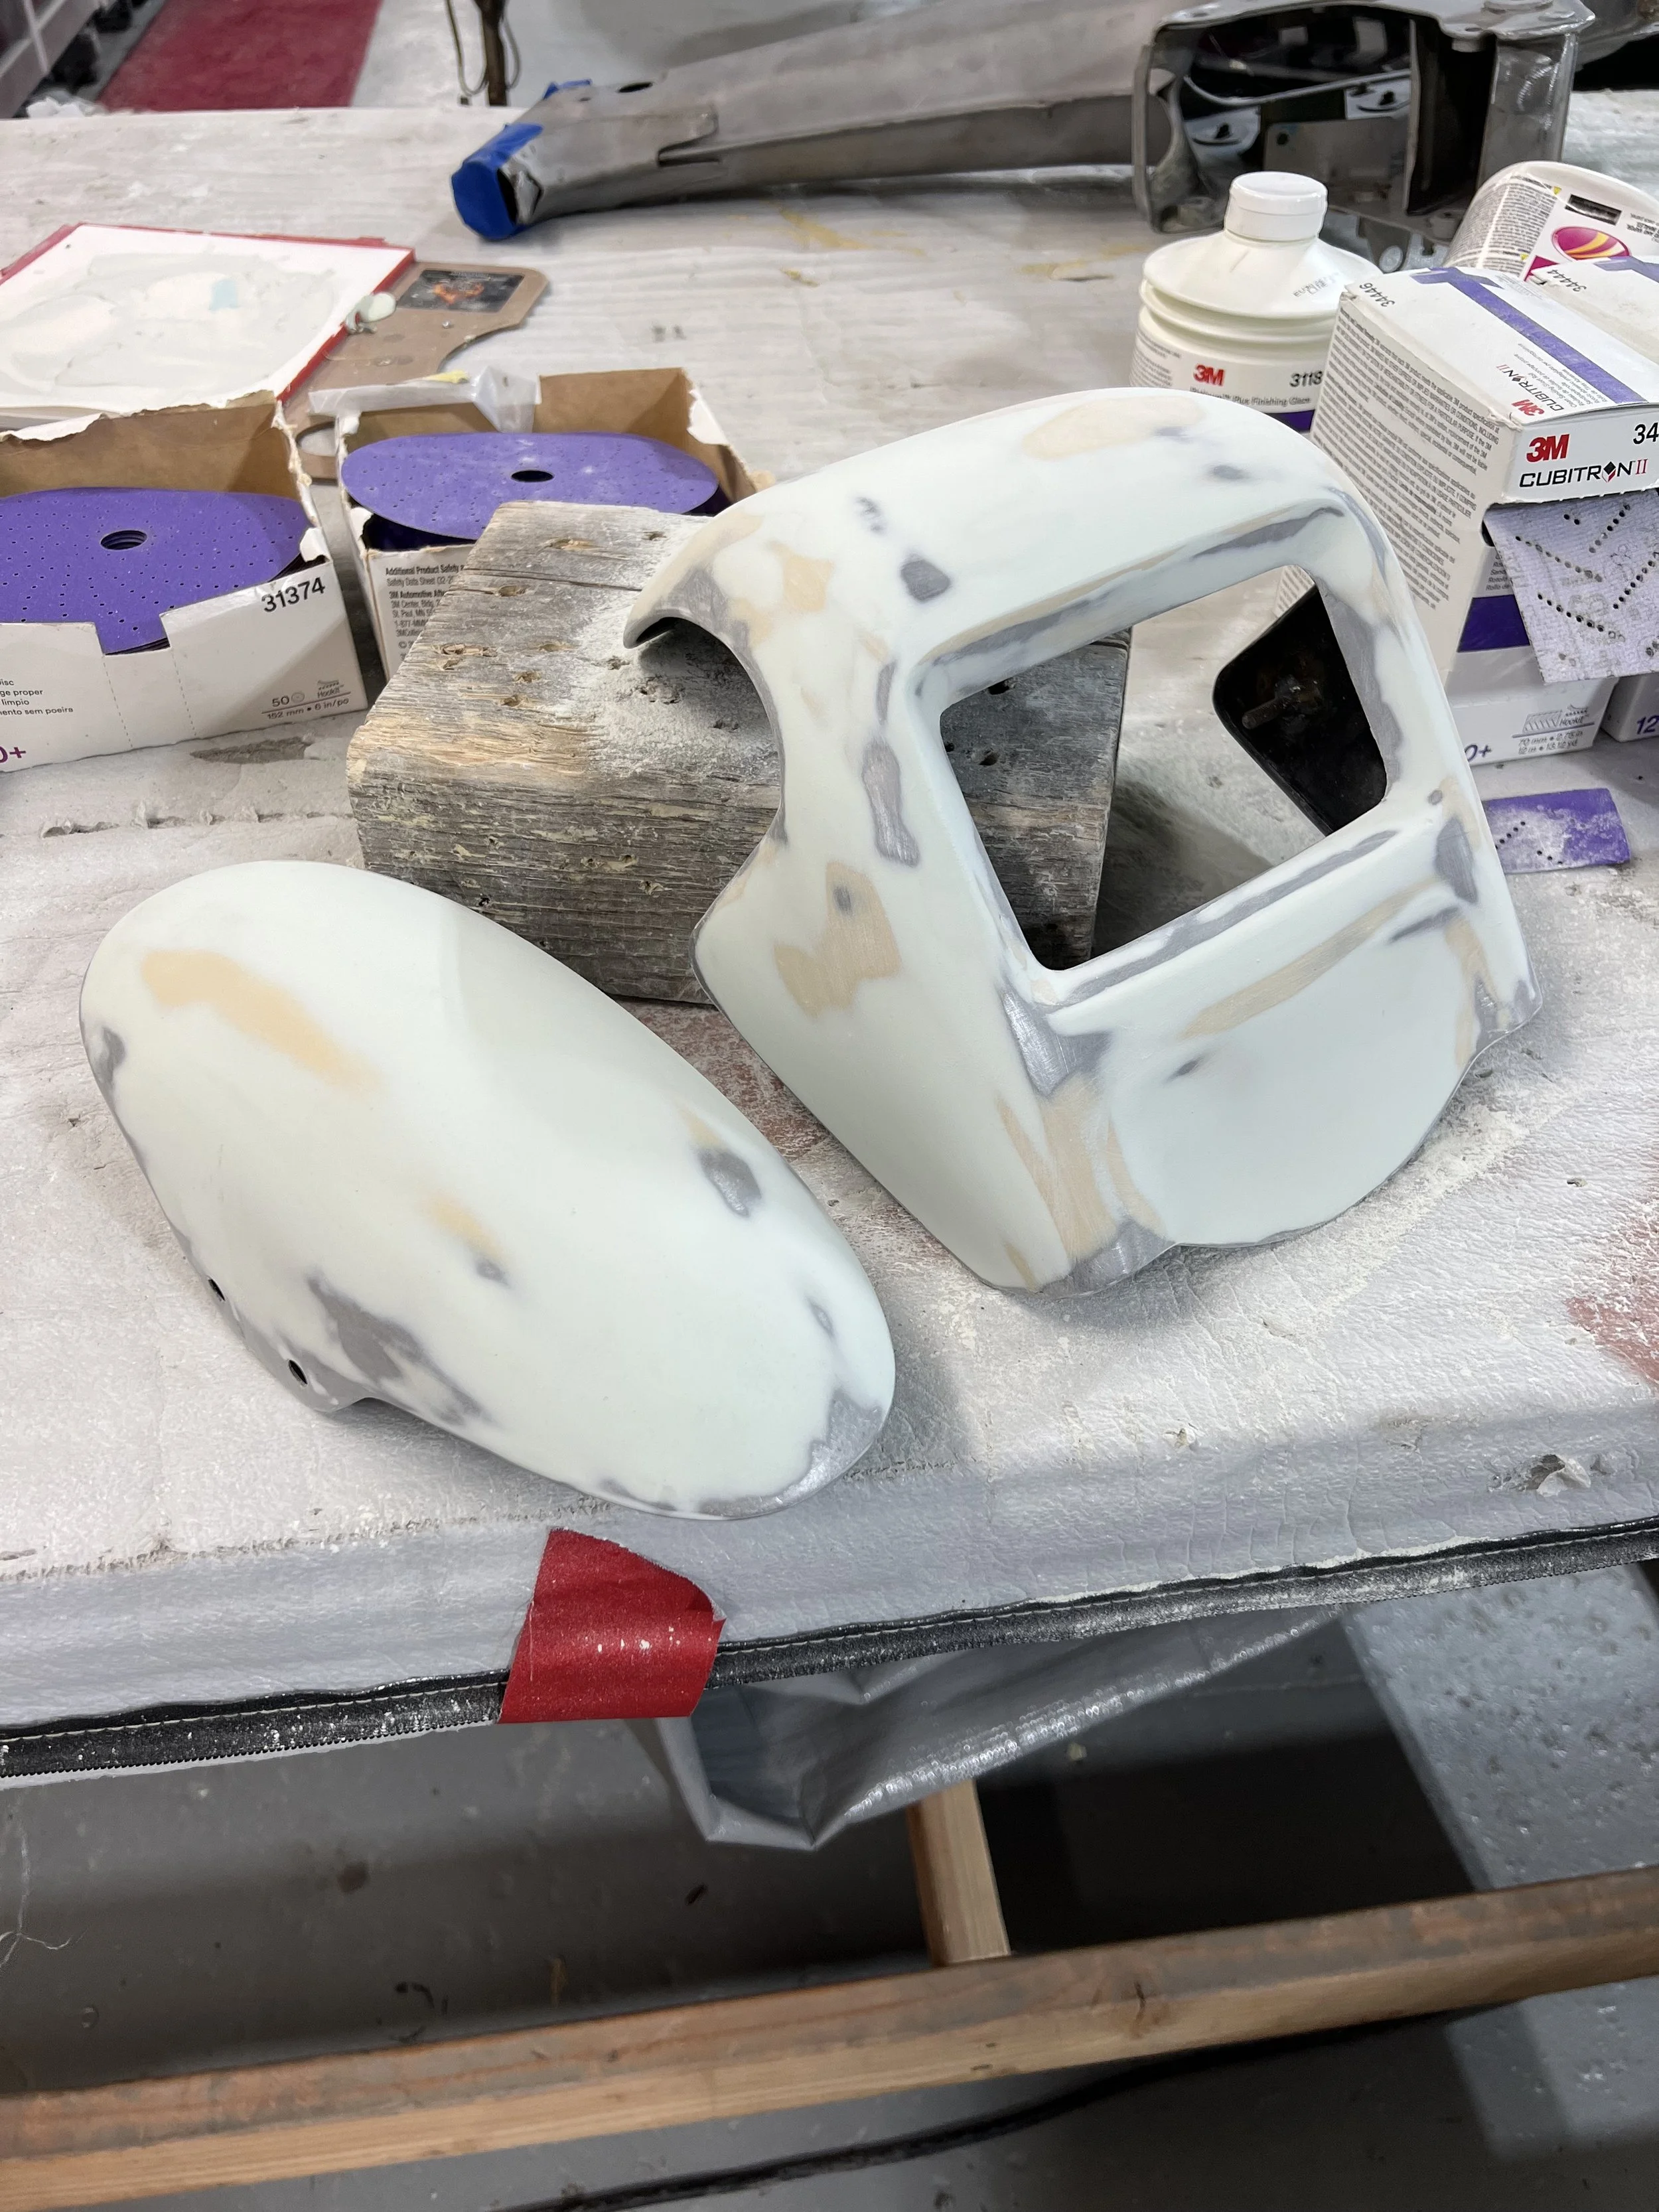
Everything on this bike had been thoroughly painted, and required stripping. The engine was no exception, having a thick, partly peeling clear coat-base coat job. Normally, the case halves are unpainted from the factory, and the side covers are painted. The glued-in neutral contact switch can be seen in the upper left corner of the picture.

Just waiting on body parts to be painted. A lot of times, I build linearly, stopping at various points to do the polishing or engine building. It is nice to have these jobs done and waiting. Hopefully, final assembly will be quicker because of it.

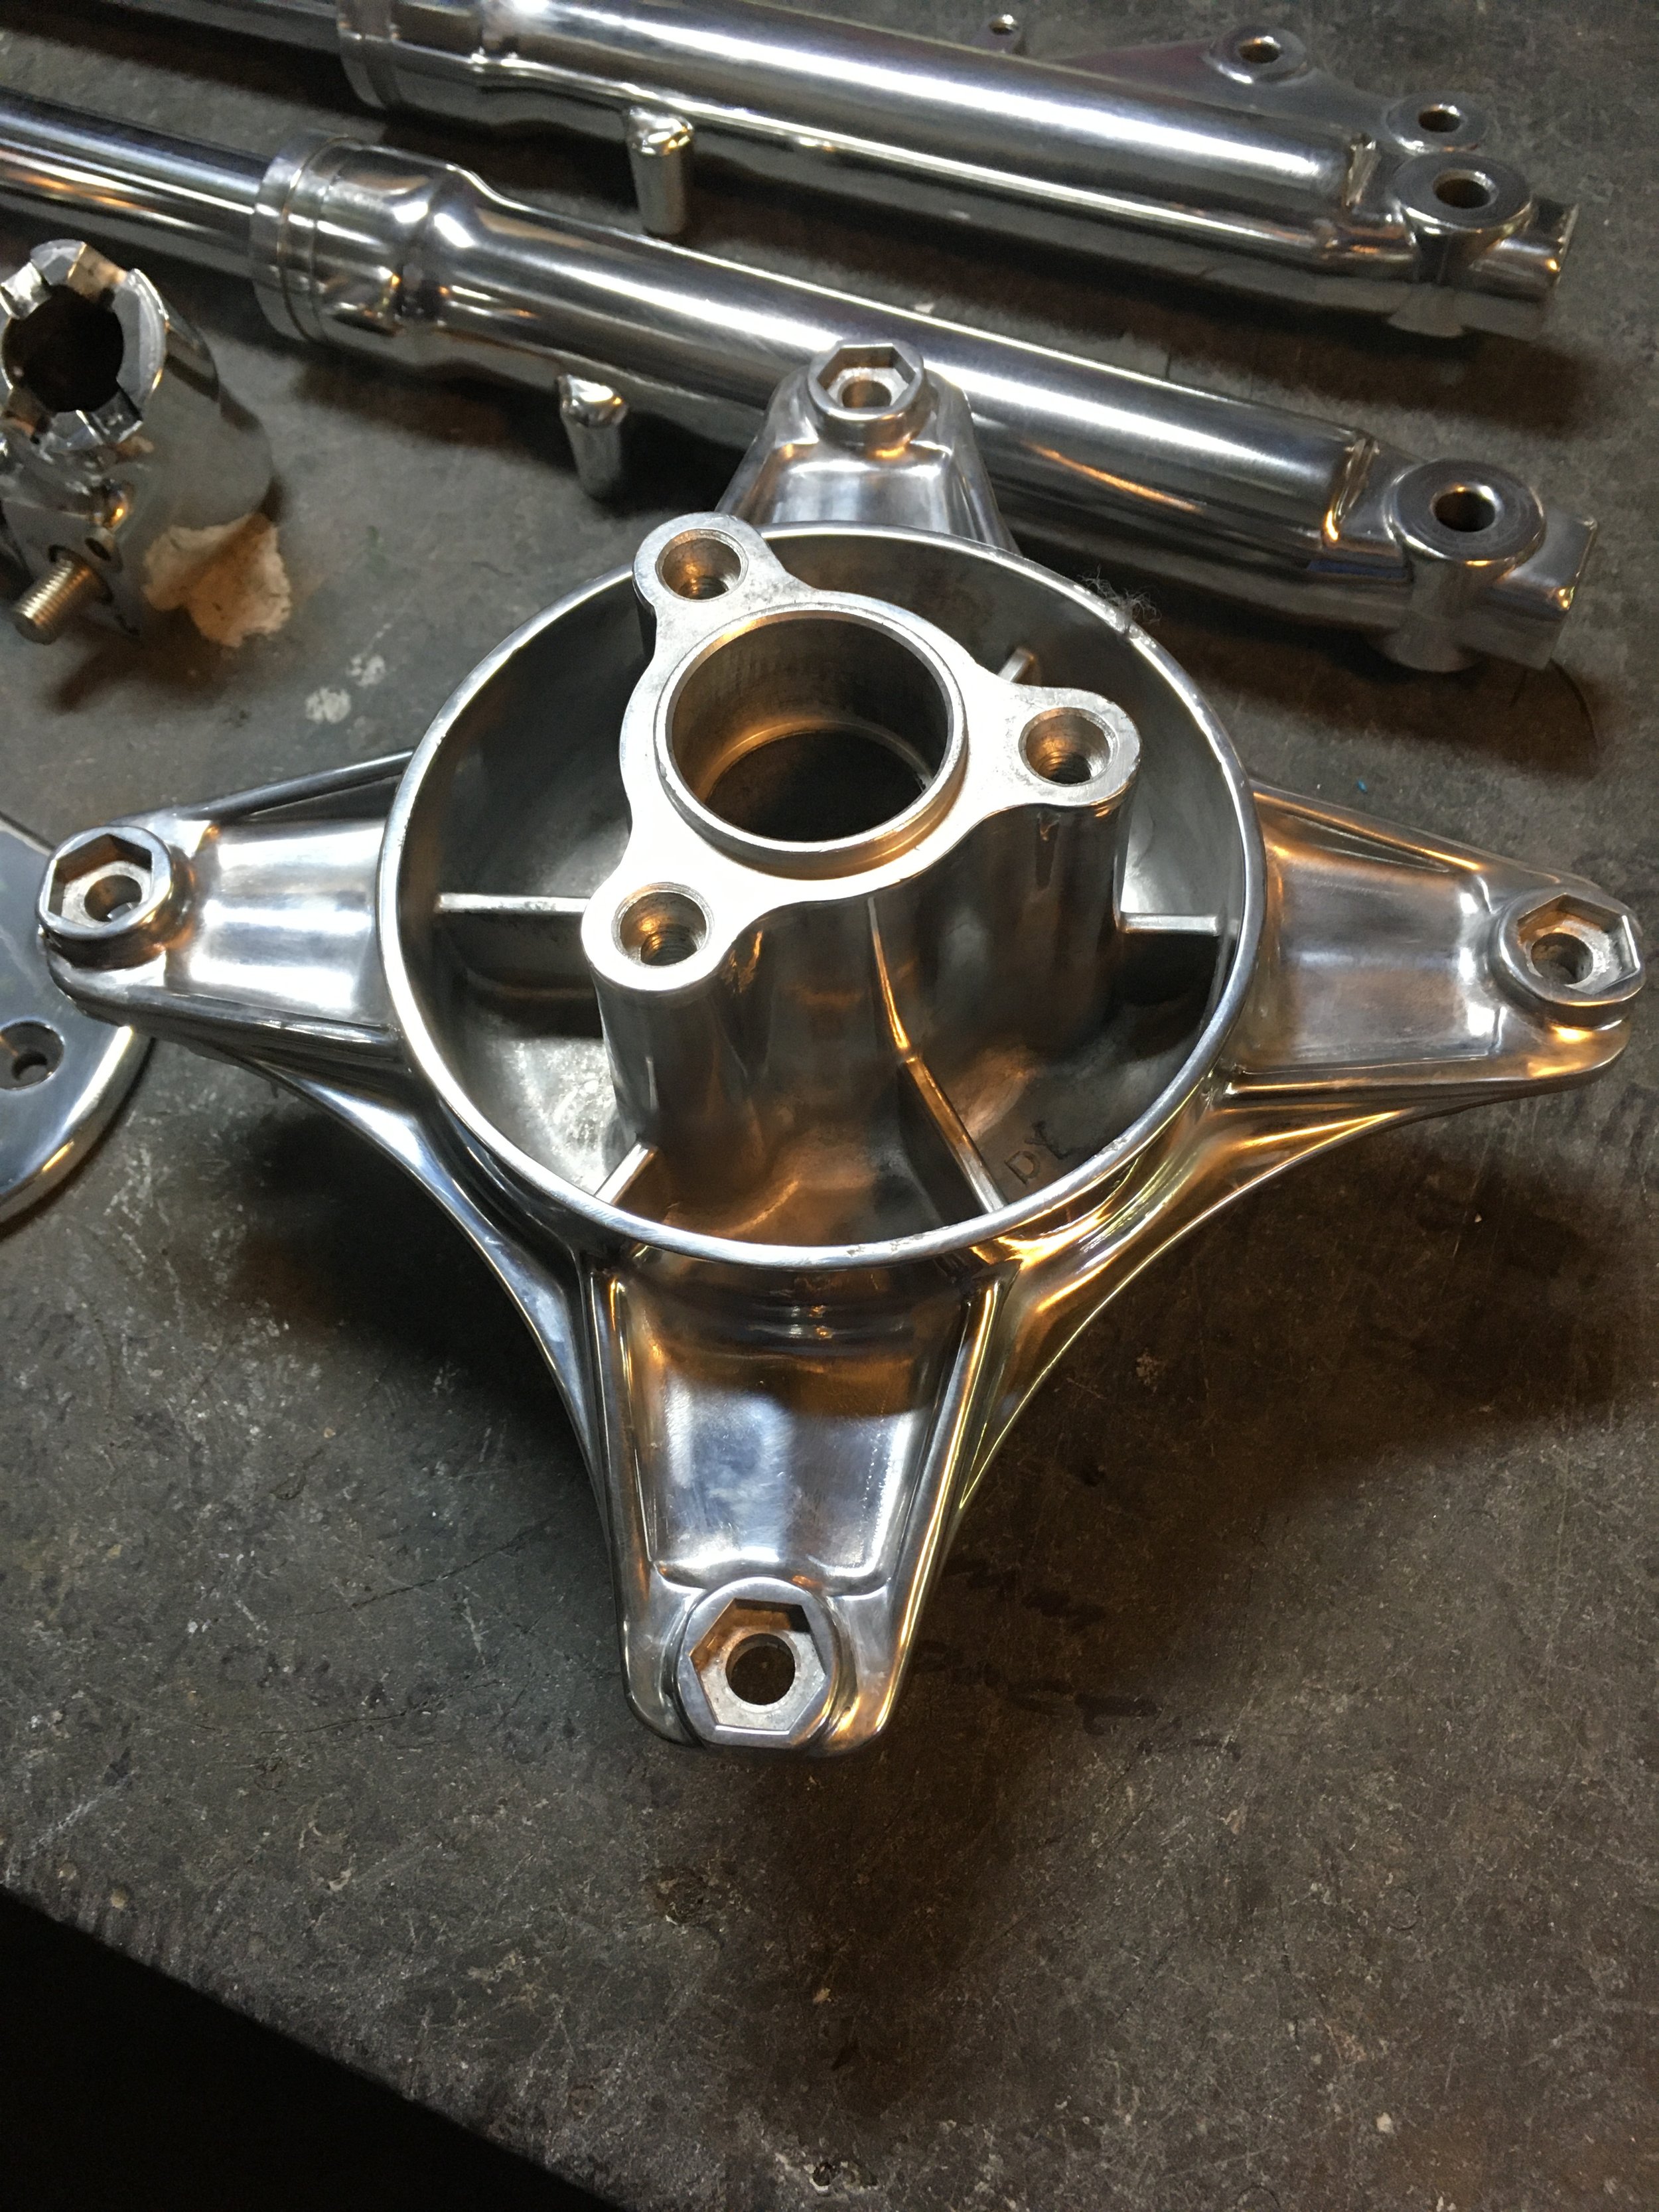
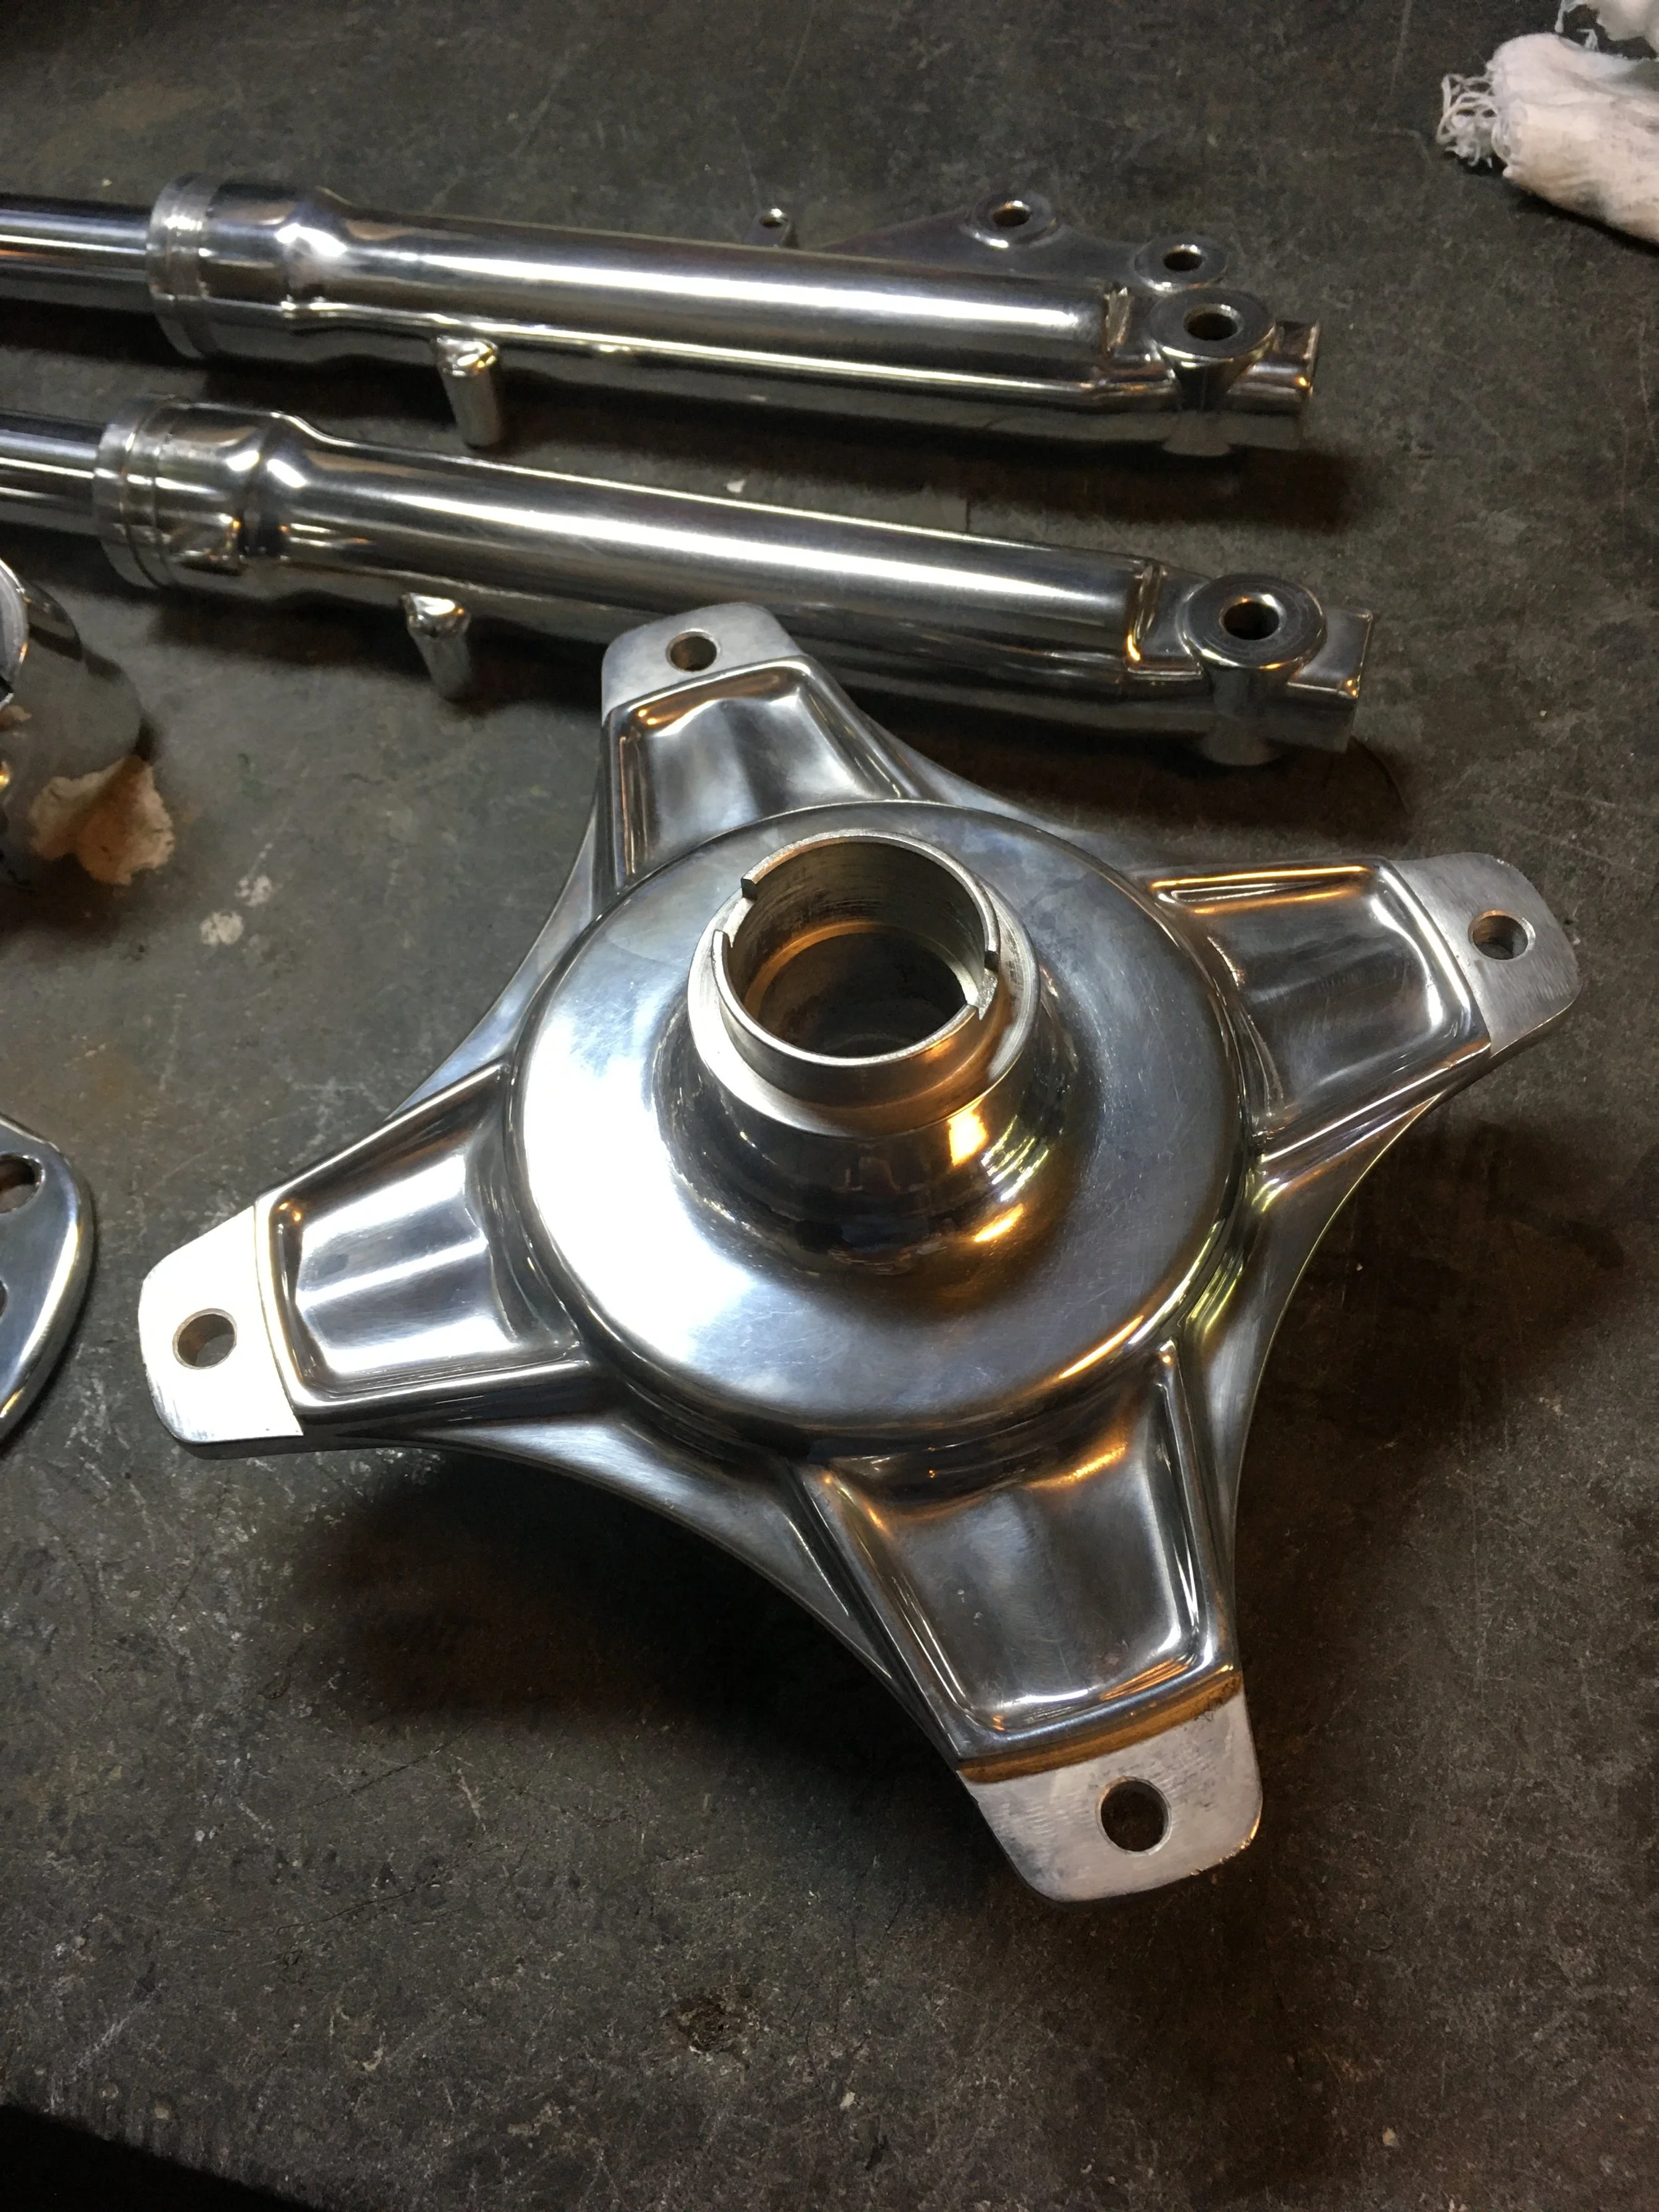
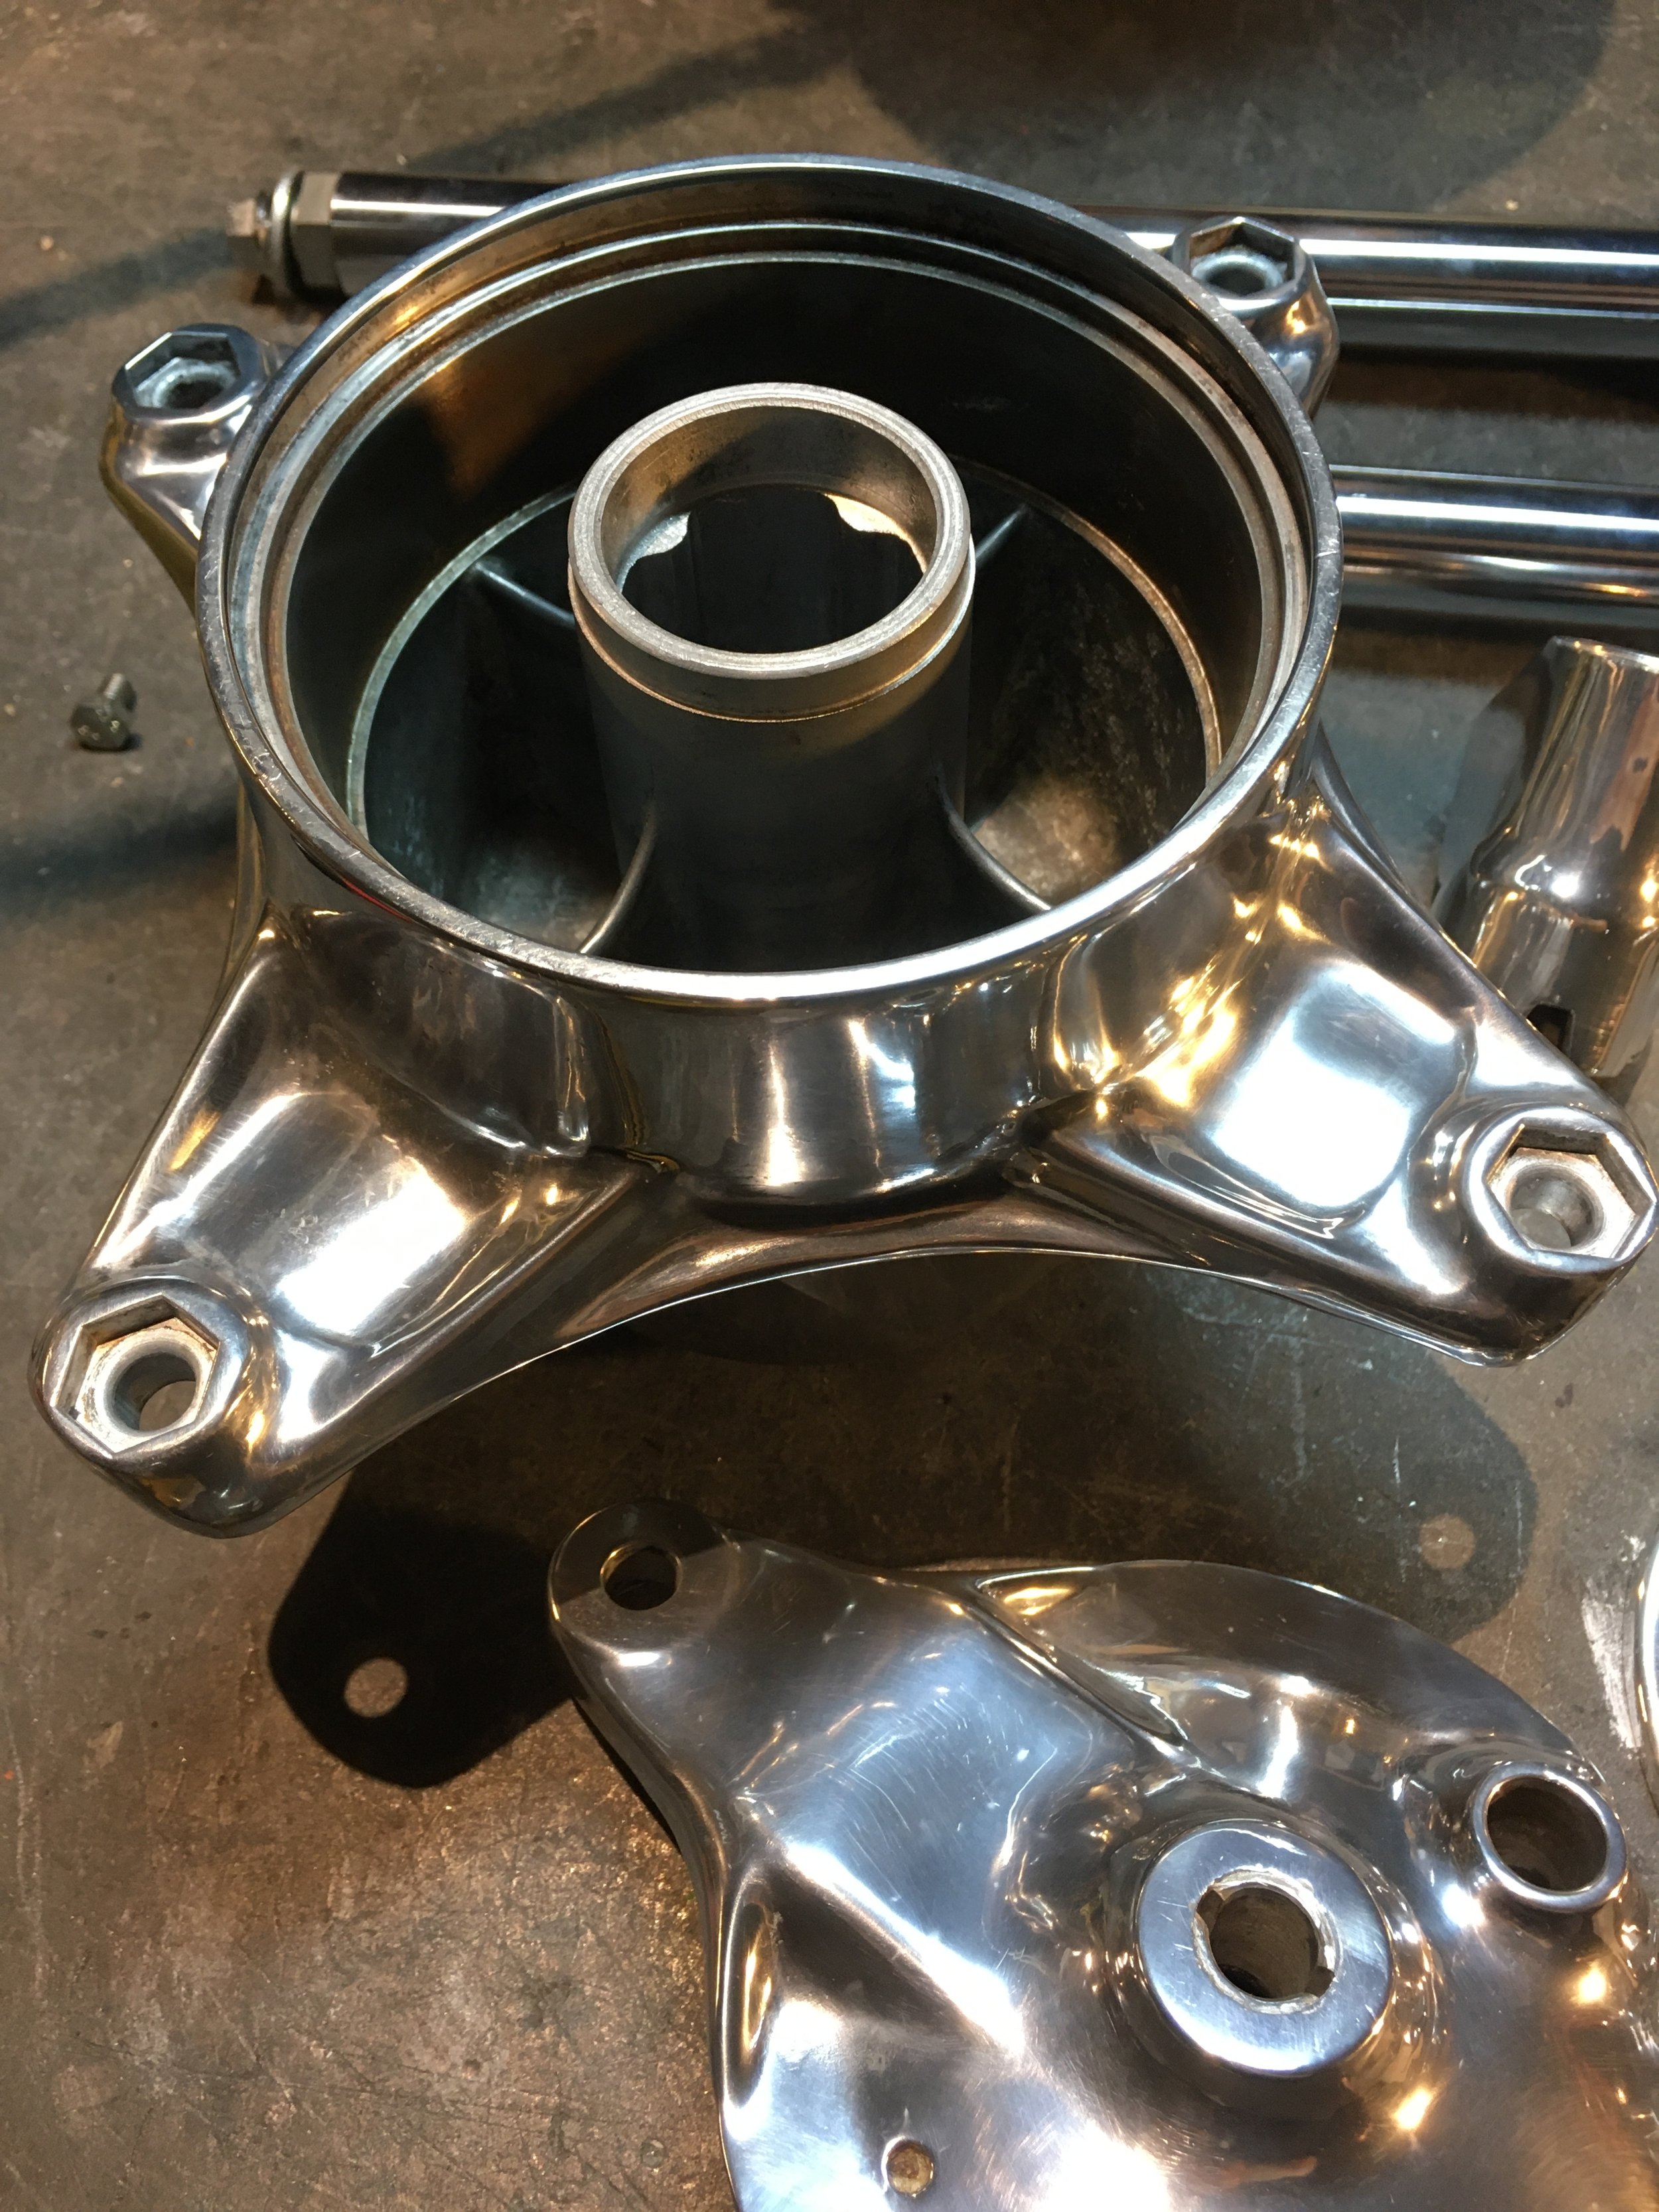
A lot of work to get to this point, the center cases were extensively cleaned and polished, using hot ultrasonic degreasing done three times, to get the built-up sludge and polishing compound removed. Although it is hard for cast aluminum to take on a shine equal to chrome, it is shiny enough to see your reflection.
The HondaTB Race head is similar to the original domed head of the 1974 CT70, but the cam upgrades make it superior. The cam cover is like the later Honda type, with different castings that allow the use of a two-hole cam sprocket. There are round ones like the original, but this type head allows use of this cool finned one still available from Honda. A correct pristine magneto inspection cover was found to replace the one that came with the bike.

The engine case halves starting to be reassembled. They are sitting on the engine board, a tool for assembly and disassembly, made to hold the parts securely, with minimal marring. Some of the internal wear parts replaced were the transmission ball bearings, and shift pins. A replaced kick-start shaft was substituted at this time, as well.

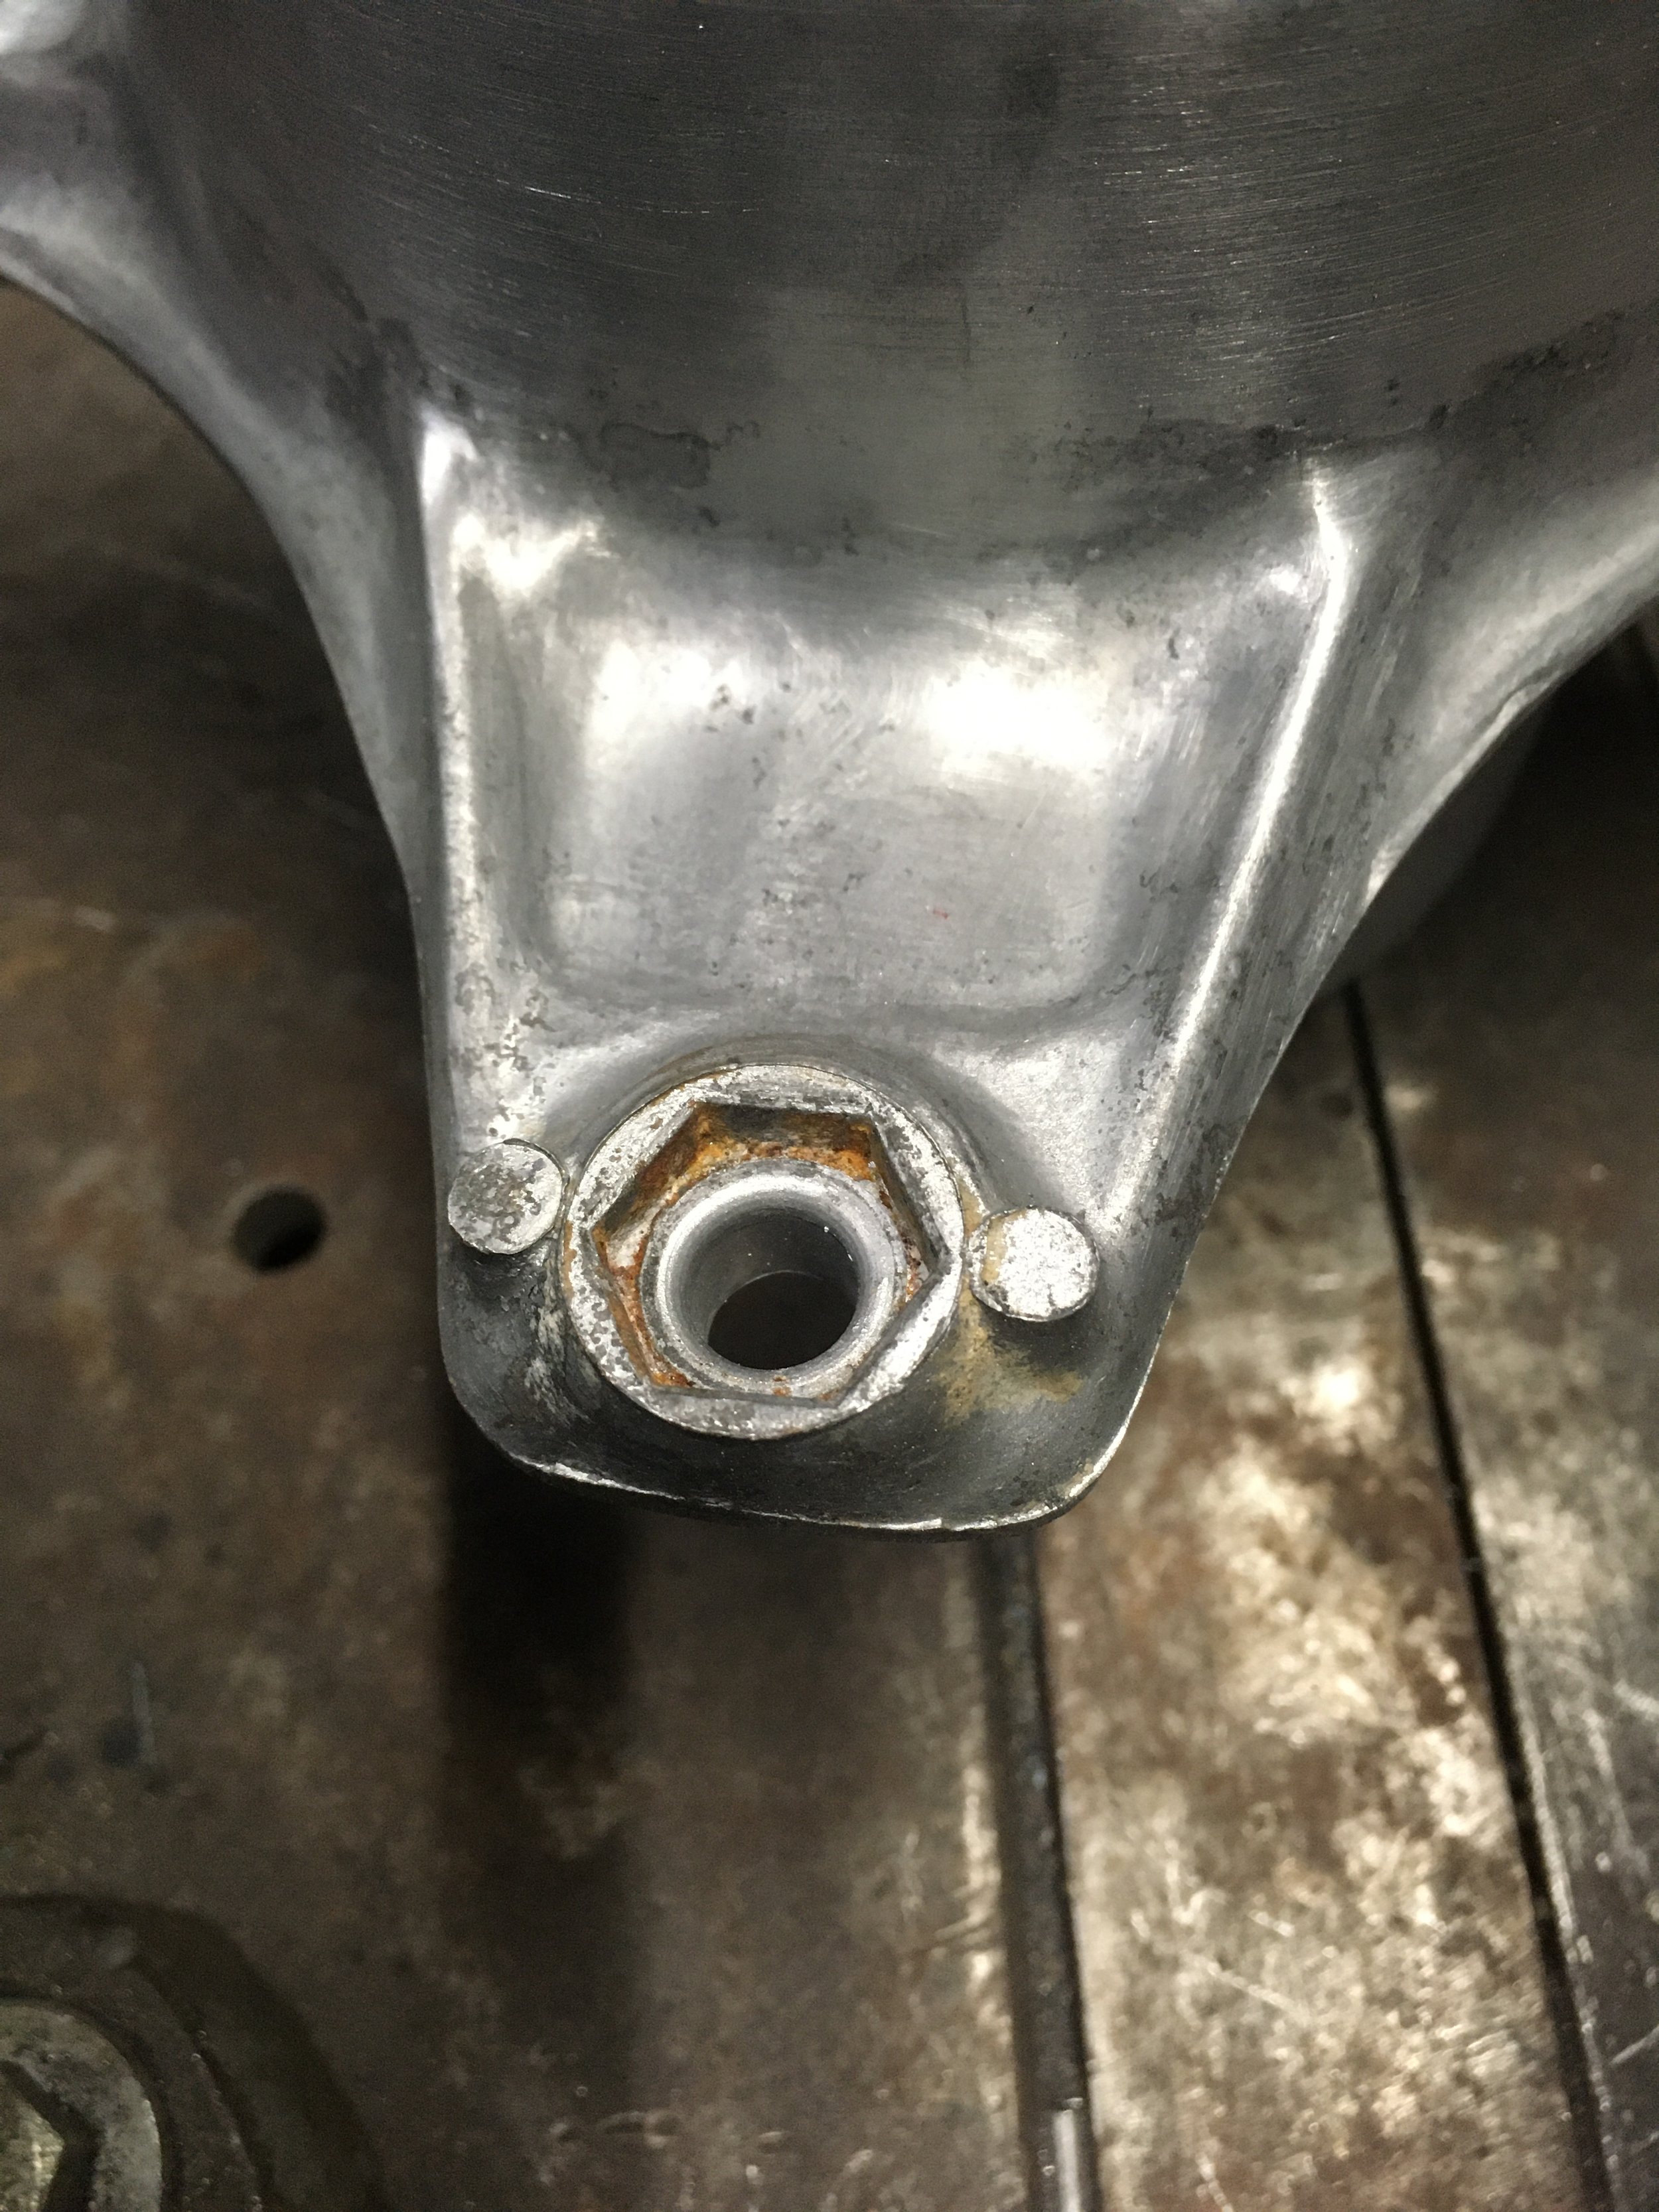
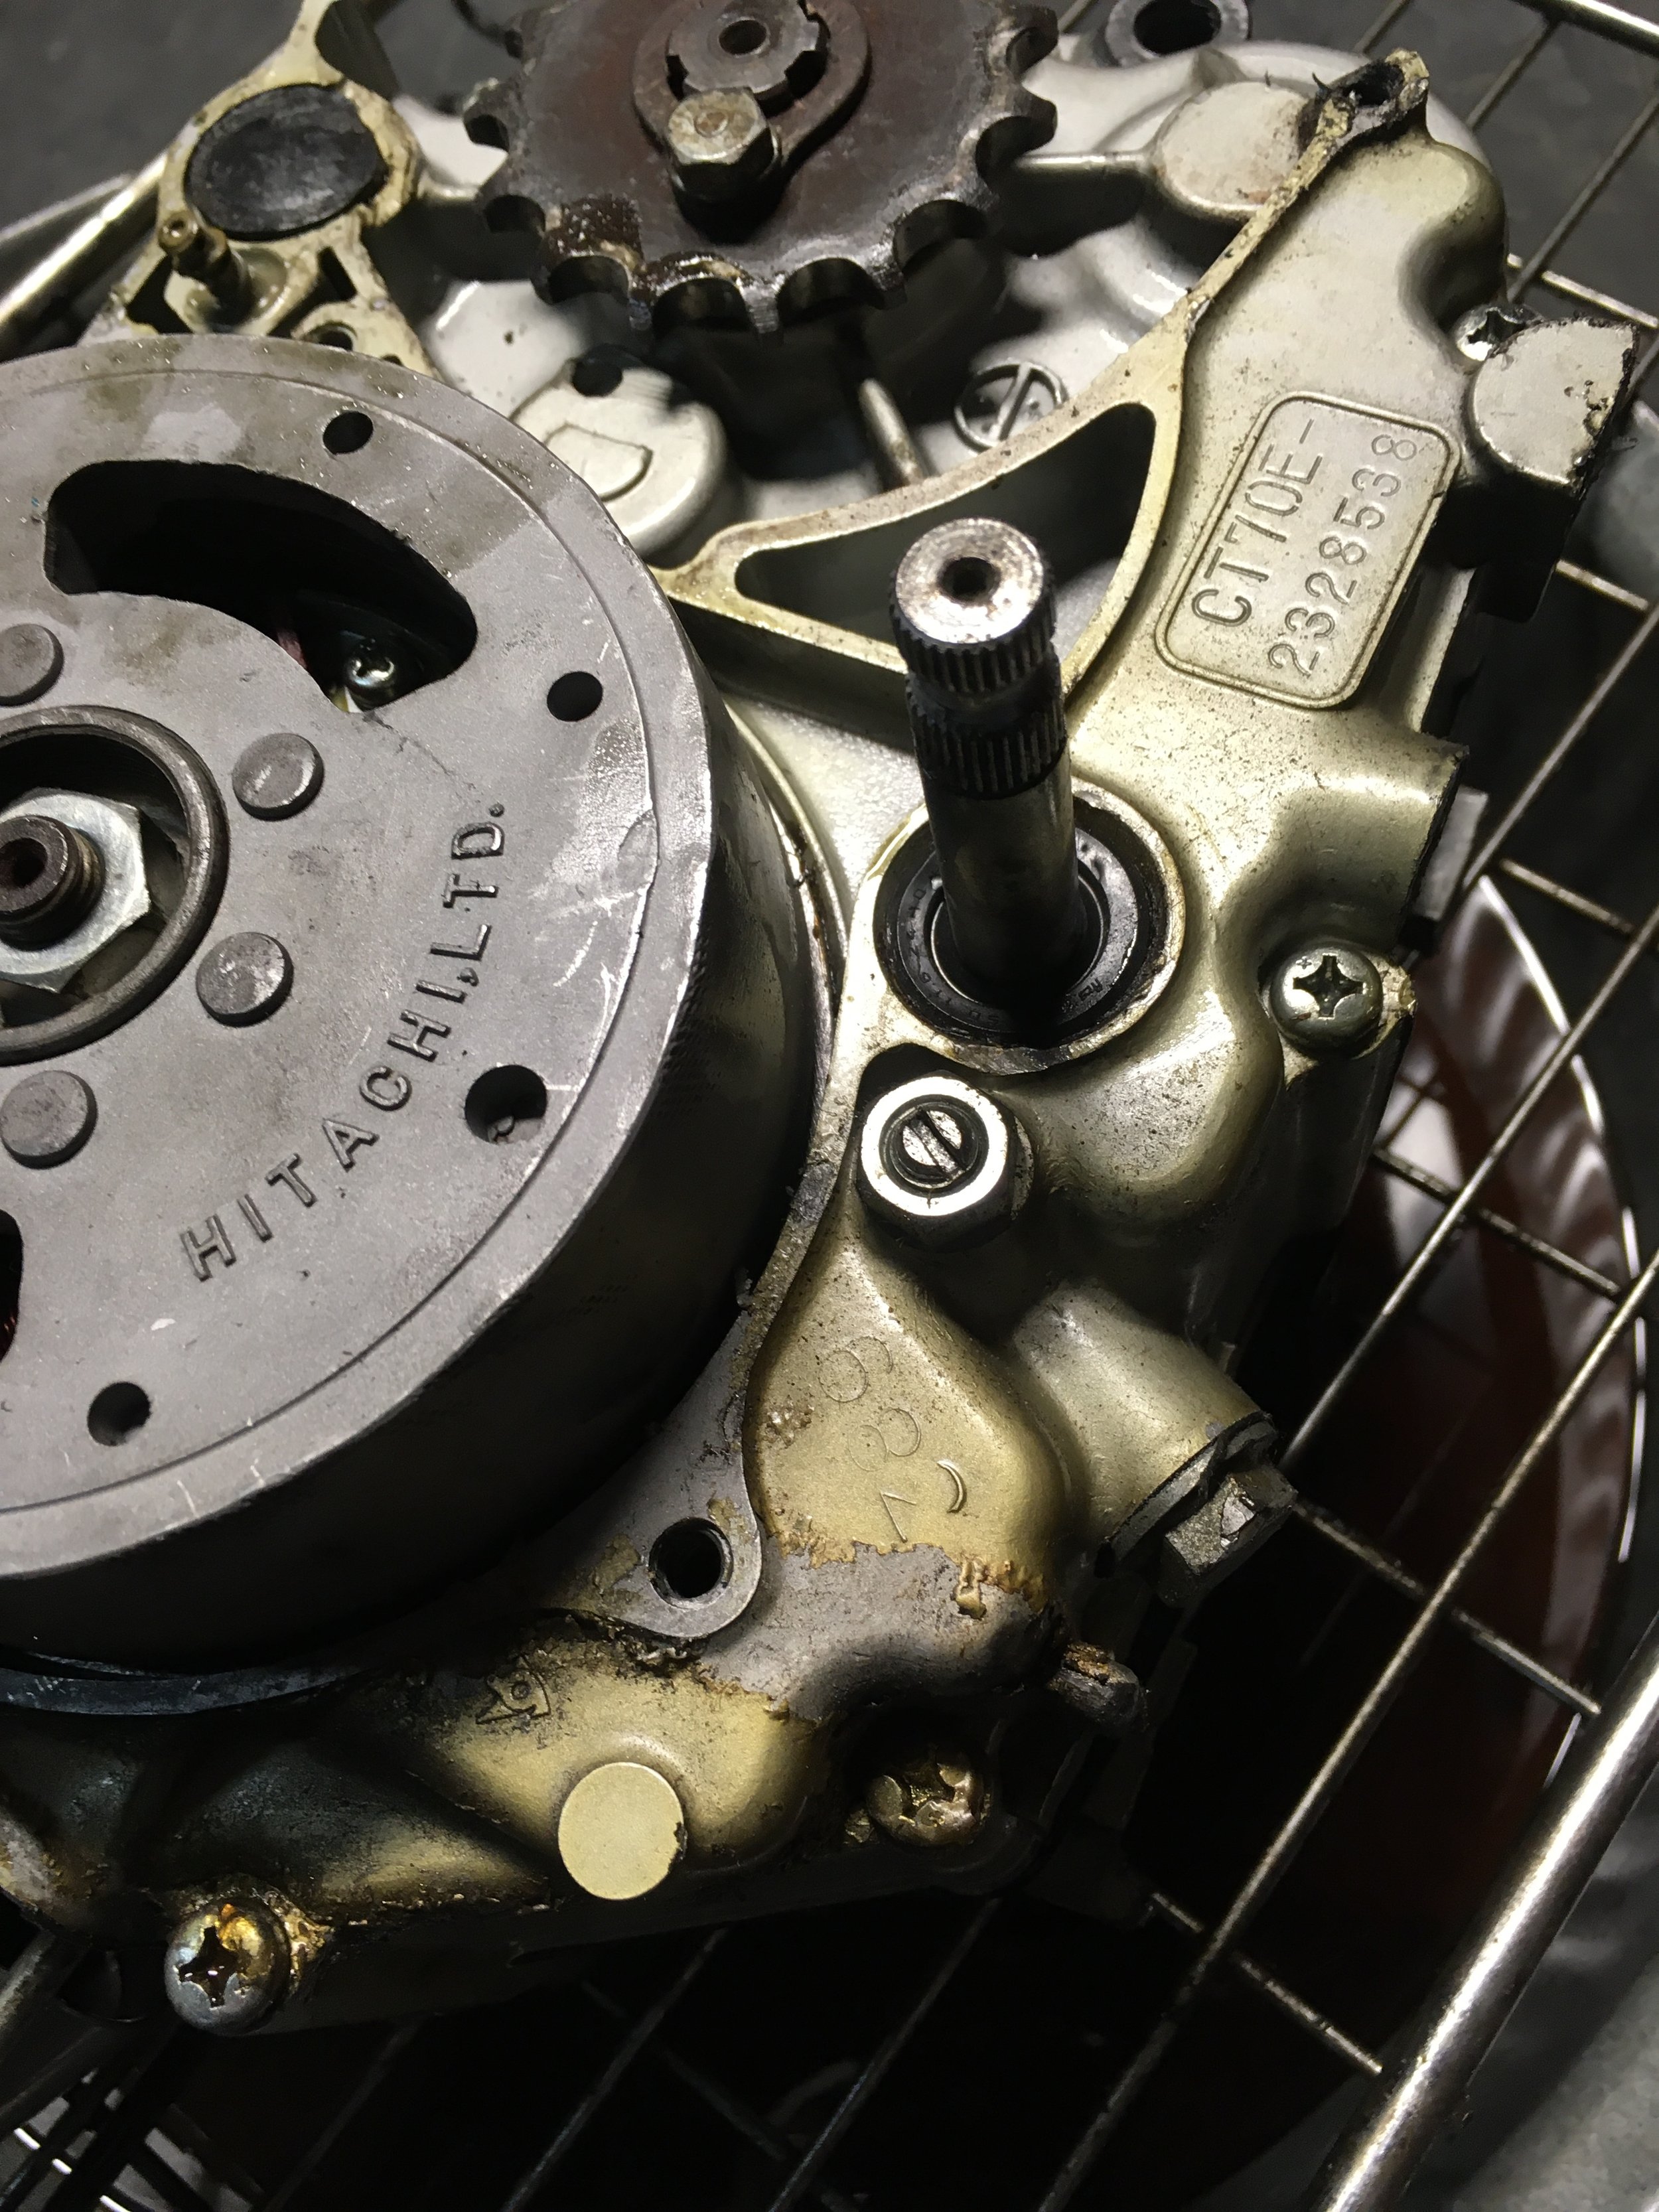
All the take-off parts. With the oil starvation to the head, there is a chance the cam bearing surfaces and valve guides received excess wear, making it suspect for use without complete reconditioning. In the end, the new head is cheaper, and uses a ball bearing on the cam ends, an improvement on the flat journals molded into the aluminum on the original head. There were other small surprises, like a glued-in neutral contact switch, and a busted c-clip on the kick start shaft.

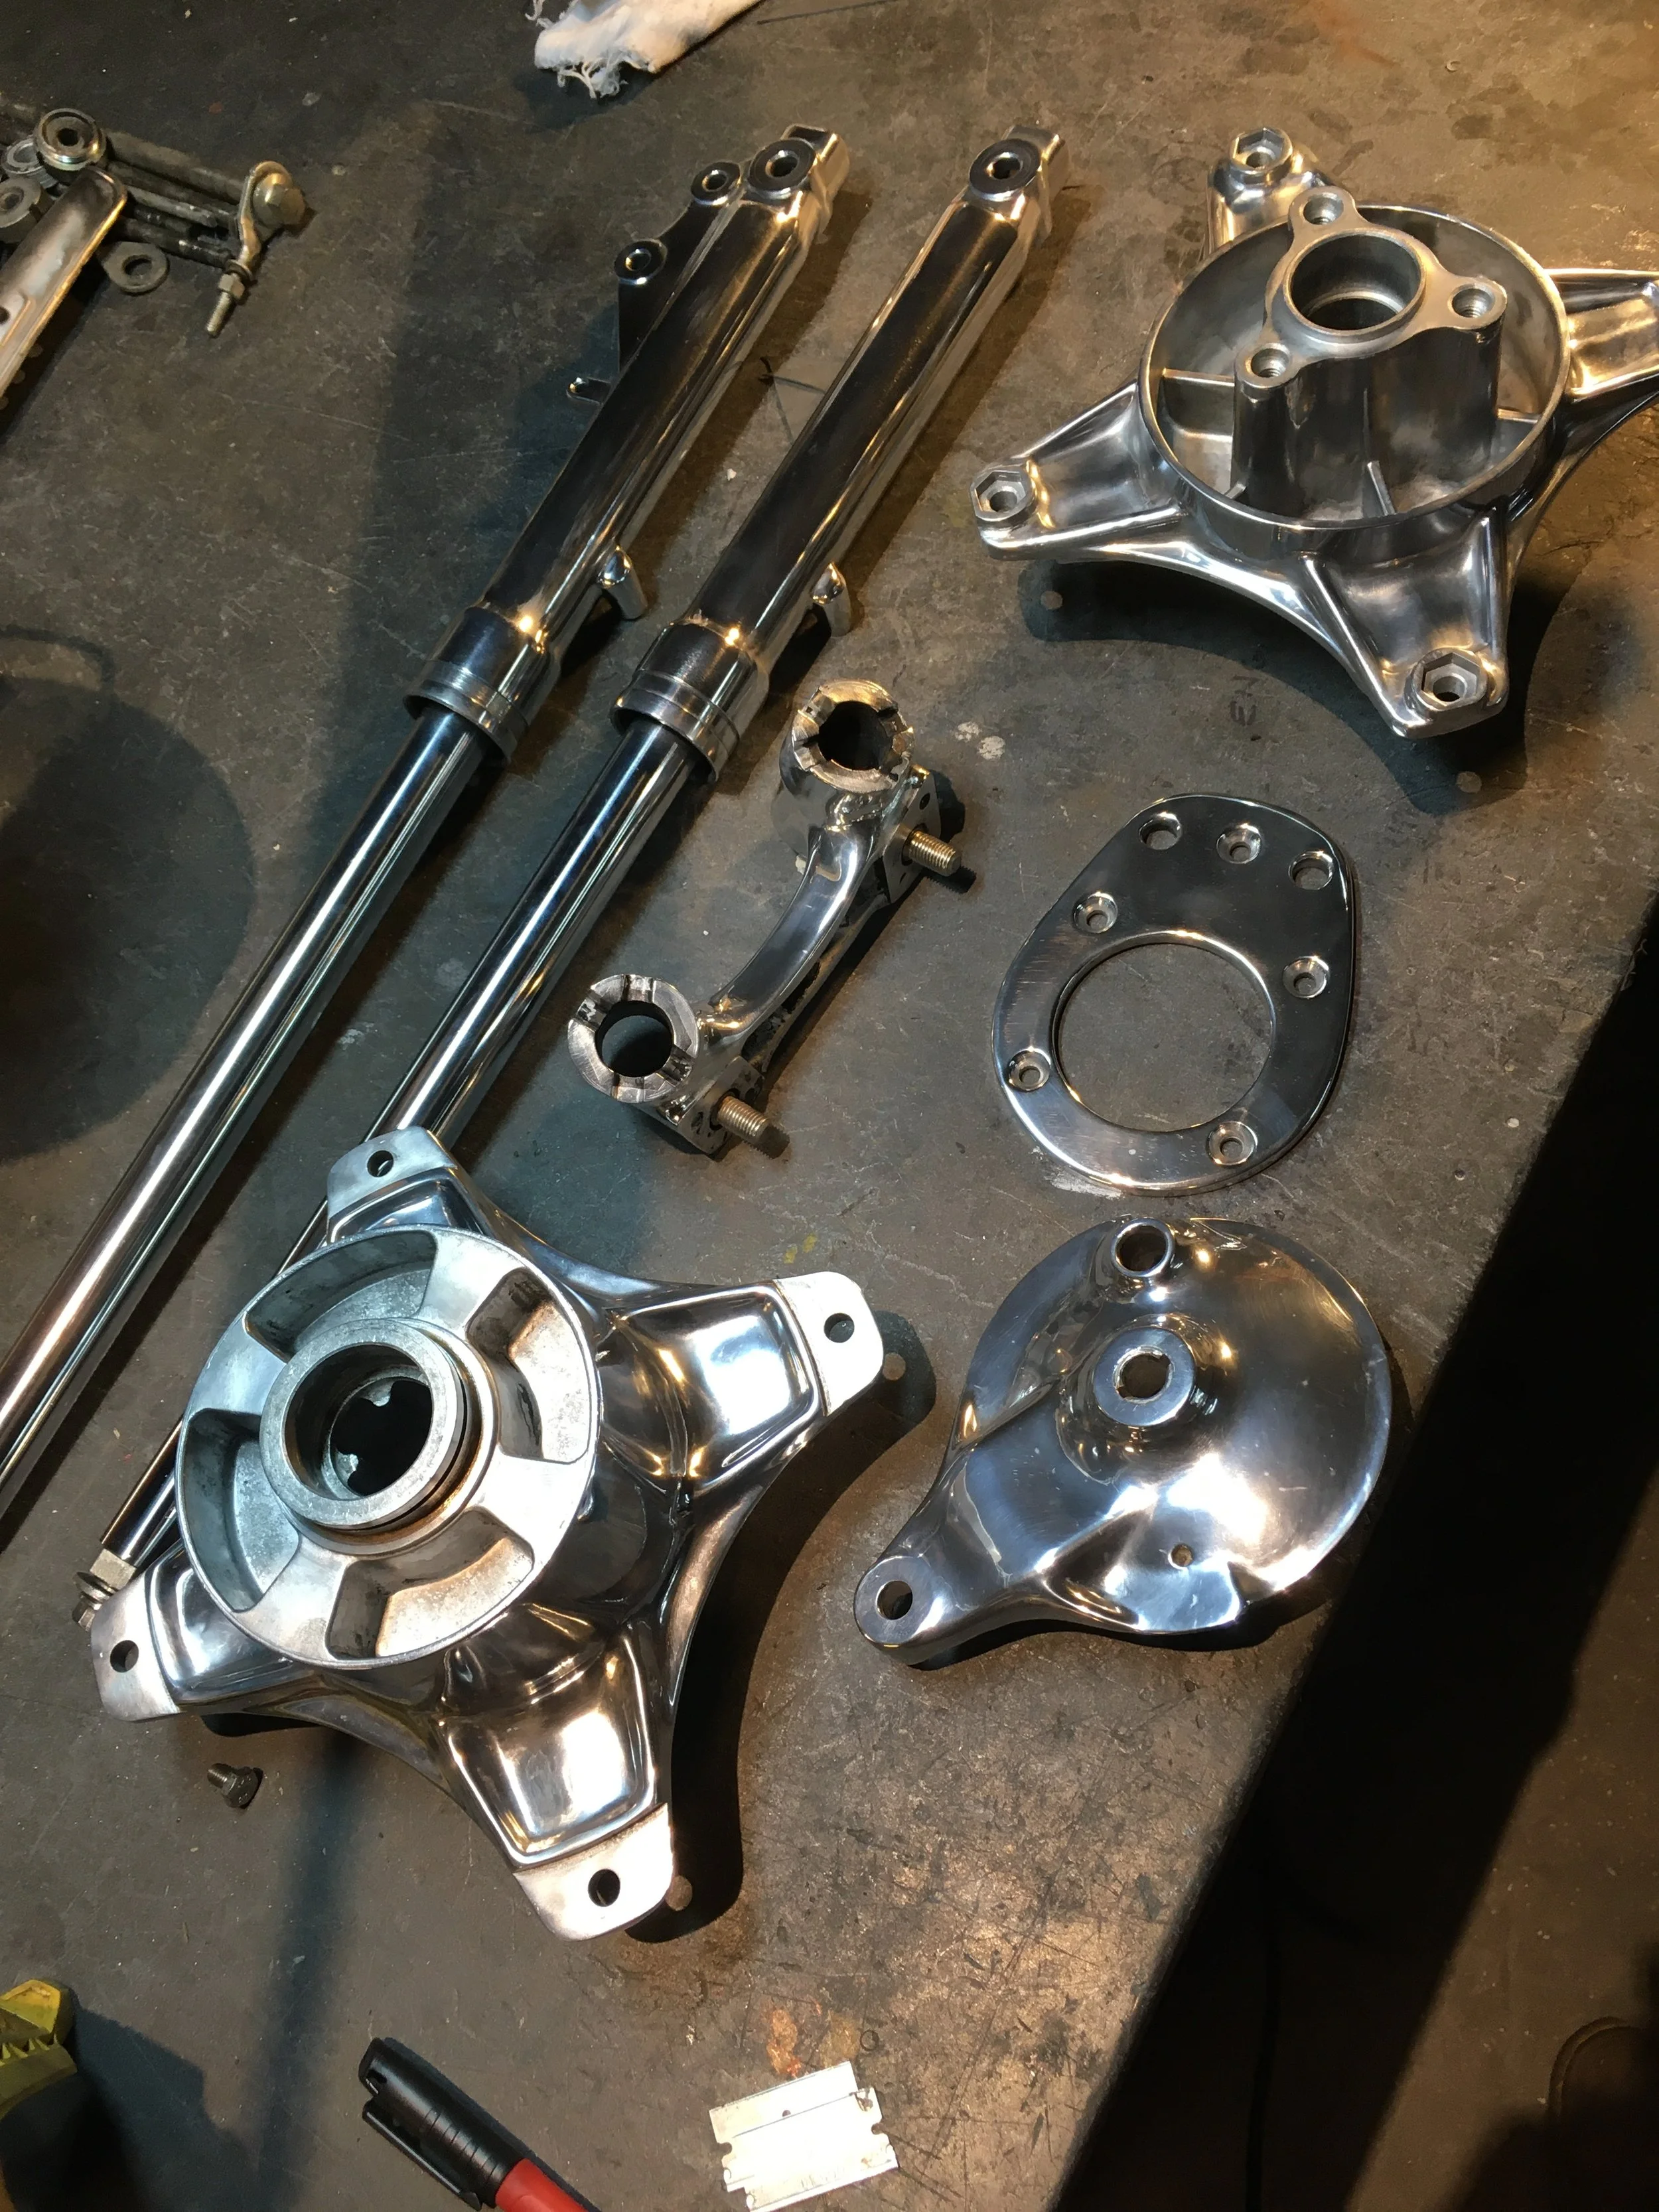
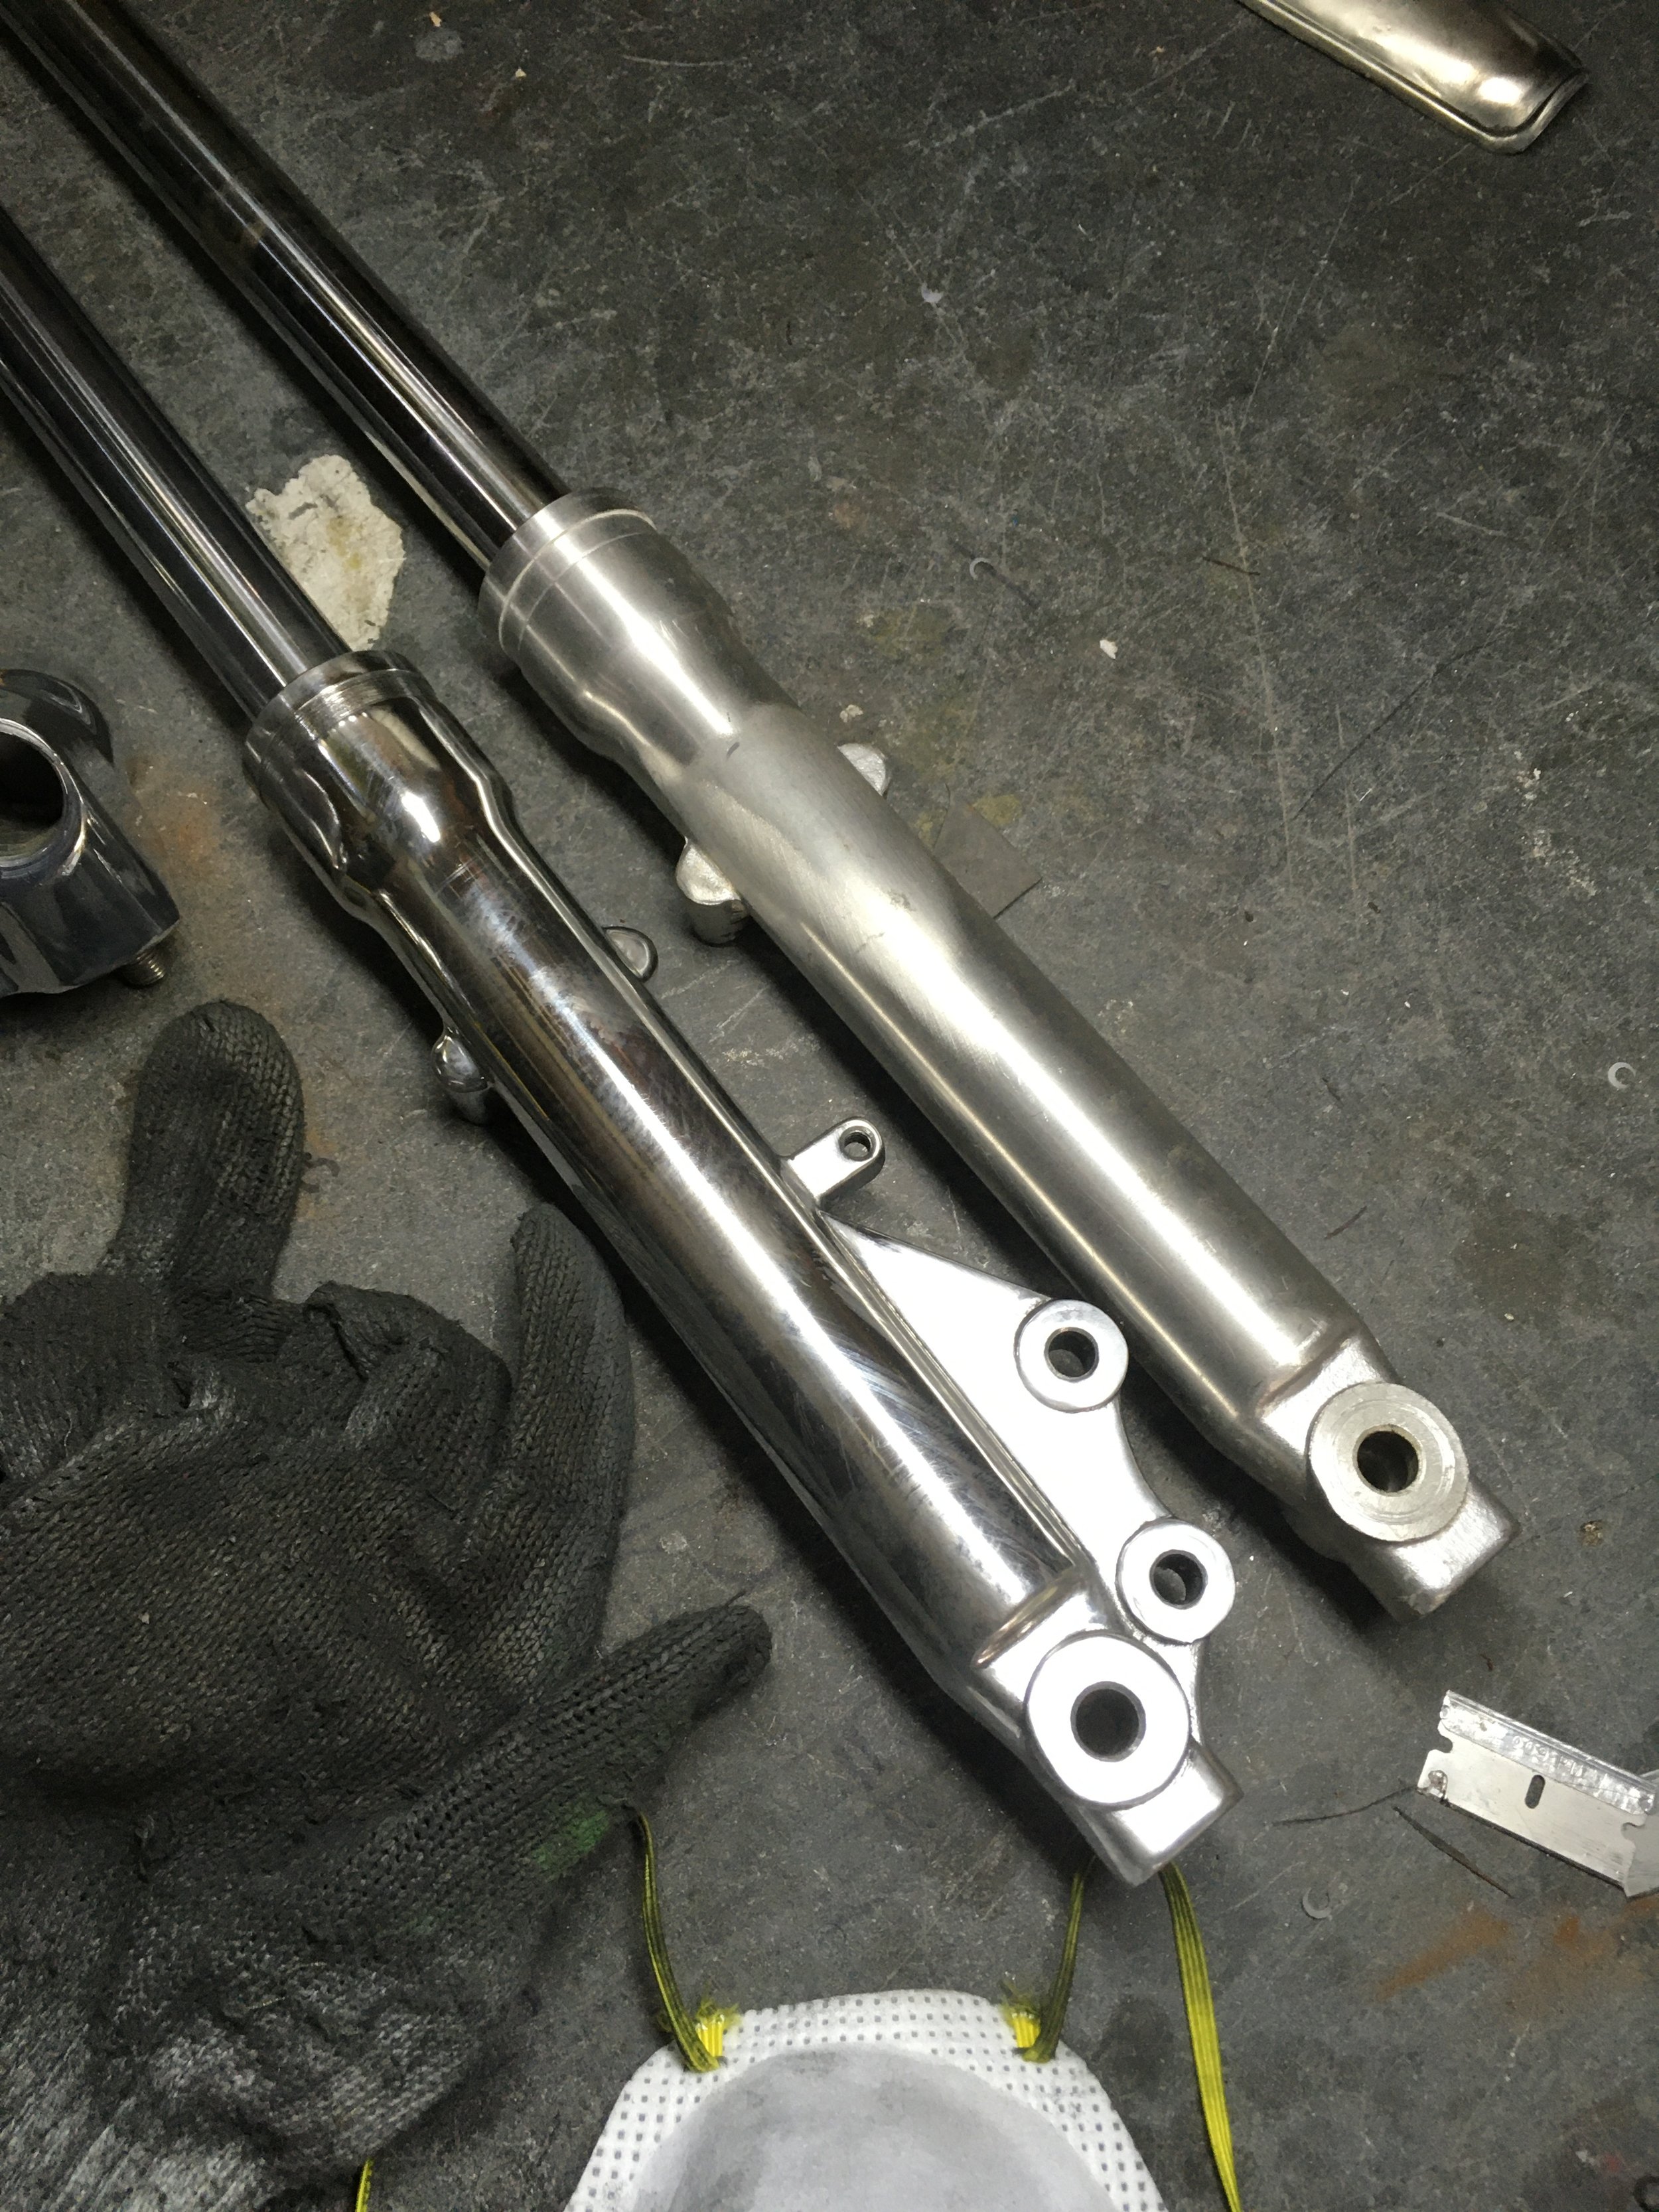
Other busy work. Stainless steel hardware for the body parts were high-polished after sanding off the numbering on the bolt tops.
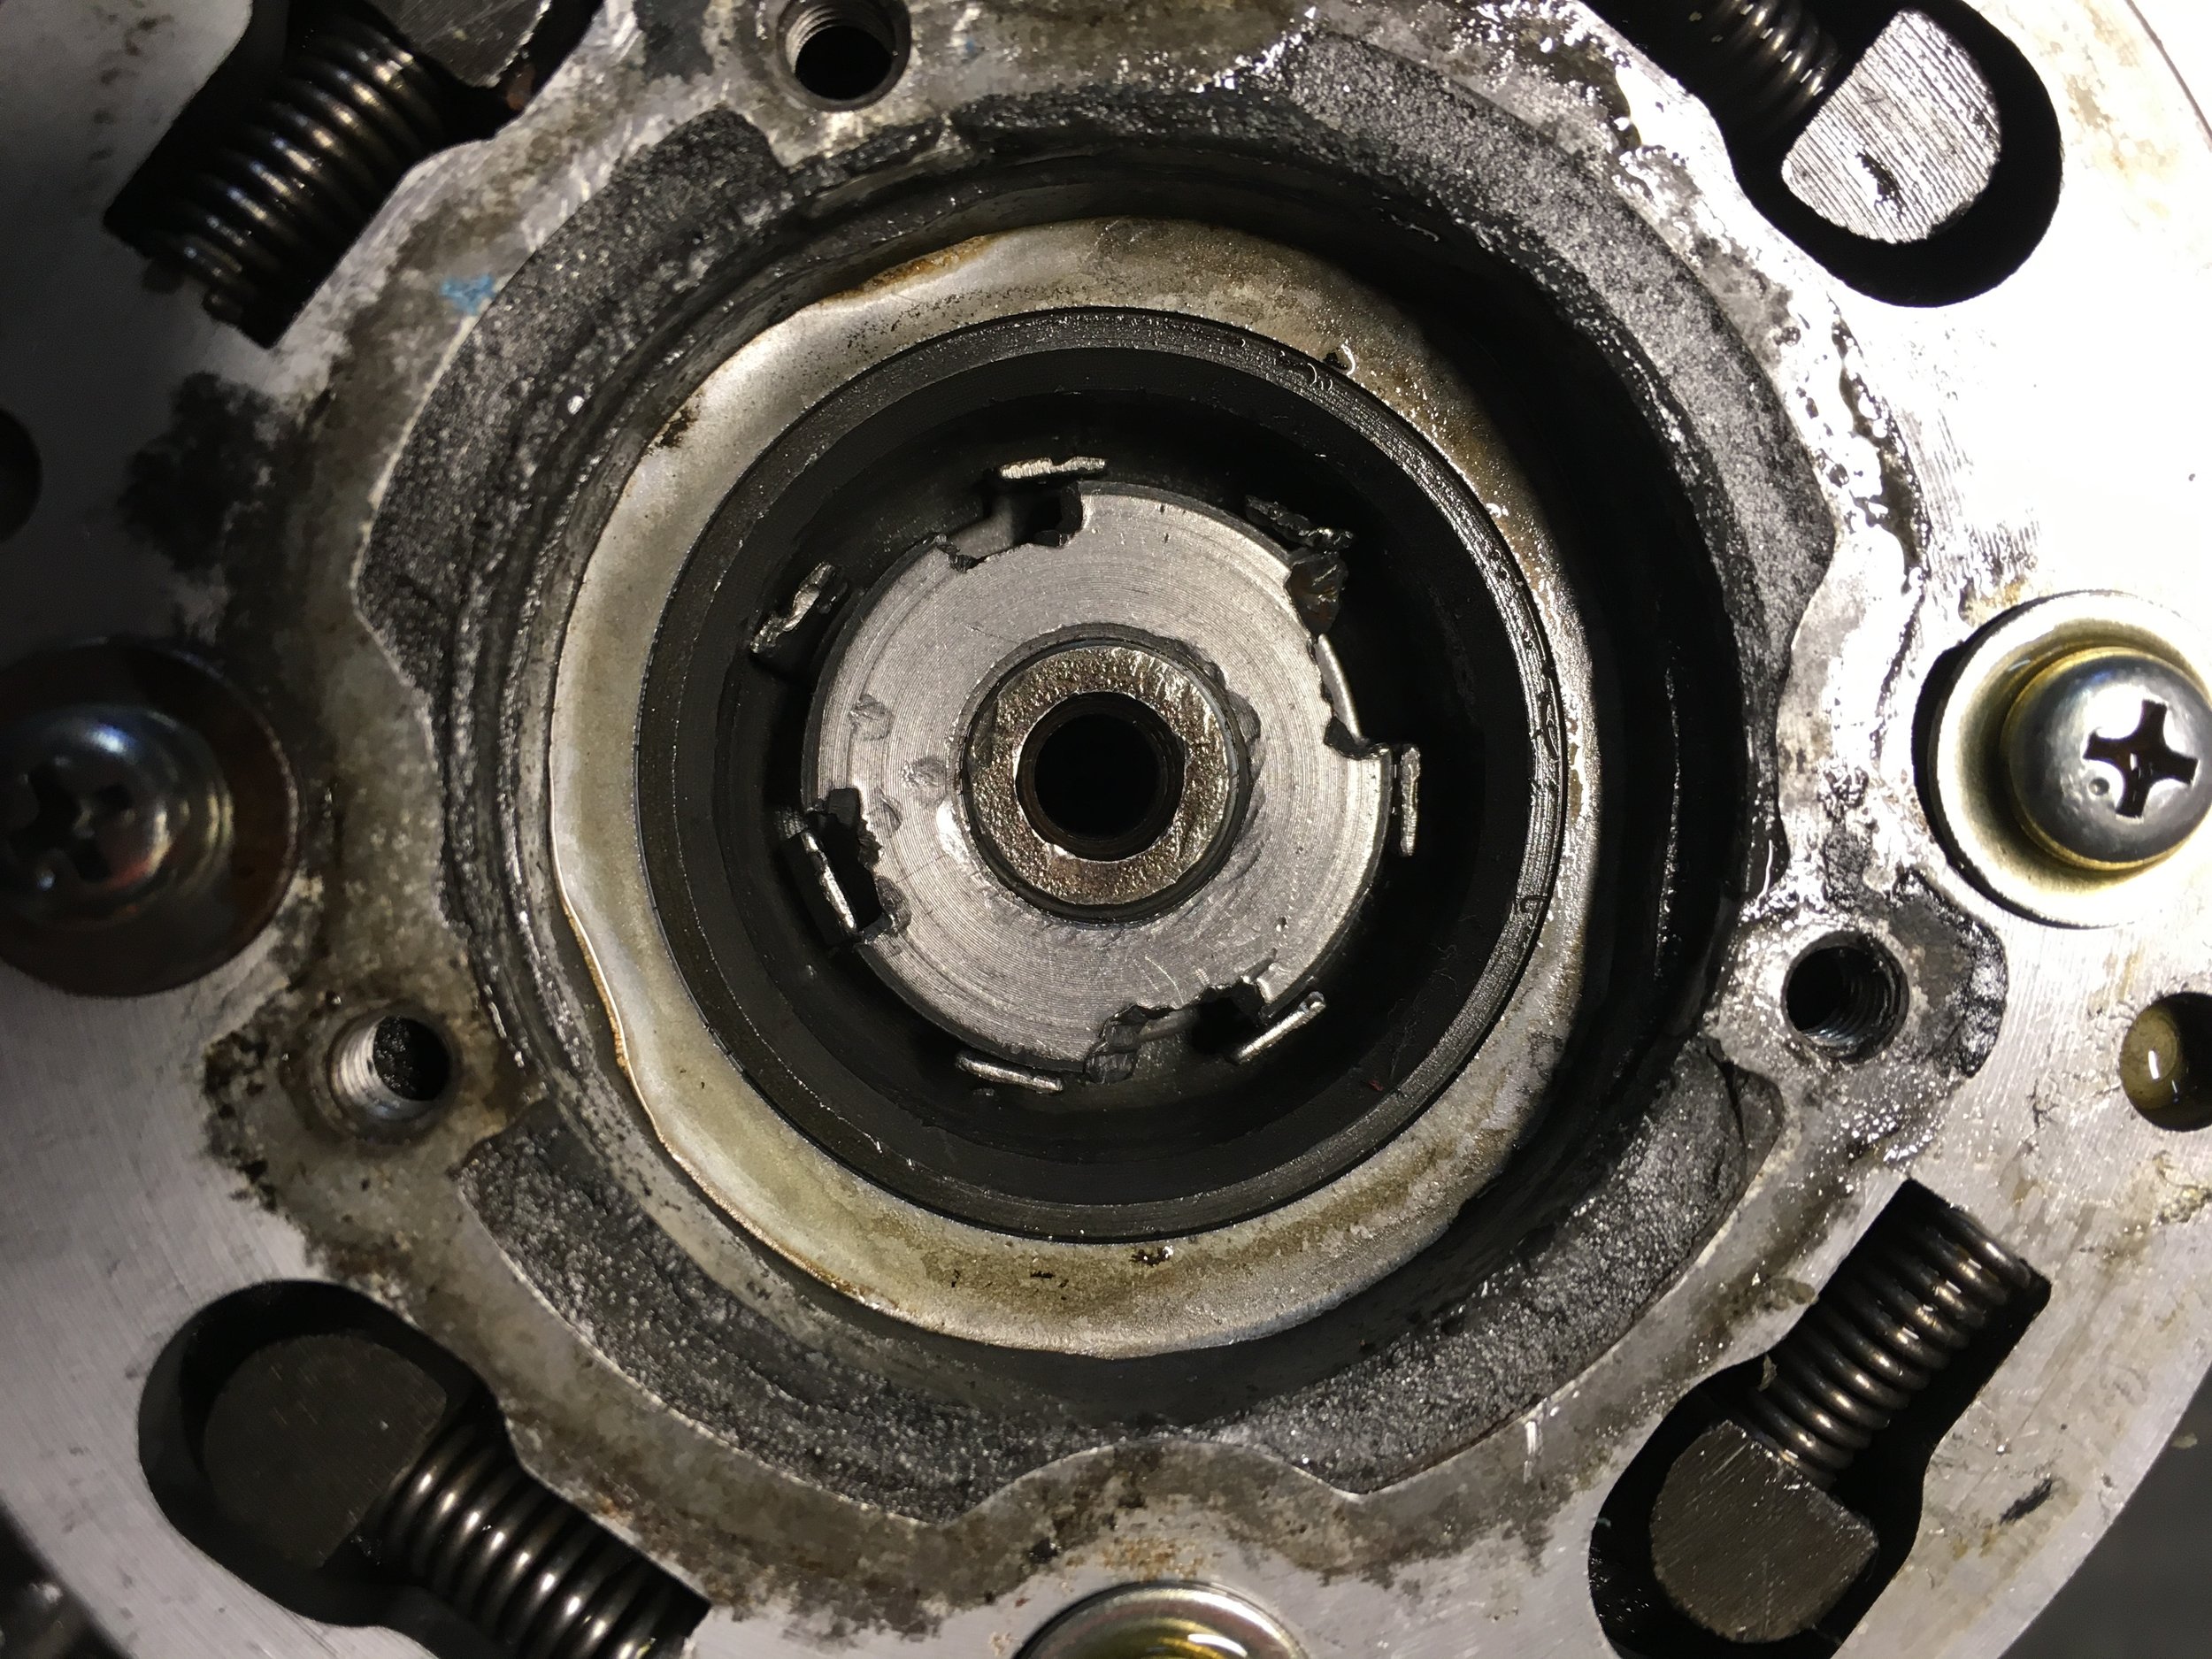
Some more of the ugly. This is the oil slinger inside the clutch, packed with debris. The clutch uses centrifugal force to push impurities to the side recesses of the center cup, which are full in this picture. The clutch nut is chewed up by removal with a hammer and screwdriver…certainly not indicating it was work well done. The new clutch has stronger springs and heavier weights on the centrifugal clutch, for improved hook-up.

Adding to the polished parts on the “Bling Table.” Some aftermarket Webco-style valve inspection covers were used. In addition to dissipating more heat, they can be removed by hand or with the socket head on top.