Breakdown and Refinement on the 1974 Honda CT70/Dax Custom

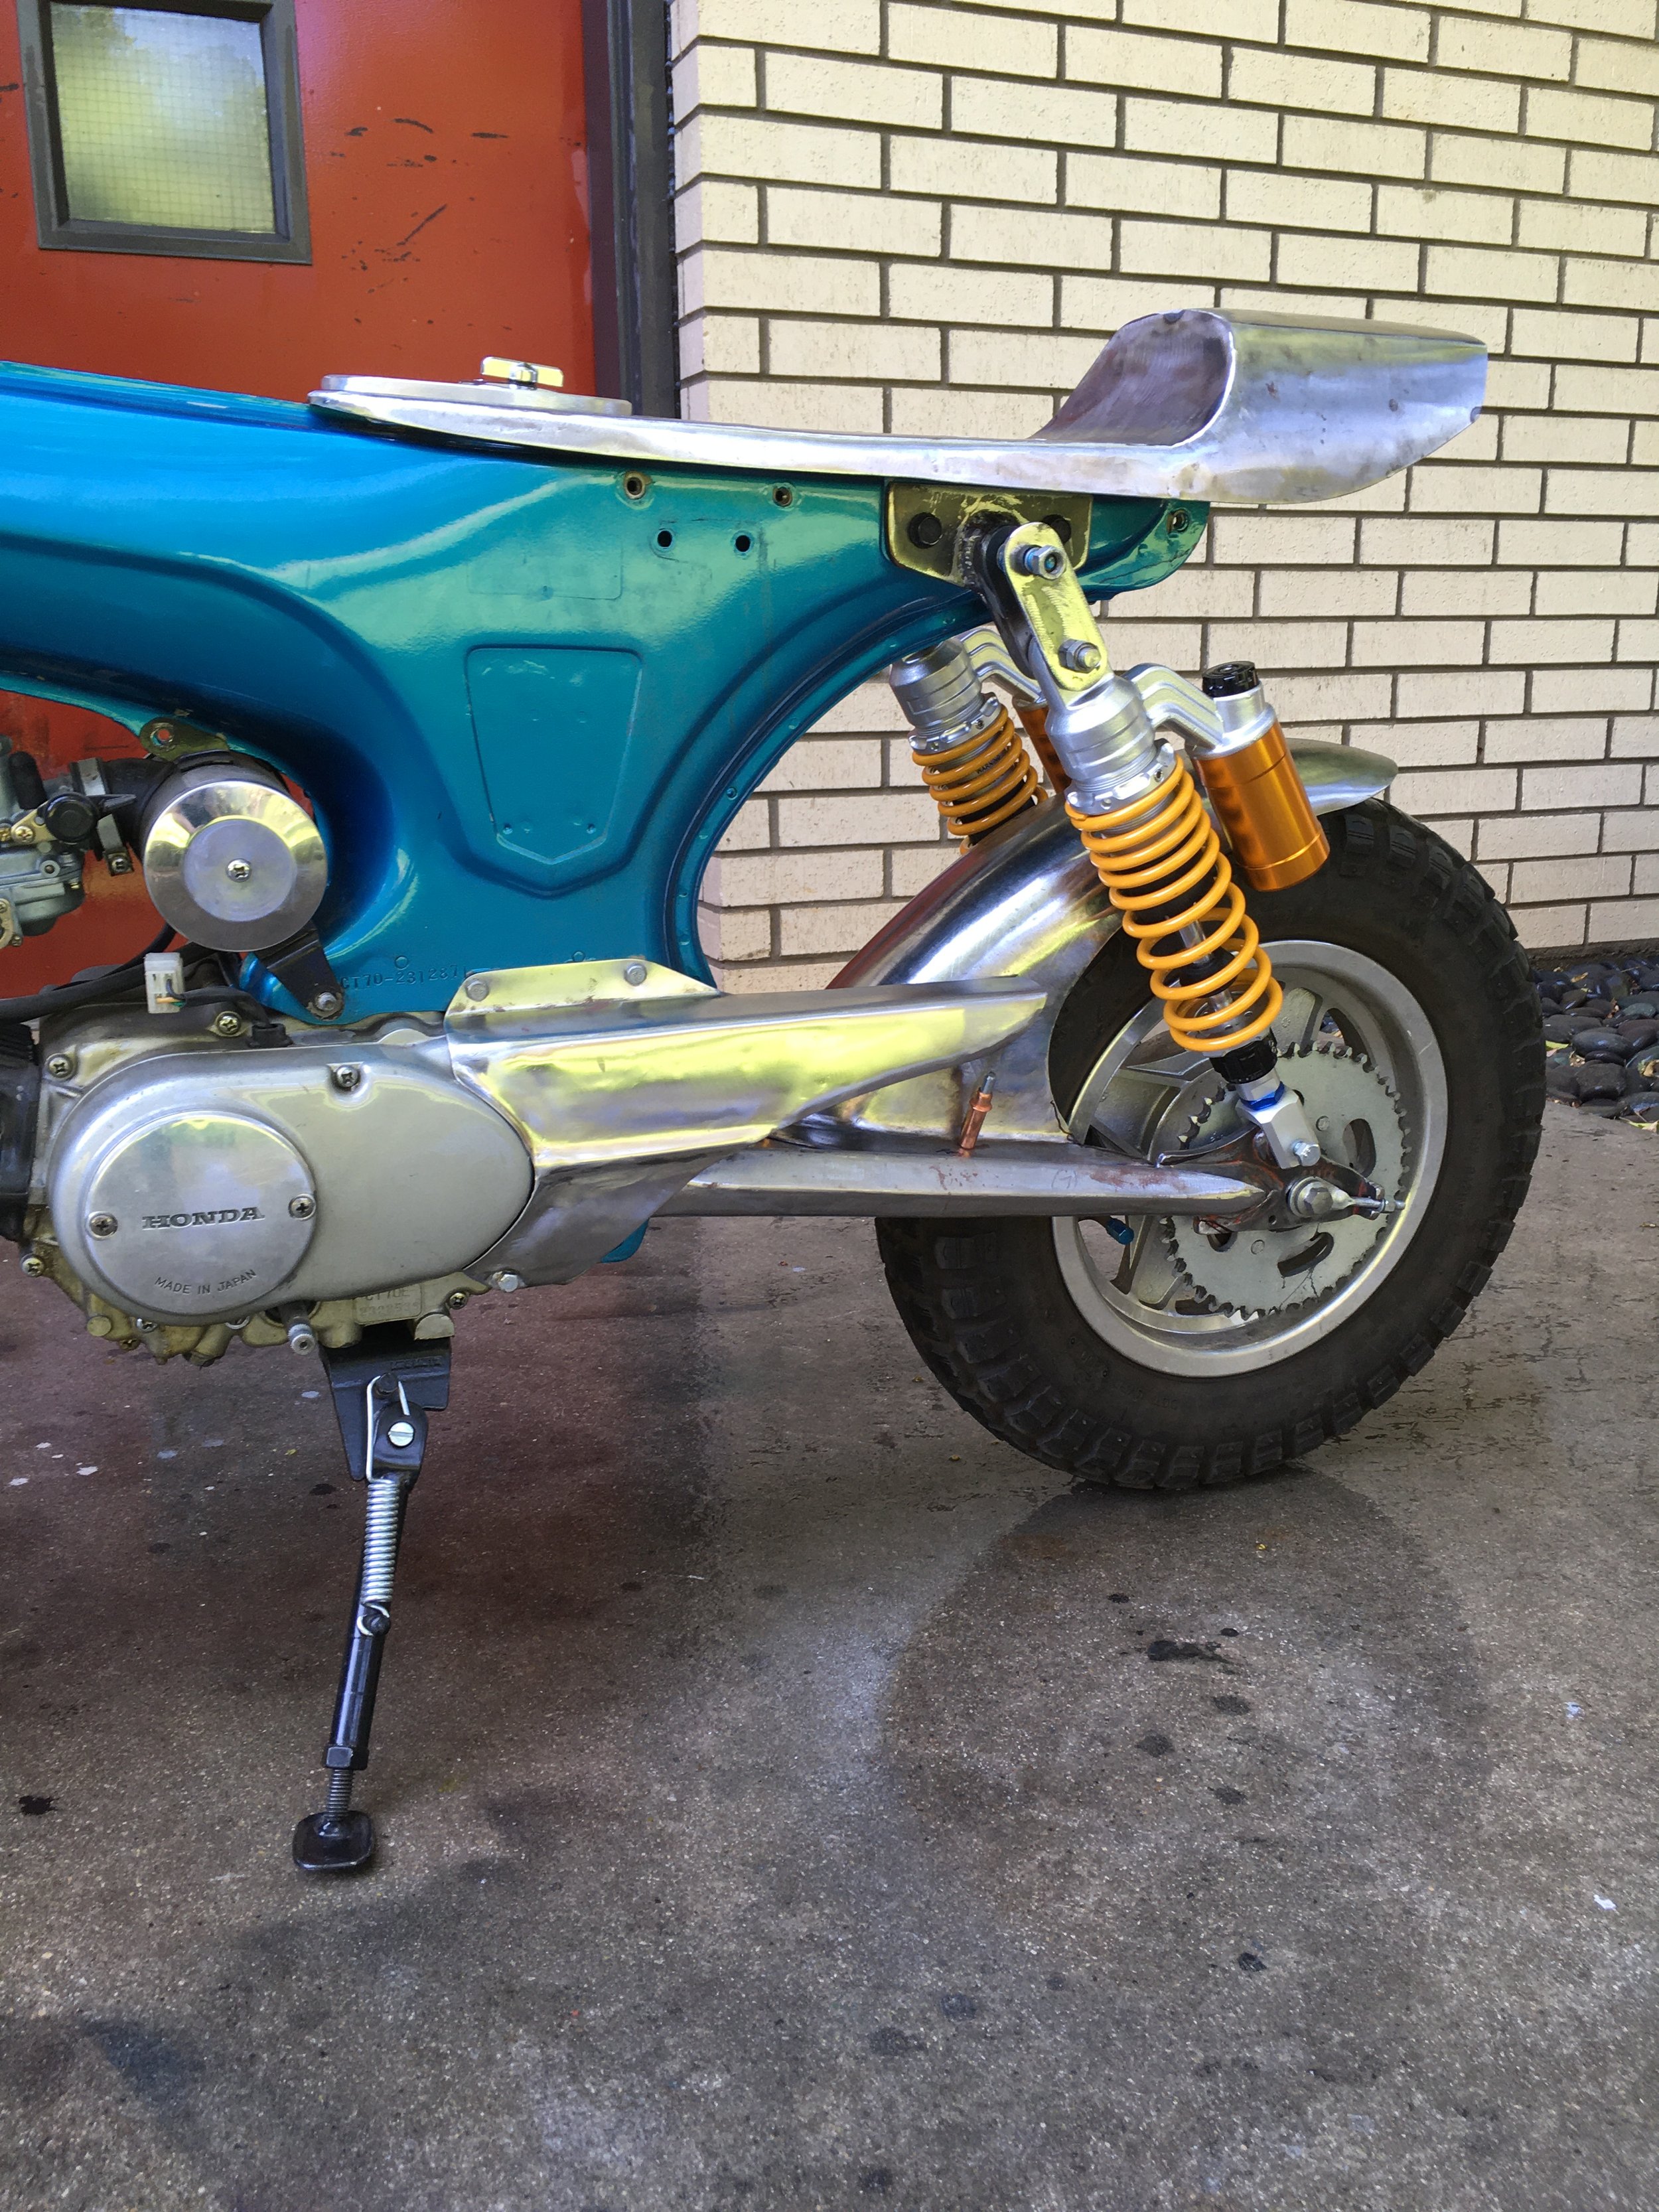
With the main parts of the bodykit worked out, now comes some refining of each part. The edges of the fenders, seat pan and front fairing have all had rod welded around the edges. The side plaques on the swingarm were brass brazed in place, and the swingarm was ground down and smoothed out. The frame was stripped and work done on the swingarm pivot, and fork stop, along with some dent repair and bracket removal.

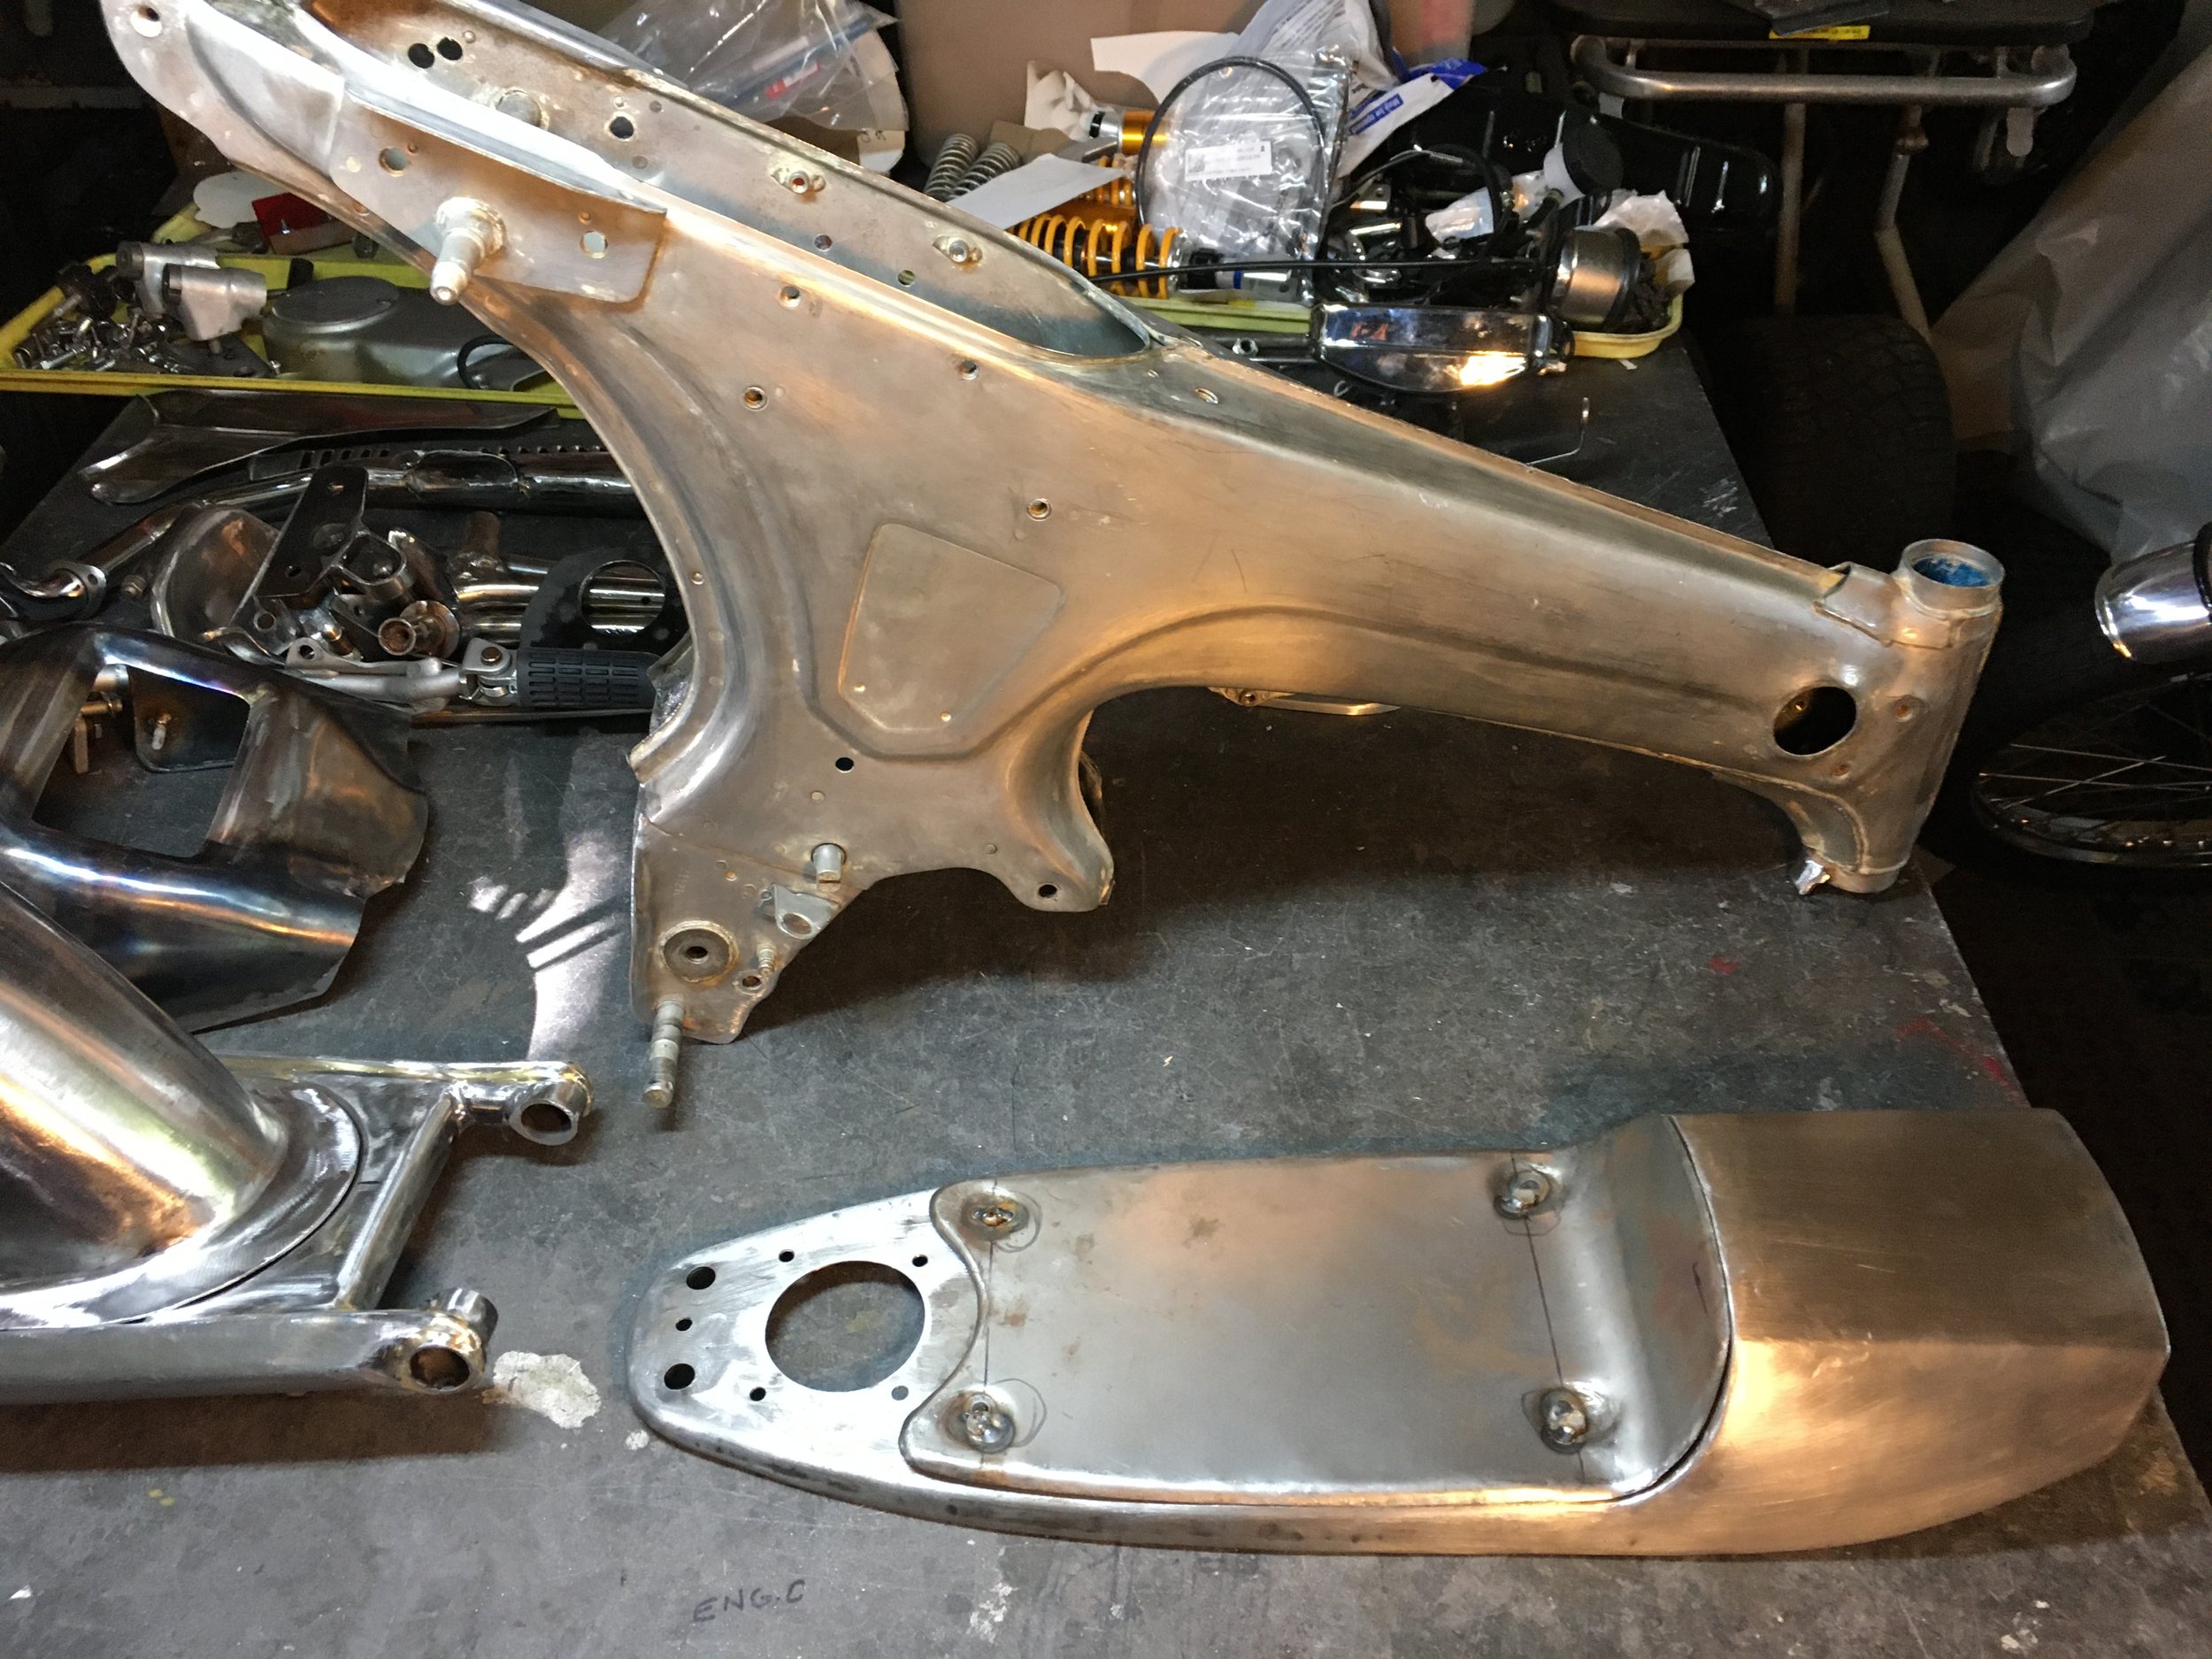
The parts table is filling up with finished parts, waiting to go on to finishes.

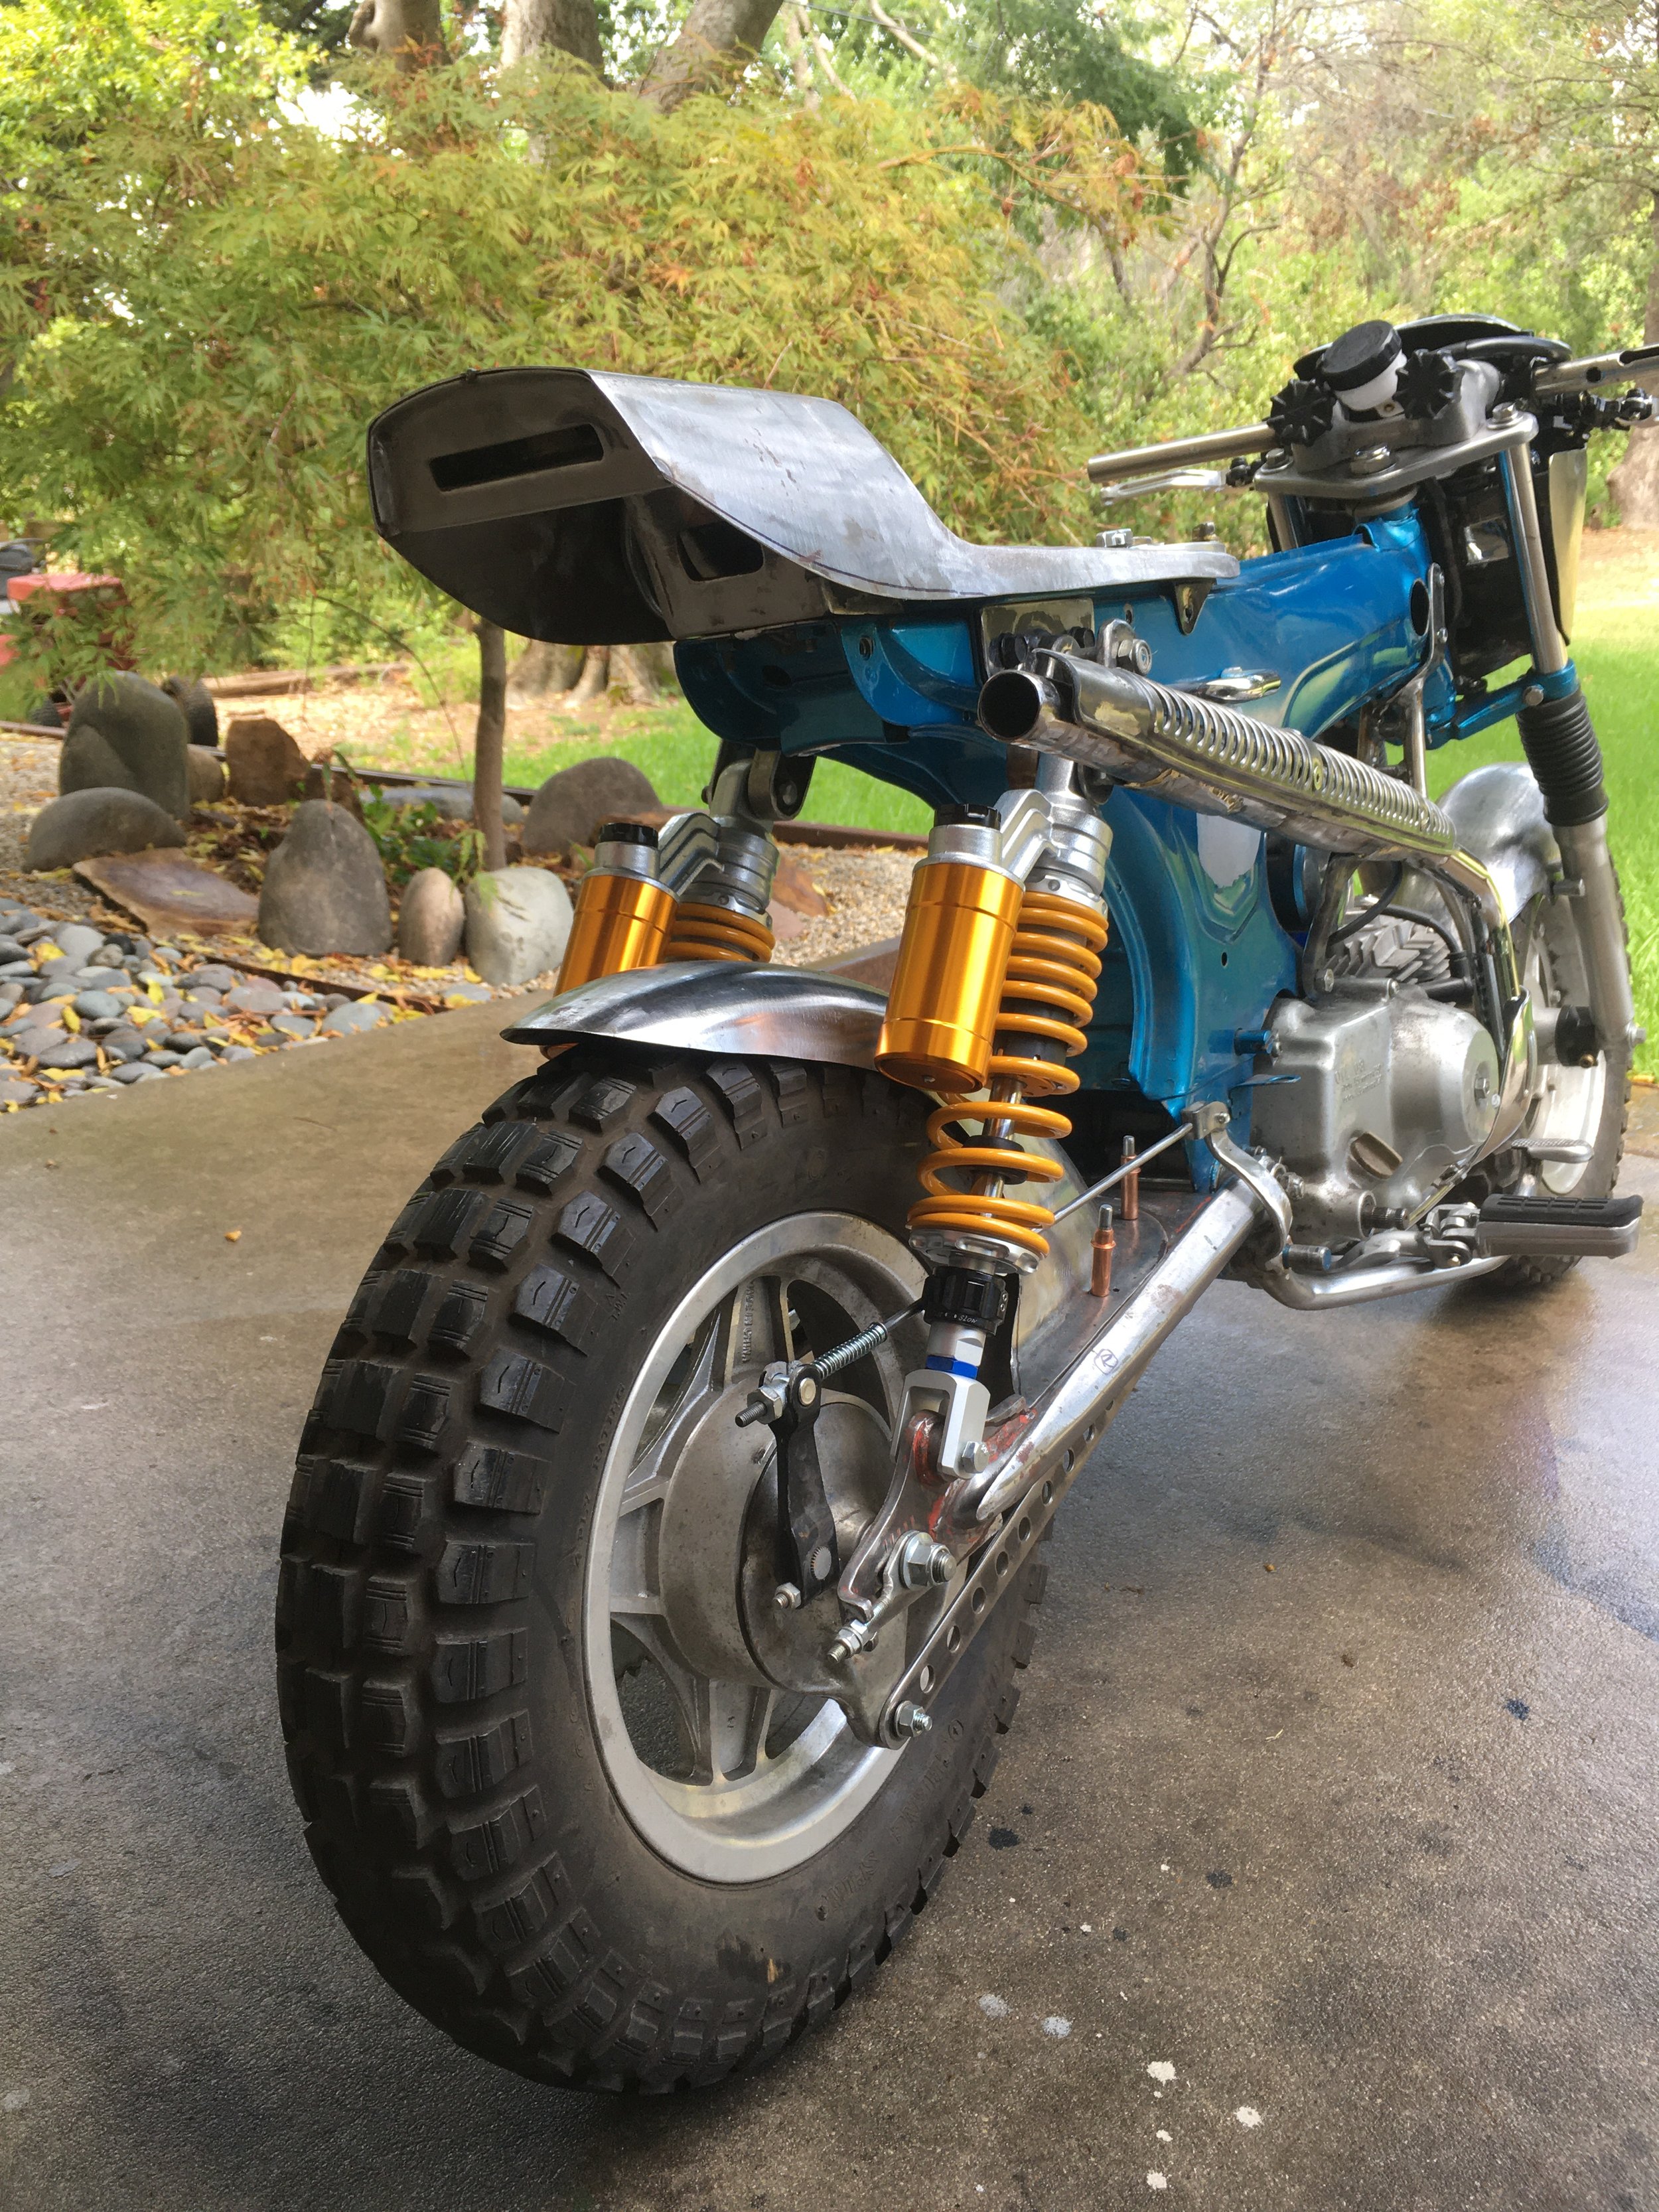
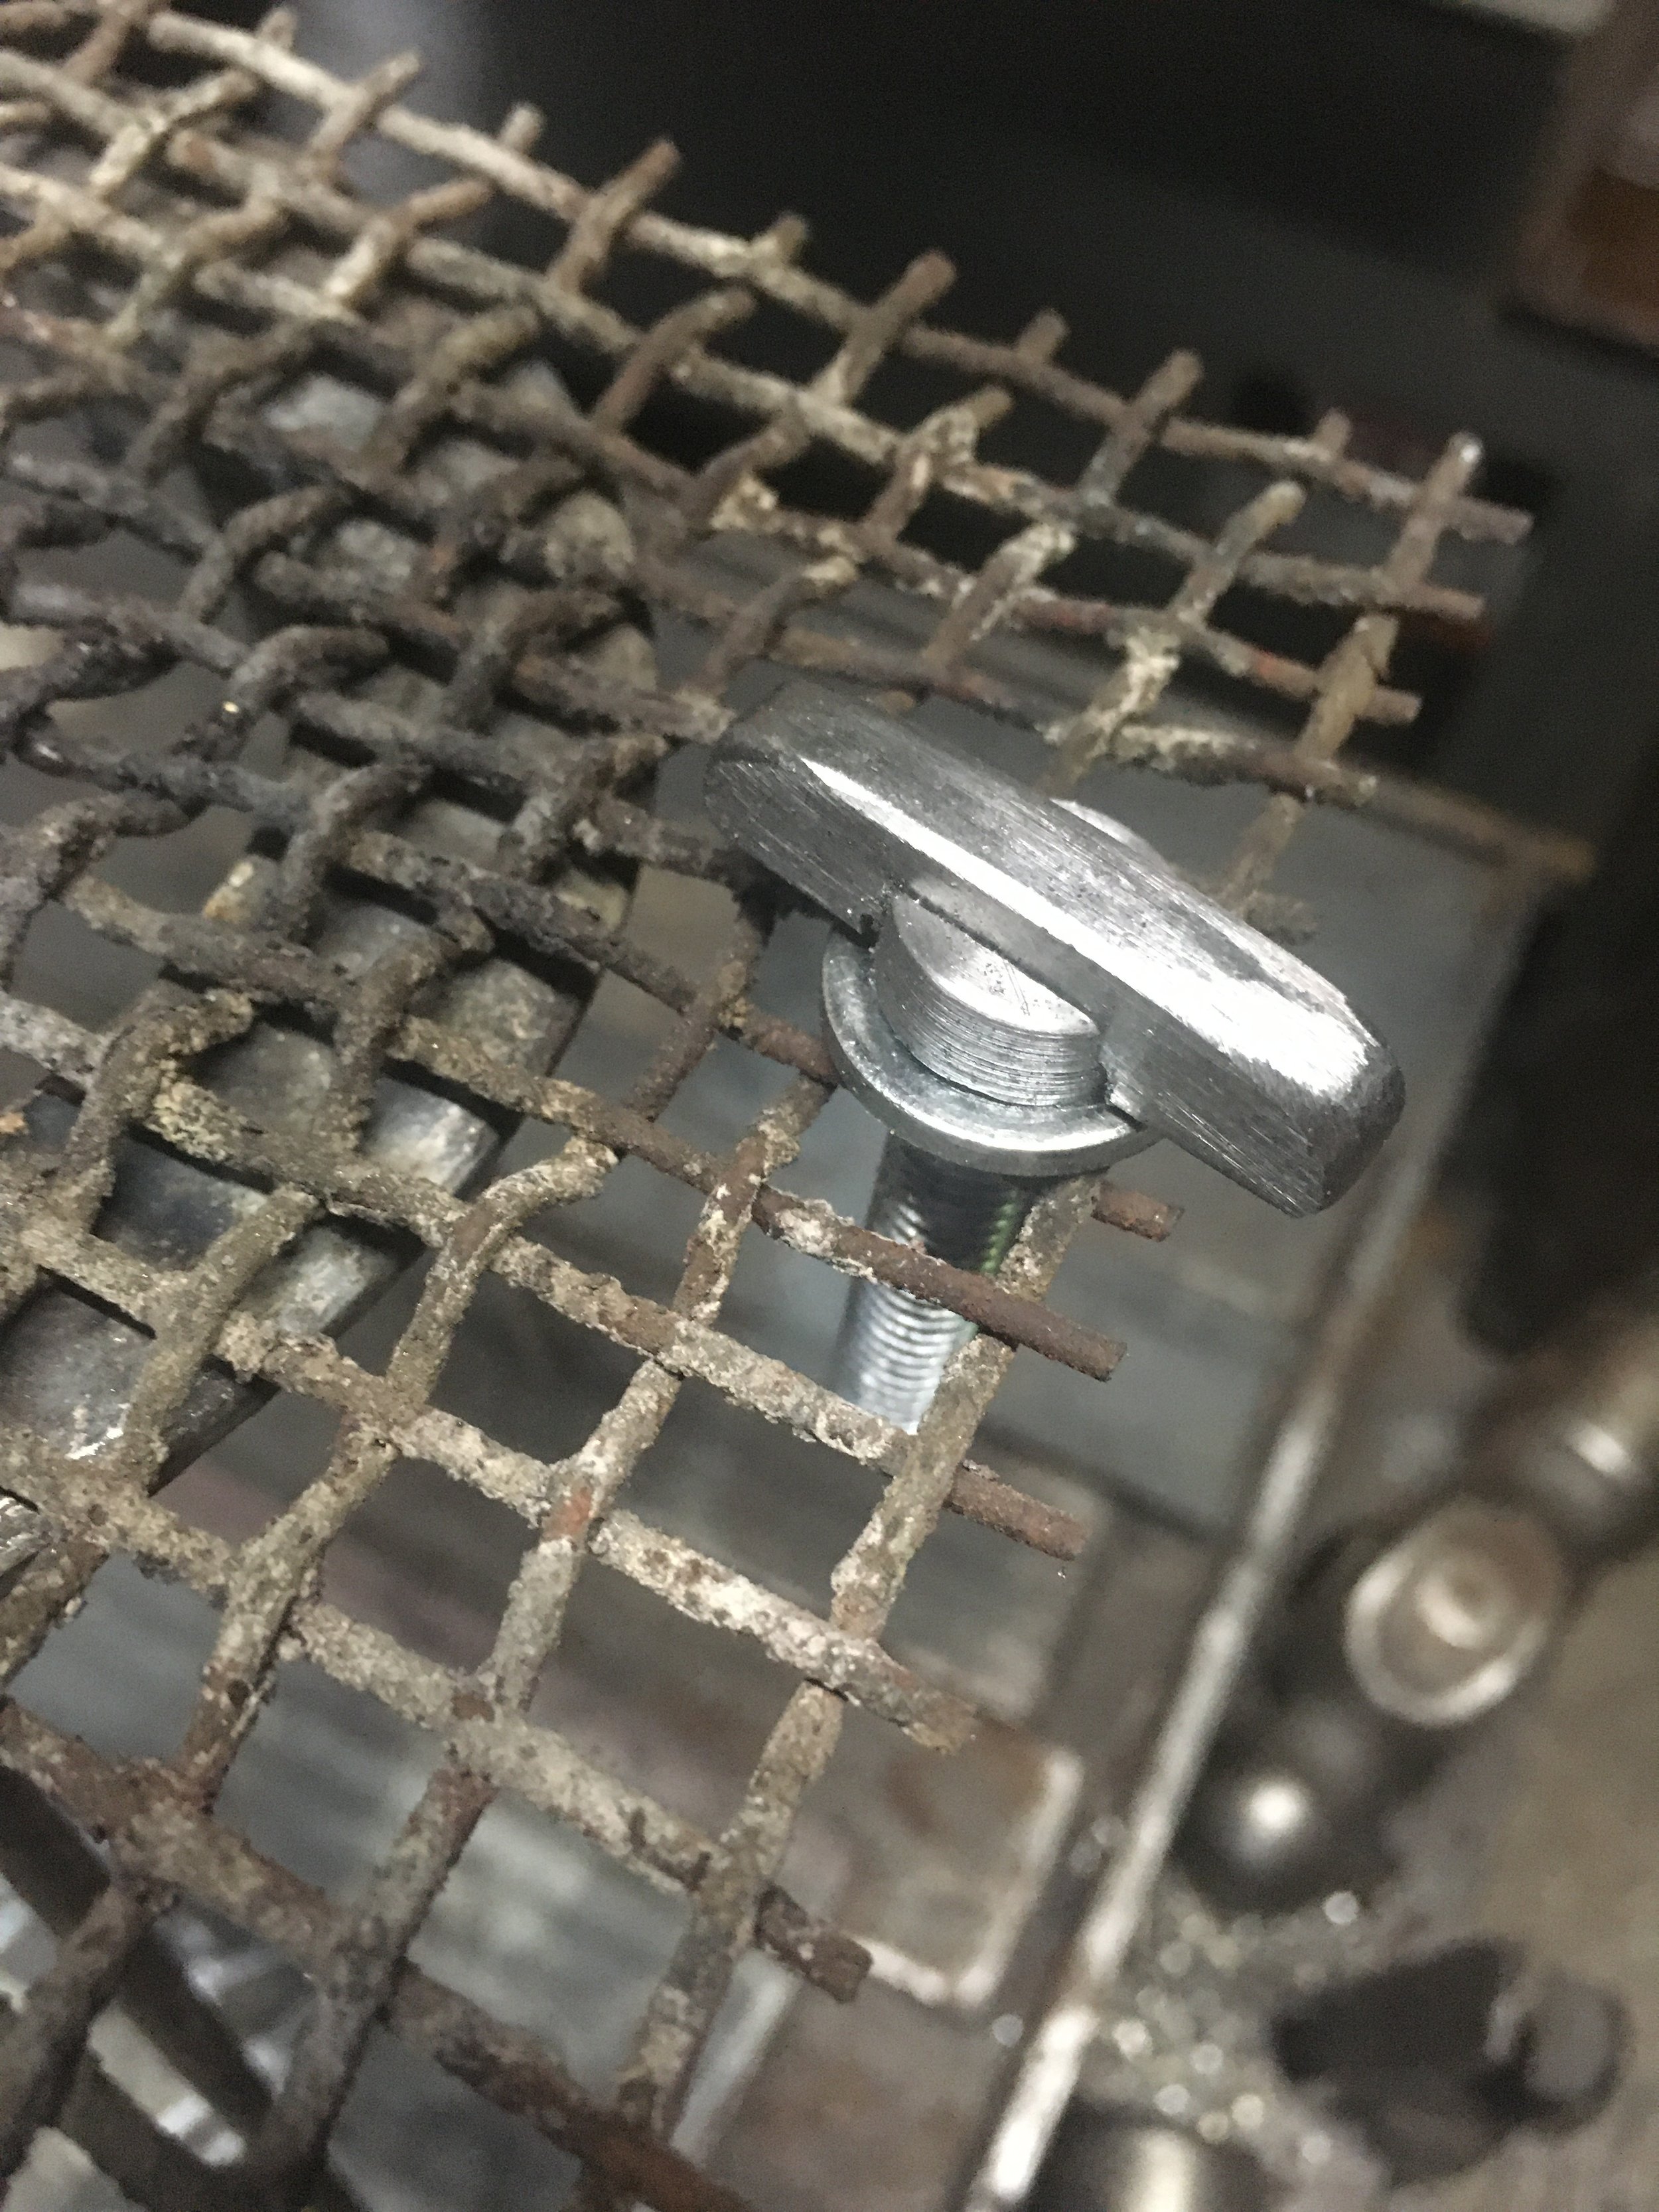
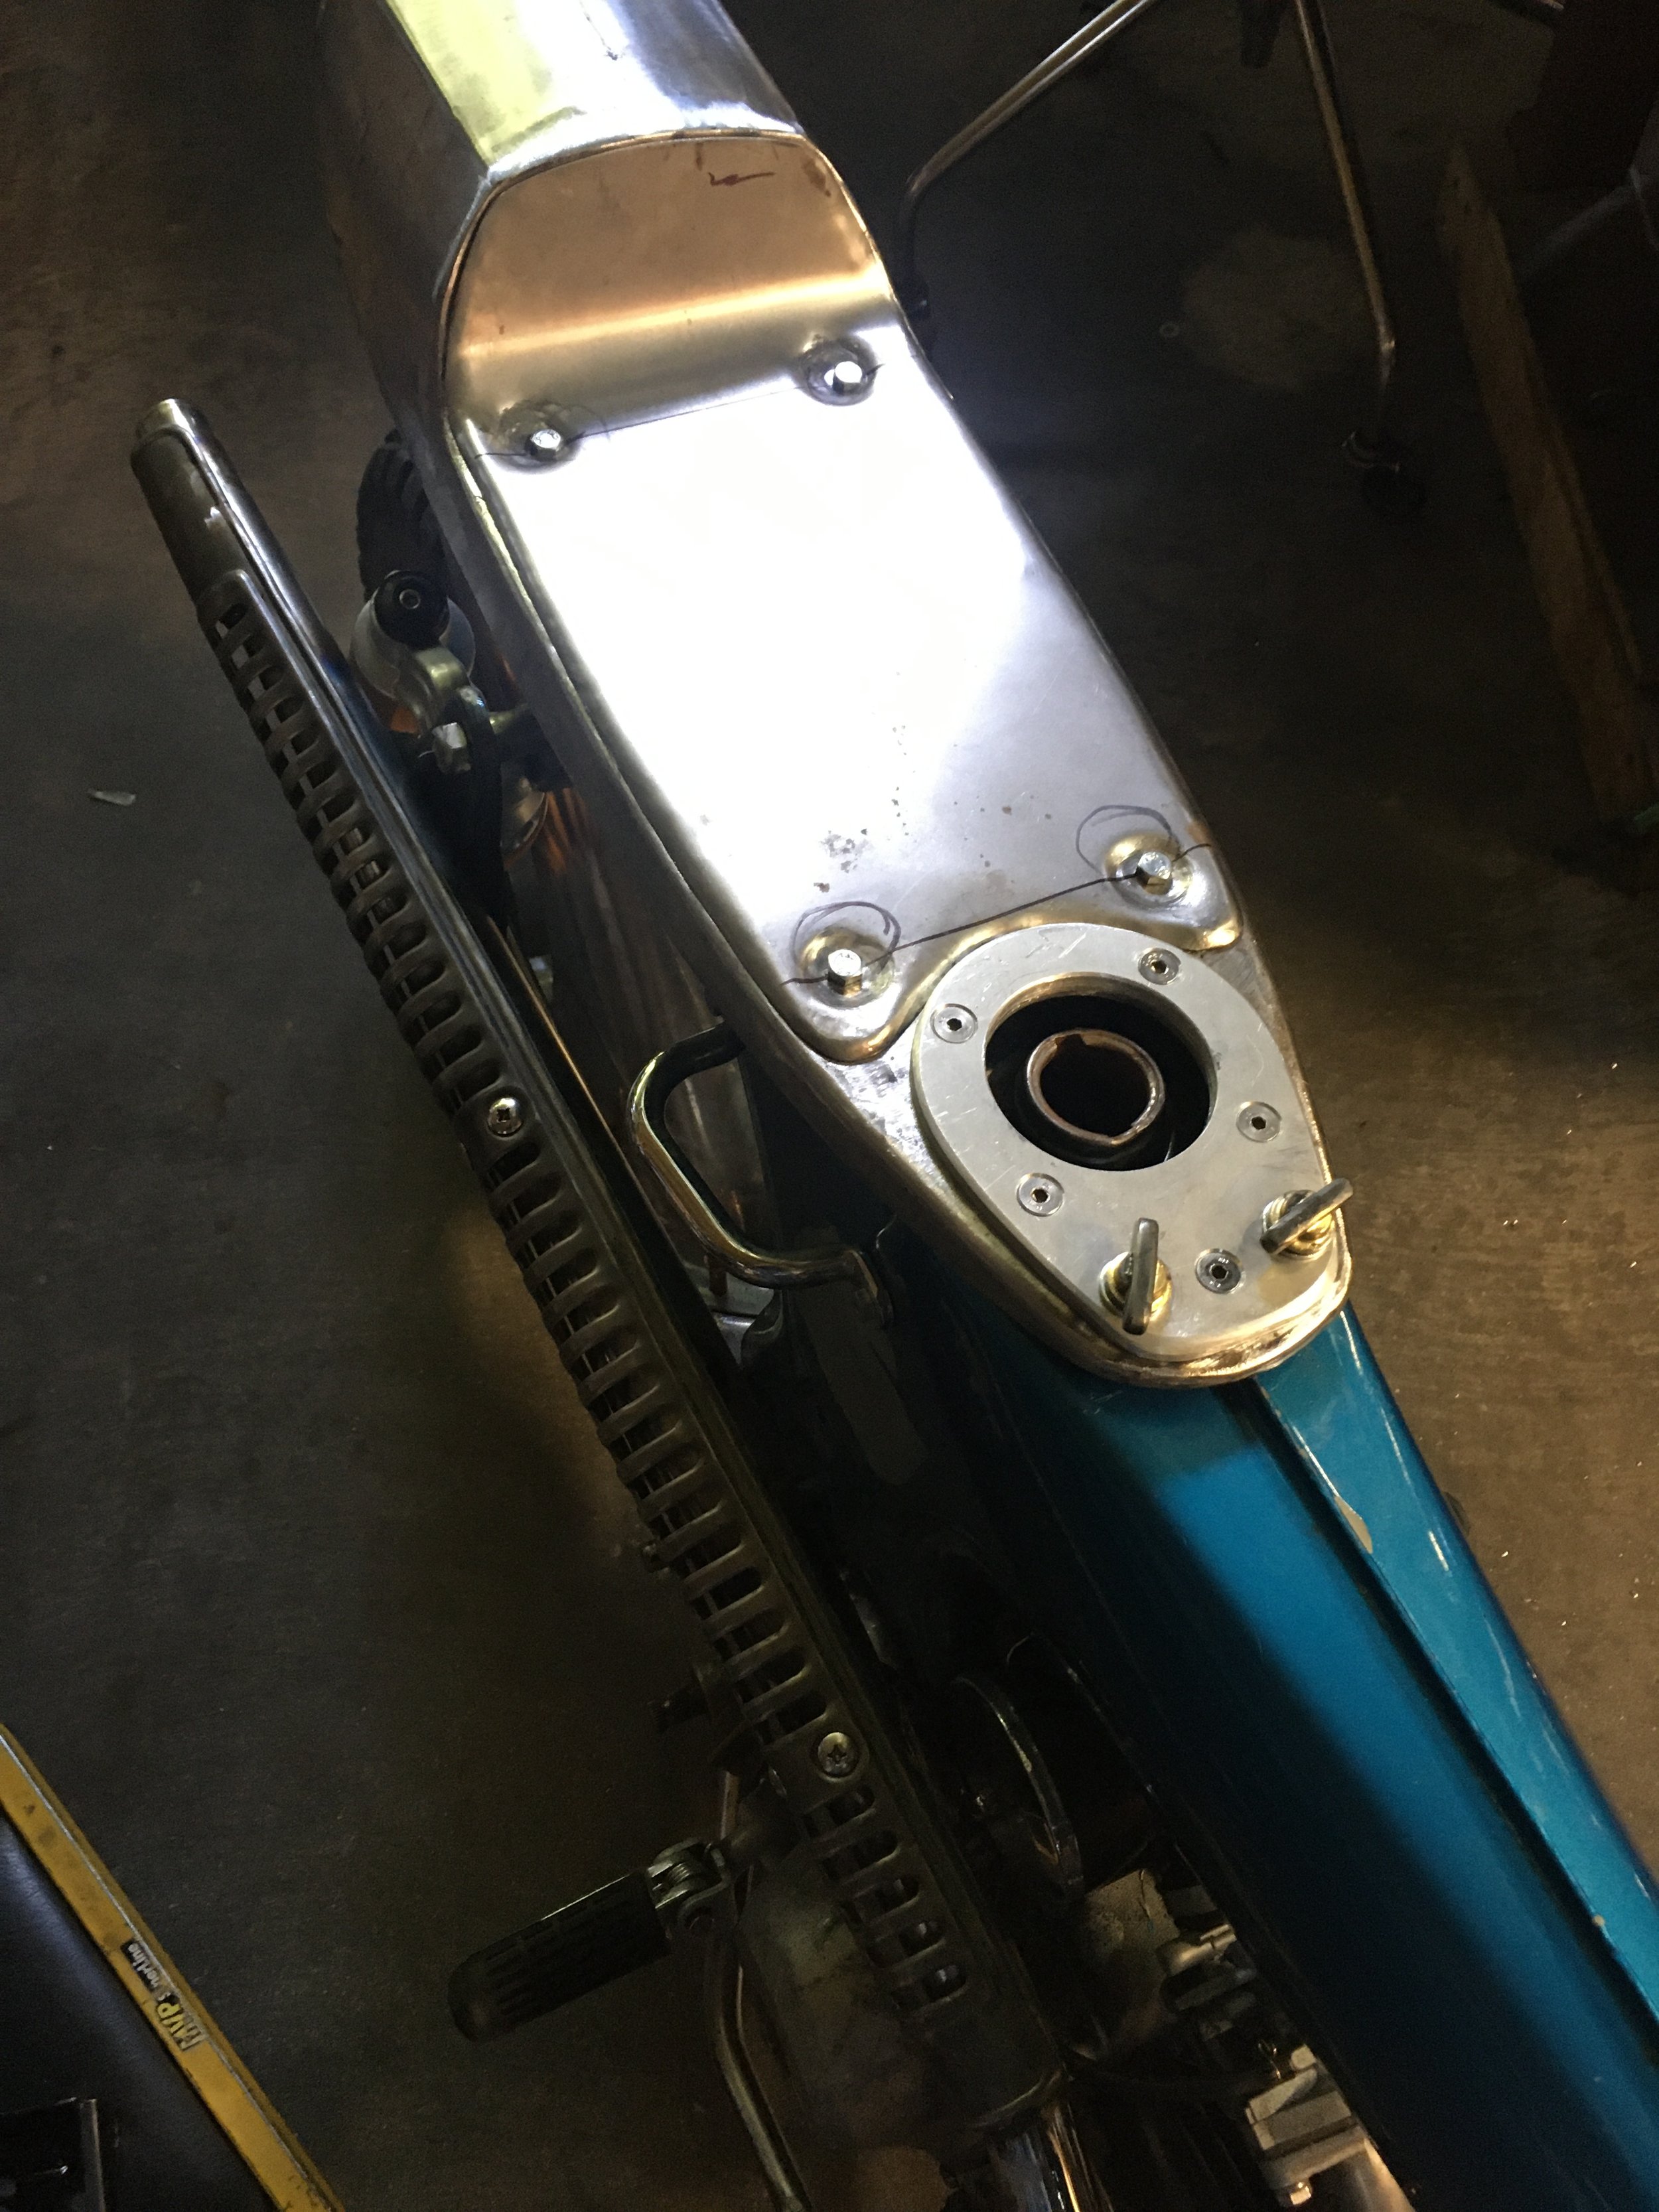
In addition to getting the edges of the rear fender done, the mounting system attaching it to the swingarm was worked out. The screws holding it are hidden underneath. A lot of attention went to the swingarm, getting everything brazed on, smoothed out and thinned down.

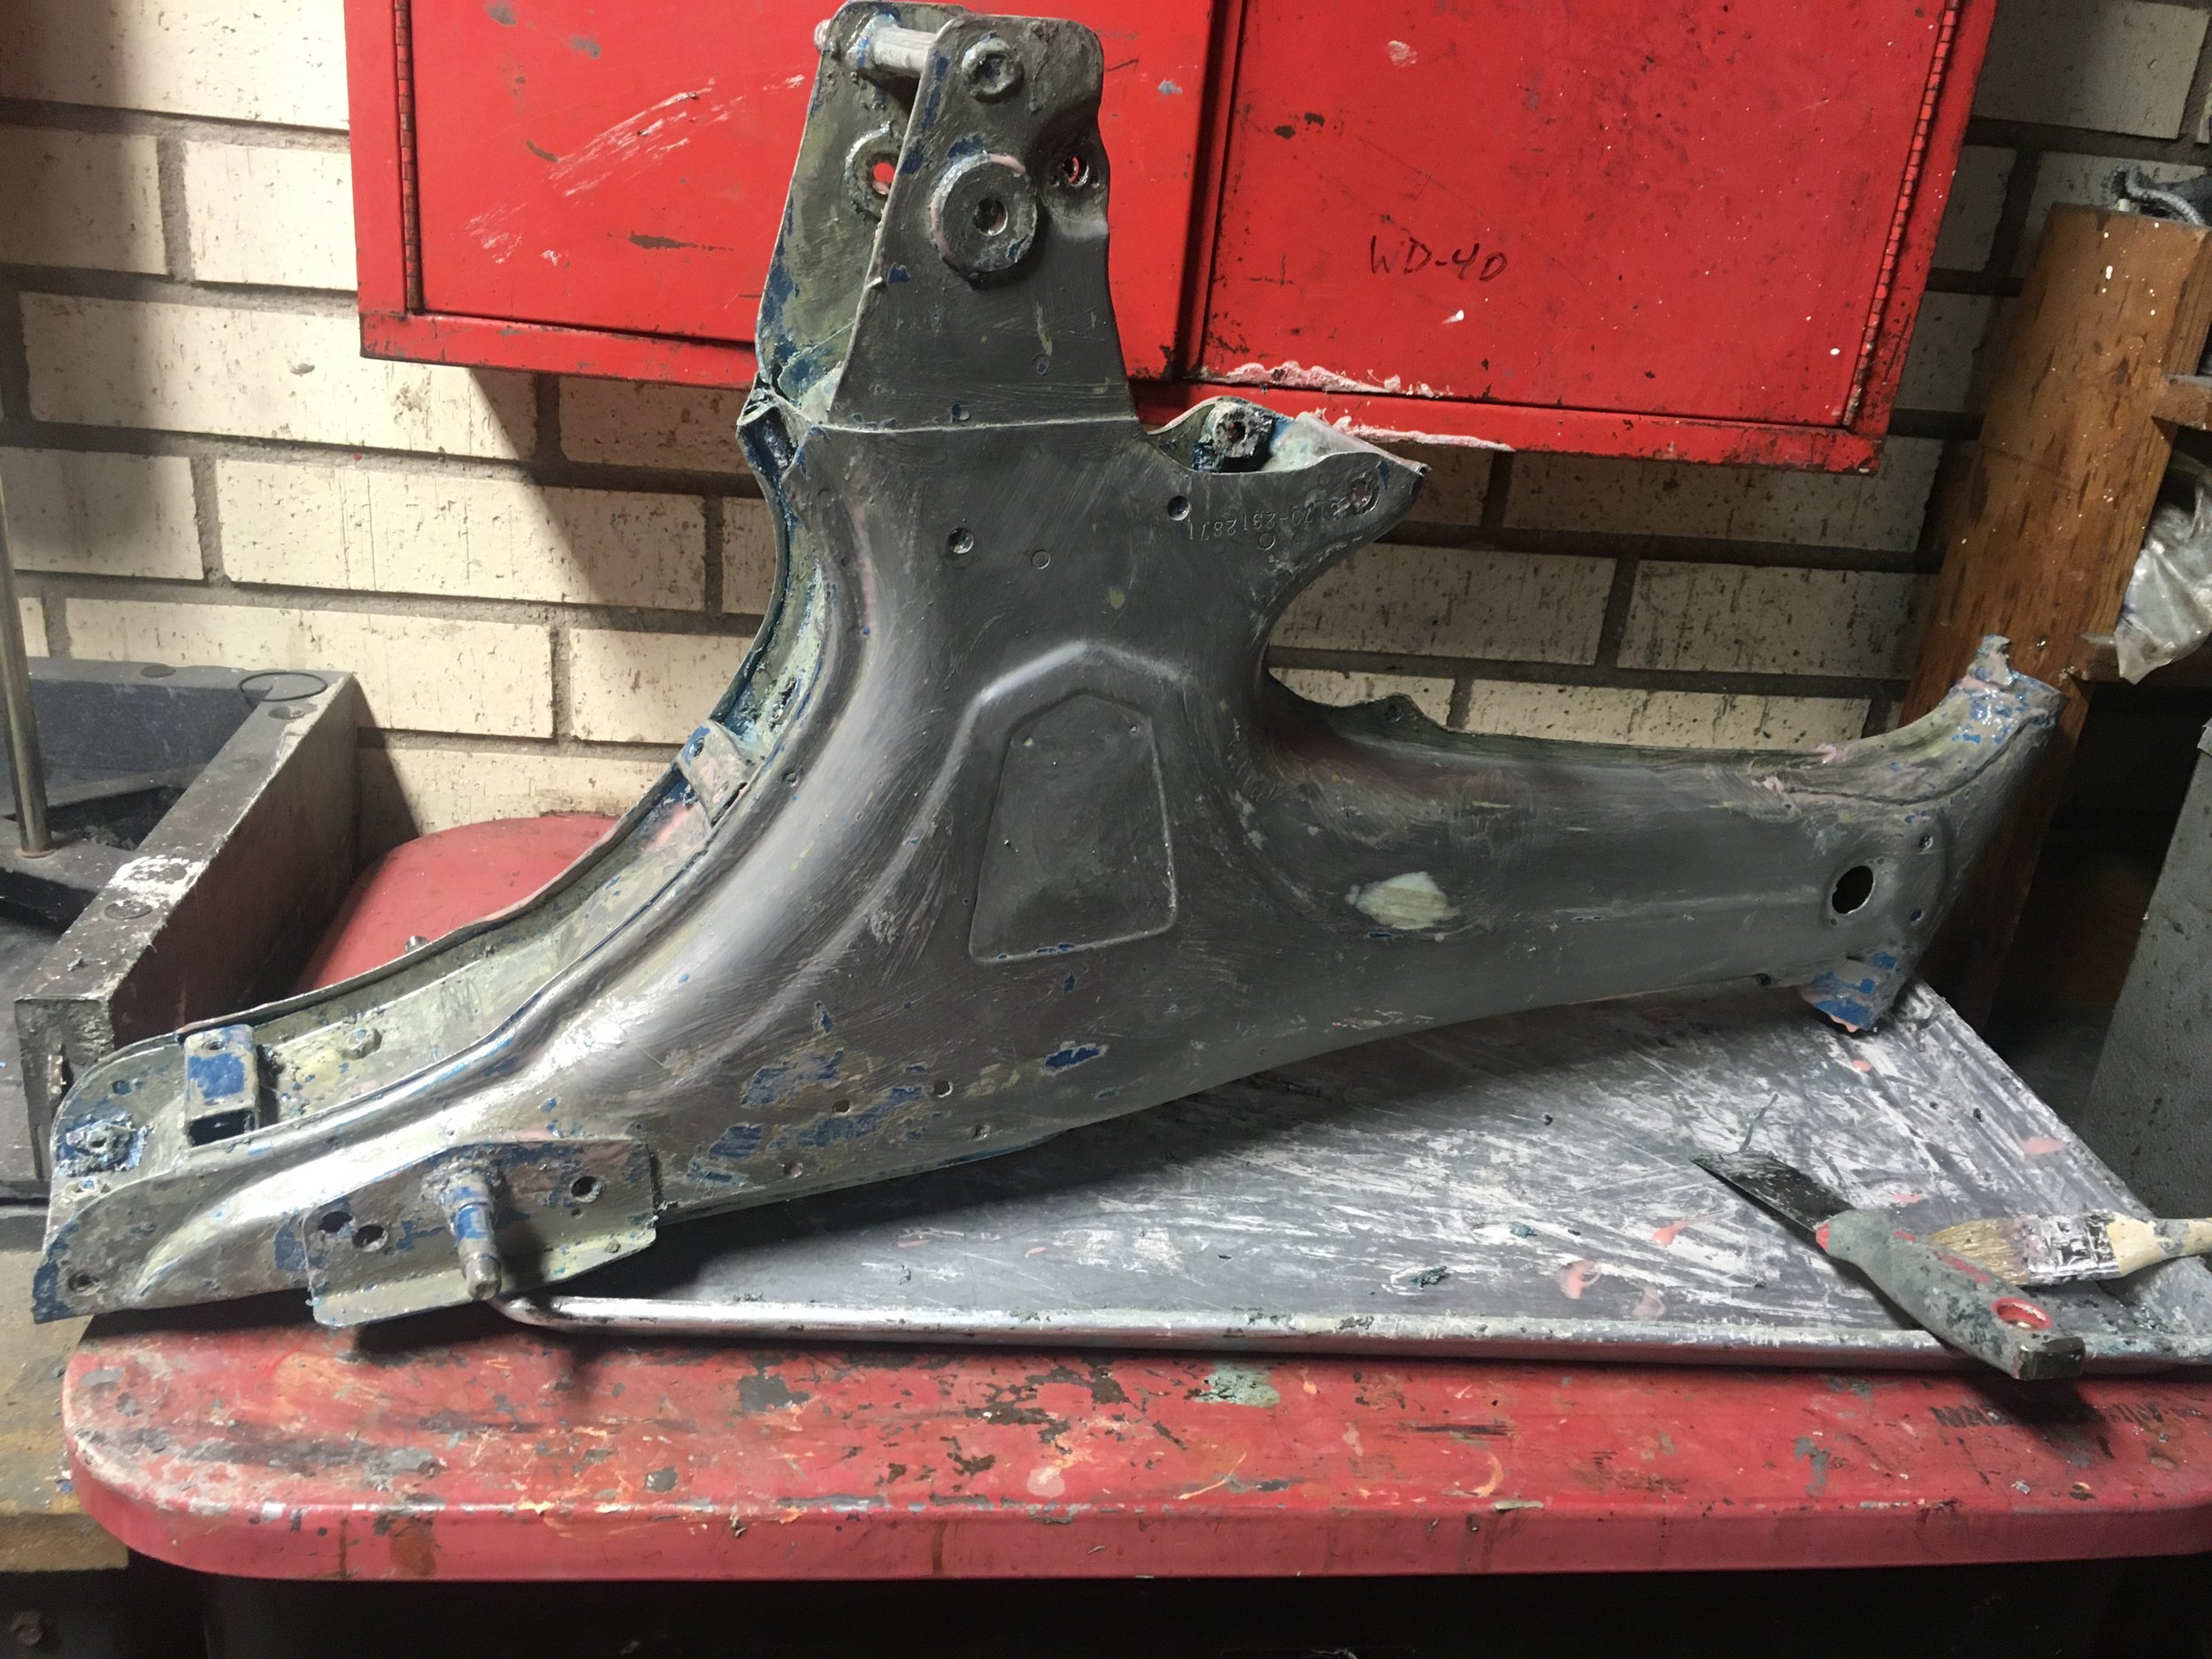
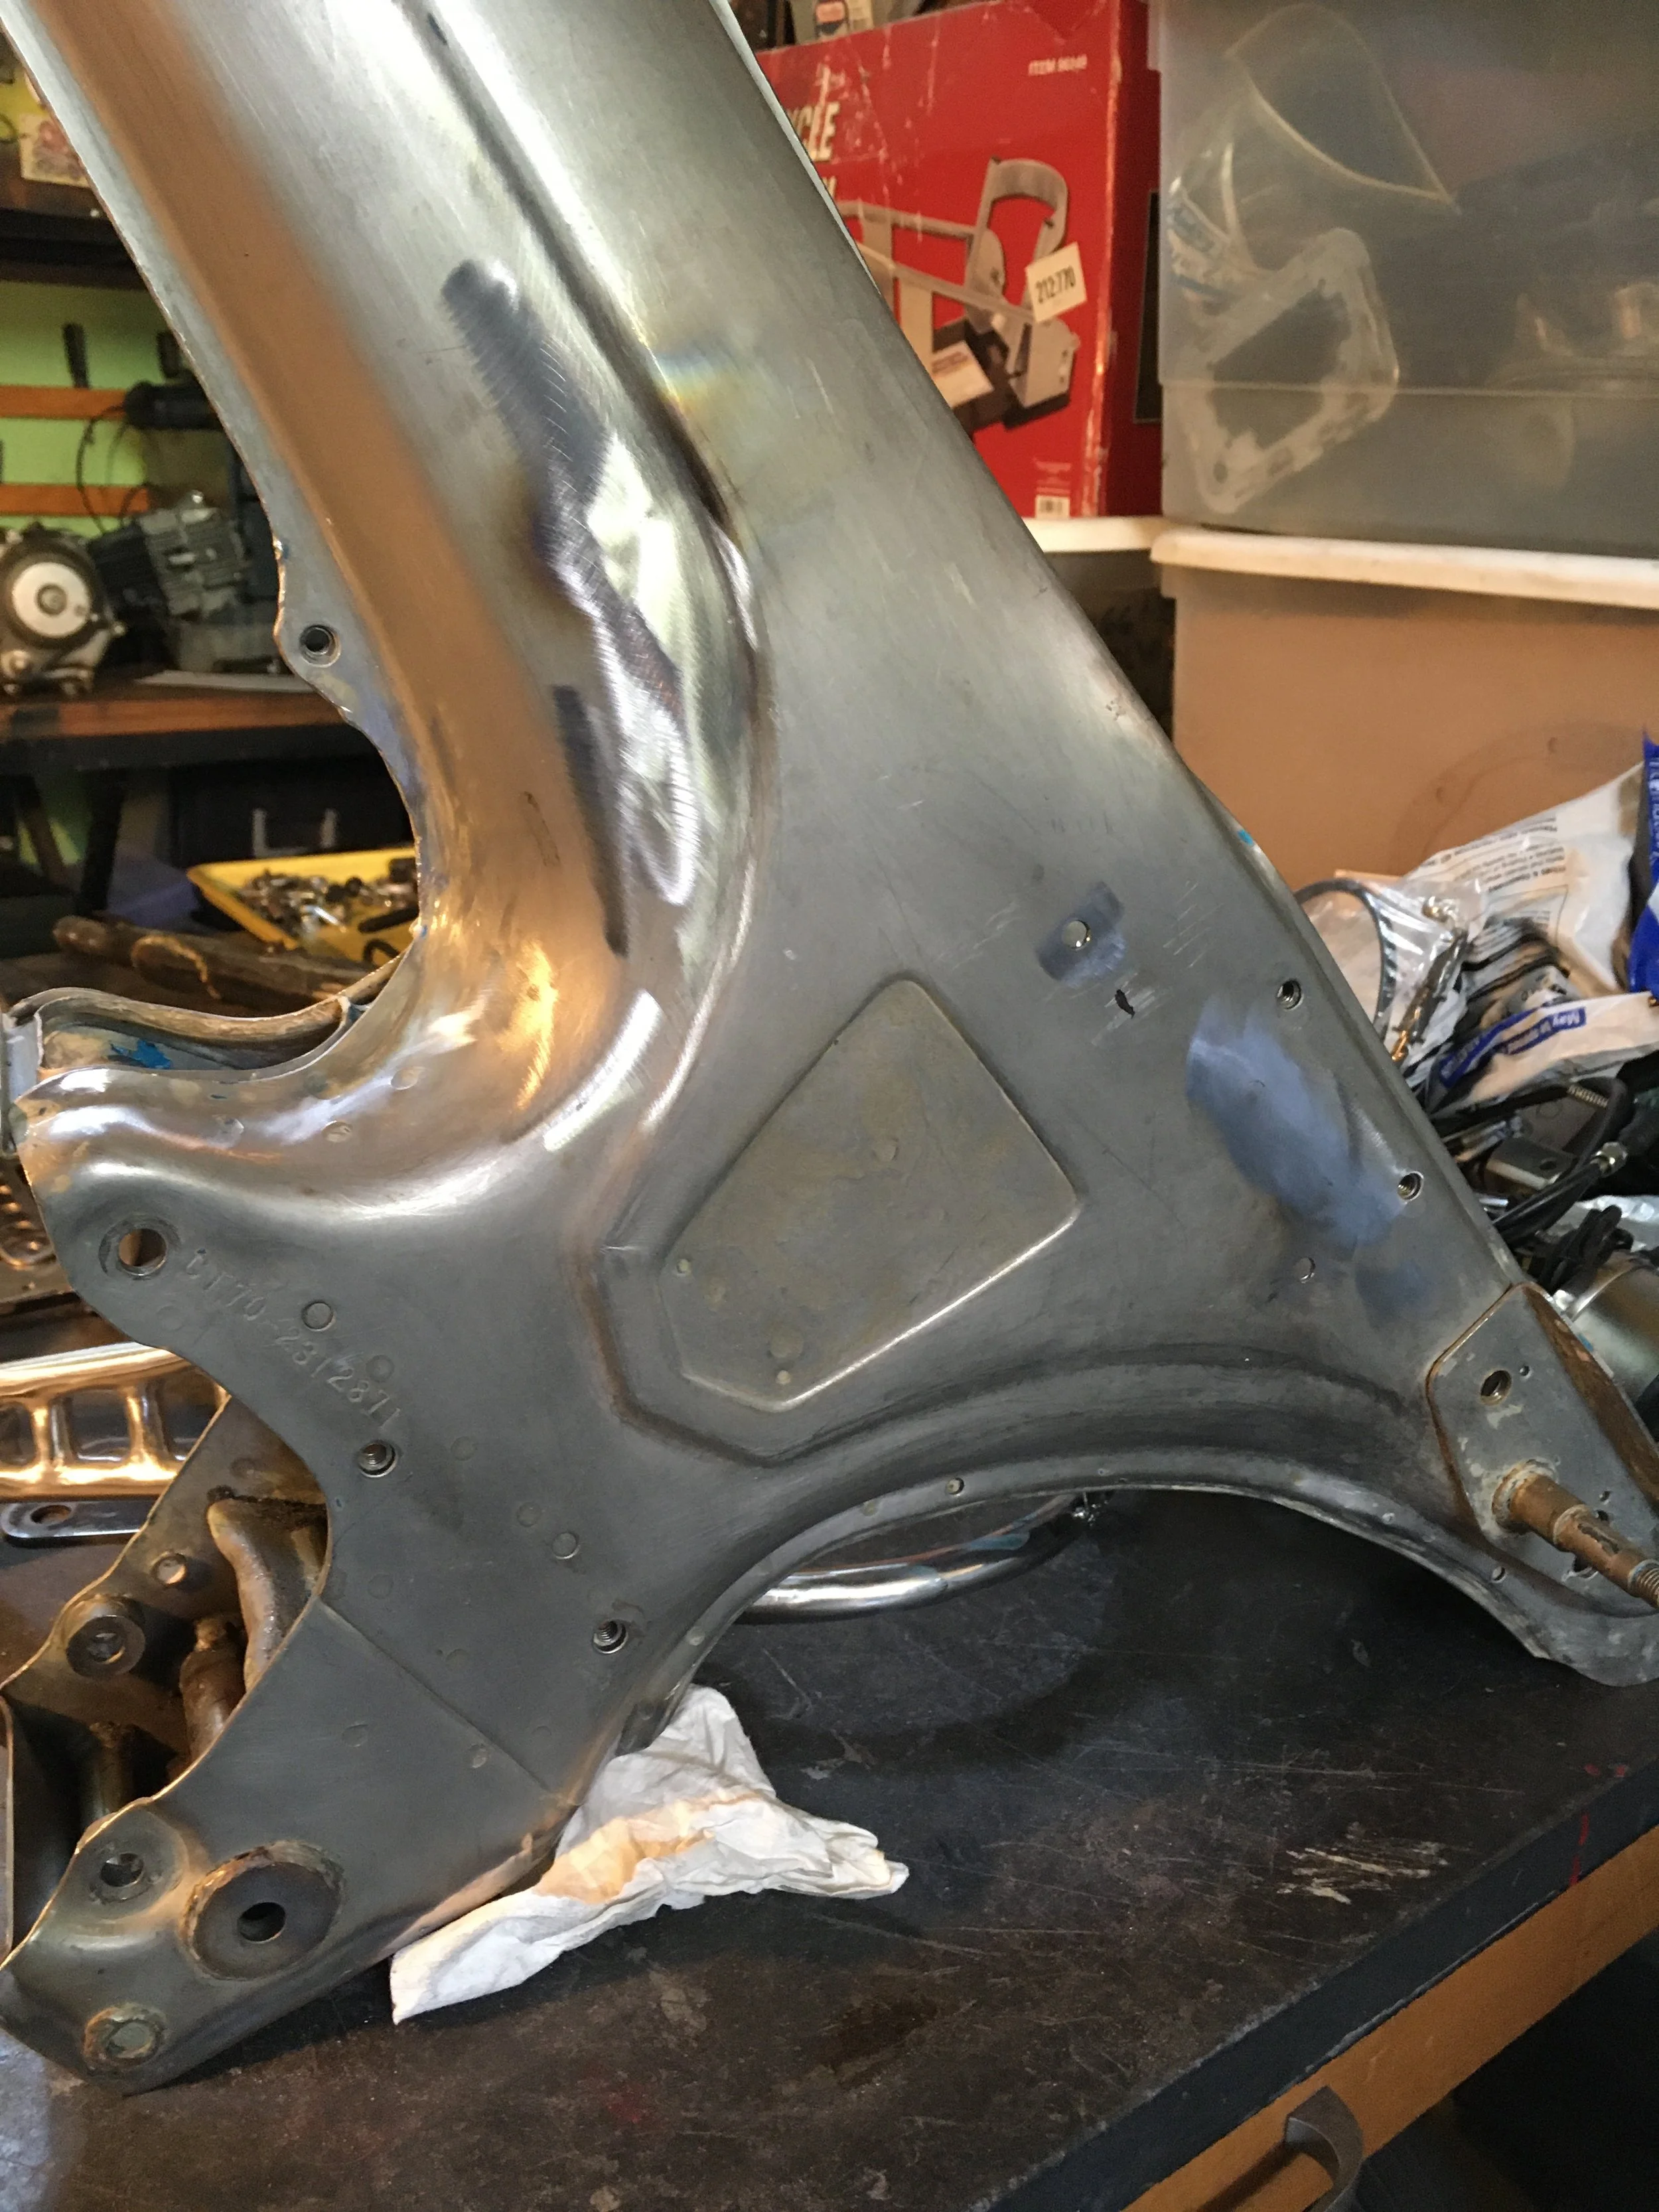
A few rounds of stripper were needed to get through to bare metal. Only one dent is apparent. The rear fender mounts will need removed, the forks stop repaired, a spacer welded in for the swingarm pivot, and the lower frame boxed in around the pivot.

With a new custom plate welded in, this, along with the spacer, will strengthen the lower body in the critical motor mount/swingarm pivot area. The boxing plate is similar to the Honda ST90, which has a very similar frame, with the external swingarm pivot. The rear frame channel looks better with the fender mounts stripped out.

A little bit of brass is visible around the edges of the side plaques on the swingarm. Brass was chosen for its ability to flow out nicely, and its ease of finishing. Shaving down the ears of the swinger also made a big difference.

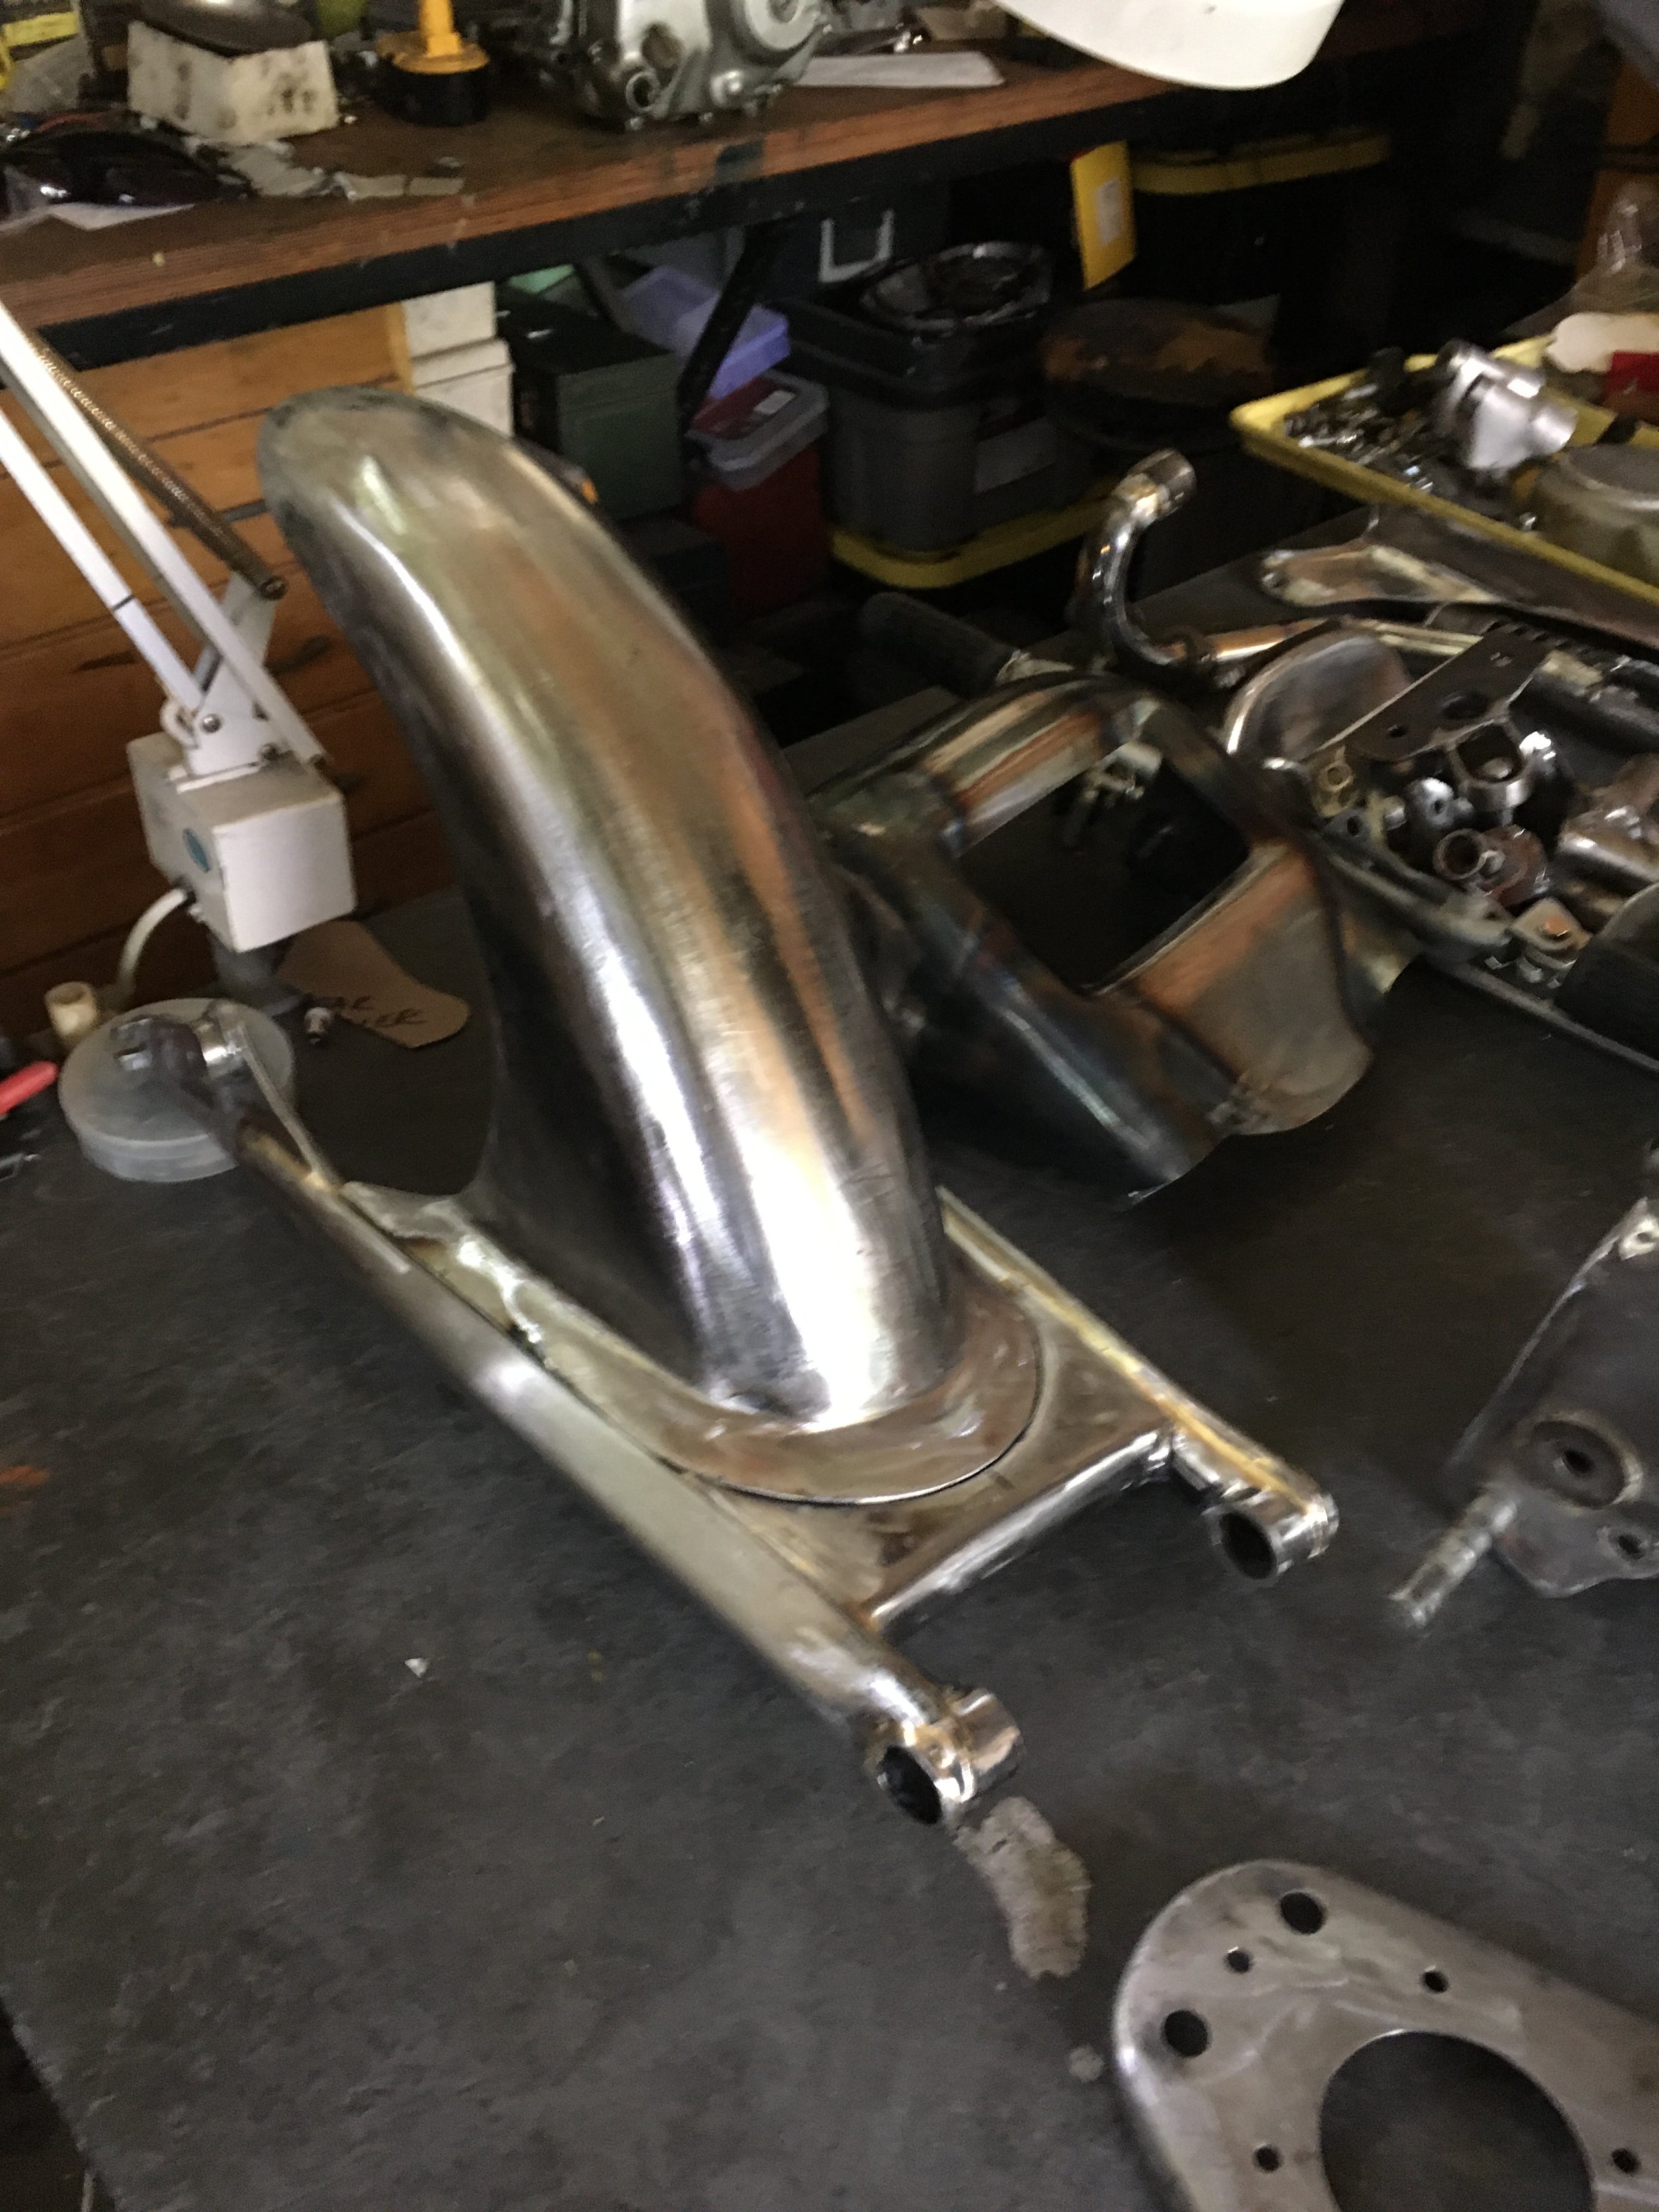
A thin line of brass is also visible along the edges of the swingarm. The brass is soft and makes a very nice fillet.

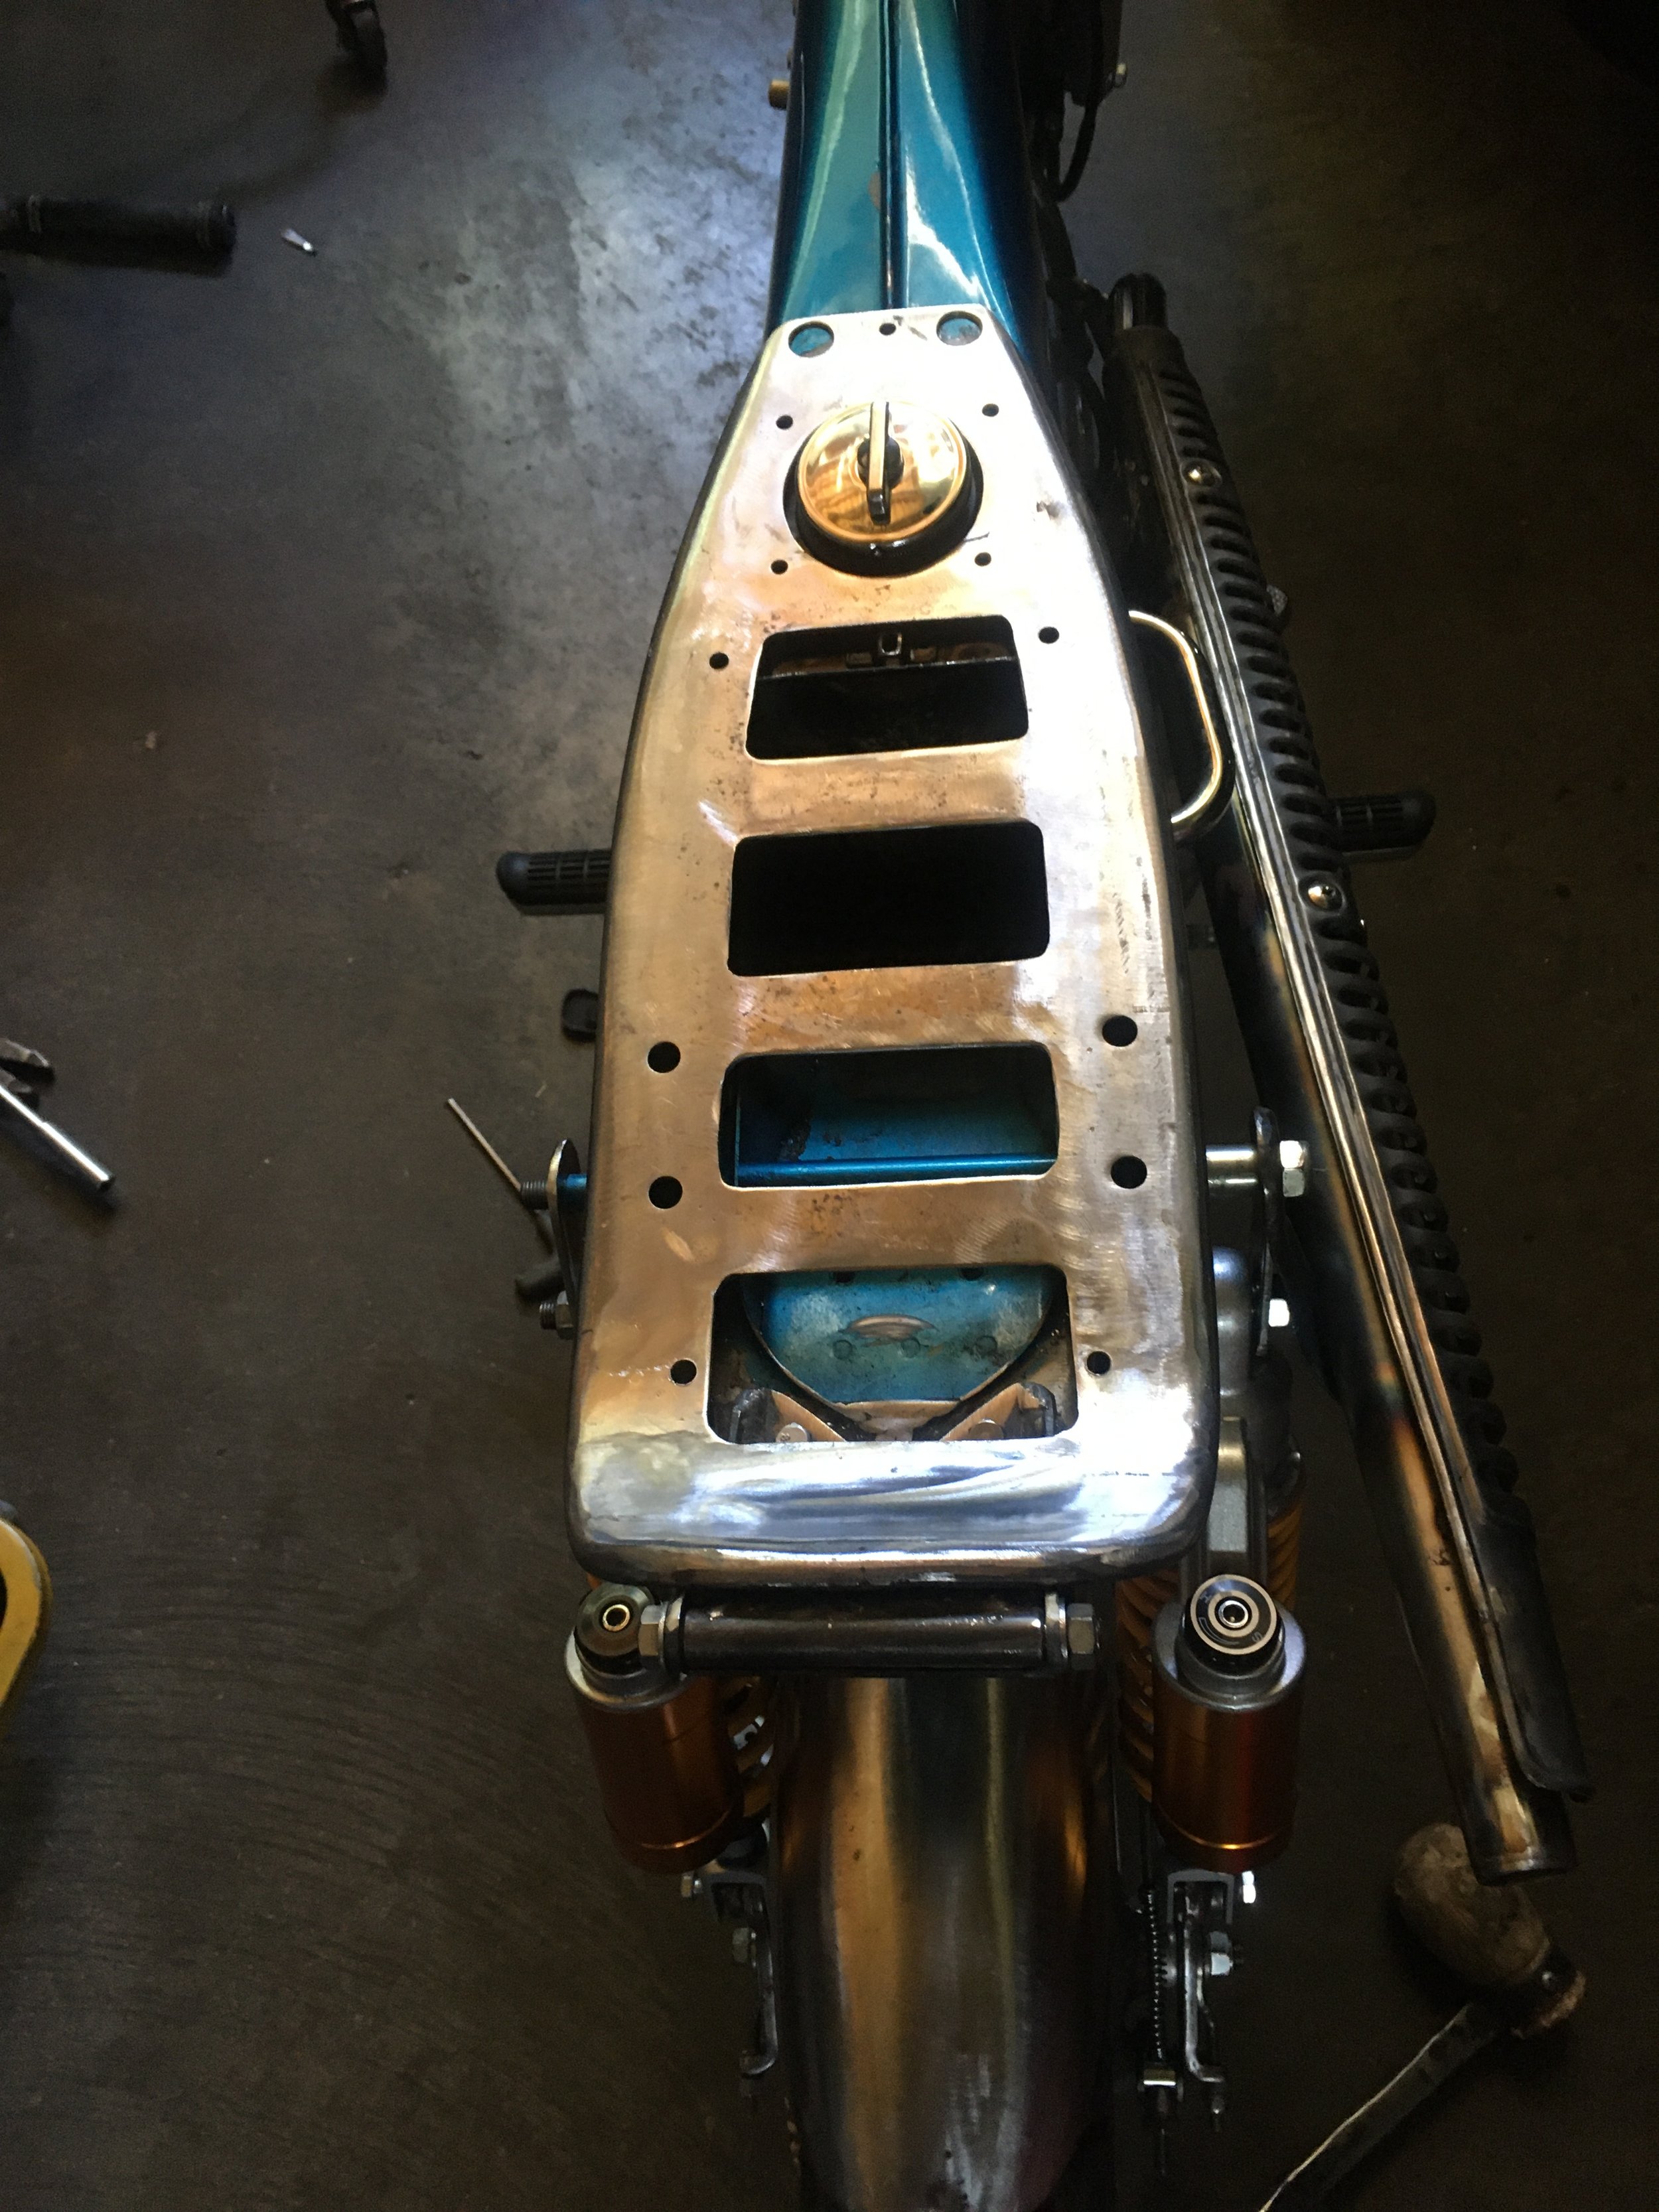
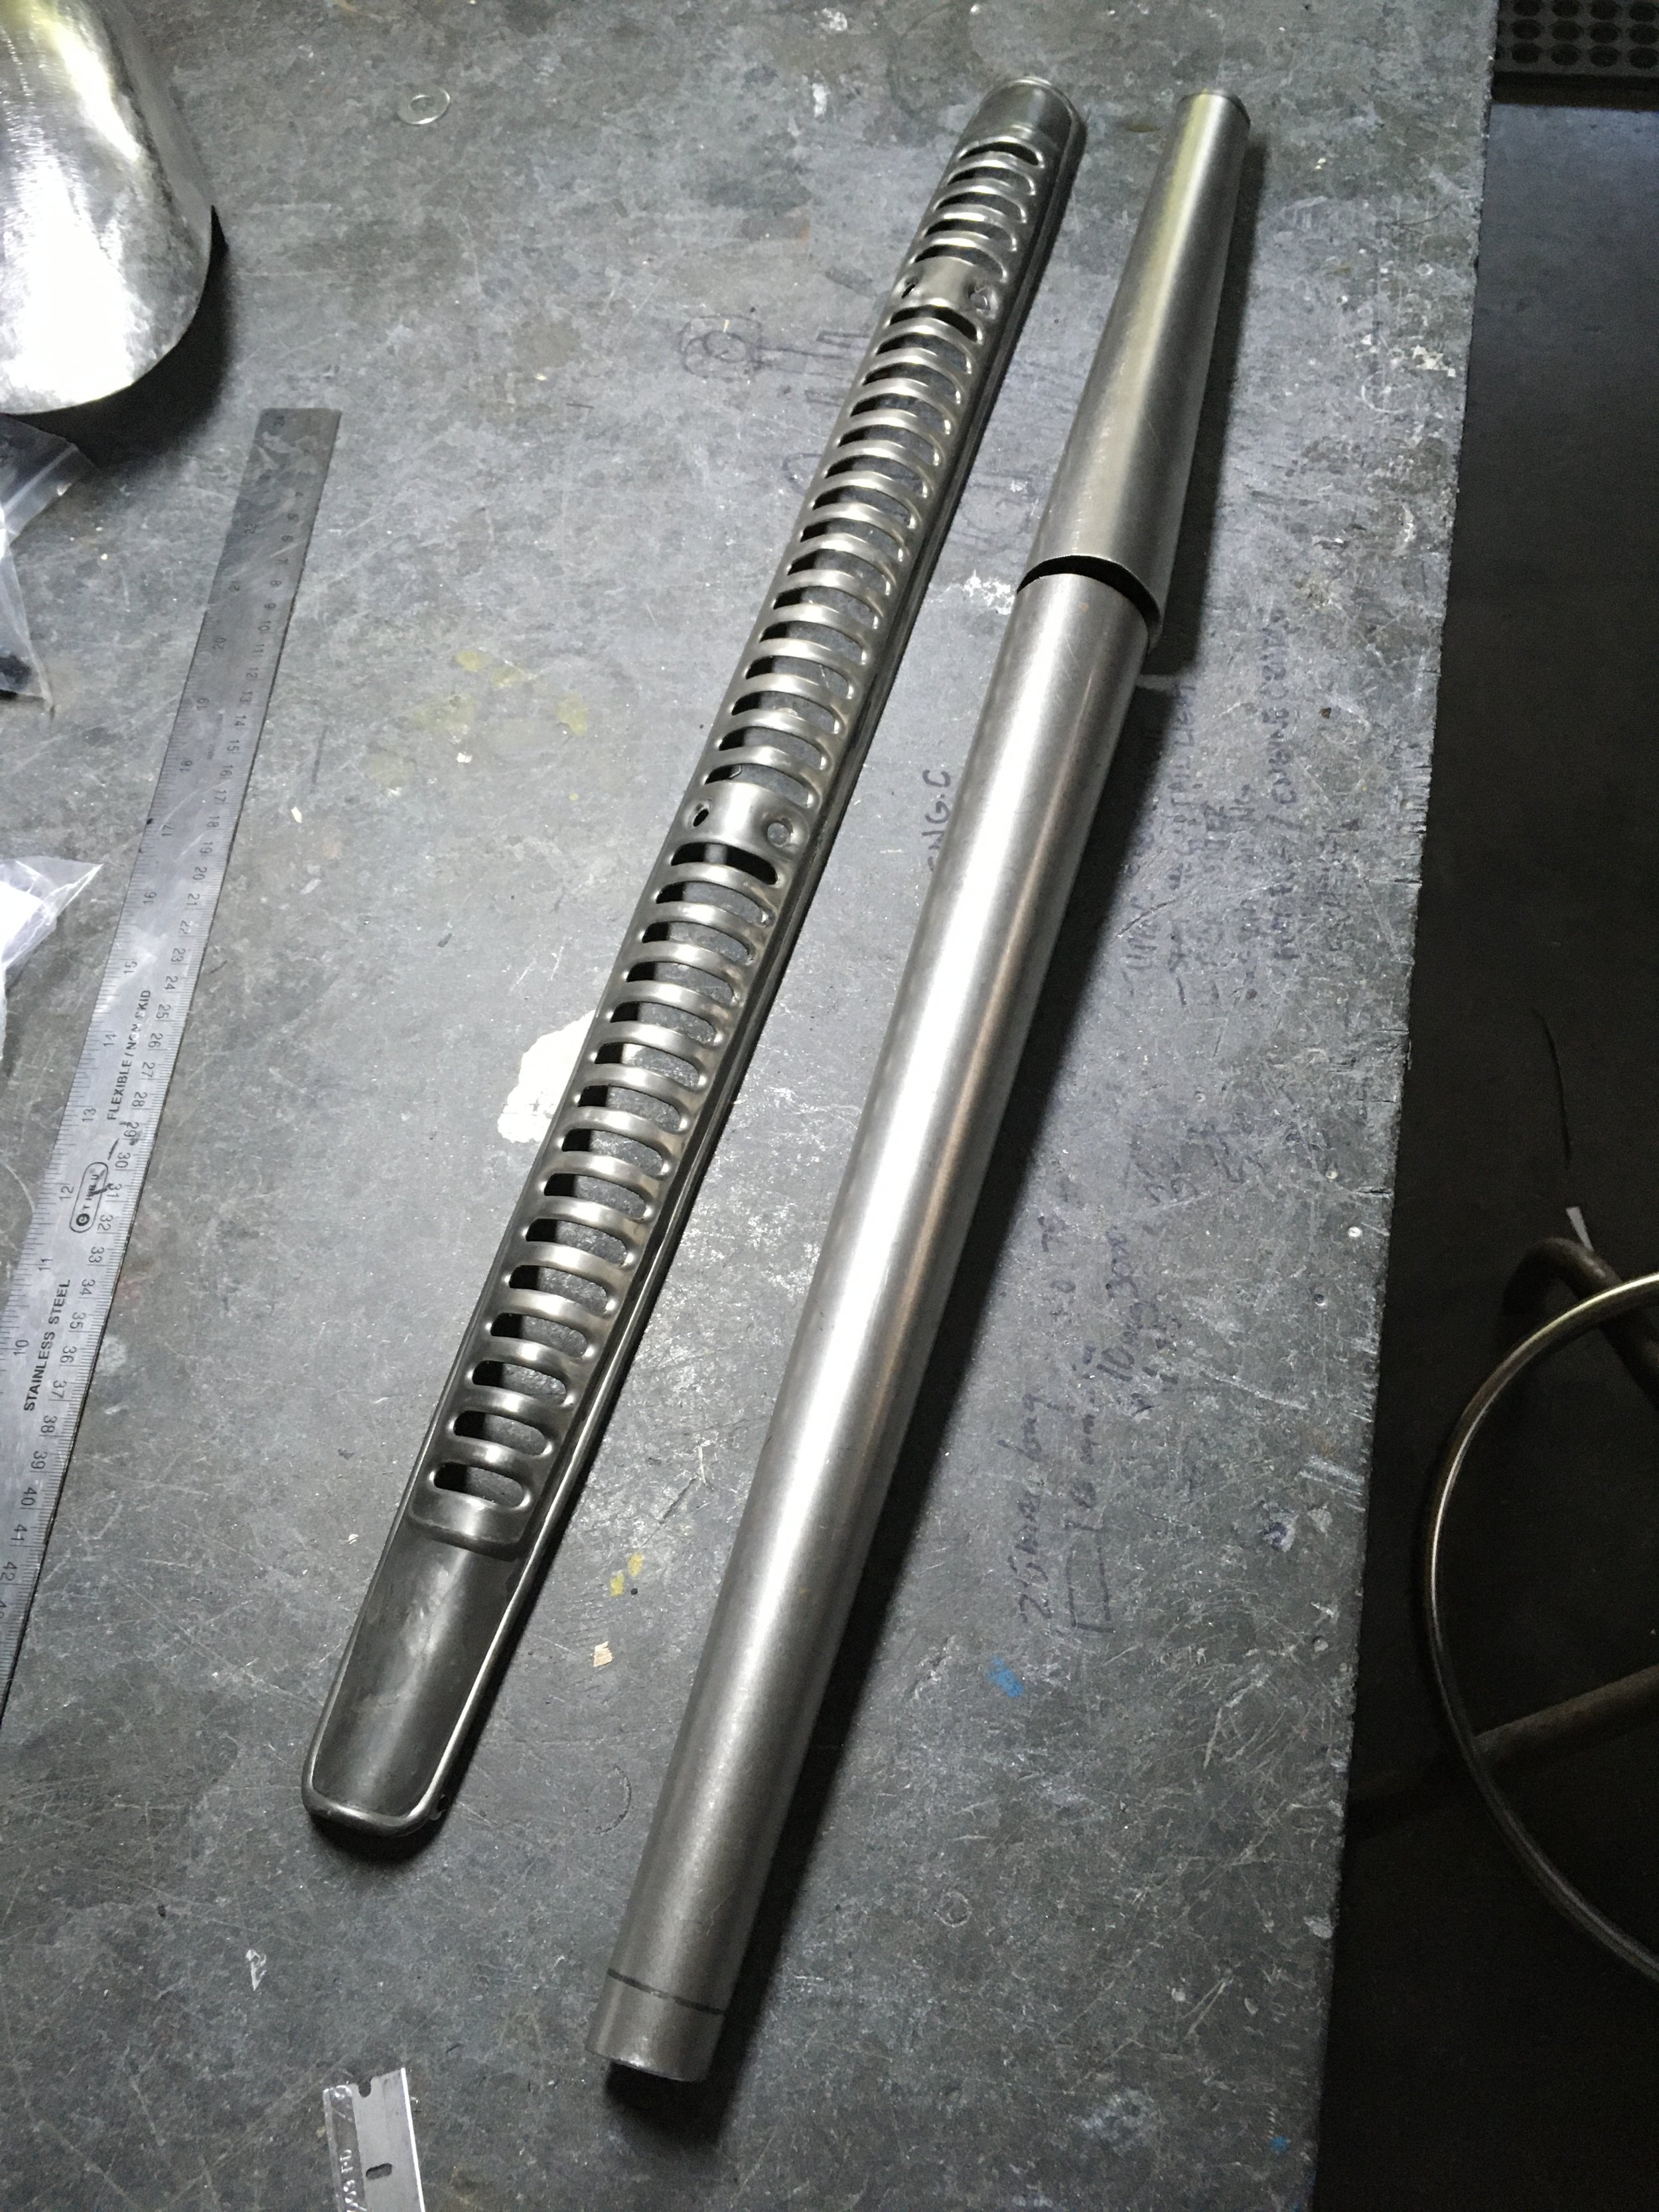
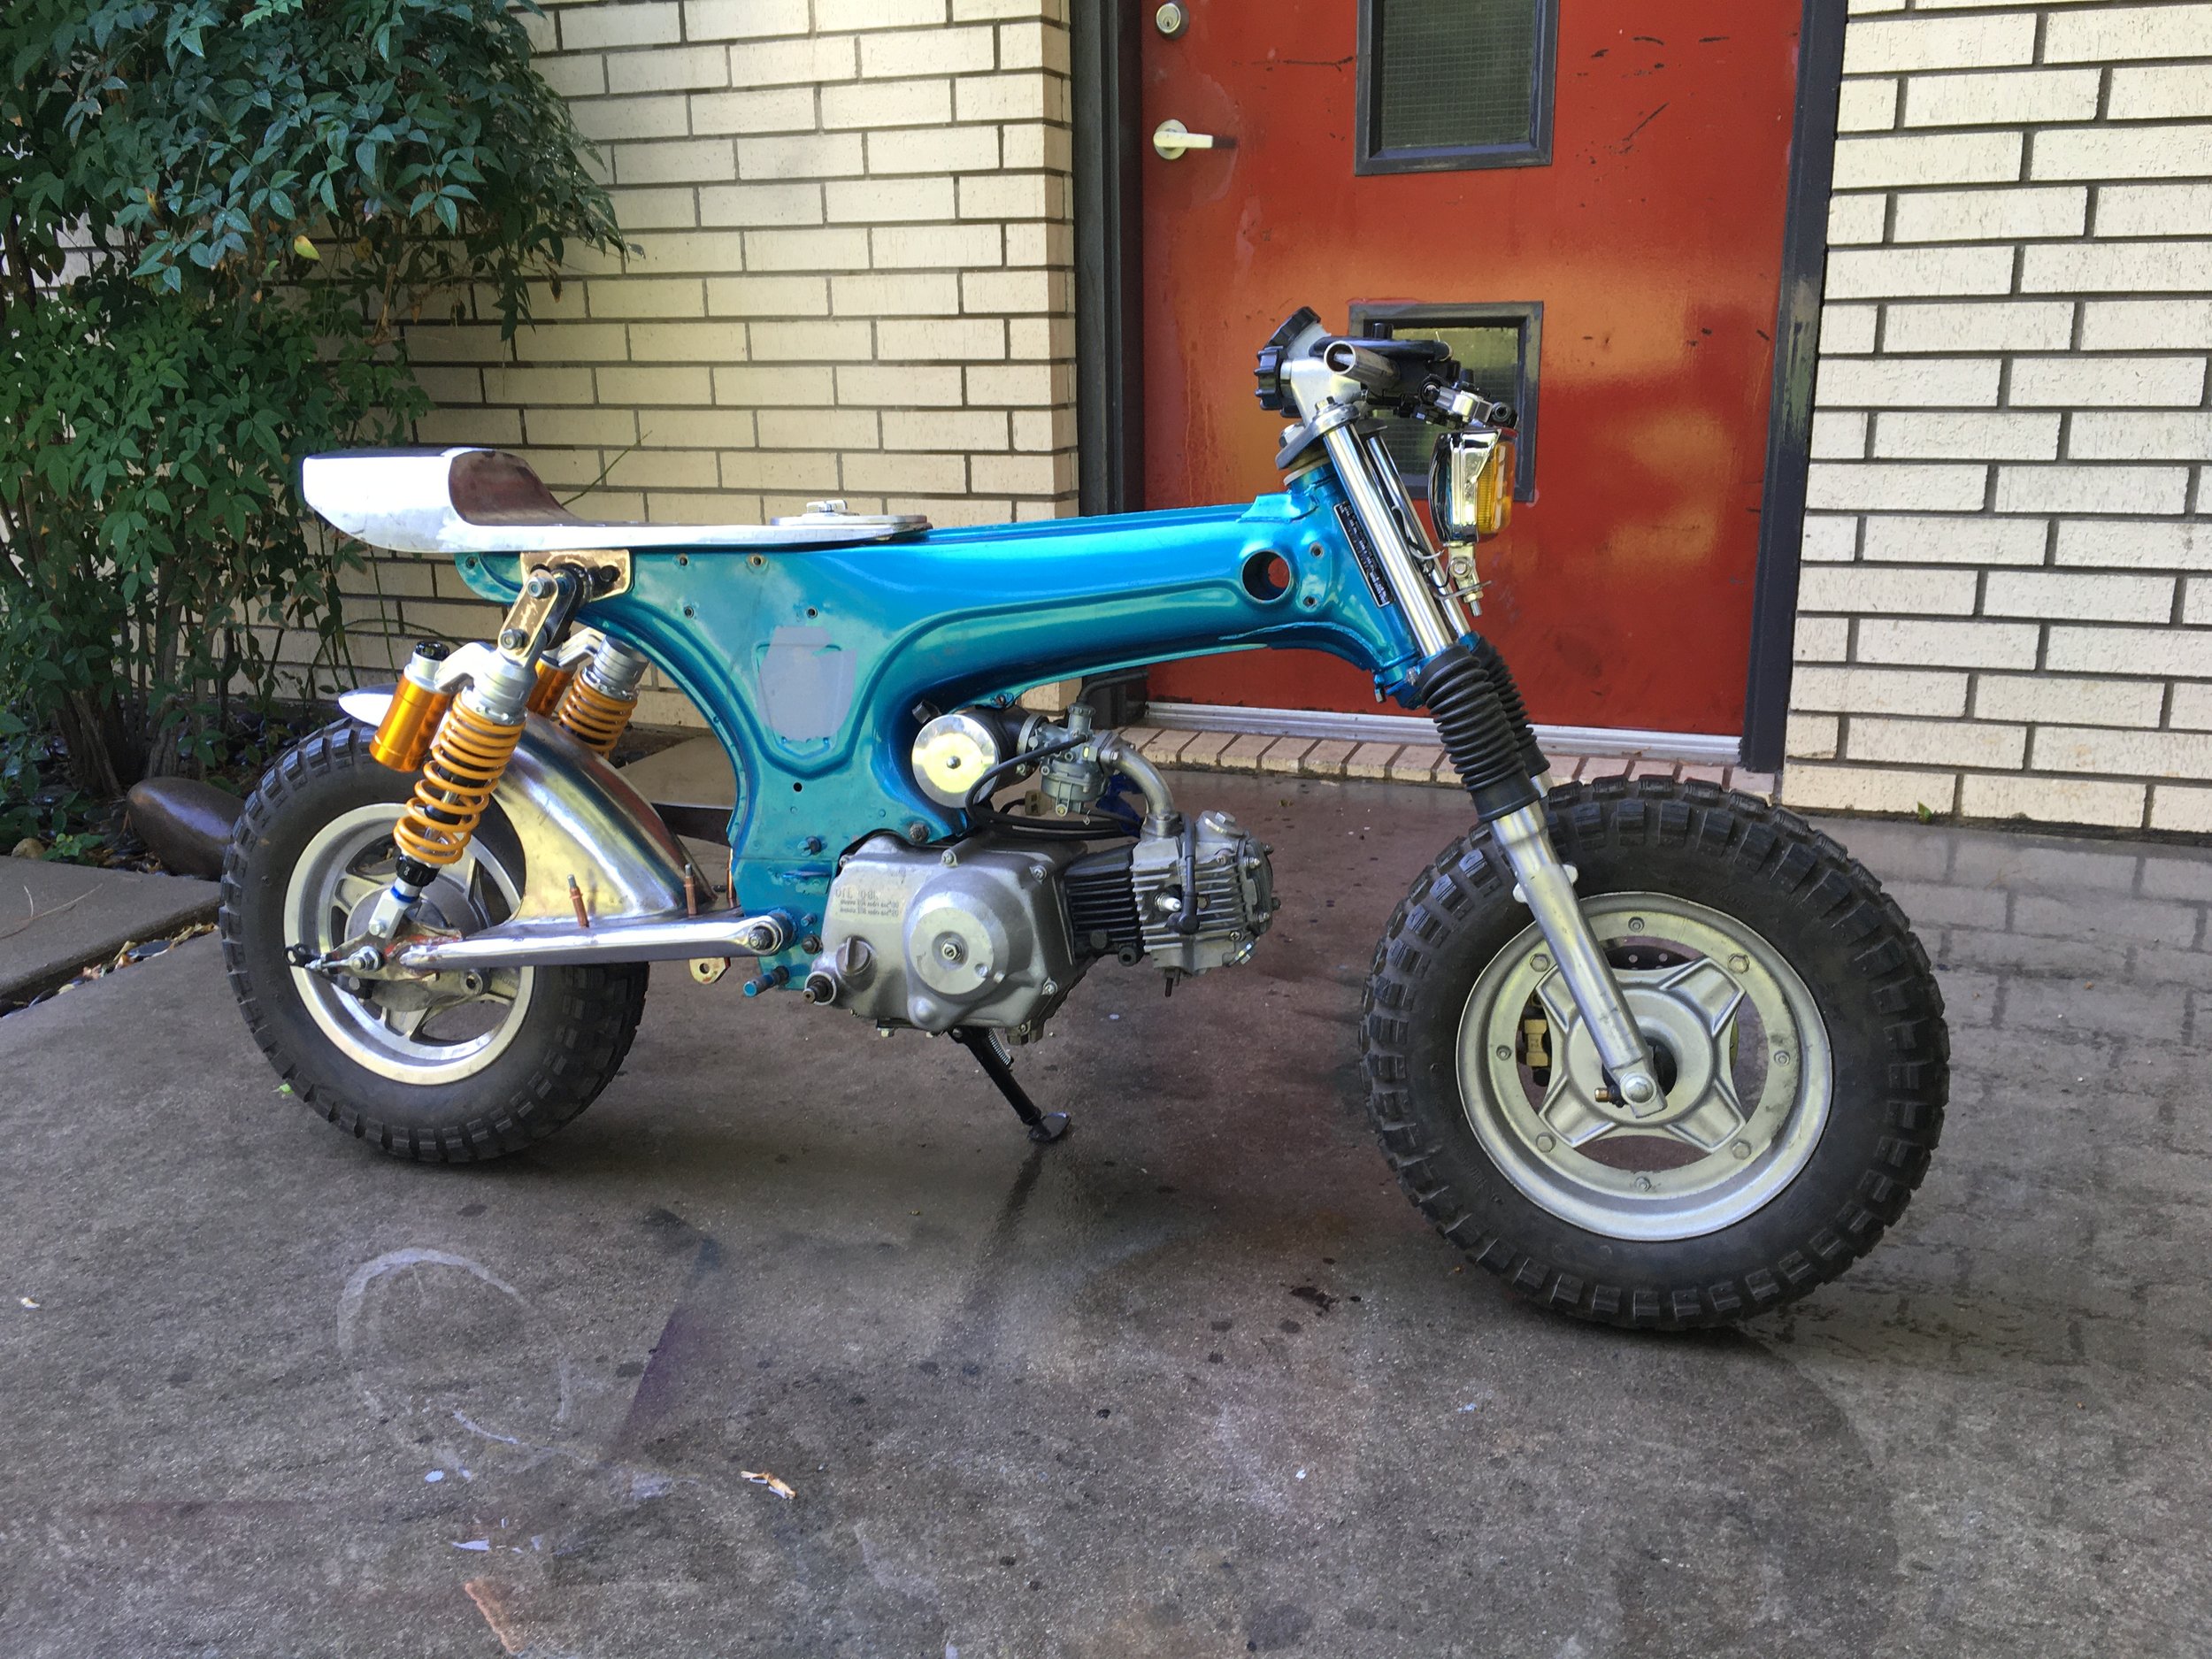
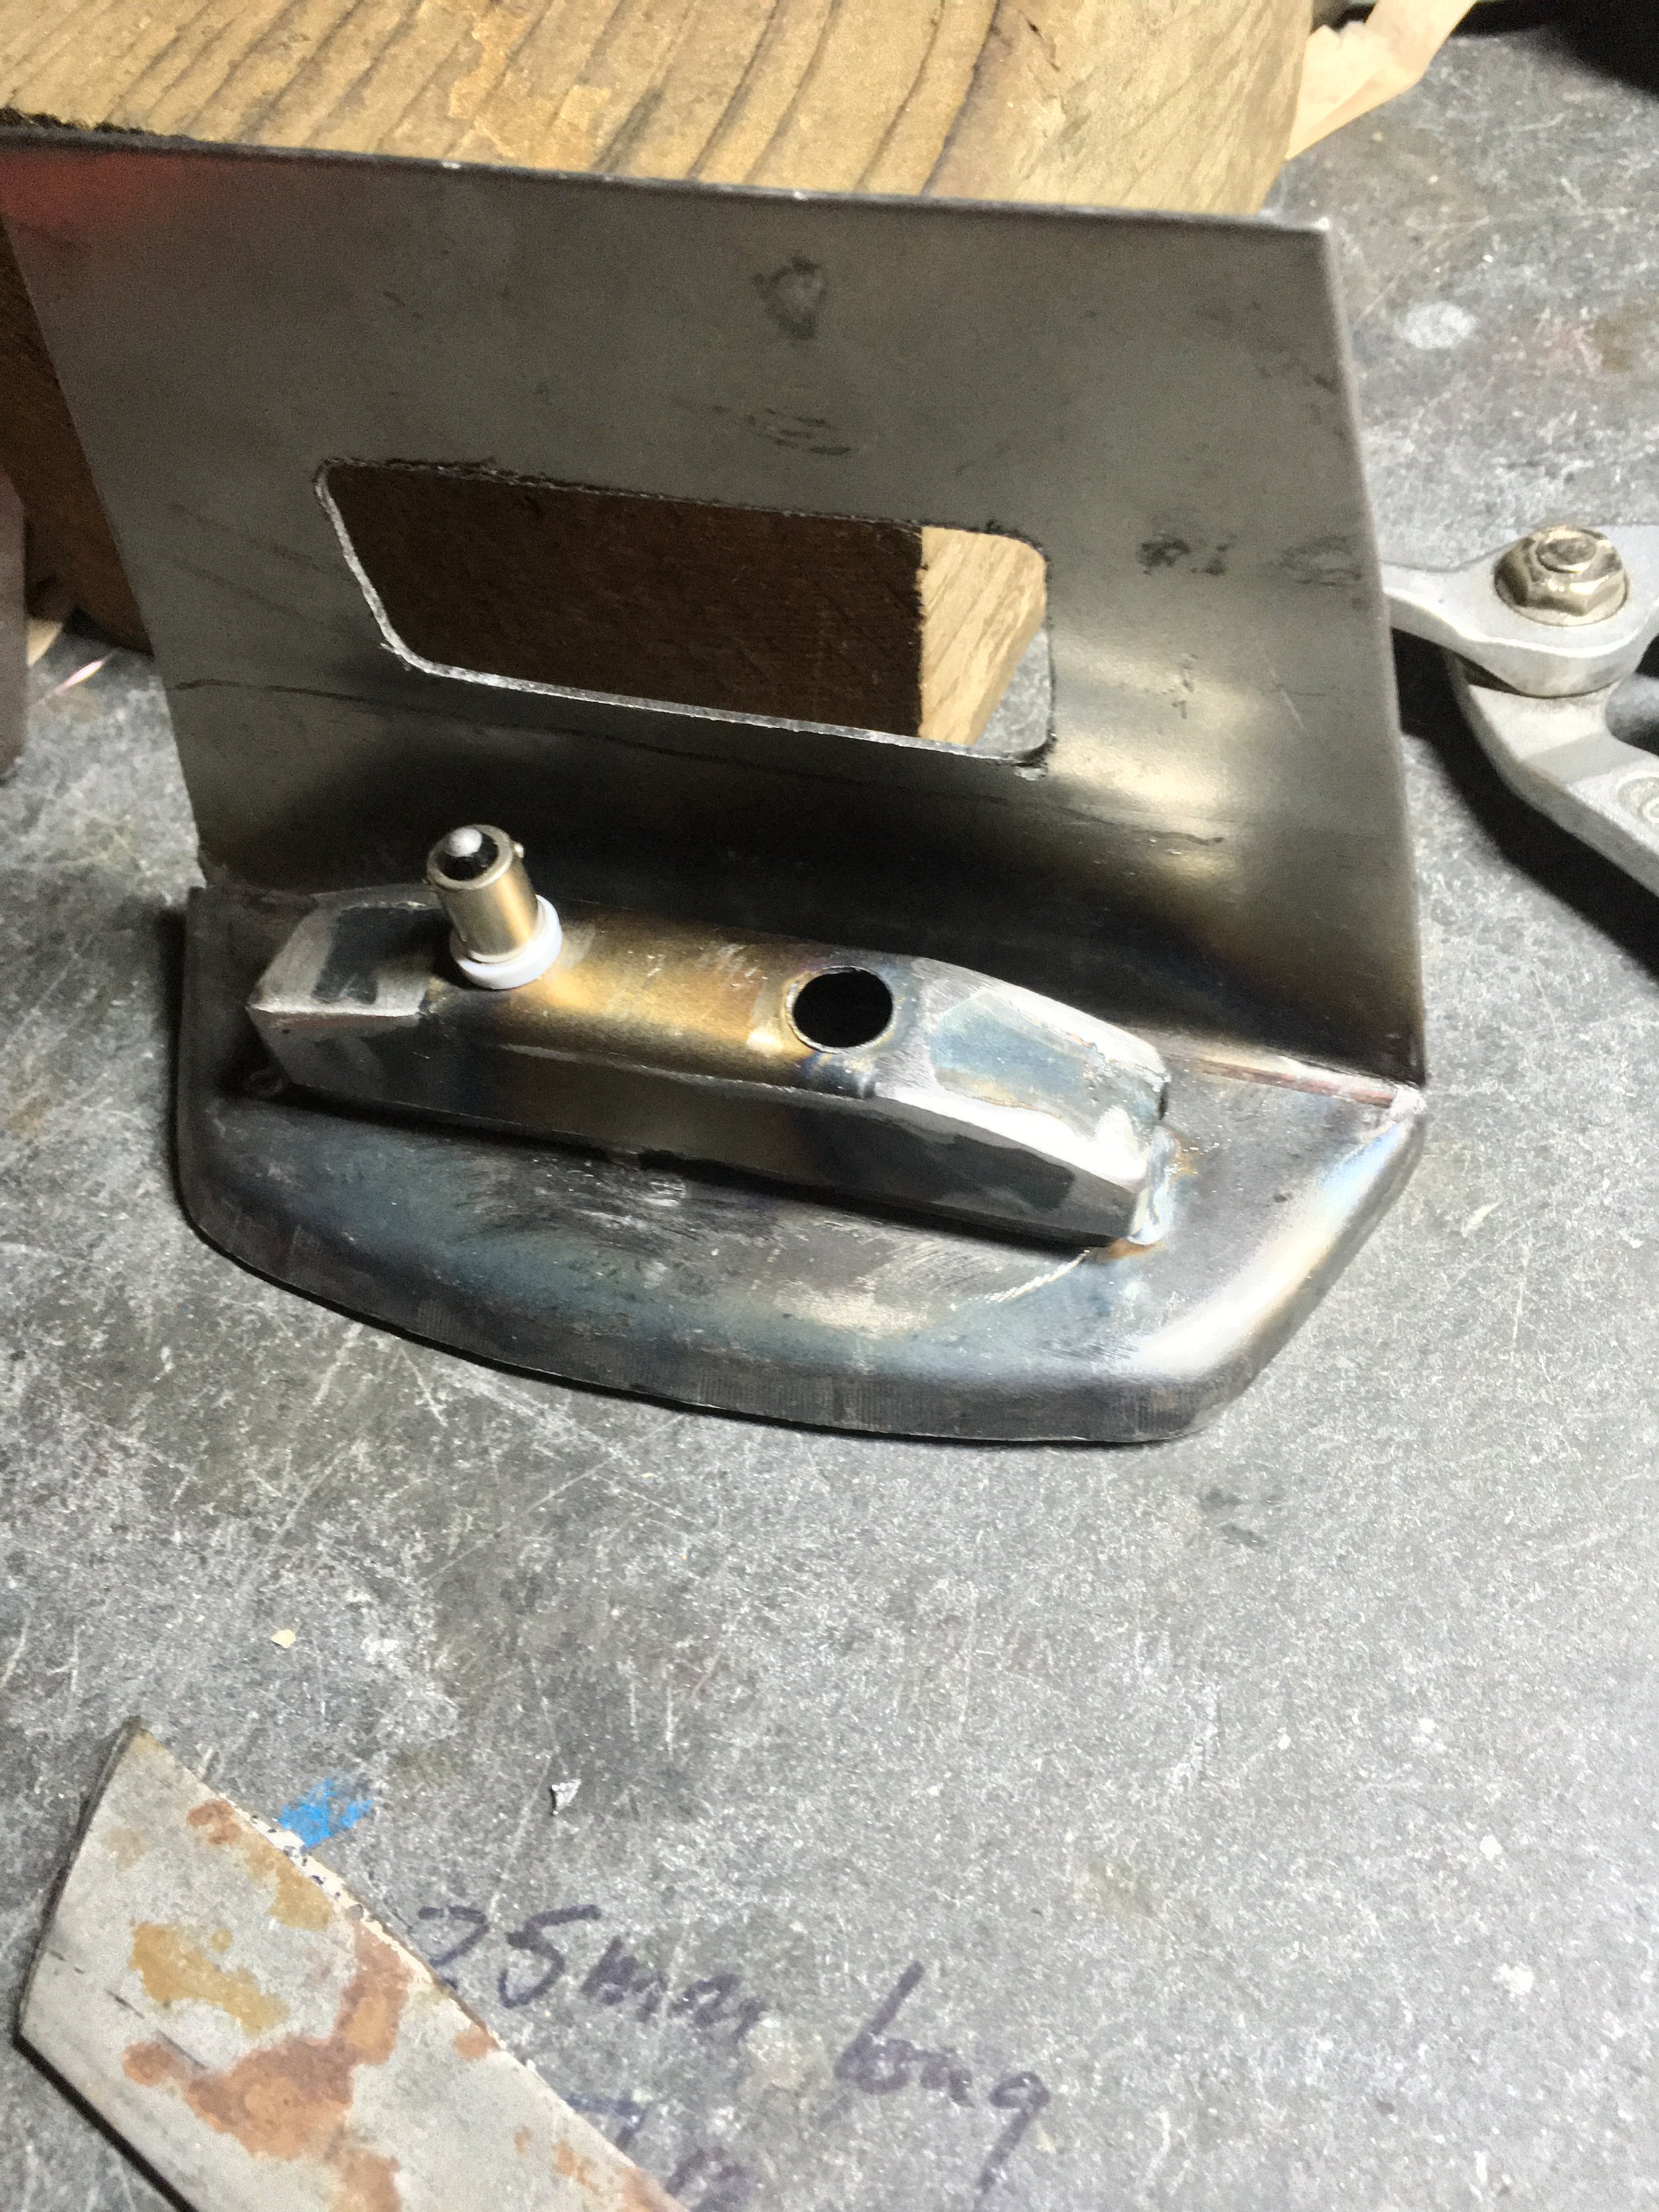
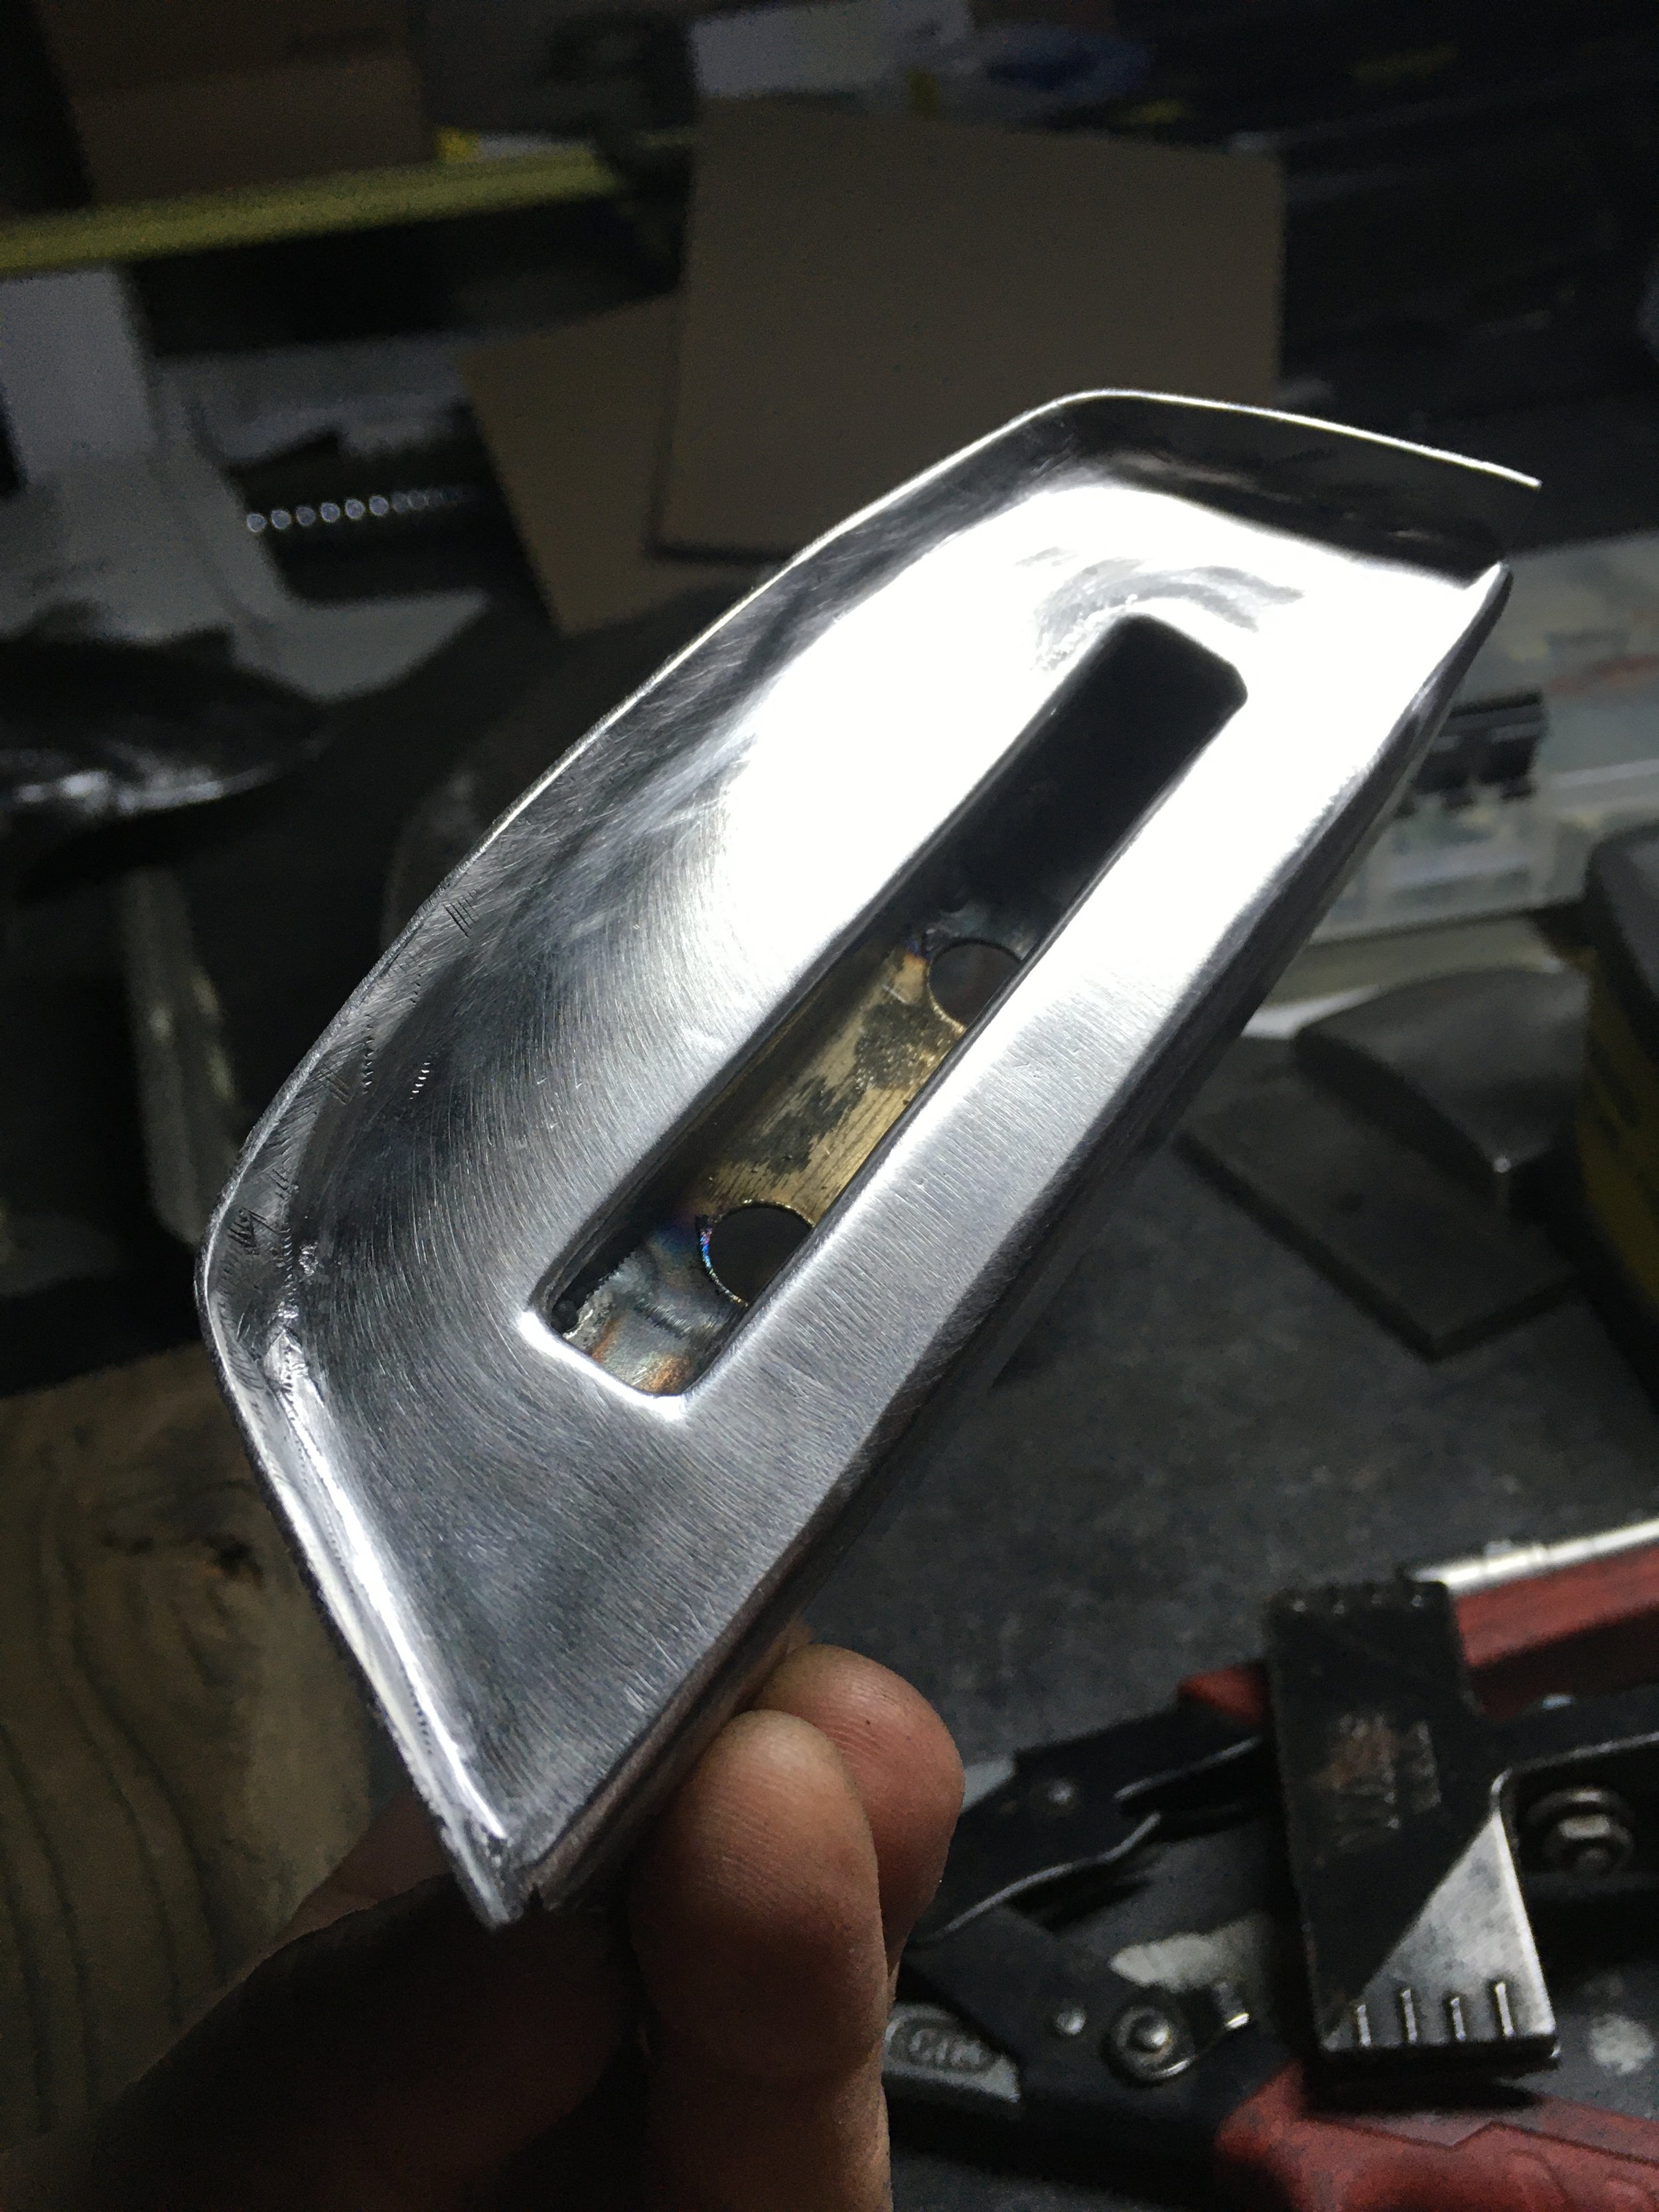
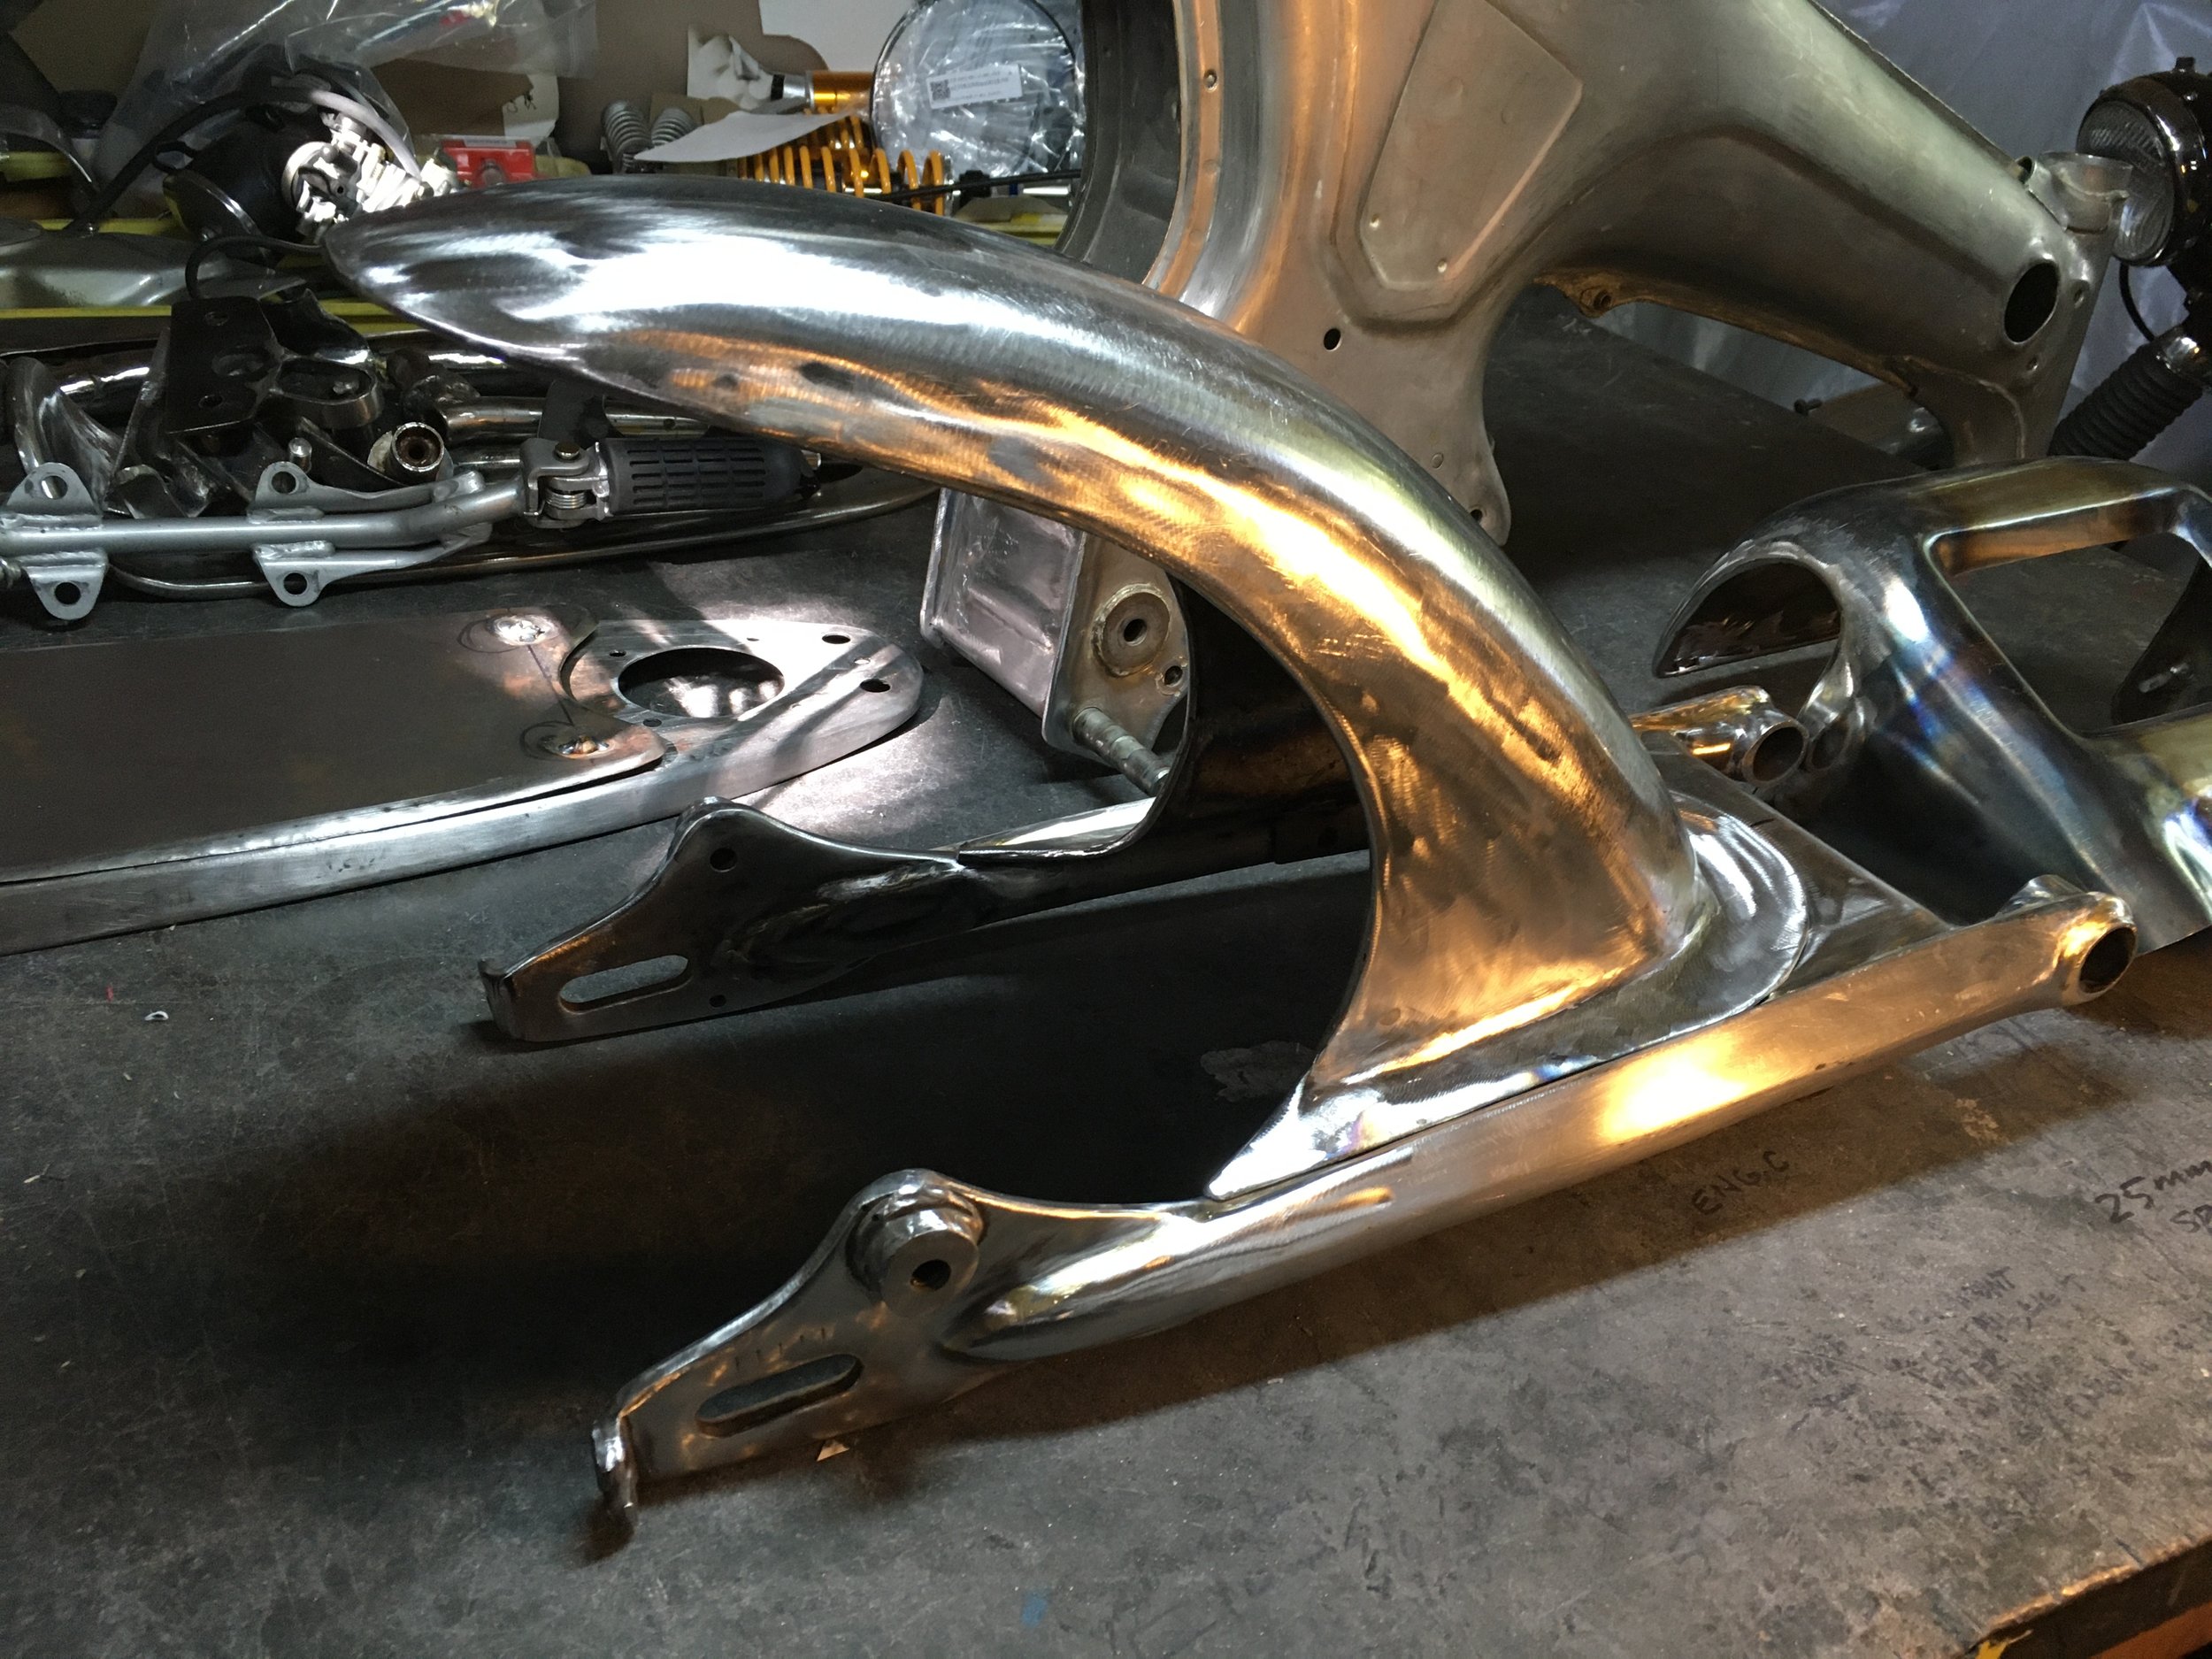
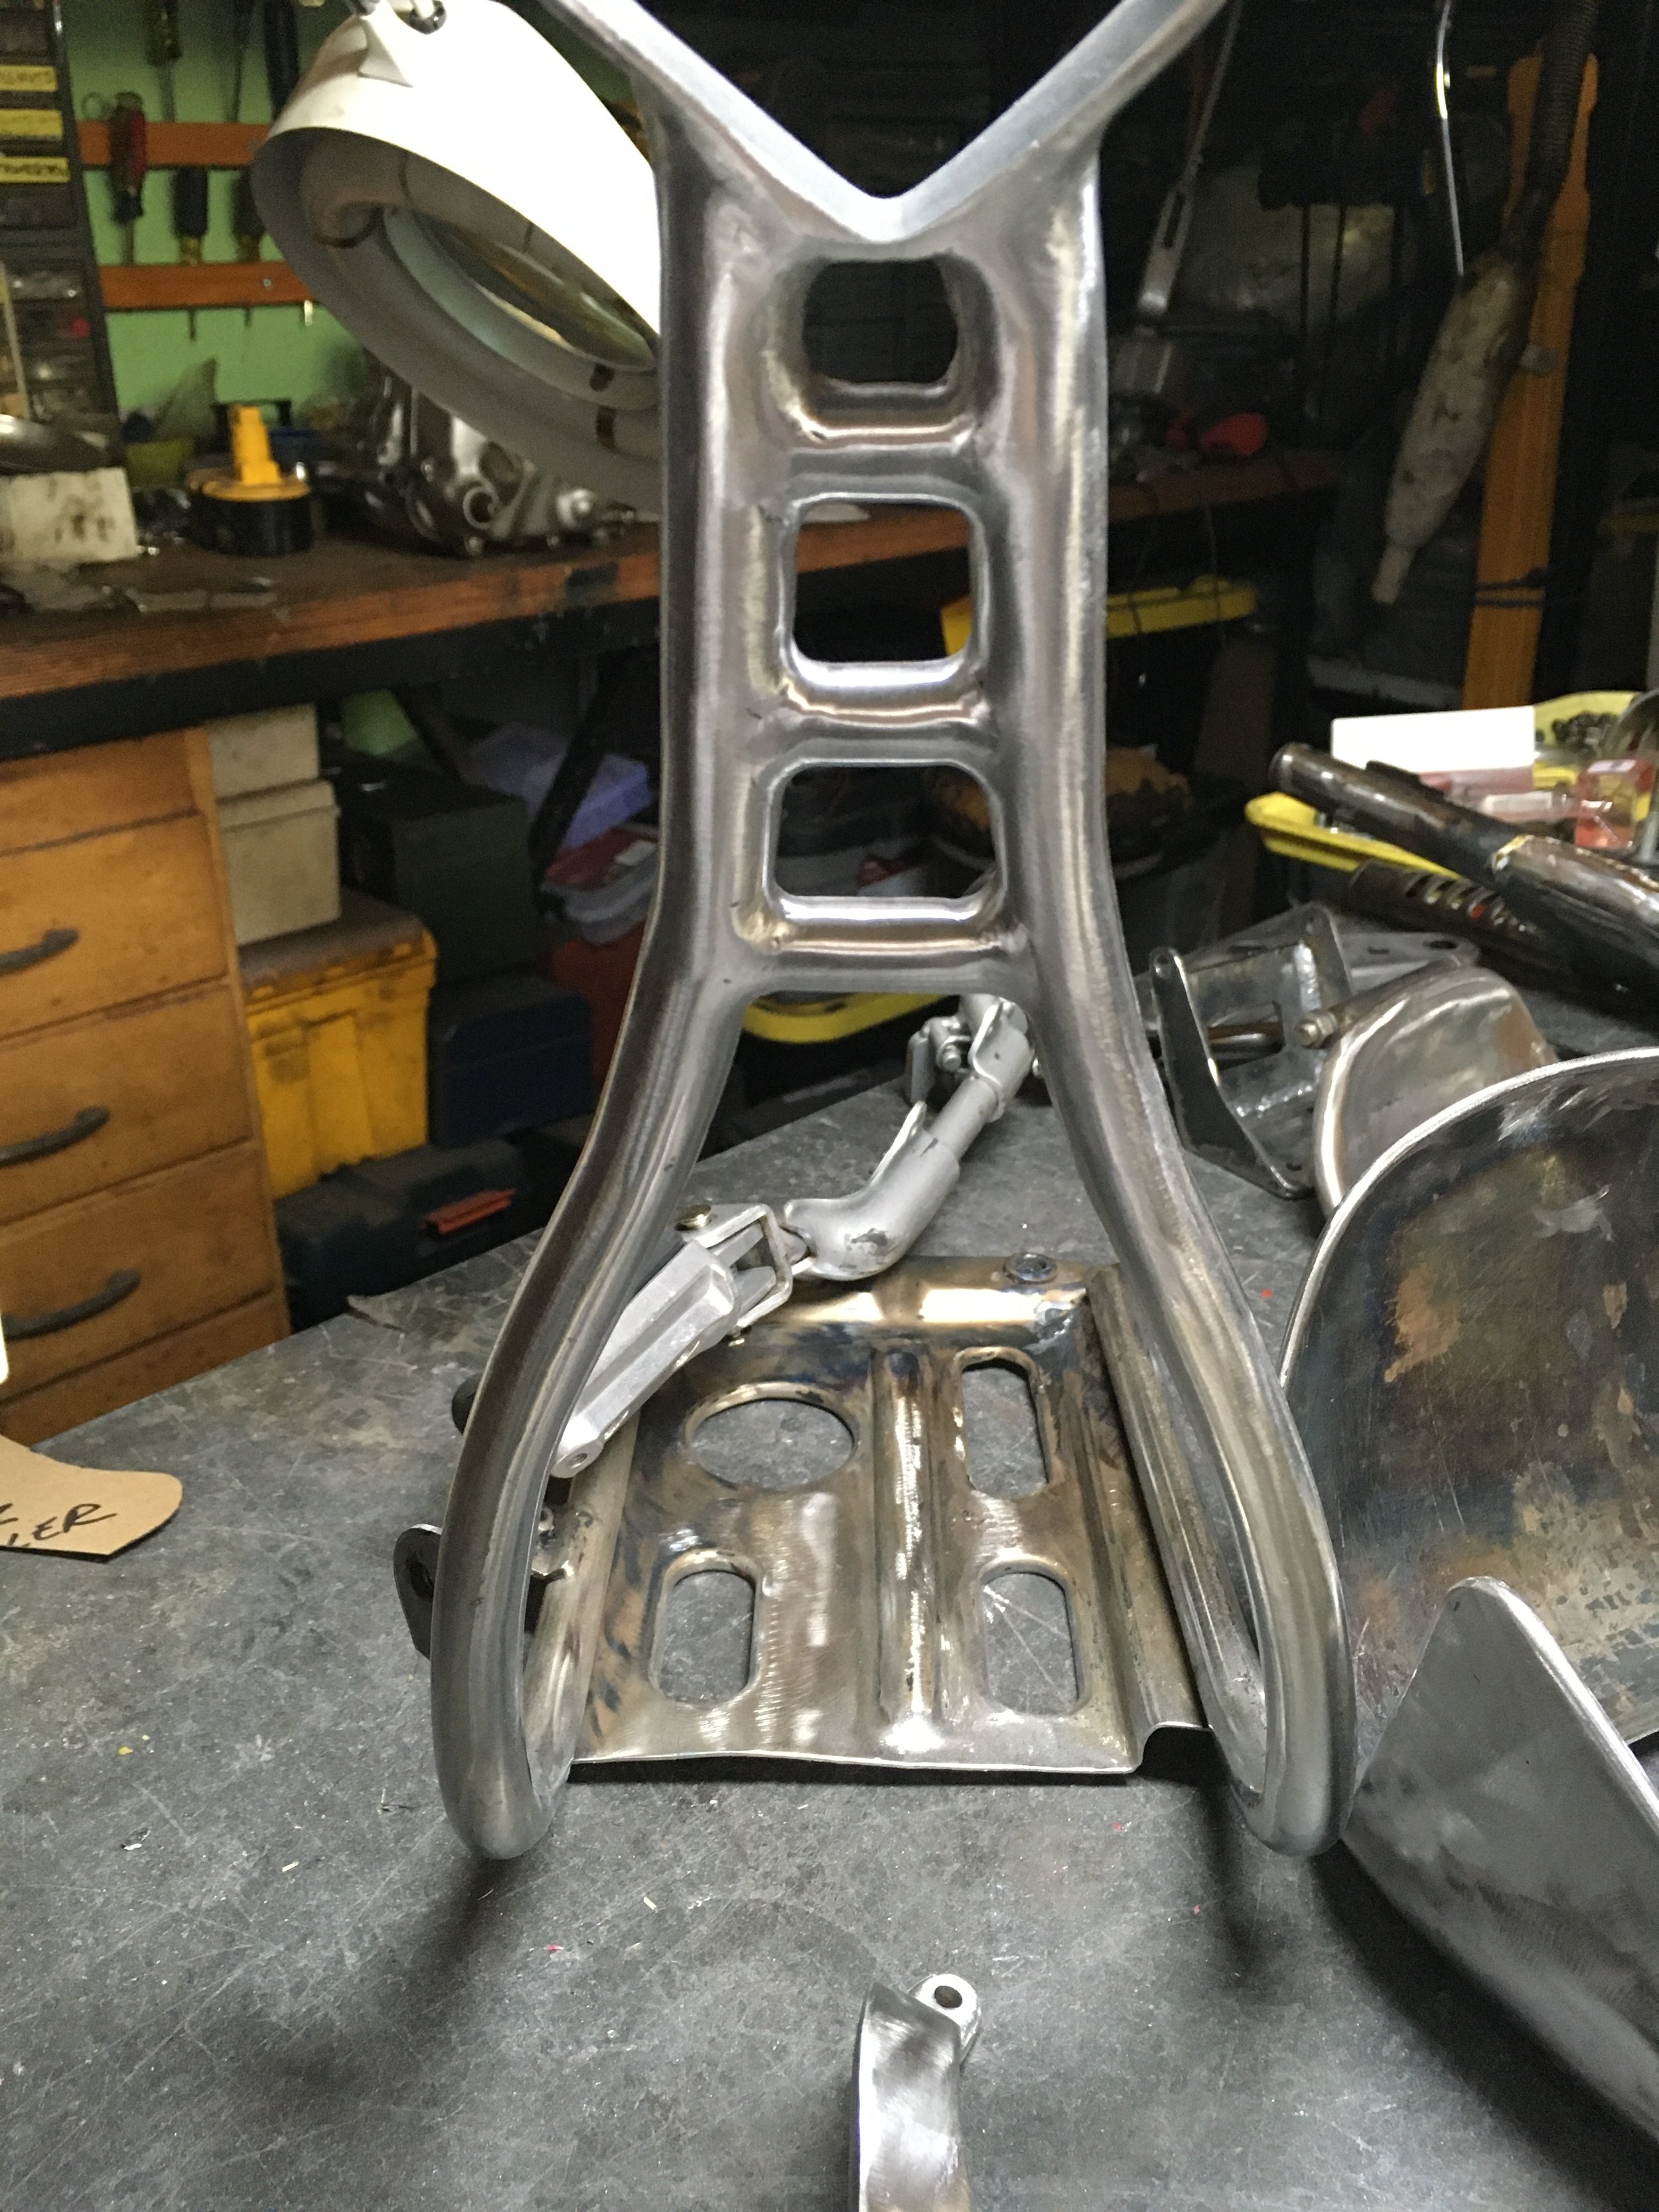
The openings in the seat frame were enlarged primarily to get rid of extra weight, but the visual effect is better as well.

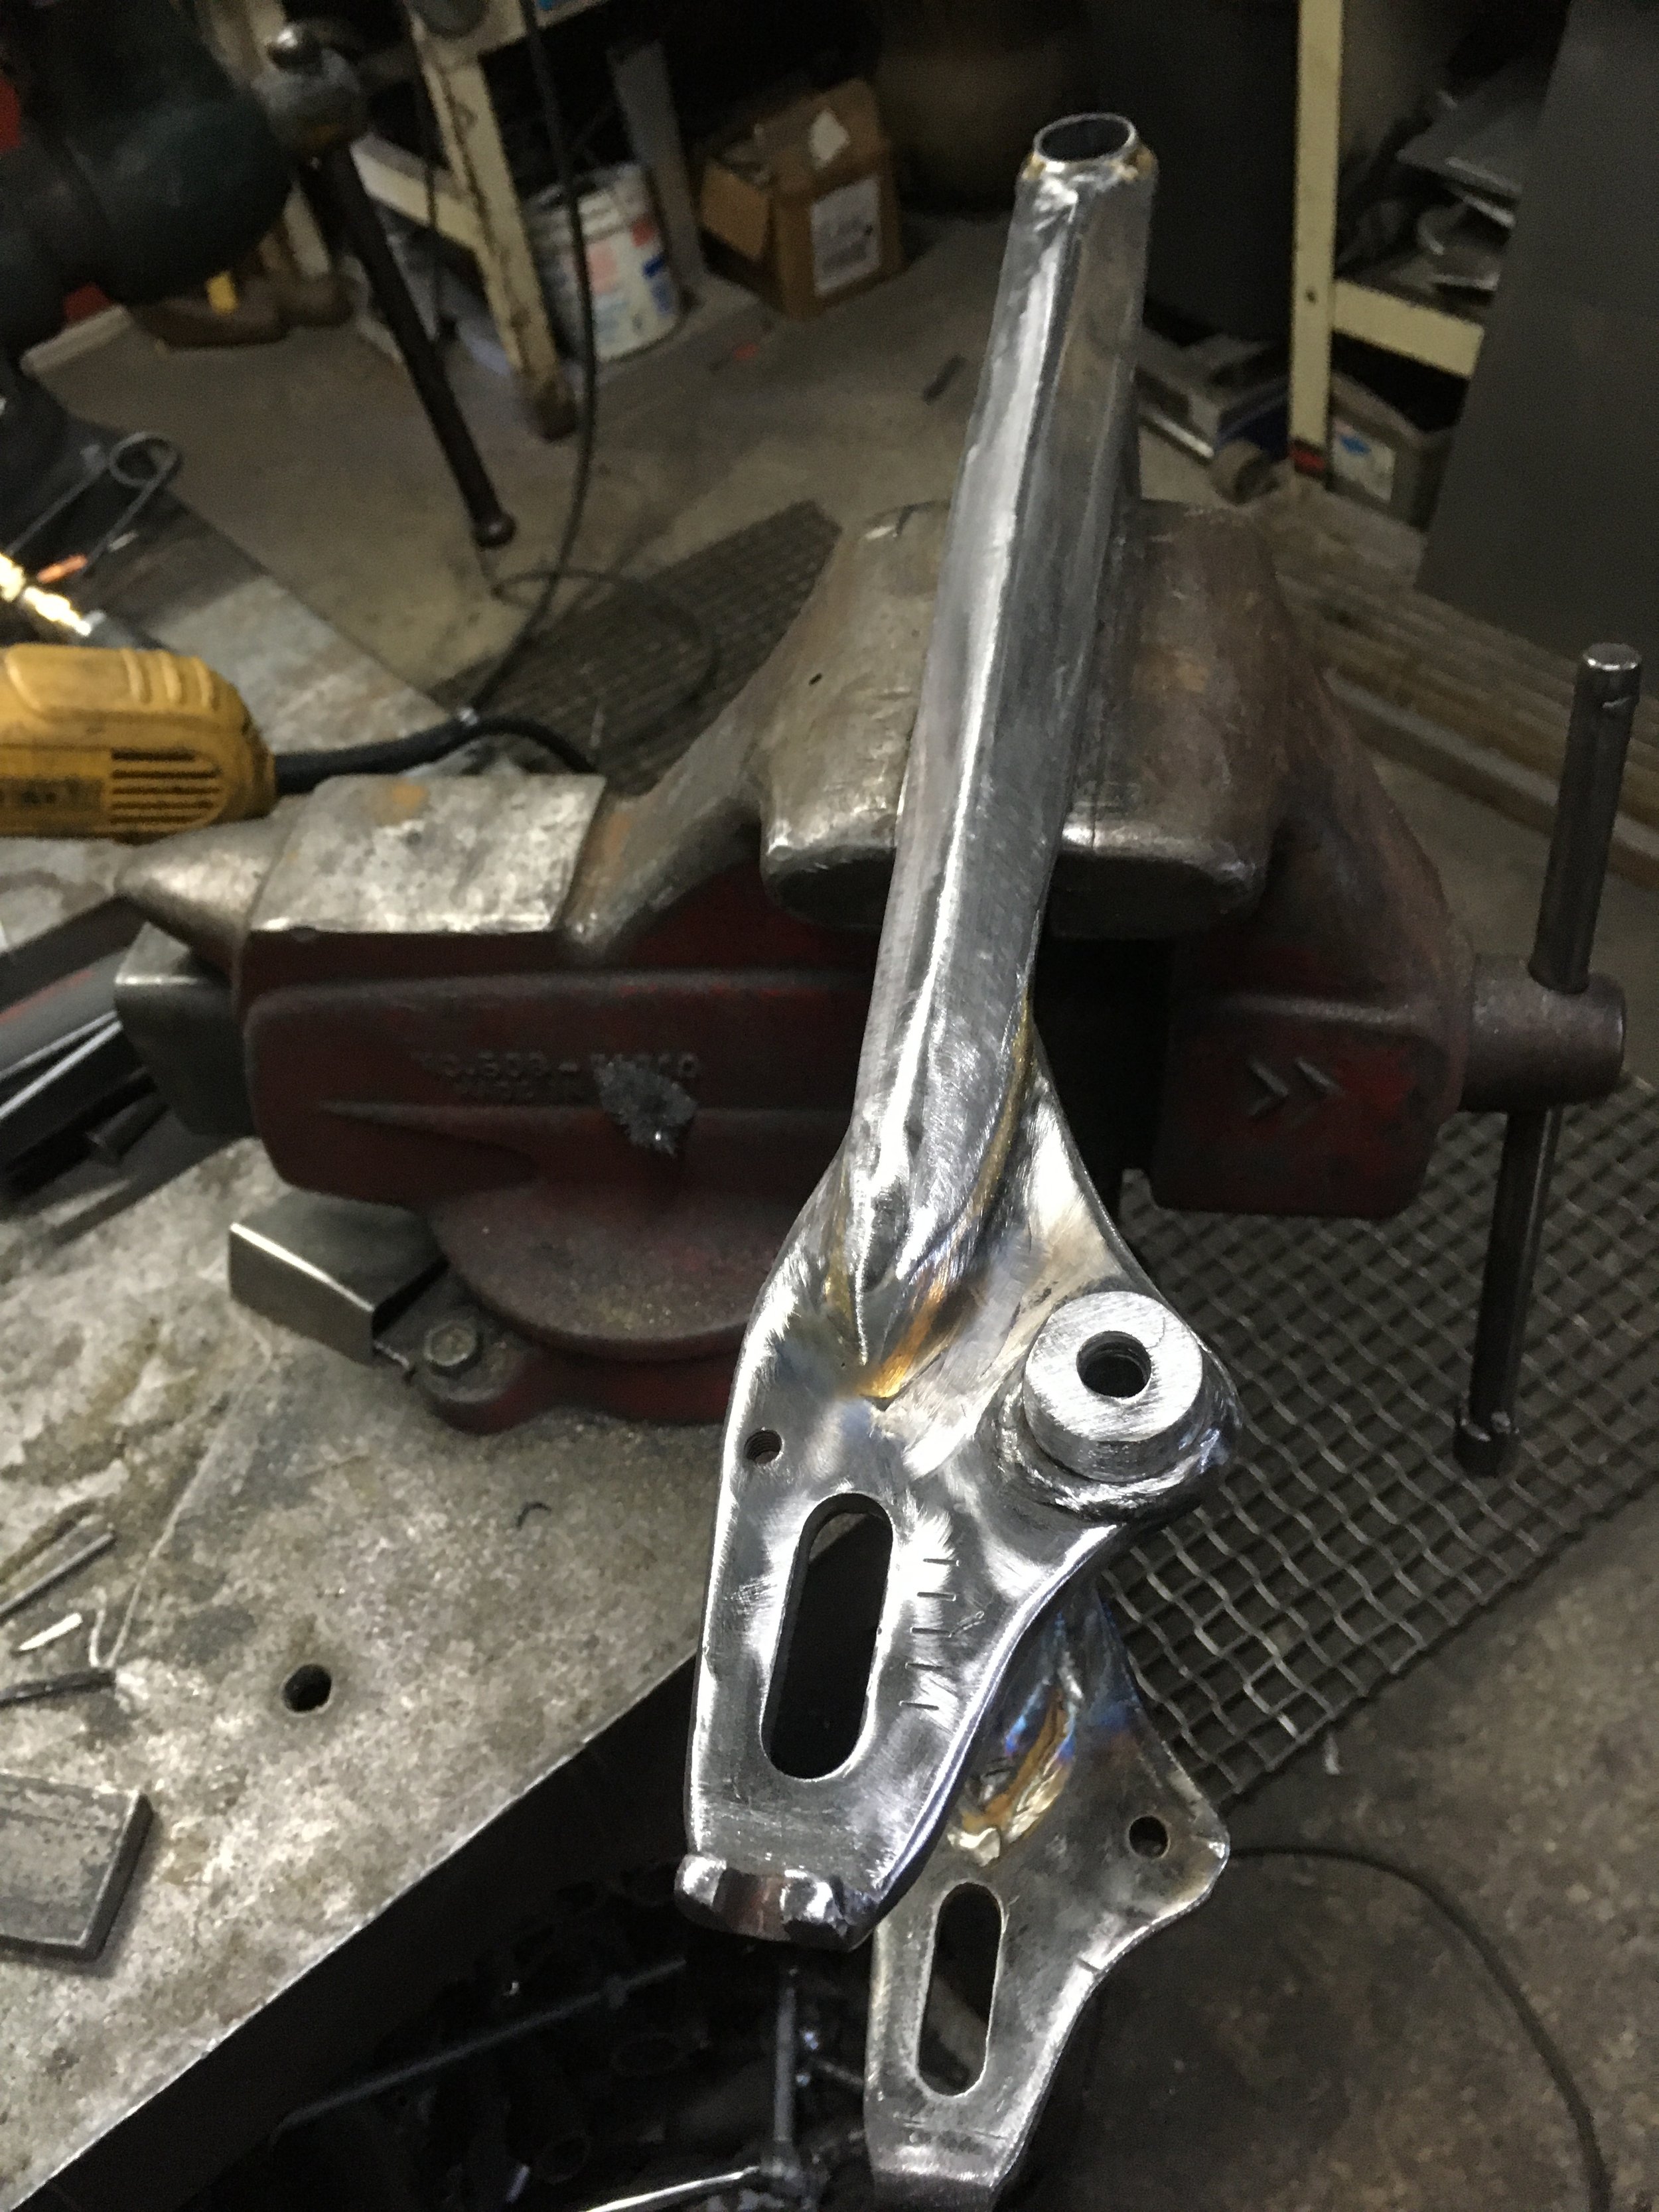
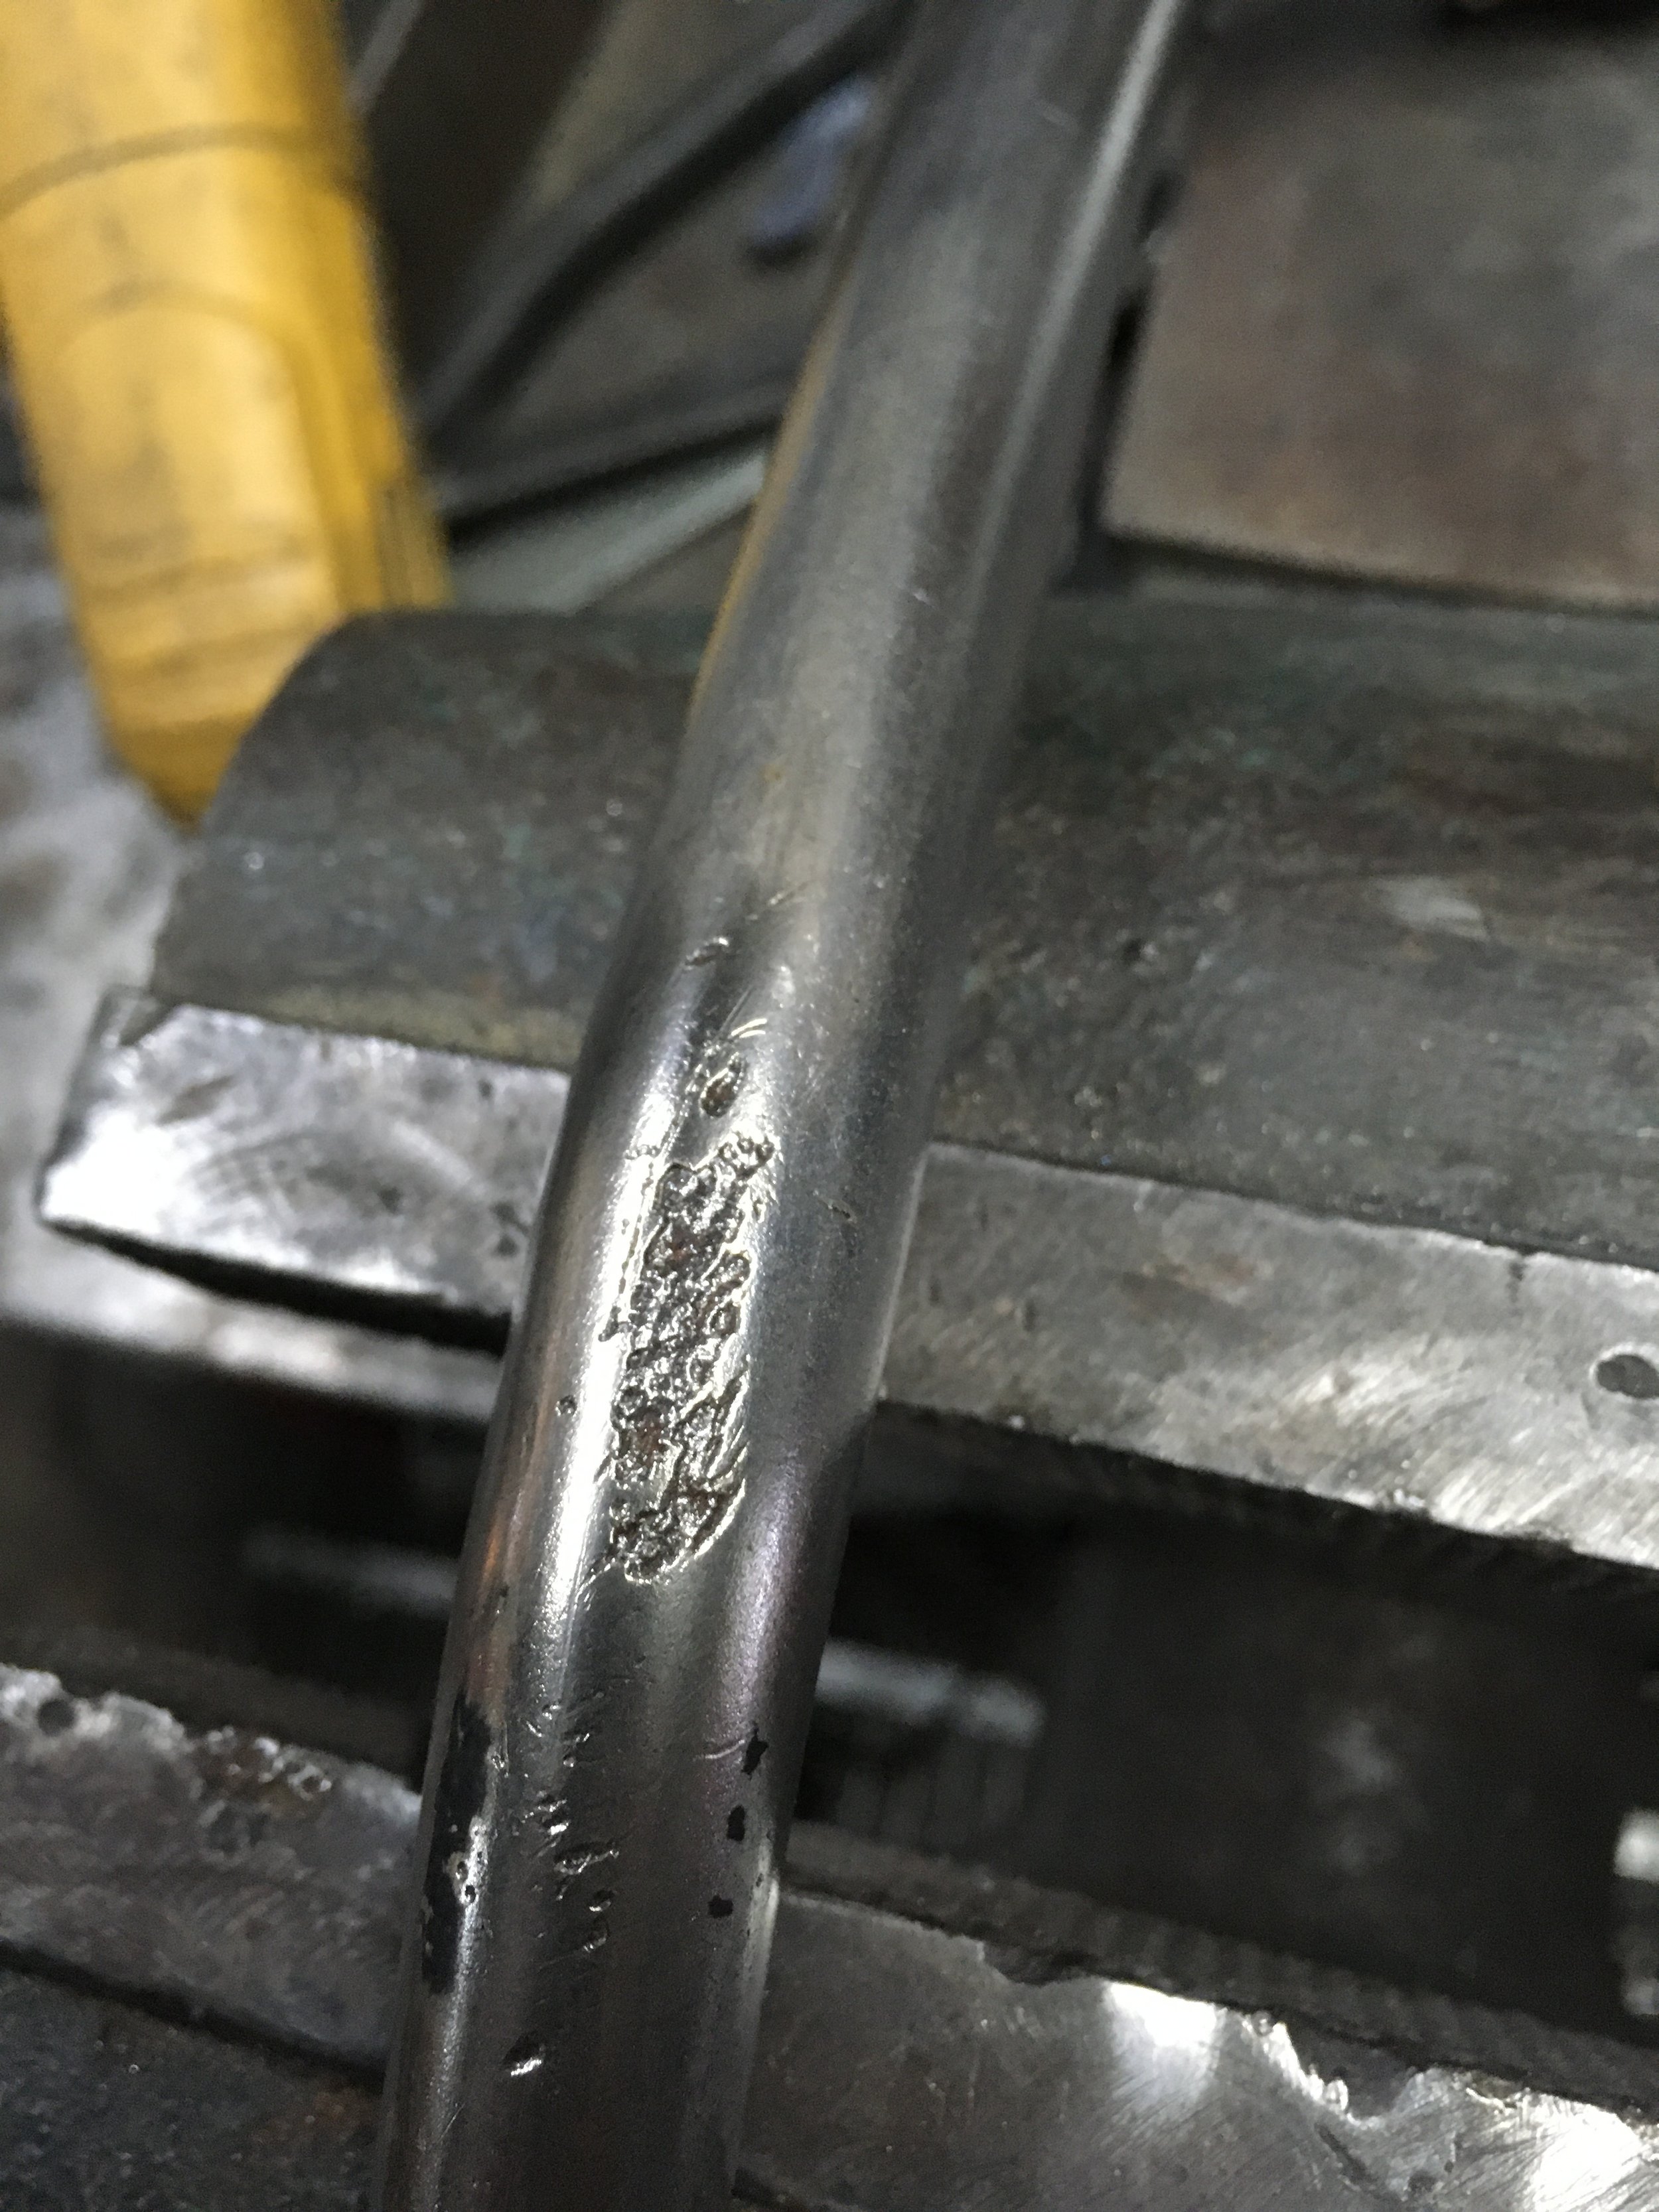
A badly gouged fork stop before…
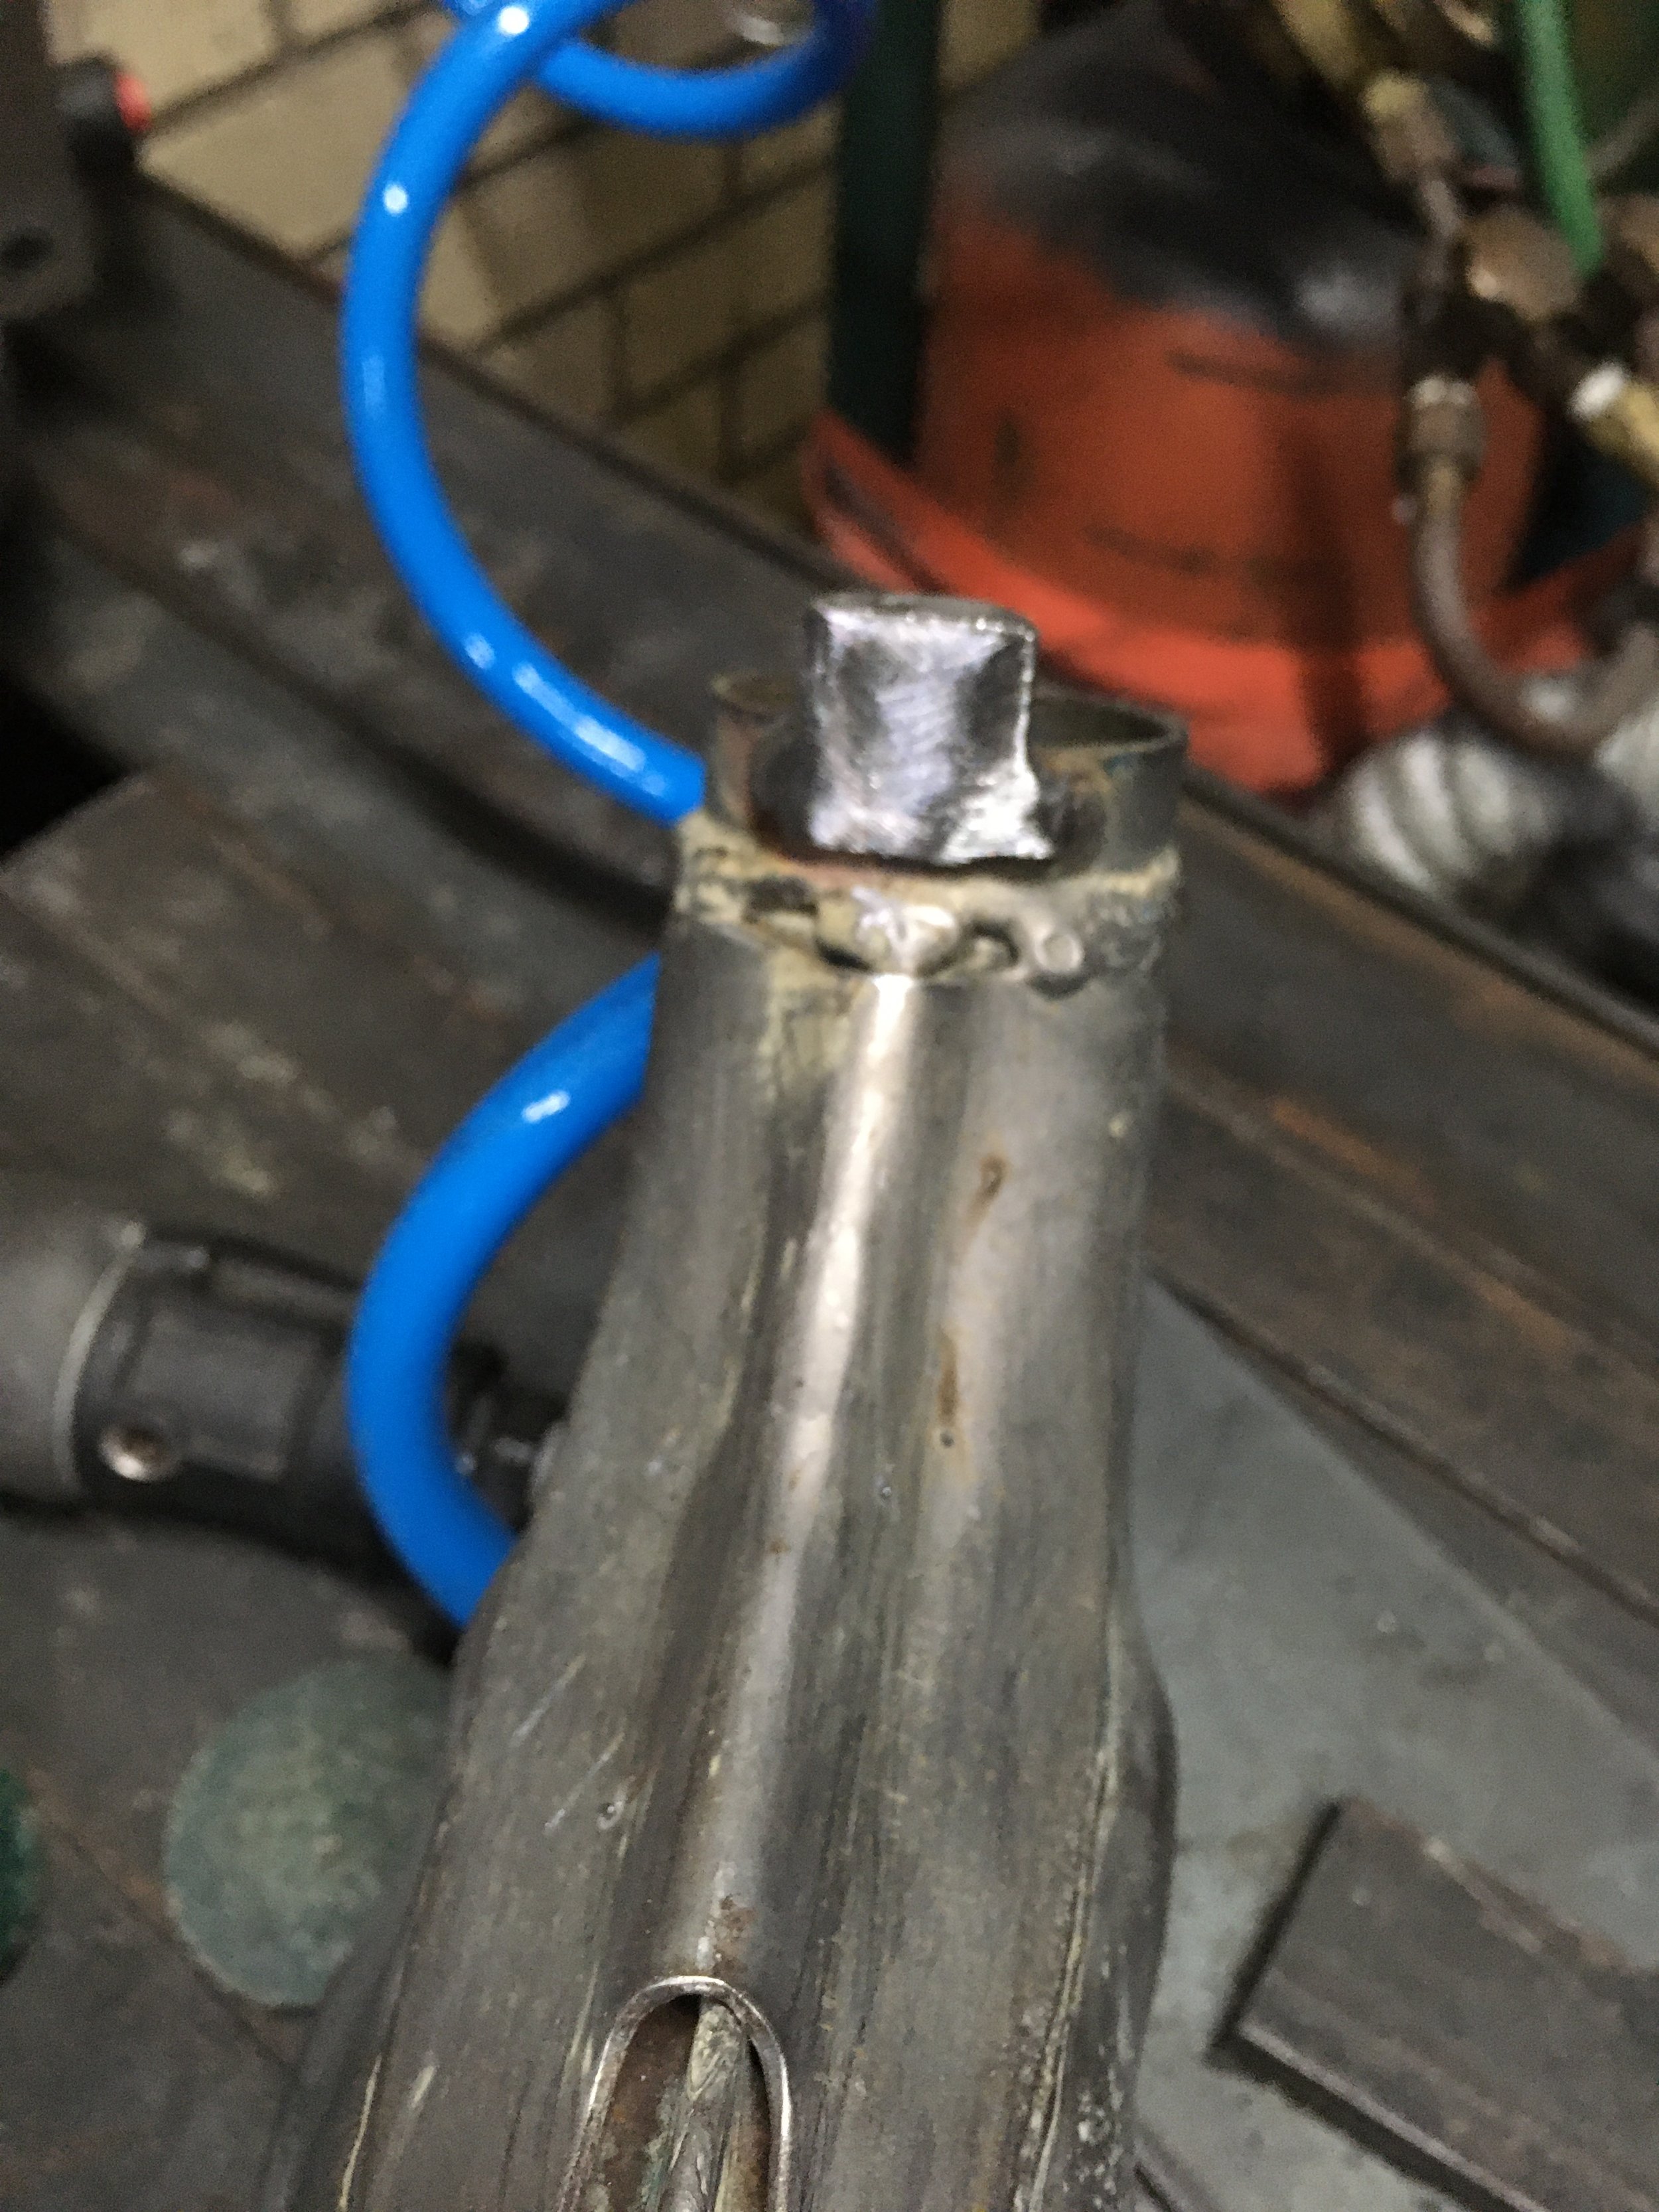
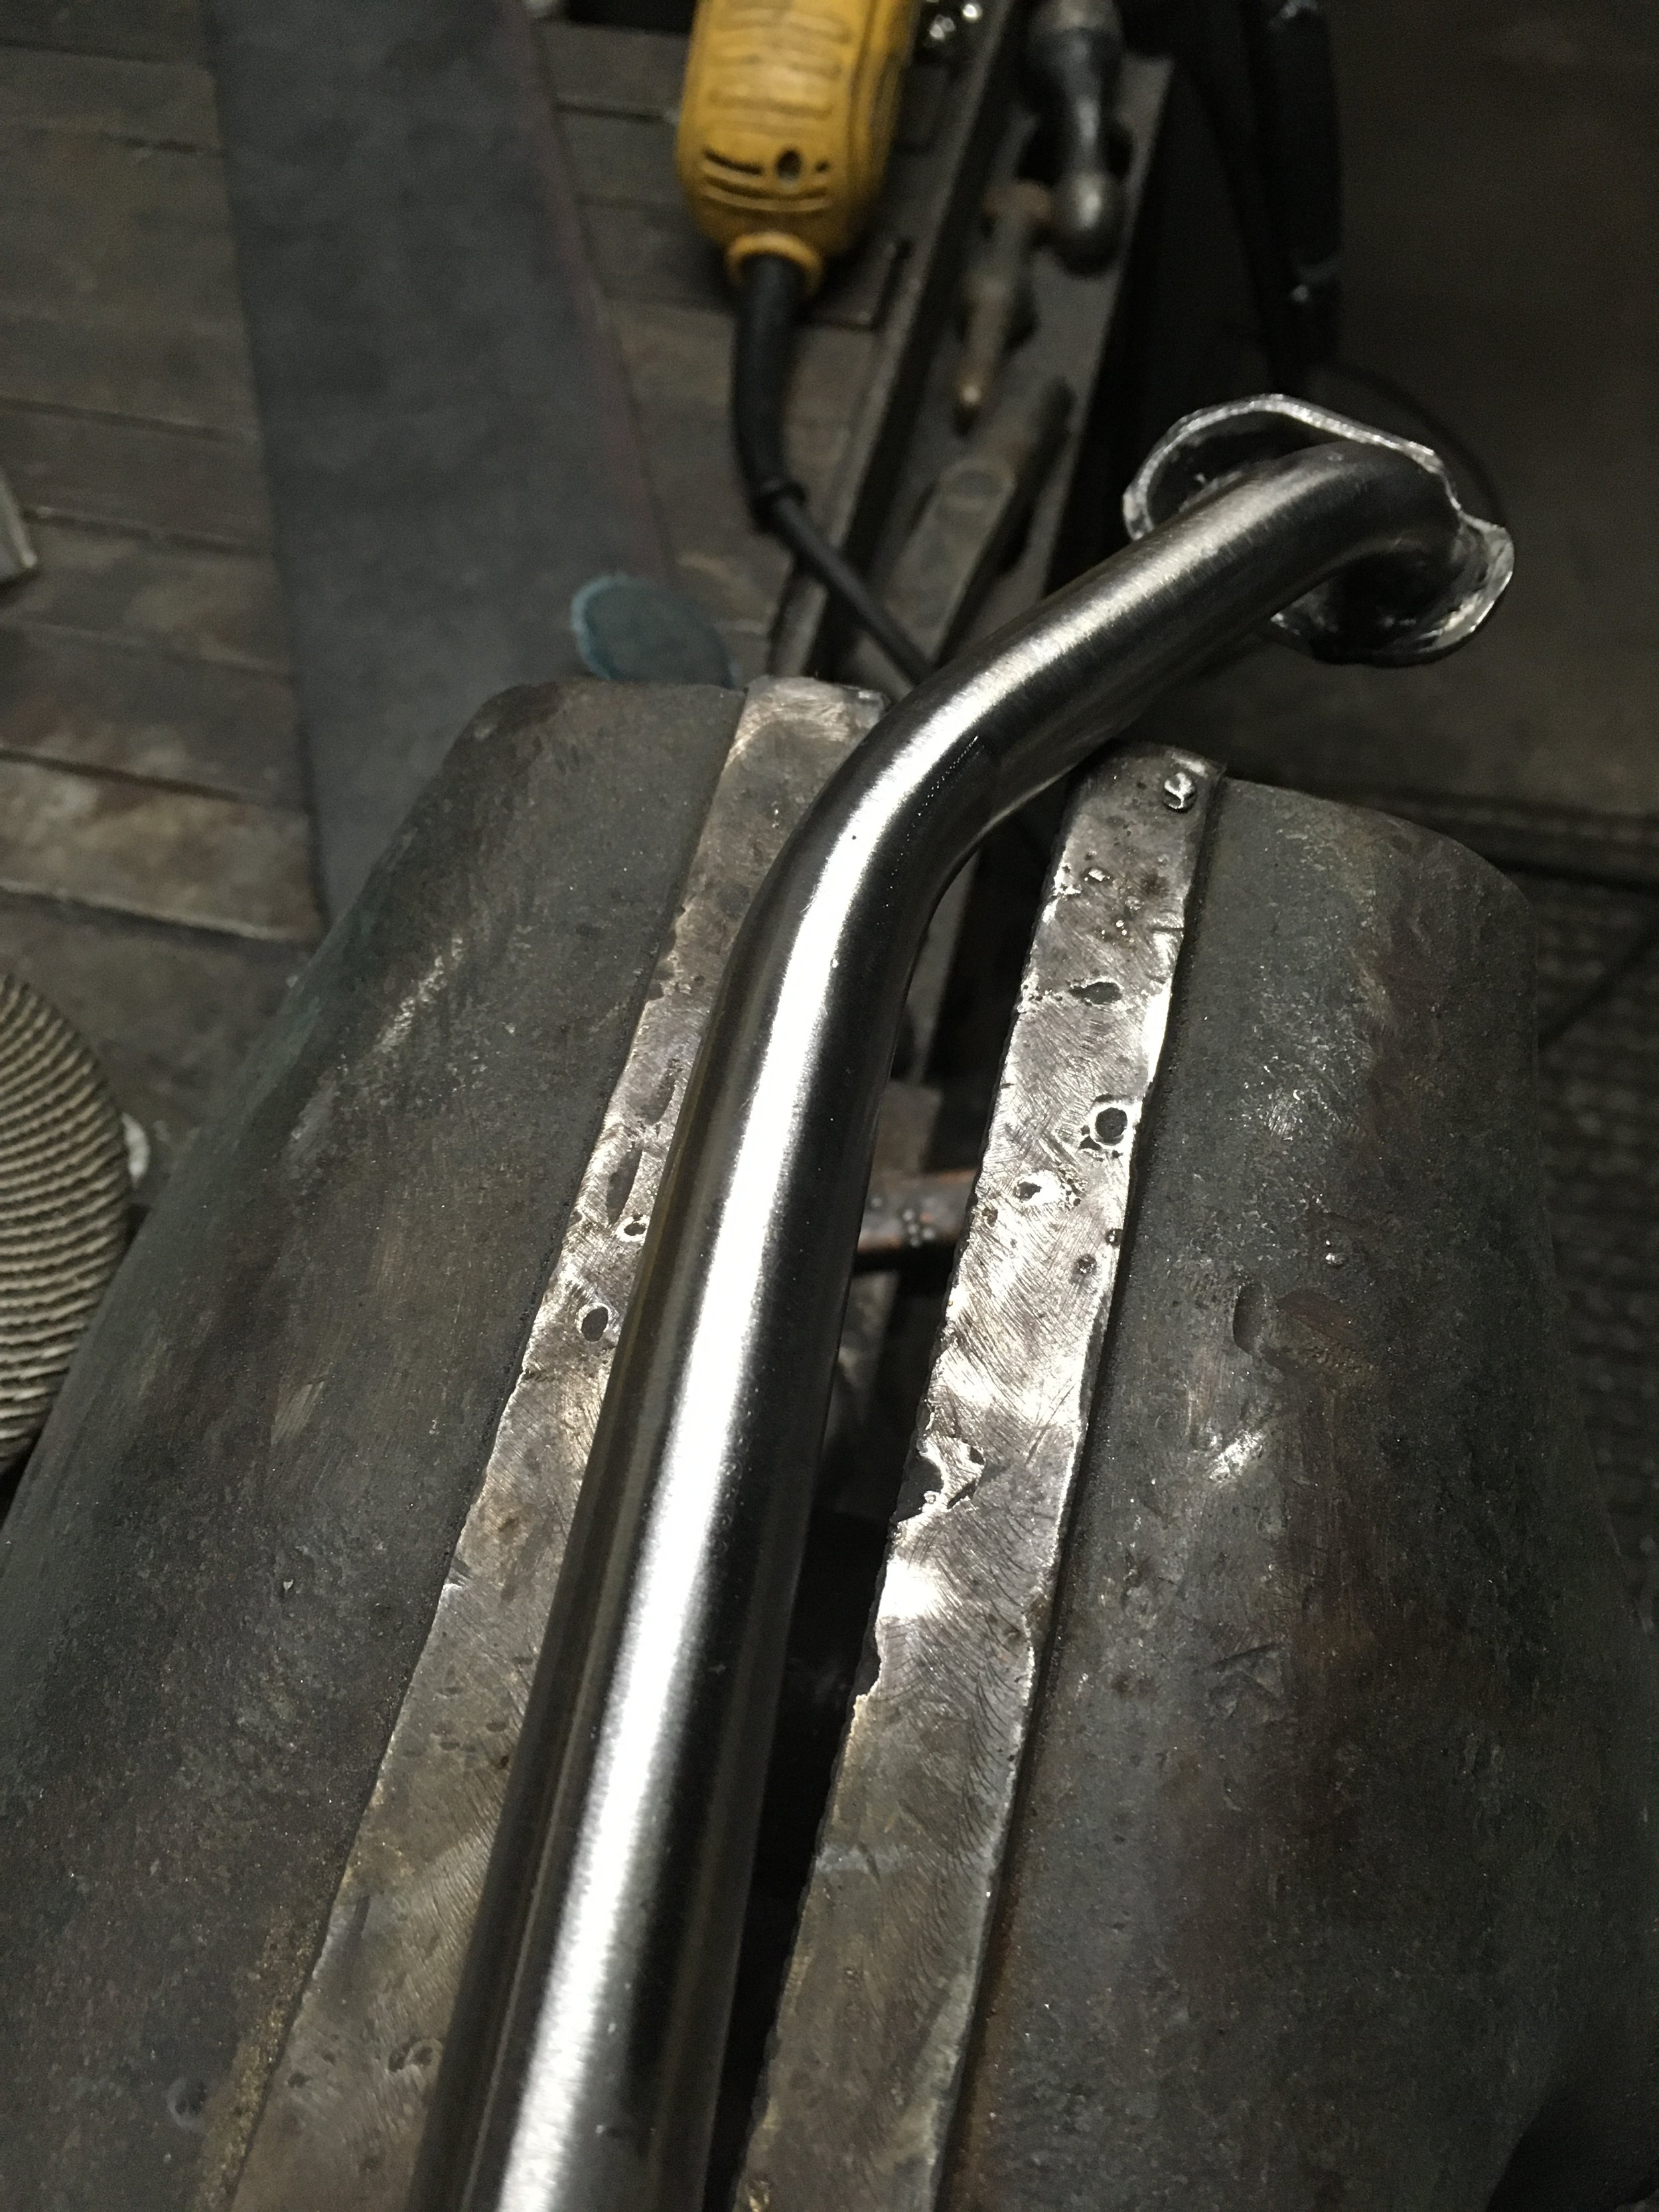
…and after.

In addition to the seat frame and seat pan, a third component, a seat pan for the upholstery was finished. The mounting bolts pass through to the back of the seat frame, sandwiching the seat pan in between.

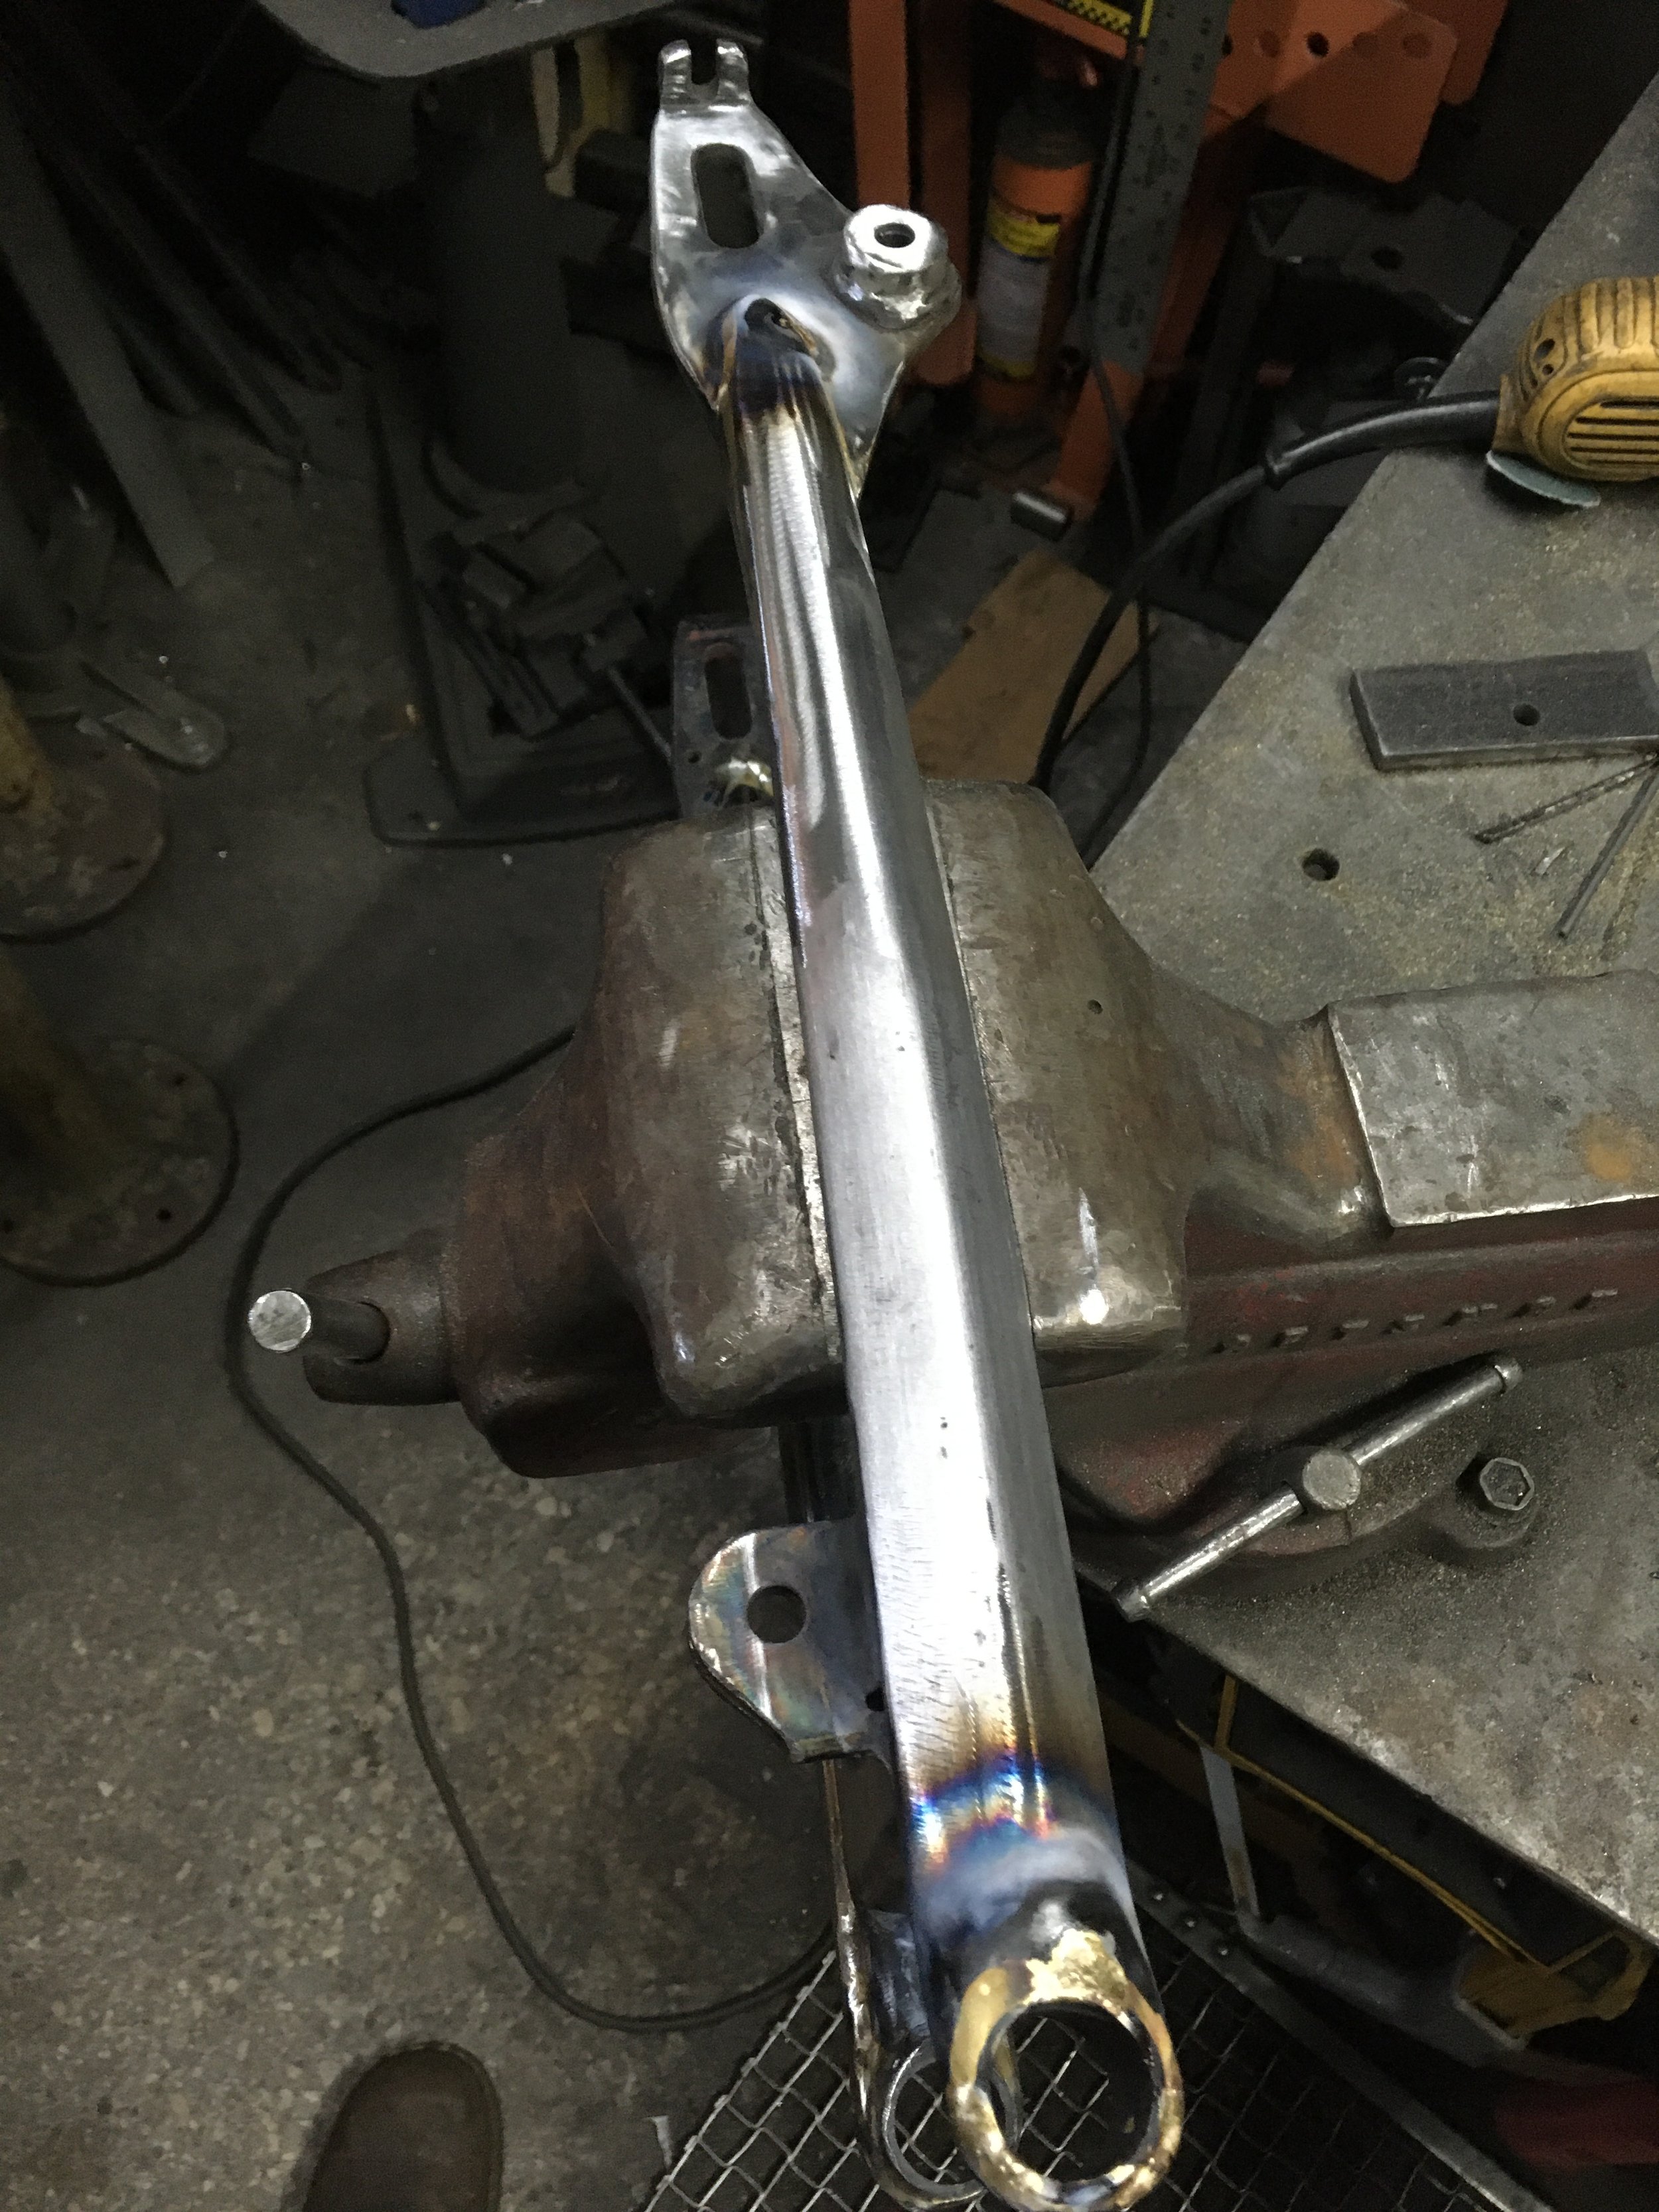
Finishing up the brass brazing. It takes a few rounds of brazing to get the brass flowed into all the joints just right.

The rod being added to the fairing edges, with only the bottom edge left to finish. All of the new body parts had some 1/8” rod welded to the edge. Besides stiffening up the piece, it makes it safer, and less prone to chipping. Sort of tedious to get all the bends just right, but it looks so good once it is done.

The mounting ears of the swingarm, with one before, and the other after grinding.

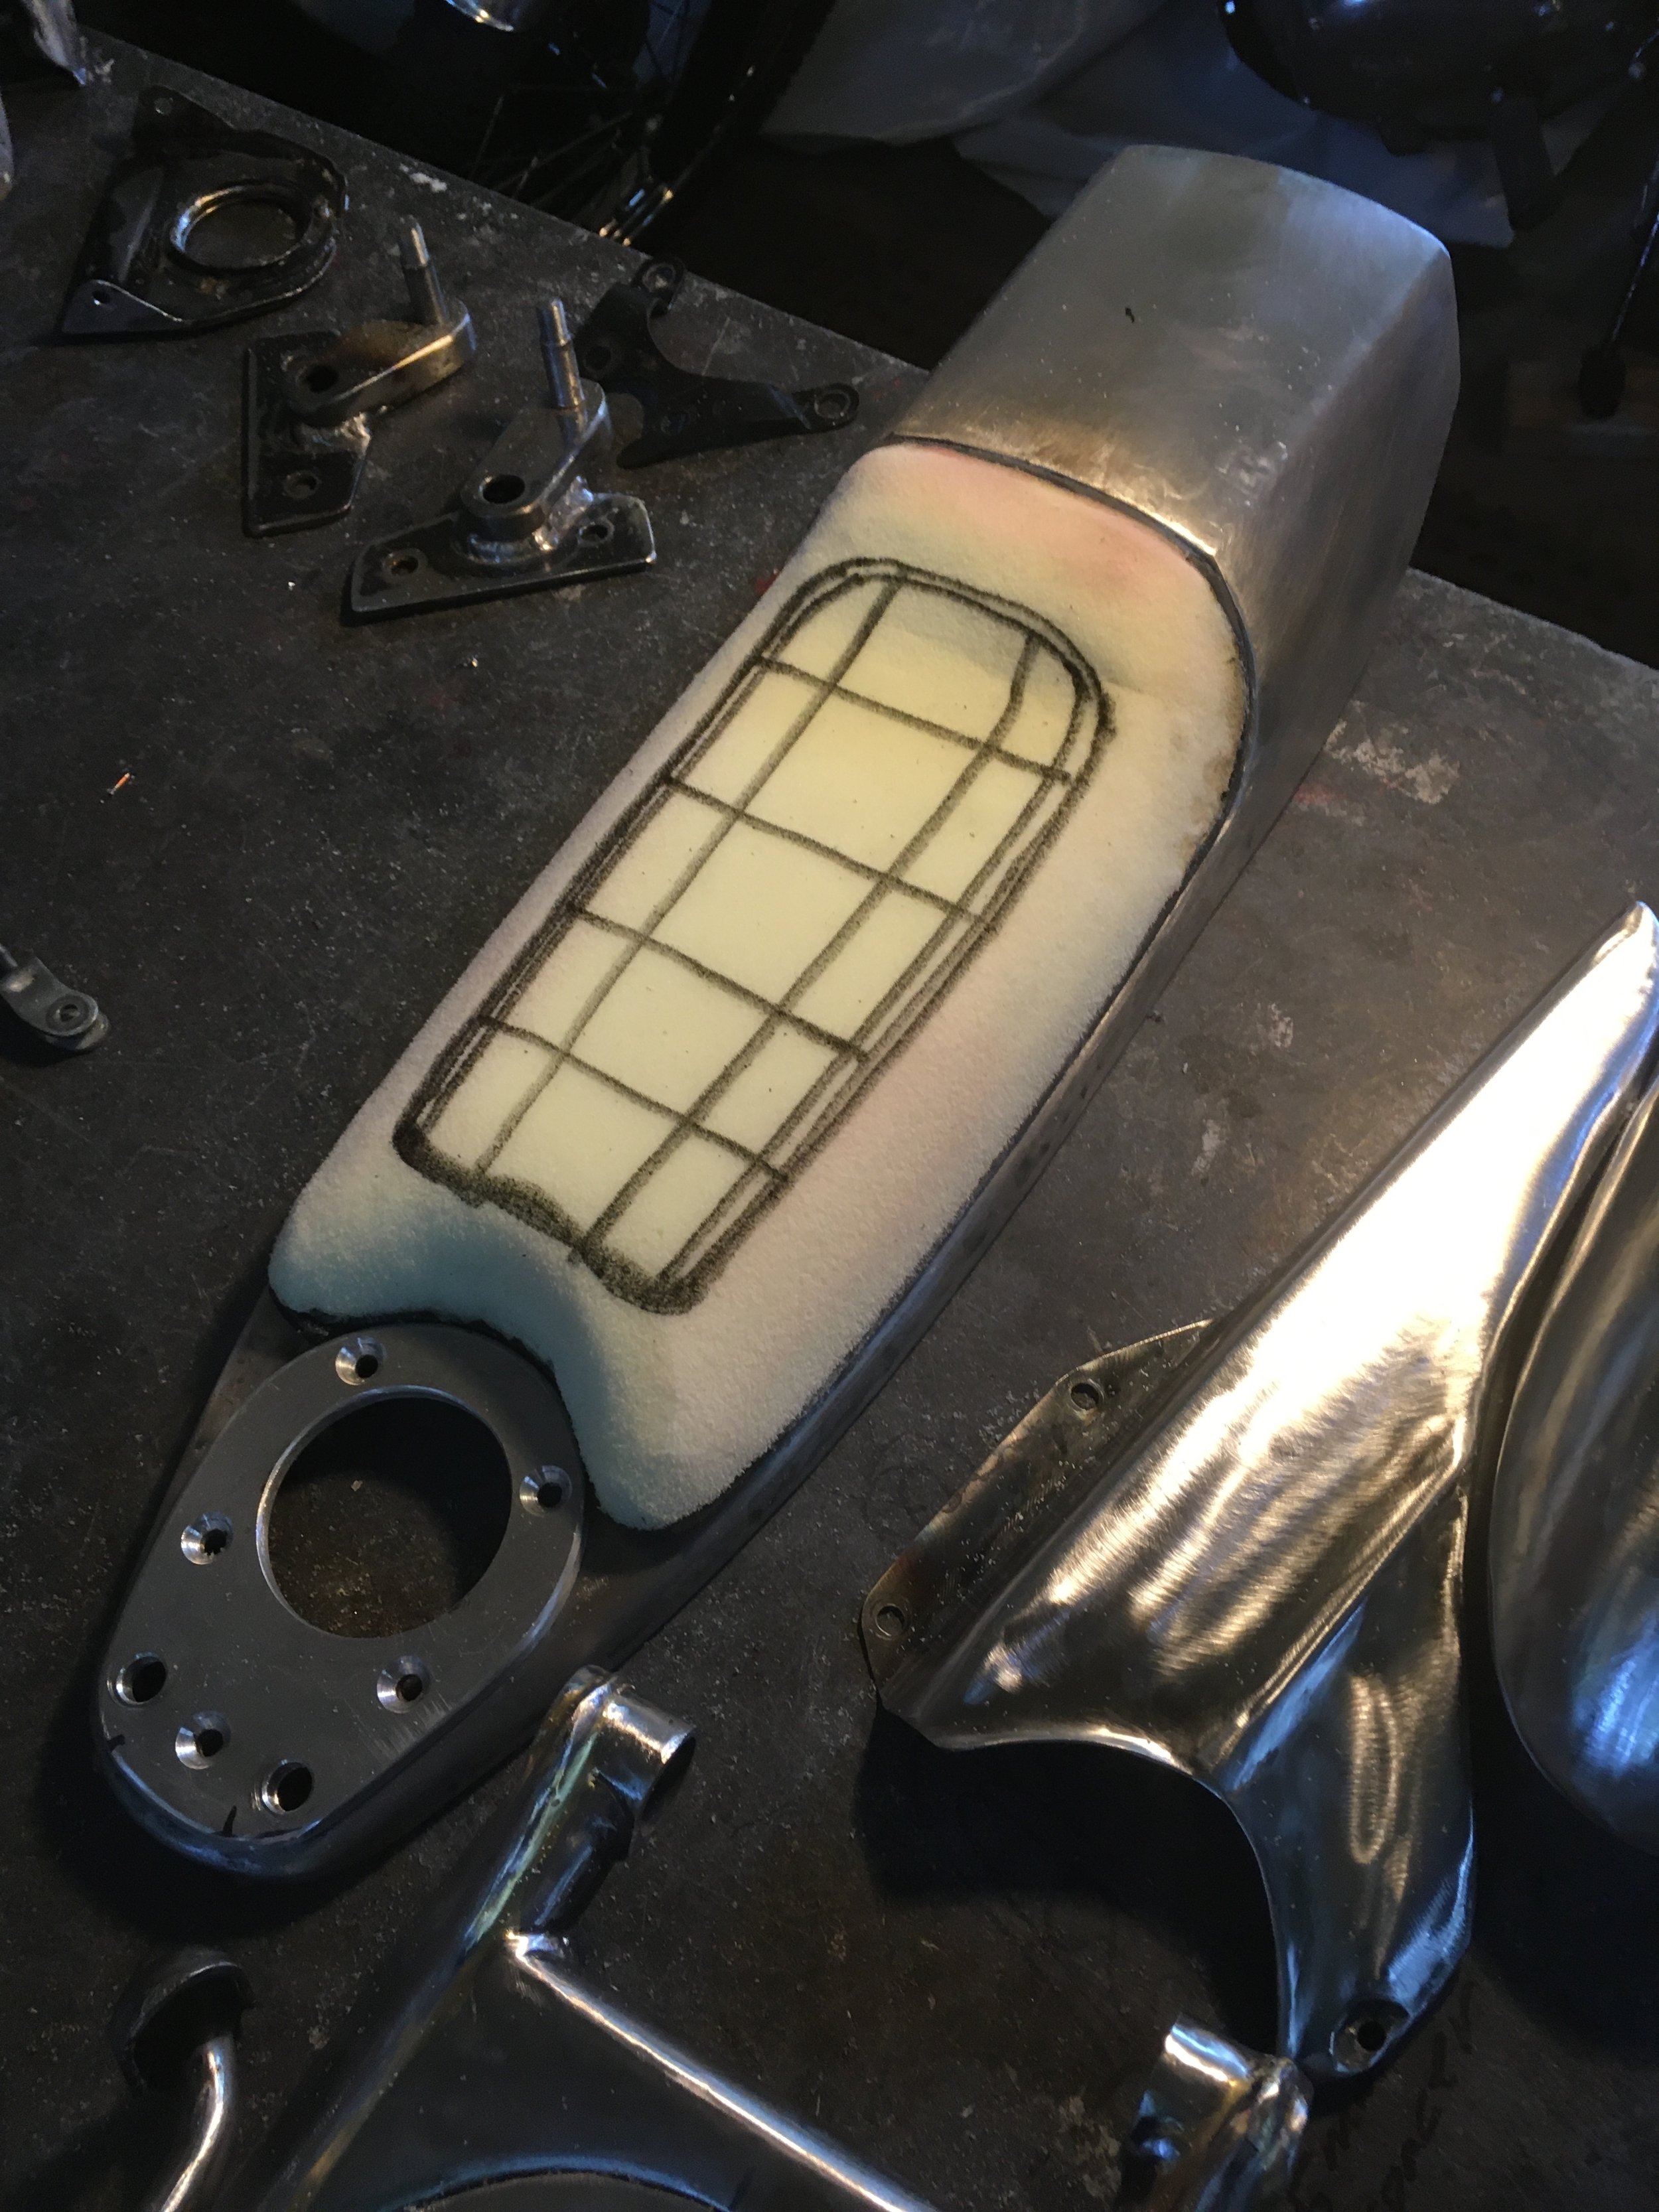
The foam has been formed for the seat.

Breaking out the small files and tons of emery cloth to get a nice smooth transition on all the welds. There were cracks on the rear of the engine cradle, near where it bolts to the bottom of the engine. Some previous repair booger welds were ground out, and the repairs made to both sides of the cradle.

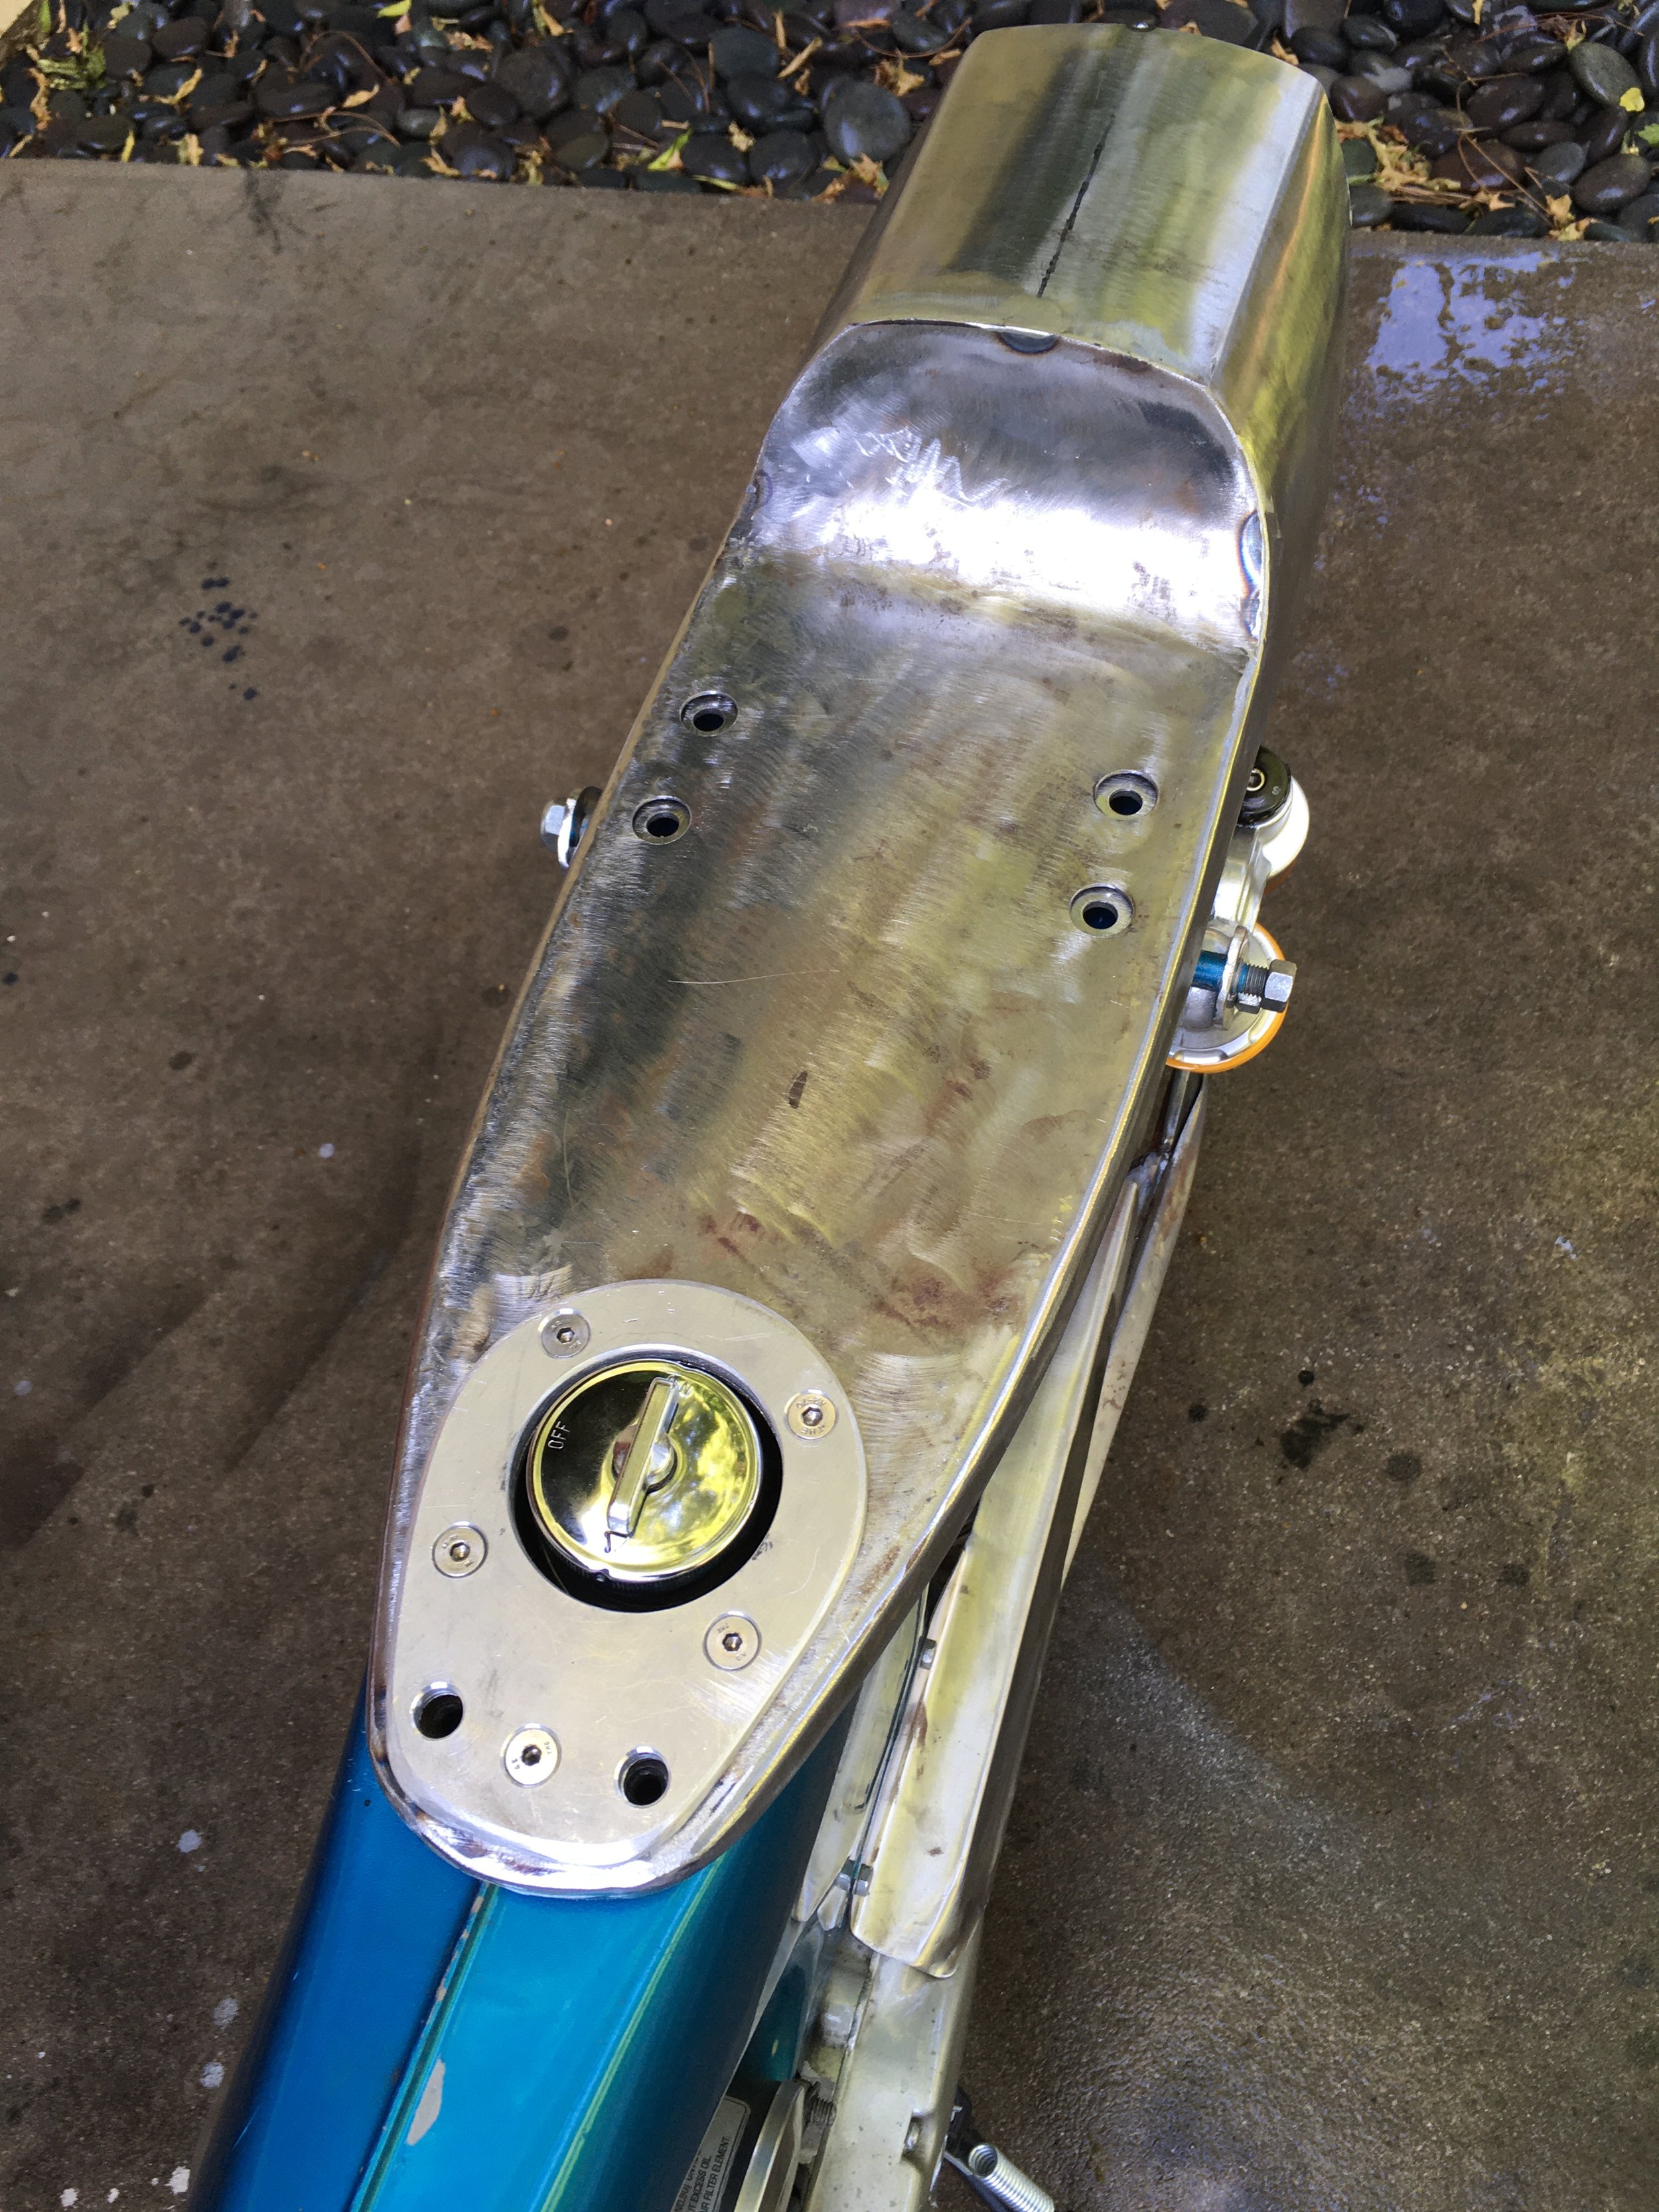
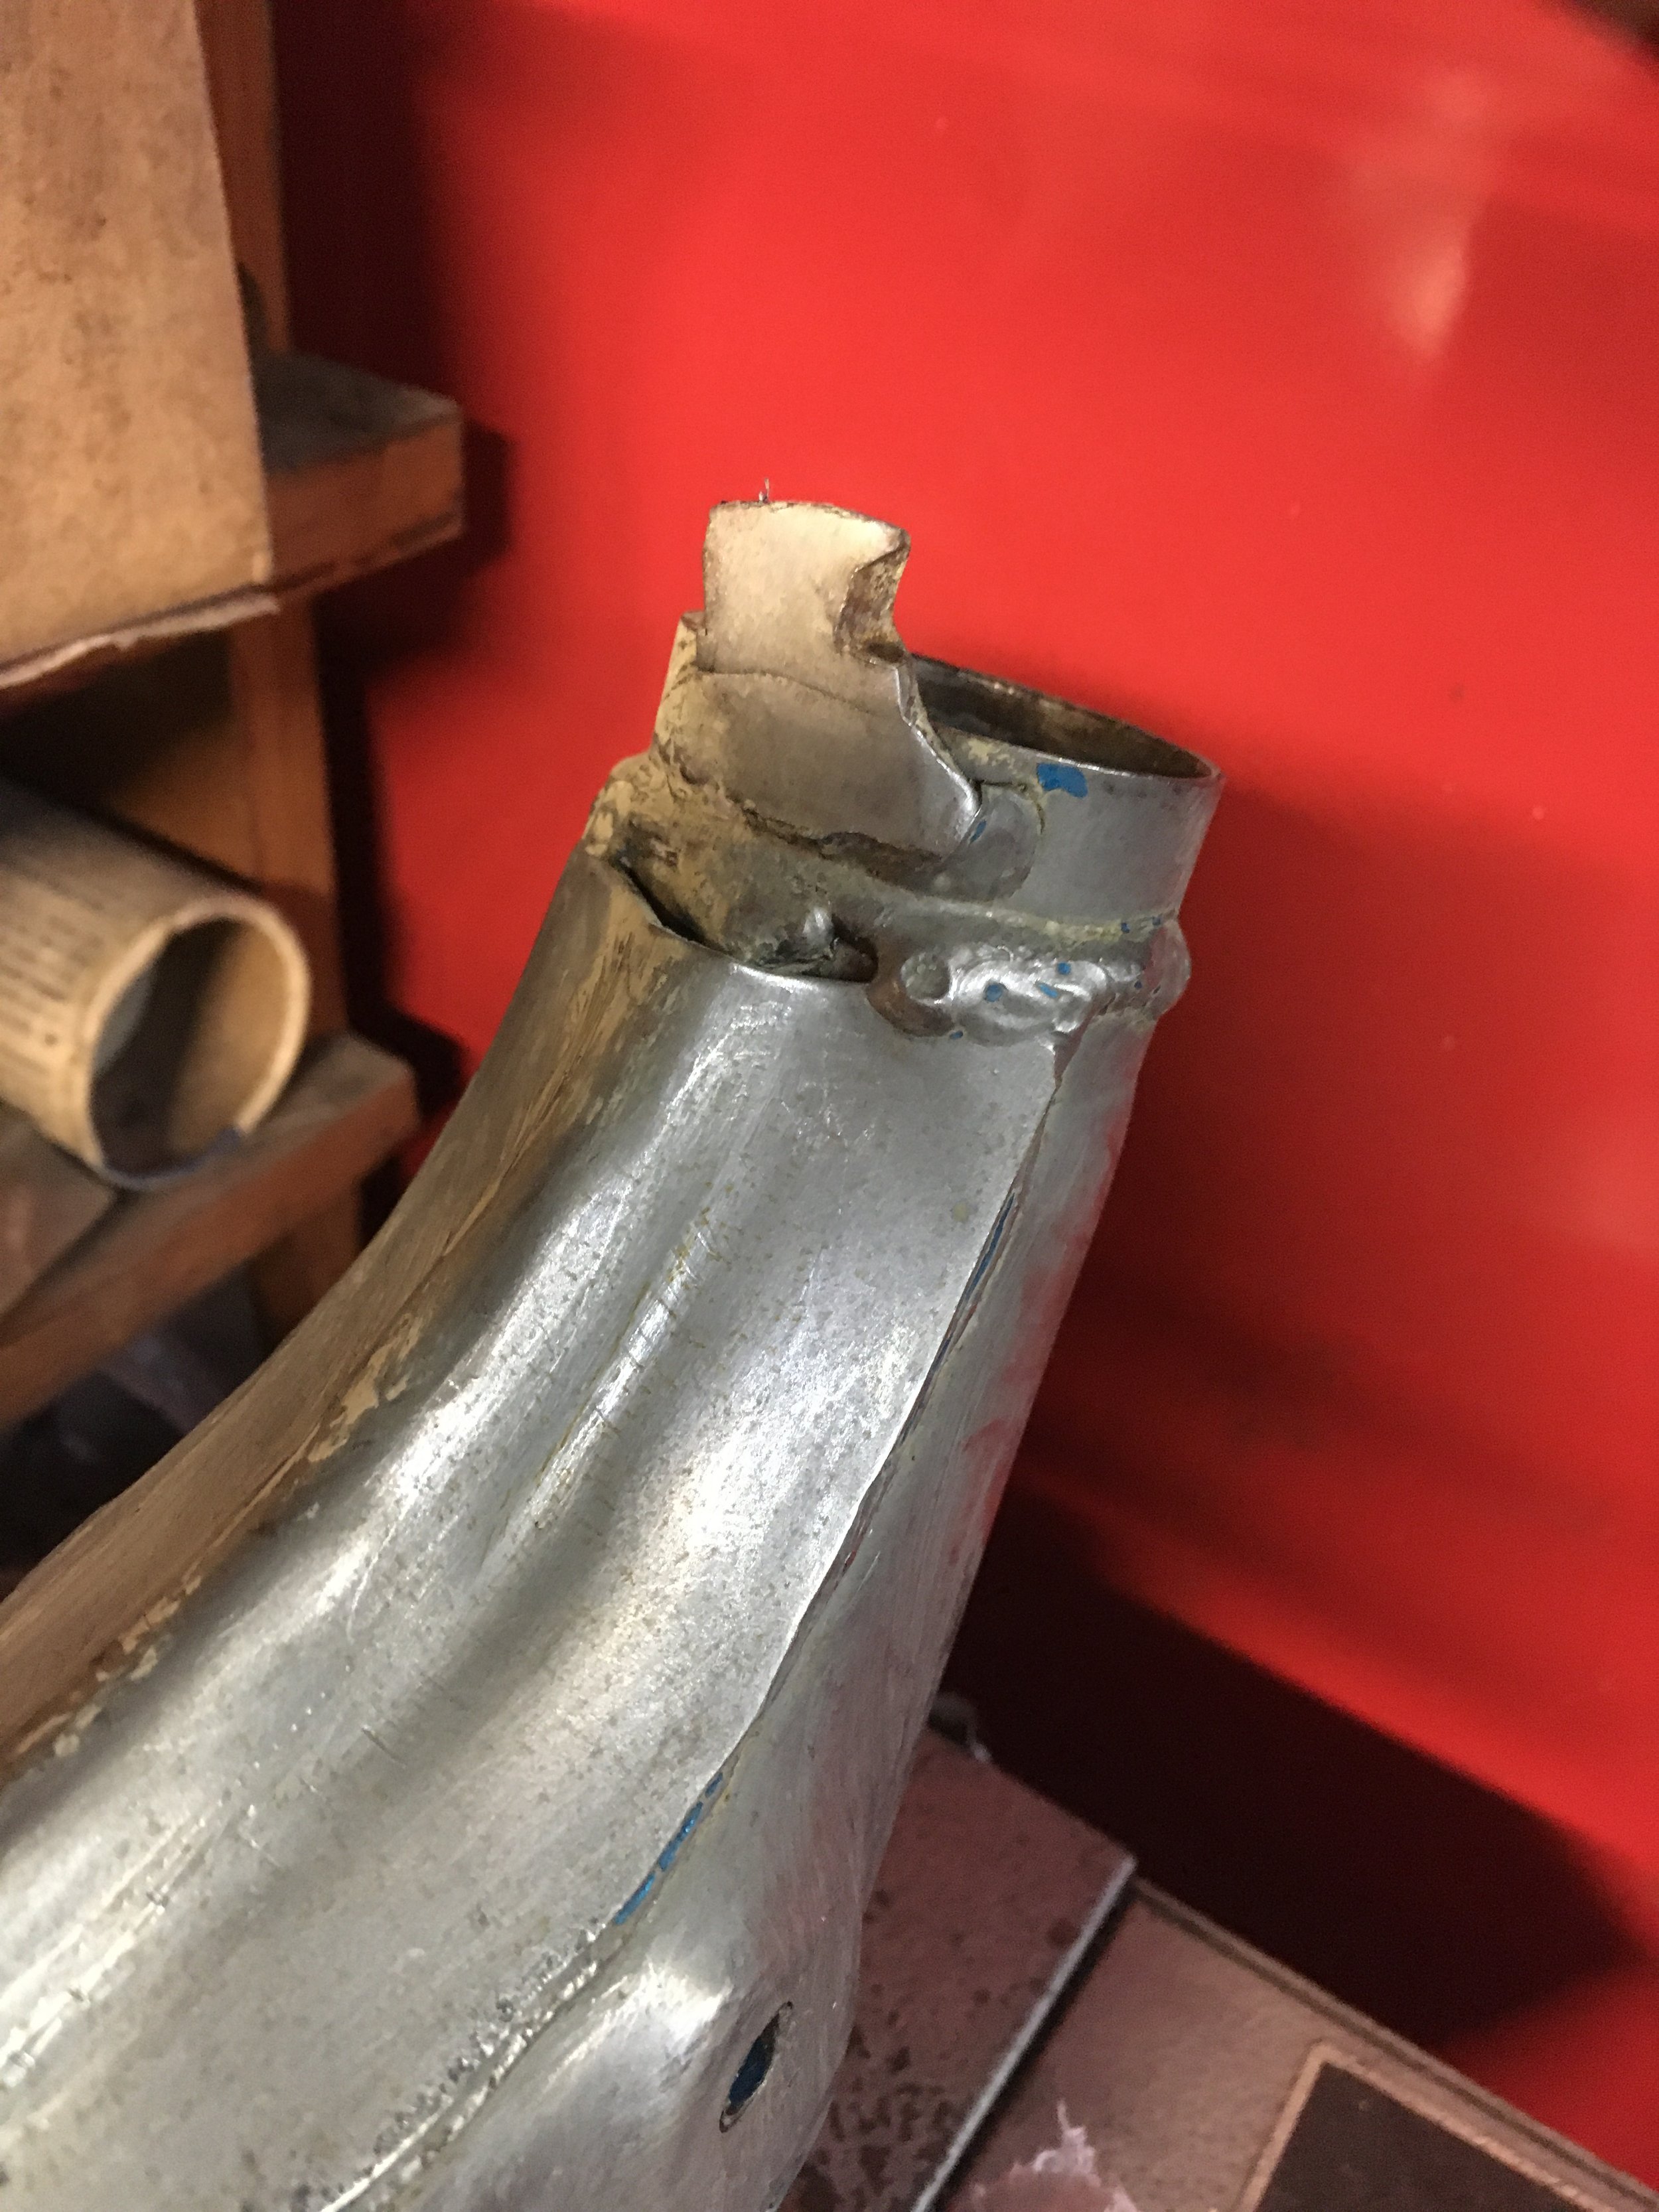
Even parts that look stock are not. This is an early fuel neck yoke, from the first couple years of the CT70. It was used because it does not have the longer front portion that extends over the seat mounting holes, under the seat hinge. Since the hinge is now in back, that portion of the sheet metal was not needed. The problem was that the early yoke fits the plastic tank, with its smaller filler neck, and the bike now has a metal one with the larger neck. The hole and ring that the grommet mounts on were enlarged to the correct portions.

A final addition to the fuel neck yoke was this extension, that covers the top trim strip.

All bead blasted and ready for powder coating. The exhaust will be painted with high-heat ceramic paint.

The handlebars after some smoothing and filling. Some unneeded holes were filled. The bottom of the seat pan and the rod on the edge can be seen below.

There were a lot of small repairs made on parts like the brake pedal. This looks like some deep riding gouges on the underside.

The gouges were ground out, welded back up, and…

…all that time to make it look like you never touched it.

There was only one bondo-filled dent on the body. Burn marks are barely visible around the edges of its former location. It was pulled out with weld-on posts and a slide hammer. On the upper part of the frame, the holes for the helmet holder lock have been filled, and new holes for a side grab handle have been drilled.

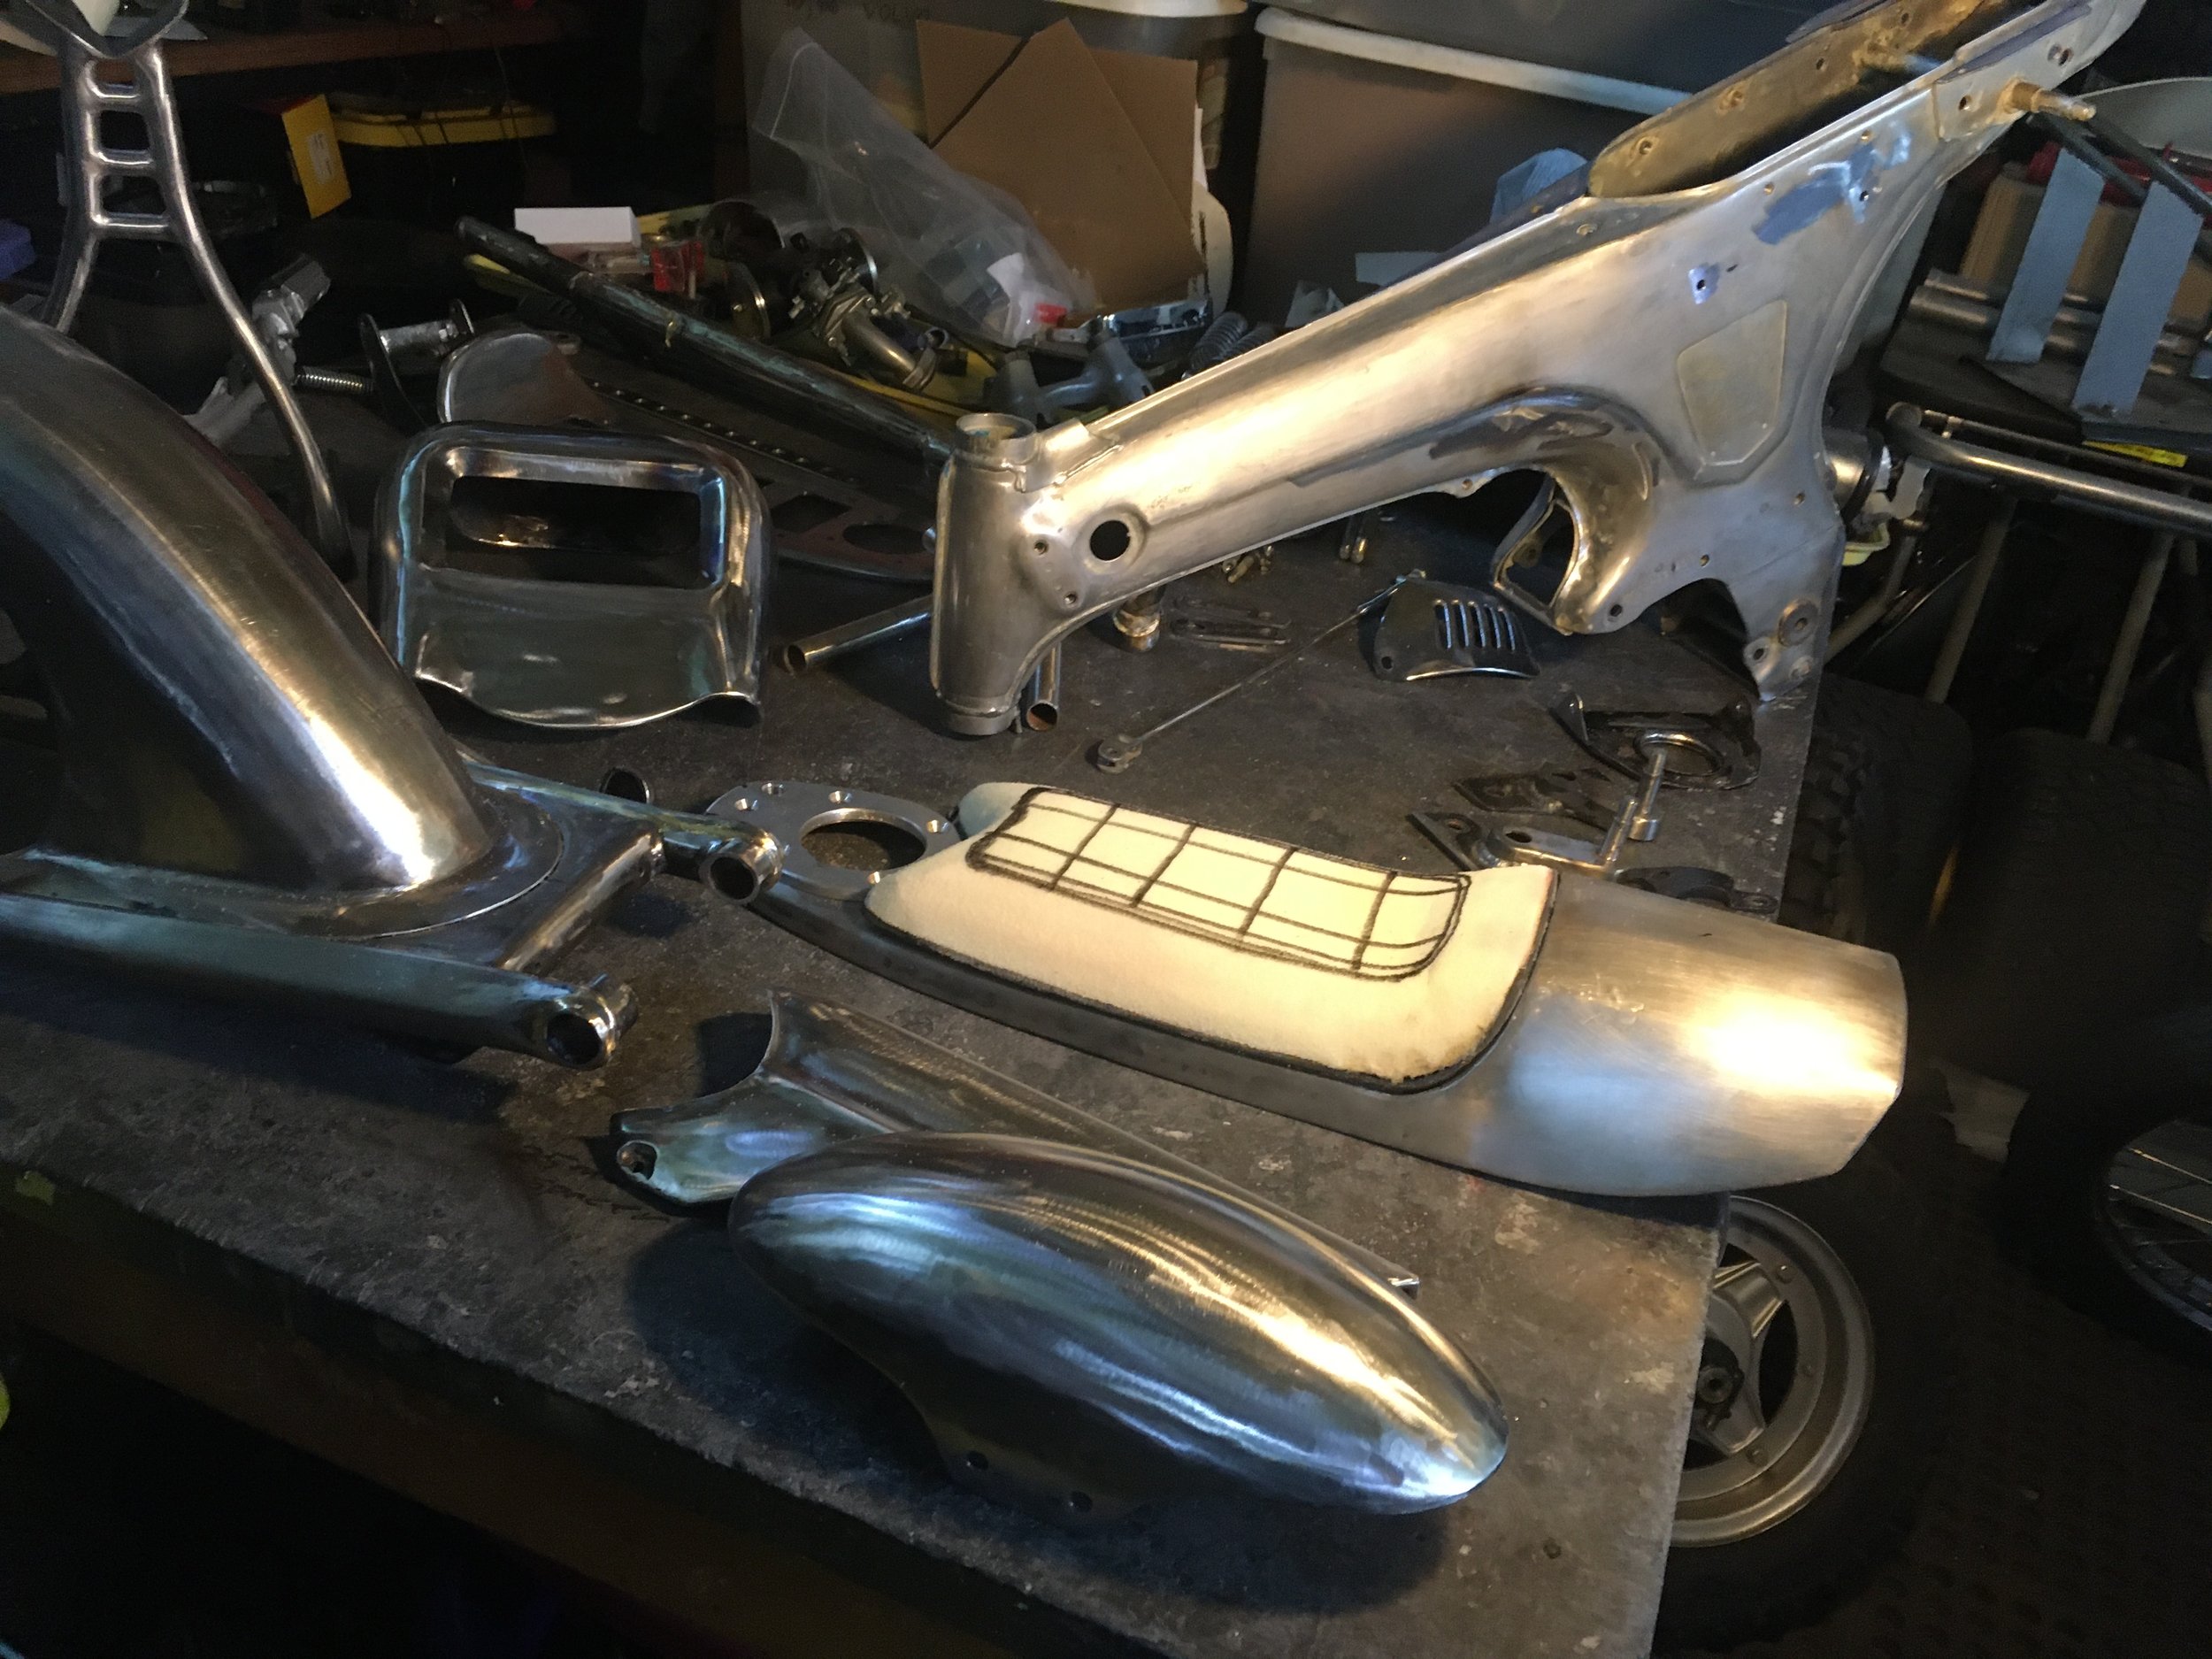
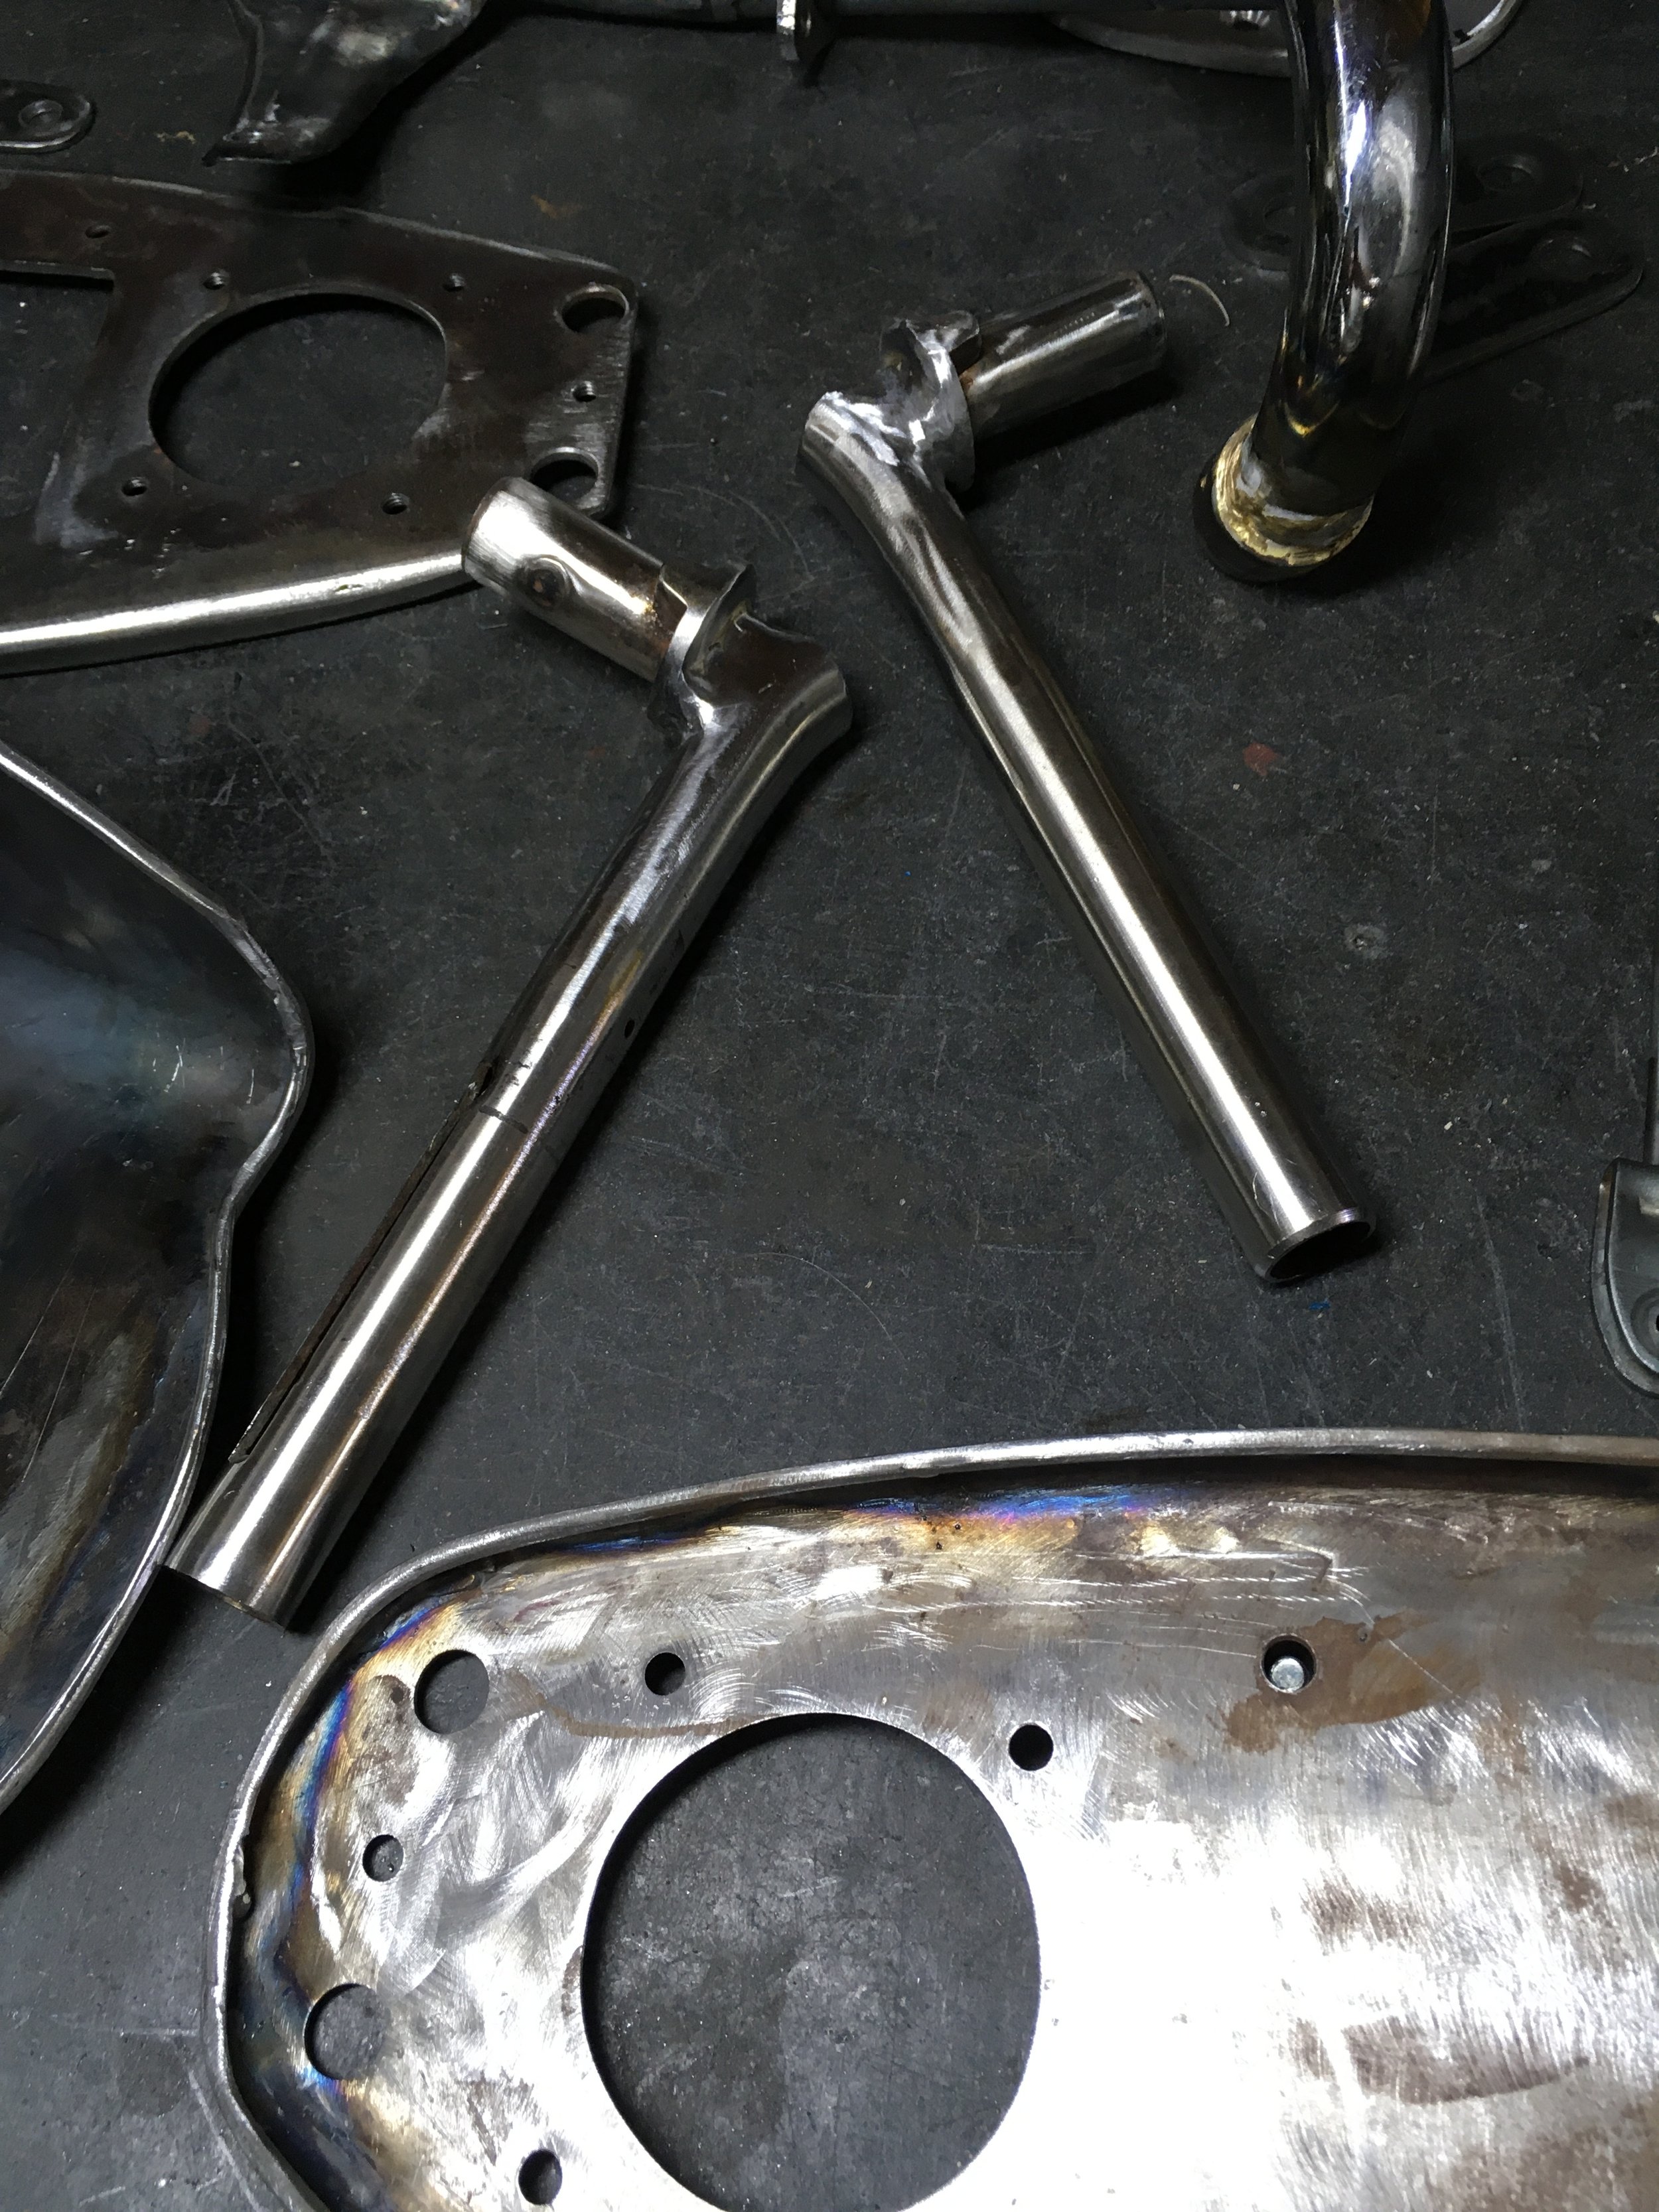
All the pieces going to paint are done. Starting to sort and prep the parts for chrome and powder coat. When you are looking at a pile of flat sheet metal, some paper patterns, and your ideas, this table full of finished parts seems like its miles away. Very satisfying to be here.

The mounting screws underneath the rear fender were one of the last jobs I did during the fabrication stage of this build. With no significant injuries during the process to that point, a broken tap delivered a nasty little slice to my thumb tip. A reminder of how dangerous all this metal cutting, drilling, and grinding can be.

Finishing Fabrication on the 1974 Honda CT70/Dax Custom

Getting some details worked out on the 1974 Honda CT70 custom build. A front fairing, exhaust system, engine cradle, and the rear brake assembly were finished, and the front fender was mounted, along with a footpeg assembly. Soon, the bike will be broken down for final welding and then go on to finishing.

With the front fender mounted, and front fairing built, the body kit is complete. The fairing is made from a single piece of .050” steel. The footpeg assembly is from a Honda CRF50. The kickstand was lengthened an inch and a half. The CRF50 assembly was chosen because of the folding pegs. The original CT70 pegs fold upward, while the CRF50 style folds backward…a better design should your peg ever catch on something.

The original brake arm was modified to clear the swingarm. A brake stay and brake rod were also made up to finish the job. The lower edge of the rear seat shows some of the “whittling” of the lines: slowly removing excess to please the eye. Sometimes, instead of drawing a simple cut line, the excess part will get inked in with black marker to make it disappear. The new line will not be cut until it has been looked at for a while, usually several days. Getting the original design was done with paper forms, which can only go so far in representing the final form. The lower line of the rear seat was drawn to echo the rounded tail of the frame, but when formed, the more geometric flat rear panel and shaved lower line were more pleasing. The picture below is with the mods.

My version of the CT70 K0 muffler. Using a thinned-down stock heat shield, the rest of the system was fabricated to resemble the original, but with a slimmed-down muffler can. The stock mounting points were used. The early model muffler and shield has always been a favorite of mine. The slits in the heat shield match the lower shield on the brush guard, and it all fits well with the rectangular touches on the build.

Two cones of .030” steel, and the narrowed heat shield.

An internal baffle to tame some of the noise.

Still in need of some finish welding, the engine cradle/brushguard was modified to give it a “wishbone” shape, and a new yoke. The lower heat shield was reshaped slightly to accommodate the larger exhaust pipe.

Getting close to done on the big stuff, but a lot of small details remain.

Detail of gas filler neck.

1974 Honda CT70/Dax Custom Build begins

Time to begin another custom small Honda build. Based somewhat on the CT117, built in 2010, there will be similarities, such as the long, low stance, the rear-hinged seat with the gas cap poking through, and low handle bars. With a good bit of the fabrication already done, the plan is to add a few more things like footpegs, engine cradle, exhaust, and possibly a front fairing, before moving on to finishes.

One of the first jobs was getting the stance right. The front fork tubes and springs were shortened about 45mm to get a similar height to the CT117. The handlebars were made from the stock bars. With the bars in place, a round headlight just looked wrong. It was either too high or too far forward to fit in. I had a rectangular signal light from a big rig, and it made the front come together. Don’t know if the amber lens is going to stay, but it looks pretty cool. The headlight is mounted on a custom tubular steel bracket that utilizes existing mounting holes. Without headlight ears the fork tubes stay clean.

The swingarm is from a Honda XR80, and has been lengthened to 16” There are custom covers on the sides of the swingarm to echo the frame body lines.

A hydraulic front disc brake came on the bike, but shorter, more compact levers and master cylinder were needed to fit the build. The master cylinder is just resting loosely until things like speedo placement and a fairing are figured out.

The rear fender base fits in the recess of the swingarm nicely. The swingarm used for this bike is significantly different from the stock one, in that it mounts to the outside of the frame, opposed to the inside recess, as the stock CT70 does. This is how the Honda ST90 is set up, basically. Some bracing and an inner spacer will need to be added once the bike is broken down.

The chain guard is a favorite of mine. The magneto cover will be opened up to reveal the counter sprocket. The original CT70/Dax frame is a beautiful piece of art. The design blends rounded organic curves with chiseled geometric lines, that I feel are often overlooked. When the original swingarm was replaced with the longer tubular one, the beauty of the original was apparent. This led to the side covers on the swingarm, that are meant to add some of that angular, curving lines back to the design. The chain guard and seat were designed with the same thought in mind. The lines of the rear fender echo the rear frame curves.

The seat assembly is a big part of the build, and has taken a good bit of time to get to this point. The design took a little time to form, but once decided, the seat pan was made first, with a seat frame and hinge then made to fit the pan, and finally the tail light assembly and aluminum sconce around the fuel tank cap.

The thumbscrews for the seat are ready for brazing here. They are machined to press fit together with a thick head washer underneath used as the base.

After heating, the parts were brass brazed.

The thumbscrews in place. After chrome plating, they will go nicely with the gas cap.

More rectangles cut into the seat frame and hinge, mostly to lighten things up. Some Honda rubber bumpers fit in the smaller holes toward the rear of the seat frame, that rest on the stock frame tabs like the original seat.

In order to make a uniform recess on the rear seat panel for the tail light, a hammer-form was made.

After the panel was worked on the hammer, form, a second rectangle was added to the backside to hold the brake light lens. This is the snap-on reflector and bulb assembly, and the access hole to reach it once the panel is welded in.

After some clean up, the rear panel is ready to weld to the seat pan.

Simple and clean, and goes perfectly with the front light.

There are inner and outer springs as well as the fork tubes that had to be cut down. The fork tubes had to be re-threaded after they were cut down, for the top screws.

The shock lowering brackets were another part taken from the CT117. They allow the long swingarm to be used without really long shocks to keep the ride height right.

The front forks will have to get some machining on the mounting screw bosses to mount the custom front fender and fork brace. The brace is hidden beneath the fender.

The front fork brace can be seen at the top right. This picture represents the one hundred plus degree days we are experiencing in Texas, and my struggle to keep the sweat off them so they won’t rust.