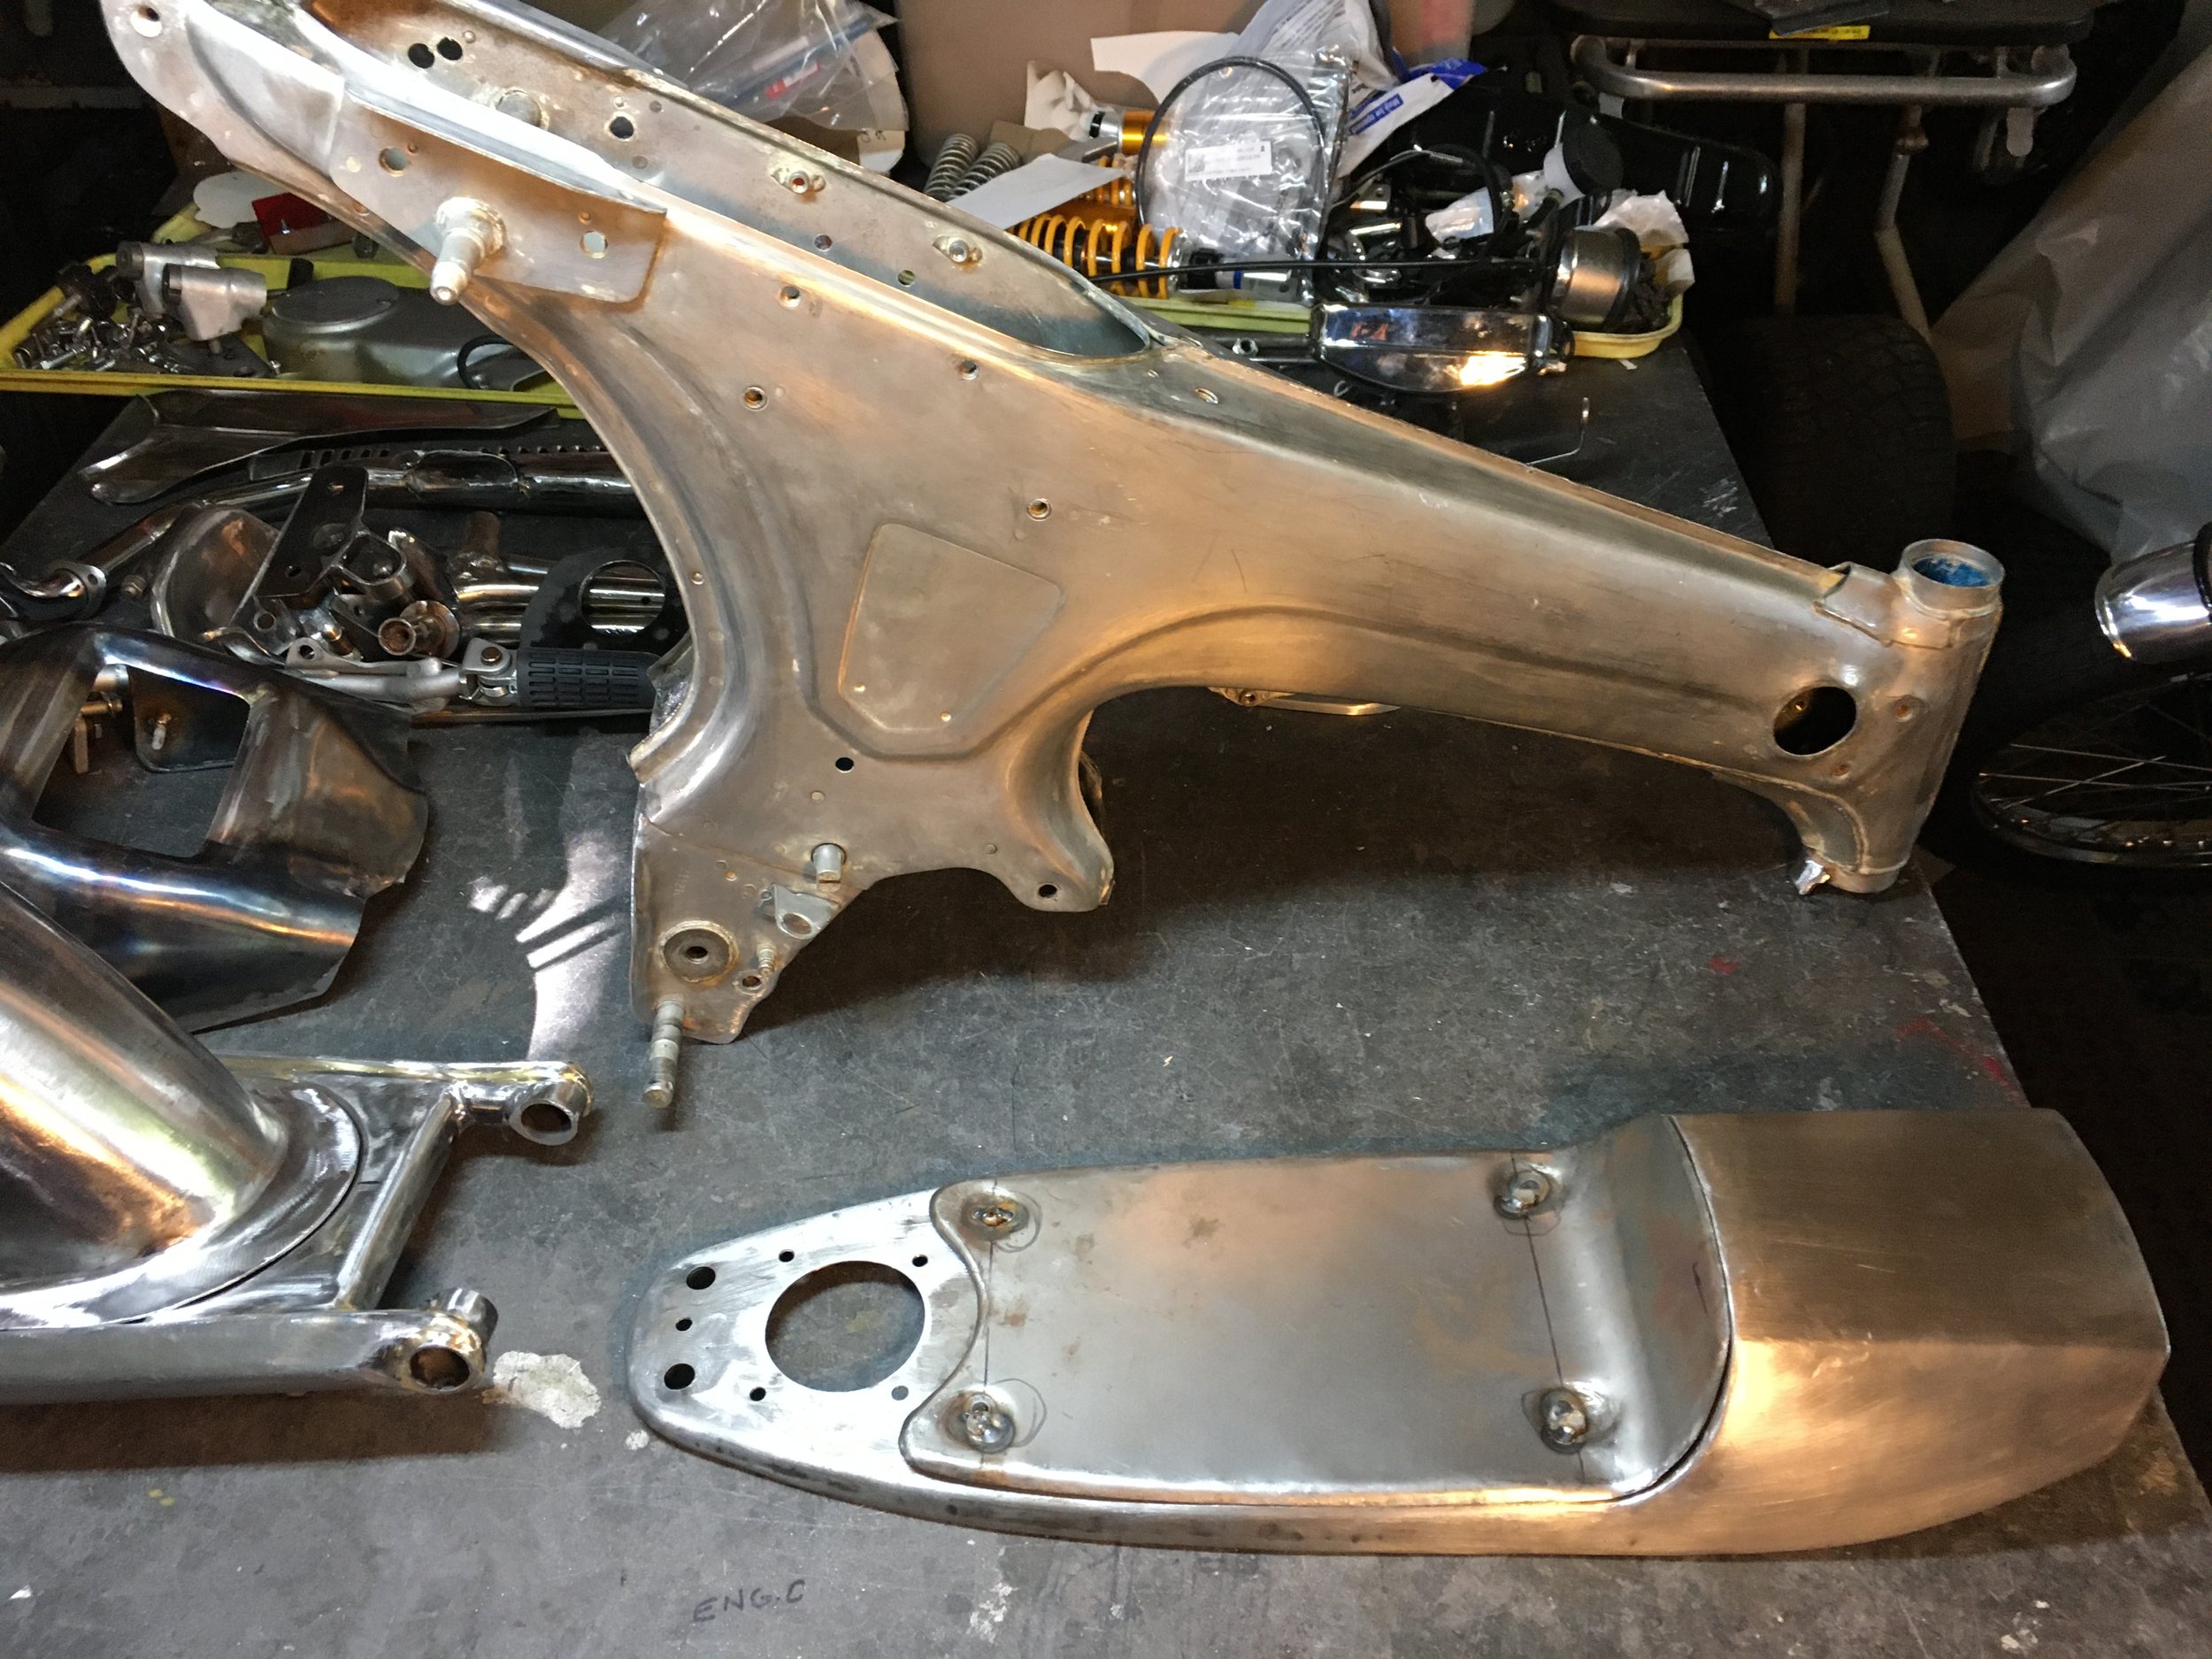
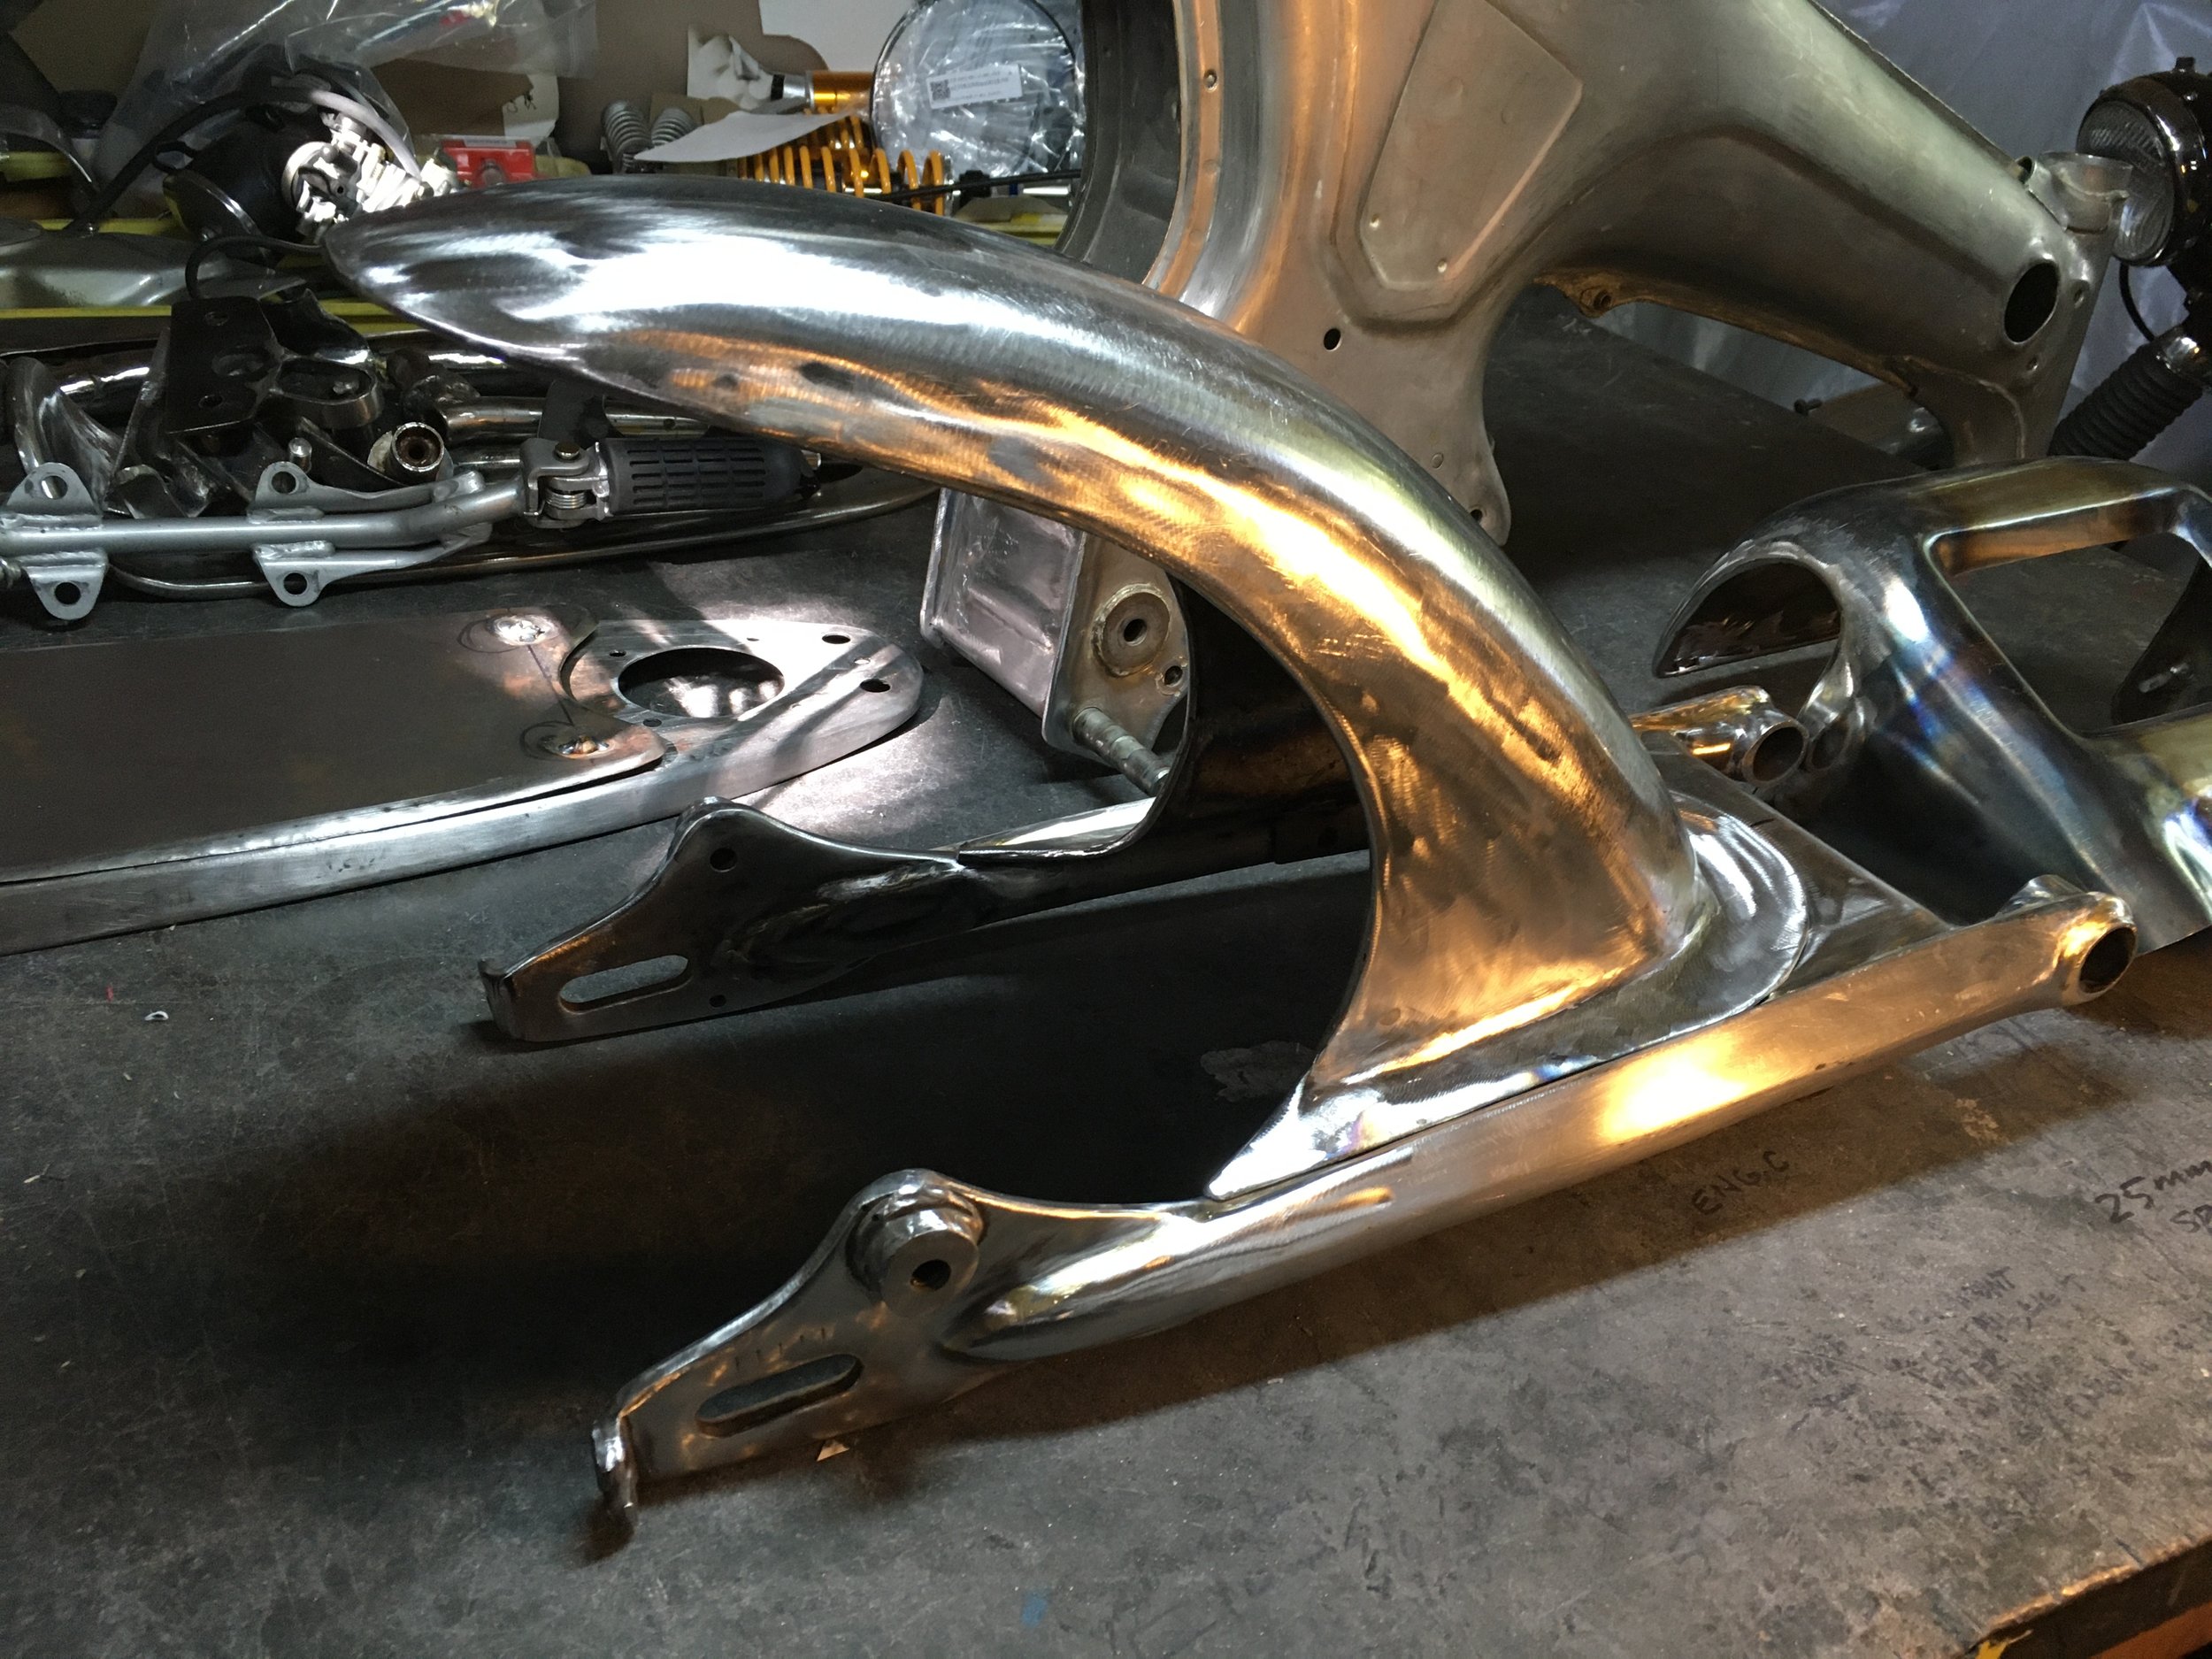
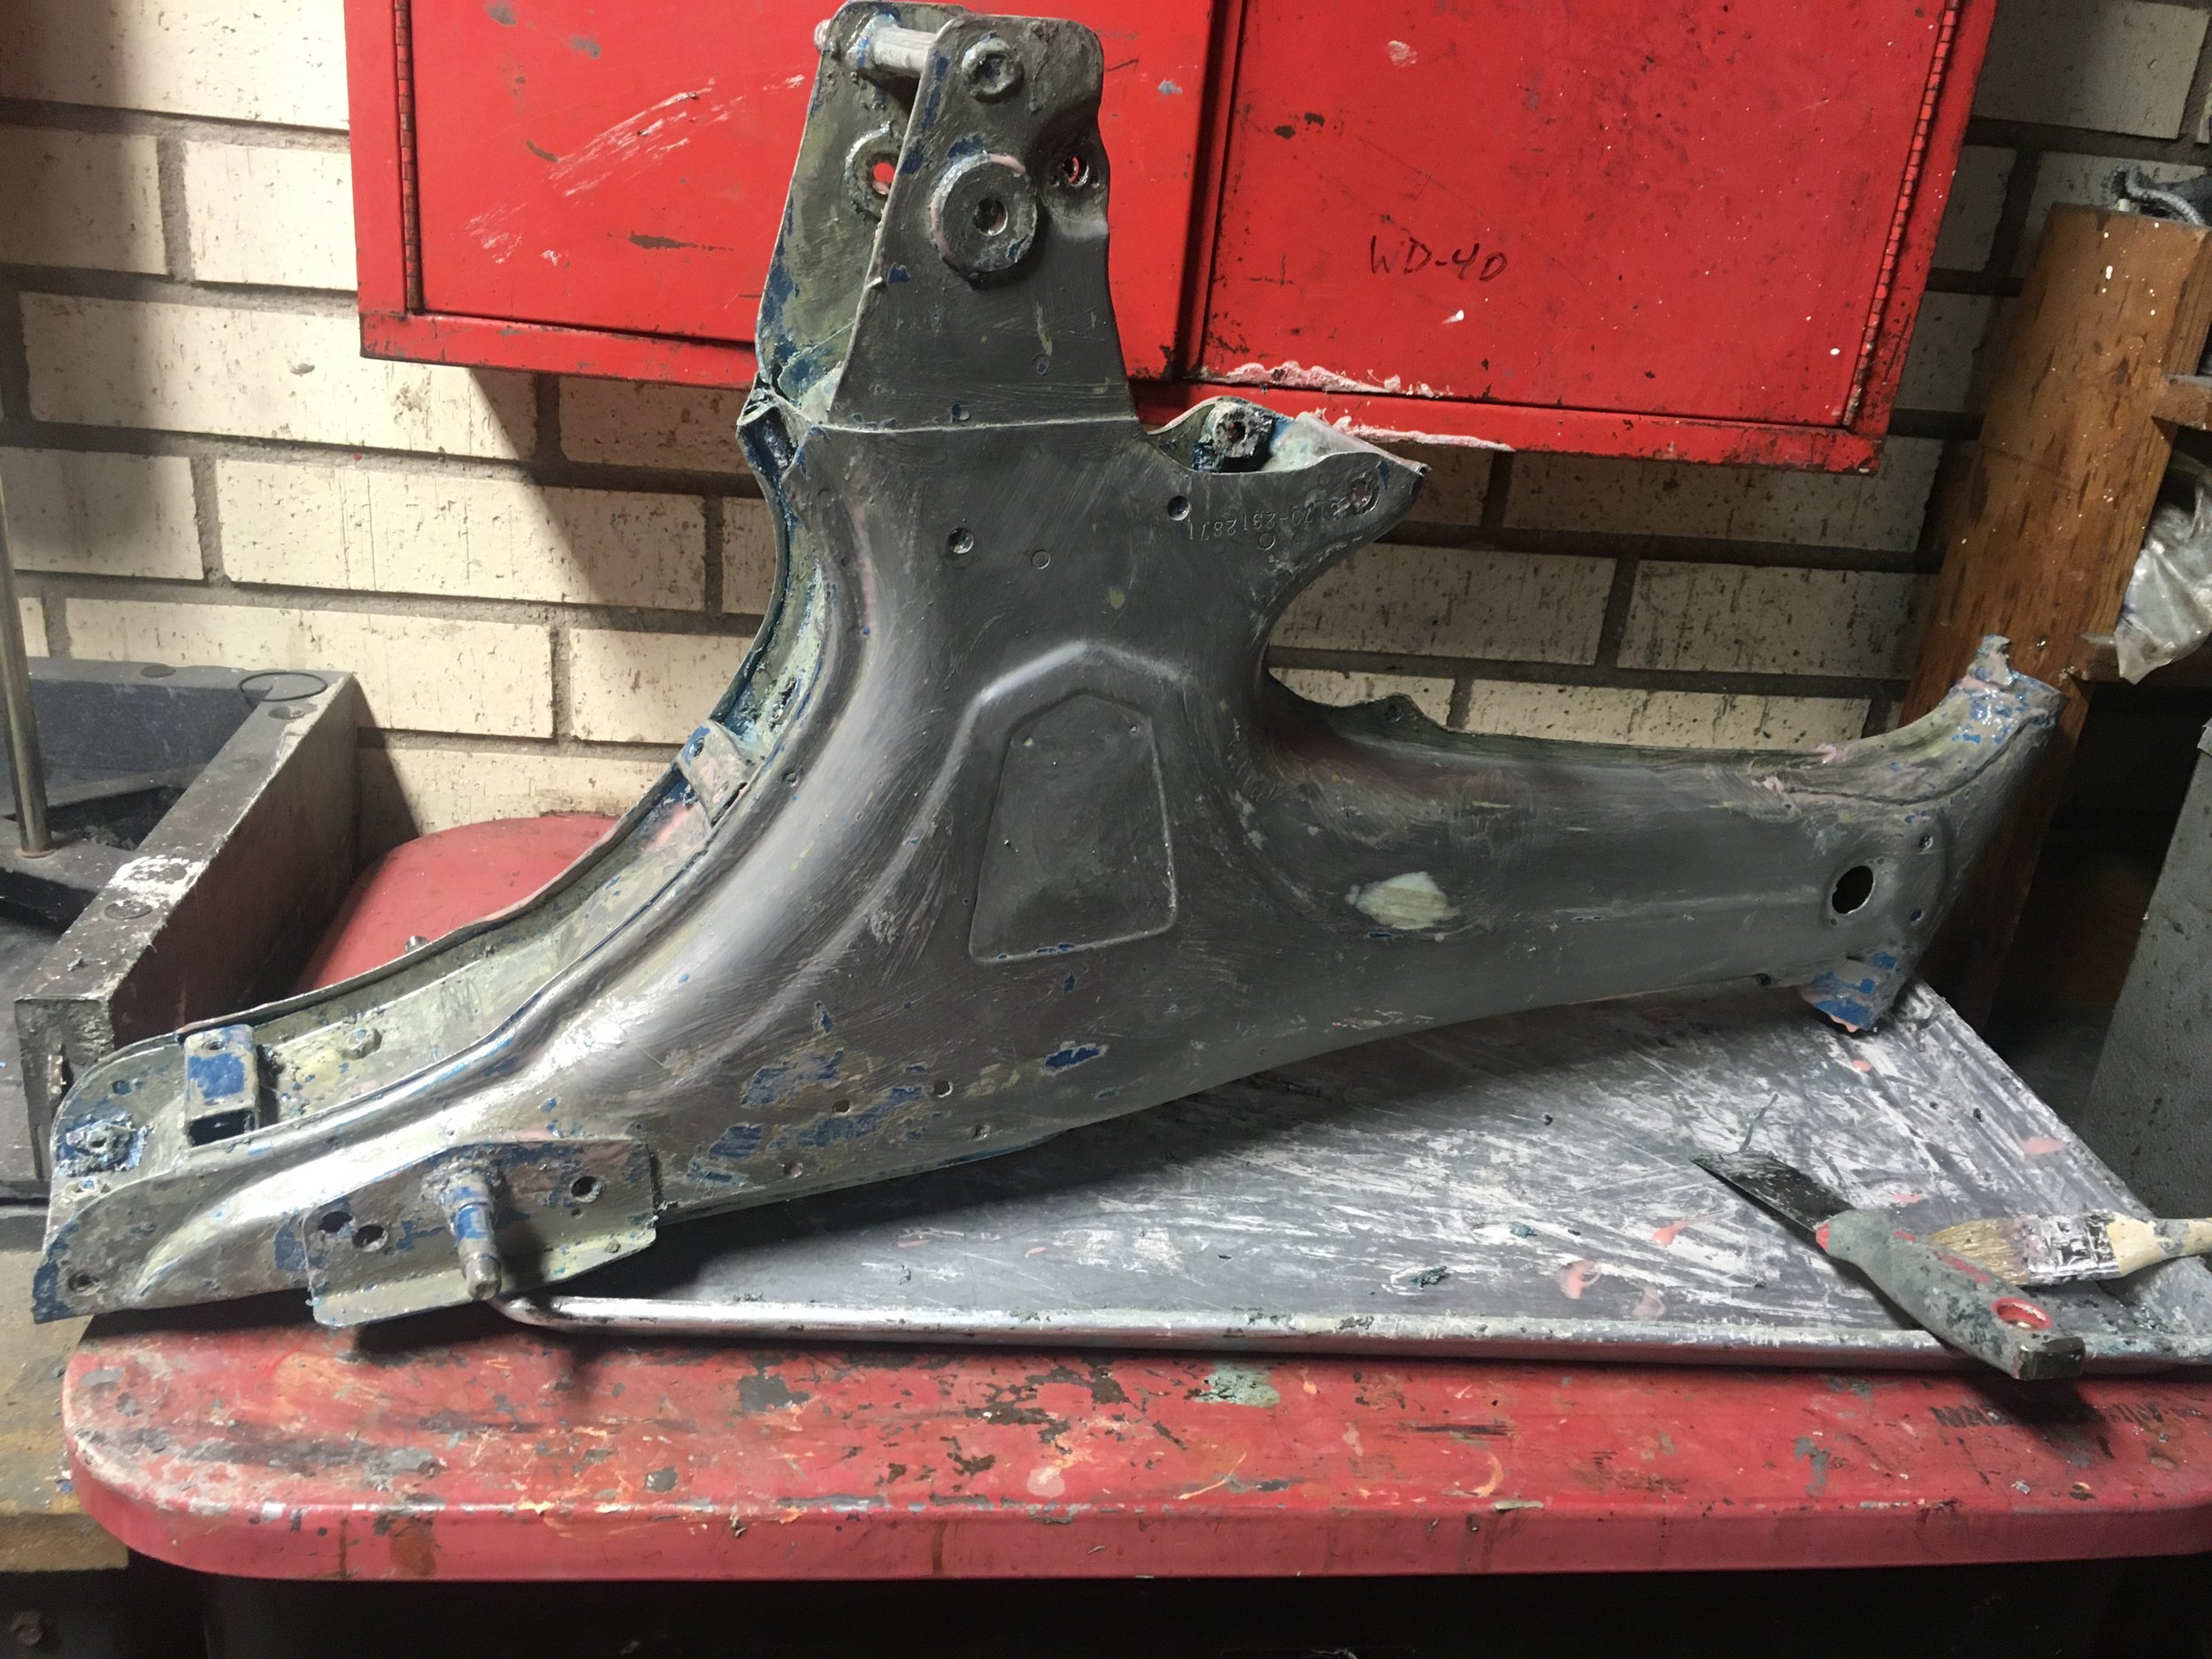
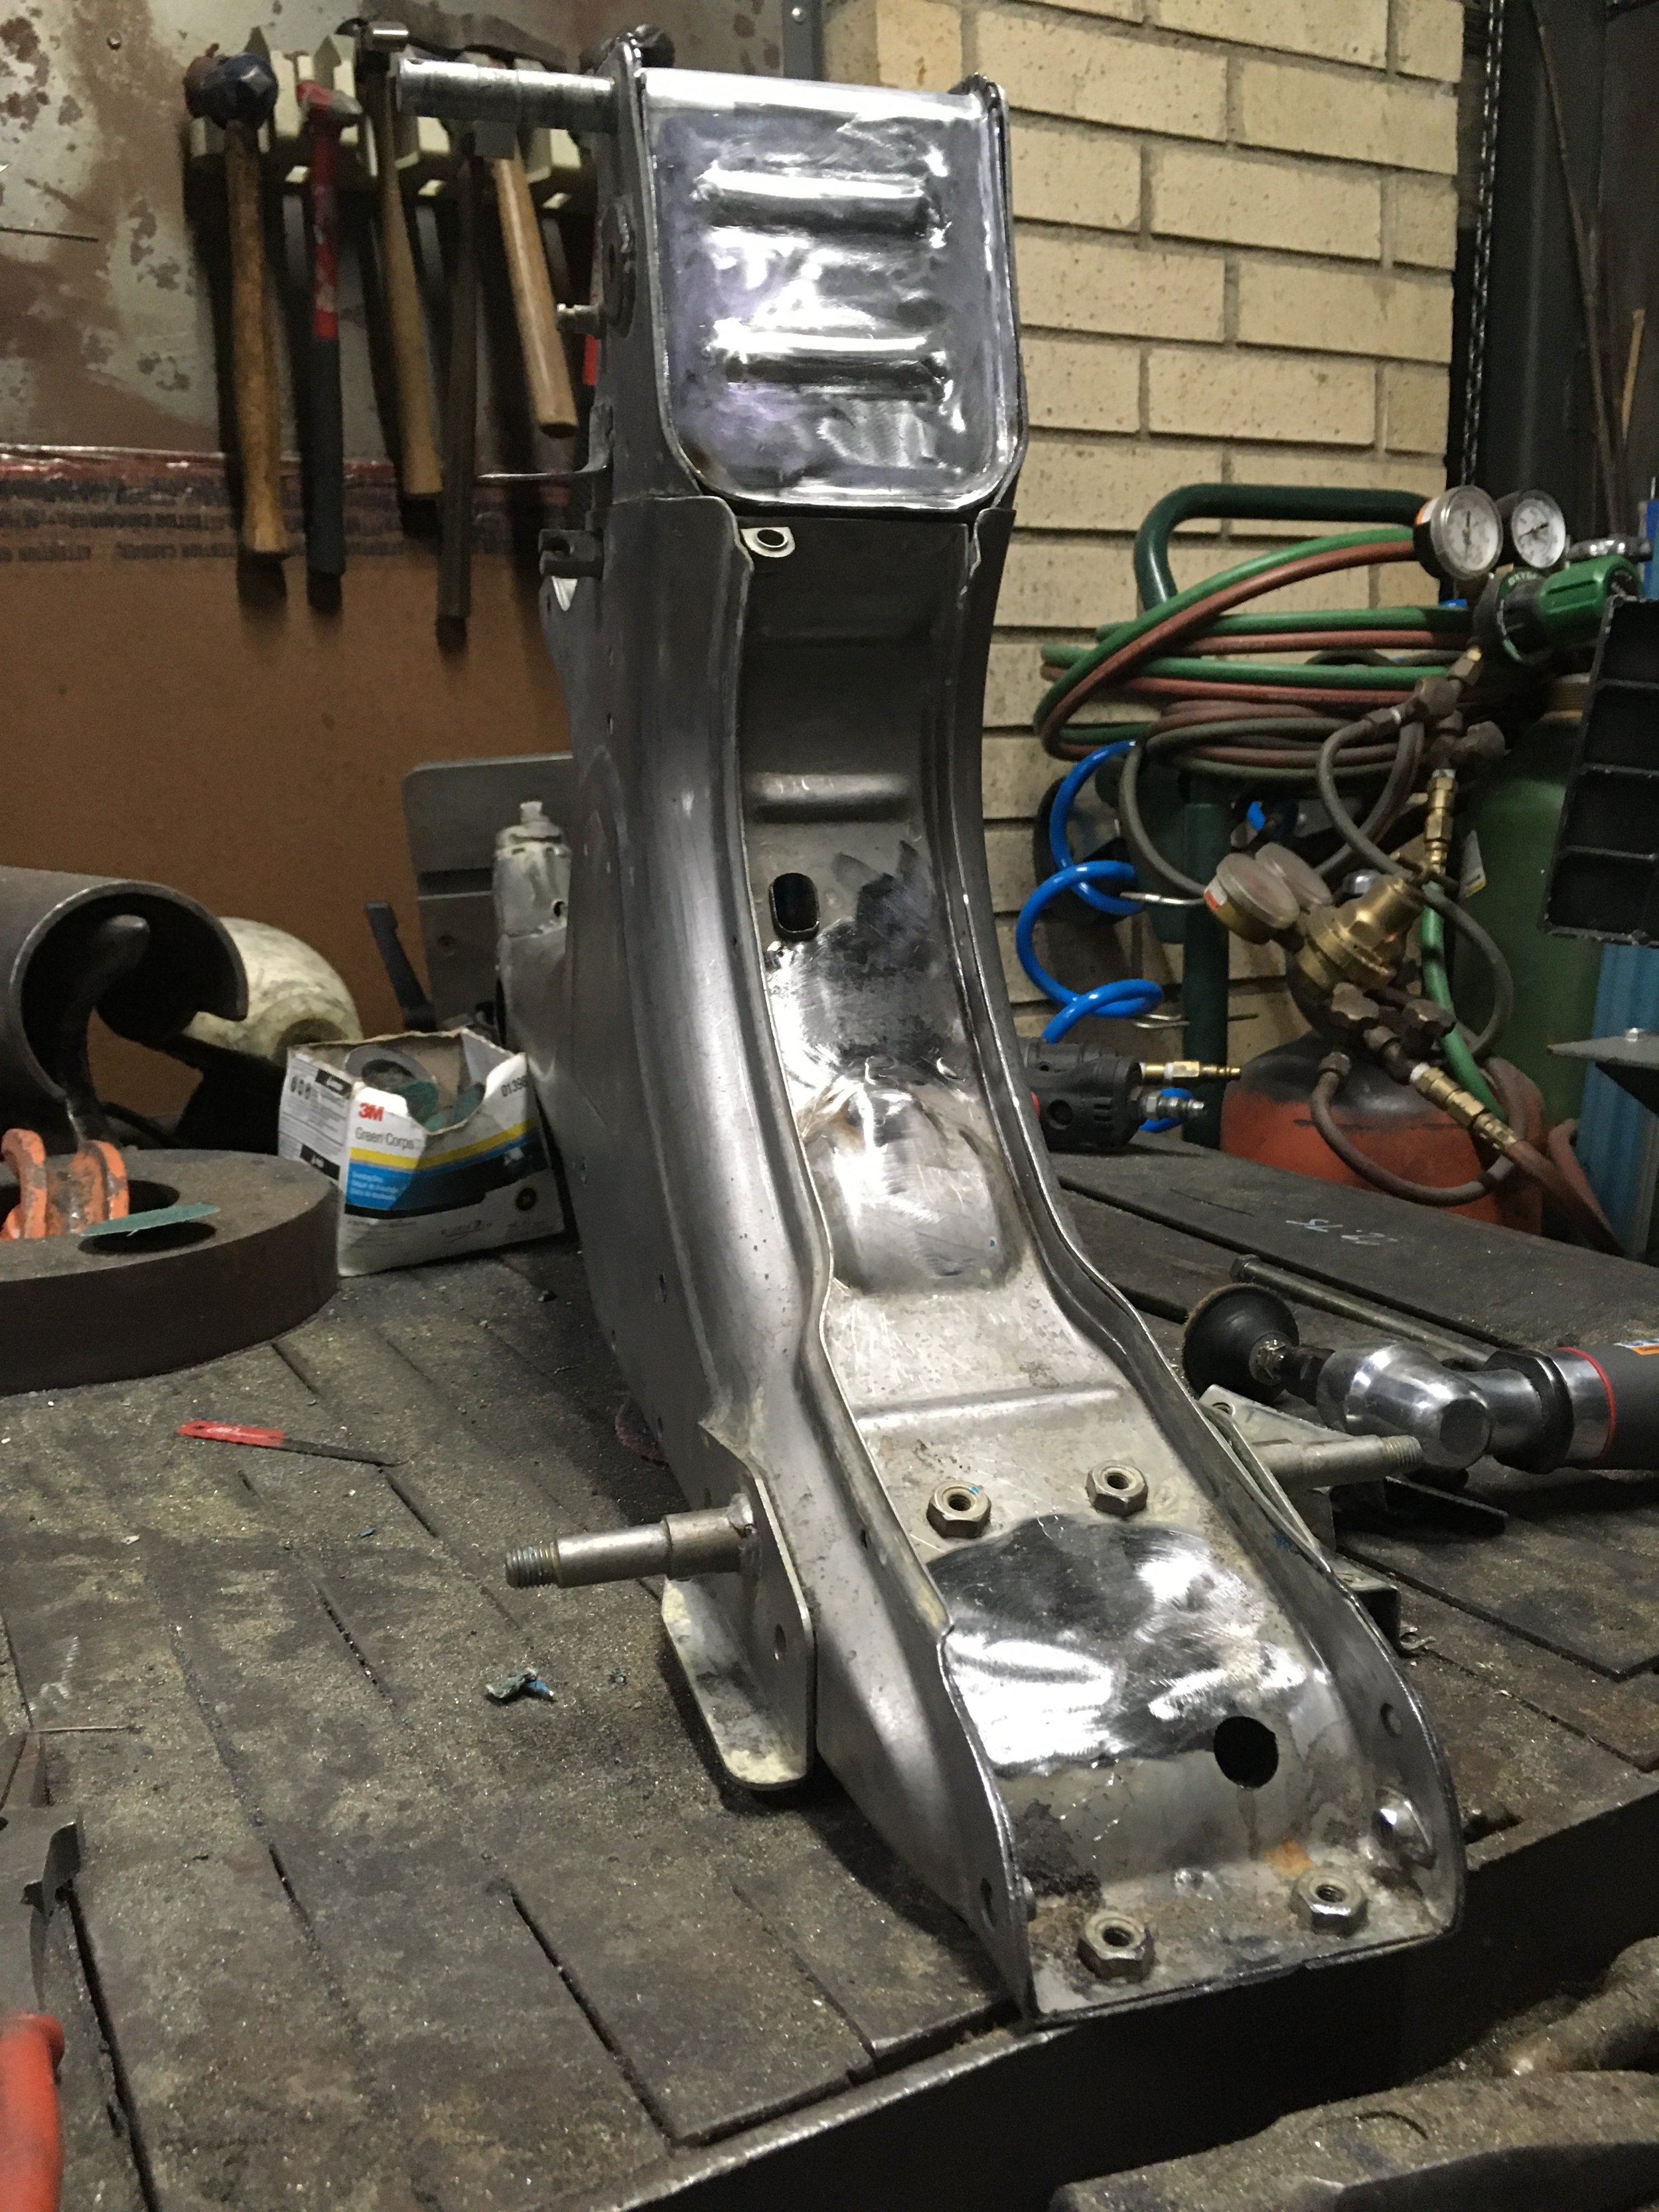
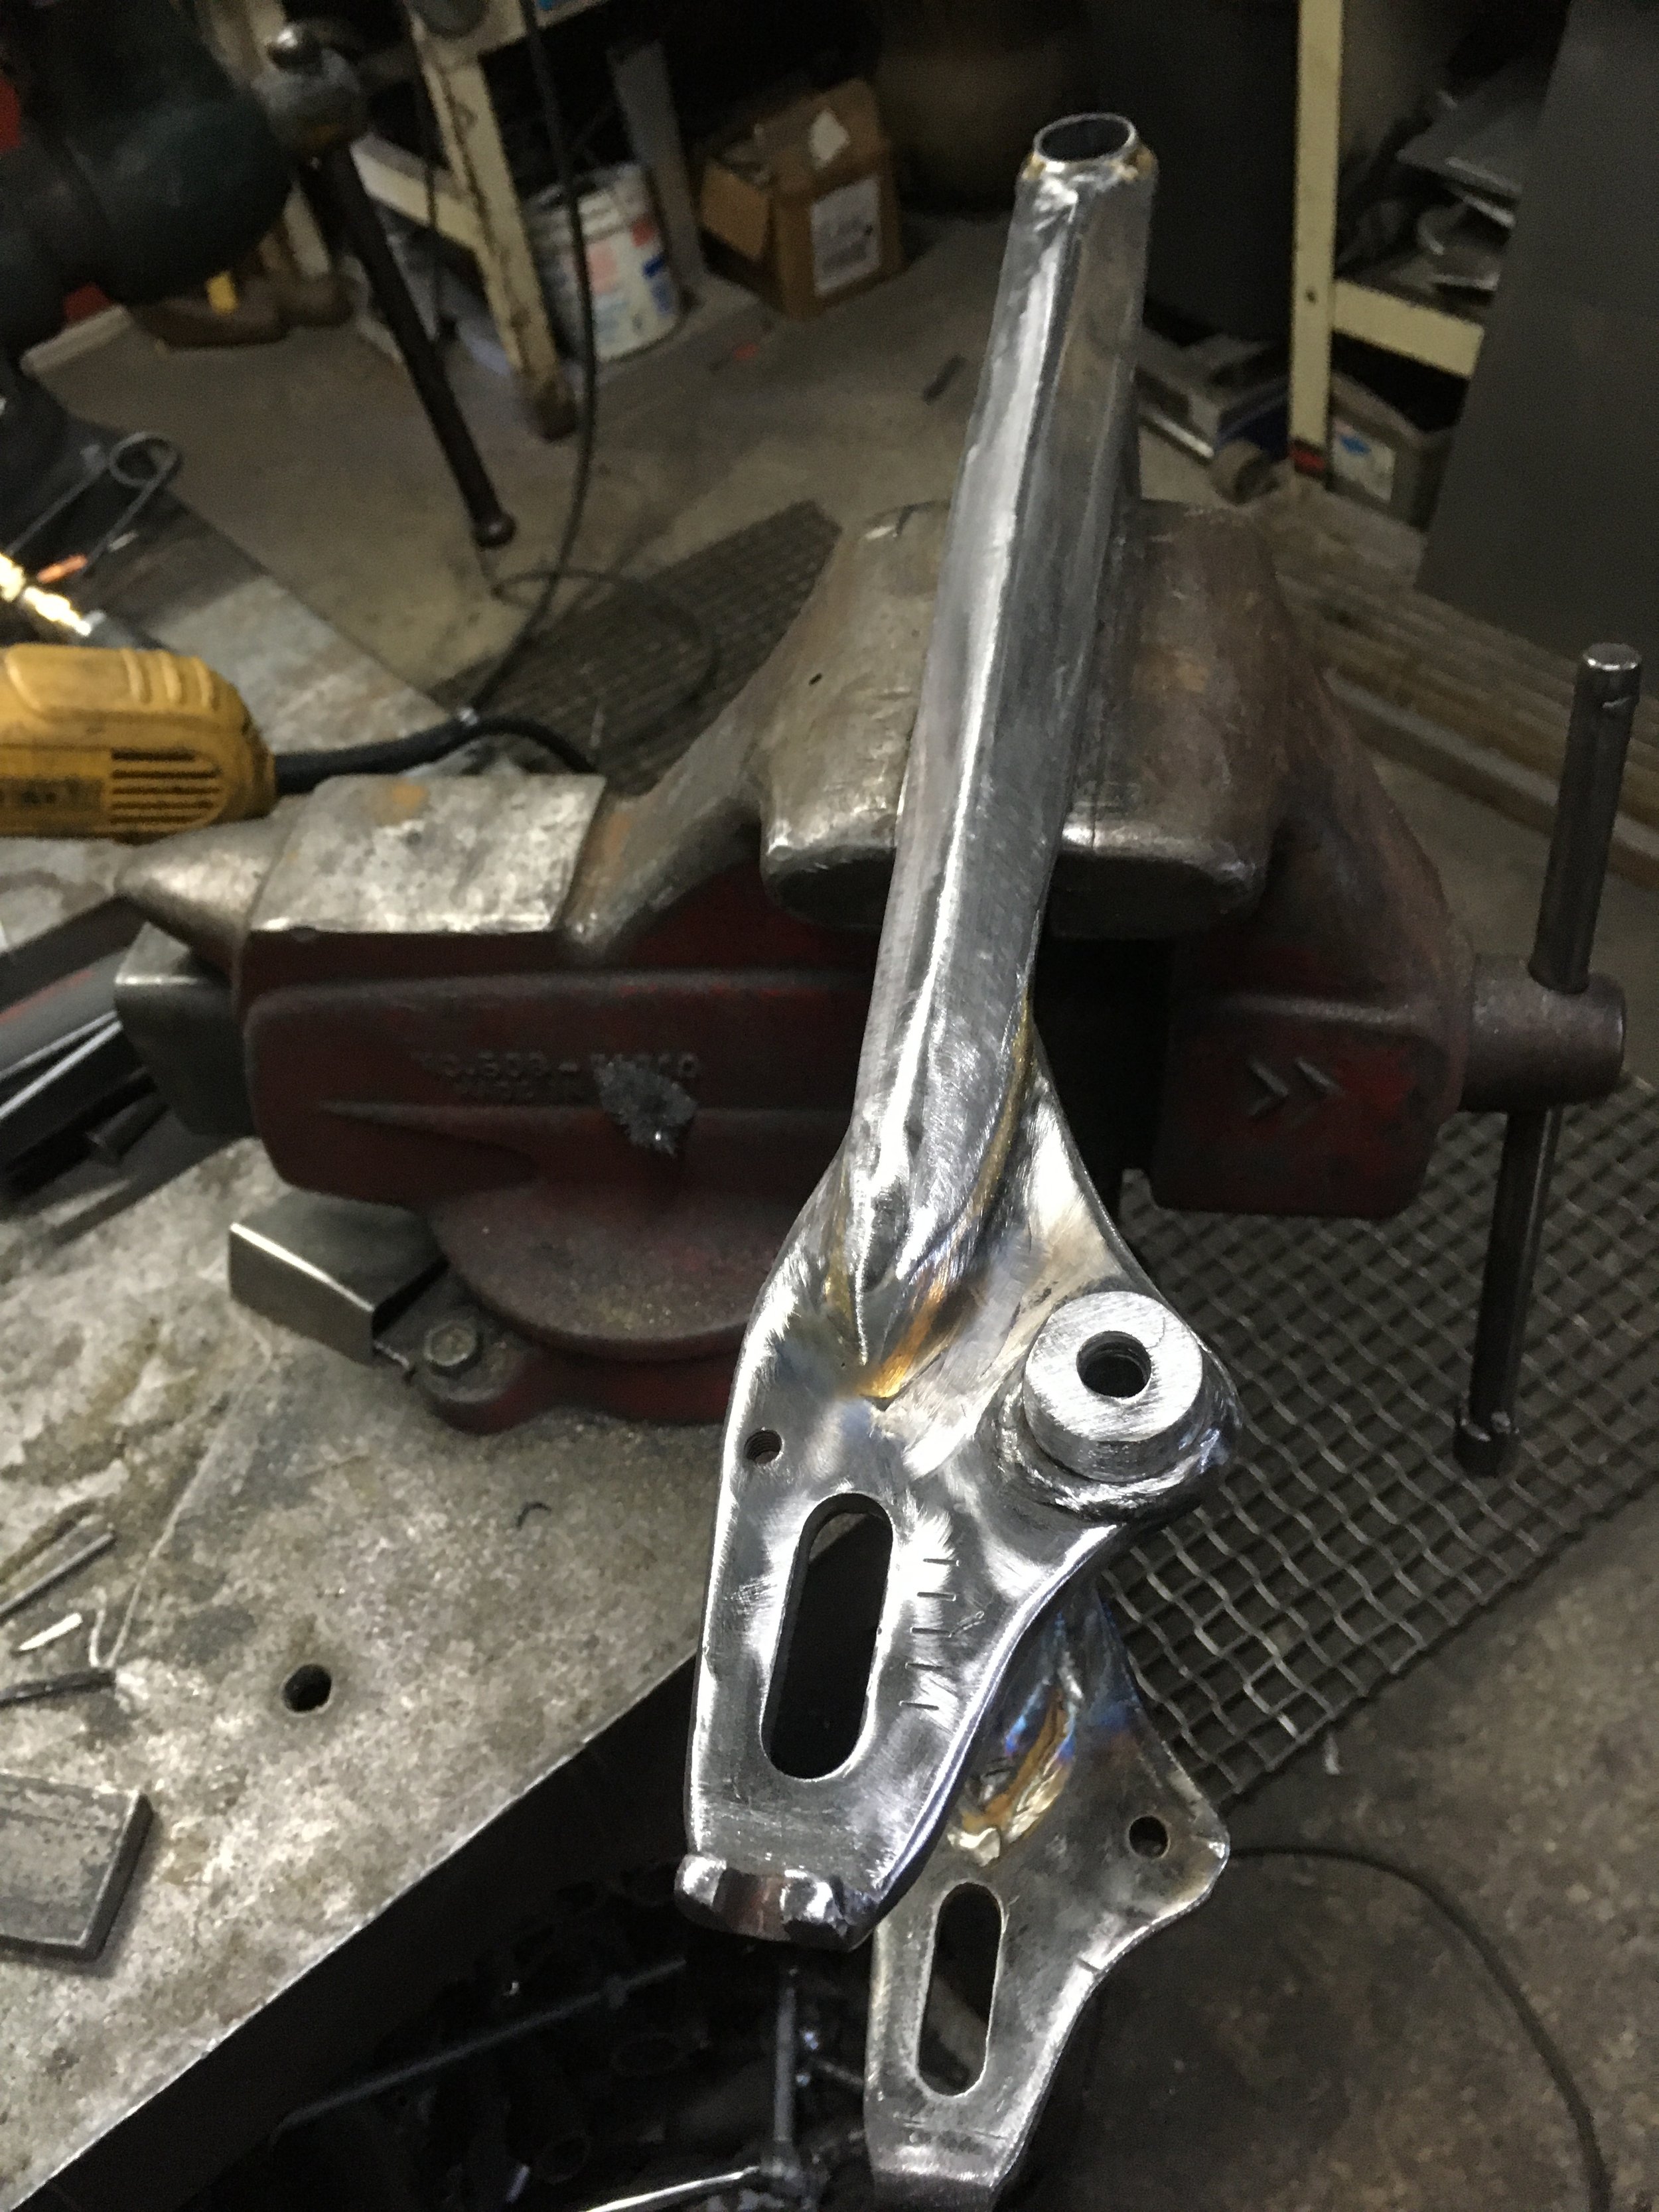
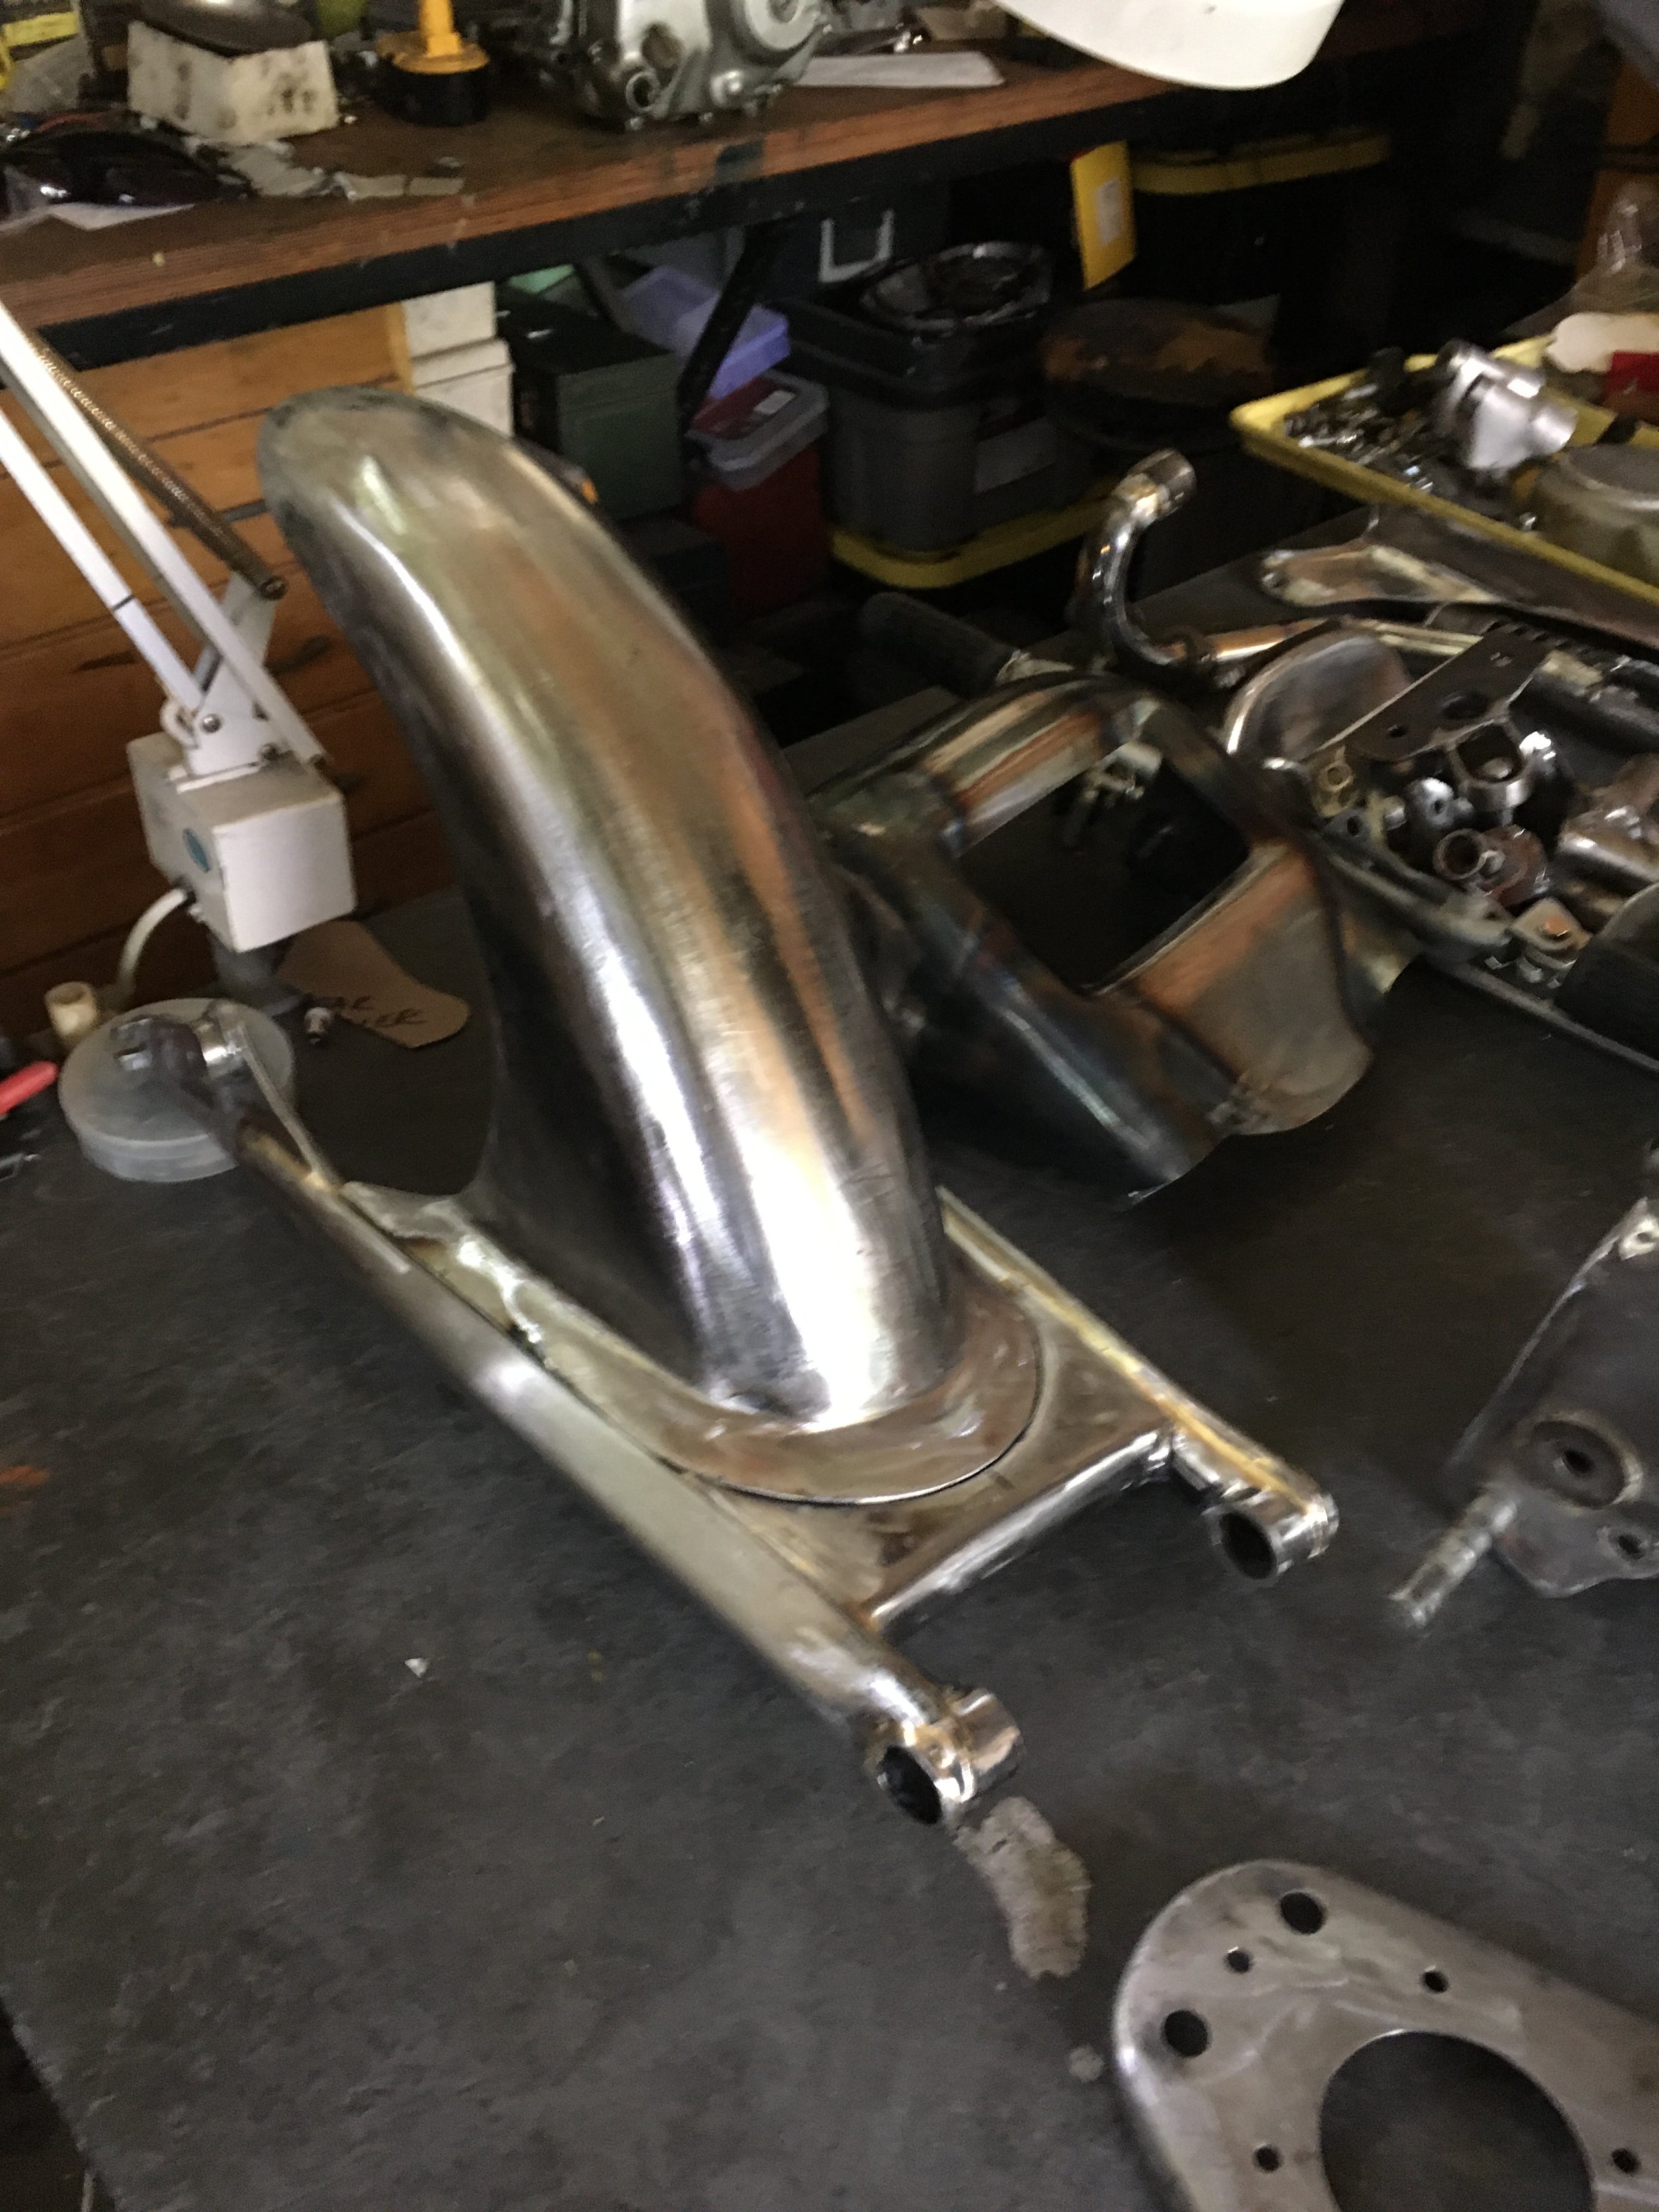
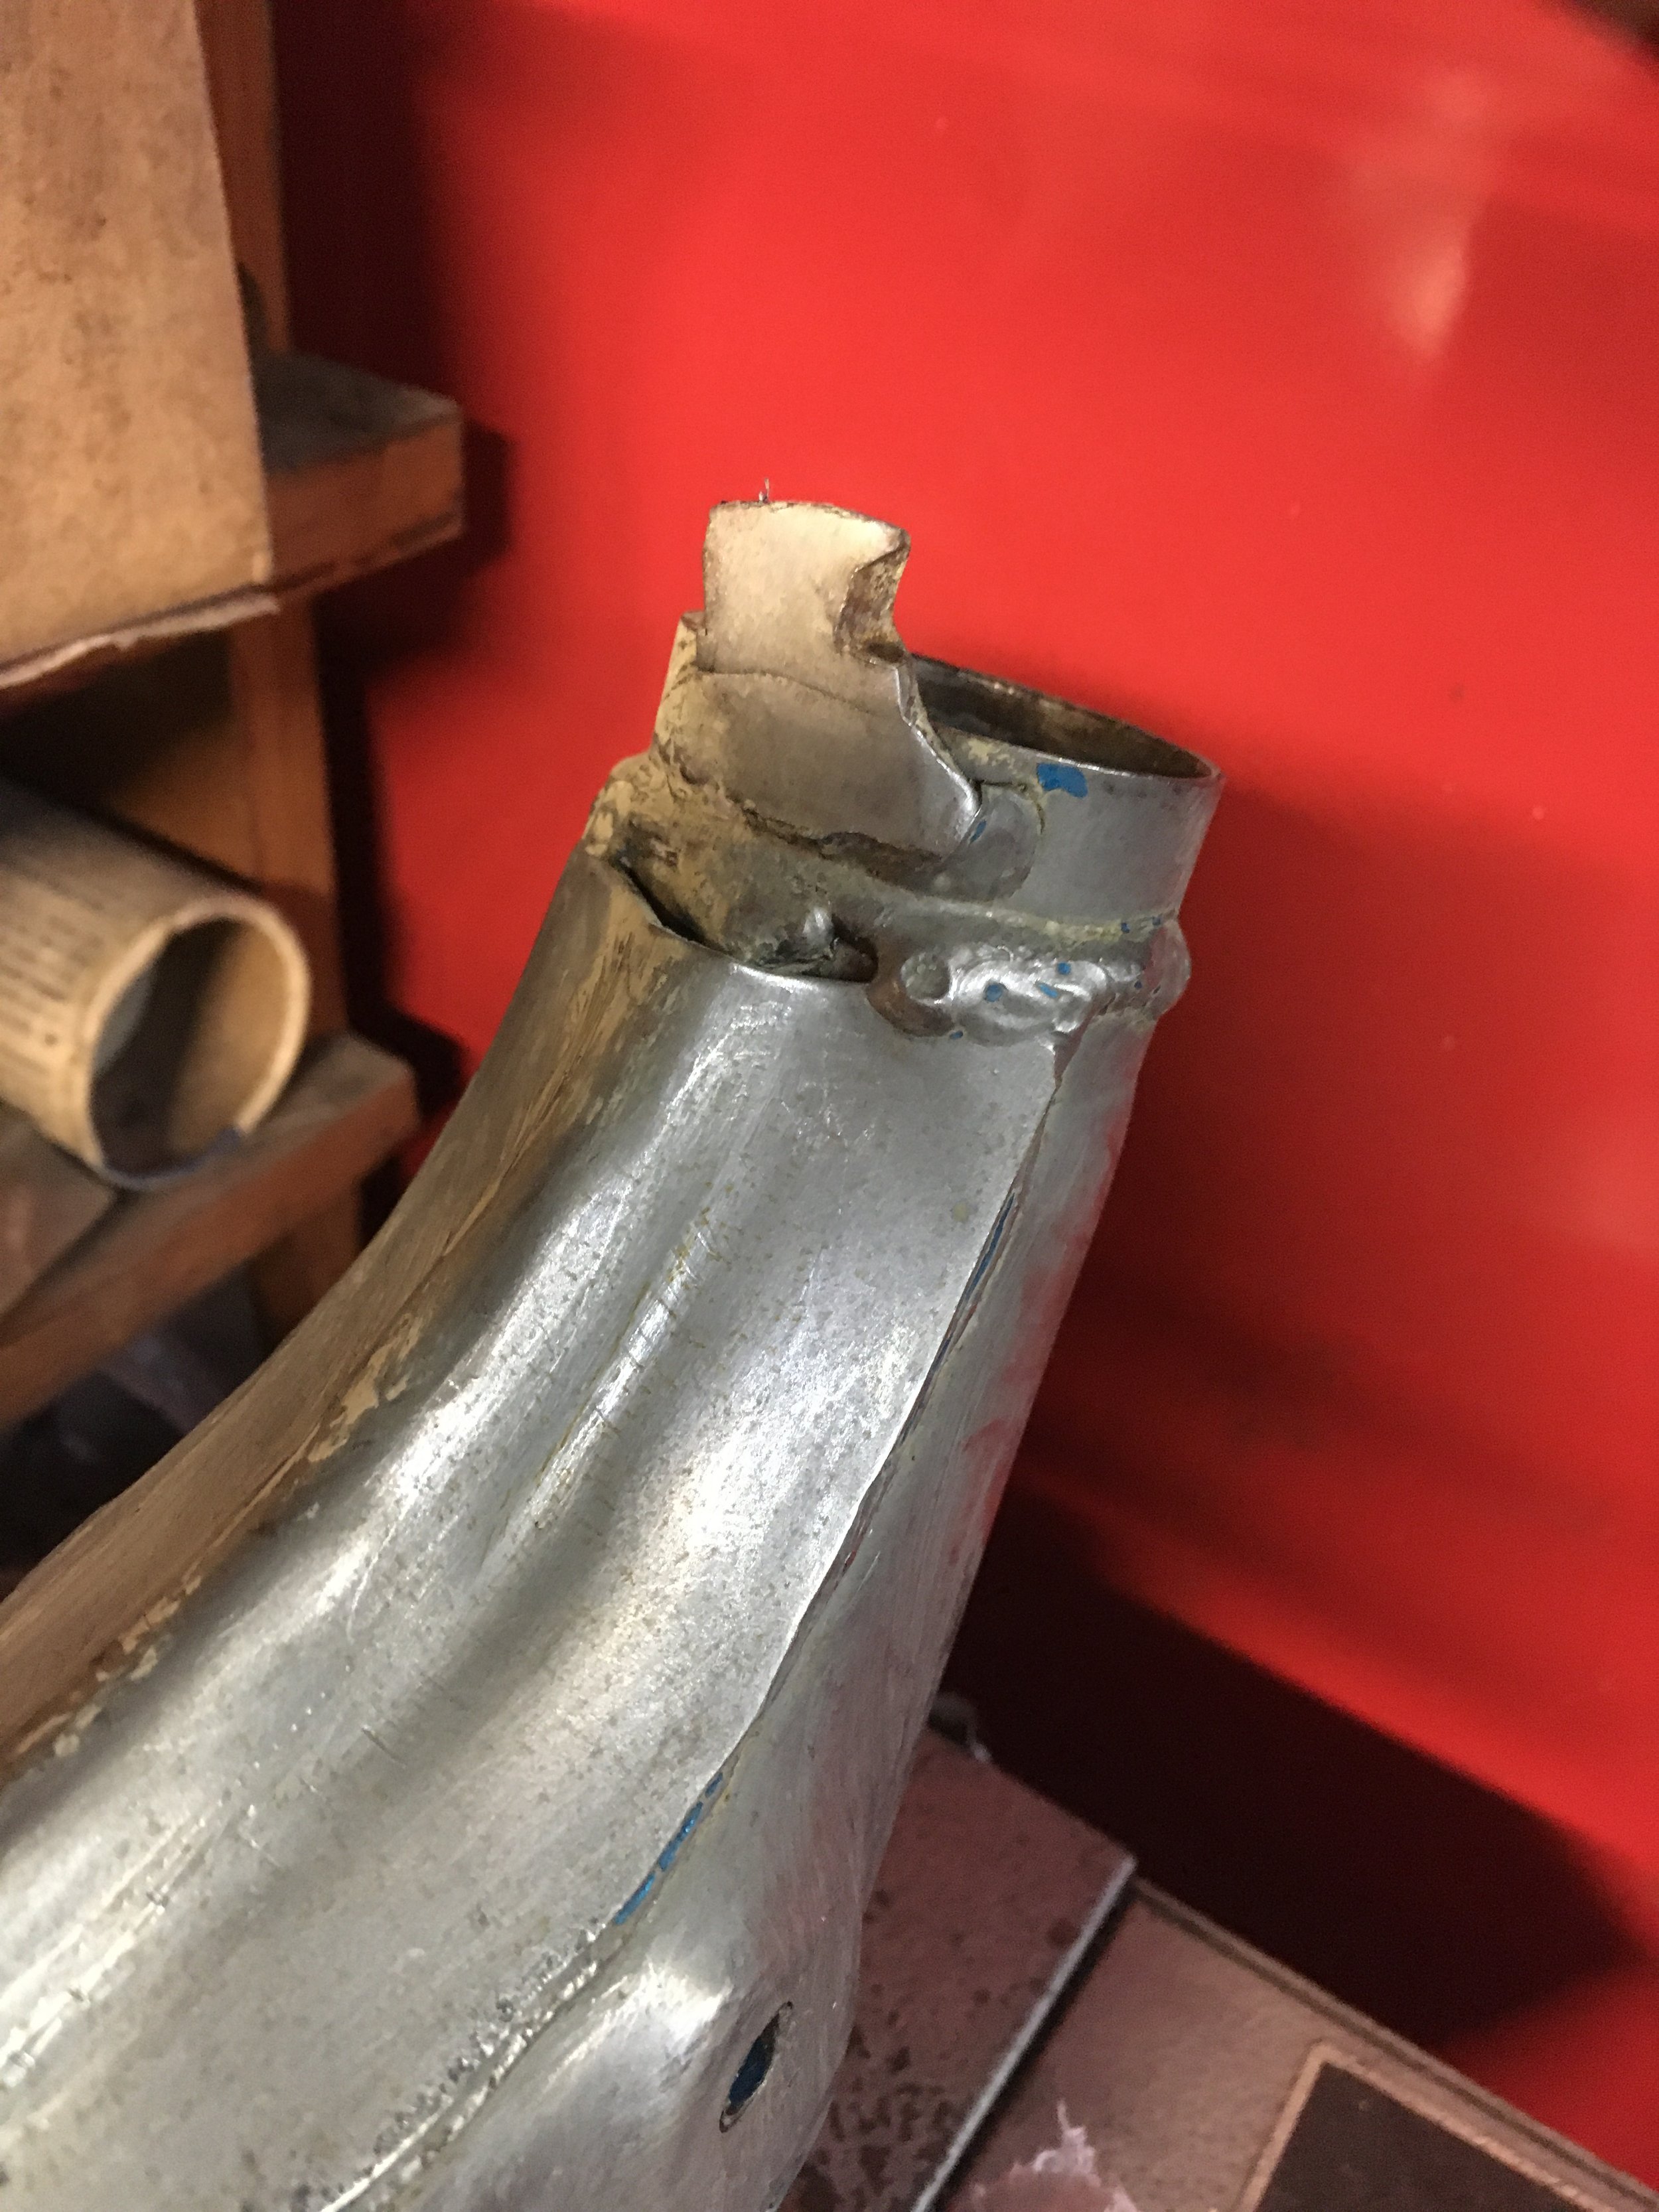
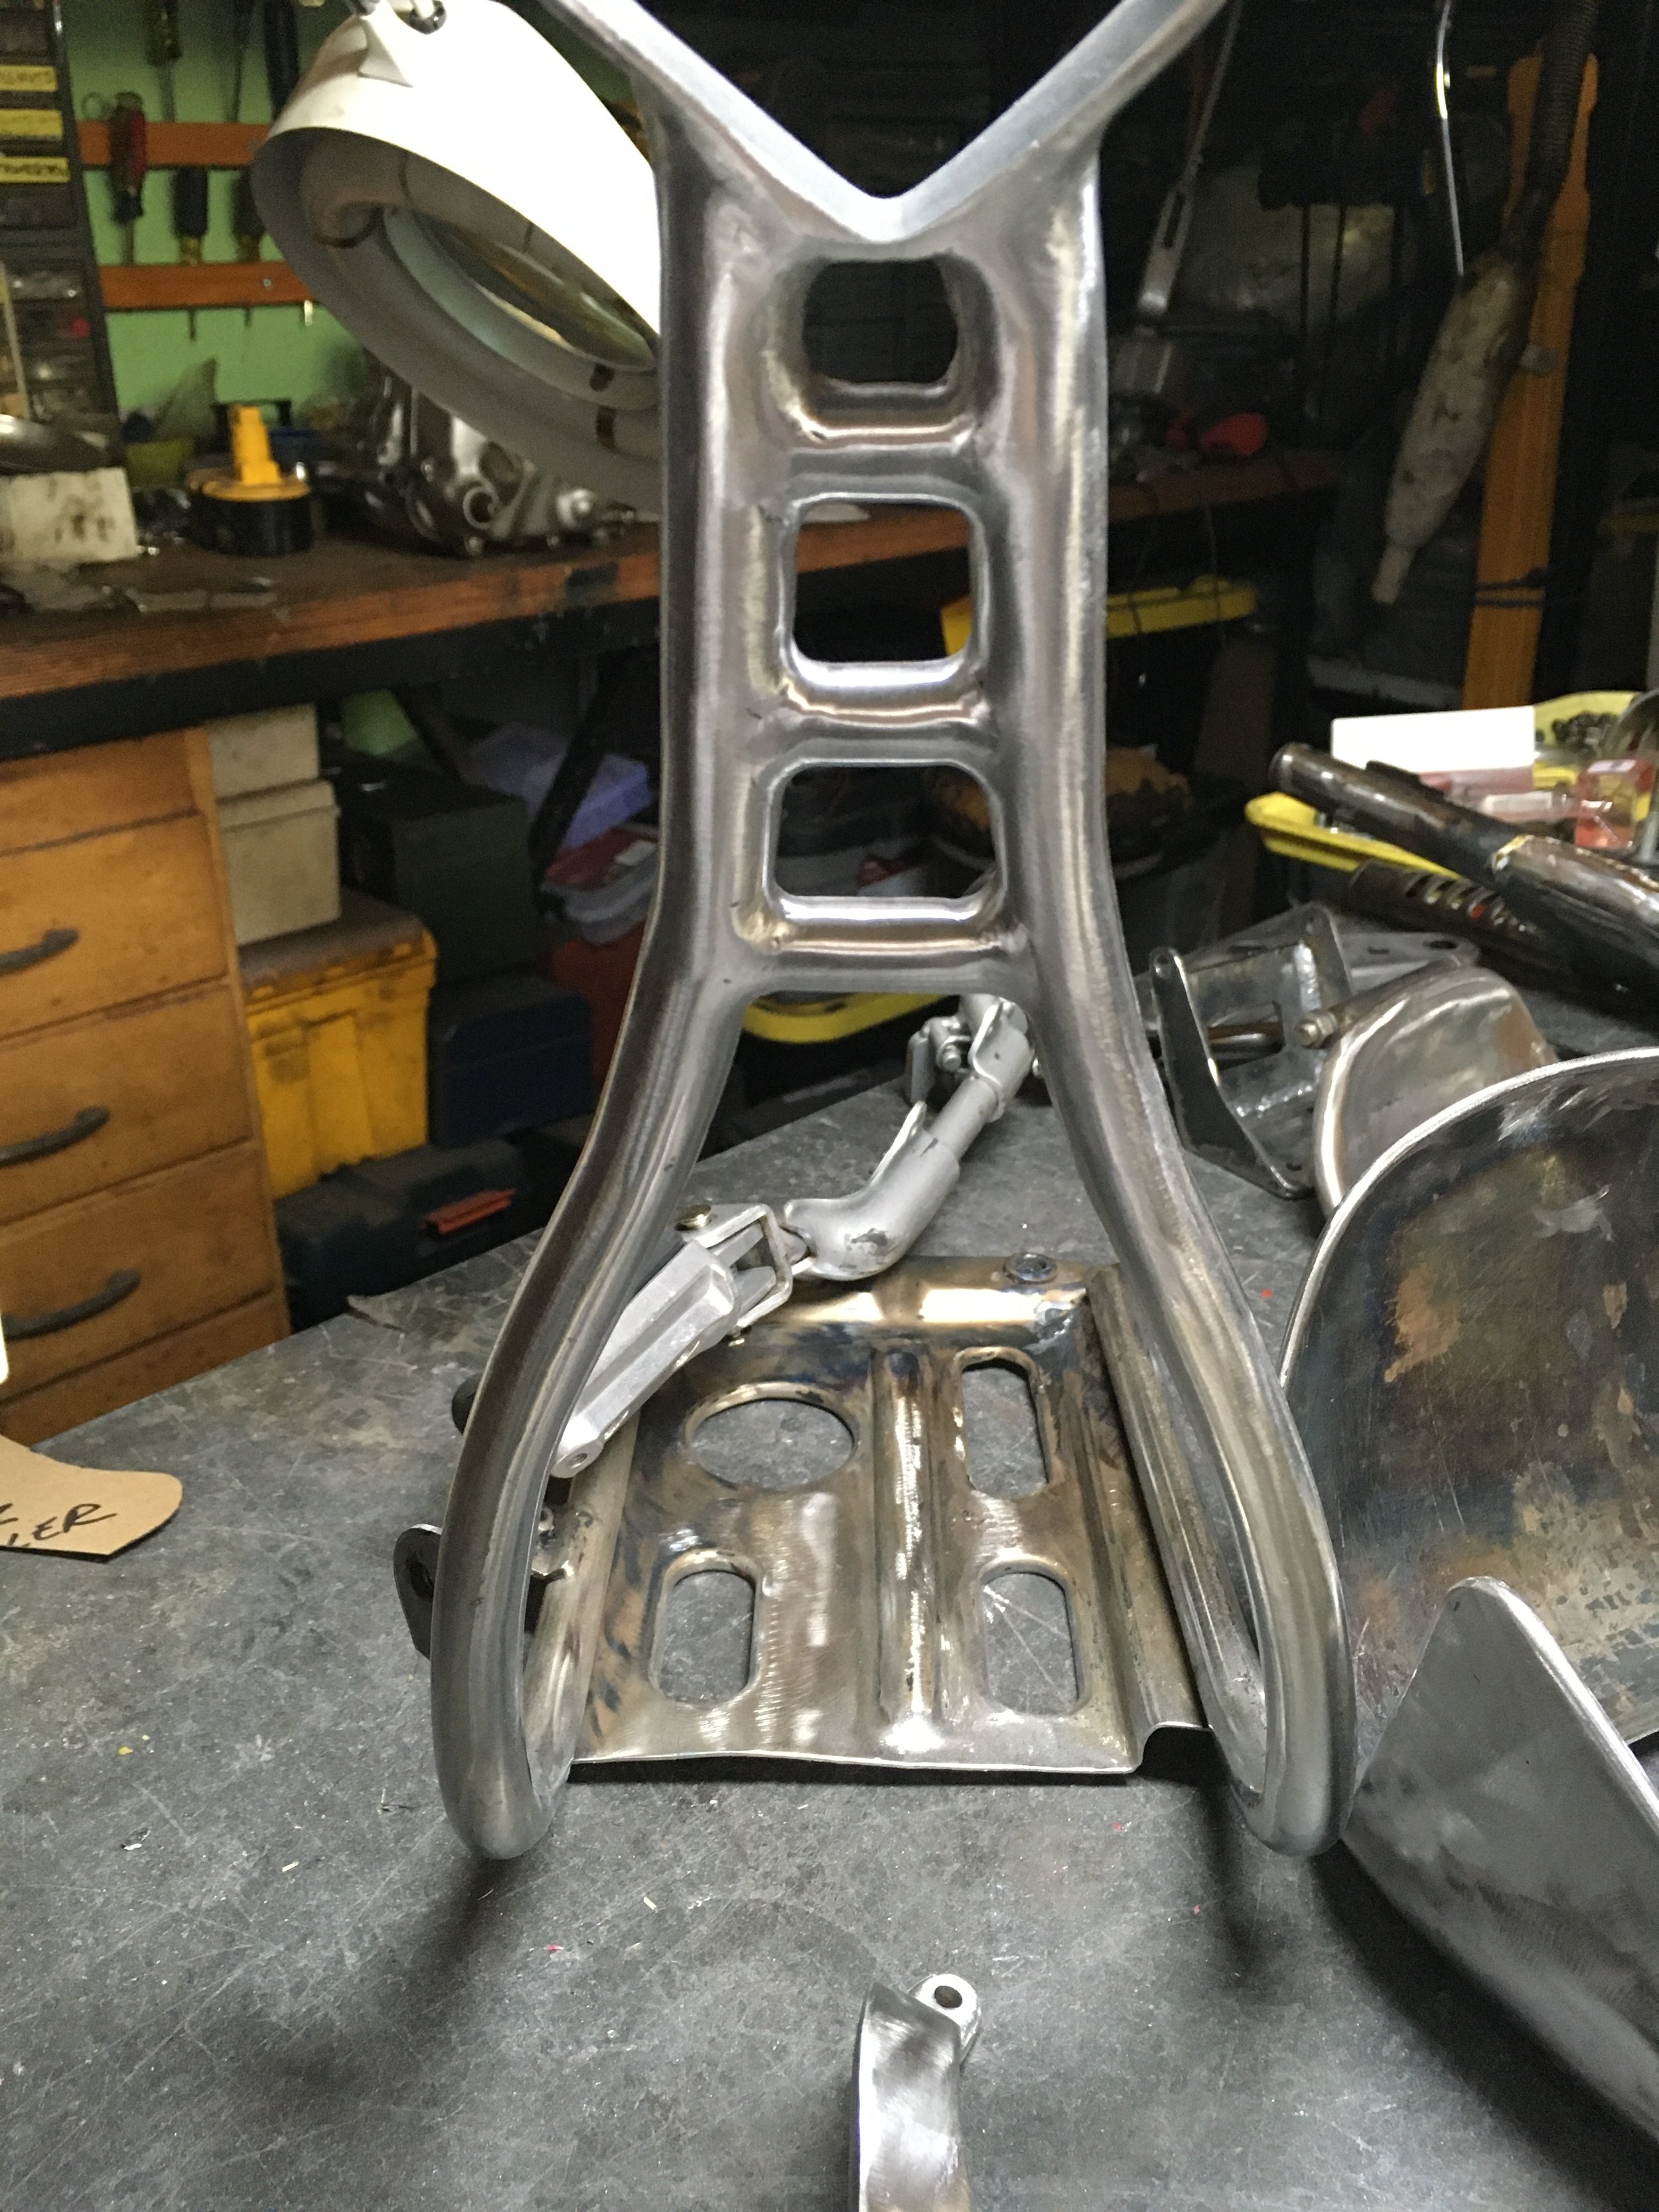
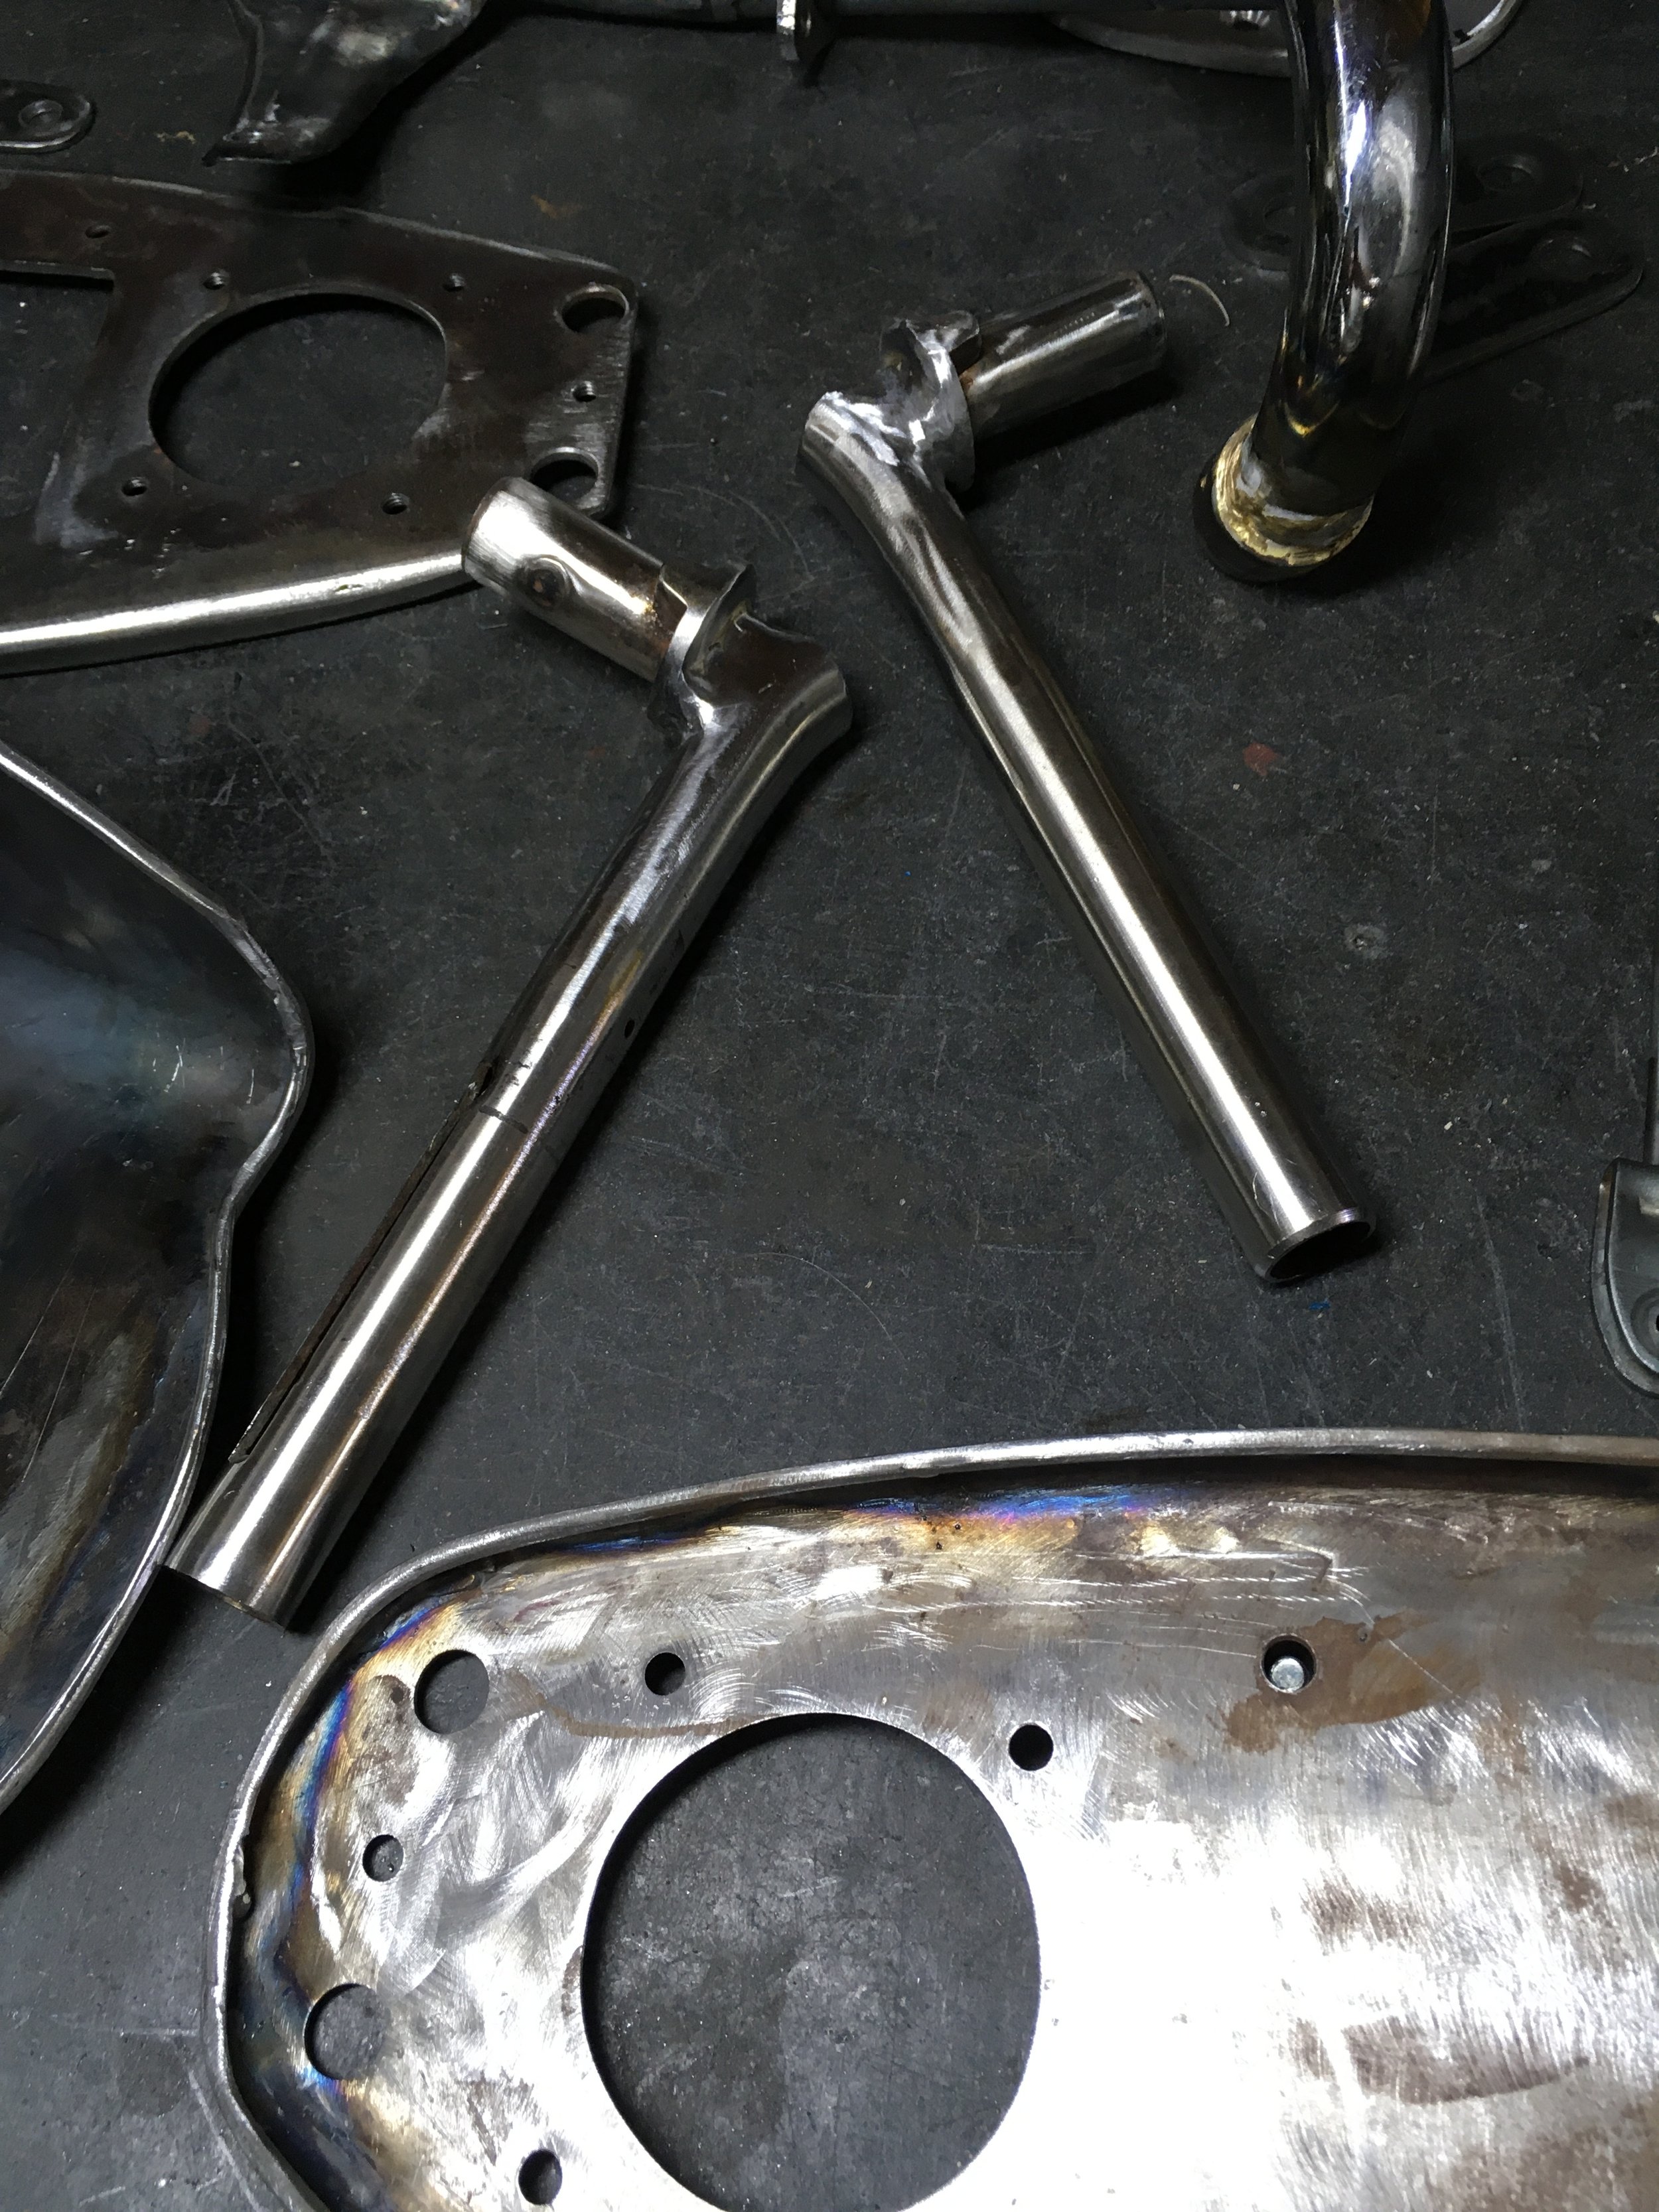
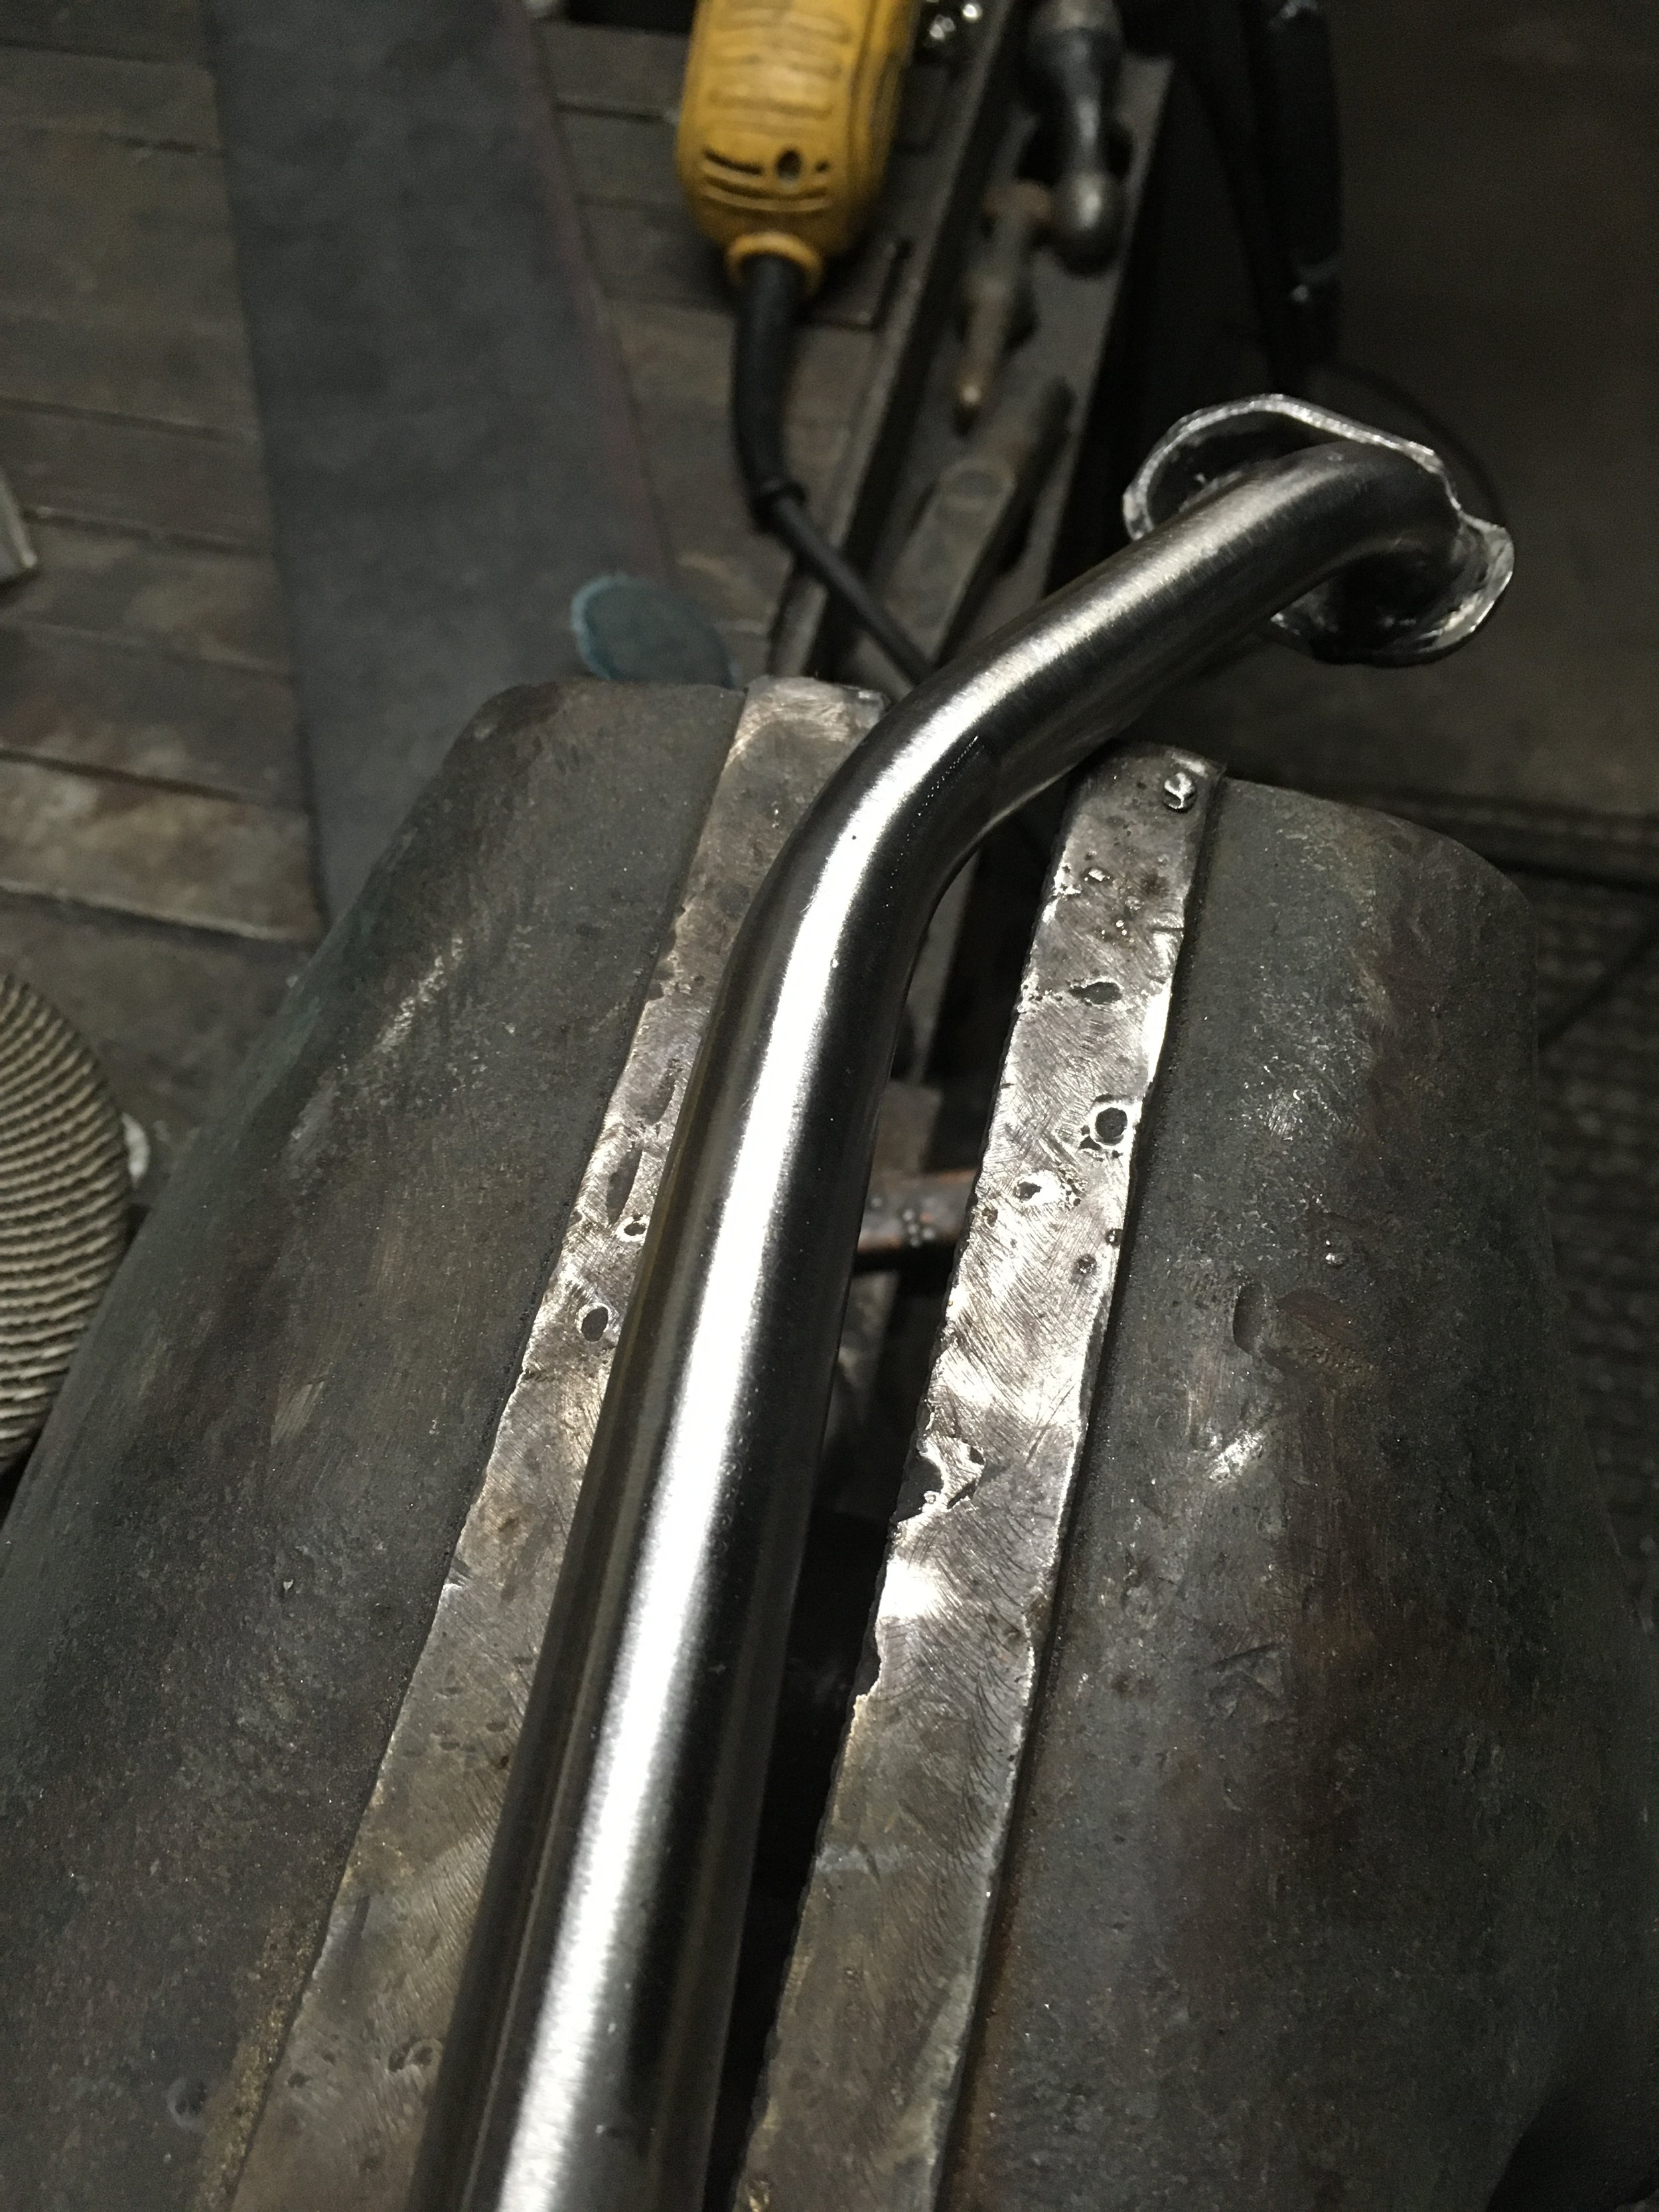
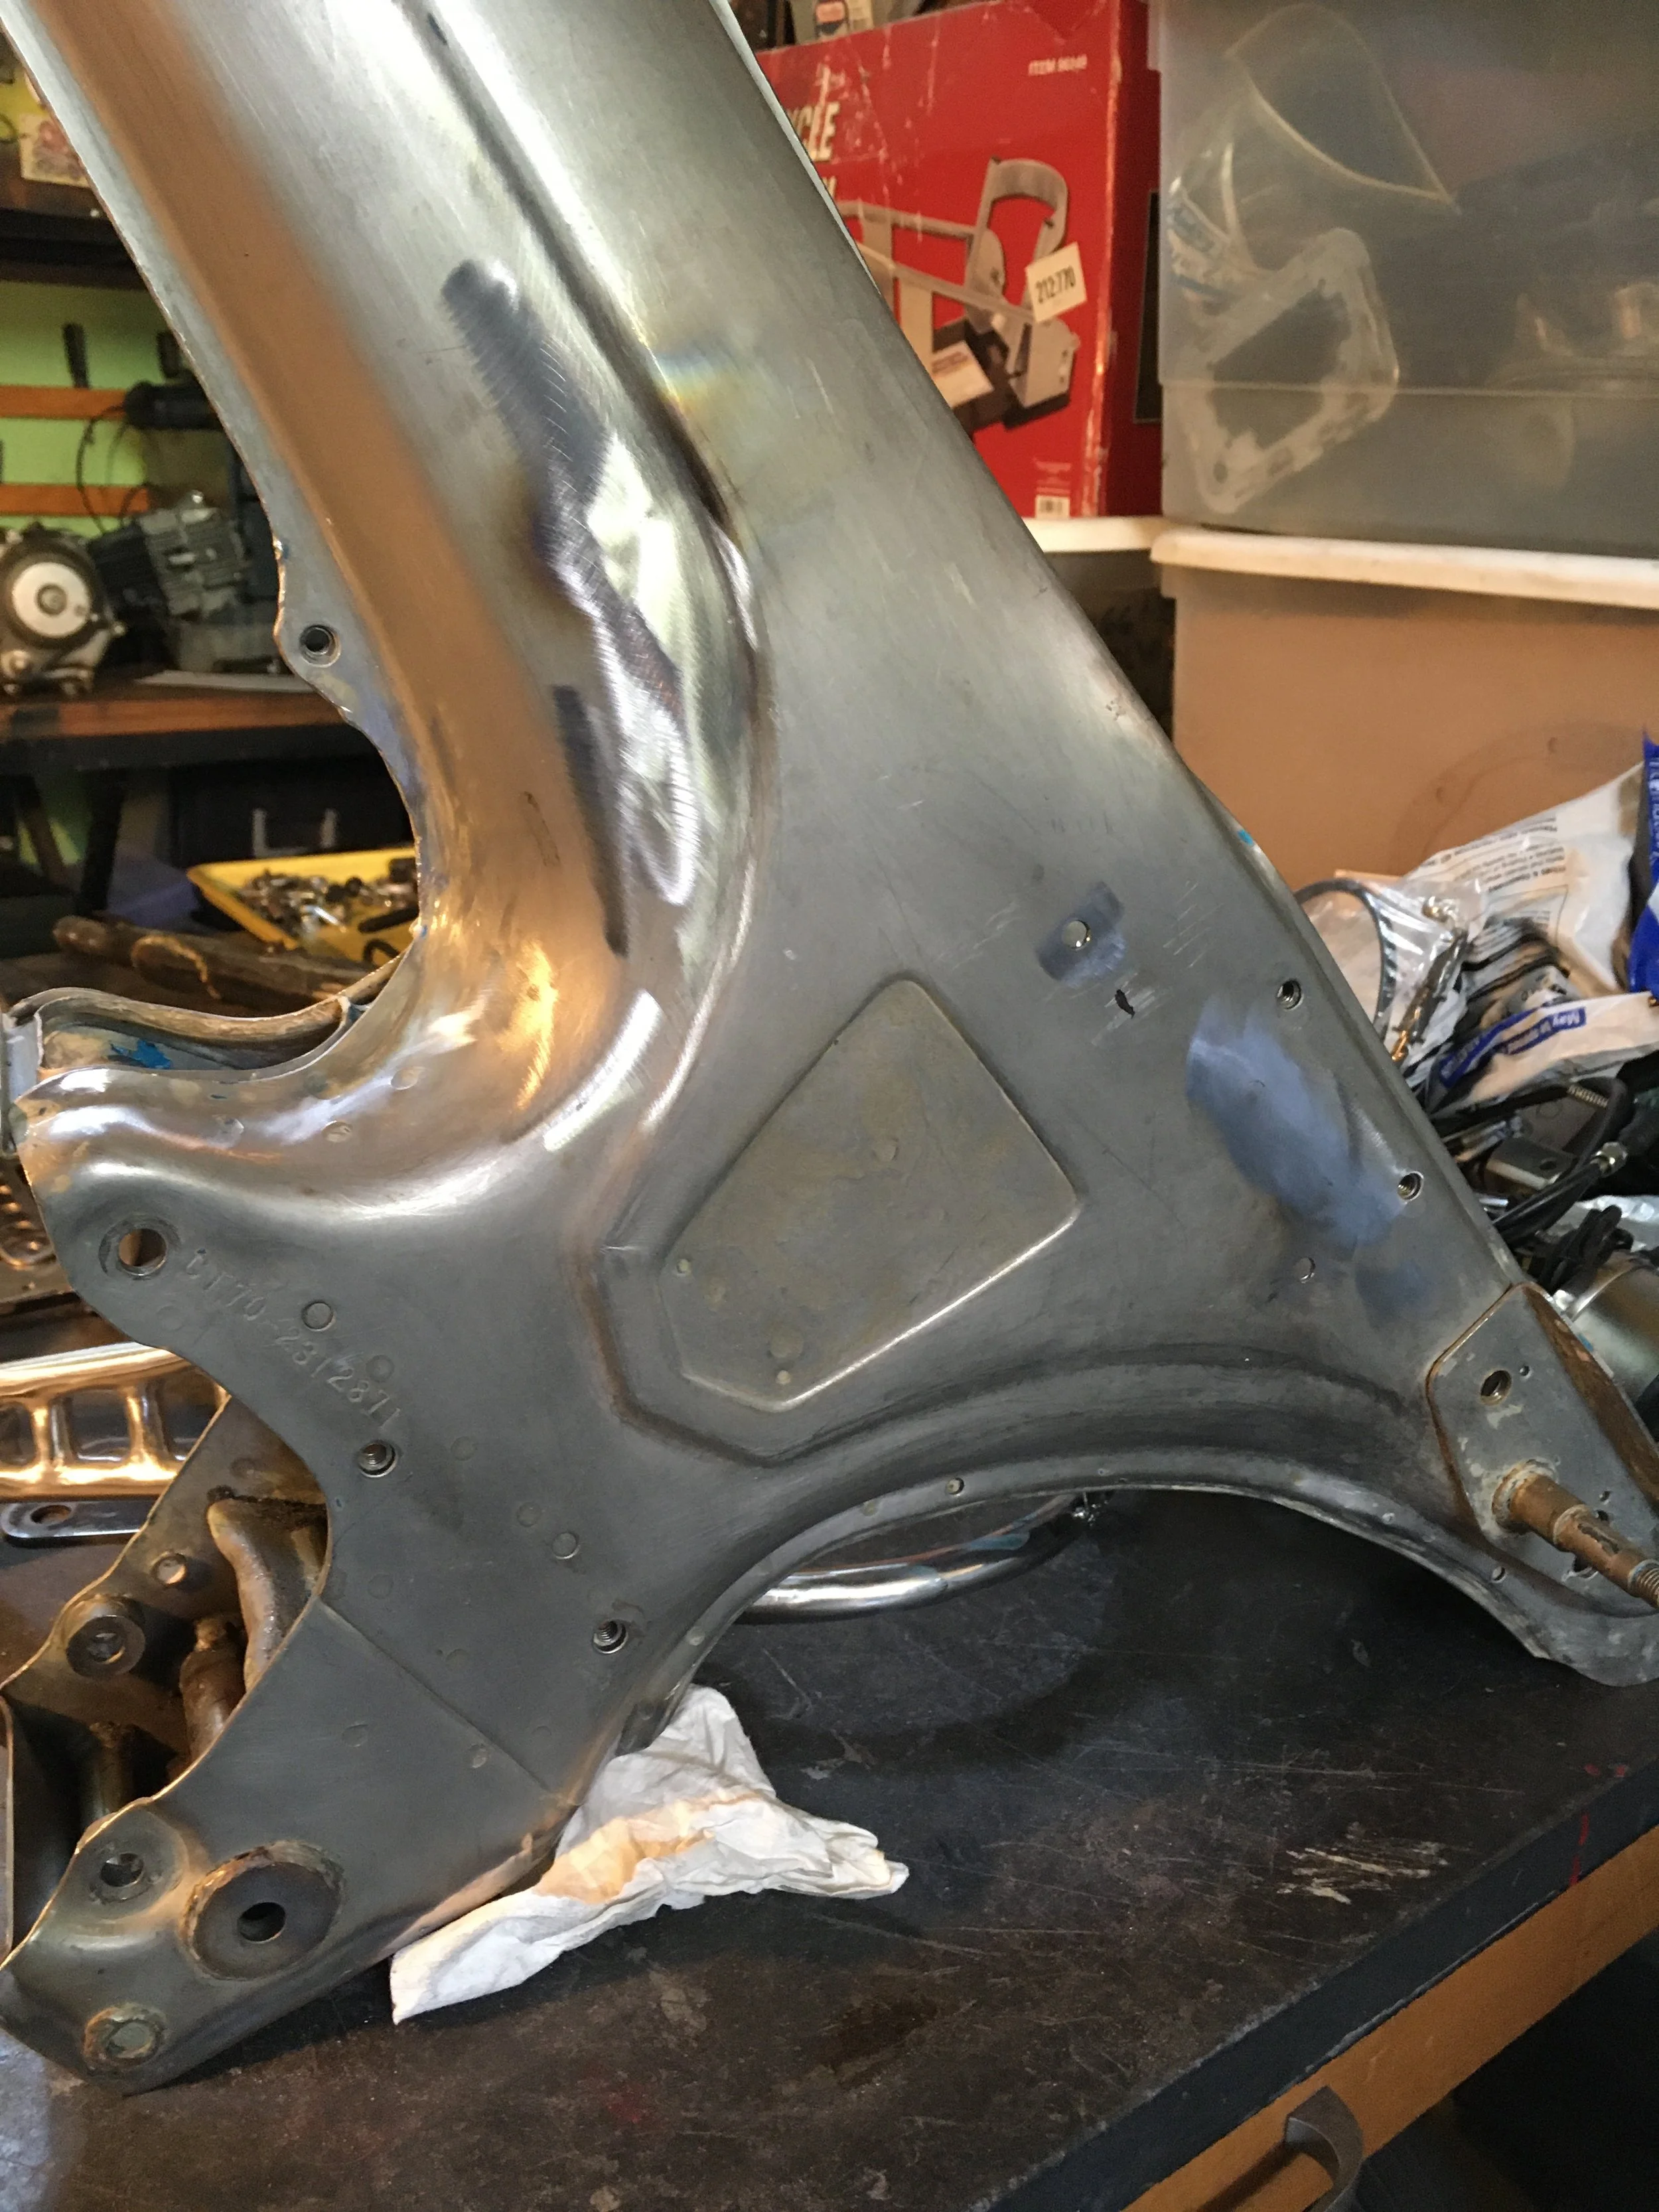
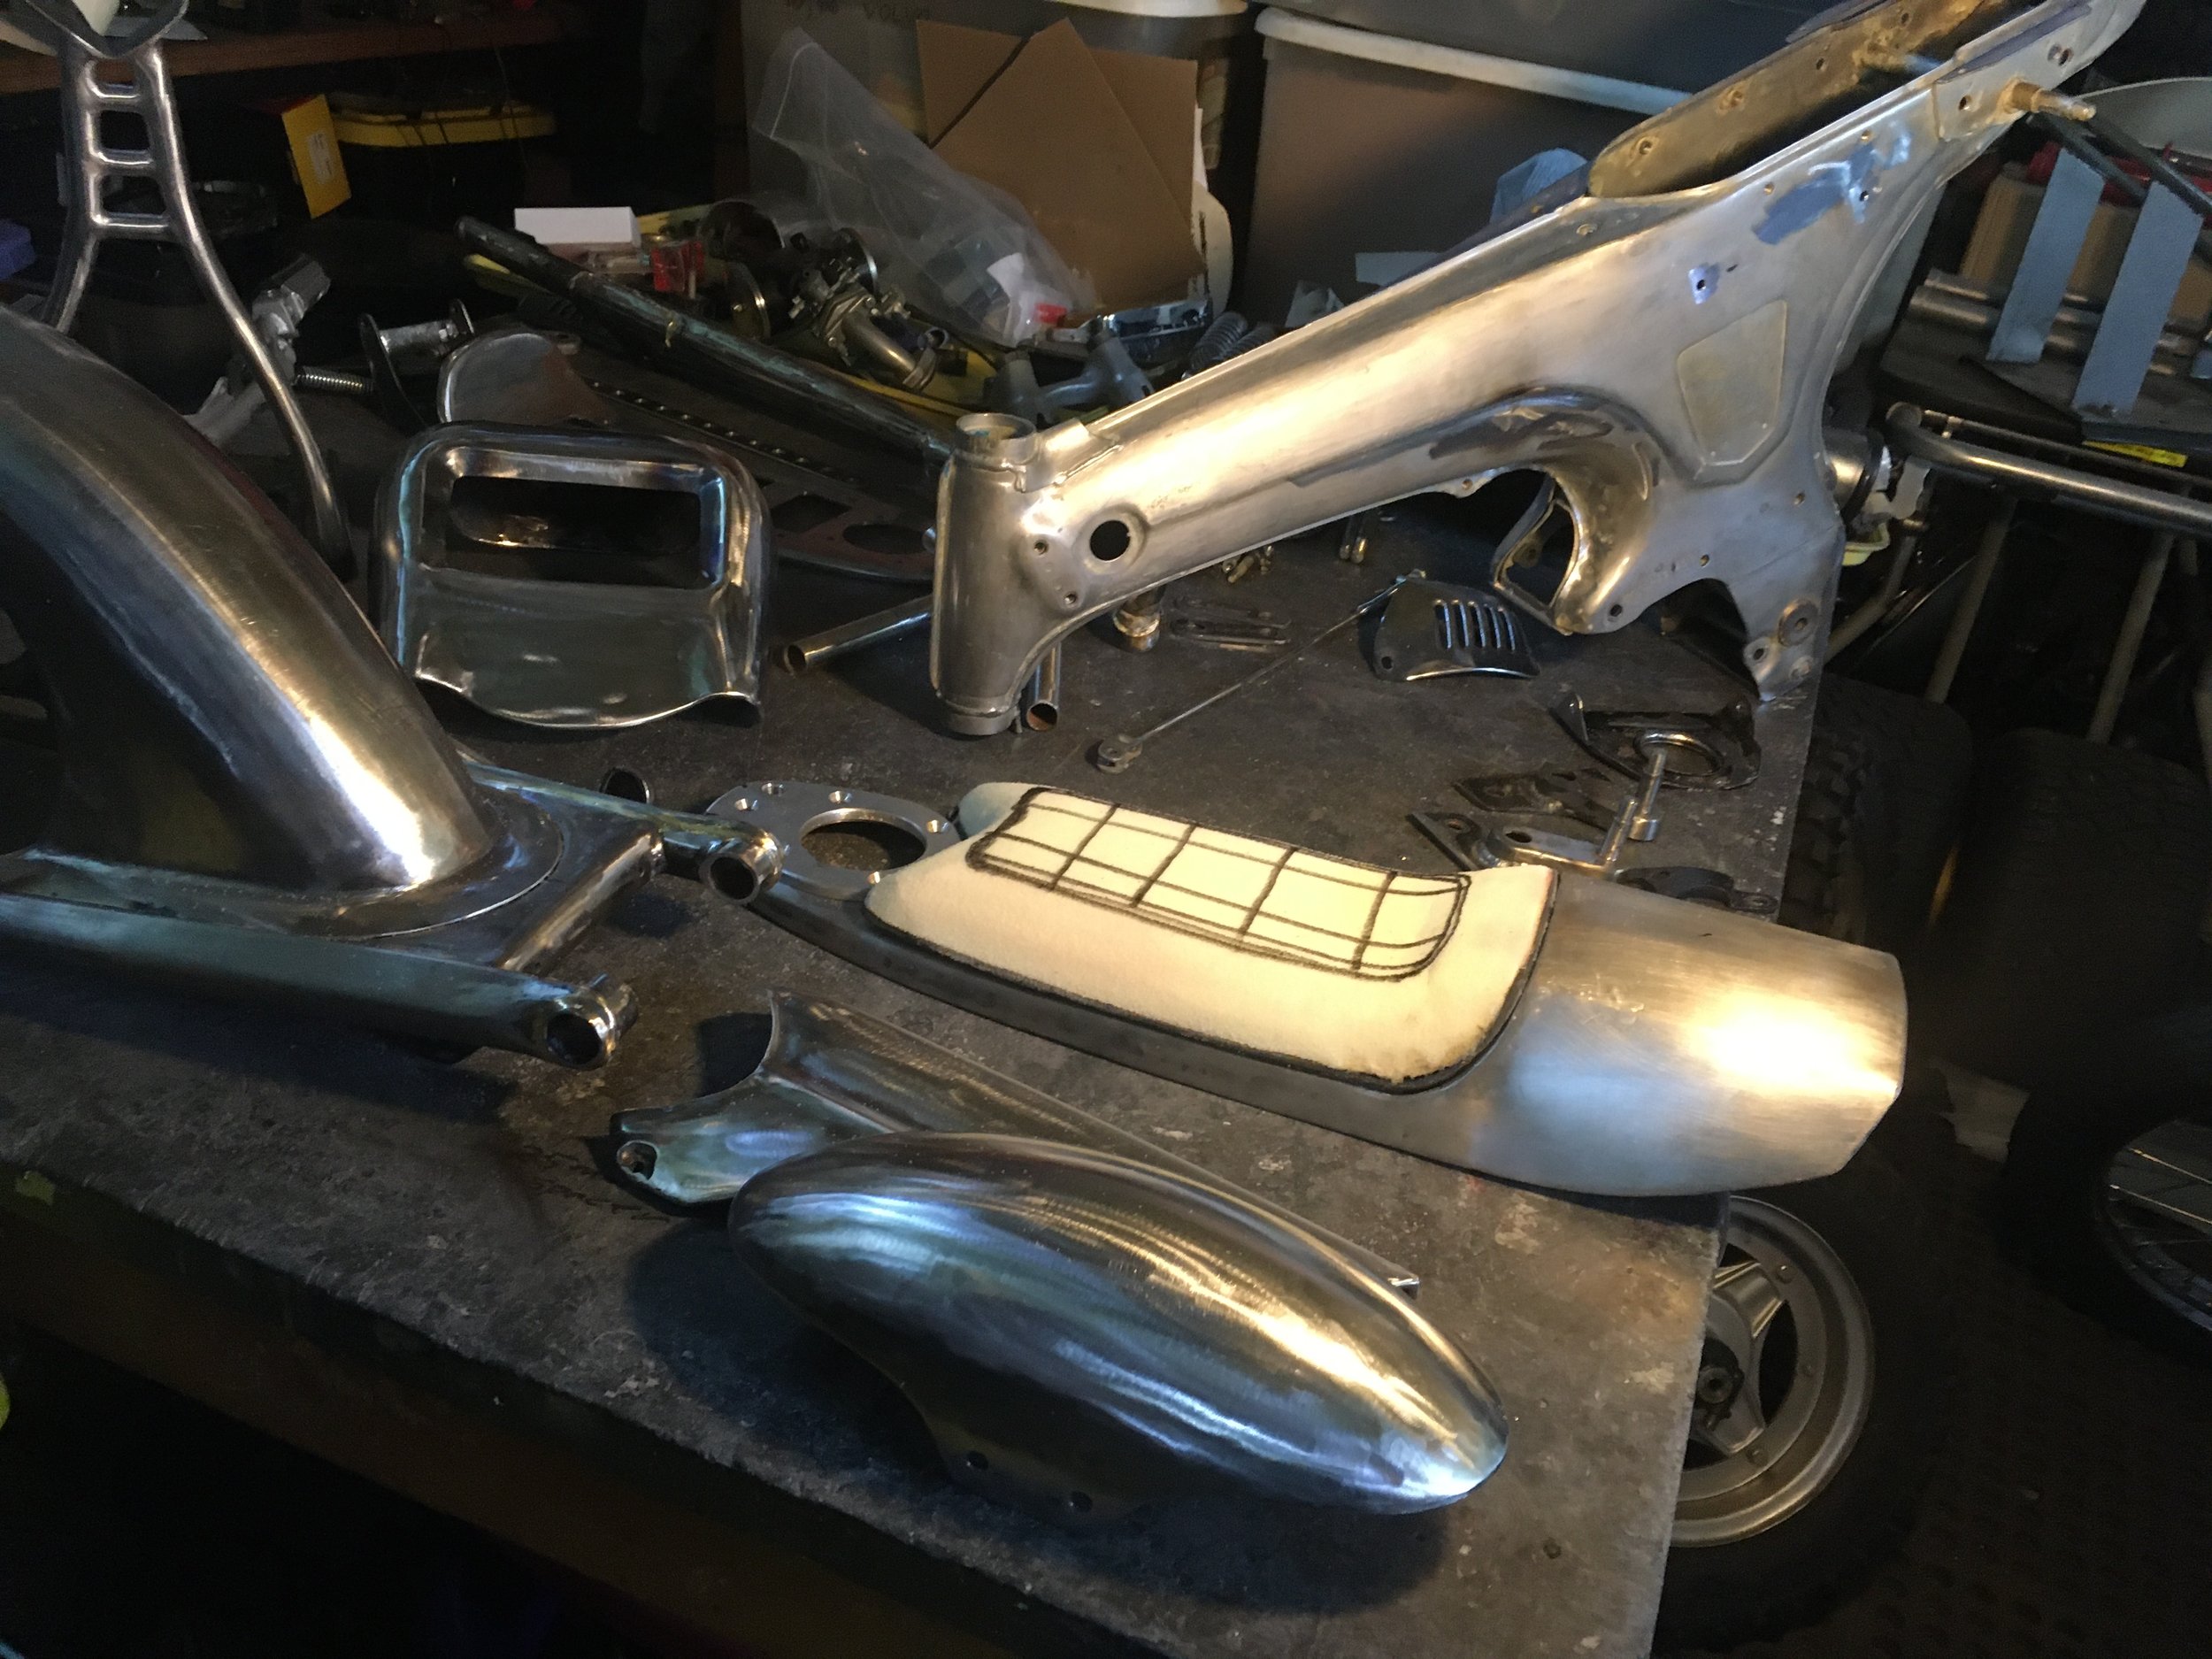
With the main parts of the bodykit worked out, now comes some refining of each part. The edges of the fenders, seat pan and front fairing have all had rod welded around the edges. The side plaques on the swingarm were brass brazed in place, and the swingarm was ground down and smoothed out. The frame was stripped and work done on the swingarm pivot, and fork stop, along with some dent repair and bracket removal.
The parts table is filling up with finished parts, waiting to go on to finishes.
In addition to getting the edges of the rear fender done, the mounting system attaching it to the swingarm was worked out. The screws holding it are hidden underneath. A lot of attention went to the swingarm, getting everything brazed on, smoothed out and thinned down.
A few rounds of stripper were needed to get through to bare metal. Only one dent is apparent. The rear fender mounts will need removed, the forks stop repaired, a spacer welded in for the swingarm pivot, and the lower frame boxed in around the pivot.
With a new custom plate welded in, this, along with the spacer, will strengthen the lower body in the critical motor mount/swingarm pivot area. The boxing plate is similar to the Honda ST90, which has a very similar frame, with the external swingarm pivot. The rear frame channel looks better with the fender mounts stripped out.
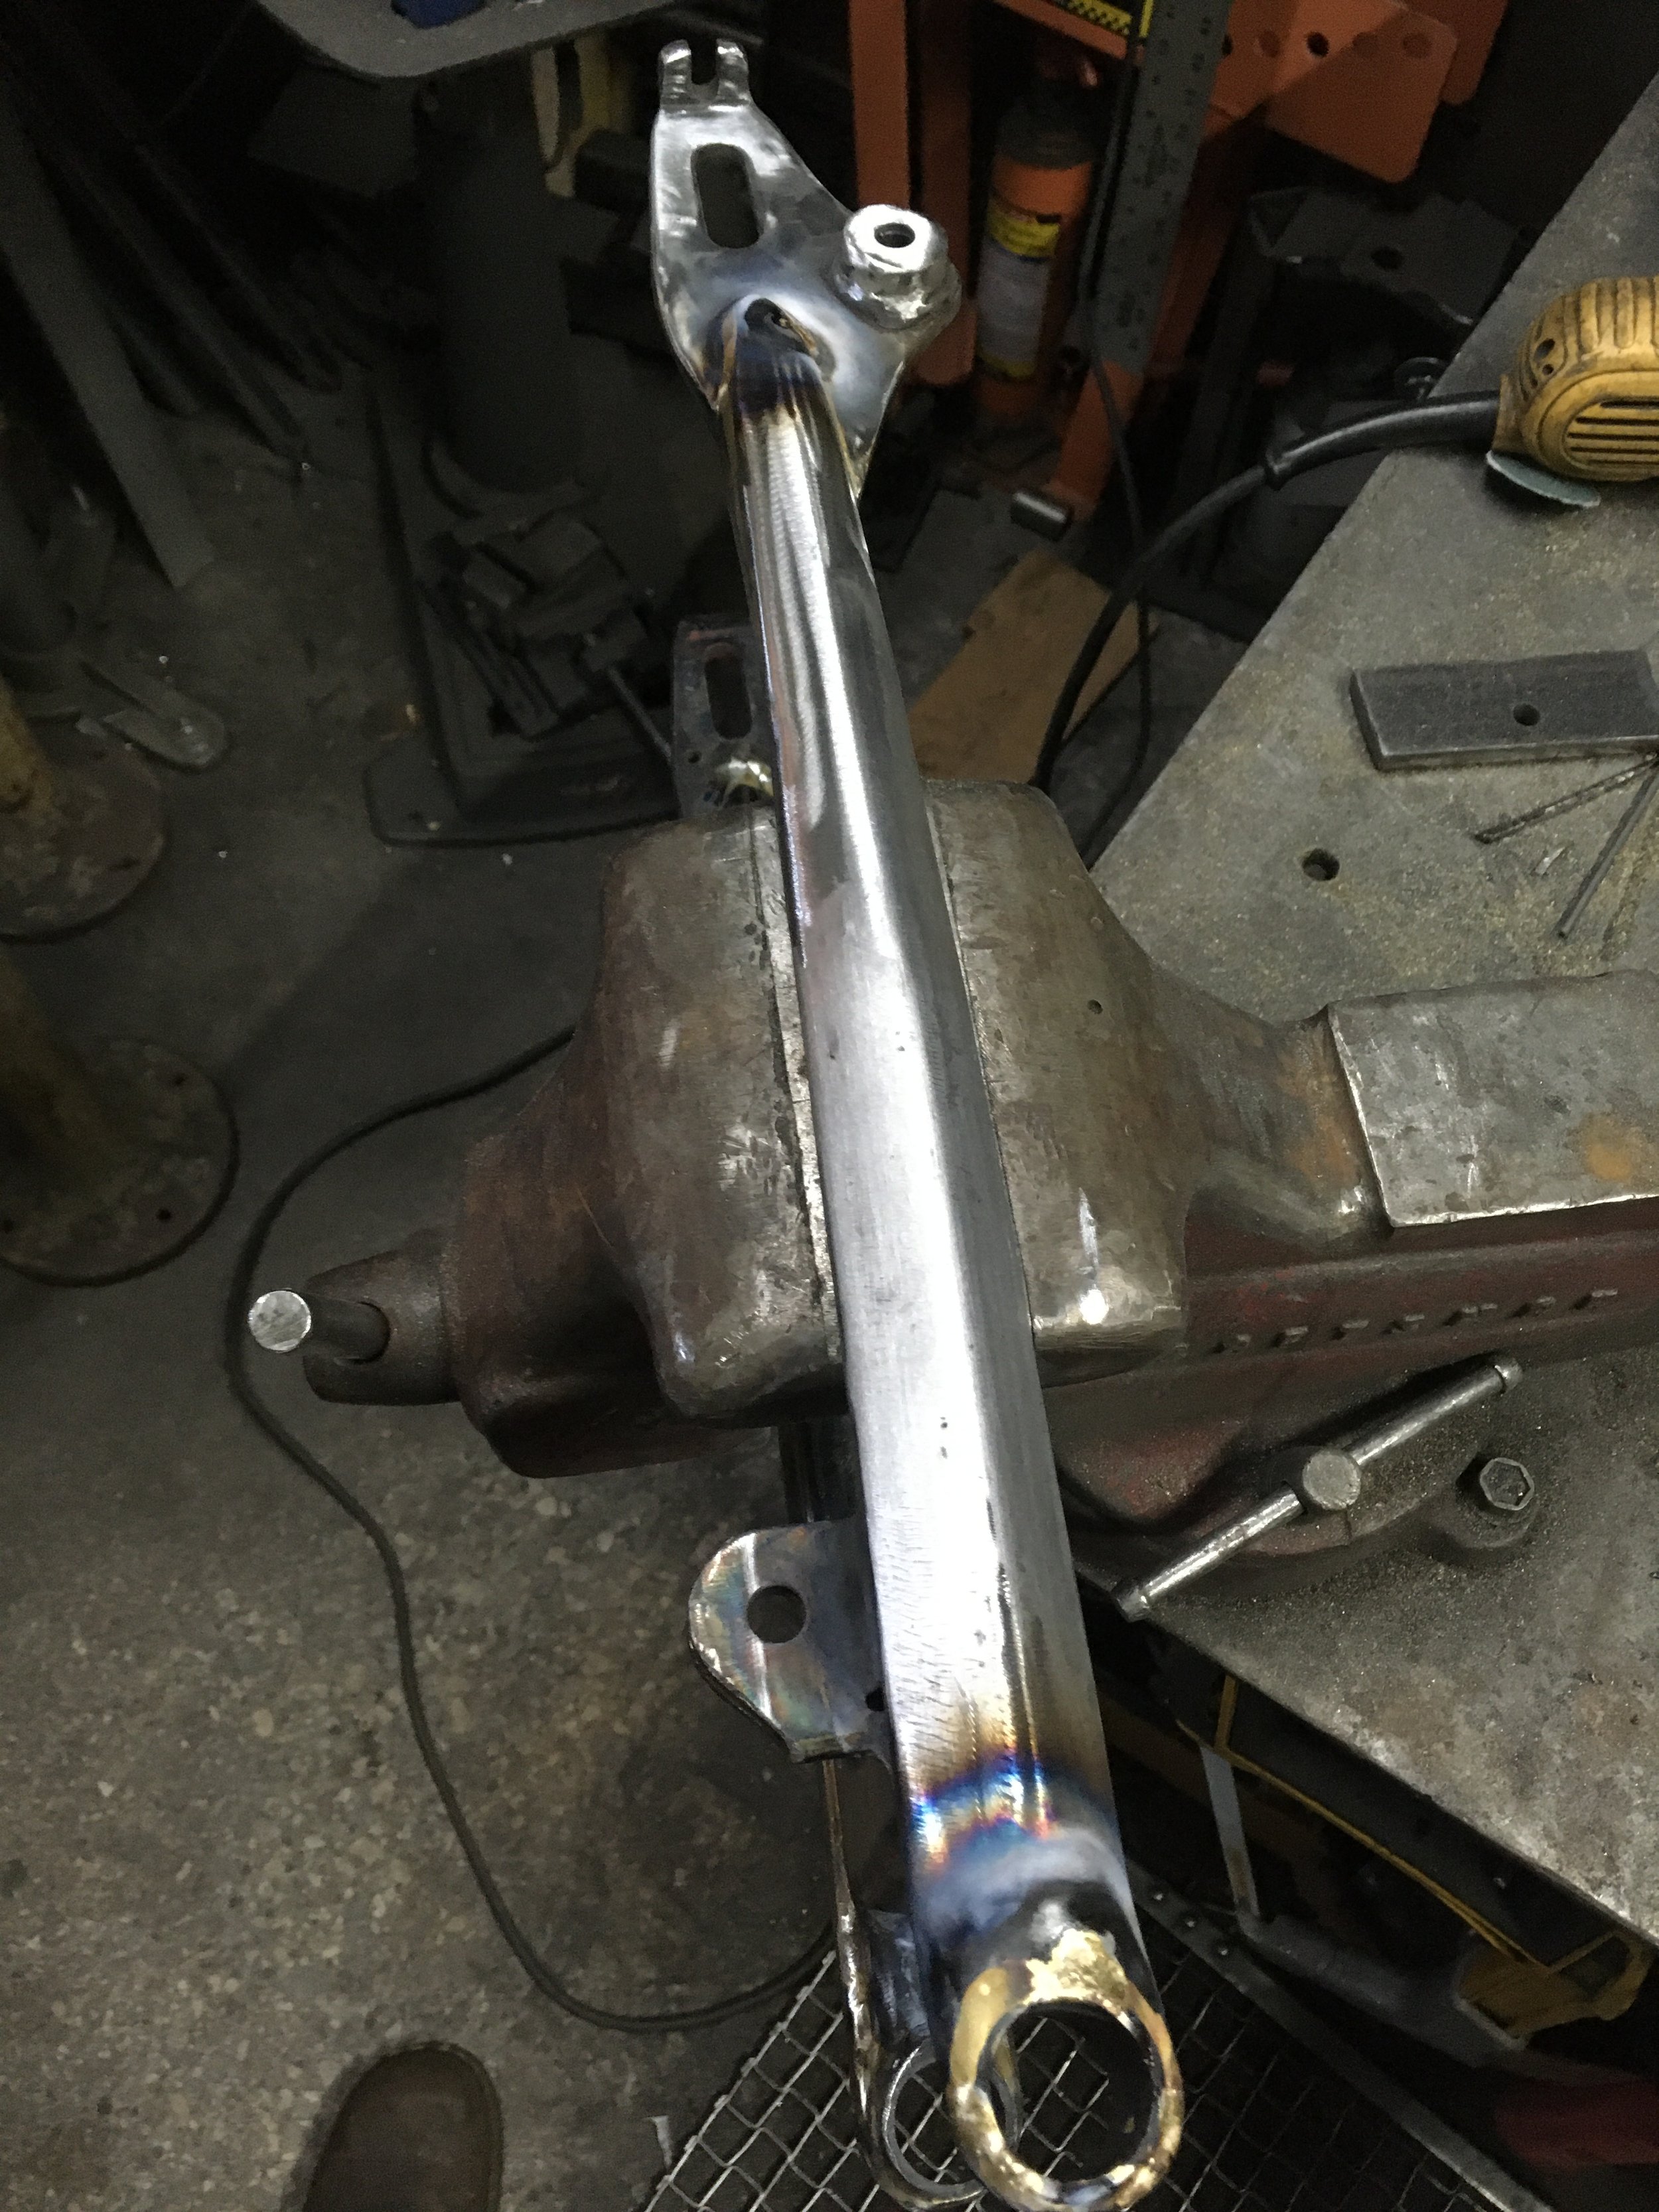
A little bit of brass is visible around the edges of the side plaques on the swingarm. Brass was chosen for its ability to flow out nicely, and its ease of finishing. Shaving down the ears of the swinger also made a big difference.
A thin line of brass is also visible along the edges of the swingarm. The brass is soft and makes a very nice fillet.
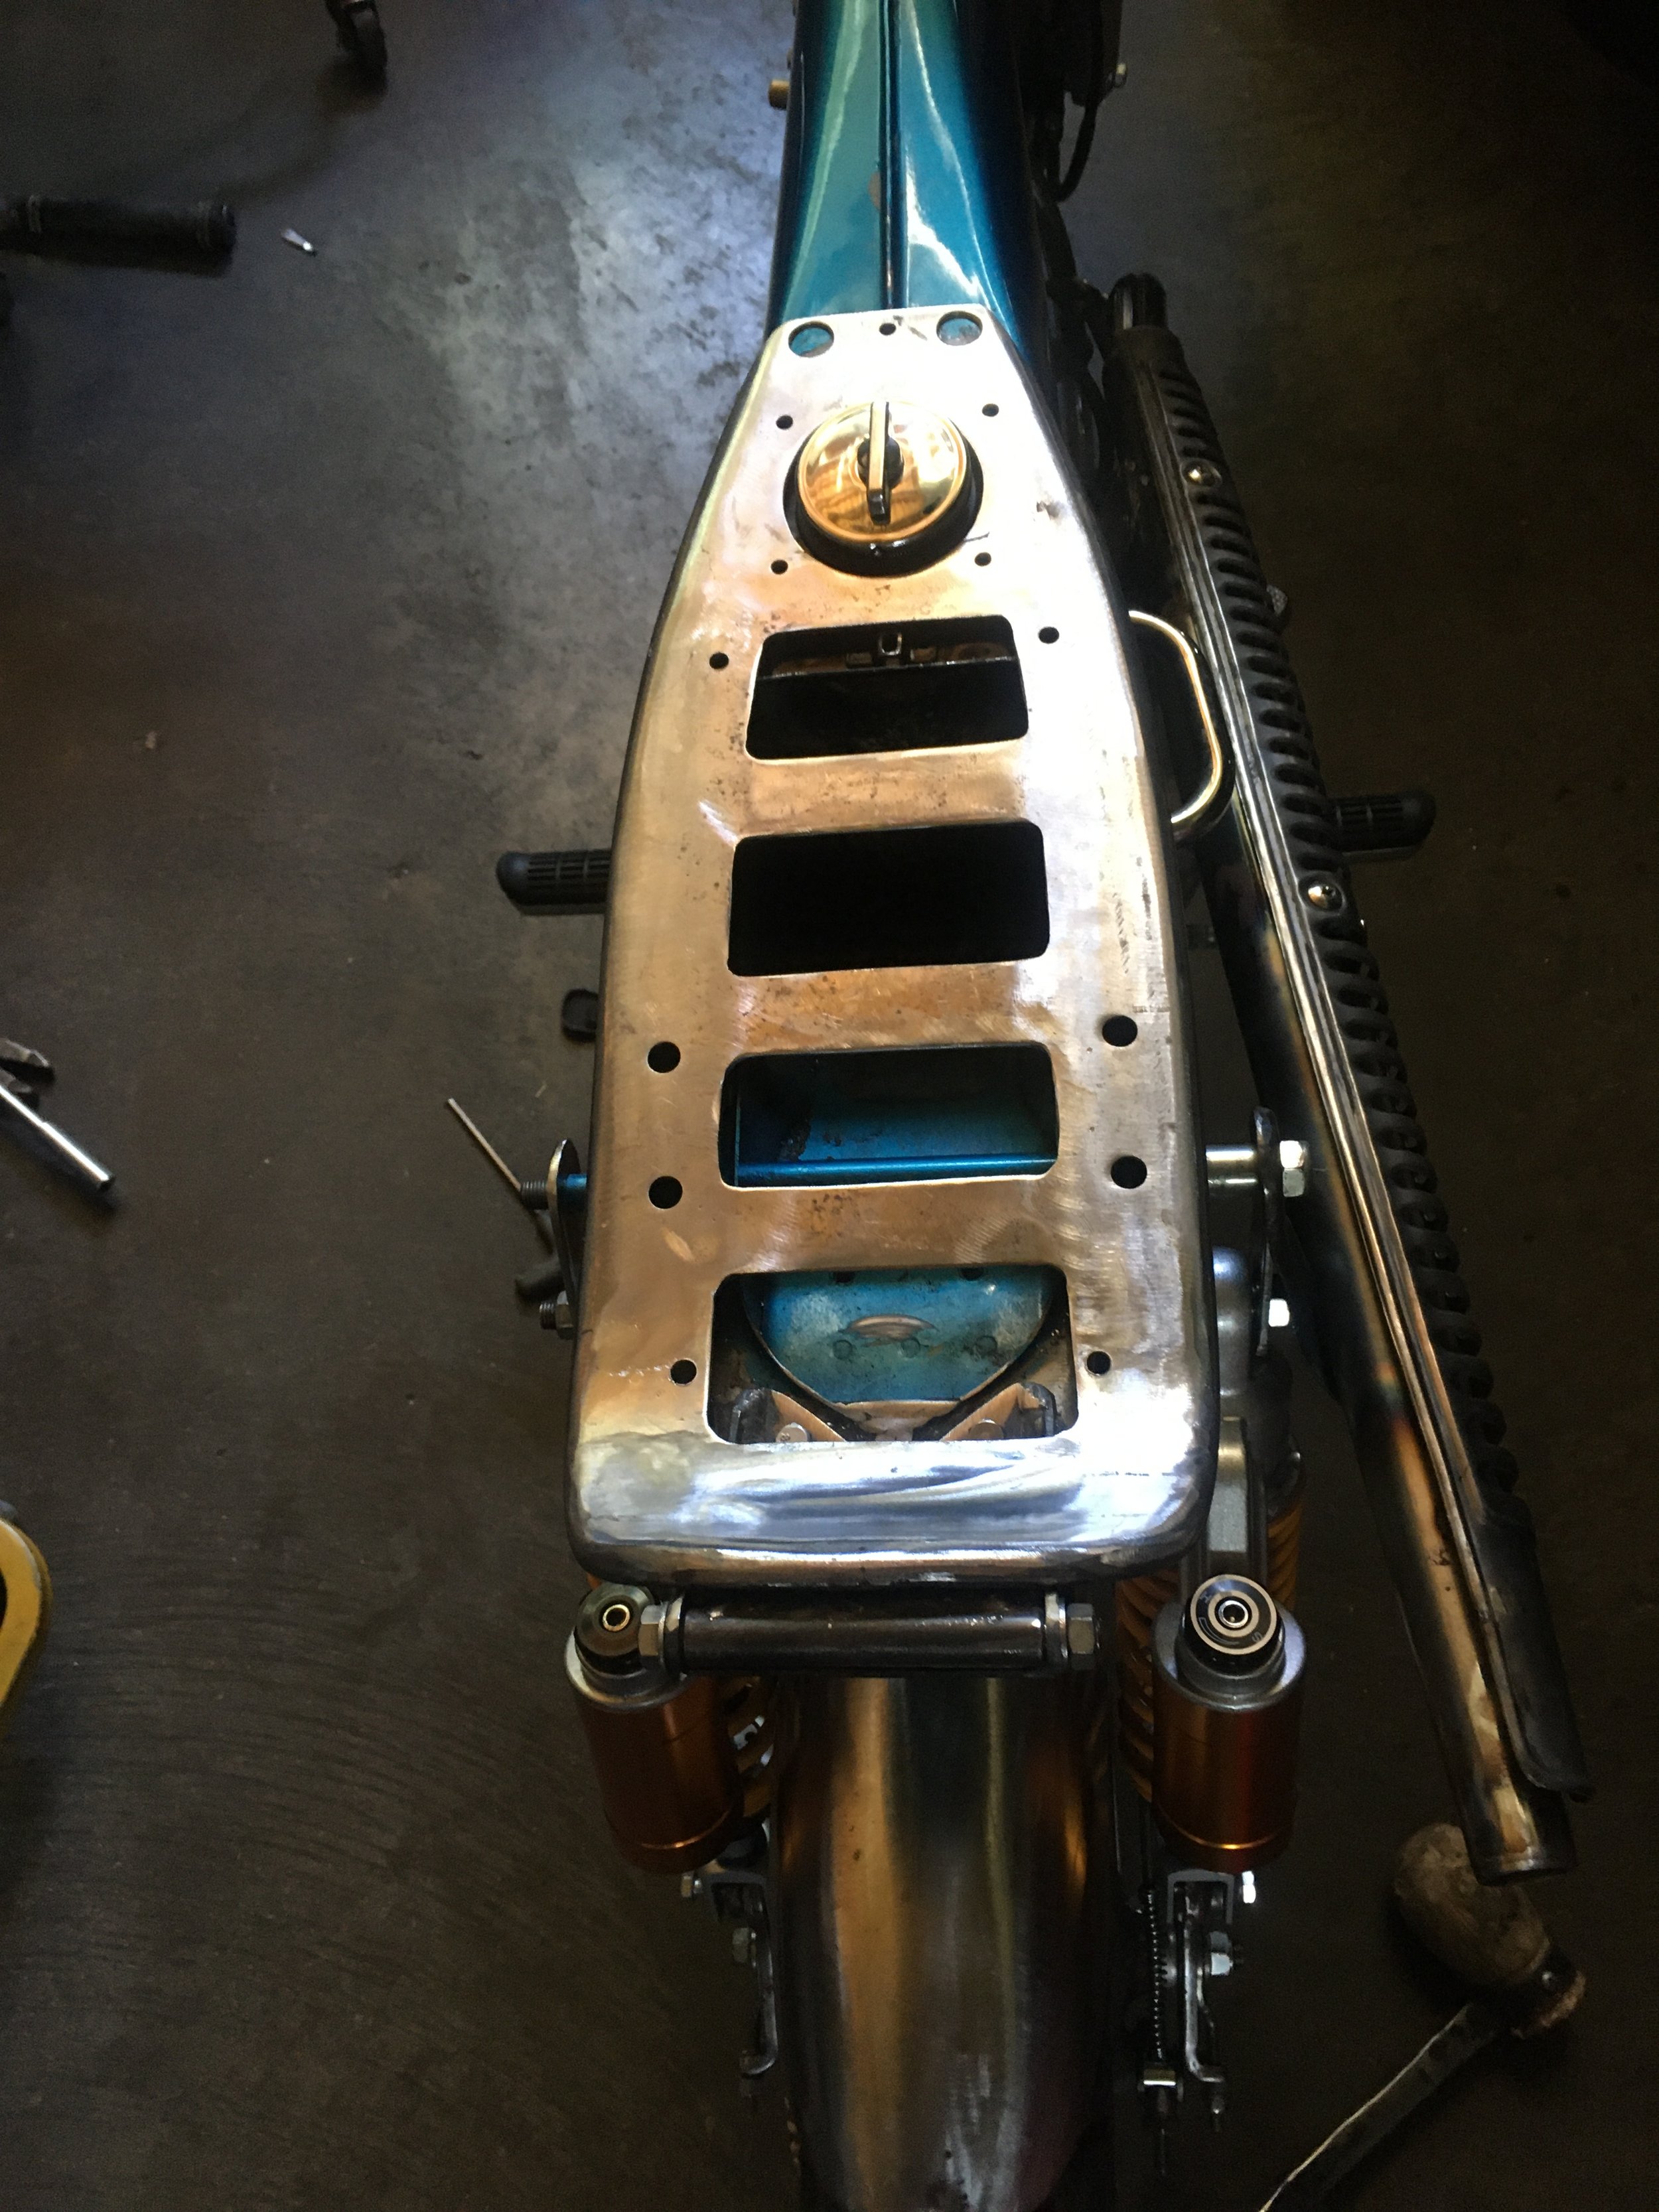
The openings in the seat frame were enlarged primarily to get rid of extra weight, but the visual effect is better as well.
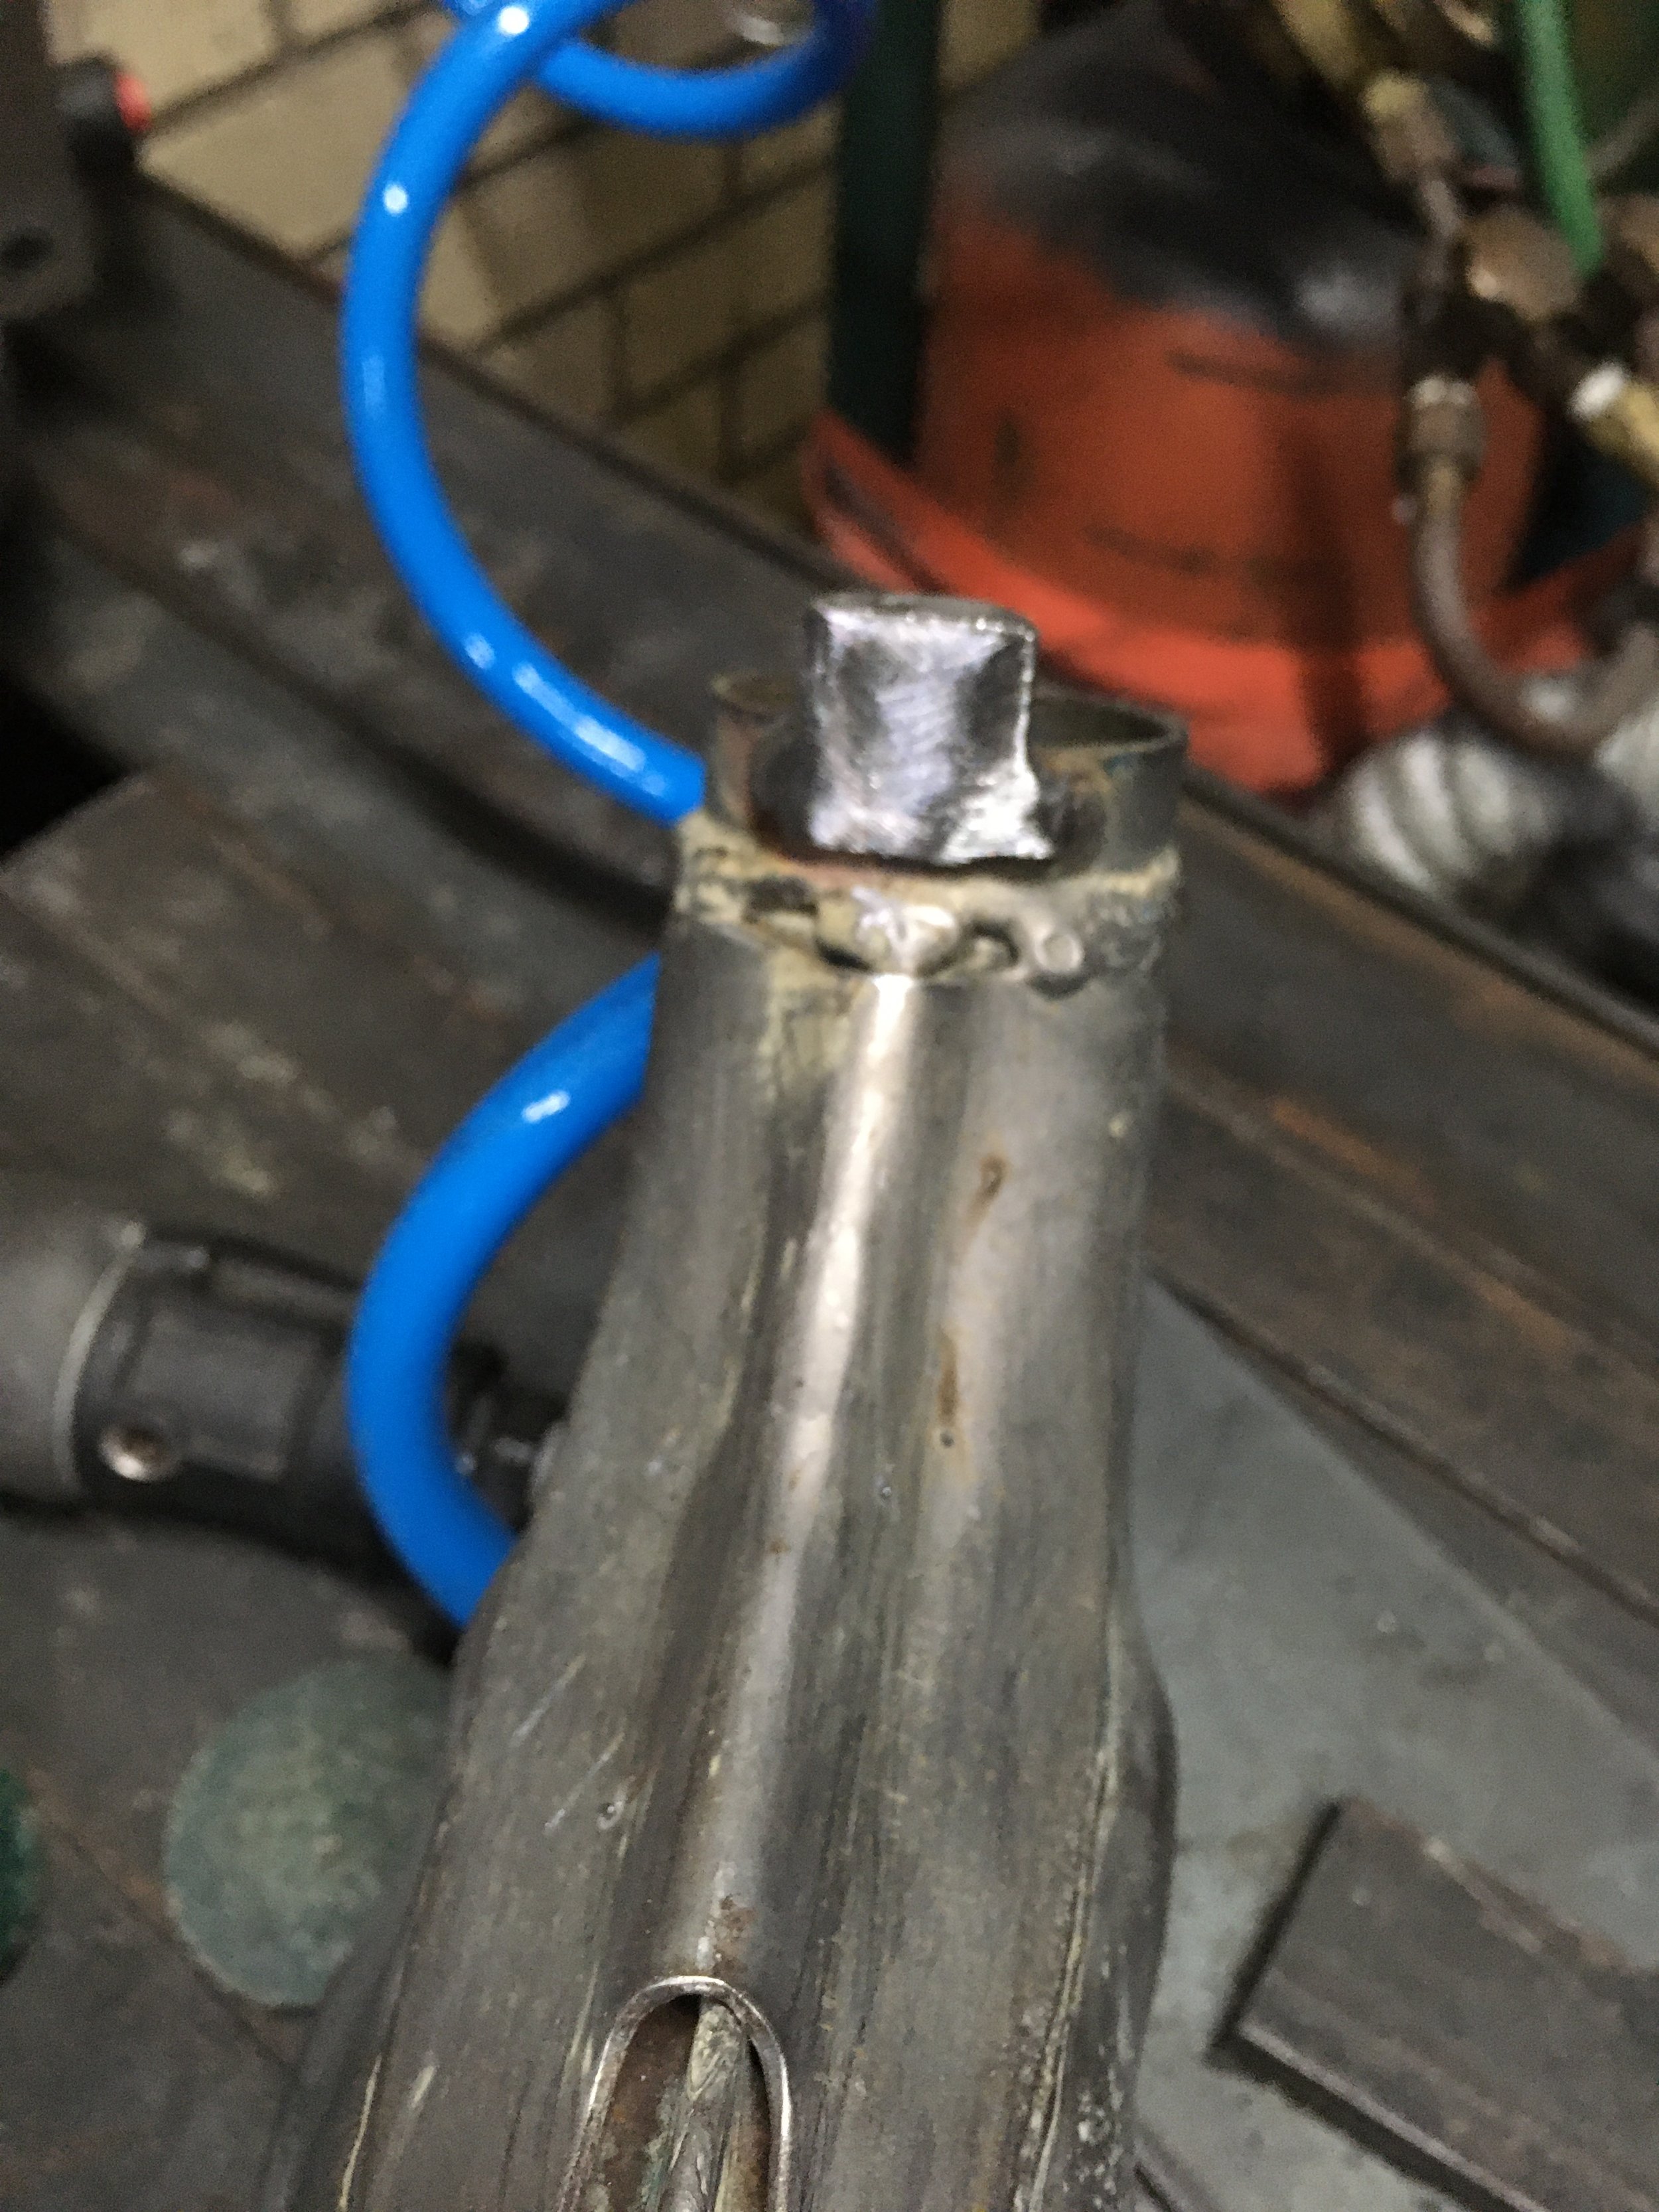
A badly gouged fork stop before…
…and after.
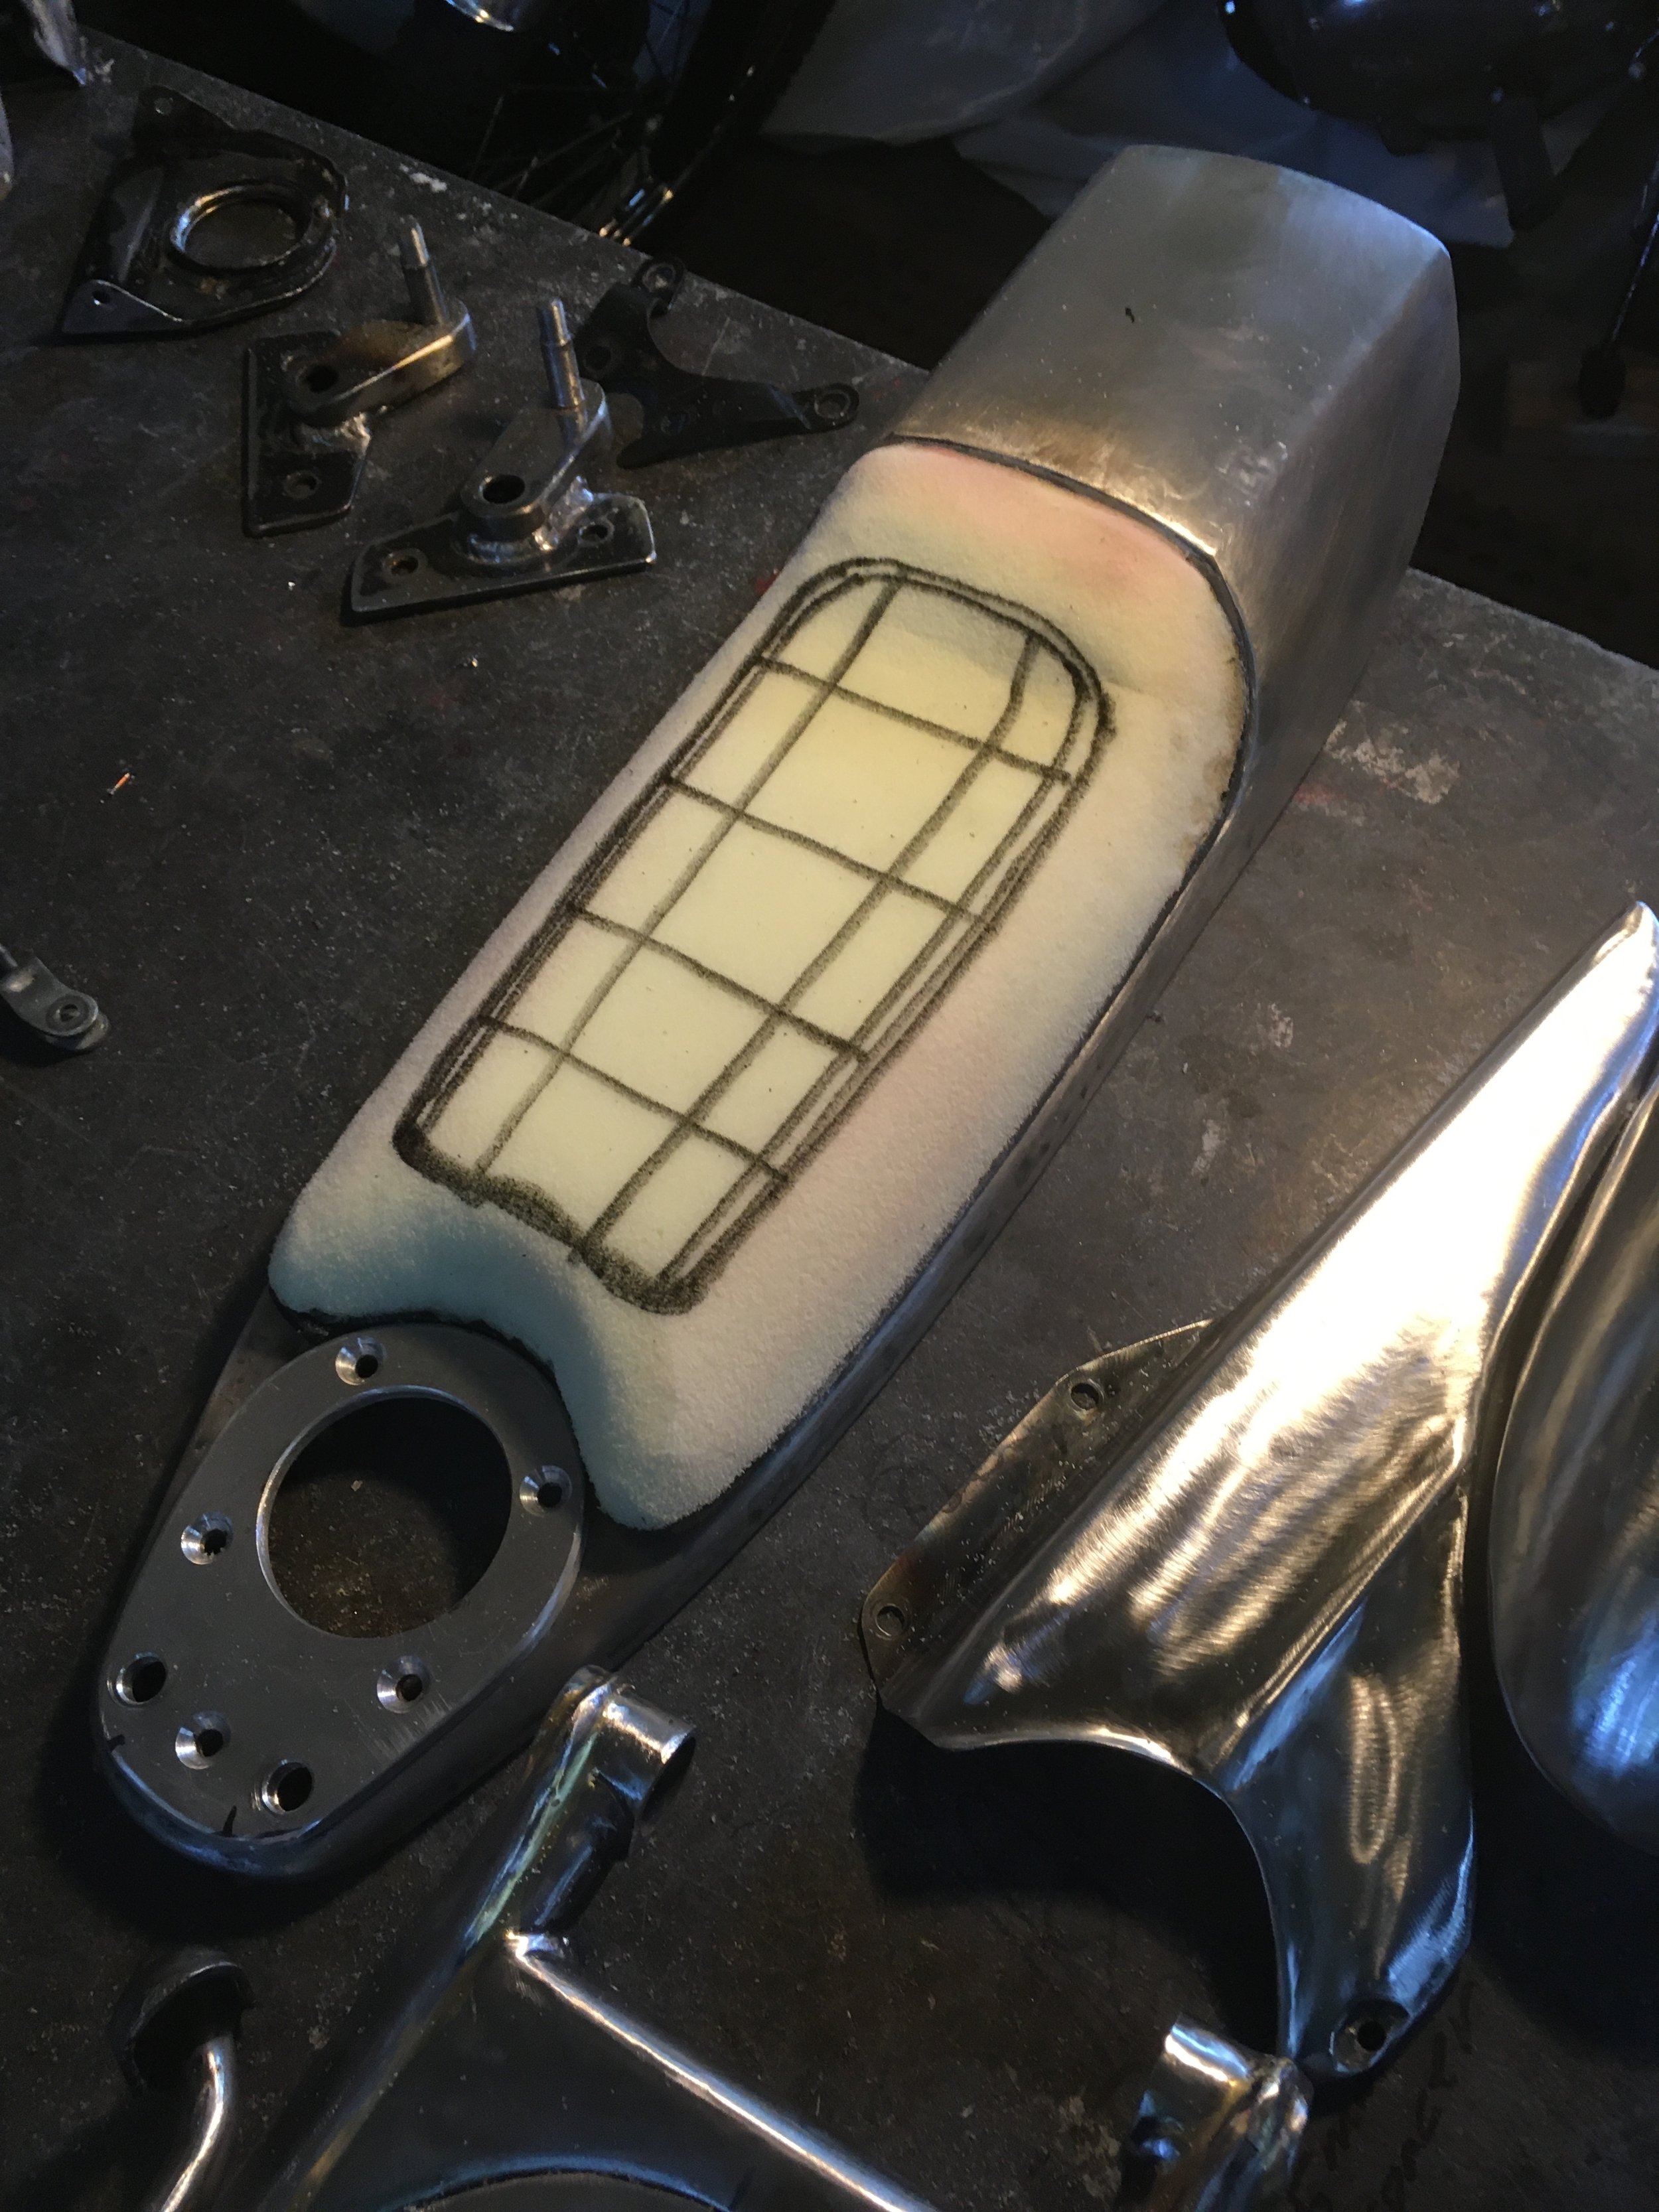
In addition to the seat frame and seat pan, a third component, a seat pan for the upholstery was finished. The mounting bolts pass through to the back of the seat frame, sandwiching the seat pan in between.
Finishing up the brass brazing. It takes a few rounds of brazing to get the brass flowed into all the joints just right.
The rod being added to the fairing edges, with only the bottom edge left to finish. All of the new body parts had some 1/8” rod welded to the edge. Besides stiffening up the piece, it makes it safer, and less prone to chipping. Sort of tedious to get all the bends just right, but it looks so good once it is done.
The mounting ears of the swingarm, with one before, and the other after grinding.
The foam has been formed for the seat.
Breaking out the small files and tons of emery cloth to get a nice smooth transition on all the welds. There were cracks on the rear of the engine cradle, near where it bolts to the bottom of the engine. Some previous repair booger welds were ground out, and the repairs made to both sides of the cradle.
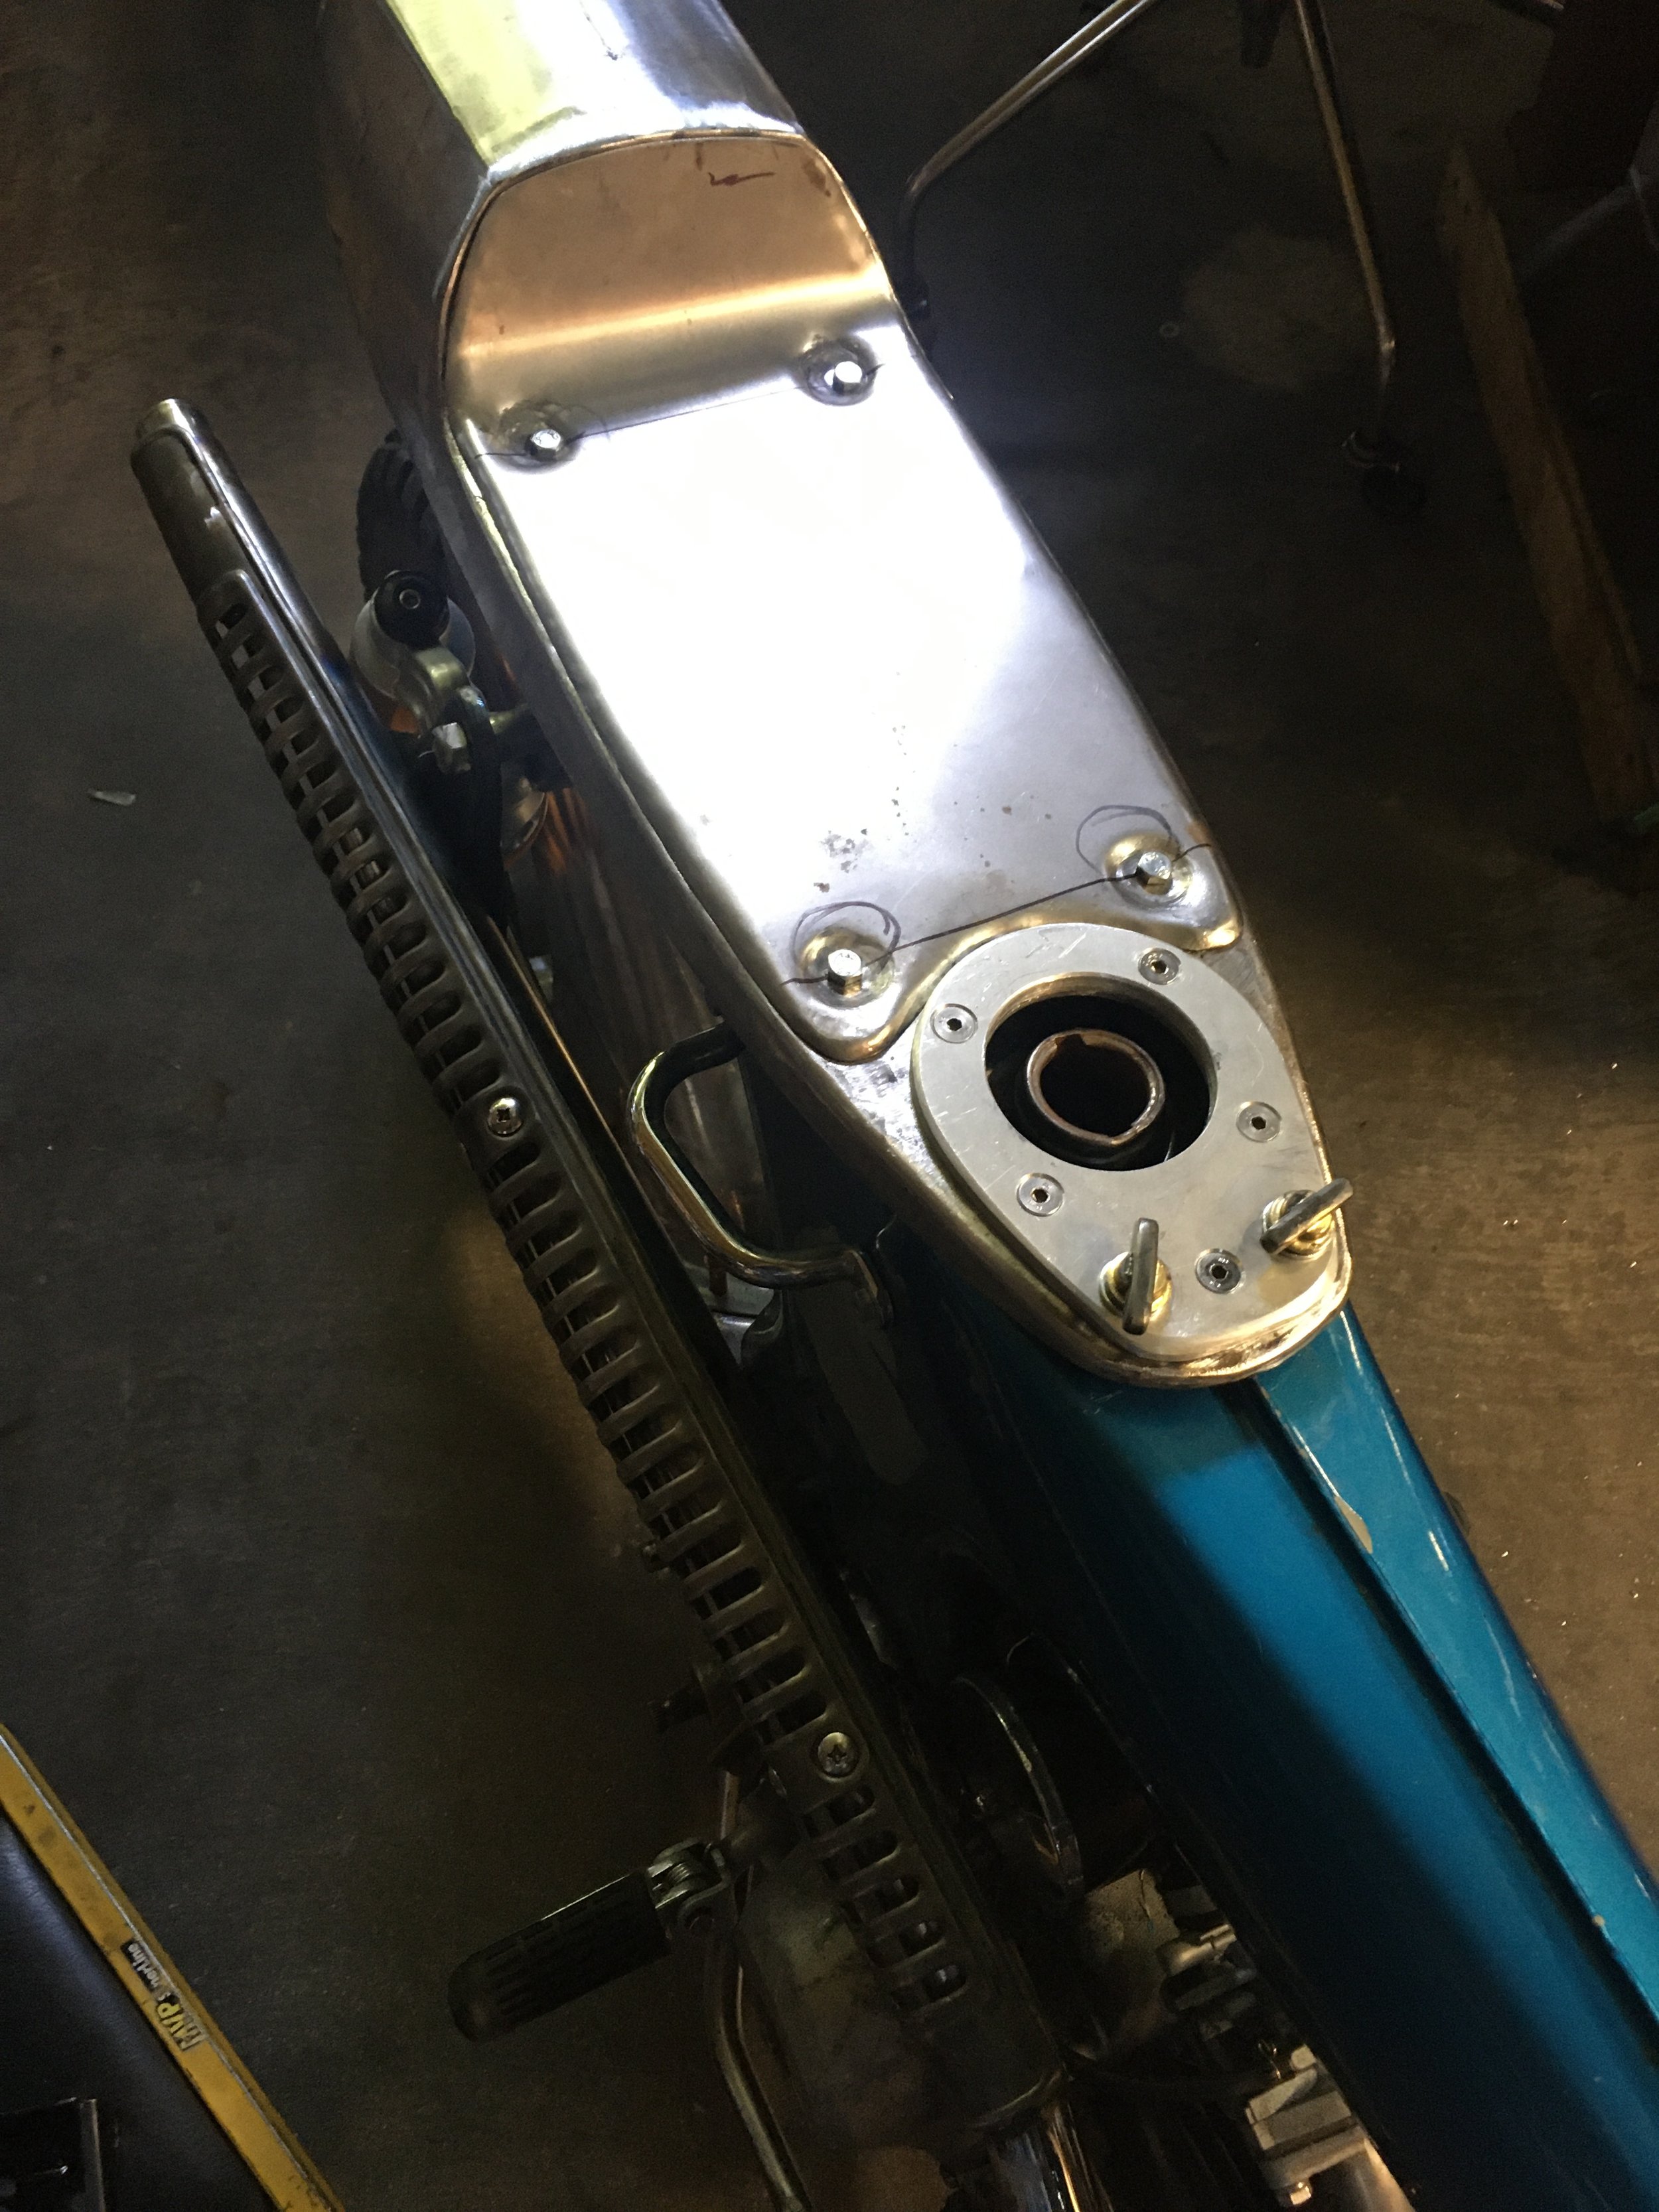
Even parts that look stock are not. This is an early fuel neck yoke, from the first couple years of the CT70. It was used because it does not have the longer front portion that extends over the seat mounting holes, under the seat hinge. Since the hinge is now in back, that portion of the sheet metal was not needed. The problem was that the early yoke fits the plastic tank, with its smaller filler neck, and the bike now has a metal one with the larger neck. The hole and ring that the grommet mounts on were enlarged to the correct portions.
A final addition to the fuel neck yoke was this extension, that covers the top trim strip.
All bead blasted and ready for powder coating. The exhaust will be painted with high-heat ceramic paint.
The handlebars after some smoothing and filling. Some unneeded holes were filled. The bottom of the seat pan and the rod on the edge can be seen below.
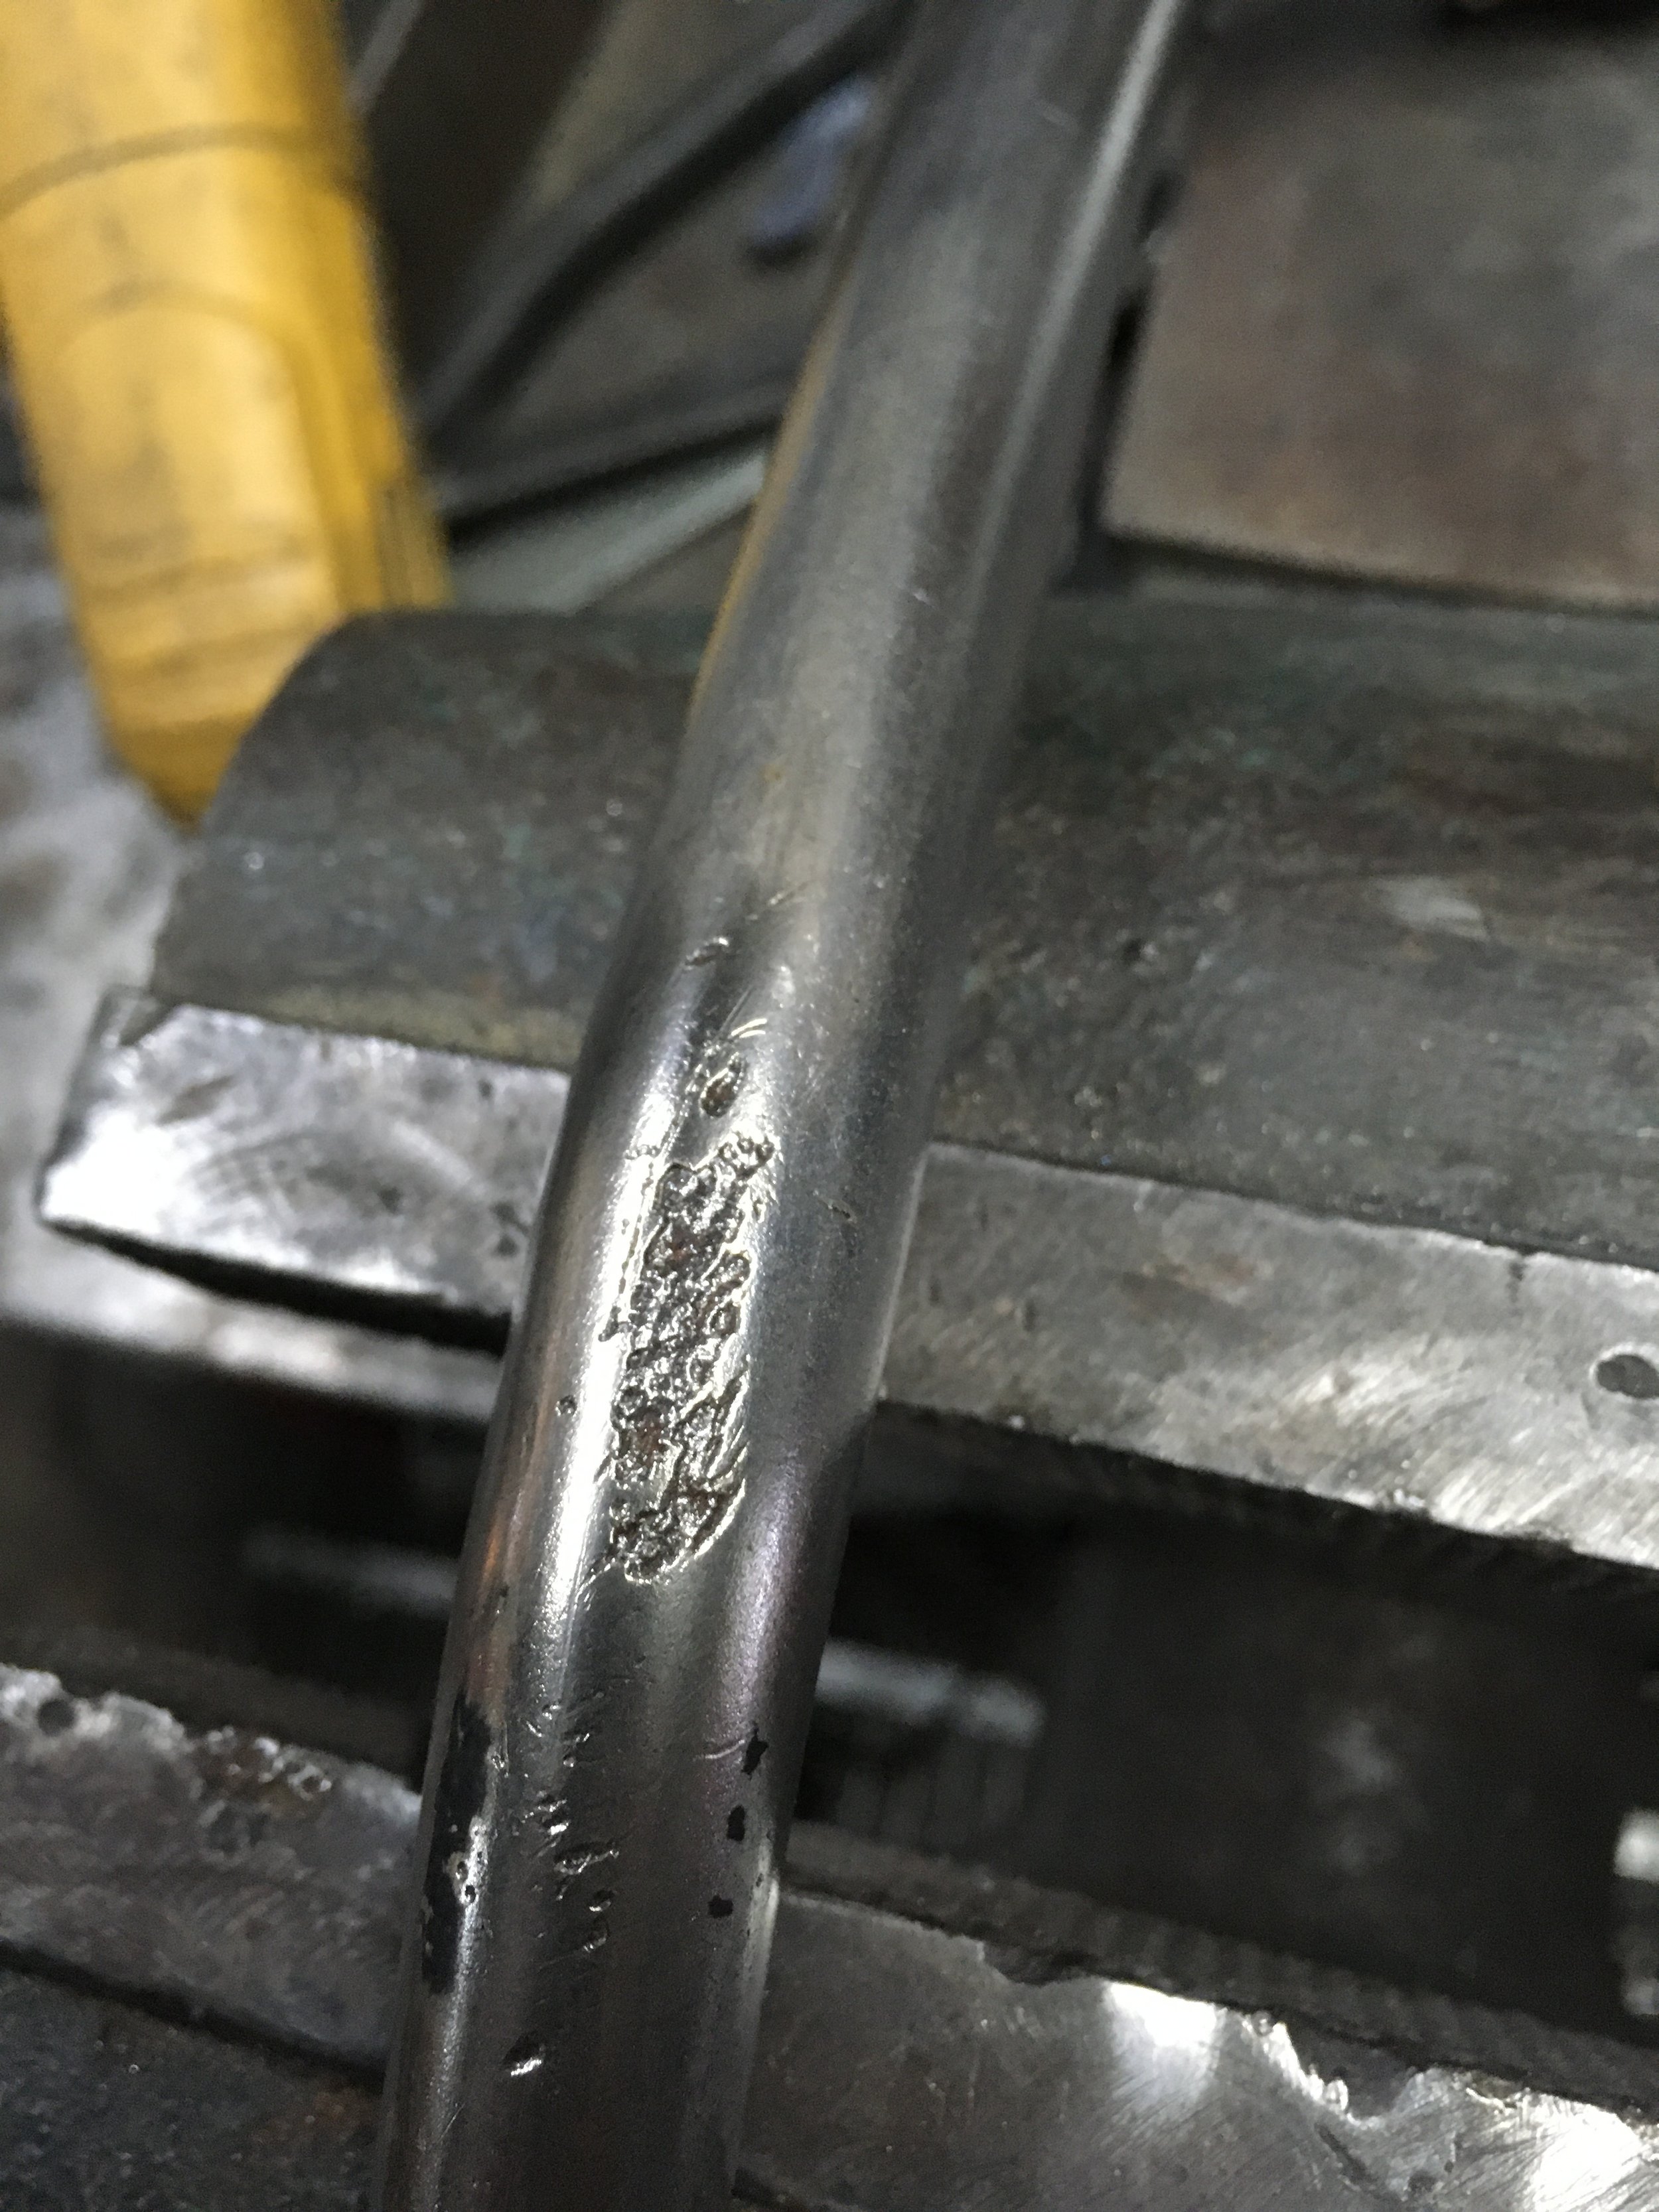
There were a lot of small repairs made on parts like the brake pedal. This looks like some deep riding gouges on the underside.
The gouges were ground out, welded back up, and…
…all that time to make it look like you never touched it.
There was only one bondo-filled dent on the body. Burn marks are barely visible around the edges of its former location. It was pulled out with weld-on posts and a slide hammer. On the upper part of the frame, the holes for the helmet holder lock have been filled, and new holes for a side grab handle have been drilled.
All the pieces going to paint are done. Starting to sort and prep the parts for chrome and powder coat. When you are looking at a pile of flat sheet metal, some paper patterns, and your ideas, this table full of finished parts seems like its miles away. Very satisfying to be here.
The mounting screws underneath the rear fender were one of the last jobs I did during the fabrication stage of this build. With no significant injuries during the process to that point, a broken tap delivered a nasty little slice to my thumb tip. A reminder of how dangerous all this metal cutting, drilling, and grinding can be.
