In an effort to save time, for the first (and perhaps the last) time, I sent polishing out. I have always done my own polishing, but wanted to try letting a “show chrome only” chrome shop do the polishing after the parts were prepped here at the shop. Although some parts looked great like the front wheel and rocker covers, the job on the gearbox was a huge disappointment.

The front face of the cover after it came back from the polisher. The receipt for the job stated “polished to a mirror finish.” I know these sand cast parts can have problems with porosity, but these pits are even worse than when it first left the shop due to polishing without sanding first.
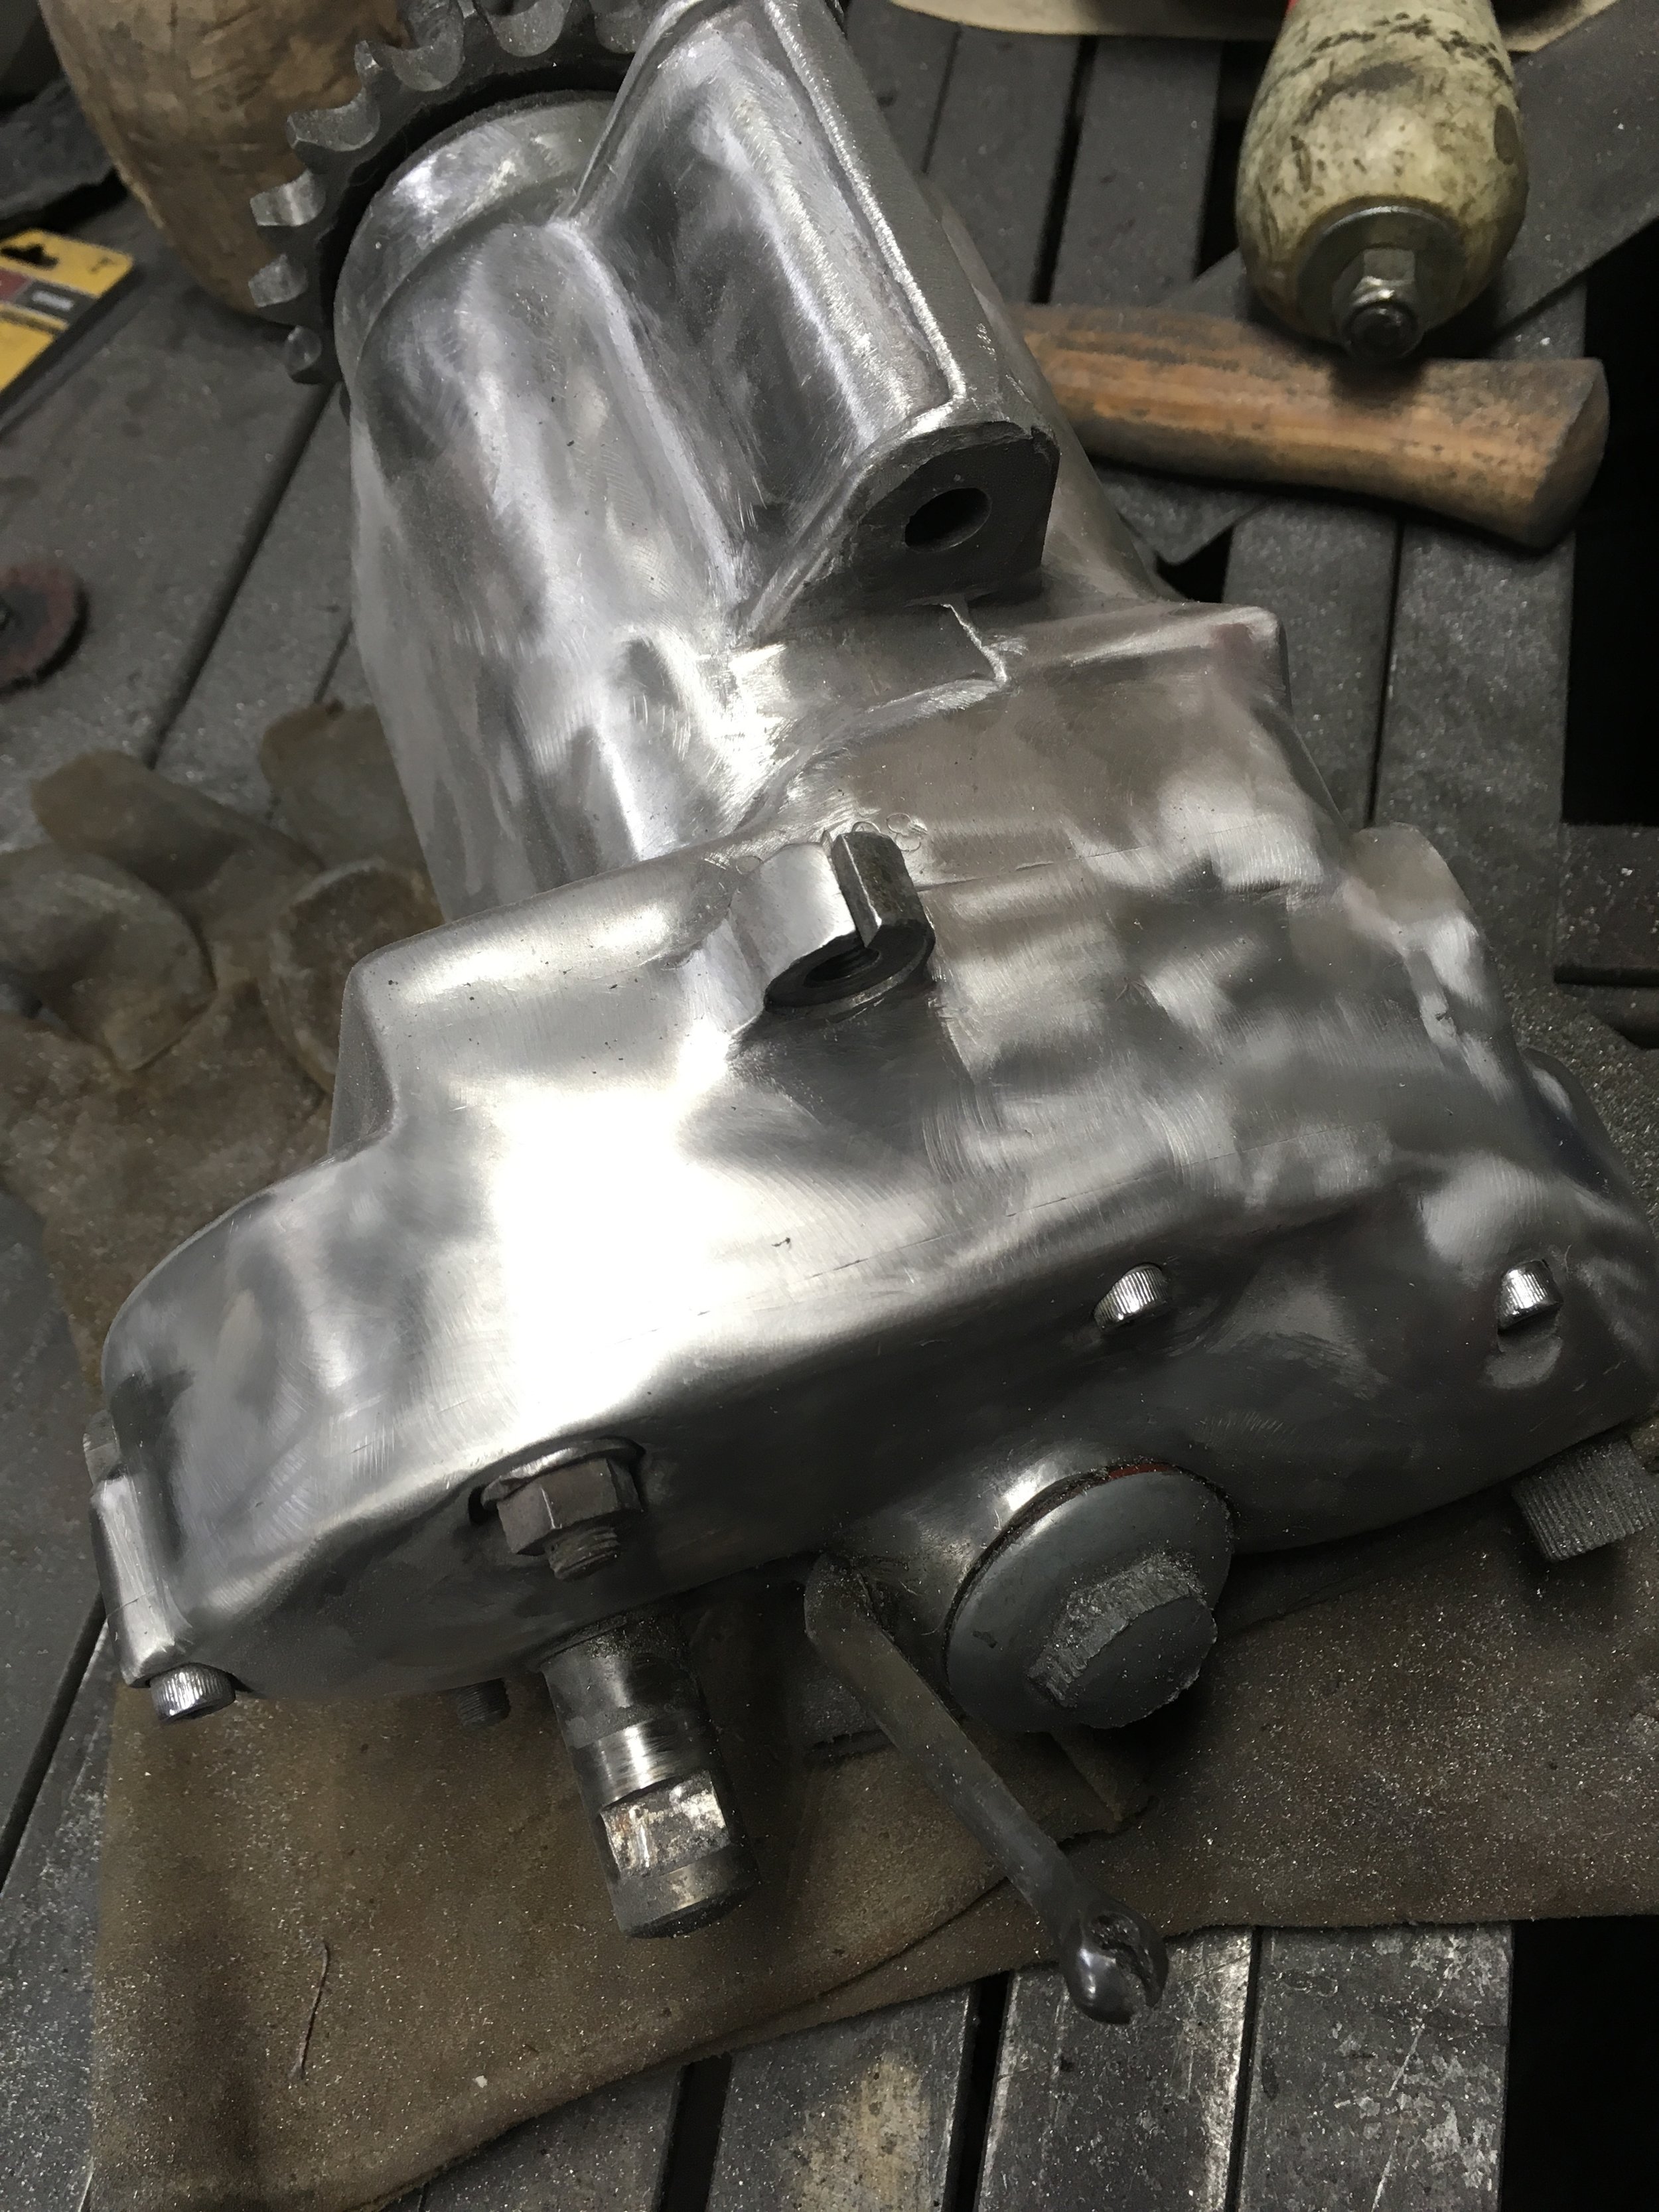
Prior to disassembly, a good deal of time was spent leveling out the surfaces of the transmission case to the point the lines between them are almost invisible. After this picture, the tranny was totally disassembled and then the front and middle cases put back together for the polisher to finish out.

This is how it came back, with valleys between the cases produced by polishing them separately and hitting the edges too hard. This shot really shows how bad it was at the top of the picture, where the line between the rear and middle case makes an obvious “V” where there was once a straight line.

Deja vu. A second sanding was done to level out the surfaces once more. The case walls are a little thinner after a second sanding, but not too bad.

If you want a true mirror finish, you have to sand first. Using a coarse polishing grit will make it shine, but instead of removing porosity, you just make it worse by elongating the pores like in the first picture in this post.

The case lines are near invisible again after a high polish.

Another fail from the polisher was that they used a DA sander to work the backside of the primary cover a little, but did not polish it out. This was after wet sanding and polish.
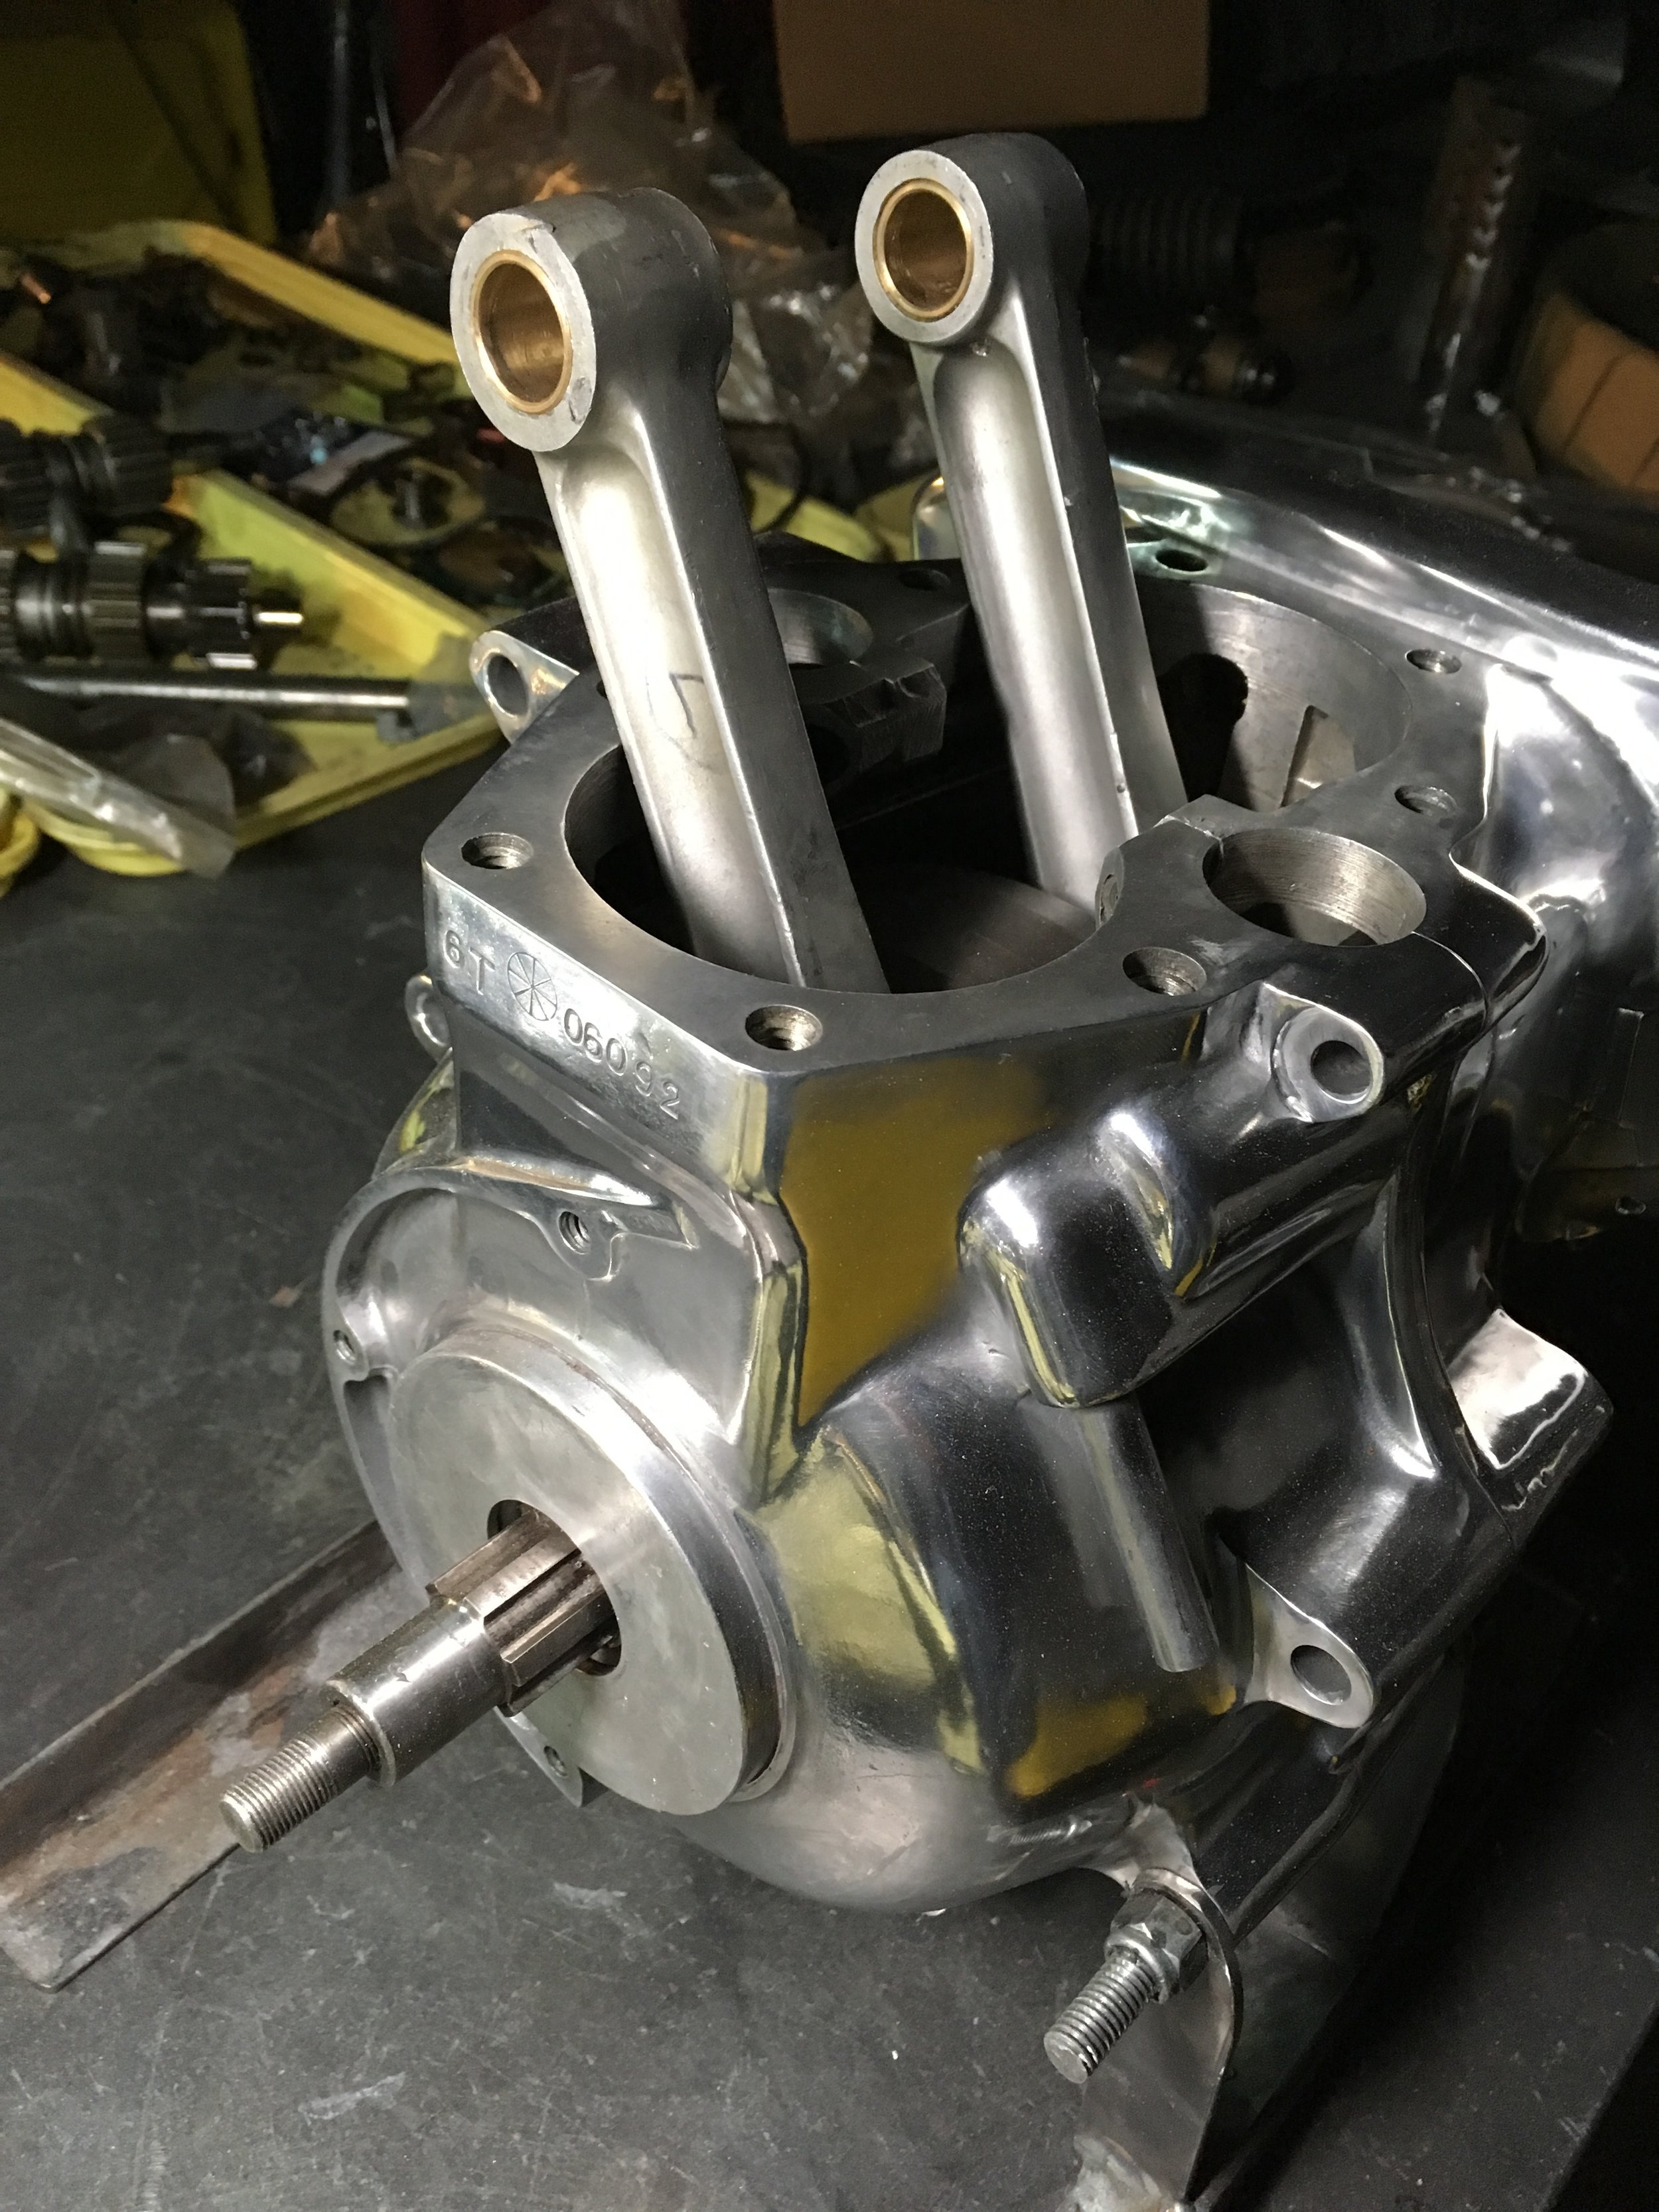
The small end rod bushings came in so I was able to get the block put together.

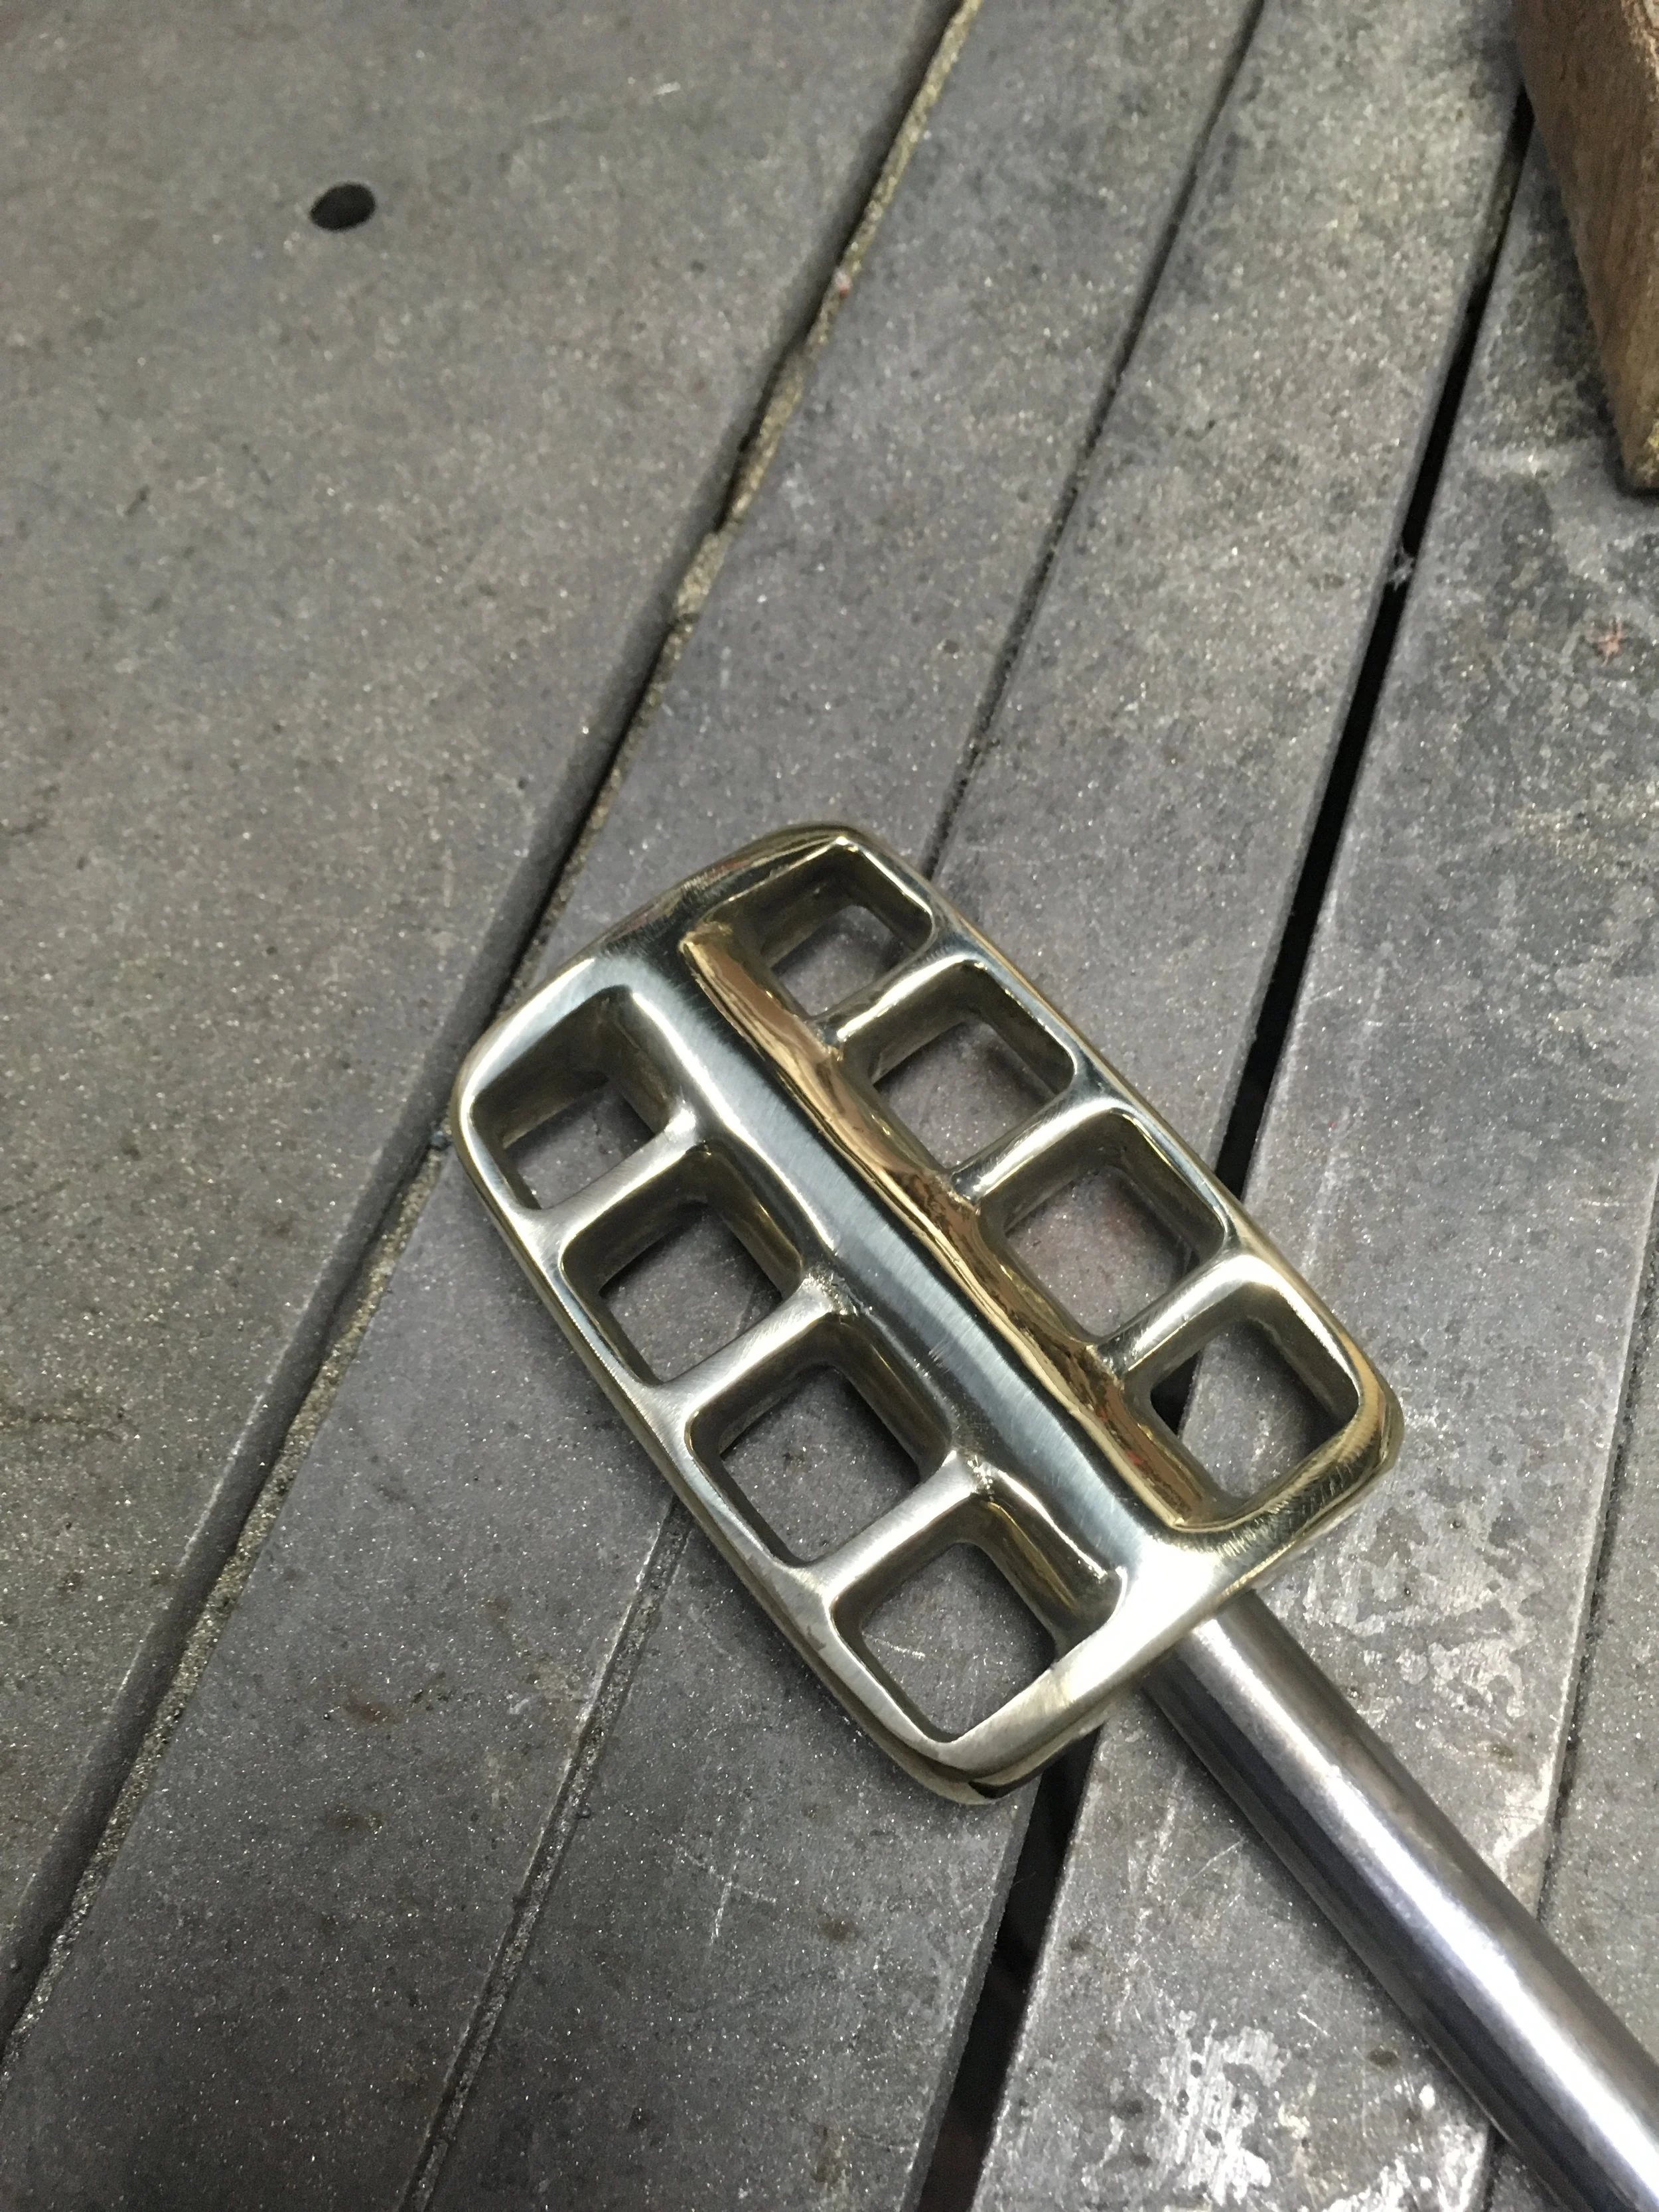
The choke lever came without a mounting bracket, so some .050 brass was used to make one. These loops will be silver soldered to make them strong.

Very secure once it is cinched down.
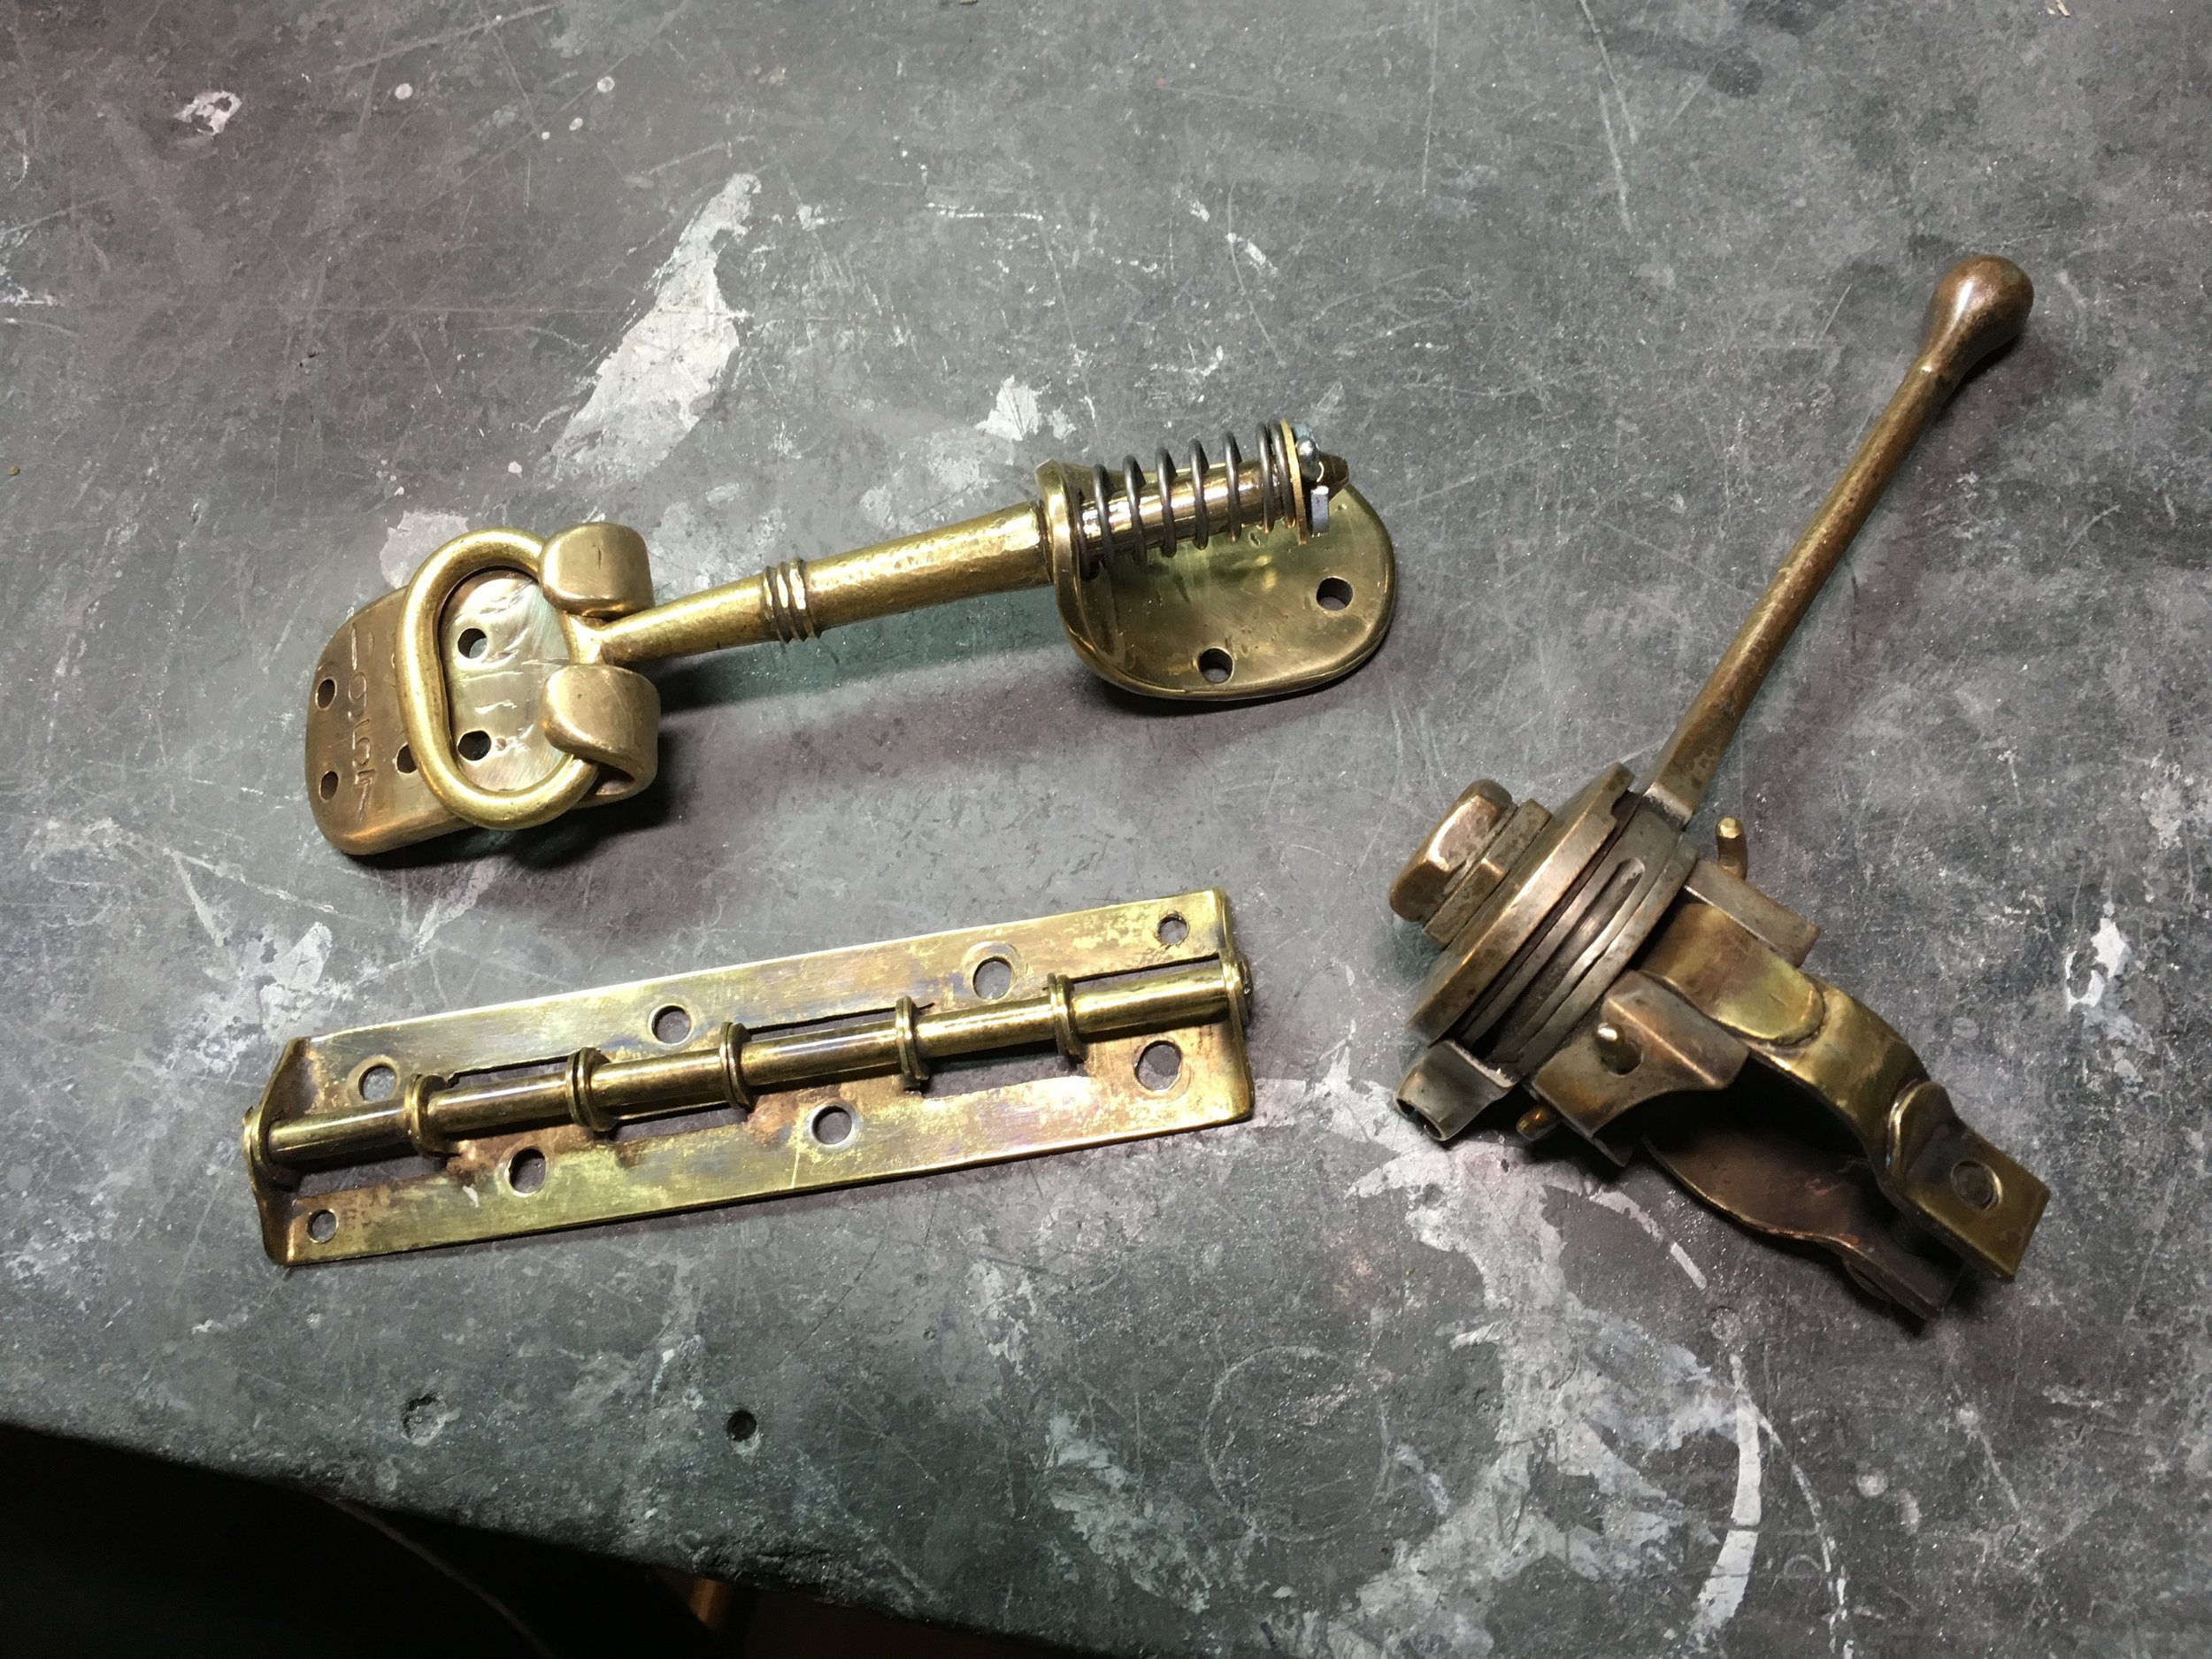
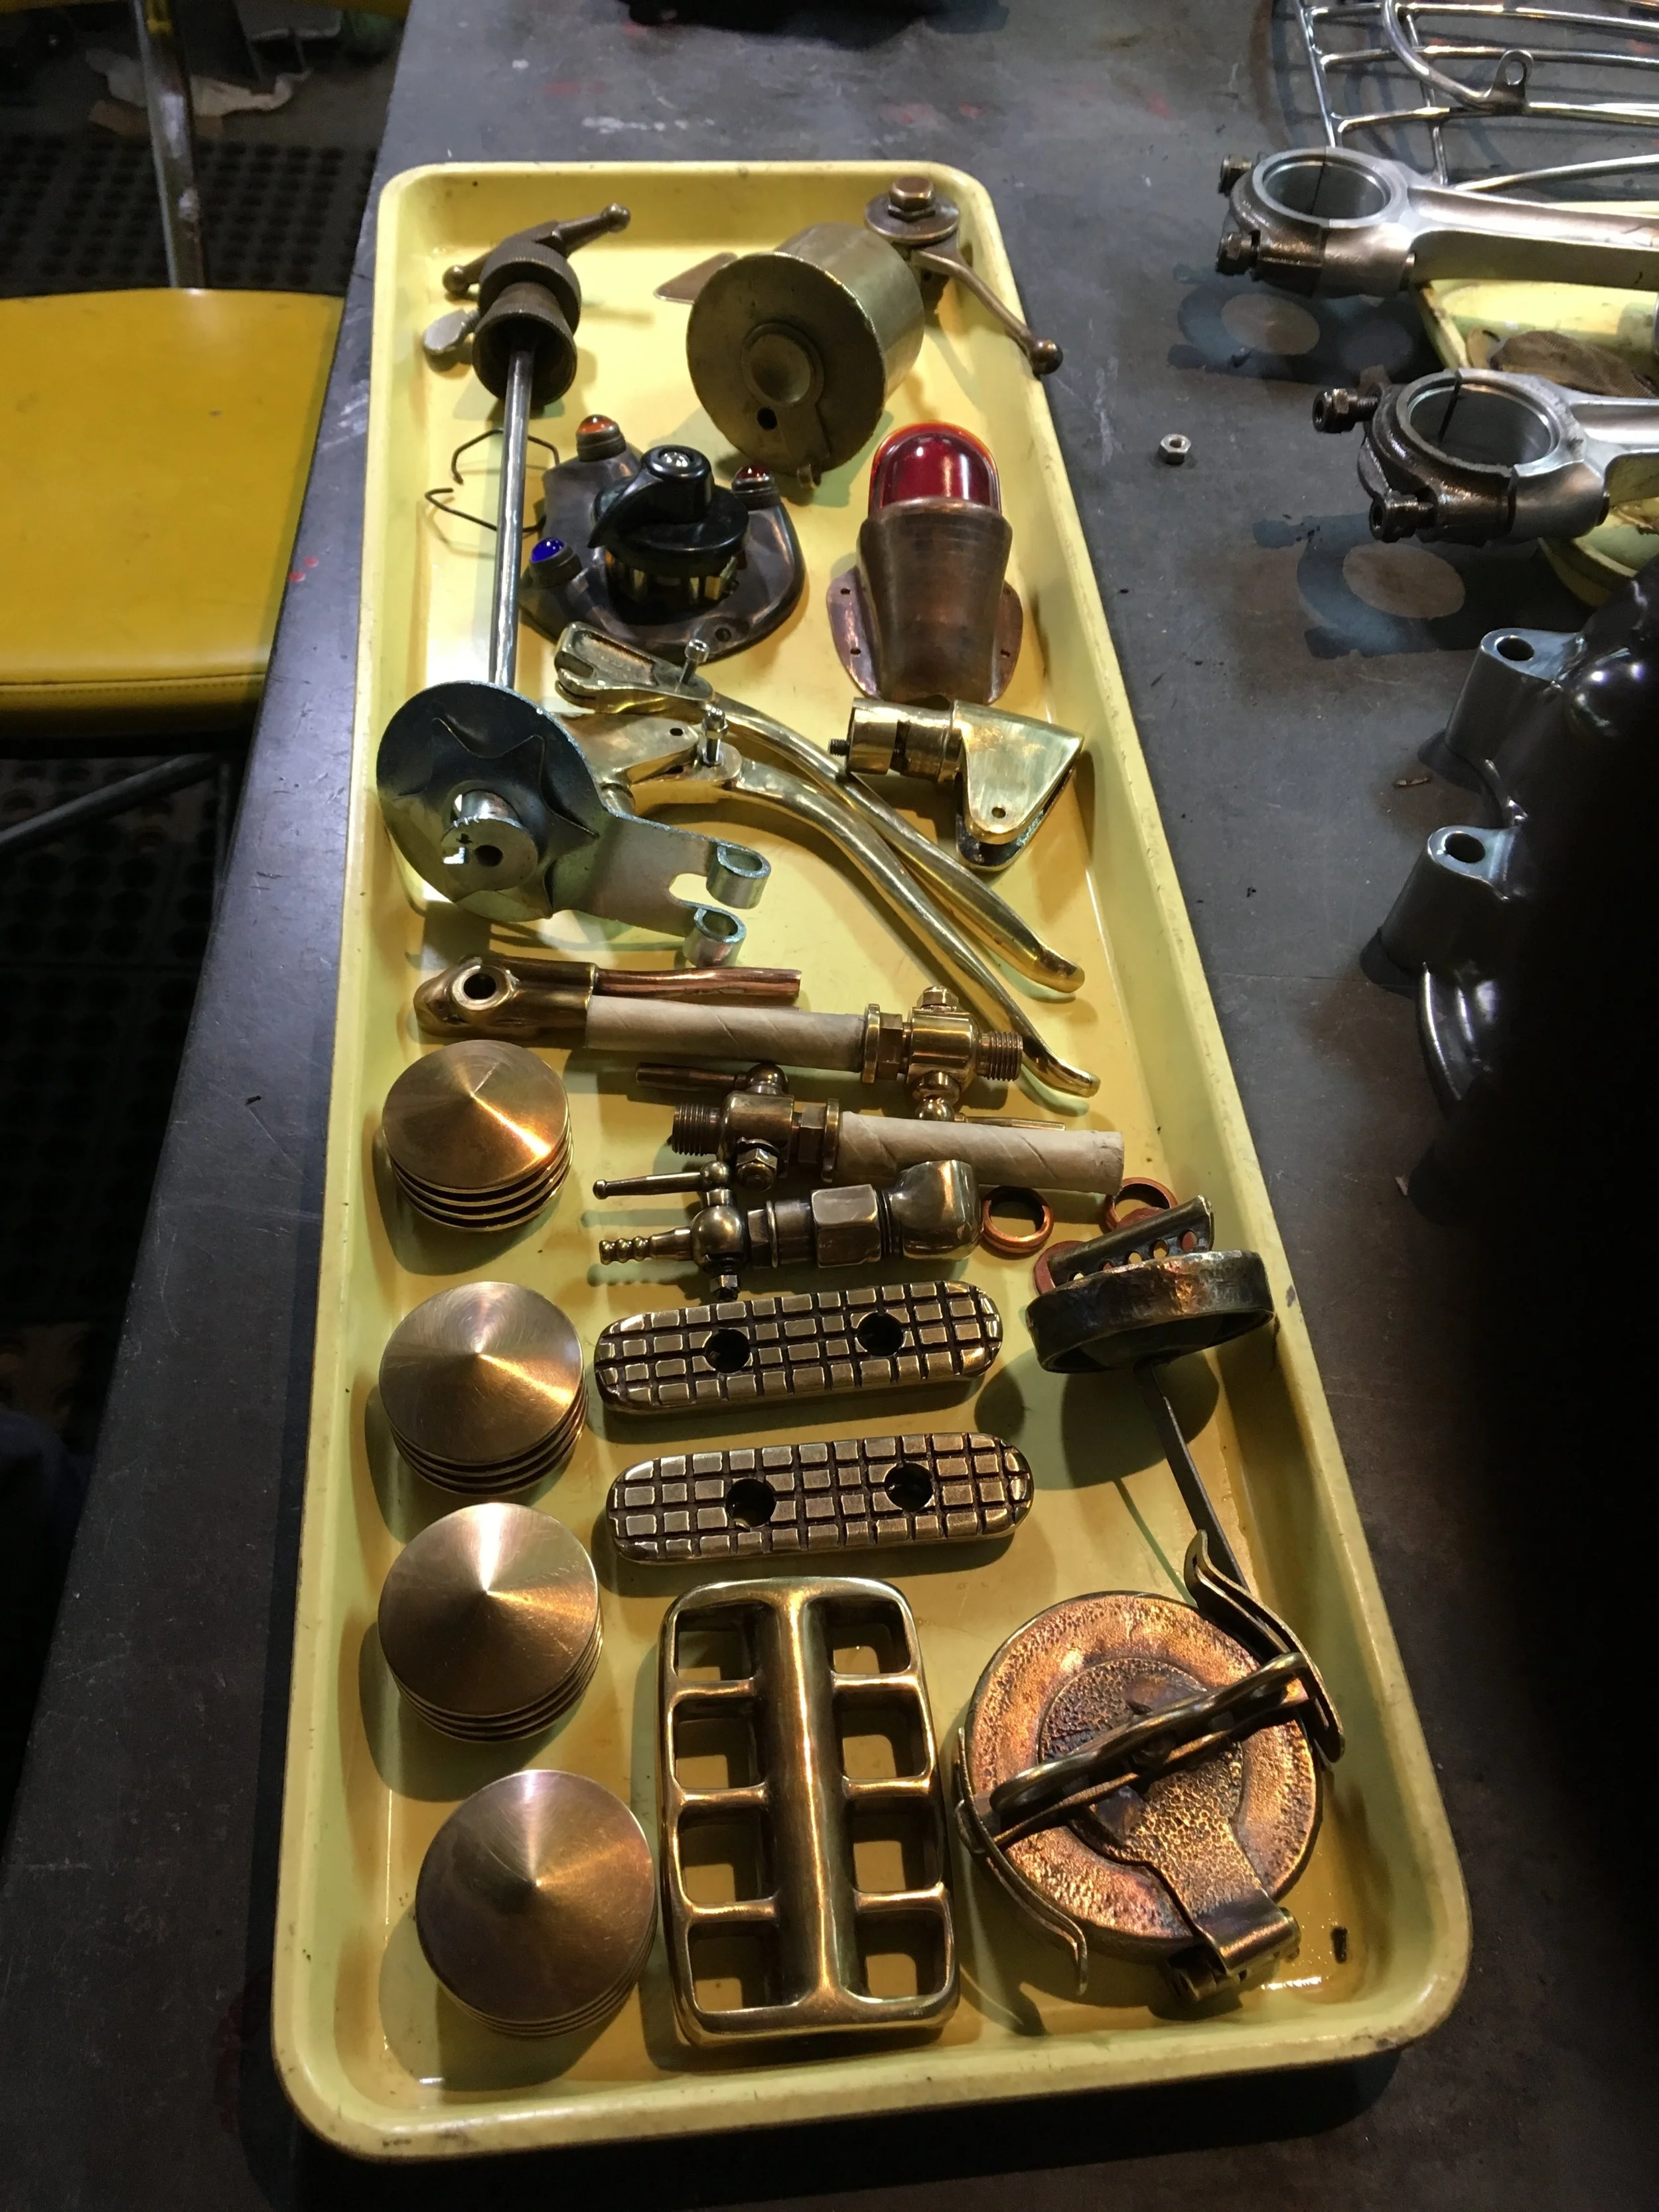
Put some more parts in the finished tray after some patina was applied. The key and top portion of the choke lever have the patina they came with, the rest was made to match. The hinge was made a couple of years ago from sheet brass and tubing.