Me: I need the special tool to remove the clutch basket. Can you tell me if I will need any other special tools to do a Triumph preunit engine rebuild?
Motorcycle store dude: No, you really only need that one tool, you really don’t need the cam removal tool as those bushings are usually good.
Listen to advice, but don’t stop listening to your instincts. Turns out I needed a special tool to get the crankshaft pinion gear off to pull the crank and clean the sludge trap, change main bearings, remove the left connecting rod, etc…Once the engine halves were separated, an alarming amount of slop was felt in the cam bushings on the clockcase side. Even more alarming, they were spinning! These are supposed to be a pressed-in friction fit with oiling passages that need to be precisely aligned in the engine case. I ordered the cam bushings and cam gear removal tool hoping for the best.

Once the cams were removed, some of the ugliness can be seen. When you hear the term that someone “smoked the bearing,” this is what it looks like. The area around the cams was smoked too. The spinning bushing would have aligned the oiling hole intermittently, but obviously not enough. At this point I am thinking the case bores will have to be welded and re-bored or oversize bushings and a bore job are going to be needed.

Before finding the problem with the bushings, I was tempted to just leave the bottom end alone as the guy I bought it from said he had done a complete rebuild when he was in mechanics school, and everything seemed in really good shape as it was being broken down. My suspicion is the loose bushing problem was a result of that rebuild. It was a huge relief to discover the looseness was due to the bearing being undersize. The bearing was visibly smaller and scored from being turned on a lathe. No need for repair on the bore.

The turned bush is two tenths of a millimeter smaller!

E3275 cams are supposed to be the long ramp grind that deliver low-end torque.

Made up some aluminum drifts to install the cam bushings.

The tank package rack had some small gaps around the feet that were bothering me. Filling them with steel was not too appealing as the filling was needed in a place that is really tough to sand and smooth down. Instead of steel, brass was brazed in the gaps.

The nice things about brass brazing is that it flows nicely and needs only a little sanding.

Funny how some things that were okay on this piece a few years back when it was made are now needing refinement. The original plan was for this bike to be a bobber with some vintage touches, made to be a solid rider, but nothing close to a show bike. I was thinking it would not be too hard to take it up to show level initially, but everything has been revised in some way or another.

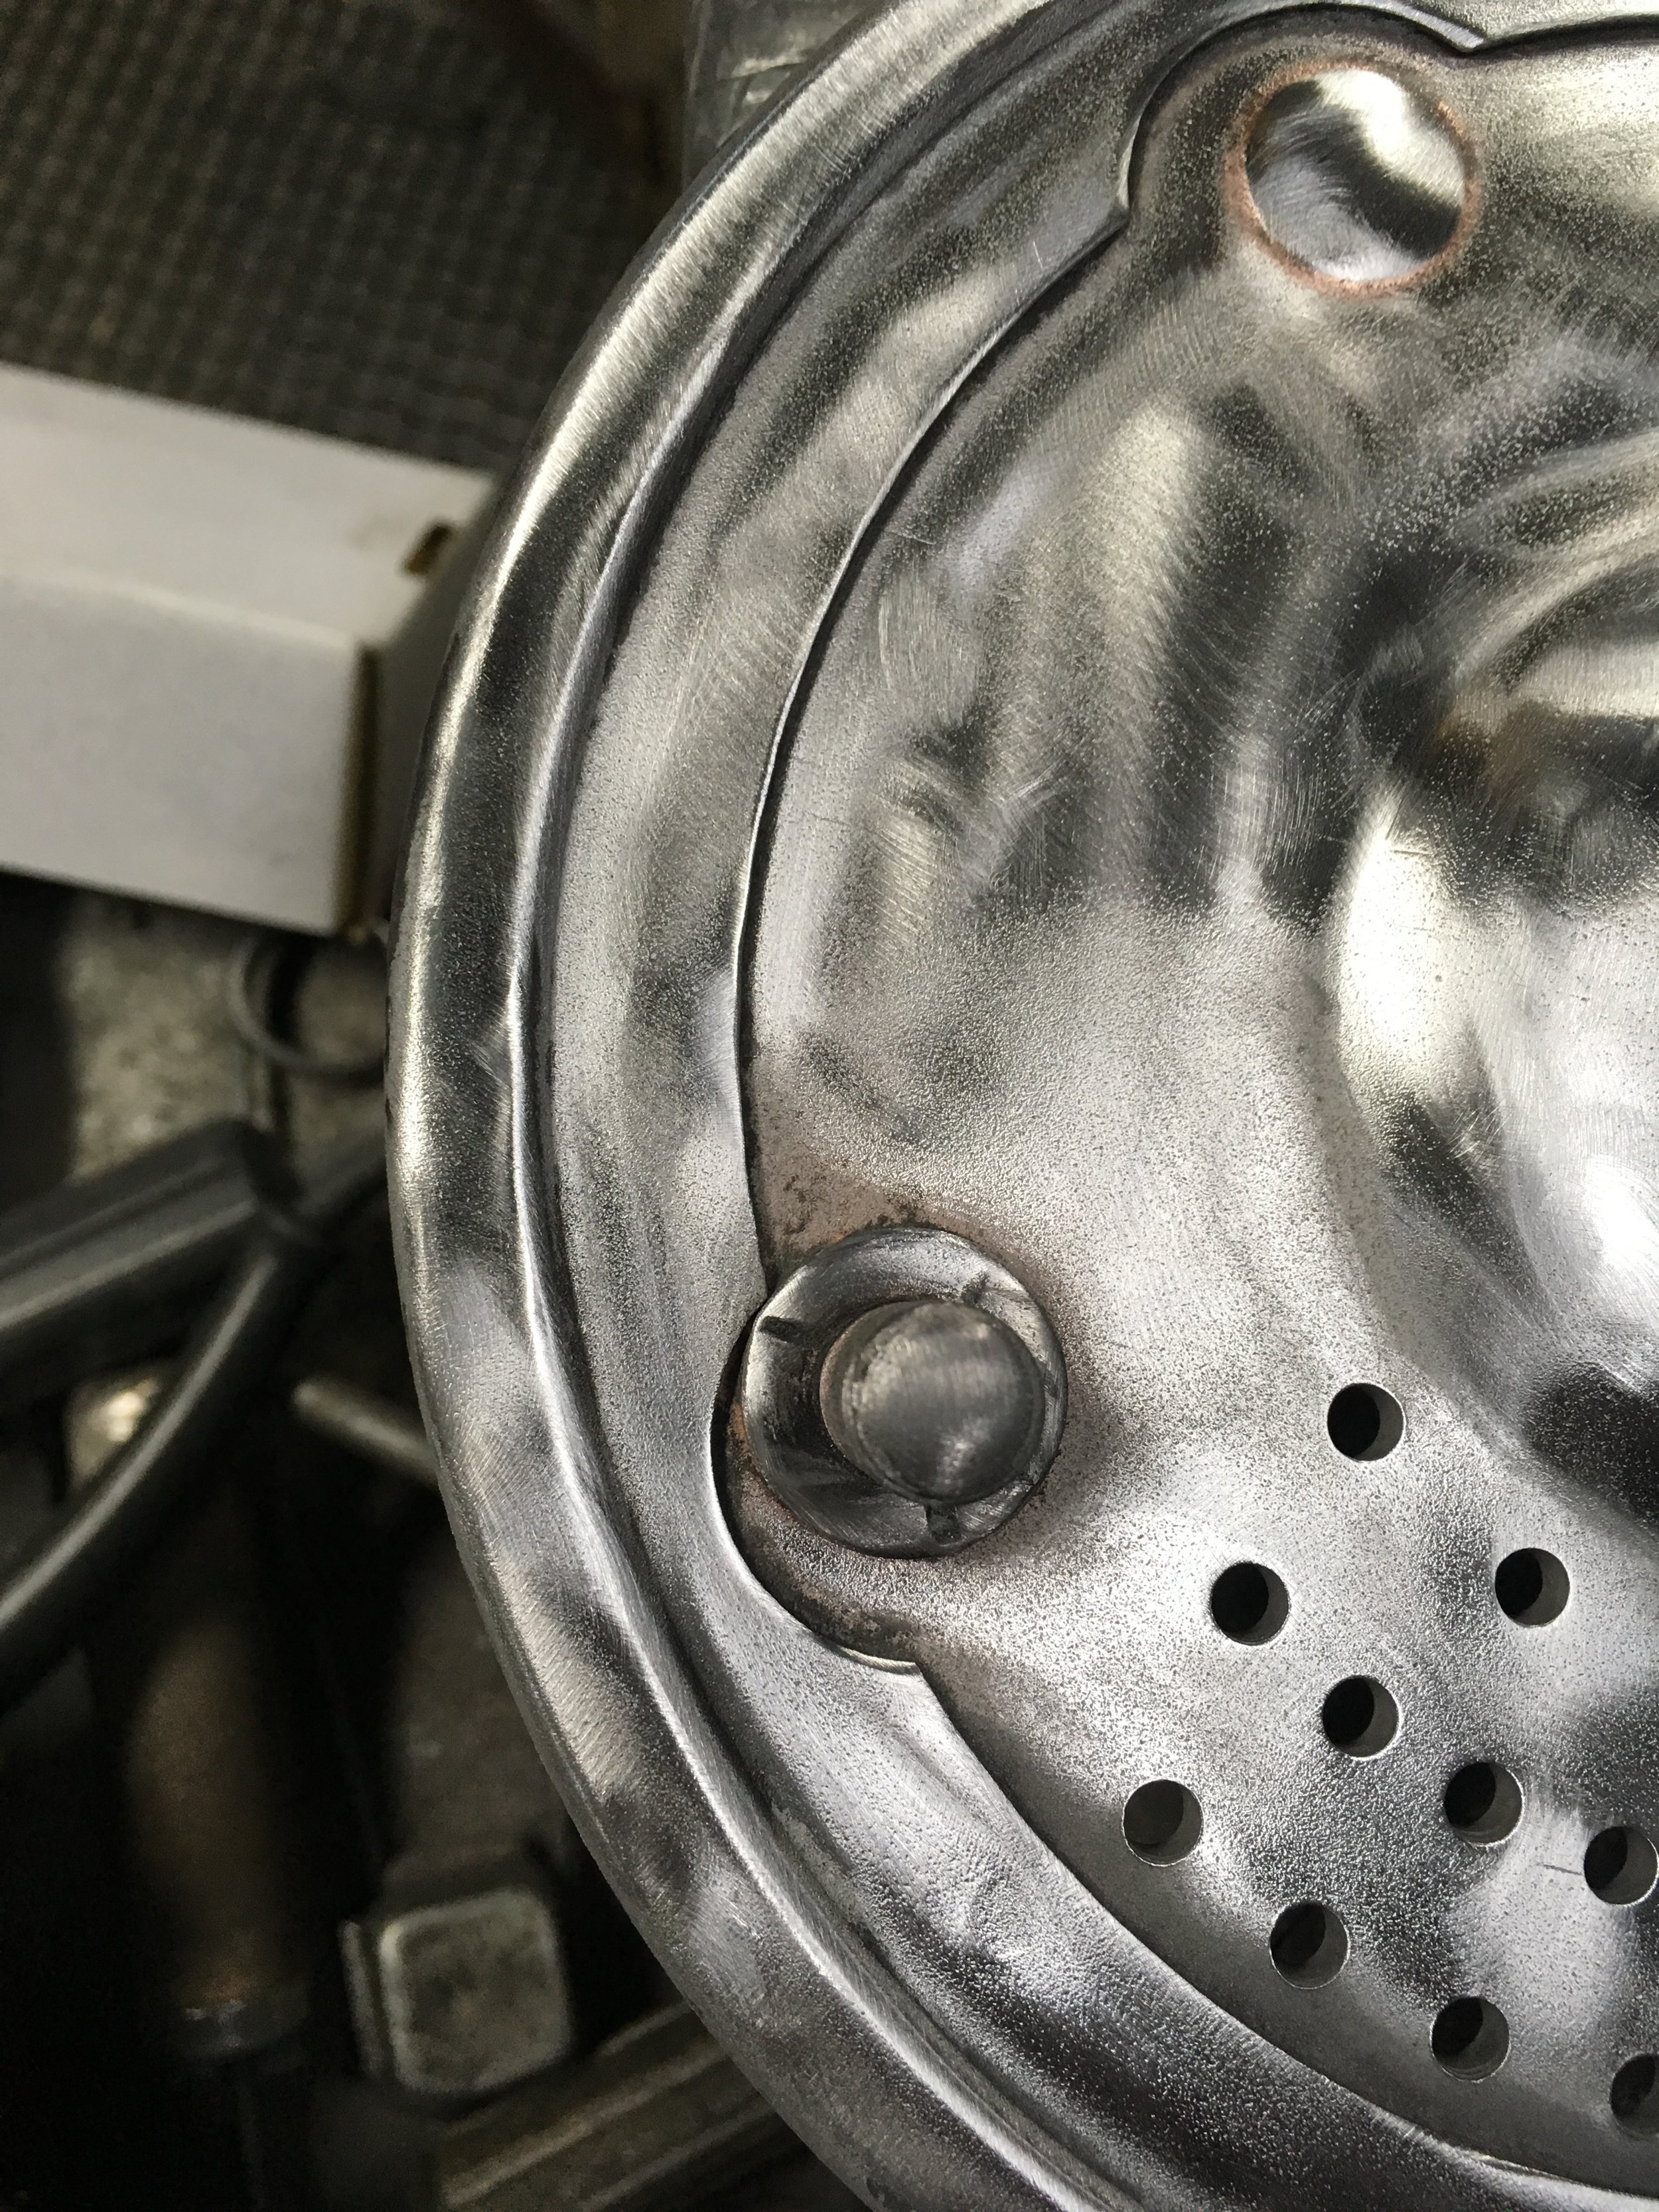
Now that the cams are out, the case half can be polished. This was after hours of hand sanding, worked to 3500 grit level.

The only way to get that smooth surface without waves in the finish is to block it out by hand.

After buffing with black compound and then green, it is finally done.