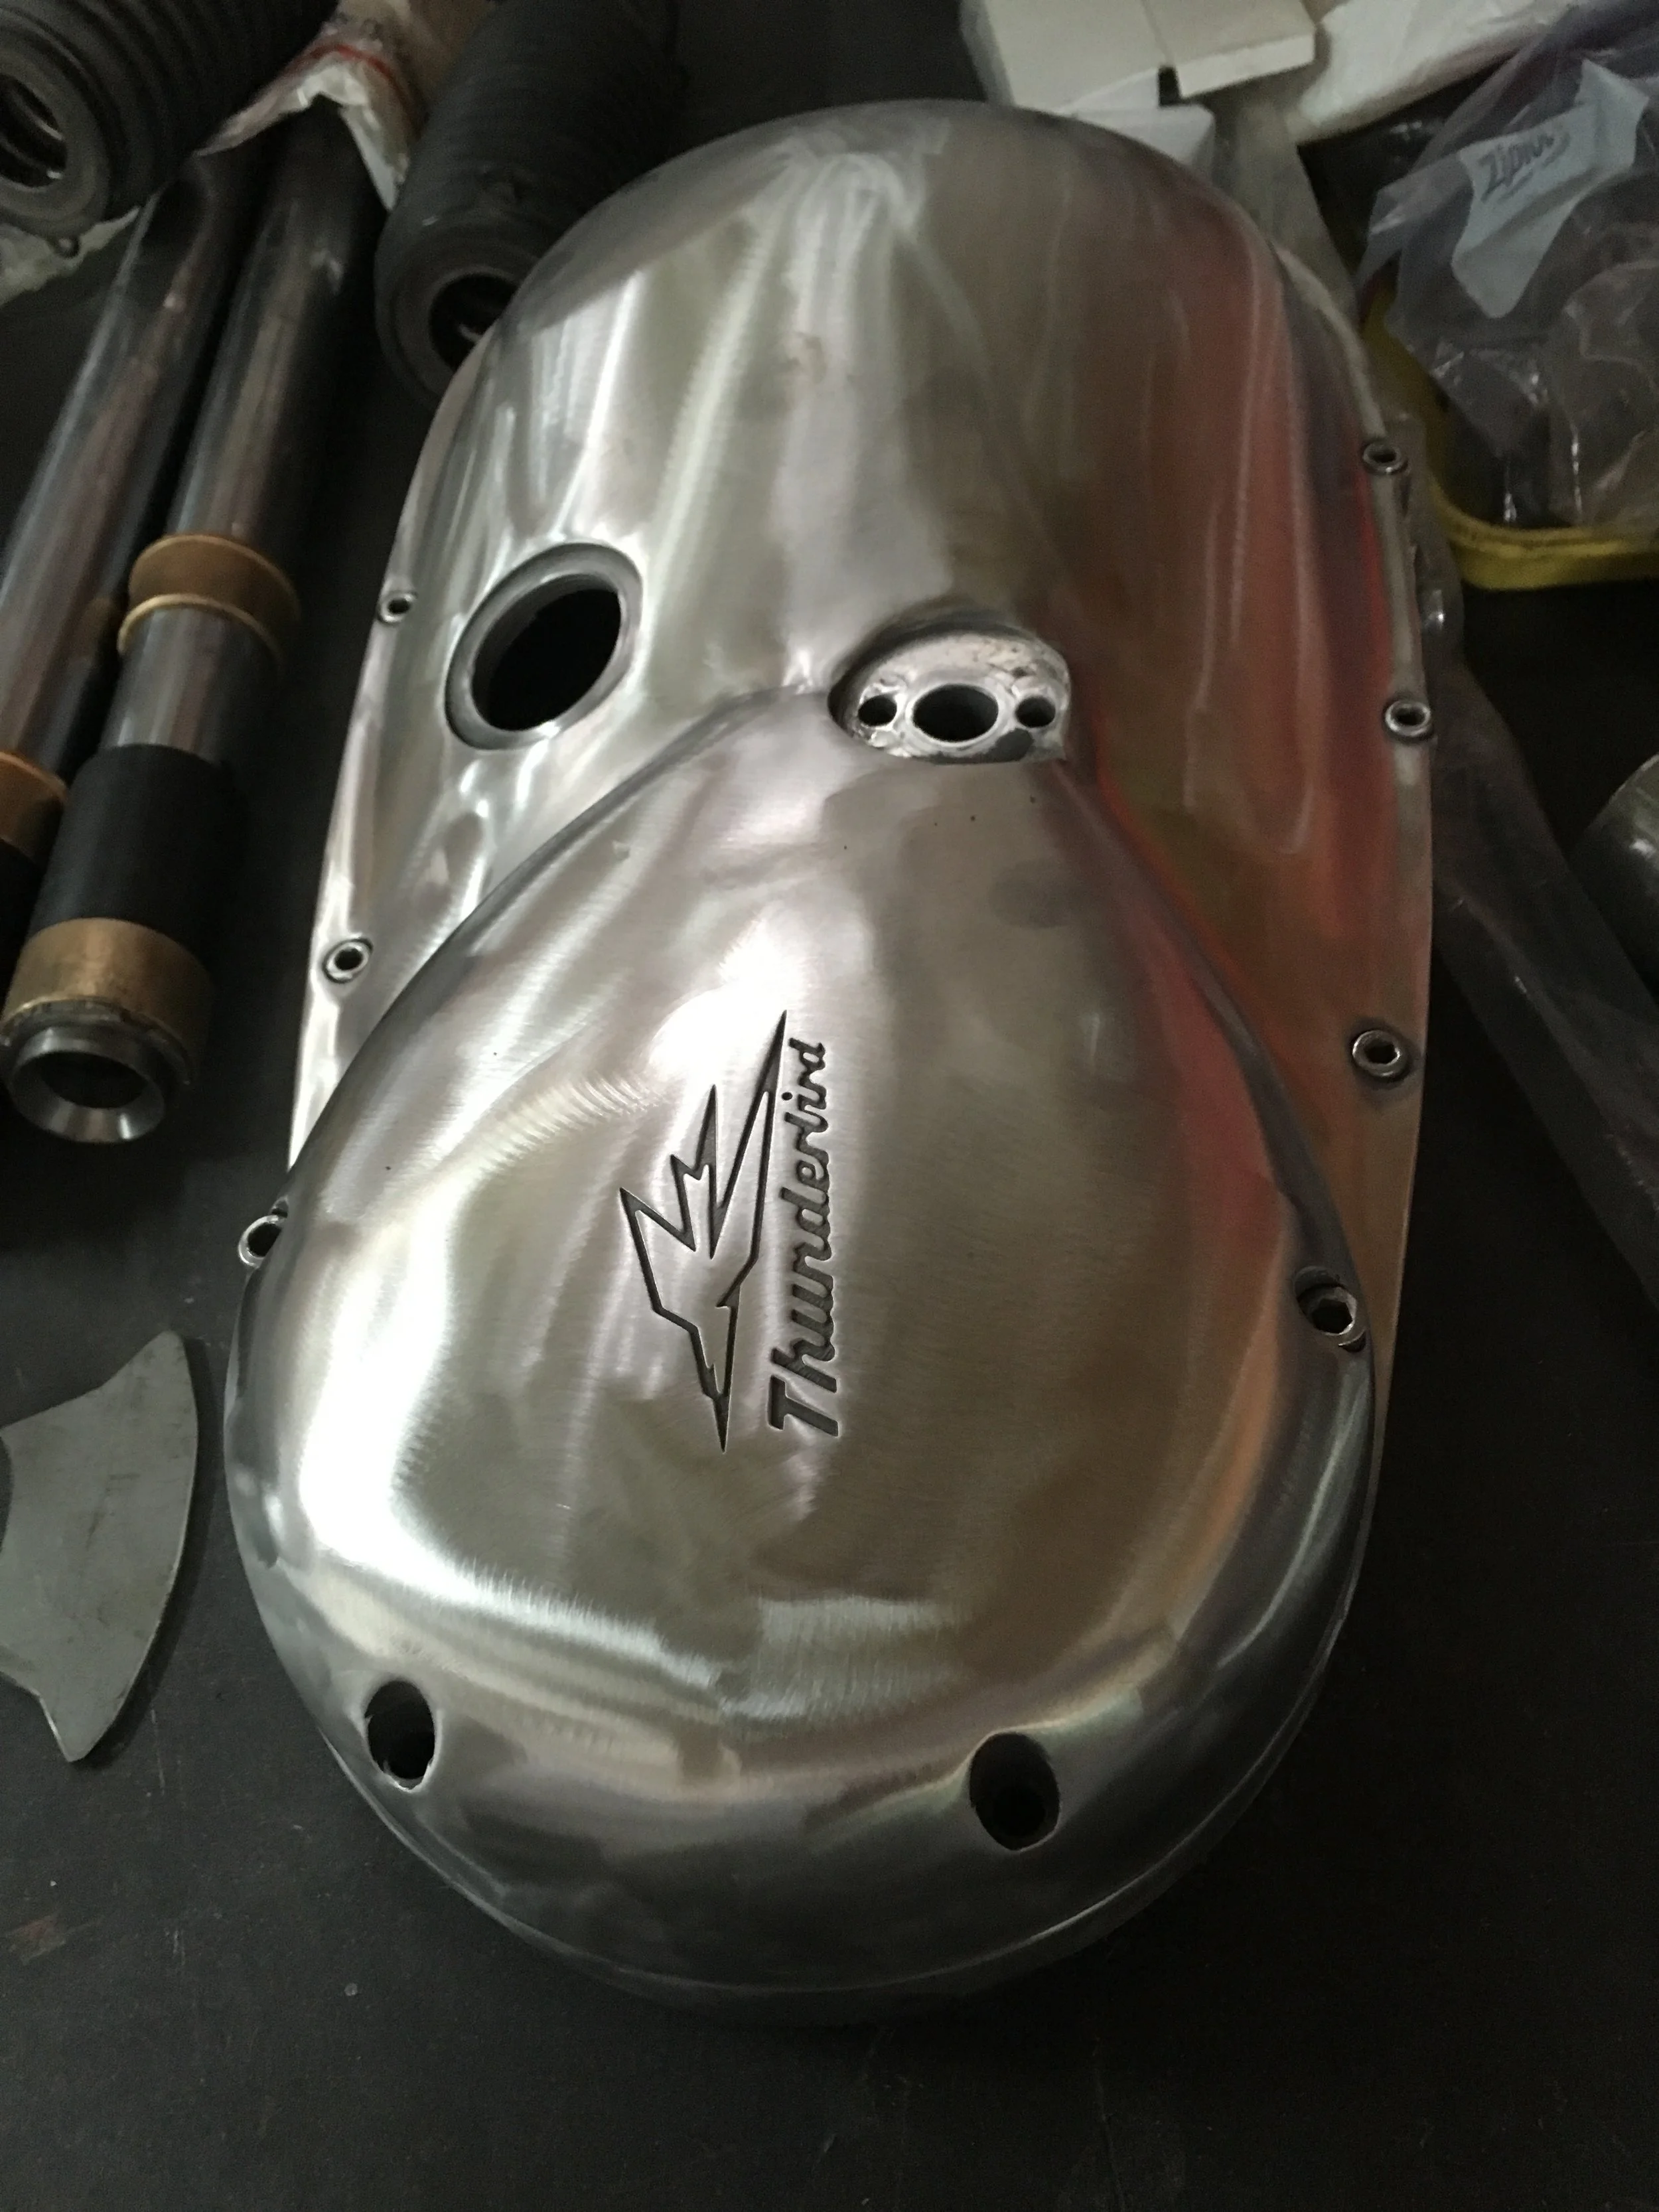
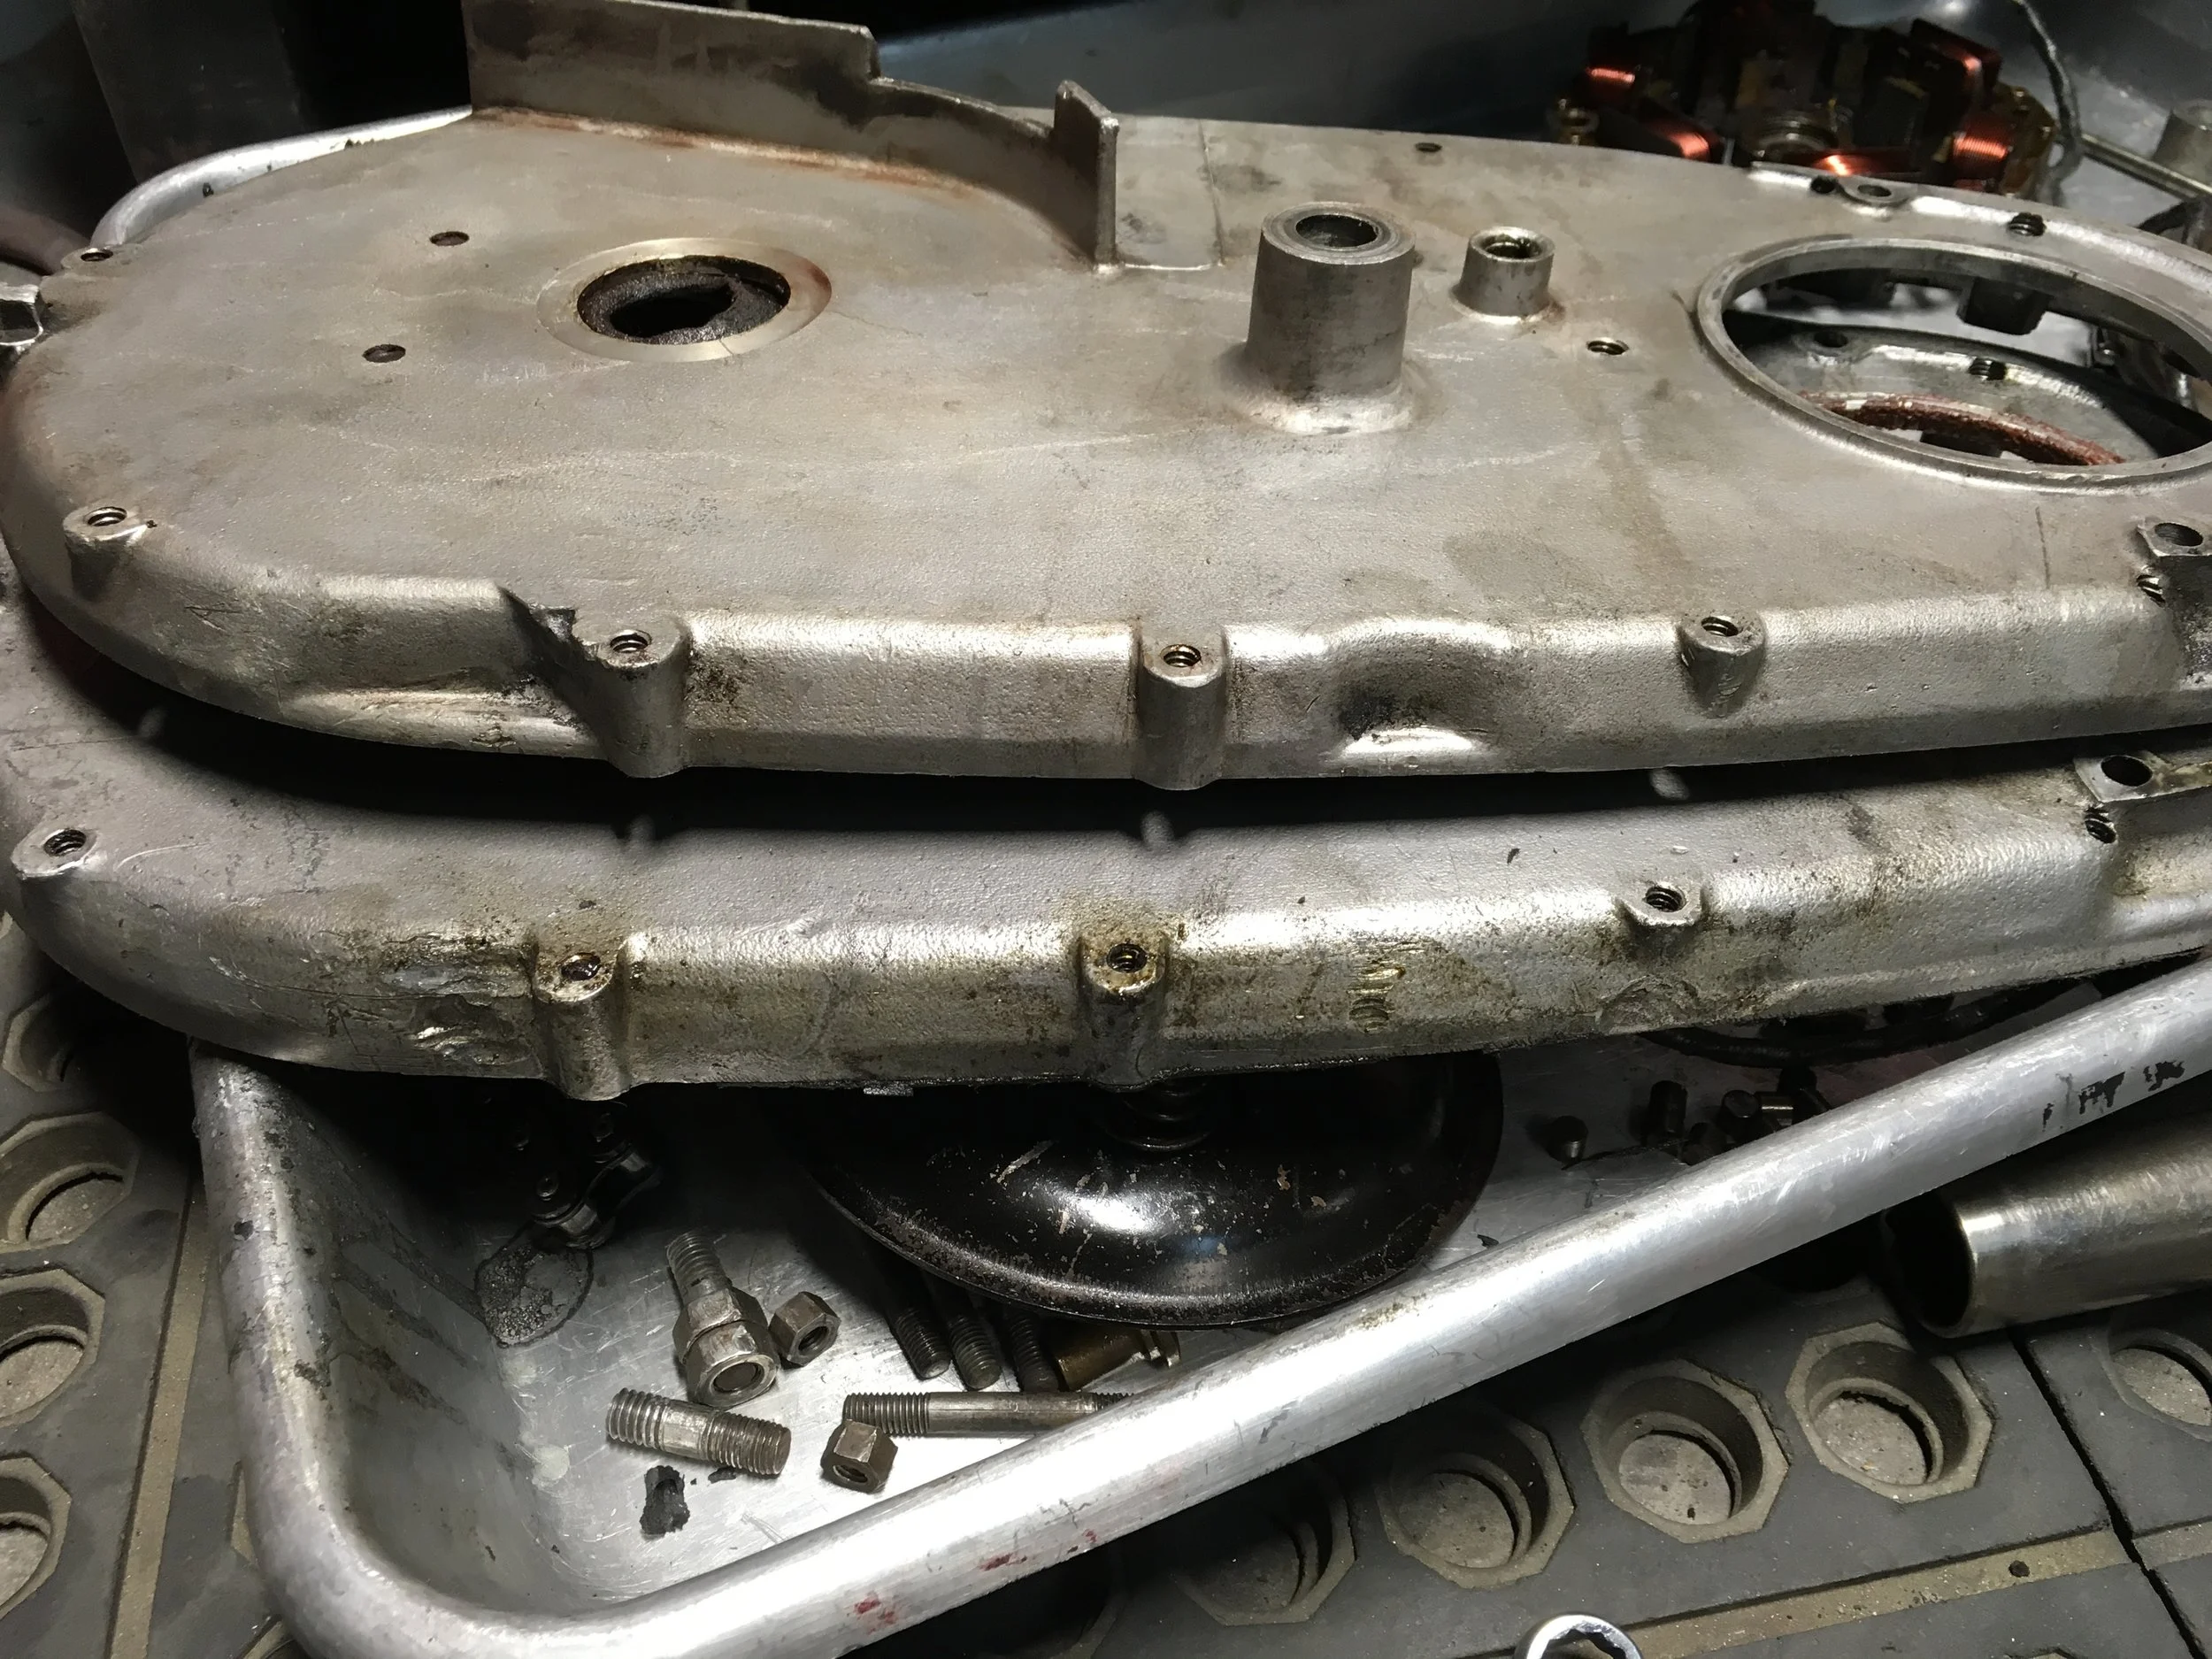
The table of parts getting ready to head off for chrome plating and polishing. The aluminum parts minus the engine cases are going for polishing, and the steel parts are going for chrome. A lot of the parts have been stripped of chrome, some polished out, but there is still a ton of work here for the plater and polisher to do.

Besides documenting the parts for the plater, it is a good reference to have for assembly.

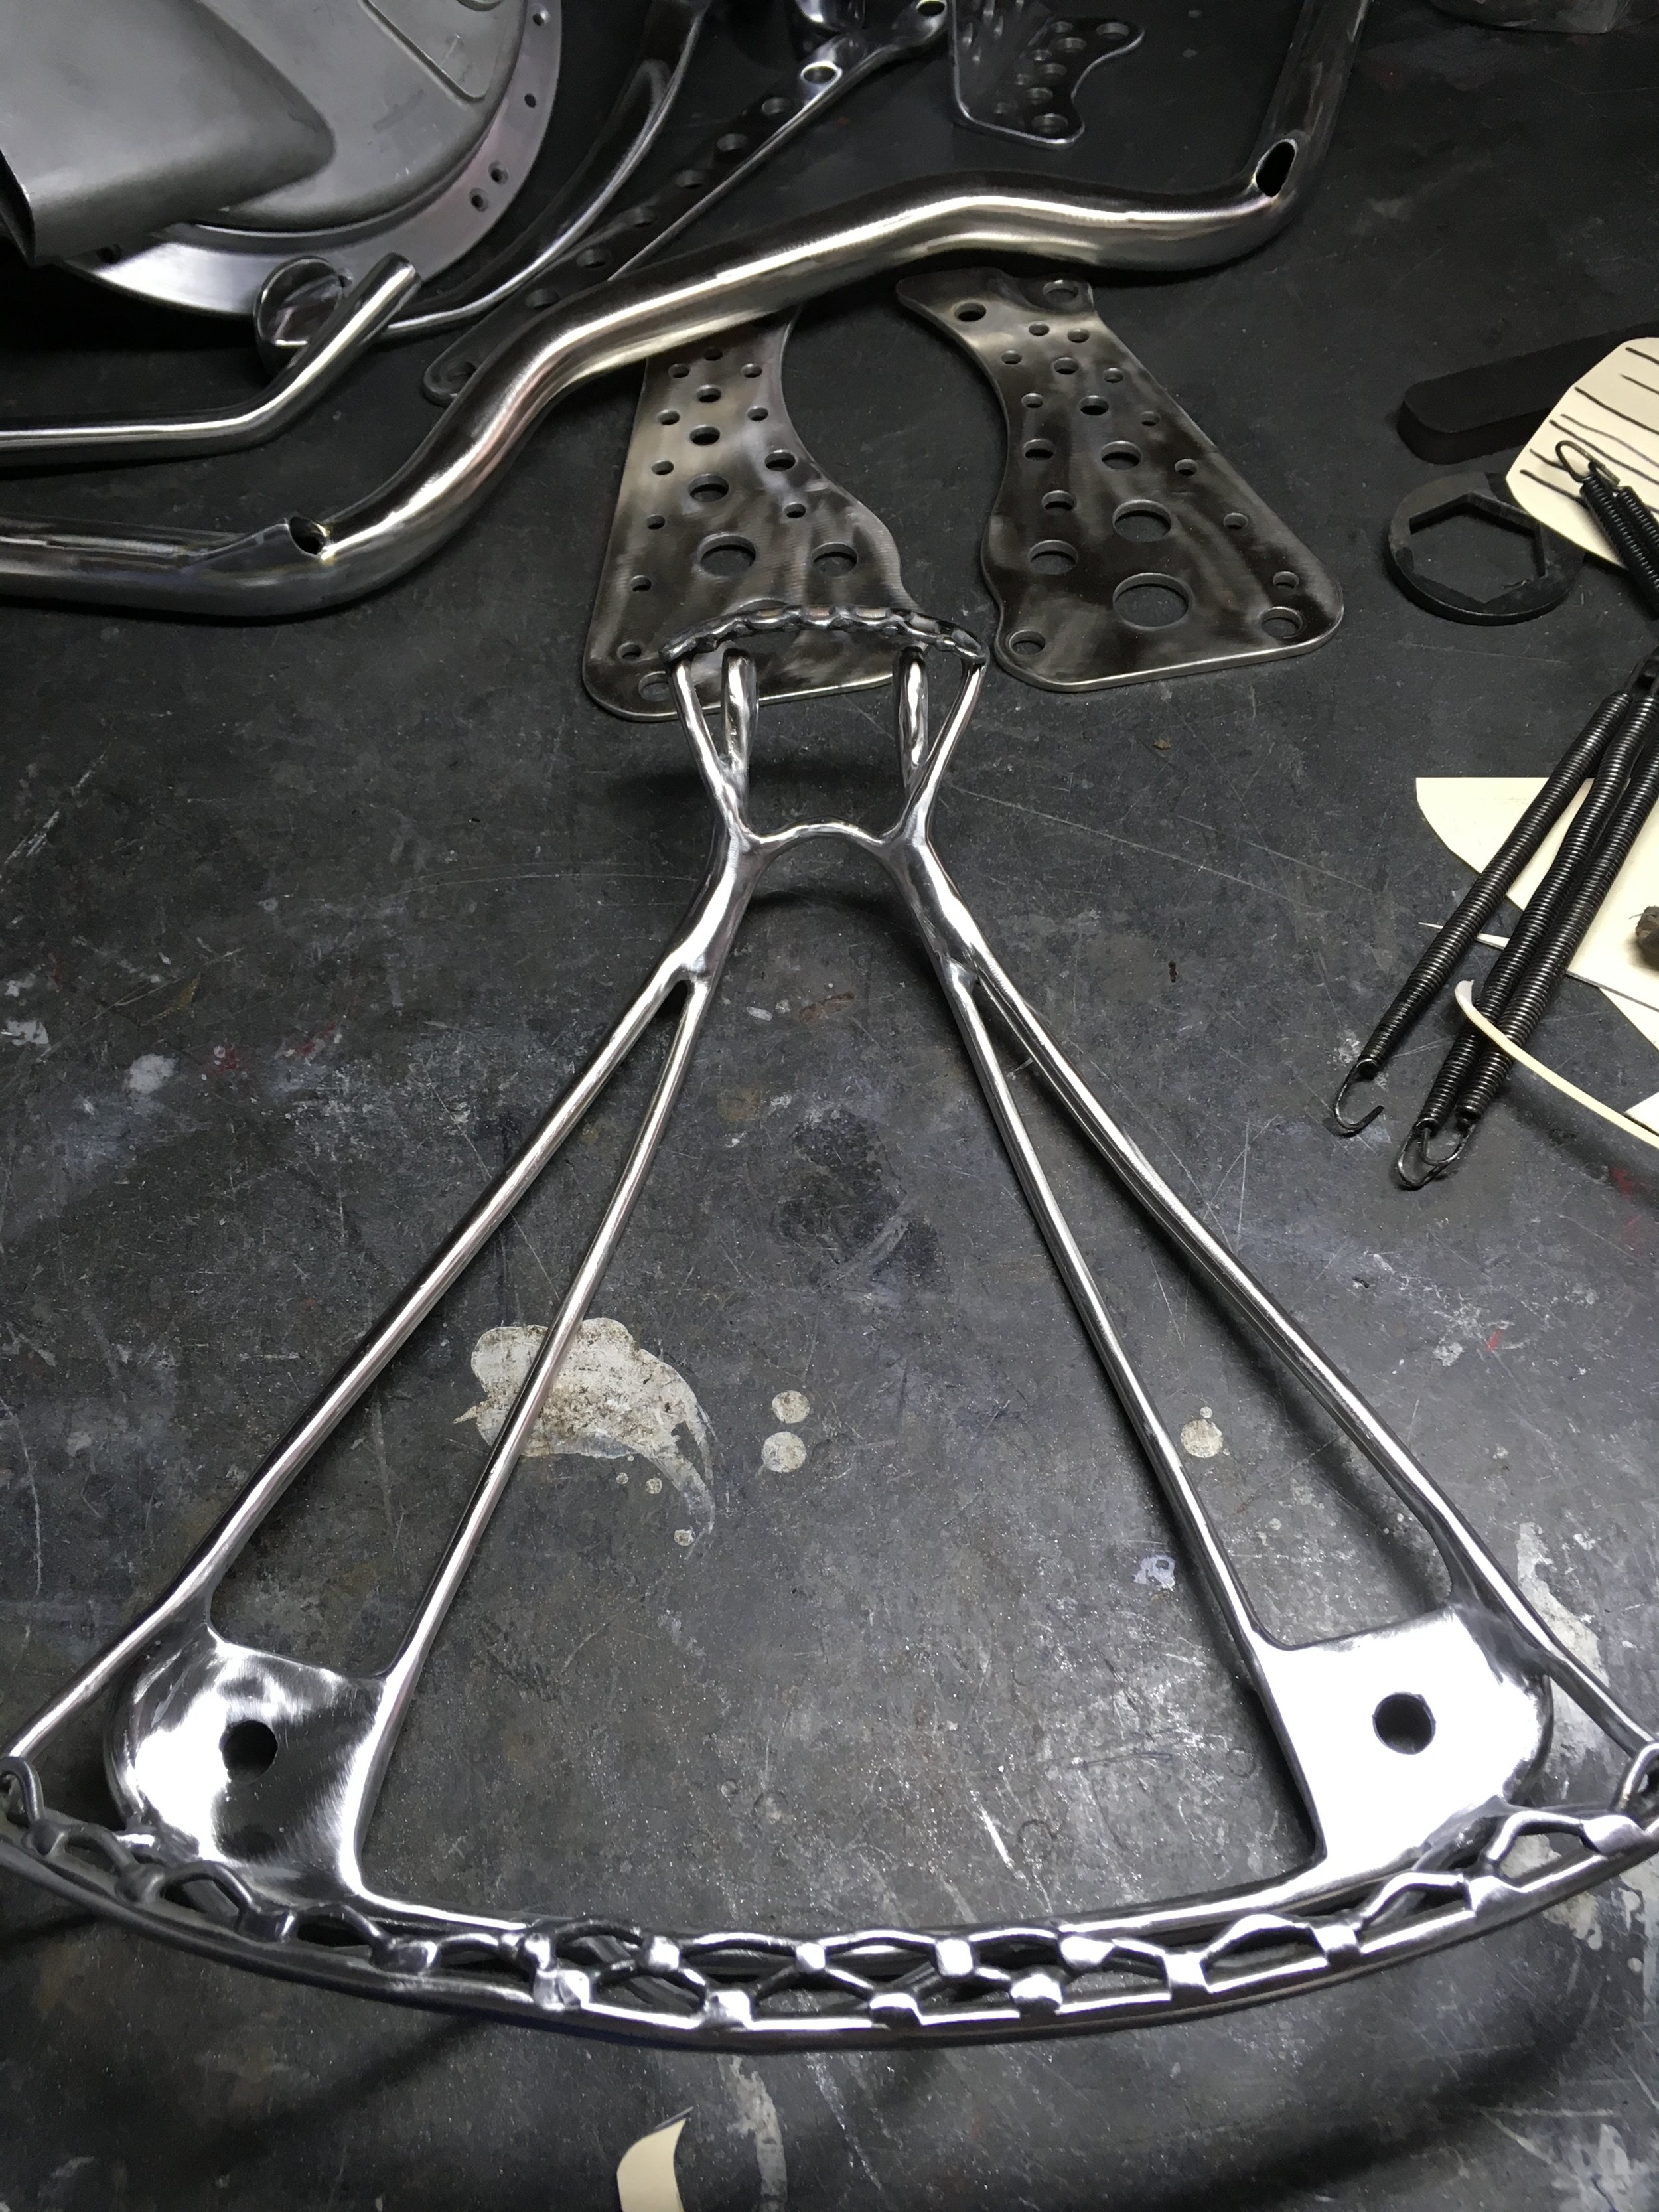
I contemplated and even had a couple suggestions to do nickel plate on the frame, but just not so sure the difference between the nickel and other parts that will be chrome (like wheel rims and forks) would look as good as all chrome. Still time to change my mind, but for now it will be chrome.

Can’t wait to see this polished out…especially by someone else. This will mark the first time ever to send aluminum polishing out. For the last thirty plus years, I have always done my own polishing, but now trying something a little different. Having jobs like this done will give me an idea what the job is worth. Even with all the prep on these parts there are hours to go on them.
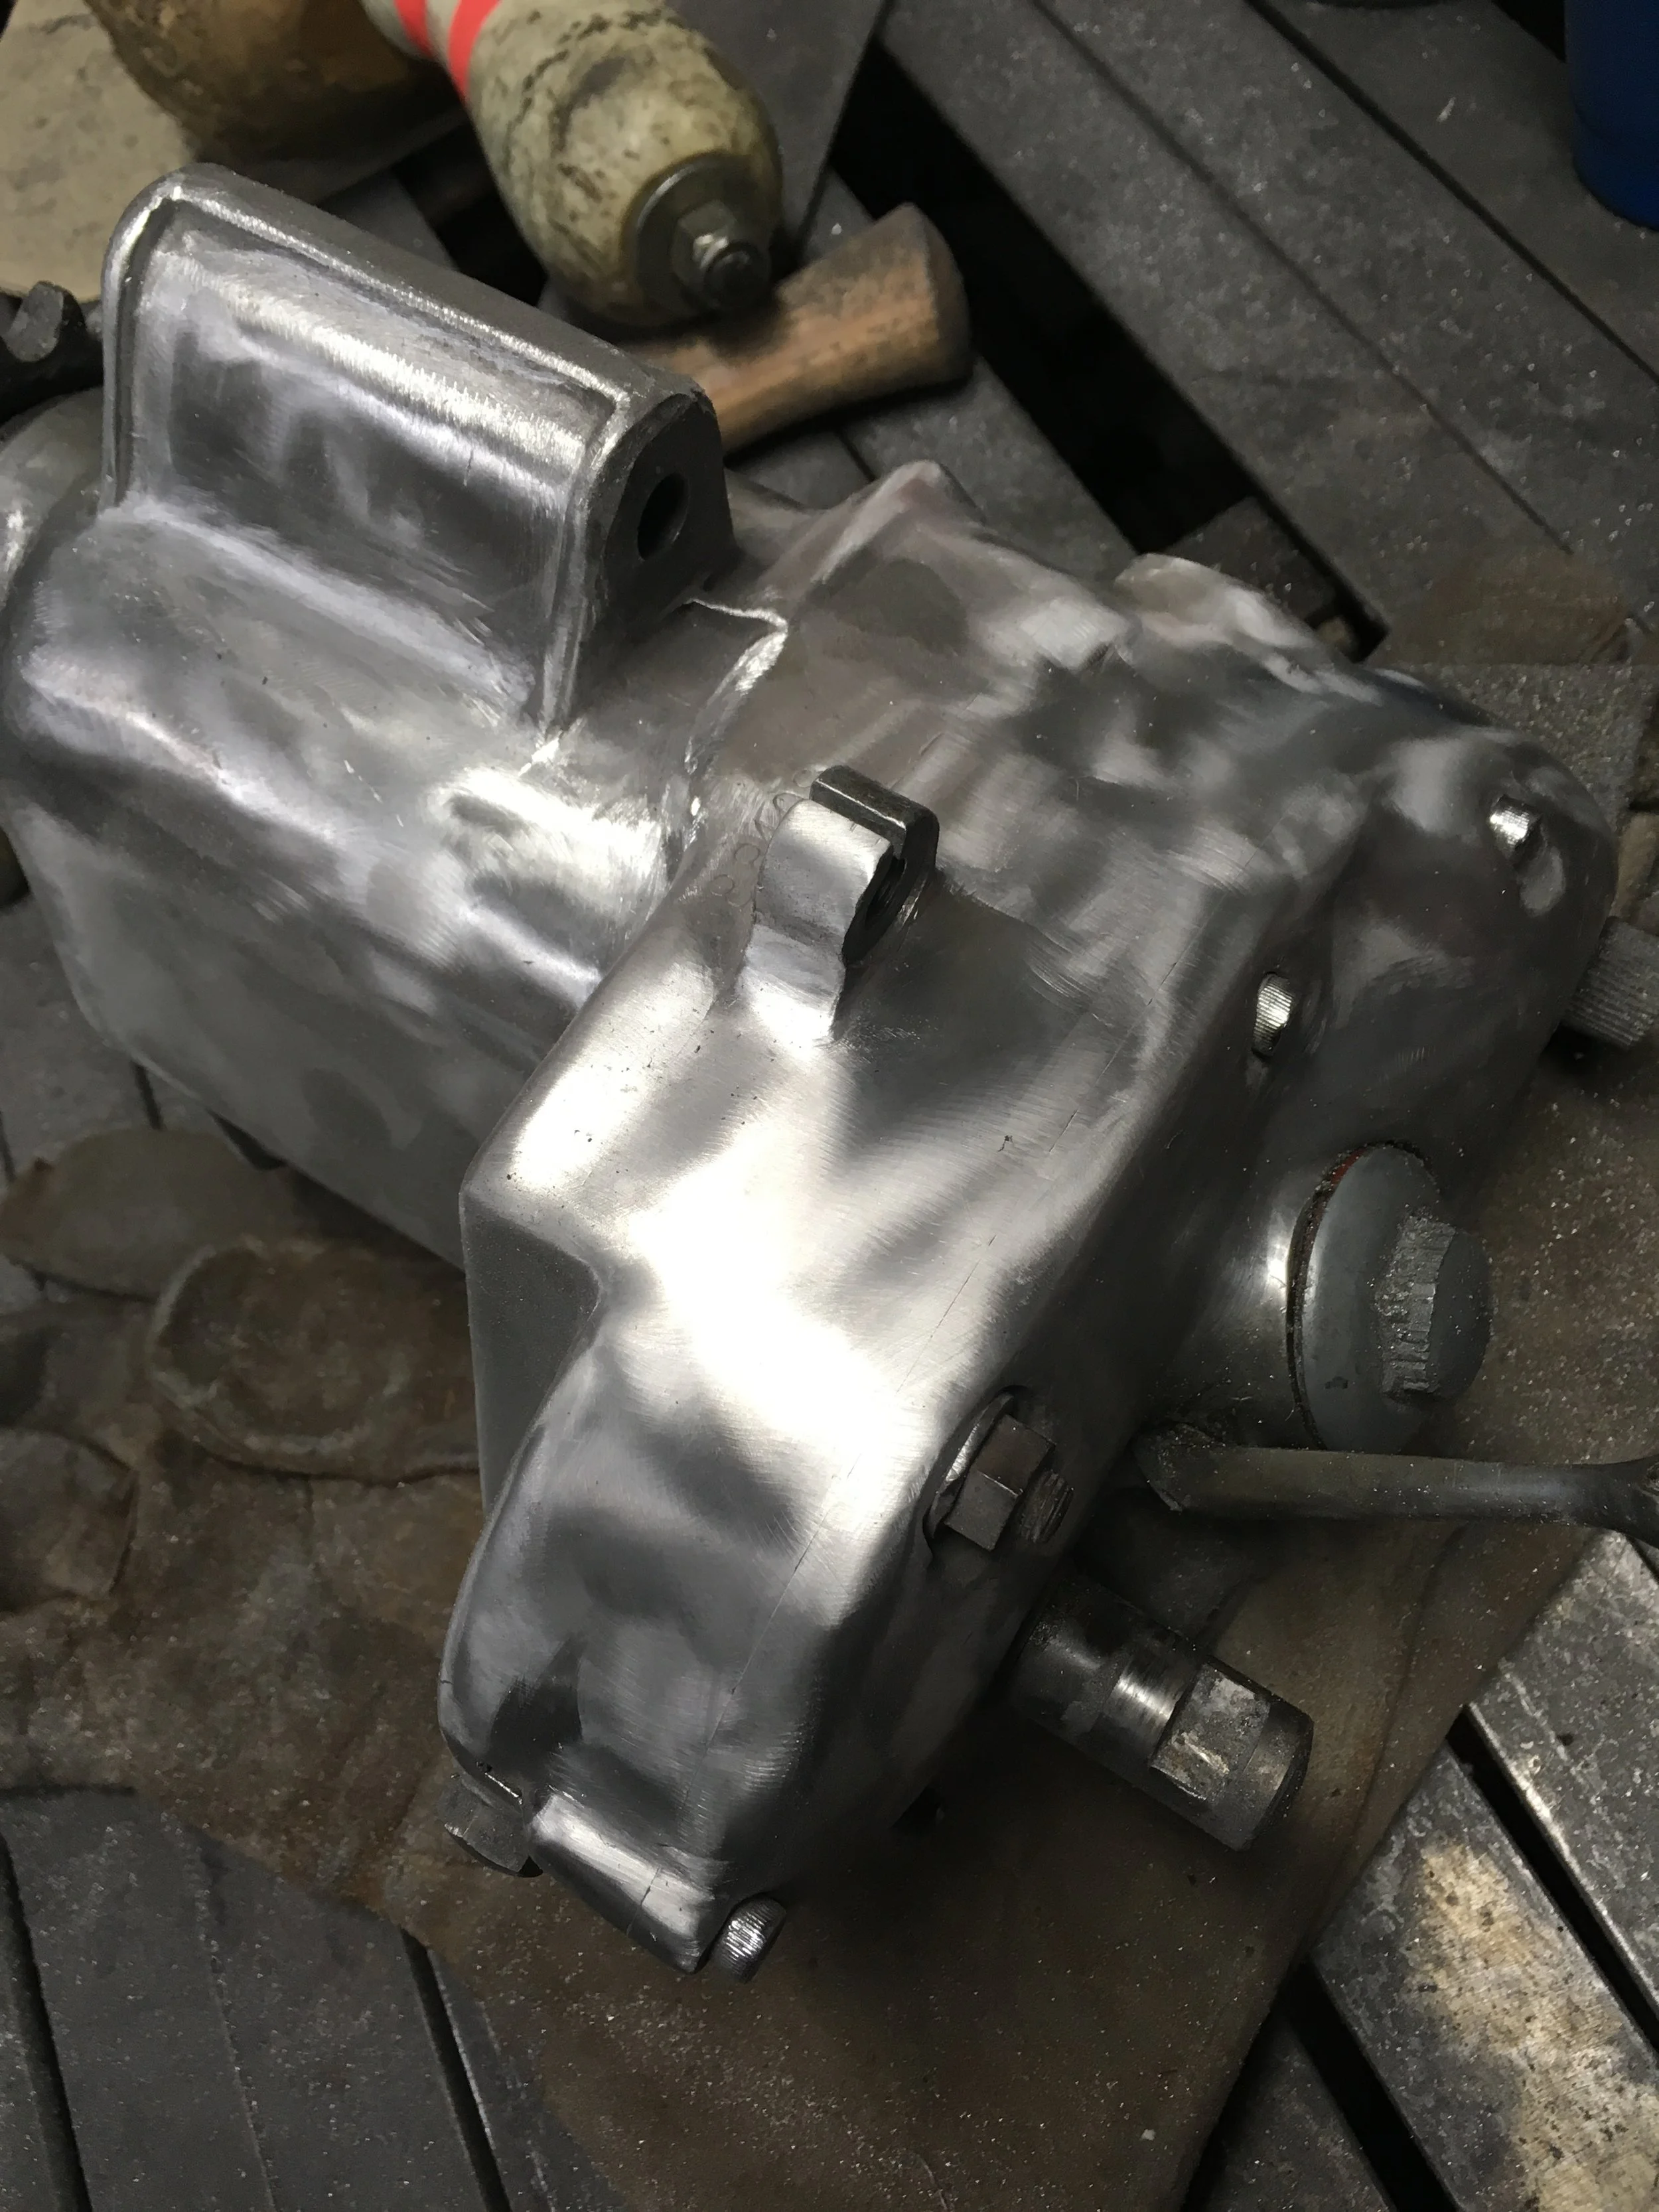
The oil vapor catch-can bracket finally had a small plate welded on to allow it to be mounted with rivets.

Held in place by some Cleco fasteners to test the fit.

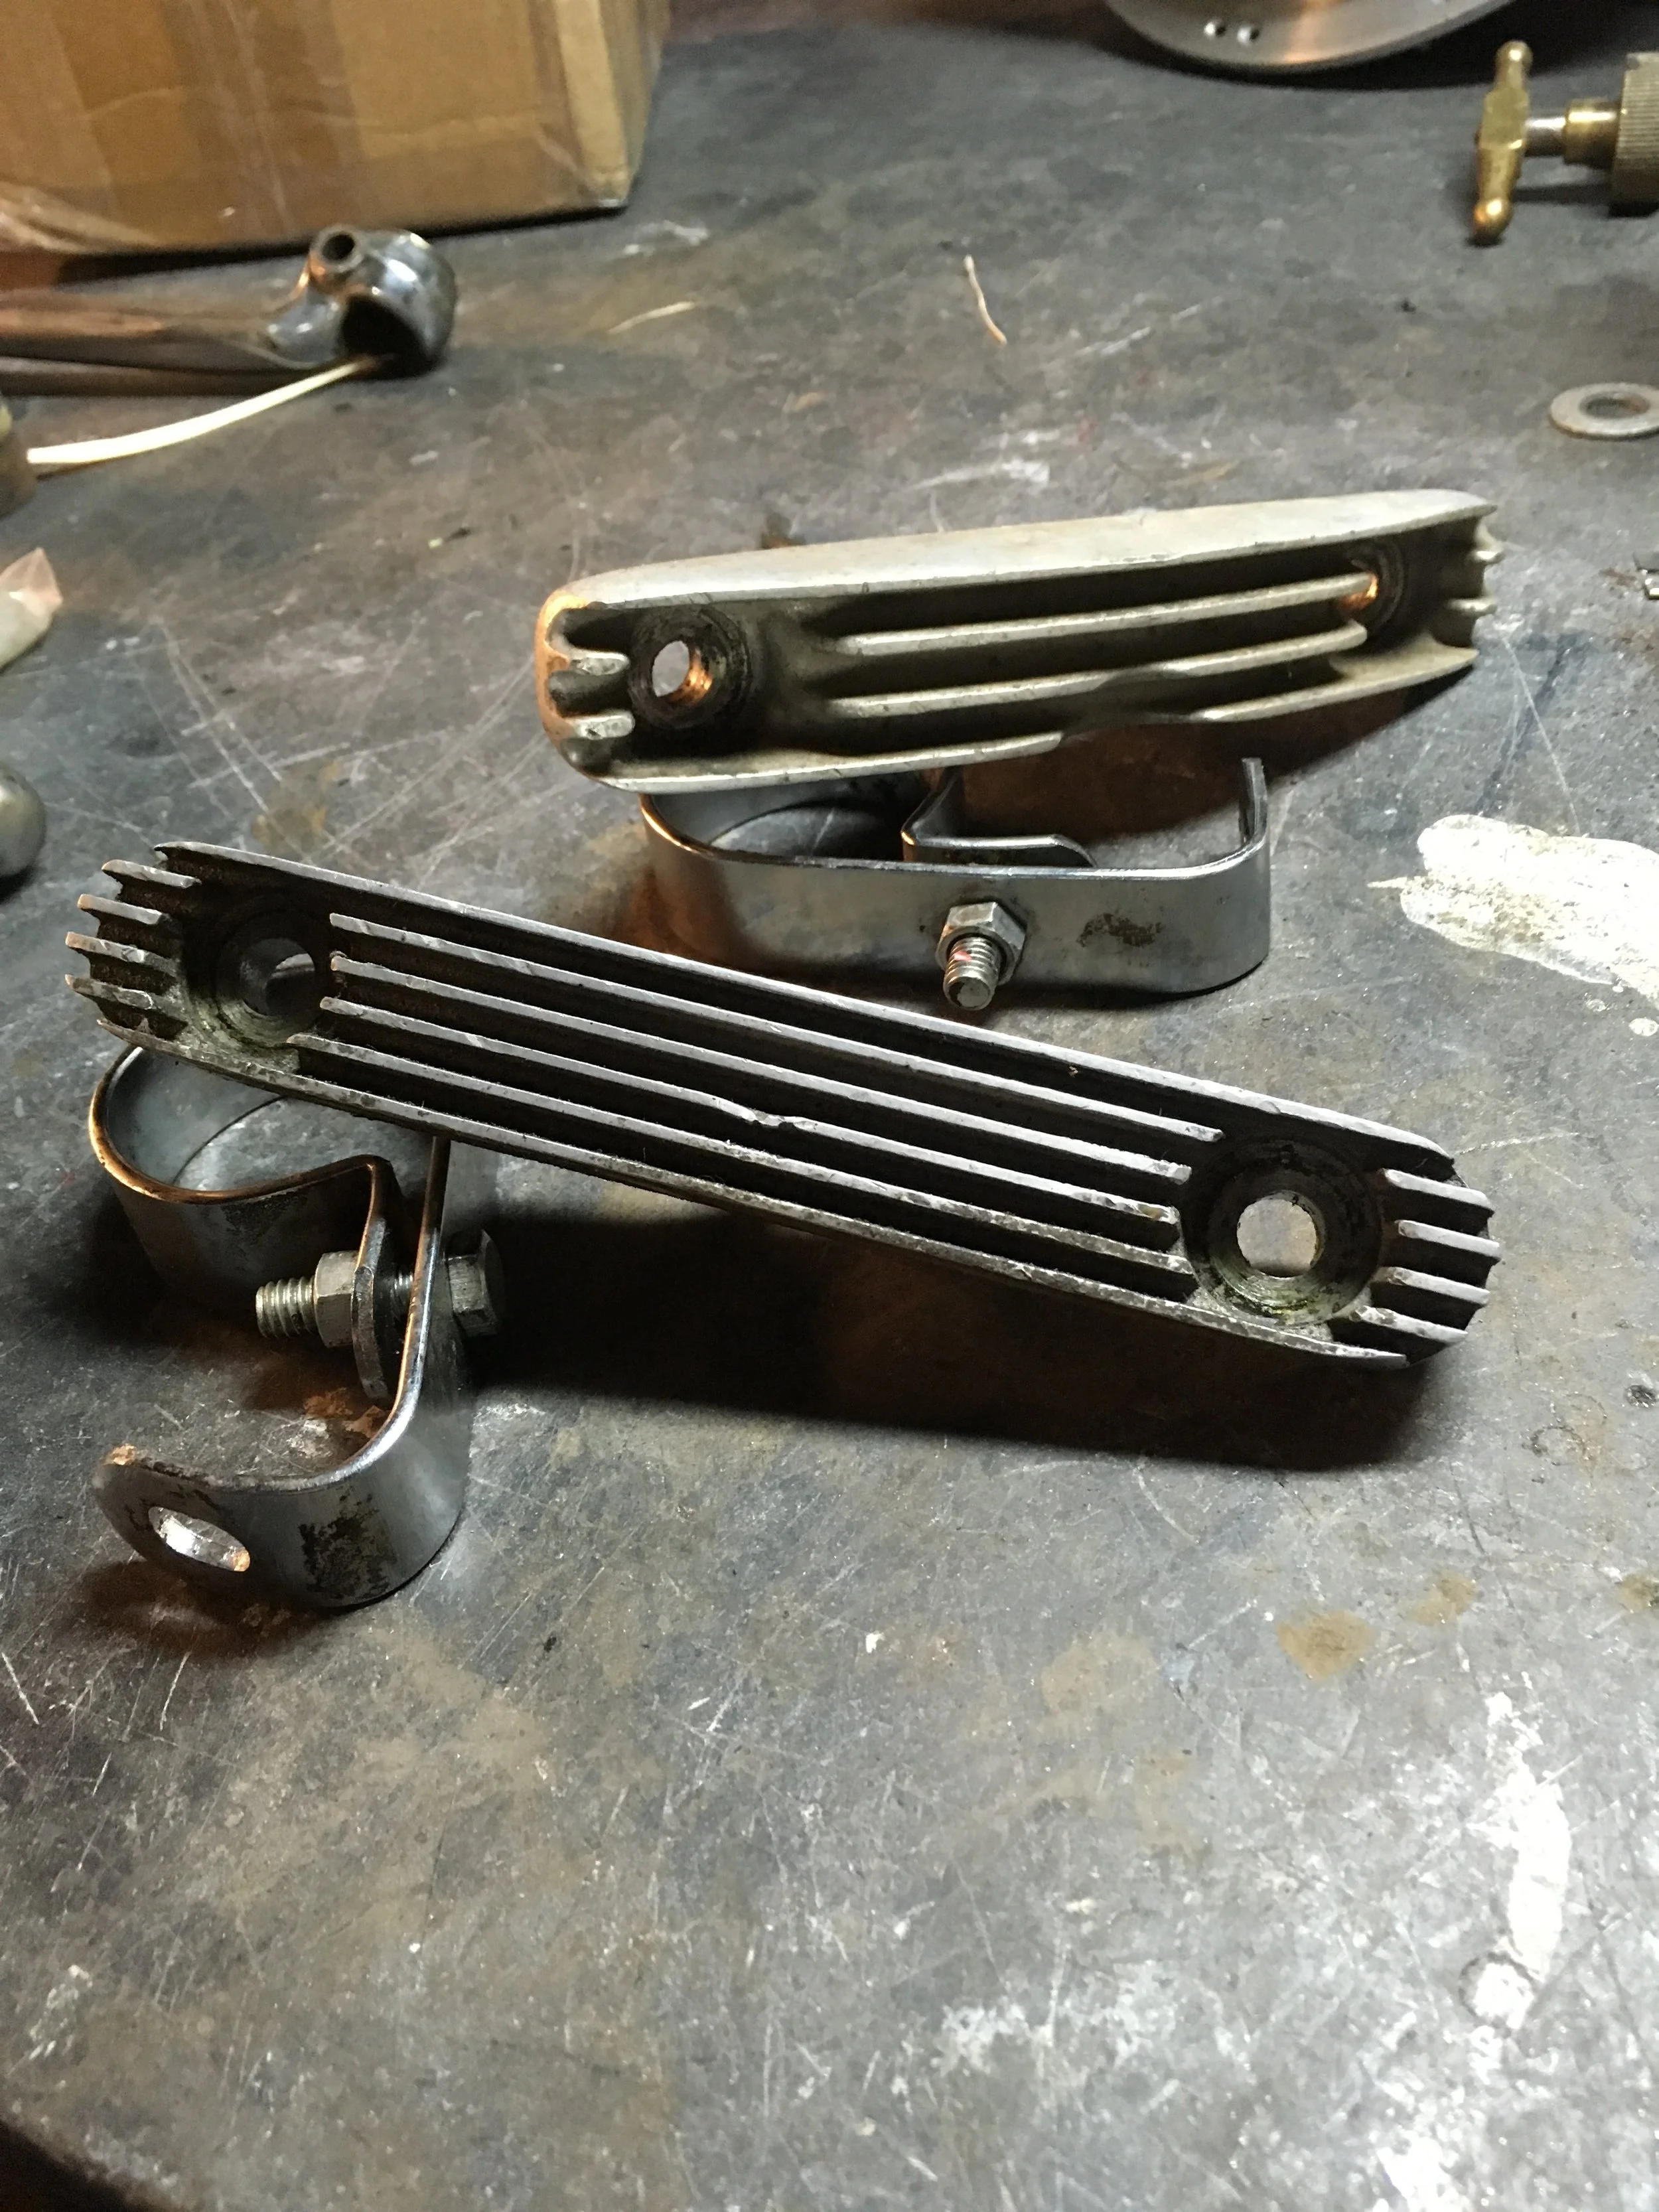
The original footpeg brackets were modified to accept some brass foot rests.

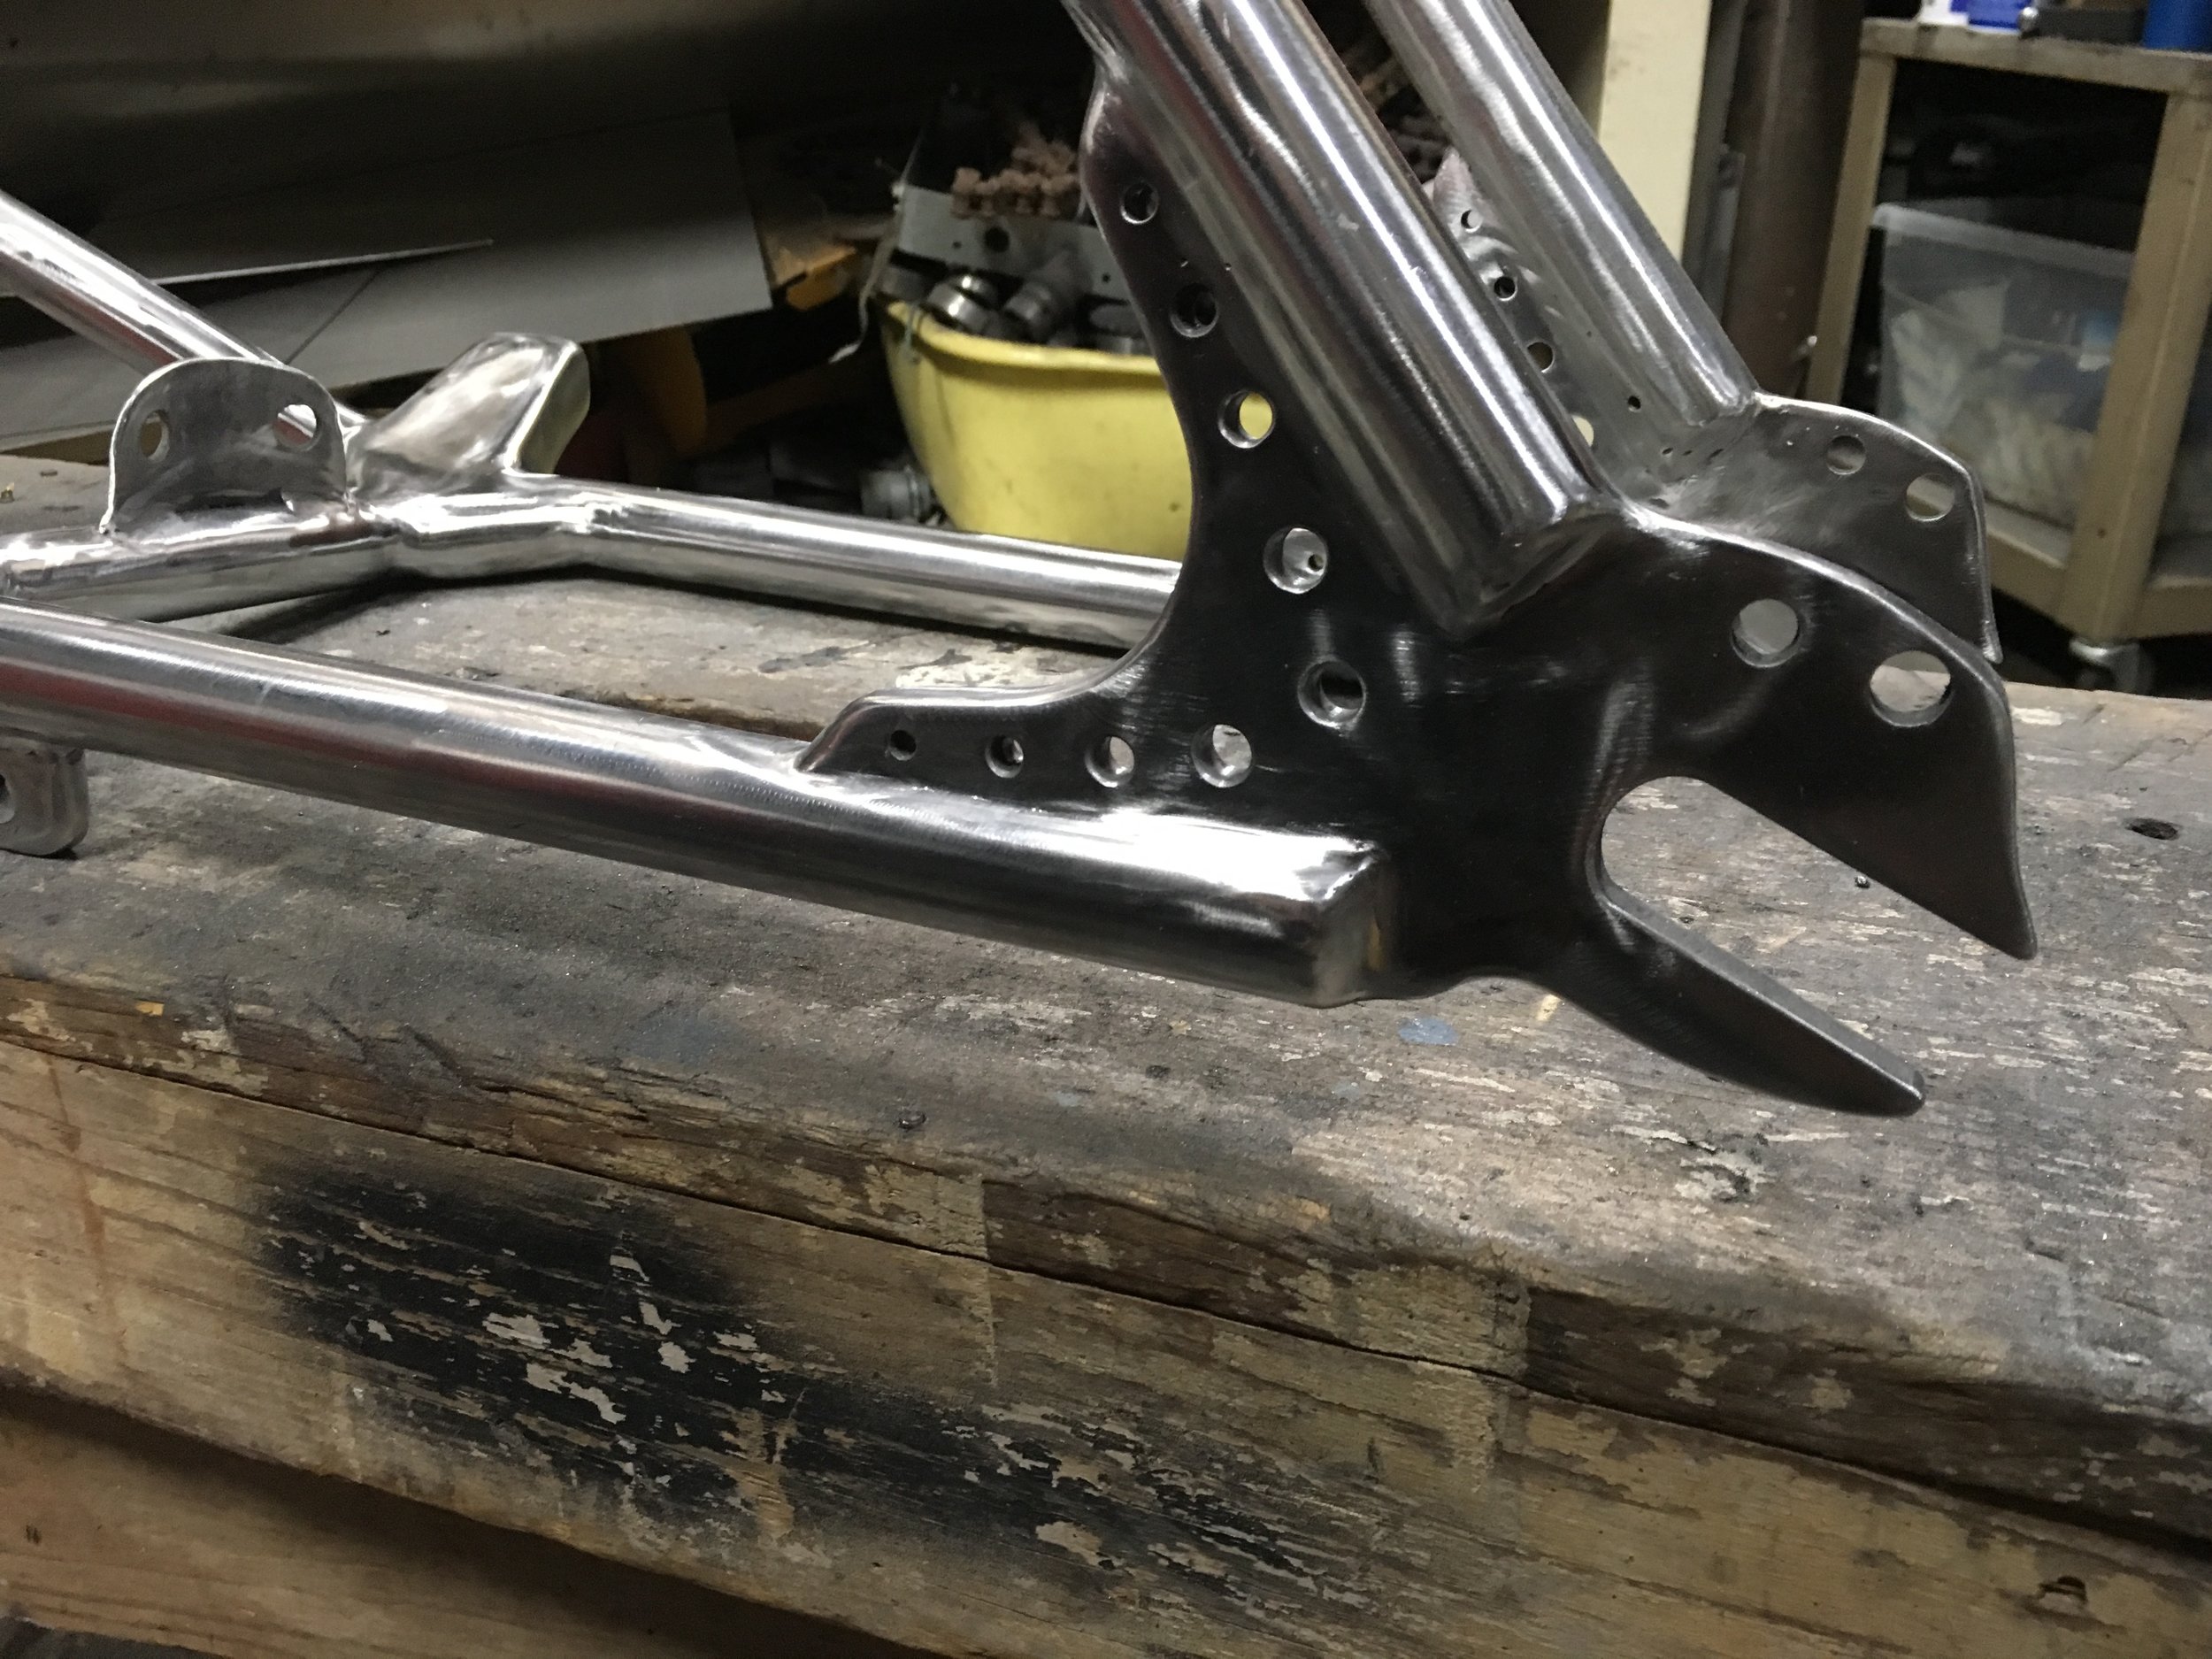
After the top was ground flat, holes were drilled and tapped, and the sides widened by welding.

During the process of matching up the surfaces. Looks like this one needs a little more welding.

Did half a dozen different sketch-outs for the tread pattern. Squares or rectangles will get the nod most likely.

Rehab for some original cheese-head screws. These screws usually get replaced by socket-head screws, as was the case with the Freebird engine, but the original look has a more vintage vibe. They are also costly, with some vendors asking as much as fifteen bucks a screw! Although some are Posi-drive heads, most of them are Phillips and can be made to look a little bit better with a couple quick techniques.

A piece of steel with a 1/4” hole is laid across a gap in the vise and the screw placed in the hole and hammered. It is amazing how just a couple medium blows can push the buggered-out parts back down. Next, a number 3 JIS (Japanese Industrial Standard) cross screwdriver is hammered good and hard into the head to even up the edges a little. JIS screwdrivers are different from Phillips, with flate sides on the vanes of the tip. Phillips vanes are slanted to make them “cam out” when they reach the appropriate torque.

After the hammering steps, they get chucked up in the drill and run against the belt sander for a couple seconds.

This is the type thing that makes working with a sixty year old bike a bit of a challenge. The transmission shift shaft was severely pitted, but otherwise functioning just fine. To repair it, the shaft was ground down to fresh steel , welded and ground back down to the right level.

Chucking it up in the lathe allowed it to be taken to the right level. This is the after of the same surface.