.050 brass sheet cut into rough shape allow the basic form to be started using anvils, hammers, and a shot bag. As it takes form, the edges get slowly cut and sanded down, making small adjustments to fit the contour of the tank. The original badges were helpful in the early part of the process,

This is after a couple rounds of beating on the shot bag with a small ball-peen. Between each round of beating, the metal is annealed, or heated to get rid of work-hardness in the metal.

At this point the ridges are starting to take shape. Metal mandrels, hammers, and anvils are used up to this point, but the repousse technique will be used to get the fine detail.
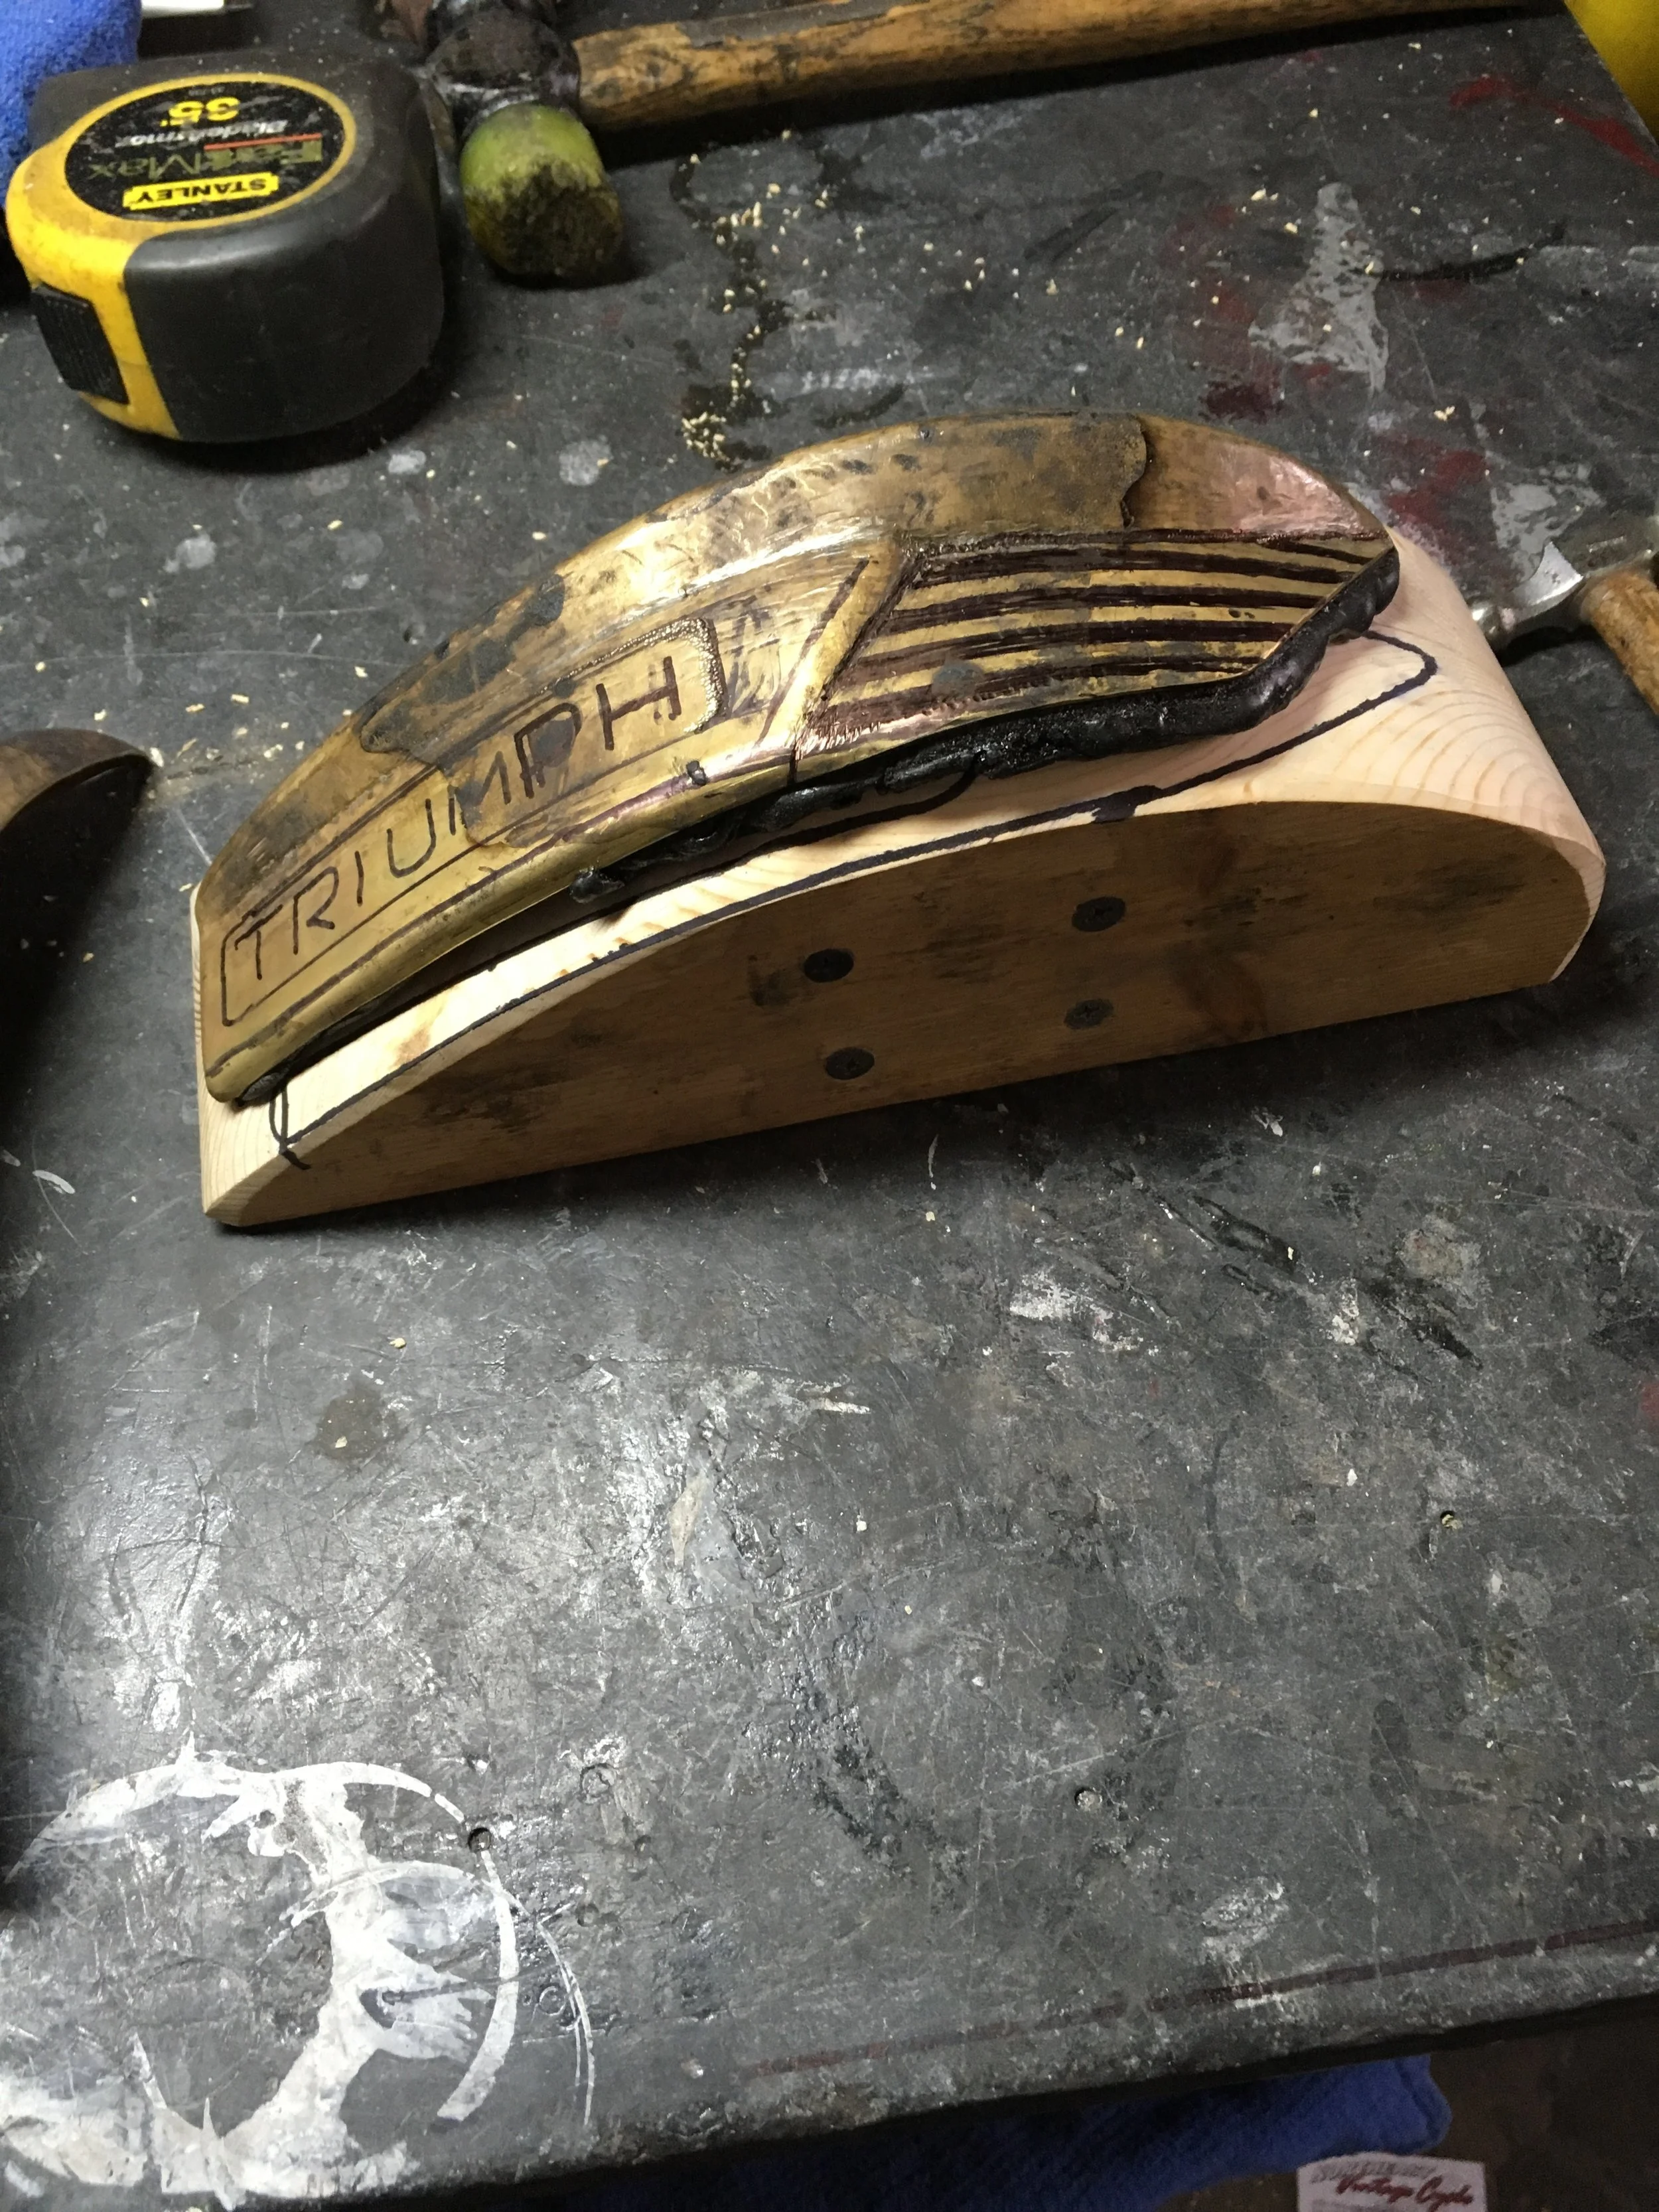
A buck was made of wood to fit the contour of the pieces. The back of the piece was filled with pitch and then laid on top.

Black German pine resin pitch that softens when heated is used to support the metal so the deep relief areas can be worked out. The ball-ended hammer handle allows it to rotate in the palm for rapid strikes .The small steel tools are traditional repousse and chasing type along with some homemade Shitame repousse type..

After about 30 hours…

Over 40 hours in the piece at this point, but nearing the end.

Over fifty hours in the pair at this point. There will be some more detailing on the right badge, mostly texturing the surfaces. Still trying to decide whether to go with a hammered or sanded and polished finish. There is a good chance the dark coloring will be used to match a number of other brass part regardless of which surface treatment is used..

At close to 90 hours.

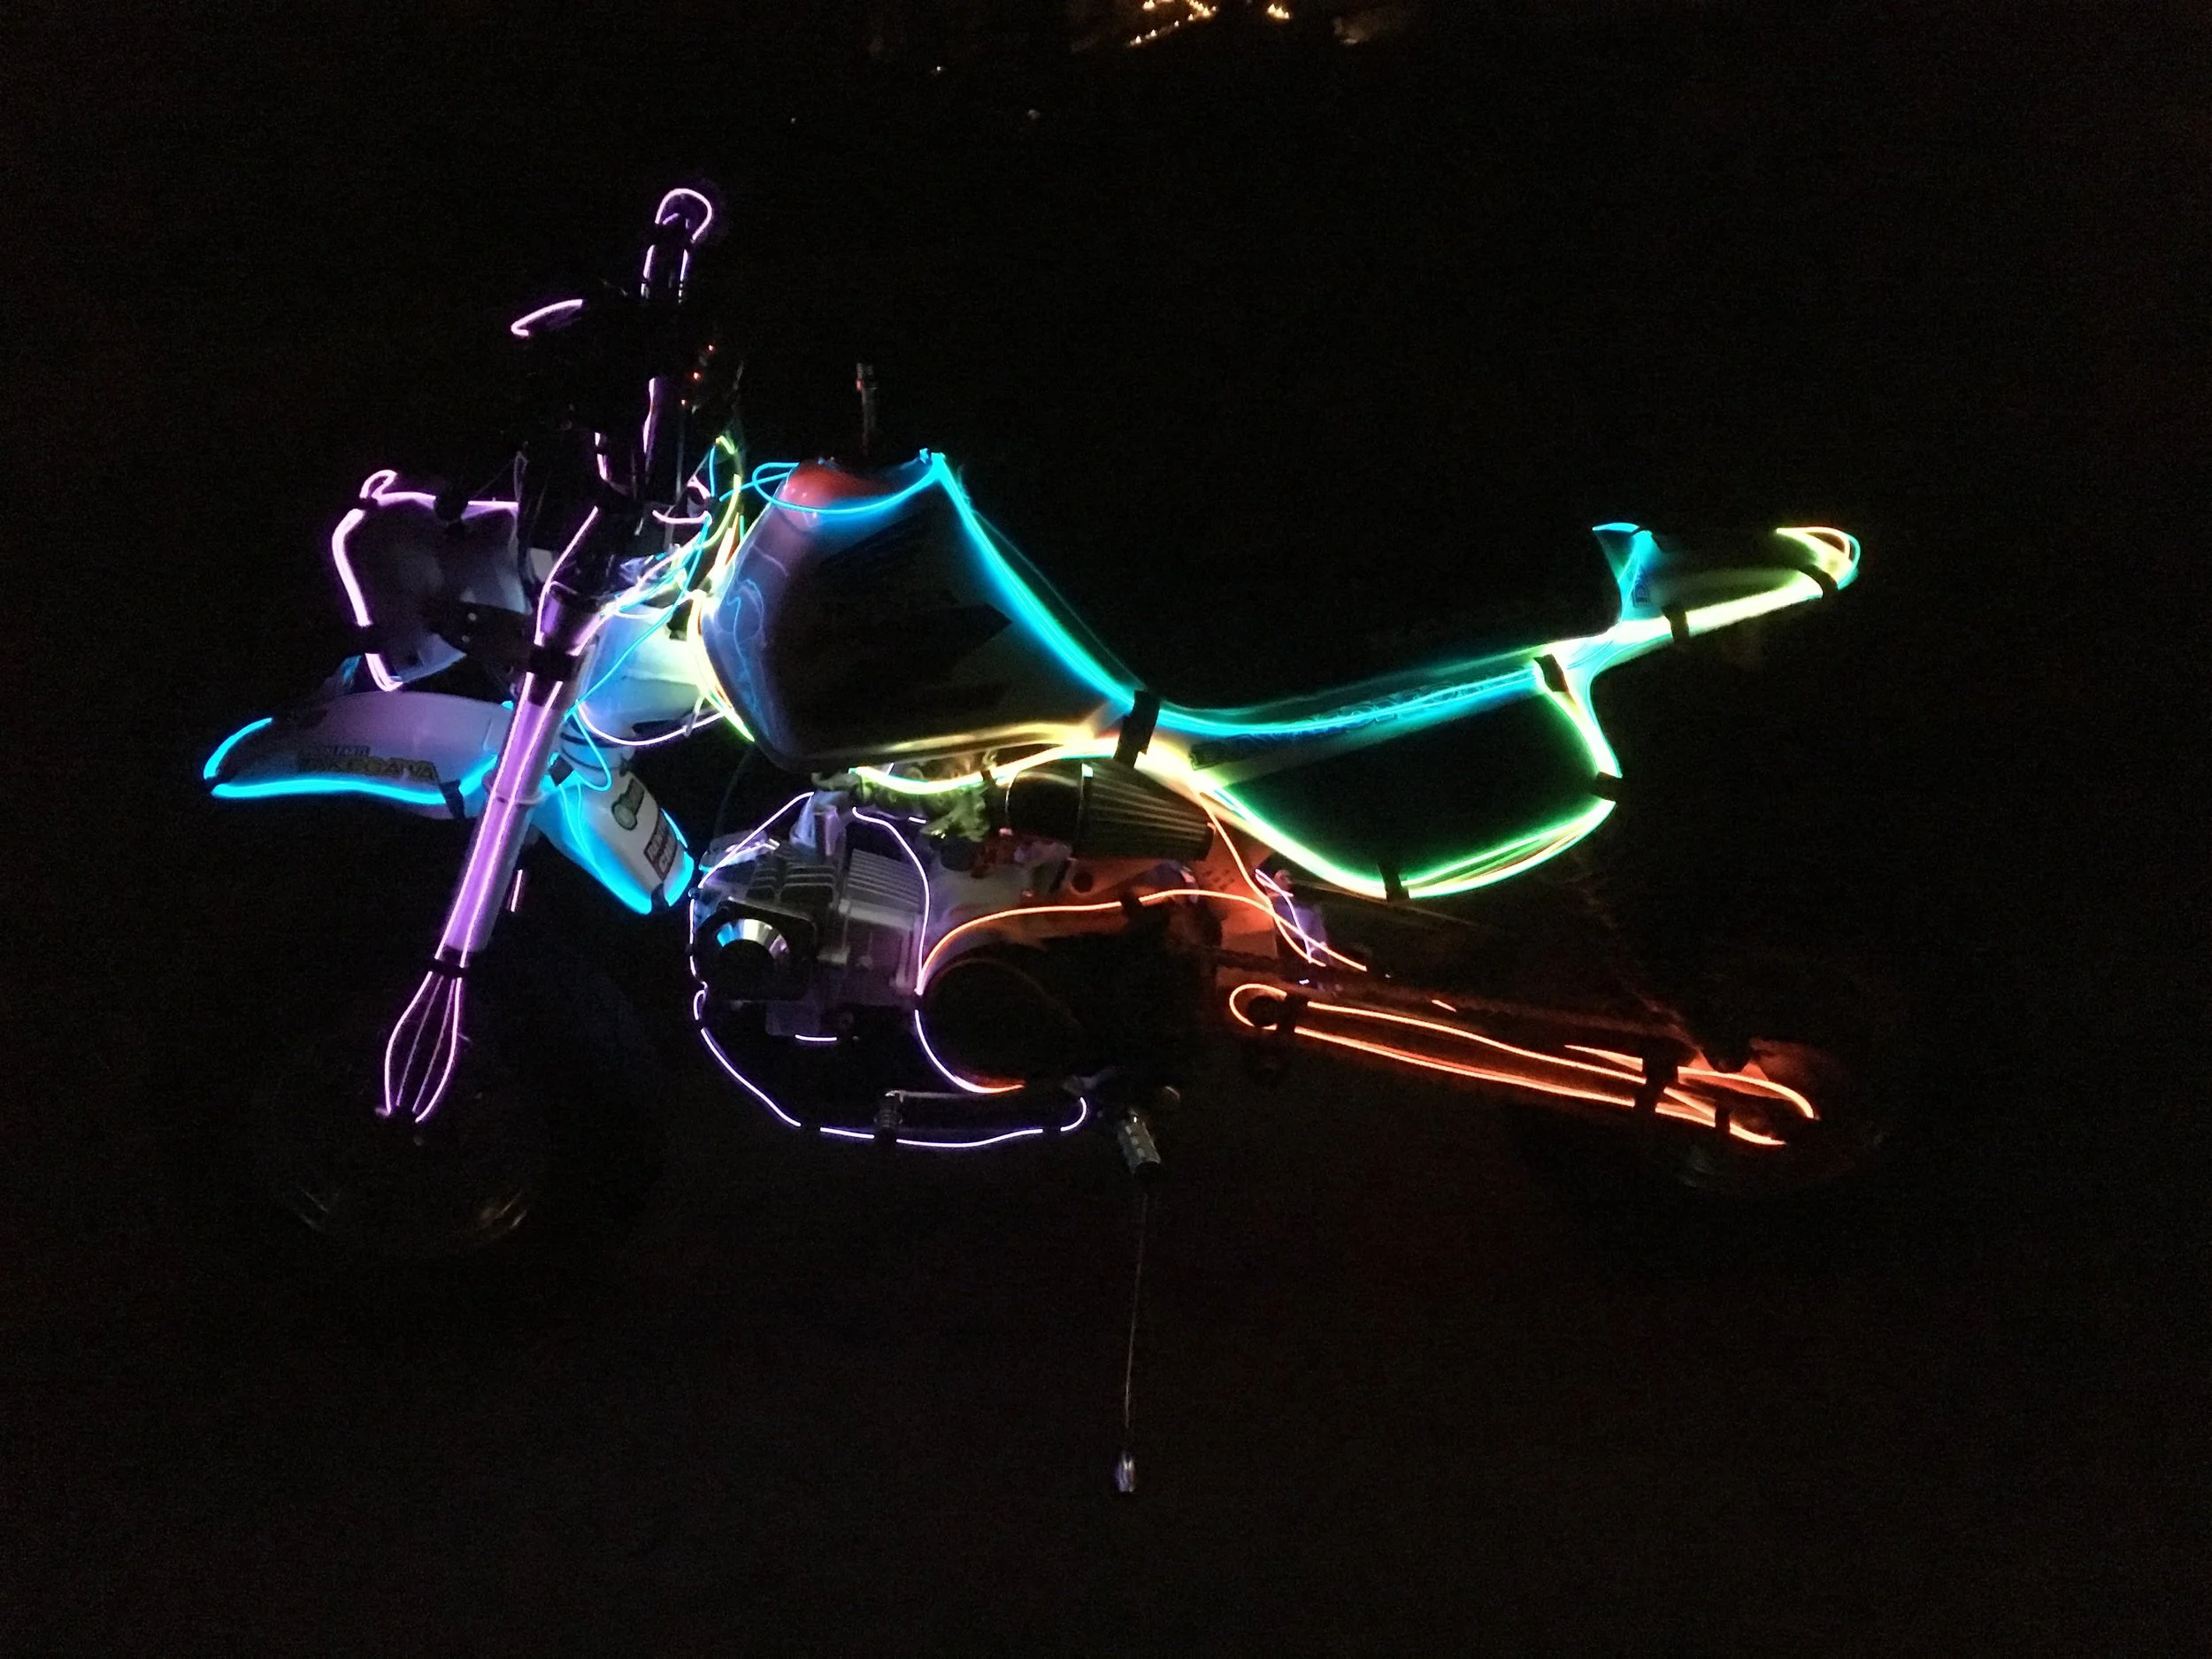
Still some work to get these finished, but glad to be this far along. Studs will be applied on the backside to attach them to the tank.
#bf11invitedbuilder # bf11invitedbuilder #bf11 #bornfreeshow