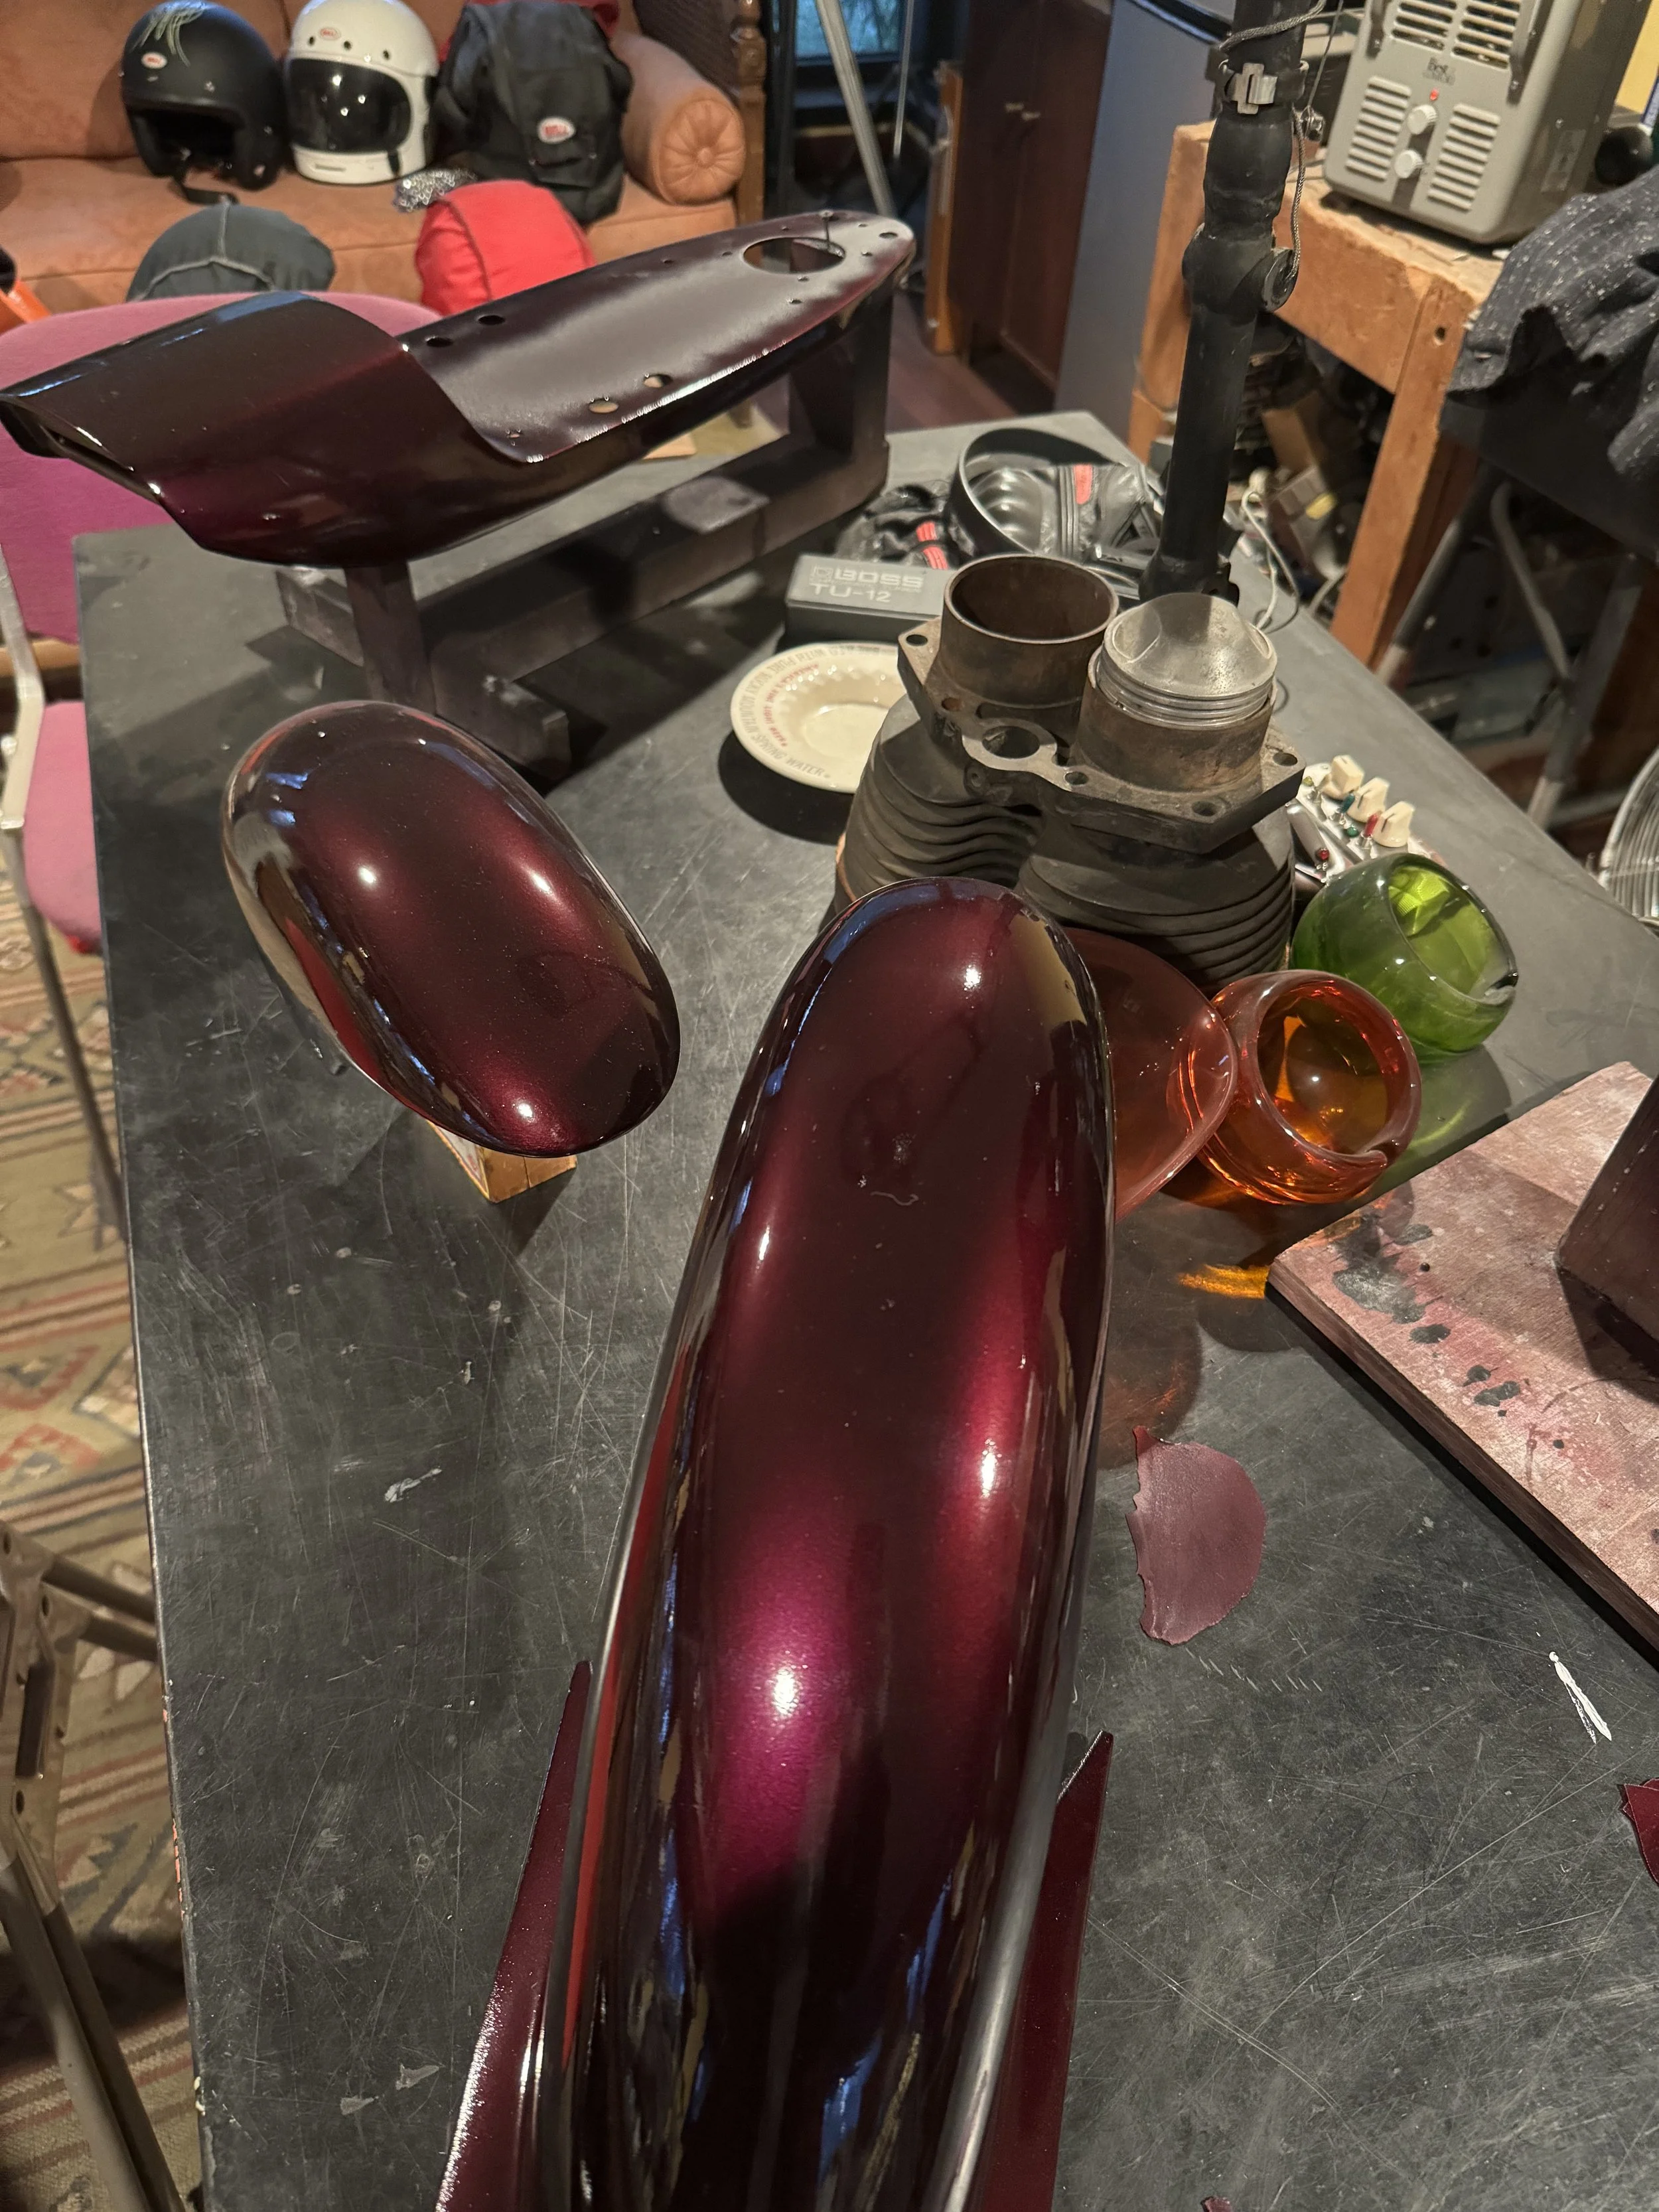
Read somewhere that successful people are not those who never fail, but the ones that keep trying after failure. That being said, I am trying to be successful. Still working on paint. This has been a master class in misery, reapplying paint for a third time, and still not quite sure its done. Thinking the end was near at the first of December, I went to clean out the holes on the body of the CT70 prior to the last coat of clear, and noticed some separation of the clear. Realizing it was also affecting the other body parts, everything was stripped back to primer by hand. The cause of the separation is still not completely clear, but probably has something to do with me using too much reducer, interactions between the House of Kolor and PPG paints, and cool temperatures in the shop.
This is early December. The graphics are done, and getting the body ready for the final coat of clear.
The separation was between the candy red and black base coats. Everything peeled off in a similar fashion on all the pieces, leading me to believe the incompatibility of the base coats, and too much reducer in the candy layers could be the culprit.
The amount of time that went into blocking out the clear three times, only to rip it off still smarts a little, but it had to be done.
At least it all came off uniformly. At this point, the guys at the paint store were advising to take off the base coat layer, and spray again.
Still in need of some detailing. After a lot of hand sanding, there were places where the sealer was sanded through, so I thought it best to re-seal the parts.
Here, the remainders of the sealer coat, tinted pink from the base coat, is seen. Every bit of it was sanded off before the black epoxy sealer was applied.
The front fender, also dyed pink.
When the bike was painted the second time, the black base coat was switched from PPG to a House of Kolor black base coat, to reduce the chance of interaction. After the sealer (black epoxy,) base coats and a couple layers of clear were applied for the second time, it was blocked out to start on the graphics. While peeling some masking off, an area below peeled off, all the way to the old primer.…sigh.
A closer inspection shows some of the pink that penetrated through the original gray sealer to the primer. Out toward the edges, the black of the sealer can be seen, where it was adhered to the primer layer. The remainder of the paint was tested with tape, and this seemed to be the only place the paint peeled off. Nevertheless, it was stripped down, and re-sealed one more time. While stripping it down, the remainder of the paint was confirmed to be well adhered. Why it peeled in this area only is still a mystery.
This time, every last bit of pink was sanded off.
The black epoxy sealer was given extra time to cure before topcoat, with the cool weather we have been having here in Denton.
After color and some clear, here is the third round of graphics getting underway. The graphics are all done by hand, and take some time. Hopefully, the third time is the charm.
We’ve been here before.
The gold and a couple layers of clear were blocked out before the Wimbledon white trim was added to the lettering.
“Feels like deja-vu all over again.” Another couple layers of clear, and it will be on to cut and buff!
Fortunately, the other pieces look fine after their re-paint. They were also tested with tape for any lifting, and passed. These pieces have had a couple weeks to cure in the heated upstairs room of the shop.


