

Just like all the other pieces, this one was pounded out of flat .050 sheet using traditional hand tools and techniques. This shows part of the raising process called “bottlecapping” ( for obvious reasons.) It is part of the shrinking that is done to make the edges of the cap. The metal is pounded on a cylindrical metal stake and heated (annealed) between poundings to keep it from becoming brittle.

Probably ten annealing sessions to get to this point.

The center of the cap has a couple ramps that are used to tighten the locking lever as it is turned. In this picture, the backside of the metal has already been pounded to form the ramps, and is being chased down on the front side. You can see how the ramp on the right is more defined from the chasing. The long piece coming out will form part of the hinge.
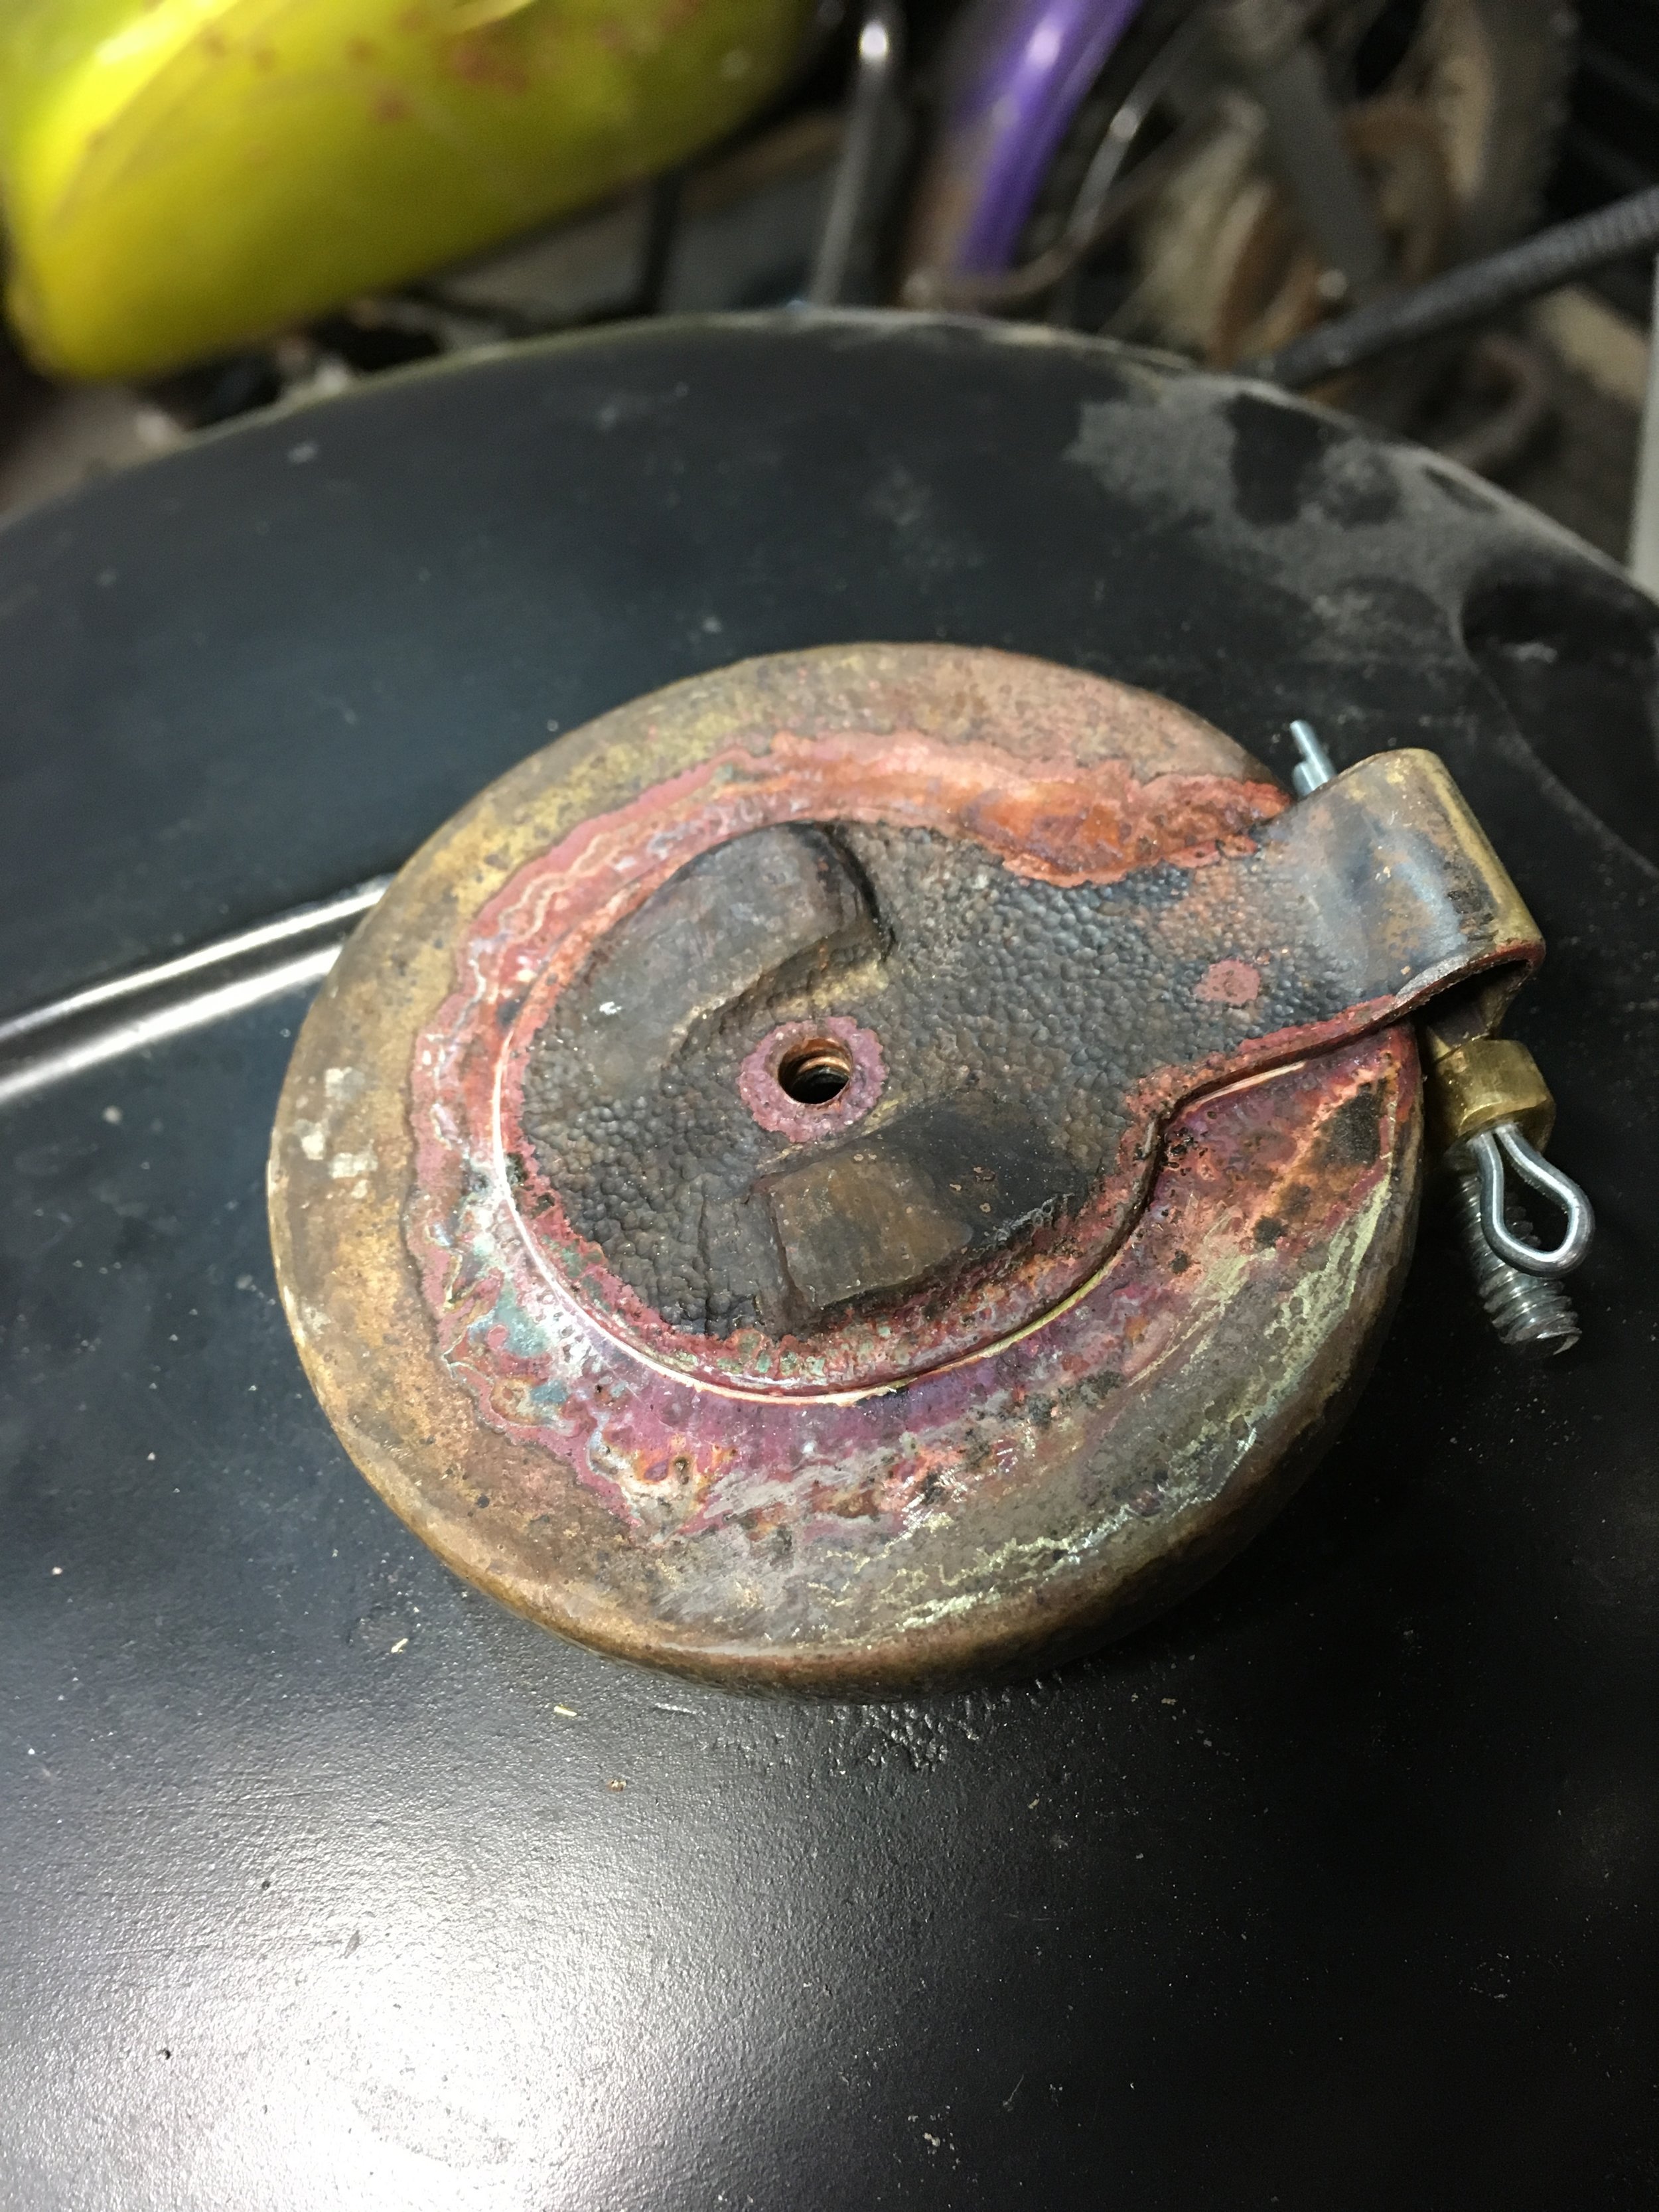
The center of the cap applied by silver soldering. The pink color is pure copper brought out by the heat and flux. The bend in the rear strap going to the hinge allows the cap to stand up when open, and strengthens the hinge pivot.

Eighth inch brass plate was used to make the locking lever.

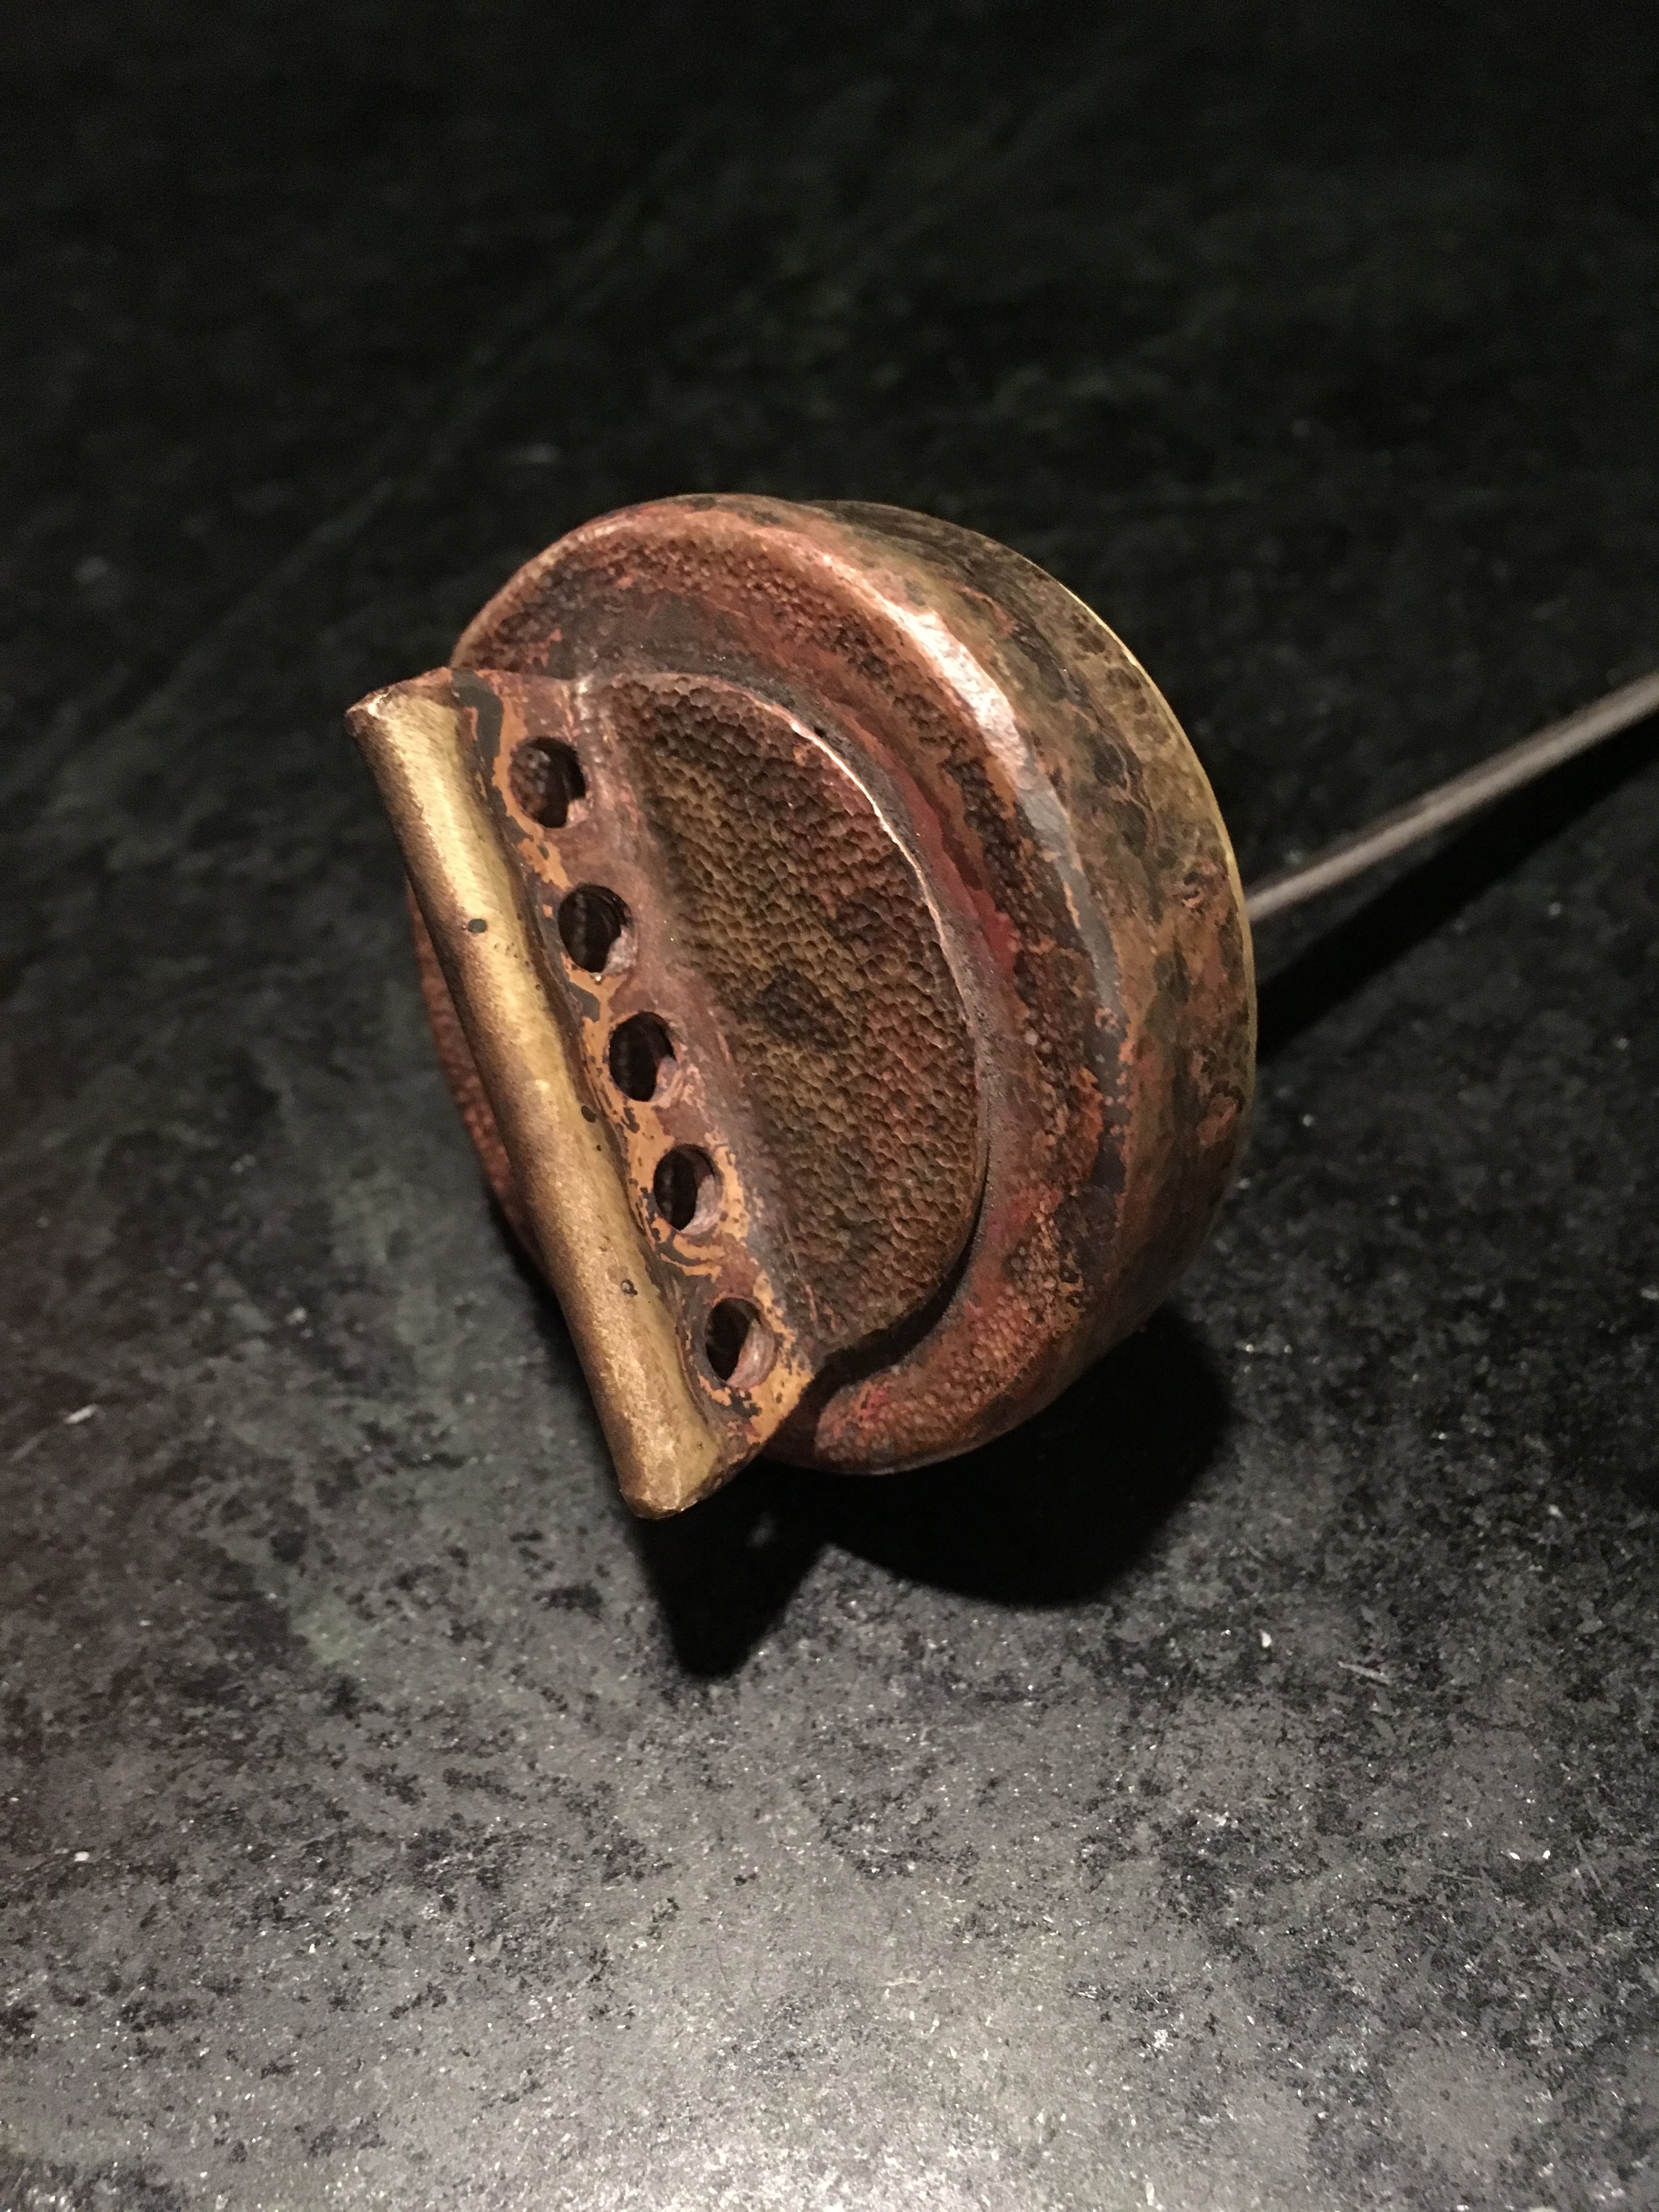
The lower half of the hinge was made from brass billet and soldered to a ring that clamps tightly to the filler neck. There are blocks of brass soldered inside the ring to rest on the edges of the tank neck where the regular cap grips it. There will be a little more shaping of the locking lever, and the patina of the cap will be made a little more uniform.

Spring action on the locking lever pivot. Another part is to be made to attach to the underside of the cap and hold the sealing gasket and fill the neck to reduce splashing around the cap..

One more part amlost ready to be checked off the list. It also occurs to me that a cap for the oil tank is going to be necessary now.
Decided to go ahead and add the oil cap to this post. This one uses the original cap under the brass one, opposed to making a locking mechanism like on the gas cap.

Probably going to figure out something else small that needs to be made of brass, but this may be the last big piece.