The 1980 Honda Z50R Chrome custom build update.

Still slugging out details. New parts like a front fairing and a headlight mount were worked out. Of course, more aluminum polishing was done. Getting the number plate, handlebars, fairing, and other parts polished and ready for mounting. Cables and levers are in place and working. Once the last pieces return from the chrome shop, the build will only need a few tings like light switches, fuel hose, and an air filter to be complete.

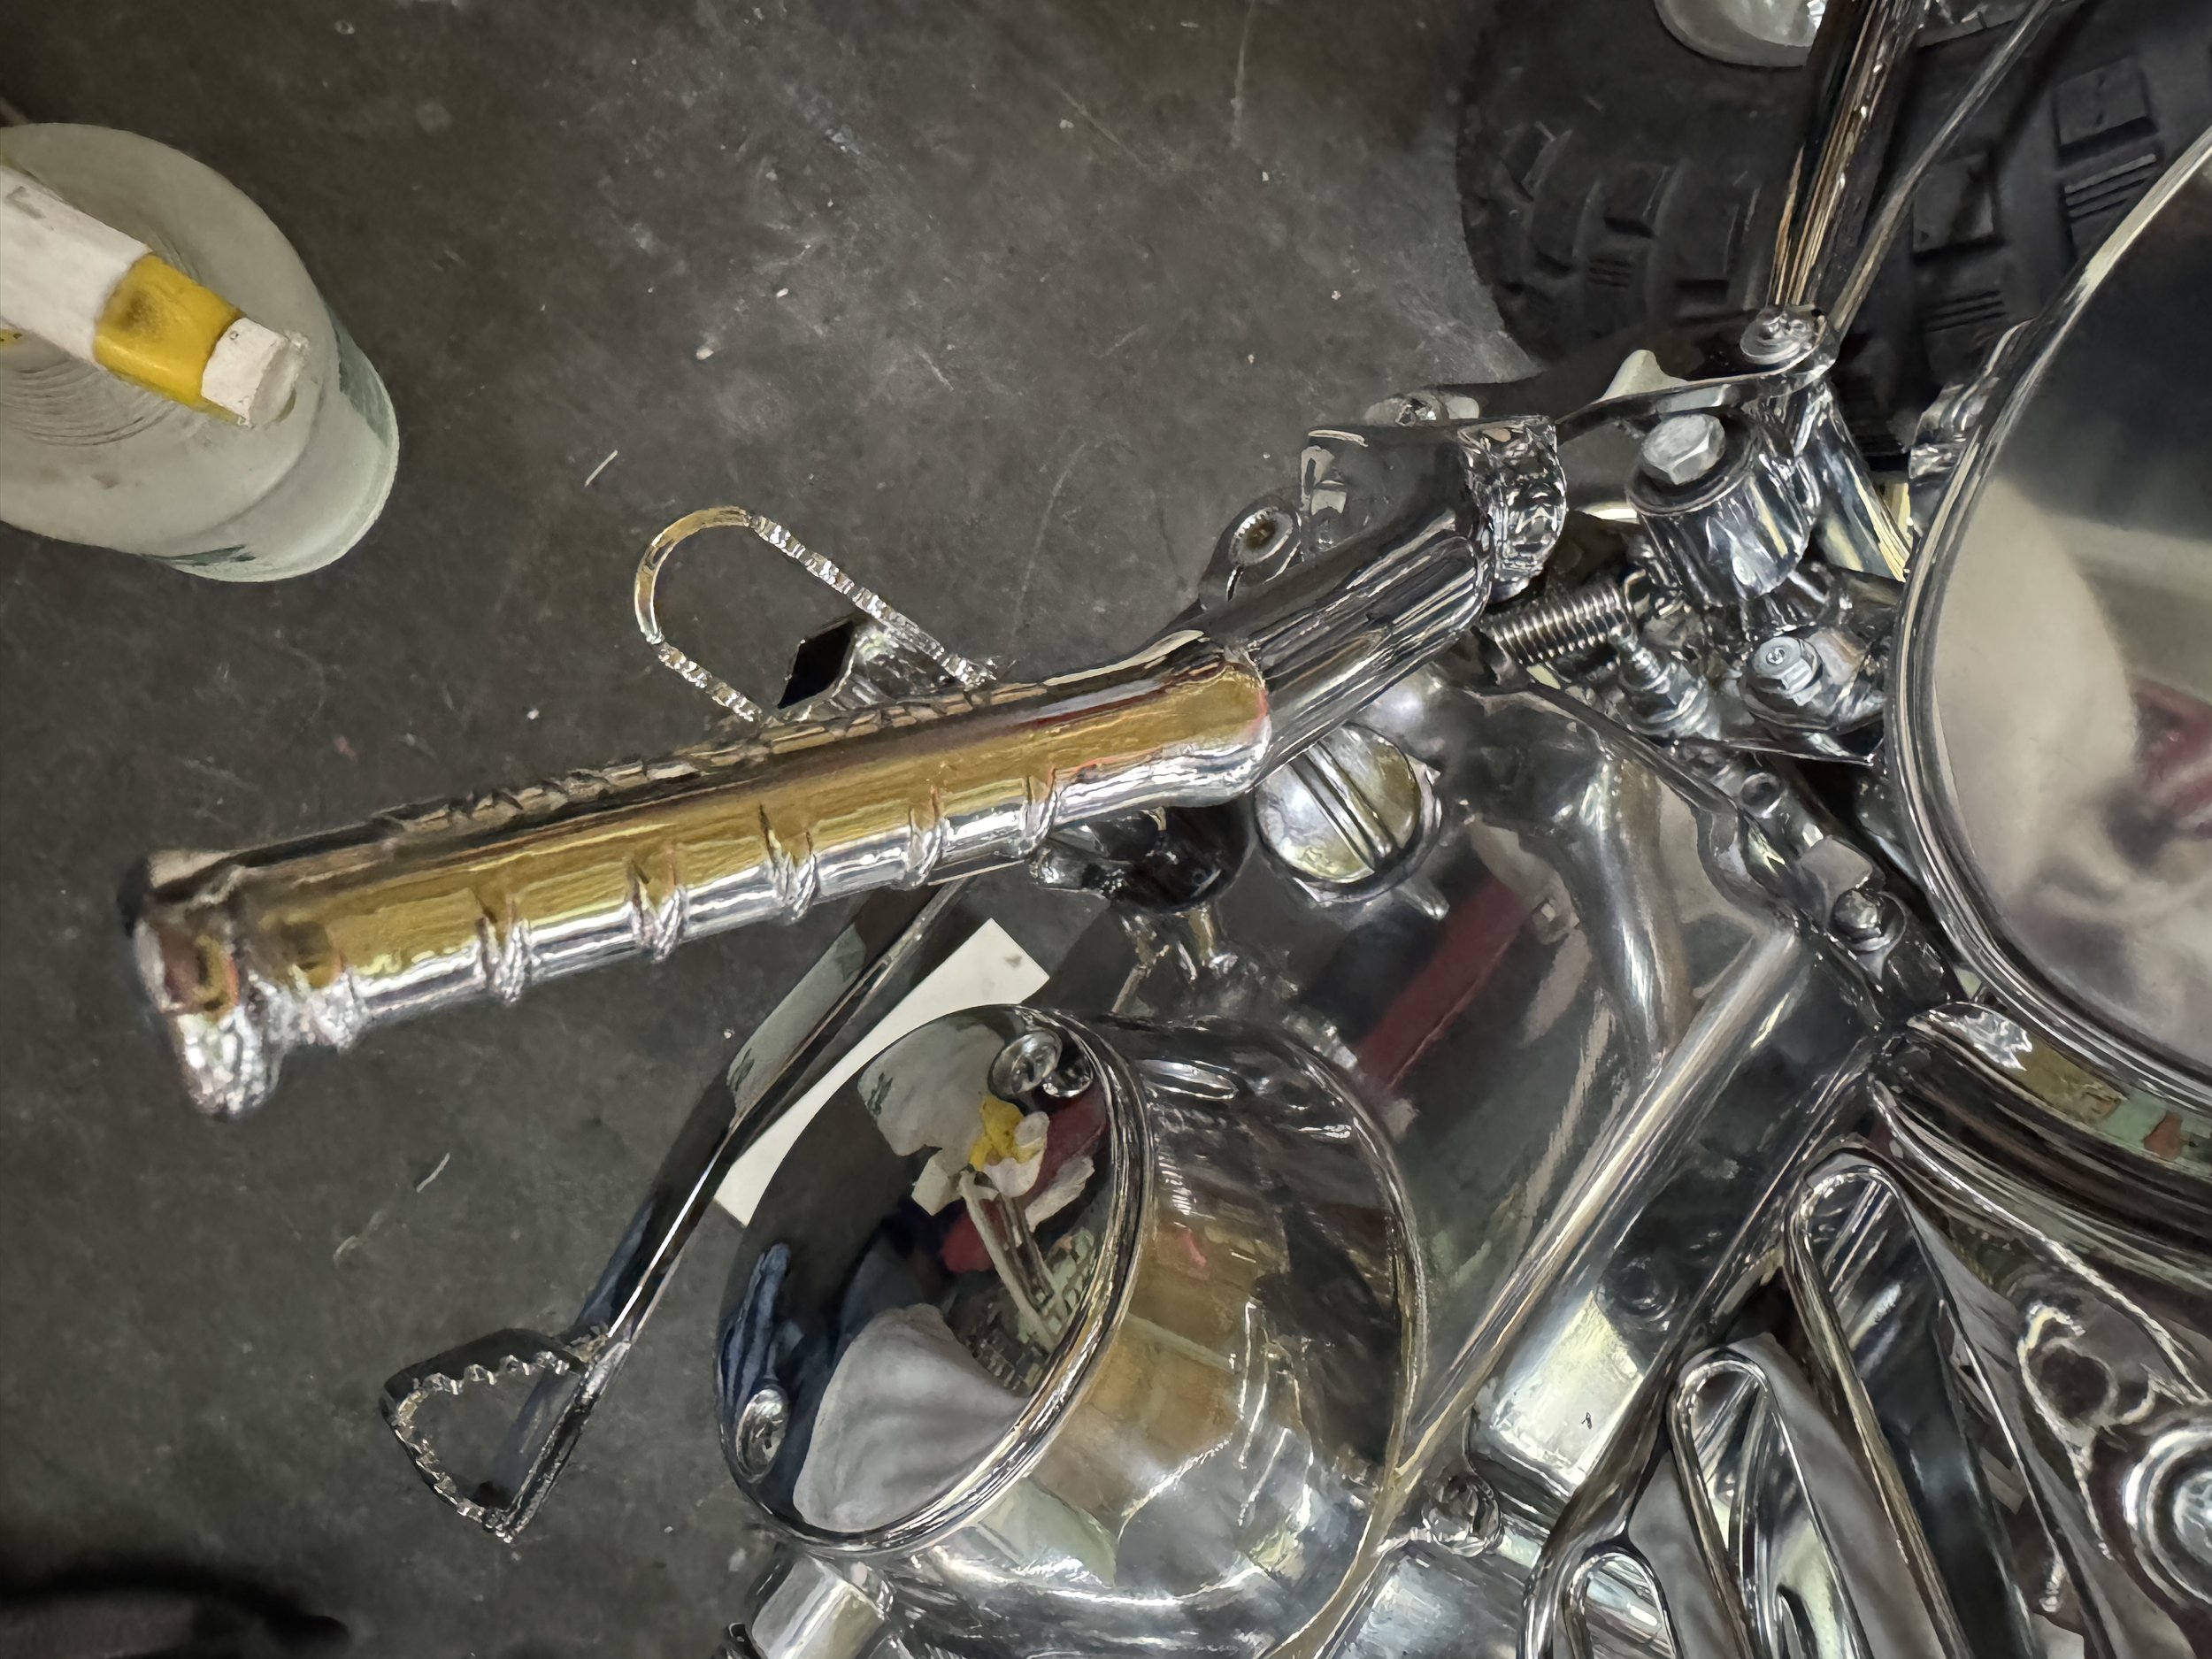
A set of Renthal Playbike bars was stripped of the shot-peen finish and polished out. The factory finish is quite durable, and was not easily removed. A set of reproduction Z50RD grips were sourced from NorthEast Vintage Cycle, as was the seat. A Takegawa magneto cover looks right at home without any additional polishing. The other engine covers need to be made to match.

The headlight is mounted from a single bottom post, and the existing fender and handlebar mounting points were used to secure the assembly that holds the headlight and fairing in place. The arrangement is a little unusual in the respect that the typical fork ears that a headlight mounts on were not used, and since that is also the usual fairing mounting point, it meant a great deal of force would be exerted on the headlight mount at the bottom of the bucket. A set of struts were made to go from the lower front fender mount for the headlight, up to the screws coming off the bottom of the handlebar clamps, and the fairing attached to it.

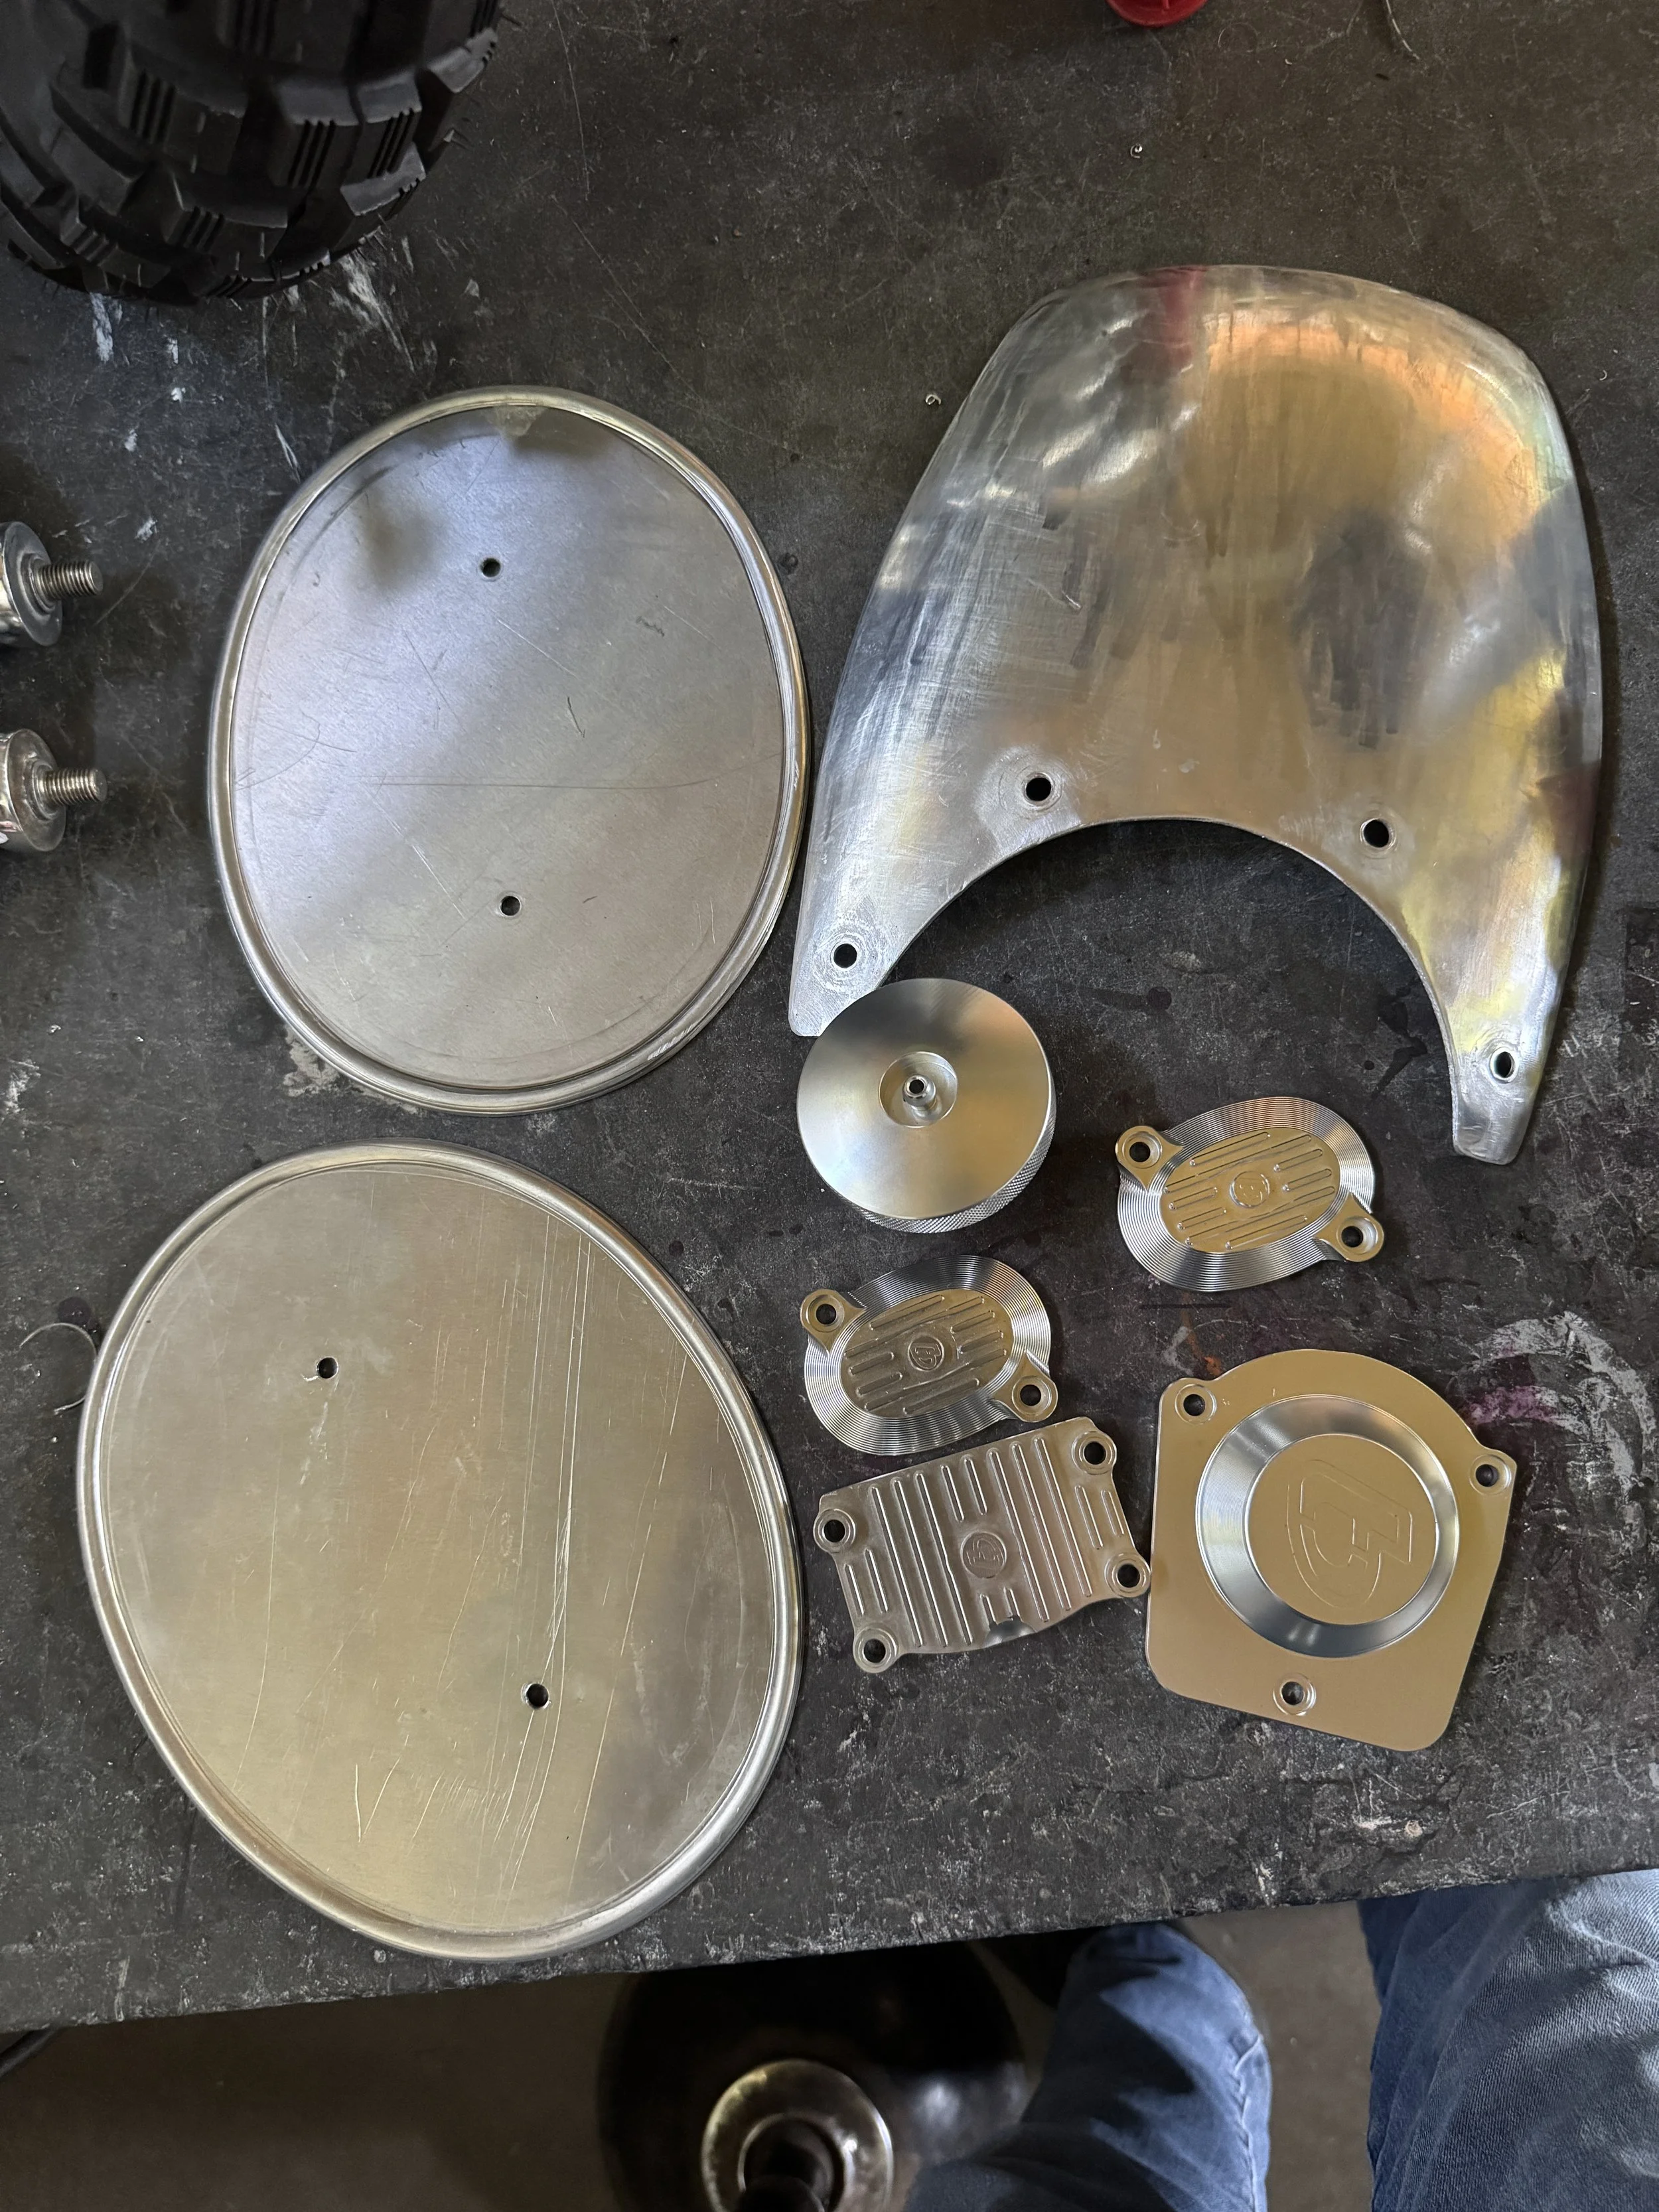
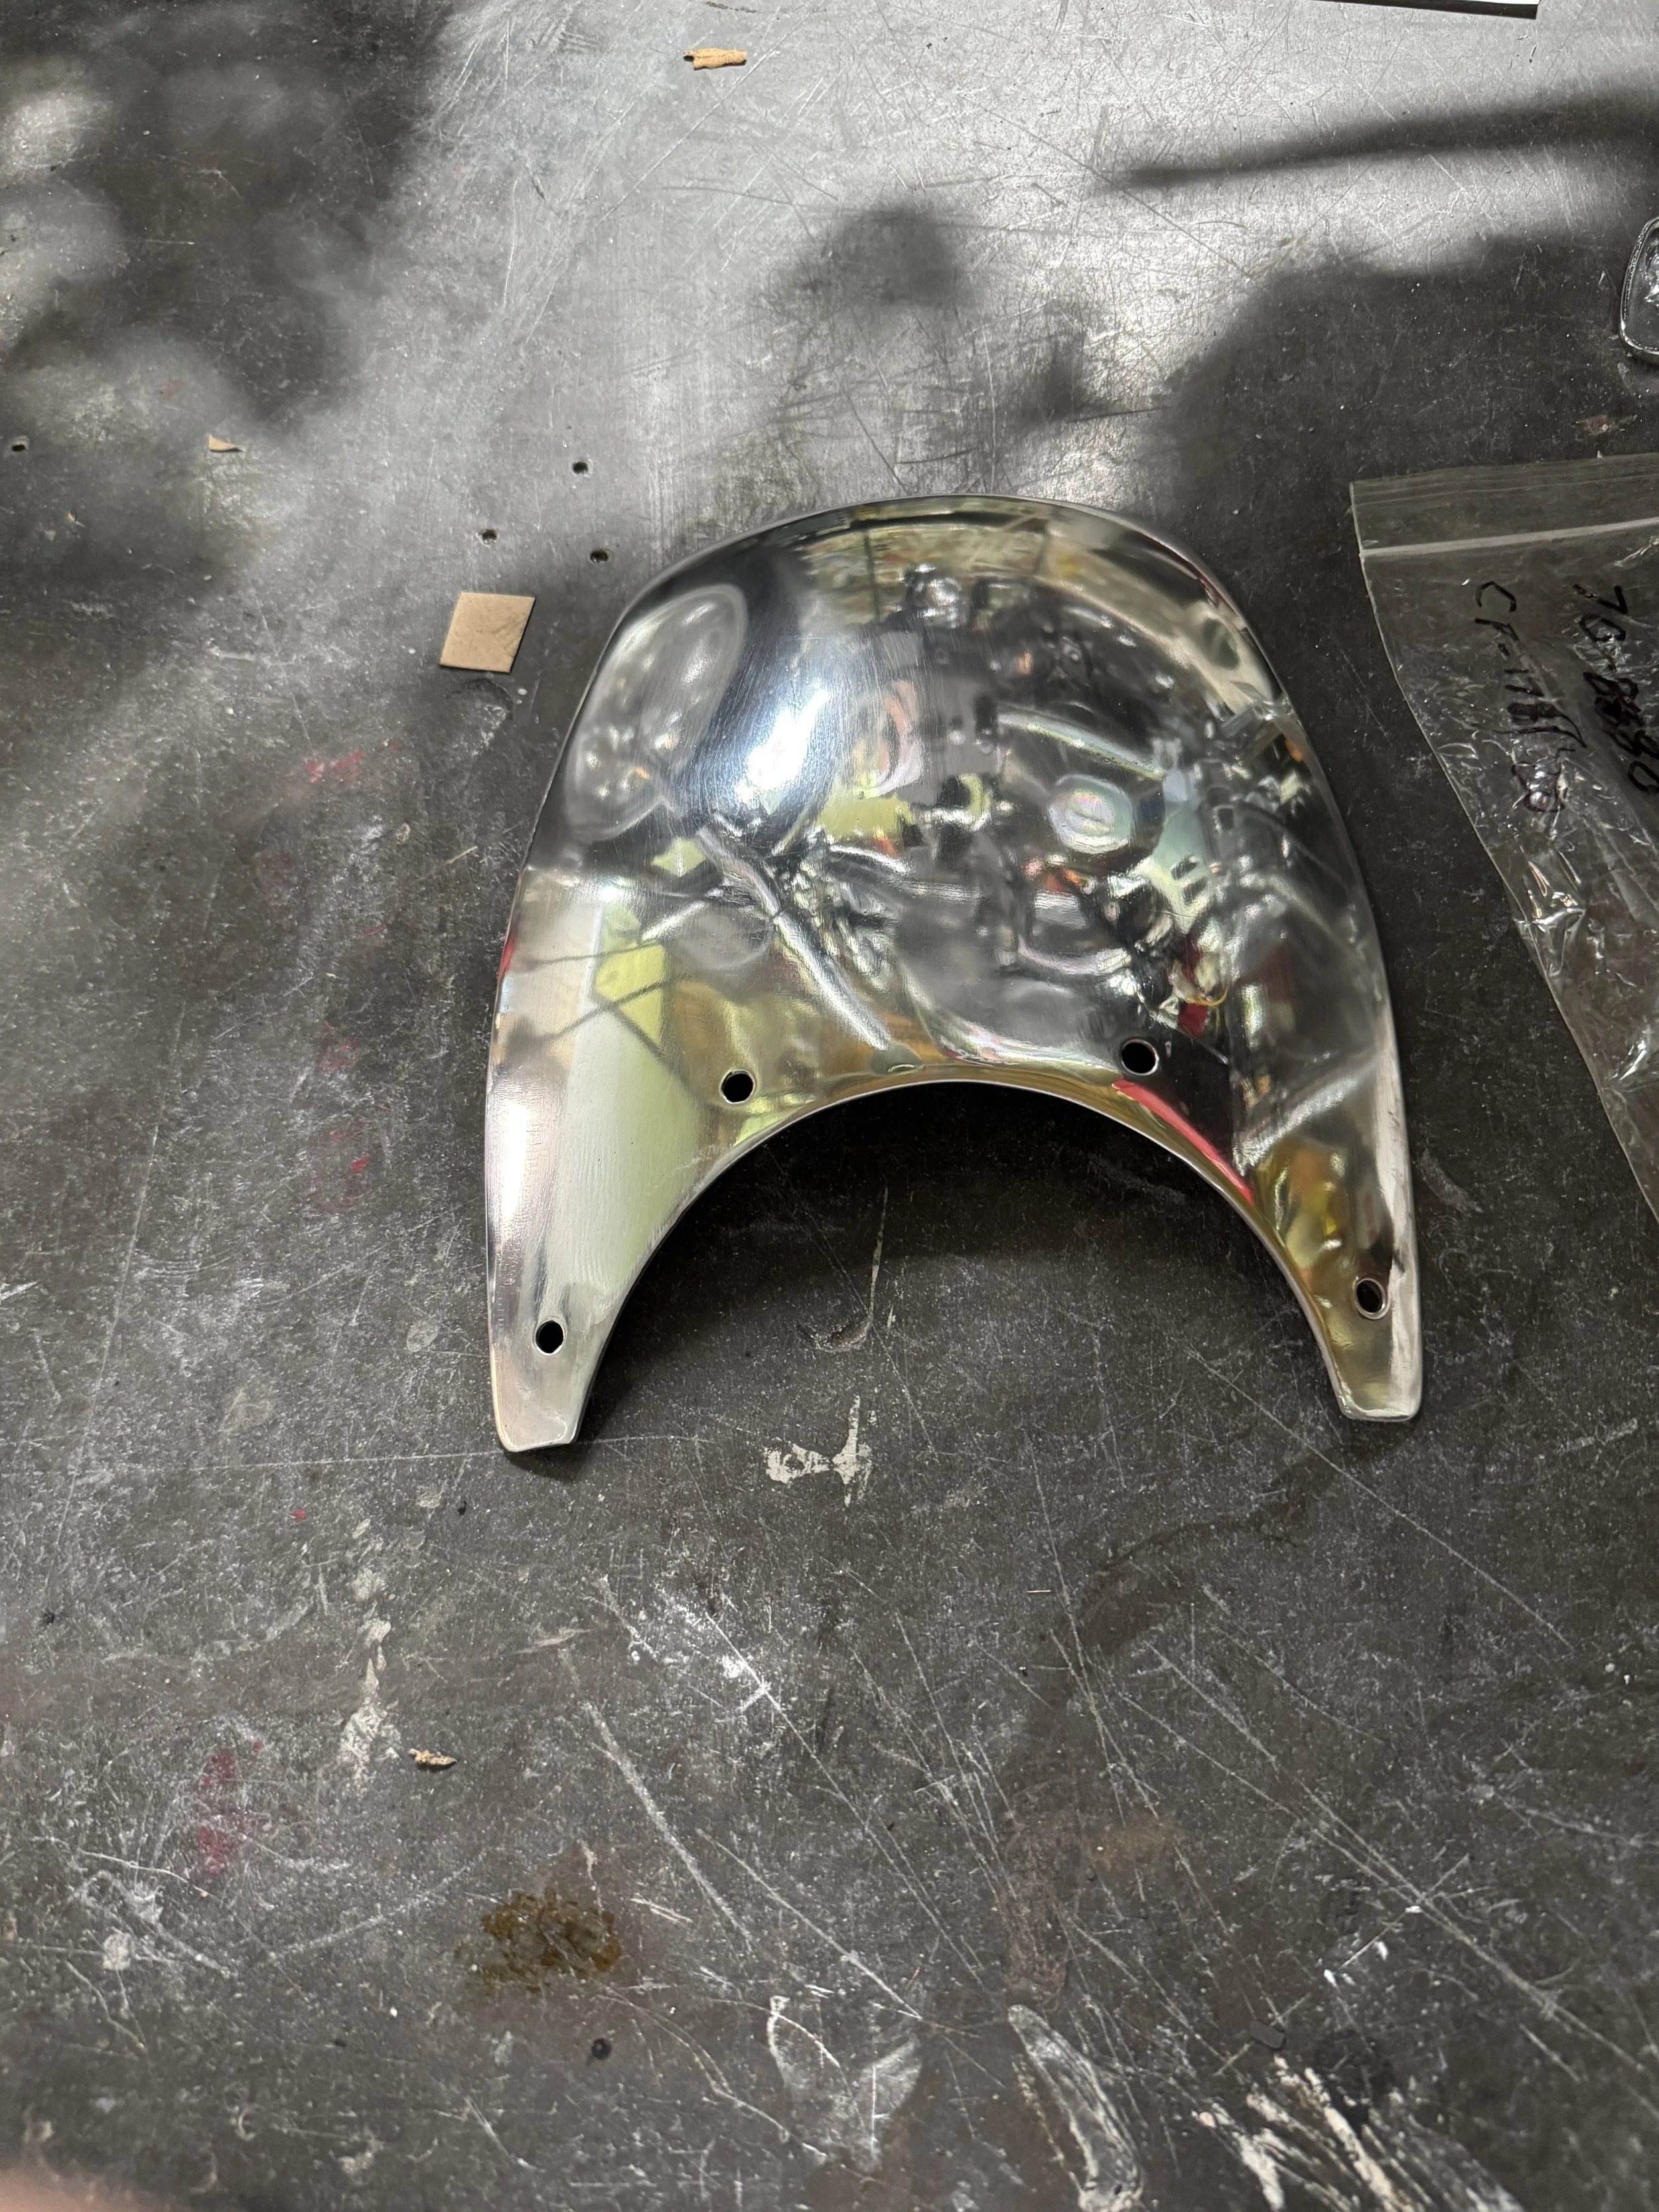
A bunch of pieces prior to sanding and polishing. The engine covers will be modified, with the cam chain cover getting trimmed, and the other covers smoothed and high polished. Some of the TB Parts pieces were shiny, but more a matte finish. The high polish finish will make them fit in with the rest of the parts better. Some of the marks from the English wheel are visible on the front fairing.

Other small details like filing the forging lines off the kickstart lever prior to high polish. The engine covers can be seen at top left. The stepped CNC finish is fine and probably dissipates heat a bit better, but the texture will be removed and the surface polished out.

The little extra work makes a difference.

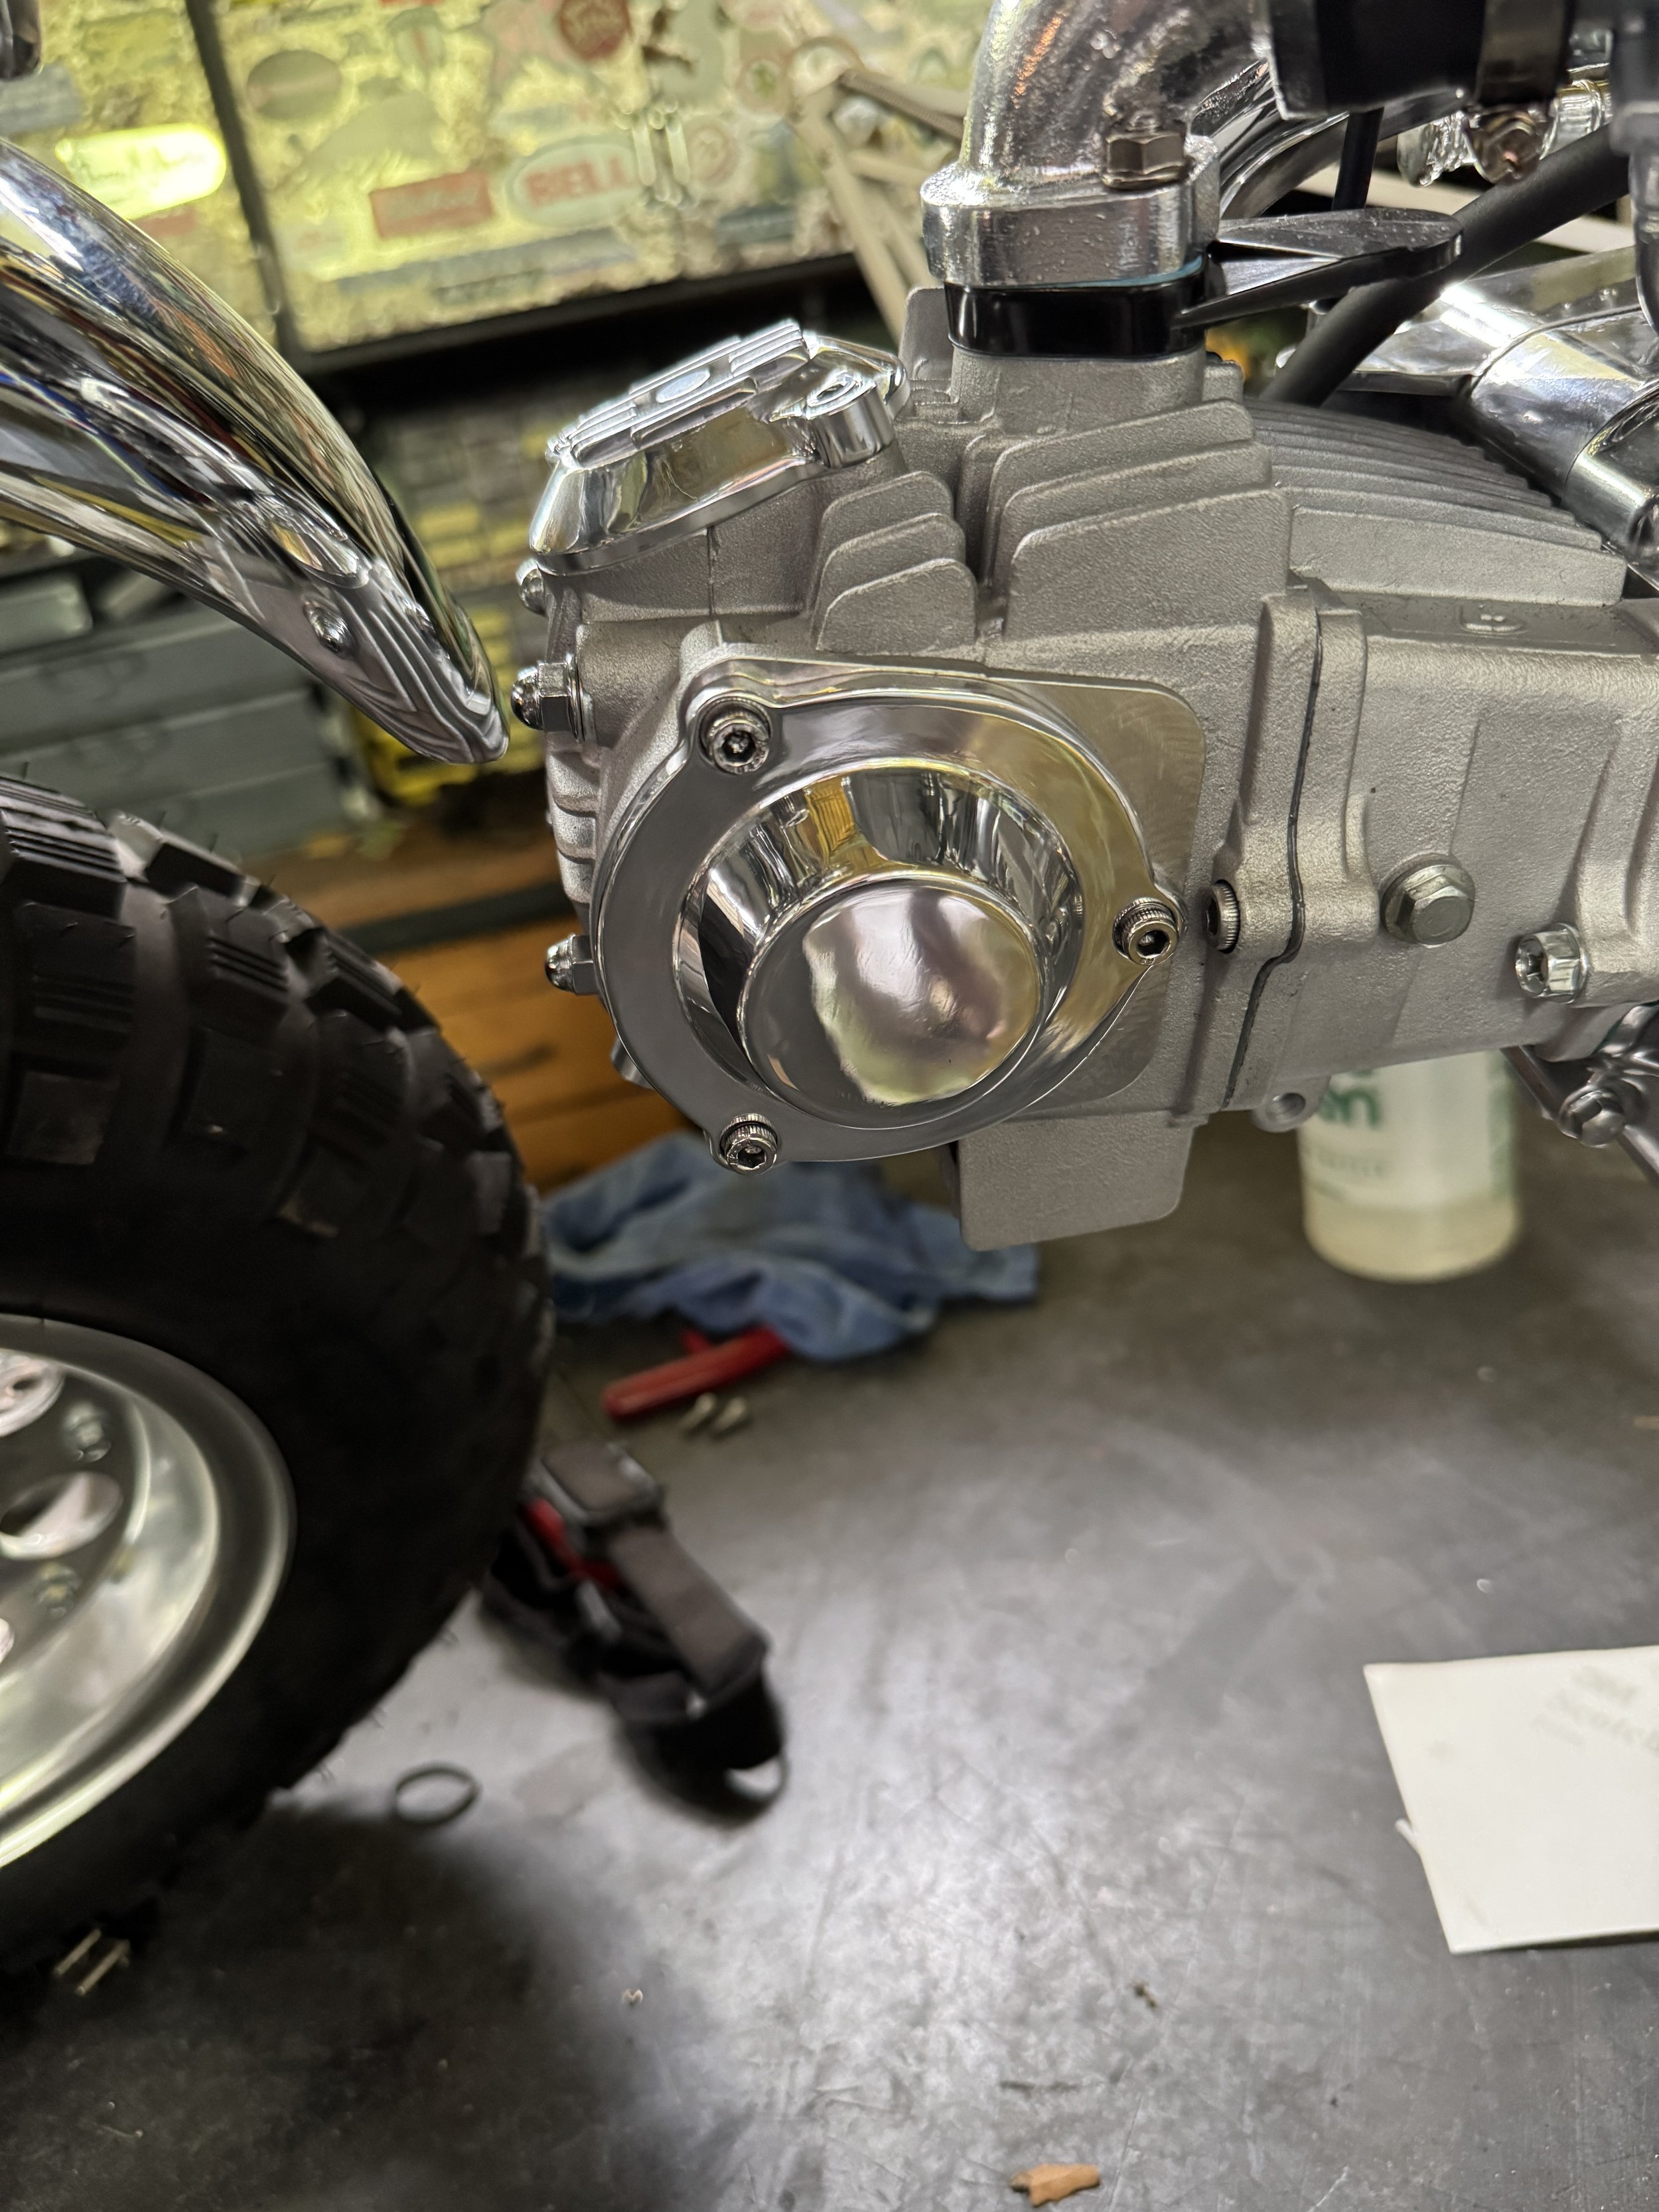
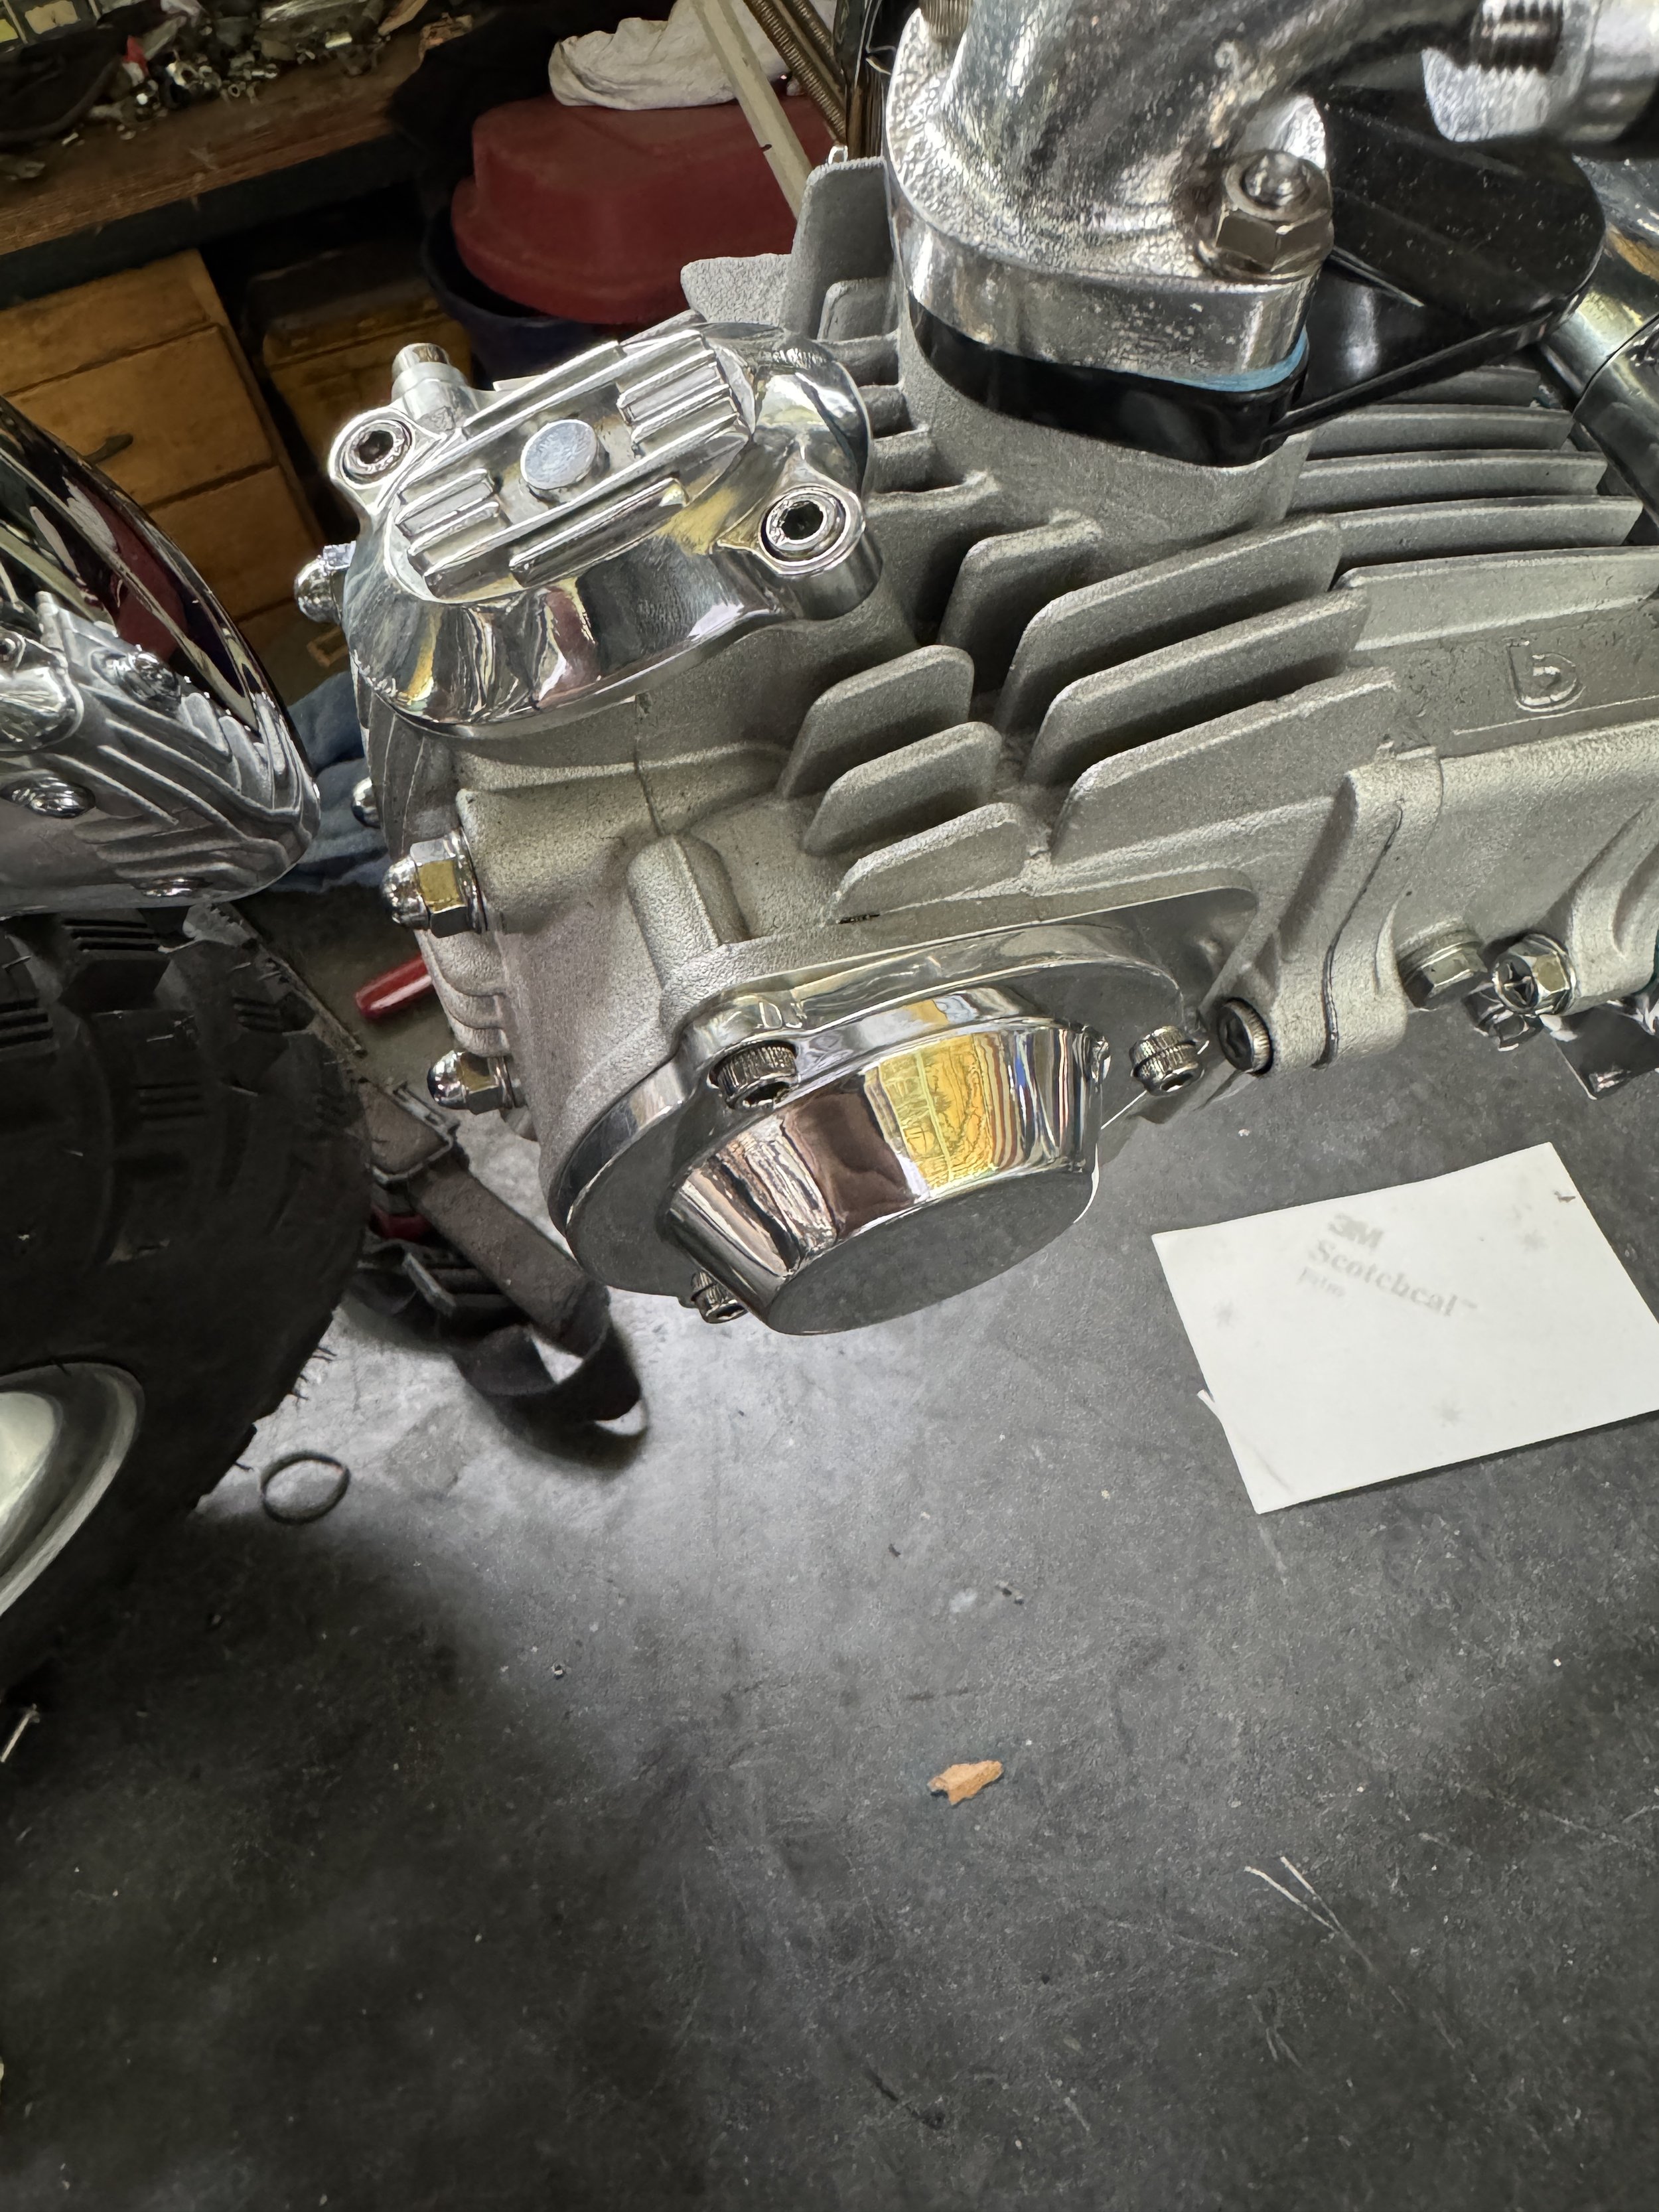
The cam chain cover flange was rounded out, and everything high polished.

The valve adjustment covers came out nice. All the stainless allen head screws were polished up as well.

High polish on the fairing! Because it was formed mostly by the English wheel, the surface was already burnished and smooth, and required only a little sanding.

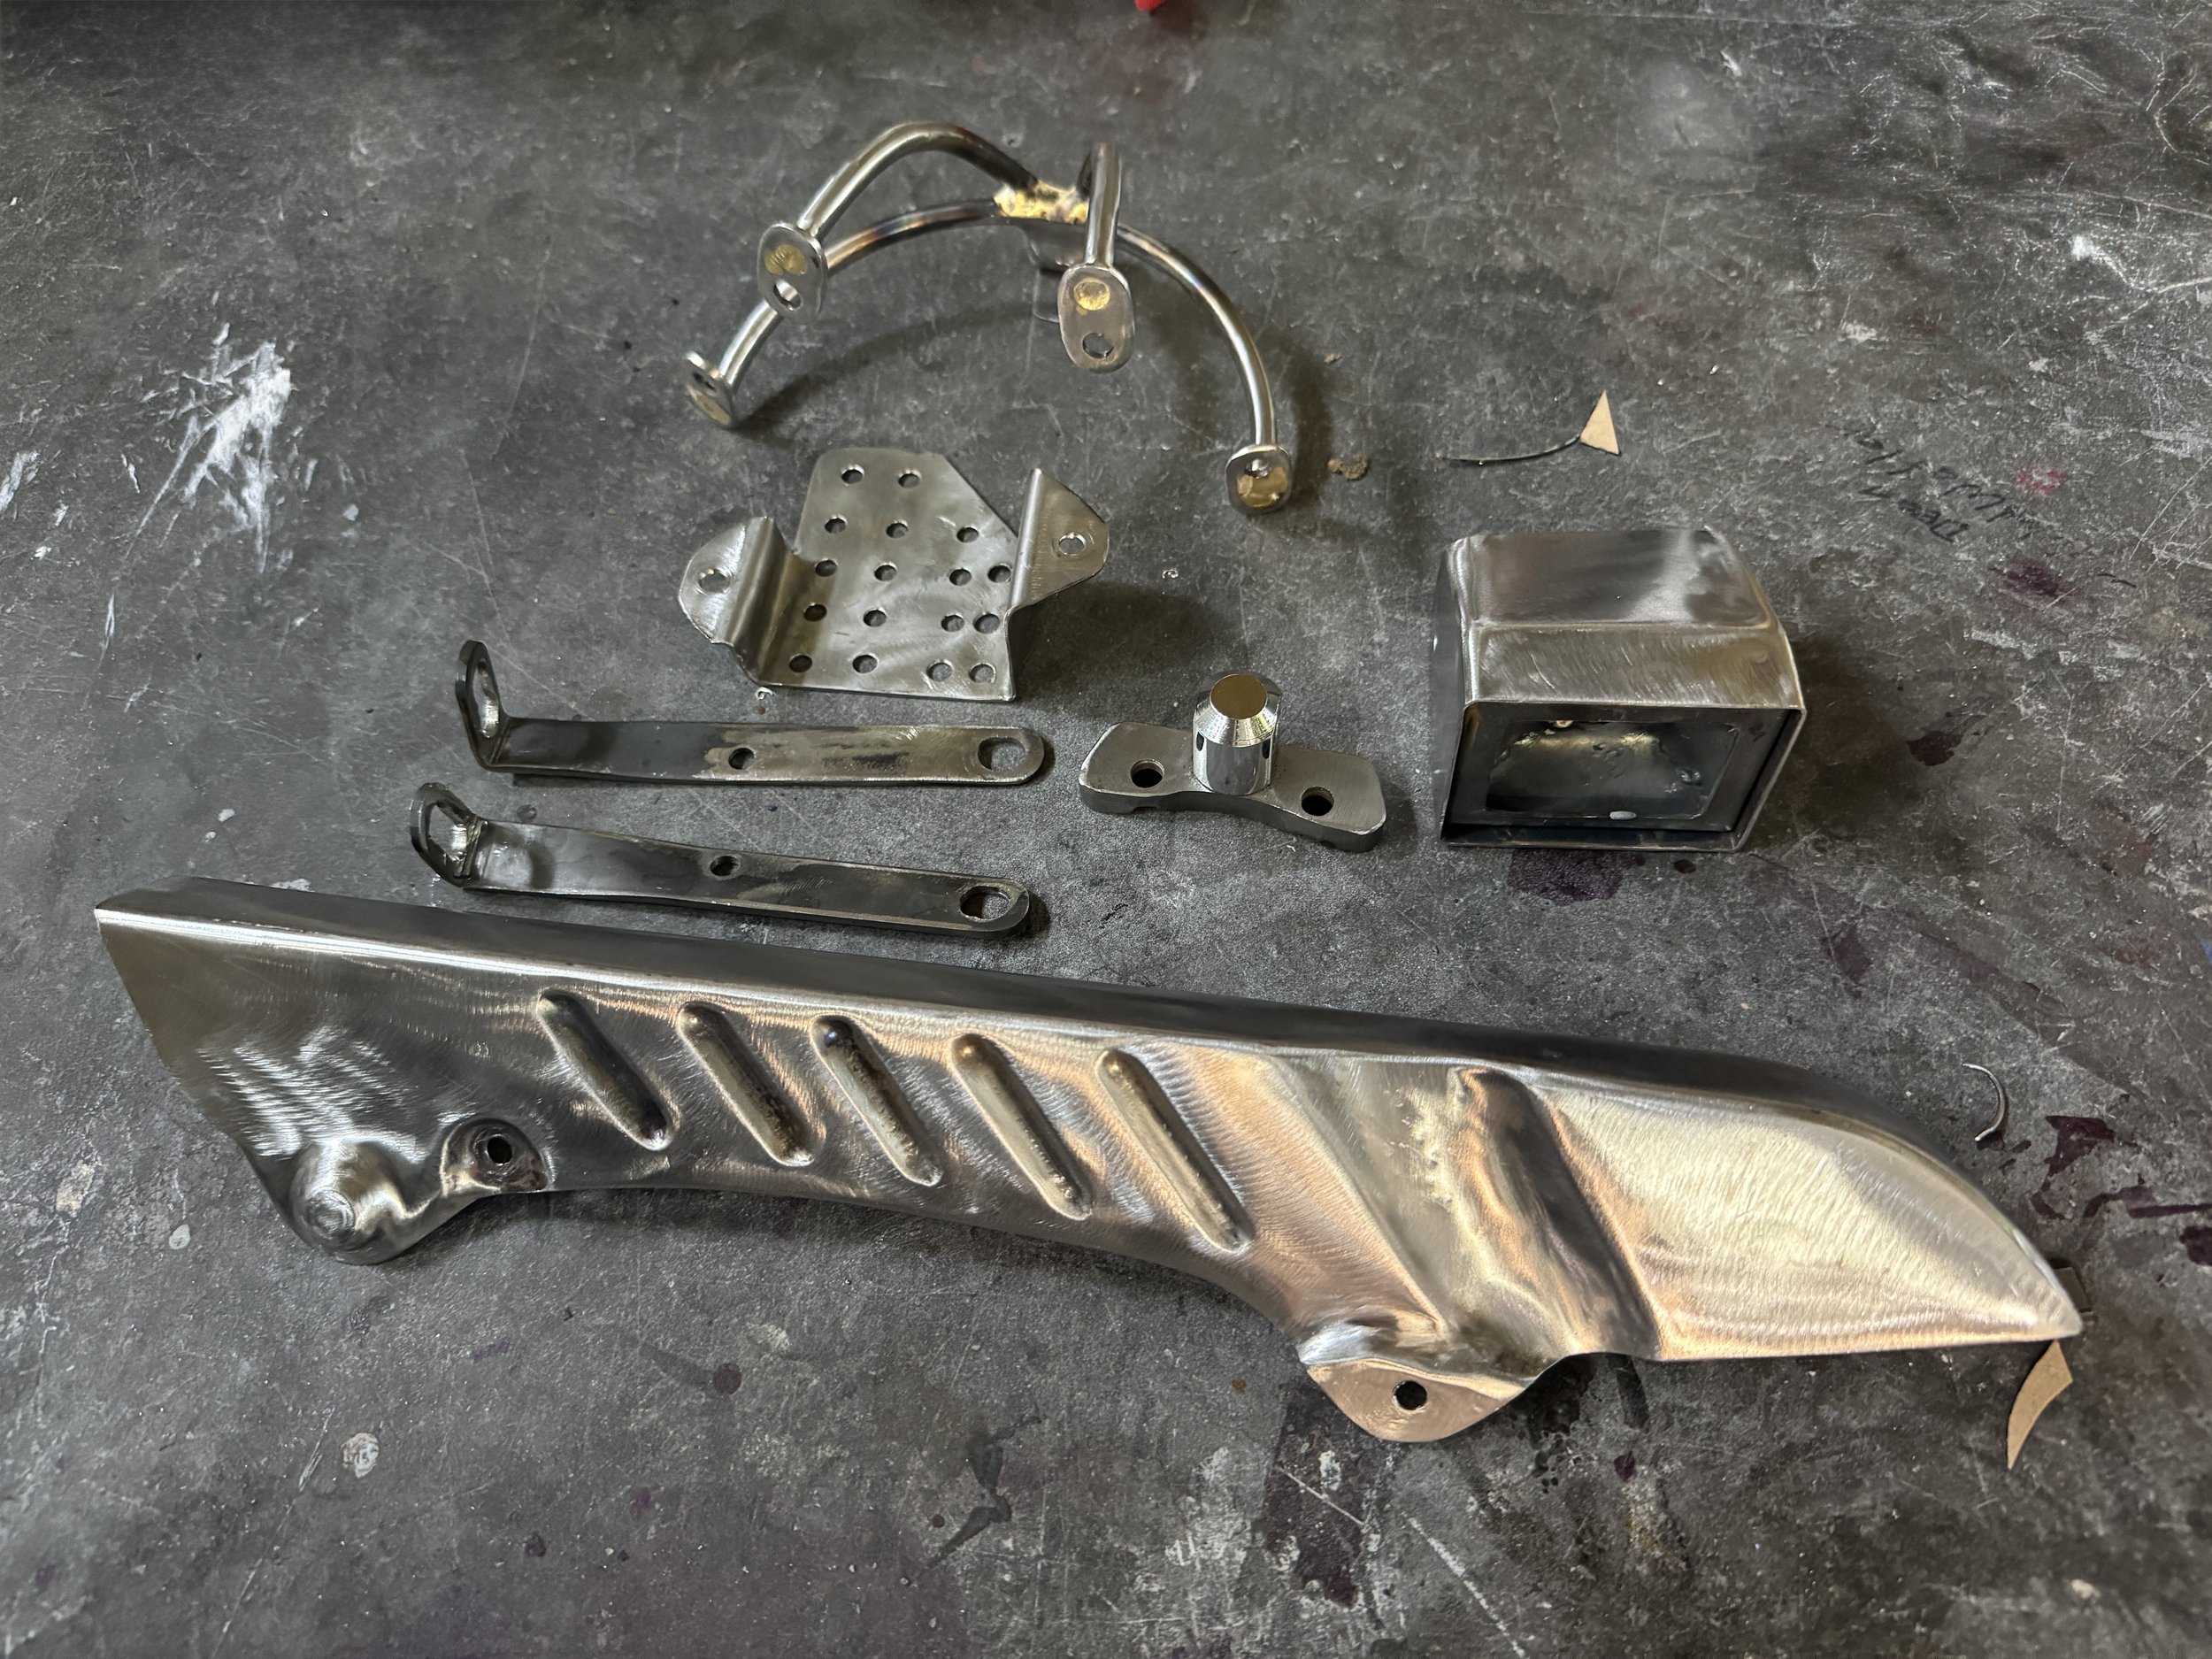
The last batch of stuff for the chrome shop. The parts just behind the chain guard make up the headlight mount. when in place, the lower fender mount bolts will lock on the lower part of the mount, and the struts will provide support for the mount as well as the fairing mount. The fairing mount is at the top.of the picture. It will be interesting to see how the chain guard looks chromed. I thought about making it black to look like the original black plastic one, but I think it will look better shiny. Its a custom, after all.

With the decals on the tank, it is starting to look like a finished bike.The polished kickstart and number plate have this side pretty much done.

The gas cap looks so much better polished.

The shorty levers will probably get sanded and polished out. Just need to take a couple days off from aluminum polishing. The red and blue anodized cable adjusters are from Takegawa.
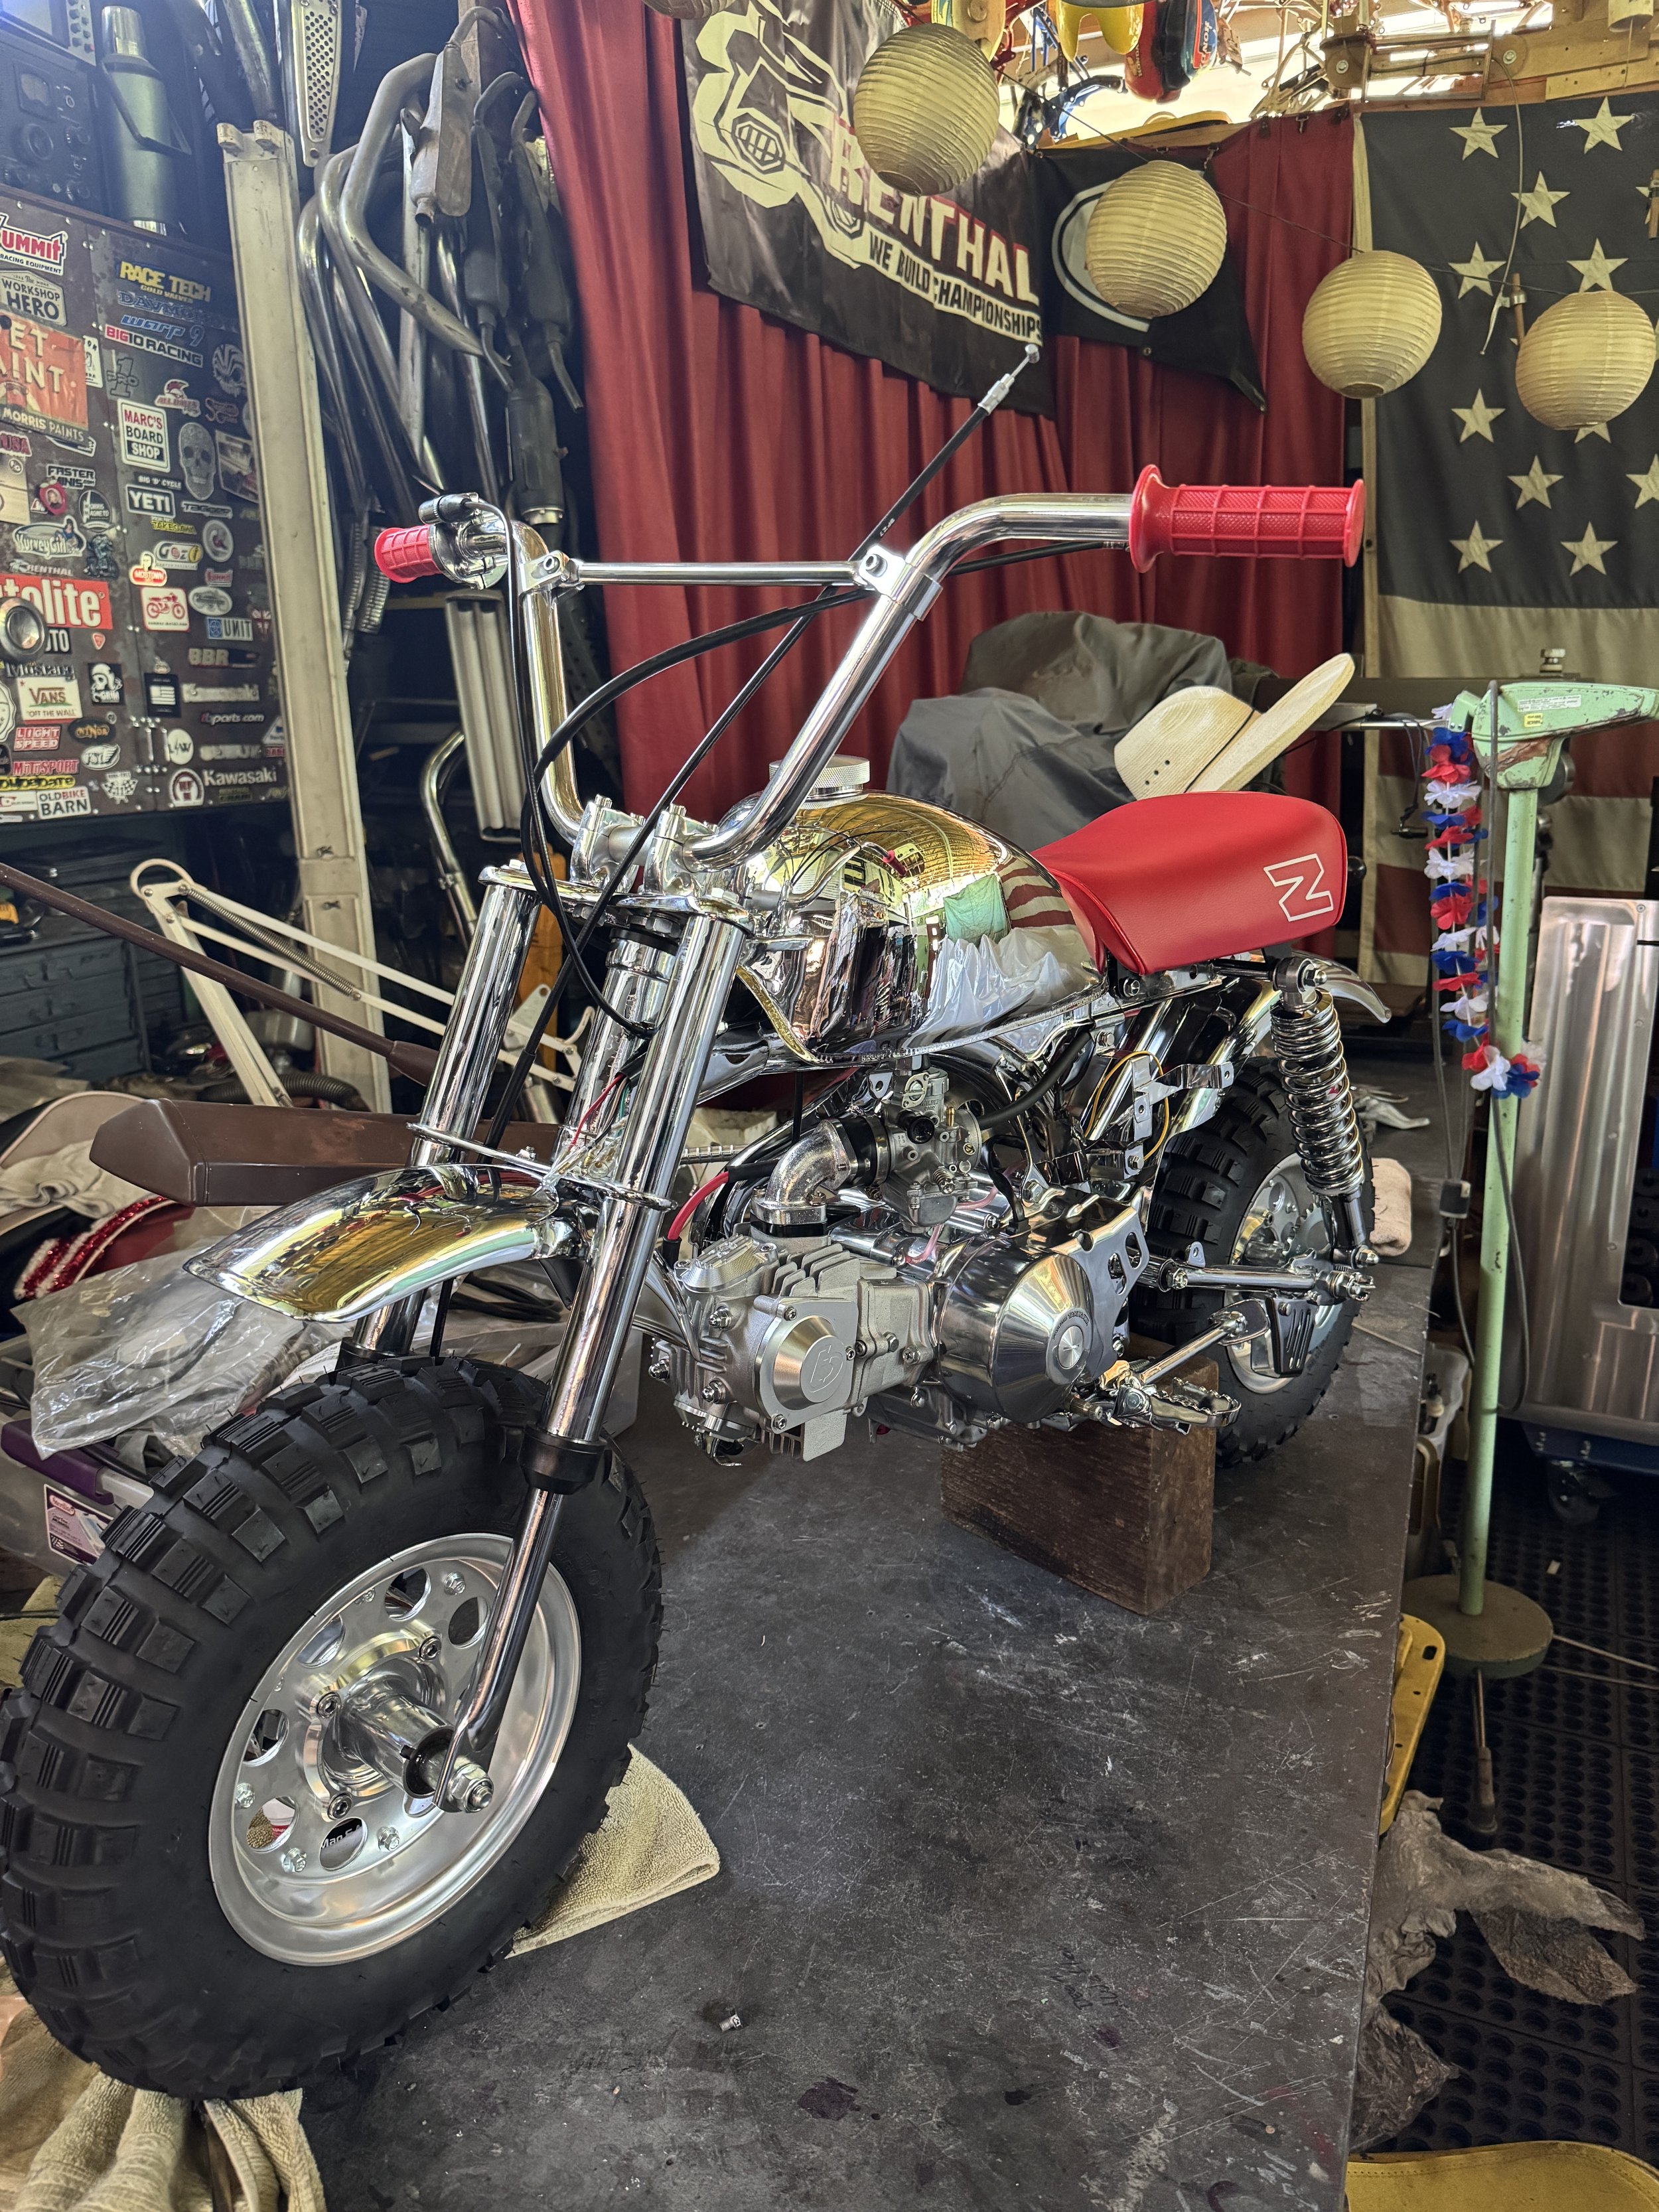
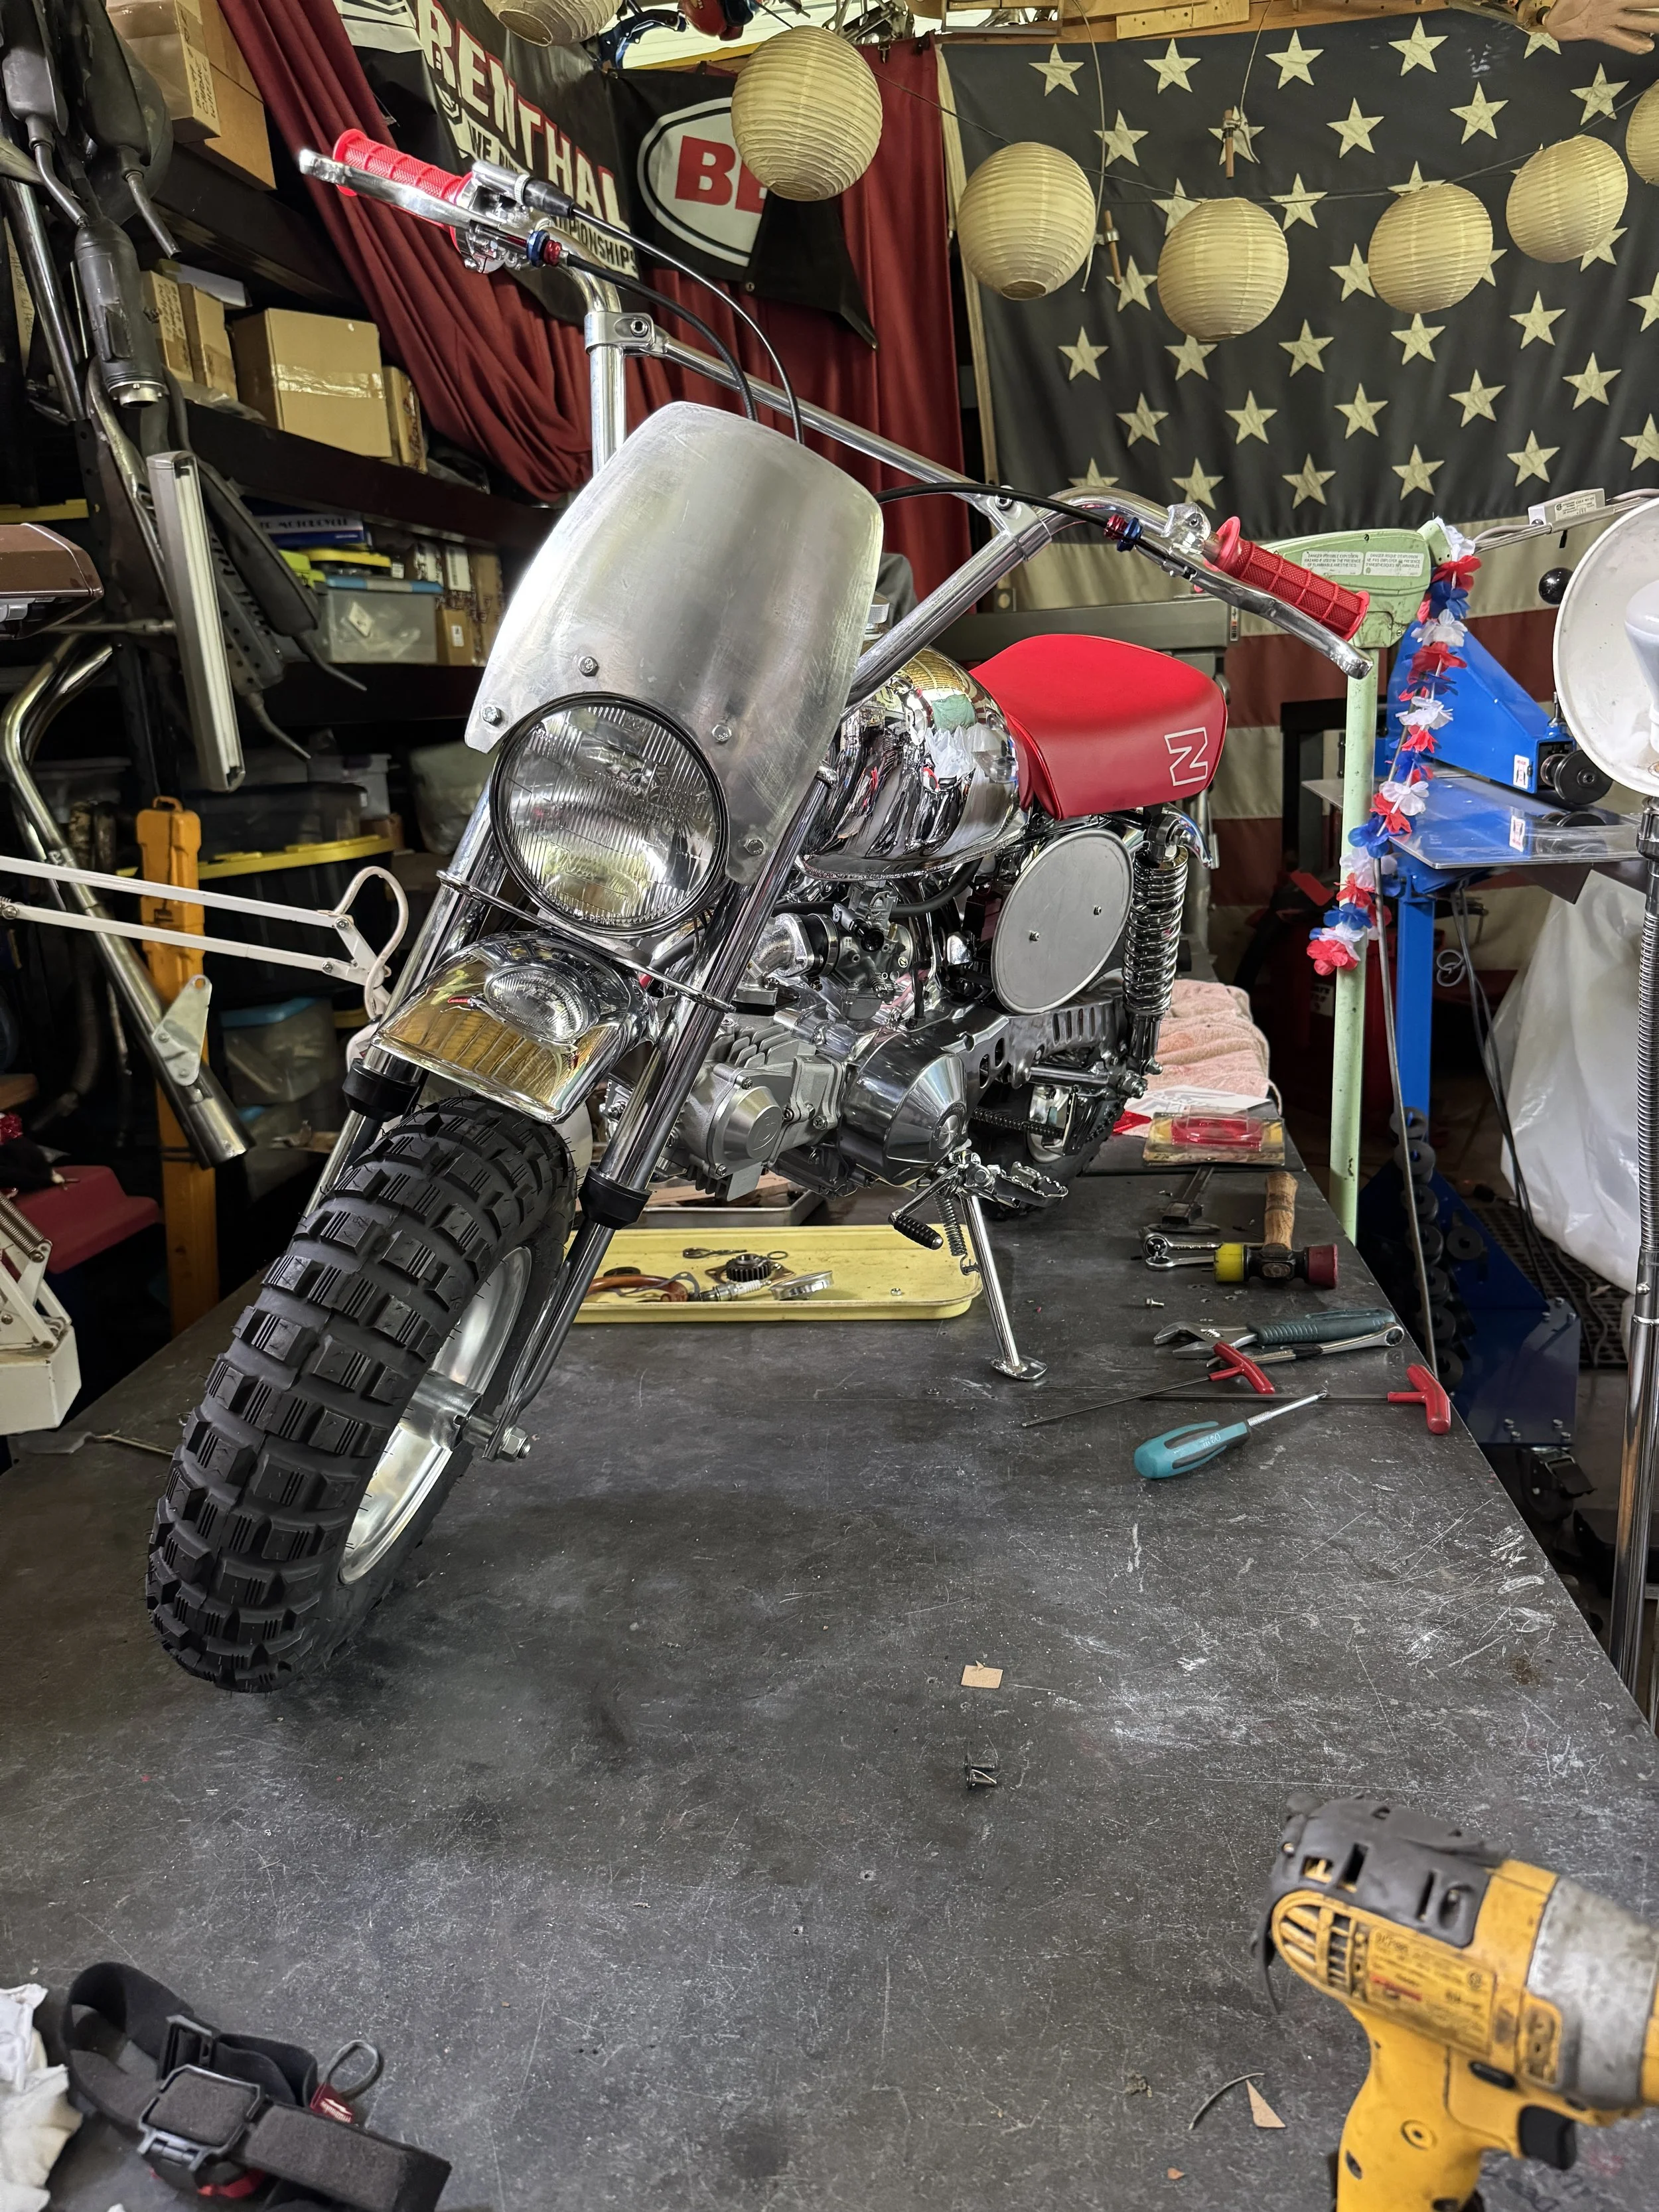
A Tribute to the Z50RD. 1980 Honda Z50R Chrome Custom.
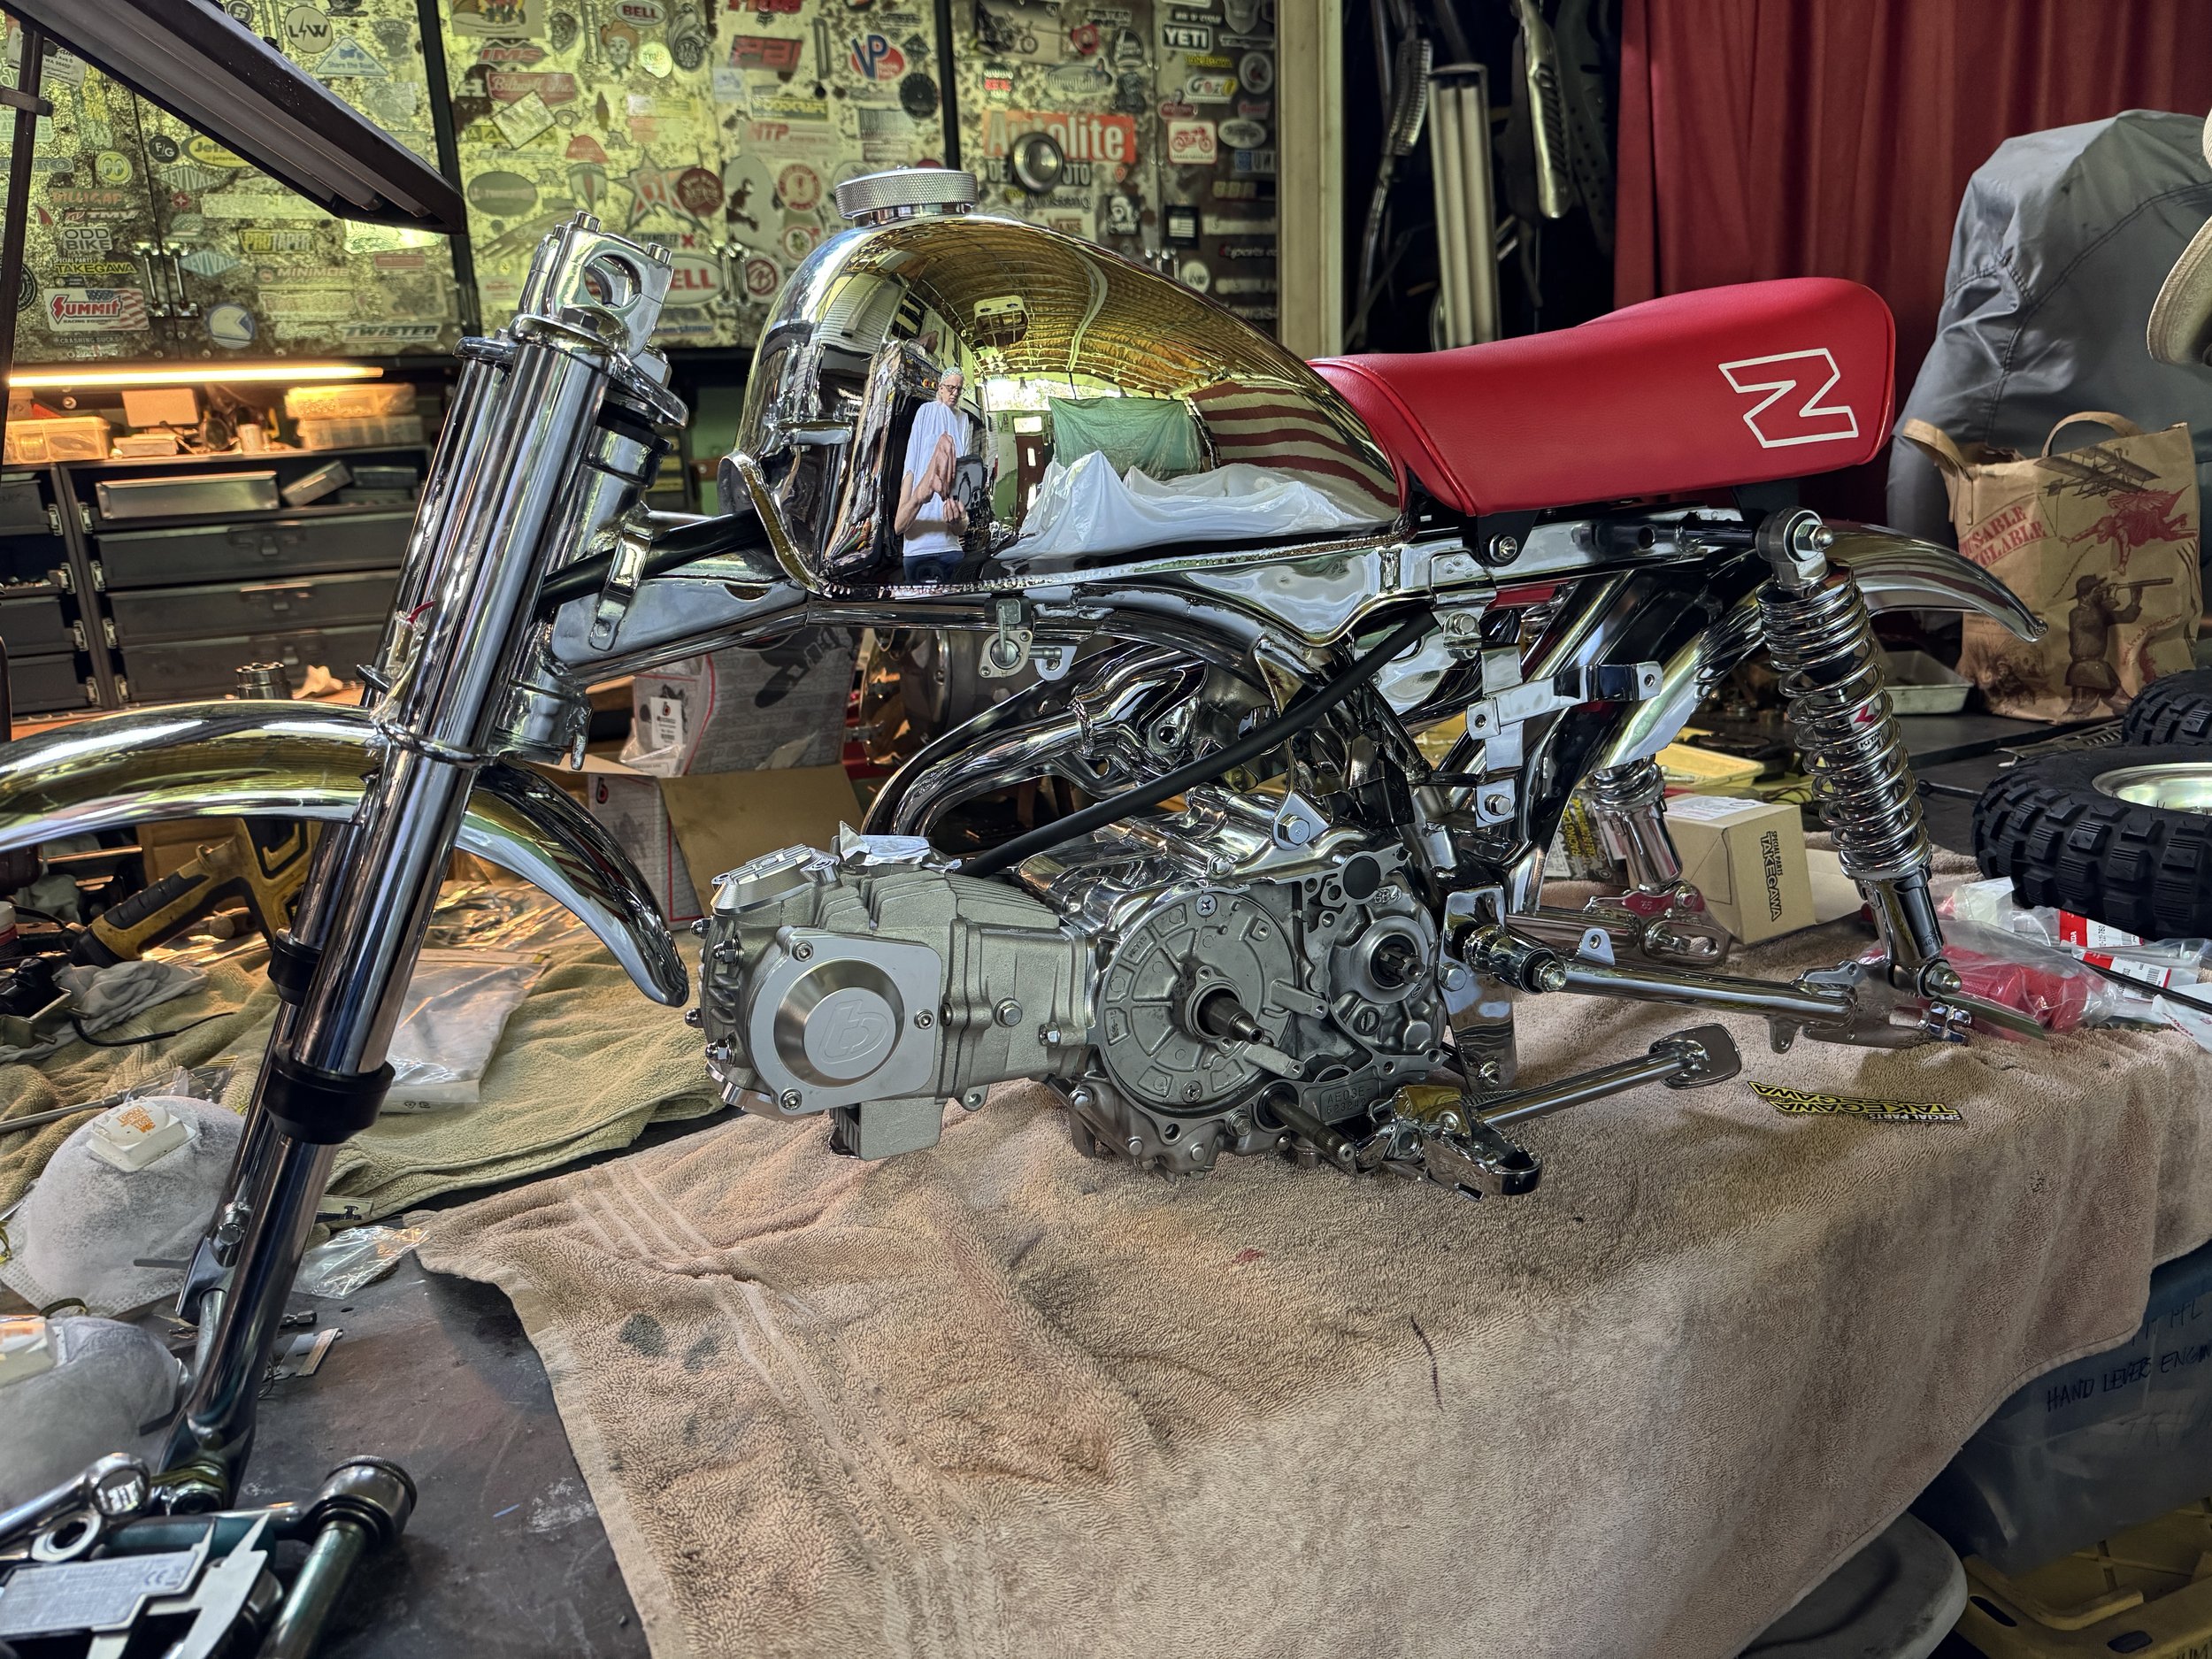
A 1980 Honda Z50R frame and a 2004 Honda CRF50 engine were mated along with an extended stock swingarm, tall bars and some other goodies to make this custom, a tribute to the 1986 Honda Z50RD known as the“Christmas Special.”

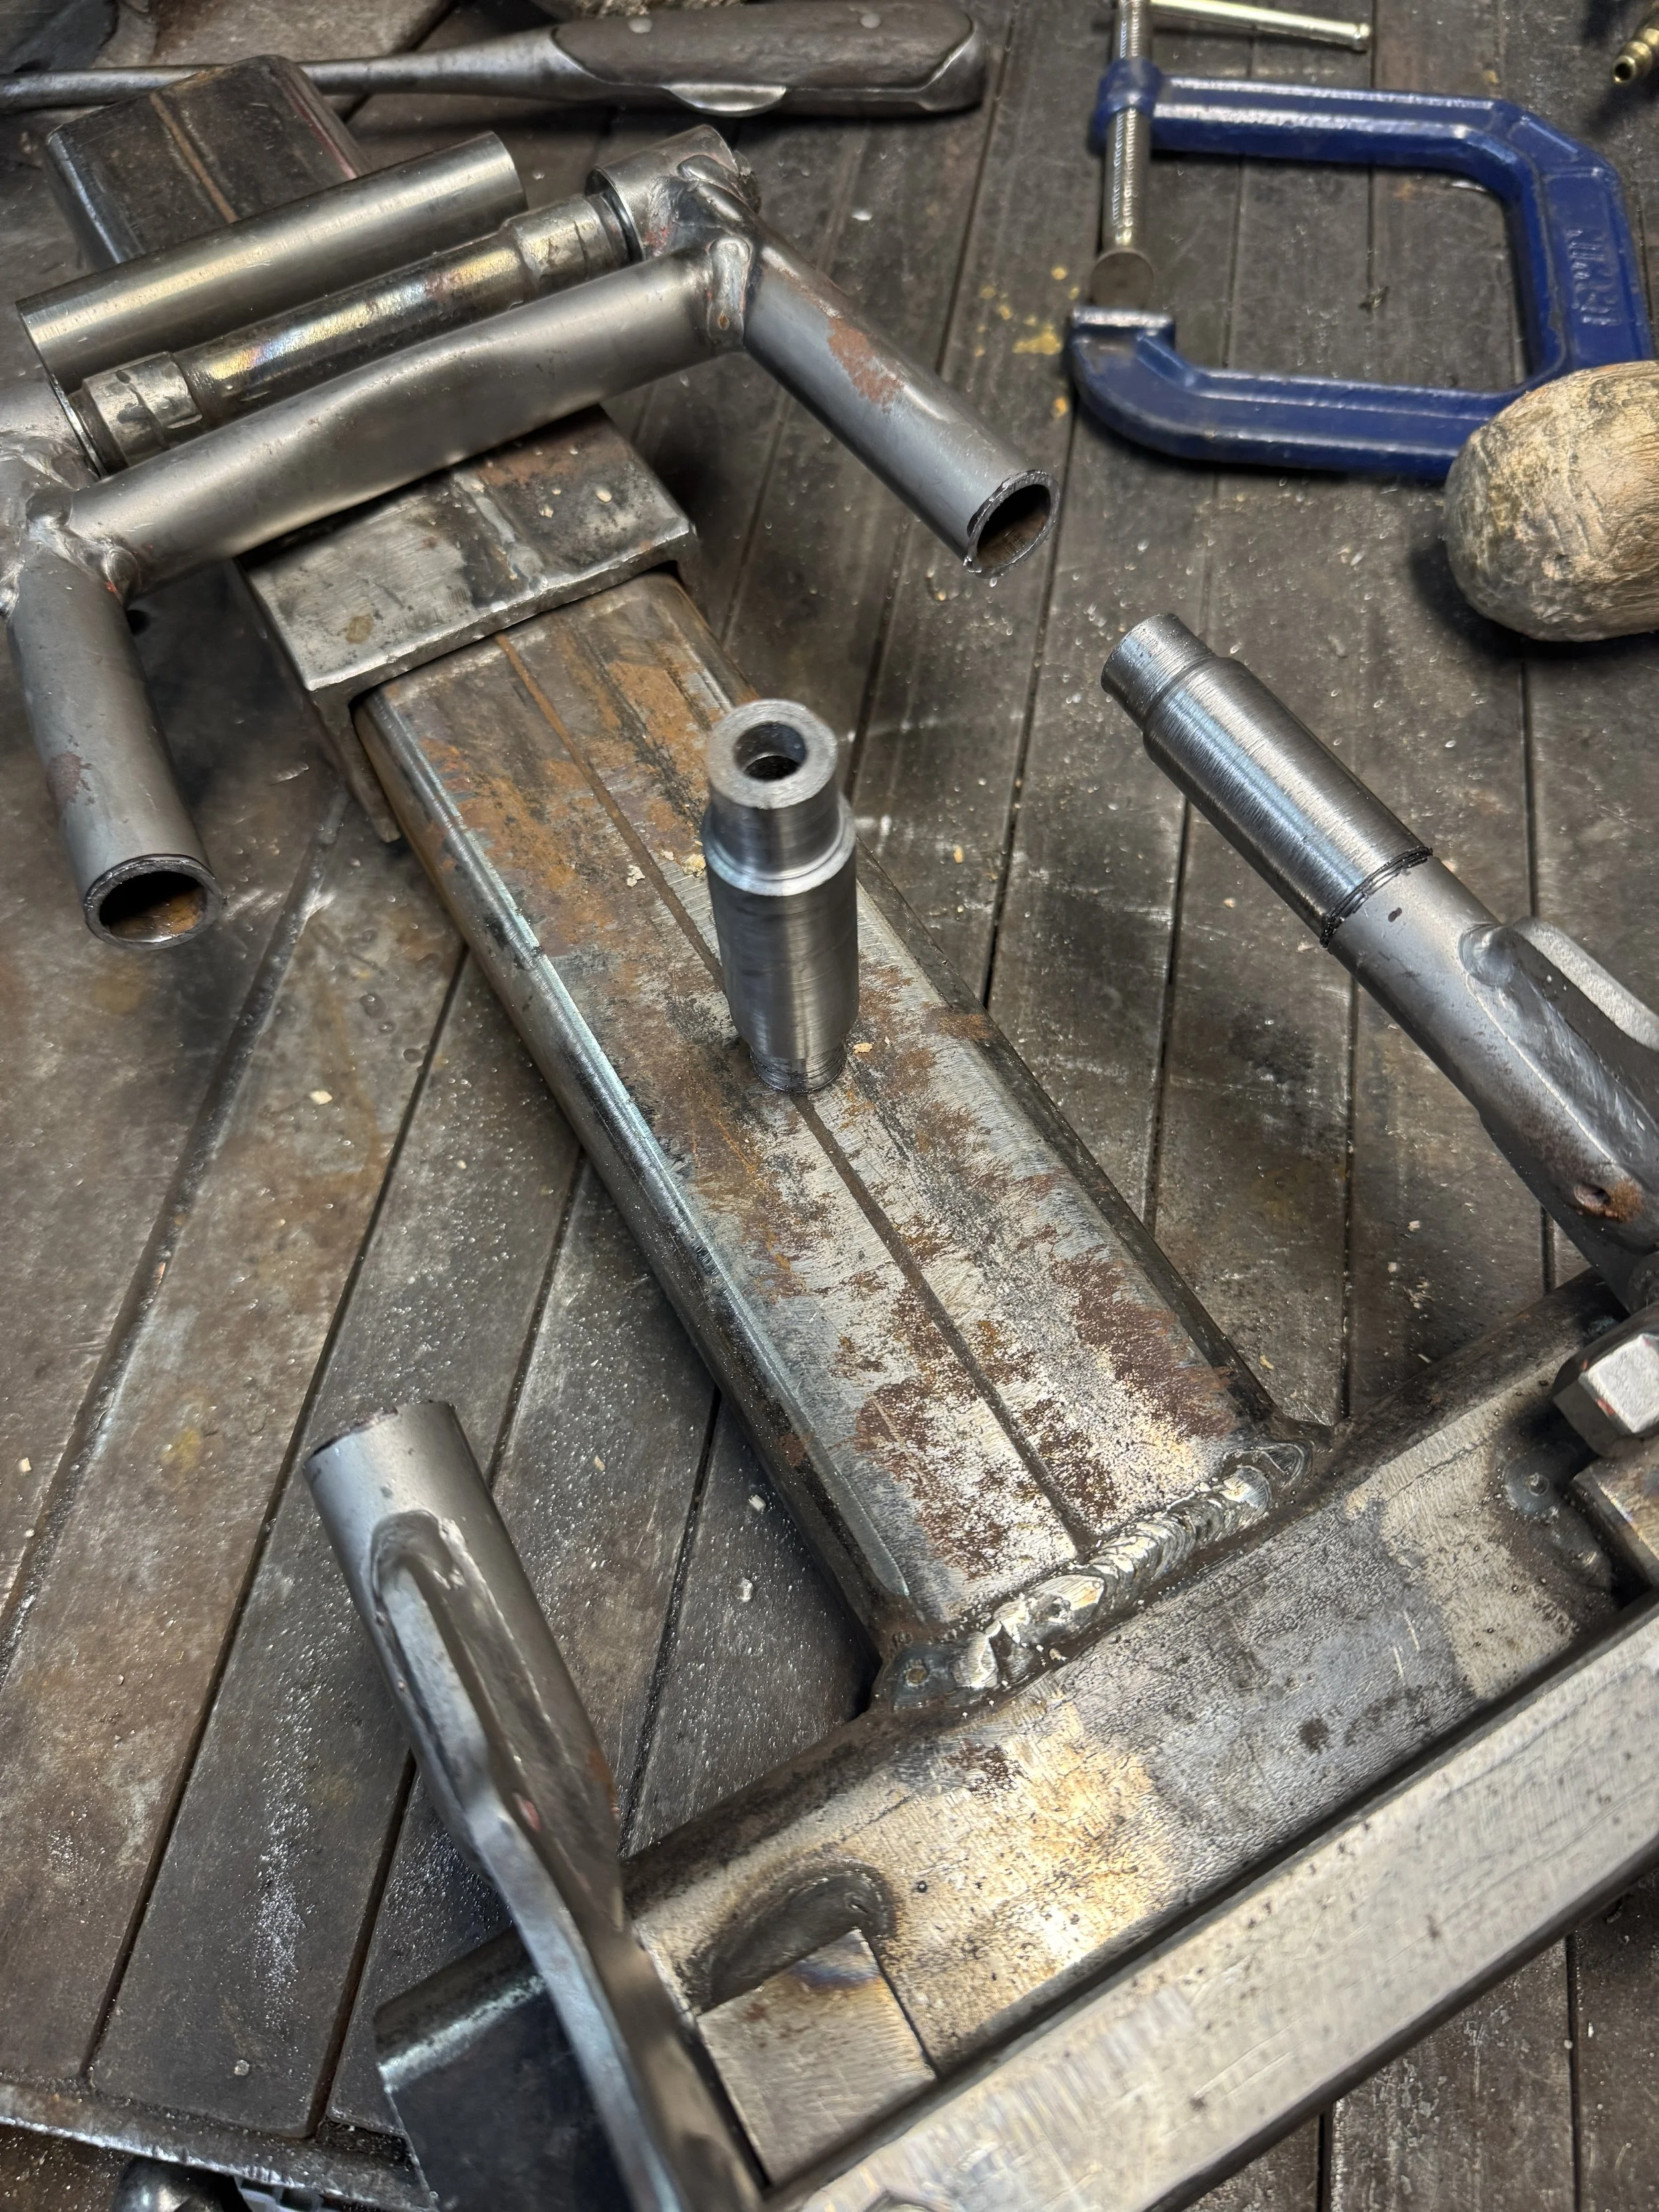
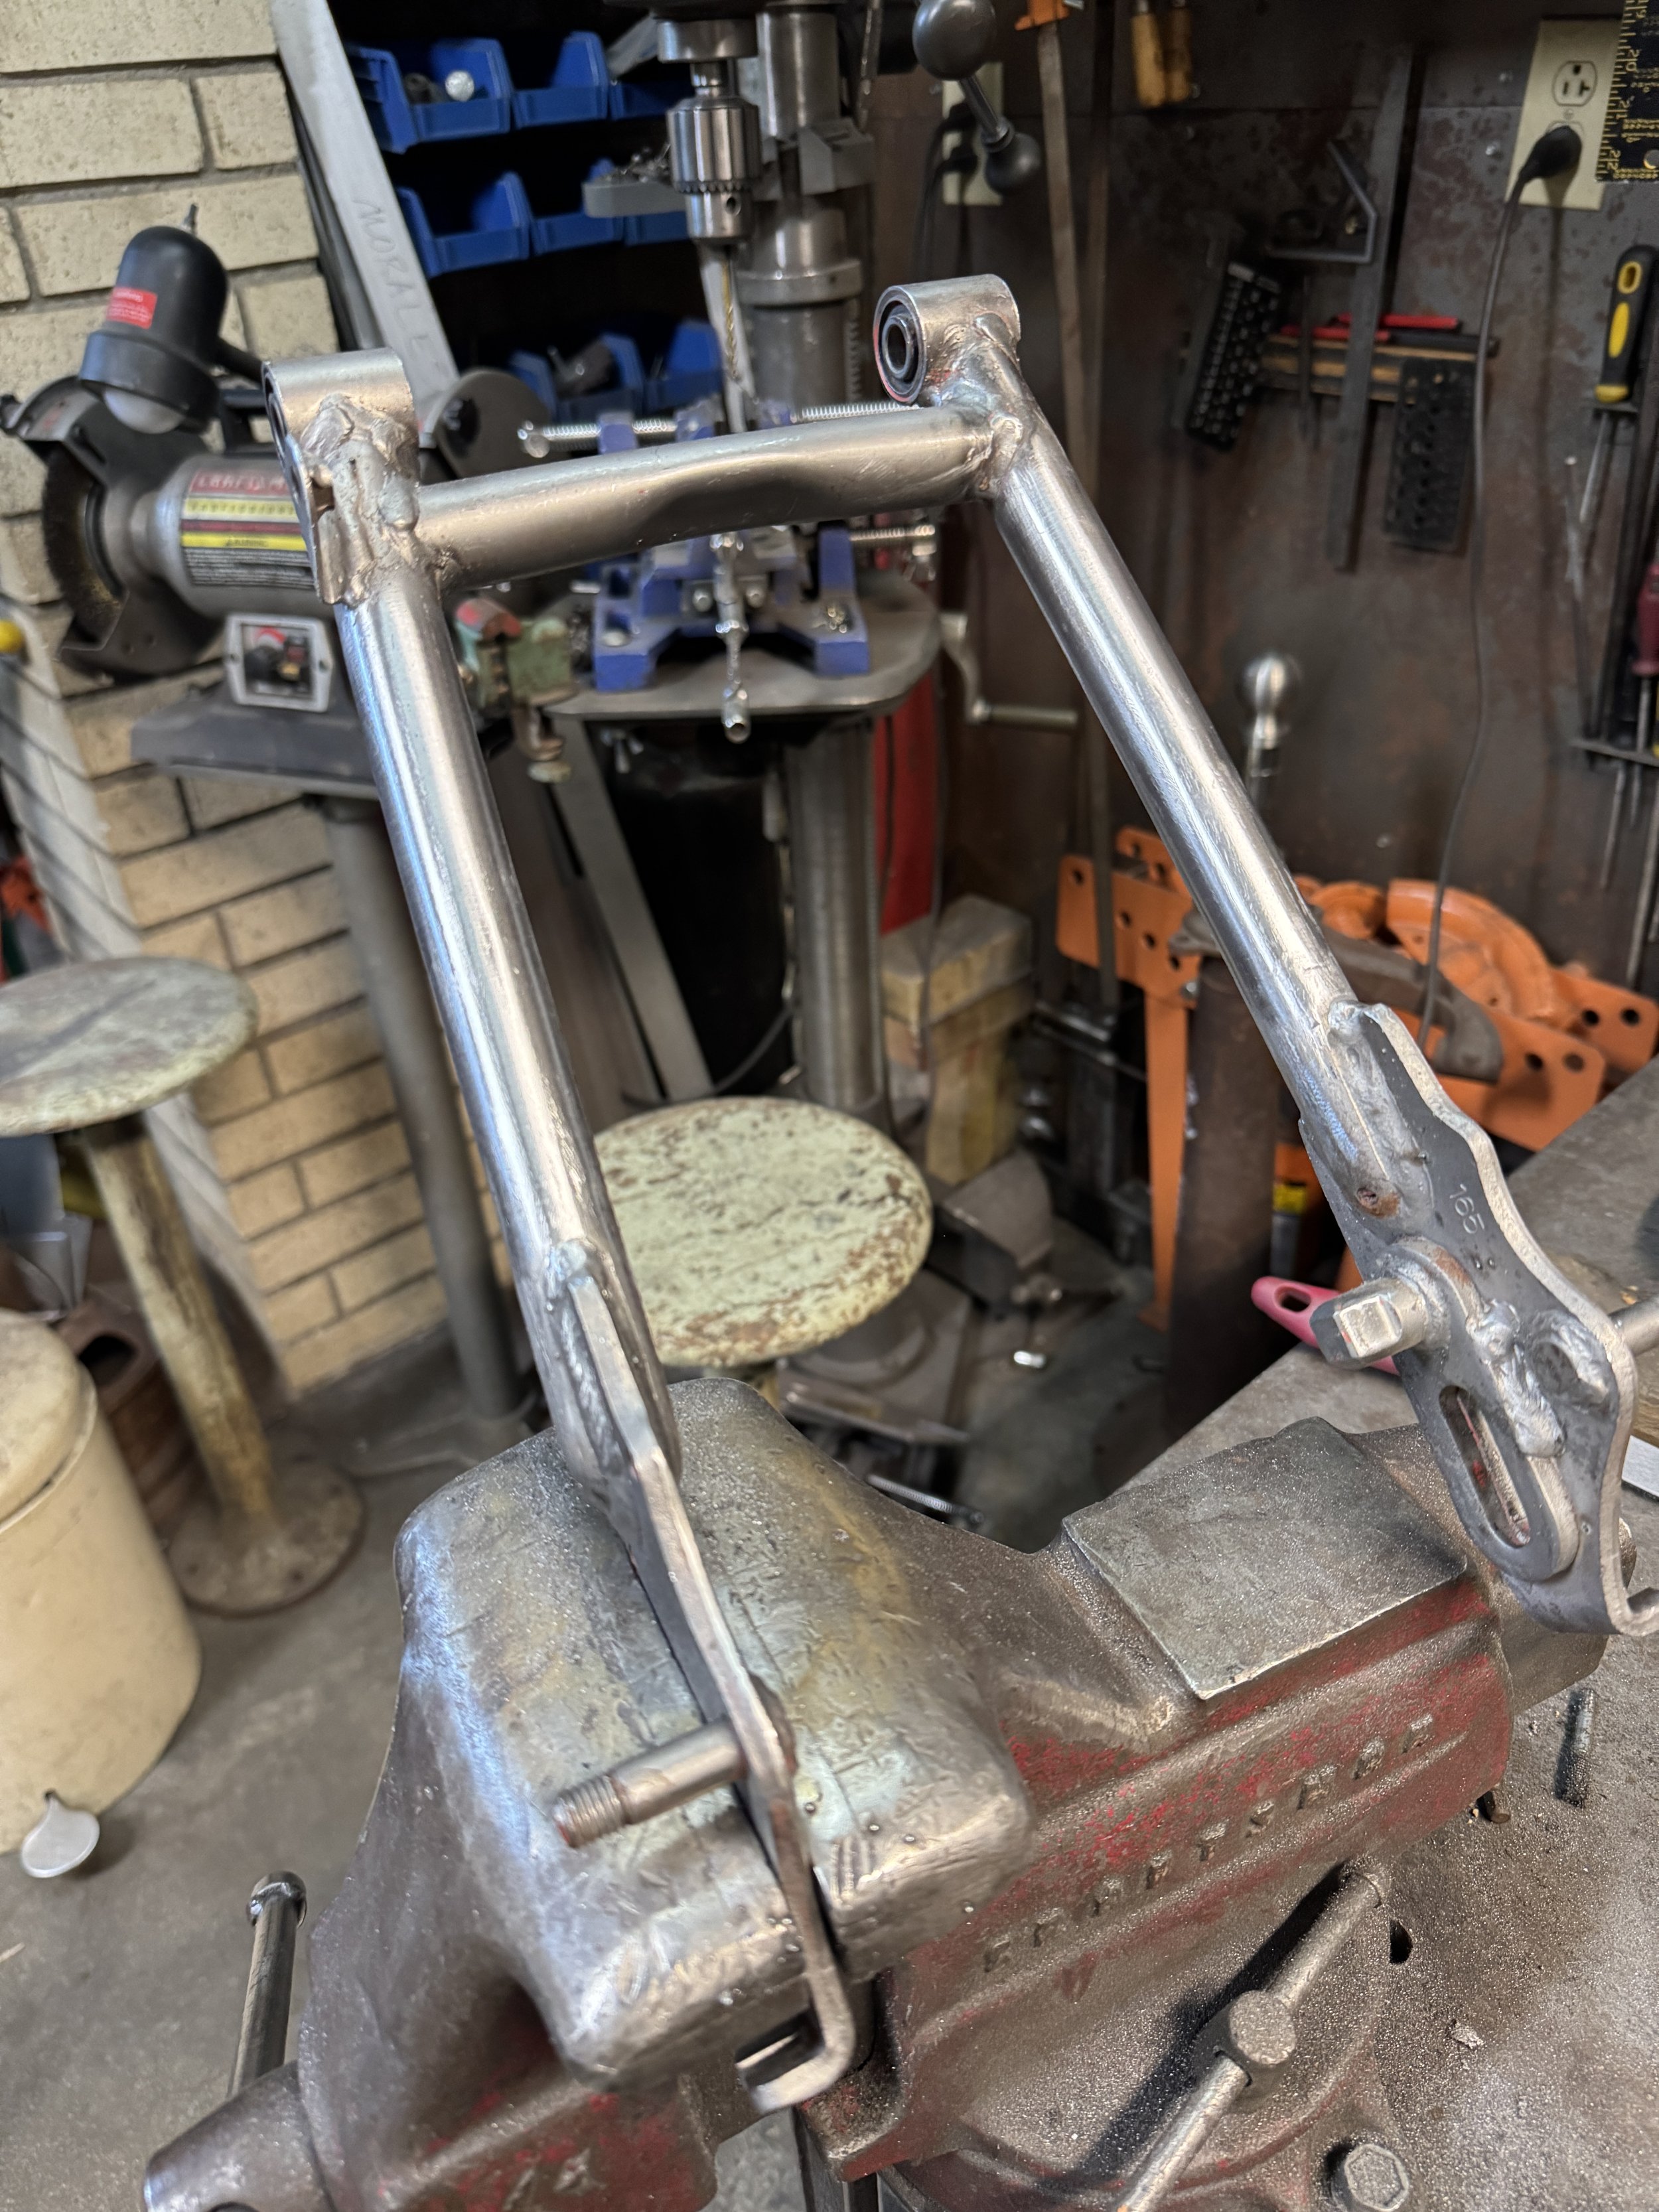
A stock swingarm was lengthened 55mm using a custom jig. .250” wall DOM steel tubing was used to make the extension slugs.

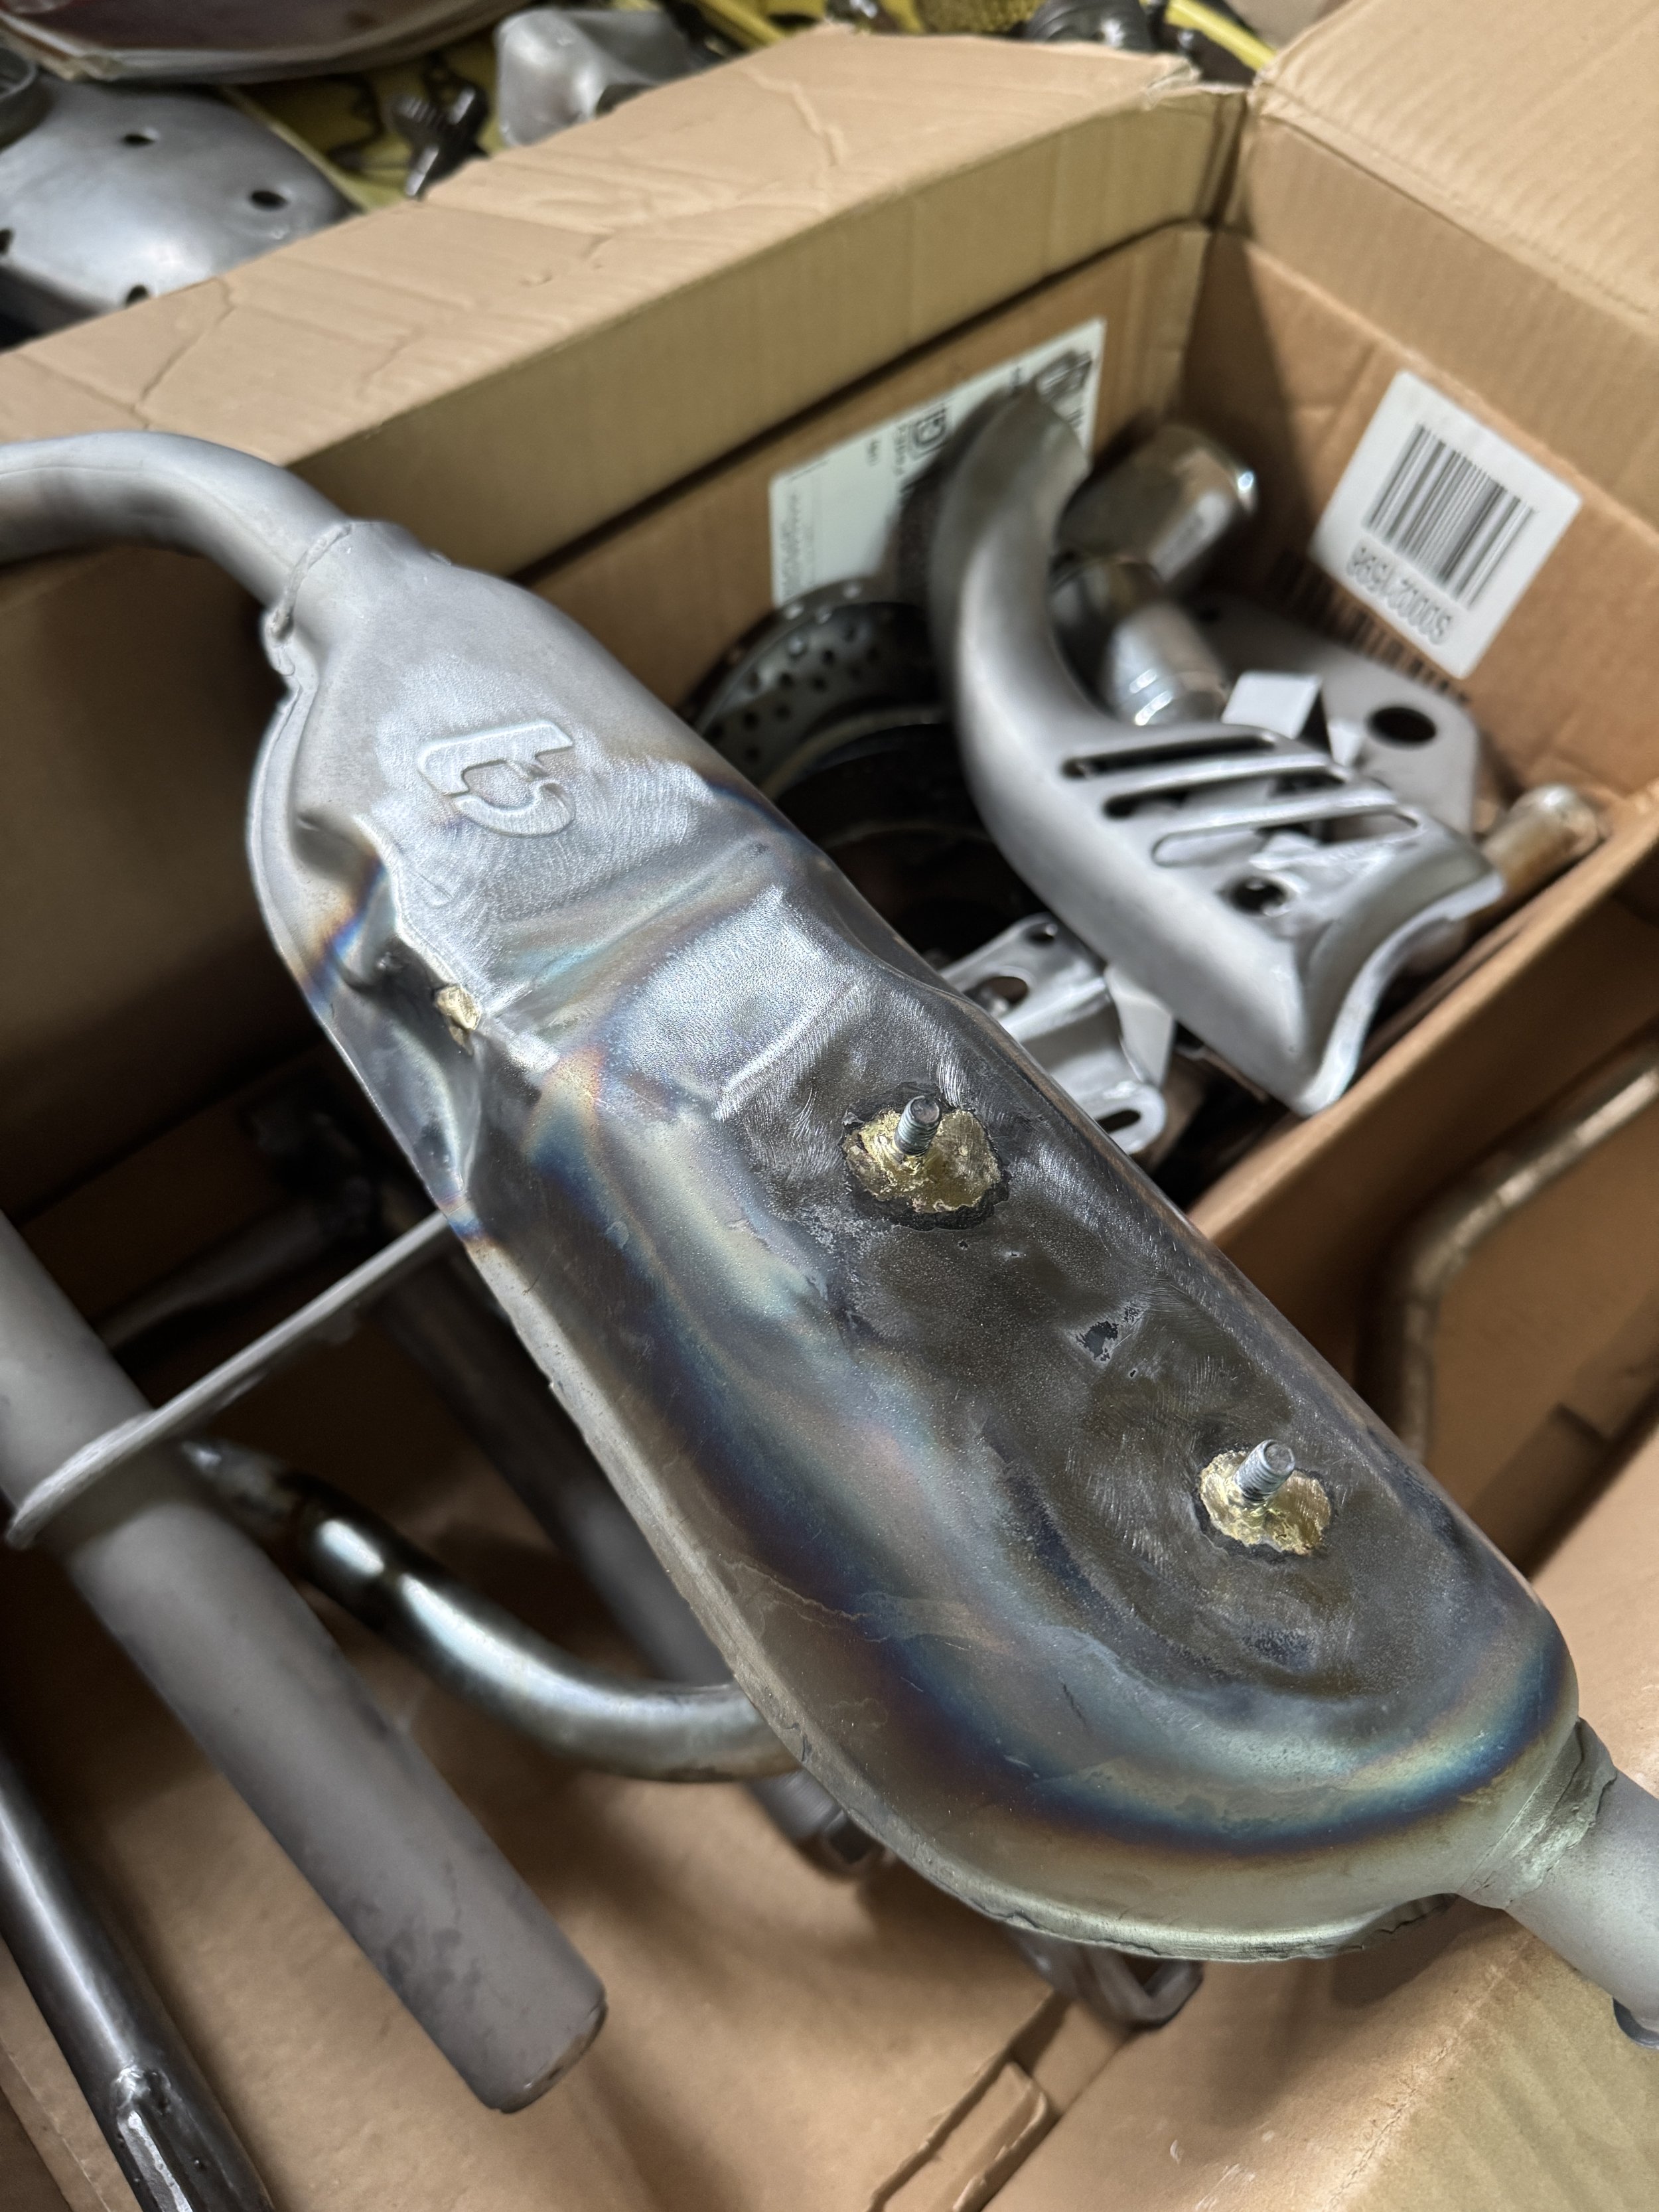
Everything was stripped and blasted prior to going off for chrome.the mounting screws on the back of the muffler were leaking and subsequently brass brazed. The muffler is slightly larger than the original stock pipe. I have had some good performance from these aftermarket pipes, even though they are slightly smaller than the performance pipes sold for these bikes.

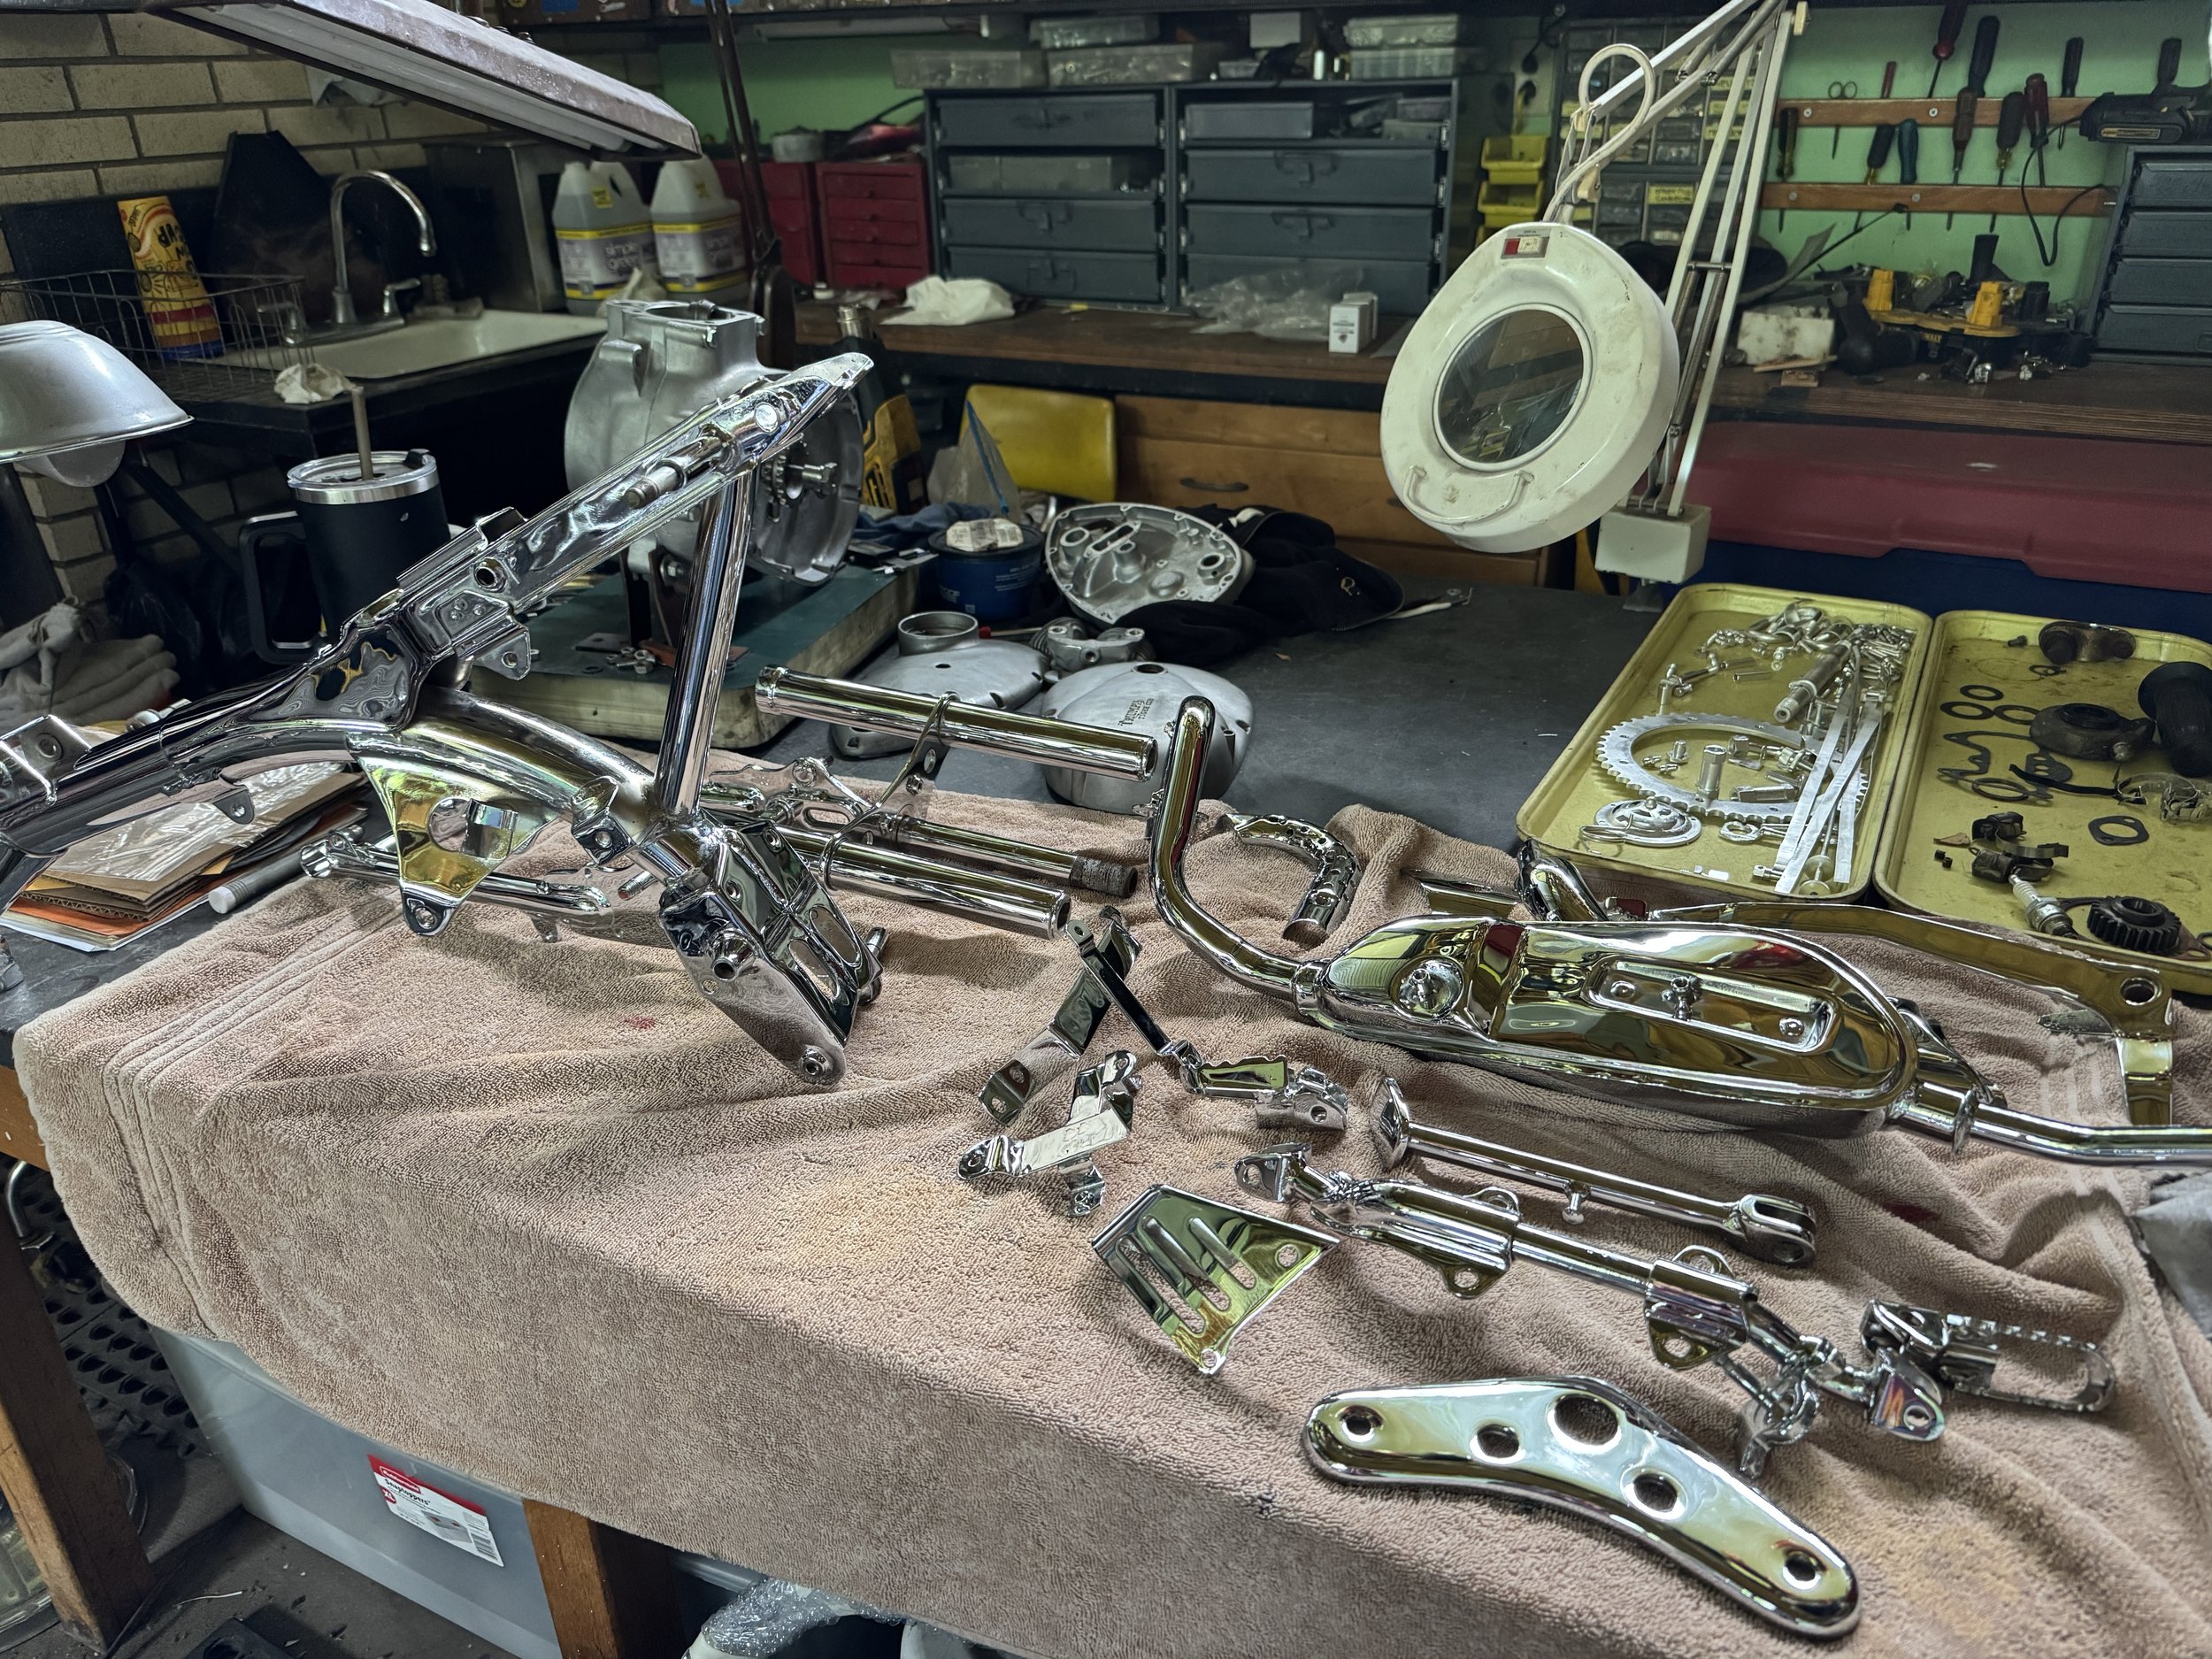
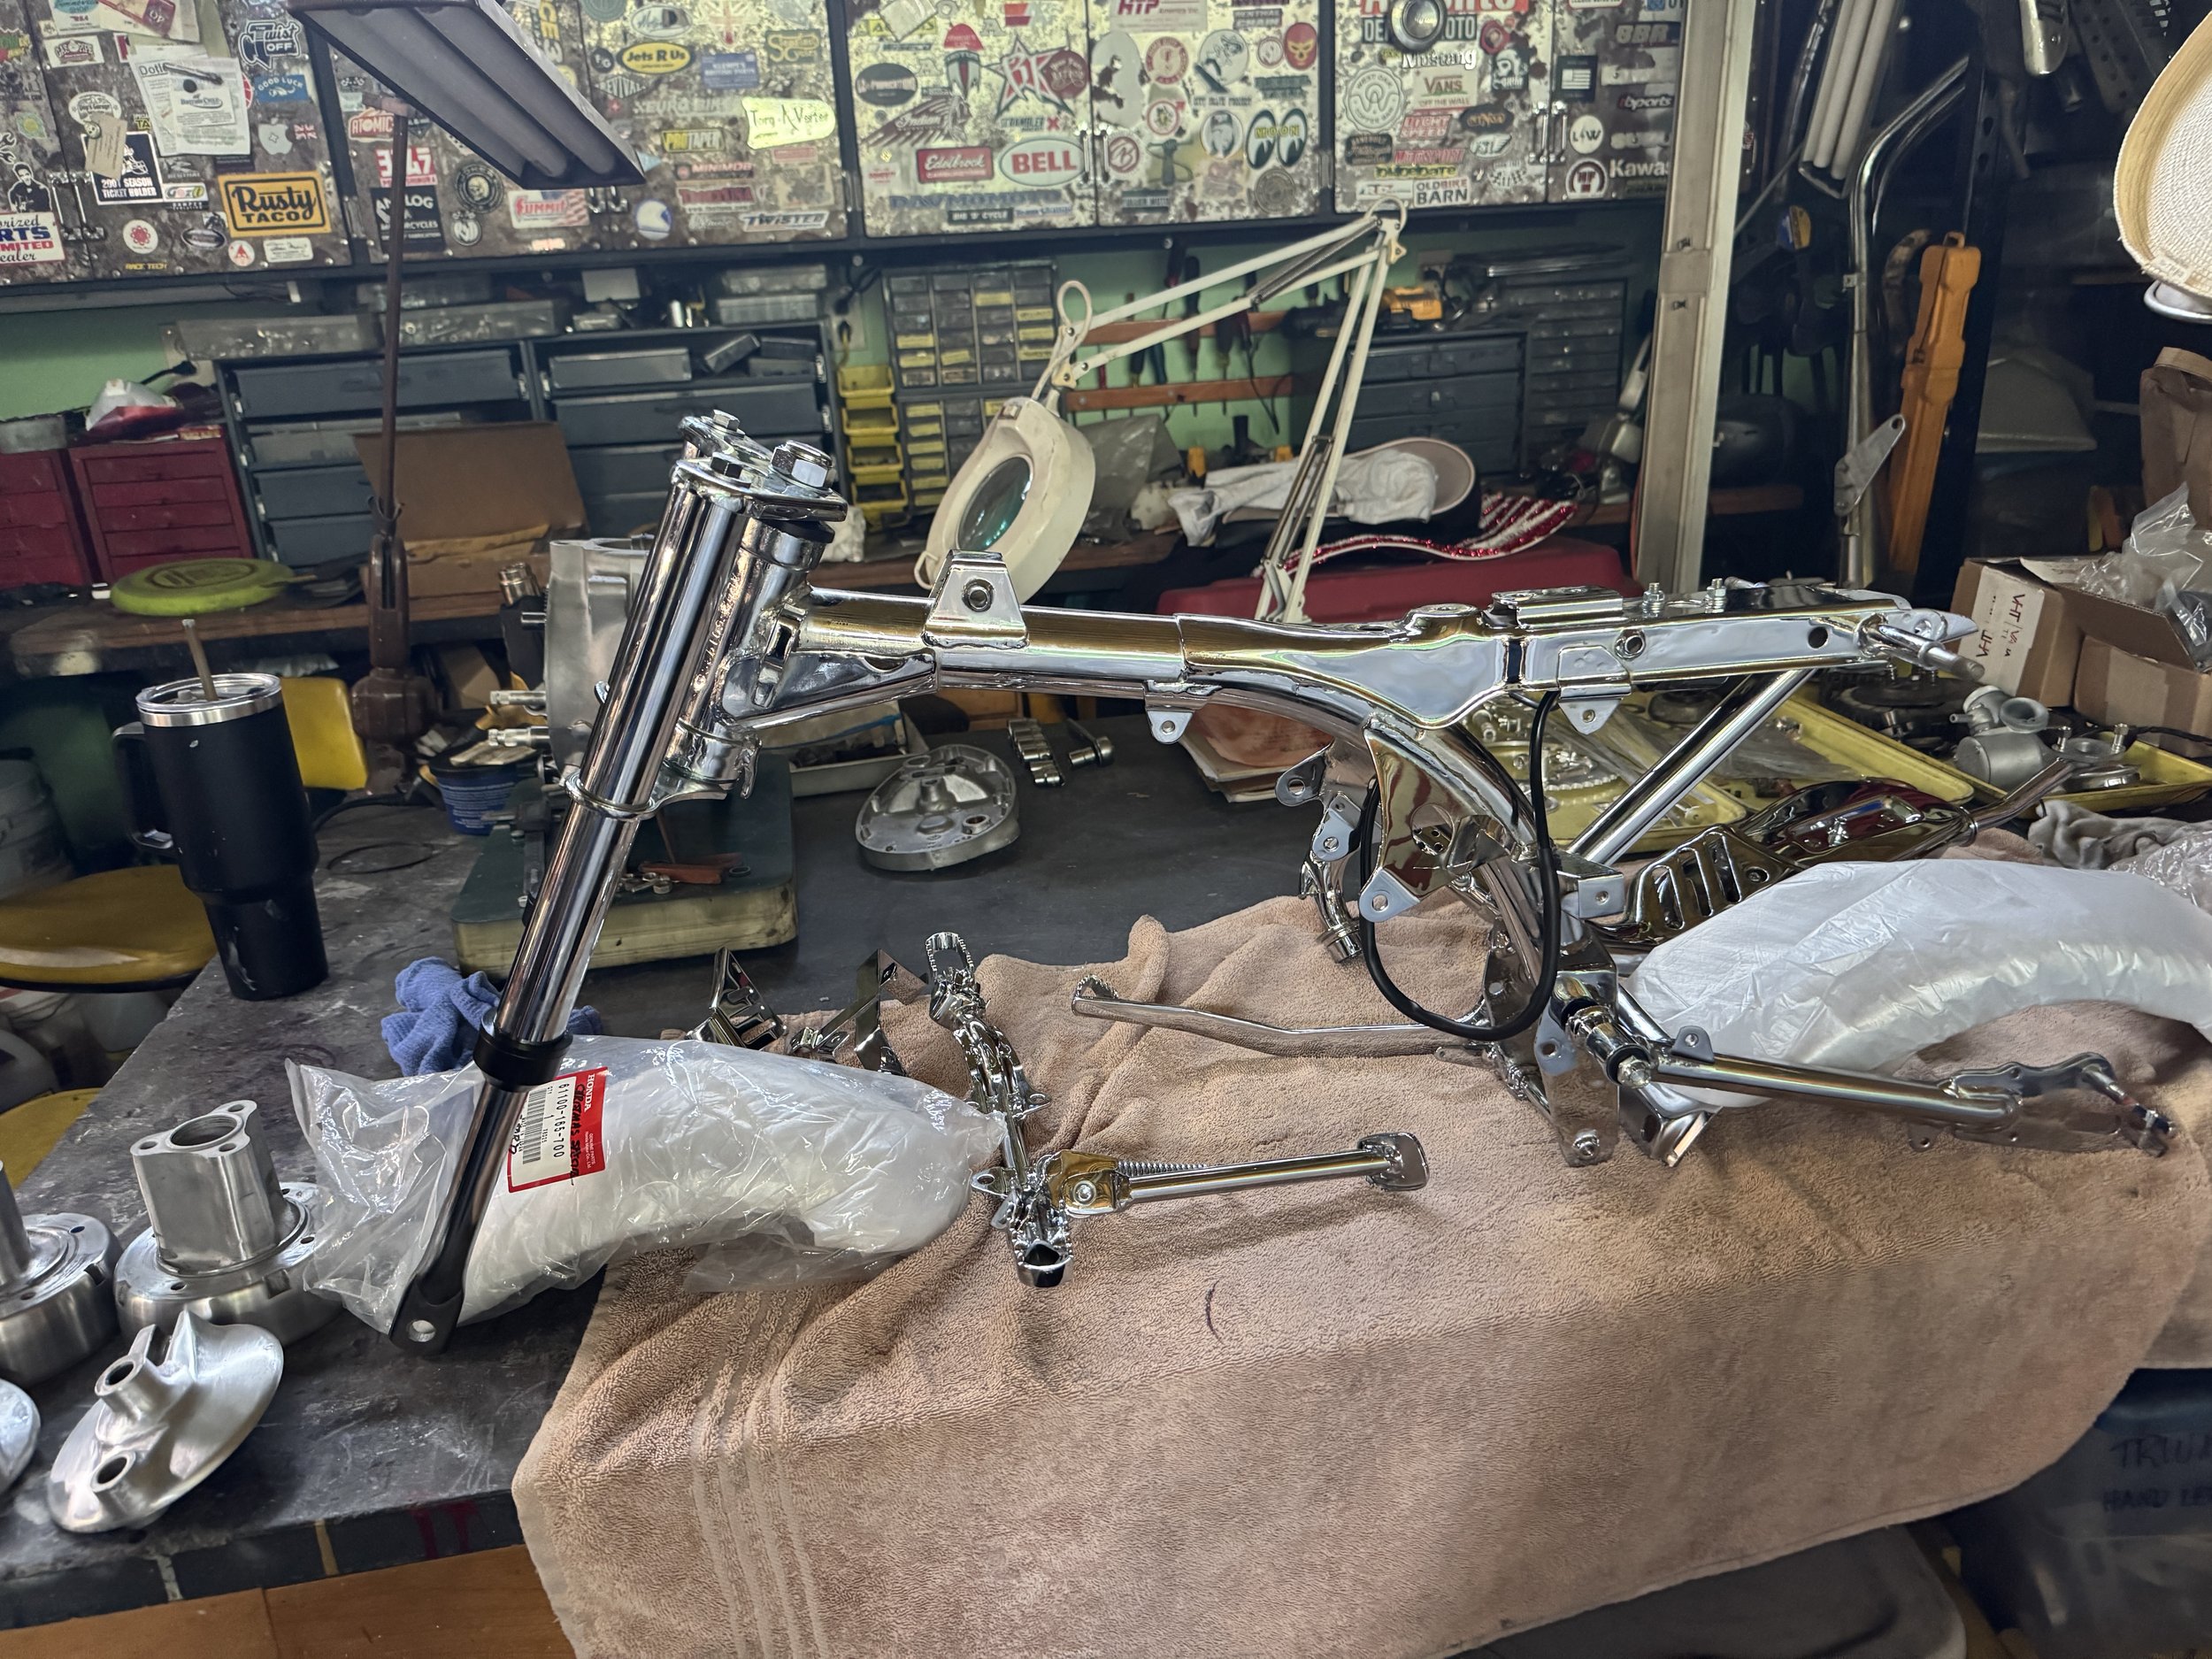
Everything back from the chrome shop, waiting to be fitted together. The footpeg mount was from a CRF50.

I bought some OEM Honda fenders a few years back, that are made to go on the Z50RD.

New steering head bearings, fork internals and seals, and swingarm bushings were used to get the frame back together. A stock ignition coil was mounted in the stock location, but will be later switched out for a Takegawa 12 Volt unit.

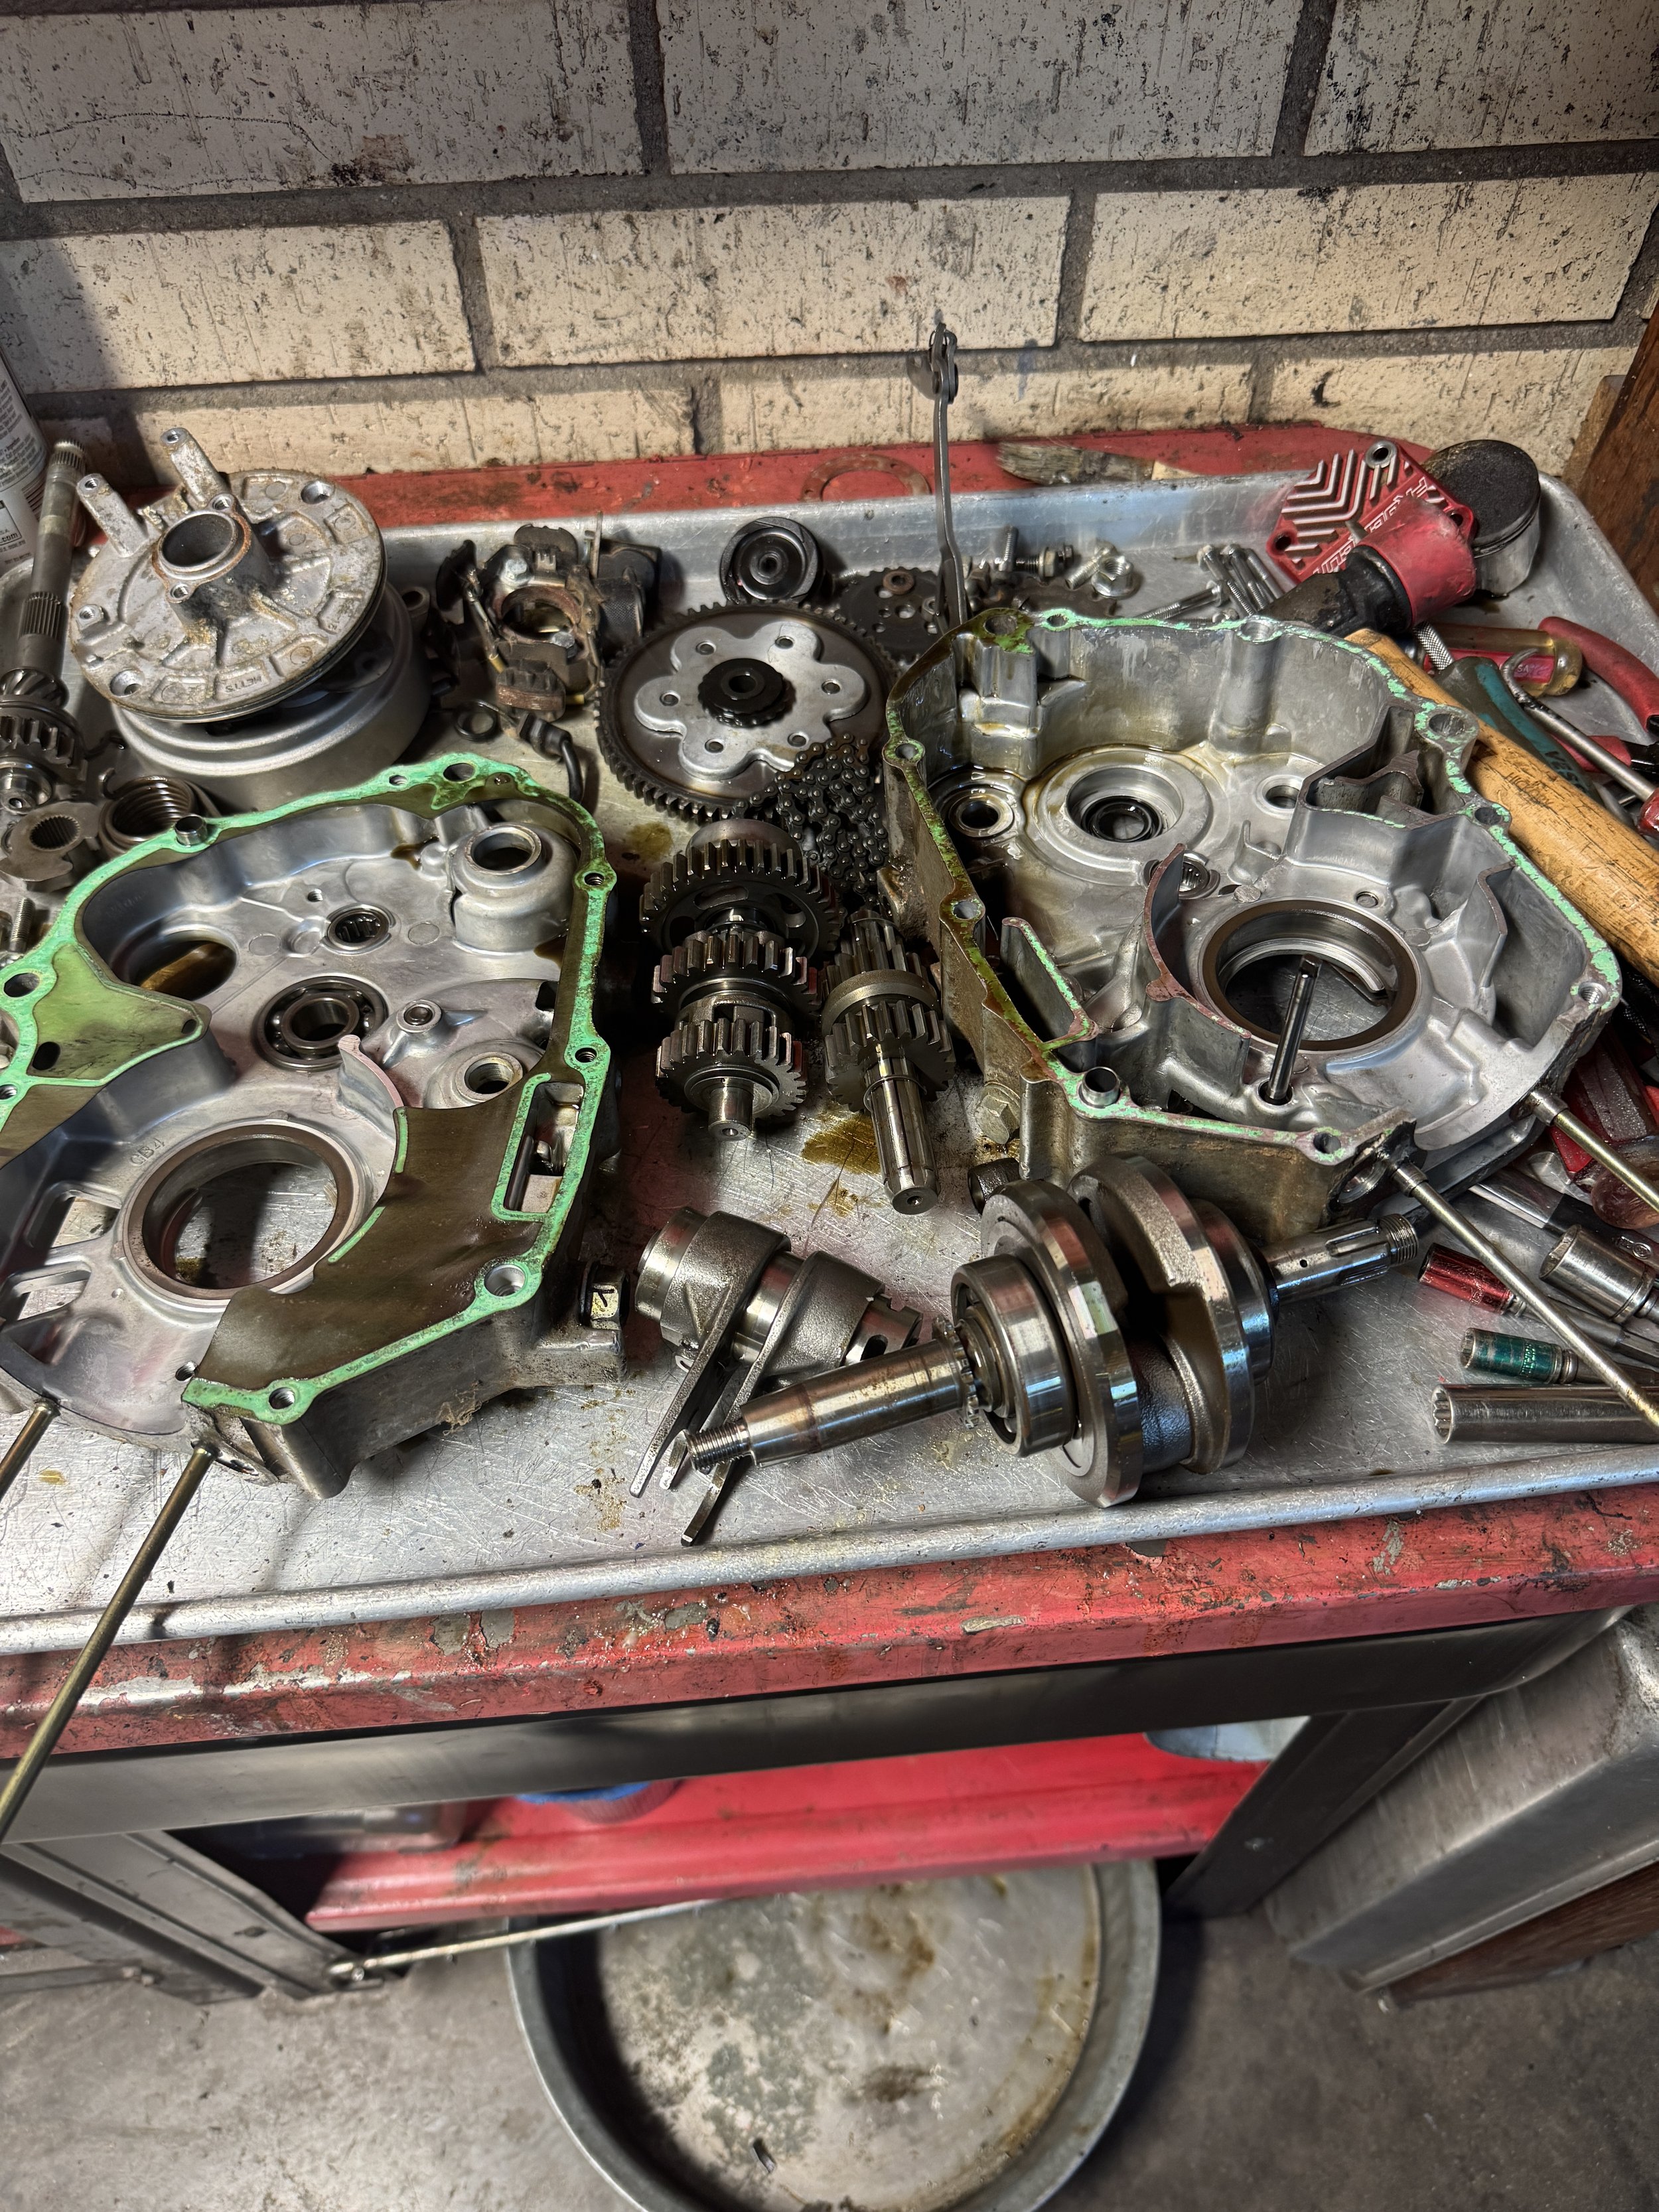
The 2004 CRF50 engine was completely dismantled. A takegawa lightened stroker crank, a heavy duty clutch, high volume oil pump, 52mm cylinder and piston, rolling rocker head, four speed tranny, and lightened flywheel will make up the base engine.

With all the chrome on this bike, the cases have to be high polished to match. A lot of aluminum parts were polished out, including the wheels, handlebars and clamps, kickstarter, gas cap, number plates, front fairing, and of course, these cases. Buffing is a nasty job, but the bling is worth it.

The engine is mounted unready for finishing. The fenders, seat, shocks, and tank being placed on the bike make it start to look like something! The rear shocks are 305mm Kitaco brand. The original shocks were 280mm, but the added length is to compensate for the swingarm extension.

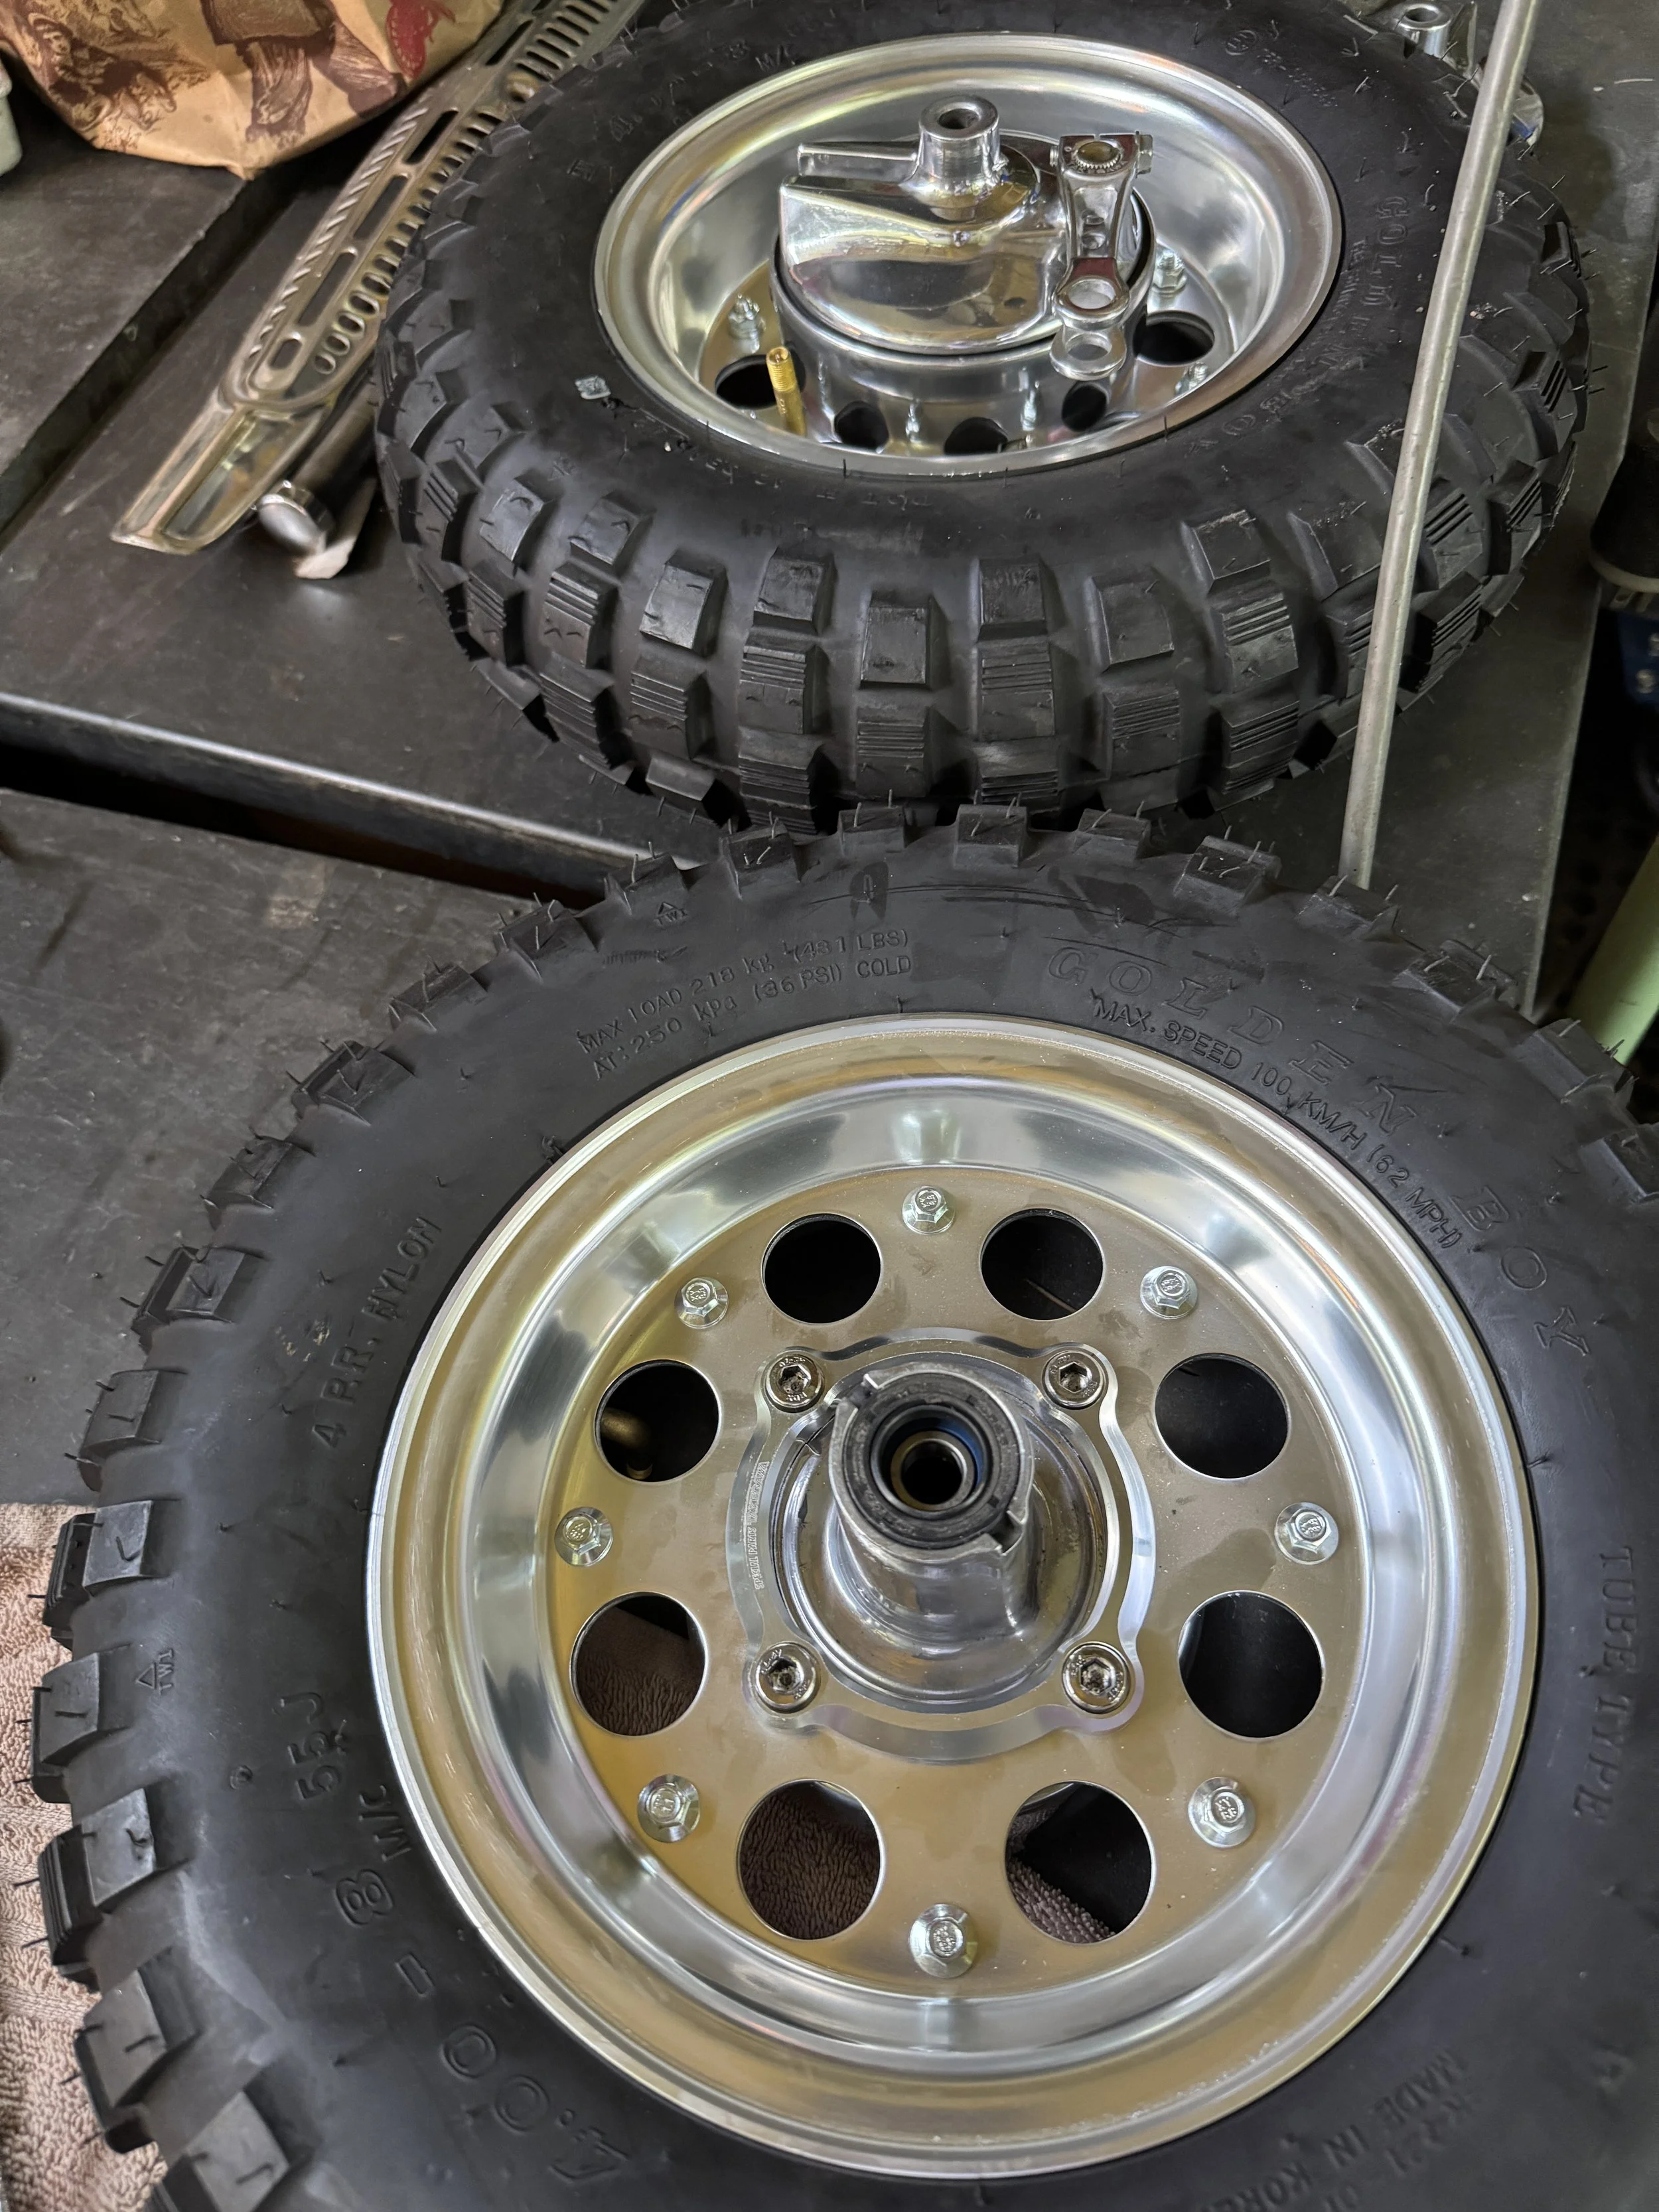
New alloy rims, polished wheel hubs and brake panels from 1970-1979 Z50’s, along with some Takegawa reinforcement rings and polished stainless steel hardware make up the wheel set.

The wheels and muffler mounted and we have a roller. There will be a set of Renthal alloy bars coming soon.

The TB Parts CDI was mounted on a custom plate made to fit behind the left number plate. A custom wire harness was worked out, using a 1972-1978 style harness, and some adaptors for the CDI box, and voltage regulator. The voltage regulator is tucked under the frame, just behind the coil.

The flywheel was significantly lighten to allow the engine to spin up faster.

A 90 Watt Ricky Stator was used to keep the light good and bright. This one was made for the CRF50, and has three wires coming off the pigtail.

Number plates made from .050 aluminum. They were made using a powered bead roller. High polishing will be next. It took a couple tries to dial in the size, but they are now exact matches.

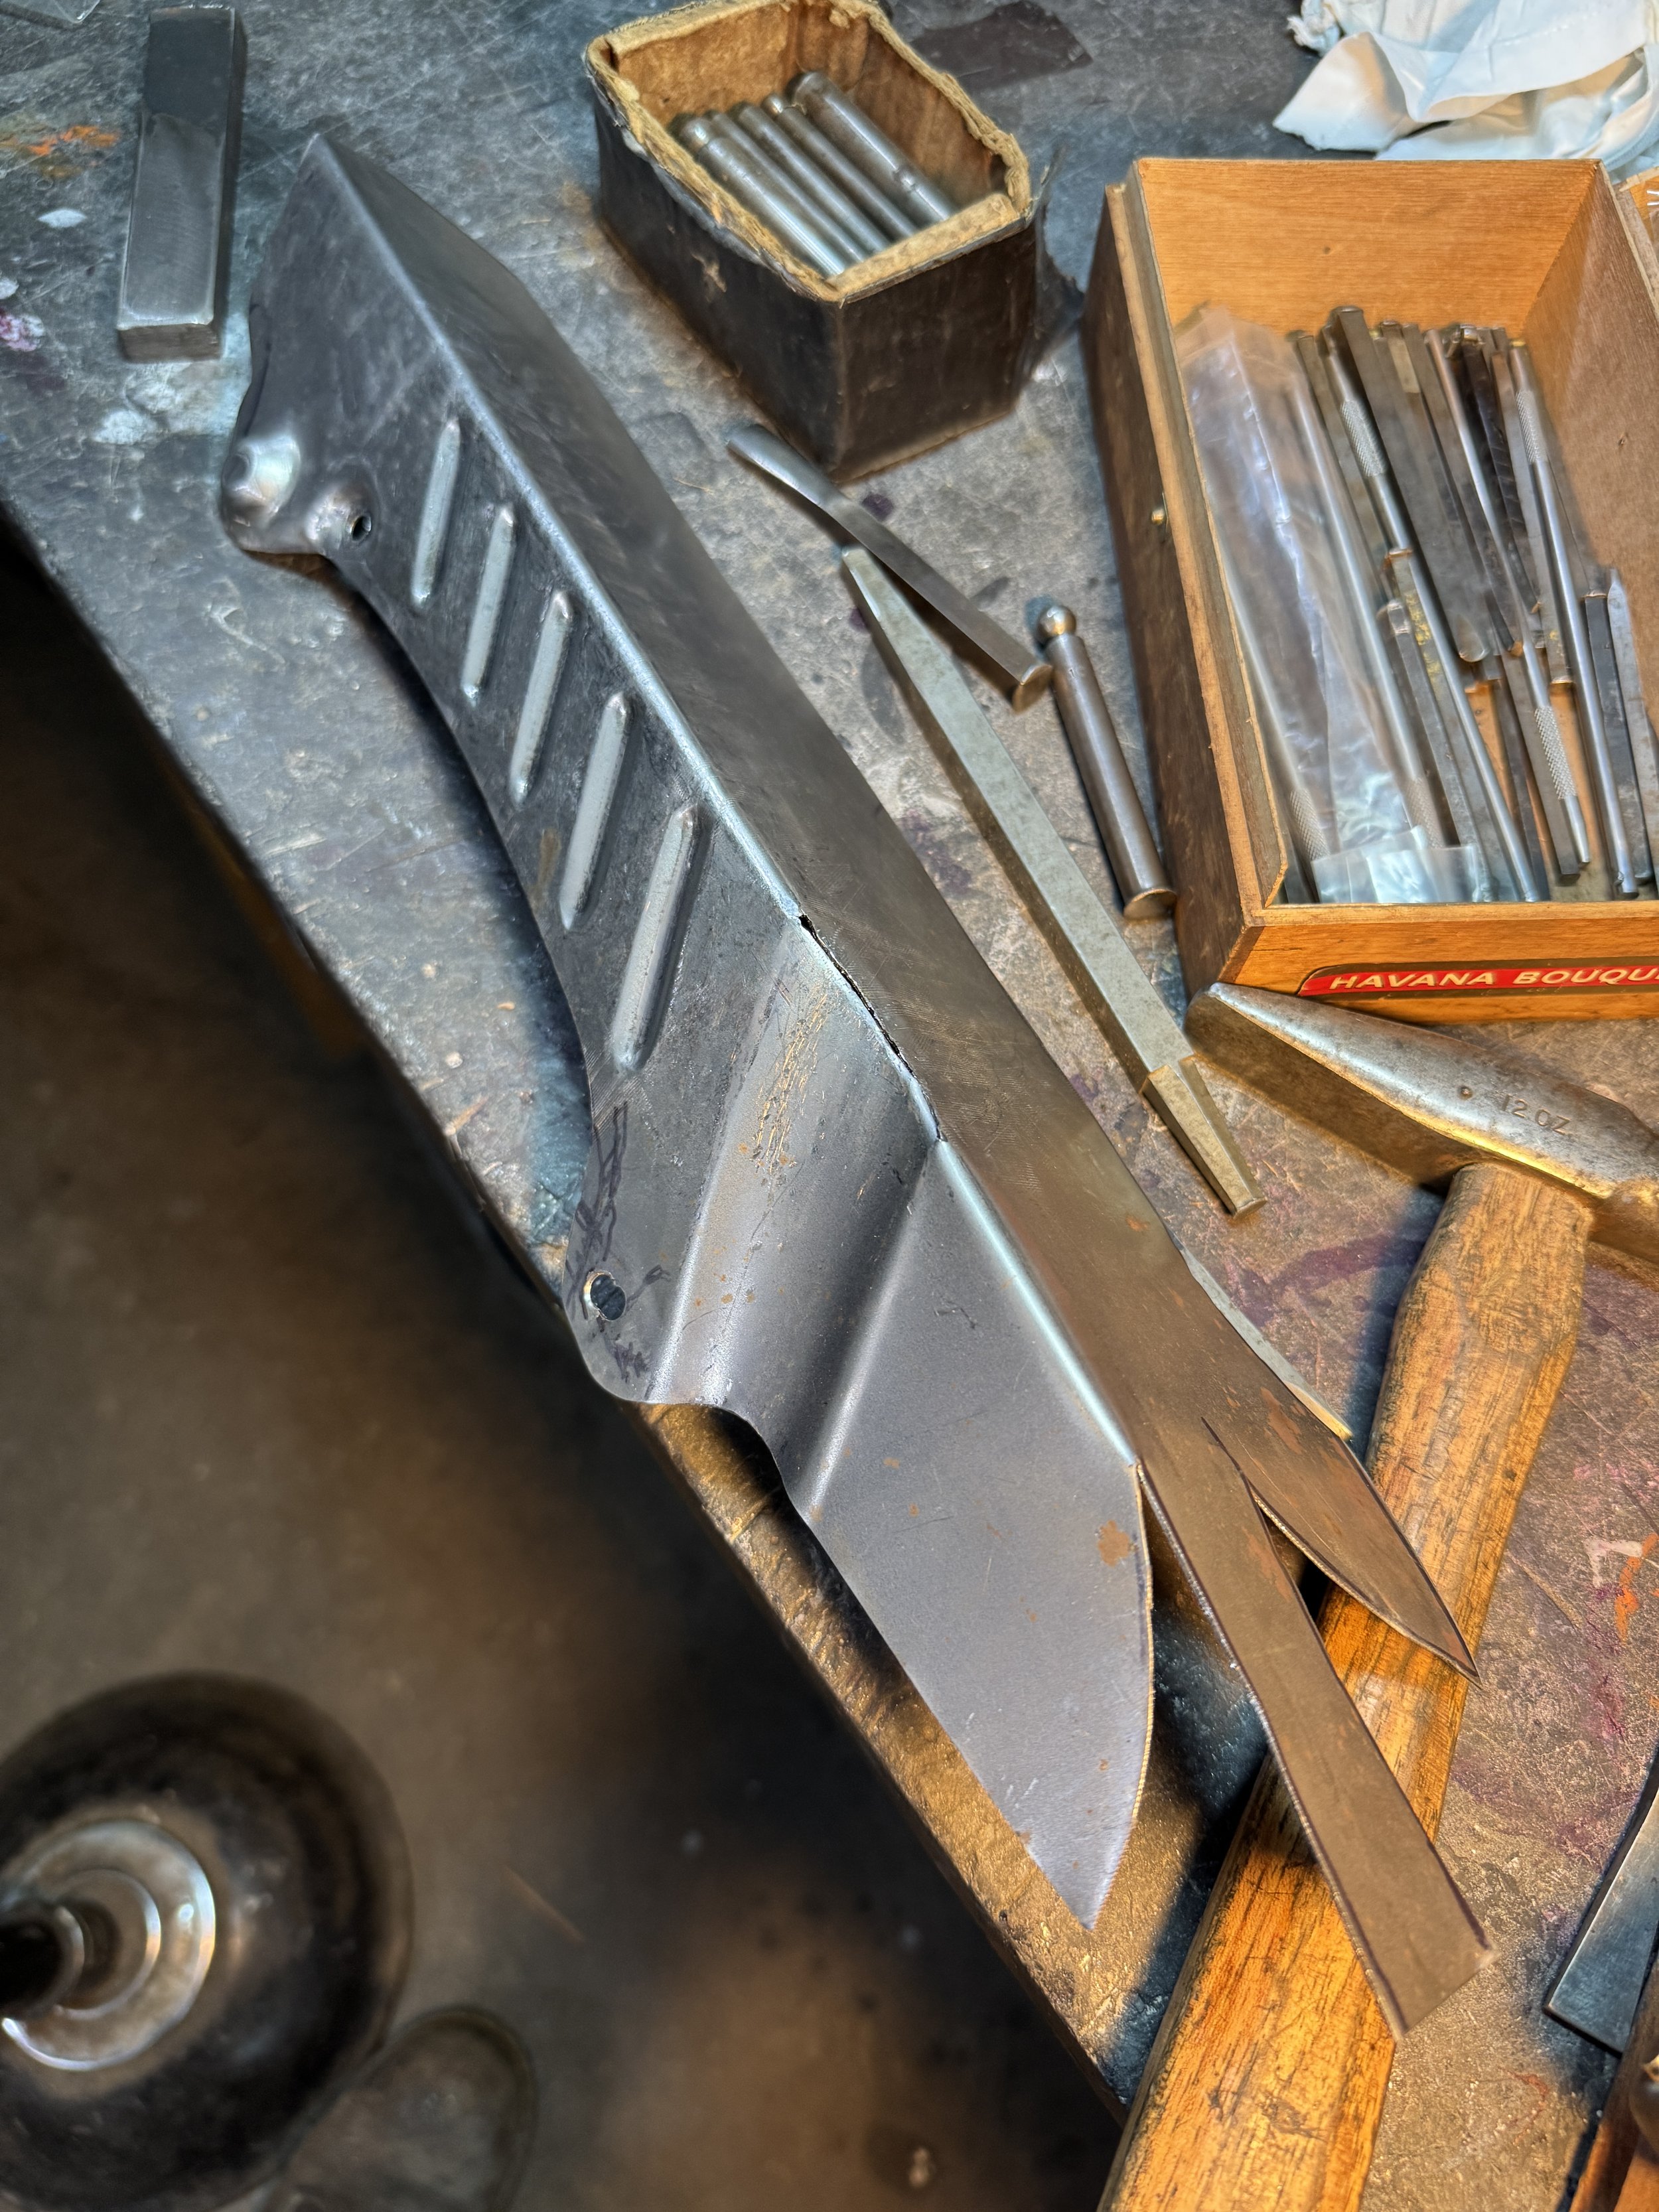
A chain guard being made from steel. Because of the extended swingarm, a stock guard would not fit. Though the original was black plastic, this one will be chrome plated. The indentations on the side of the guard were made with a bead roller. Some of the parts of the indentations were worked with a ball end punch, and a coining punch on the backside.

A tail light was built using an existing lens. The final one will be red instead of amber (just using it for mock-up to keep the red one scratch free.) The shell and reflector are made of steel and will be chrome plated. There is an existing hole on each side of the frame that will allow a single long bolt to pass through, and secure the unit.

Coming up: The next post will cover more details of the build including a bikini front fairing, and hopefully the bike being taken off the bench.

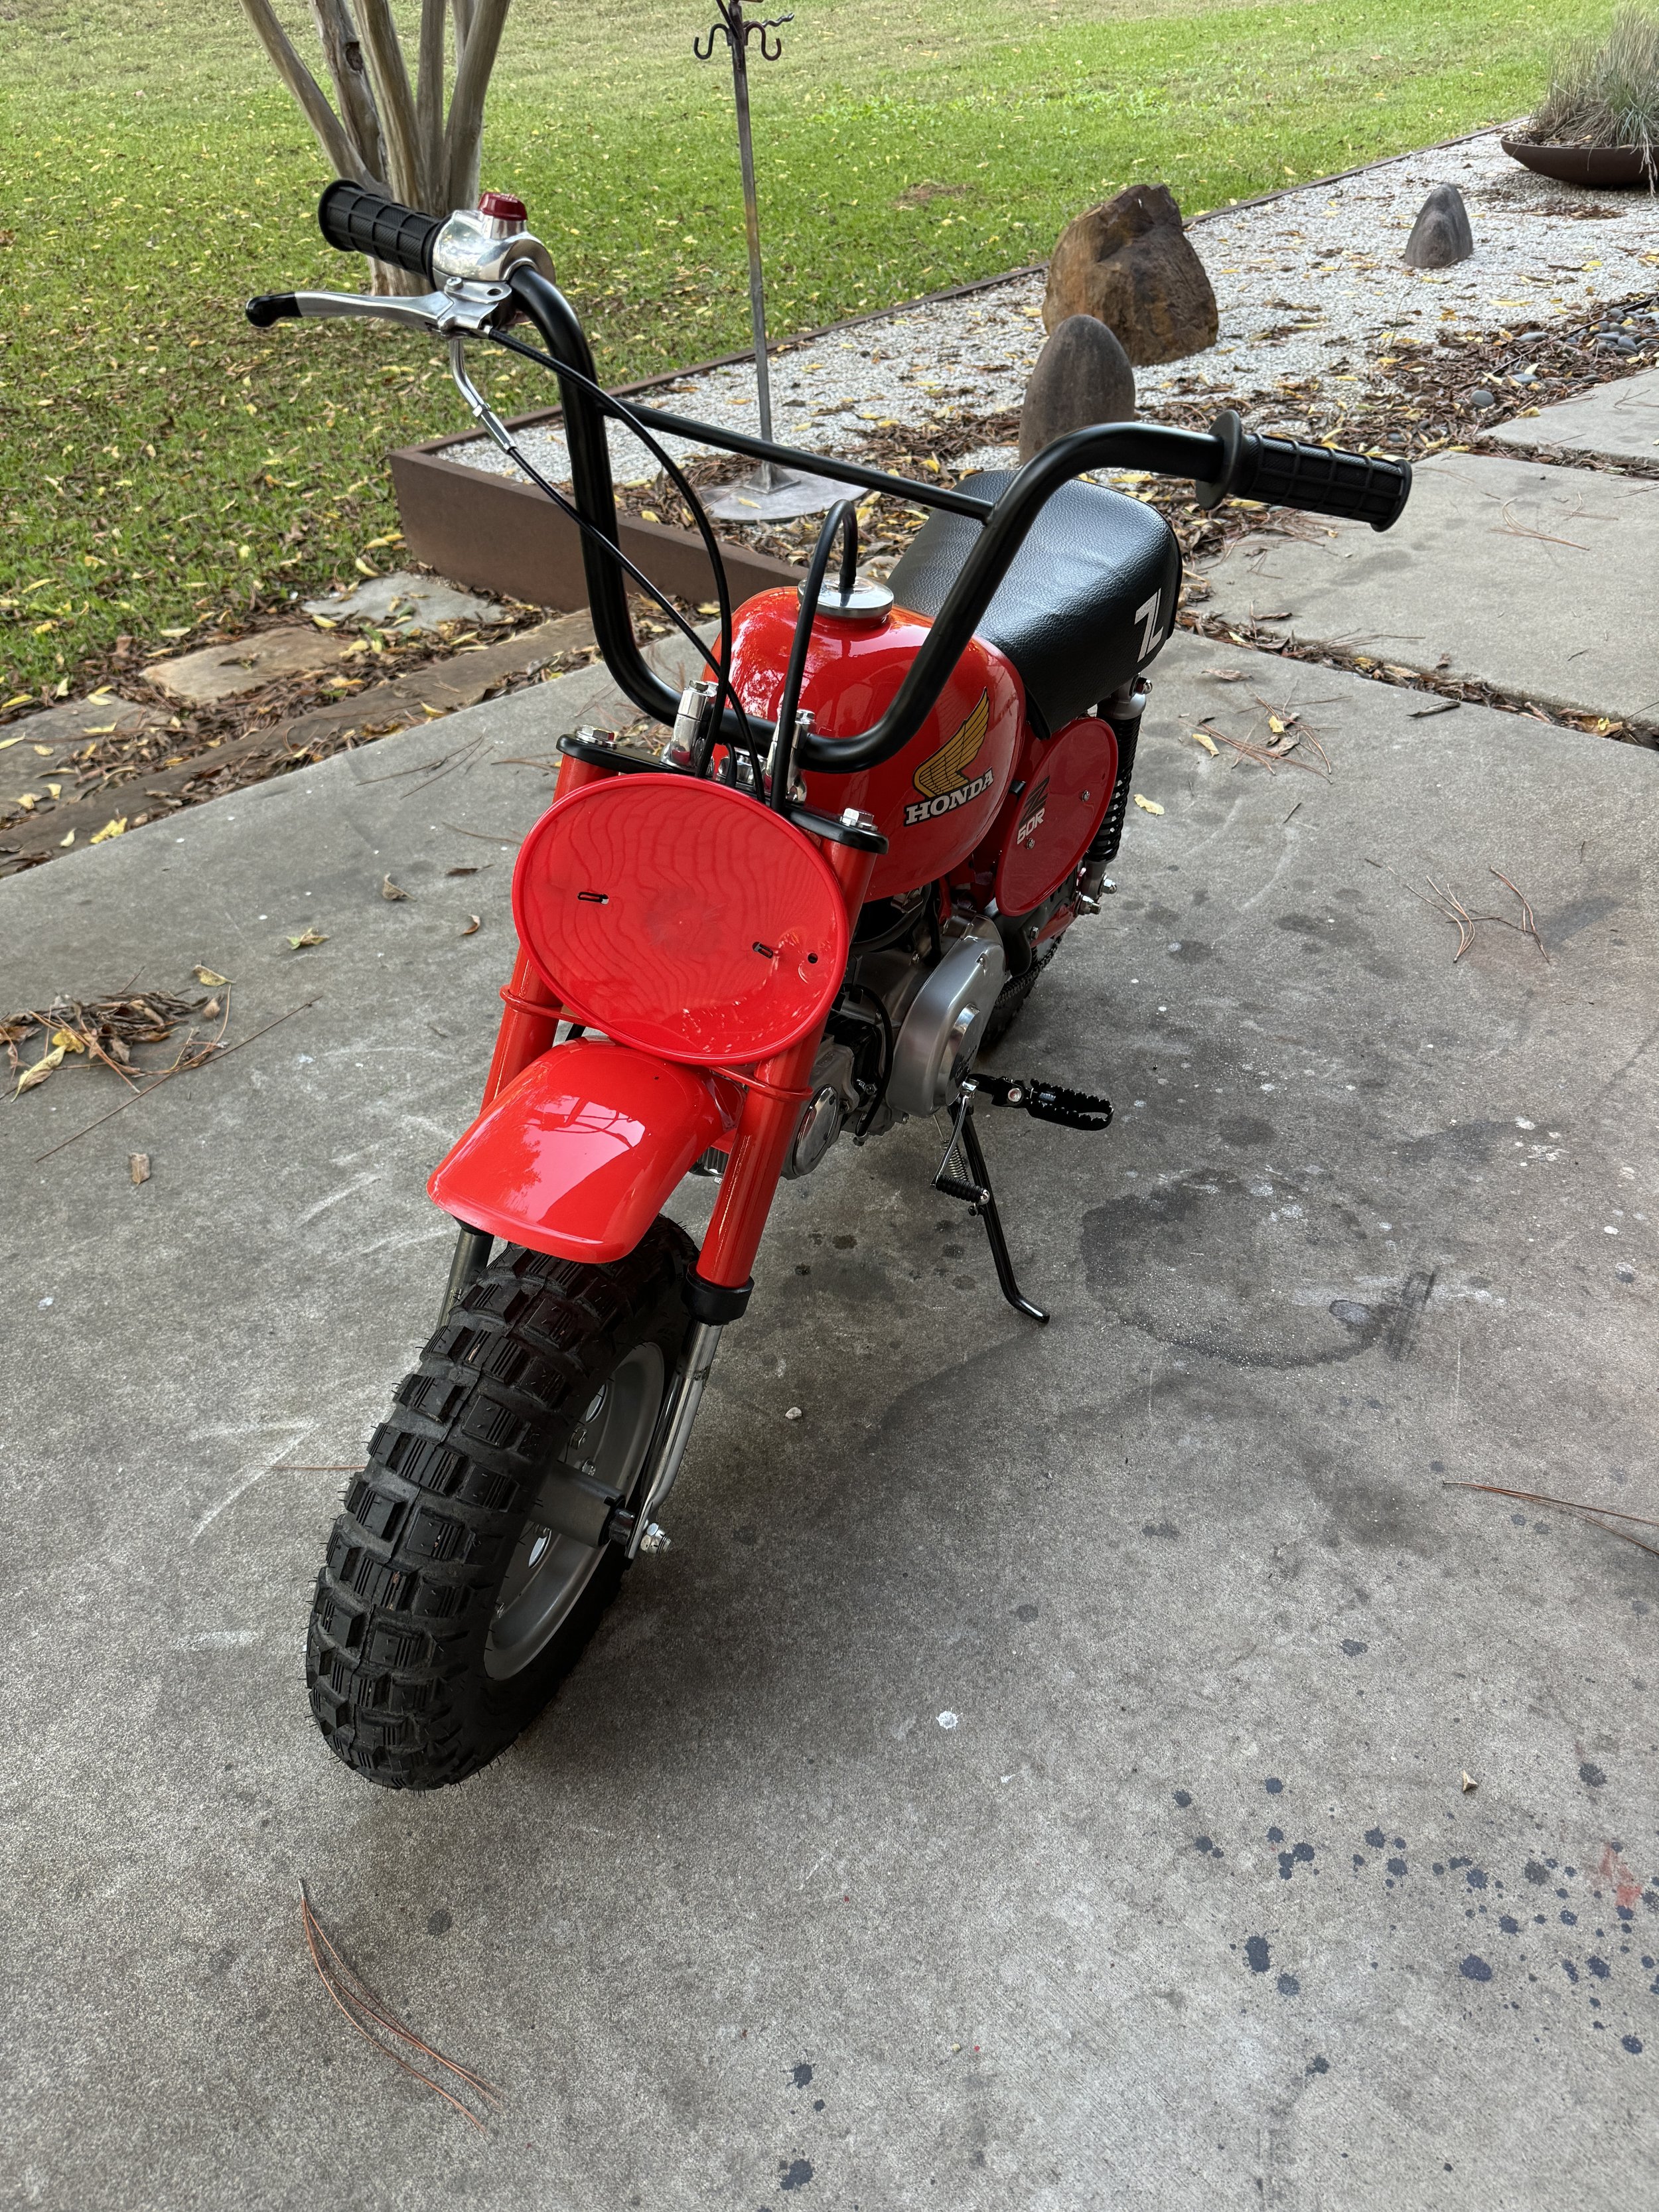
1979 Honda Z50R Restoration.

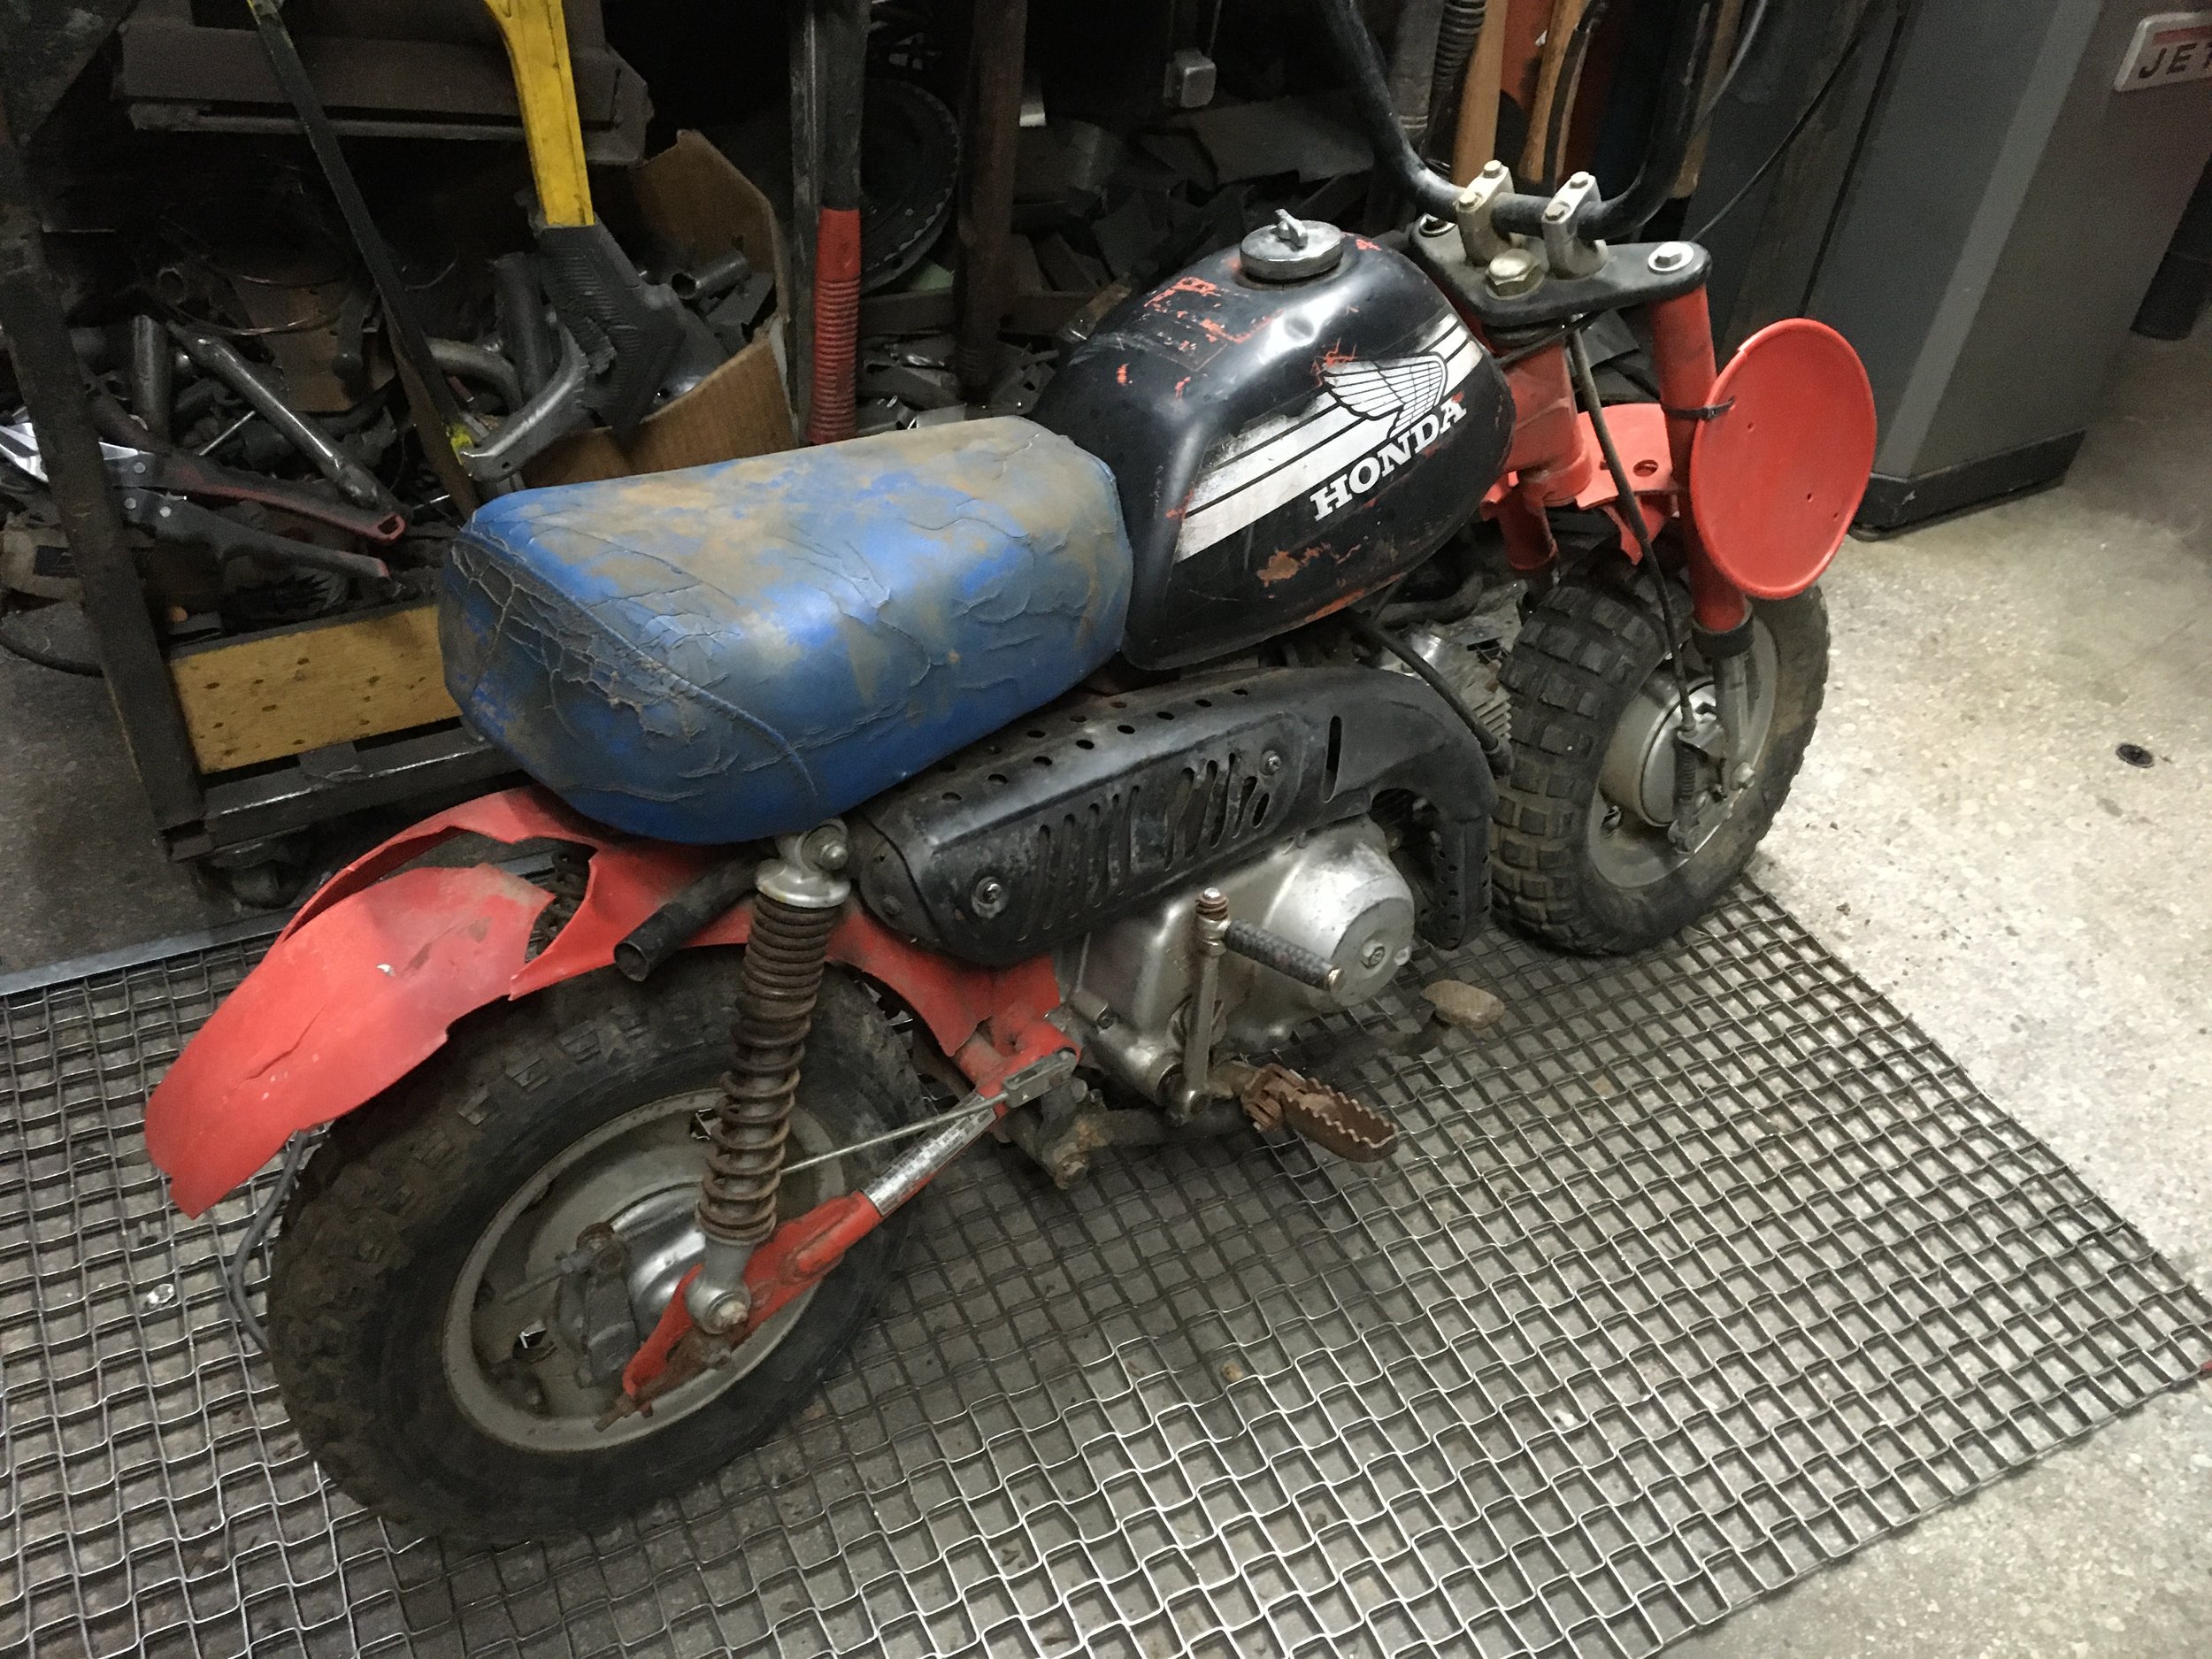
Starting with a 1979 Honda Z50R model that had been around the block more than once, and going for a complete stock restoration. The engine felt like it had some compression, but its actual condition was rather poor on further inspection. The challenge of restoring bikes like this one is always a little harder, but that makes it sweeter when it finally is done.

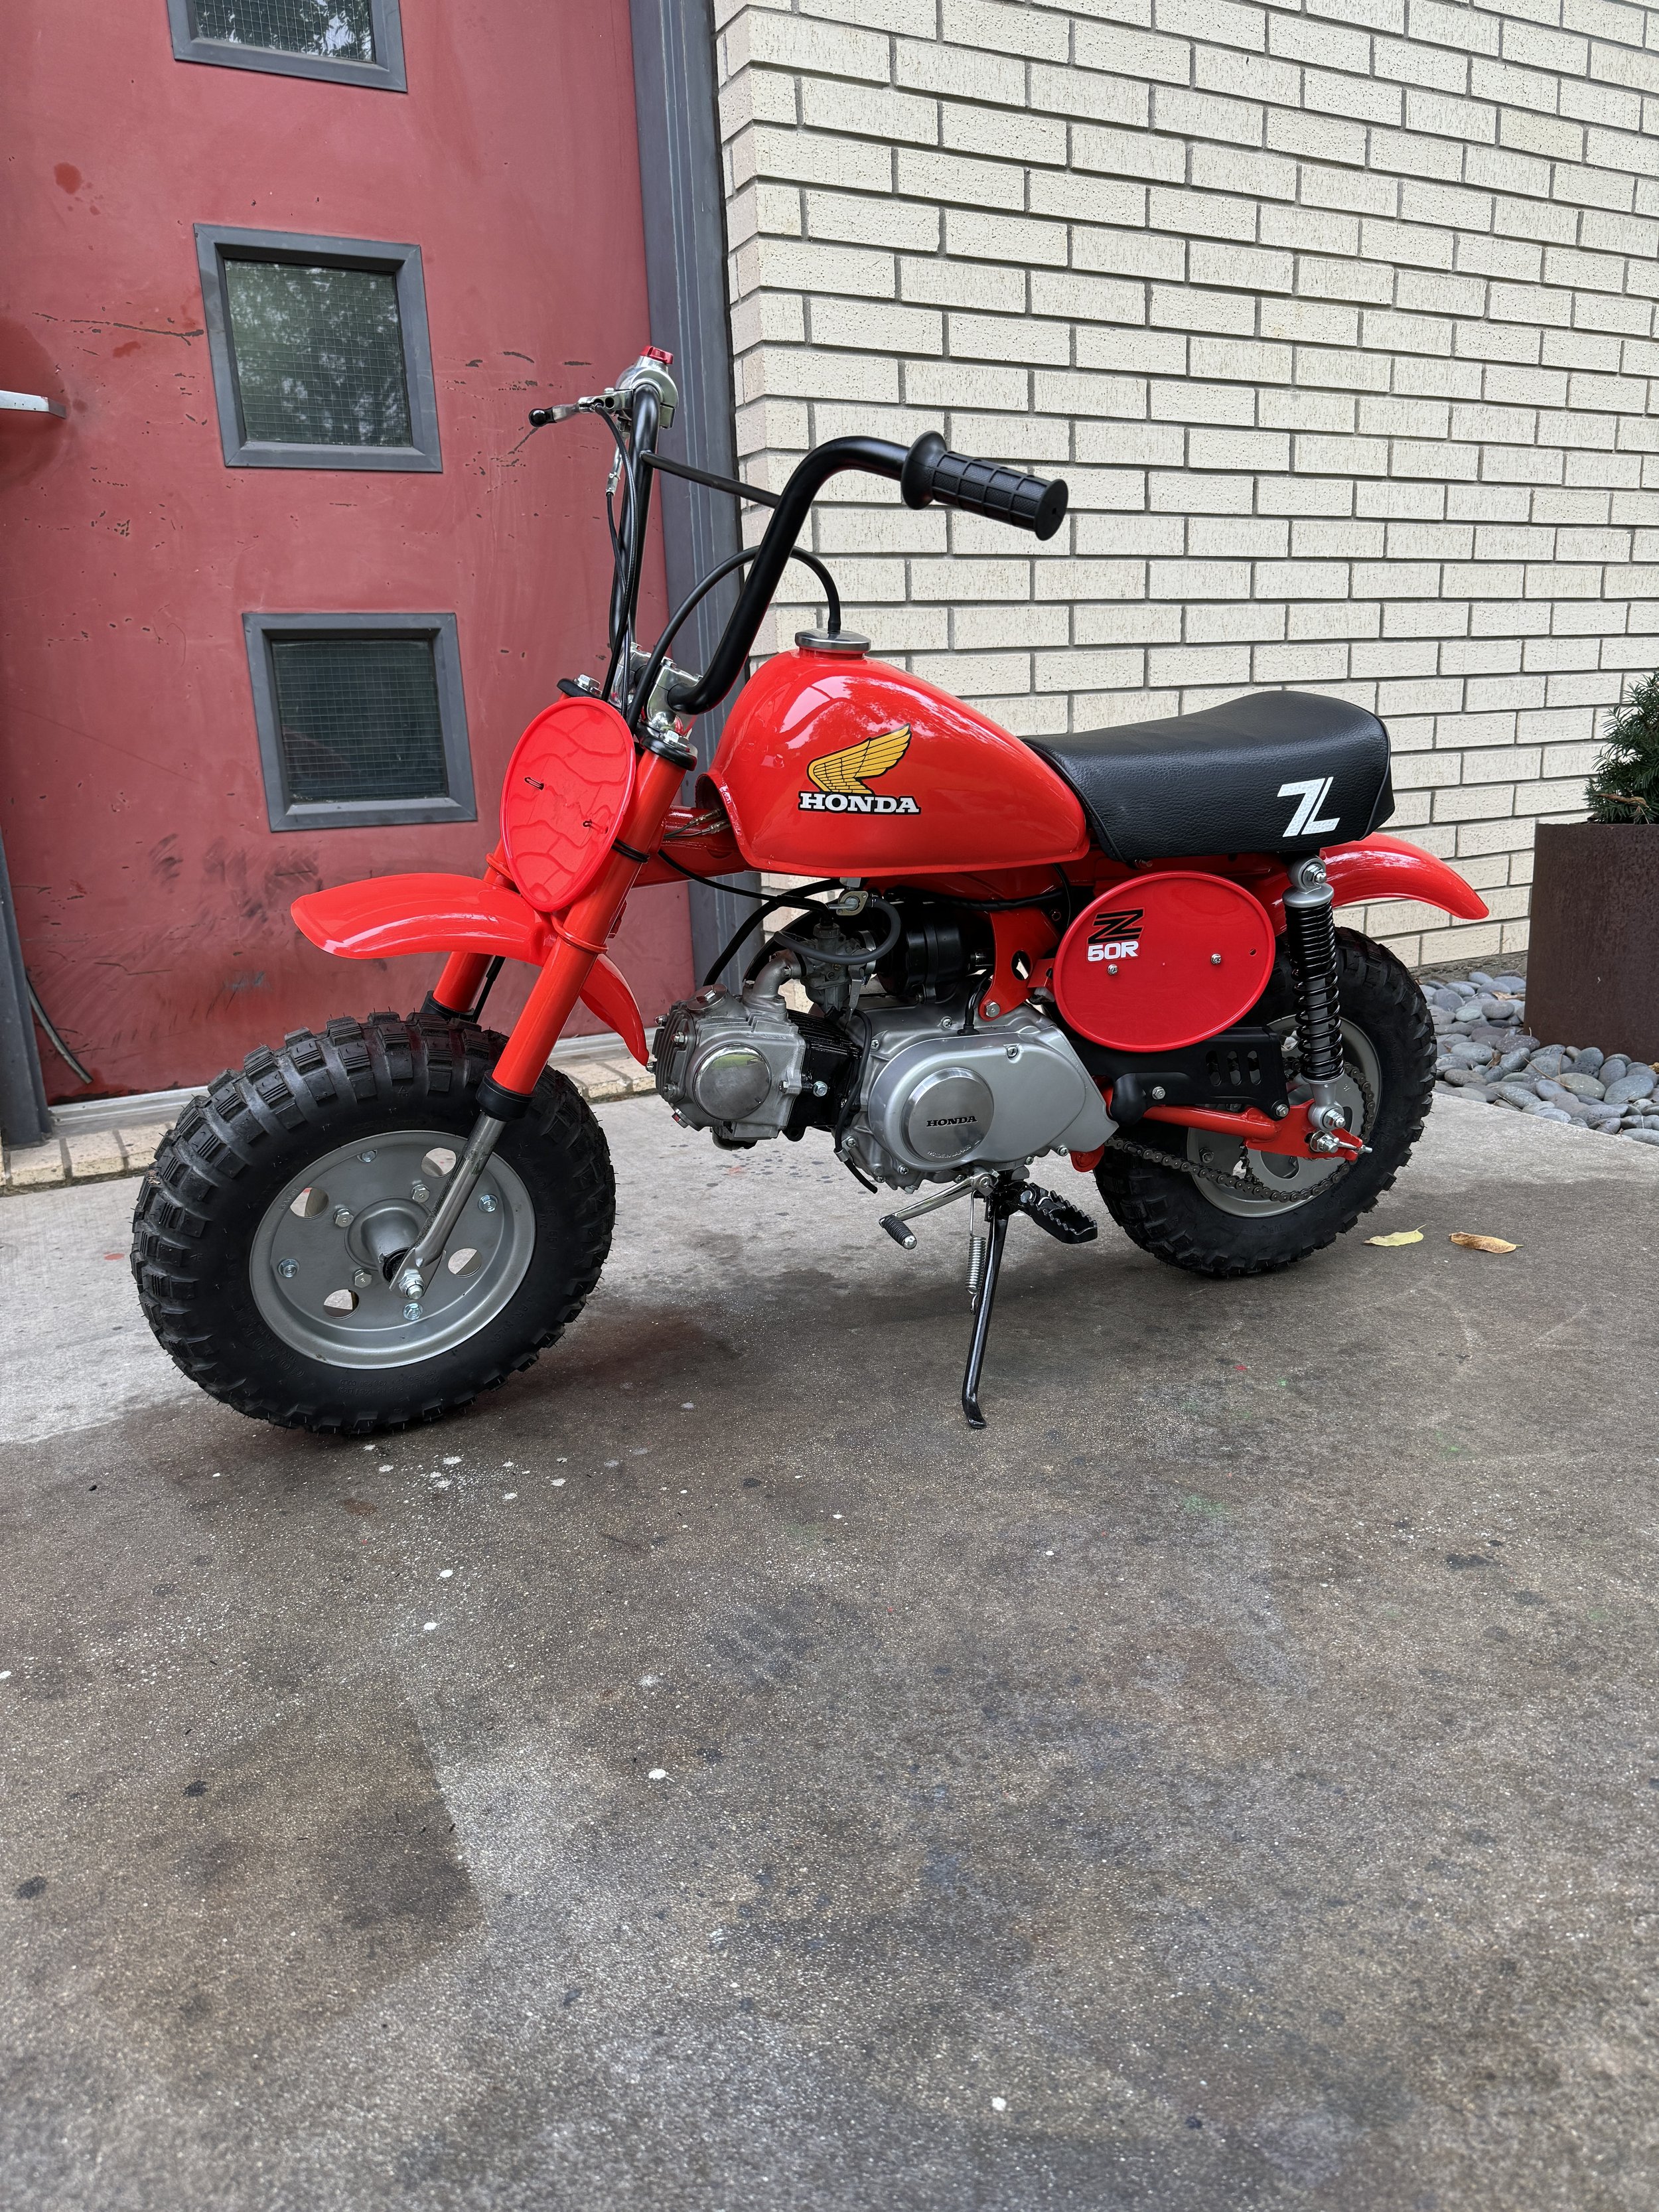
A previous owner had switched out the tank for a 1978 model. The seat and fenders were trashed, kickstand and chain guard missing, and the engine had yet to reveal some of its ugliness. A later model Z50R might have been something I would pass on doing a restoration, but this first year model is a favorite of mine in stock condition. It is one of the more rideable minis for an adult, with its tall bars. The 1979 also retained the larger 4- hole wheel hubs and rims from the earlier model Z50A, as well as the lighting stator, making it easy to add lights to this unit.It was also the first Honda Z50 with plastic fenders.

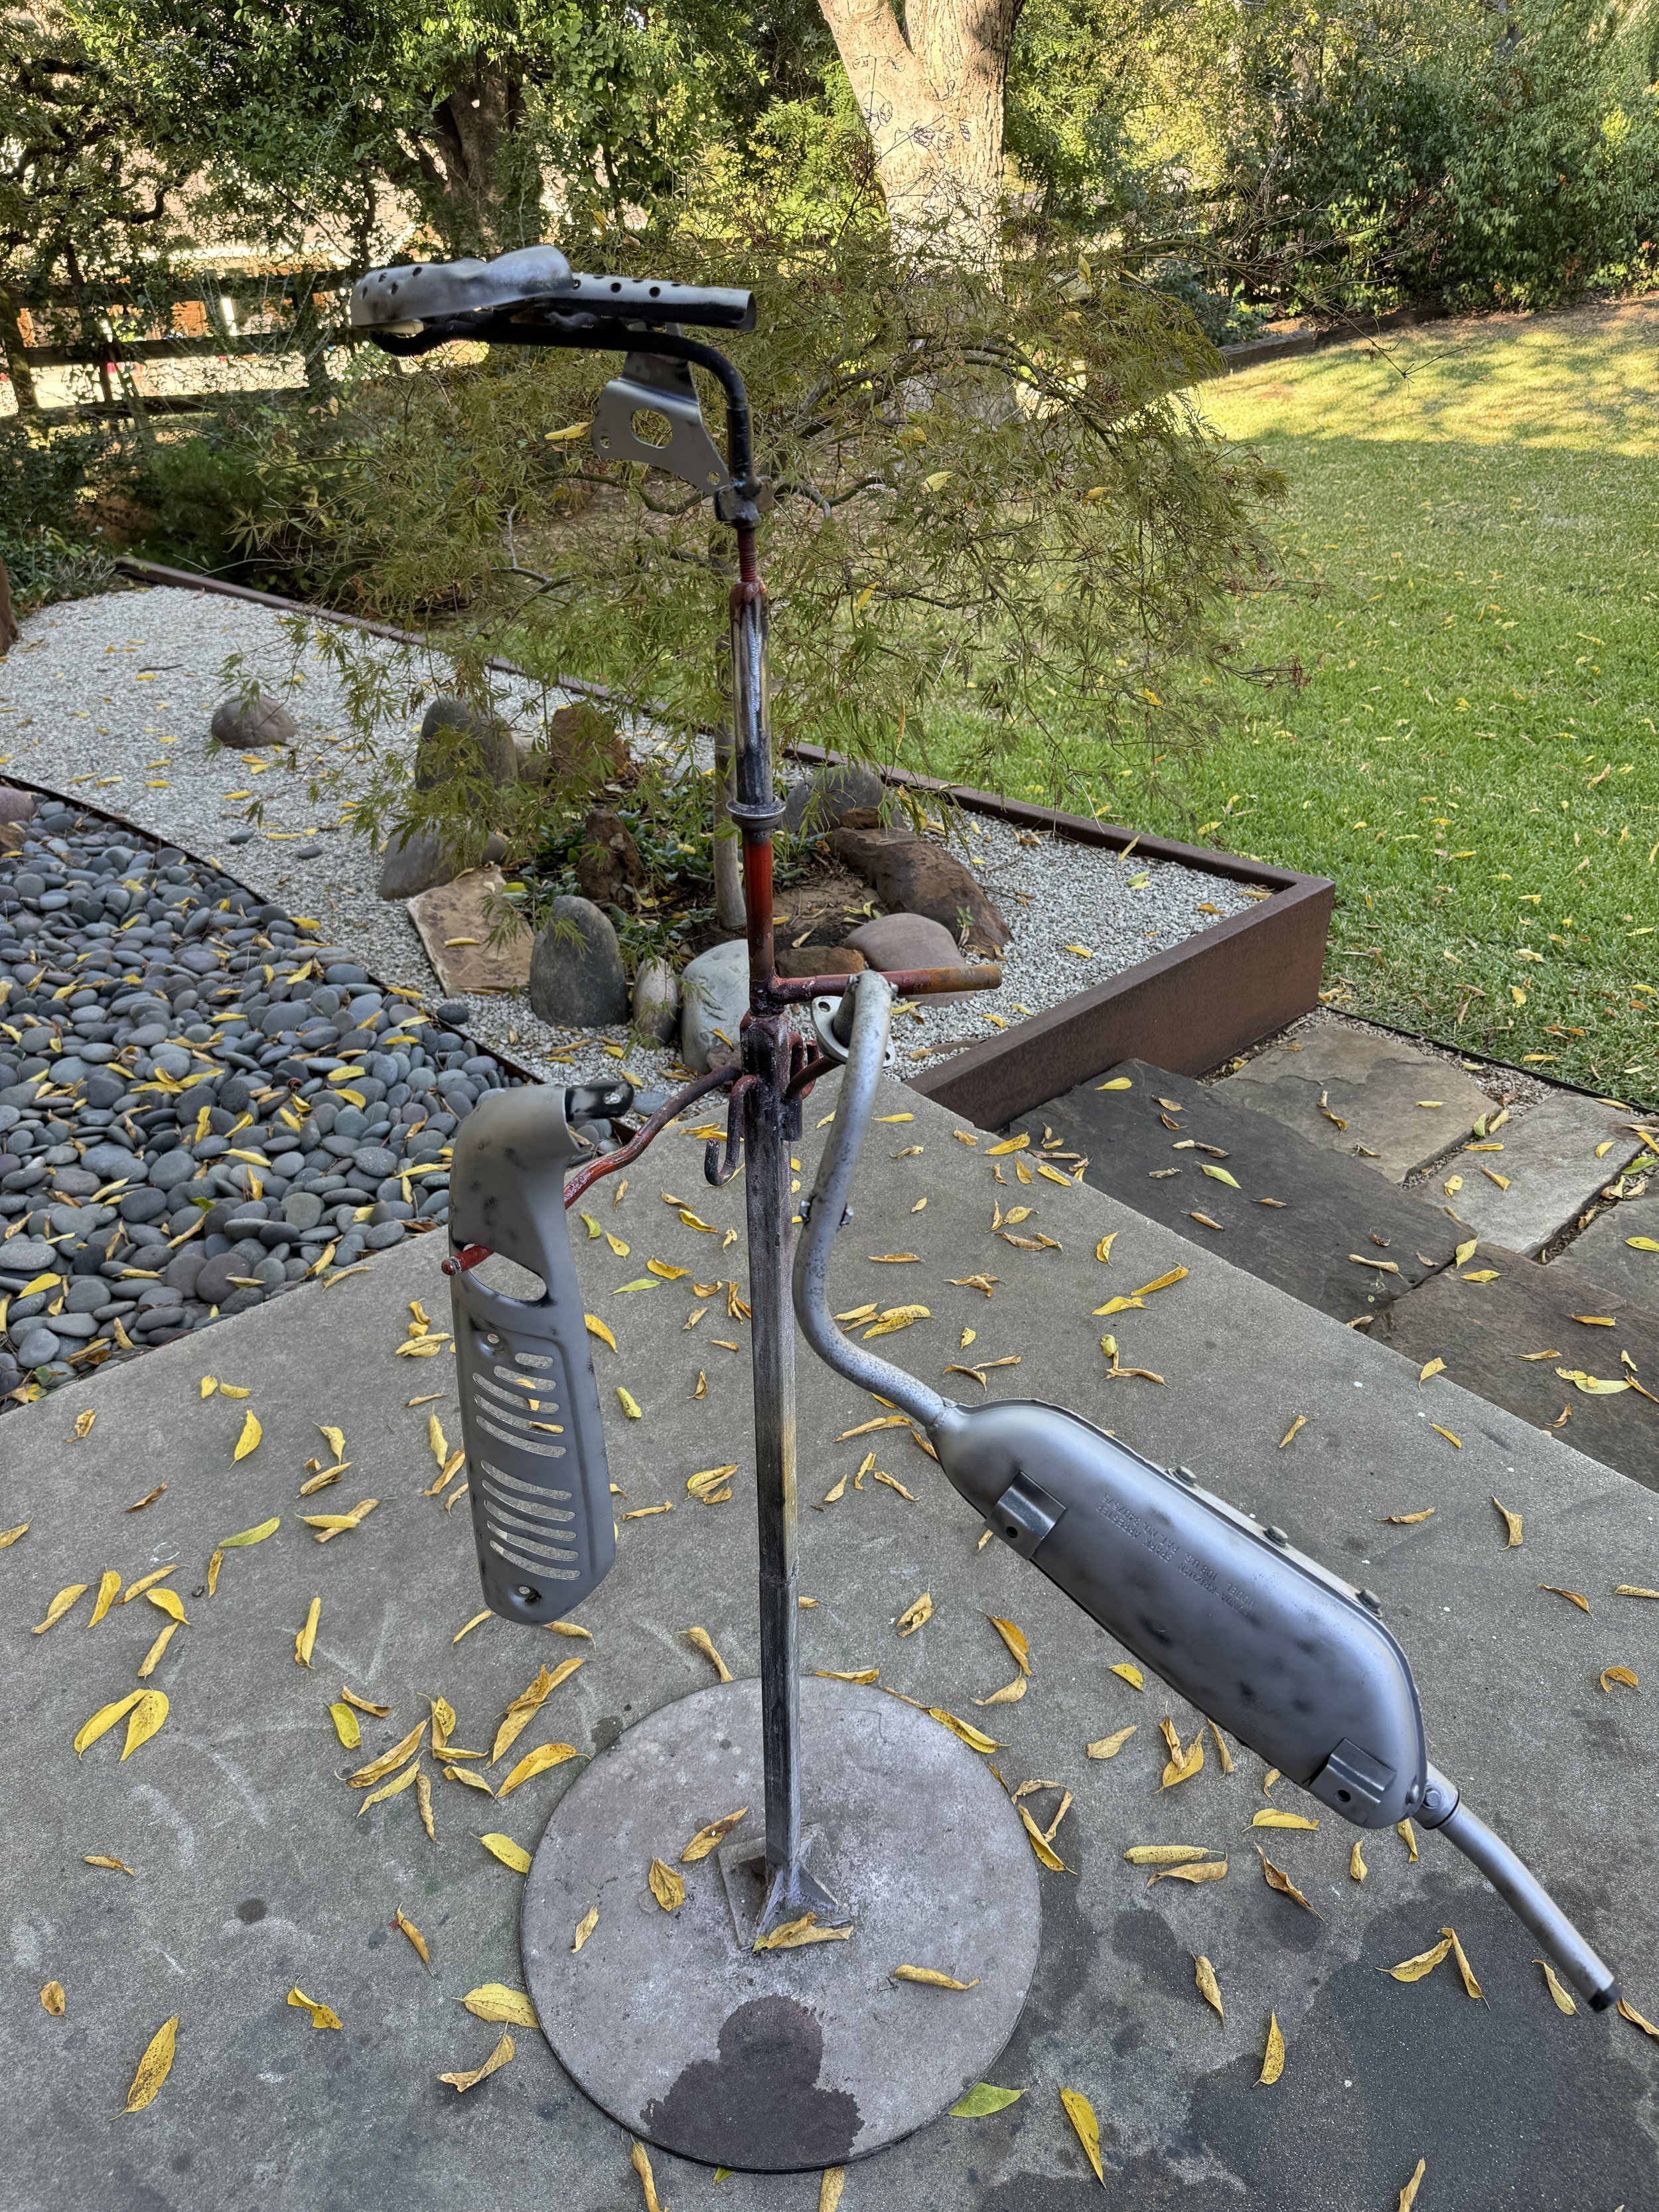
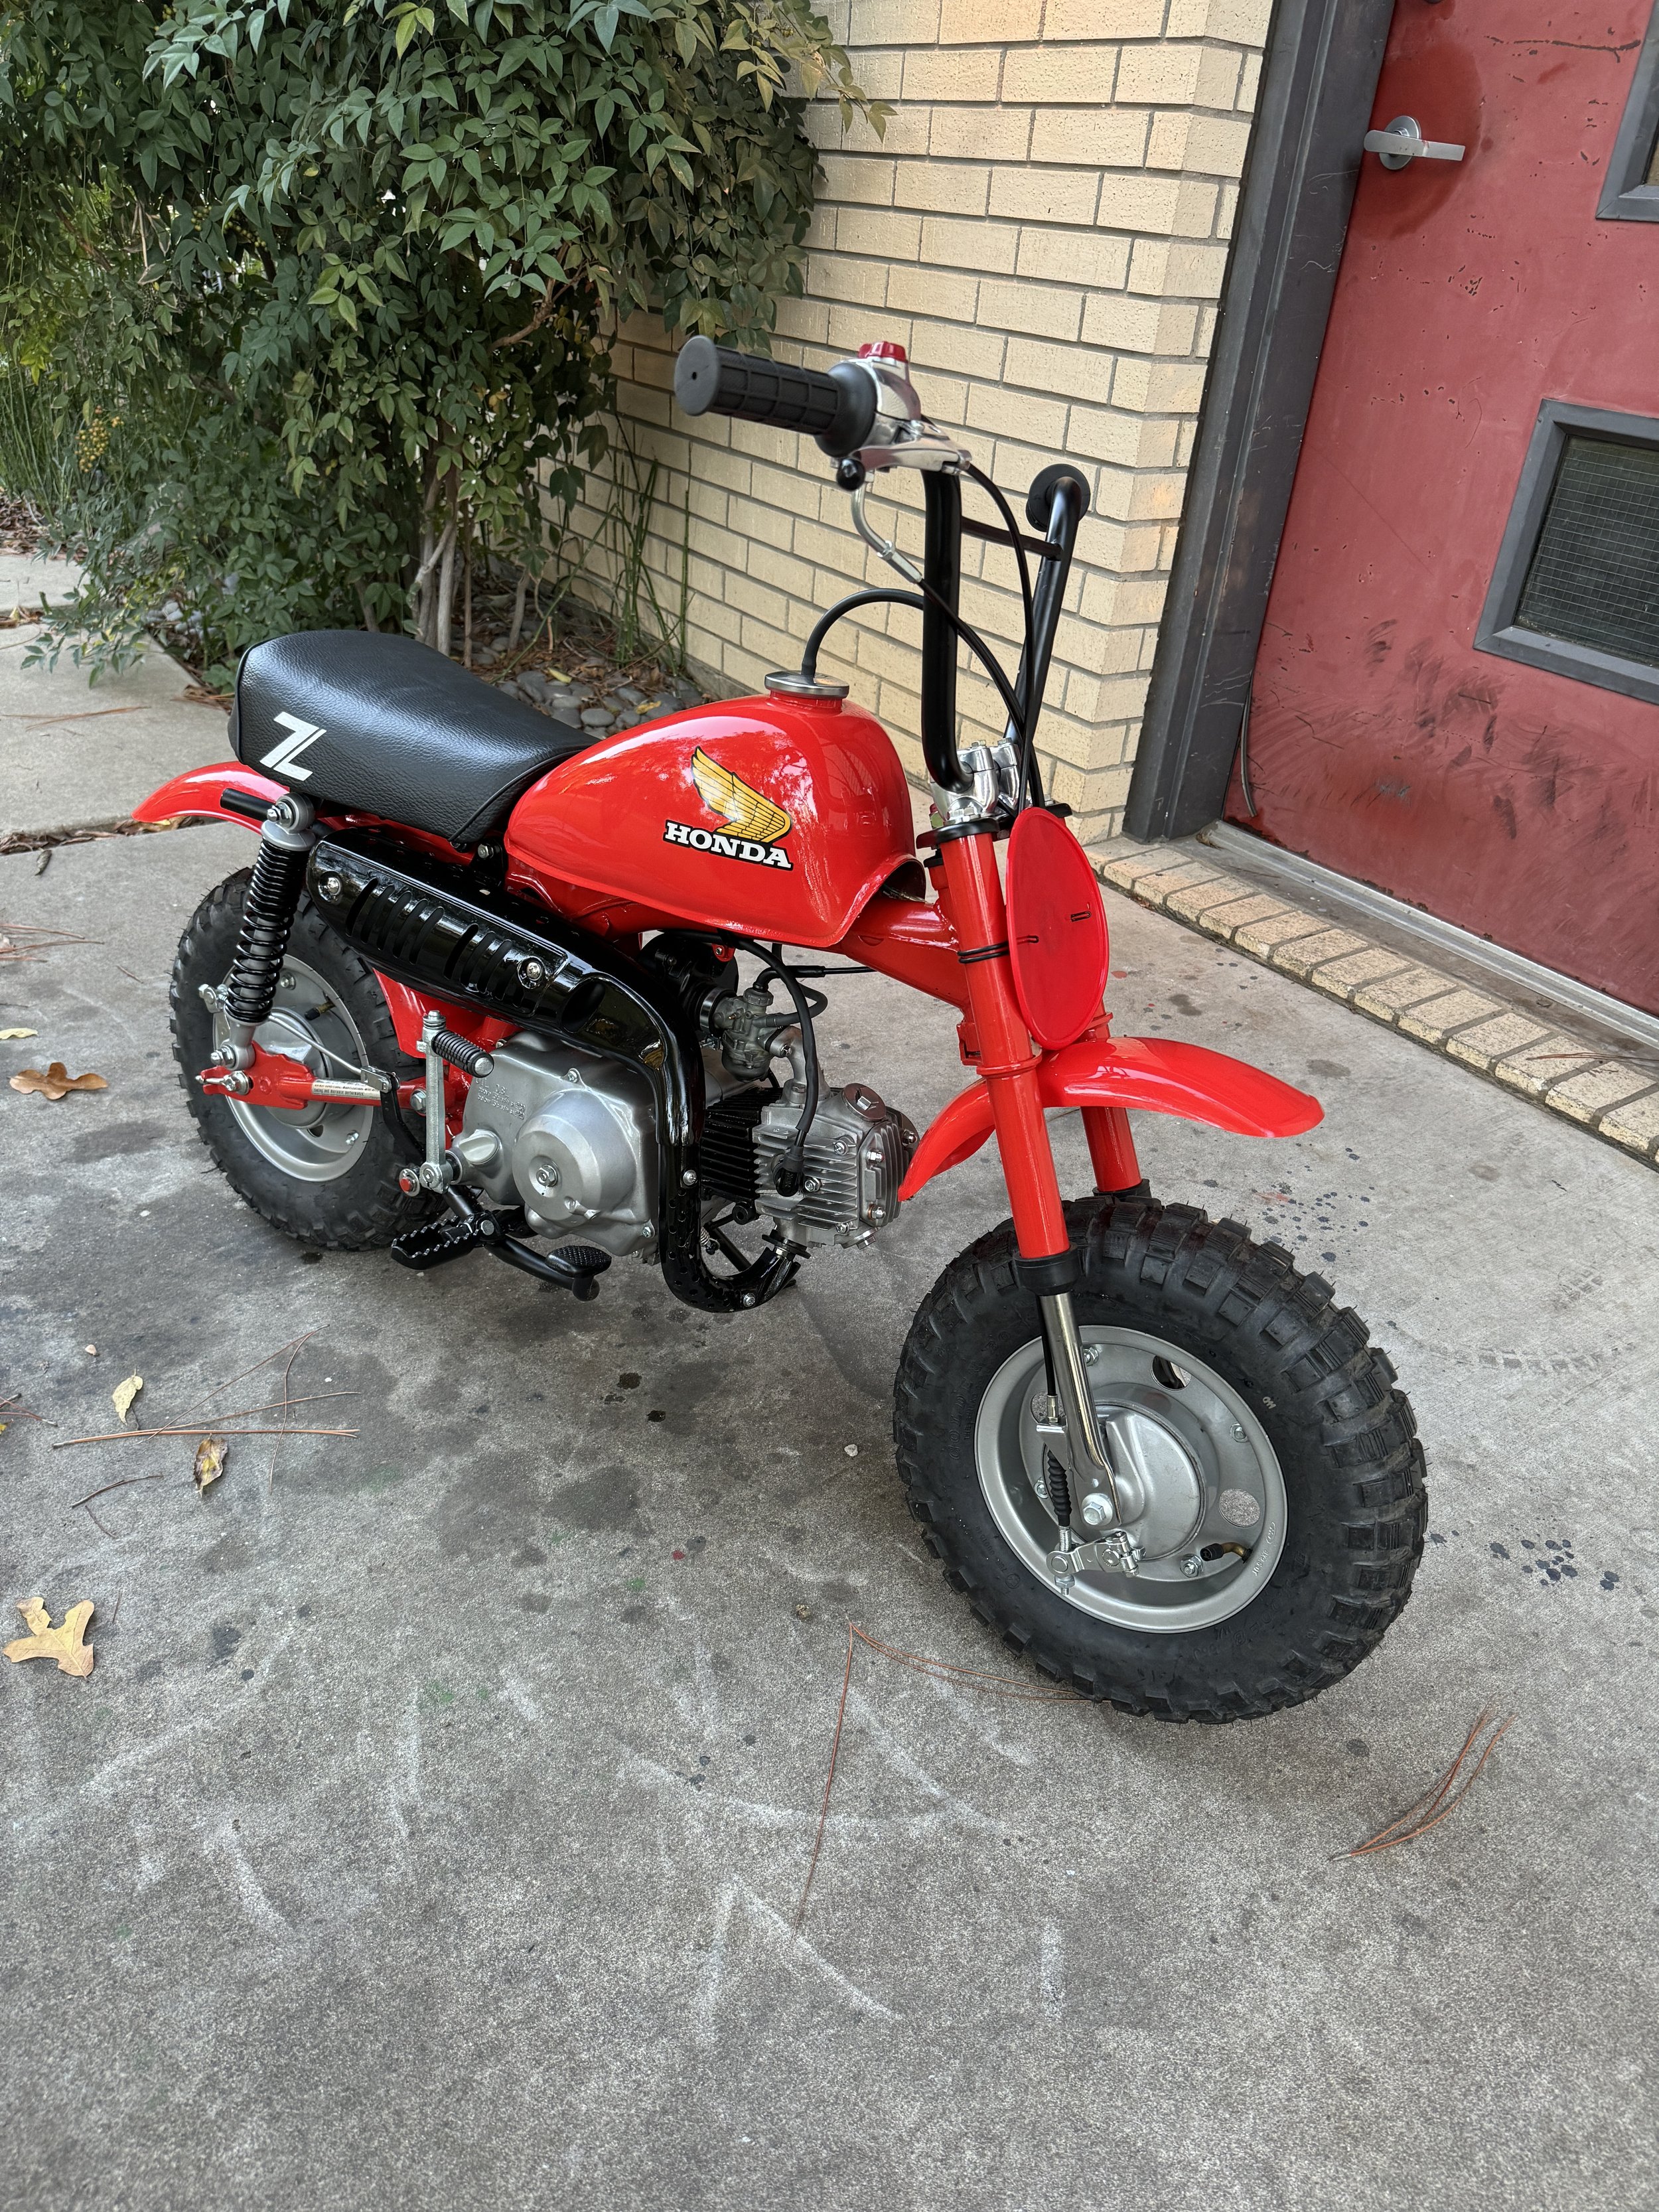
The 1979 model also had a unique muffler and heat shield, and the number plate was not used on the right side. The muffler is the same as the Z50J model, but with a larger diameter header and tail pipe. The muffler canister on this bike was showing signs of rot, so a good used one was substituted.

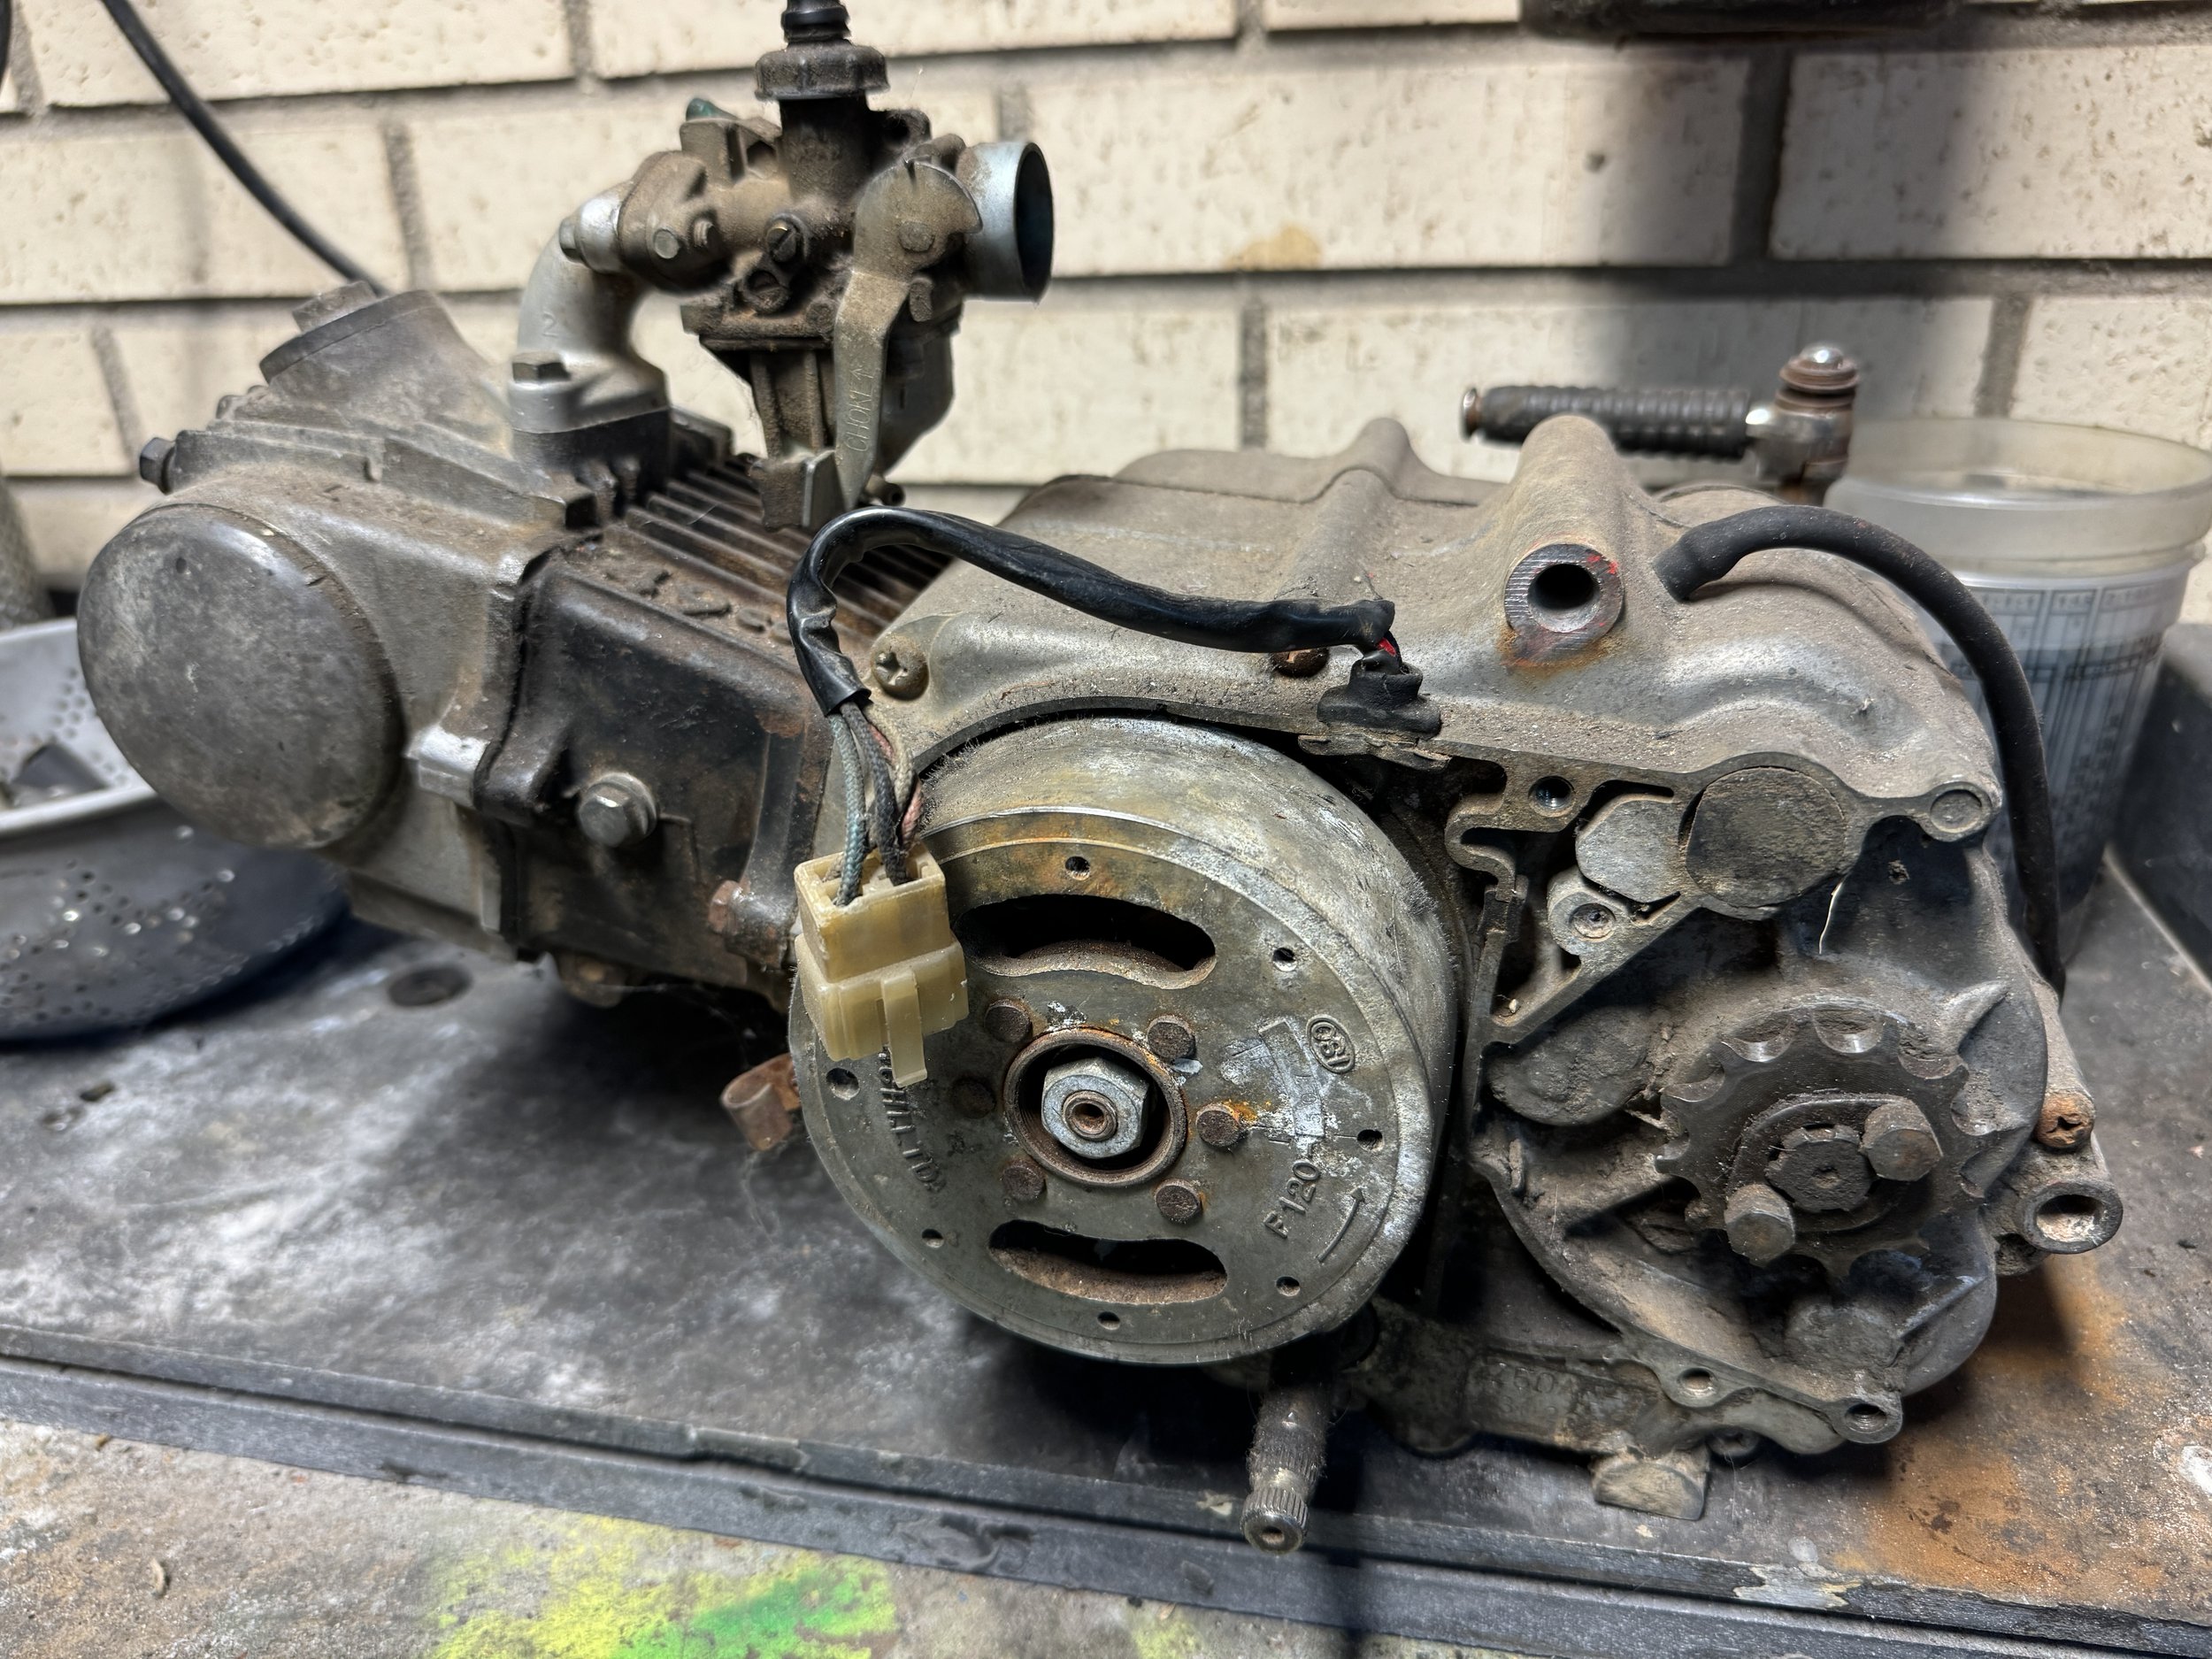
The familiar flywheel from the earlier Z50A model and the four wire pigtail. Even without any plans for lighting, it is nice to know that with a few items like an early model wire harness and a couple of switches, that it is ready to go. This engine had obviously been exposed to some moisture, but nothing too bad.

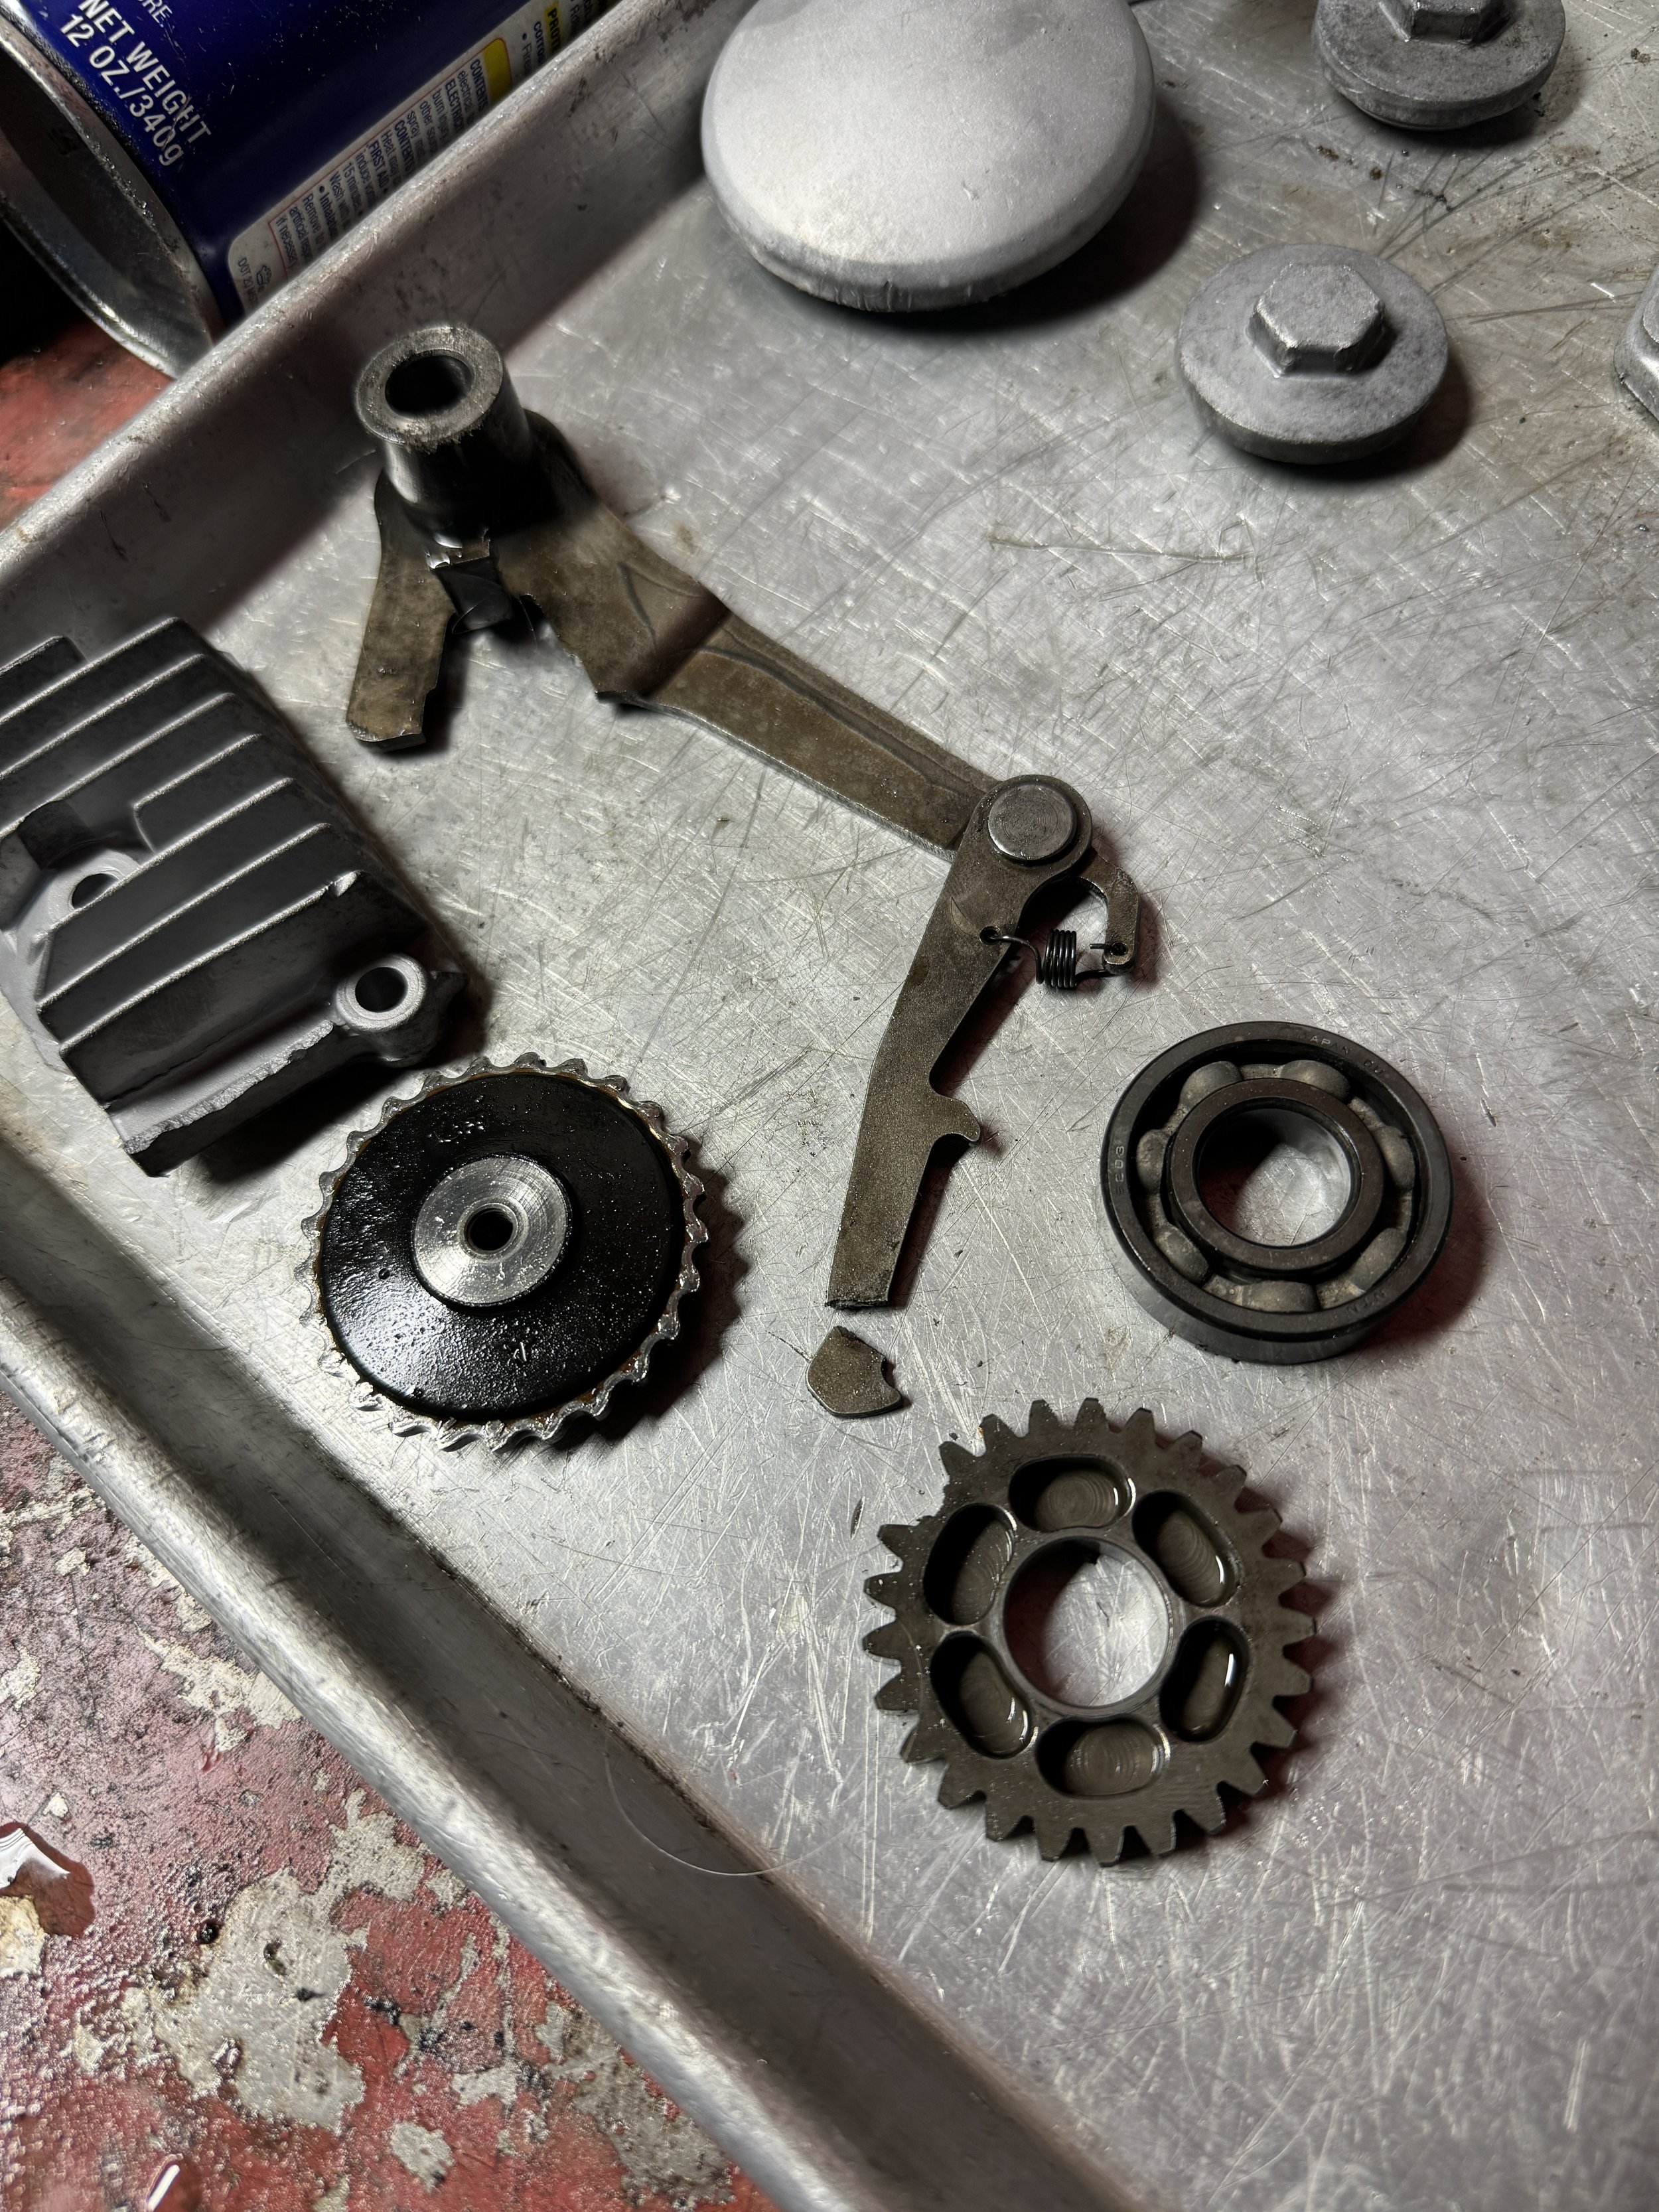
The engine carnage included a busted transmission gear, A seized output shaft bearing, a stripped oil pump drive sprocket, and a broken shift arm. The broken gear-selector arm was a new defect for me to find. Even with somewhere around seventy-five total engine restorations, you can still see something new every once in a while. A good used gear and gear selector arm were pulled from my bins, as well as a side cover for the head. The head covers change slightly over the early model years, and Honda only used the one for this bike for a couple years. I had probably two dozen of the earl style cover, and fortunately, a good correct one.

The frame was in fairly good shape, but some chain rash on the swingarm had to be repaired.

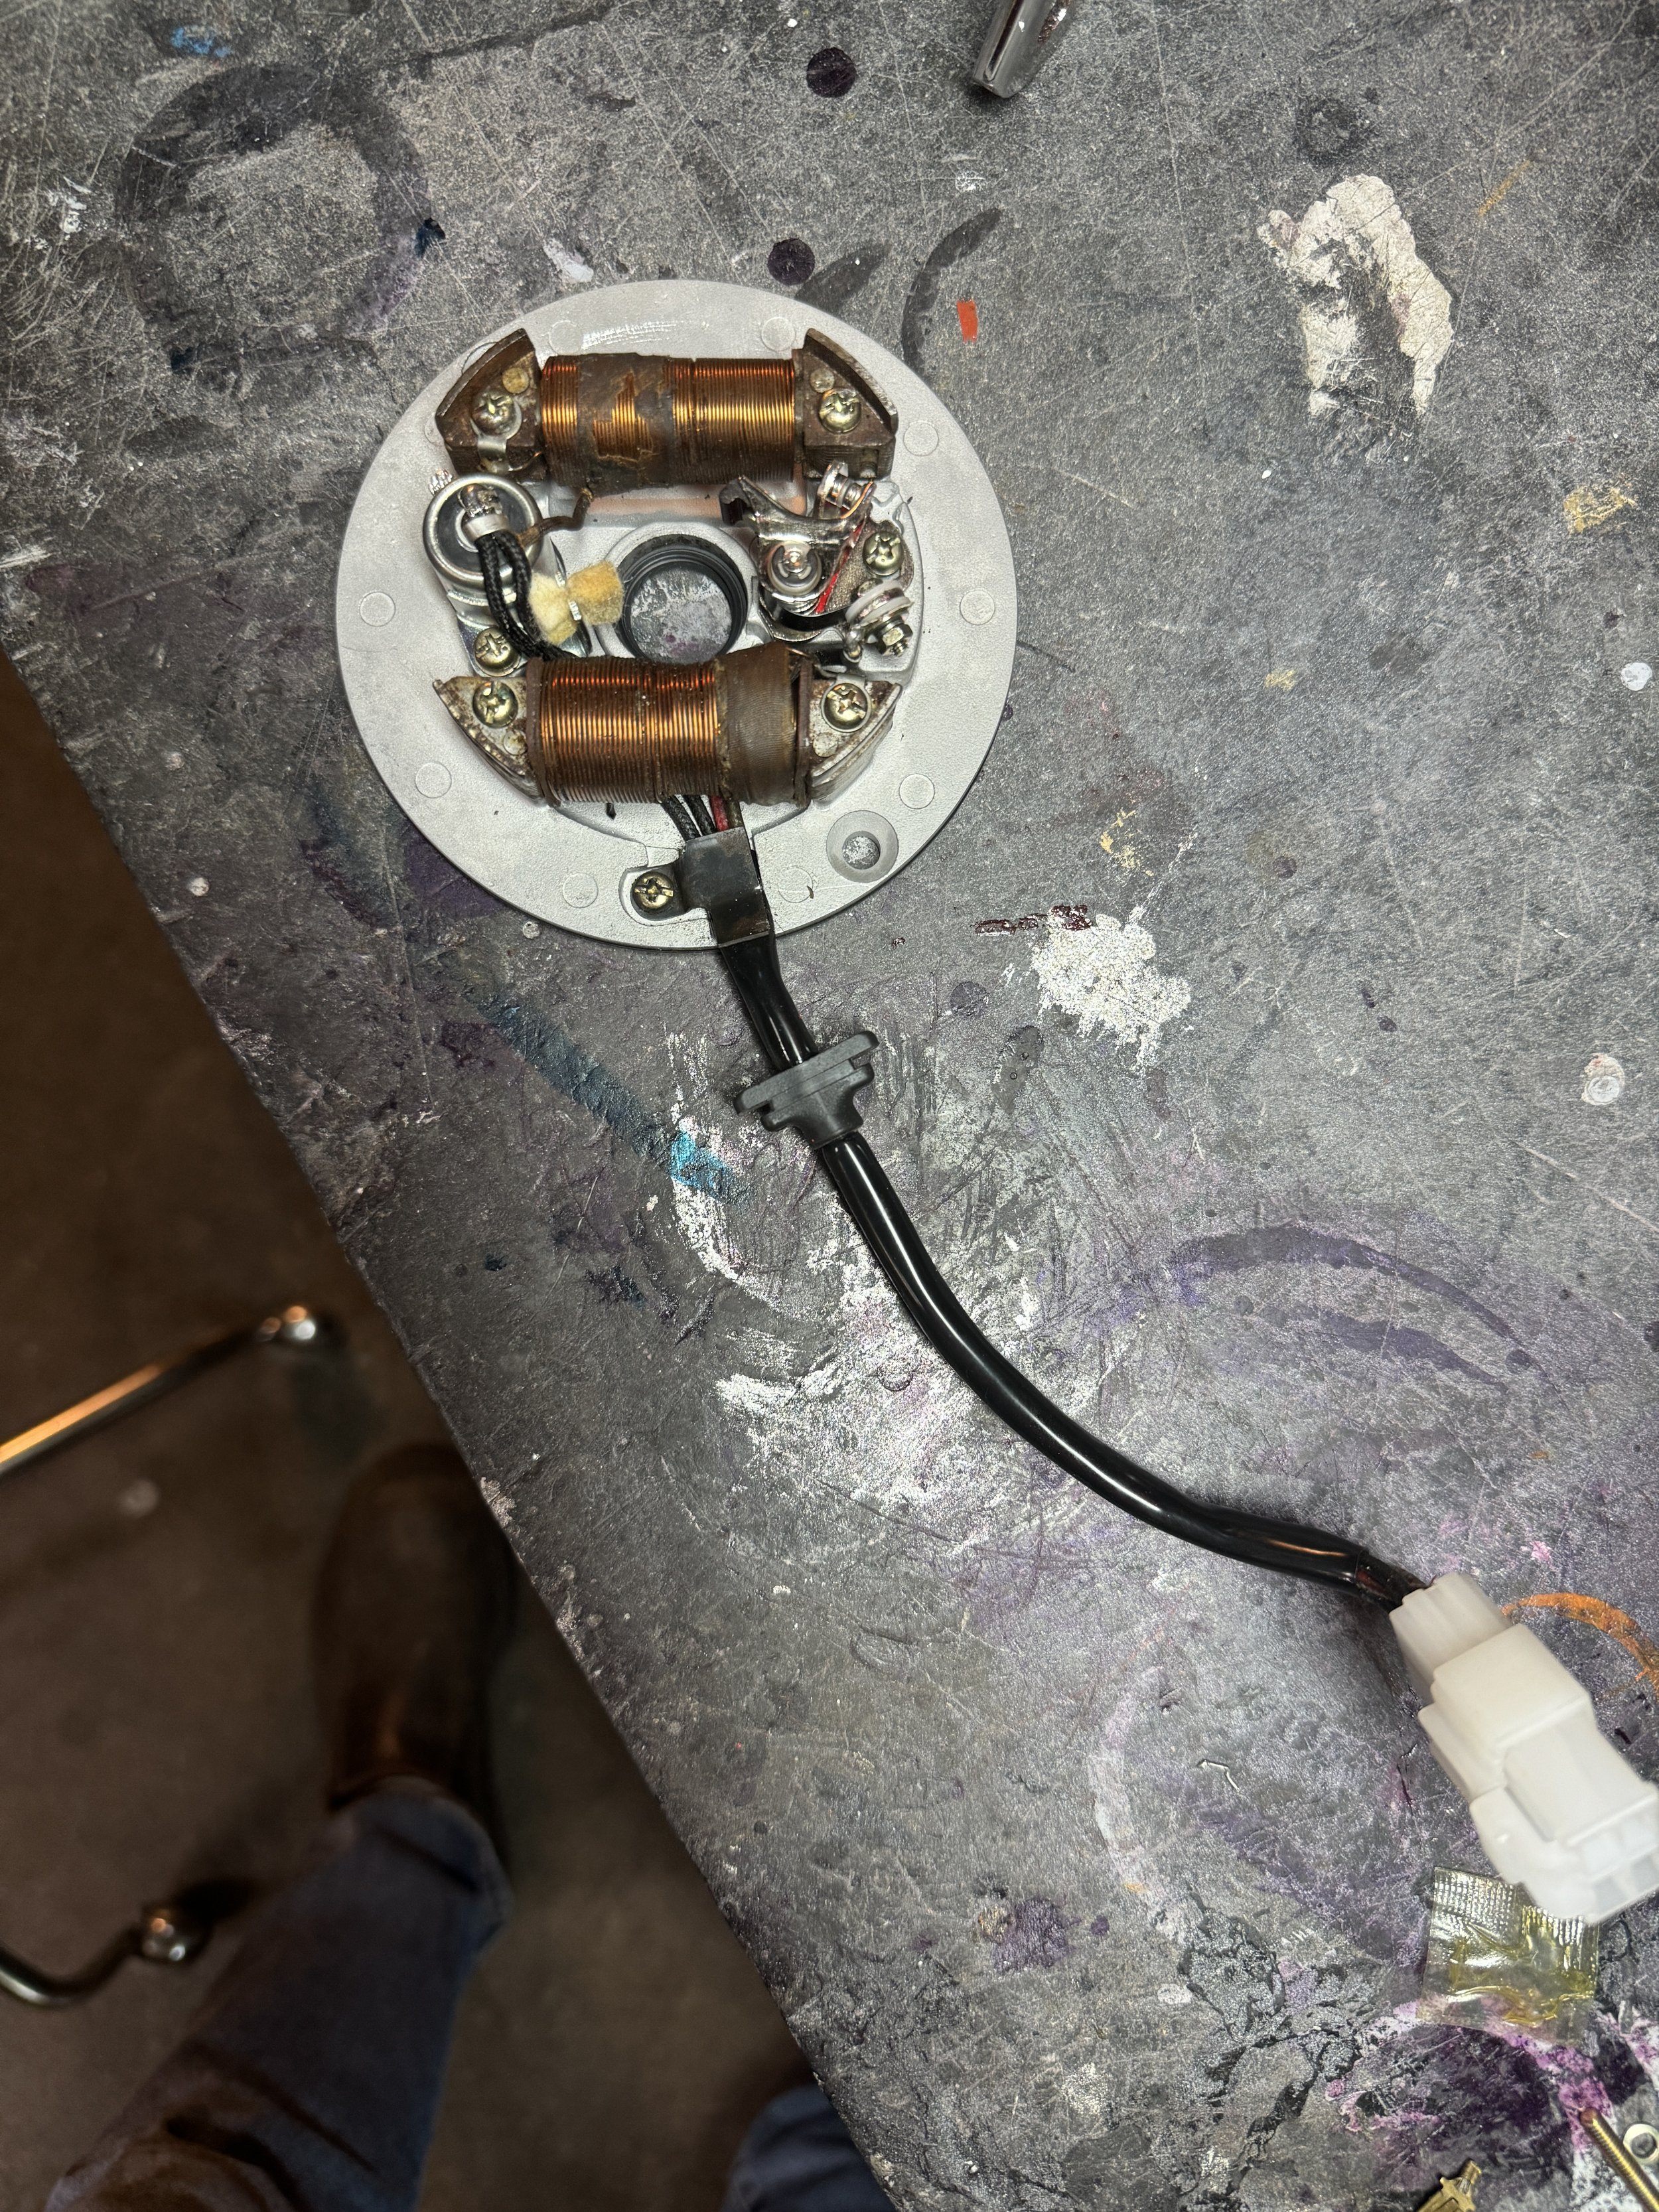
New coils, plugs,and wiring were used to get the stator plate back to new condition. The store kit and ignition coil are also HondaTB Parts pieces, and come with everything needed, even the seal for the crankshaft and stator plate rim.

The one year only muffler and heat shields getting ready for paint.

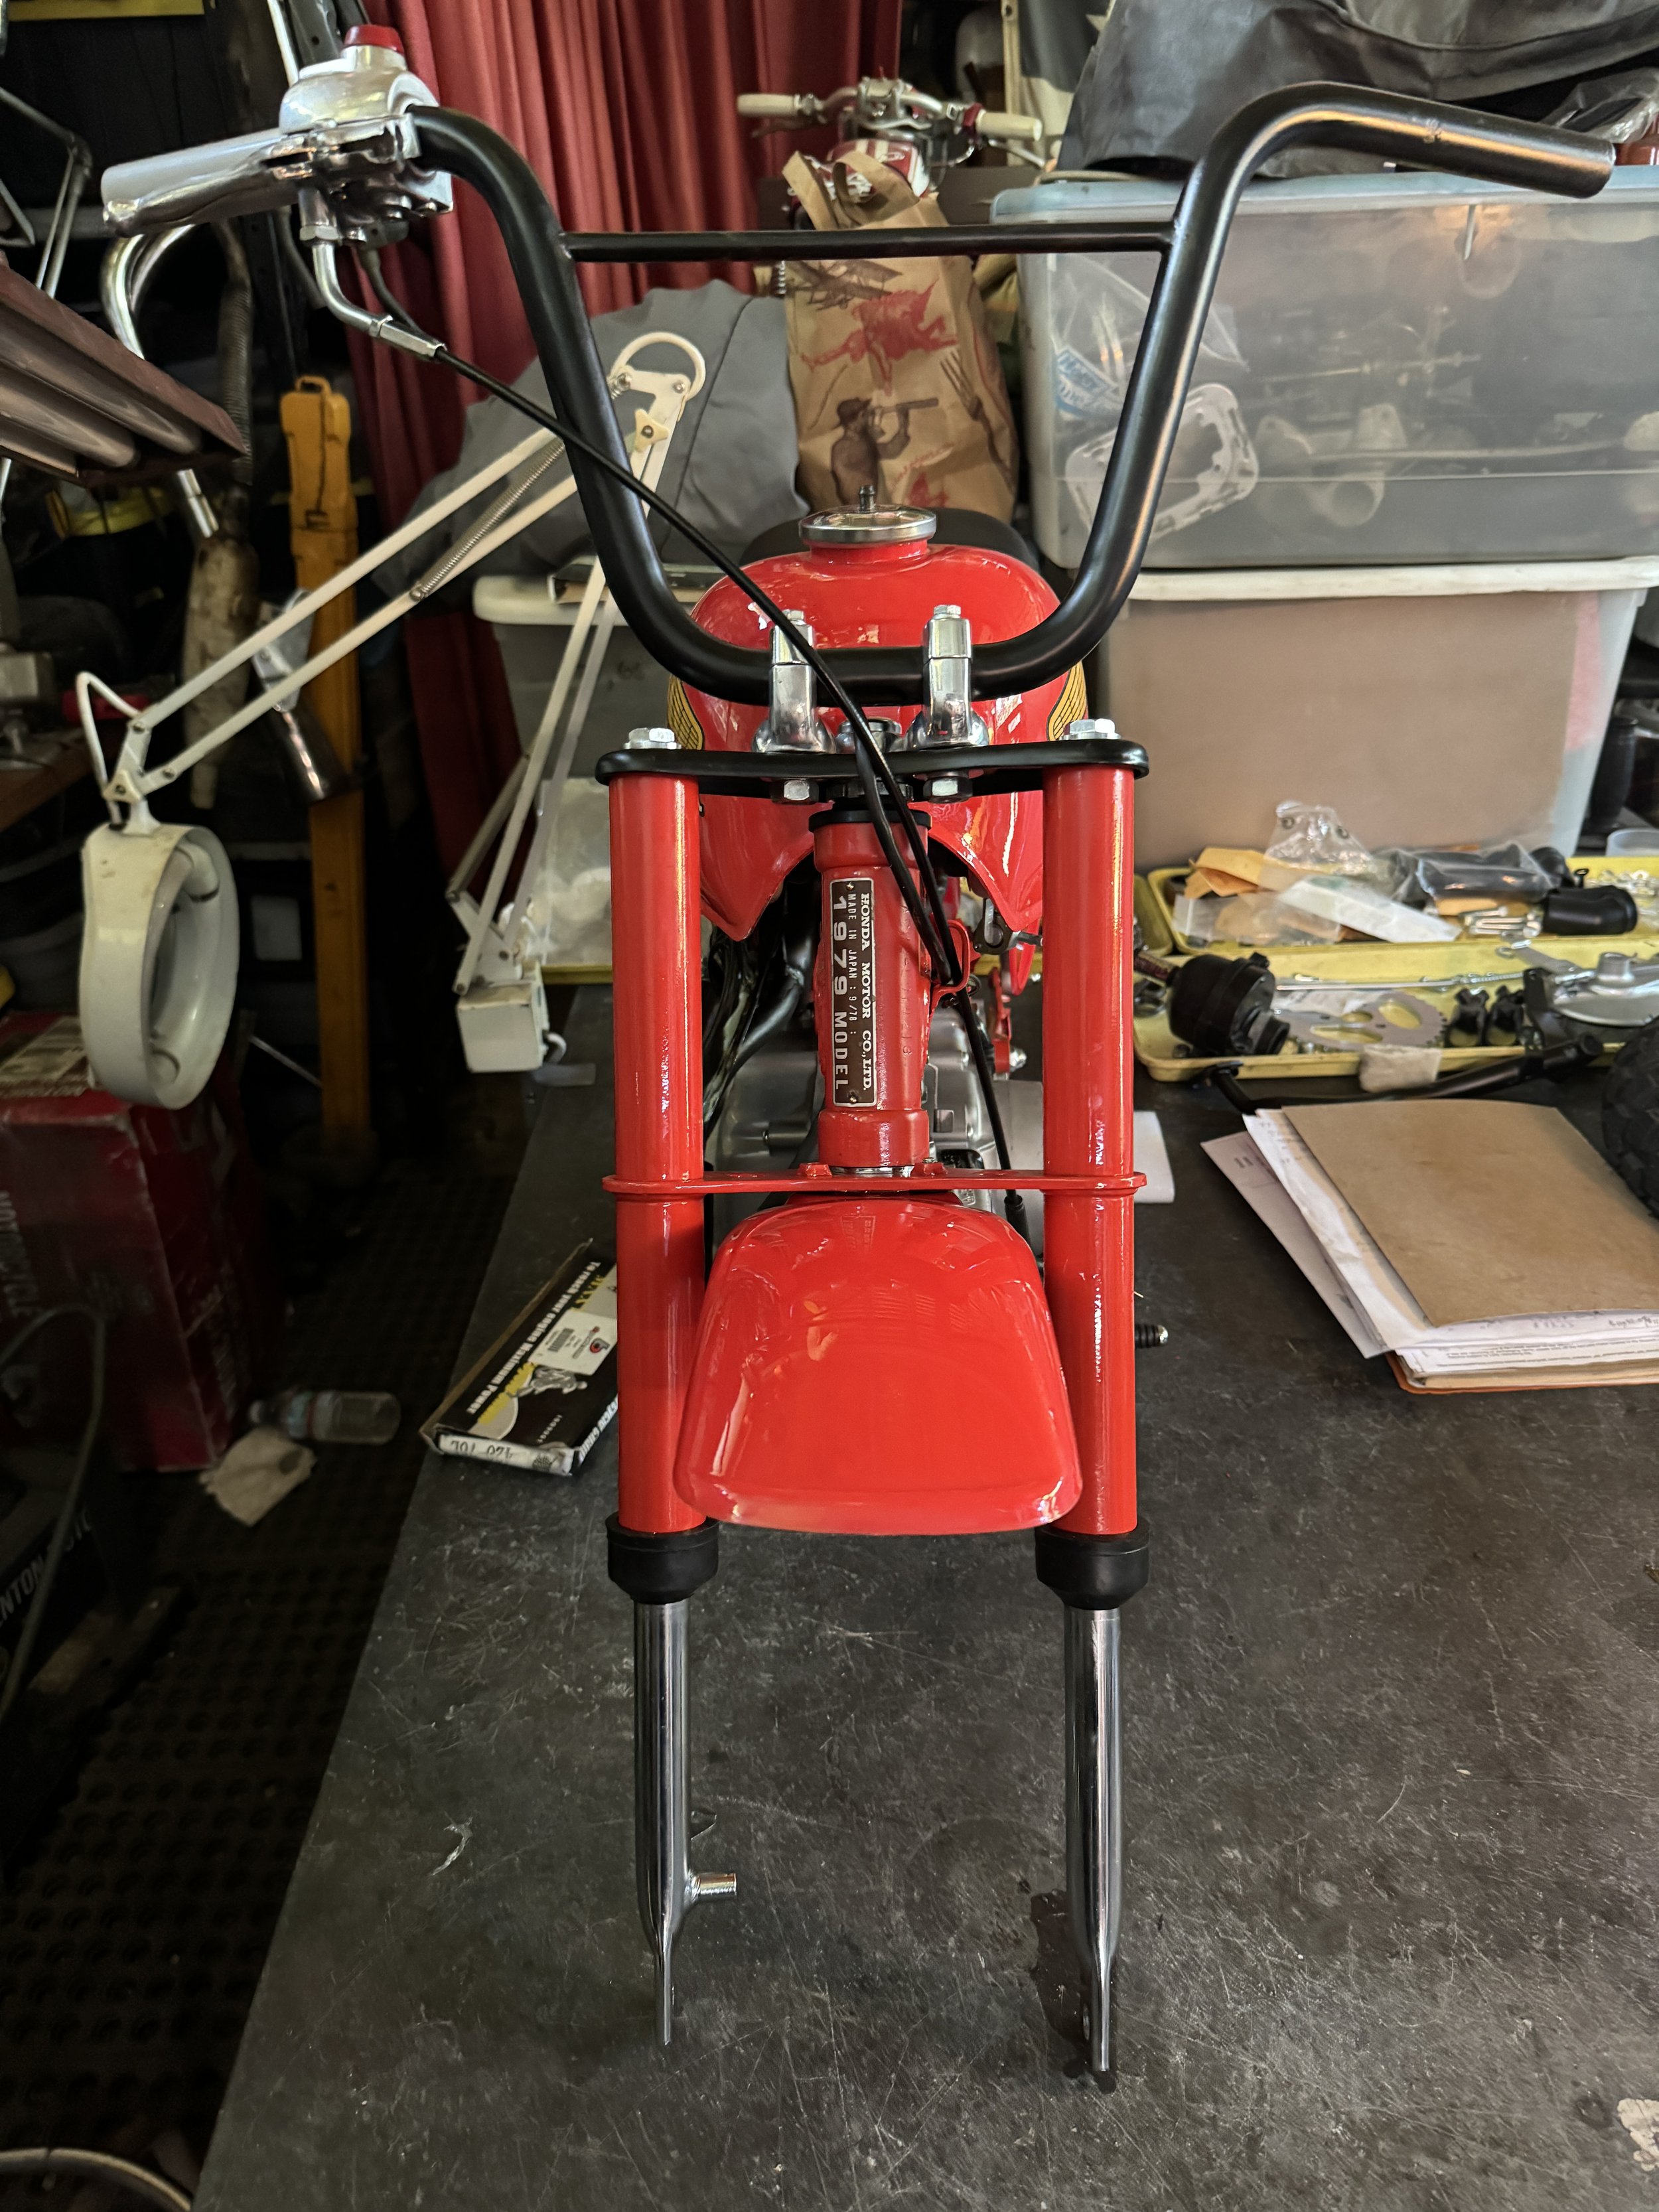
Zooming forward, the engine has been rebuilt to stock specifications, and aftermarket tank, fenders, fork legs, shocks, and seat from HondaTB Parts were used. A good used OEM air filter assembly is yet to be added, sitting in a tray in the right lower corner of the picture. The frame was painted with two-stage PPG paint, aquired from Marble Motors, in the Tahitian Red color used on the first couple years of the R model.

The HondaTB Parts fenders and tank match the Tahitian red fairly well. The handle bar cross bar was slightly loose and bent, and had to be straightened and re-brazed prior to powder coating.

A kickstand was made to replace the missing one. The footpeg mount and kickstand as well as the brake pedal are also holdovers from the earlier Z50A models. The one year only handlebar mounts were also common to other small Honda models, and allow for them to be switched out. A year later, the handlebars were fixed in place, and too low for adult riders.

The final product. She starts easy like a Honda should, and runs well. One of the give-aways that this is the early points ignition engine, is the magneto cover. The R model switched to a CDI ignition, using a CDI box, different flywheel, stator, and cover, in the early eighties.

Everything is nice and fresh. All the original hardware was re-plated, and new OEM Honda hardware was used for any missing or mangled pieces.