If you are going to do it, go big. Smaller sizes were contemplated, but looked a little dinky when mocked up. Trying to keep the lines right with the top of the tail in line with the muffler and the rear lining up with vertical.

Cheese grater or saltshaker? The choices are endless, but one of these will most likely get the nod. Once they get pierced, they will be welded along the edge.

Salt and pepper got the nod. Still need to clean some welds where they were joined at the edge.
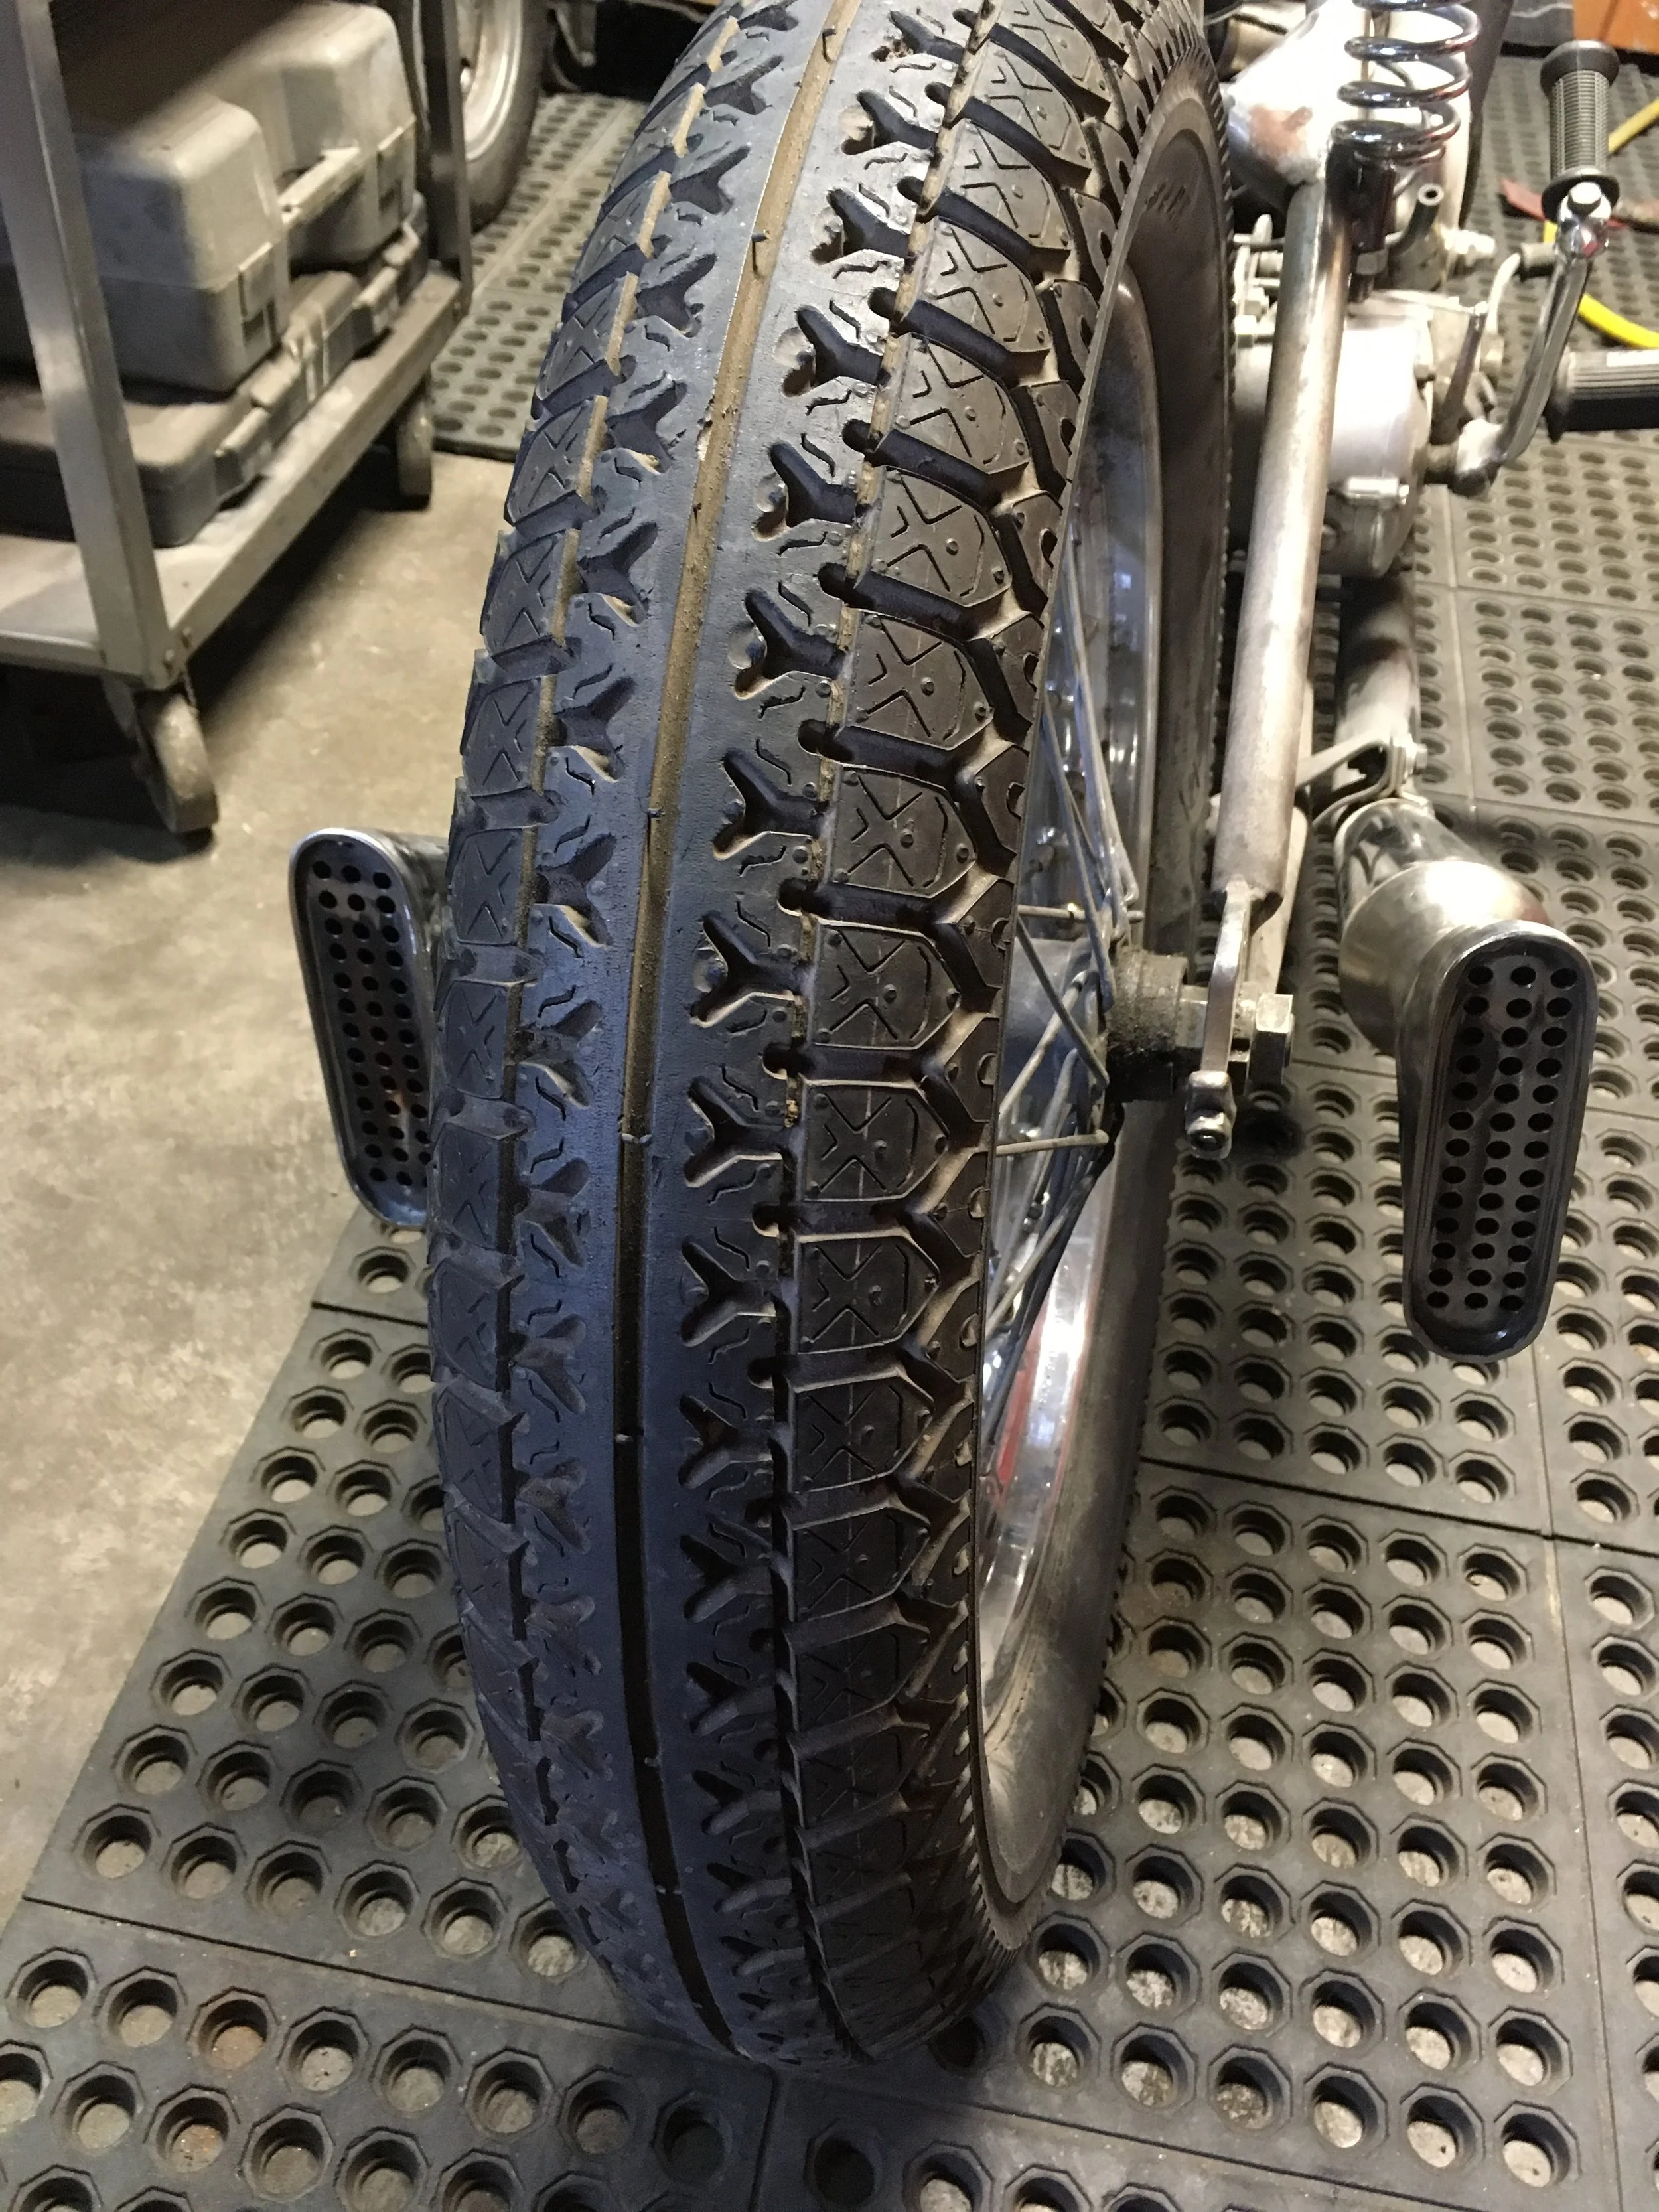
There are also some removable baffles in the neck of the fishtails, but the megaphones are still going to make it loud.

Digging on the vintage simplicity of holes.

The seat for the Freebird bike got some attention. The welds were cleaned up and the right corner got revised to take a 1/4’ section out. It is hard to believe that such a short length would throw off the symmetry, but I could see it and it was bugging me.

Still a couple small areas that need touching up, but mostly there. It will go for cadmium plating when done, and then a leather seat cover will be made.

Patterned after a Lycett style seat, some changes were made such as a round bar instead of flat. Don’t know if it will be any more comfortable, but the rear edge of a Lycett looks like it might hurt if you hit it too hard.

The bottom view.

While working on the exhaust tails, it occurred to me this is how cowbells are made. The exhaust now has more cowbell.