Another 1967 Triumph Mountain Cub in the shop

A 1967 Triumph T20M Mountain Cub has been working its way through the shop. Bought as a roller with a bucket of parts and a locked up engine, I had no idea what I was getting myself into. The availability of parts for these bikes is slim at best, with some items near impossible to find without some luck, or paying dearly. A lot of new old stock parts went into the build, particularly the electrical system. A number of parts were missing, or in unusable shape, and had to be found. The bike is near completion as of now, but there have been challenges…

As the bike came to me. Most of it is there, but the missing  headlight, carb, and oil feed were costly or difficult to find. I had seen an ad online from Big D Cycles, offering the bike in pieces, and stating it would be taken to the Barber Vintage Motorcycle swap meet, if no taker was found. I thought about it a week or so, and called them, only to find it already on the road to Barber. I told them if it came back, I wanted it, and they said they would call if that was the case. Three weeks later, I walked into Big D Cycles for another unrelated bike, and they told me the cub had returned from Barber unsold only a few hours before! A deal including an NOS coil was made, and the build was begun.

Everything was well worn and some things downright abused. As bad as it all looks, the muffler, brake pedal, and airbox in this pic were all usable.

Some serious water vapor damage. The rusty standing waterline can be seen on the inside of the side cover. Luckily, the water level never reached the crank shaft or transmission shafts, but some of the vapor caused some pitting. Most all of the primary was rebuilt, with the clutch basket and hub rebuilt, and all new chain, plates, springs, cushions, posts, bearings, and outer pressure plate. The ignition stator was replaced with a new Lucas brand unit, made for Triumph ET ignition systems..
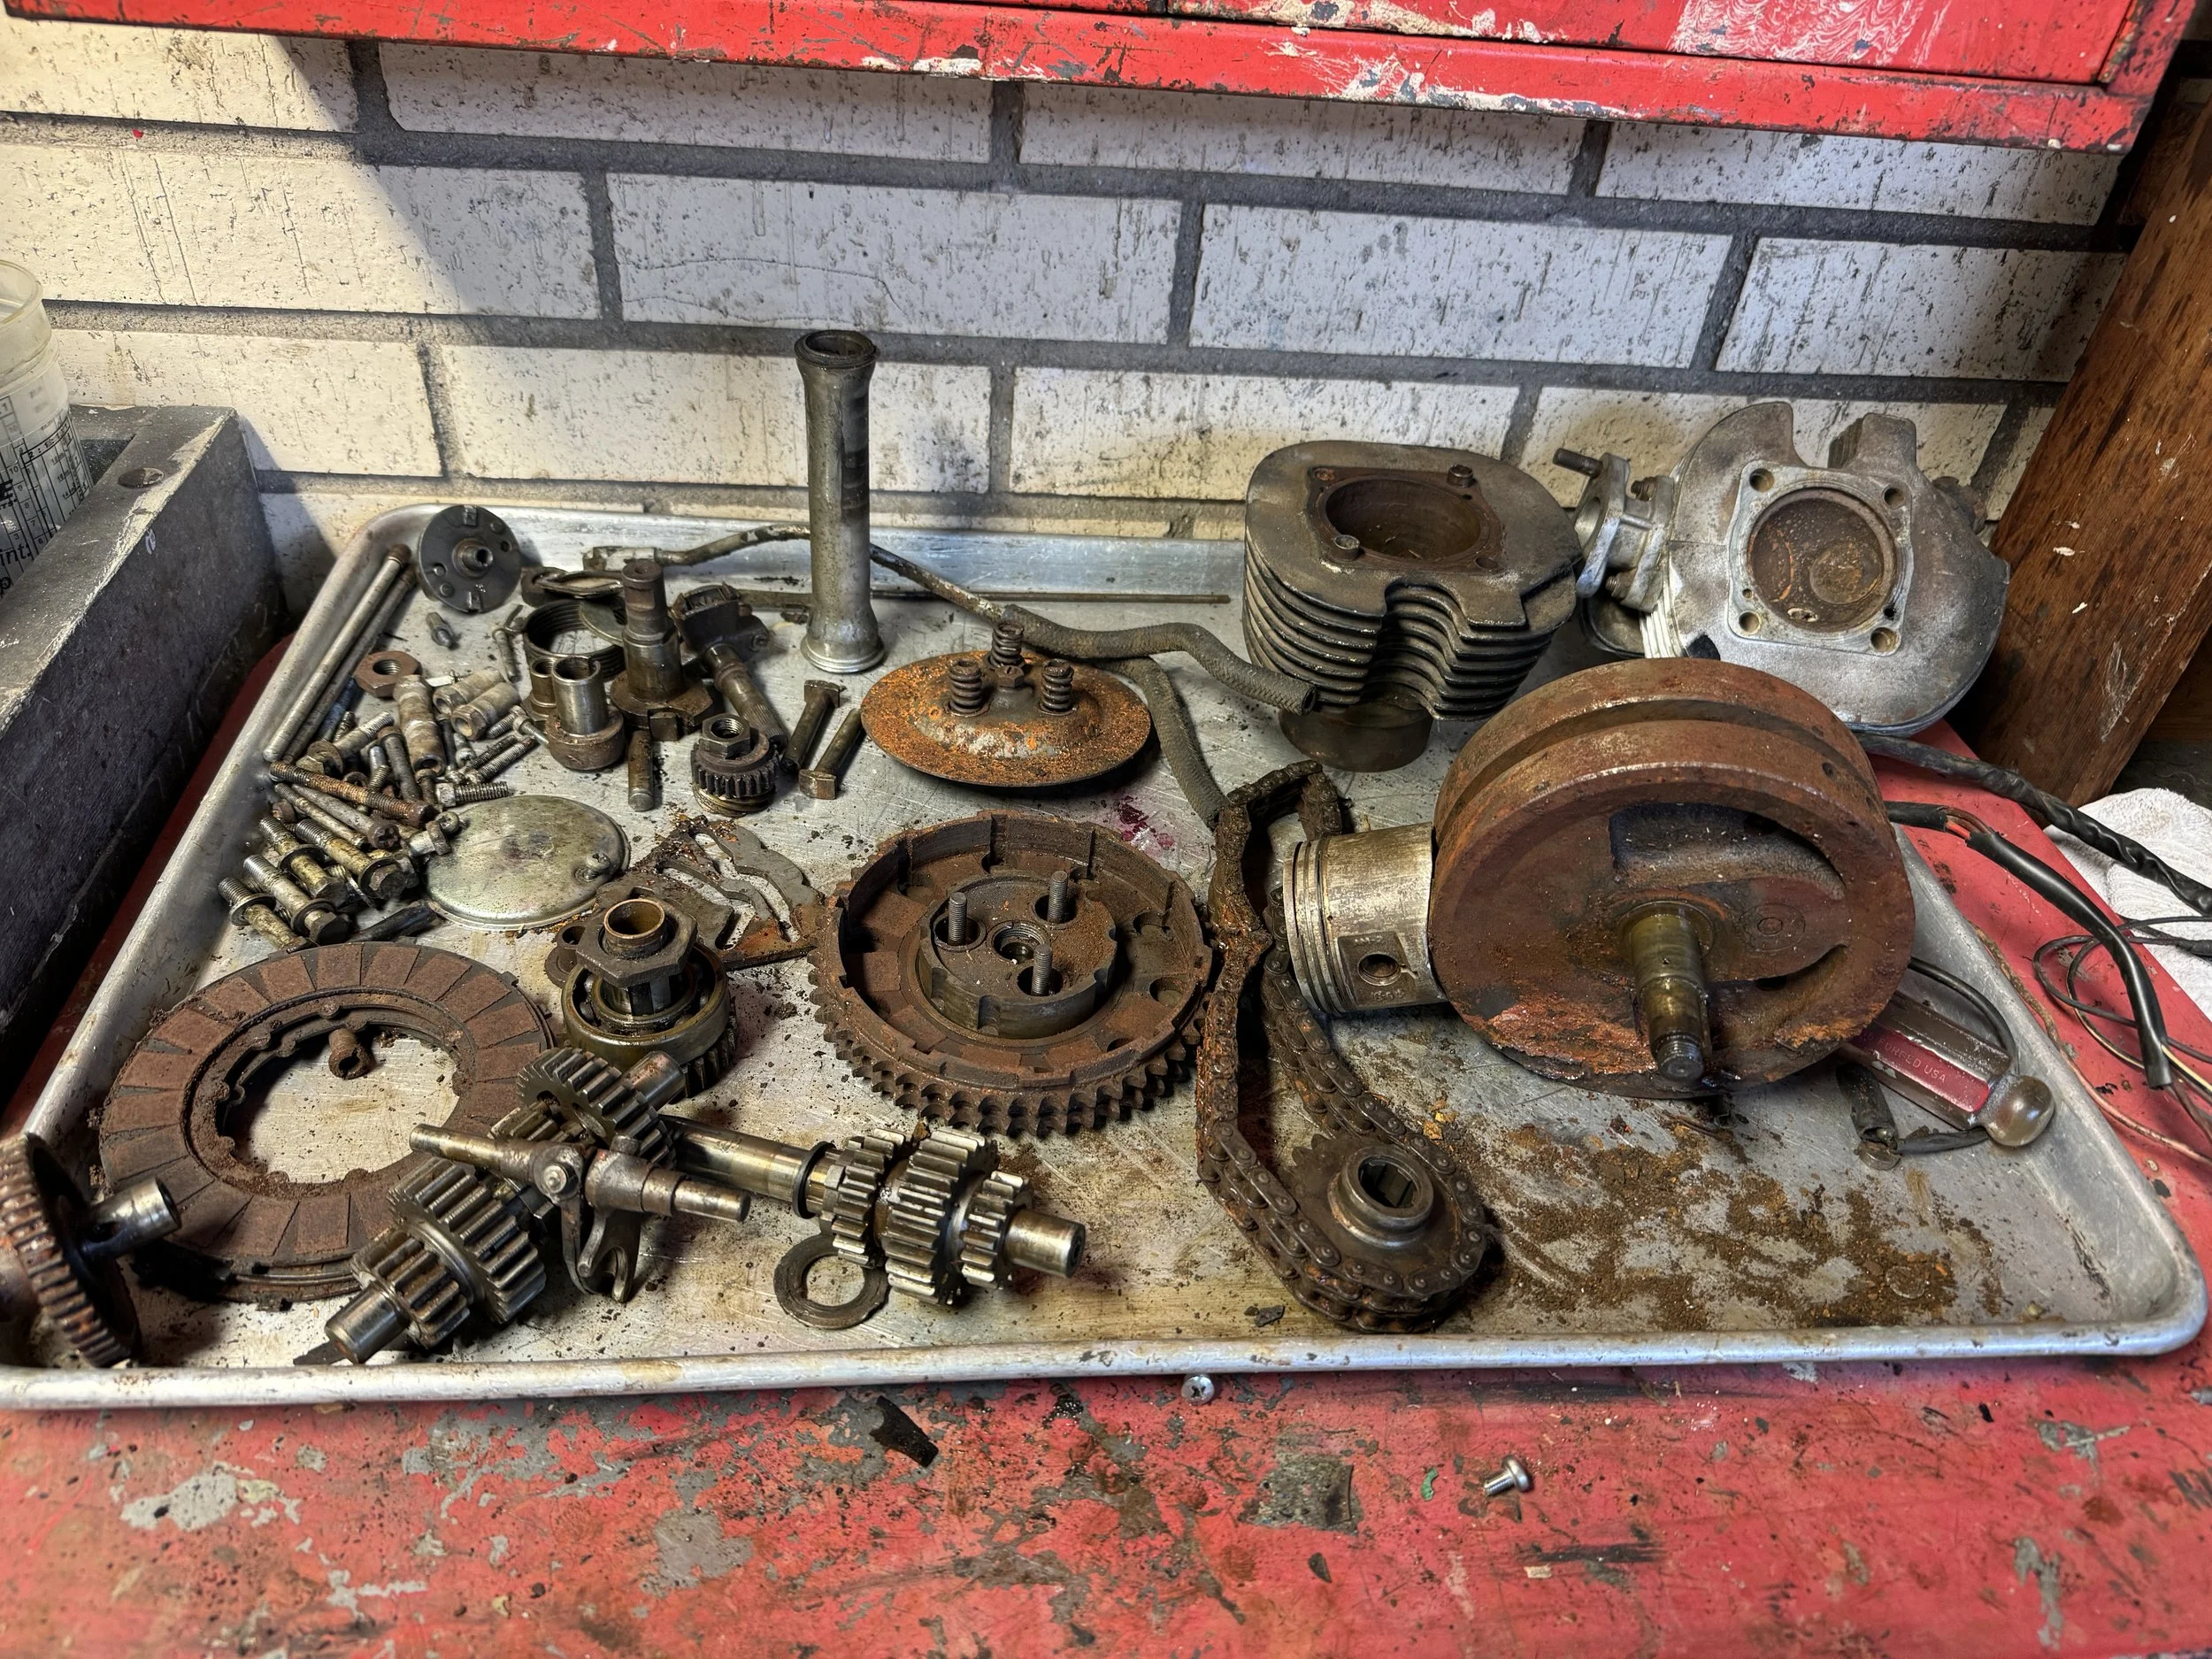
With the engine locked up, it took more than a few hours to break it down to this point.

Fortunately, the crank ends were pristine. 

The cam was  badly pitted, and the lack of a replacement forced other options to be considered. A shop in the North West of the country was found that could recondition it and the followers.
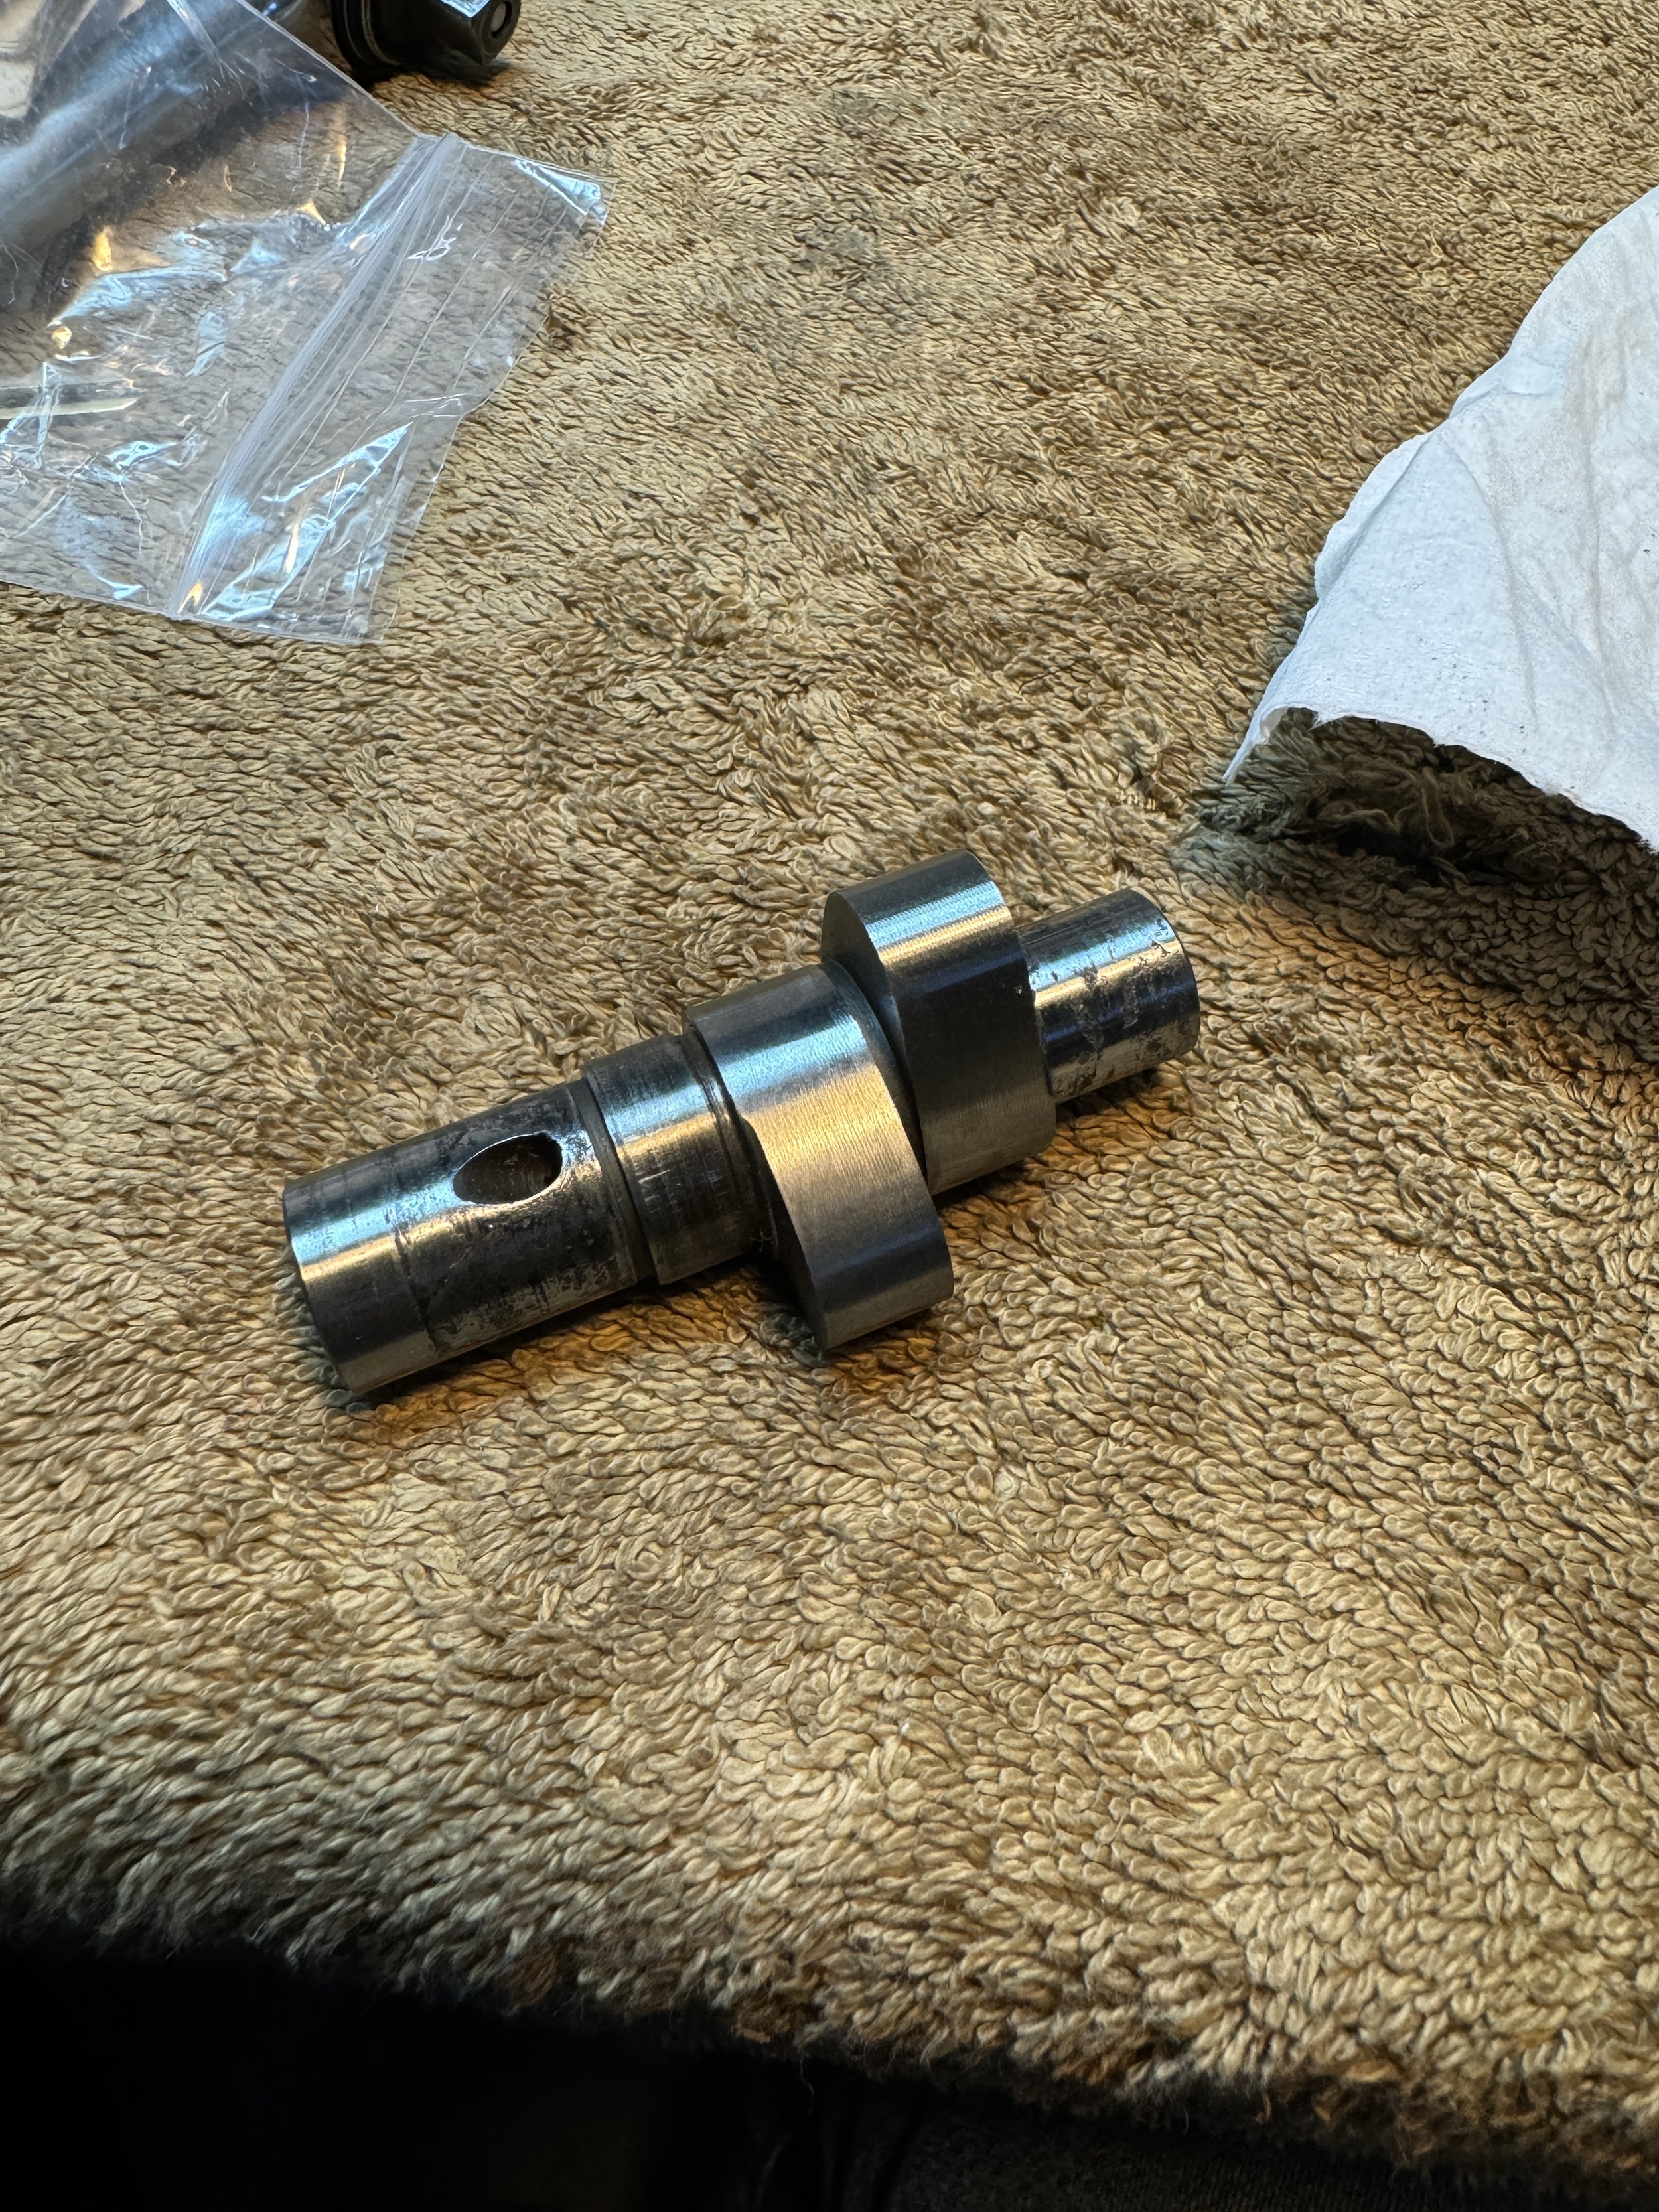
After return from Delta Cams in Spokane, Washington, The welded and re-ground lobes look great. 

The entire rear wheel aside from the repaired brake panel was scrapped. The bosses for the sprocket were chipped up, and drilled out, with through bolts holding the sprocket on. Definitely a hardware store fix. Finding a new hub was a little challenging, but after finding one, a second in even better shape was found. The shocks were shot and were replaced with Hagon brand units with NOS springs added by Mitch Klemph of Klemph’s British Parts.

The original hardware before stripping. After a hot degreaser ultrasound bath, they are vapor honed, burnished on a wire wheel, and then cadmium plated at Texas Precision Plating in Garland, Texas. There were quite a few missing, damaged, and incorrect replacement nuts, washers, screws, and bolts. I actually did two batches of stuff because it took a while to find some parts, and I didn't want to delay the build waiting till everything was collected.
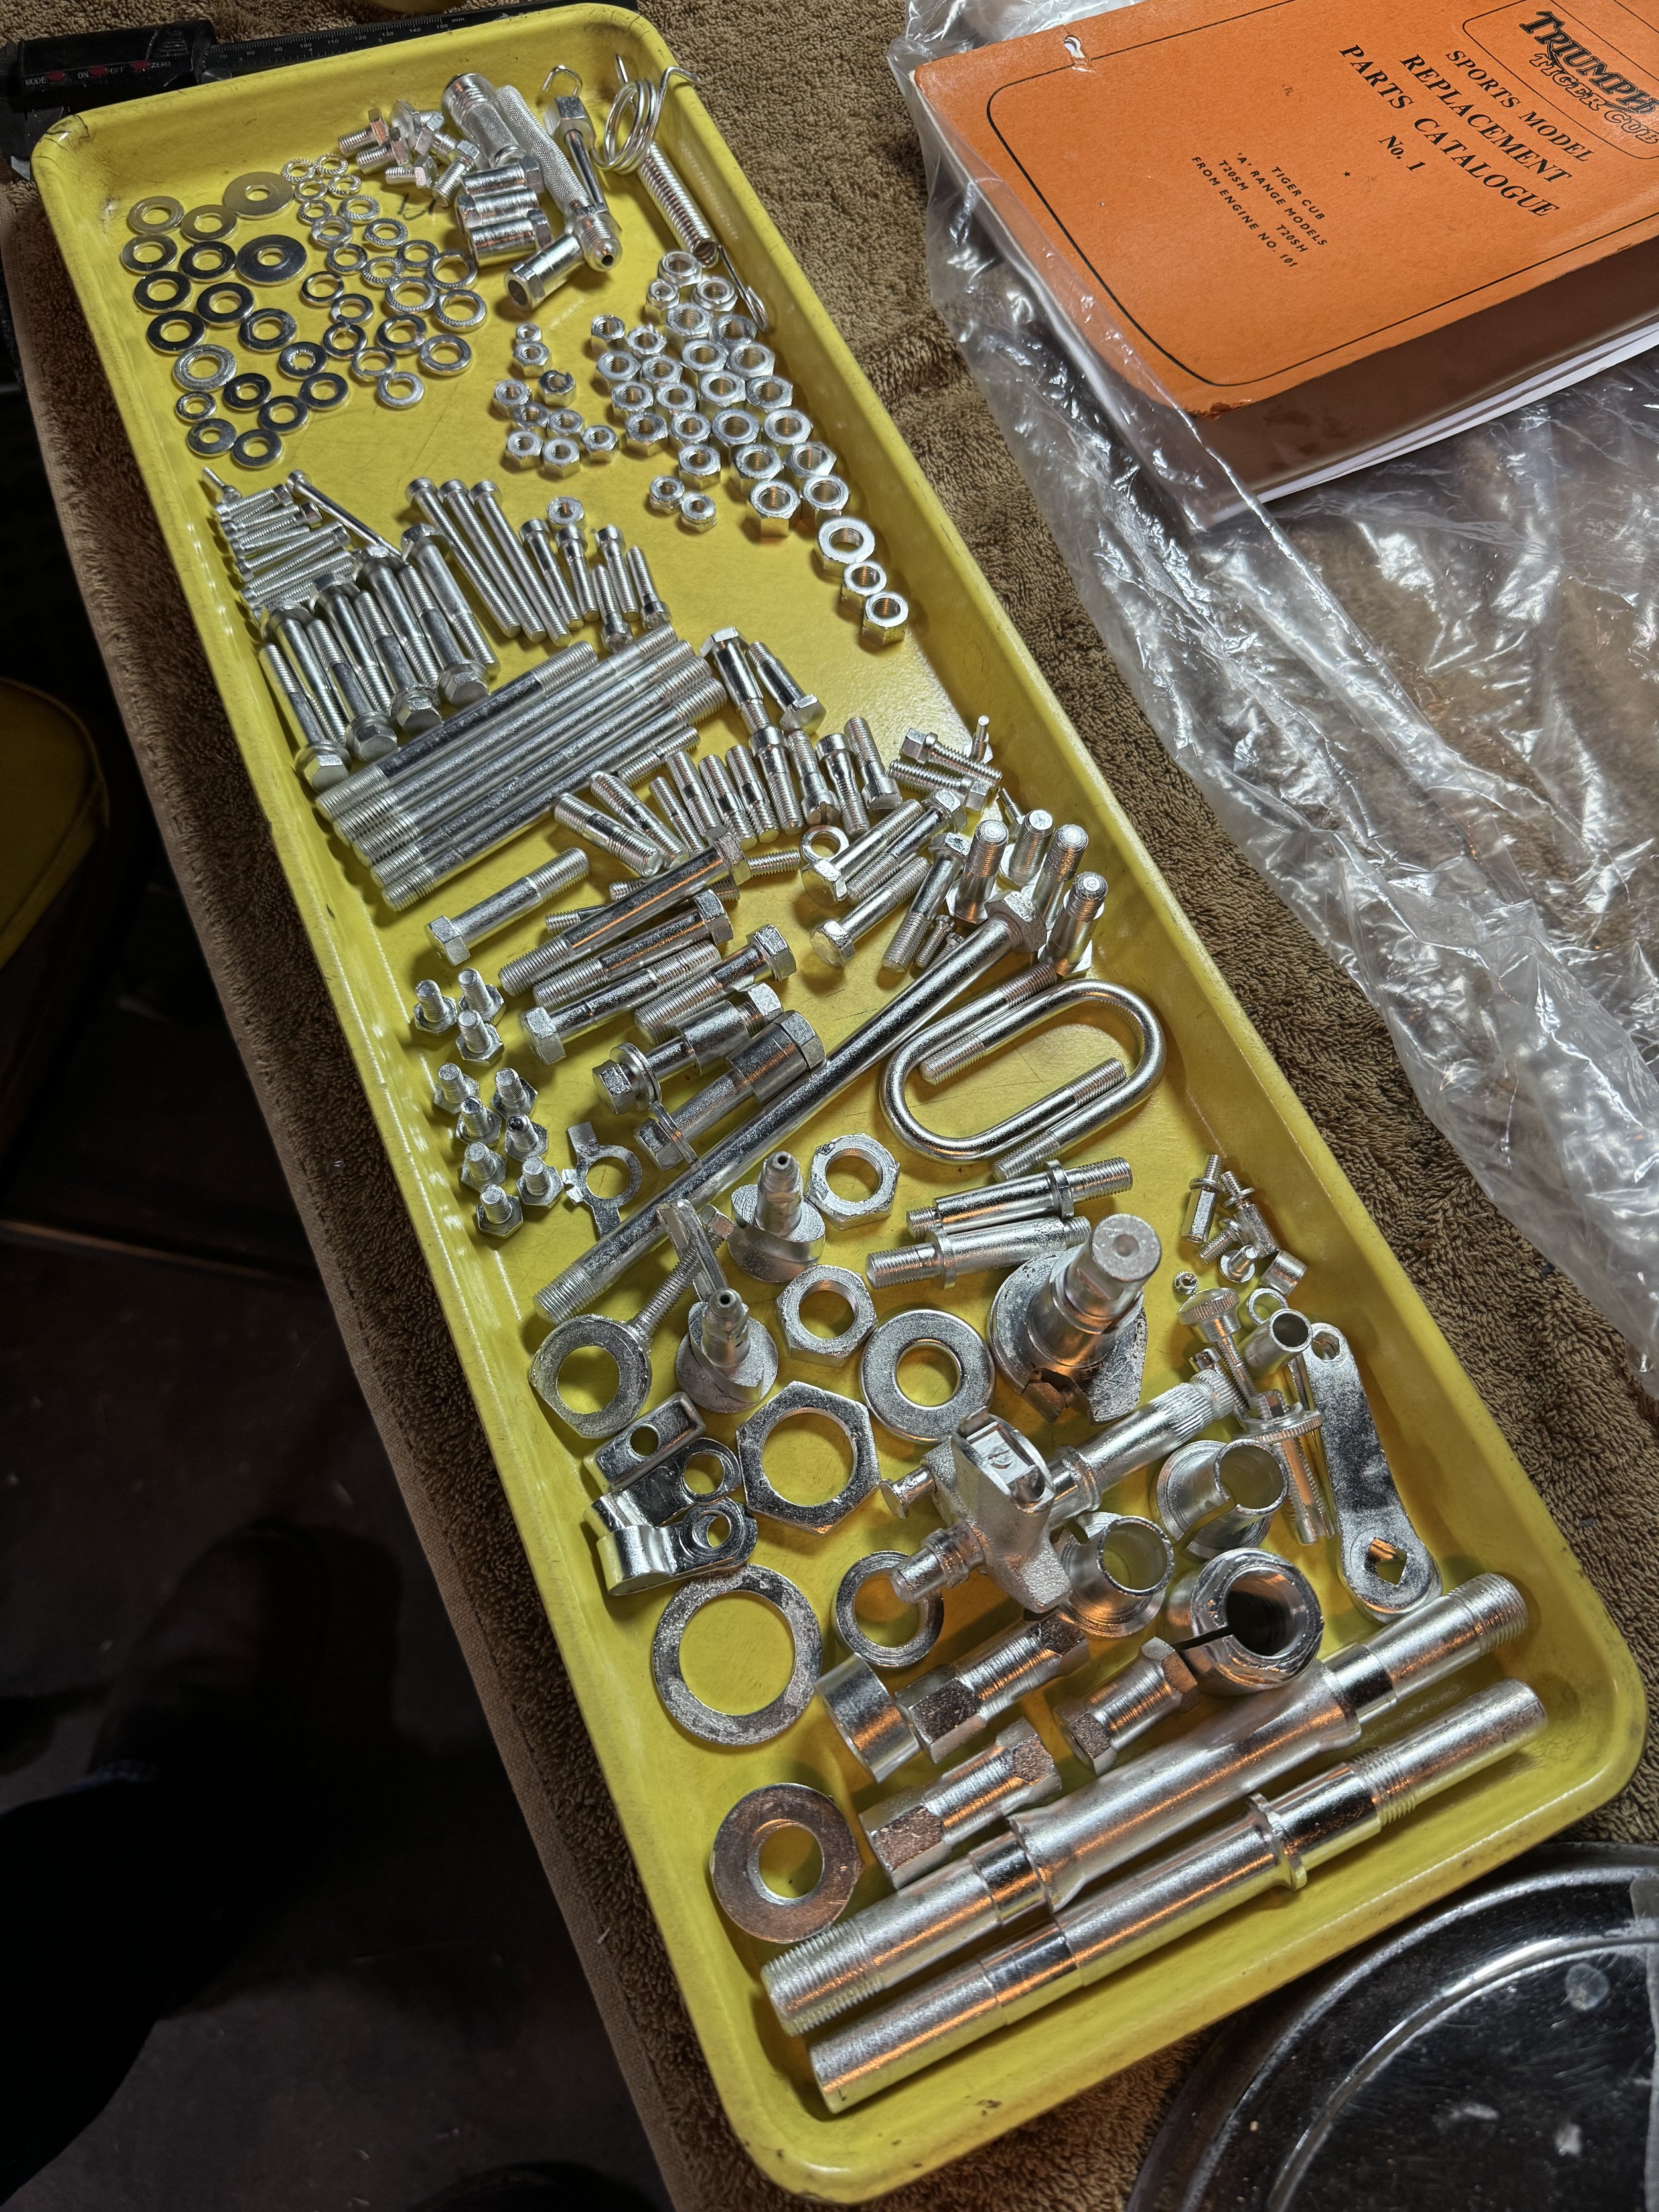
A fresh tray of cad plated hardware is so satisfying.
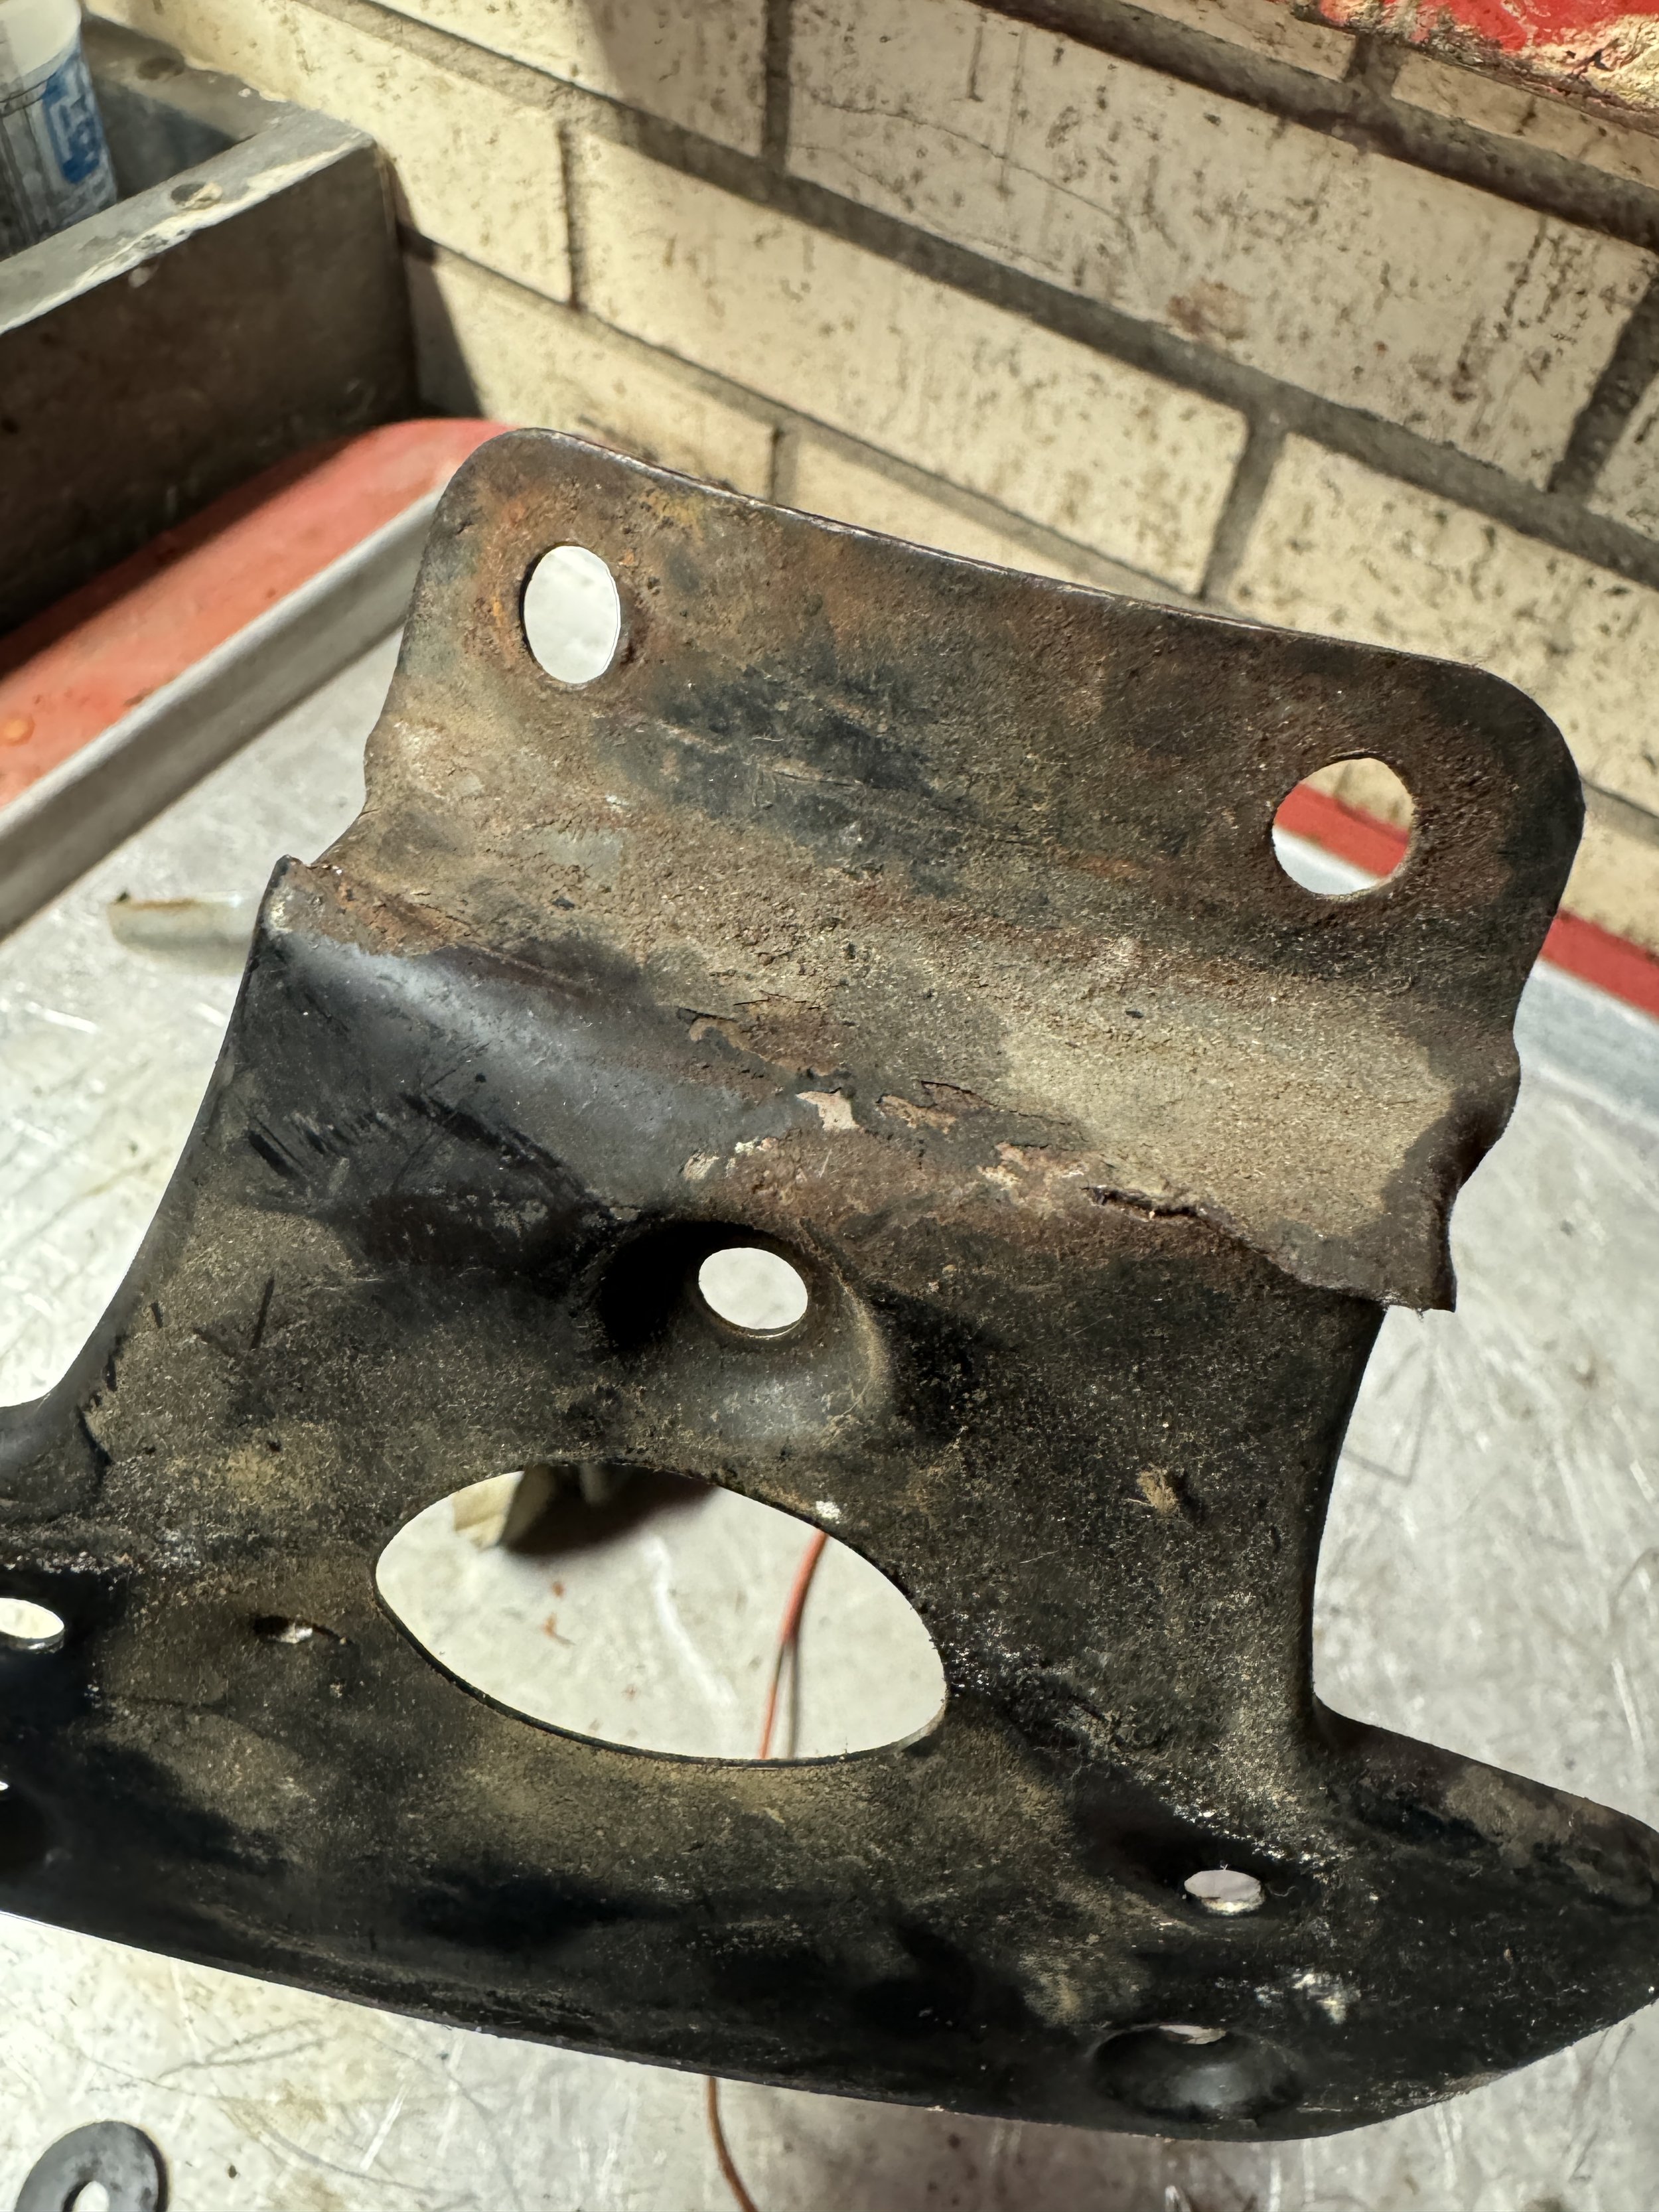
The tail light assembly had been whacked at some point, denting the fender, and bending and tearing this plate. The bends were easy enough to smooth out, and the tears were aligned and welded.
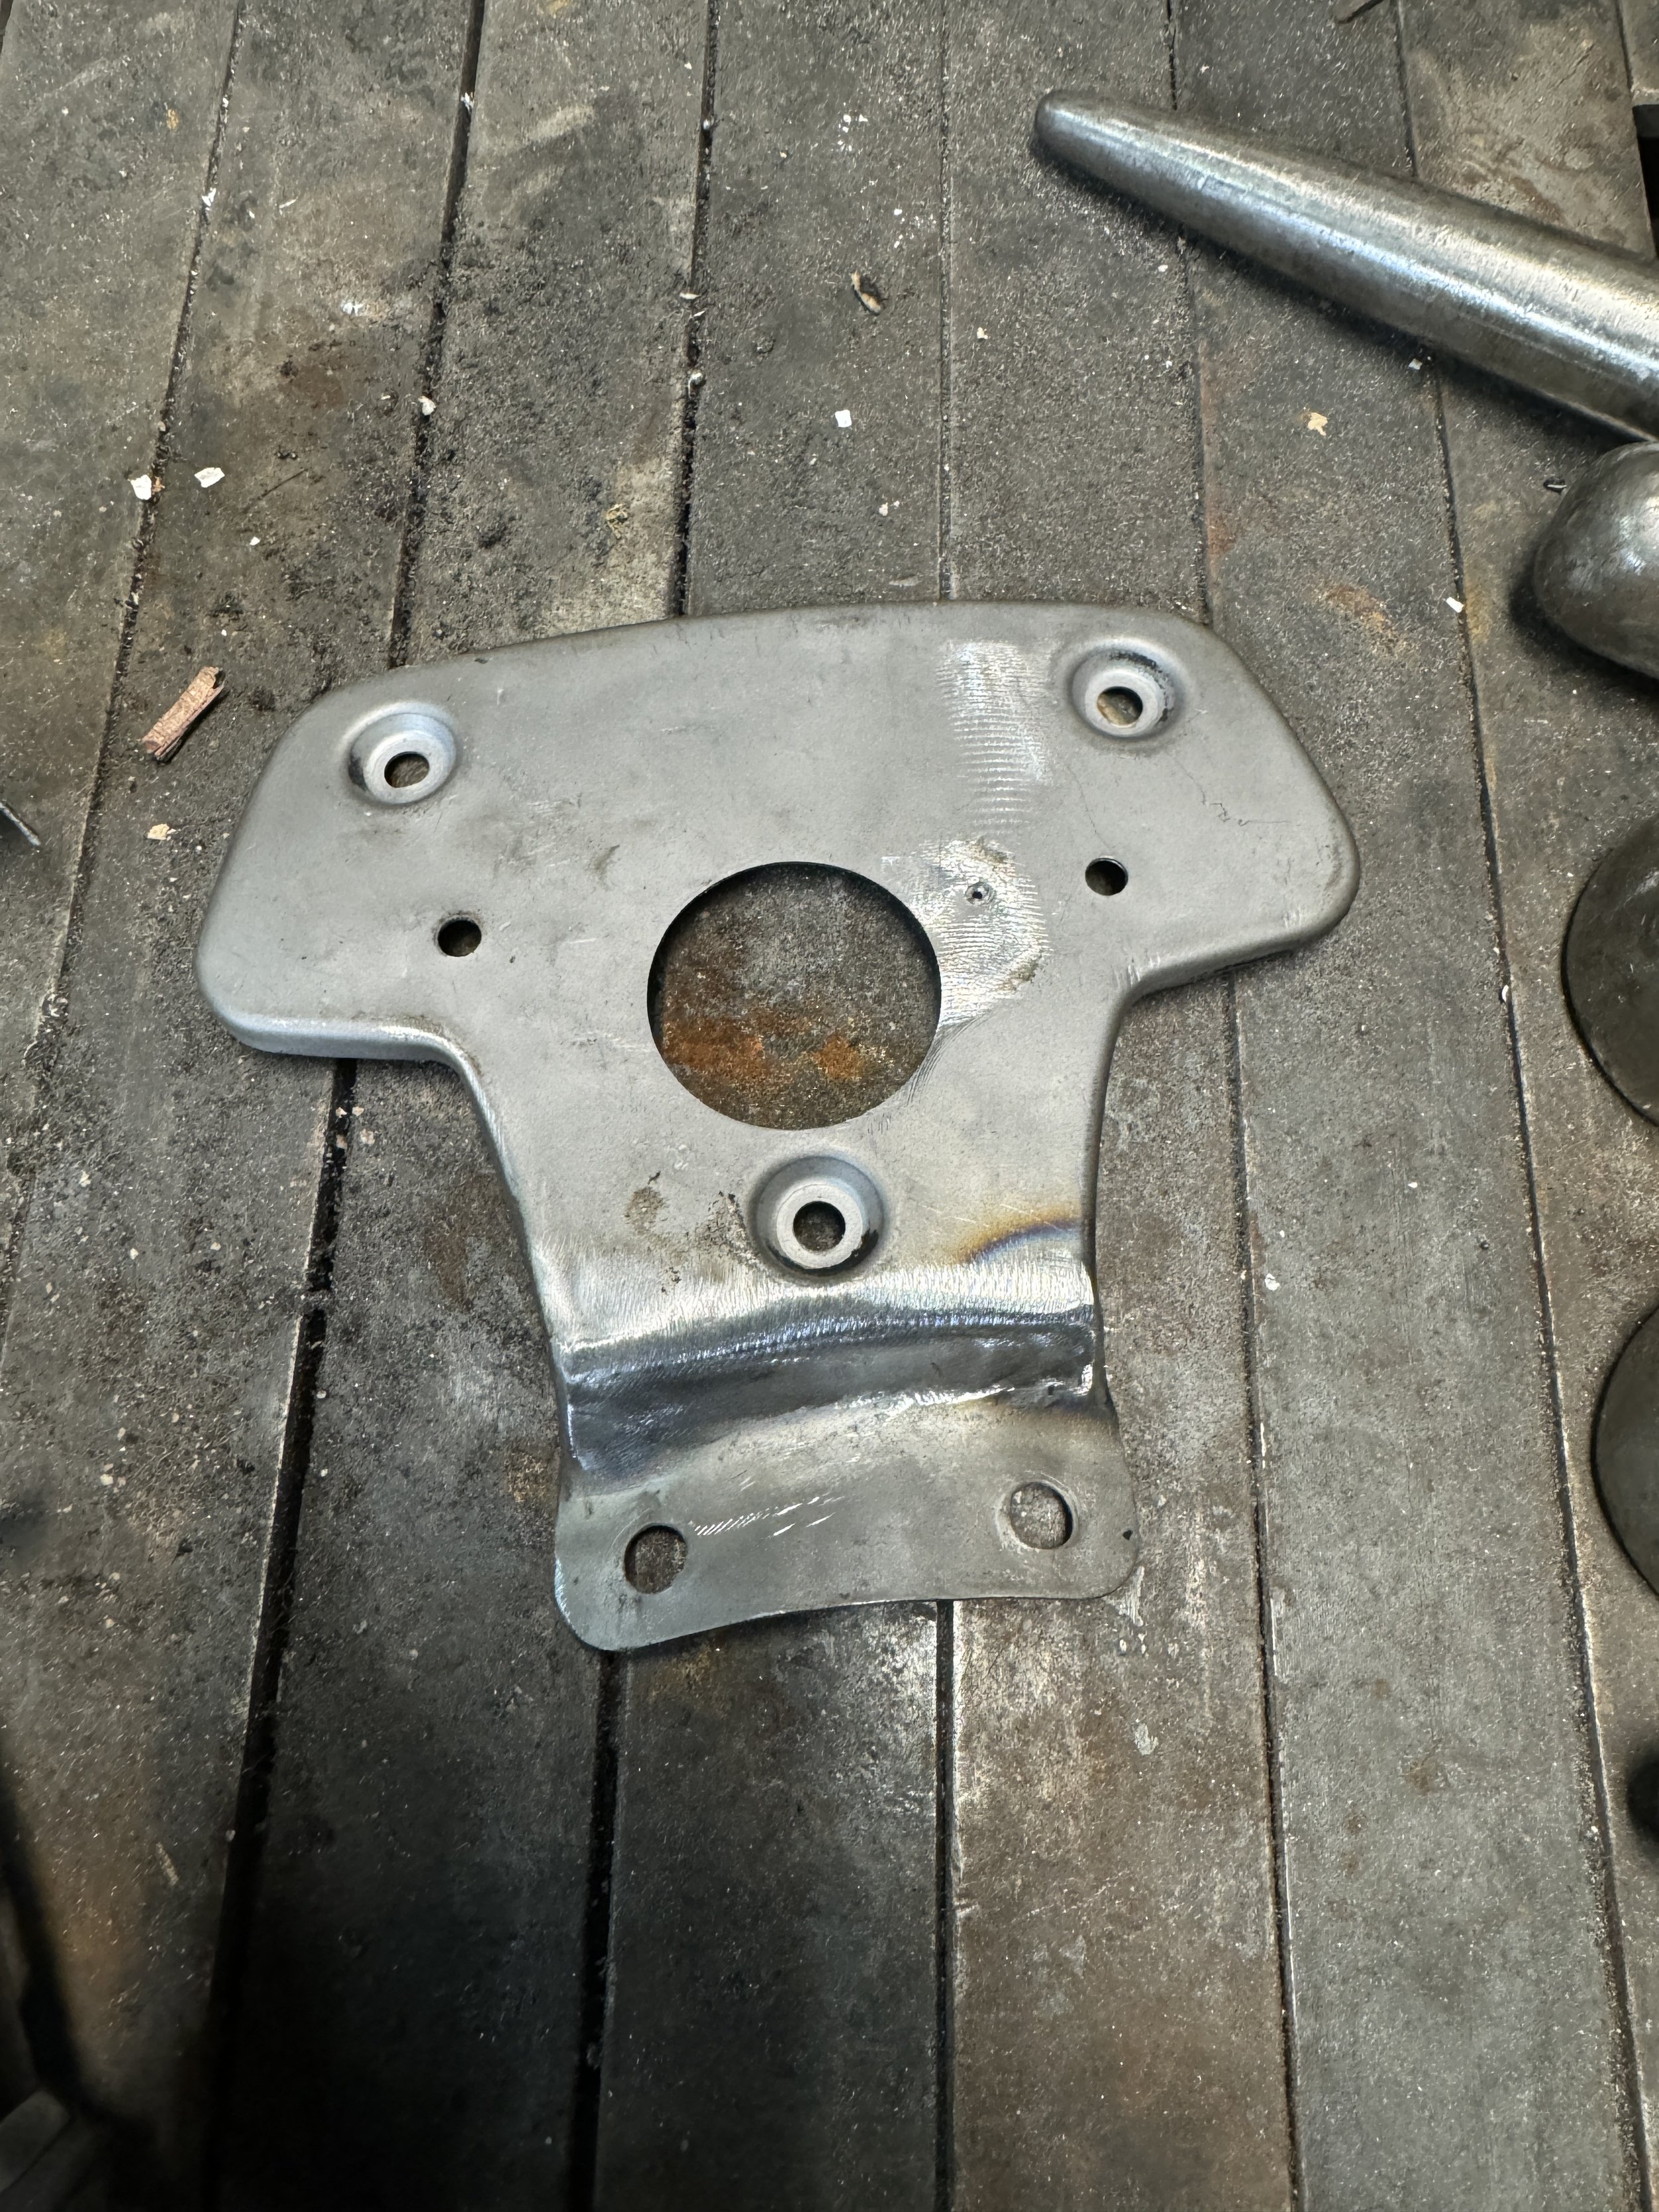
The finished tail light face after welding. It will get sanded a little smoother and then sent off for powder coat.
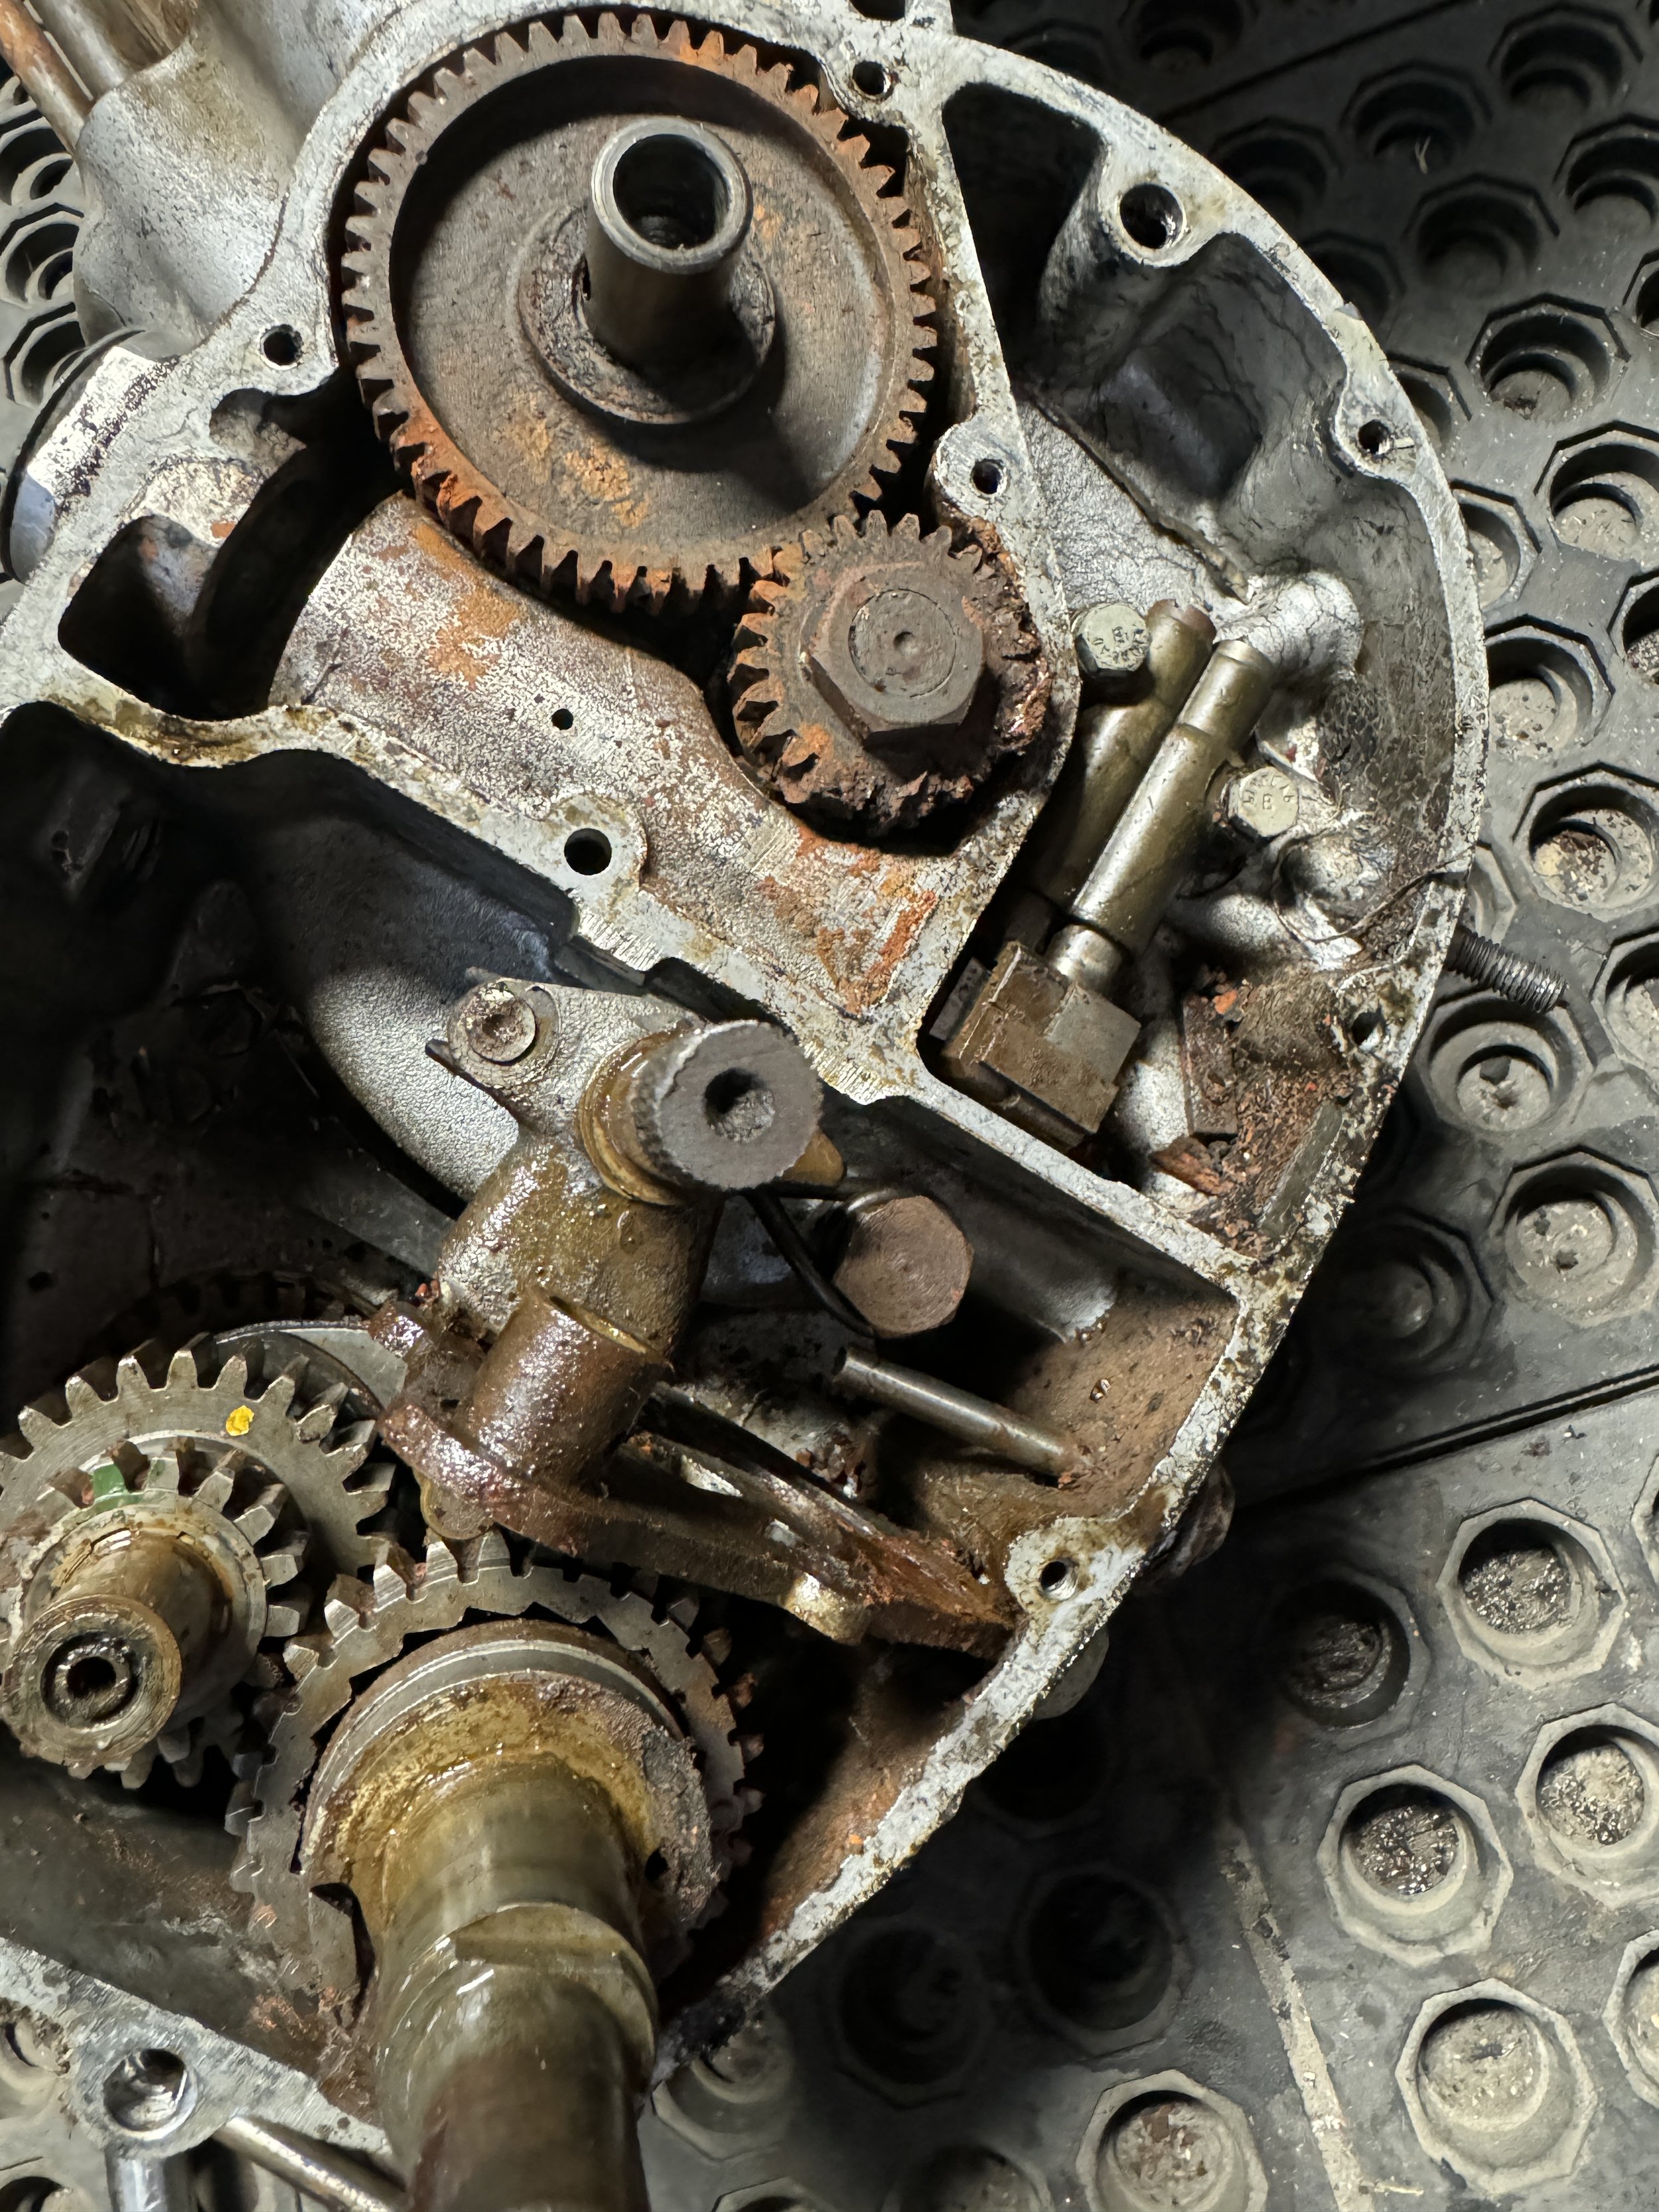
The inside of the engine shows how water coming through a removed valve cover went down the pushrod tube and onto the timing gears and cam. The timing gears were replaced with NOS pieces, and all bushings bearings and seals were renewed.

Things look a lot better with all the new parts. A new layshaft and two gears, shift plate, quadrant pawls, and selector rod were put in along with the new oil pump.

The head was also in such poor shape, it was scrapped. The valves were so thoroughly stuck, that two different valve compressors were bent trying to press them out.
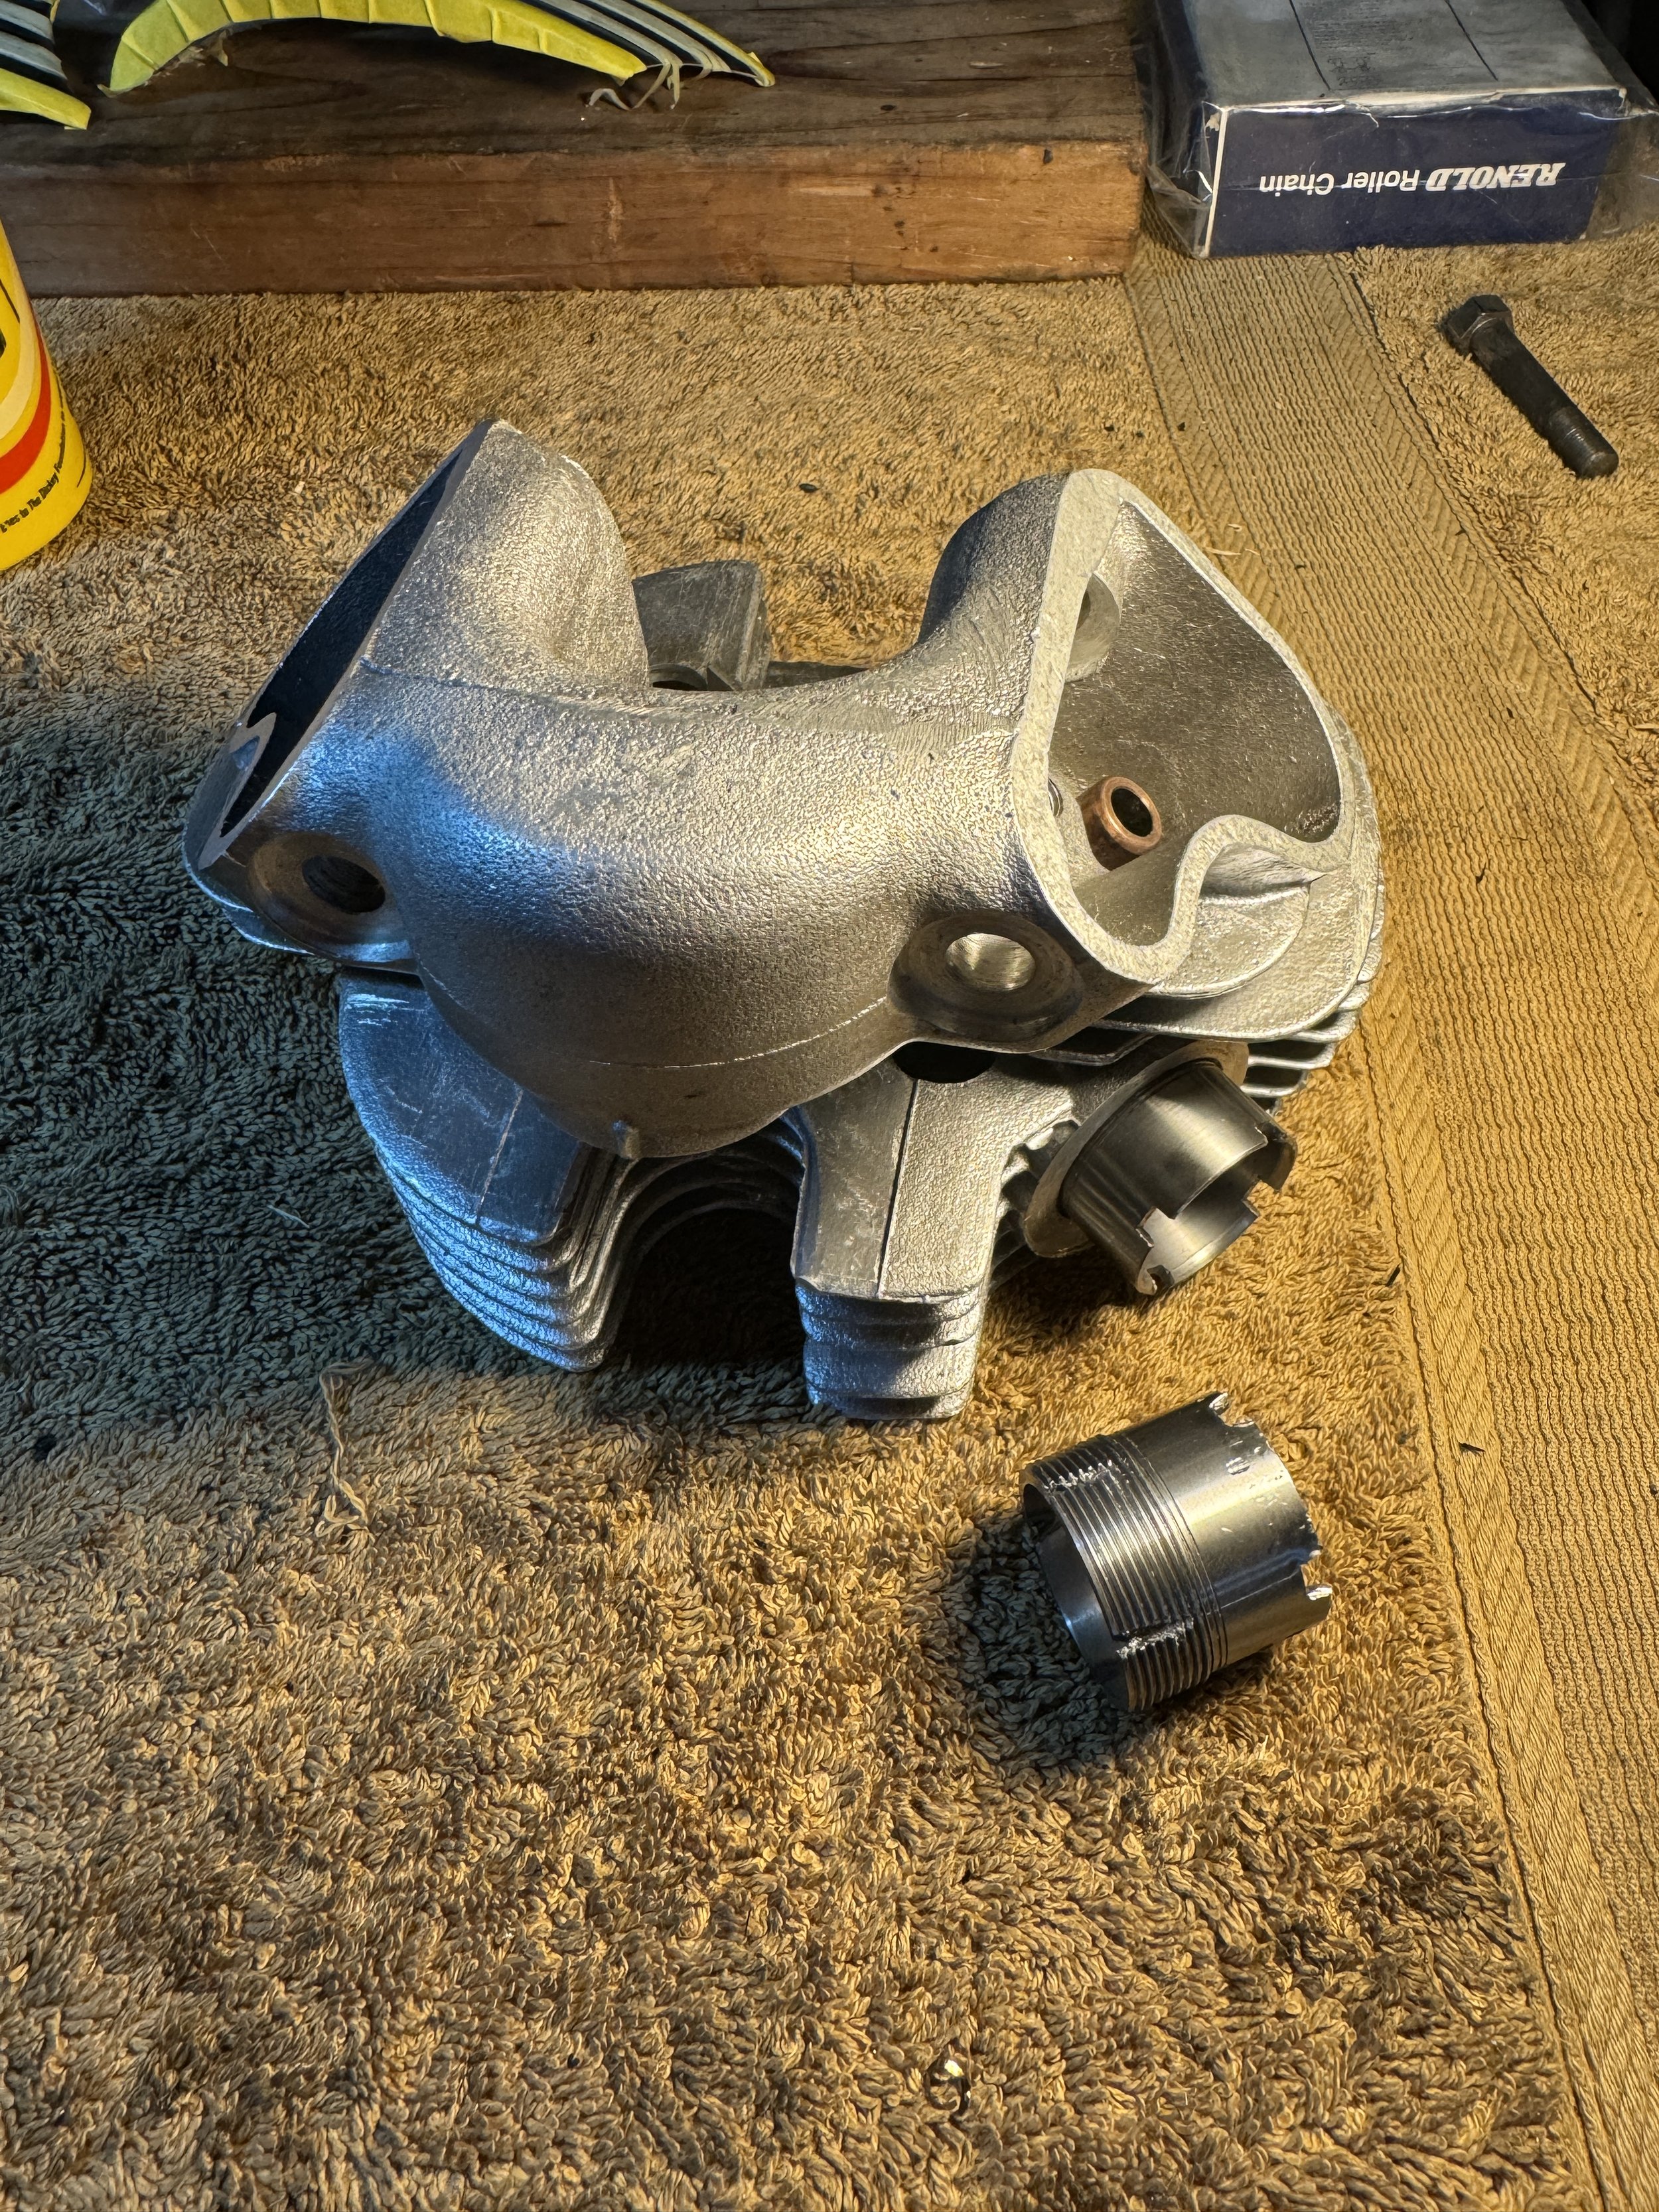
An NOS head was found in pristine condition. The guides were already pressed in and reamed, and the new valves slipped in perfectly. The exhaust spigot had never been mounted, and needed sone tapping out. Lacking the proper tap, another spigot was fashioned into a tap by some notching. It took a bit if time, but in the end, it worked just fine. All new springs, valves, clips, and retainers were used in the assembly.
After some clean-up, sludge trap replacement, and a new crankshaft pin placed in, the crank was re-assembled, and aligned.

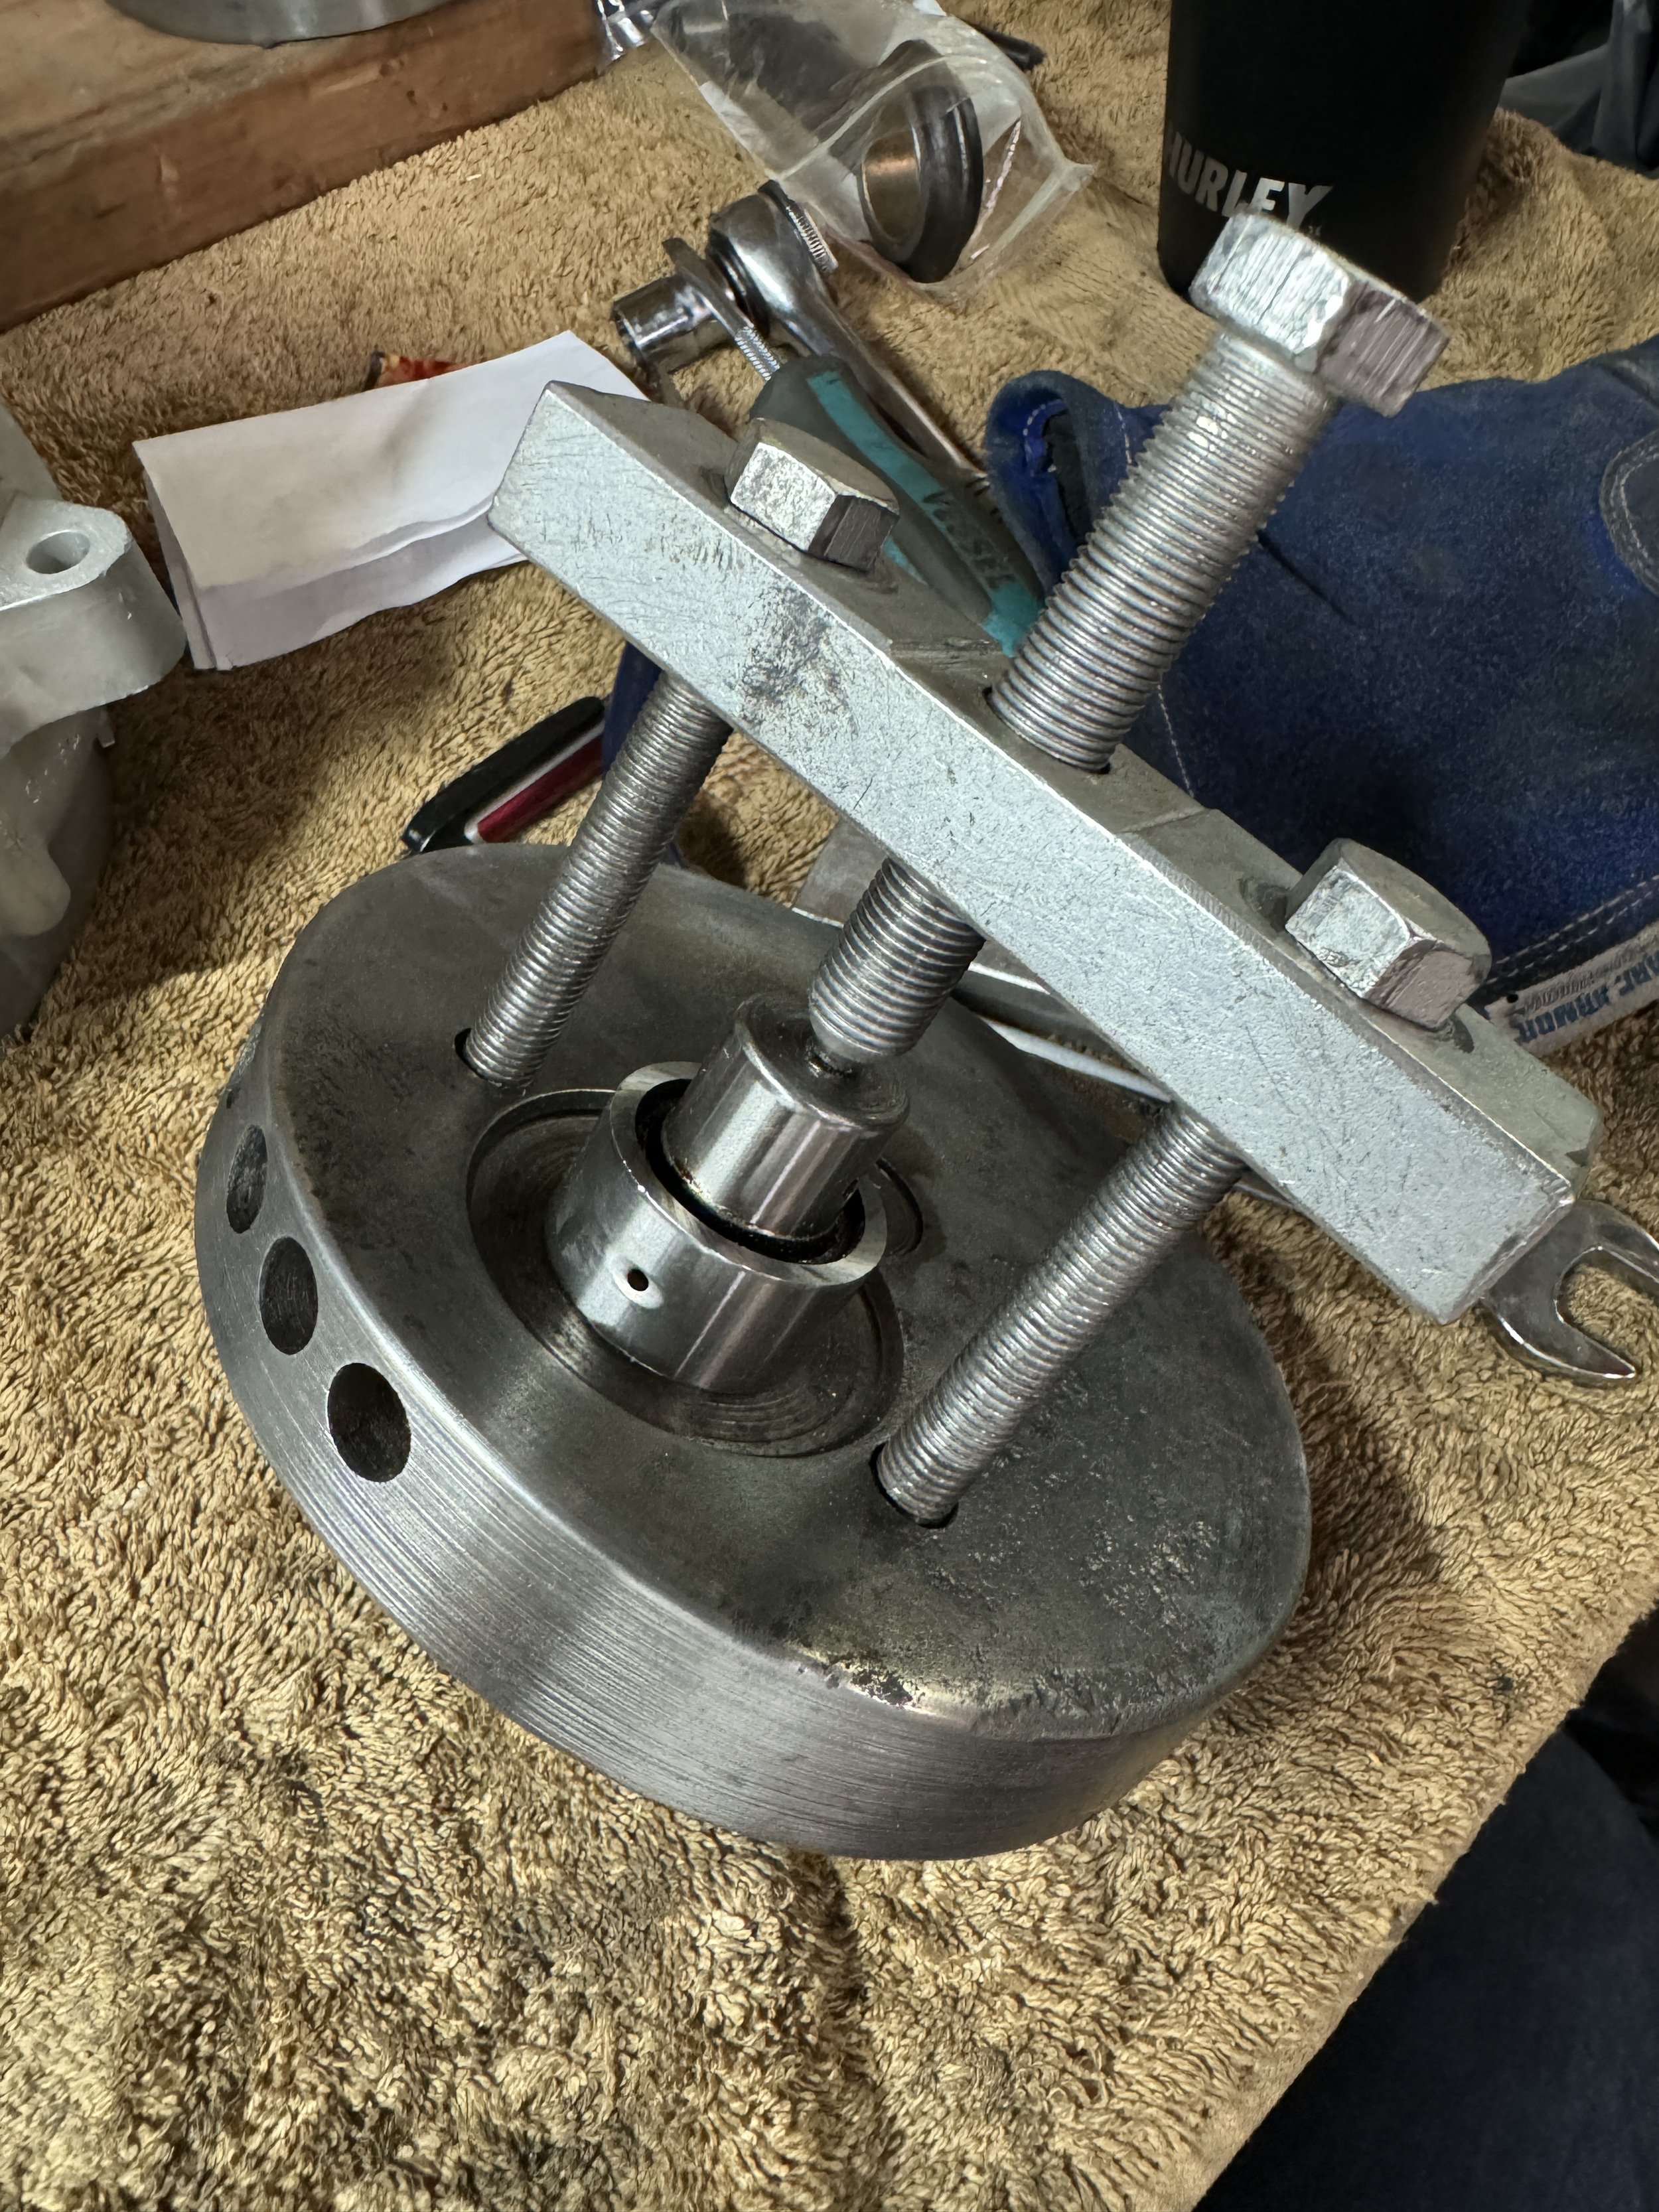
The cushions for the clutch hub were replaced. They were somewhat difficult to source, which is what I have come to expect from a Cub restoration.

One end of the frame member supporting the kickstand and brake lever was ripped,  where it had been welded to the swingarm bolt and frame sub member. The frame member was replaced with a decent used one. The brake pedal was badly bent, and was heated and re-formed.
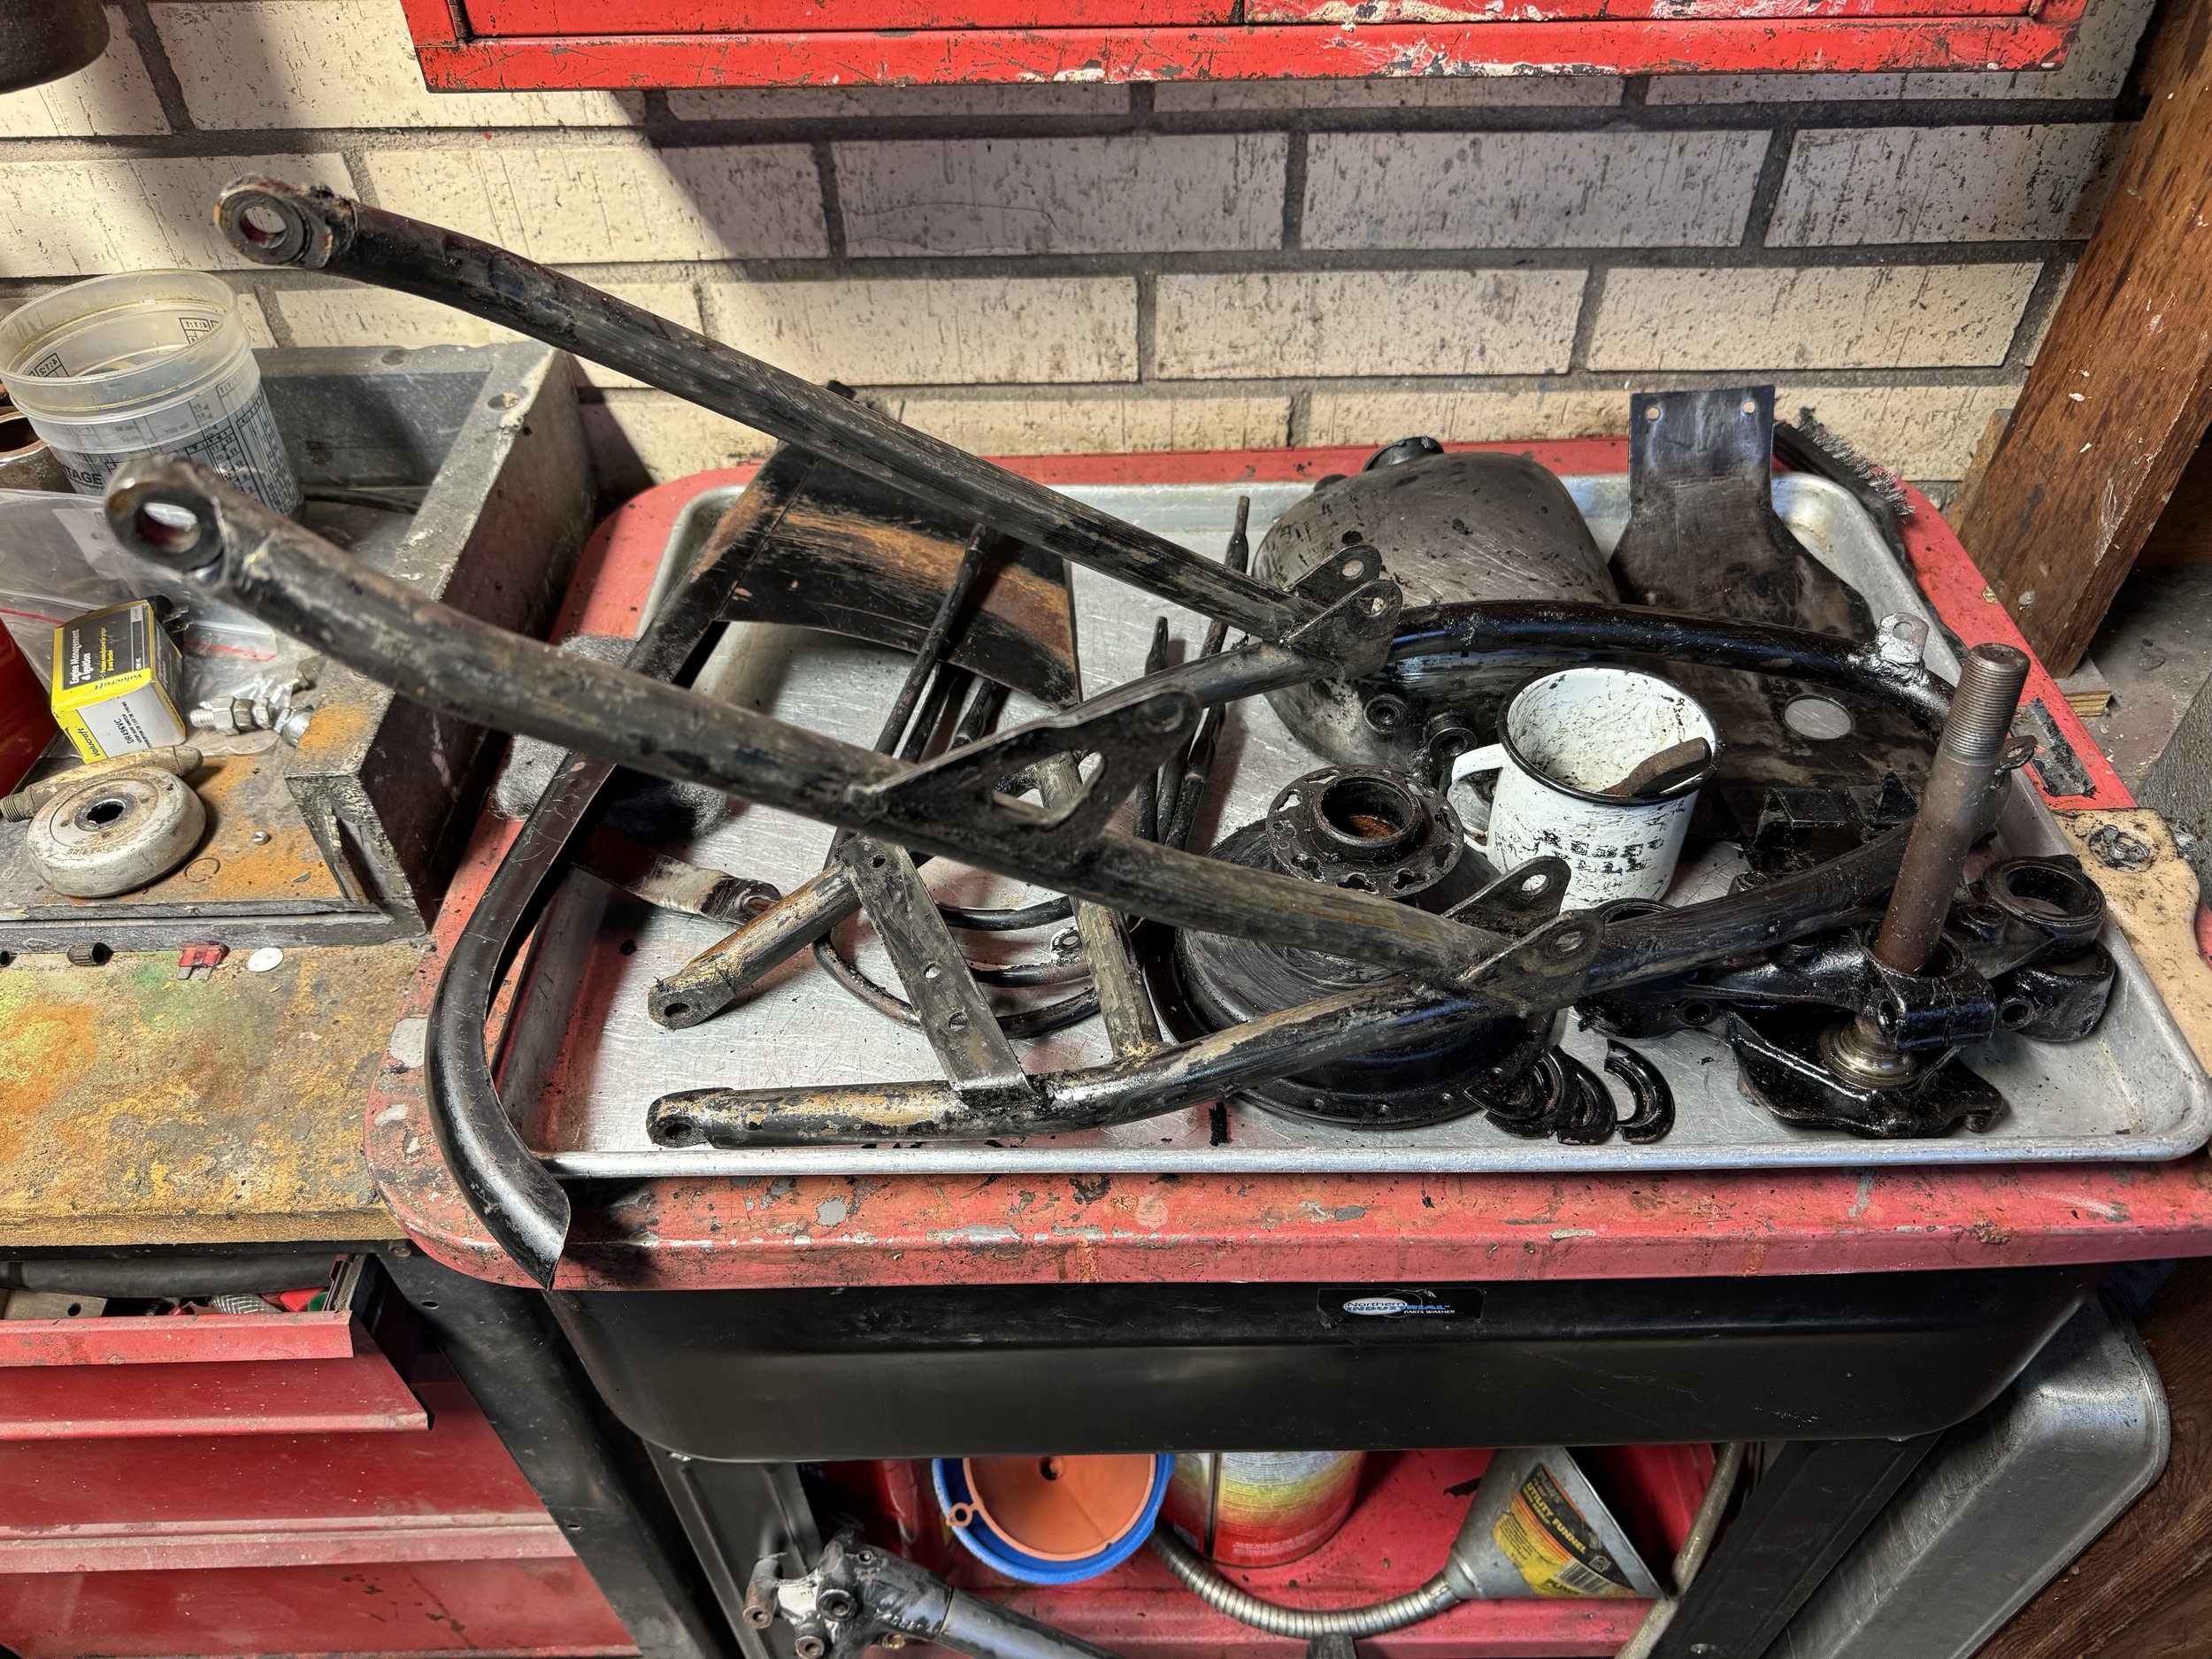
Everything after degreasing, prior to paint stripping. The parts are then run through the vapor hone machine prior to repair.

The used replacement member had some extra holes drilled through the tube, and some brass around all the brazed joints. The front fender stay also needed some repair on the screw hole.

The sub-frame where it had been welded. This was obviously a bush fix by someone inexperienced. The brass in the joints will make for weld contamination, and porous wells. It also looked like some of the brass was melted out by the heat of the weld.
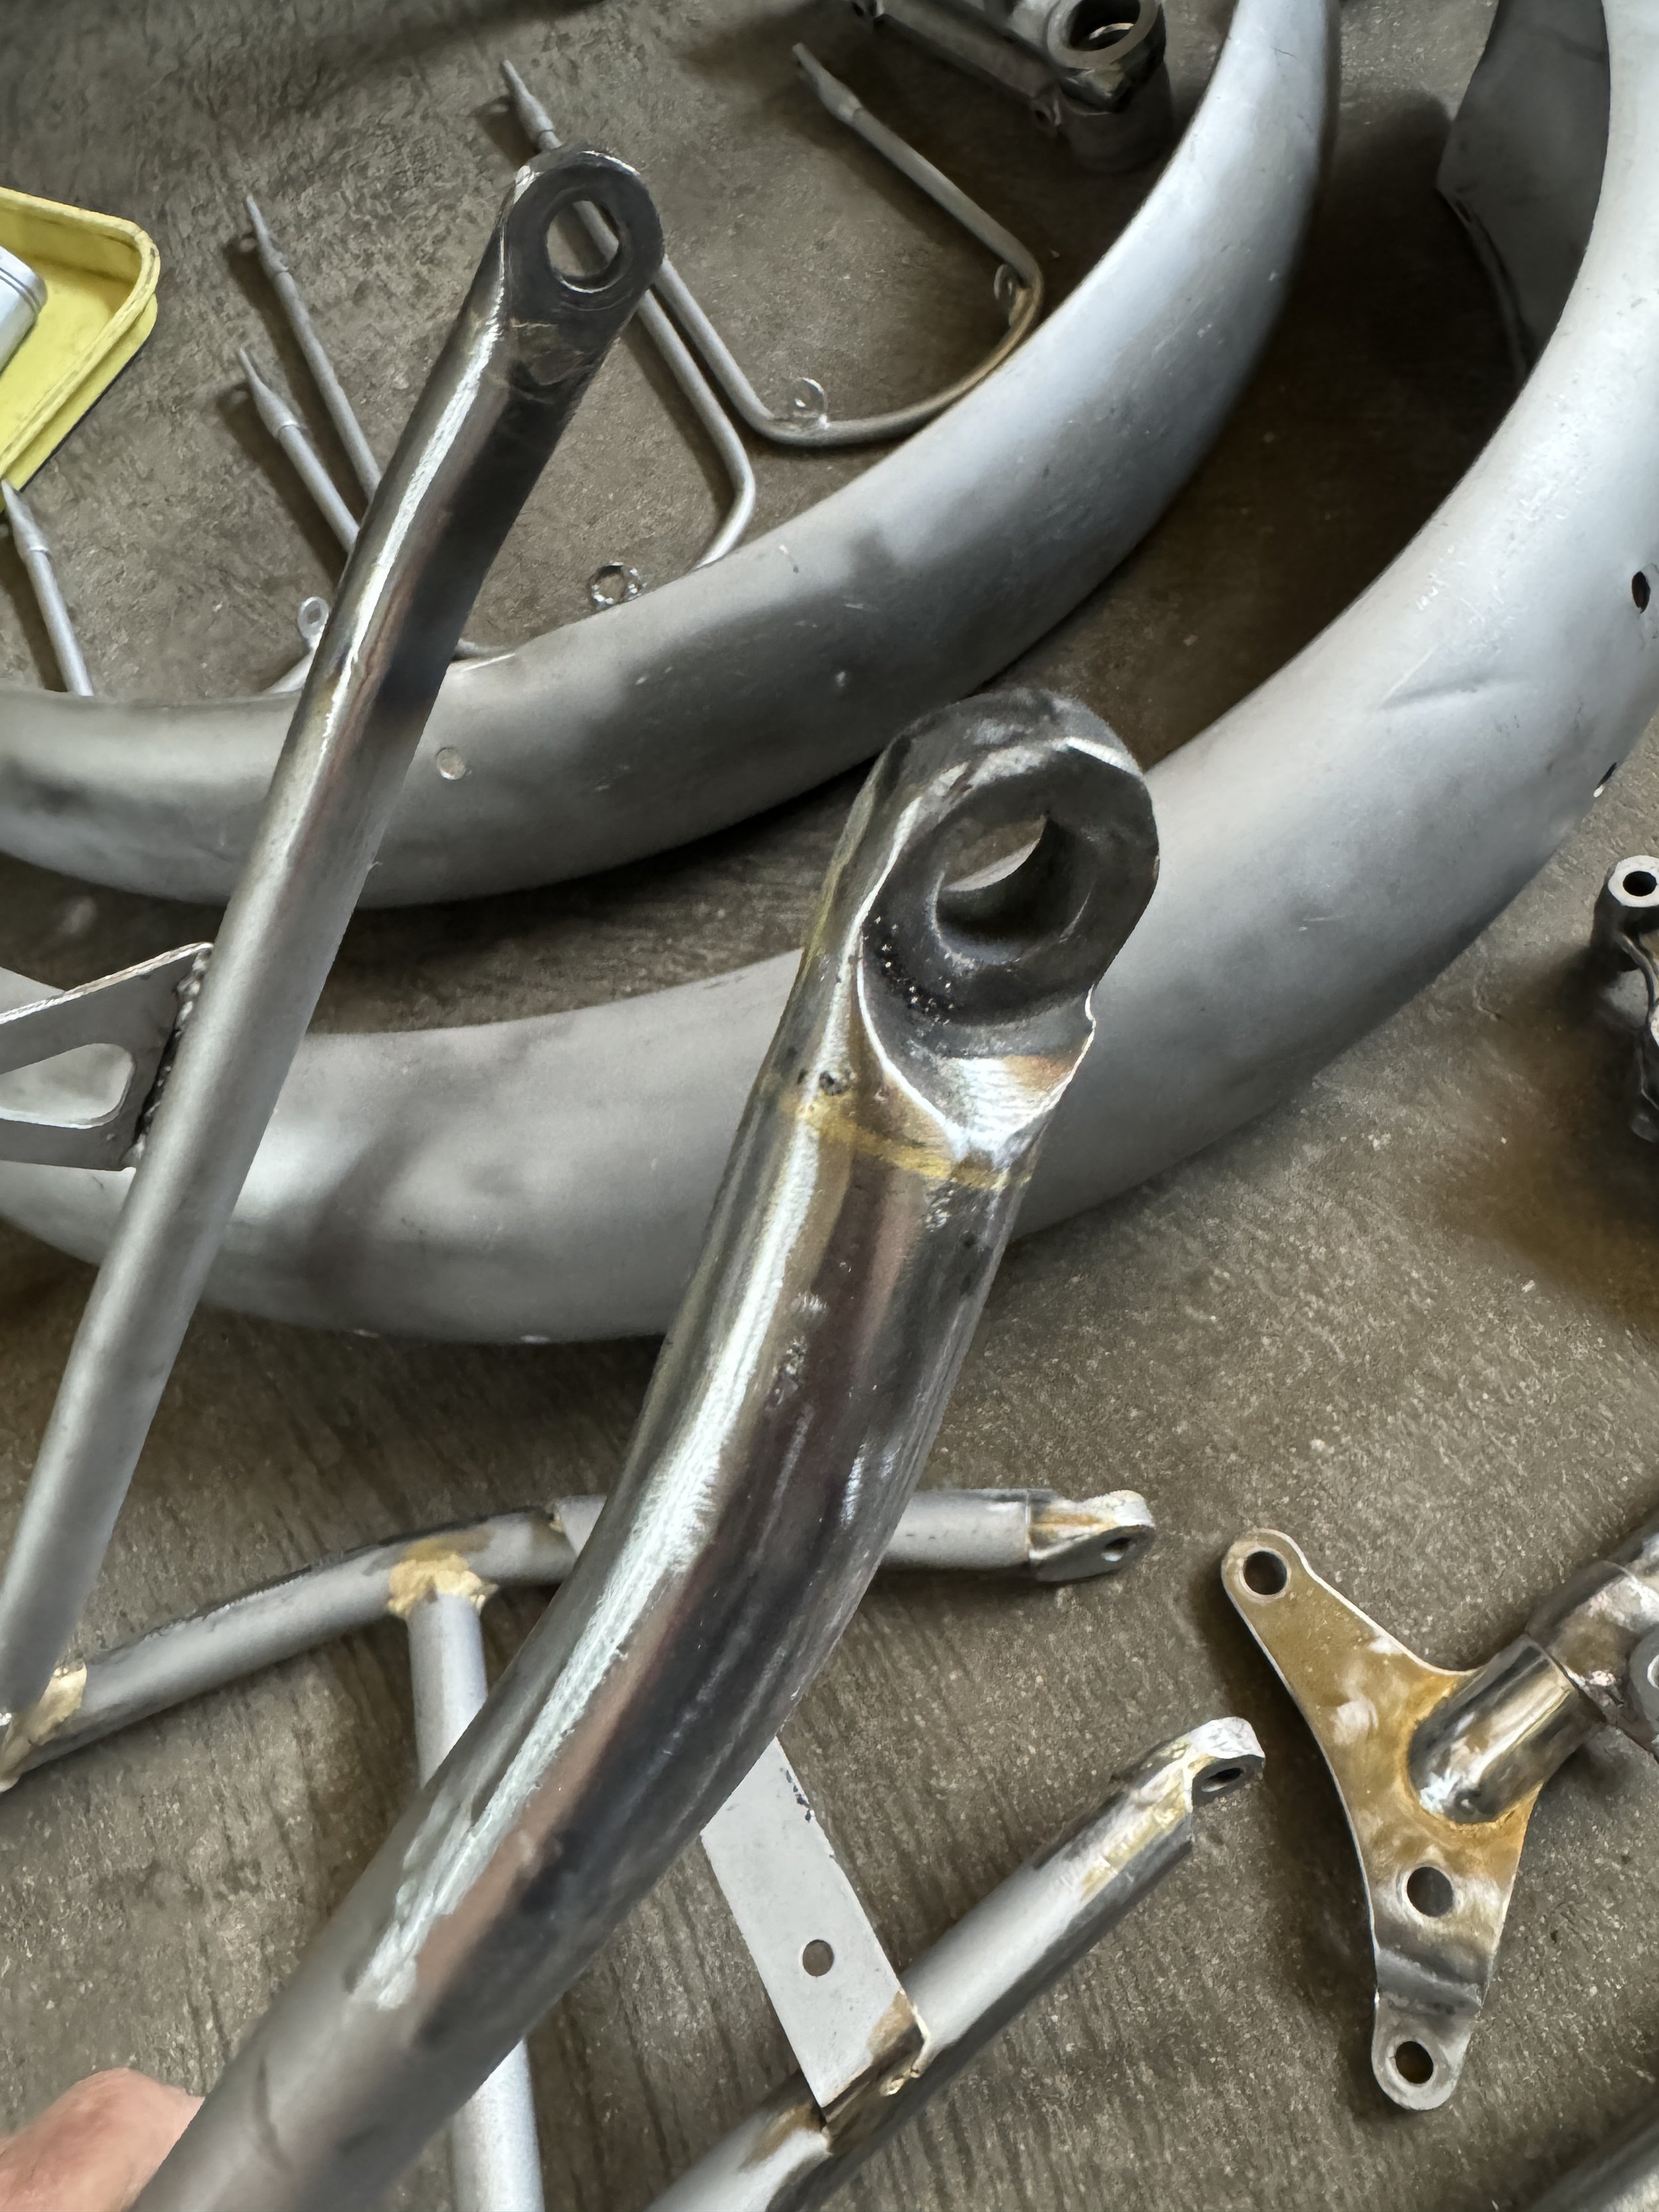
After some welding and brass brazing, it looks a lot better. Some additional touch-up was done on the steel, and then off to powder coat. On the bottom right, the other frame member can be seen after the extra holes were welded up, and the brass along the brazed joints cleaned up. Behind the fenders, the front fender screws hole repair can be seen peeking over the edge.
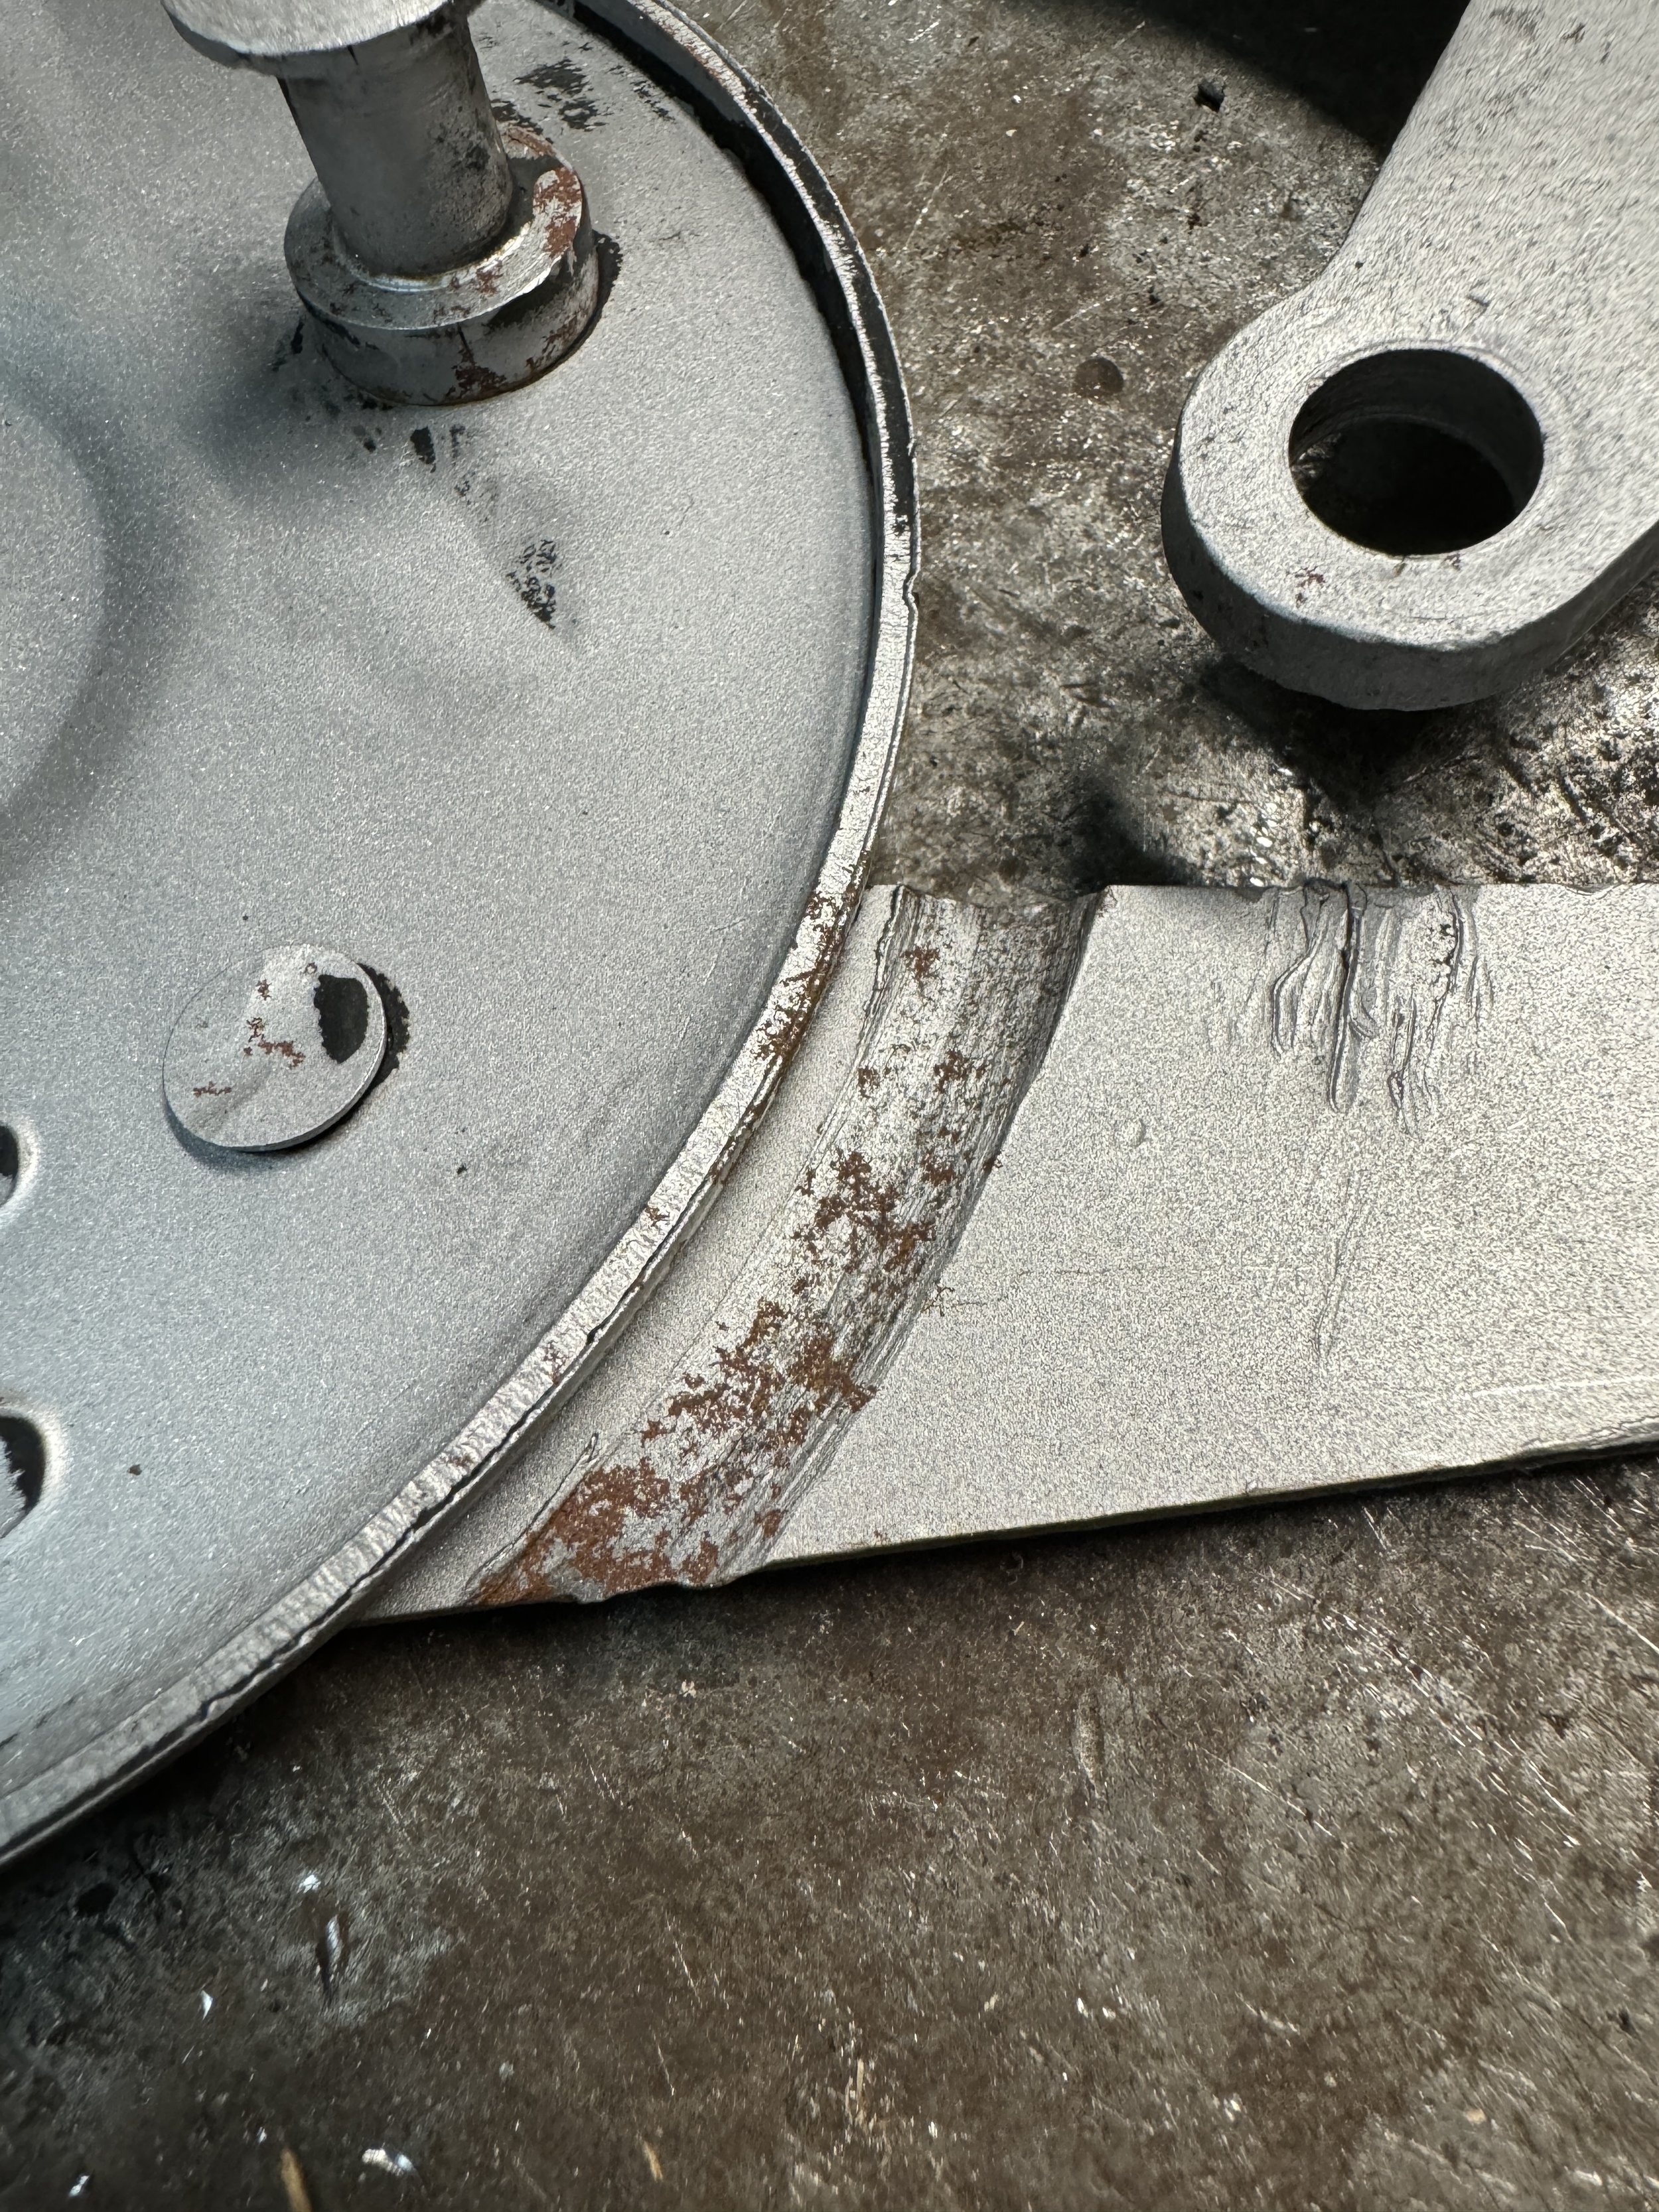
Another repair was necessary on the rear brake panel due to gouging from the sprocket screws.

After repair.
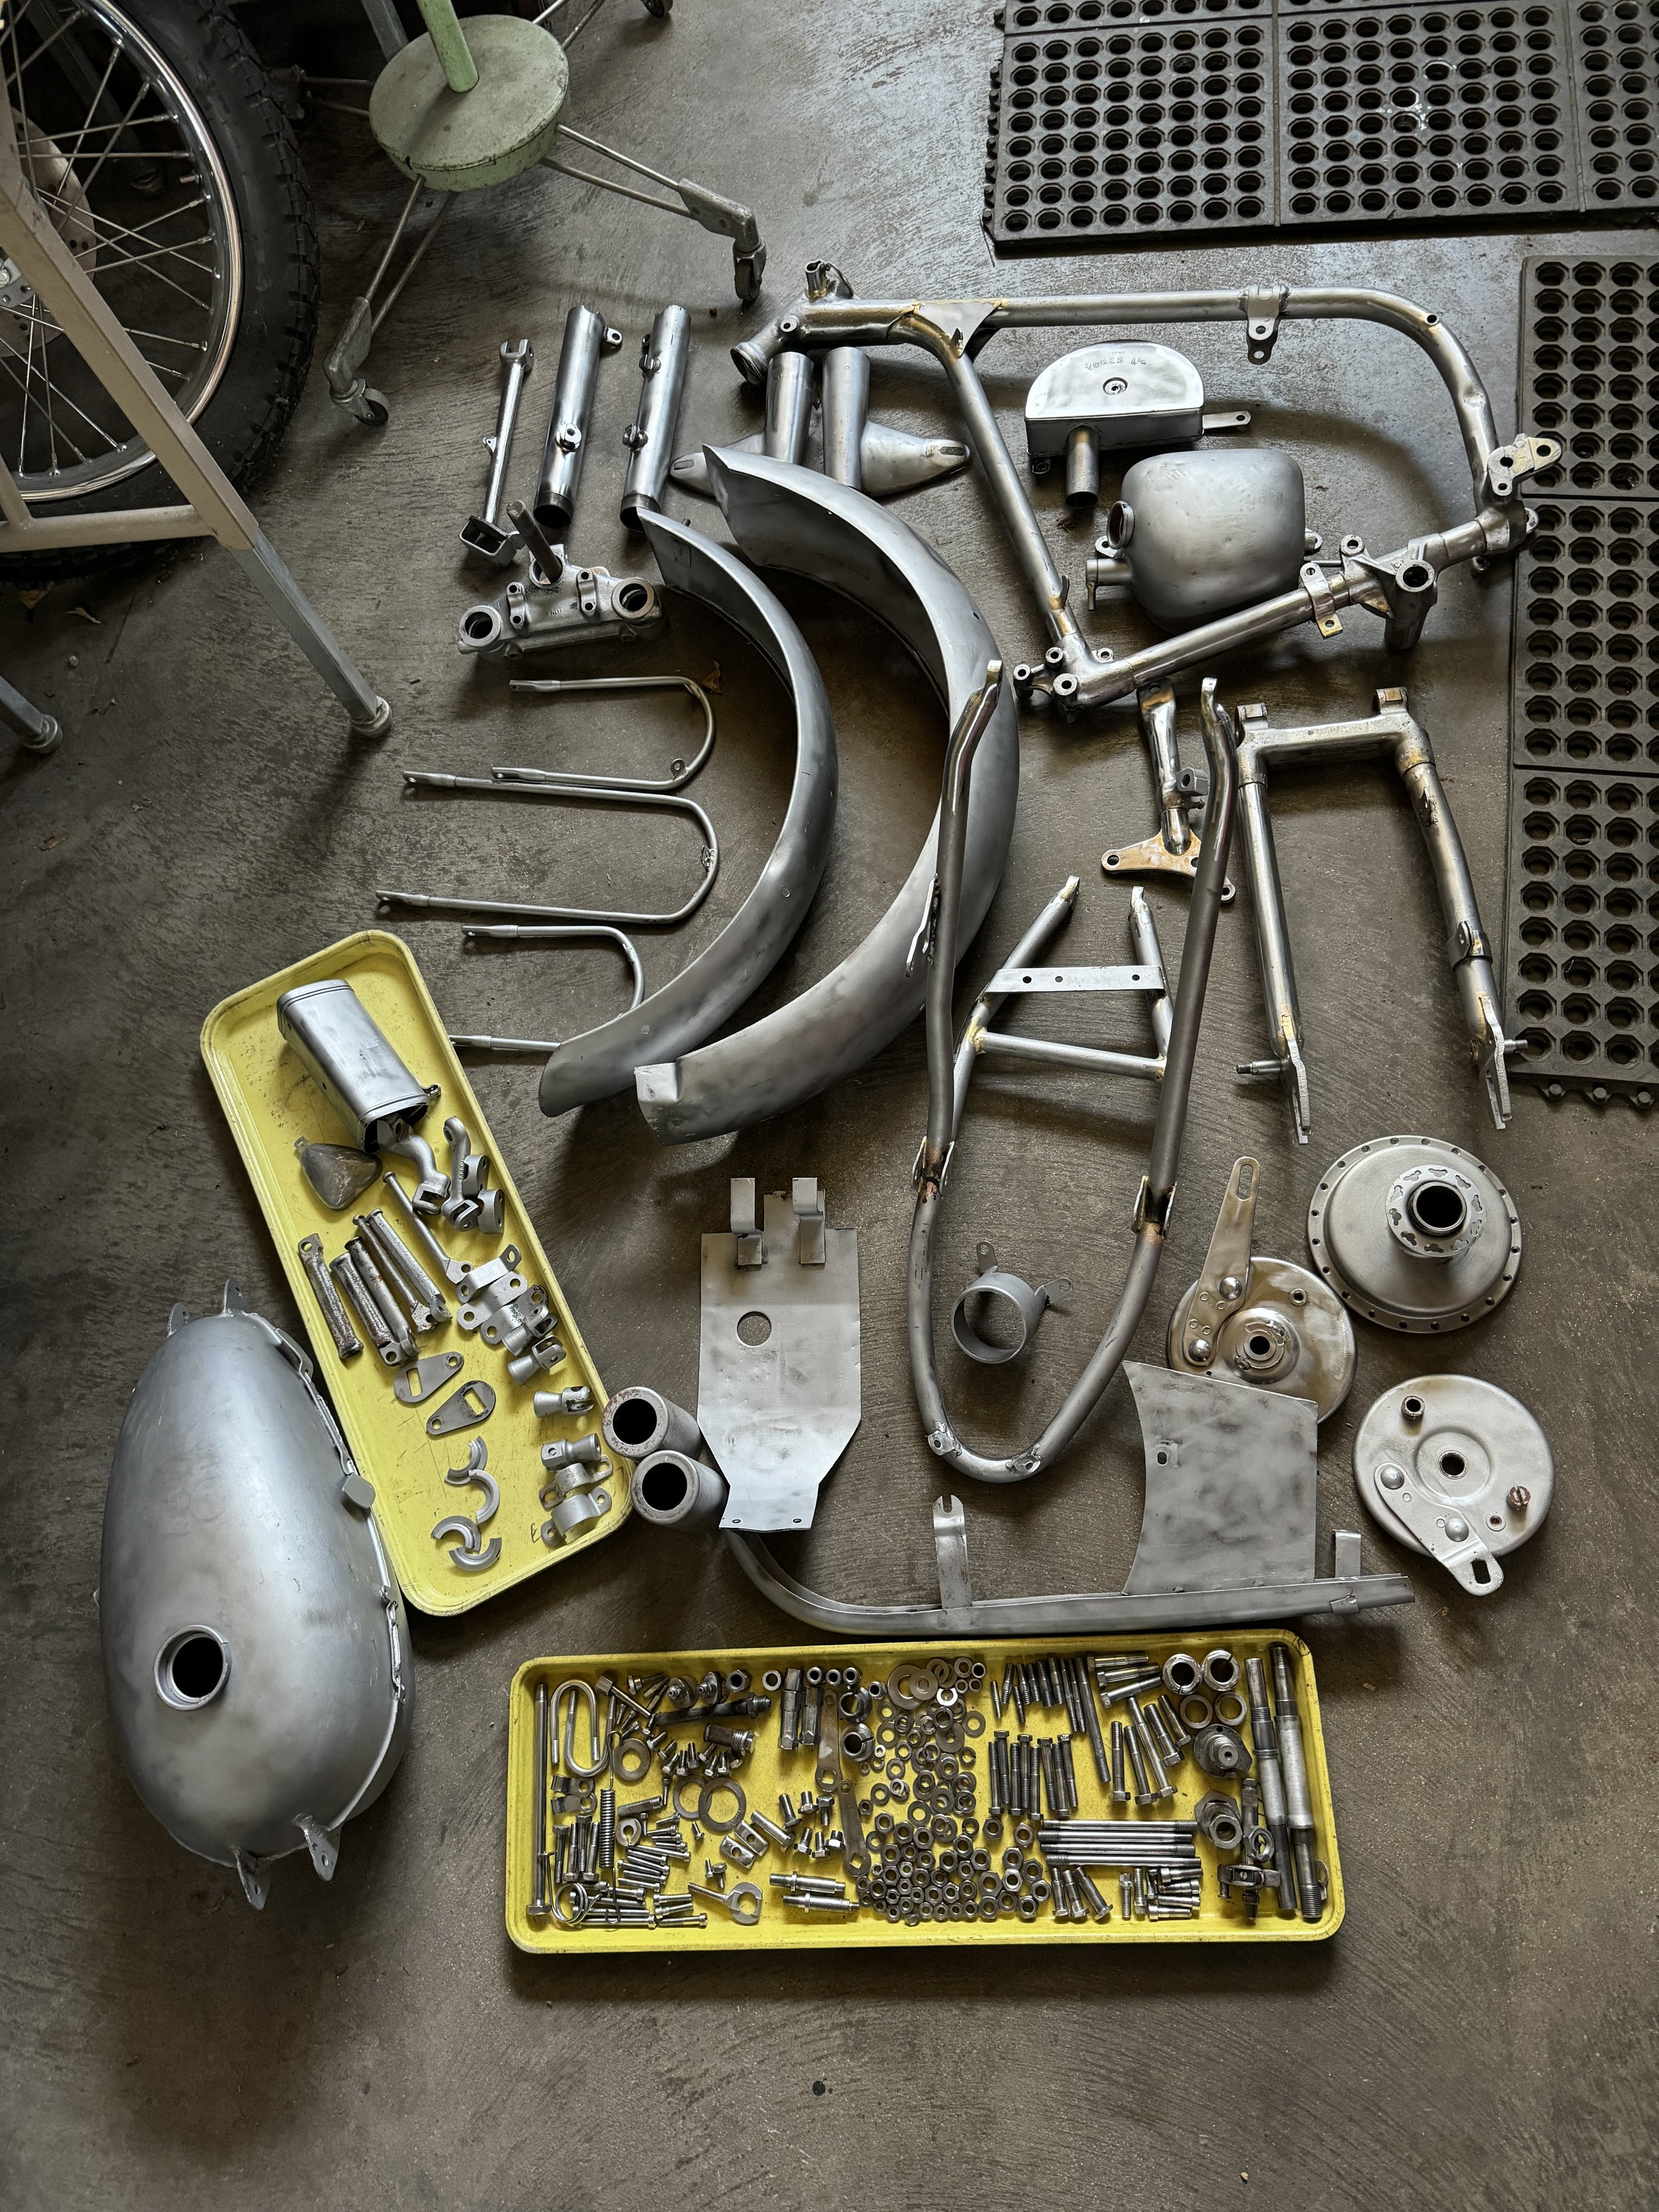
Quite a bit of work to get to this point. The frame parts and front wheel hub were sent to Triad Specialty Coating in Lewisville, Texas for the gloss black powder coat.  There was also a second batch of powder coat done later in the build after a rear wheel hub was found, and some fender brackets fabricated. The painted parts will be done by Jason Small, and the hardware sent off for plating.
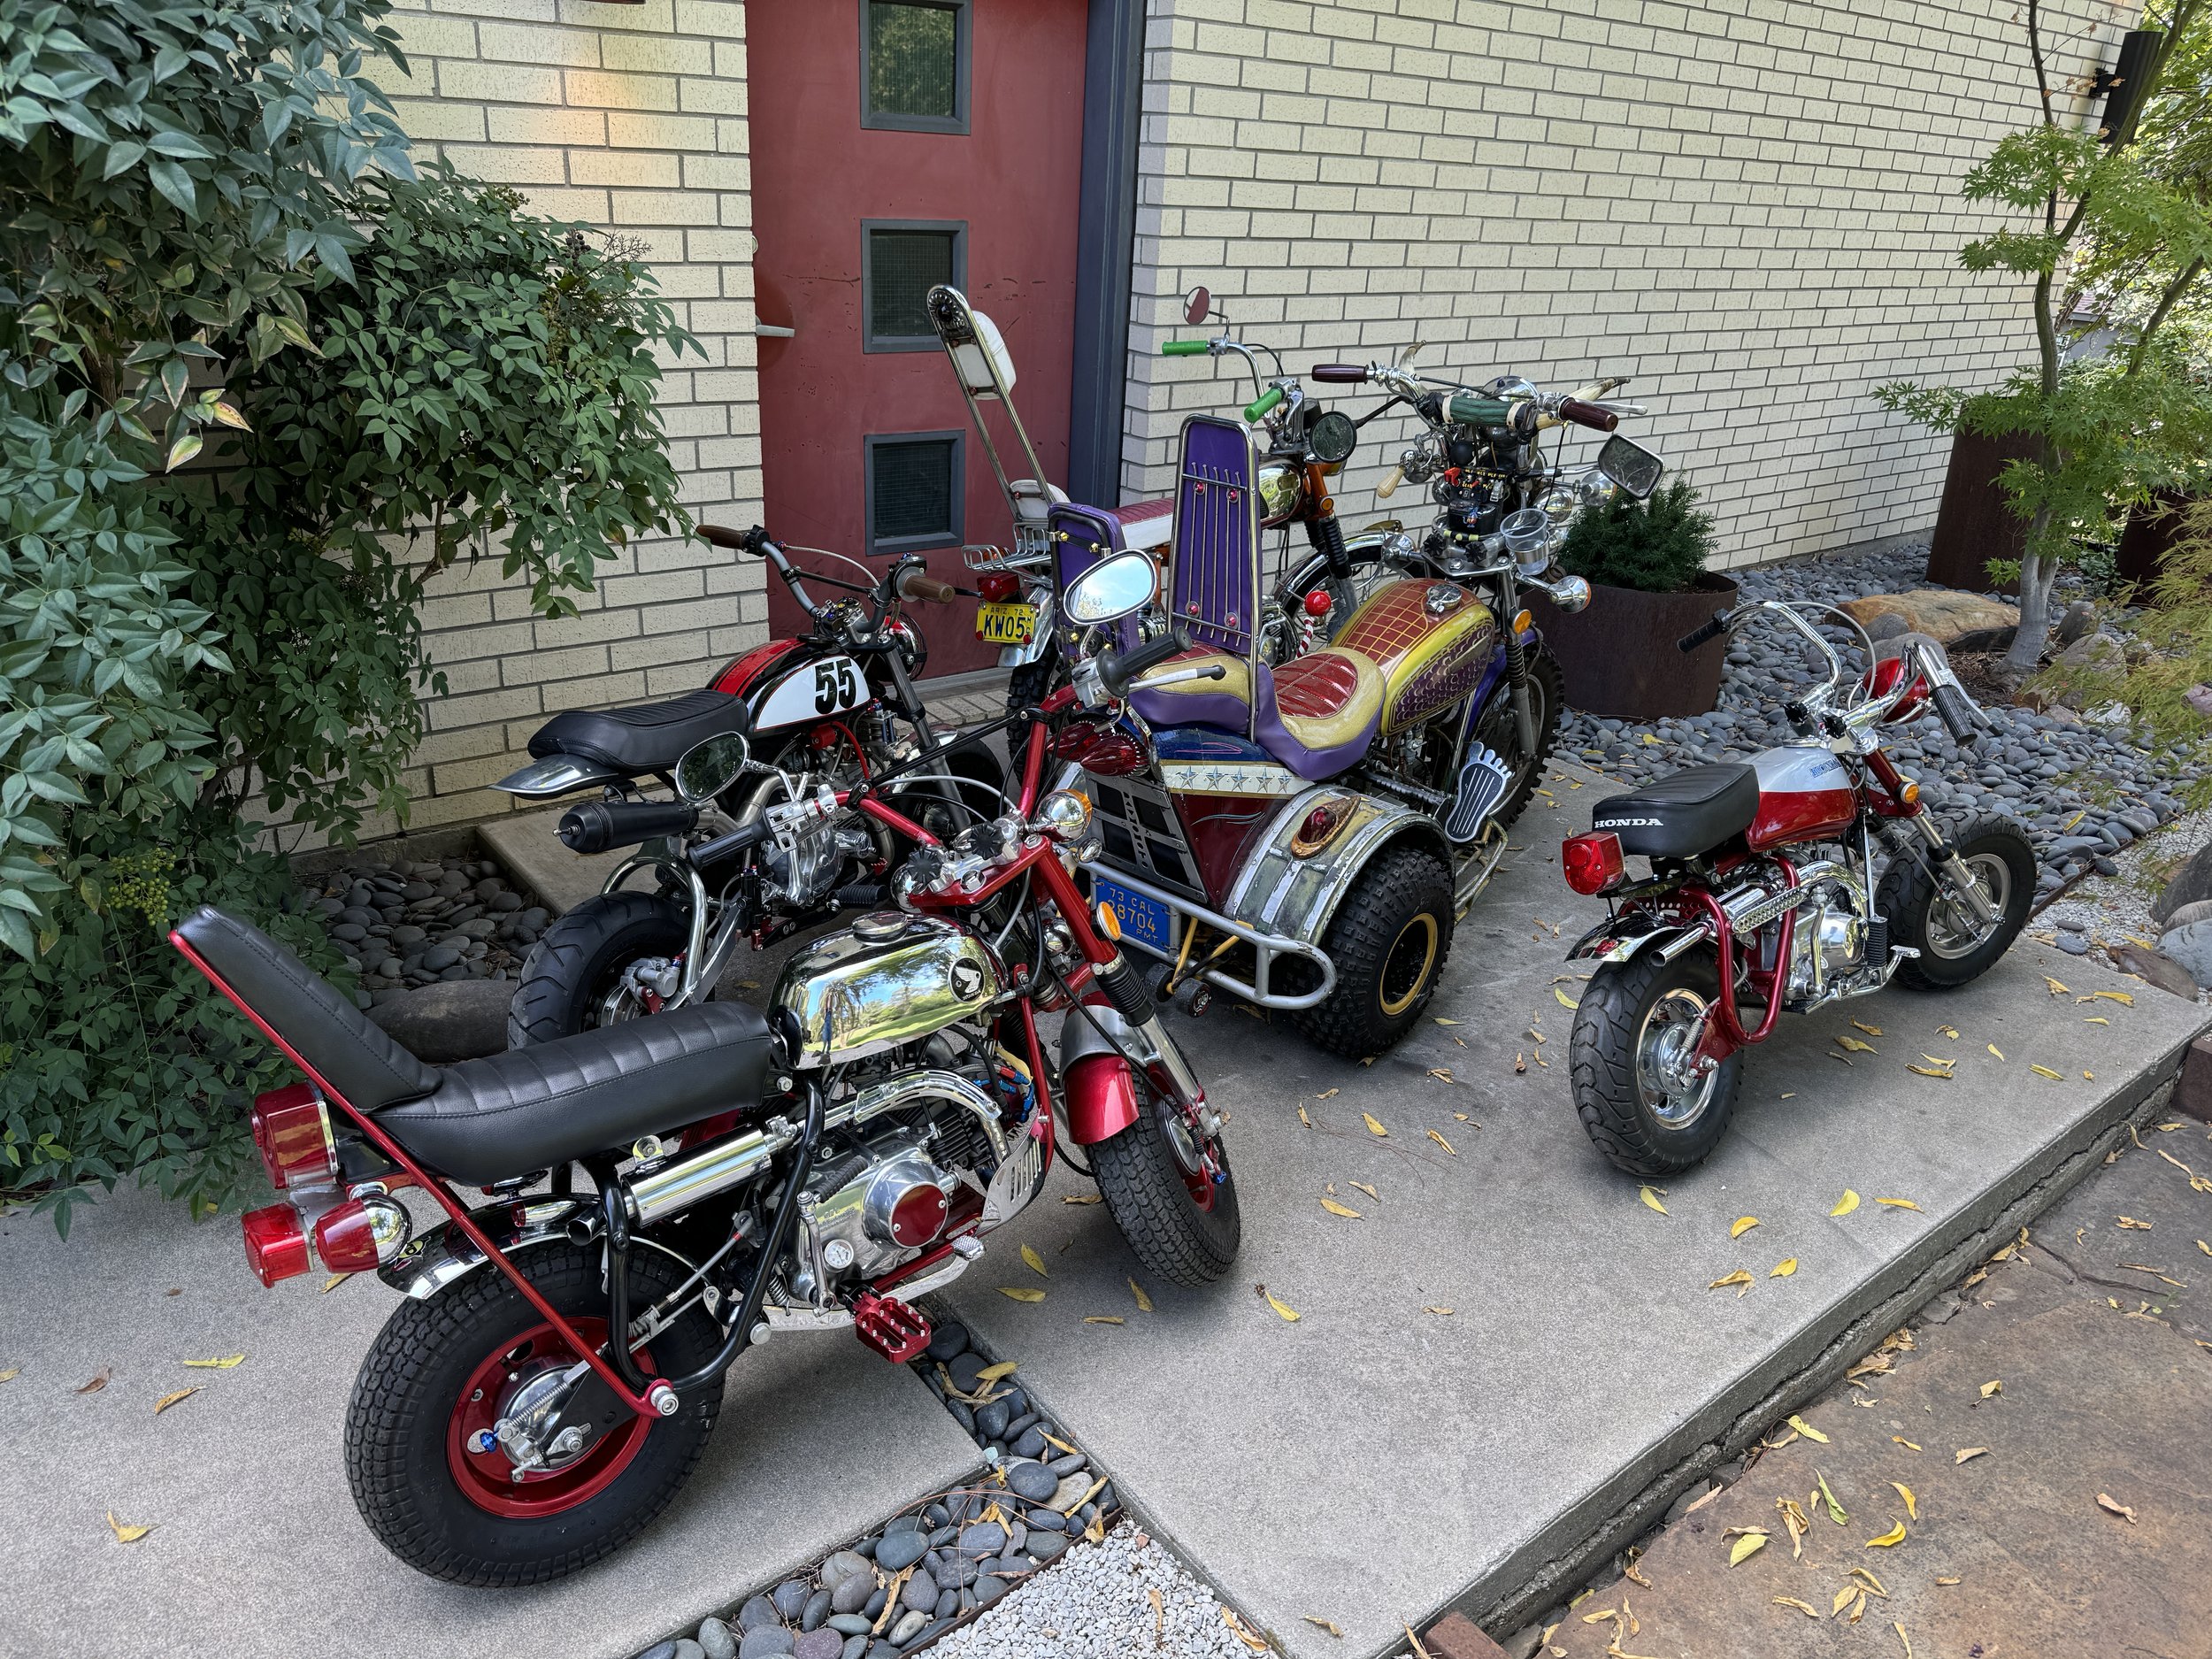
Back from the Denton Texas Burnouts Custom Motorcycle Show.

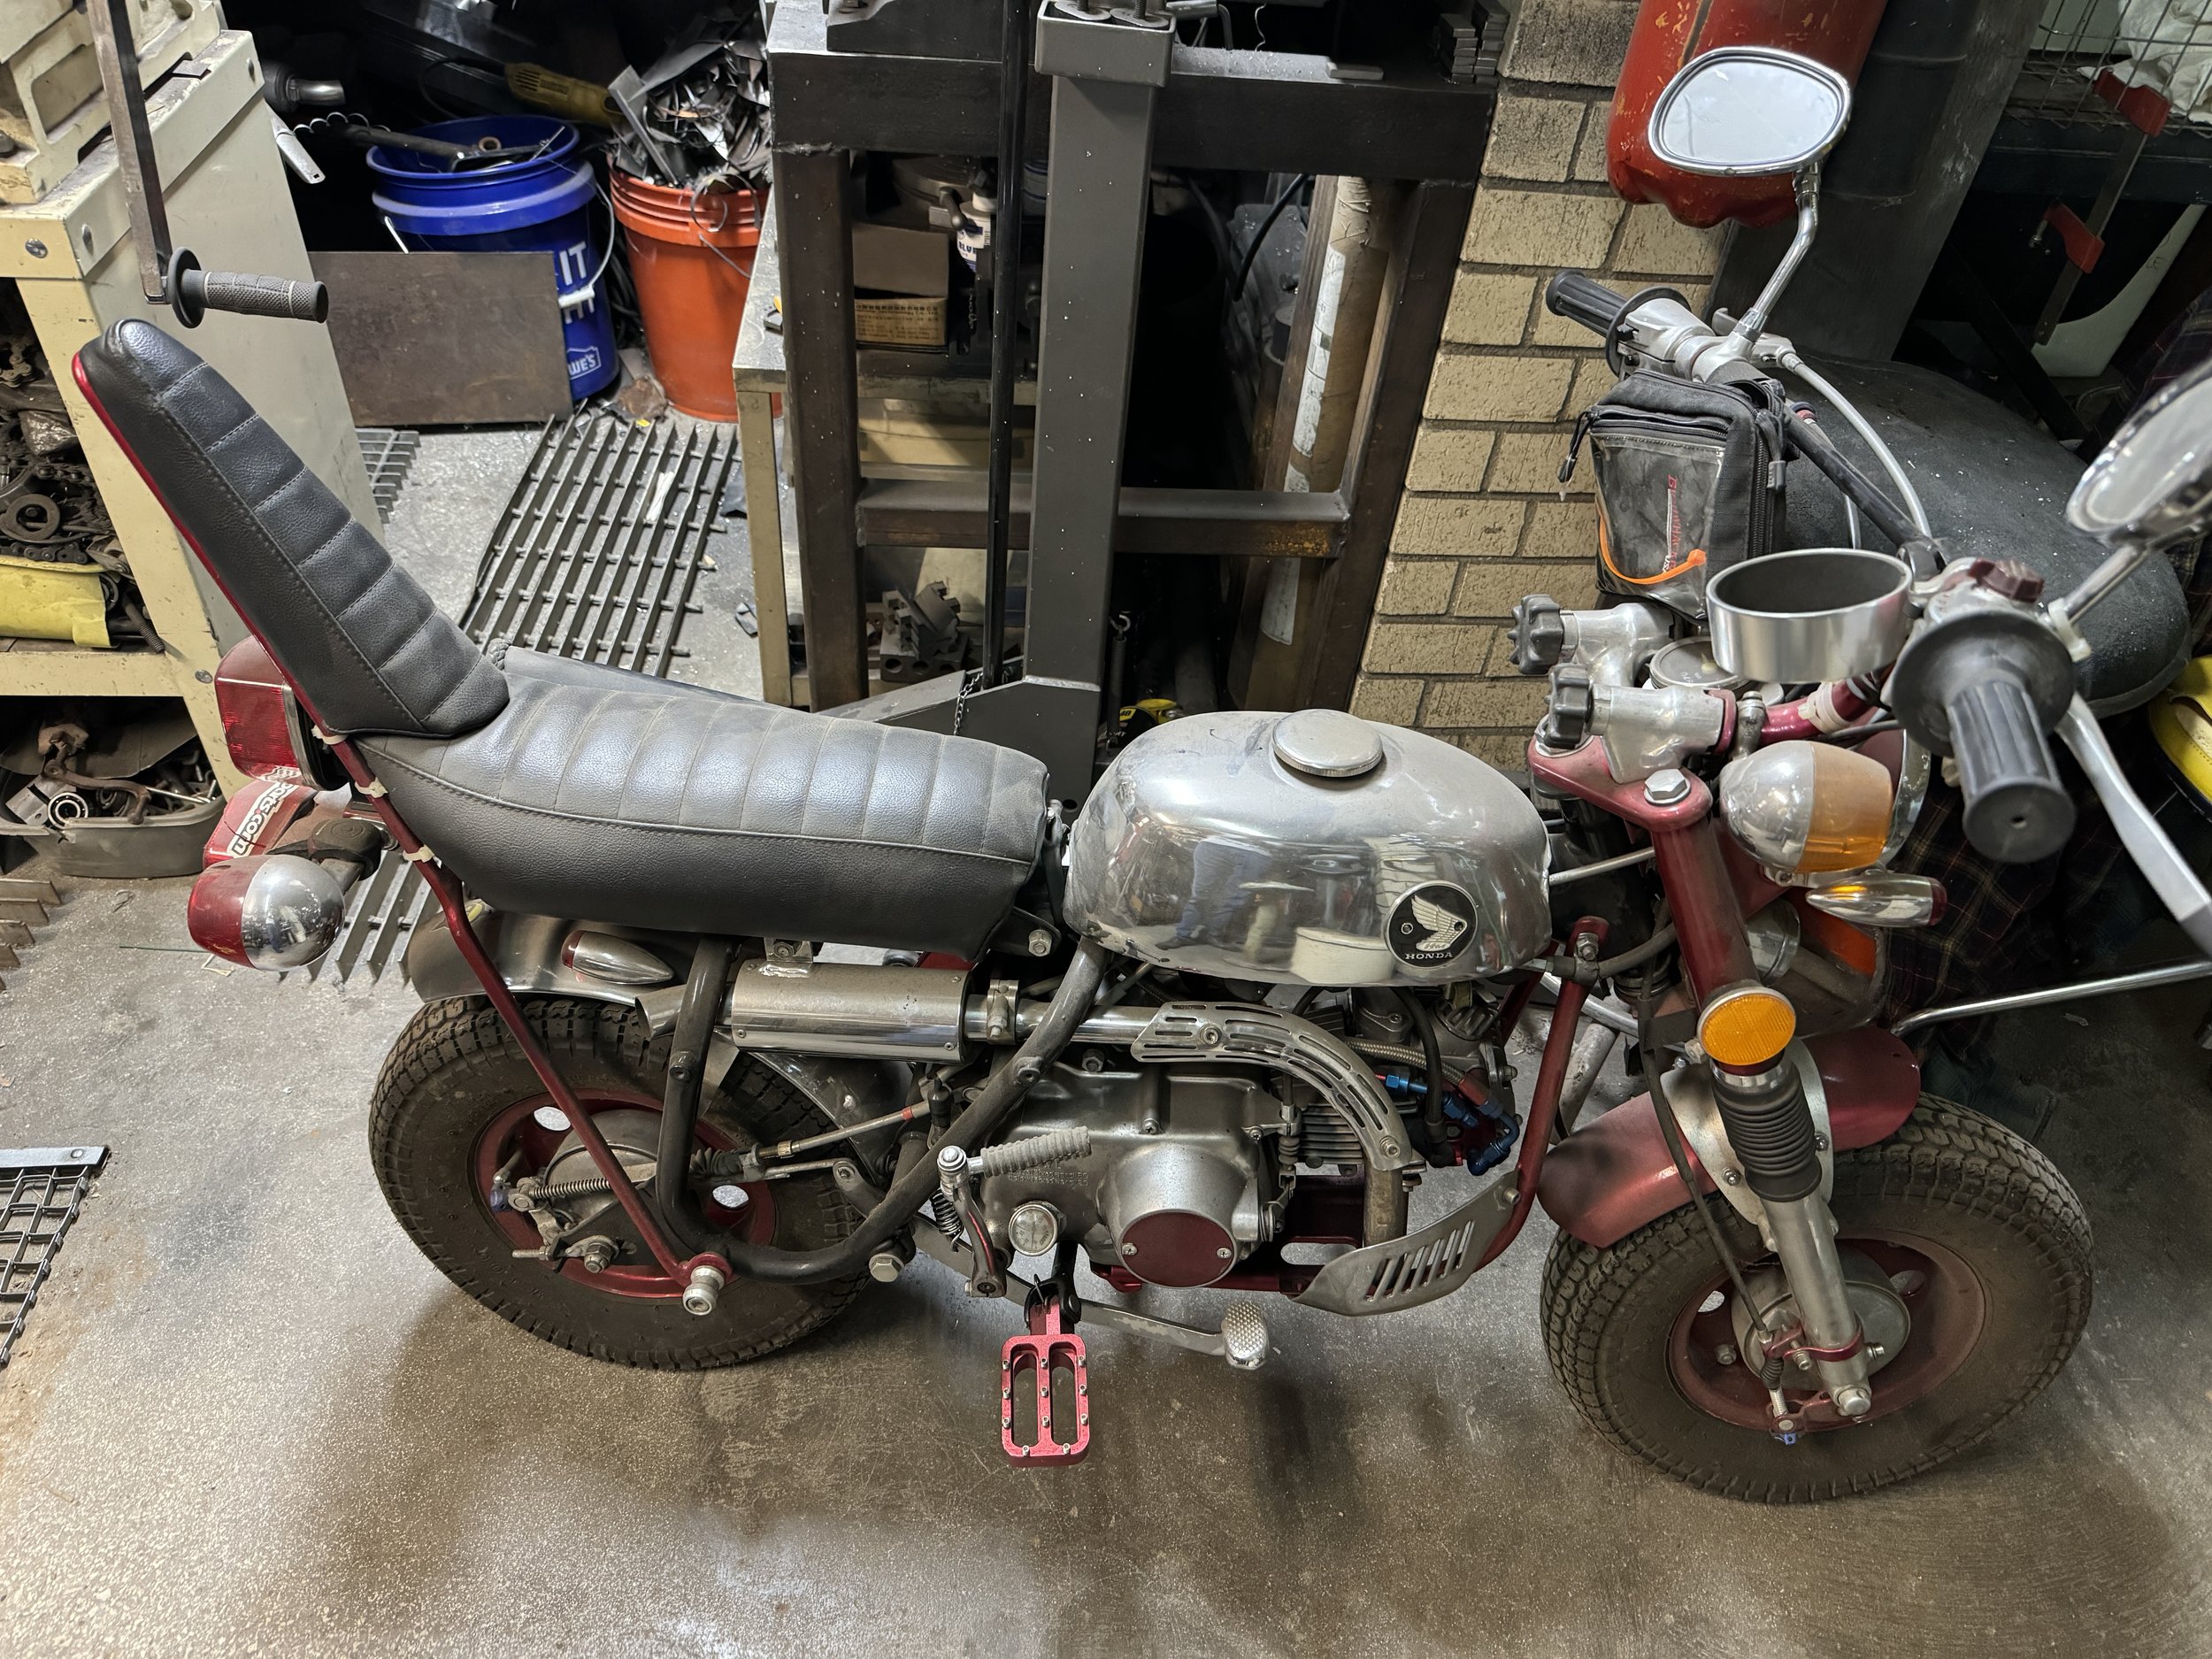
The last three years, the Burnouts Custom Motorcycle show has been a big hit here in Denton. Its held at Dan’s Silverleaf, a Denton institution, and on the closed-off street behind the club. There are a ton of choppers, events like the kick-start contest, live music, and vendors. I was asked to bring some minibikes to adorn the inside of the club, which was where the art show was held. The opportunity was a chance to dust off some older creations, along with a couple newer ones, and connect with friends, old and new.

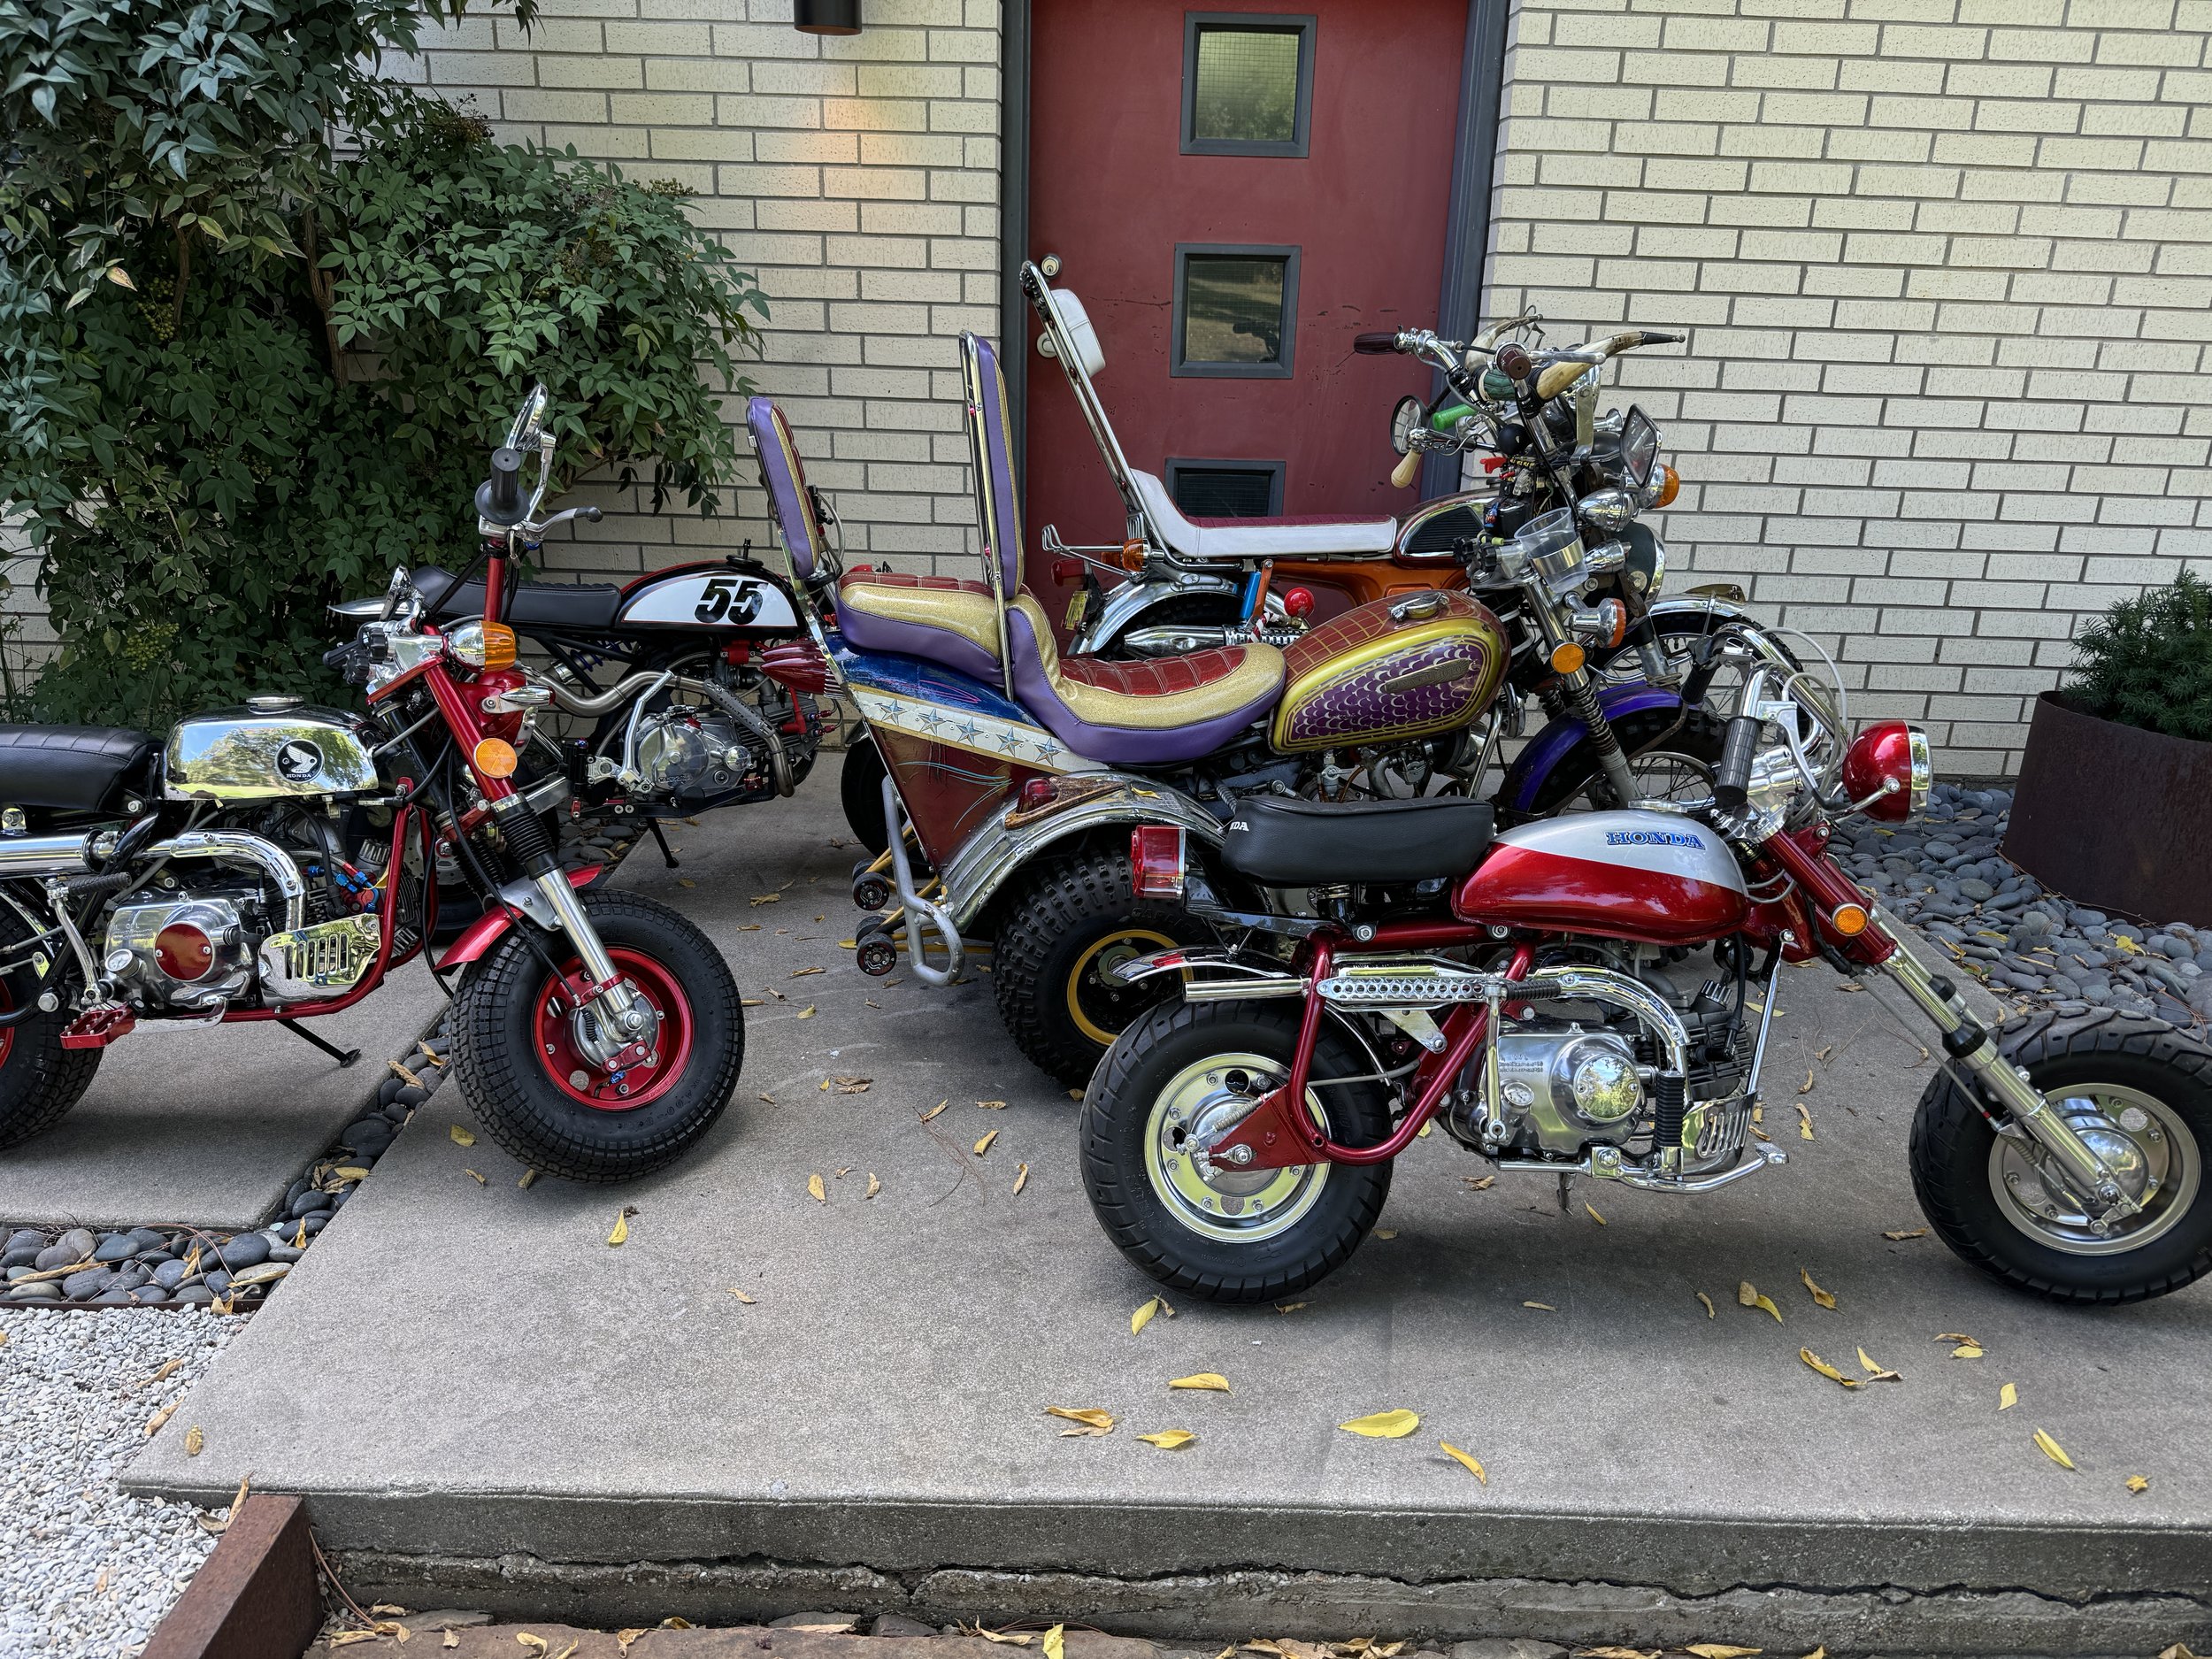
Here is the crew upon return from the show. The oldest of the bunch is the Scorpion bike in the foreground, originally put together in 2005.

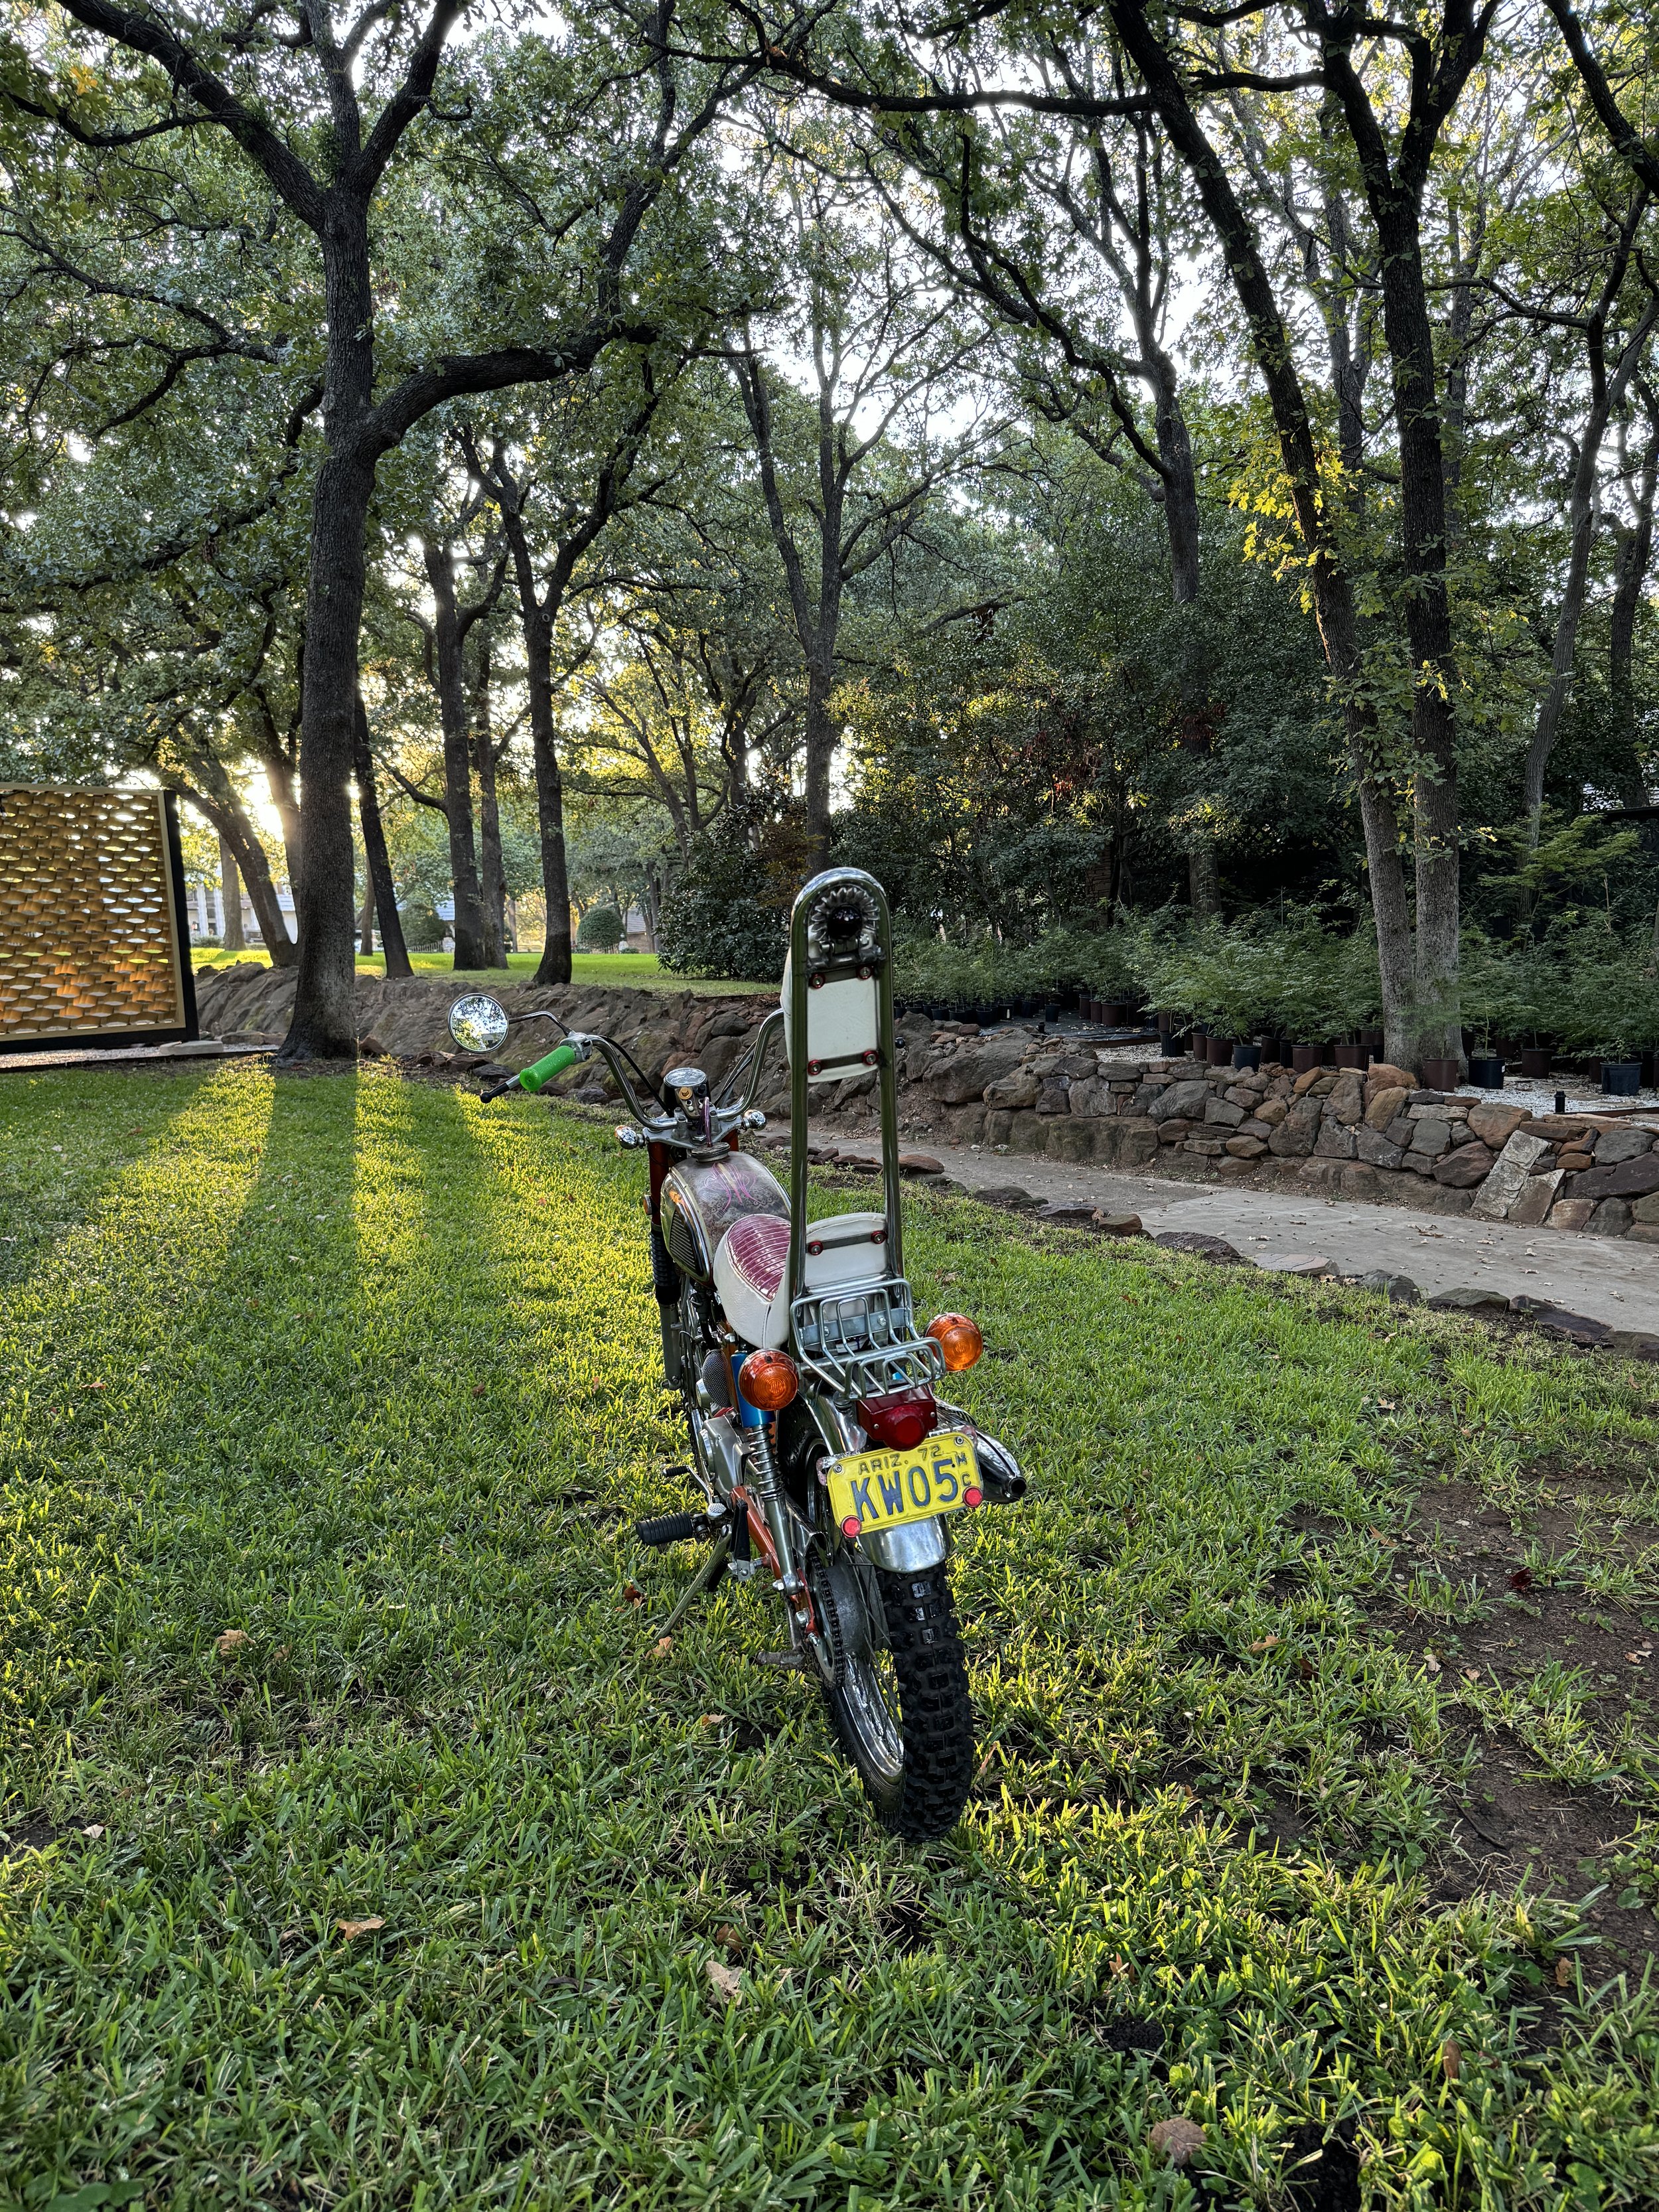
Since it is a chopper show, I picked out bikes I thought would fit the theme. The 1969 Honda Z50 Chopper on the far left is the closest thing to a chopper in the shop, but long handlebars, seats and sissy bars on three others fit the look.

Fall color collection.

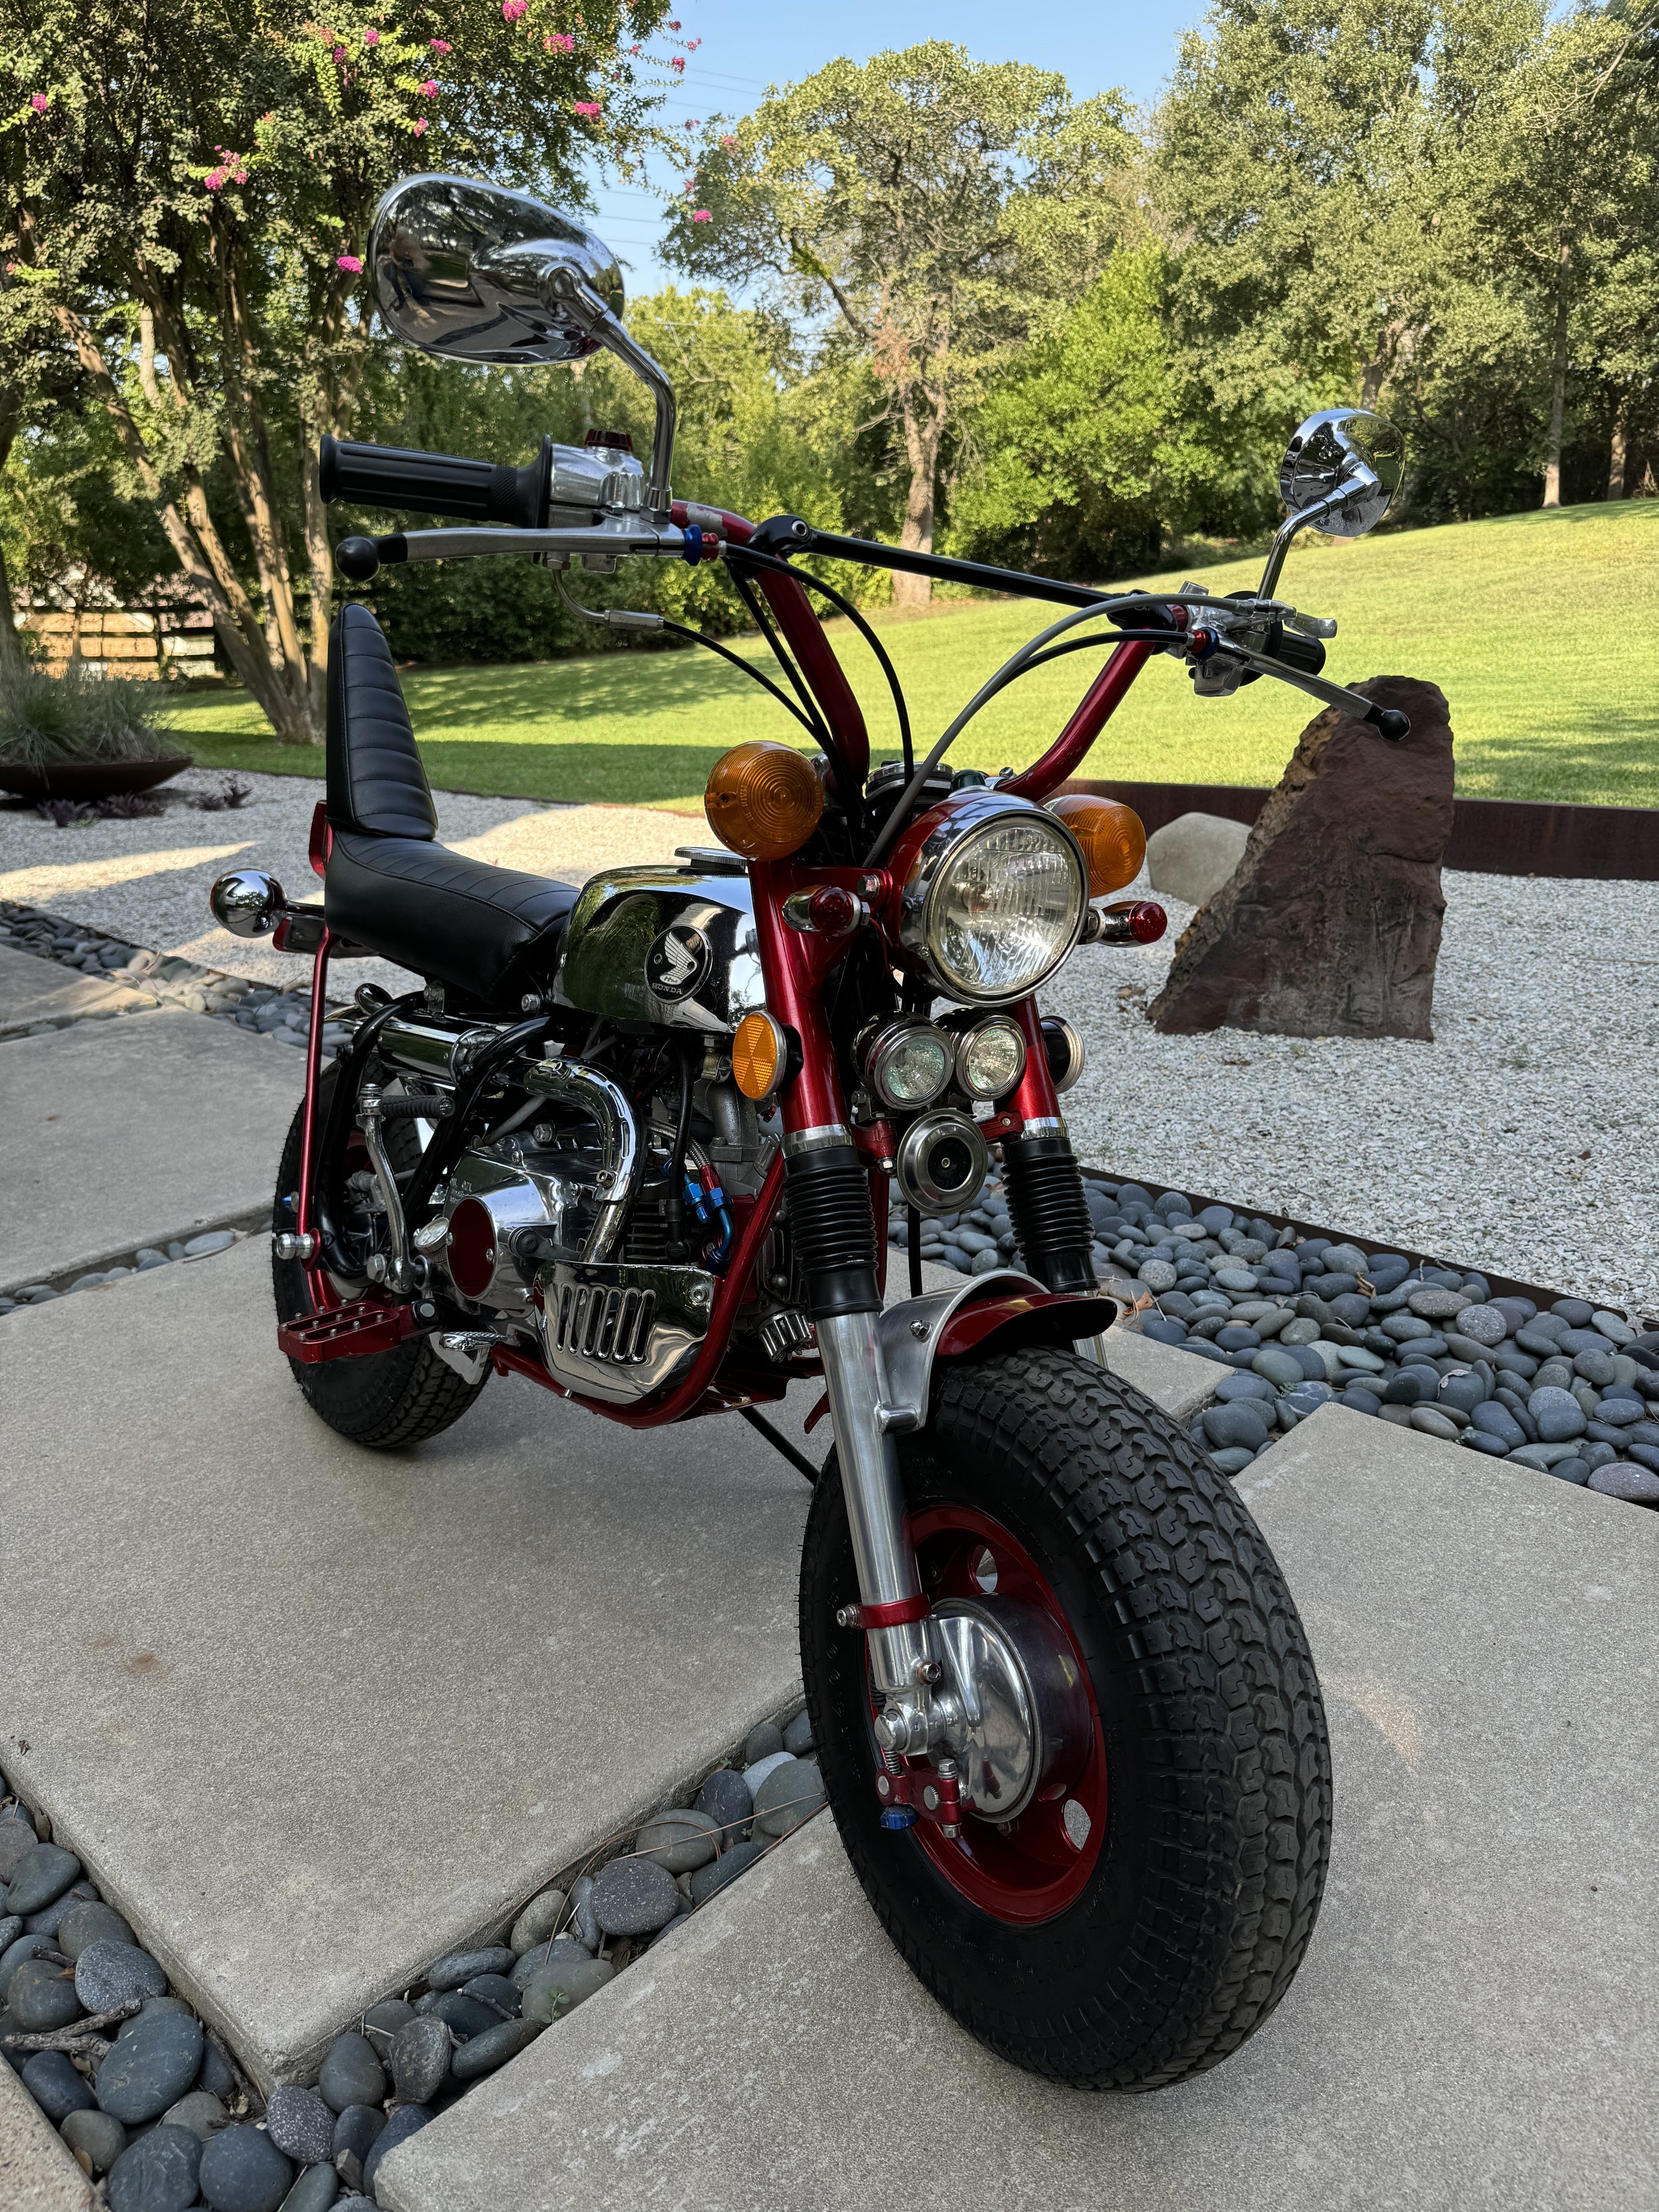
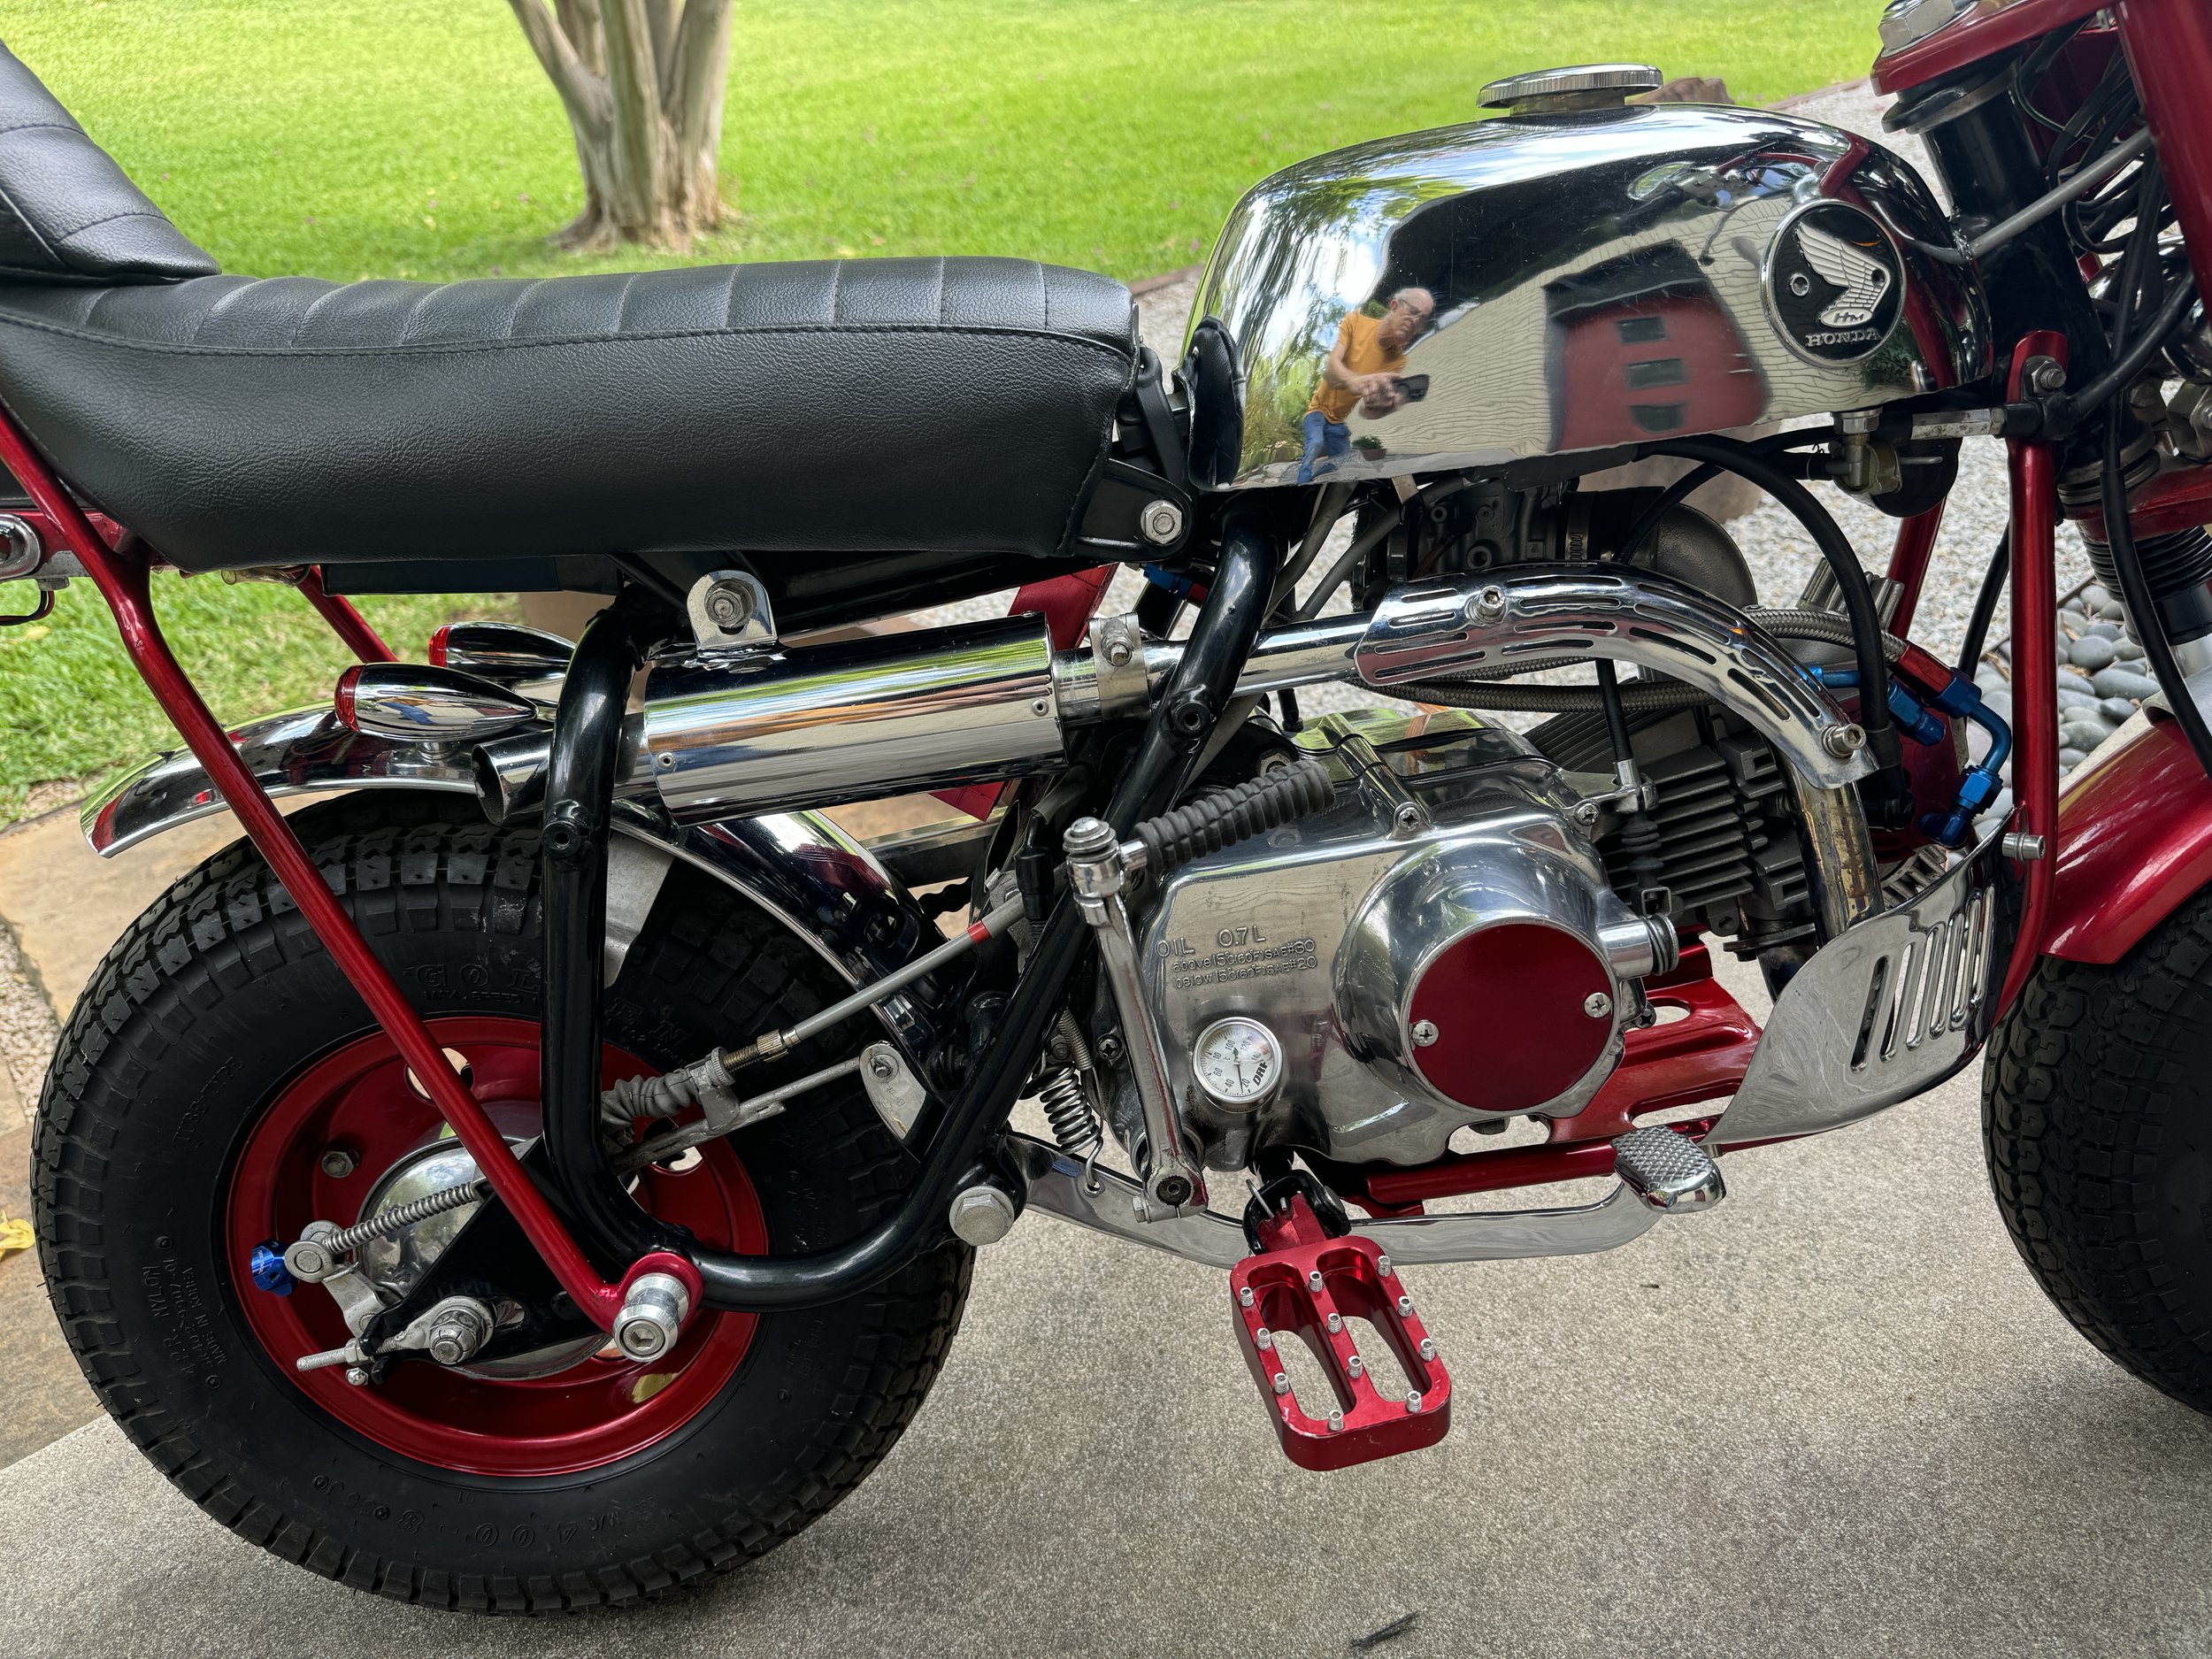
Laquita finally had a little shine put on her. During building, one of the guidelines was to not do any polishing. The exhaust and rear turn signal assembly were found used, and were not even cleaned before they were put on. For the show, I finally decided to hand polish the chrome, Even polished up, there is still enough patina present to keep the spirit of the bike.

She always has that look like she's headed somewhere...

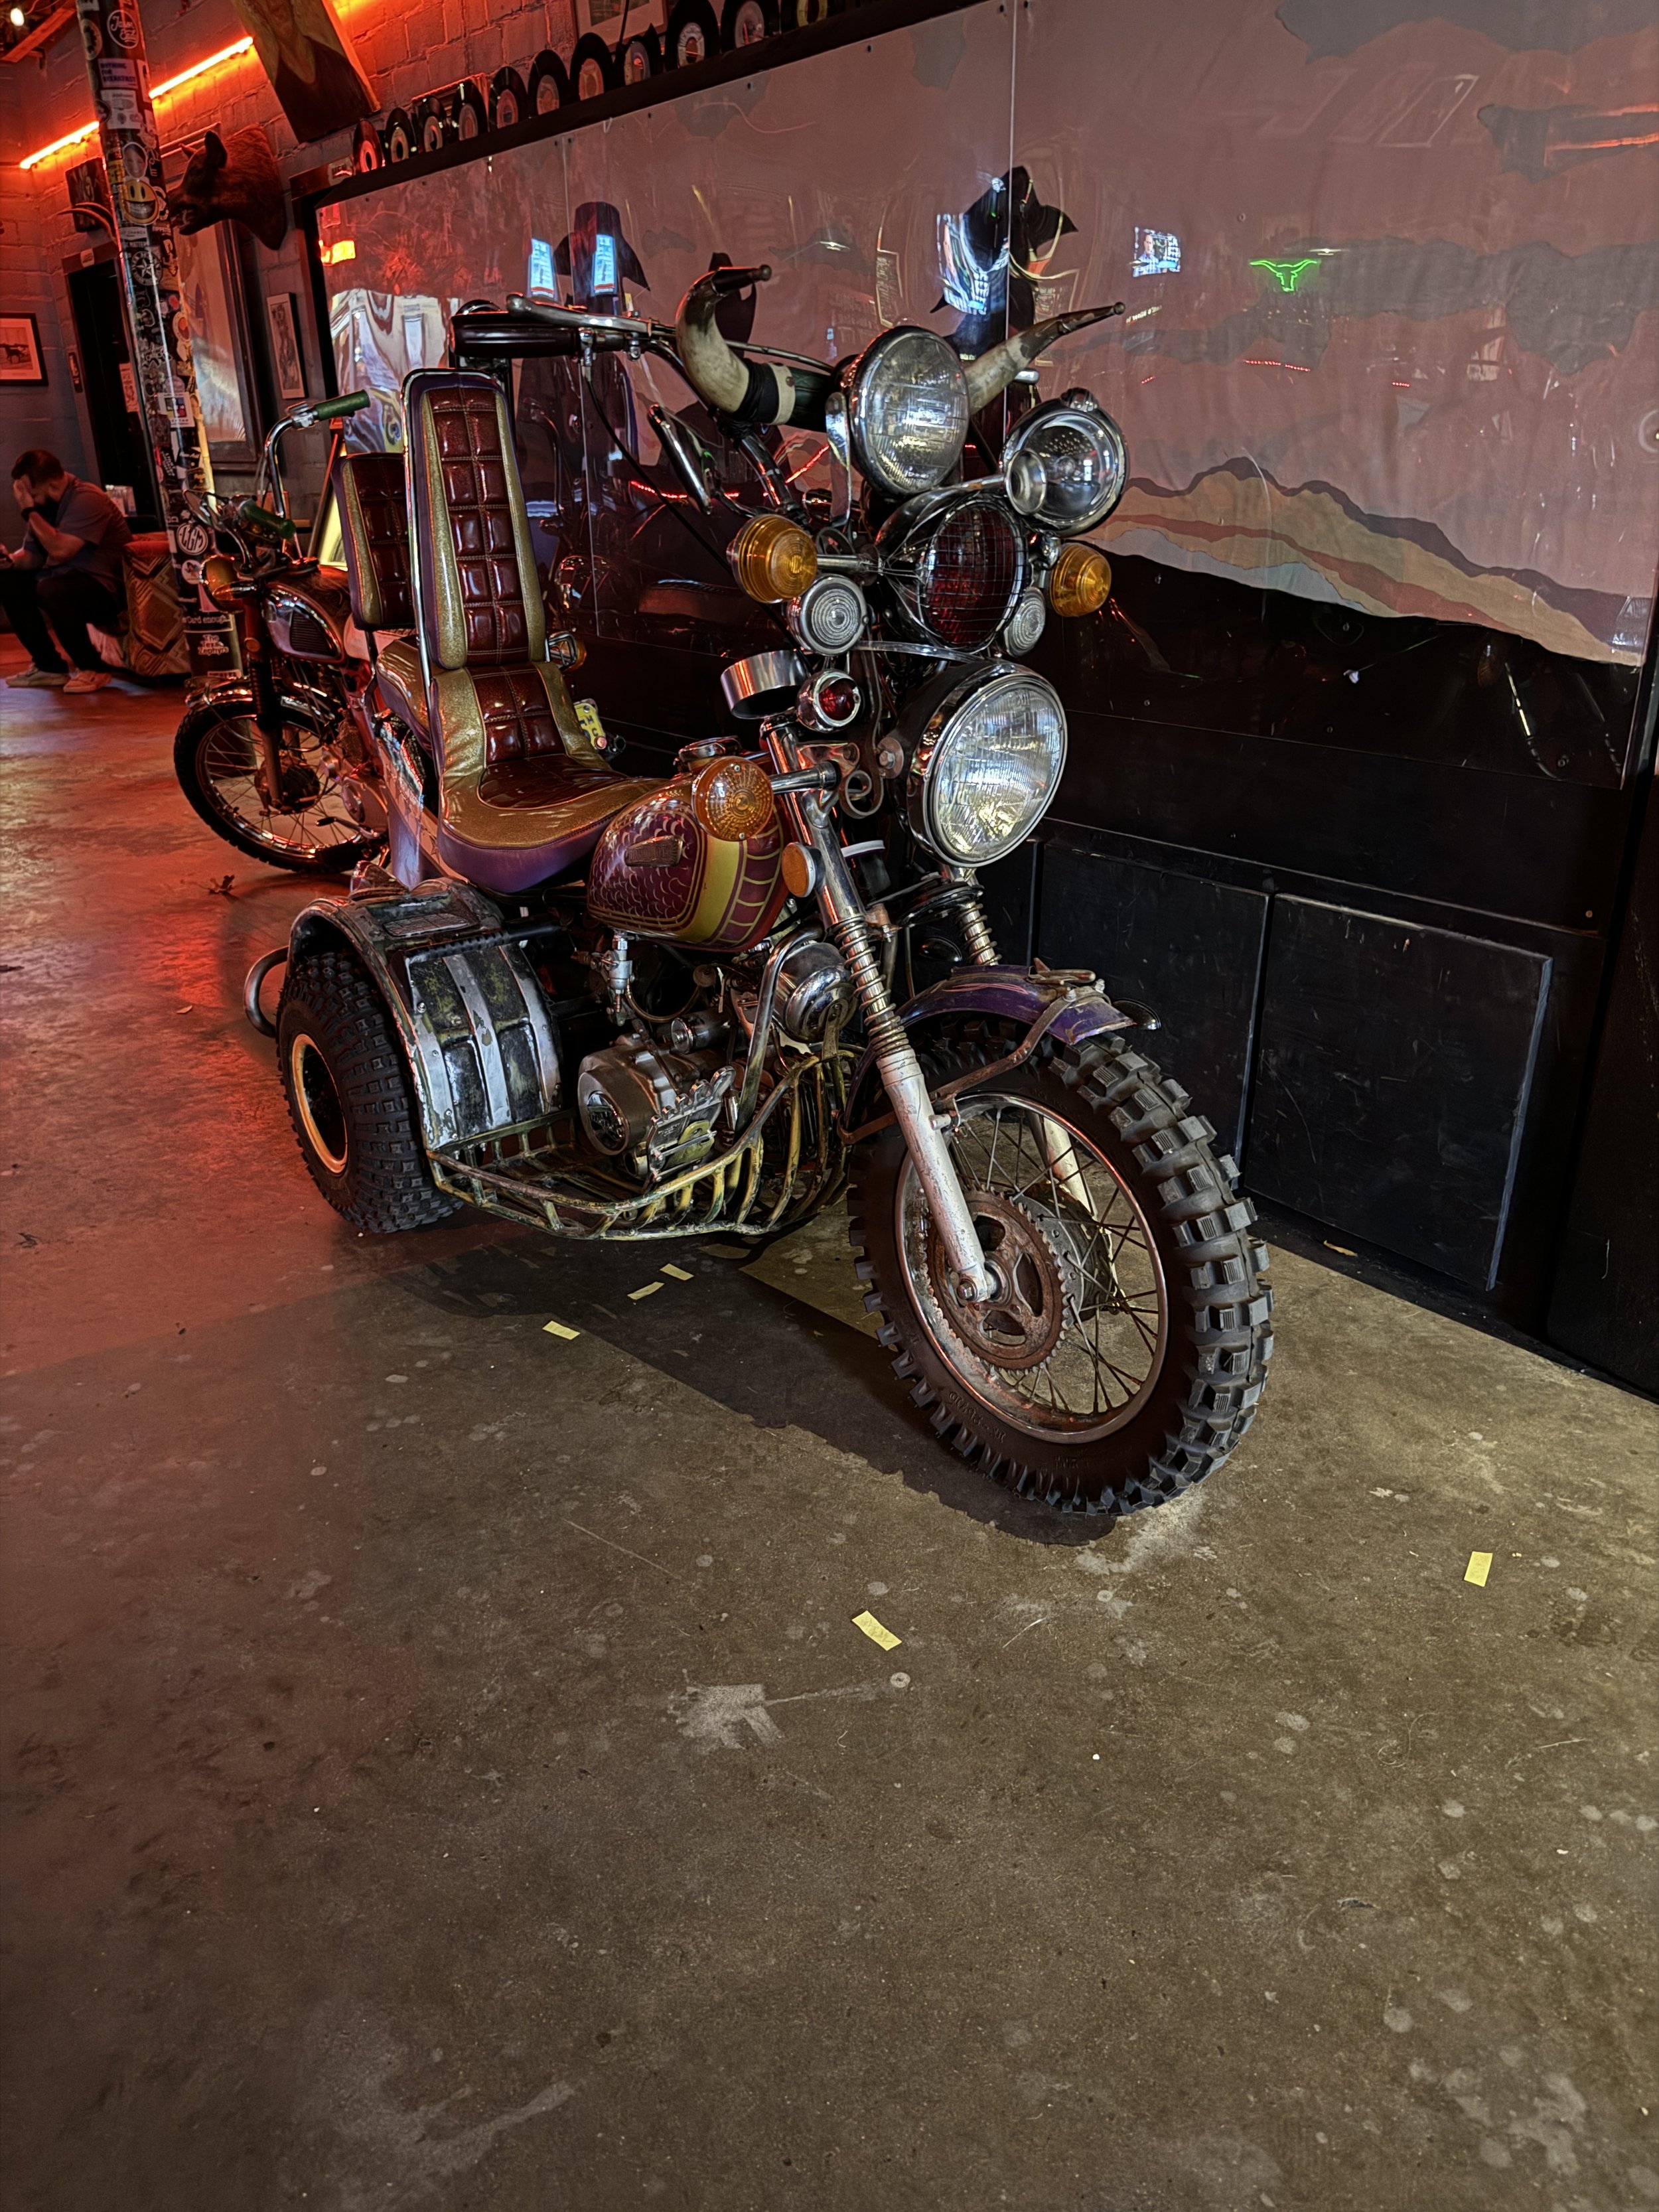
The trike and Flaquita in the club were one of three pictures I took the entire day. Guess its a good show when you are too busy to pull out the camera. The Tijuana Trike was a late entry for the show line-up. Originally thinking four bikes were enough and the trike might be too much, the space said otherwise, and the trike was brought along.

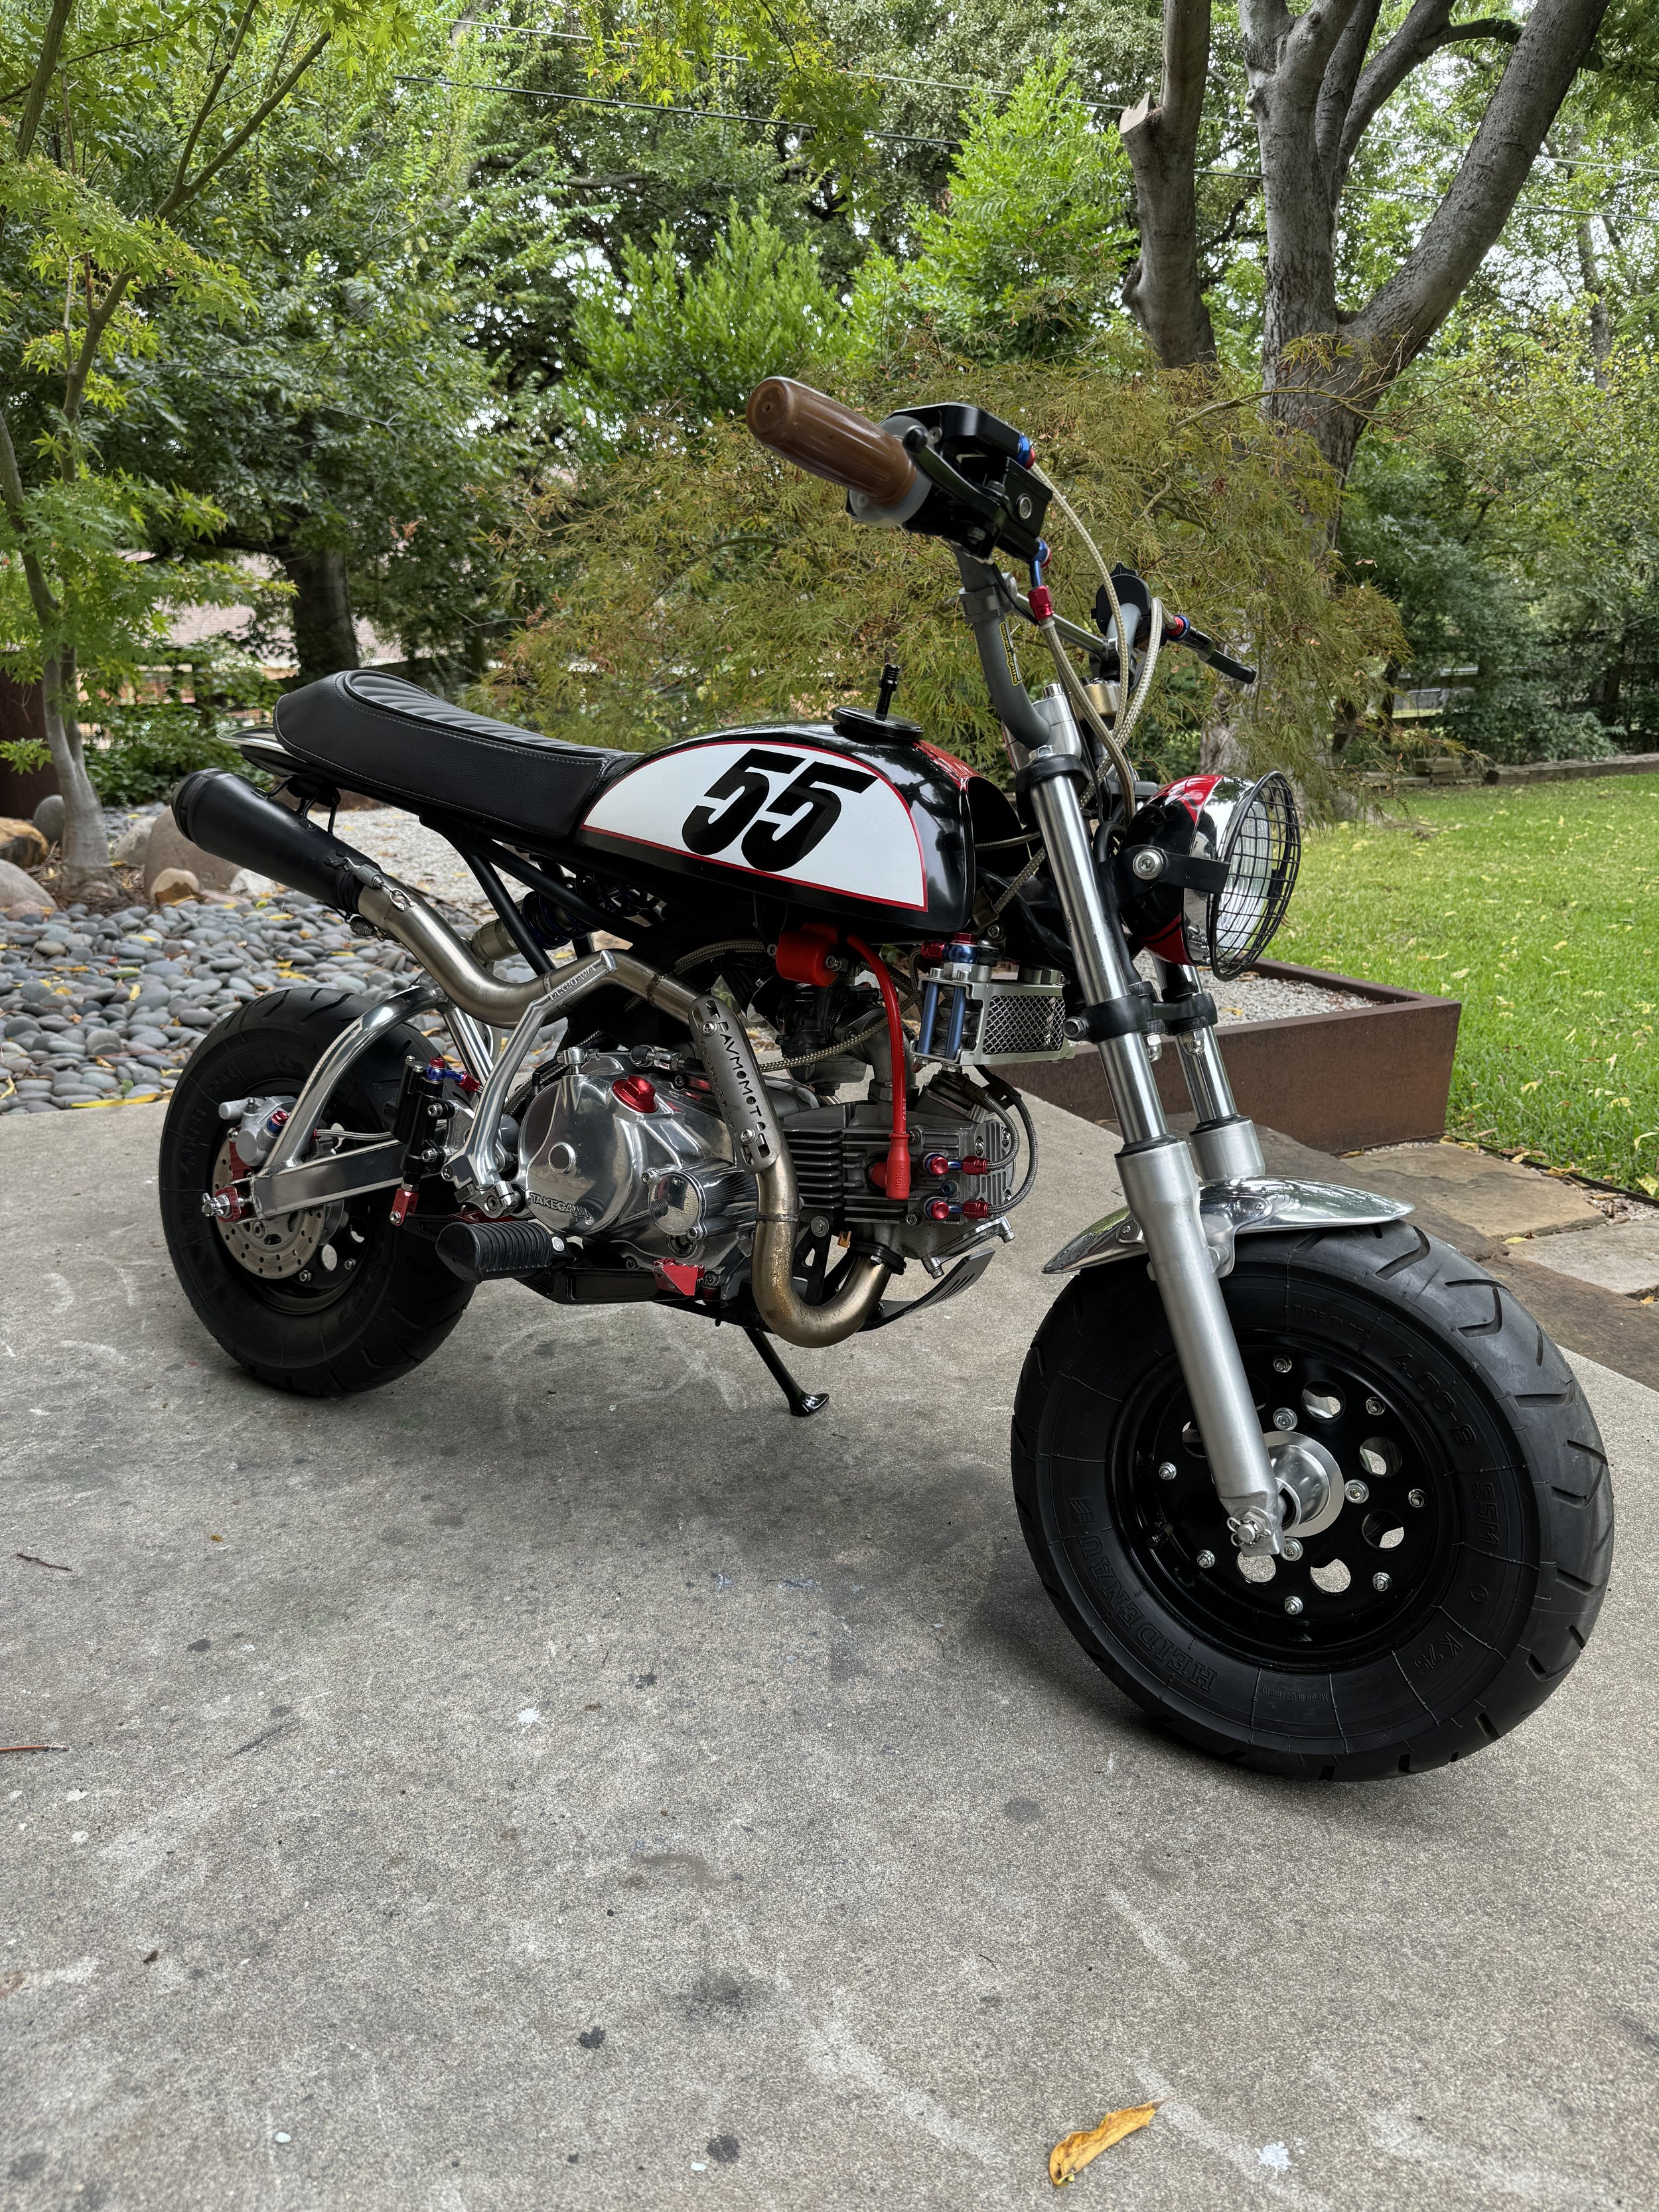
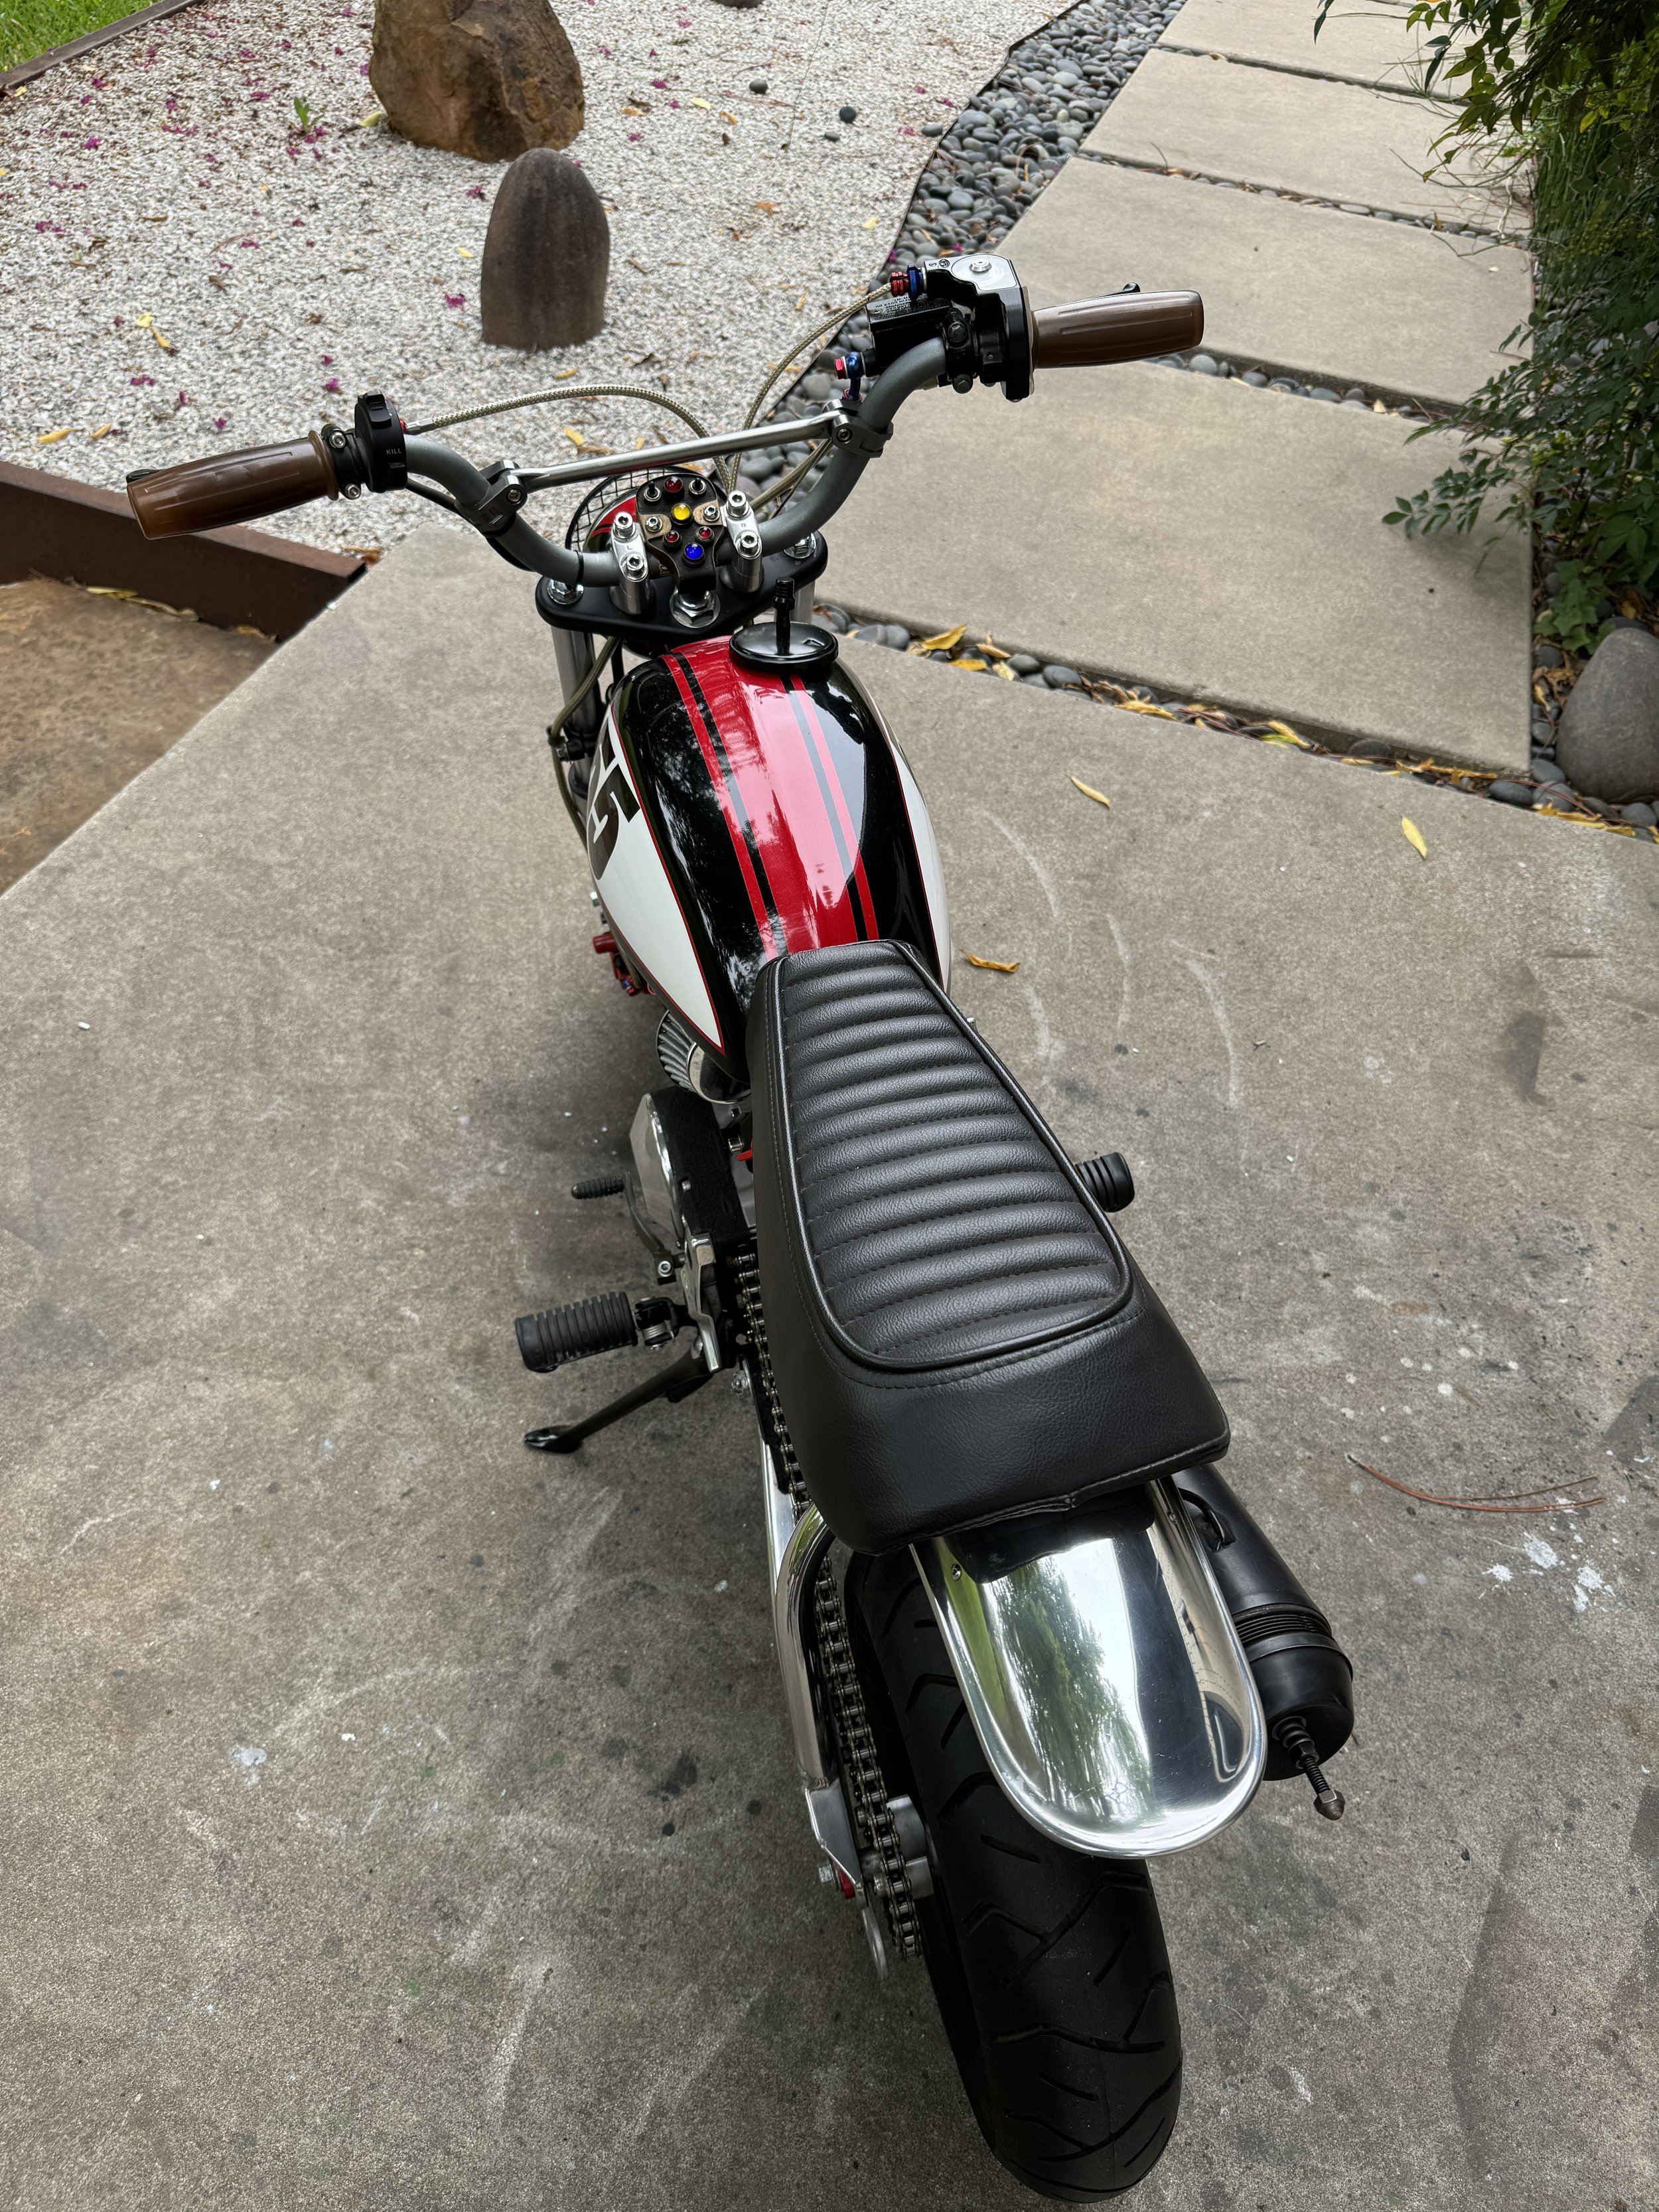
Not to be mistaken for a chopper, but the CRFU50, built in 2015 is full custom all the same.

The Takegawa Special clutch, rolling rocker head, stroker crank, and close ratio gearbox are just a few of features on this 110cc racer. Seeing the rest of the polished chrome makes me think its time to polish these or get another set (the front could use an inch of lift, in my opinion.)

Always a favorite color scheme, black, white and red can’t be beat.

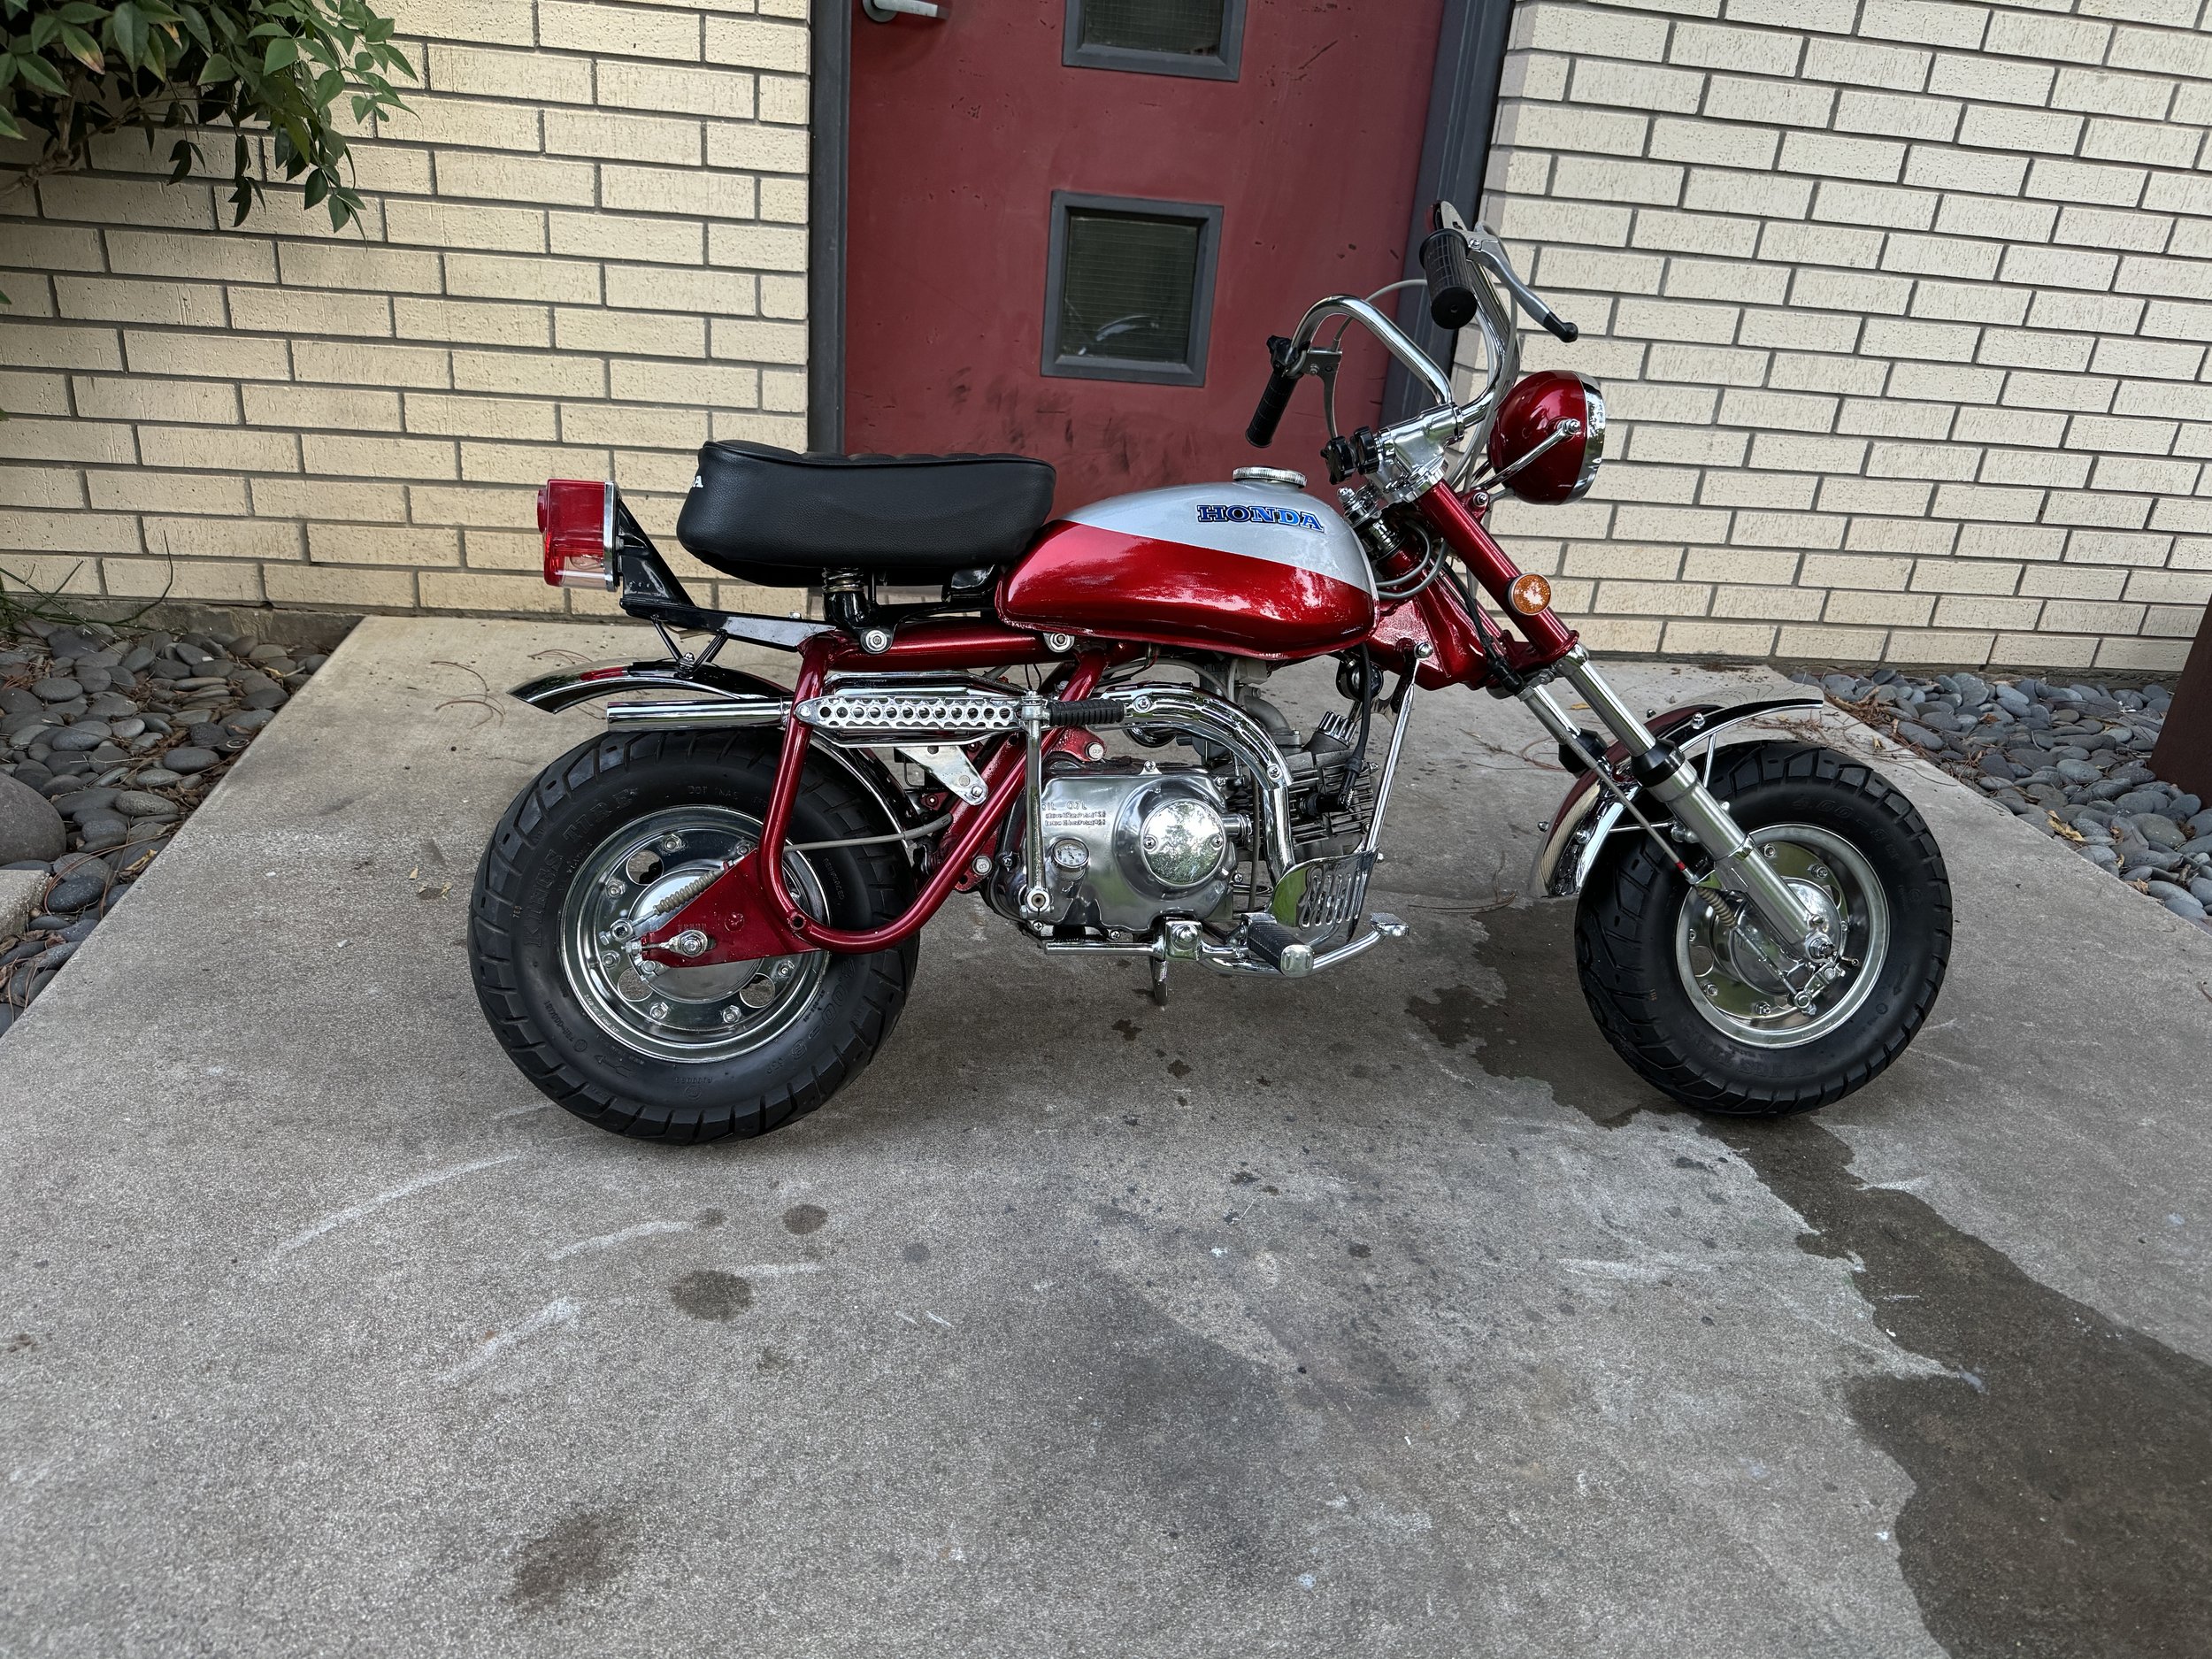
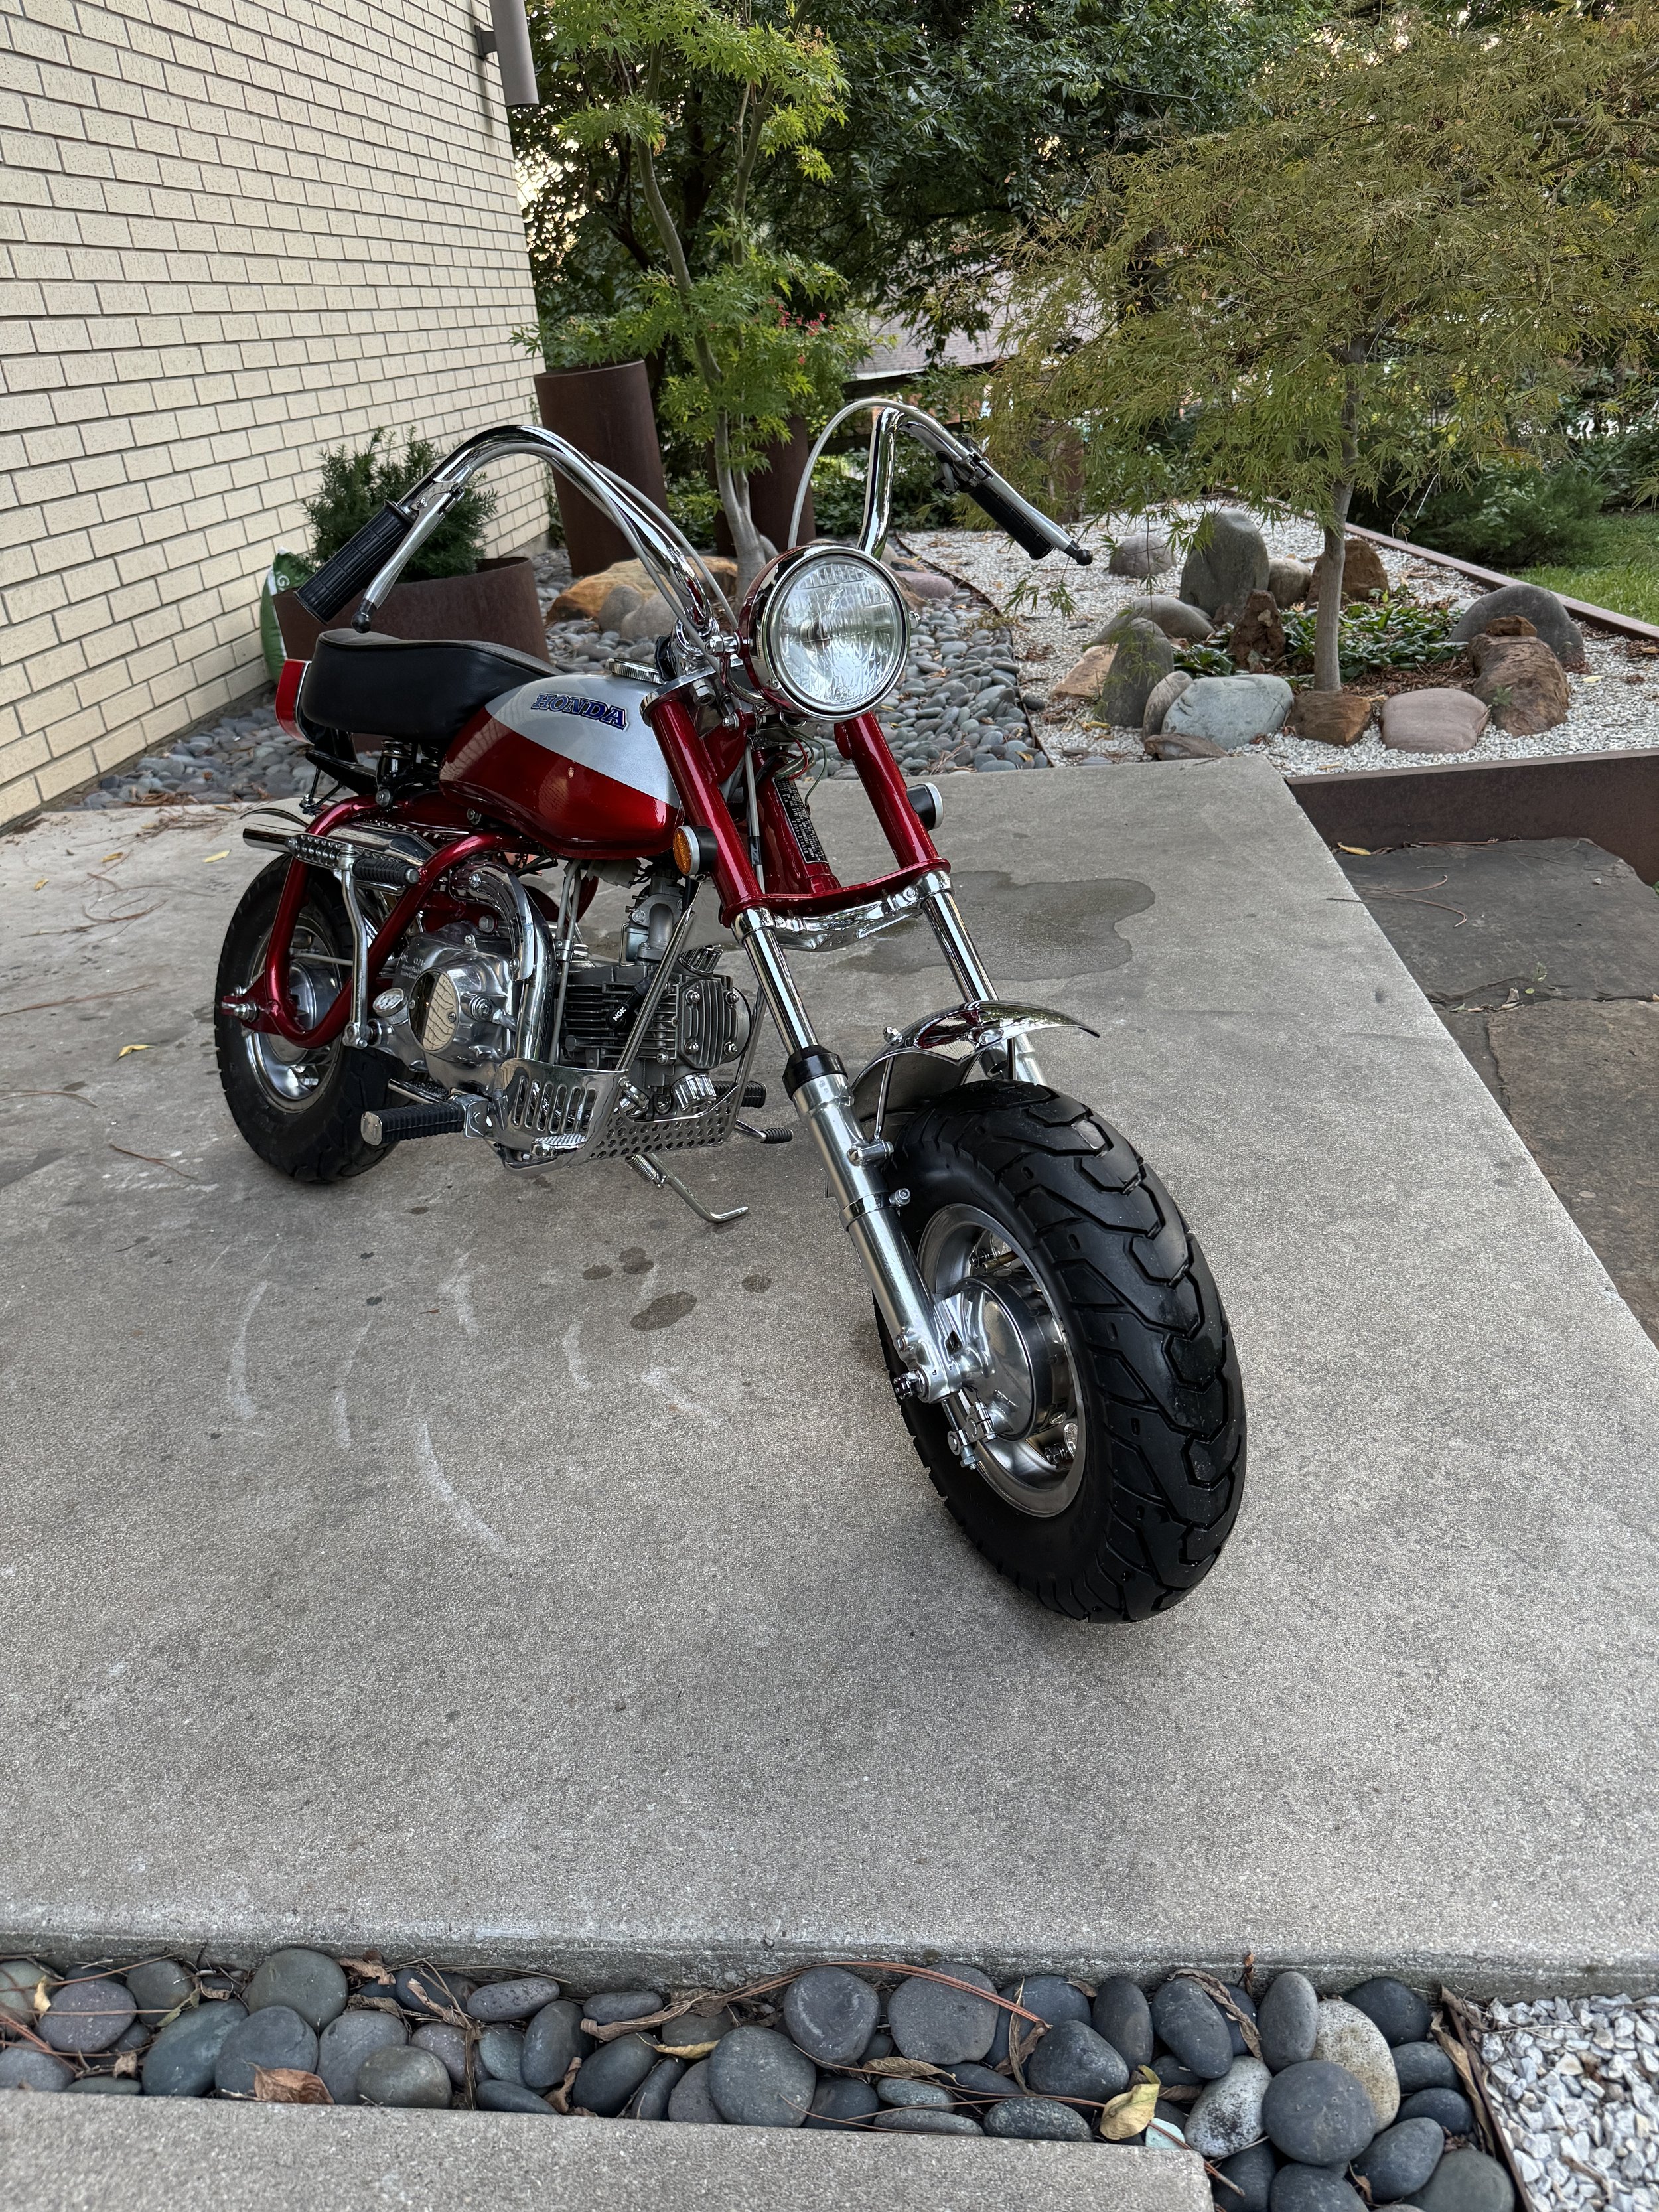
Built in 2006-2007, the 1969 Honda Z50A chopper was one of the earliest full custom bikes I did. Previous customs had hand made parts, but the frames and forks were left largely stock. This bike was made to resemble the original 1969 livery, with similar paint, wheels, fenders, handlebars, and exhaust. Even the seat is a smaller version of the originals (with seat springs to take away some of the hardtail harshness.) For the show, the bike was relieved of more than a little dust, and the front fender removed. Just thought it looked better that way.

After a good cleaning.

Th El Scorpion bike was stripped of some parade gear and a shameful amount of dust. This ride has seen hundreds of parade miles with The World Famous Wheelie-ing Elvi, but has sat dormant while other bikes (and the trike) have taken its place.

The before, with cup holder, handlebar pouch, and an unseen saddle bag on the left side of the bike, and a thick layer of dust.

Getting the chrome and aluminum polished out brought this girl back to life!

1963 Ducati Diana 250 Mark III completion

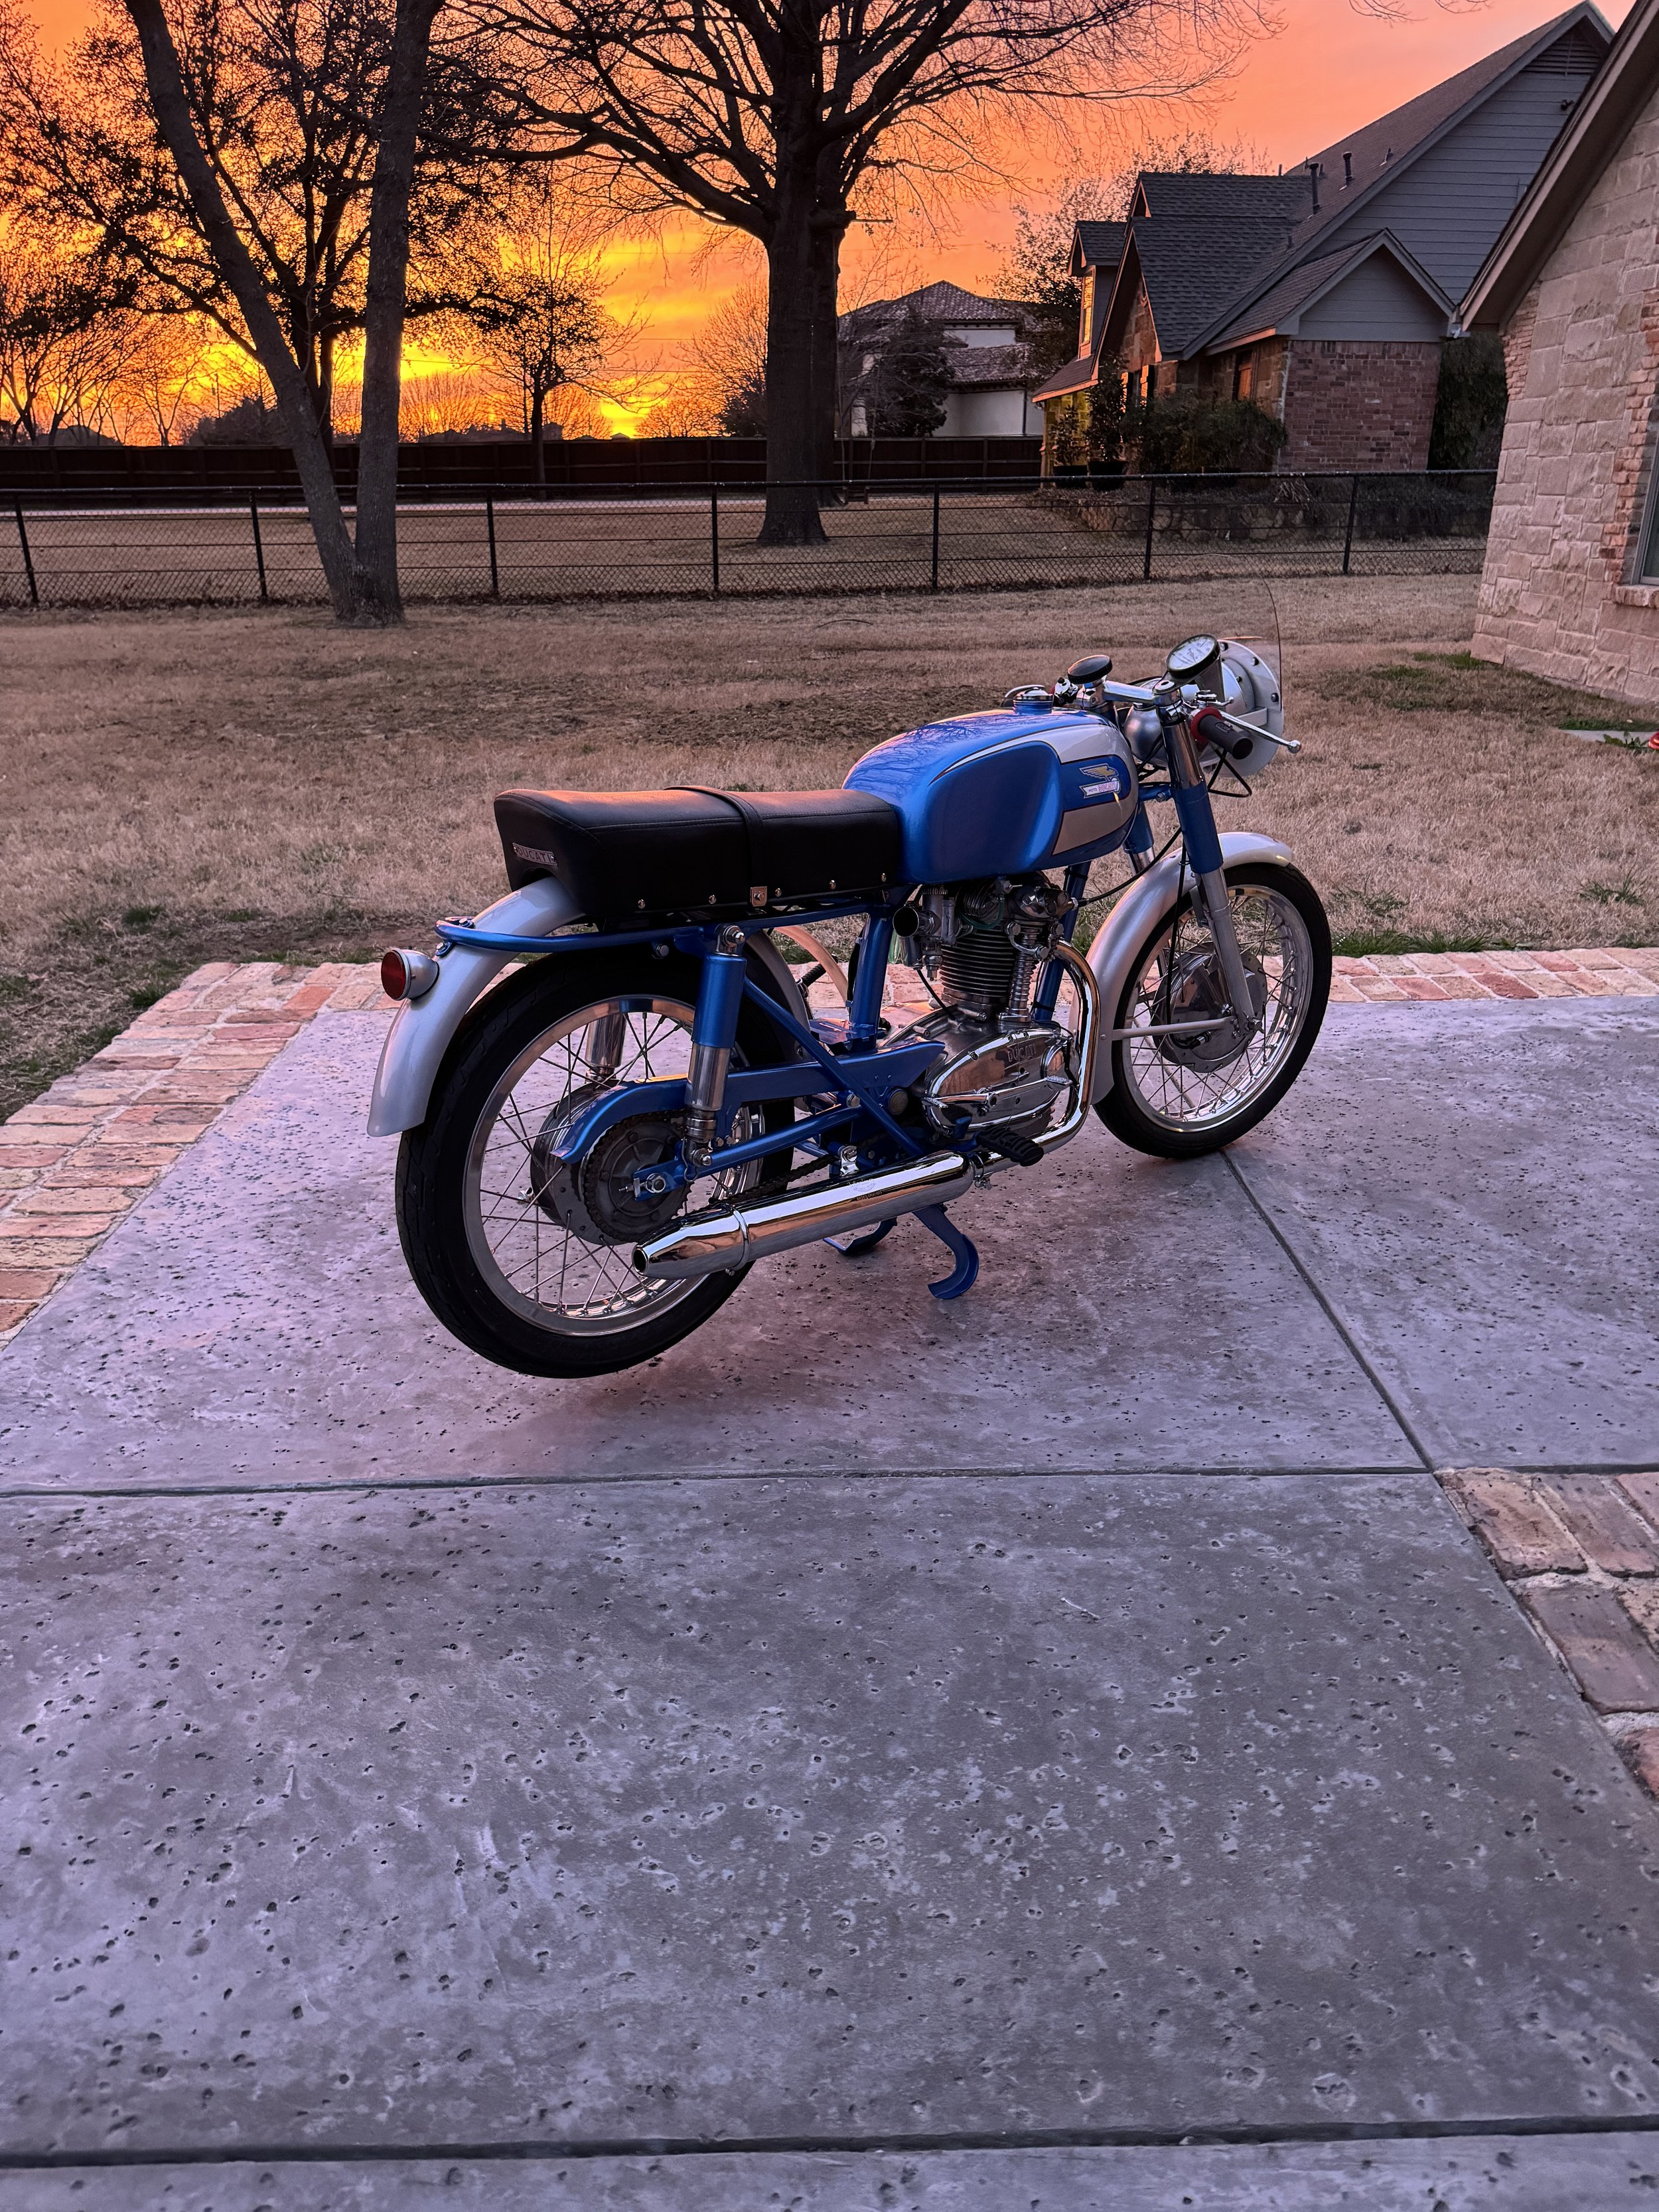
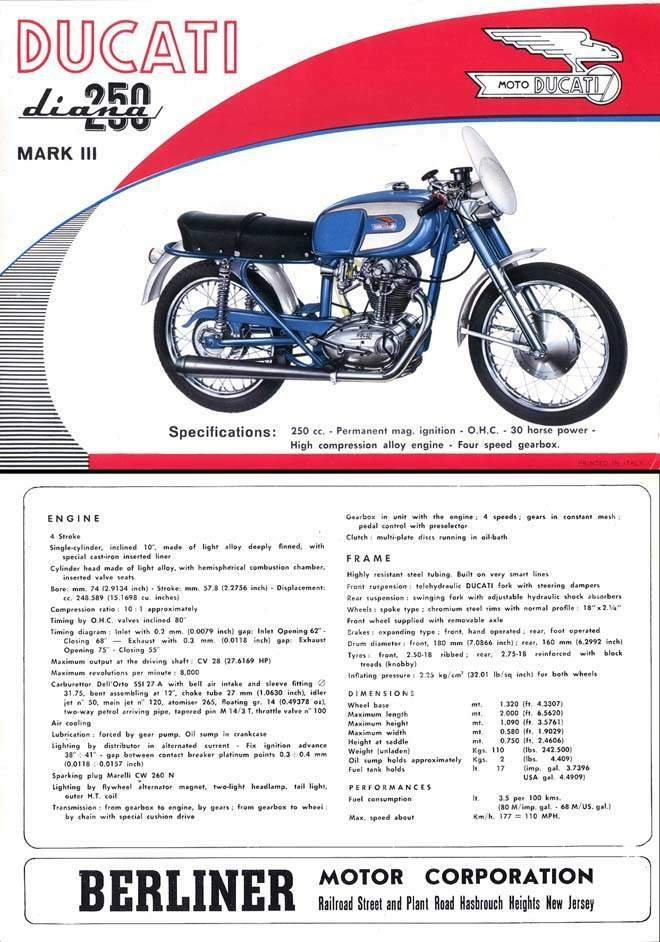
A 1963 (1964?) Ducati Diana Mark III 250 came through the shop a while back. It was partially restored, and needed to have the last bit of the job done. The bike was owned at one point by Jason Small, who also painted it. During the research and restoration, some of the information suggested it was a Mark III model, a US version imported by Berliner with a competition set-up. With that in mind, it was modeled as closely to the specs of the original, with the exception of the muffler.

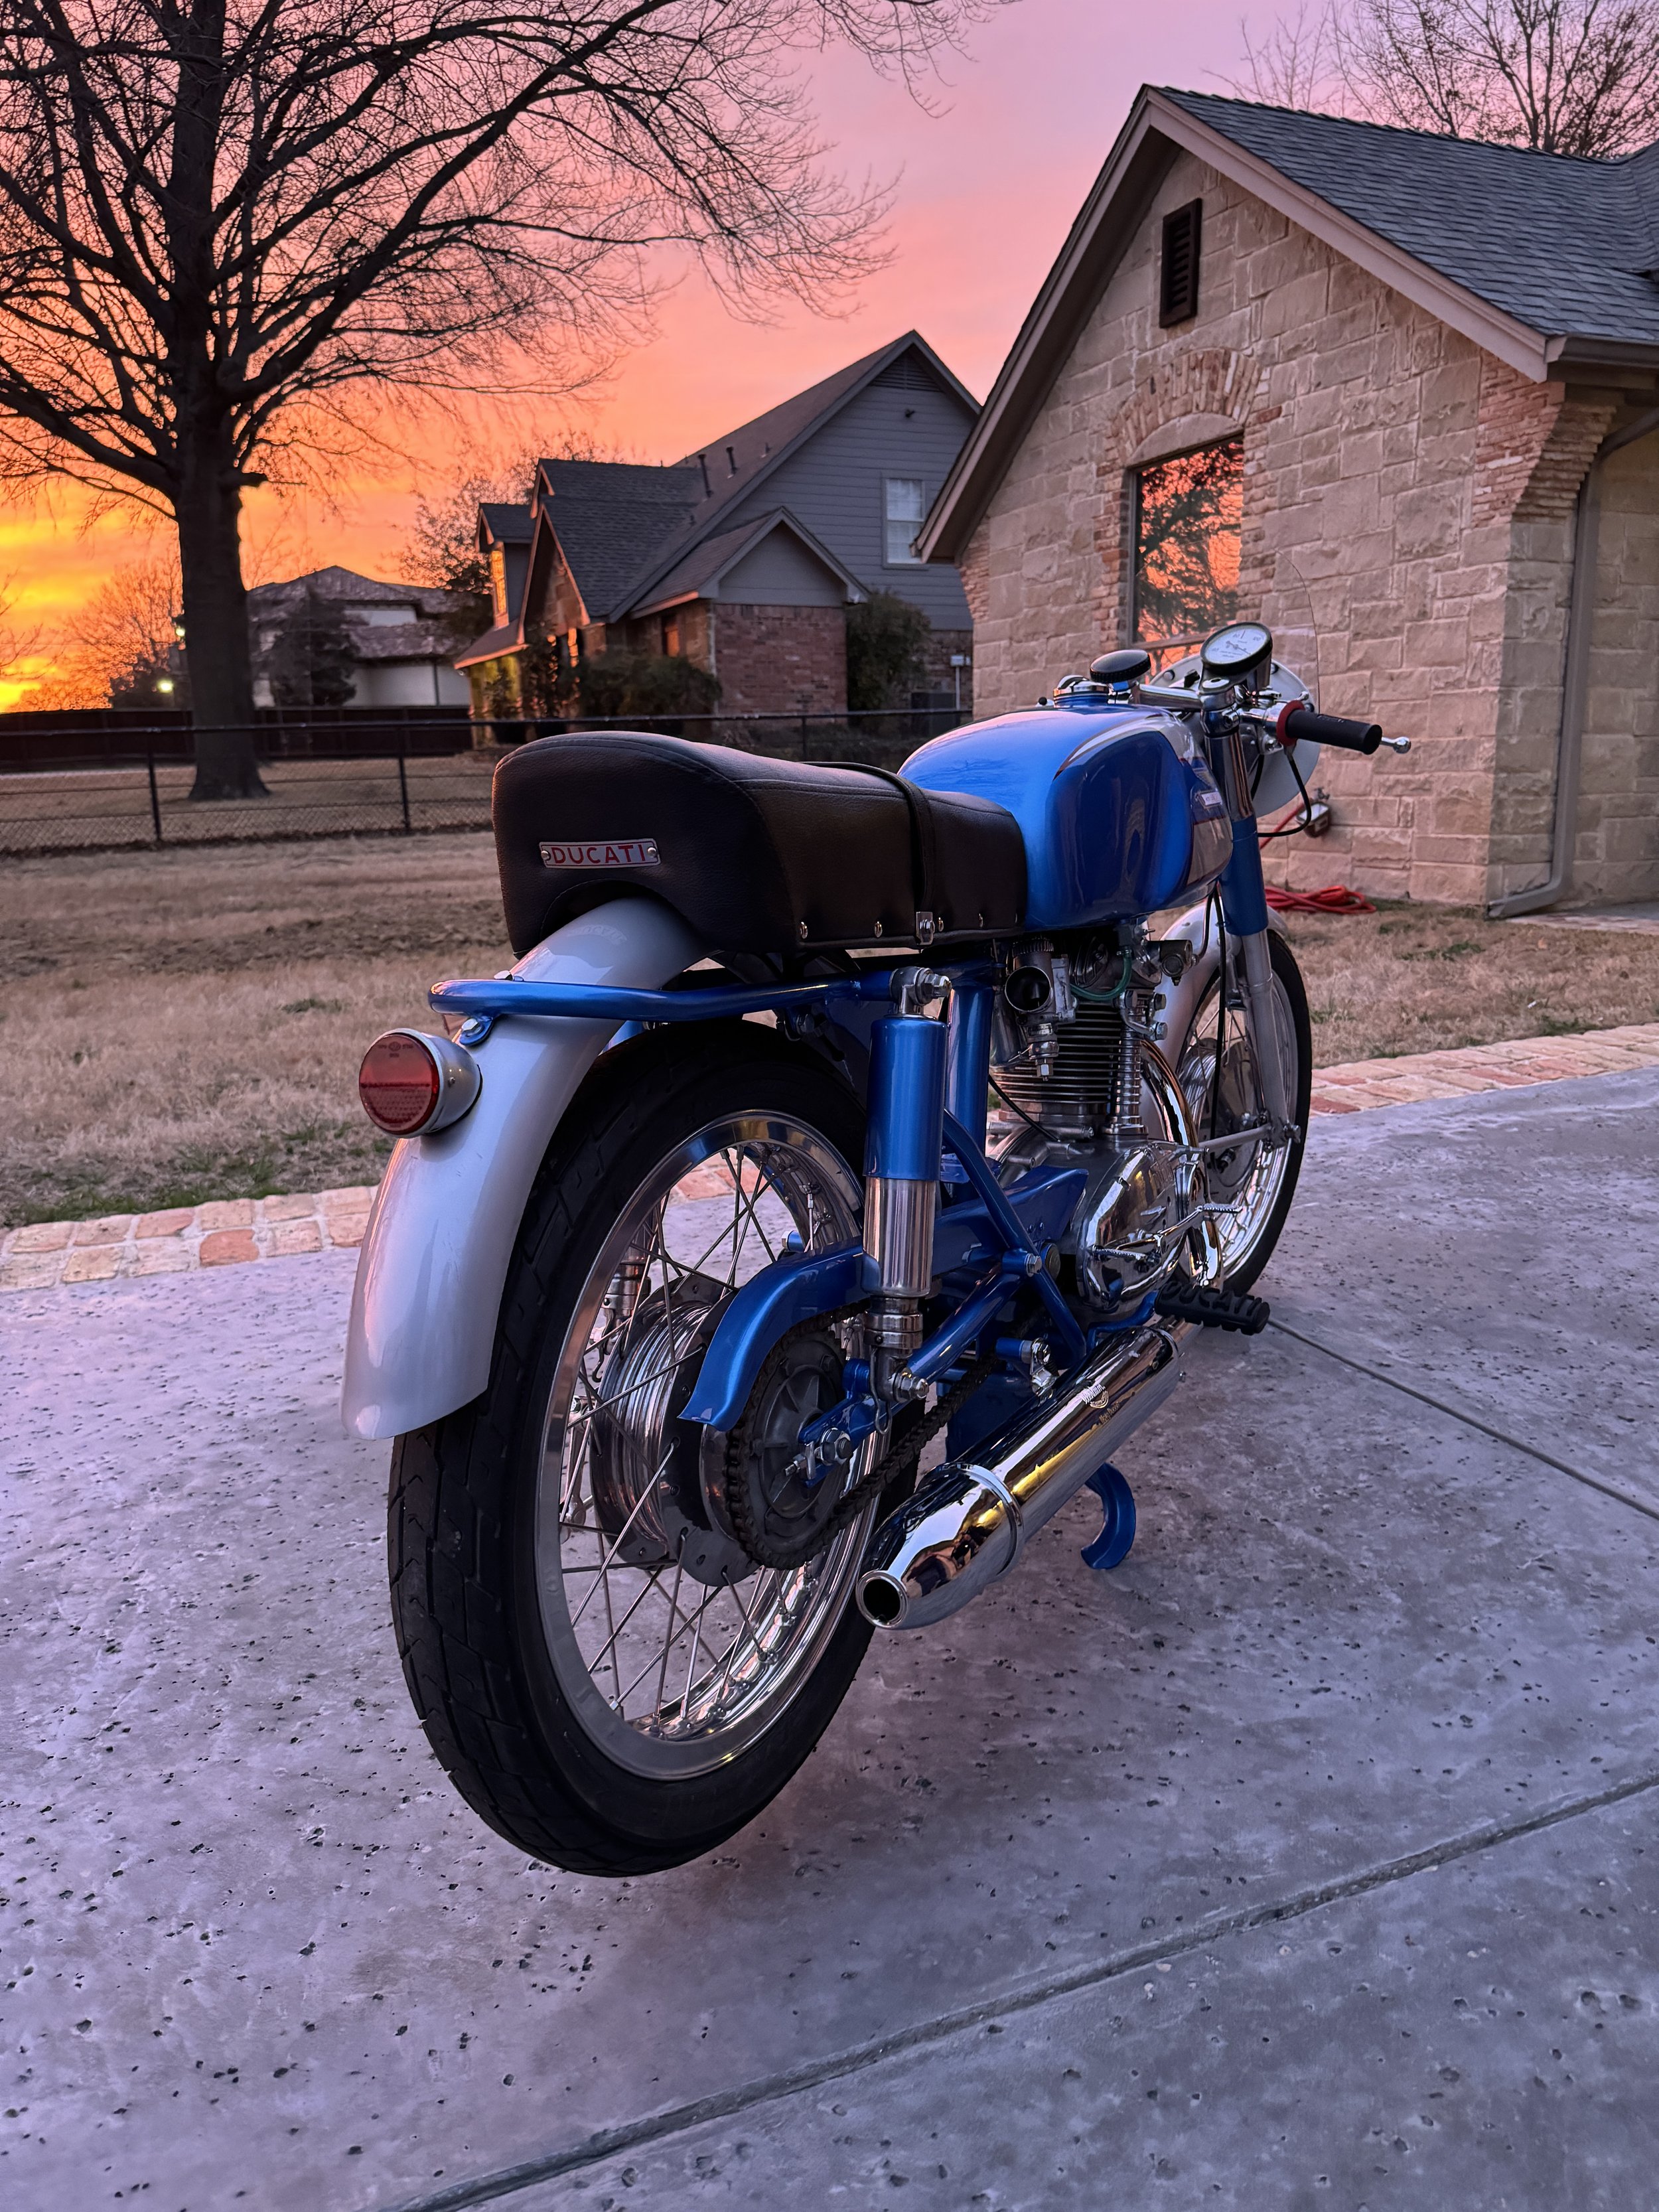
Classic Ducati styling from a great era of motorcycle styling and building. Touted as a ready to race factory model, The Mark III was stripped down, and fitted with performance parts. A larger competition type Dell Orto carb and velocity stack, twin tank petcock feeds, free flowing exhaust,  and other mods produced a reported 30 horsepower from the 250cc engine! The competition tachometer, clip-on handlebars, passenger peg delete, and battery-less ignition rounded out the package. Items found on other Diana models like side covers, air, tool, and battery boxes were also stripped off to save weight.

Even the tail light was kept small to minimize weight, but still satisfy racing categories that require stock unmodified bikes.

The front number plate/windscreen showed up in the Berliner advertisements, but it is unclear if this was a factory part. This one was made from aluminum and Lexan, and modeled from the Berliner brochure images.

The bike as I found it. Paint had been done, but a bunch of parts were missing, and the everything needed cleaning and detailing.

The engine was loosely bolted in, and in need of some work, but was said to be in running condition prior to tear-down.

After replacing and re-plating hardware, some cleaning and polishing and a bunch of new parts, the beauty of this Ducati design shines through.

A badly worn seat came with the bike, but did not fit properly, and did not resemble the original seat. 

While similar to the Mark III seat, the front mounting bracket needed modification to fit with the tank and frame. The seat had been re-covered at some point, and a number of extra holes drilled into the side bars of the seat frame, to mount rivets.

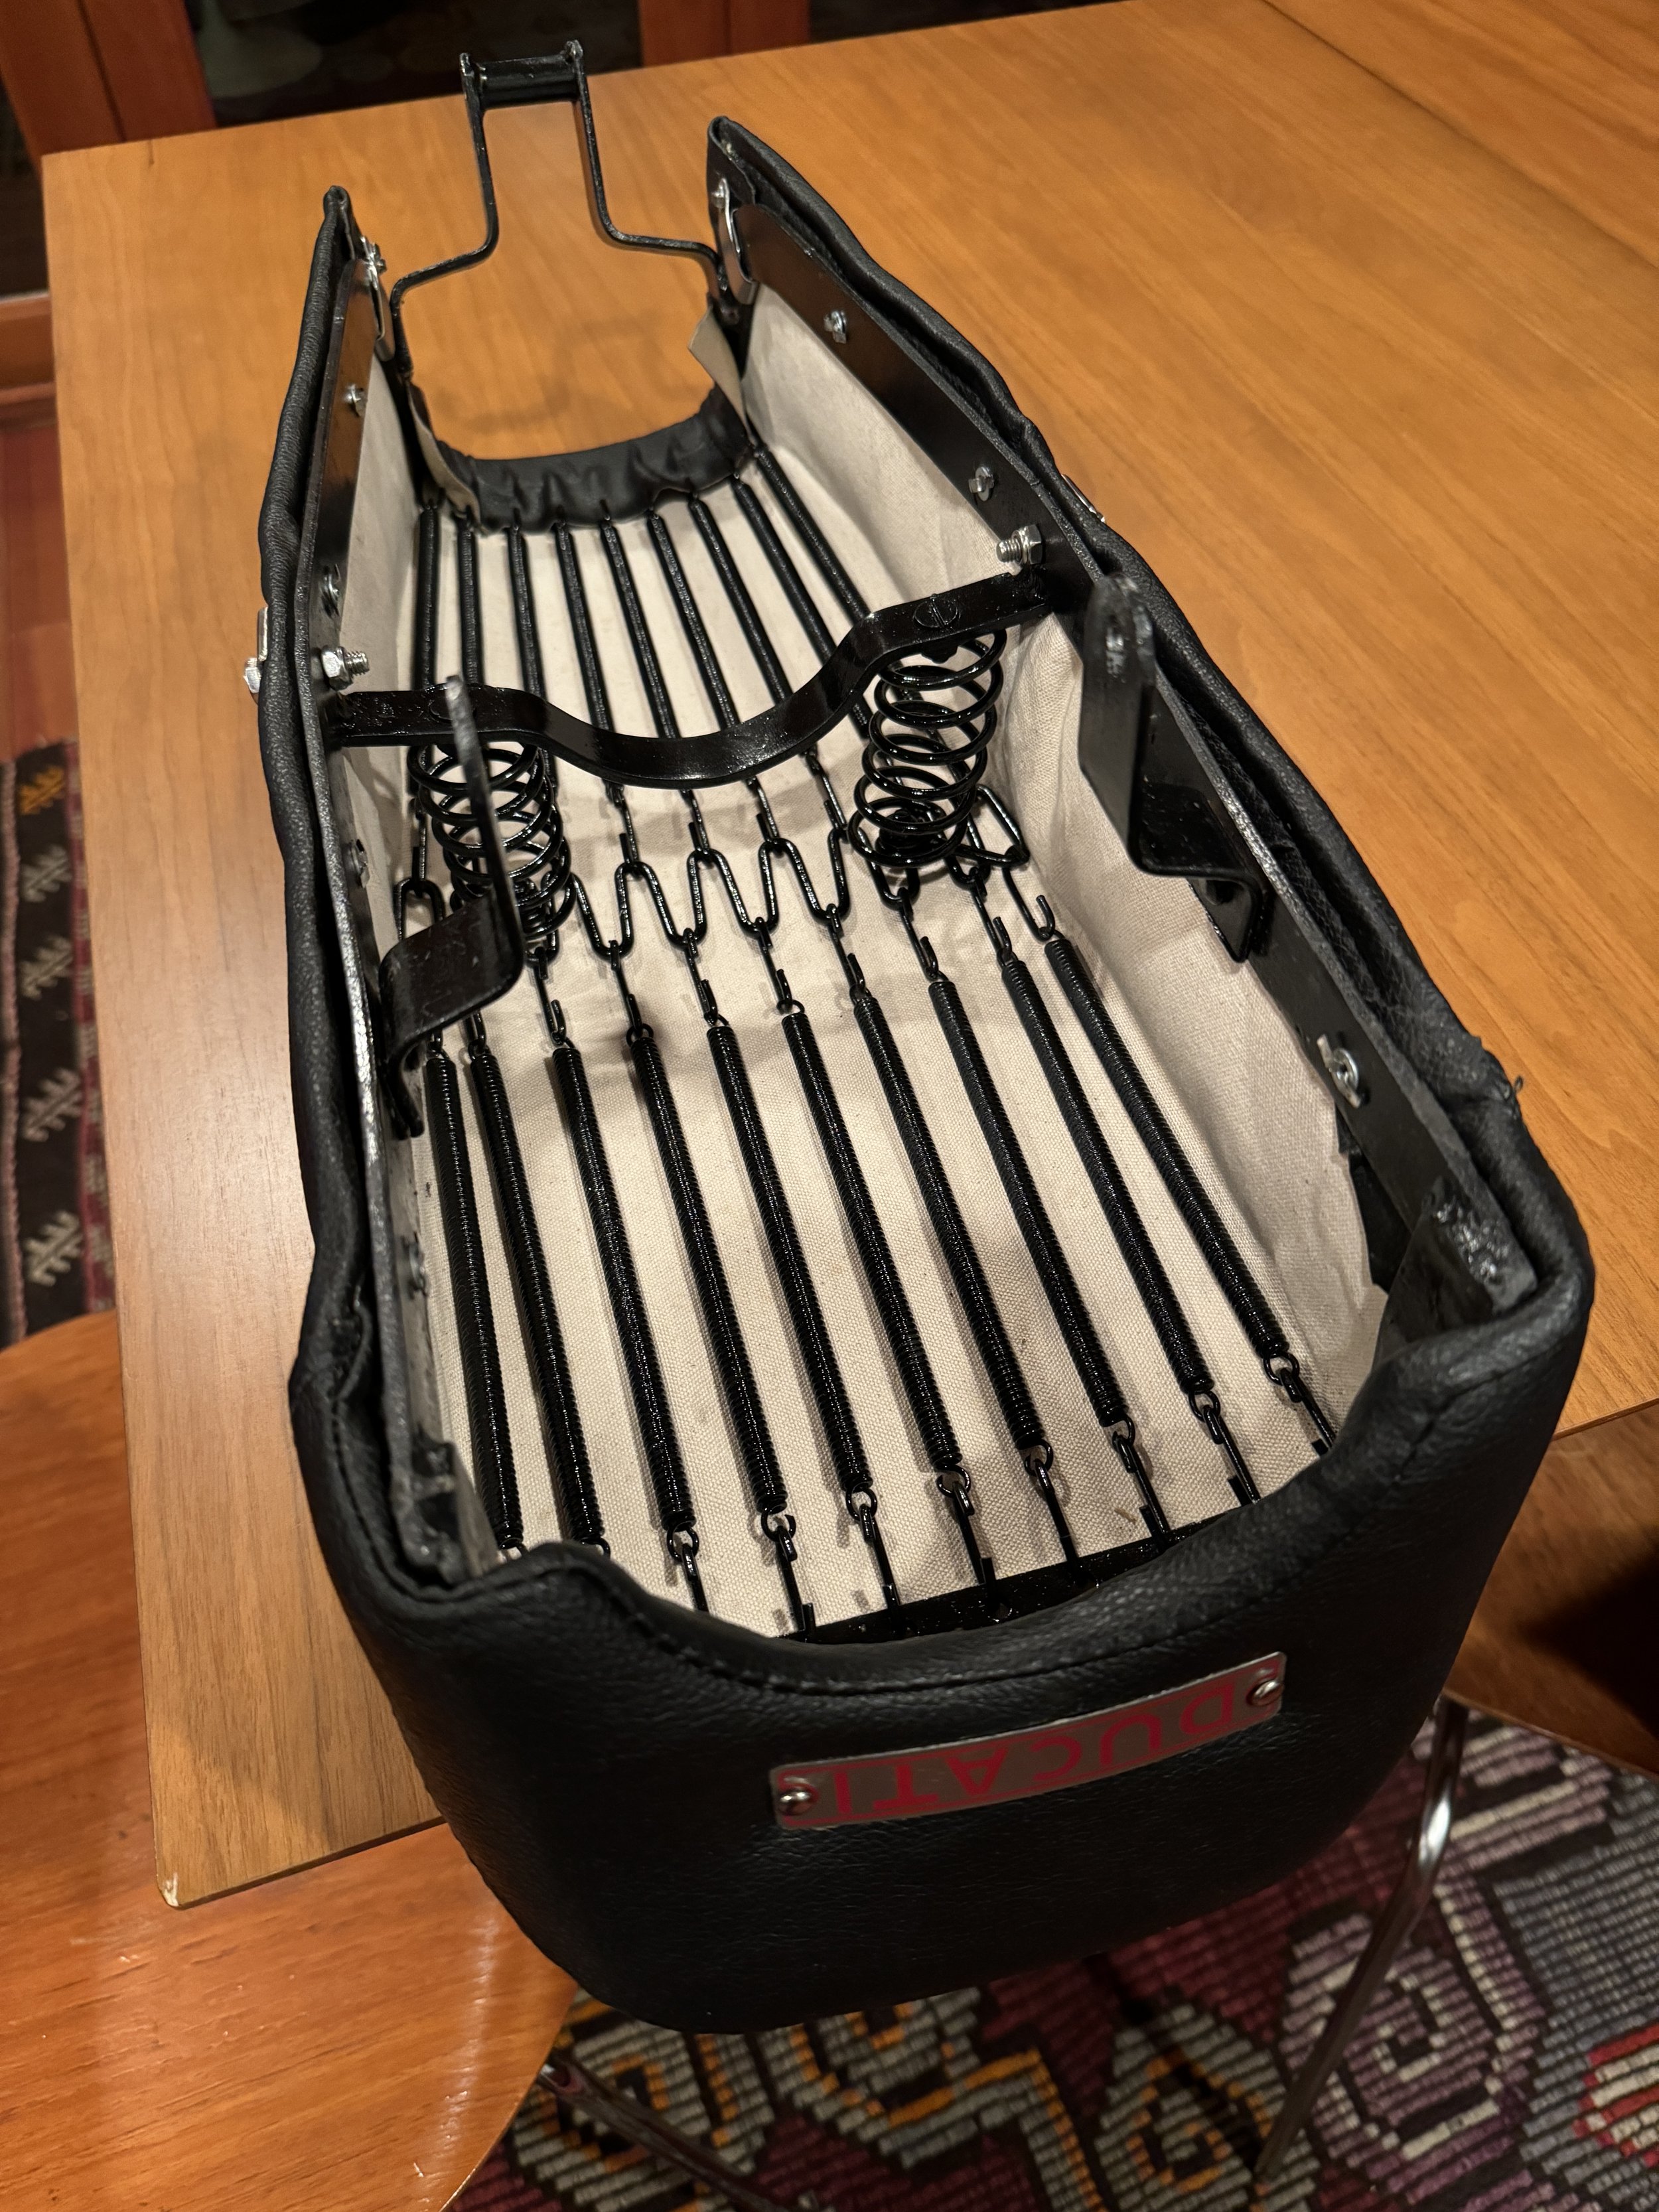
The design of the original seat is unusual in that it has a thin layer of foam sewed into the seat cover, and laid over a spring frame. The original foam was falling to pieces, so a duplicate was made from high density close cell foam. In this picture, the seat assembly was getting ready to go to the upholstery shop ( Xtreme Upholstery in Denton, TX,) where the seat cover was made and sewed through the foam. The other detail that had to be worked out was the pointed tail of the seat. Since there was no original seat to model from, it was based on pictures from brochures and other bikes. A close-cell foam form was made and placed at the rear, but the fact that the rear panel on the seat is not supported by any frame at the bottom, it floats somewhat, and was difficult to support. I was very happy with the final result.

After the seat frame was modified, the holes were welded up on the side rails, and it was painted. Andy at Xtreme Upholstery did a phenomenal job on the cover, even adding the canvas underside. I added the special front mounting tabs, seat strap and badge, and the mounting side rivets to finish it off.

On display at its final destination.

A failed tank liner was stripped from the tank, and it was re-lined with POR-15

A photo prior to the front number plate and correct hand grips being placed on the bike.

The beautiful Dell Orto SS1 27mm carb and velocity stack. Everything was polite, re-plated, and missing parts replaced.

The original Berliner spec sheet. The five-speed gearbox on this bike suggests it could be a 1964 model, as the four speed was a four-speed. The serial number, however, suggest a late 1963.

The speedo is from another model, and only goes to 80MPH. The original one is hard to find, and goes up to 110MPH. Once again, the Ducati styling of this era was just classically beautiful.