Finishing the 1974 Honda CT70 Dax "Dino" custom.

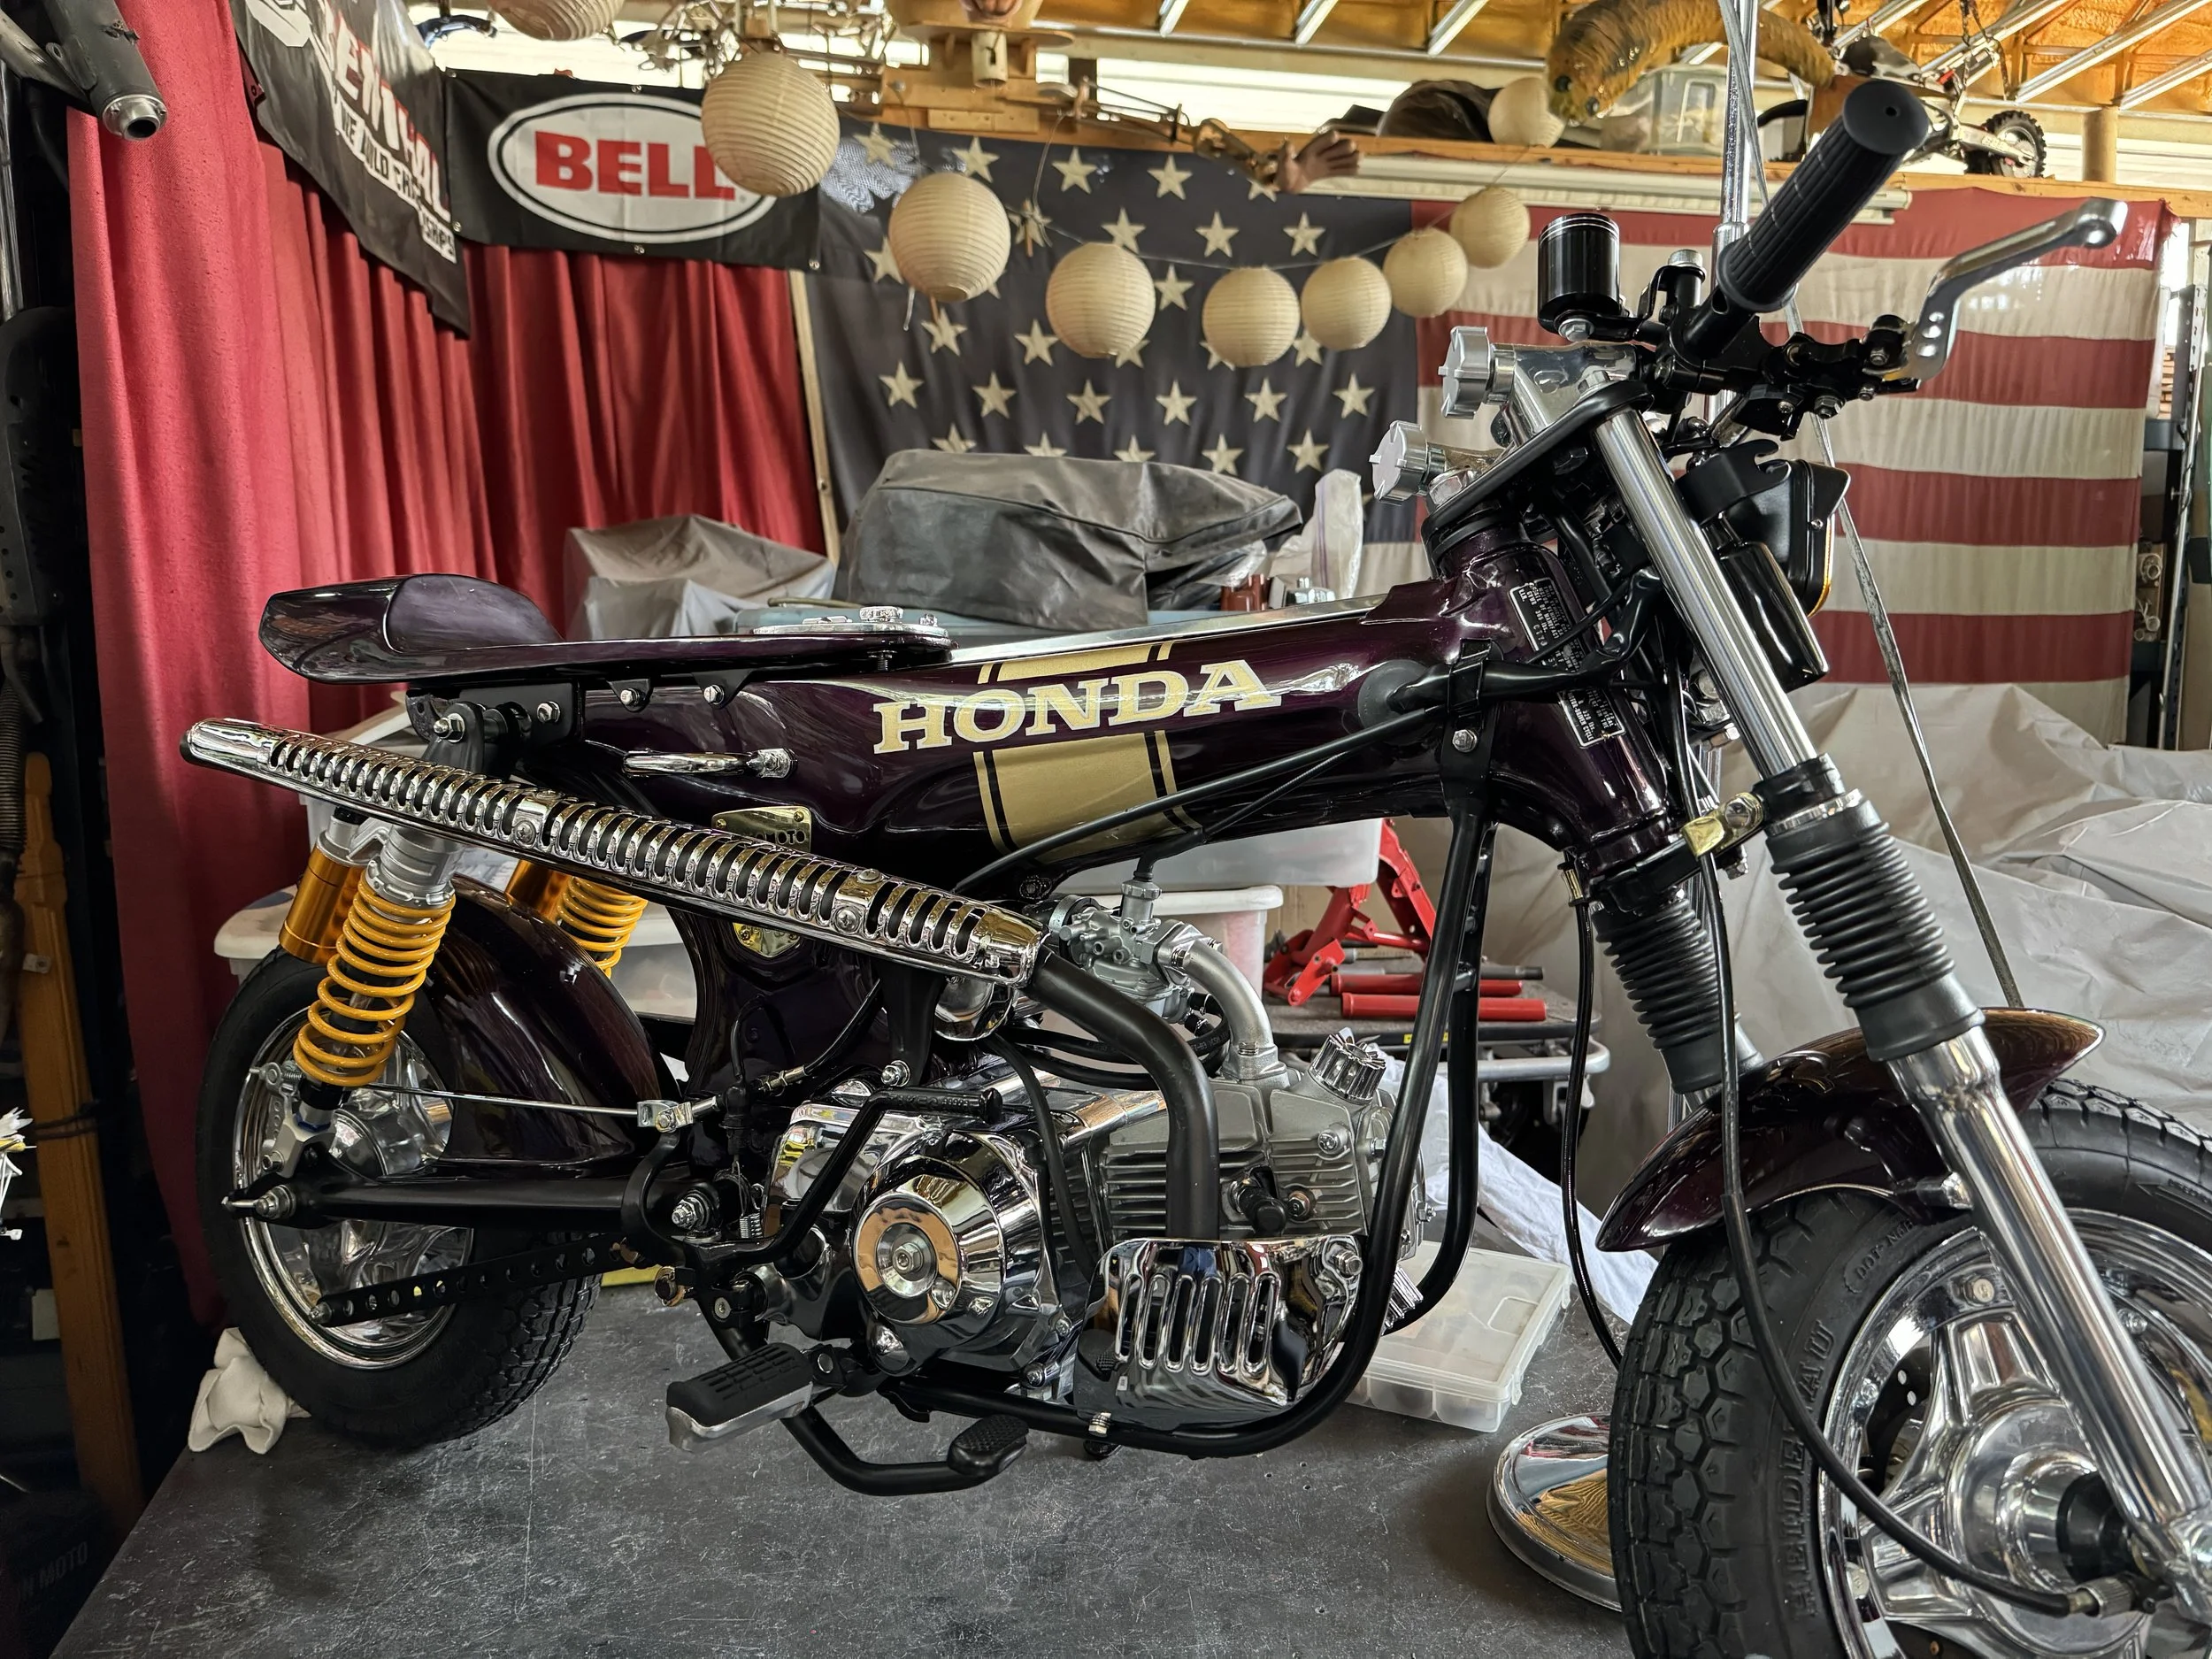
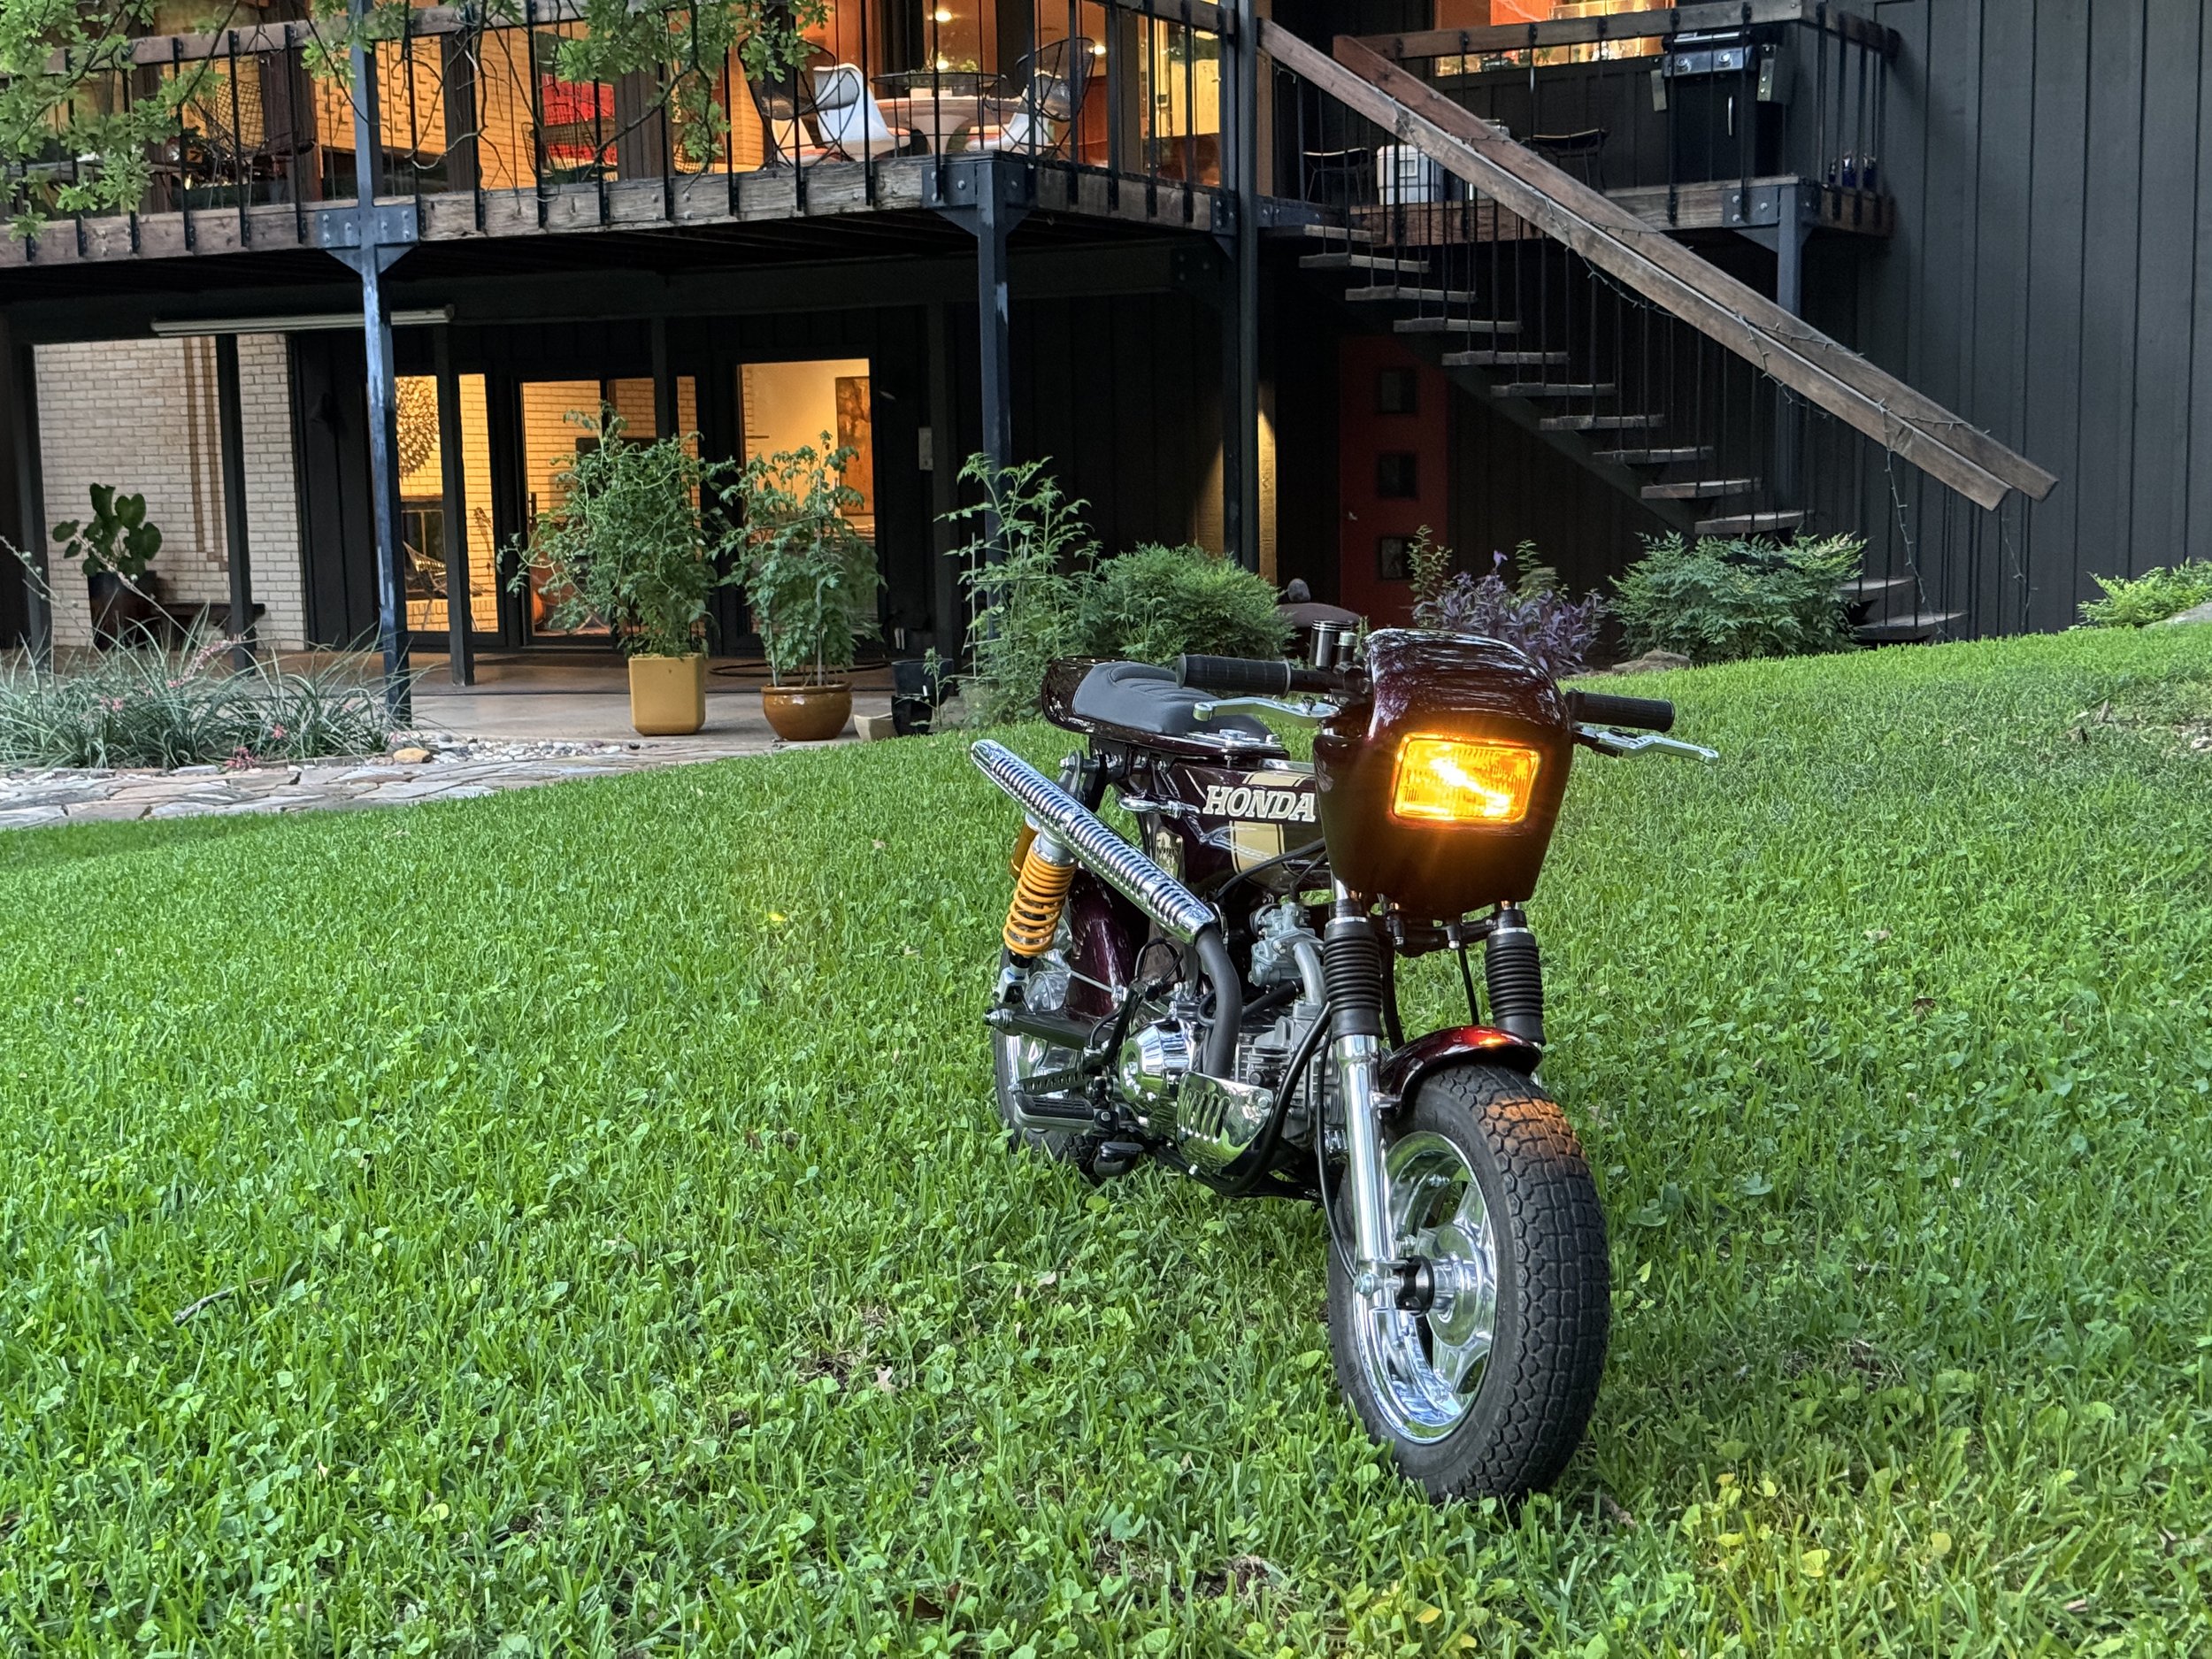
She’s a runner! The first few miles have been logged to test the brakes, steering and suspension, and everything feels right. The bike starts easy, idles well, and runs strong. There was a great deal of difficulty getting the engine to start initially, but once figured, it has run like a champ. The bike color looks black in the overcast sky we had for the pictures.

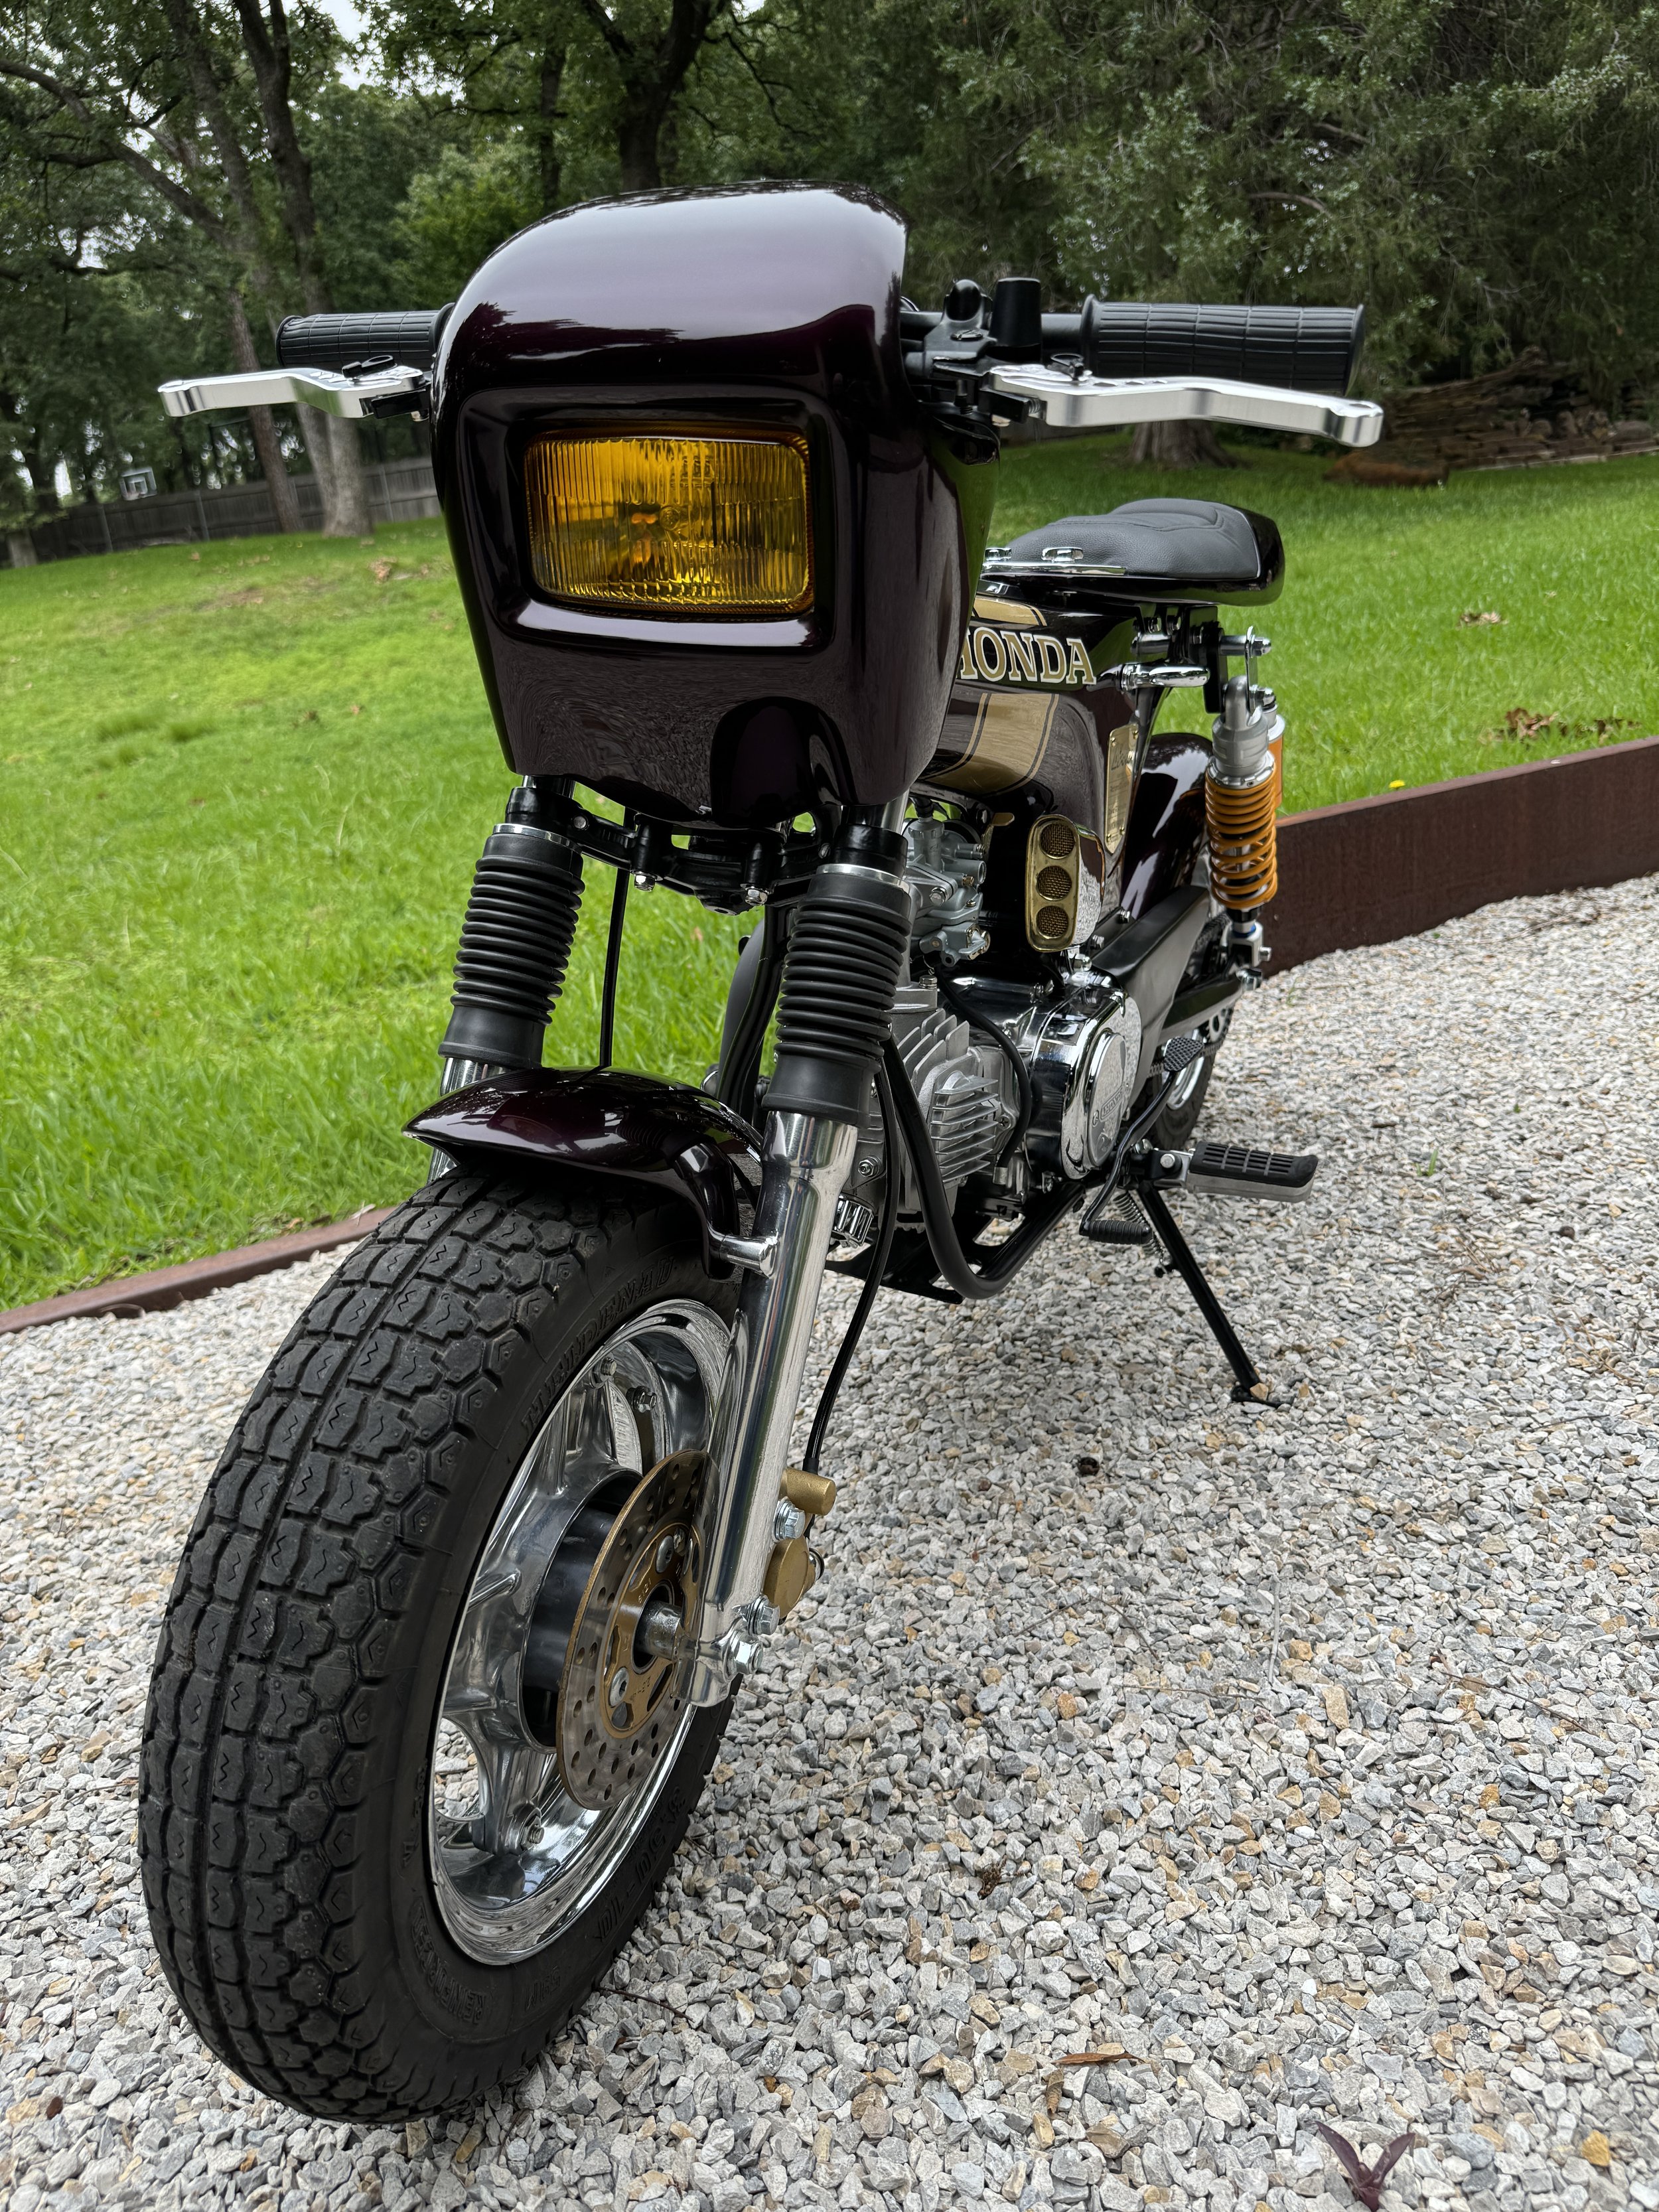
All systems are go…and stop. The front disc brake grabs nicely, and the left hand brake for the rear works well with the pedal. The brake light is hooked to all three actuators. The amber headlight and tail light are turned on with the key switch in the third position, and engine is running. The bike idled patiently while the picture were taken.

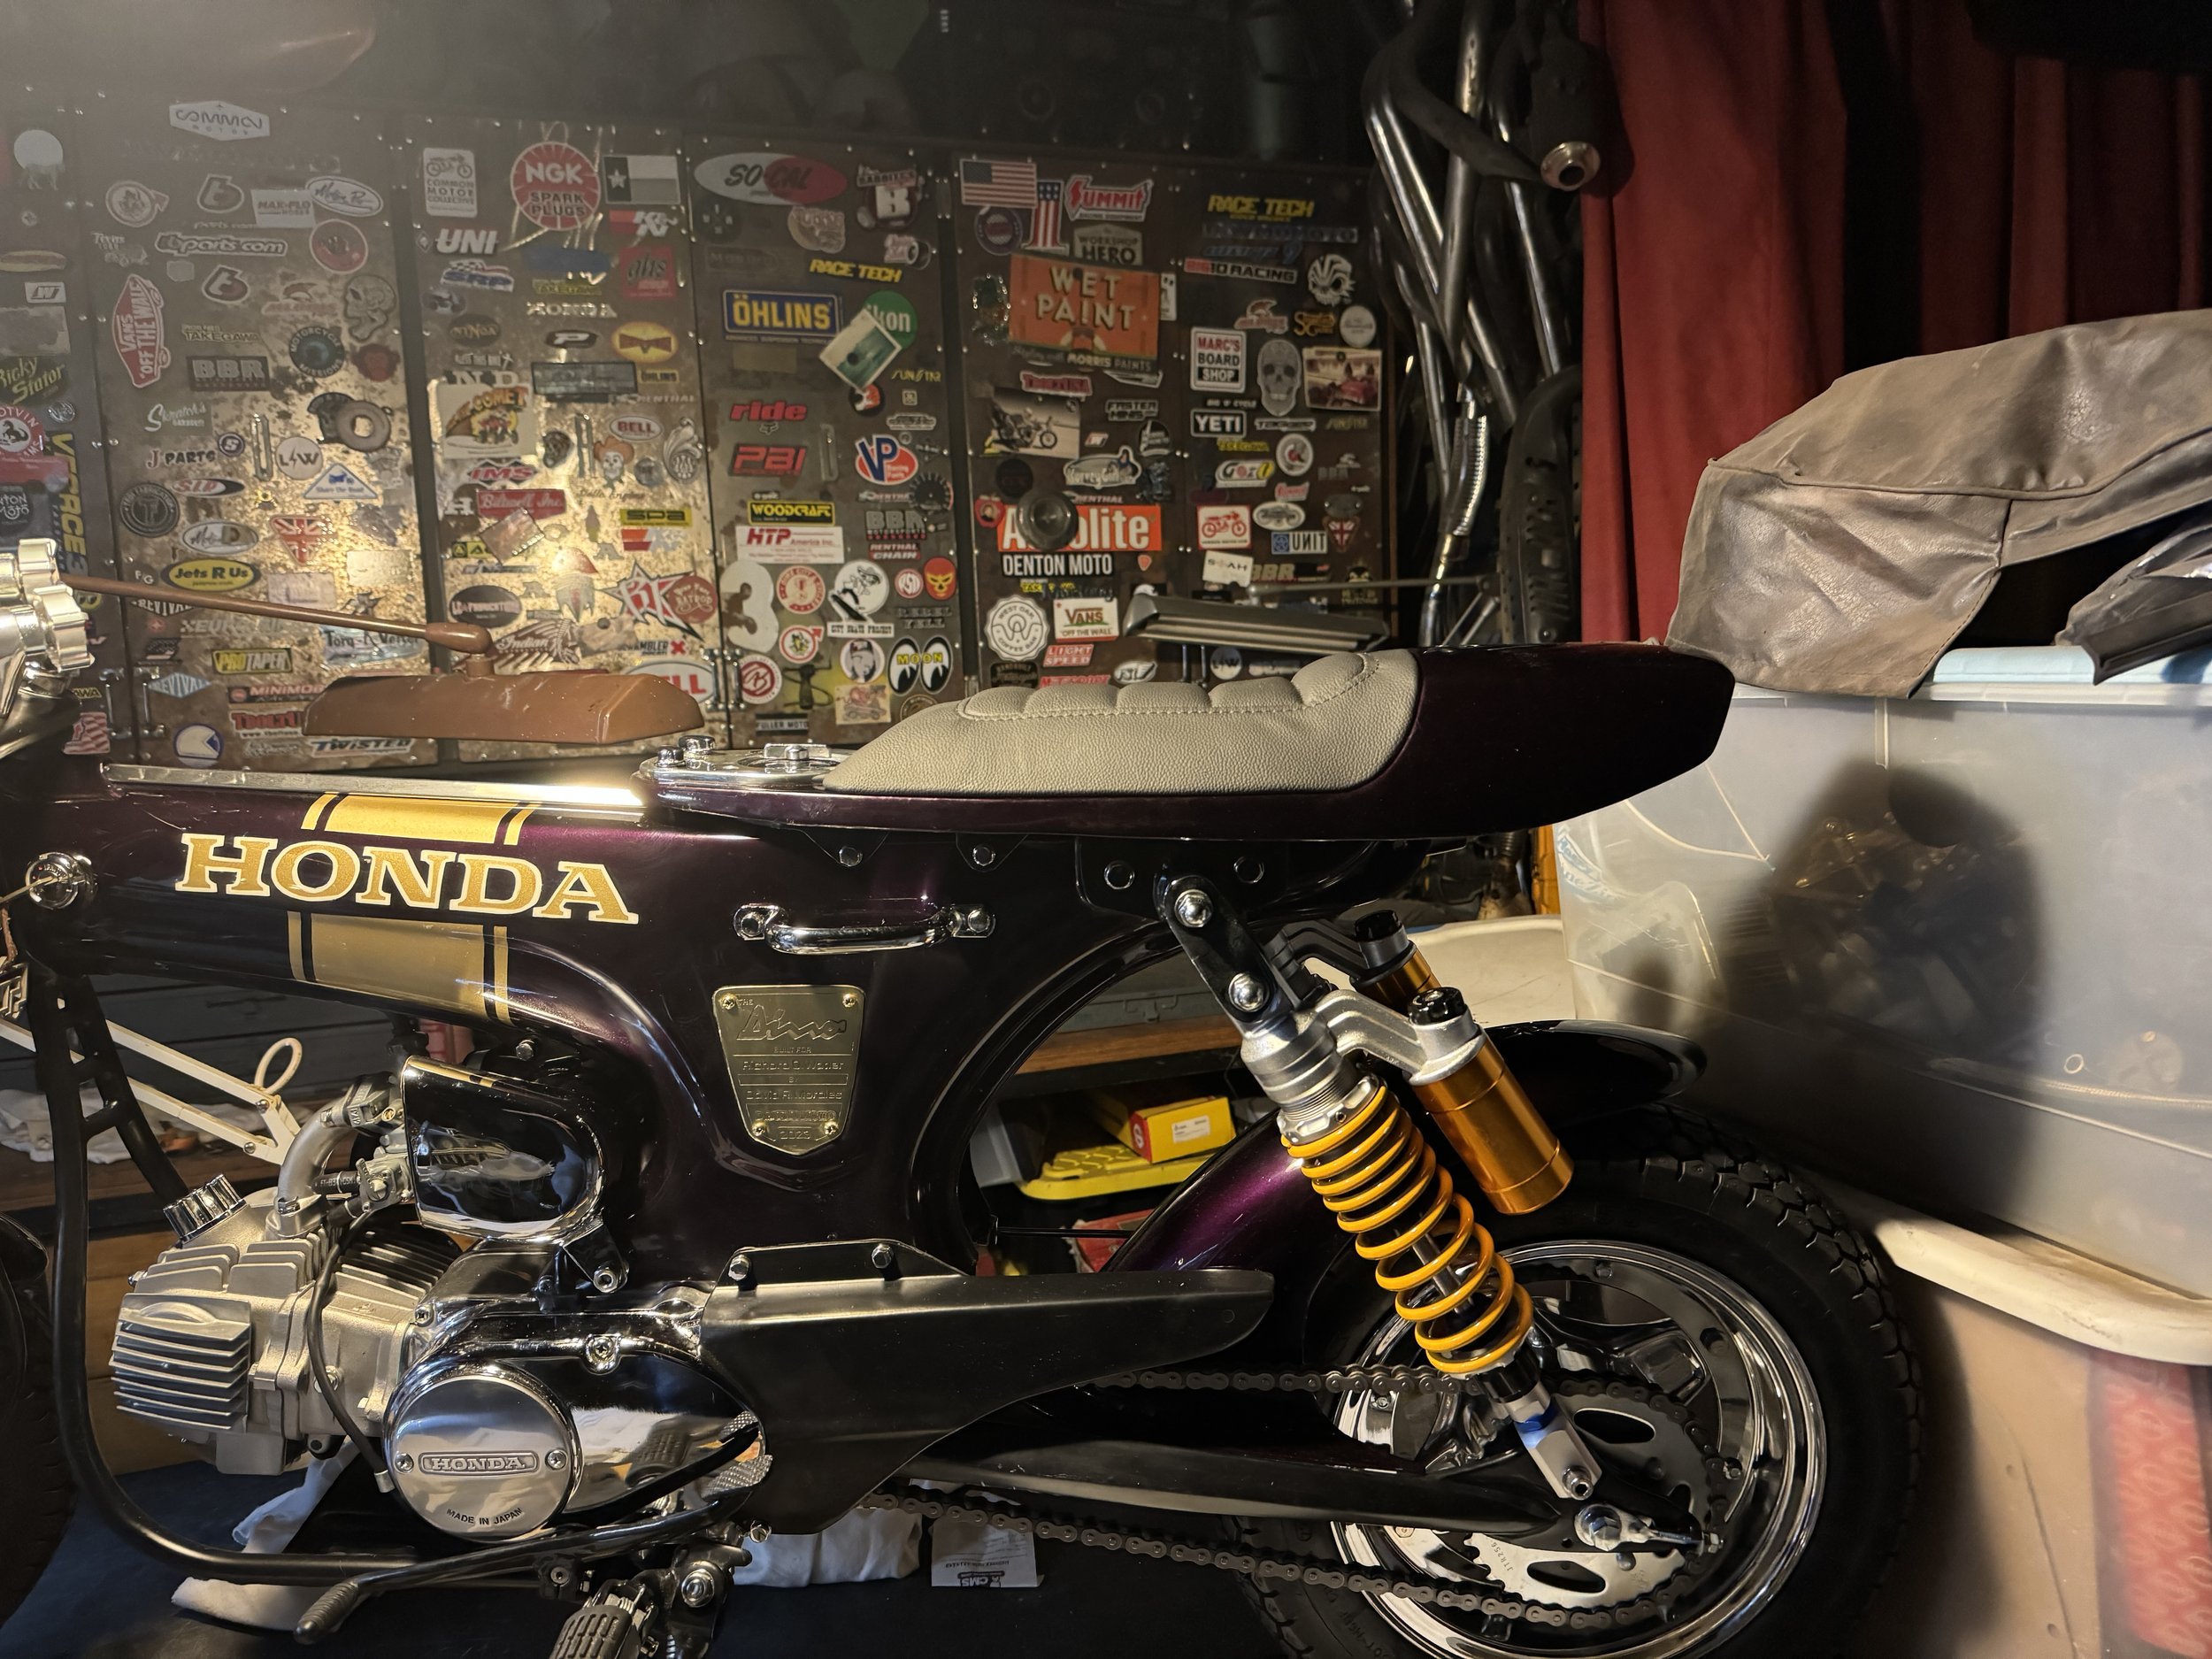
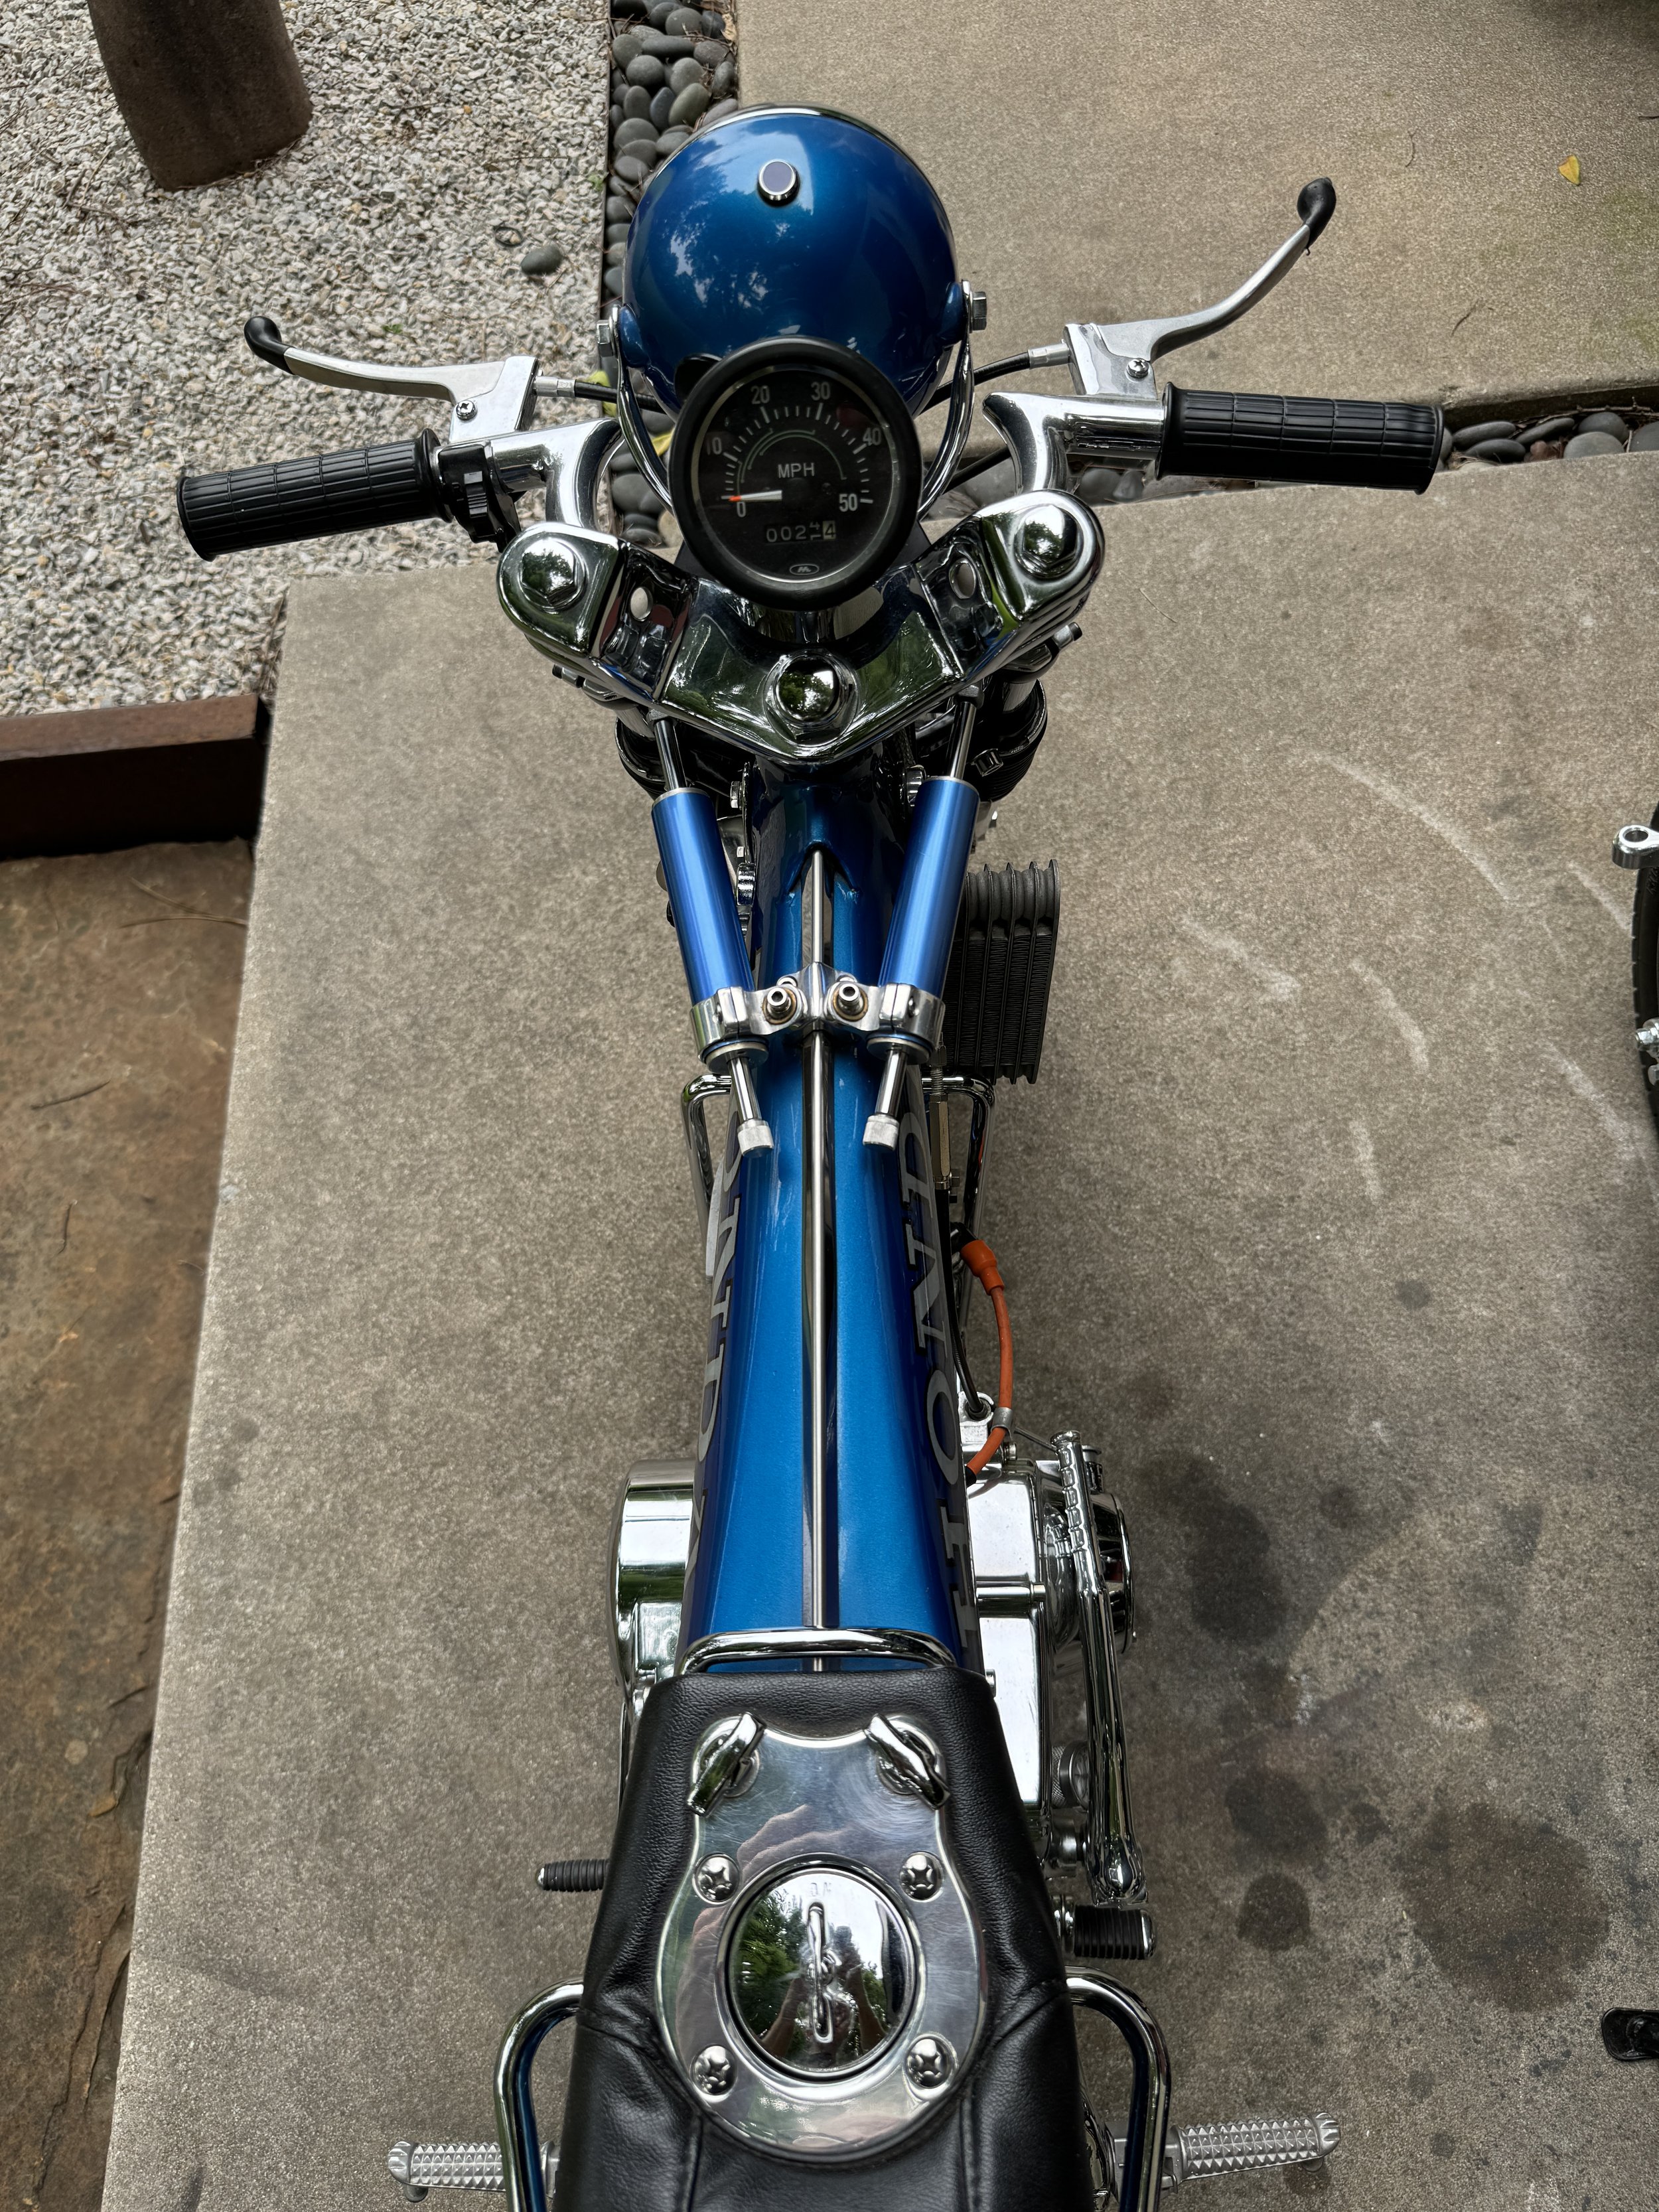
The LED tail light was made to echo the rectangular headlight. The green neutral light can be seen glowing on the speedometer.

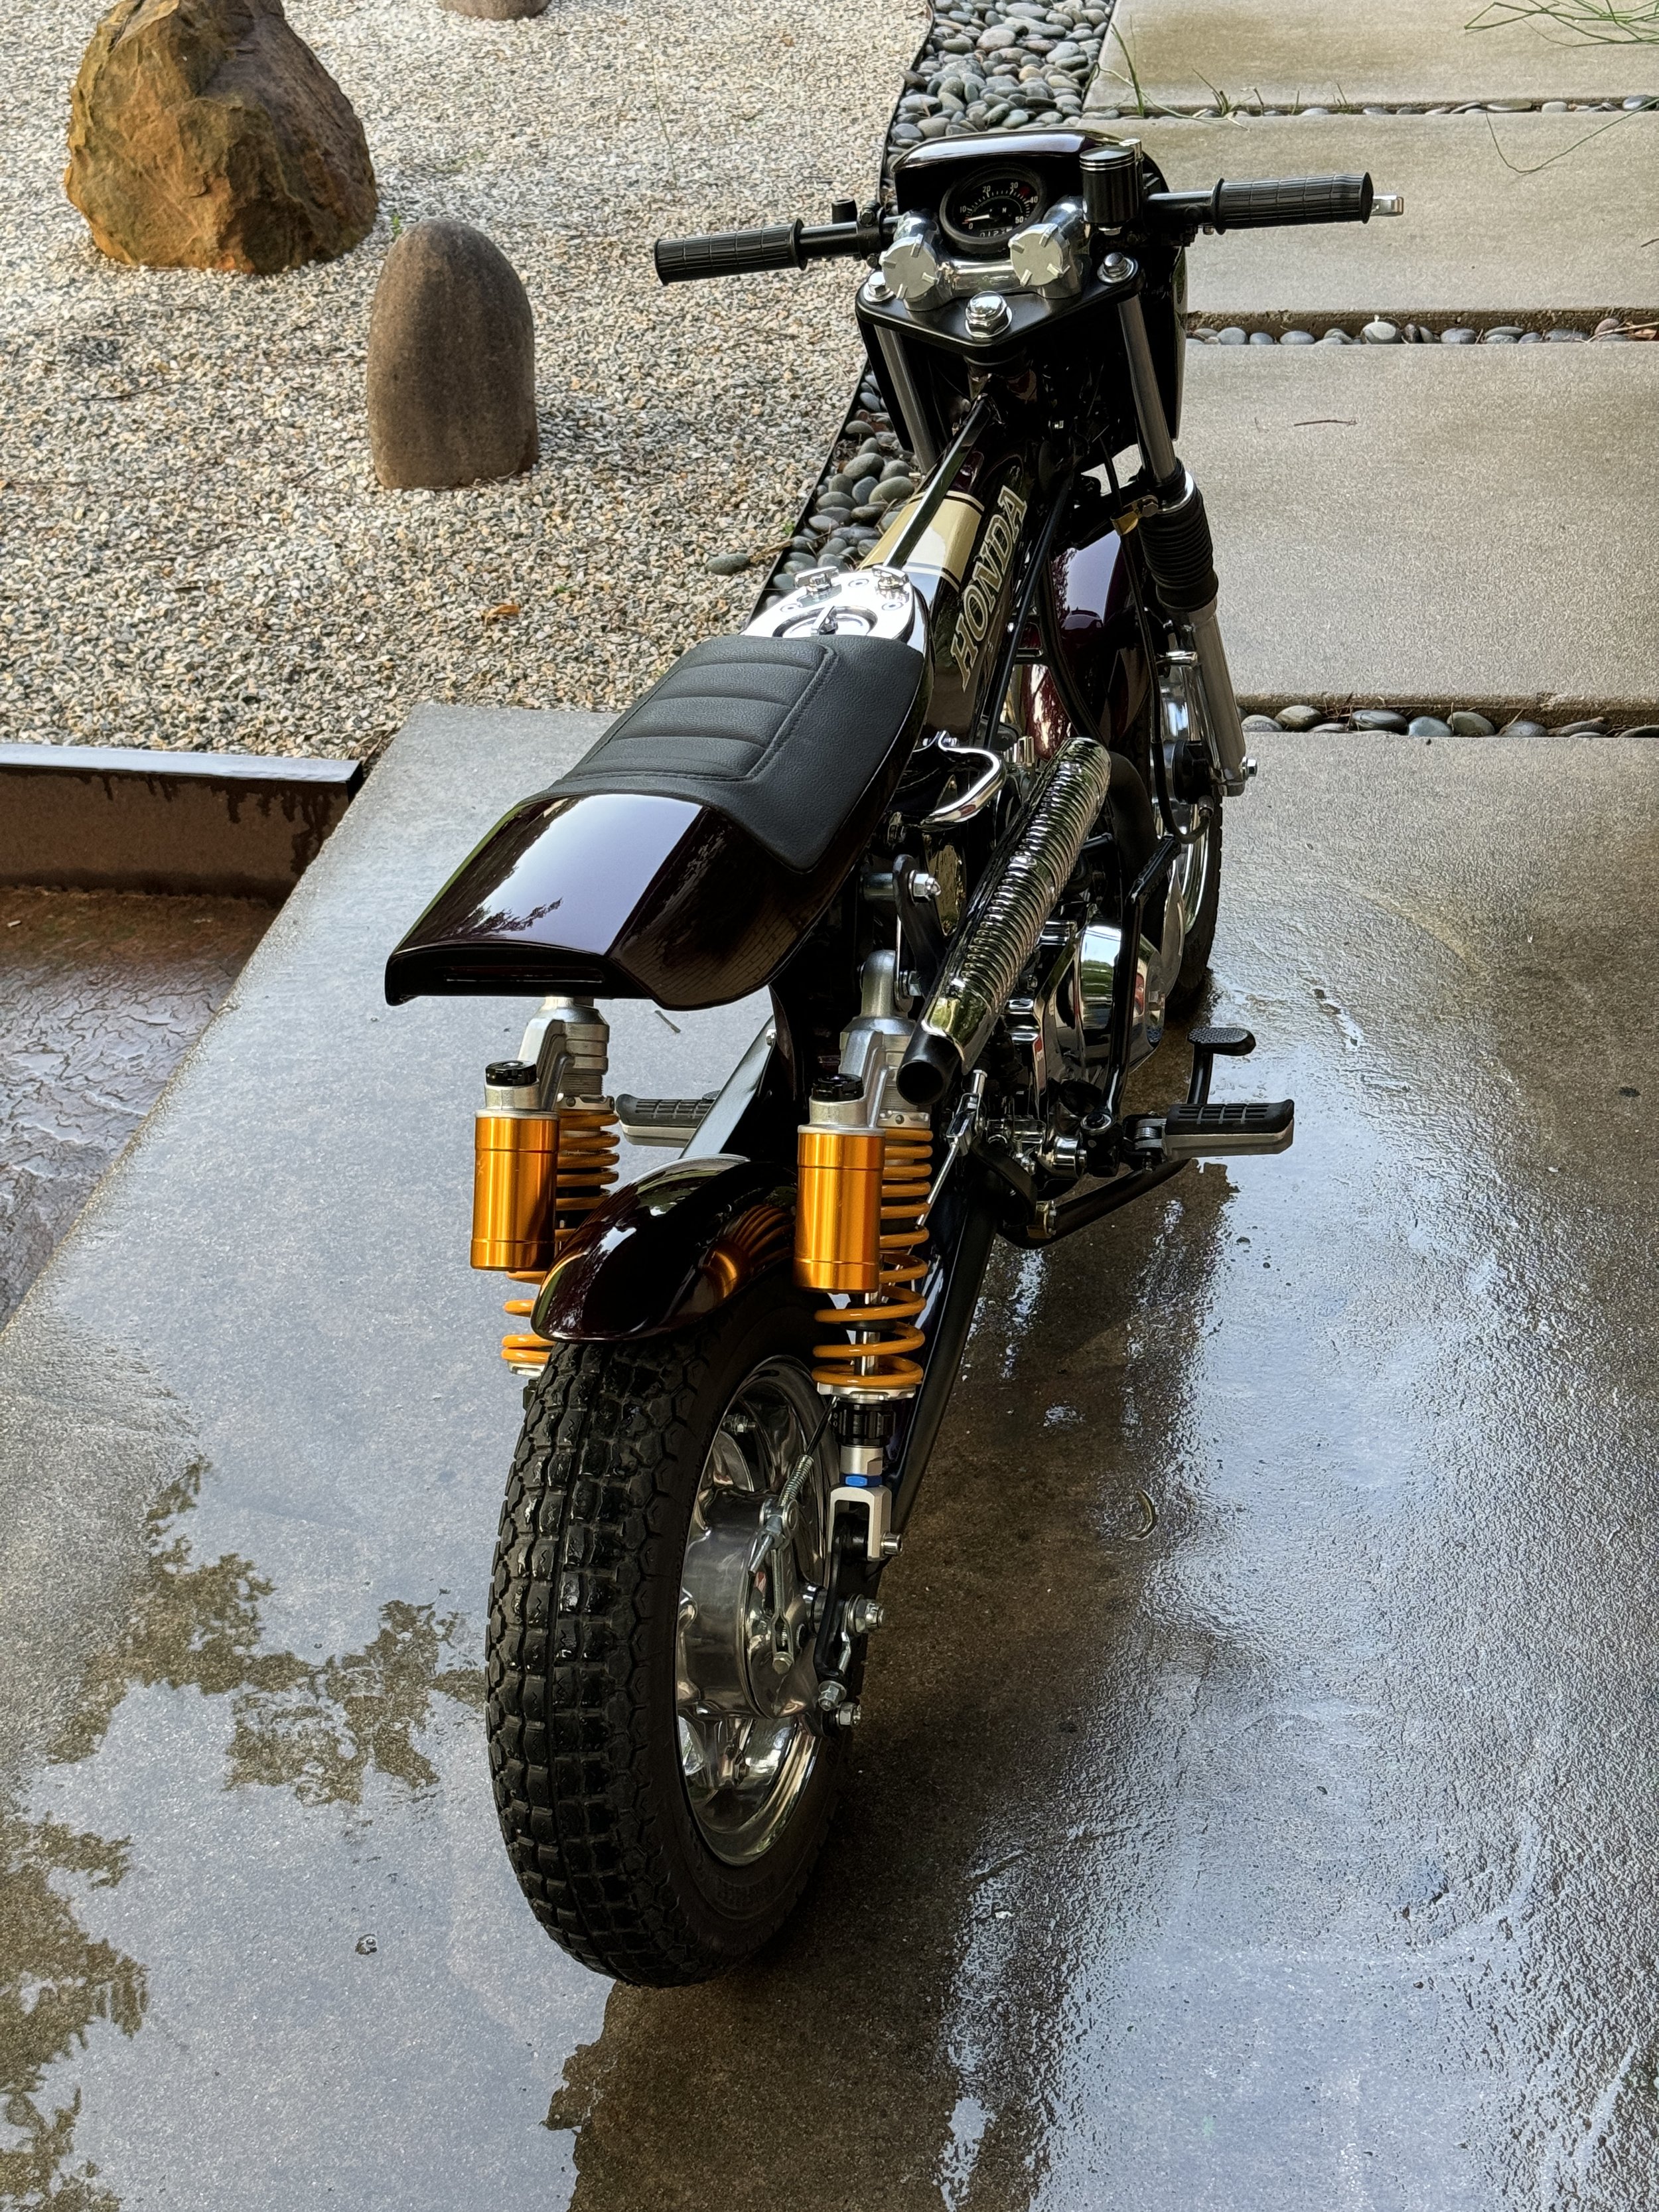
Even though the exhaust looks similar to the original, the heat shield was arched to make it thinner, and the canister was formed to match. The shield was also turned around and given a hidden hook bracket to secure the rear portion tight to the canister.

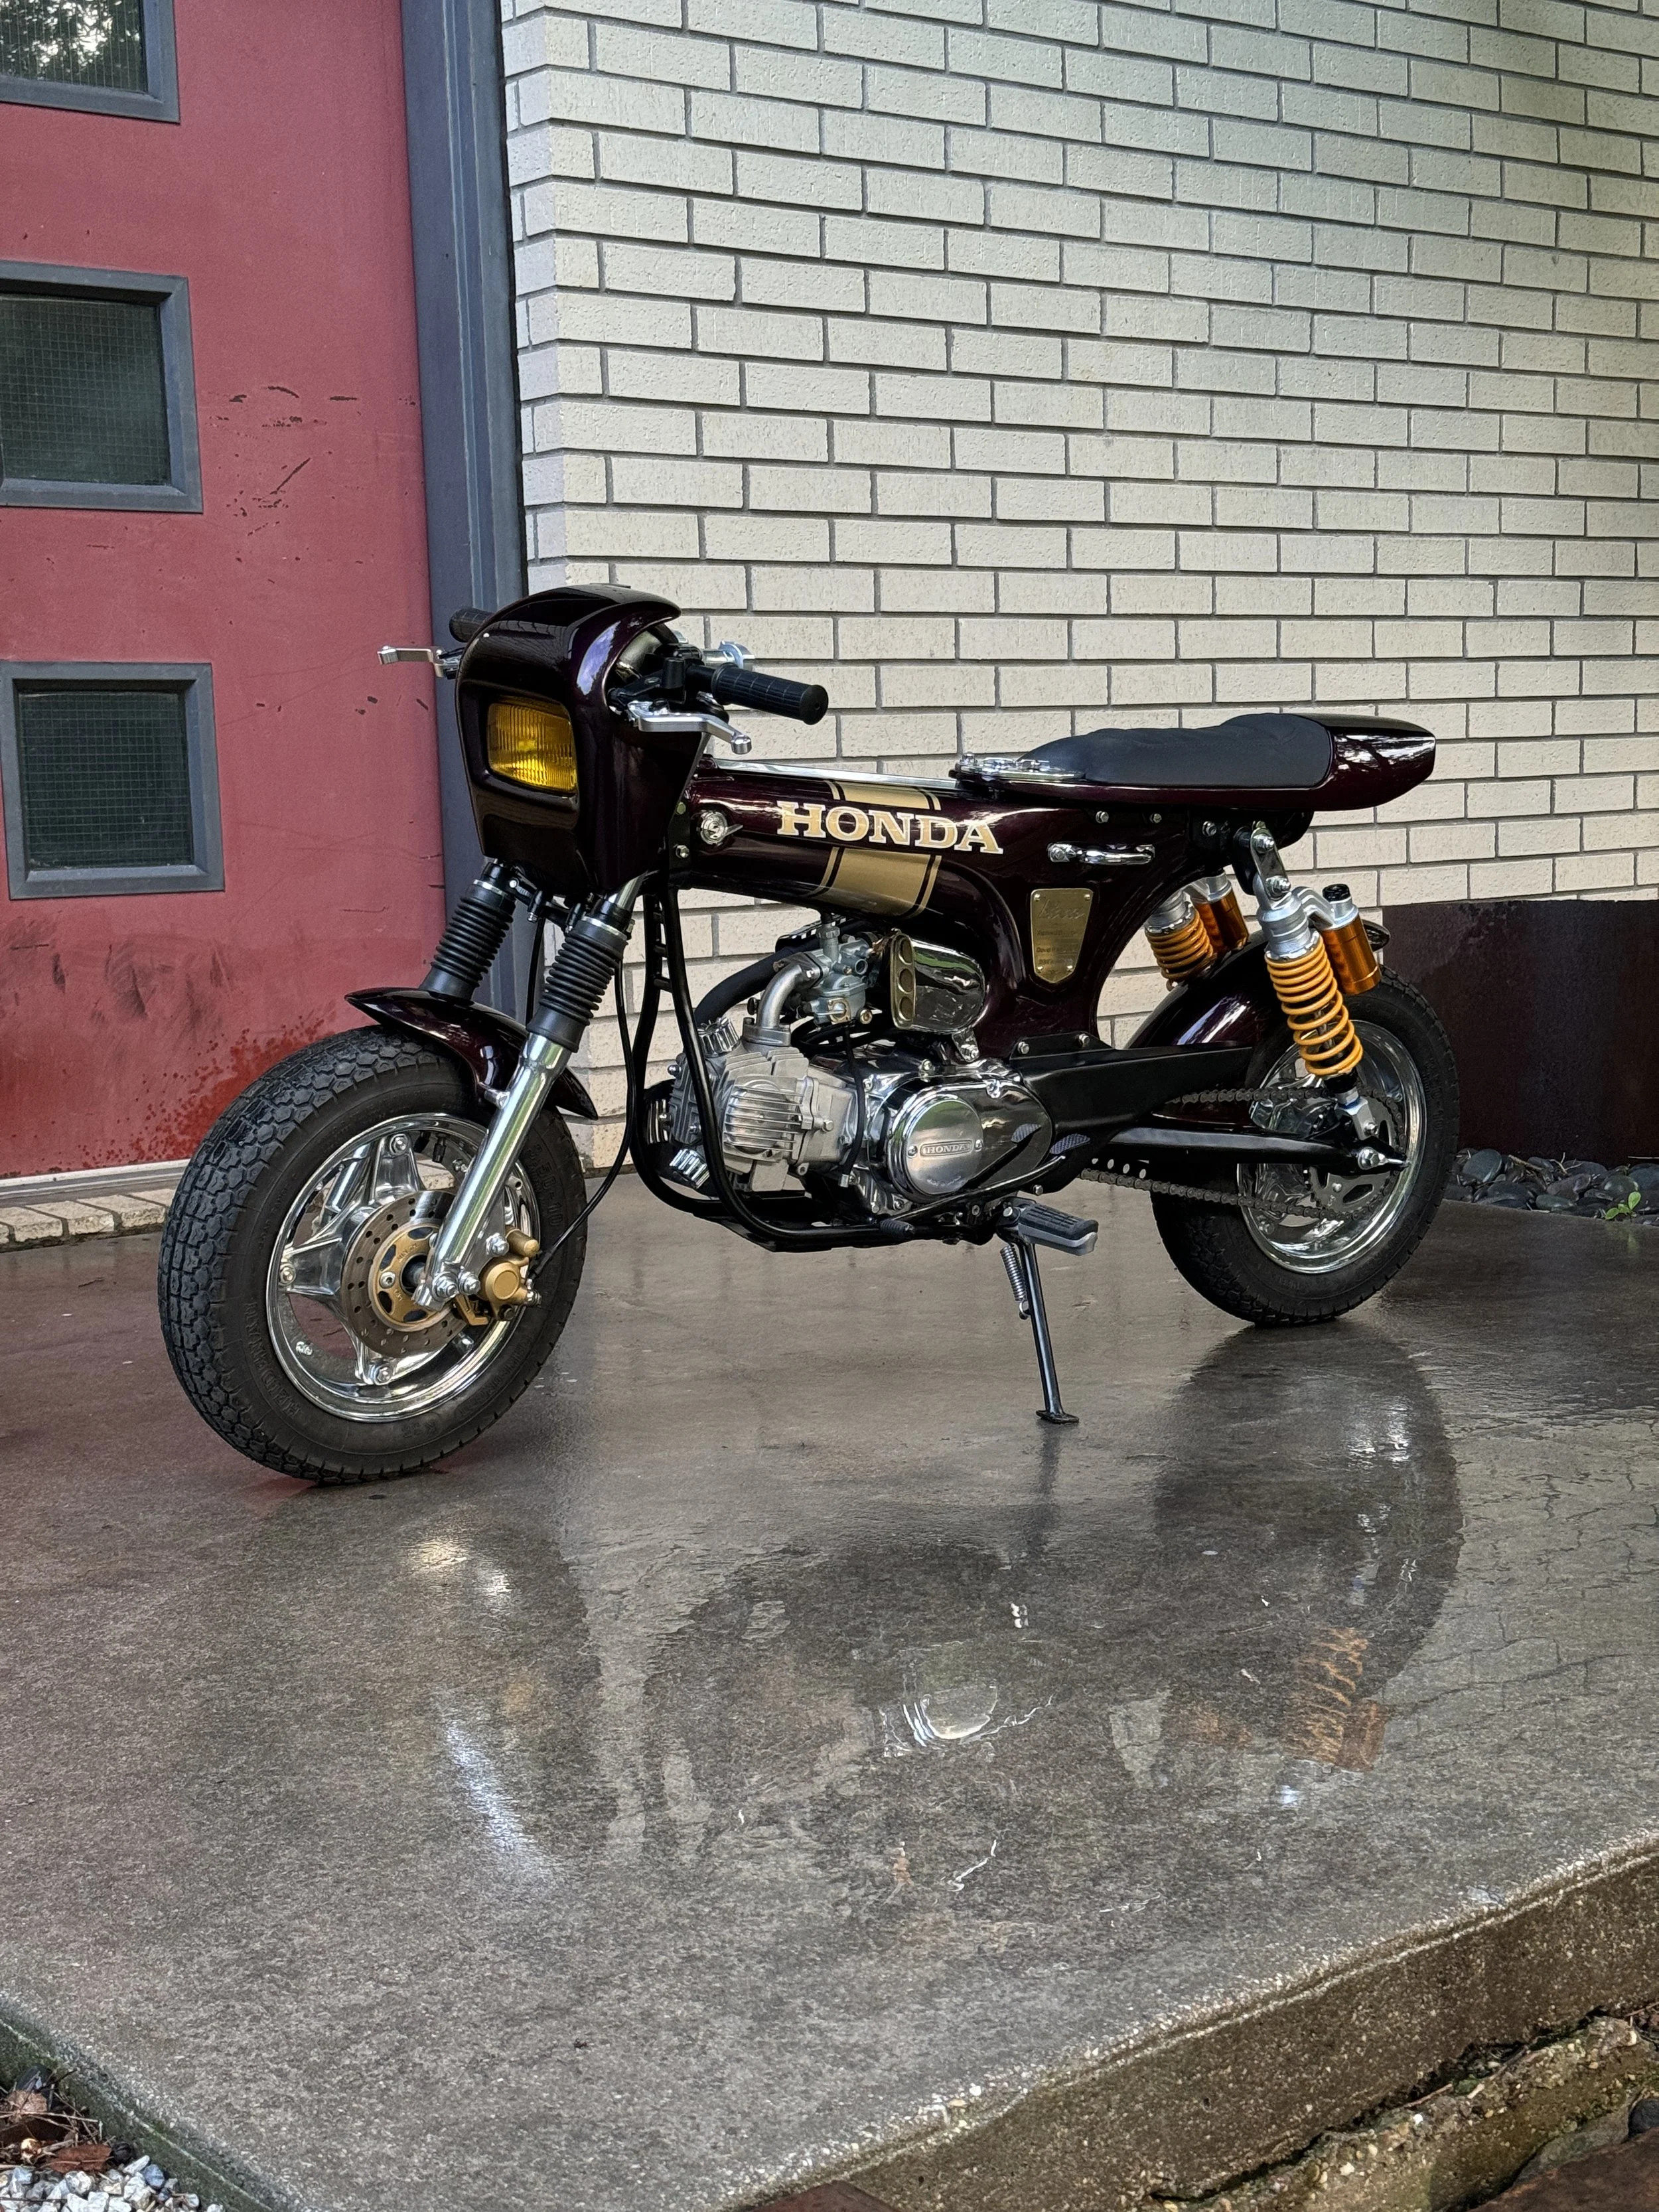
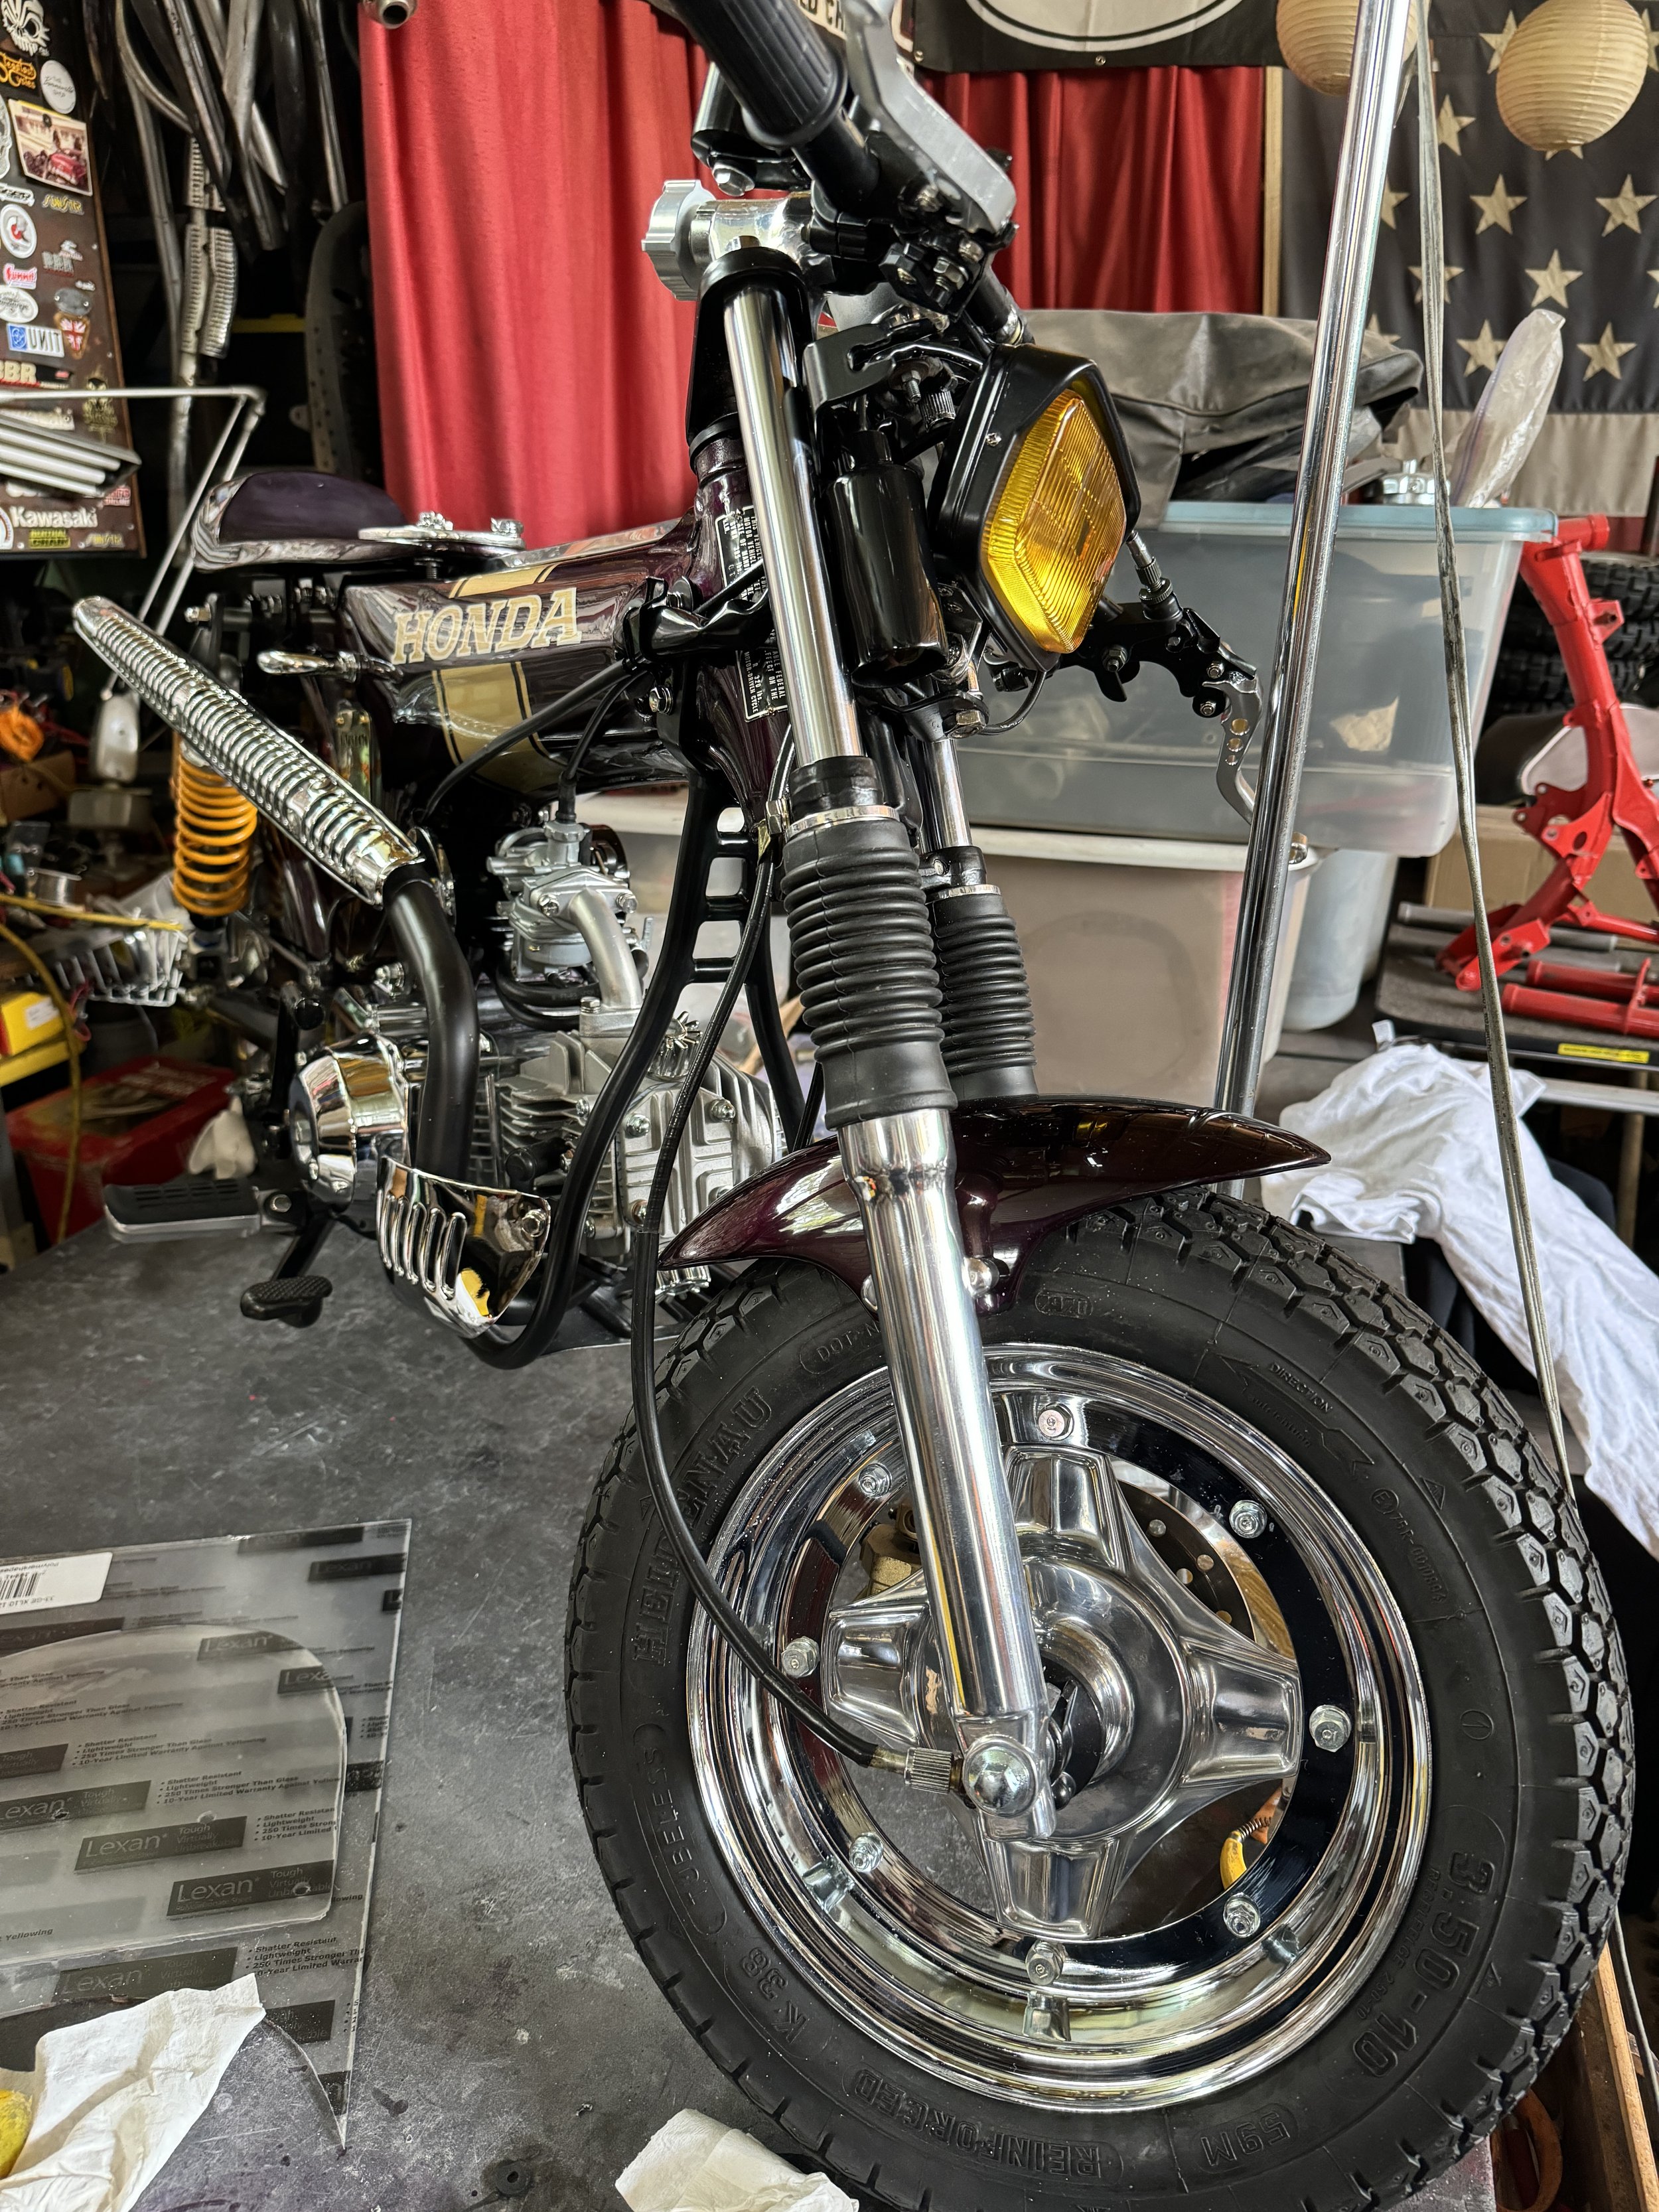
With the long swingarm, the lowered shock mounts and shortened front fork tubes were necessary to keep the stance right.

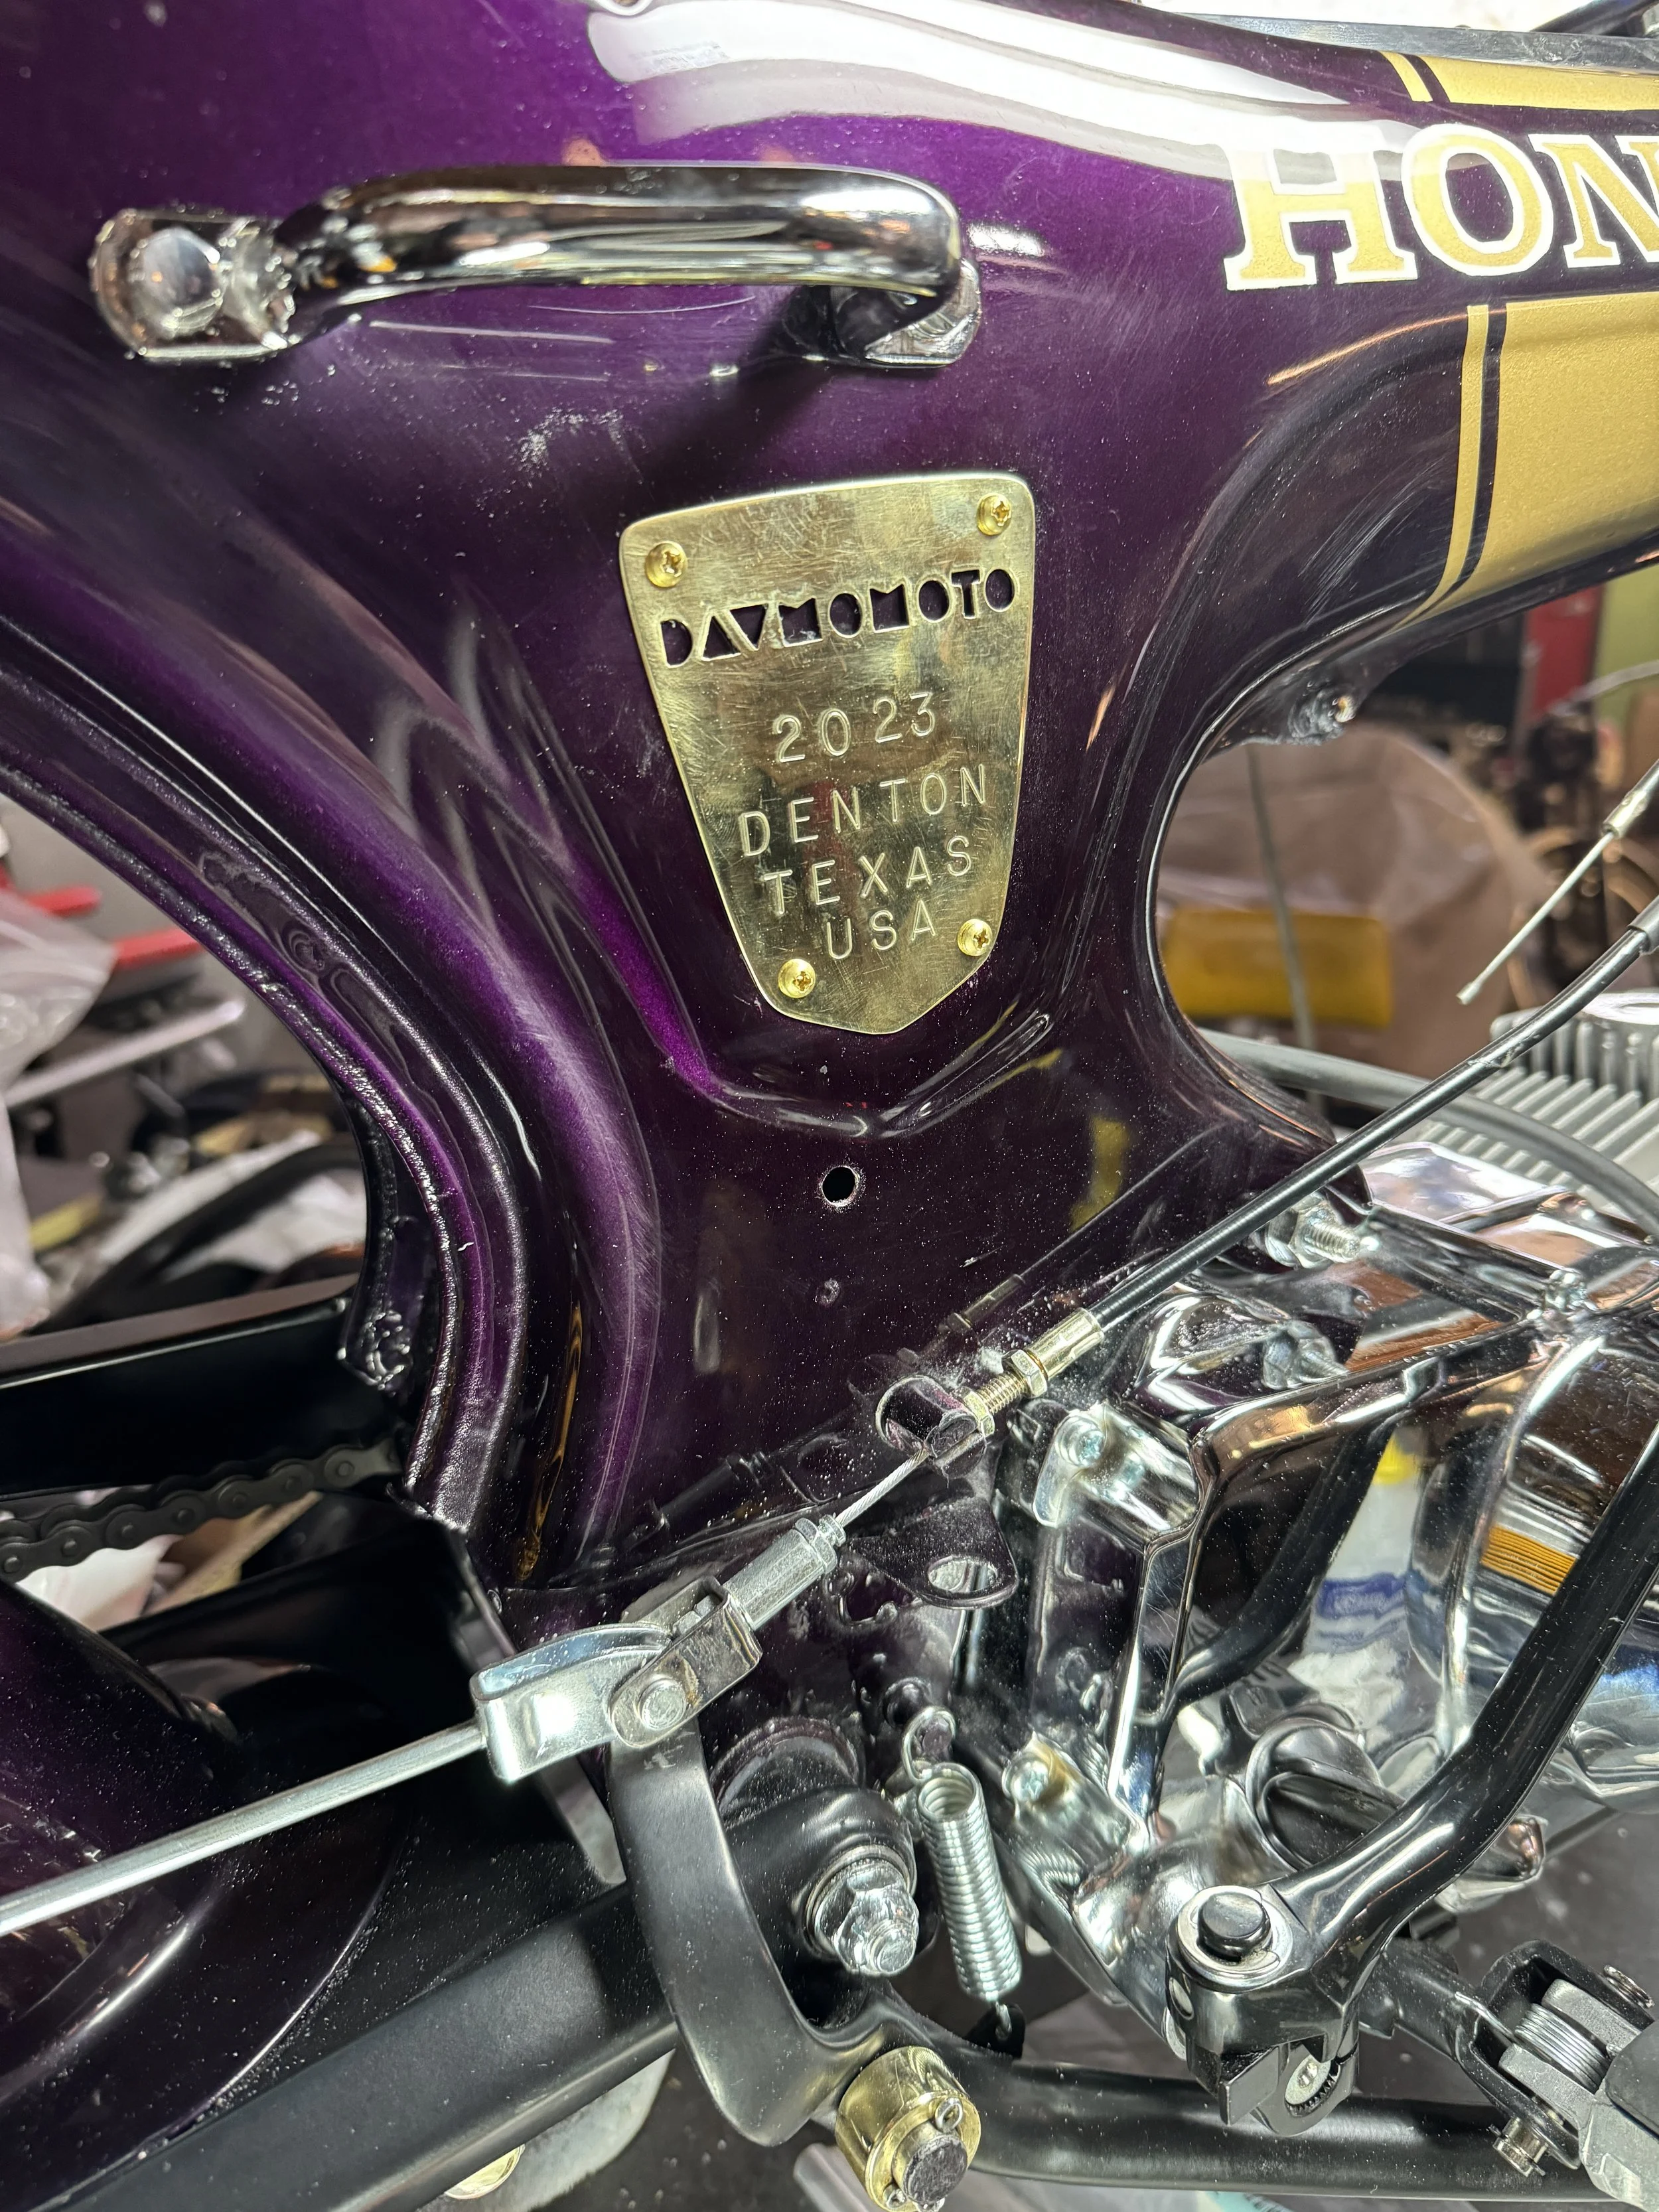
The Dino with the CT117, the inspiration for this build. Built thirteen years apart, the Dino has a lot more hand formed parts.

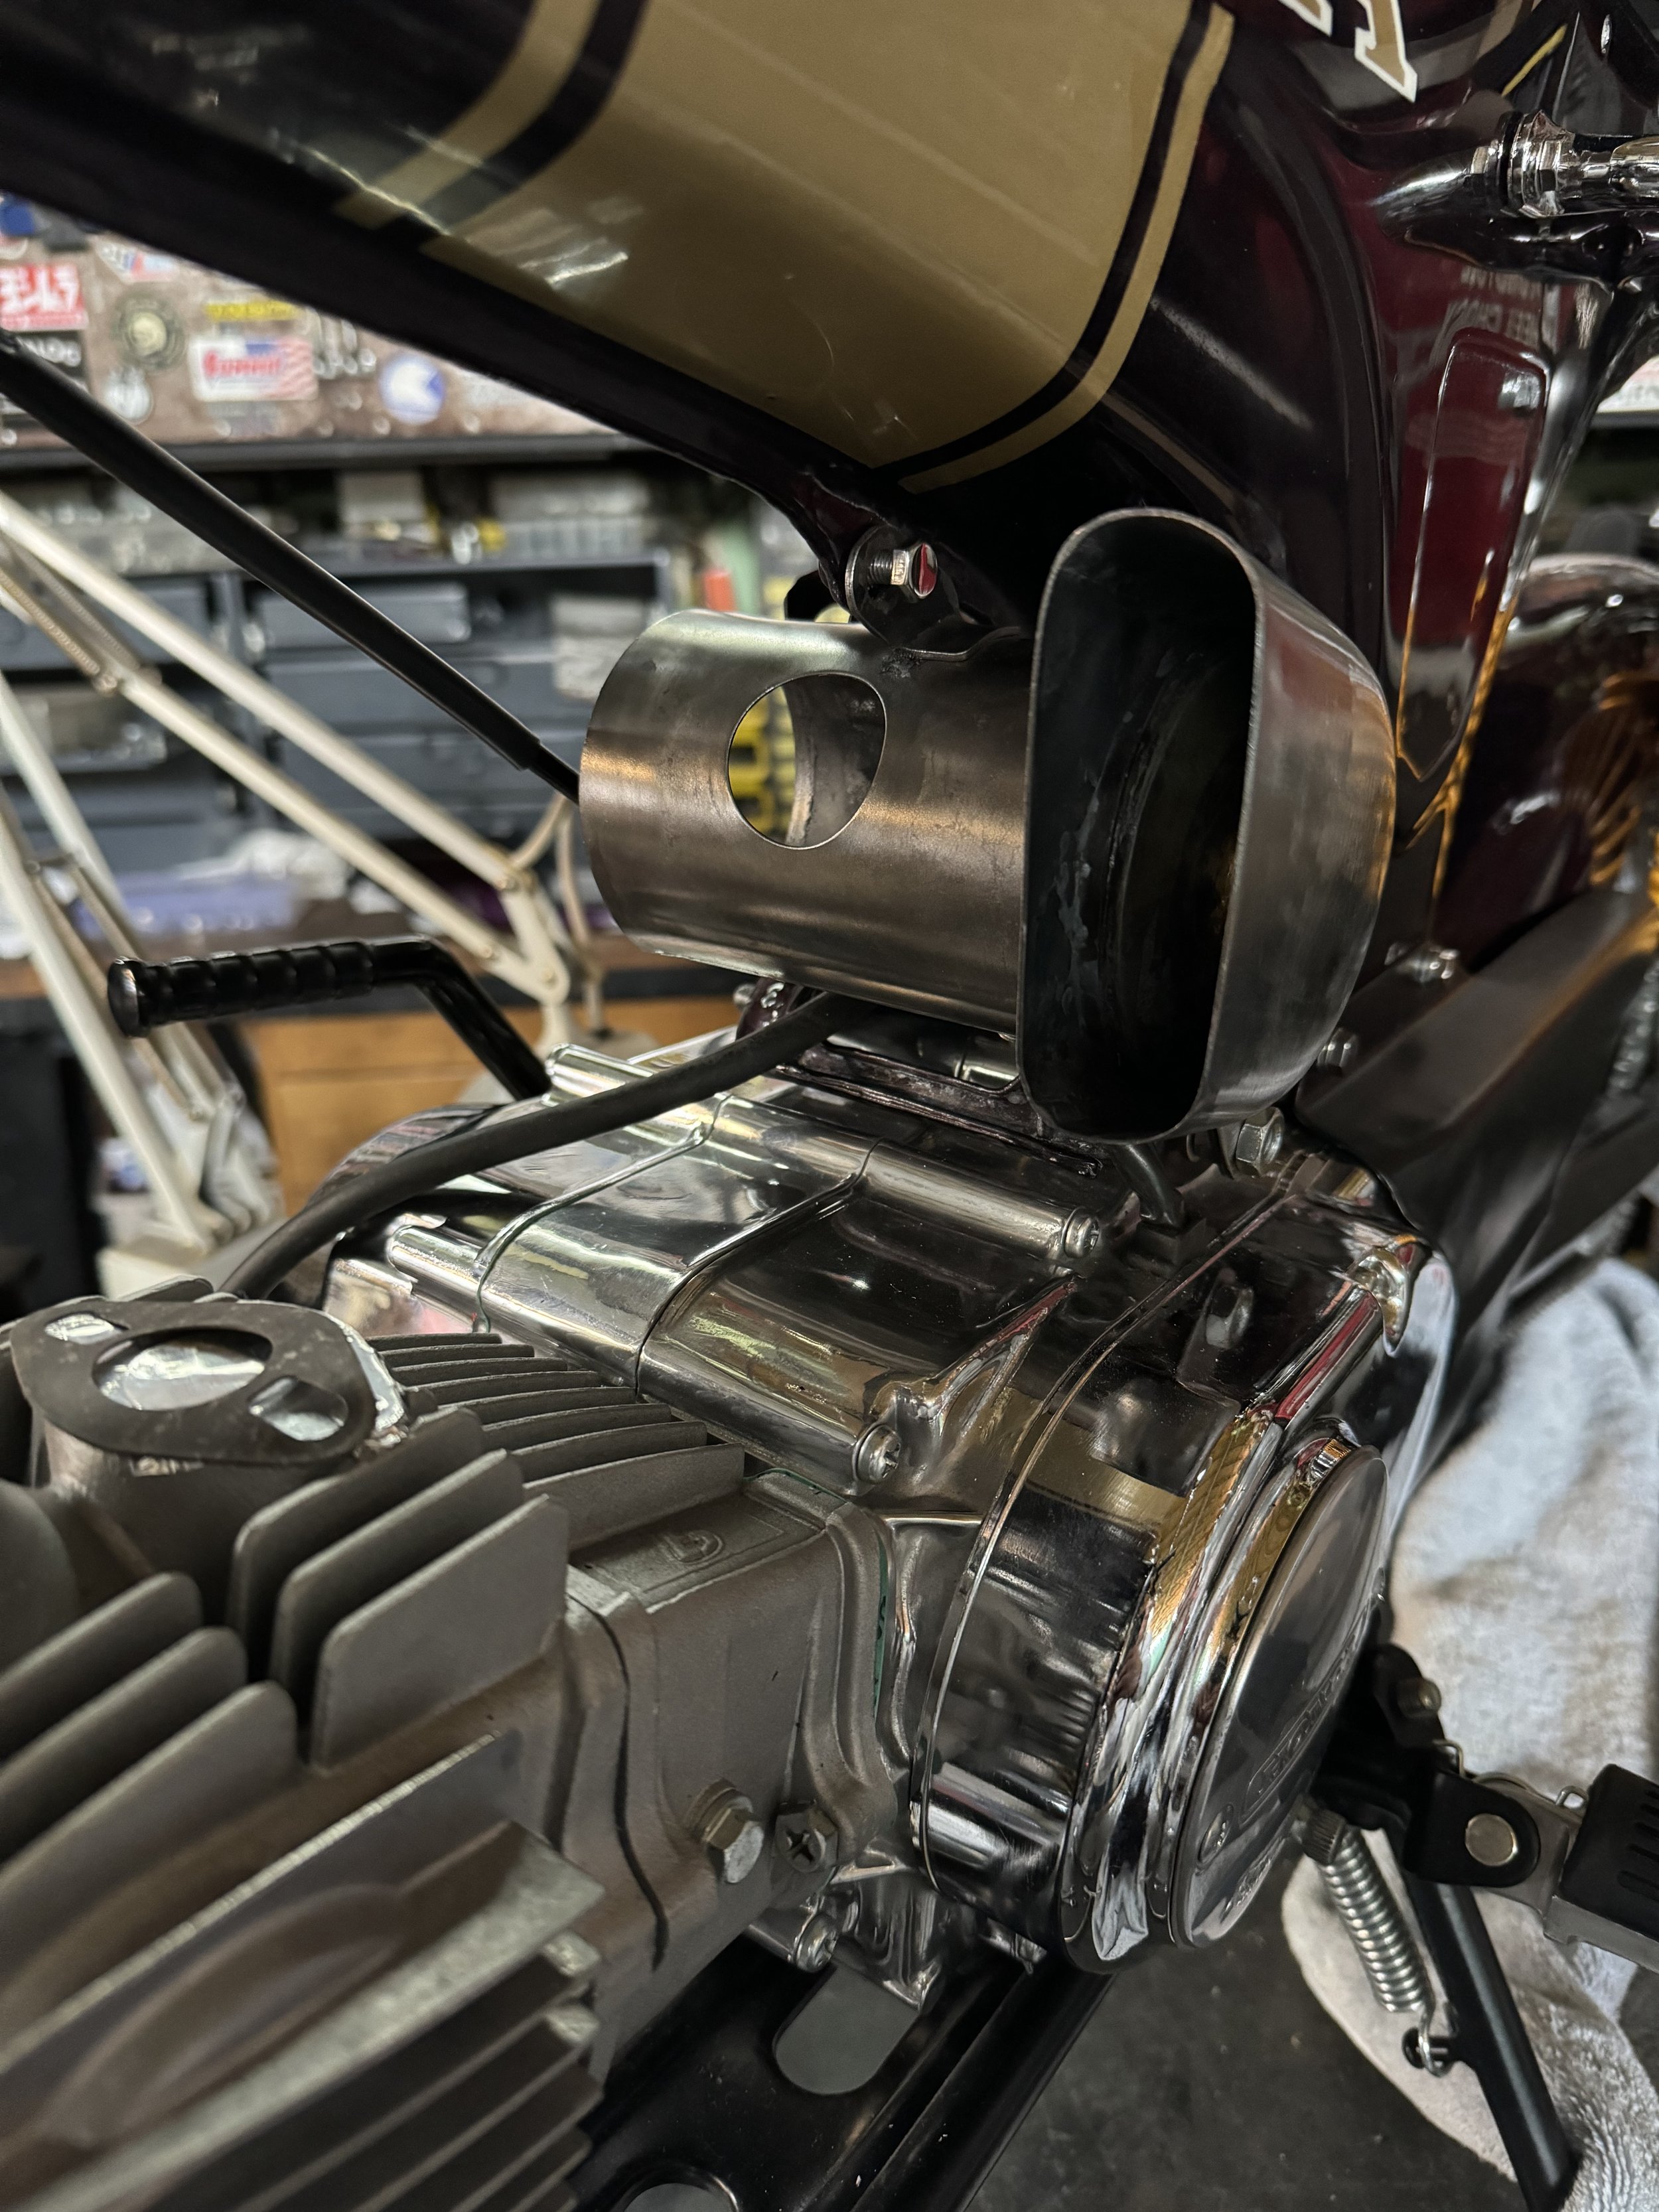
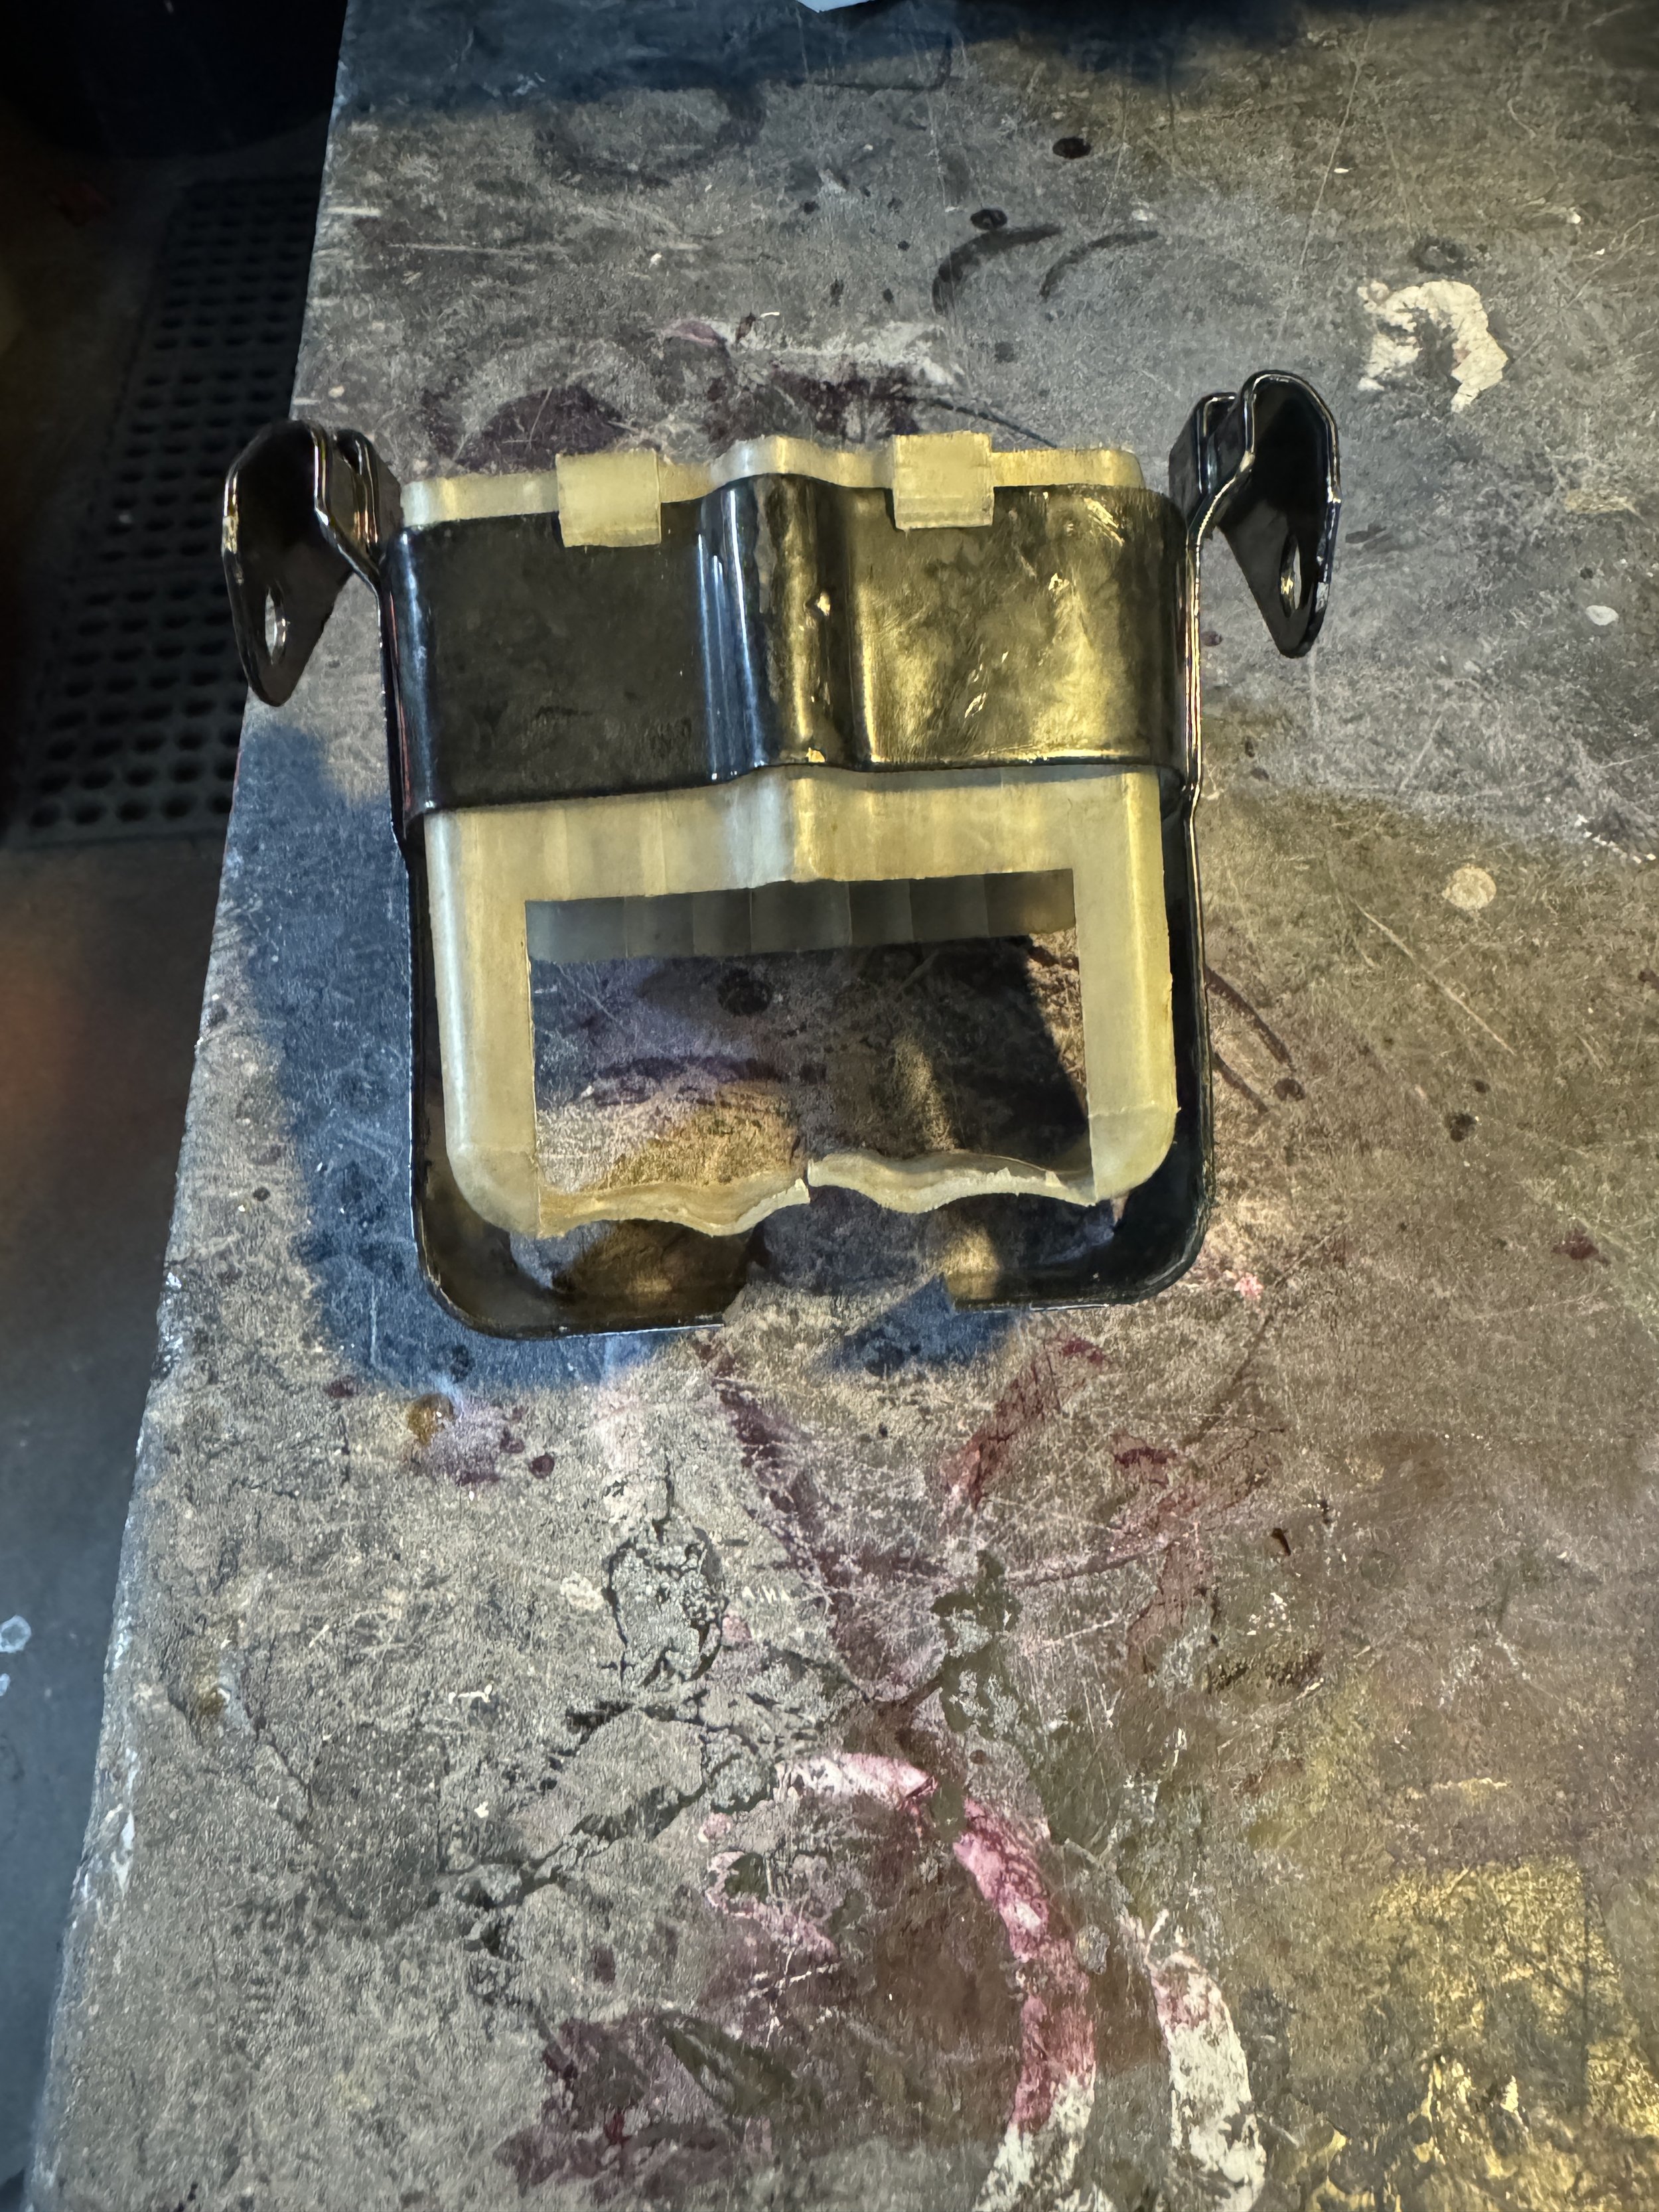
Just showing some of the similarities in the designing for these bikes. A forward facing scoop on the CT117 was one of the signature features…

…the Dino scoop is also forward facing. In the case of both designs, I can find no other similar examples online. This scoop attaches to the stock air box.

Another unique feature was the rear hinge on the seat, and the gas cap poking through the front.

A similar aluminum sconce fits around the Dino gas cap, and uses the same front thumb screws to secure the seat.

The source of a great deal of grief. When I went to start the engine, it would only run at high RPM, and carburetor adjustments, jet changes, and an entirely new carb had little effect on the running. After several weeks waiting on the carb parts, checking the wiring, coil, and engine valve timing and clearances, searching for intake air leaks, fuel starvation, and a load of other stuff, I finally remembered a similar engine starting problem. It reminded me of a similar problem getting the Cabracer 360 bike started. In that case, an aftermarket ignition set-up was misaligned, and scored the rotor. A quick check under the flywheel showed a score line on the flywheel. In the case of both engines, they would fire intermittently, but could only be kept running at high RPM, and were transformed to normal starting and running with new flywheels. This engine has a 12 Volt conversion with CDI ignition, which uses the magnet position to sense flywheel location., as was the one on the Cabracer 360 engine. My theory is that the score line produces a slight bit of magnetism in the aluminum portions of the flywheel, and confuses the sensing enough it cannot run right.

Detailing out the 1974 CT70 Dax Custom

A million details. Going down the checklist of each job, working out the electrical, mechanical, and cosmetic details. Most everything is done, aside from starting and tuning the bike.

Always interesting to see the color scheme playing out. Trying to find the right balance between chrome, black, wild cherry, and gold colors was challenging. There is part of me that would like to see the gold stripe on the fairing and tail section, but it might make things a little too busy.

Always close to the end, the badging has to be done. There are two locations on the sides of the bikes, where the original foil sticks went, that are perfect for some badges, This is on the right side, largely concealed behind the muffler. The logo at the top was made like the badges on the CT117, piercing the metal plate to make the letters. The rest was done with simple letter stamps. A more refined one was made for the other side.

This badge was done by Master Engaver, Wade Oliver Wilson of Mansfield, Texas. He has done engraving for quite a few of my builds, and always knocks the ball out of the park. The “Dino” script is from the Ferrari model by the same name, but meant as a nod to the owner of the bike who goes by Dino. The purple paint matching Dino the Dinosaur’s color was a coincidence, but it works!

A scoop on the side of the stock airbox was a last-minute addition. Using another component reminiscent of the CT117 build was part of the reasoning, but the truth is I have been thinking about this mod for years, just didn’t have the right bike to try it out till now. The CT70 is a challenging bike to customize, in my opinion, because of the unique frame, swingarm, and oversize tires.There are clearances with the chain, rear fender and wheel that do not allow too much variation.

Prior to going to the chrome shop. The scoop fits tightly with the screw from the center of the airbox, and the bracket that goes to the usual airbox mount.

The design of the scoop was influenced by the curves of the frame. Though the angle of the scoop opening looks a little sharp and angular, it appears to be more vertical from the front.

A brass insert with mesh filter was added to complete the design. It is a friction fit and can be removed easily. once again, a little more of the gold color to accent some of the darkness.

Another detail from the CT117, the filler neck of the tank, poking through the seat.

Just needing the front fairing to be complete up front.

Some of the more mundane parts of the build, the rubber packing in the original carb needed to be replaced. This is a common place for leakage. Glad to catch it now. The rest of the carb was cleaned with ultrasound and vapor honing.

Another detail that needed attention was the battery box. With the engine’s electrical system being changed over to 12 Volt, a larger battery was needed. The closest size was slightly too large, so the box was bent and cut to accommodate the larger size, plus some cushioning.

The corners of the box were rounded off on an anvil, making it wider, side to side, and longer on the bottom. The mounting brackets were also re-formed to make the wider box fit inside the frame. The overall effect was to lower the battery 3/4”, to clear the seat pan.

The first look at the seat cover. Still some fine tuning to get it just right, but liking the overall look. The gray color is an optical illusion from the lighting. It is actually a traditional black.

The shot from above shows the smooth transition between the body and seat lines.

Painting the 1974 Honda CT70 Dax. Chapter two.

Read somewhere that successful people are not those who never fail, but the ones that keep trying after failure. That being said, I am trying to be successful. Still working on paint. This has been a master class in misery, reapplying paint for a third time, and still not quite sure its done. Thinking the end was near at the first of December, I went to clean out the holes on the body of the CT70 prior to the last coat of clear, and noticed some separation of the clear. Realizing it was also affecting the other body parts, everything was stripped back to primer by hand. The cause of the separation is still not completely clear, but probably has something to do with me using too much reducer, interactions between the House of Kolor and PPG paints, and cool temperatures in the shop.

This is early December. The graphics are done, and getting the body ready for the final coat of clear.

The separation was between the candy red and black base coats. Everything peeled off in a similar fashion on all the pieces, leading me to believe the incompatibility of the base coats, and too much reducer in the candy layers could be the culprit.

The amount of time that went into blocking out the clear three times, only to rip it off still smarts a little, but it had to be done.

At least it all came off uniformly. At this point, the guys at the paint store were advising to take off the base coat layer, and spray again.

Still in need of some detailing. After a lot of hand sanding, there were places where the sealer was sanded through, so I thought it best to re-seal the parts.

Here, the remainders of the sealer coat, tinted pink from the base coat, is seen. Every bit of it was sanded off before the black epoxy sealer was applied.

The front fender, also dyed pink.

When the bike was painted the second time, the black base coat was switched from PPG to a House of Kolor black base coat, to reduce the chance of interaction. After the sealer (black epoxy,) base coats and a couple layers of clear were applied for the second time, it was blocked out to start on the graphics. While peeling some masking off, an area below peeled off, all the way to the old primer.…sigh.

A closer inspection shows some of the pink that penetrated through the original gray sealer to the primer. Out toward the edges, the black of the sealer can be seen, where it was adhered to the primer layer. The remainder of the paint was tested with tape, and this seemed to be the only place the paint peeled off. Nevertheless, it was stripped down, and re-sealed one more time. While stripping it down, the remainder of the paint was confirmed to be well adhered. Why it peeled in this area only is still a mystery.

This time, every last bit of pink was sanded off.

The black epoxy sealer was given extra time to cure before topcoat, with the cool weather we have been having here in Denton.

After color and some clear, here is the third round of graphics getting underway. The graphics are all done by hand, and take some time. Hopefully, the third time is the charm.

We’ve been here before.

The gold and a couple layers of clear were blocked out before the Wimbledon white trim was added to the lettering.

“Feels like deja-vu all over again.” Another couple layers of clear, and it will be on to cut and buff!

Fortunately, the other pieces look fine after their re-paint. They were also tested with tape for any lifting, and passed. These pieces have had a couple weeks to cure in the heated upstairs room of the shop.