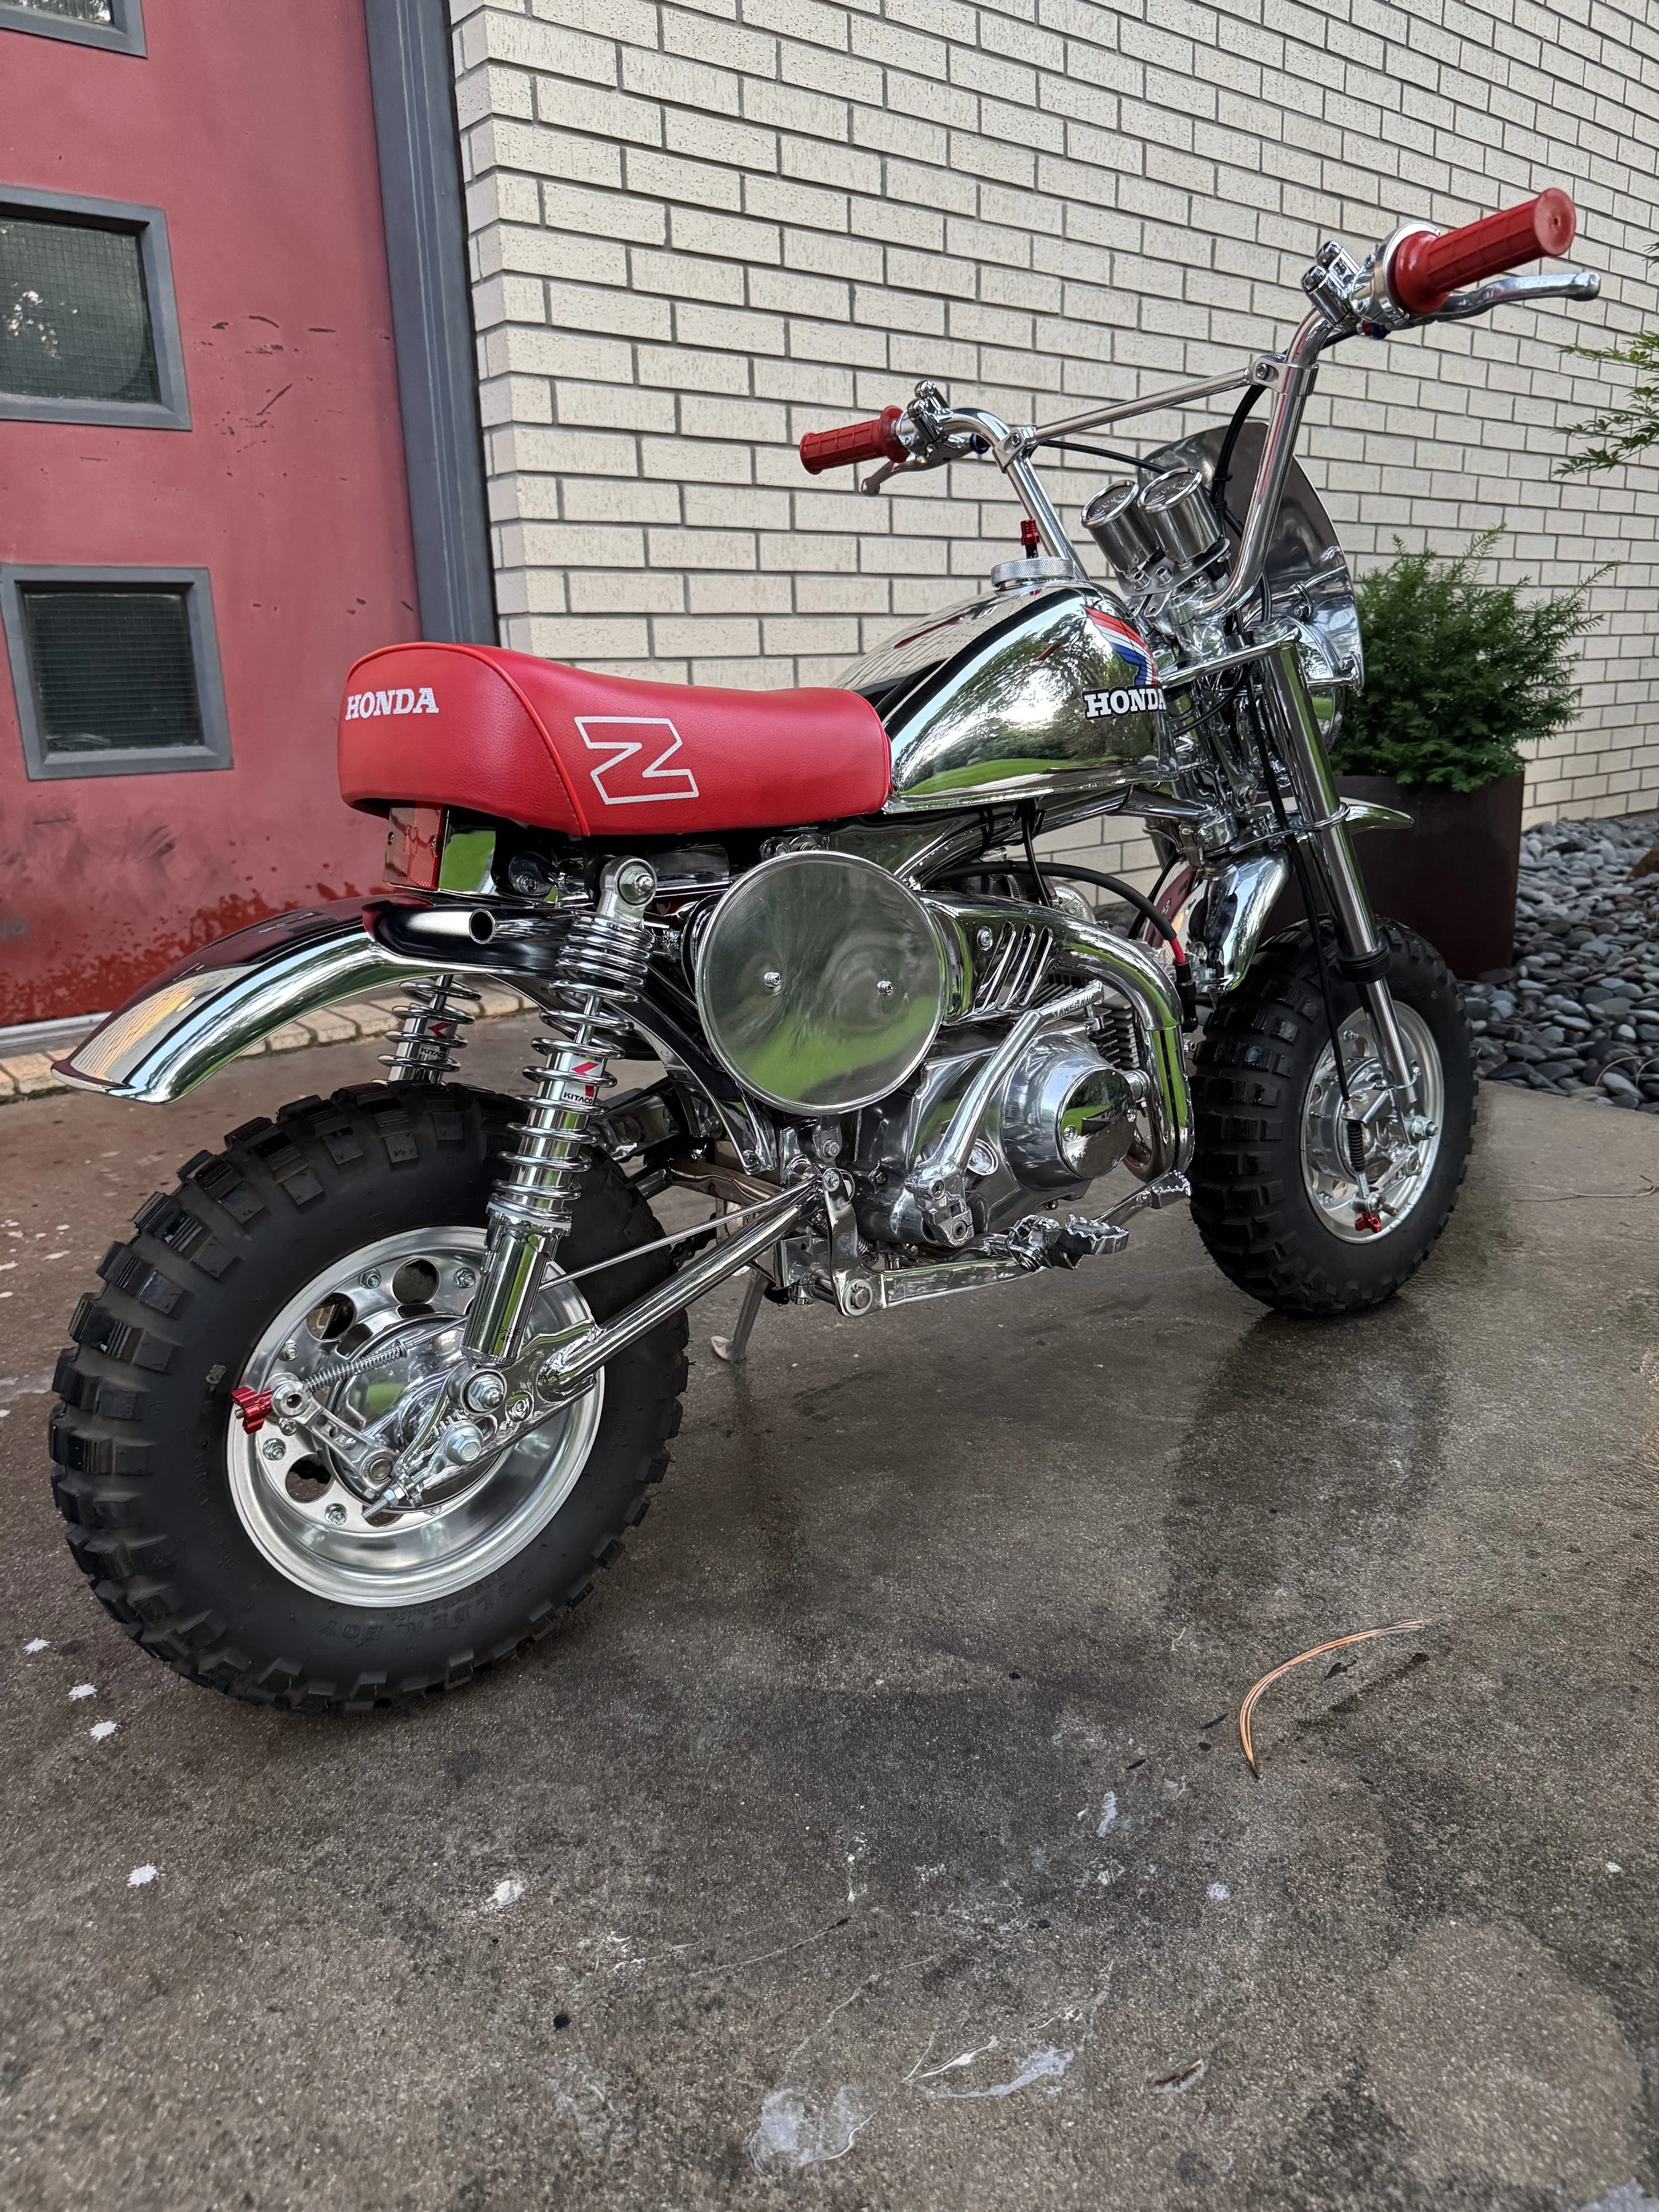
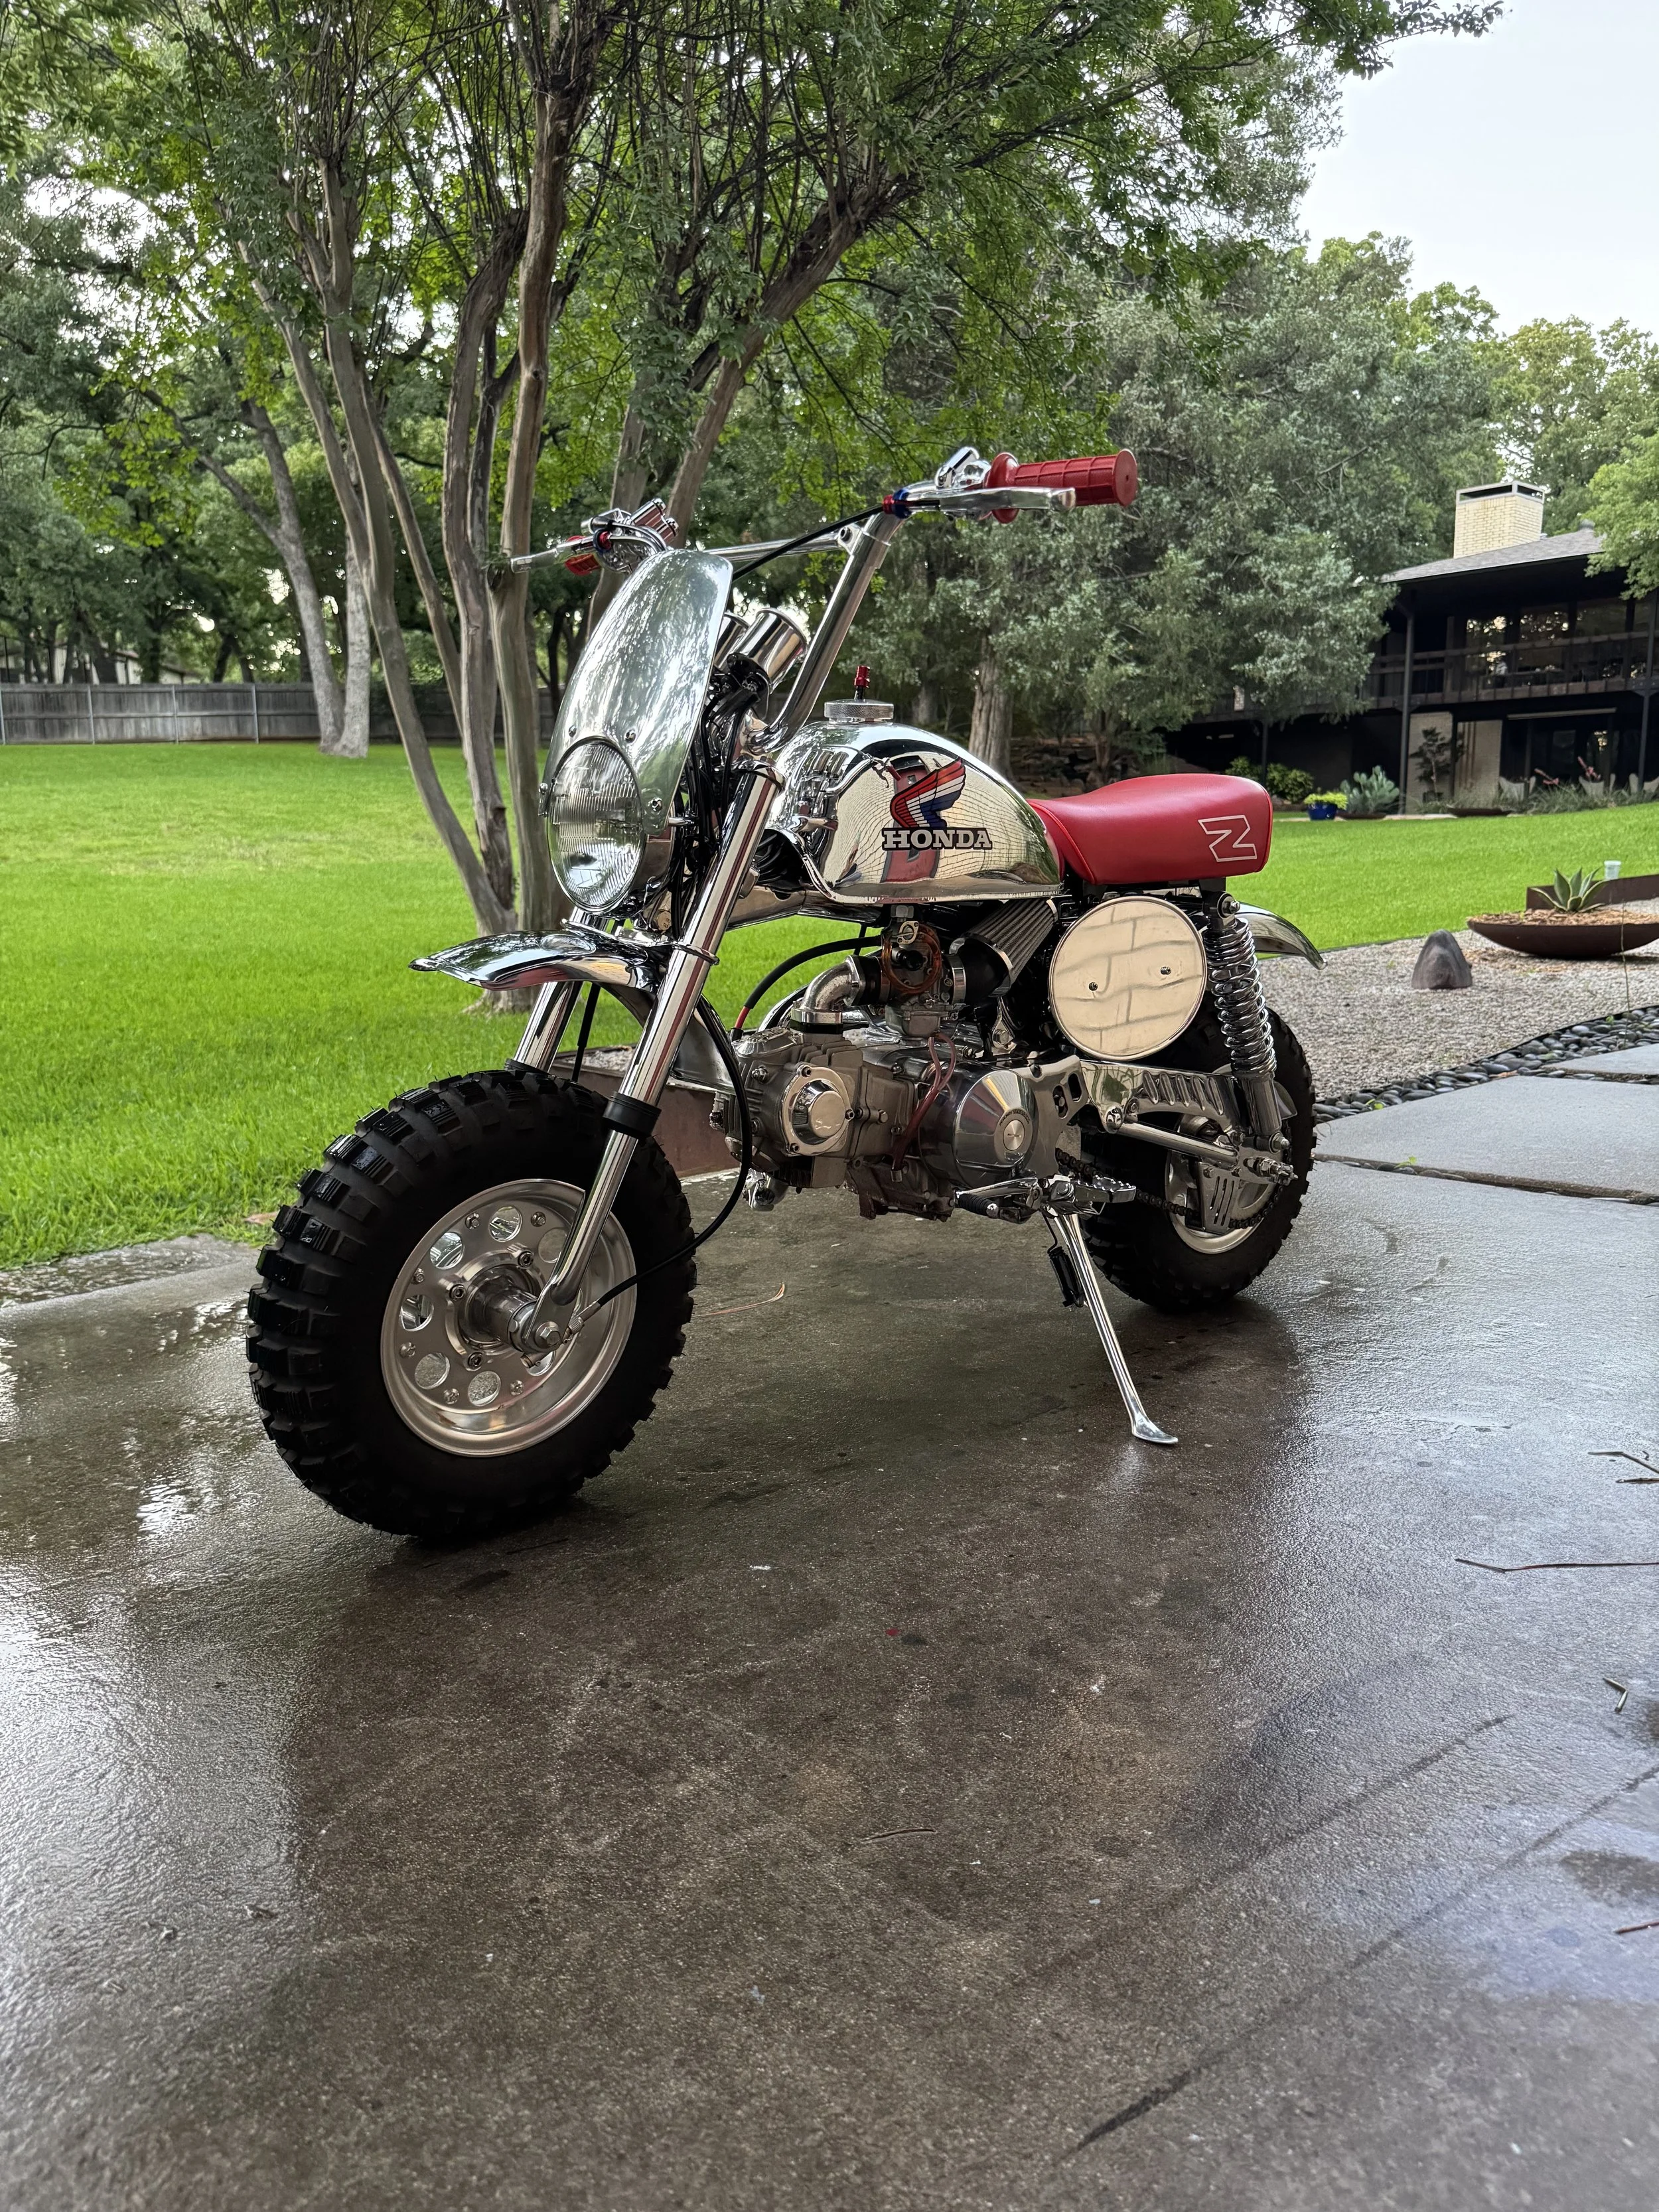
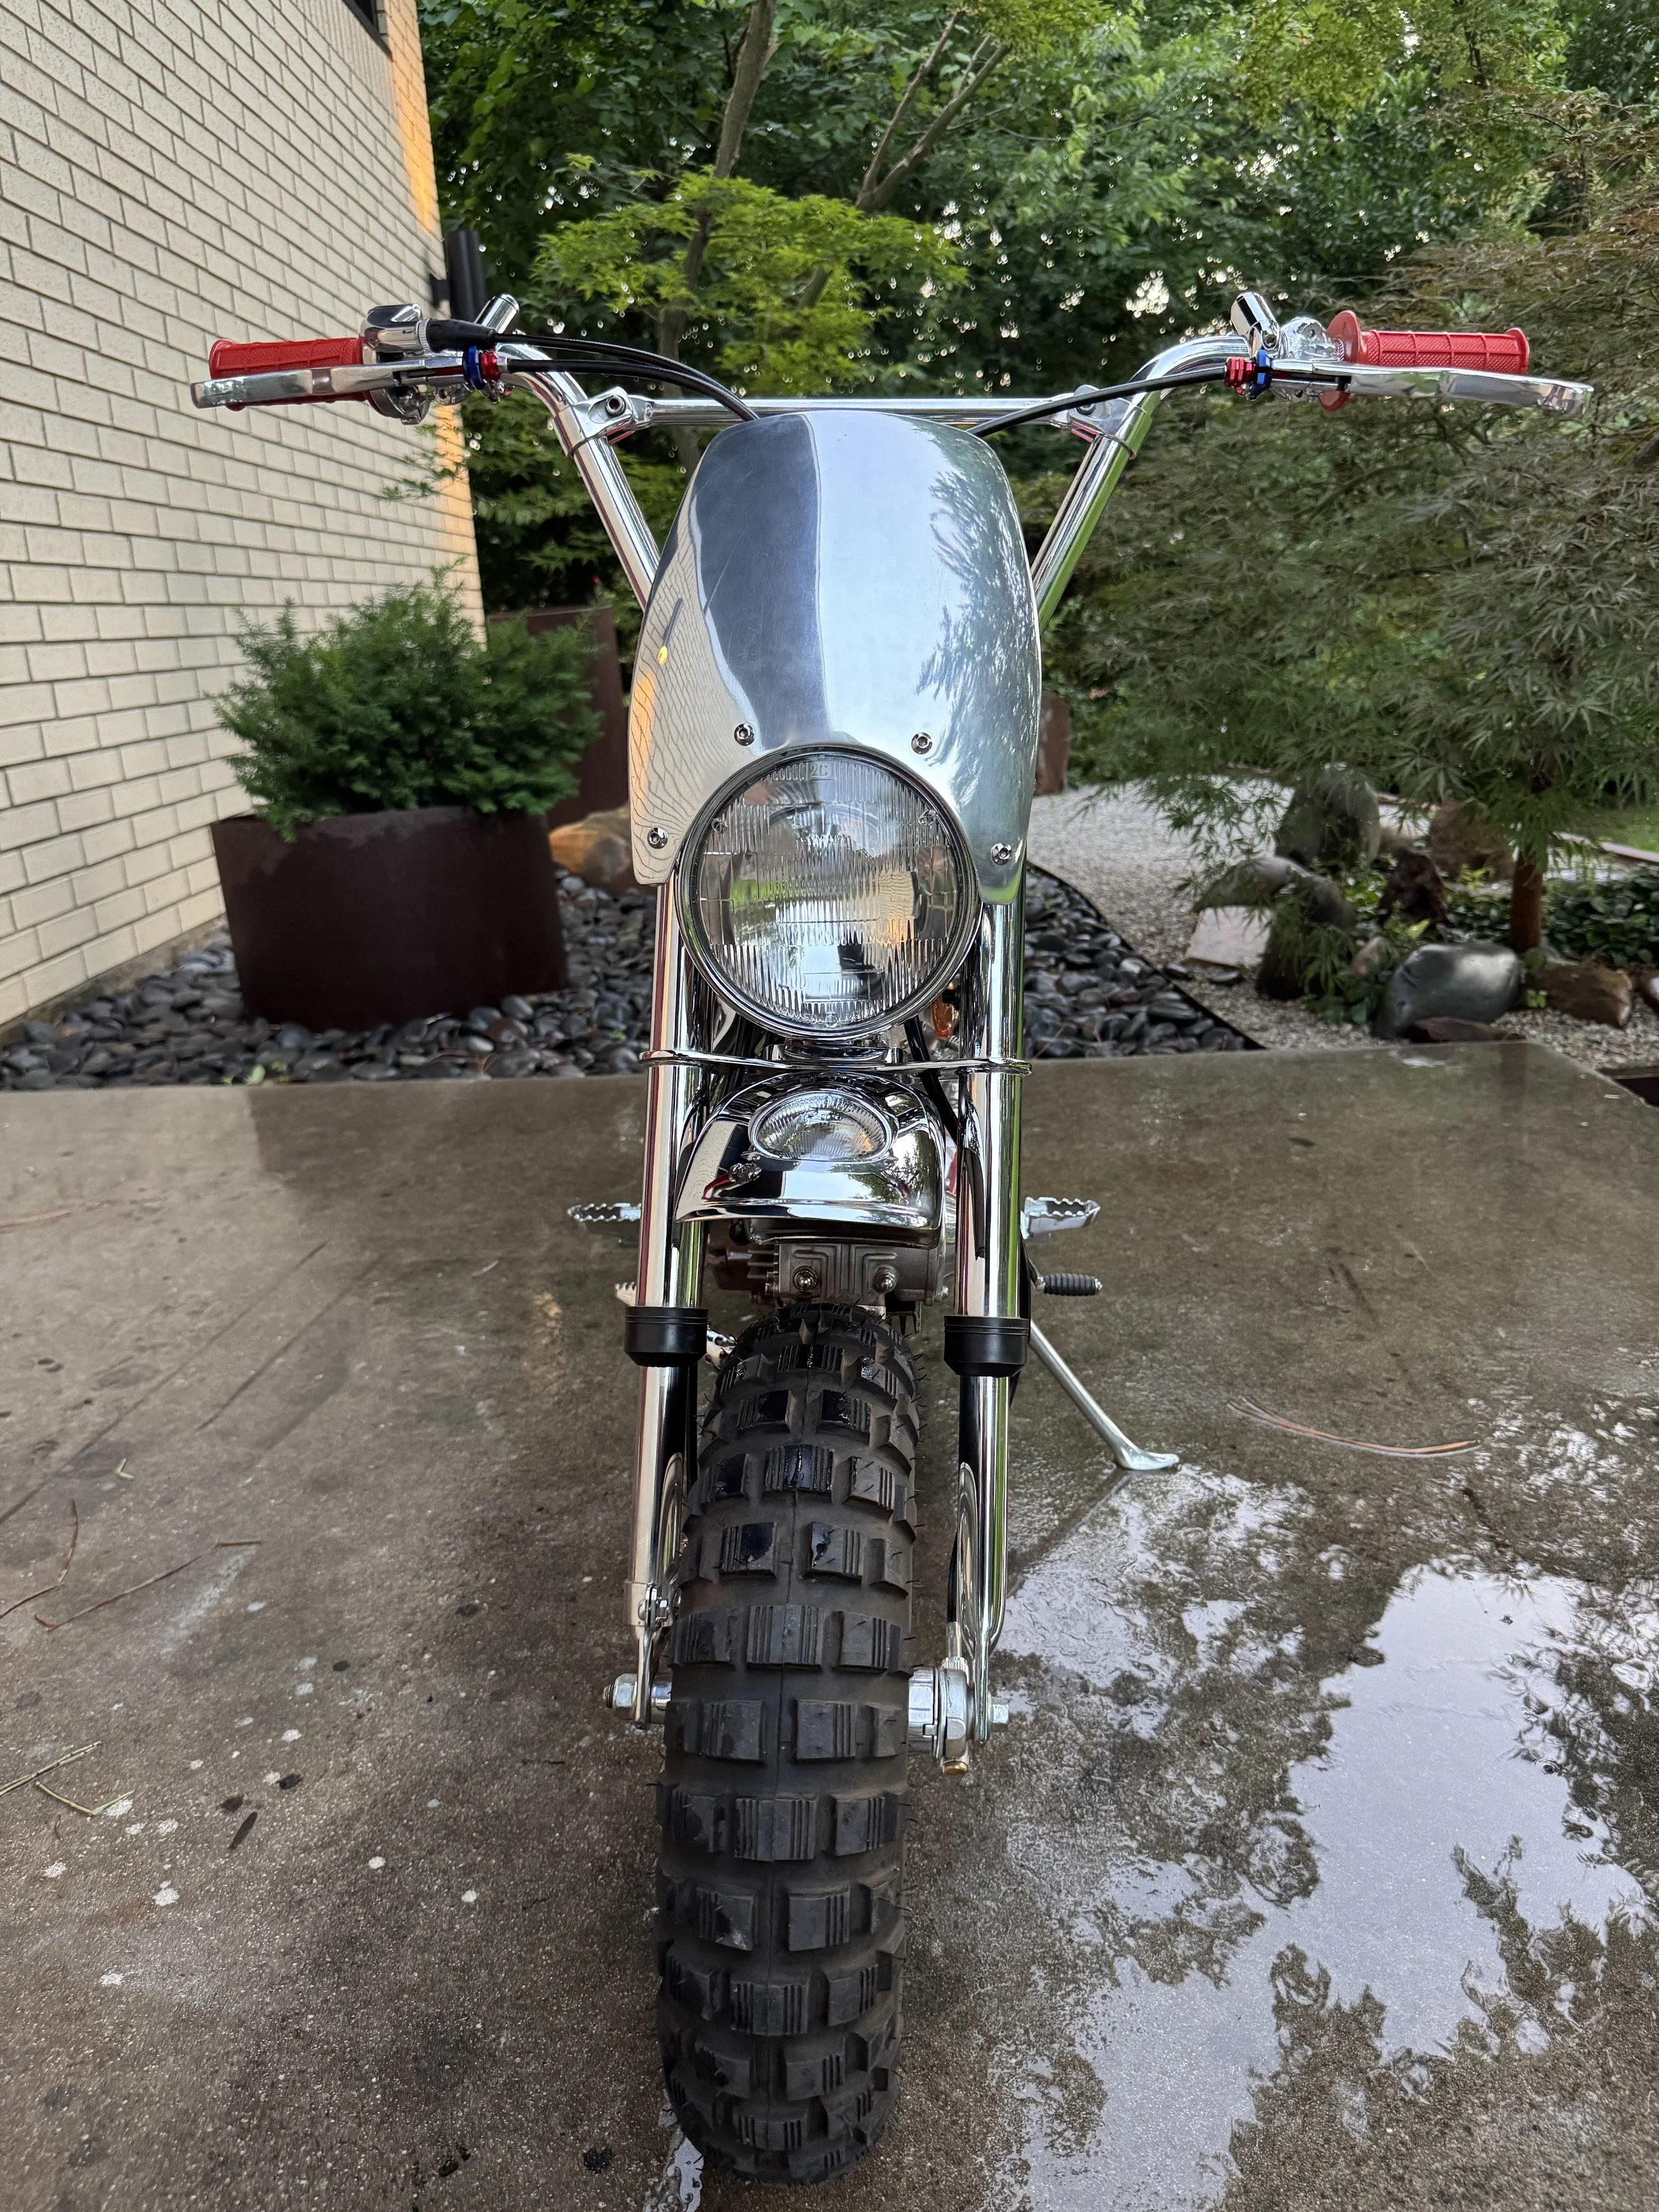
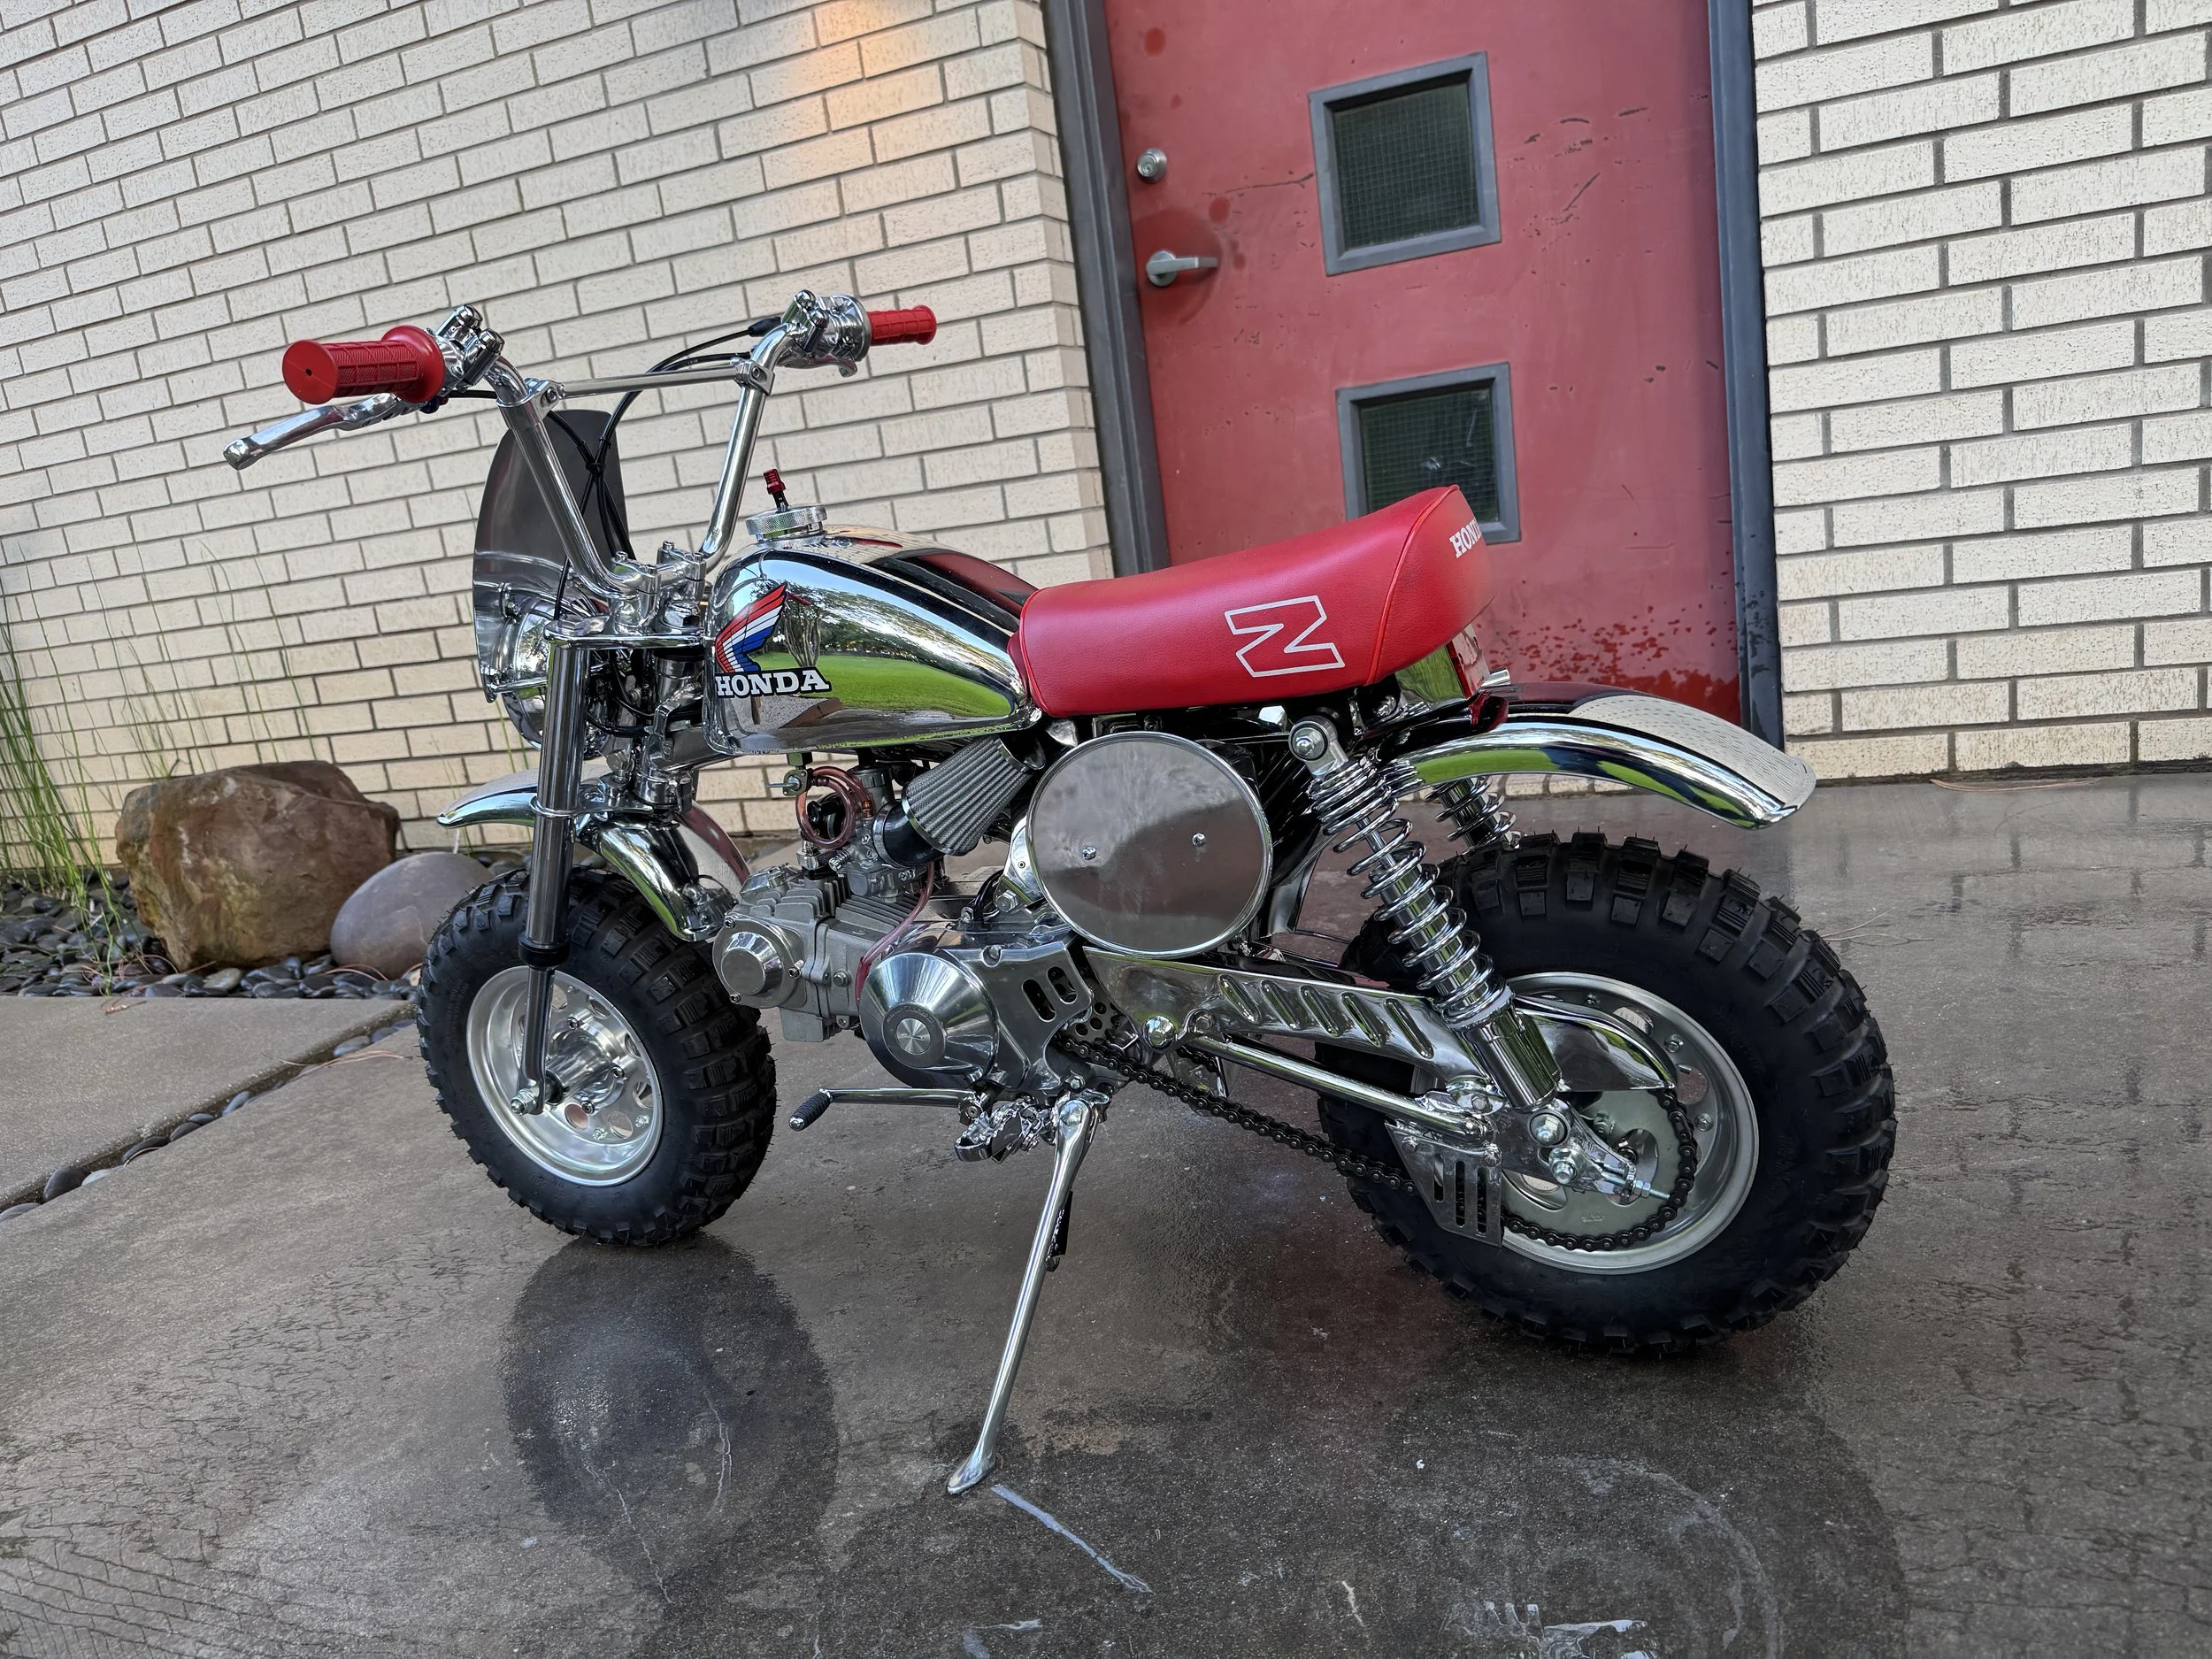
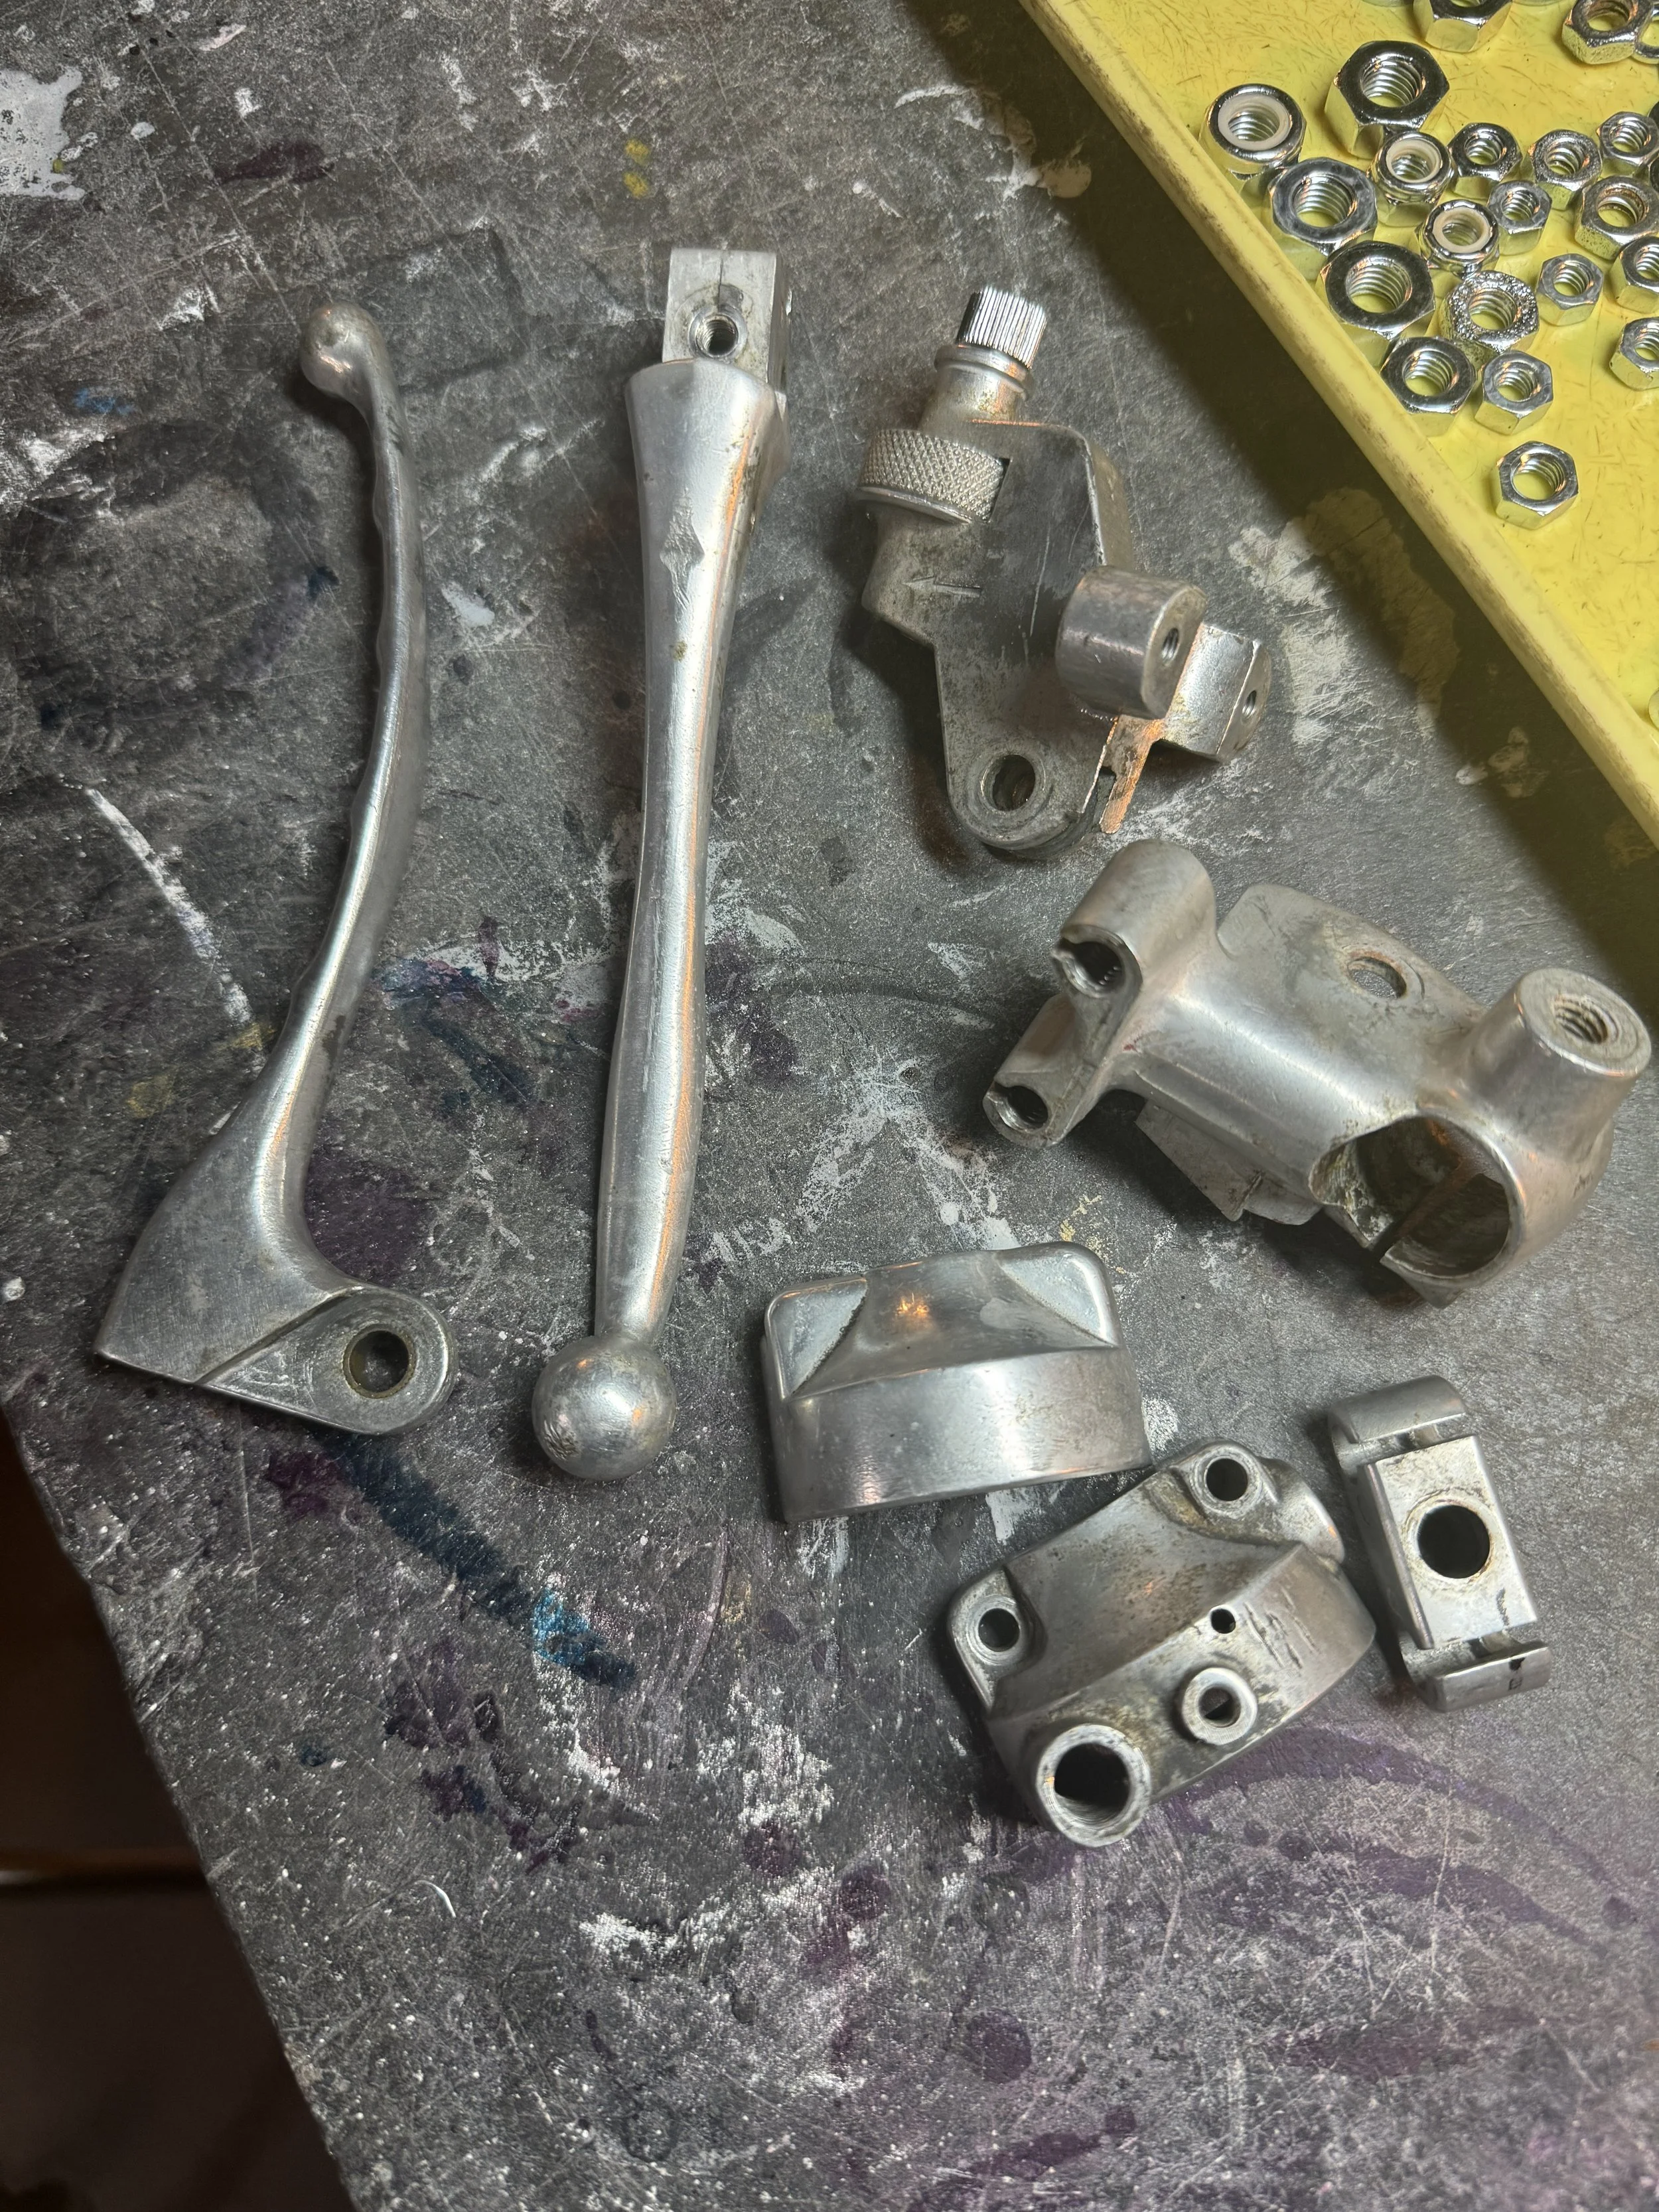
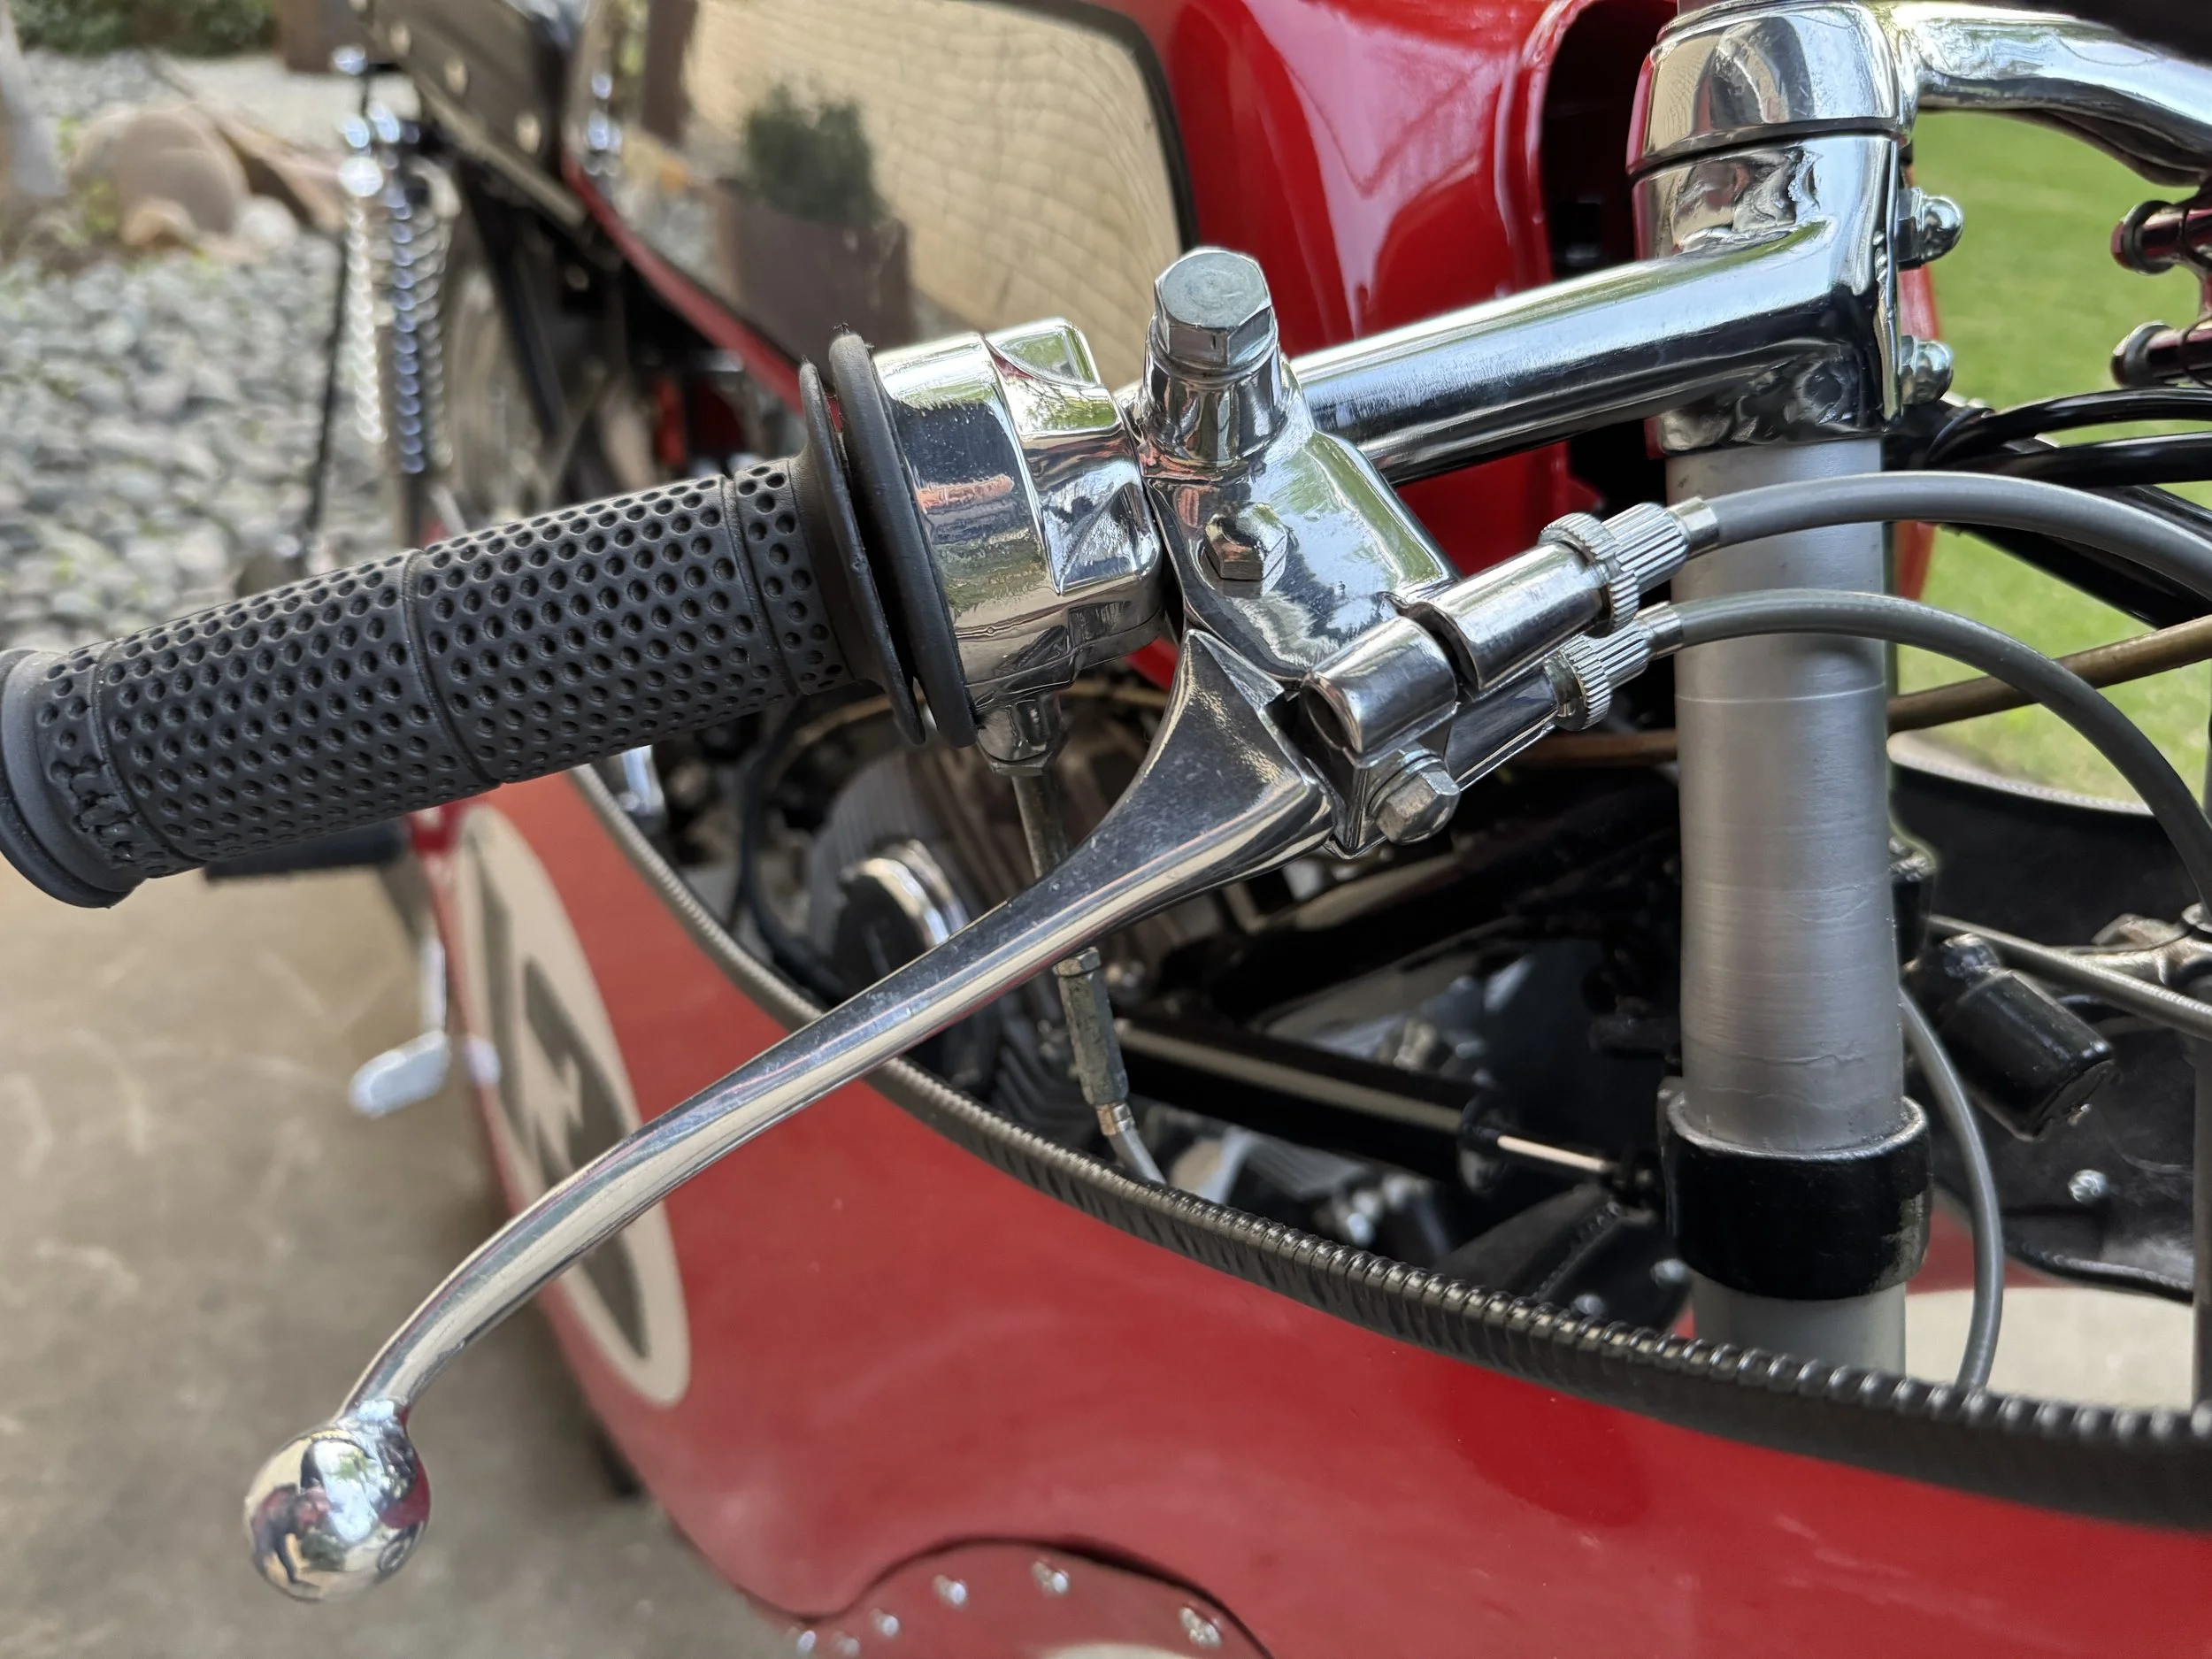
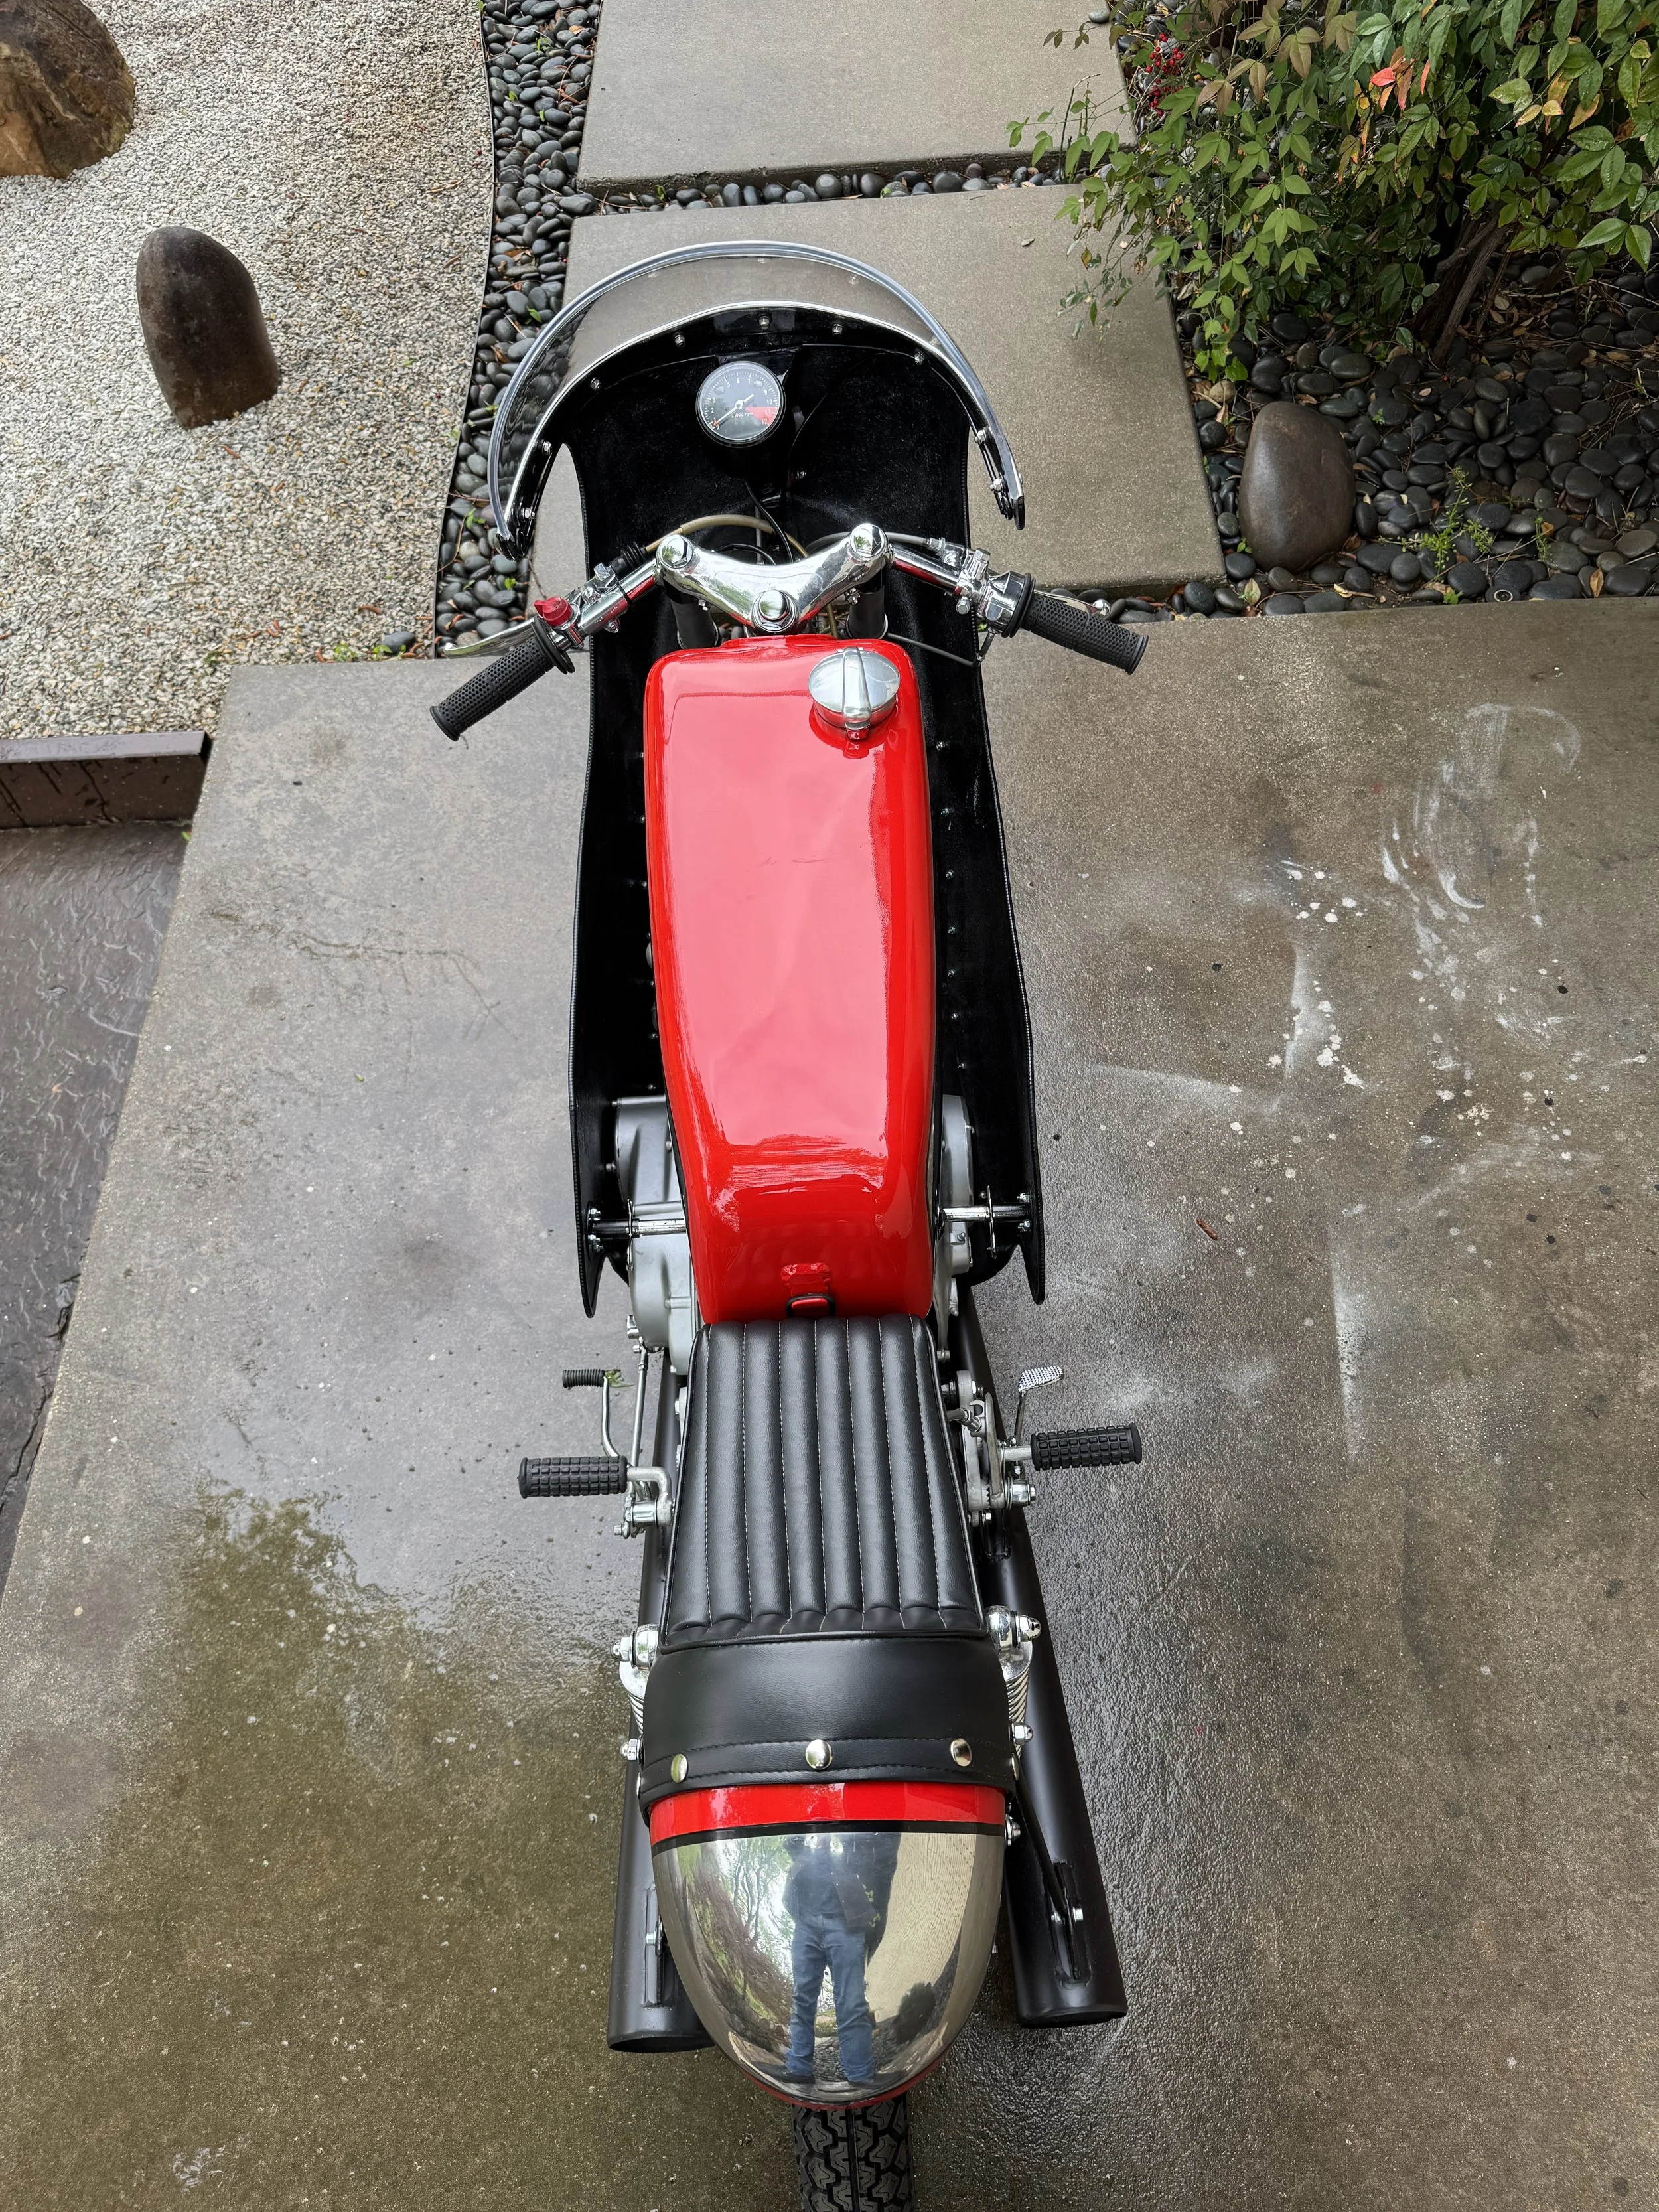
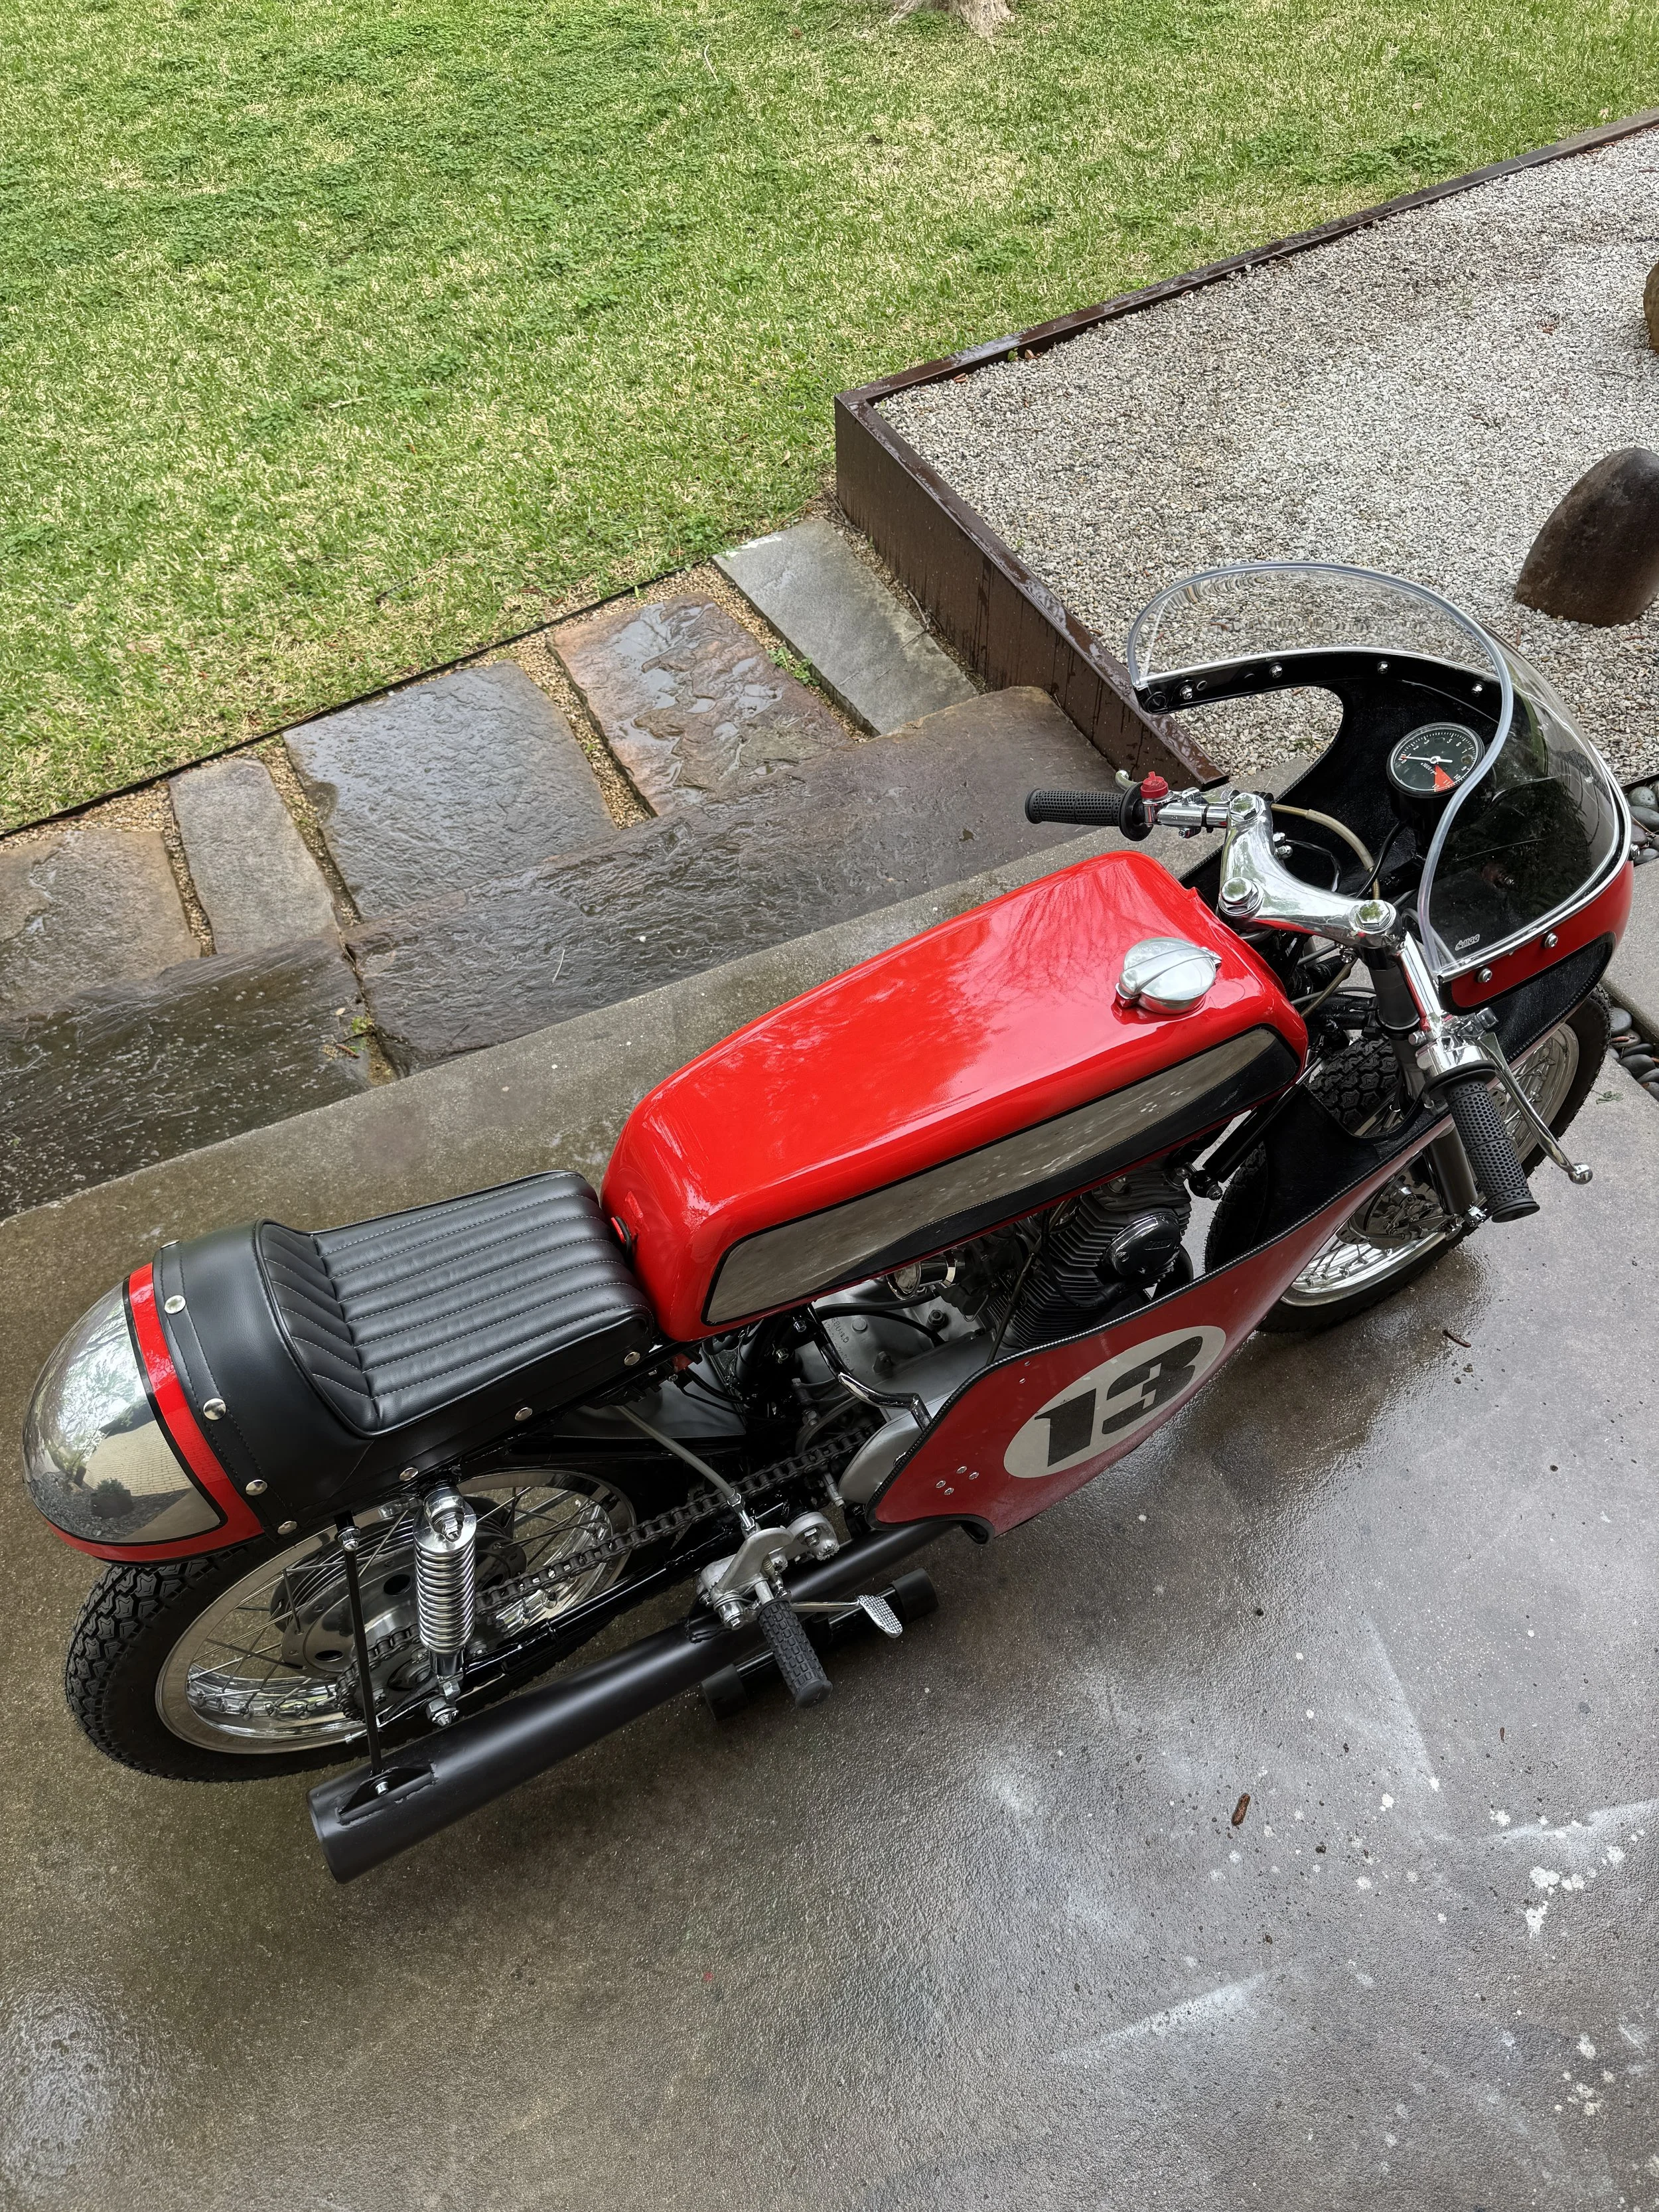
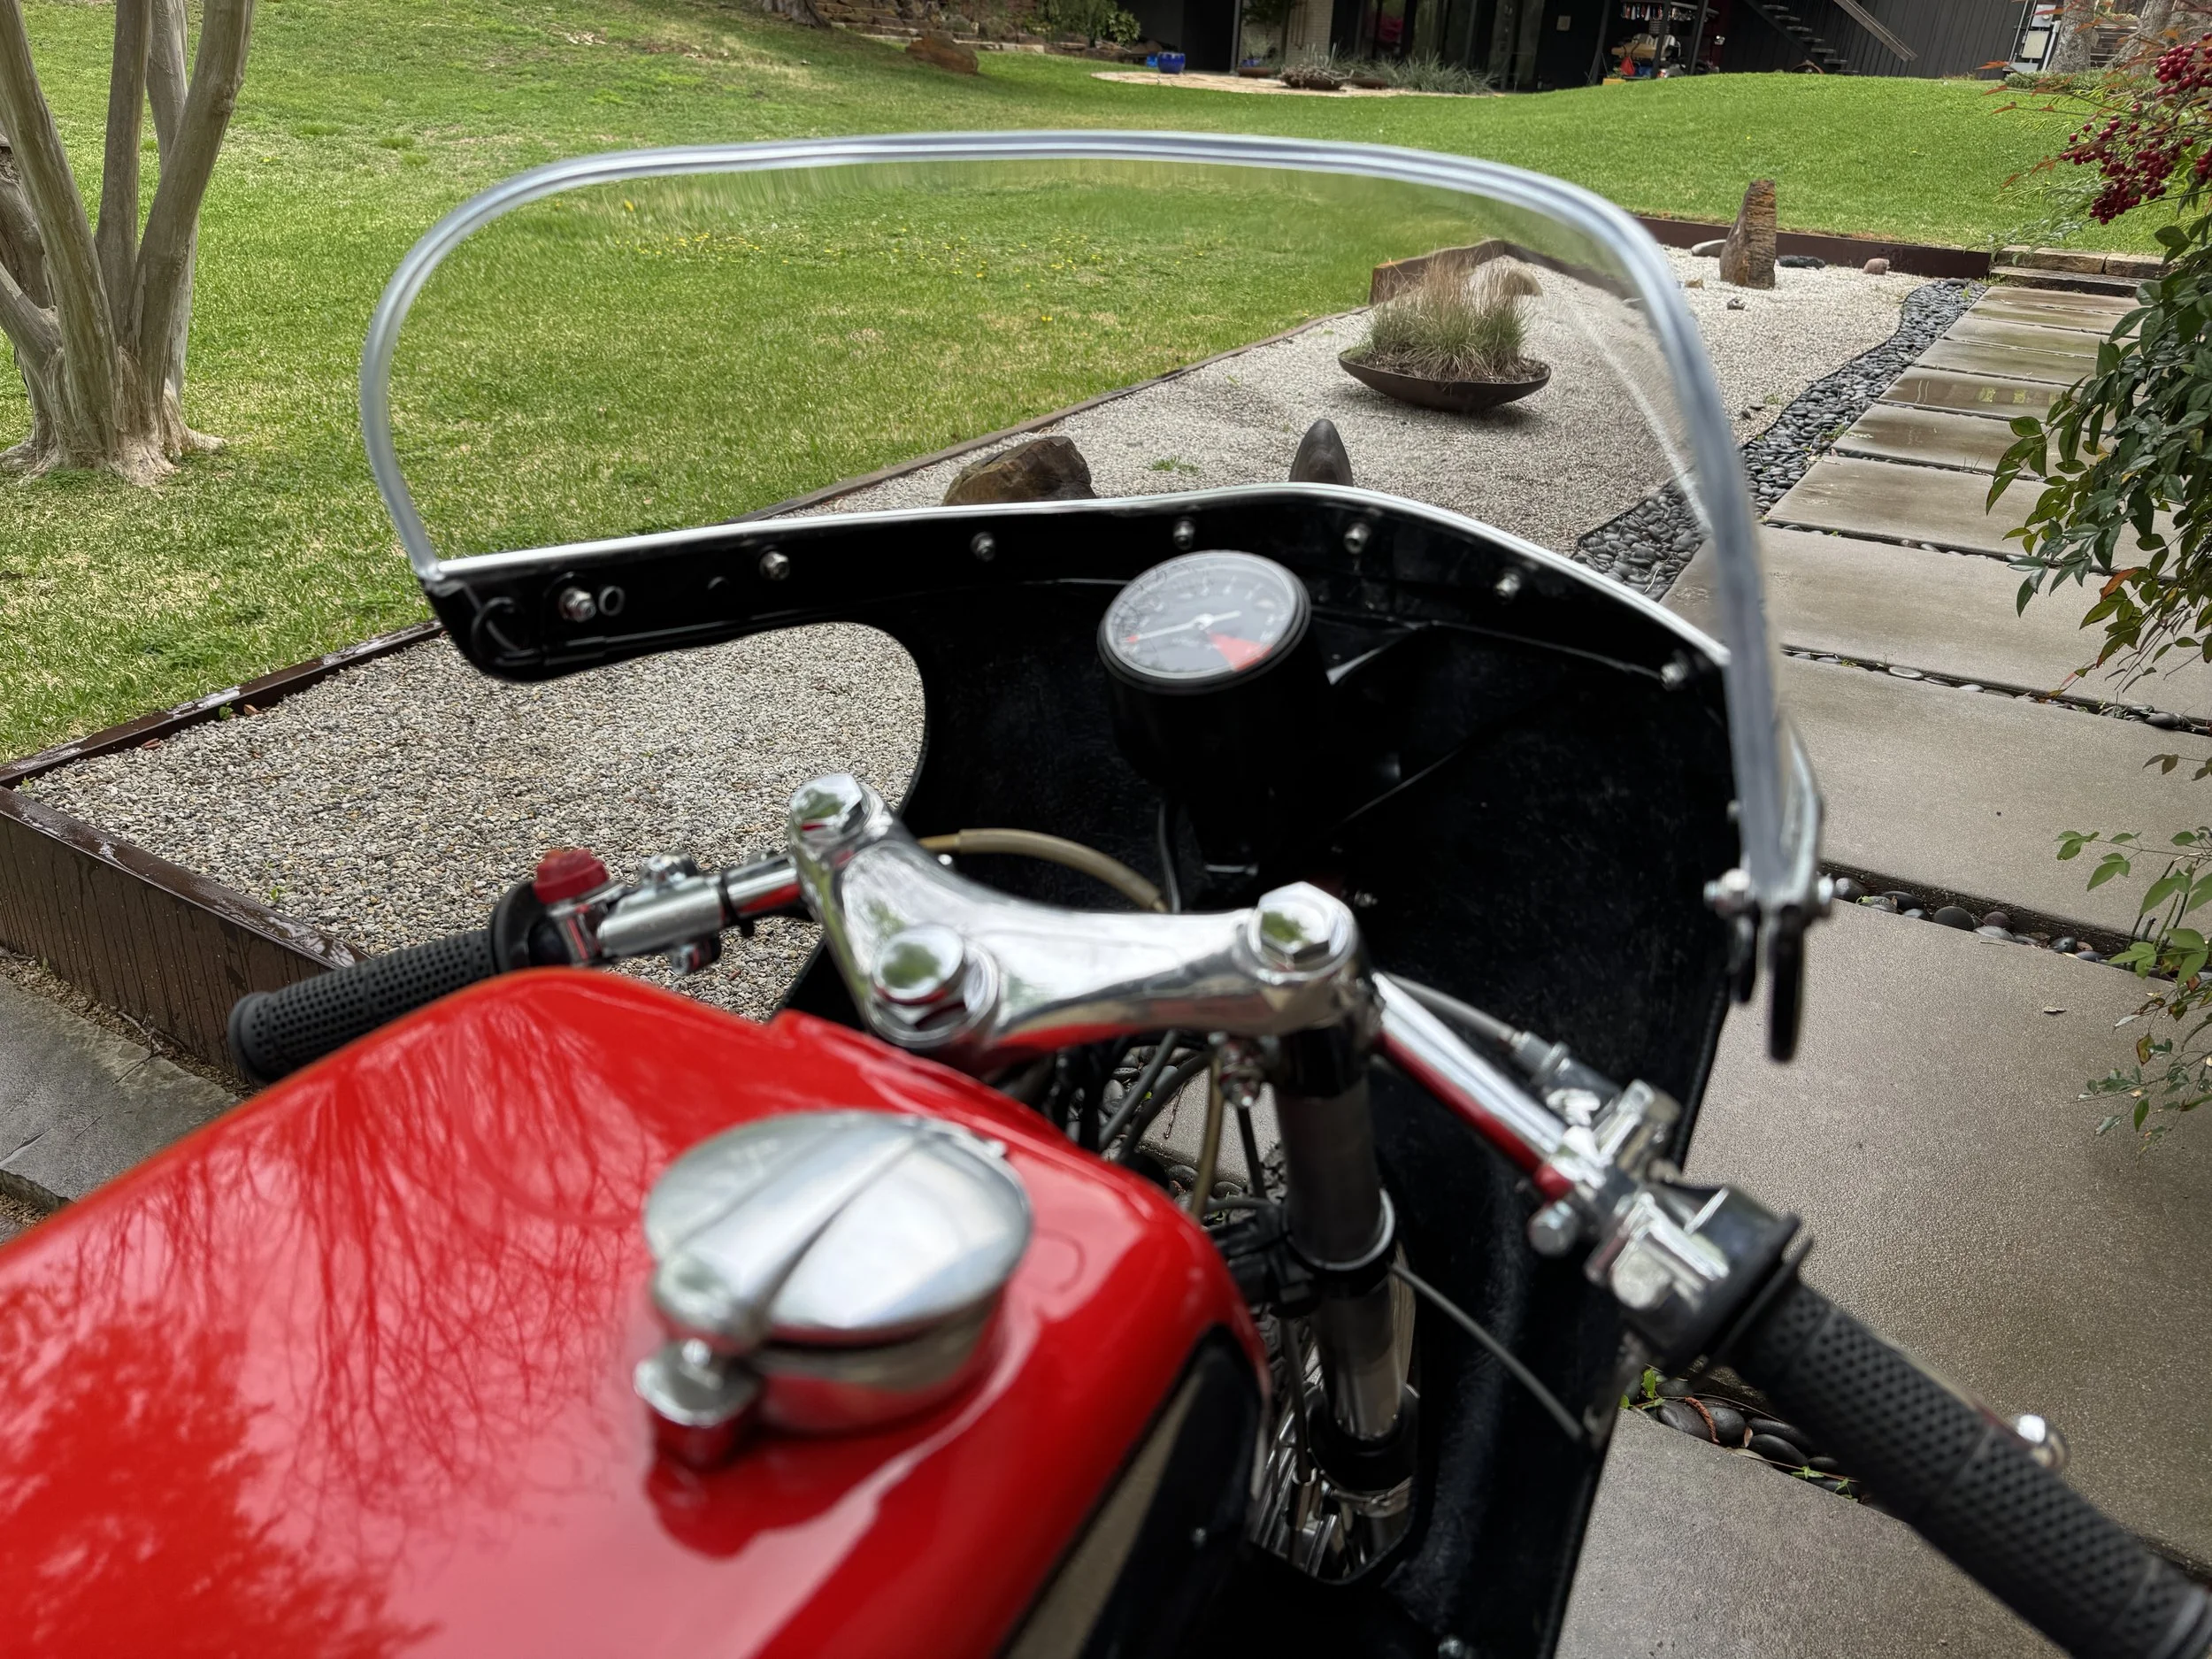
A set of instruments and some new front suspension parts were added to the build.

A Takegawa Special Parts speedometer and tach setup fills out the cockpit. Both are electronic instead of mechanical instruments. There is also an oil temperature gauge built into the tach.
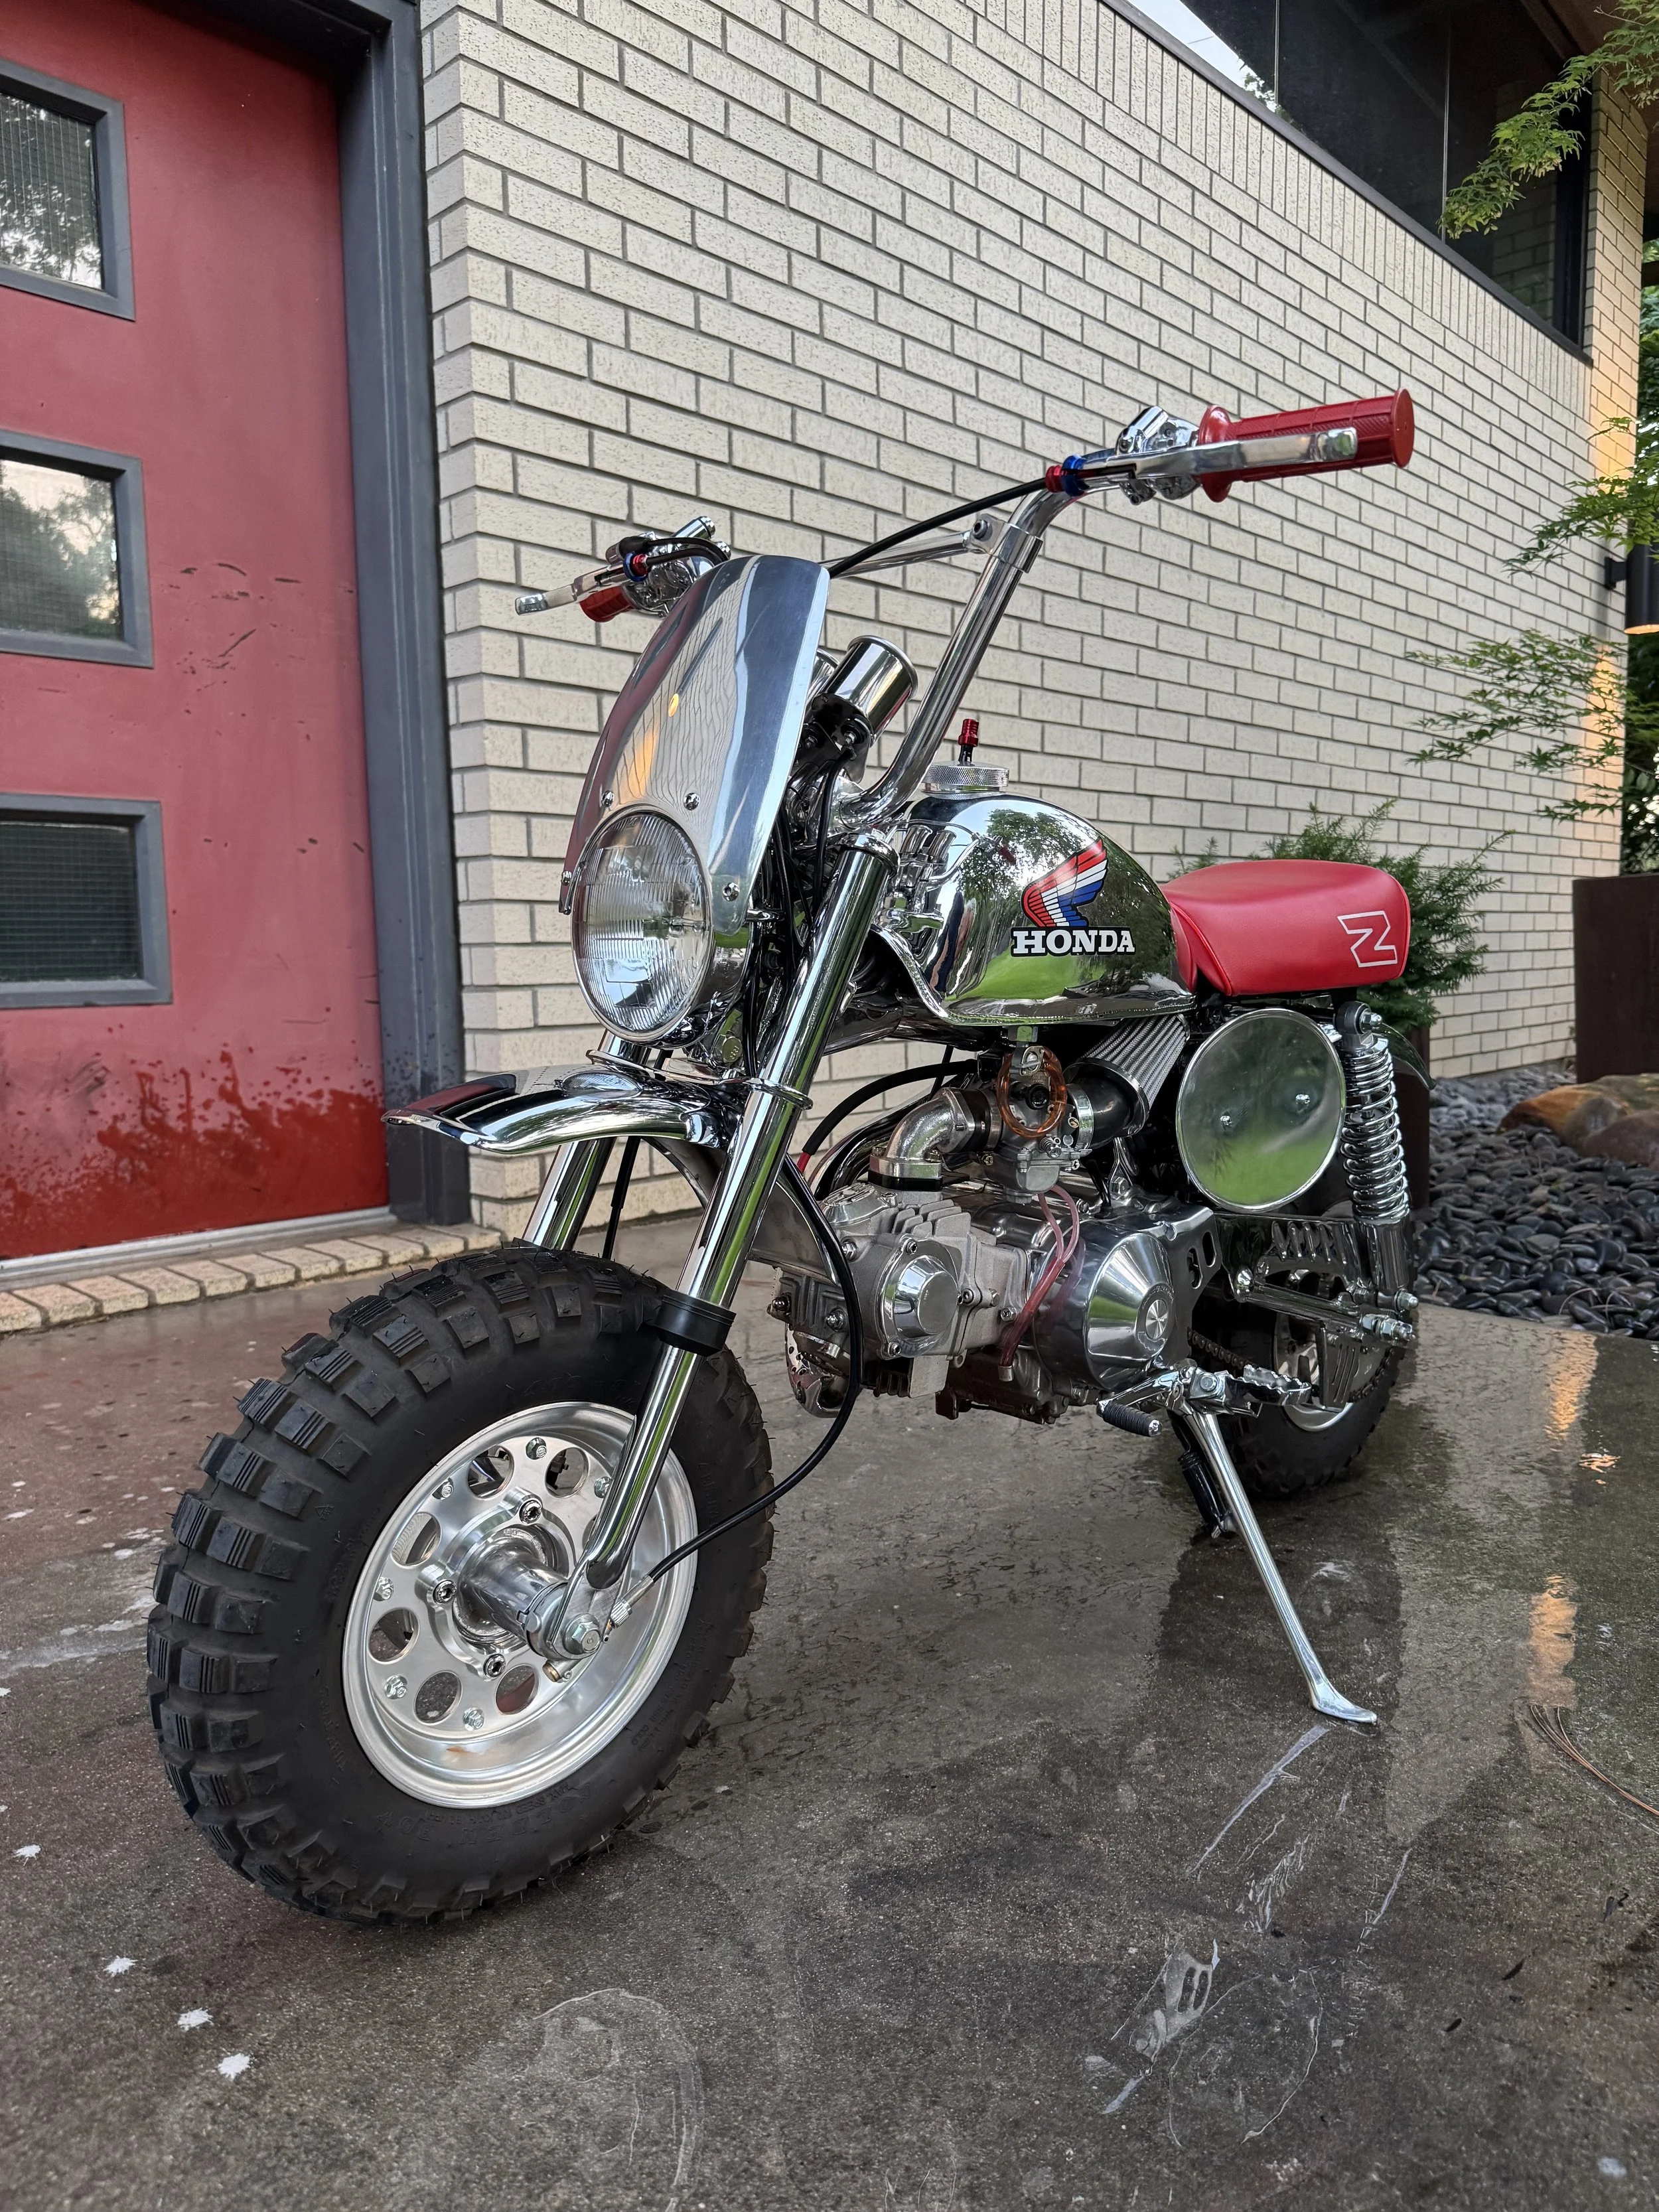
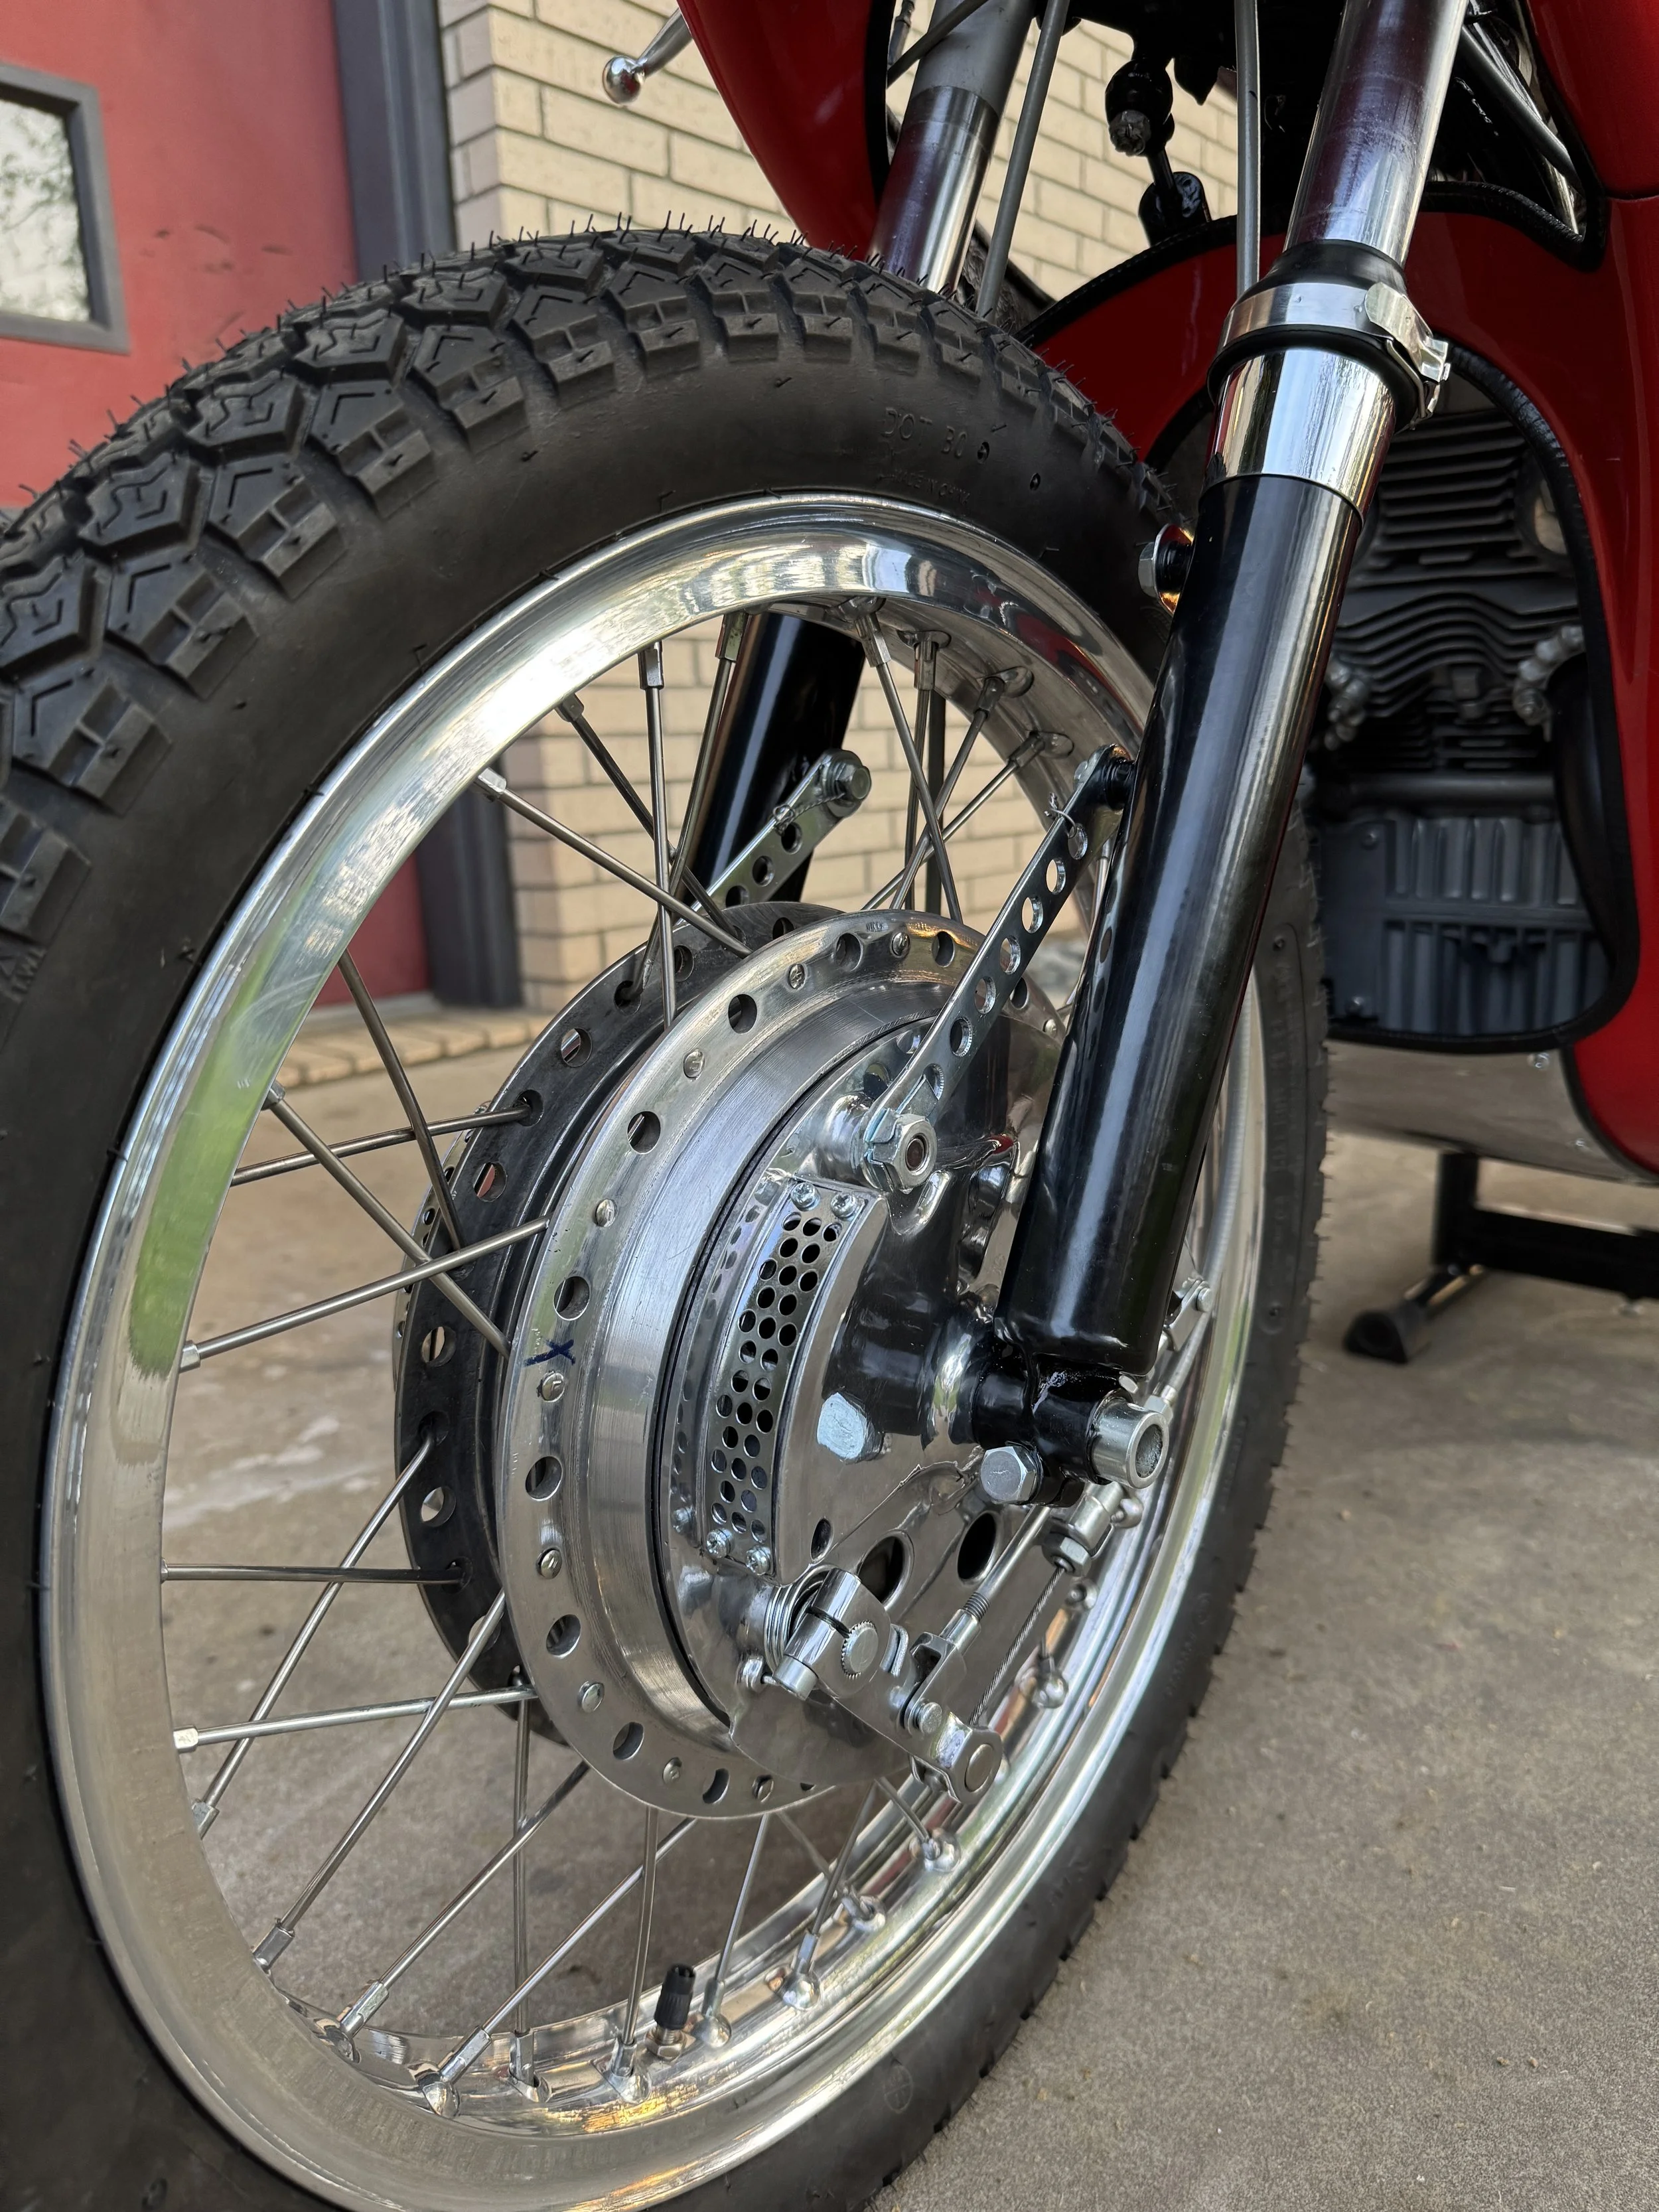
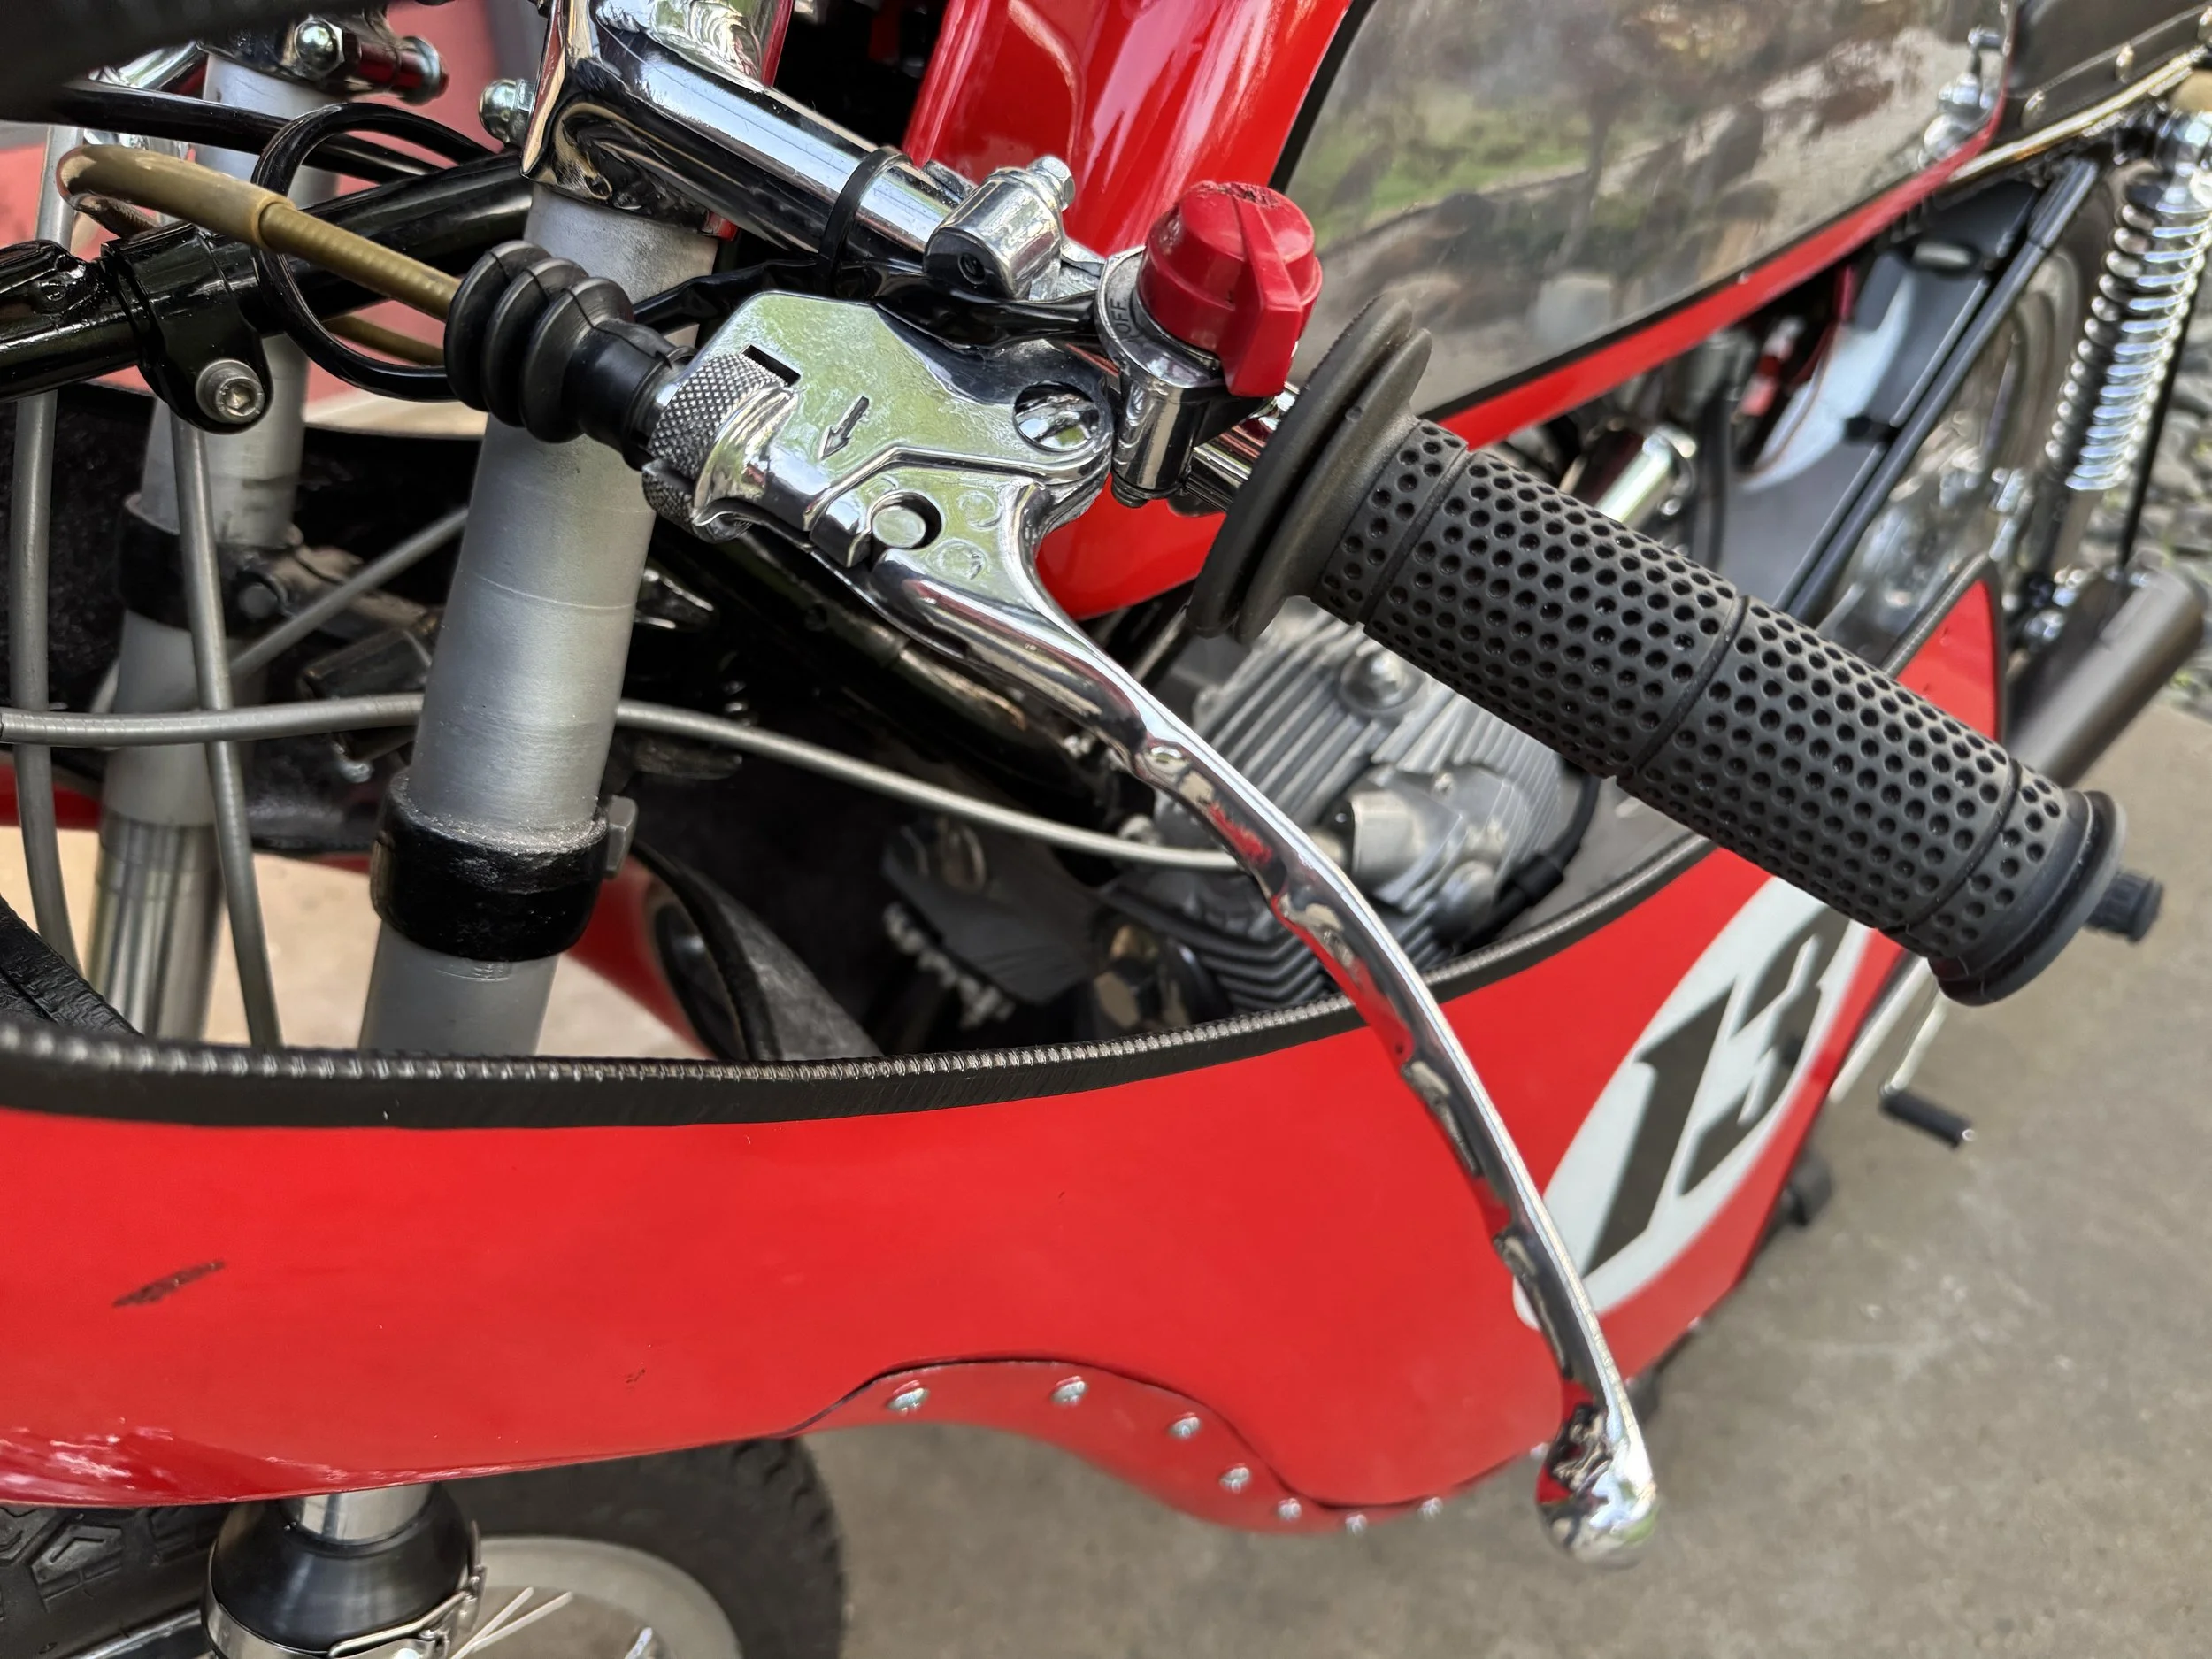
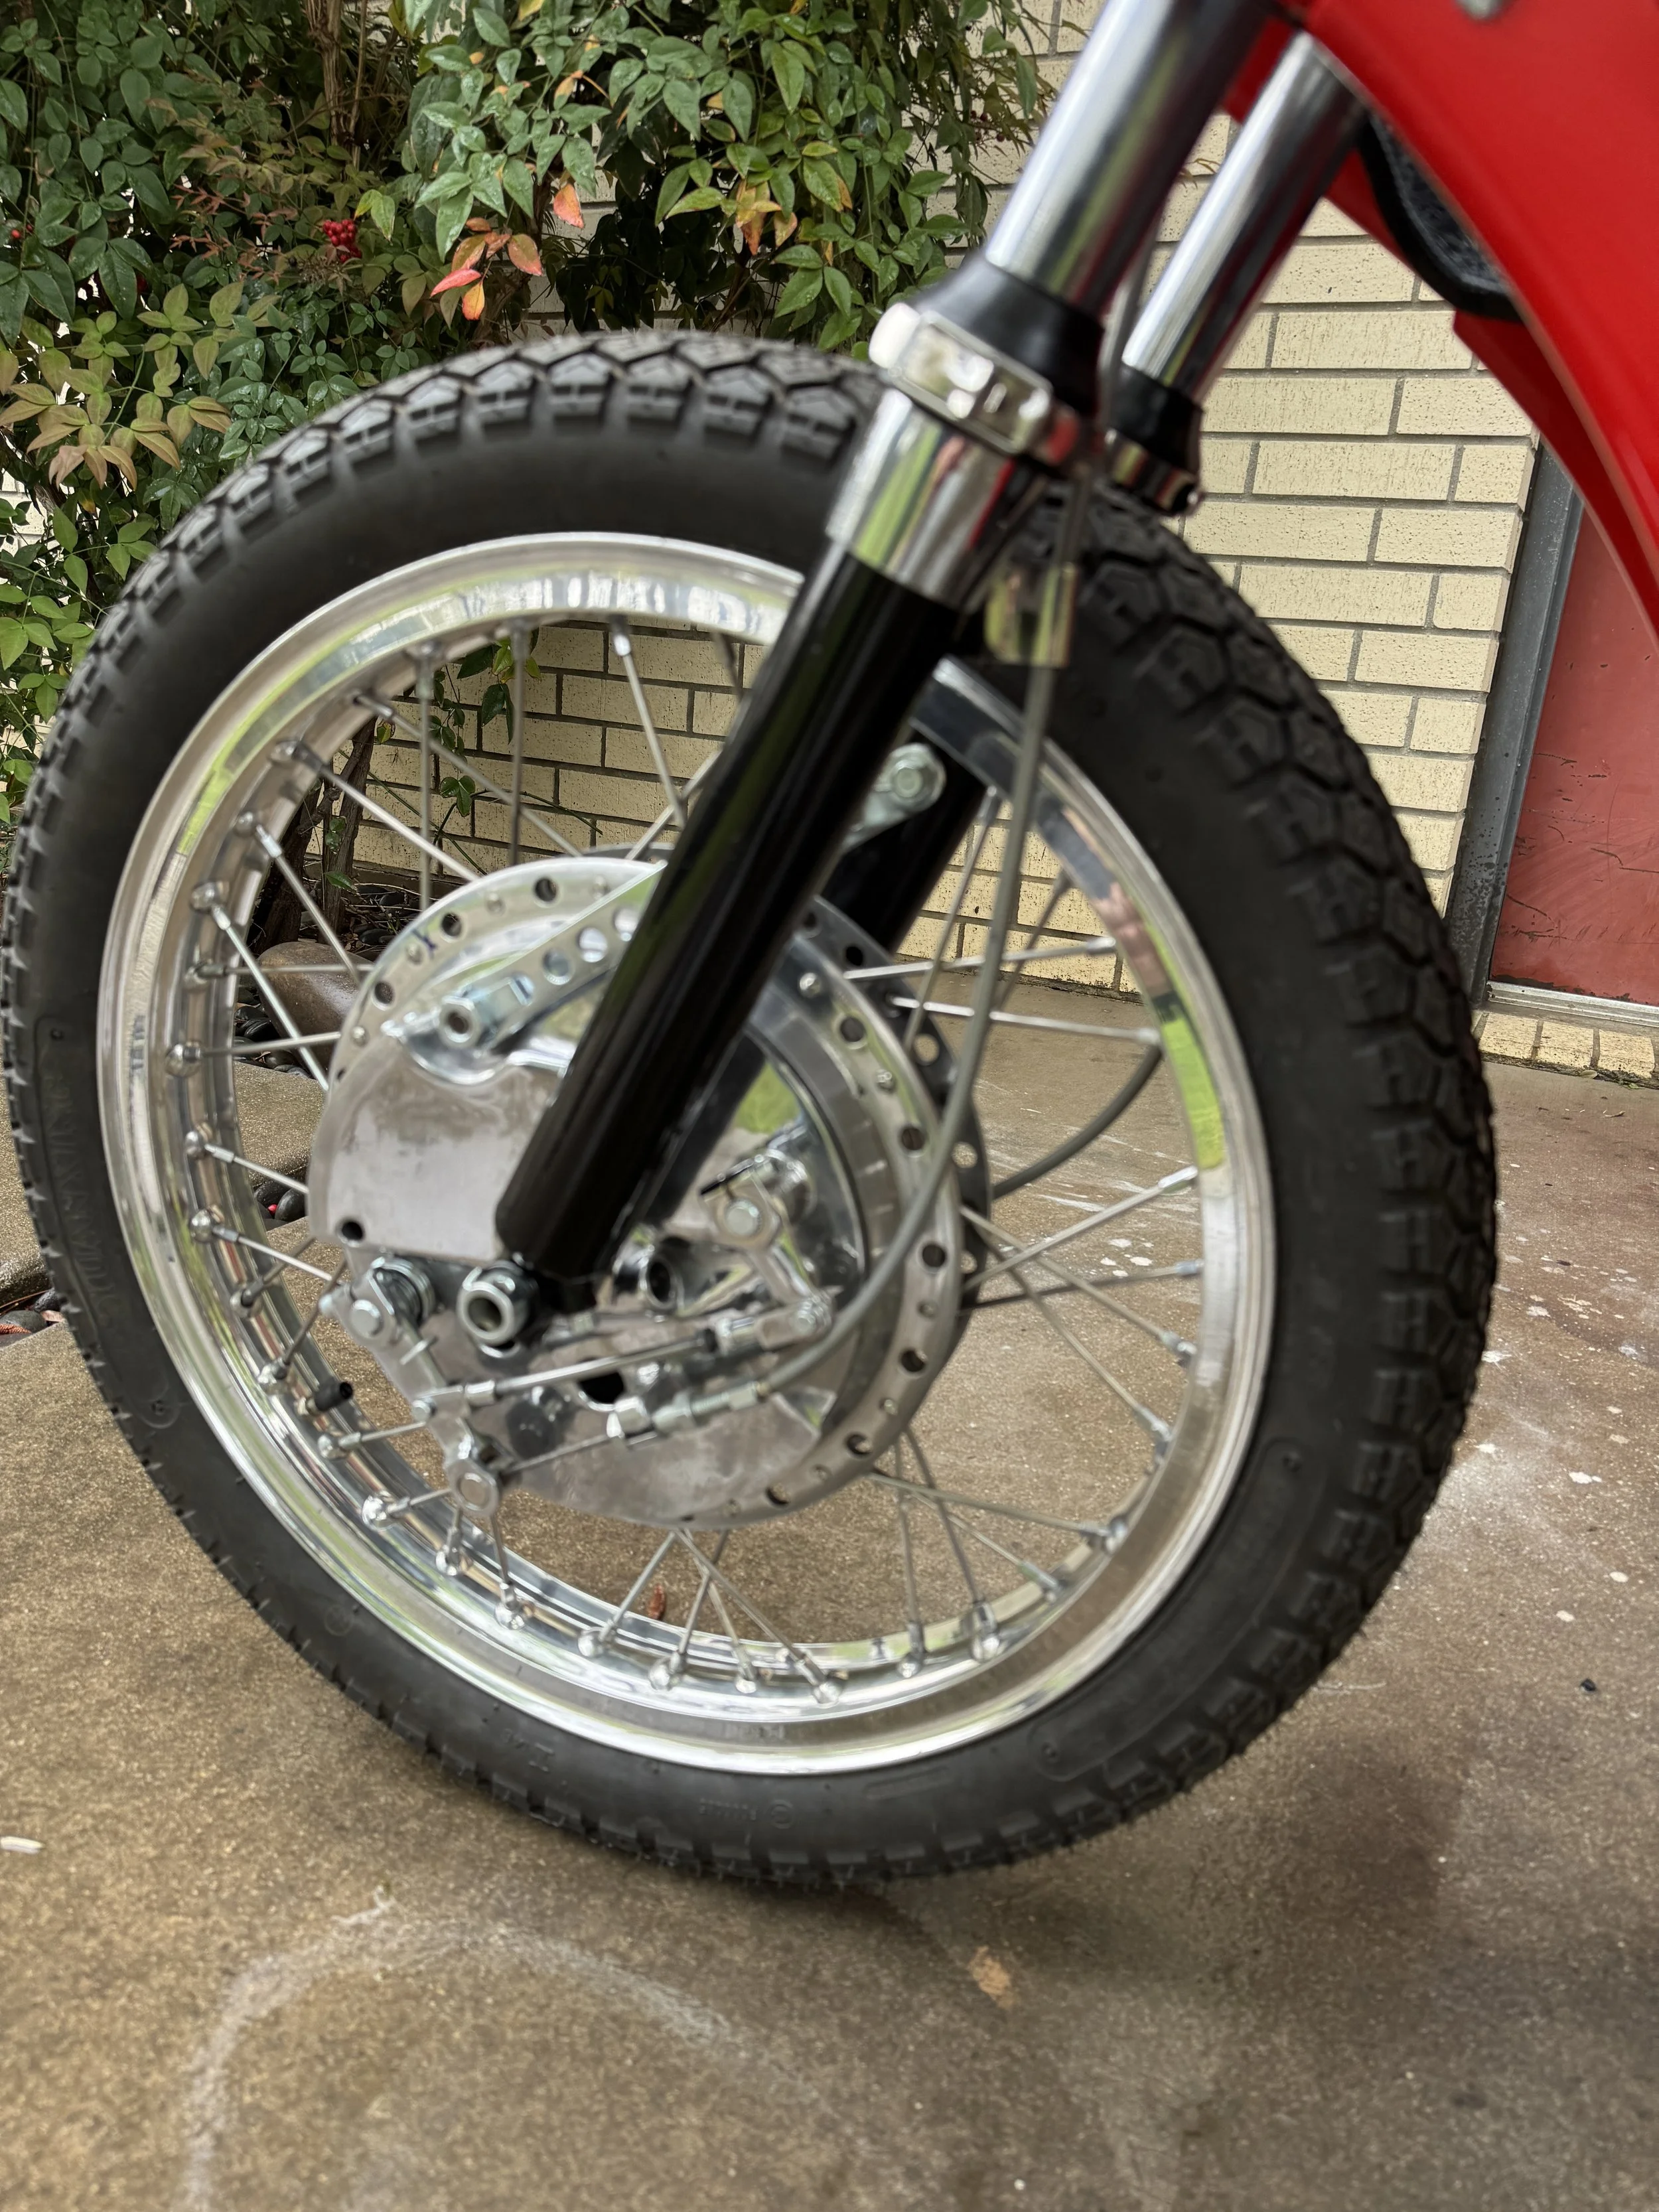
The original front fork internals were swapped out for some Daytona hydraulic fork inserts. They have a fatter 1” diameter lower fork tube, and are an extra 1” in length. With the extended swingarm, the extra inch in height levels out the bike nicely. The internal dampers noticeably improve the ride.
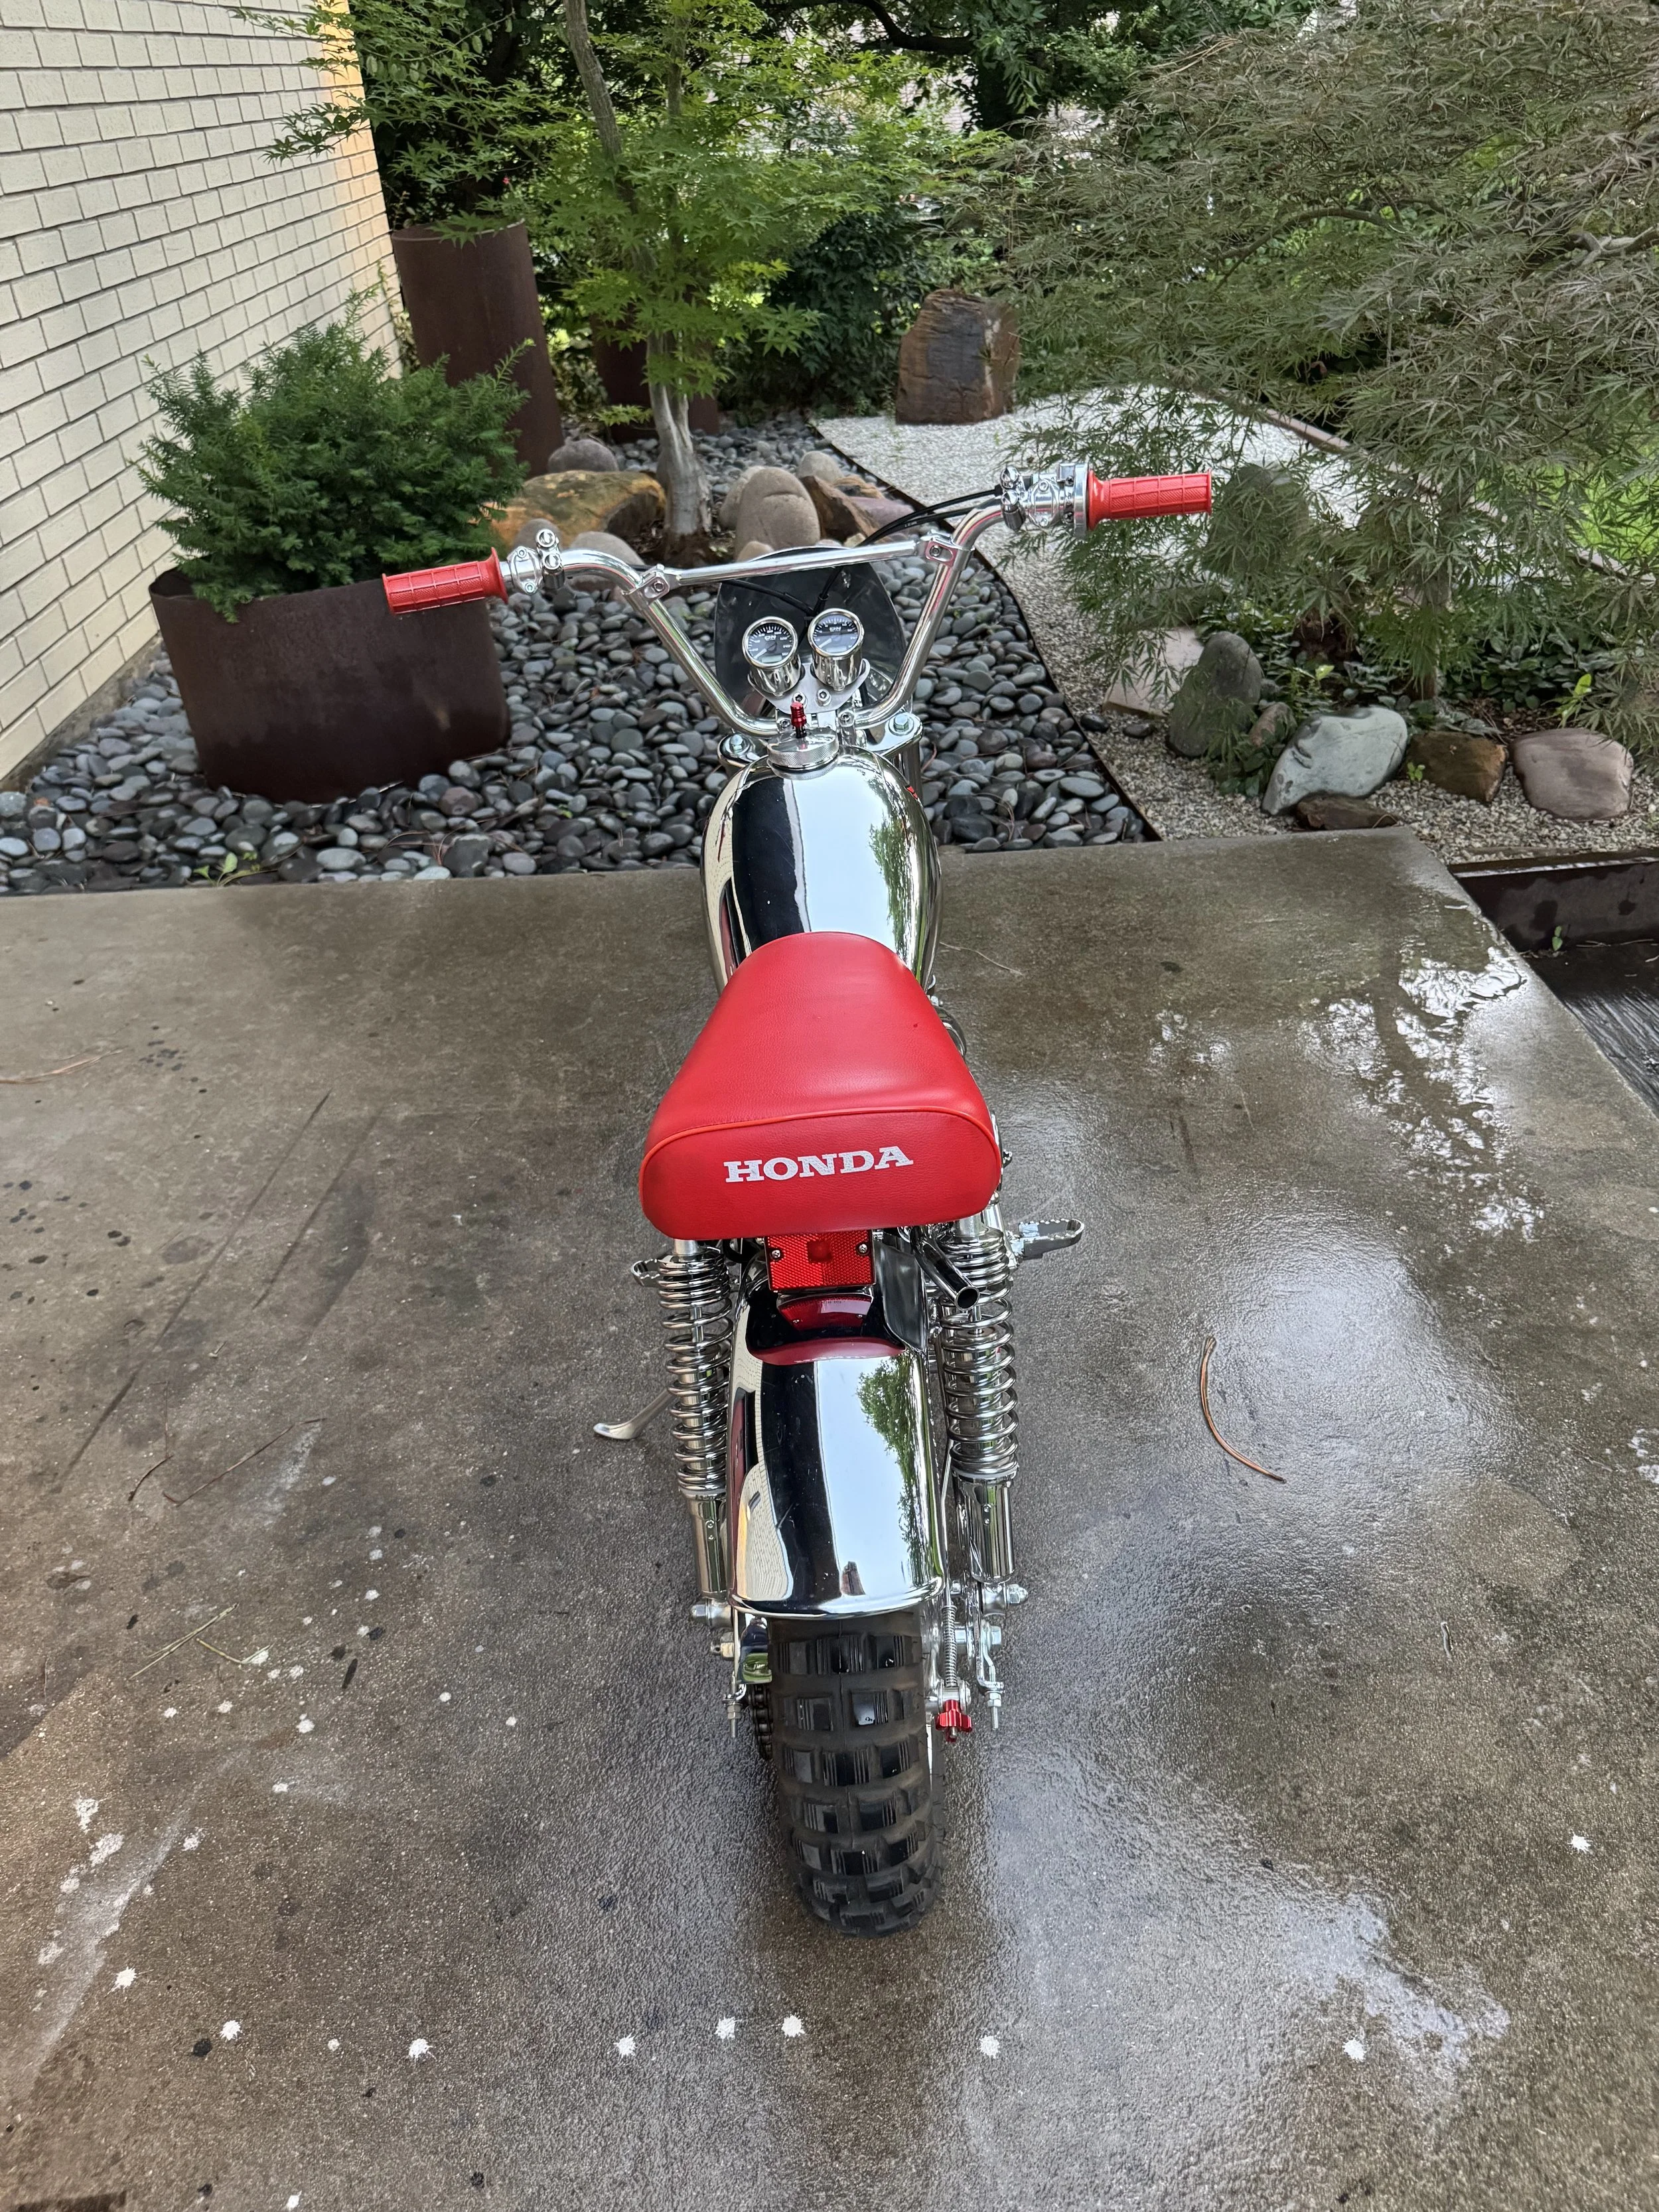
The gauges sit on a custom stainless plate, attached to the bars with custom billet alloy clamps.
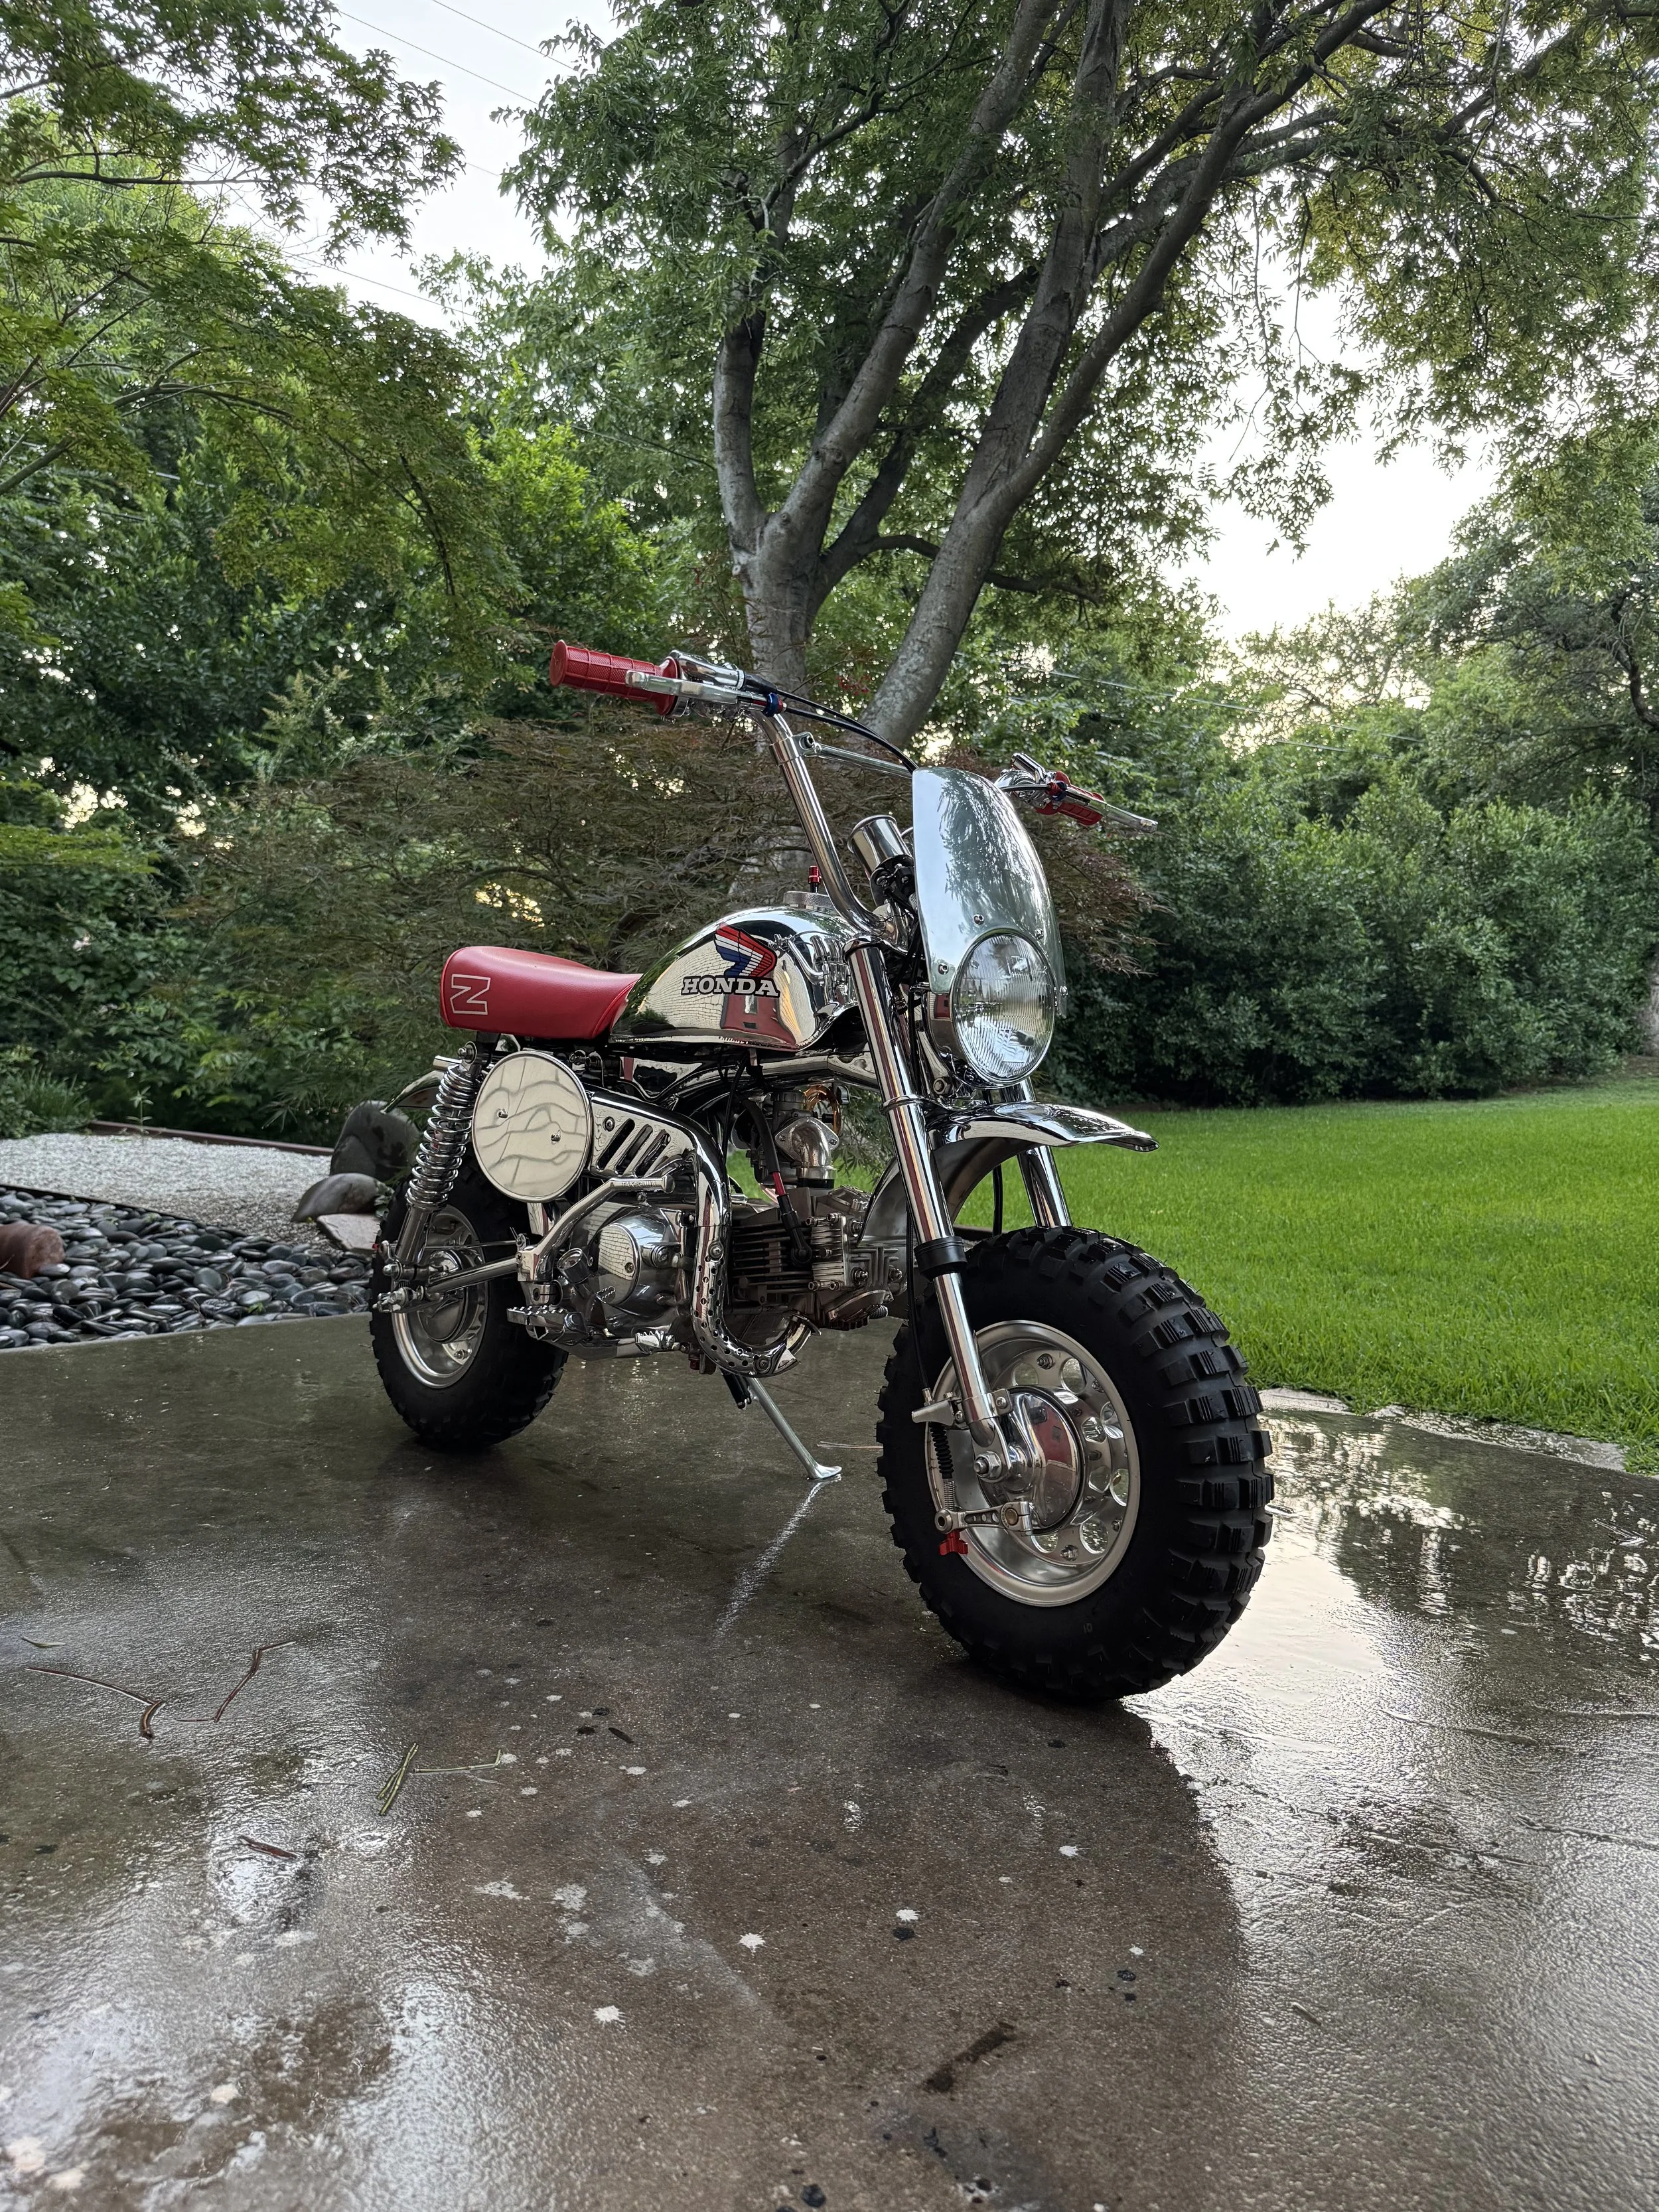
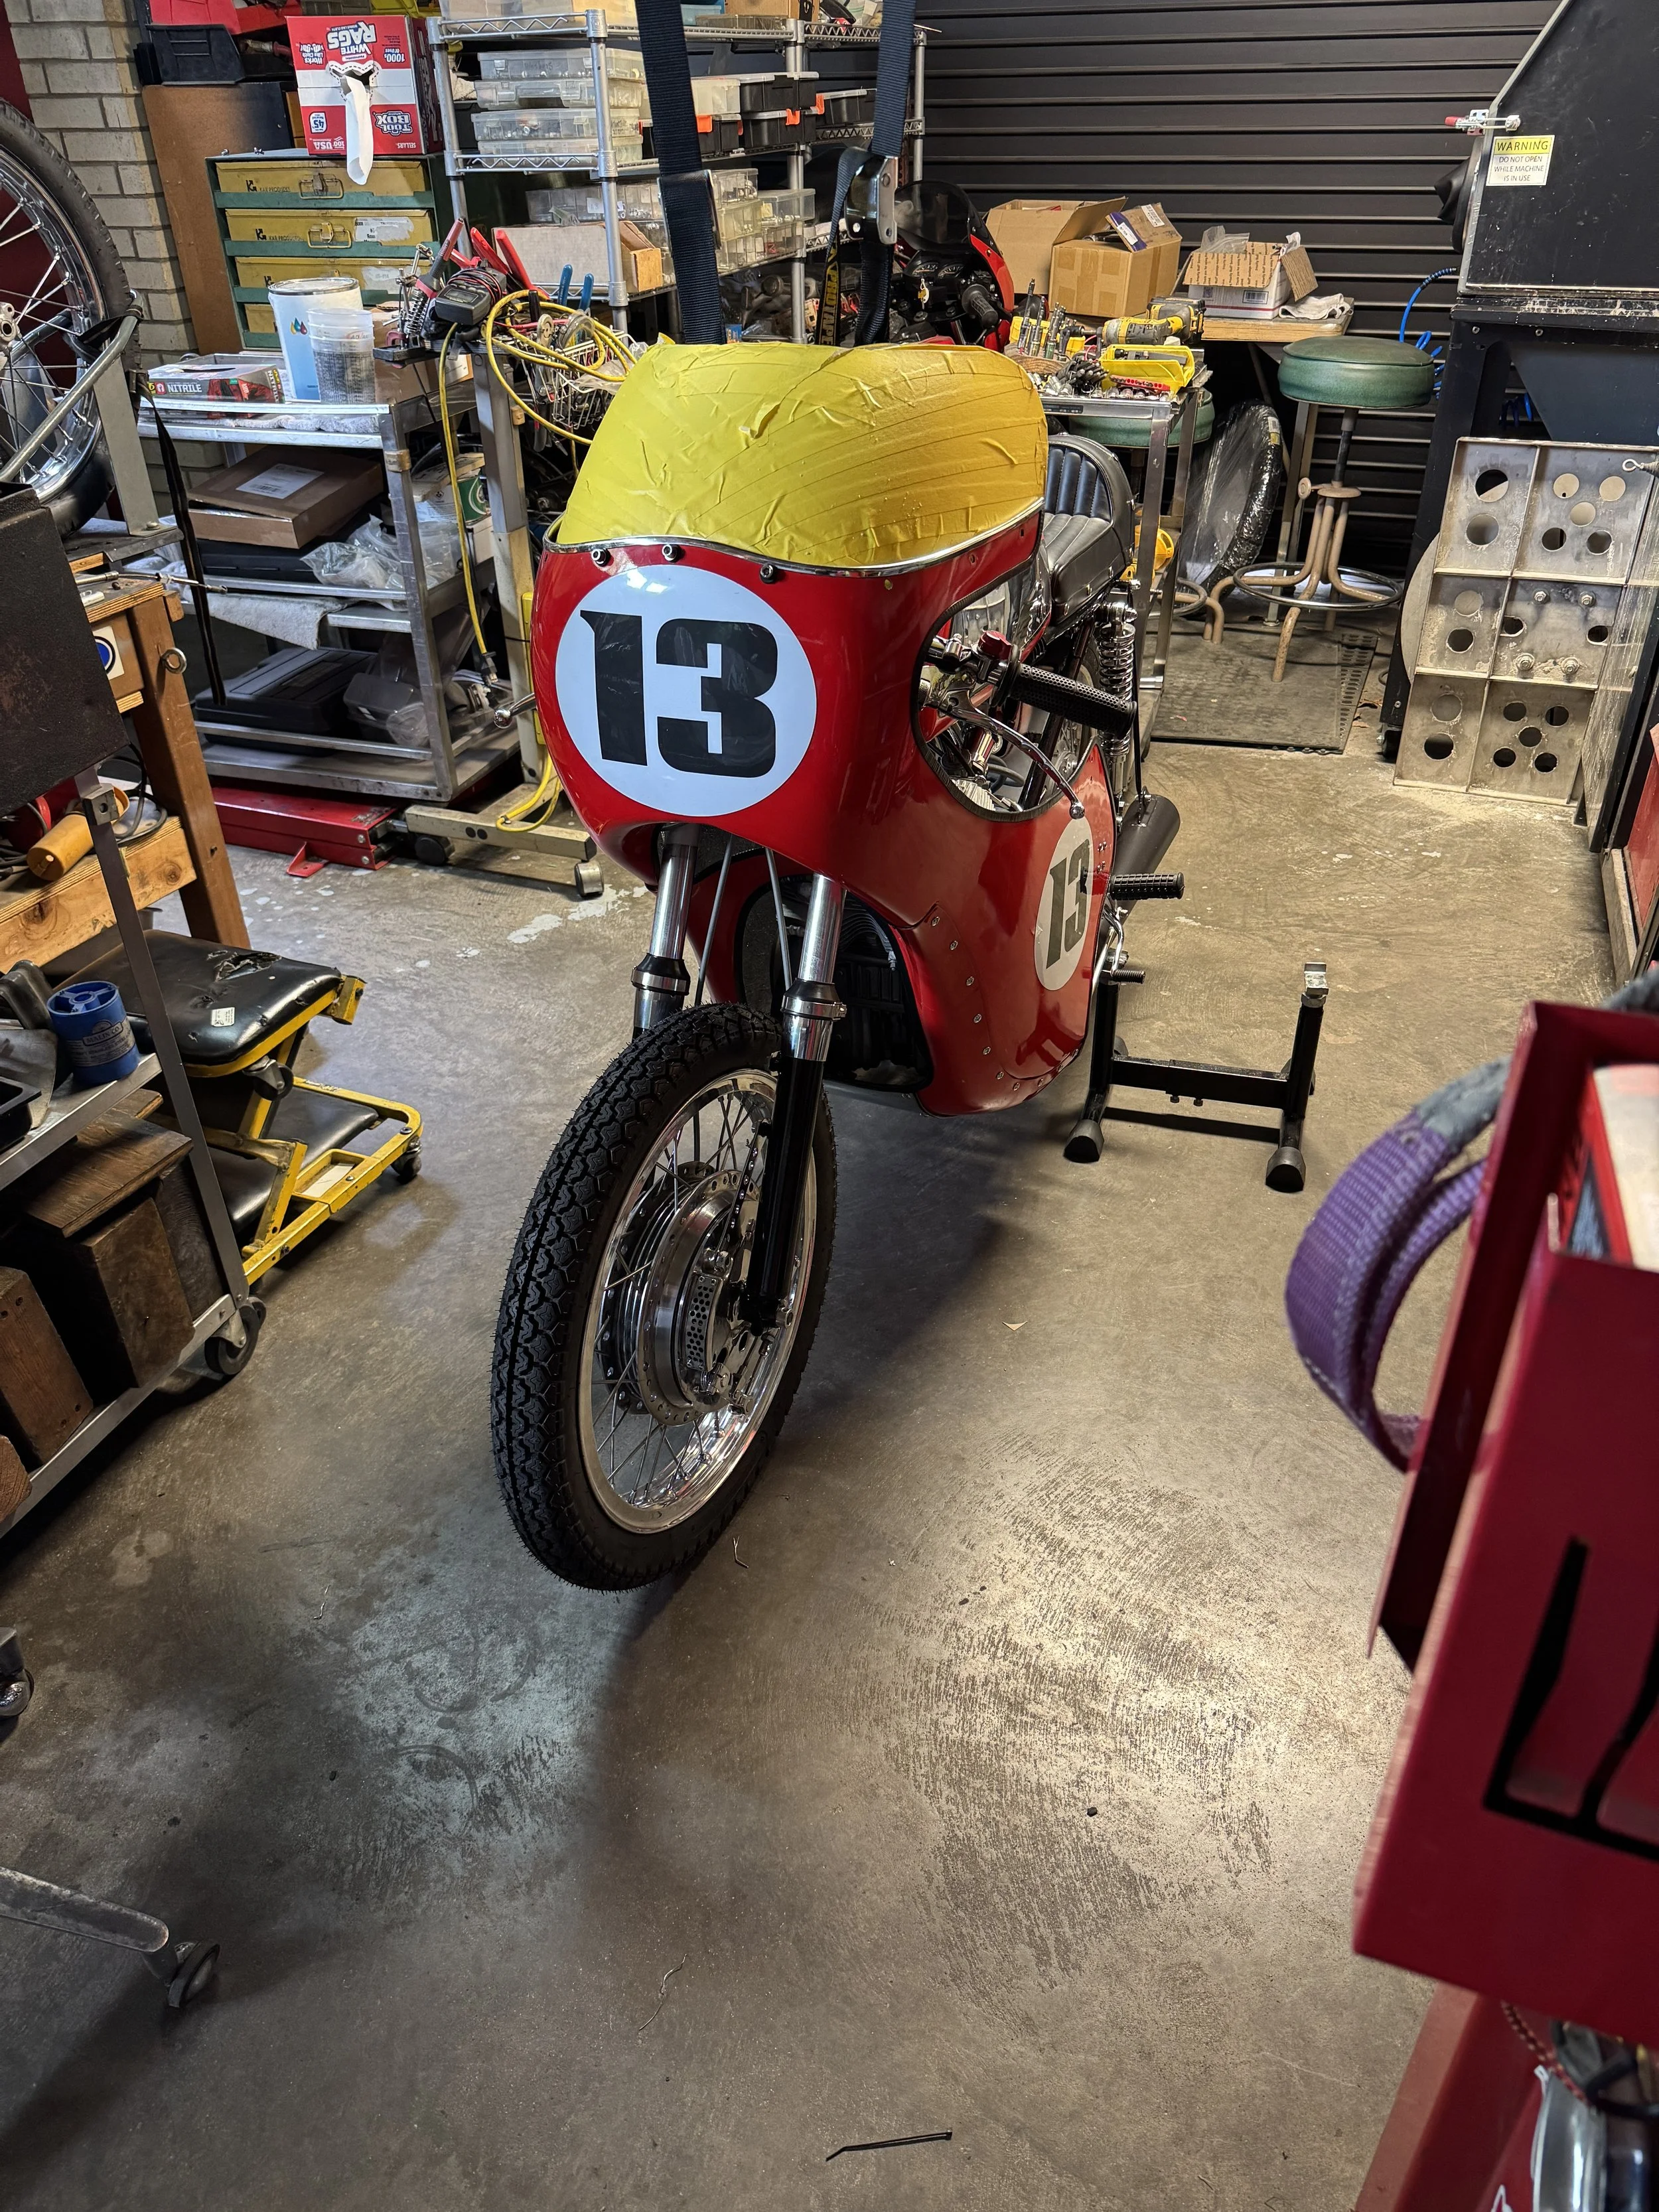
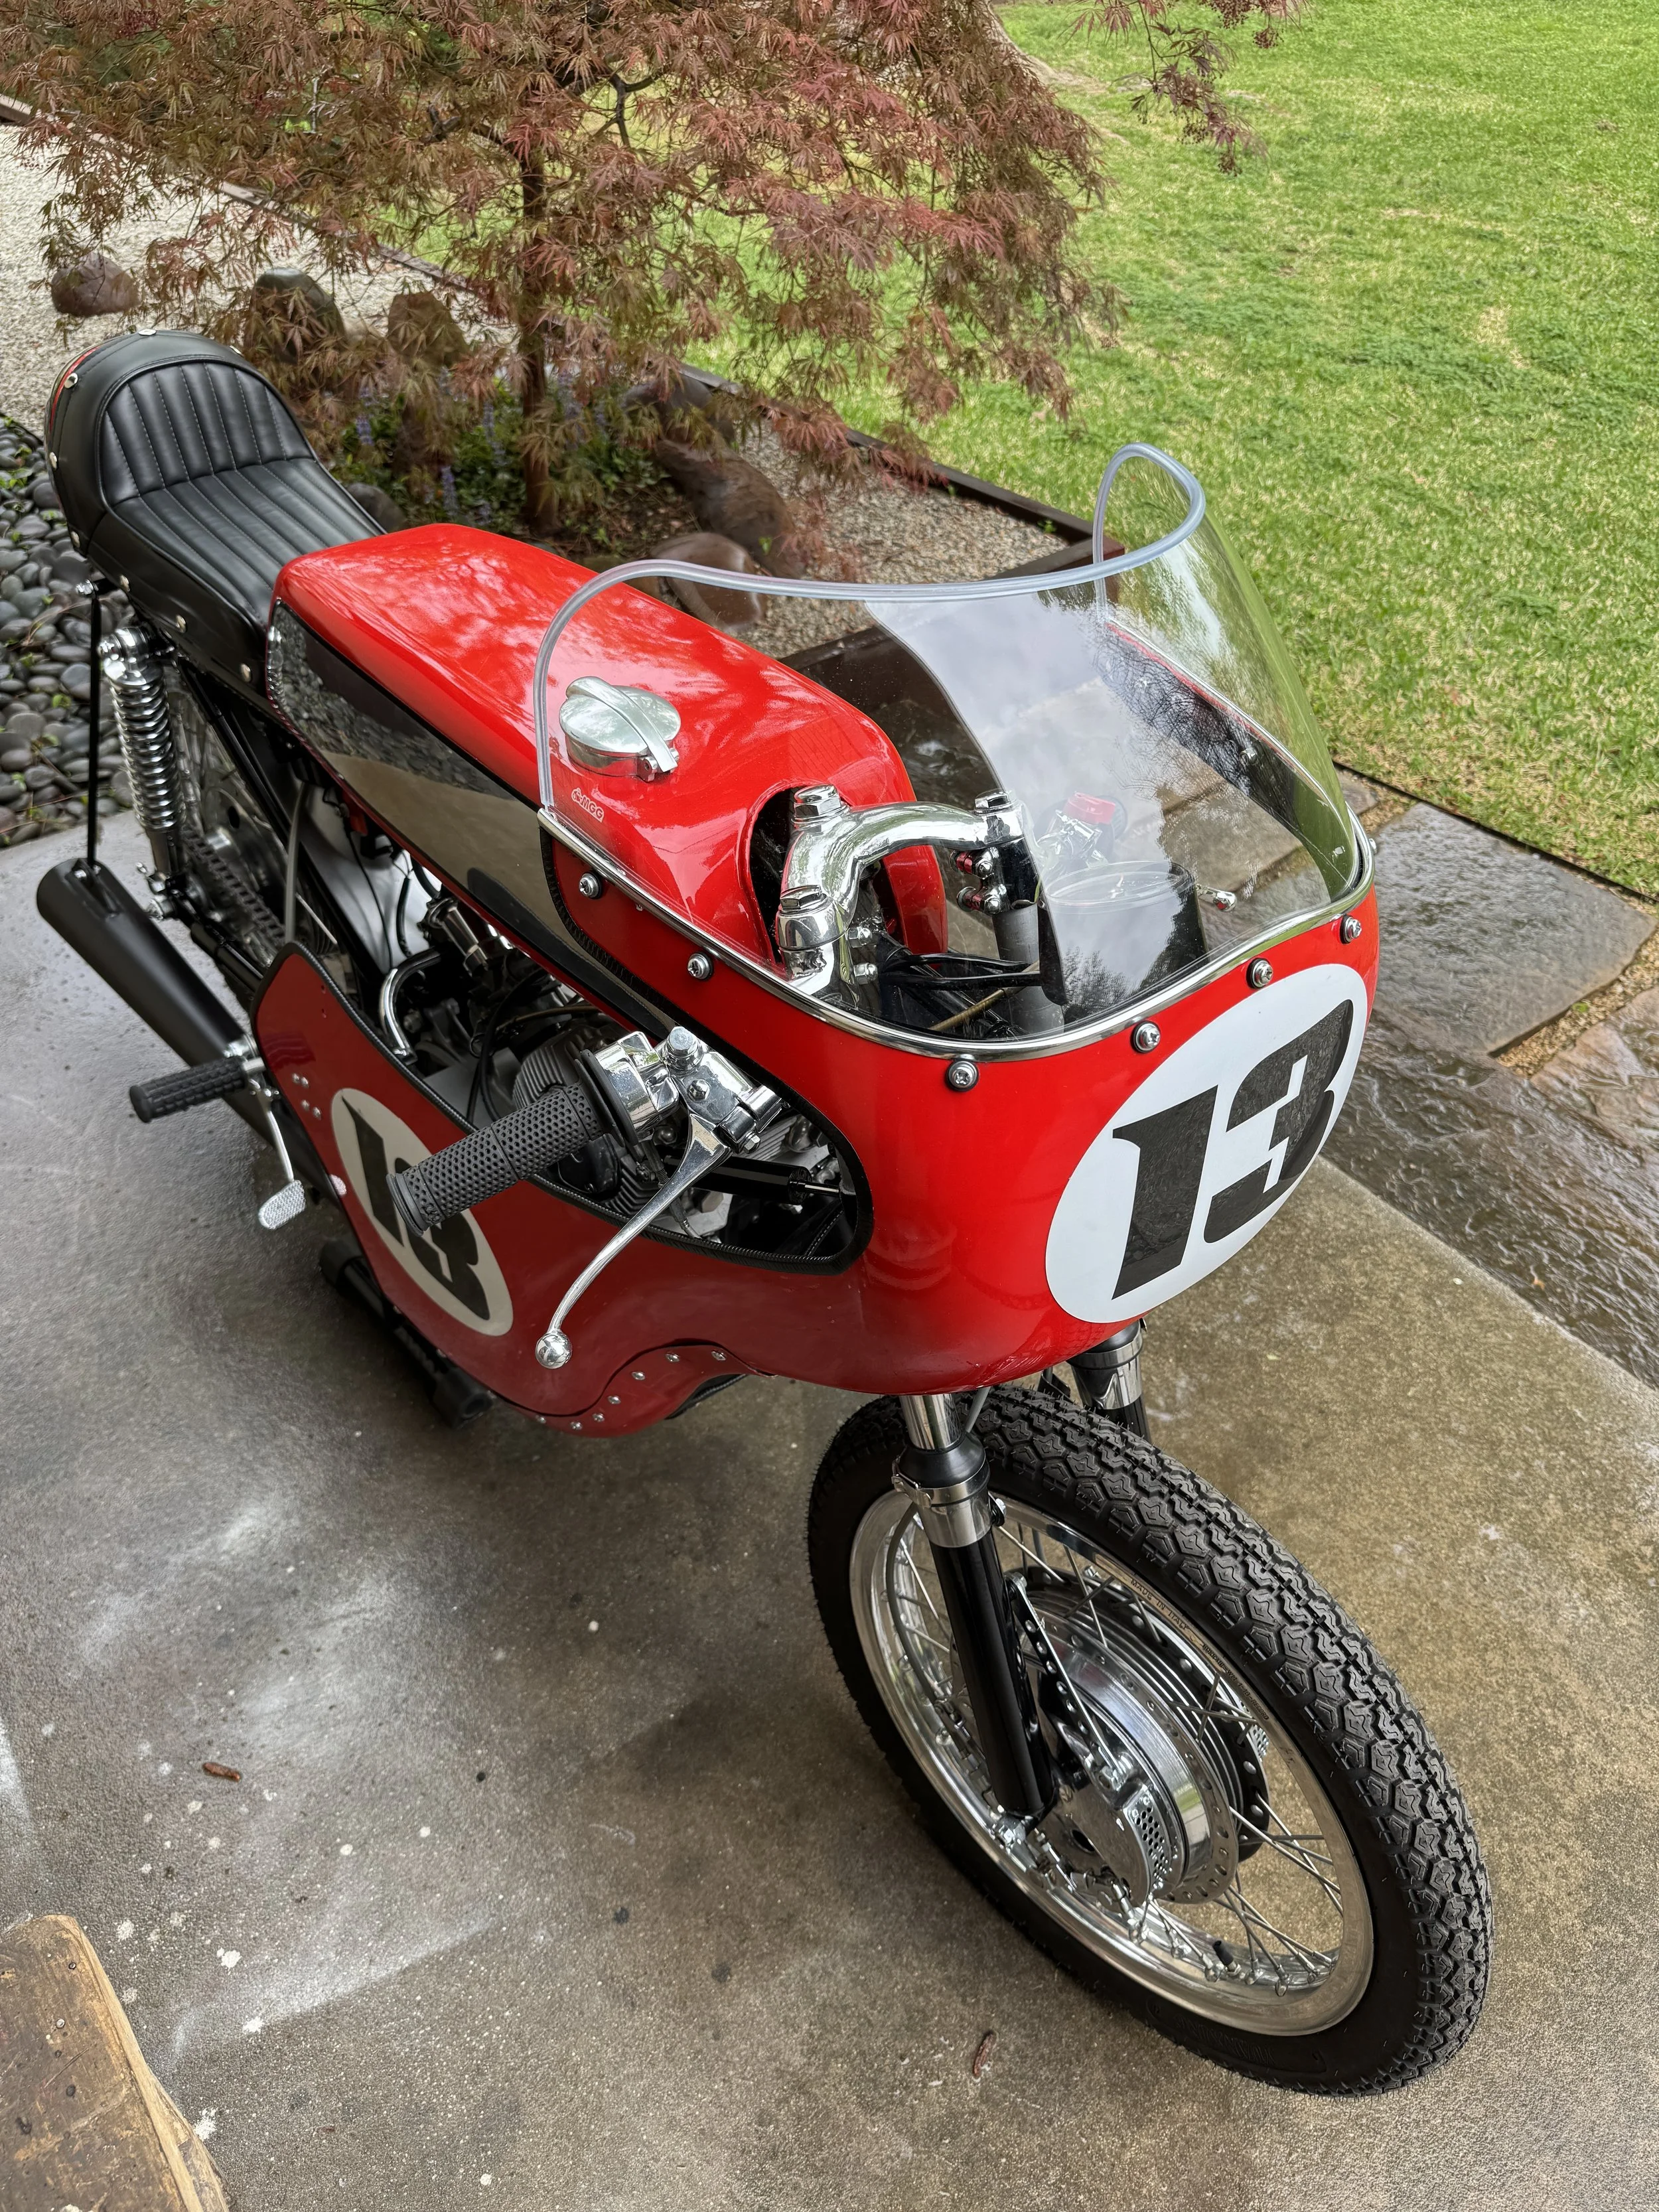
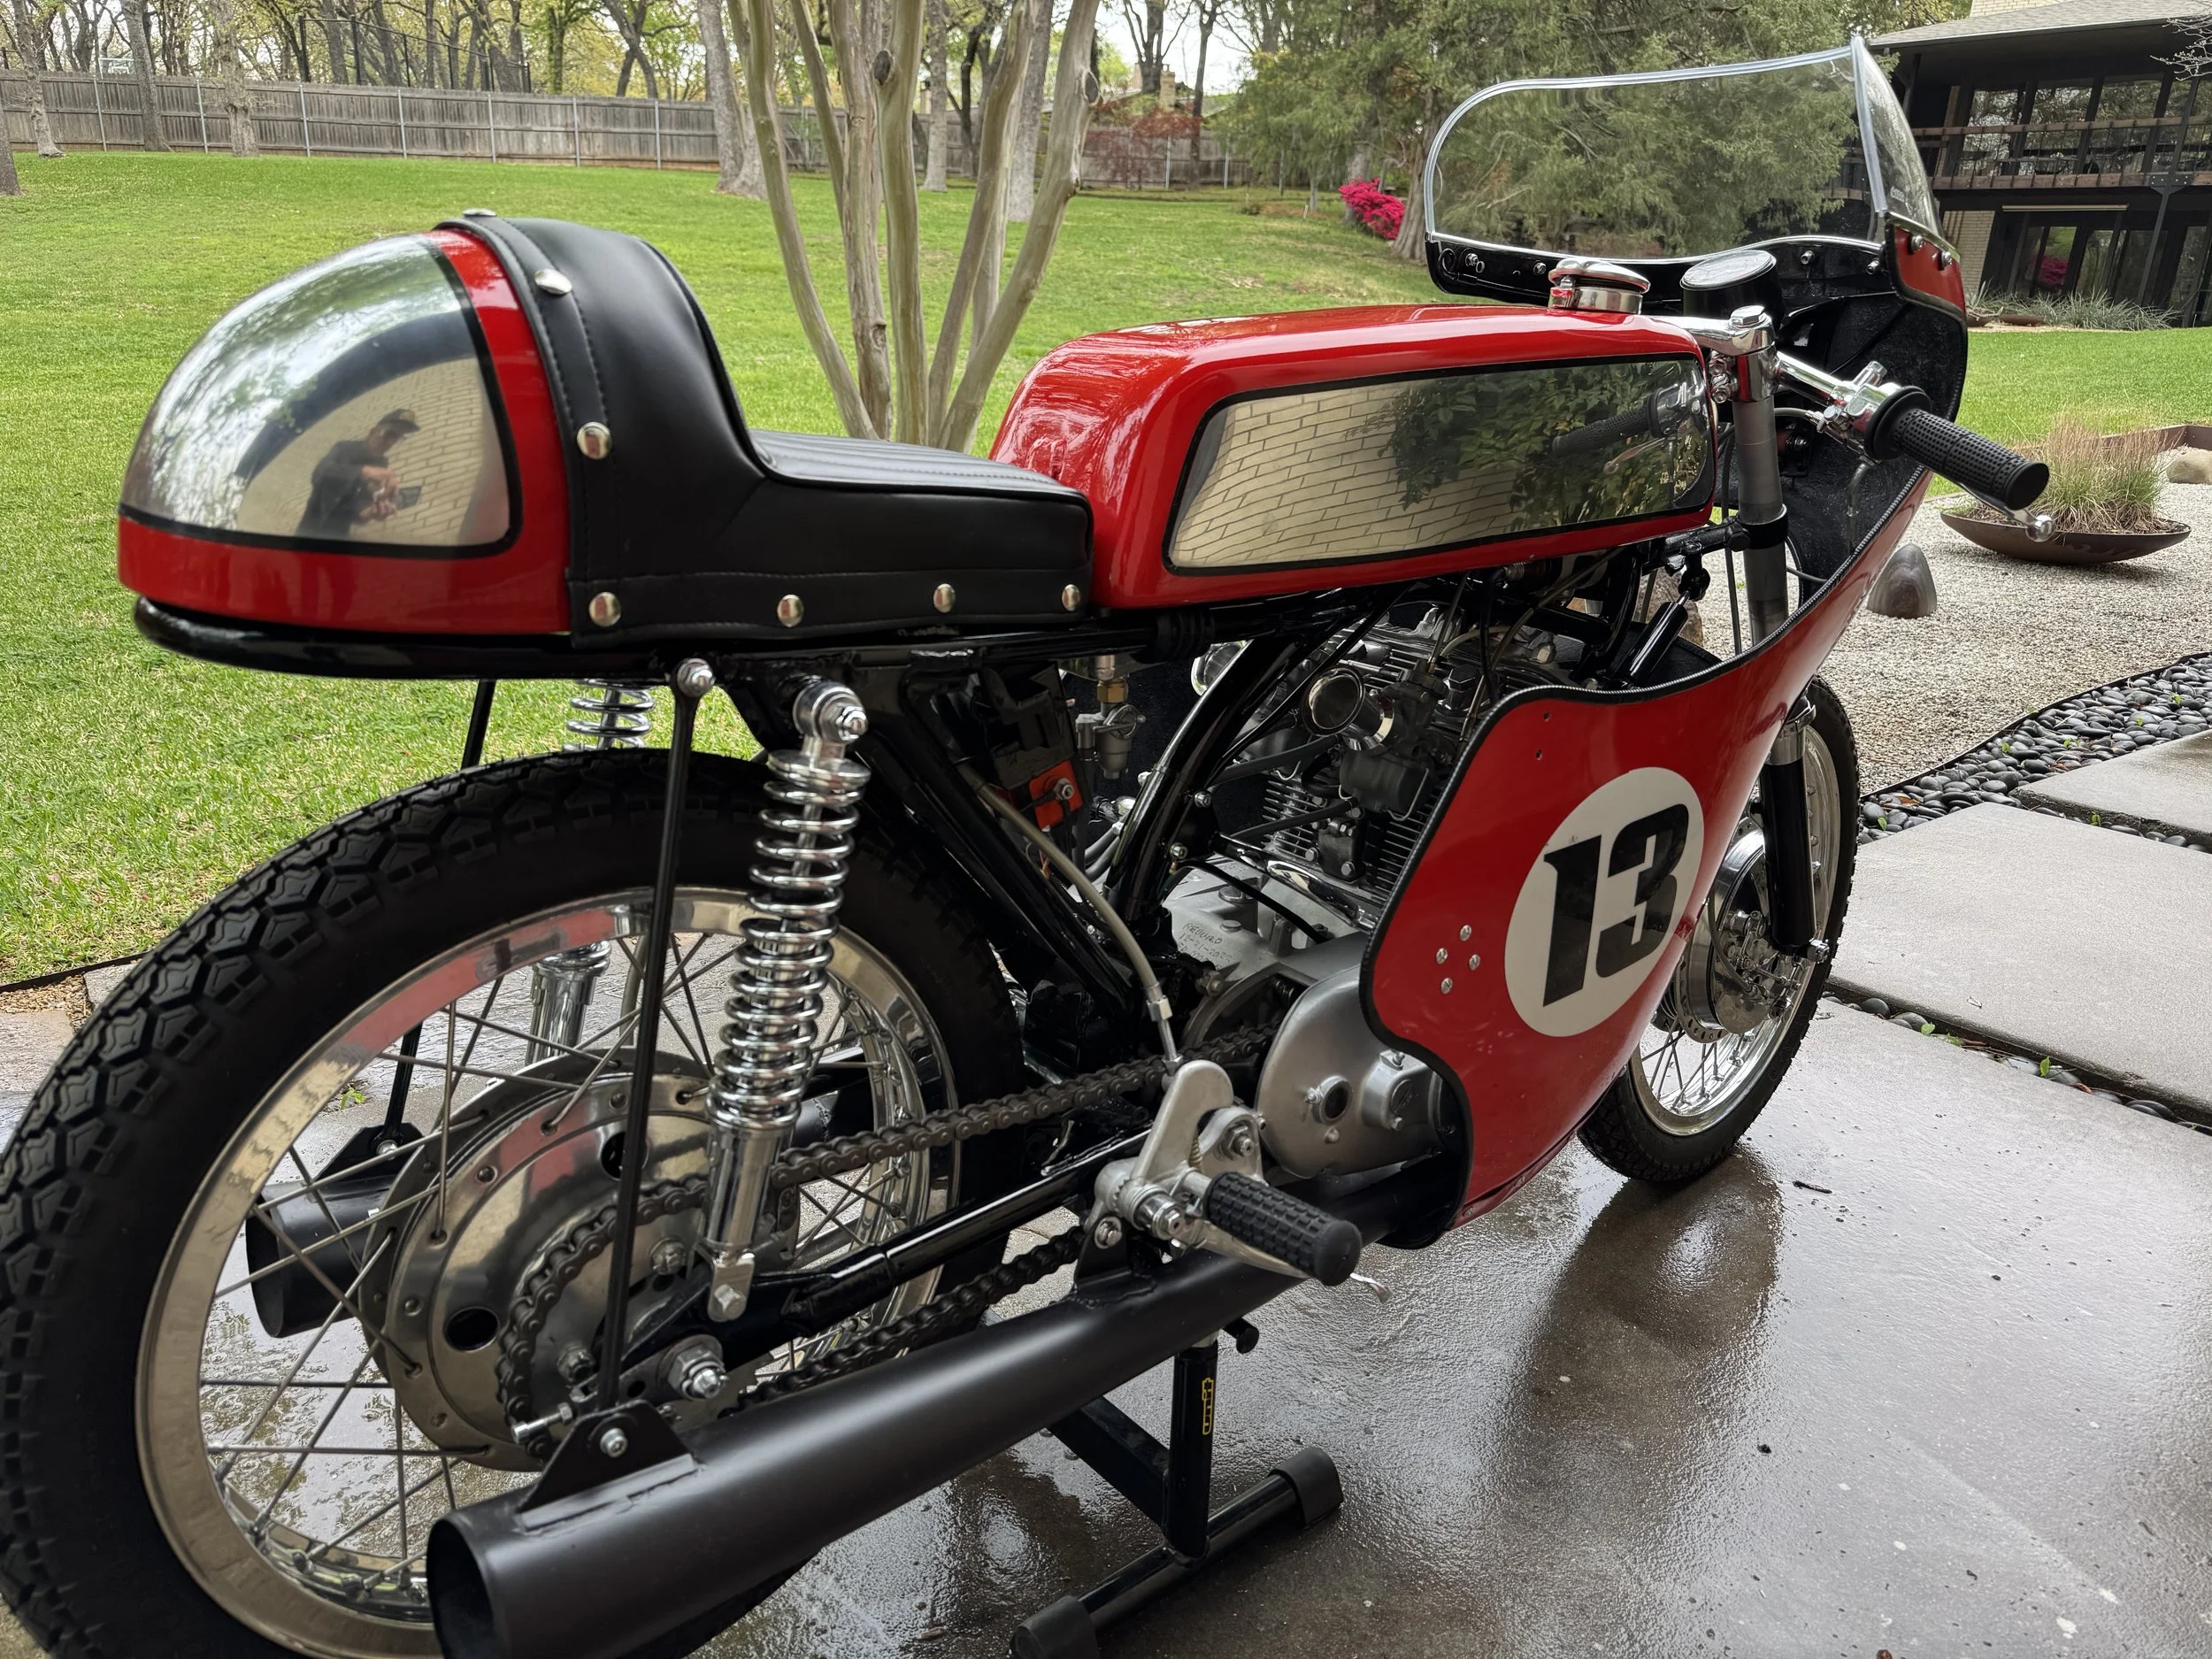
The front fairing was slightly reshaped and polished out again.