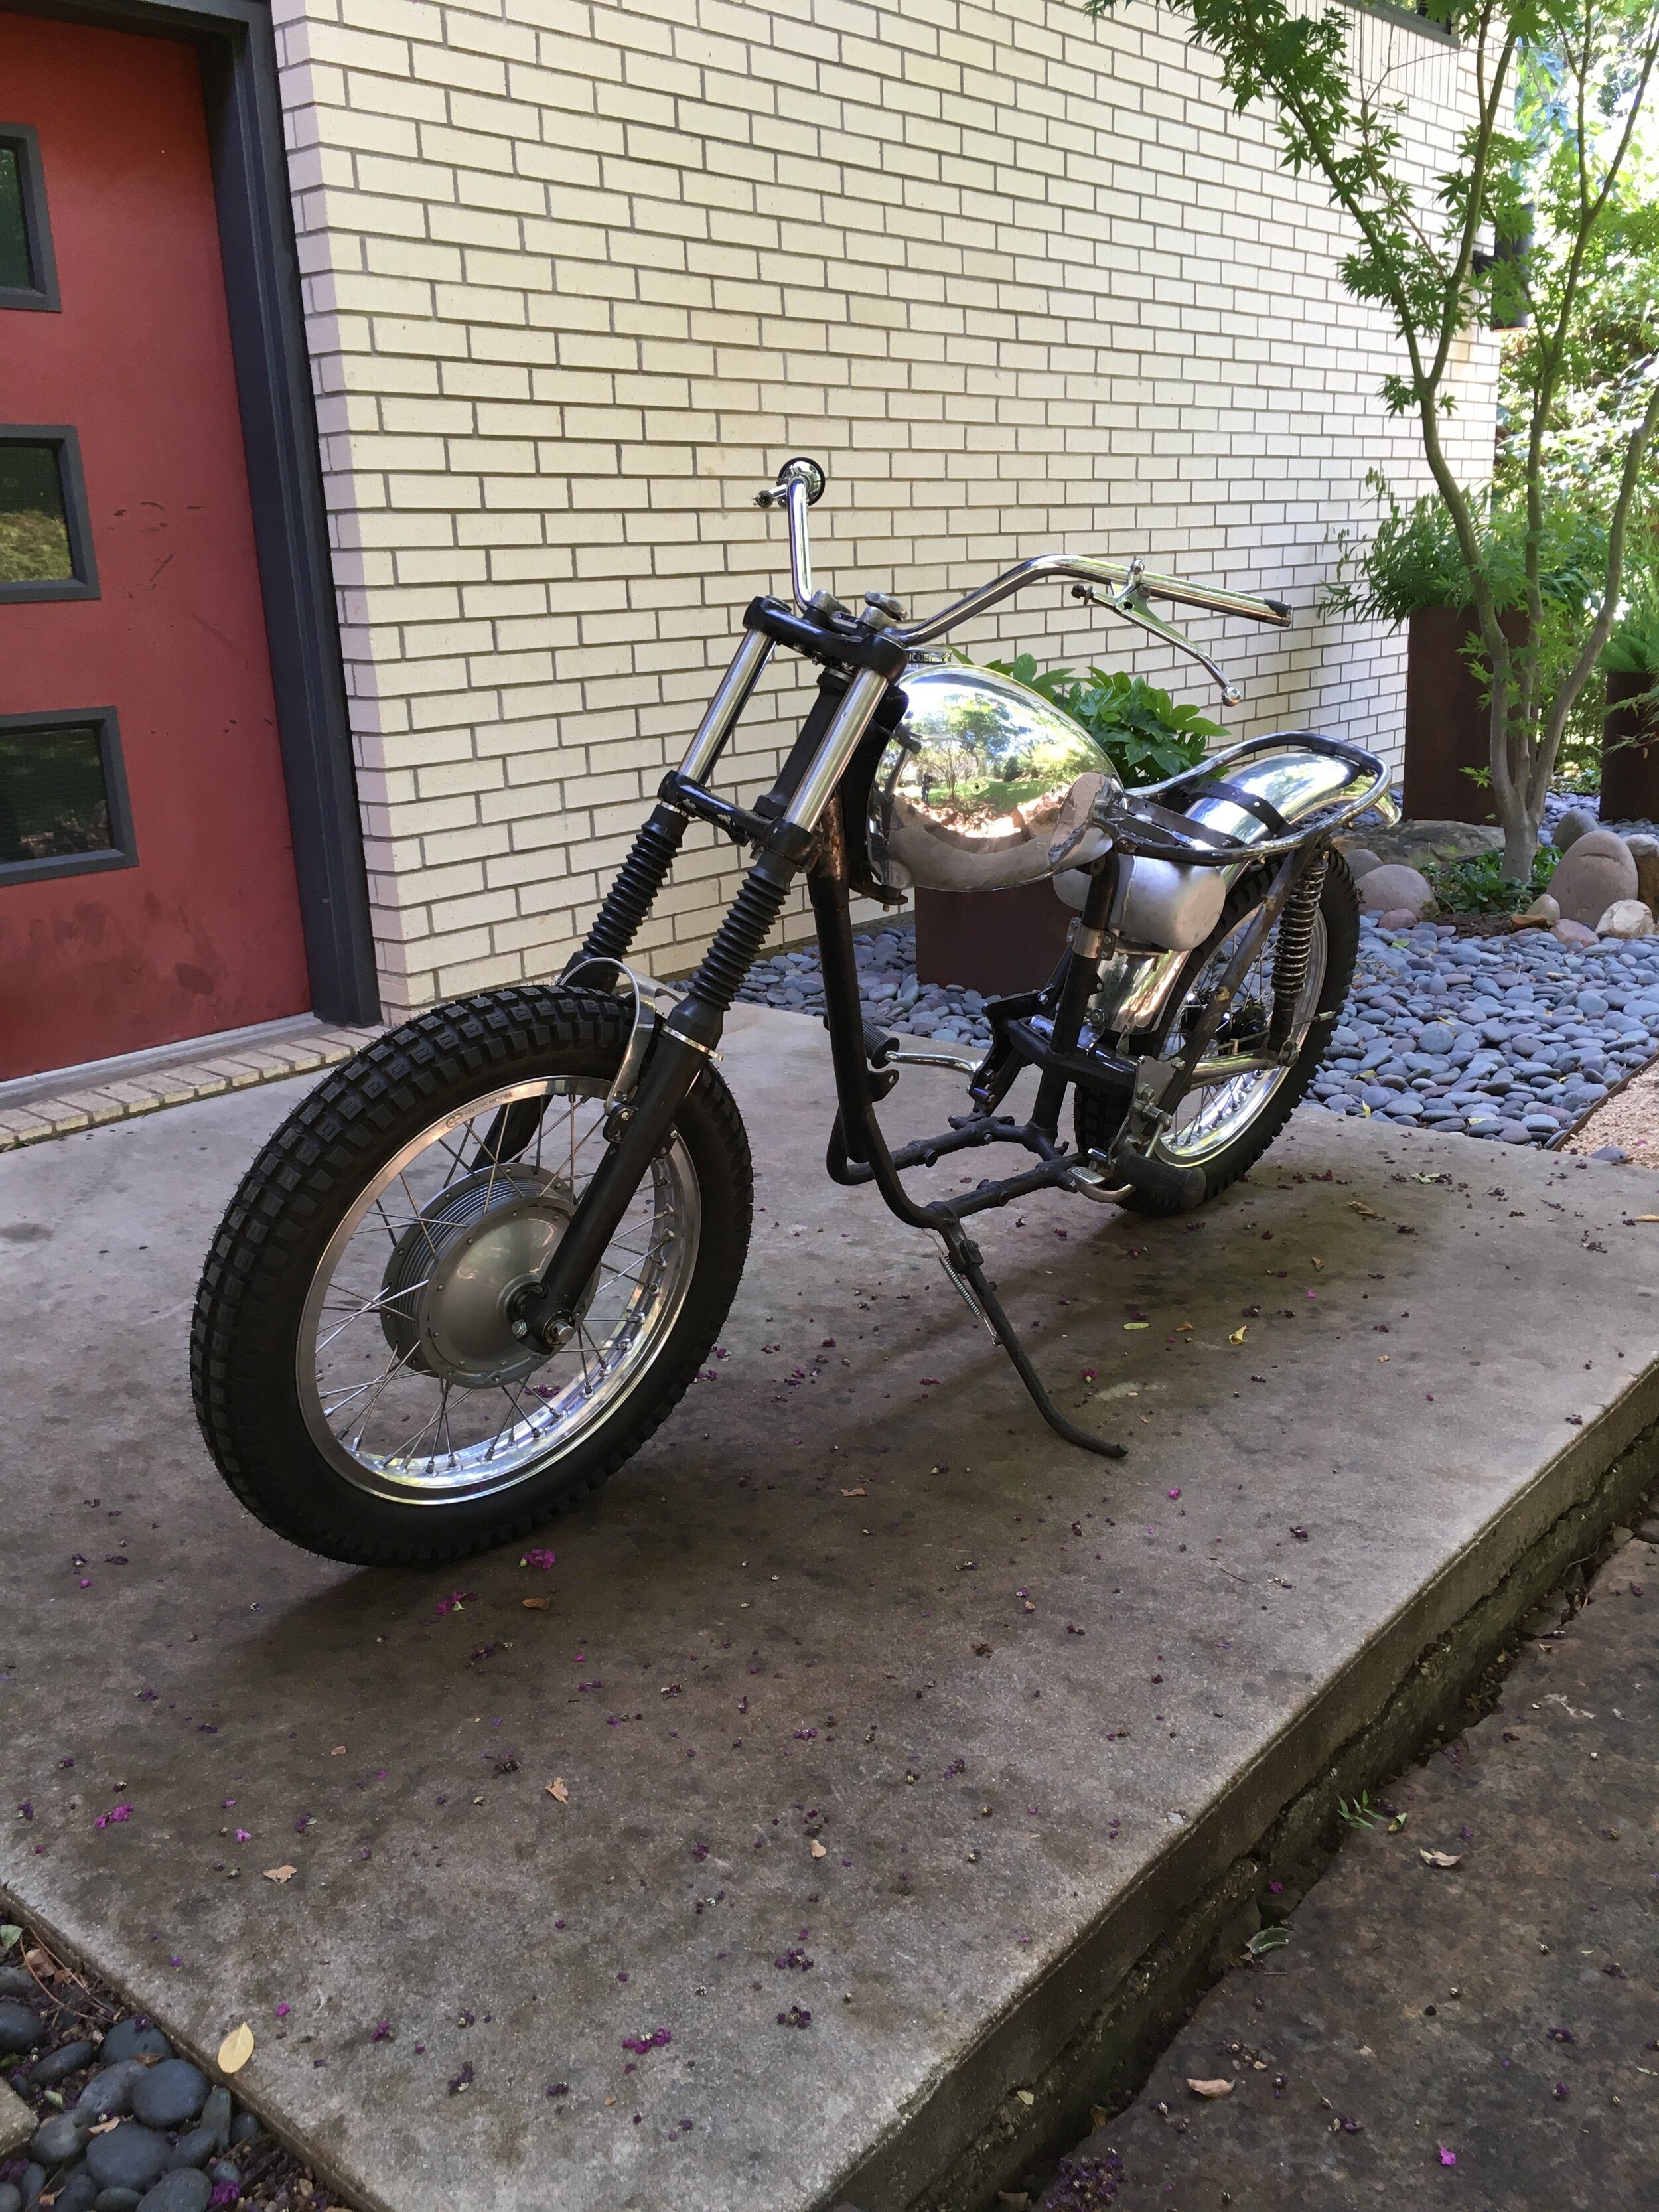
A frame purchased long ago. The original paint is in fair shape, with some nicks and scrapes. One of the six engines built last year in “The Festival of Engines 2020,” a 108cc stroker with race head and heavy duty clutch, has been dropped in, and tons of new OEM Honda and reproduction parts are going into this custom rider.

The frame as purchased. Some scrapes and dings, but for 50 year old paint, not bad.

After the frame was broken down, cleaned and buffed out, Reproduction shocks, handlebars, and fenders are going on.

Aluminum rims and Bridgestone tires. The hubs are originals, rebuilt with new bearings, seals, dampers, and sprocket, and repainted with Honda cloud silver paint.

Many of these original parts were gathered a piece at a time, like the tail light bracket, brush guard, and engine, and replated or rebuilt along with other projects over the last couple years. Every time I head to the chrome shop, there is an extra piece or two that gets thrown in from another bike. Over time, enough parts get accumulated to start the build. This particular project has sat on a shop table 2-3 years, slowly increasing the hoard of parts, till the engine completion was enough of a tipping point to get started.

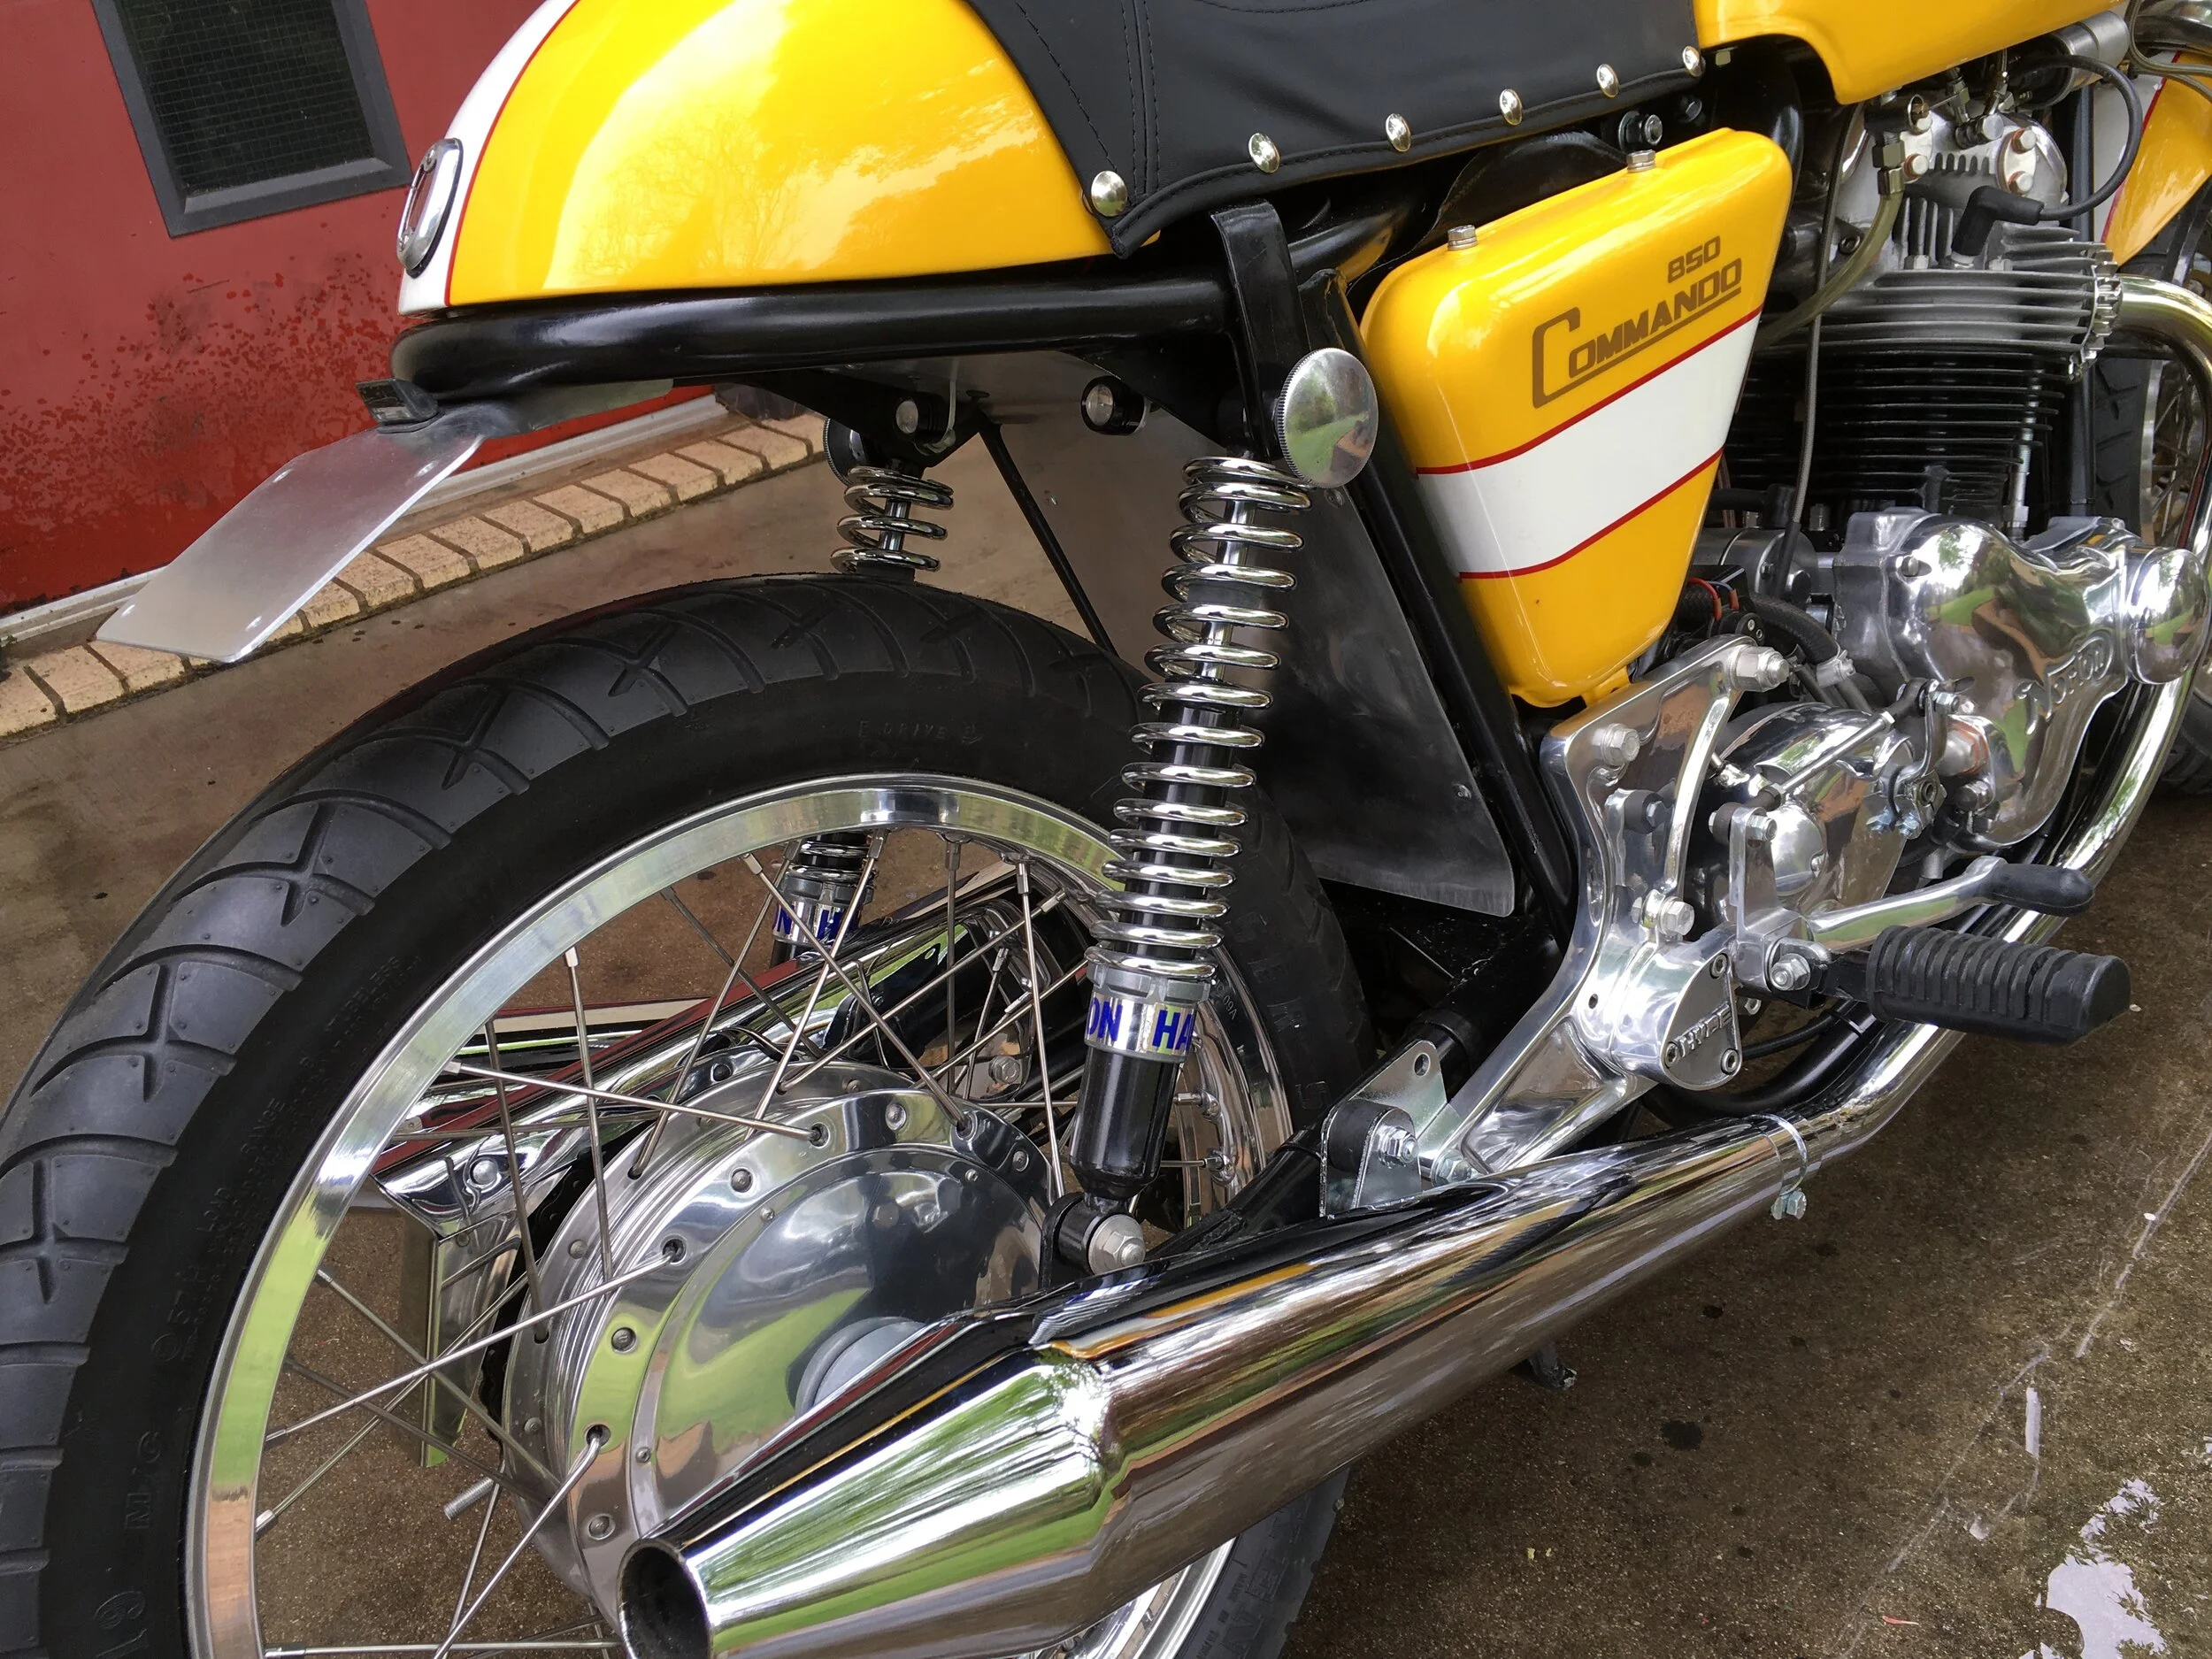
A new OEM muffler and guards from Honda are going on. The seat is a high quality reproduction.

A simple tool made to spread the lower frame tubes on the 1965 Triumph TR6 project to allow the spacers to fit in on the main motor mount bolt. Works well.

The engine is in the 1965 Triumph TR6.