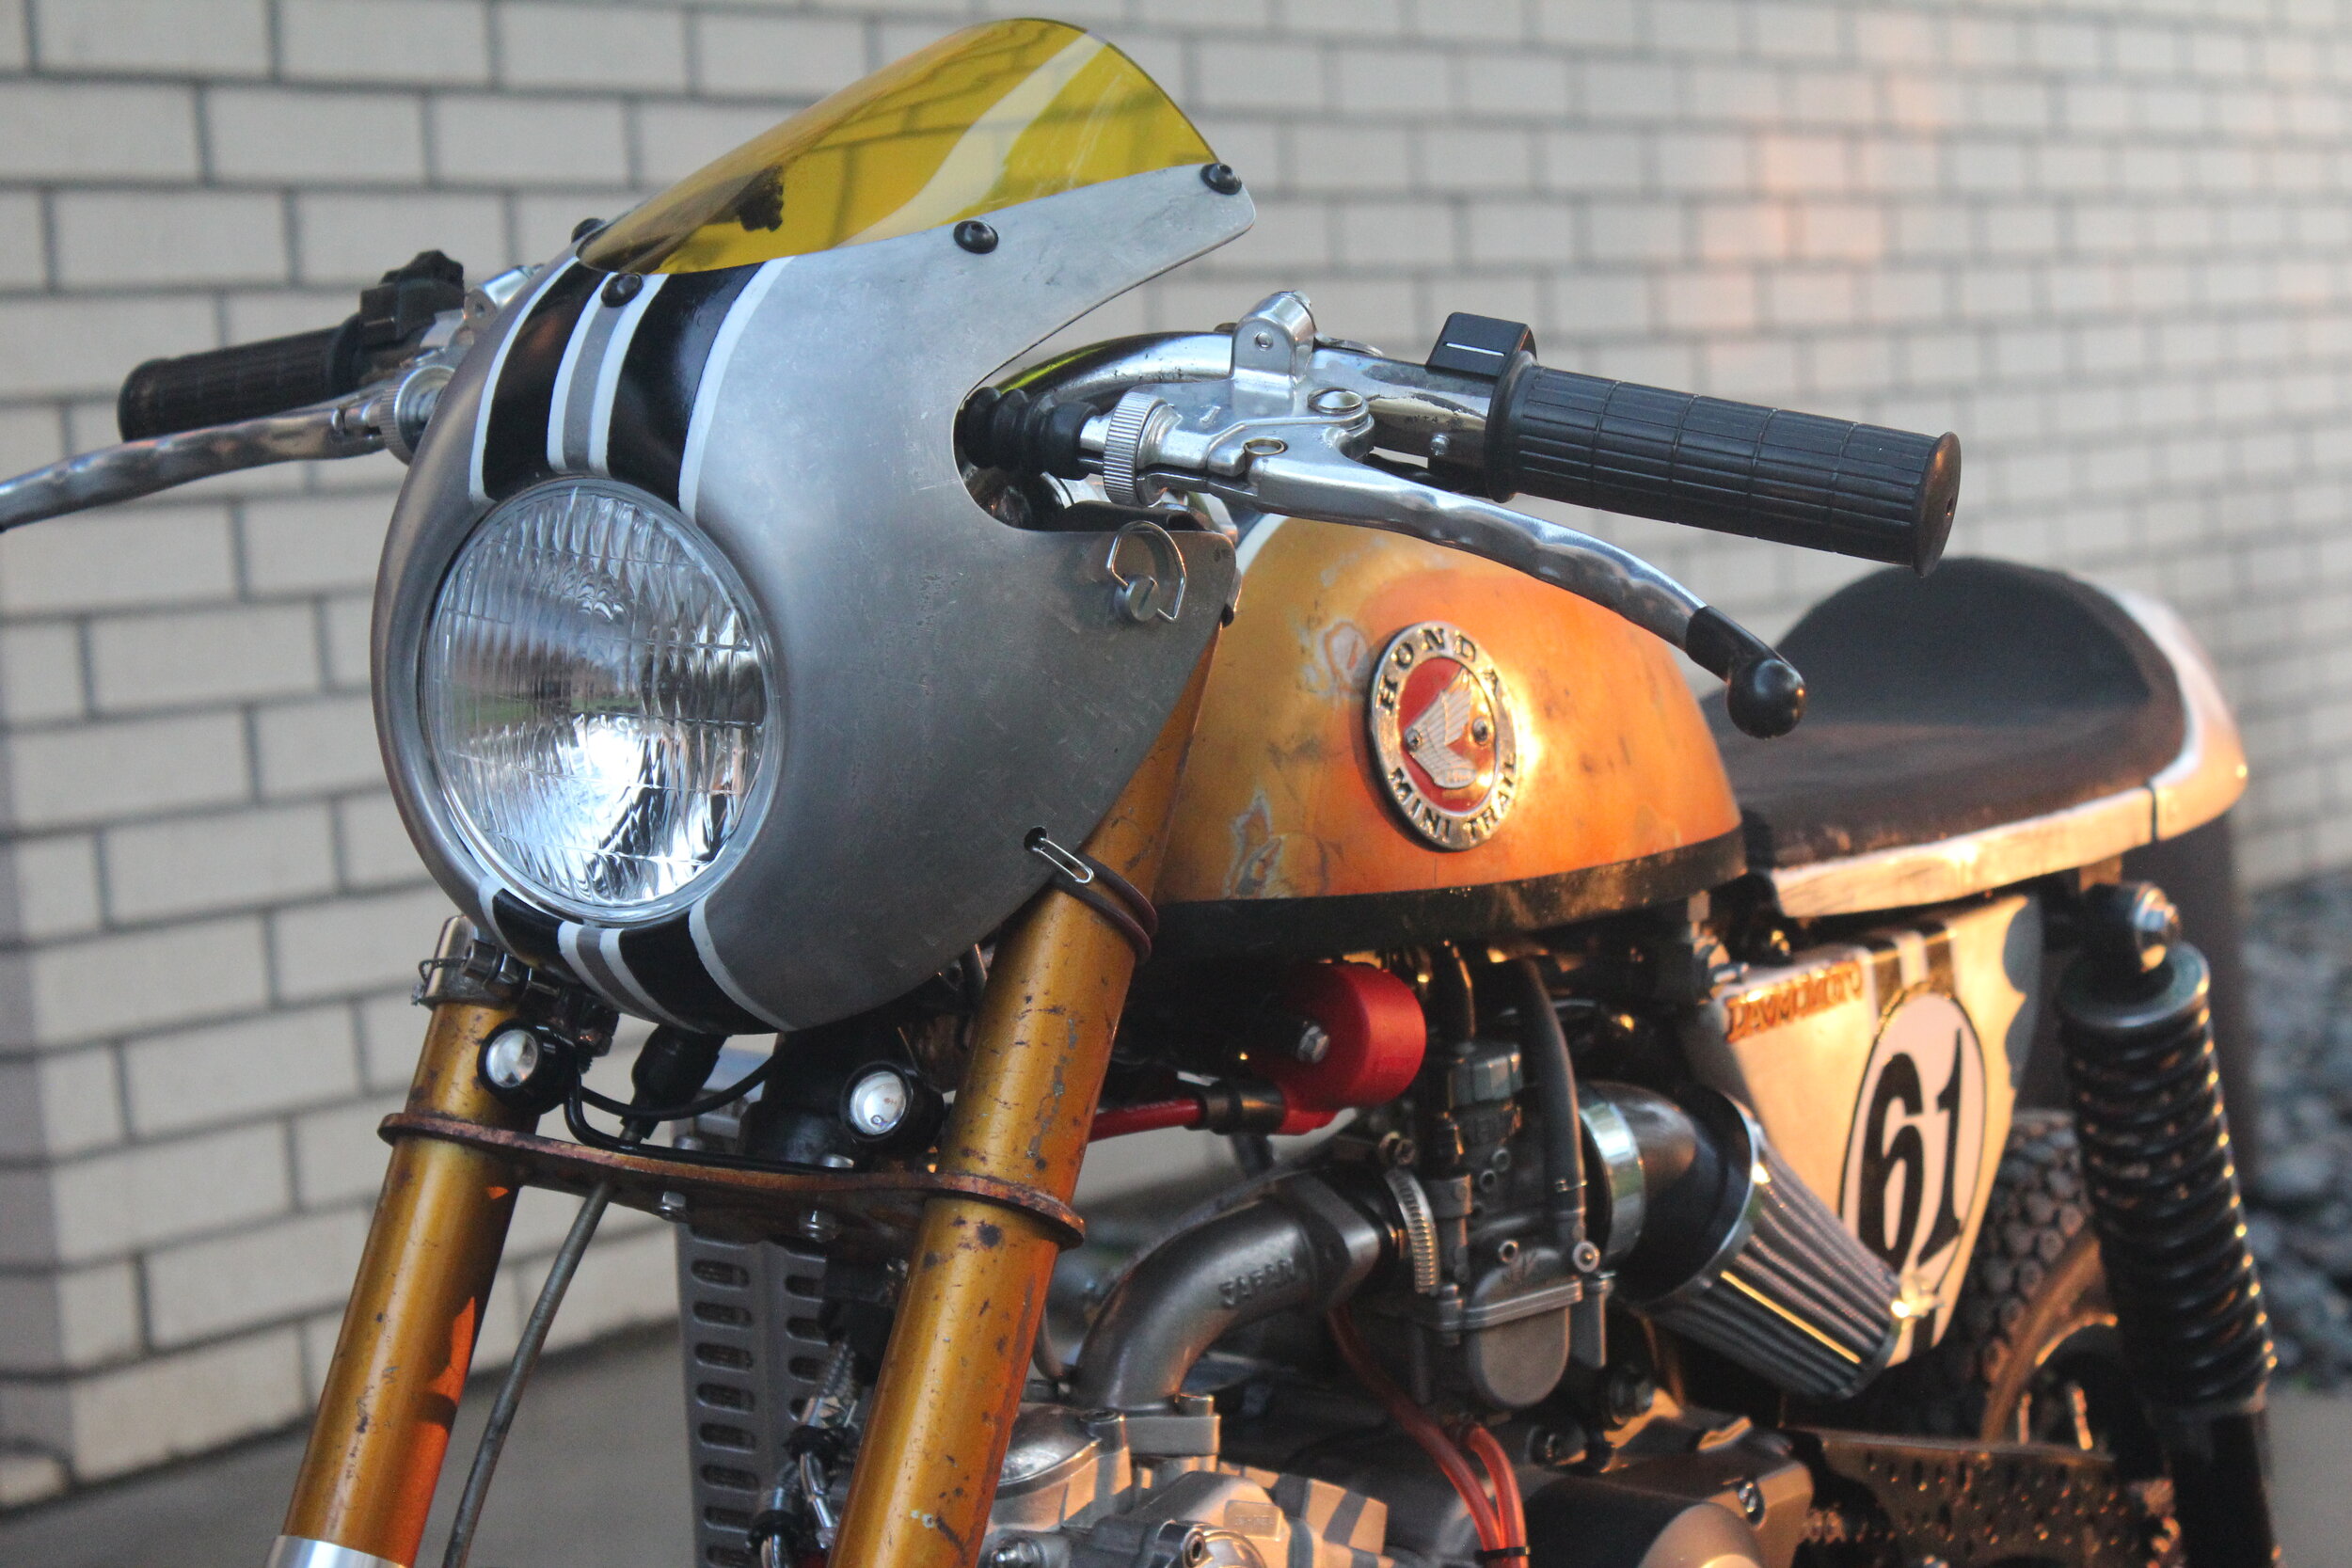
The neon yellow windshield is gone. Originally, I was looking for a green one, but could not find the right shade. Yellow was a second choice, but once again, finding the right shade was the key.

A cover was made for the oil cooler from .050 aluminum, and the belly pan was made from .090 . There is brass mesh under the cooler guard.

The belly pan is a requirement for most vintage racers, and must have the capacity to hold all the oil in the engine. Looking at picture of the bike before the pan and fender were made now look unbalanced.

Engine oil has to be able to find its way into the belly pan, hence the dimple-die holes under the cylinder..

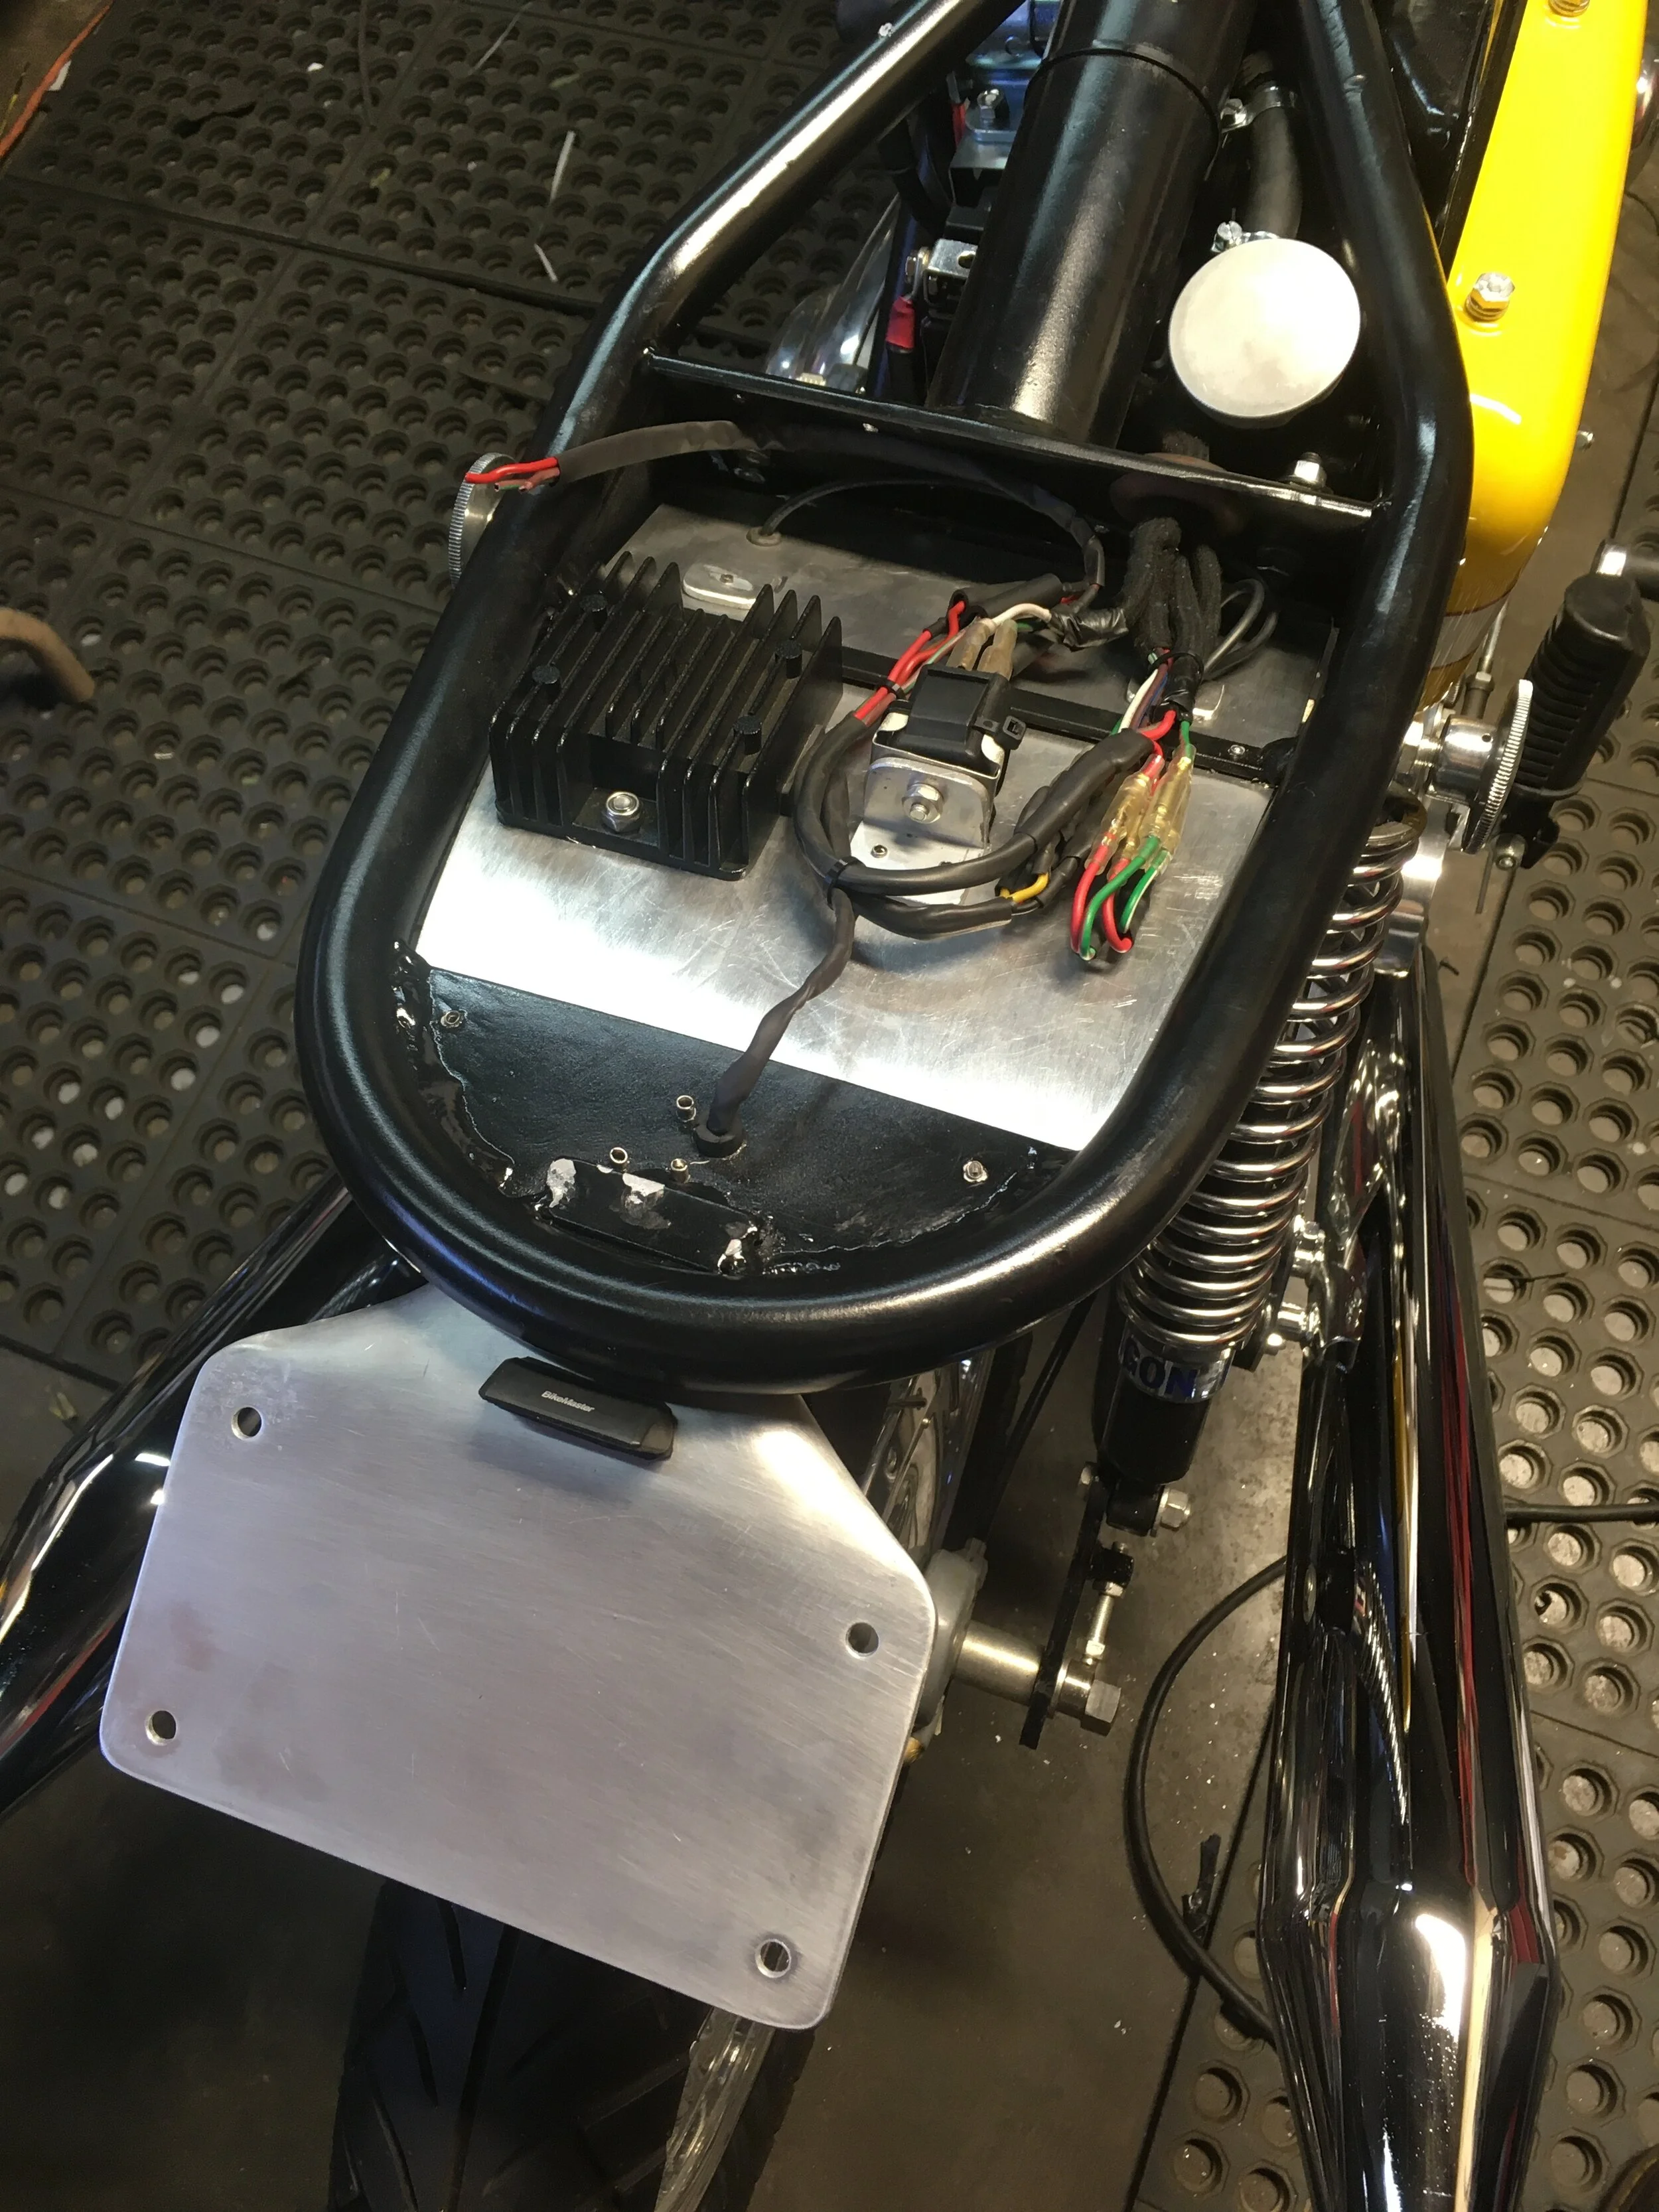
The bike also got safety wire or cotters on the footpegs, handlebars, axles, shocks, and other parts.

A quick release mechanism uses a single red bolt in front and a quarter turn clip in back to secure the pan.

Some of the safety wiring can be seen on the handlebars and fork bolts.

The oil cooler cover is secured with safety wire and brass brackets. The side profile of the bike shows how the muffler is tucked in tight around the rear shock.


Sunset in Texas.