Did some stripes, numbers, and hand lettering on the 1972 Honda Z50 Cafe Racer. First off, I do not claim to be a painter or a pin striper, but this bike is a little raw, so my level of skill will do. So far, everything else on the build has been done in-house, with as few parts purchased as possible.

In addition to the stripes, the underside of all the body parts, the chain guard, inner fender and a number of brackets were painted black. The rear panel for the tail lights was also blacked out

Usually, the stripes are taped up with the parts on the frame, but these were done individually. Fortunately everything lines up nicely.

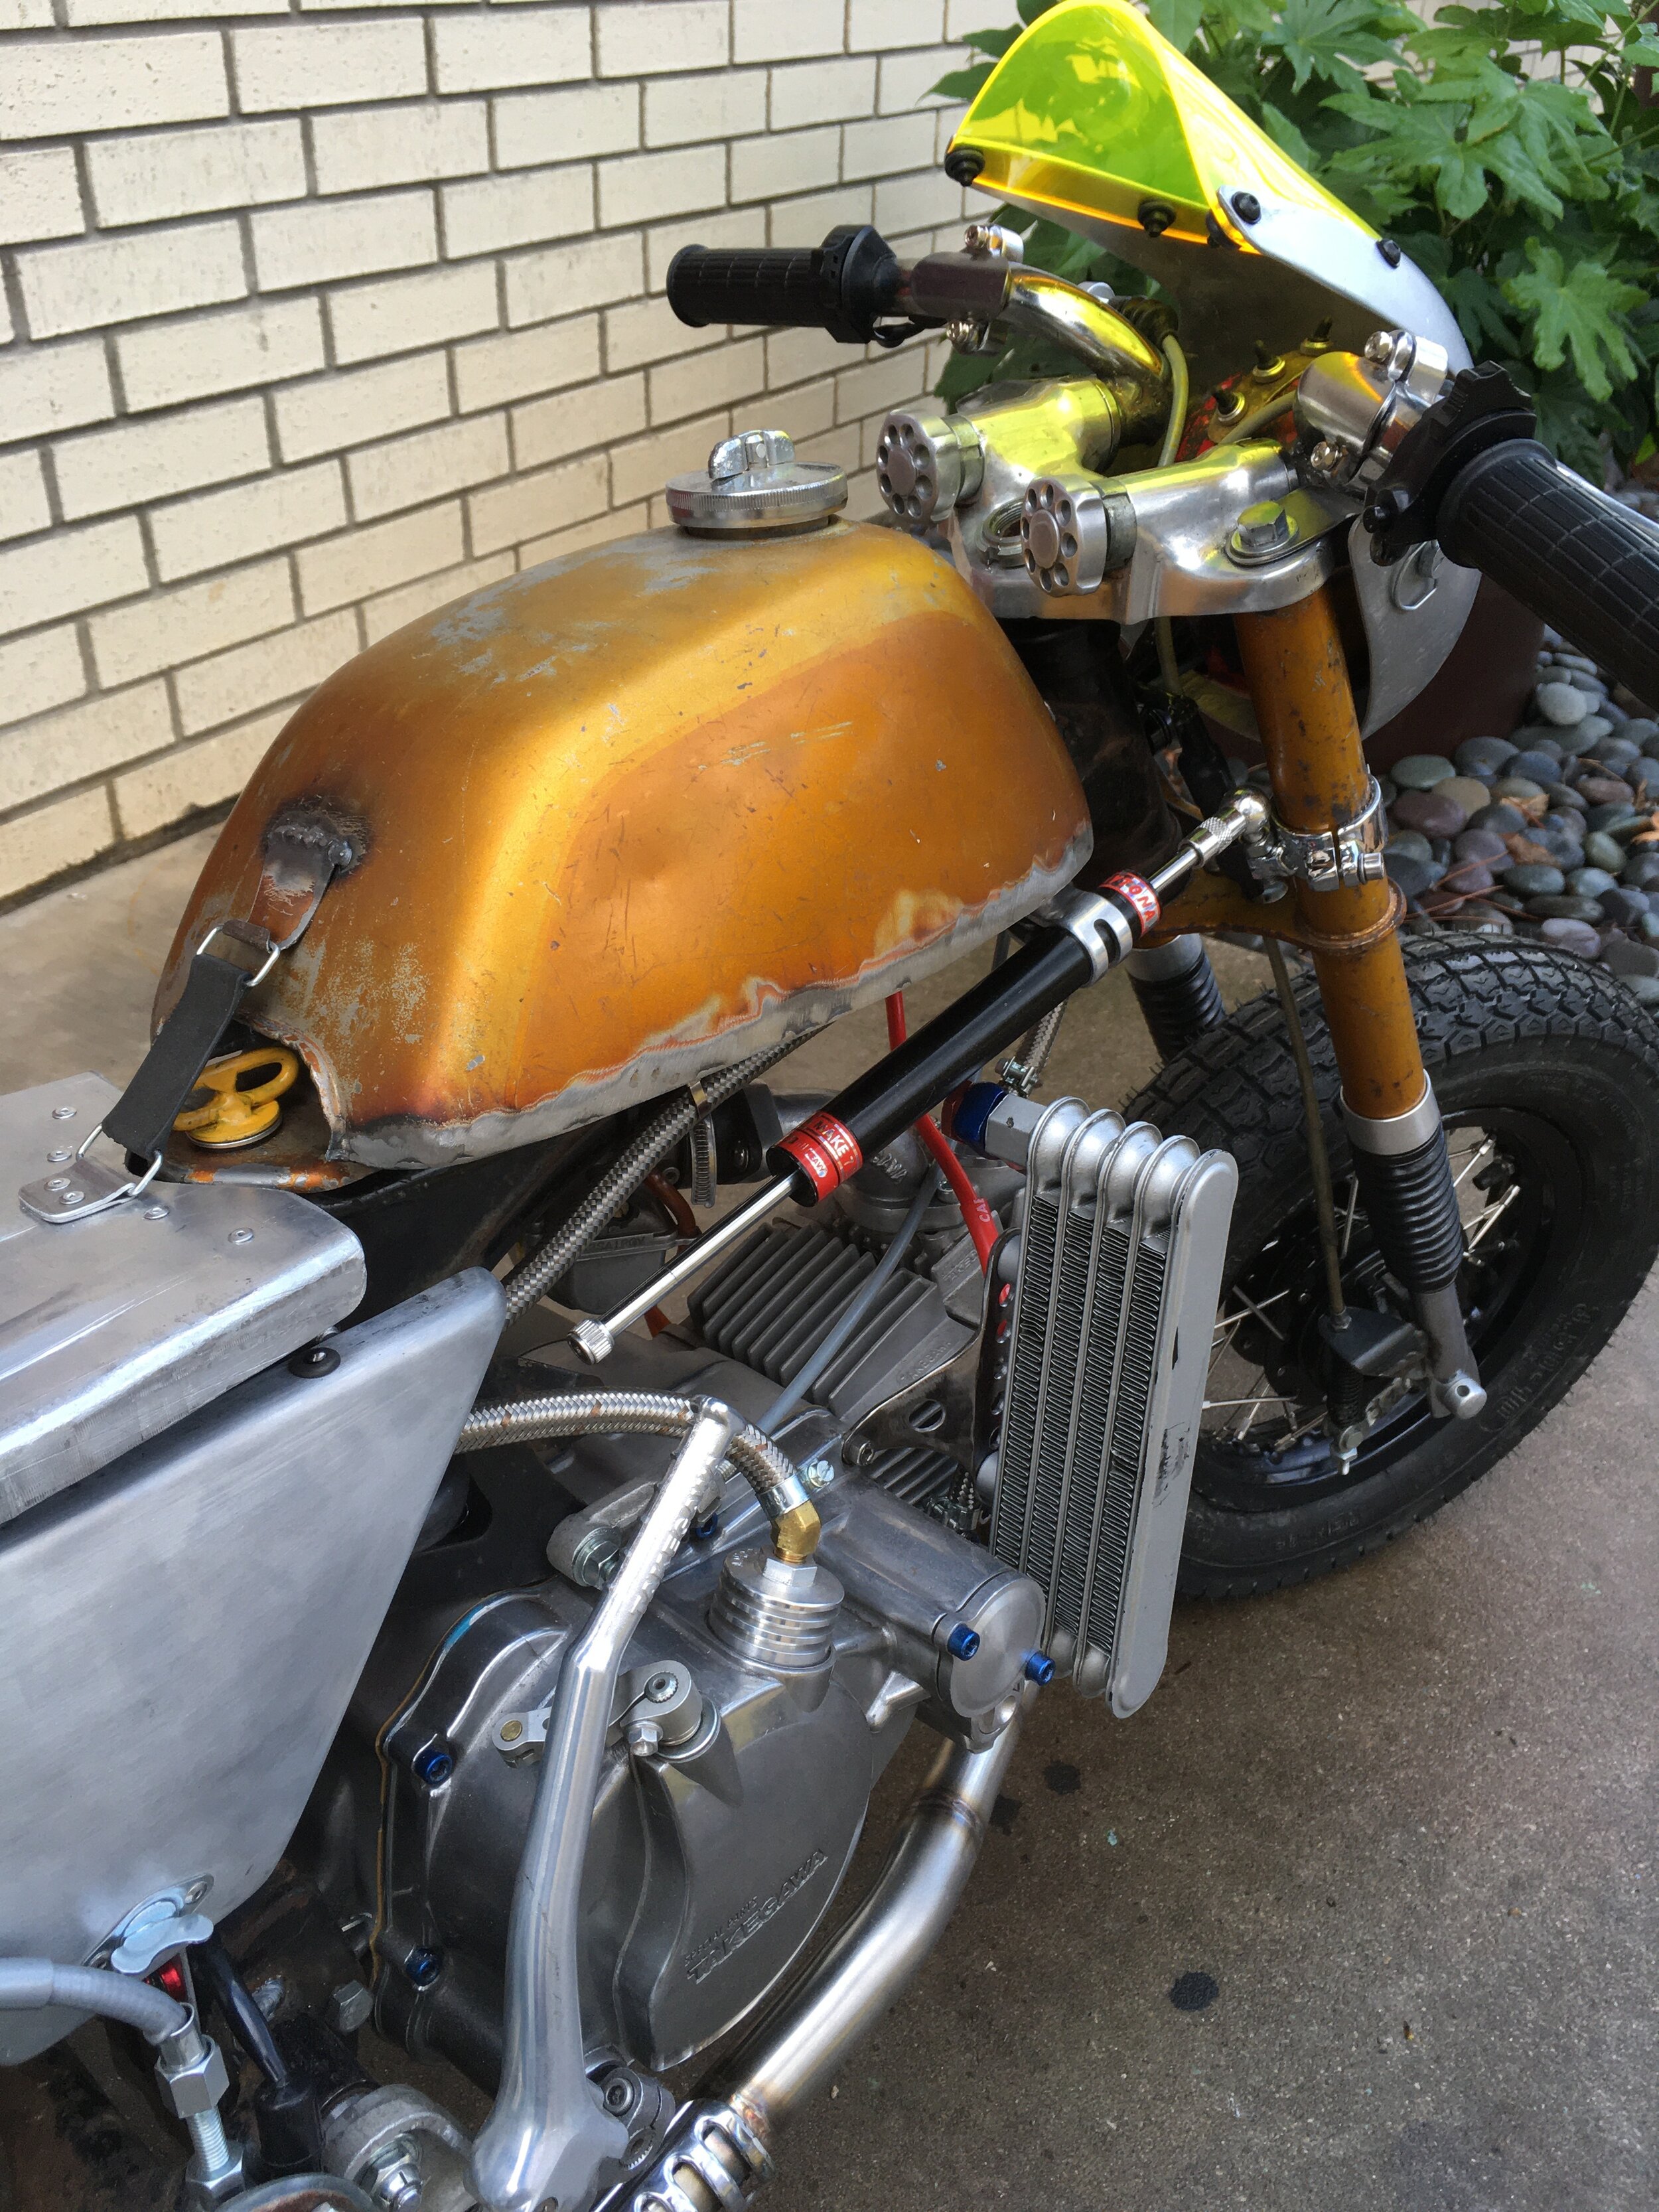
Takegawa of Japan makes some beautiful parts like this forged aluminum side stand made for the Honda Monkey. I have used a number of these stands on previous builds and always liked how they look and function. The stand mount is removable, with a thick rod that extends into a receiver on the engine cradle. A single bolt, seen just forward of the mount, holds it in place.

The side stand removable mount. There is a plate that is welded to the rod base, with a tab on the bottom to keep the mount from rotating, and a hole on the other end that the securing bolt passes through. I like to keep brackets shaved off previous builds and will sometimes re-use them later. The kickstand bracket used to make this one came off the “Cabracer 360” Honda CL175.

The side stand tucks up nicely under the linkage, with plenty of clearance. The petcock is a Ducati style from Italy.

Trying to reference some seventies styling, when bold and loud was cool.

Lining up the black at the bottom of the tank with the seat pad was not altogether intentional, but sometimes things just work out.


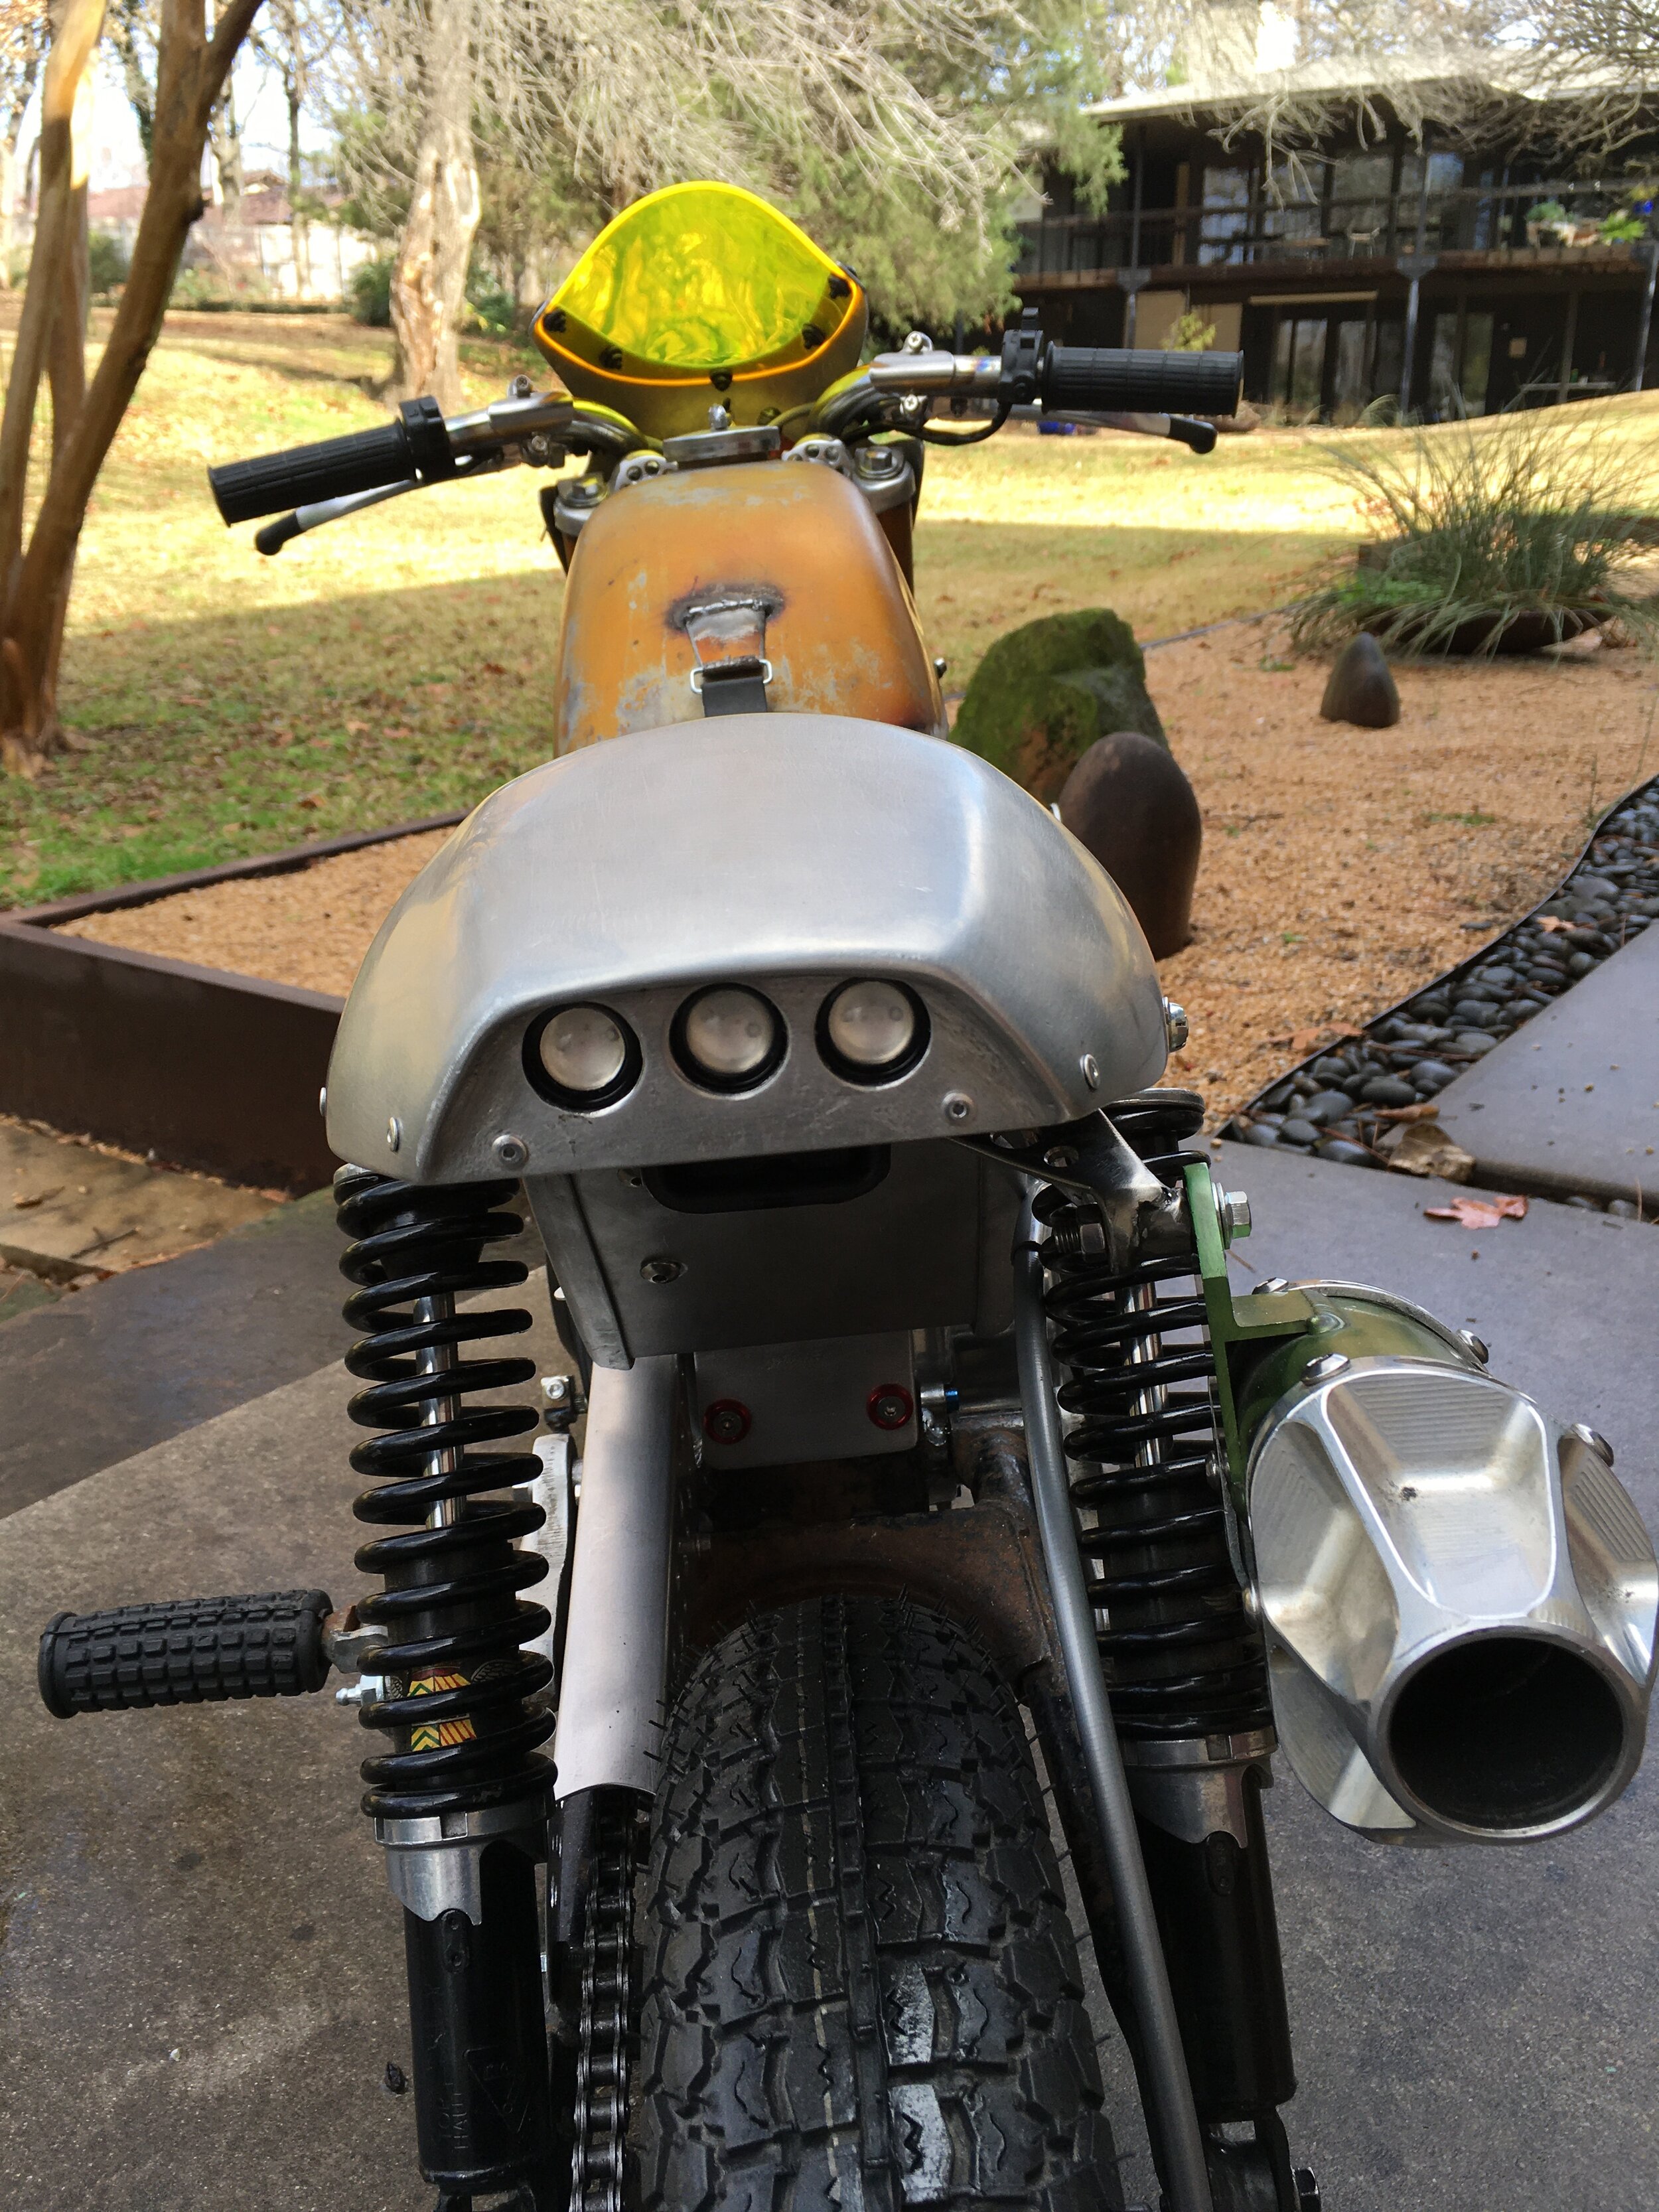
The black-out on the lower portion of the body parts is more evident from this view.

A couple side views prior to application of the badges.

When to stop…The last picture before adding tank badges. With fifty year old paint, you can’t undo new mounting holes needed for the badges.

The brass inserts to mount a pair of 1969 Z50 tank badges. They were turned down to one quarter inch and press fit into holes drilled into the side of the tank, and then silver soldered.

A little discoloration around the badges from the soldering flame, but it goes with the rest of the bike just fine.

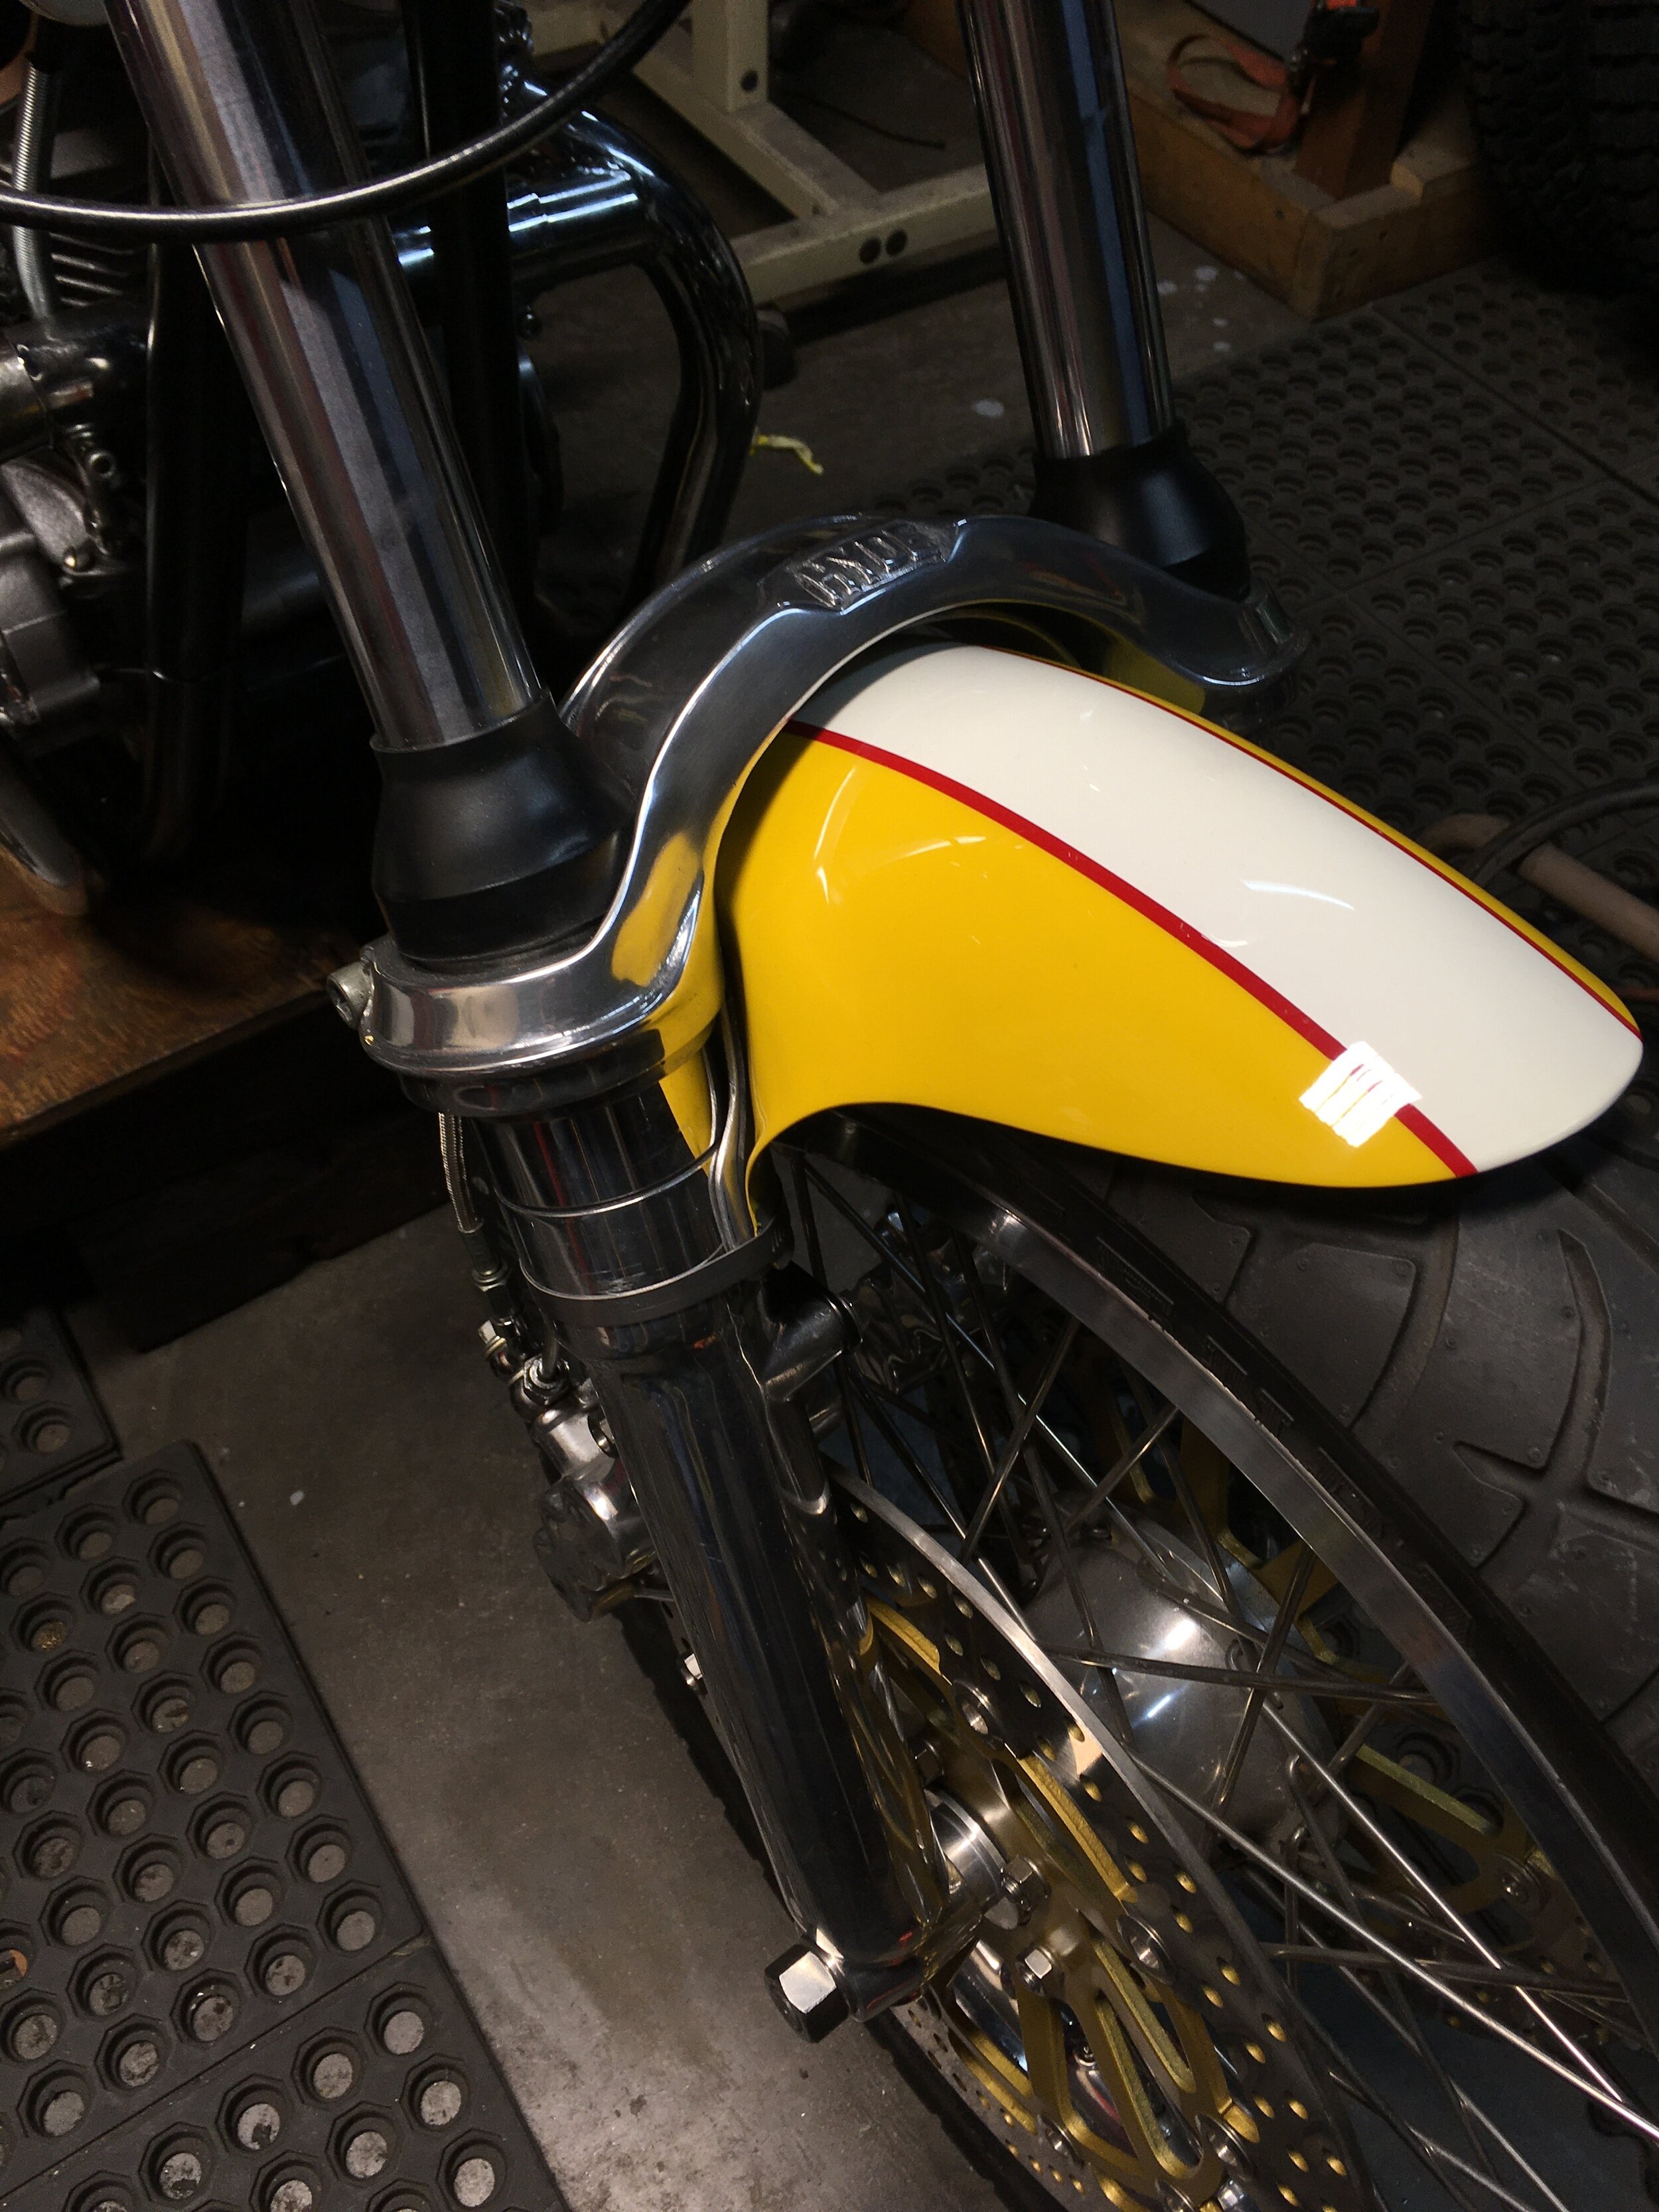
Next up, a front fender and fork damper… As soon as the damper arrives from Japan.

Waiting on warm weather to epoxy the tank, then it will be time to test this bike out!