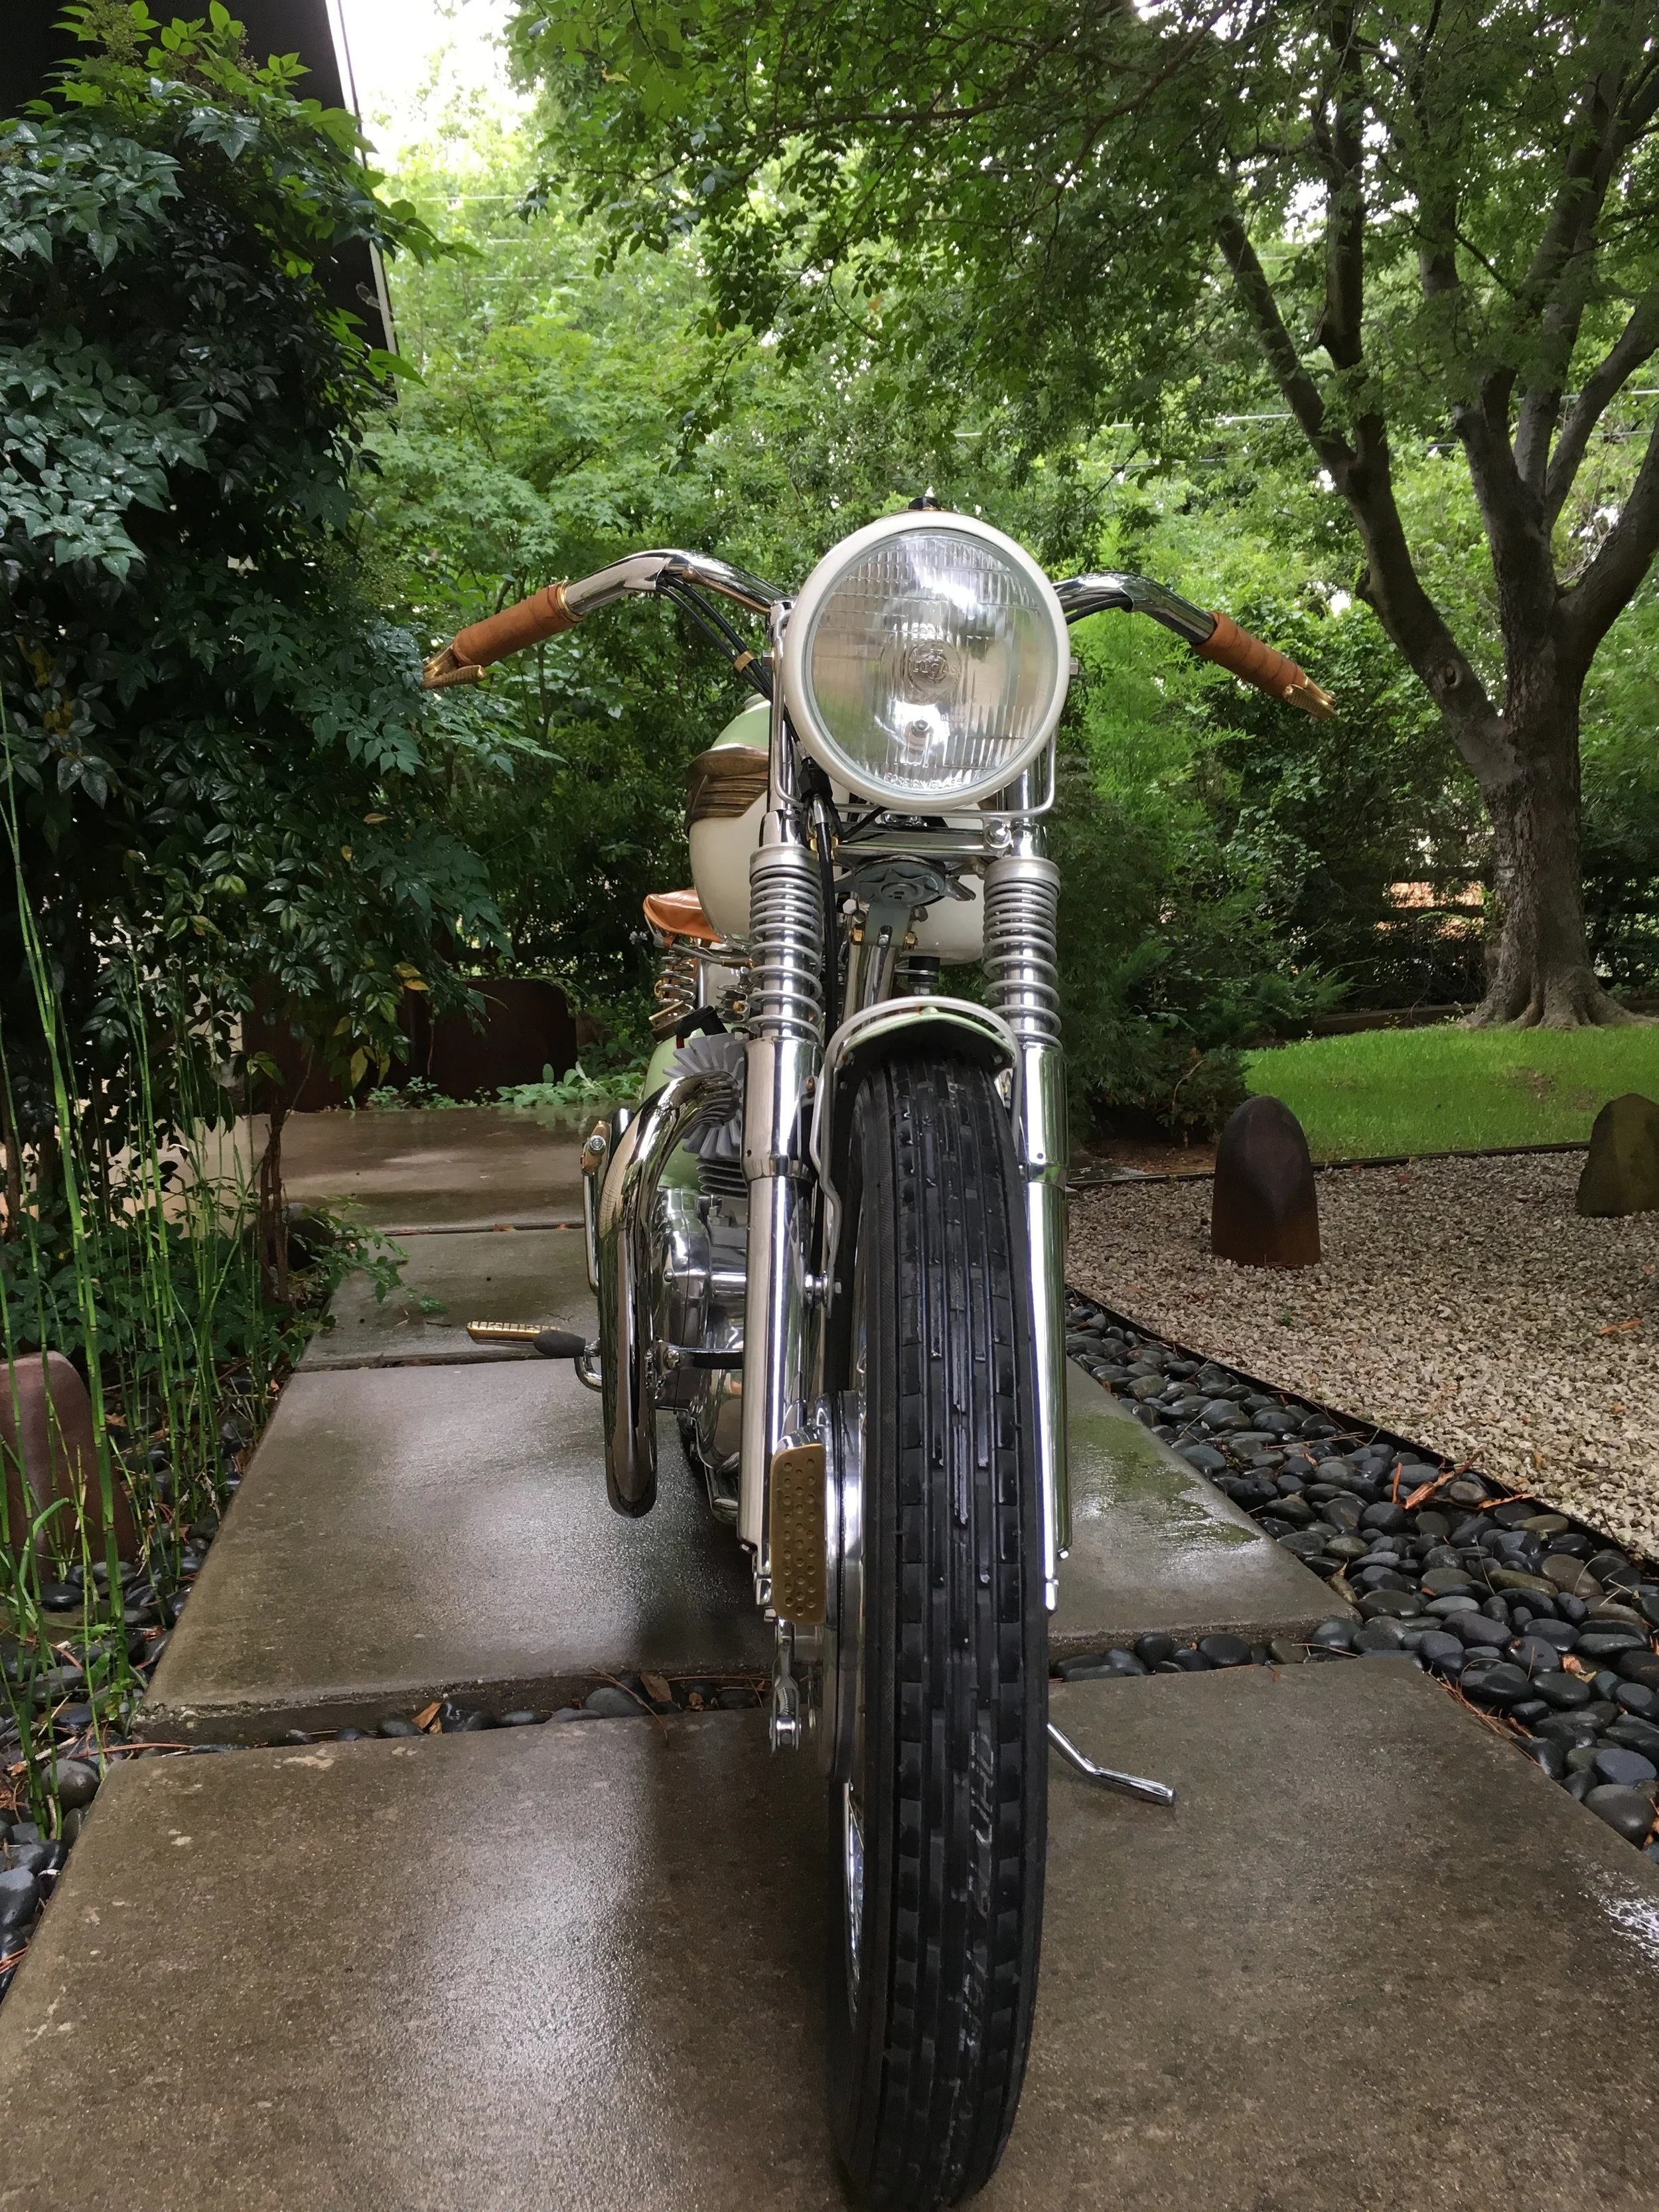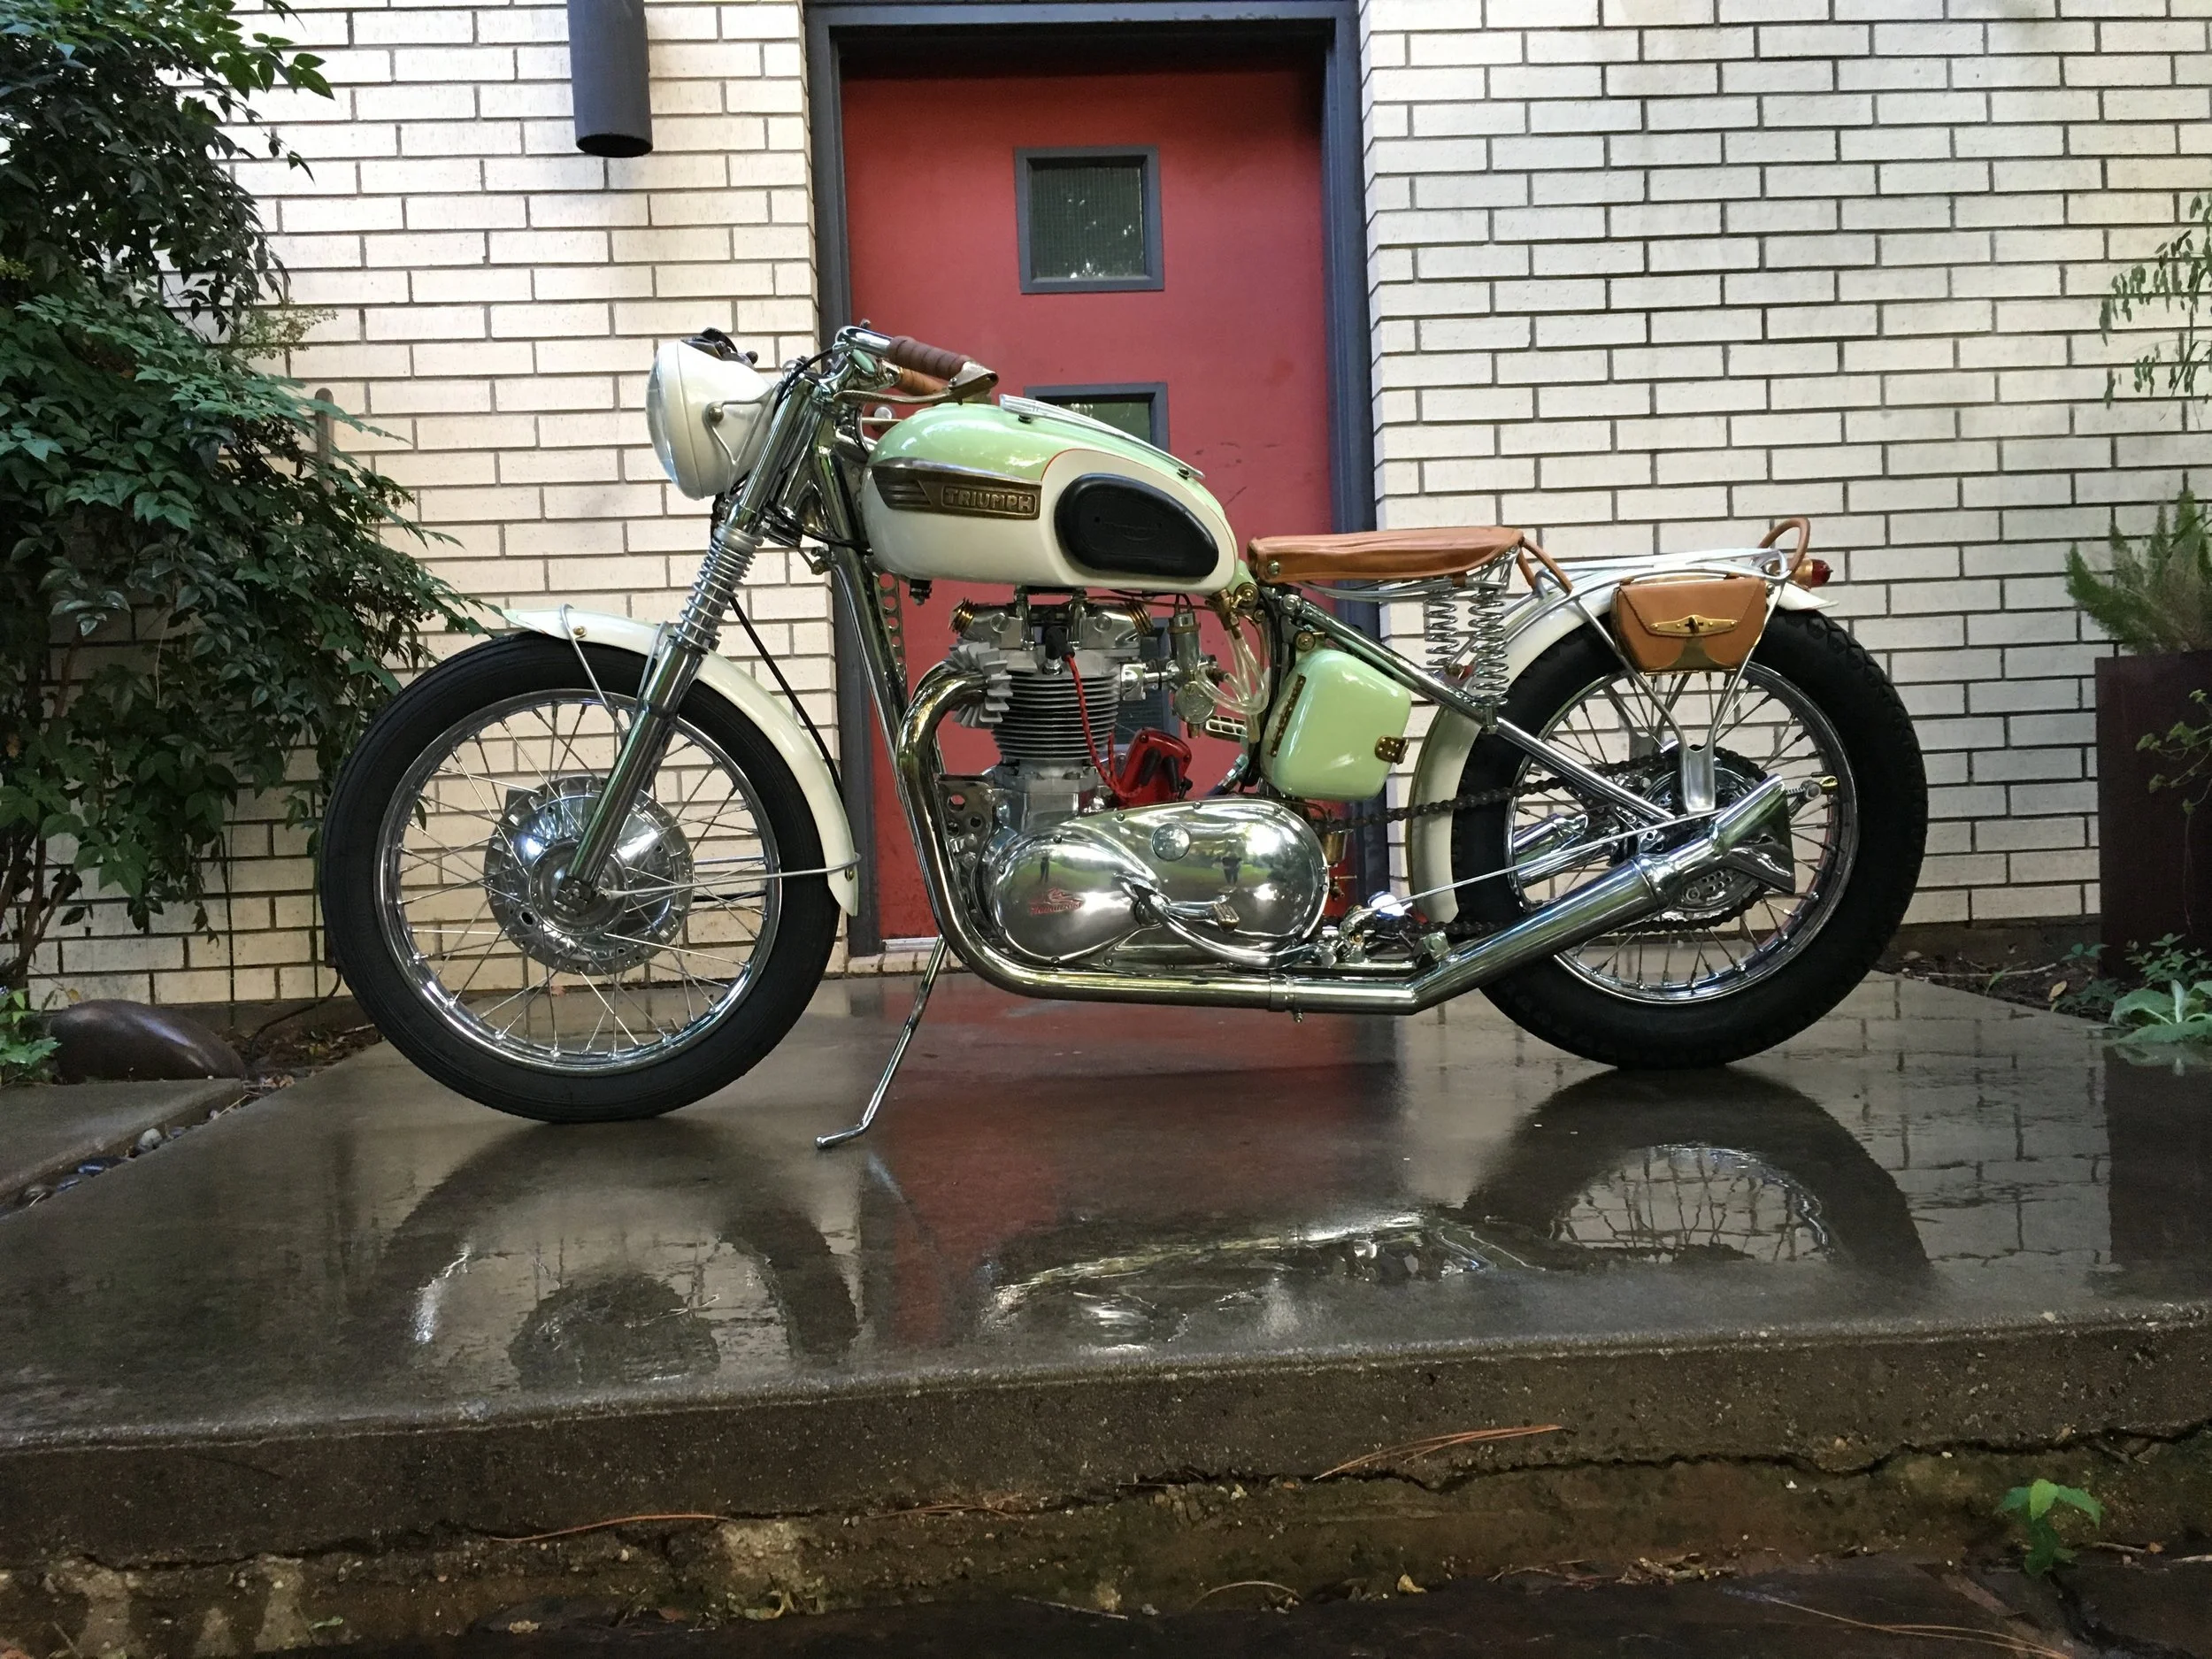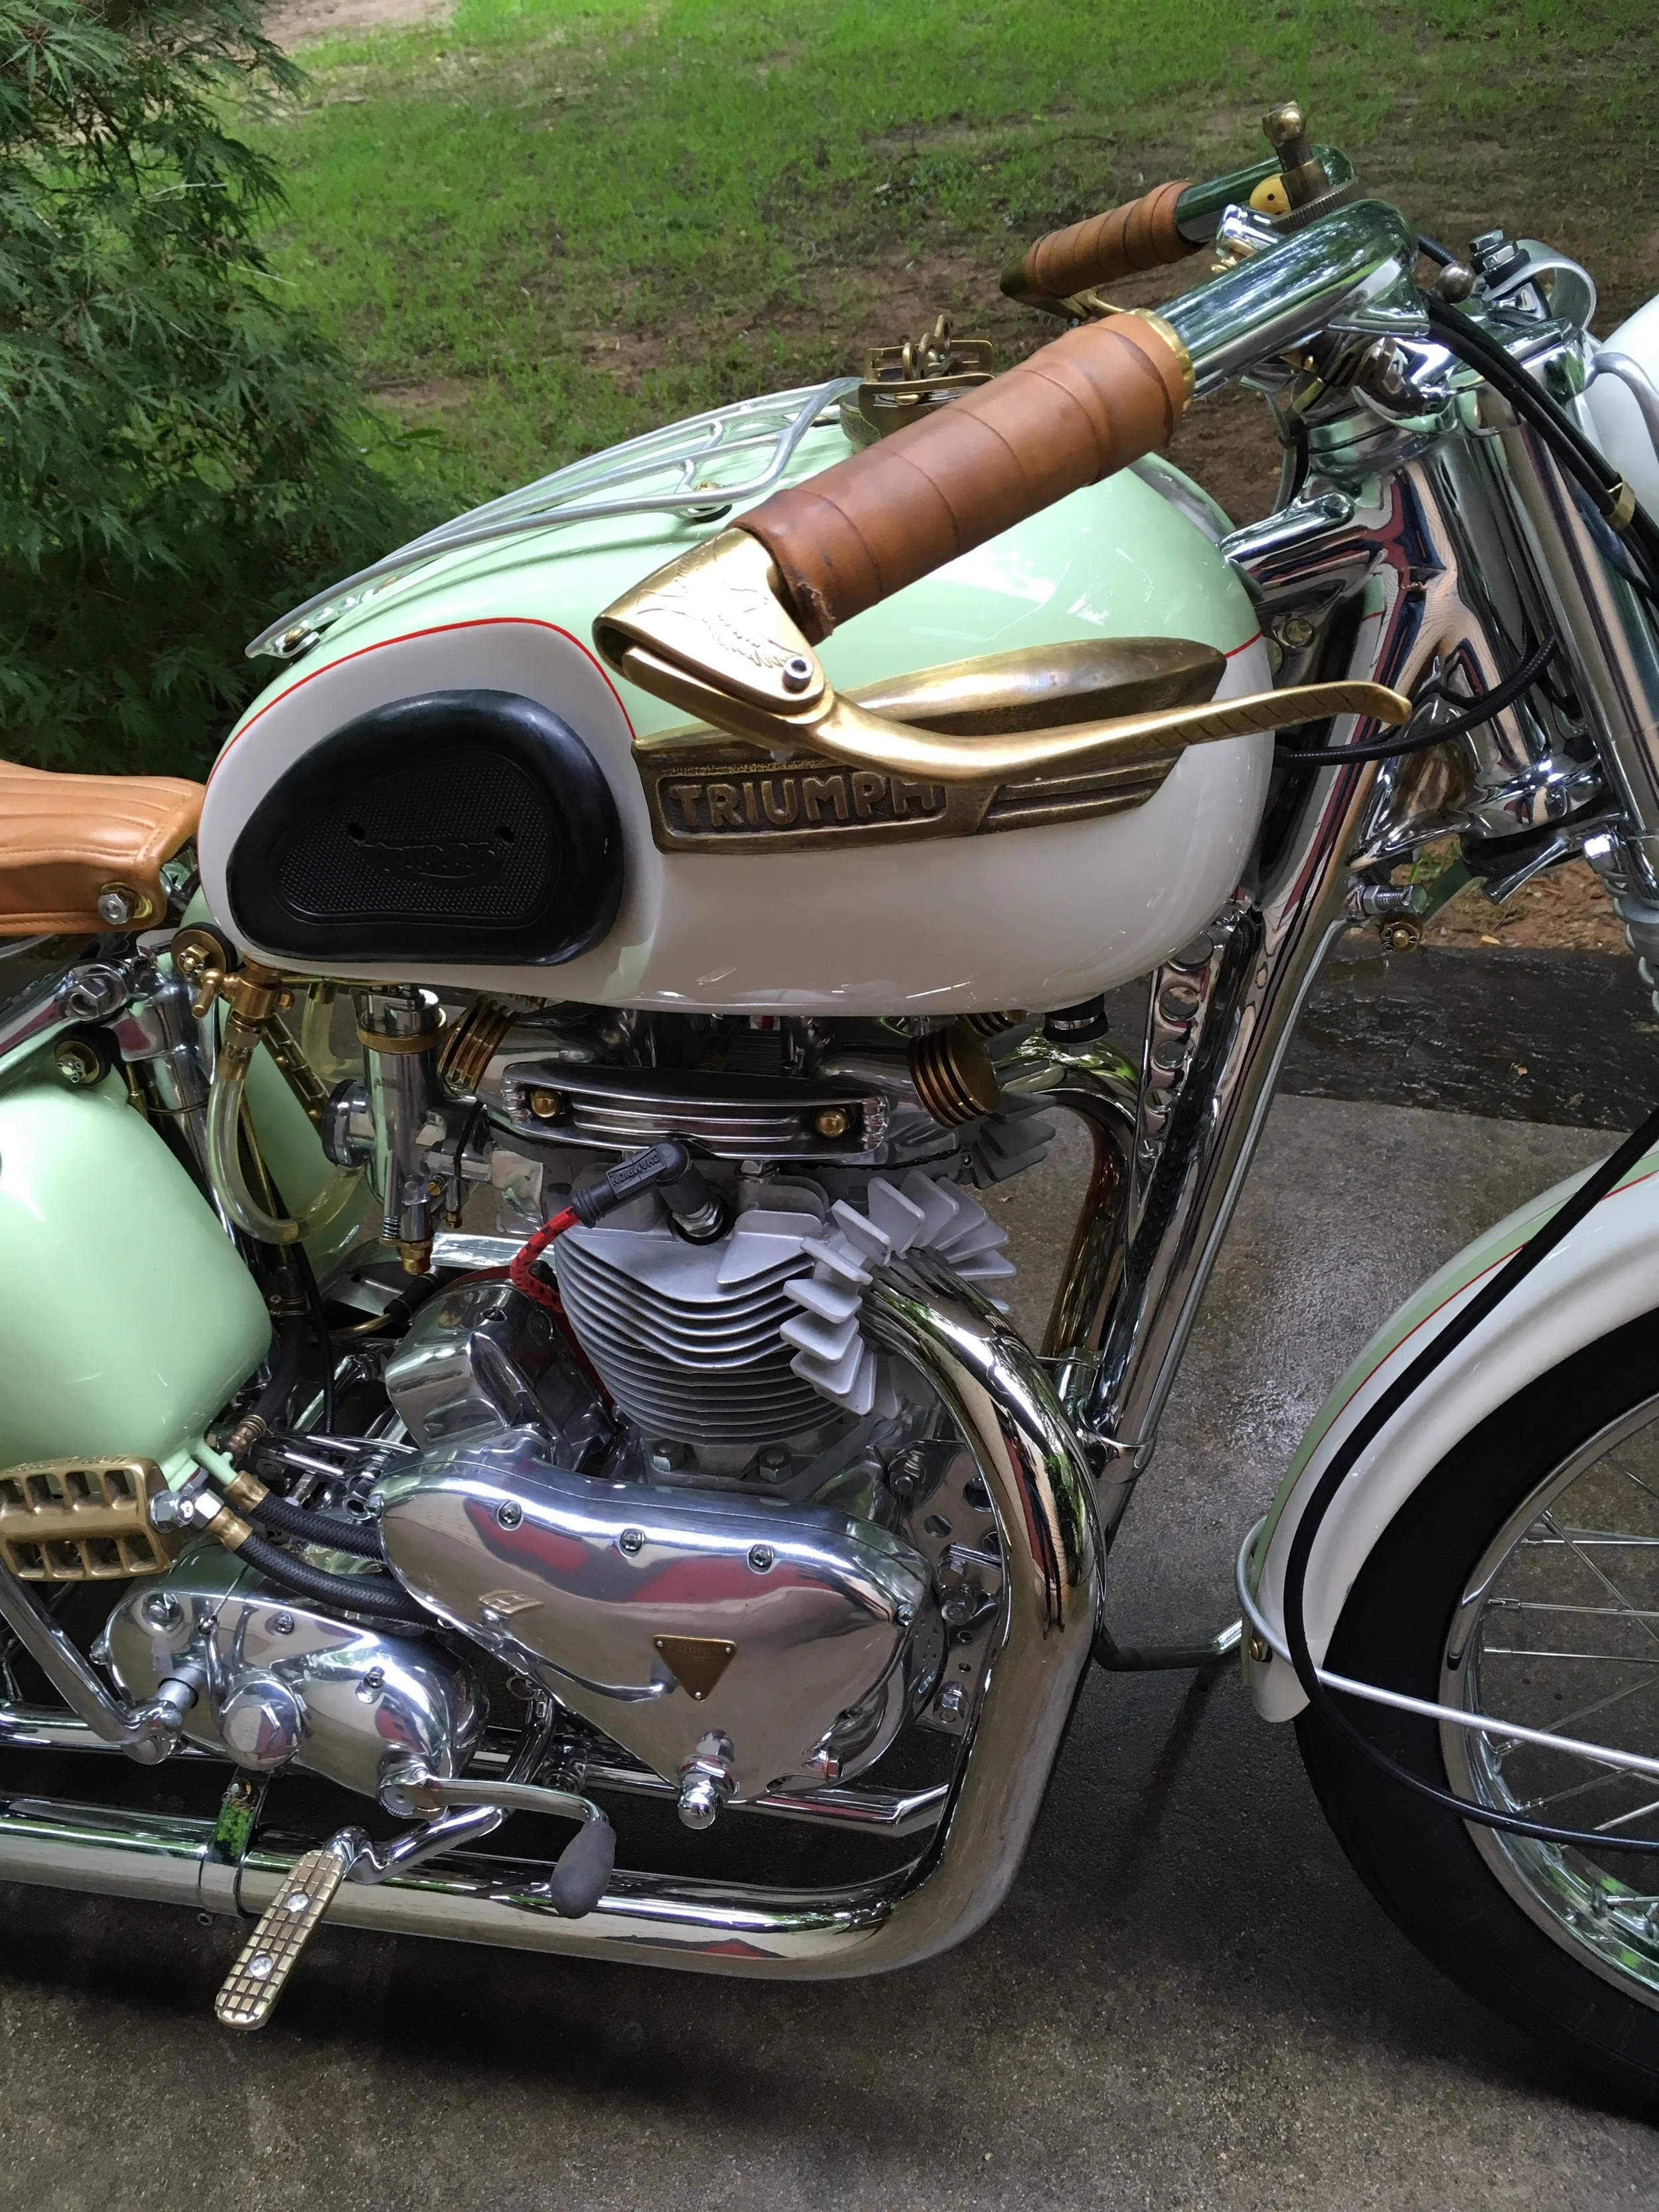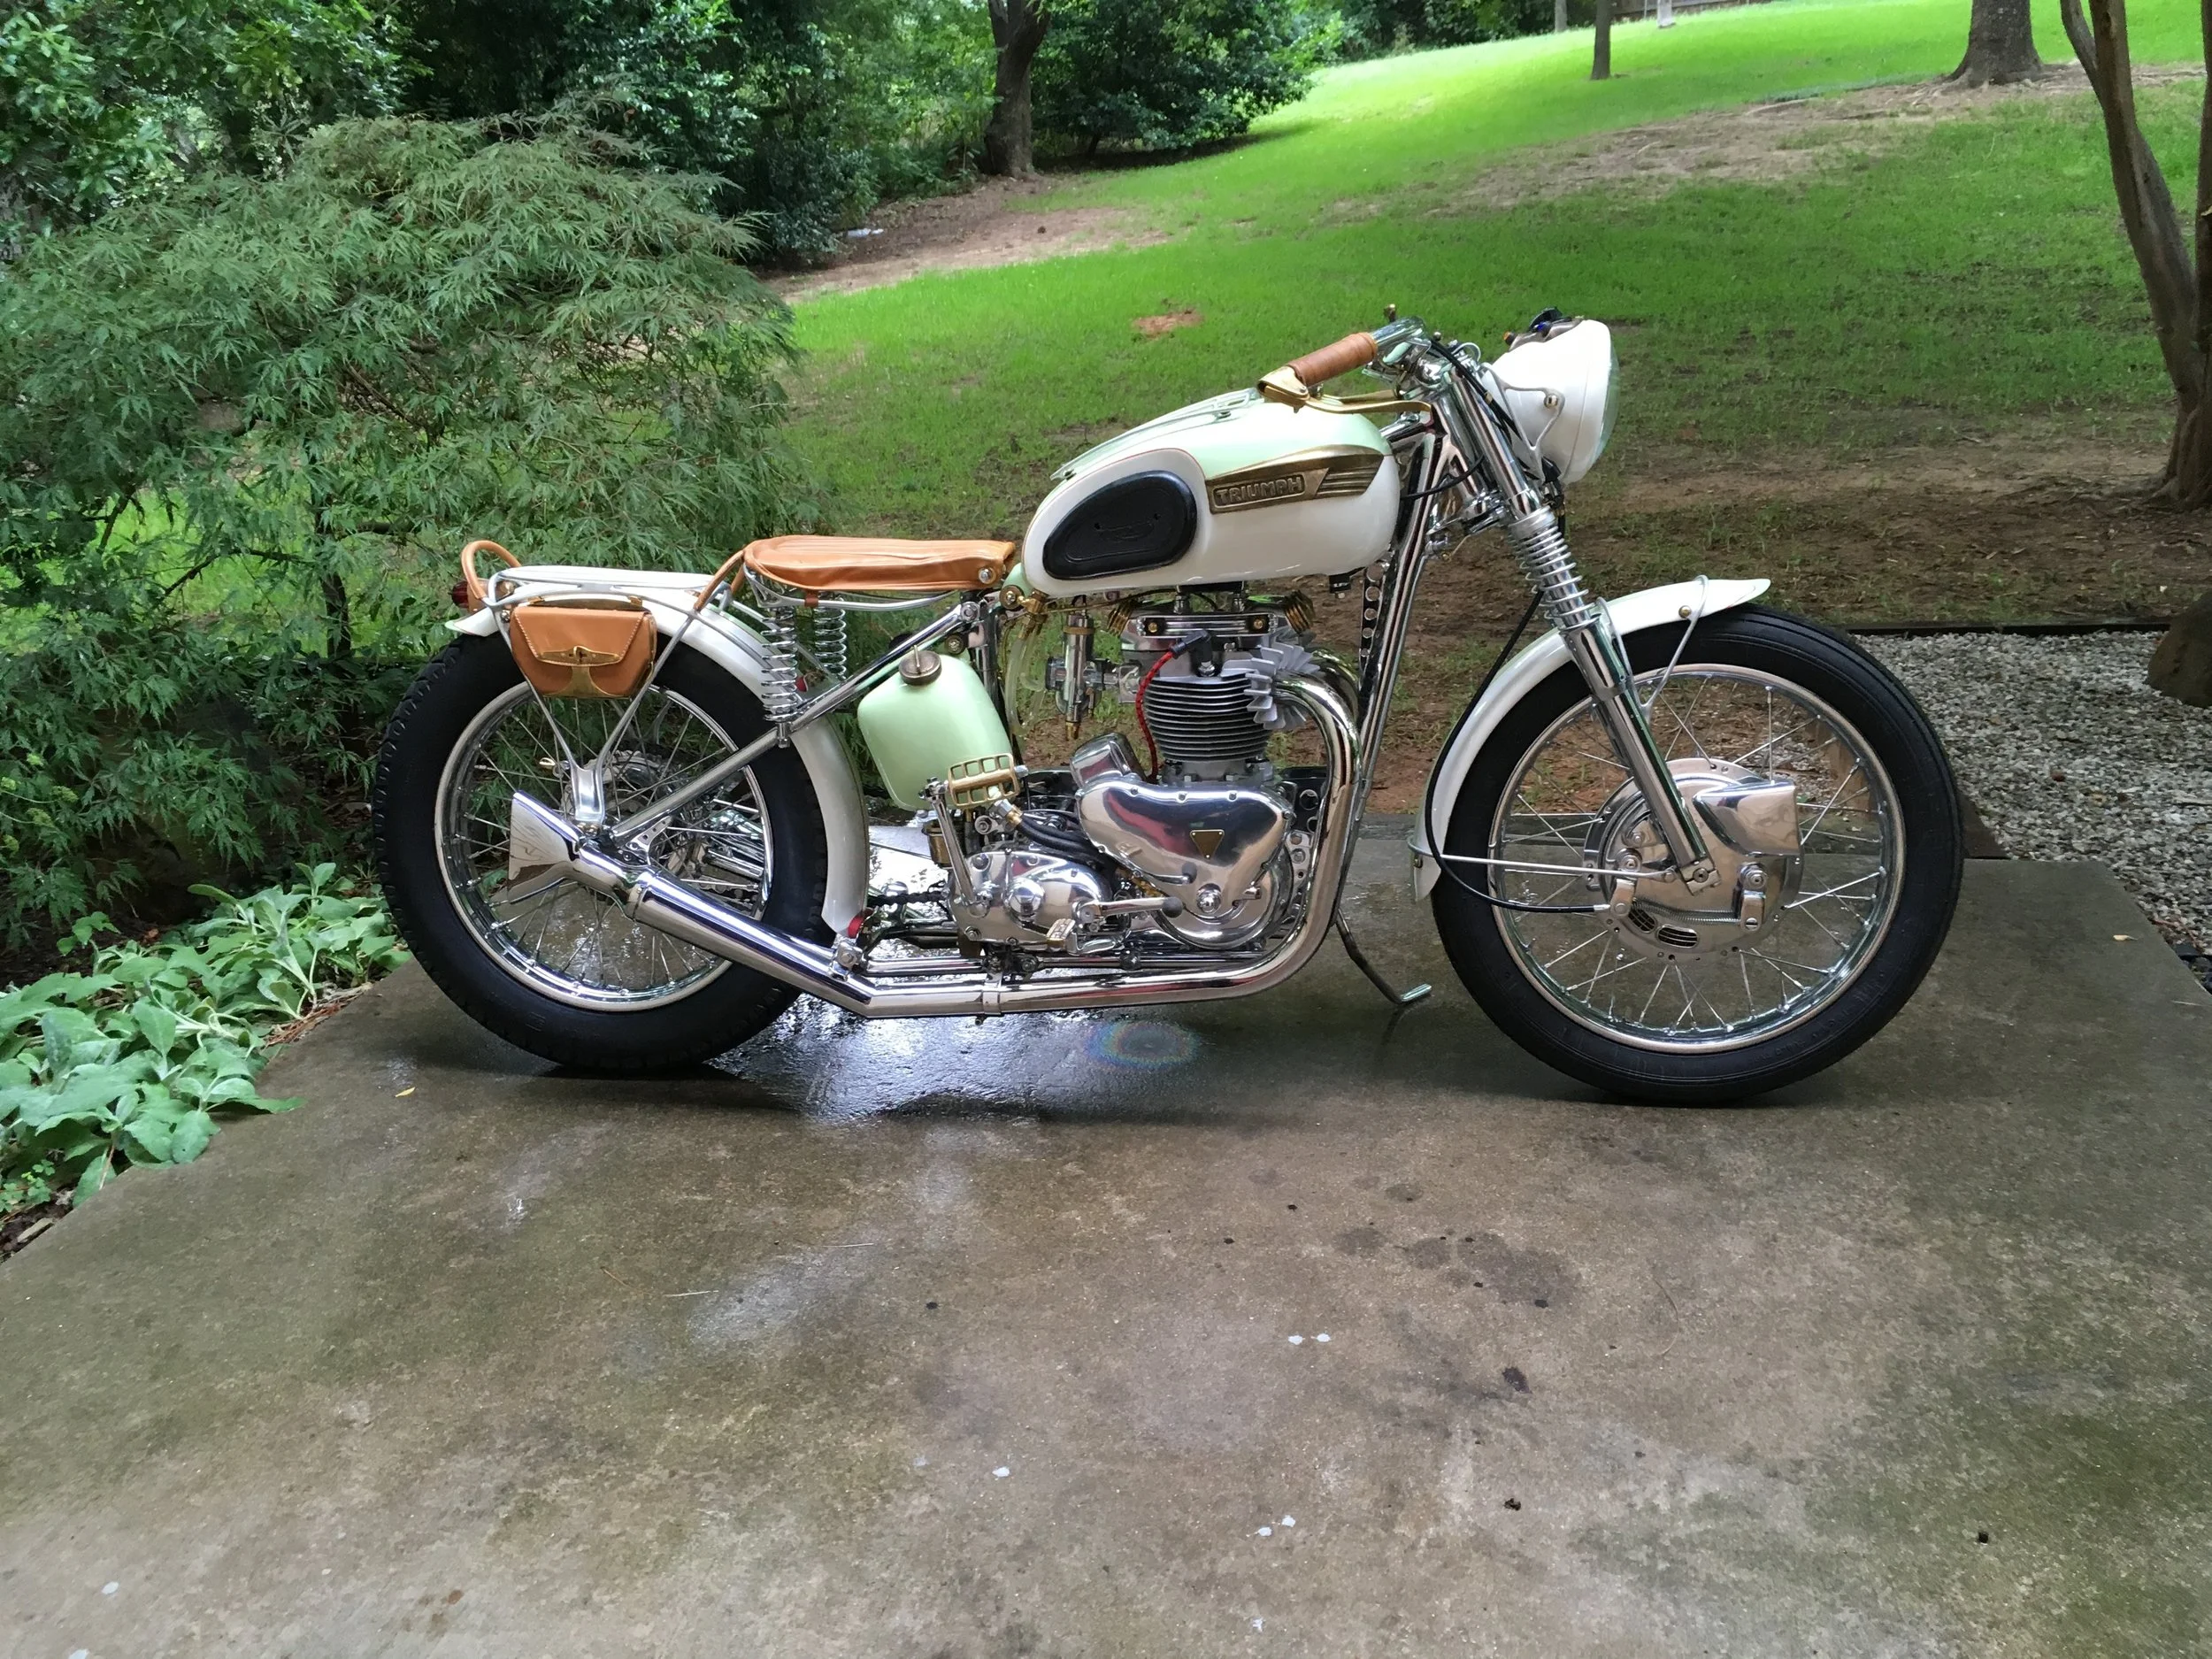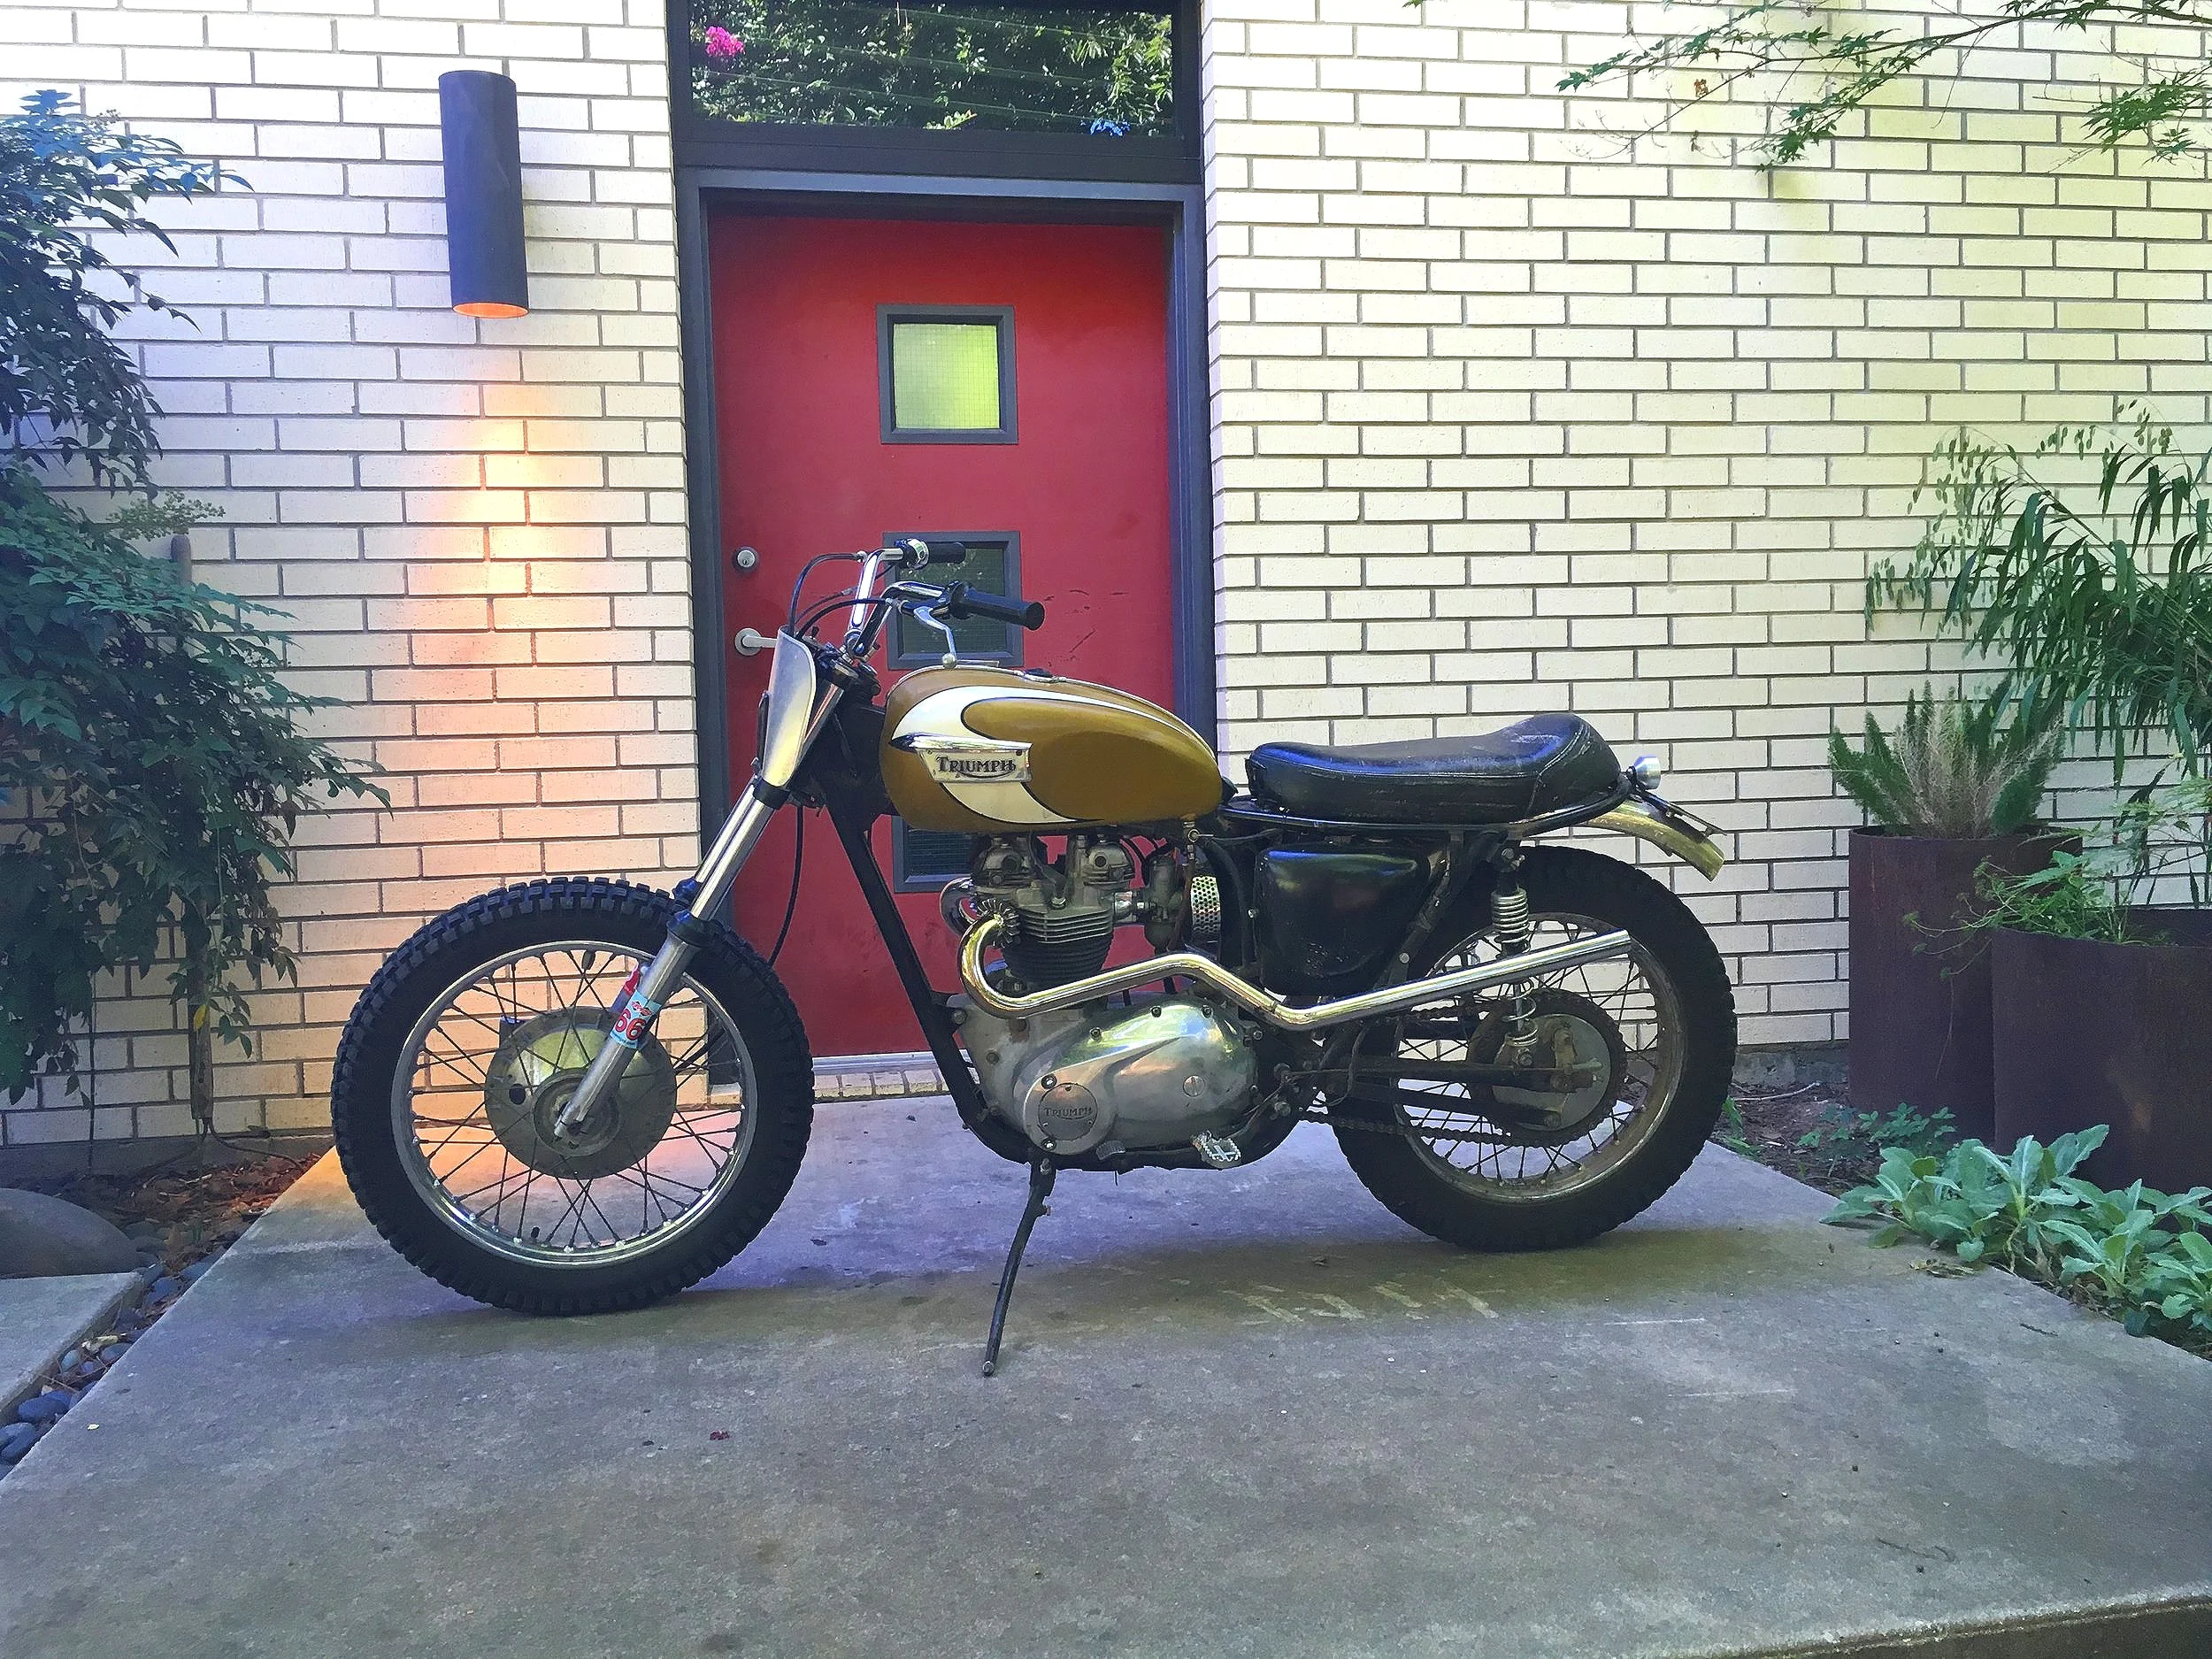
Jason Lee’s 1971 Triumph TR6C desert sled, “Goldie”came to the shop with no spark. A rapid battery discharge indicated there was a parasitic drain. The tail light would come on randomly when the bike was parked, and no amount of adjustment to the brake switches seemed to make any difference.

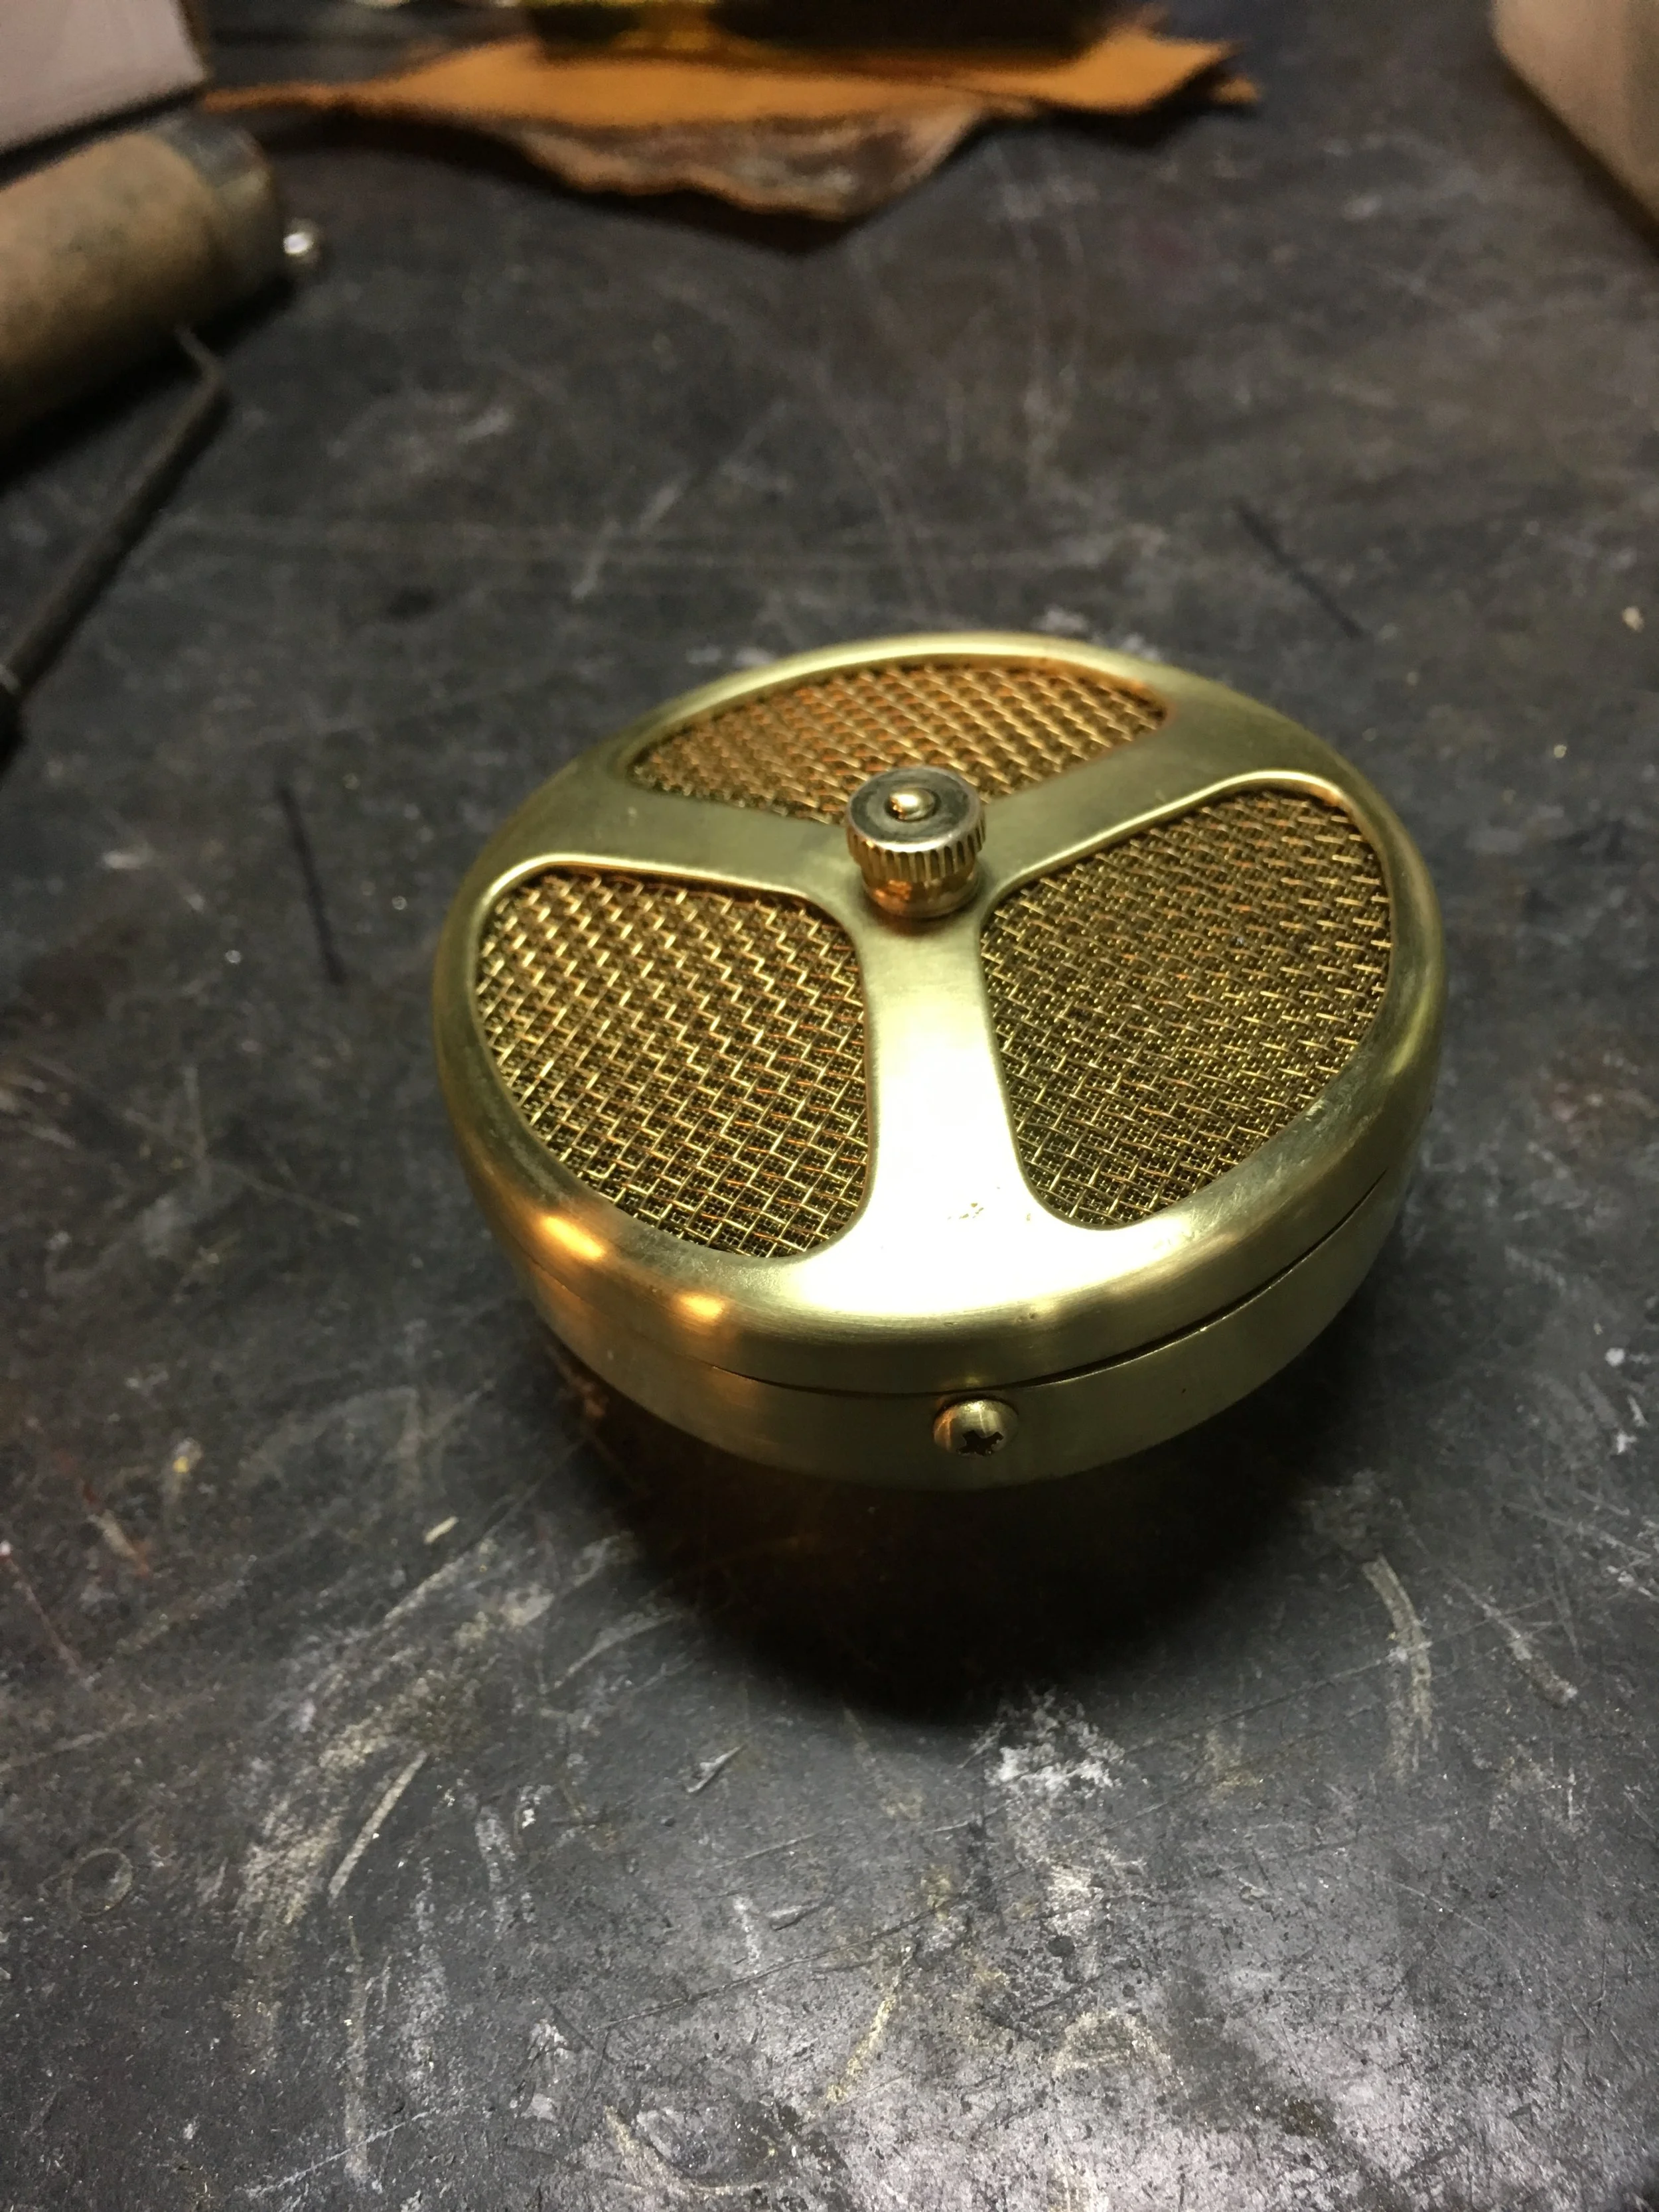
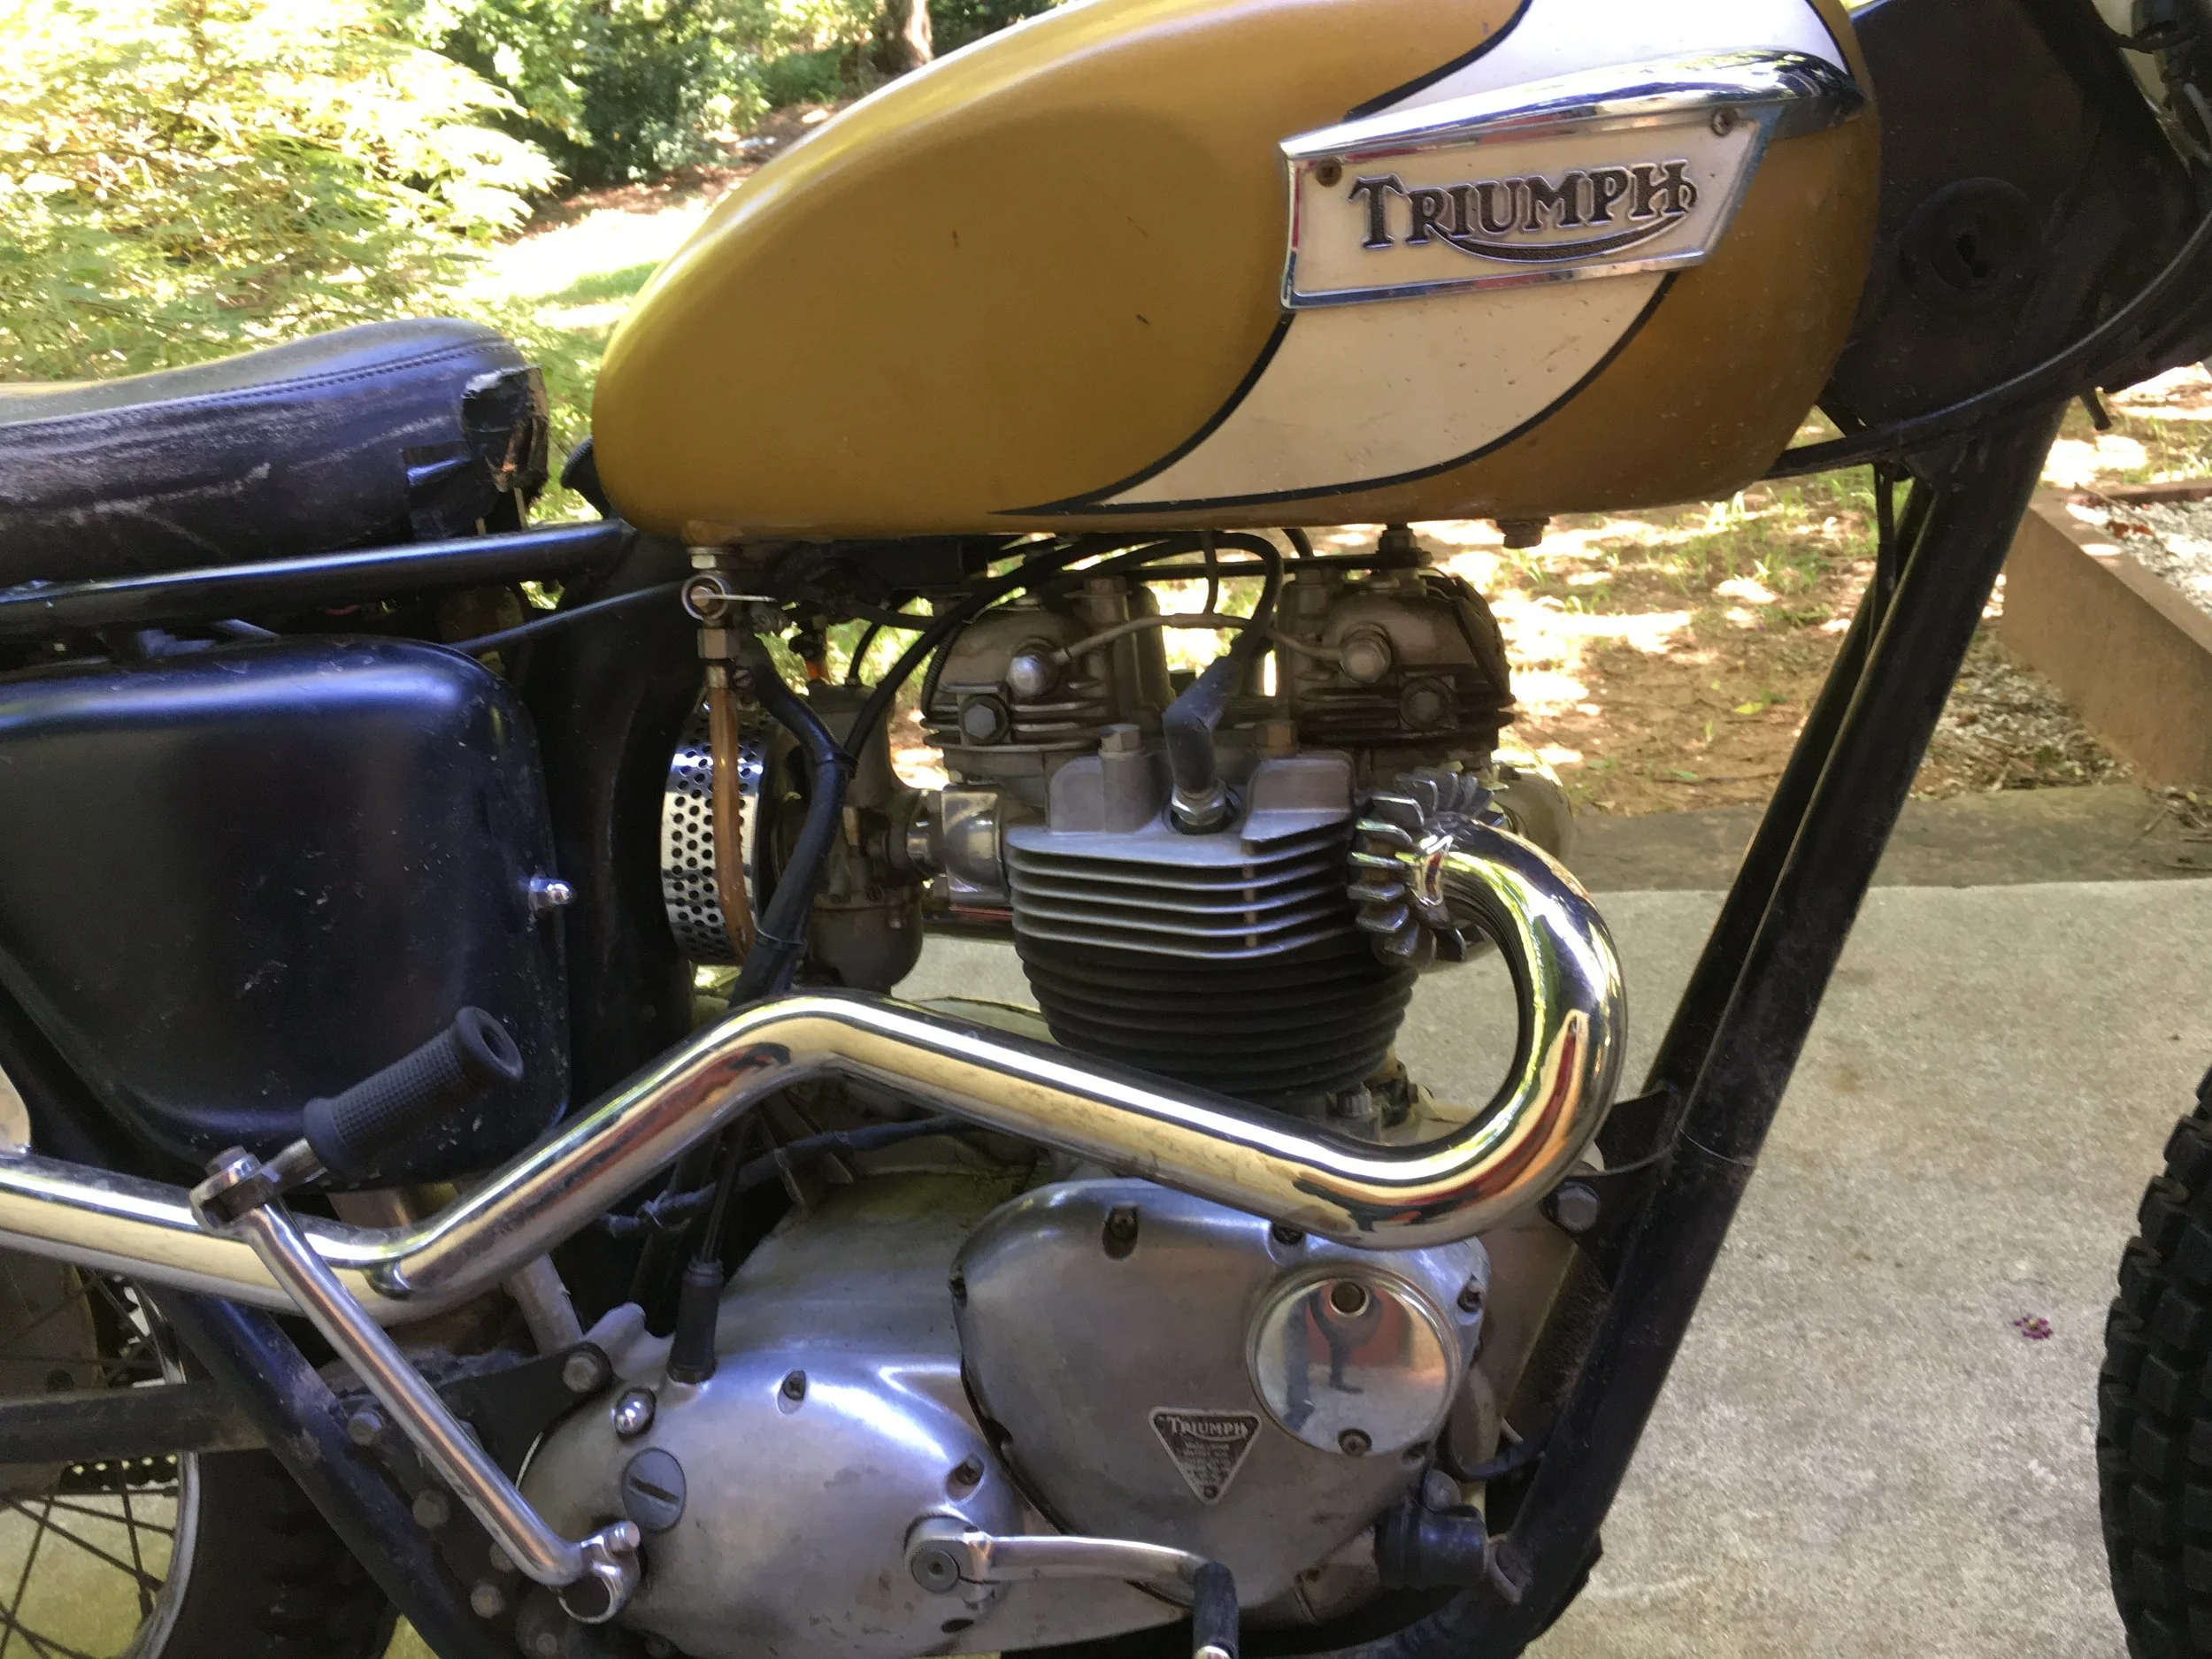
Here is where the problem starts. The wiring on this bike appears to be all custom, and further investigation found the brake switch wires were both hard wired with the power from the battery! This means the brake light would be constantly on with no way to turn it off aside from battery disconnection. The fact that the tail light was only on intermittently did not make sense until the tail light was taken apart.

Here is the tail light wiring and the explanation for intermittent lighting. All three wires were ground either partially or completely through, and would ground against the aluminum housing enough to light occasionally. A new set of wires was grafted in and along with a re-wire of the front main switch, everything is functioning correctly.
She runs and rides like a dream, with a loud throaty roar and a ton of pull.
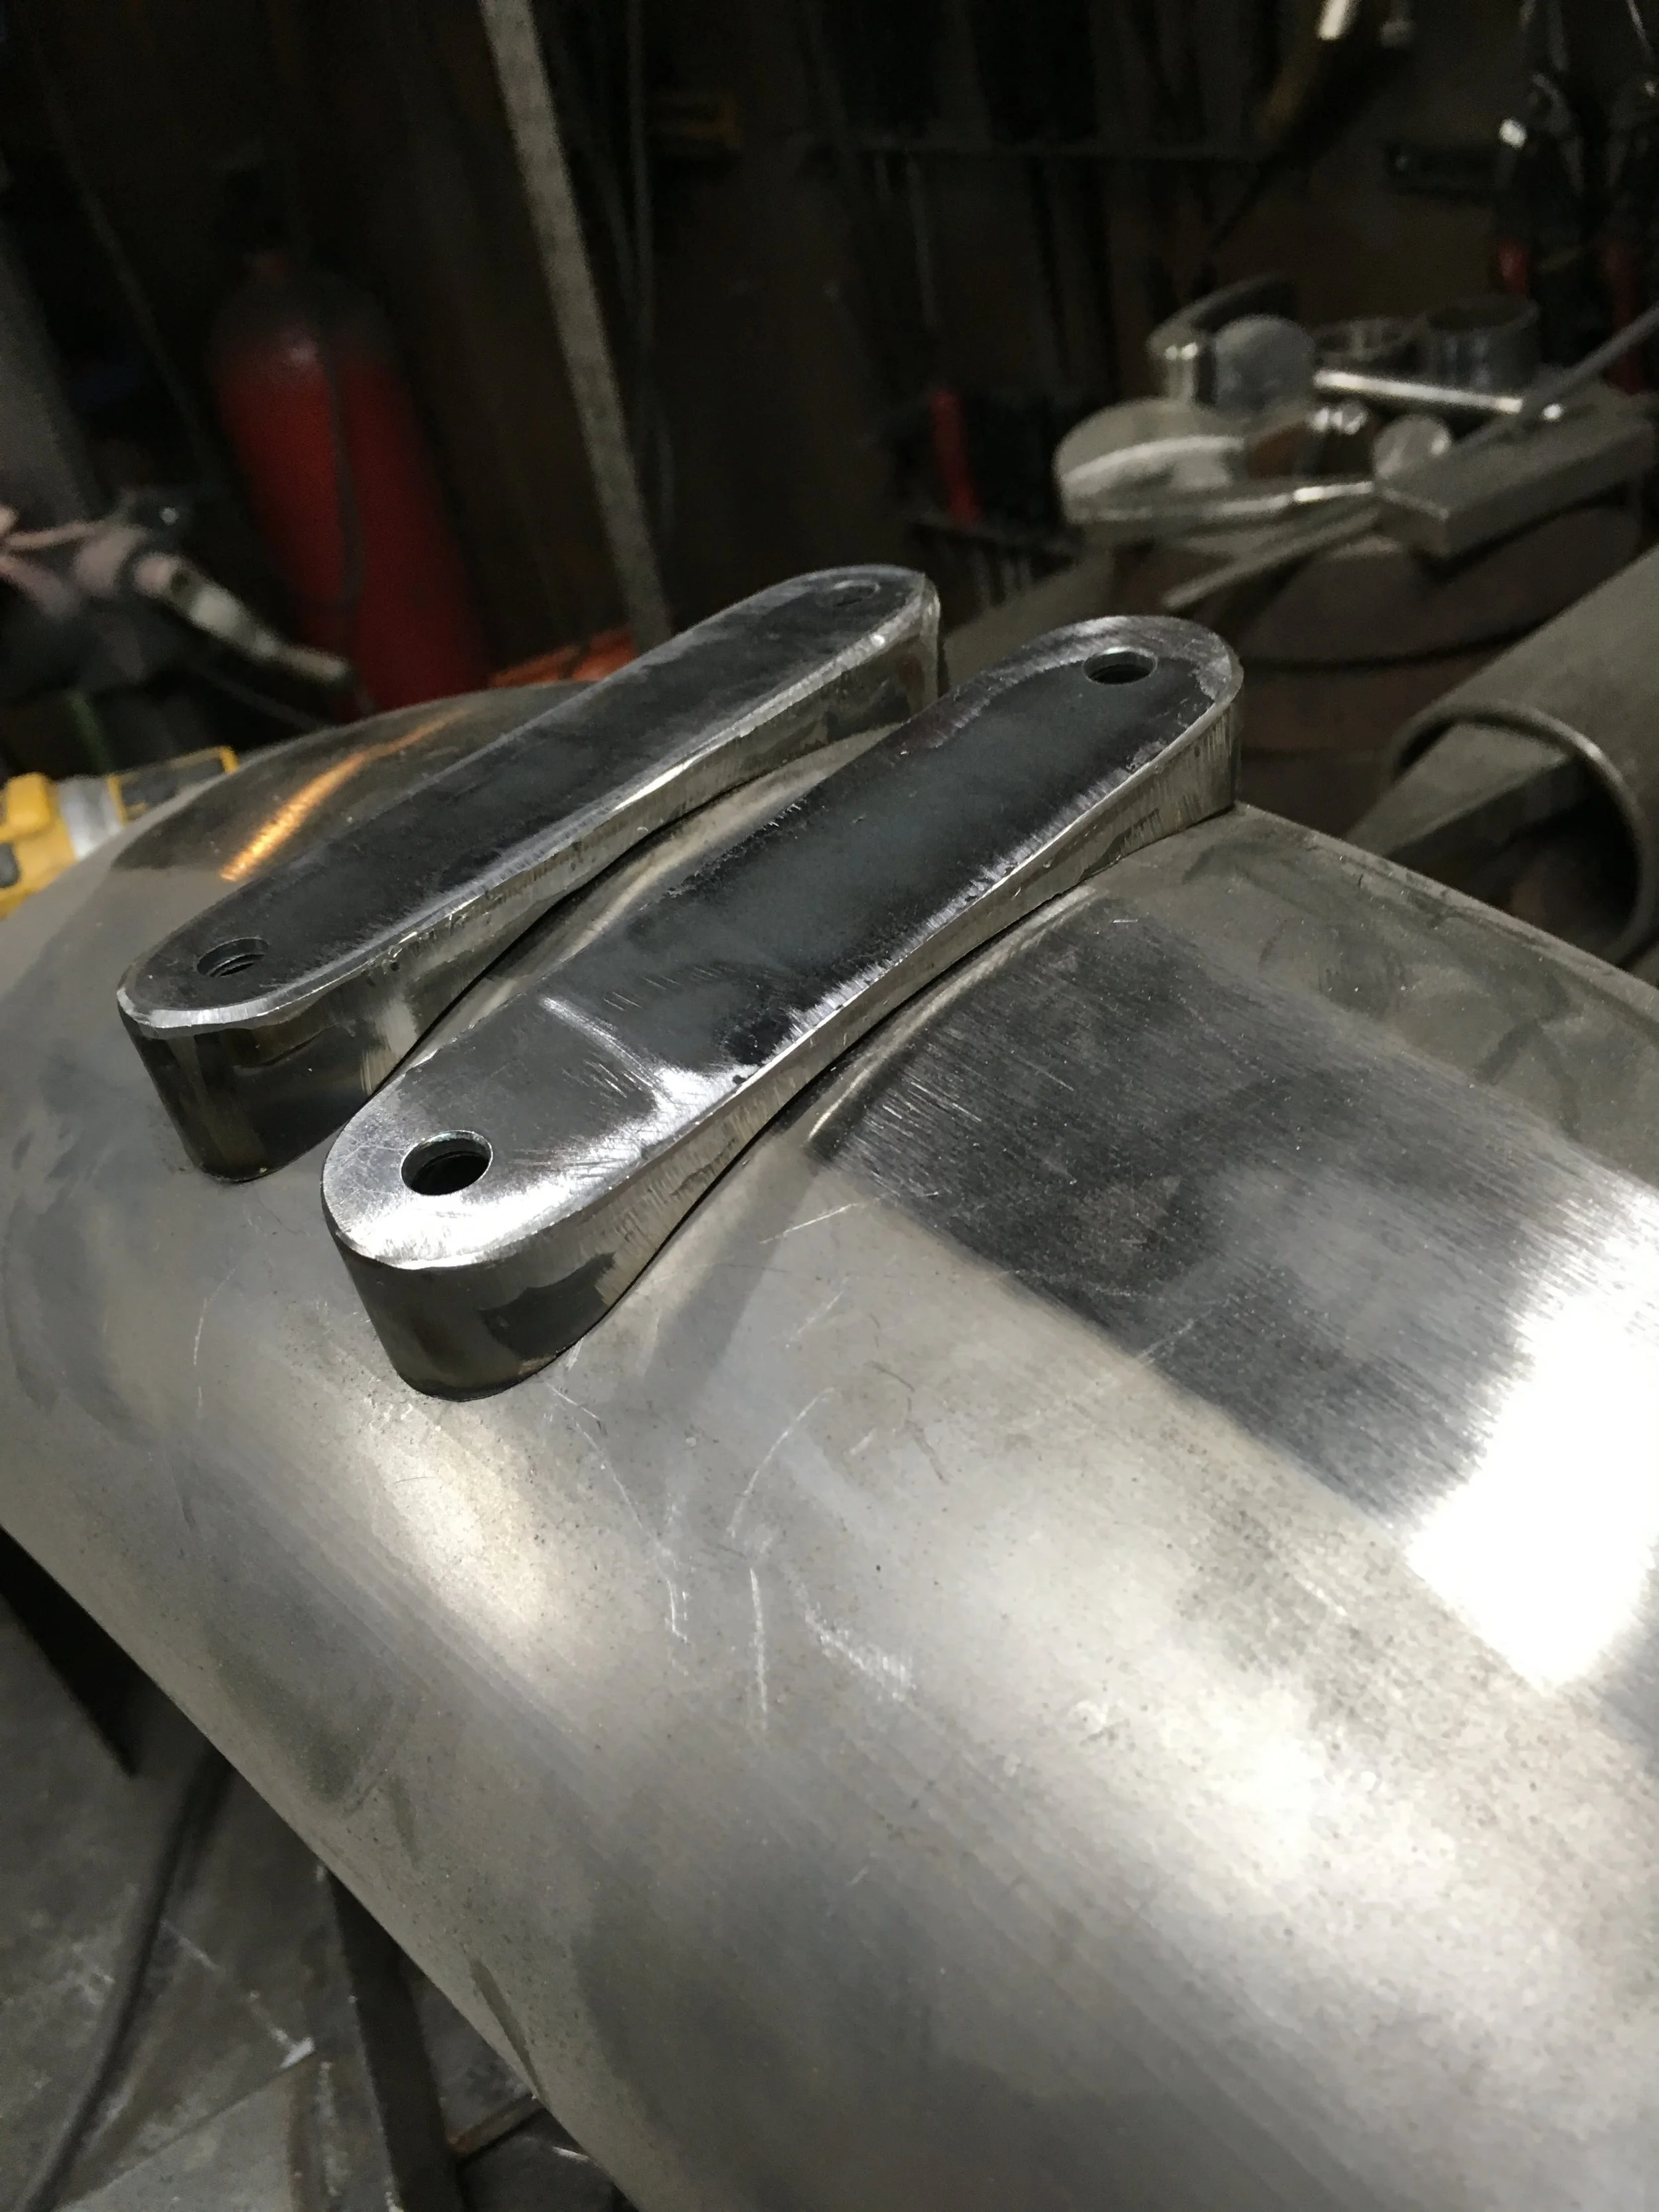
Some mounting brackets for the 1993 Harley-Davidson FXR rear fender, made from 1/8” plate and 16 gauge sheet steel. Capture nuts were welded to the backside to simplify installation.
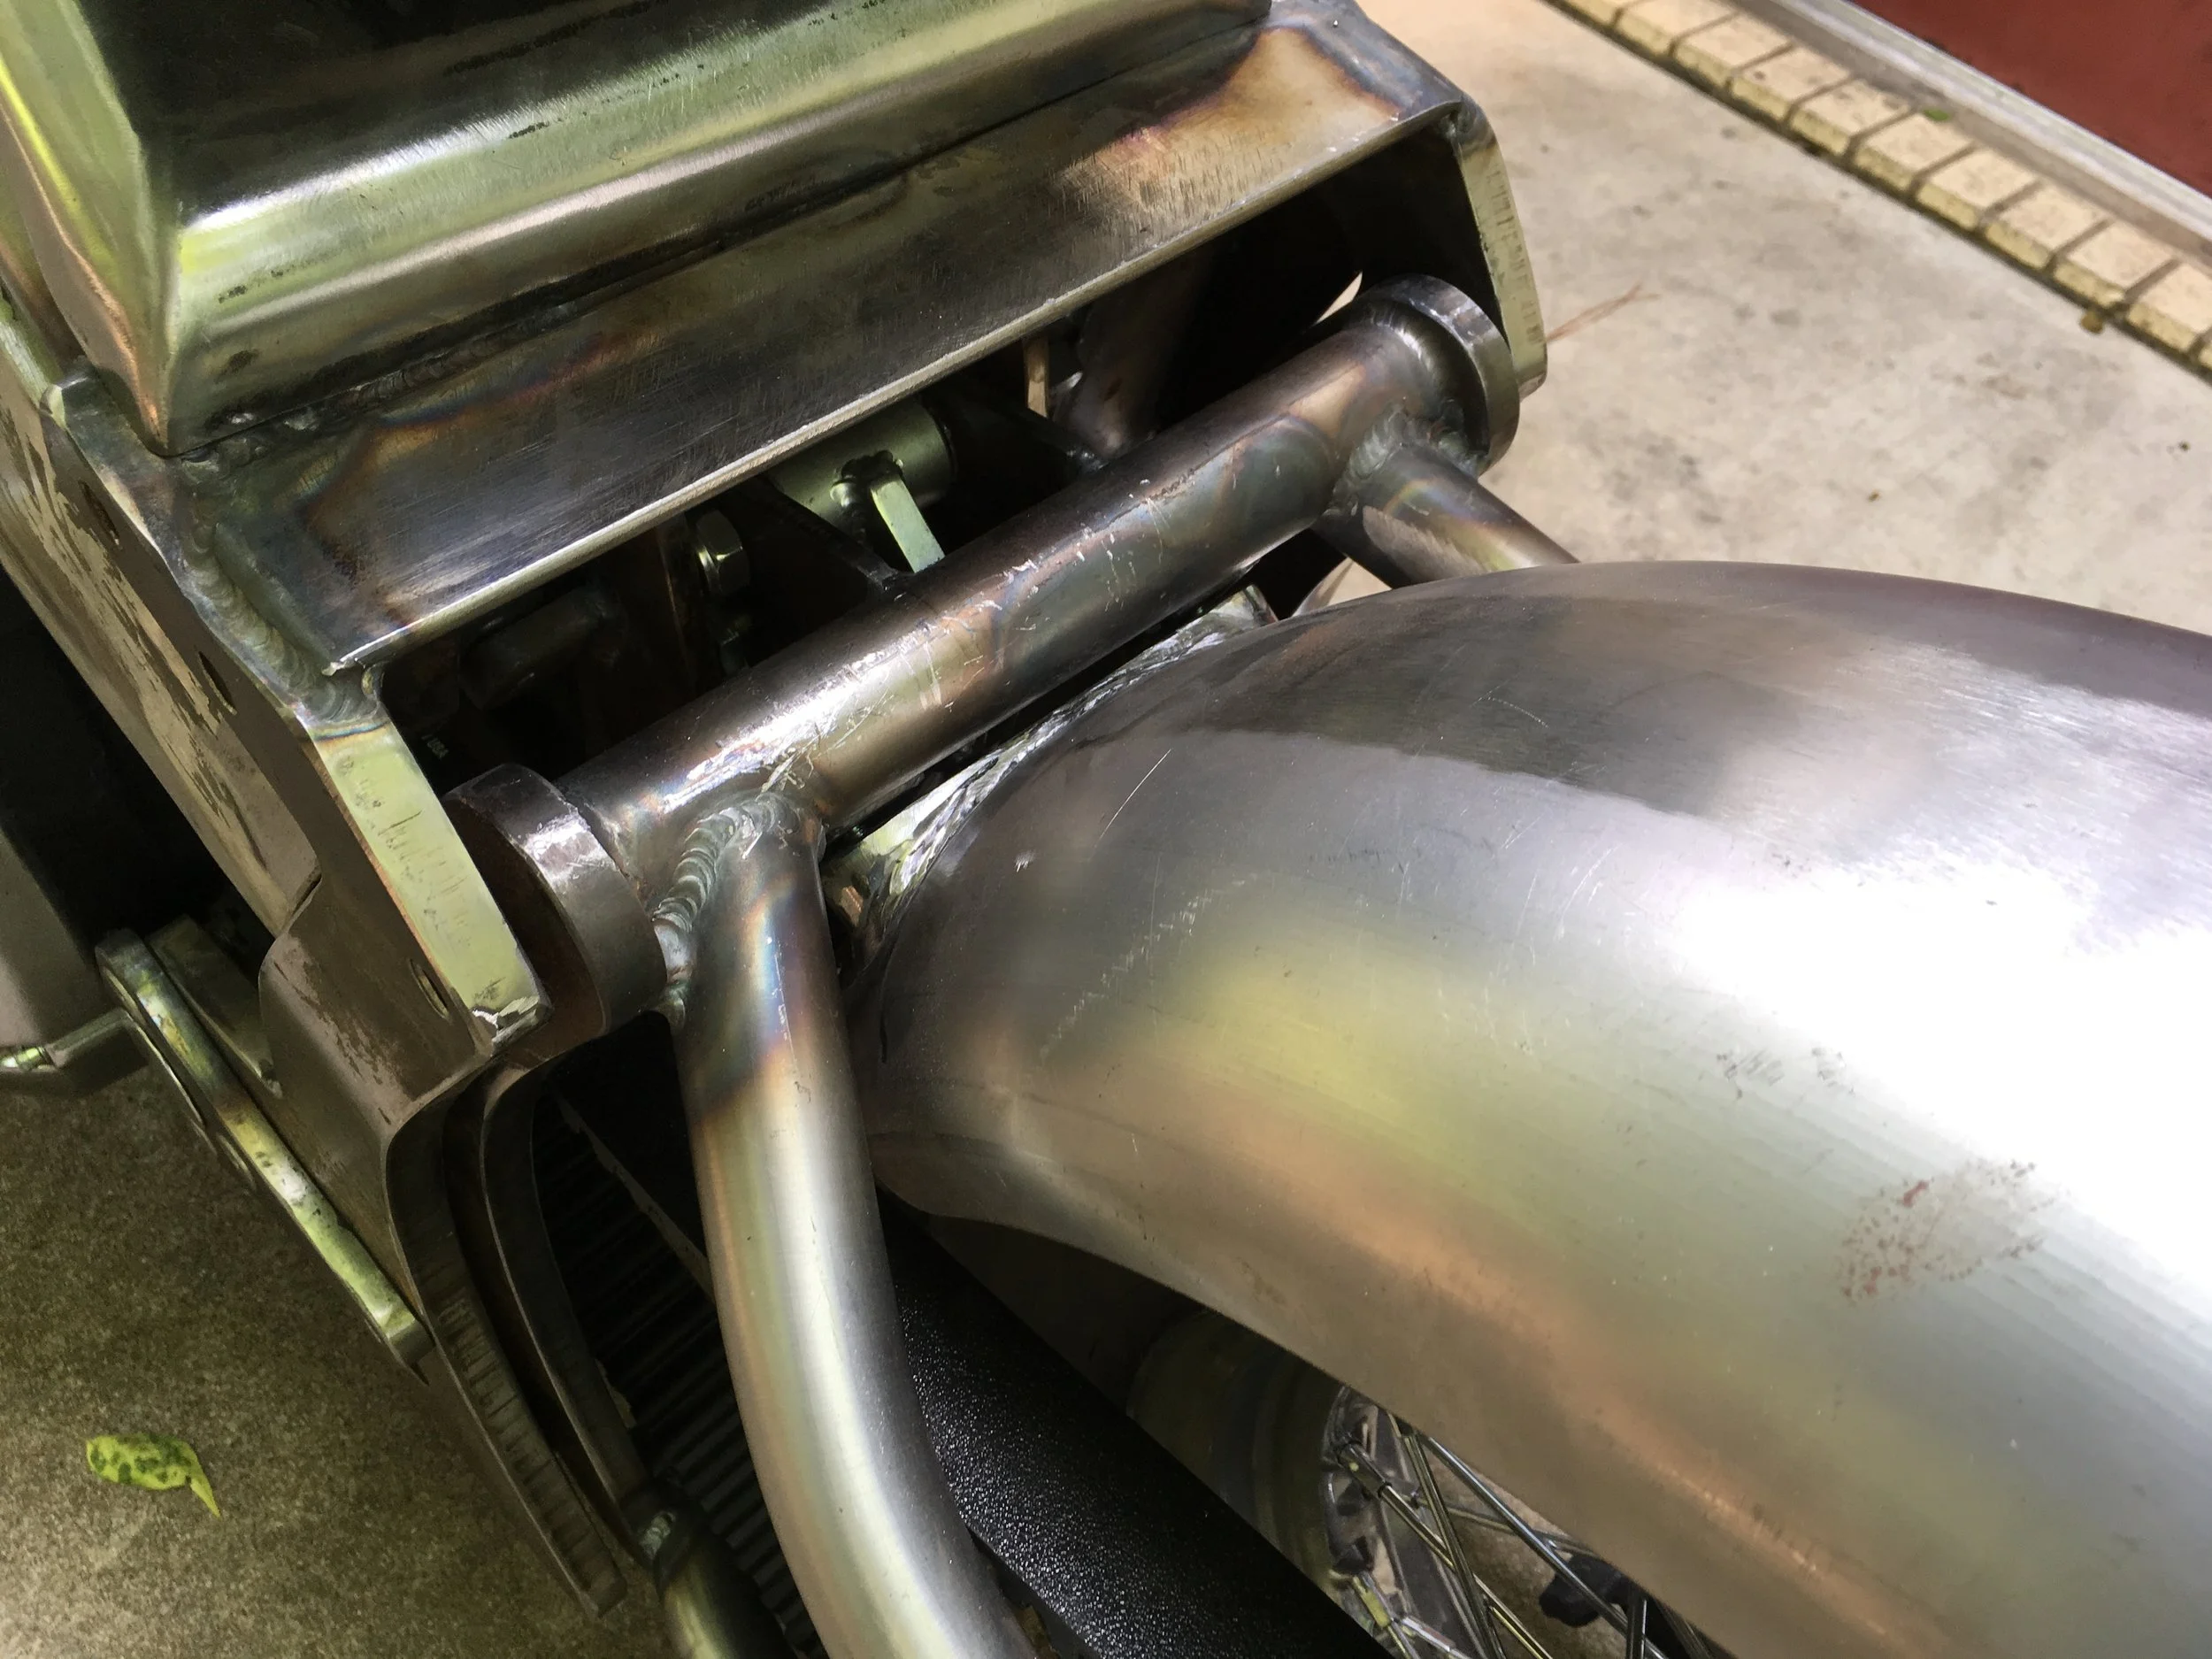
The fender brackets make for a clean minimal install.
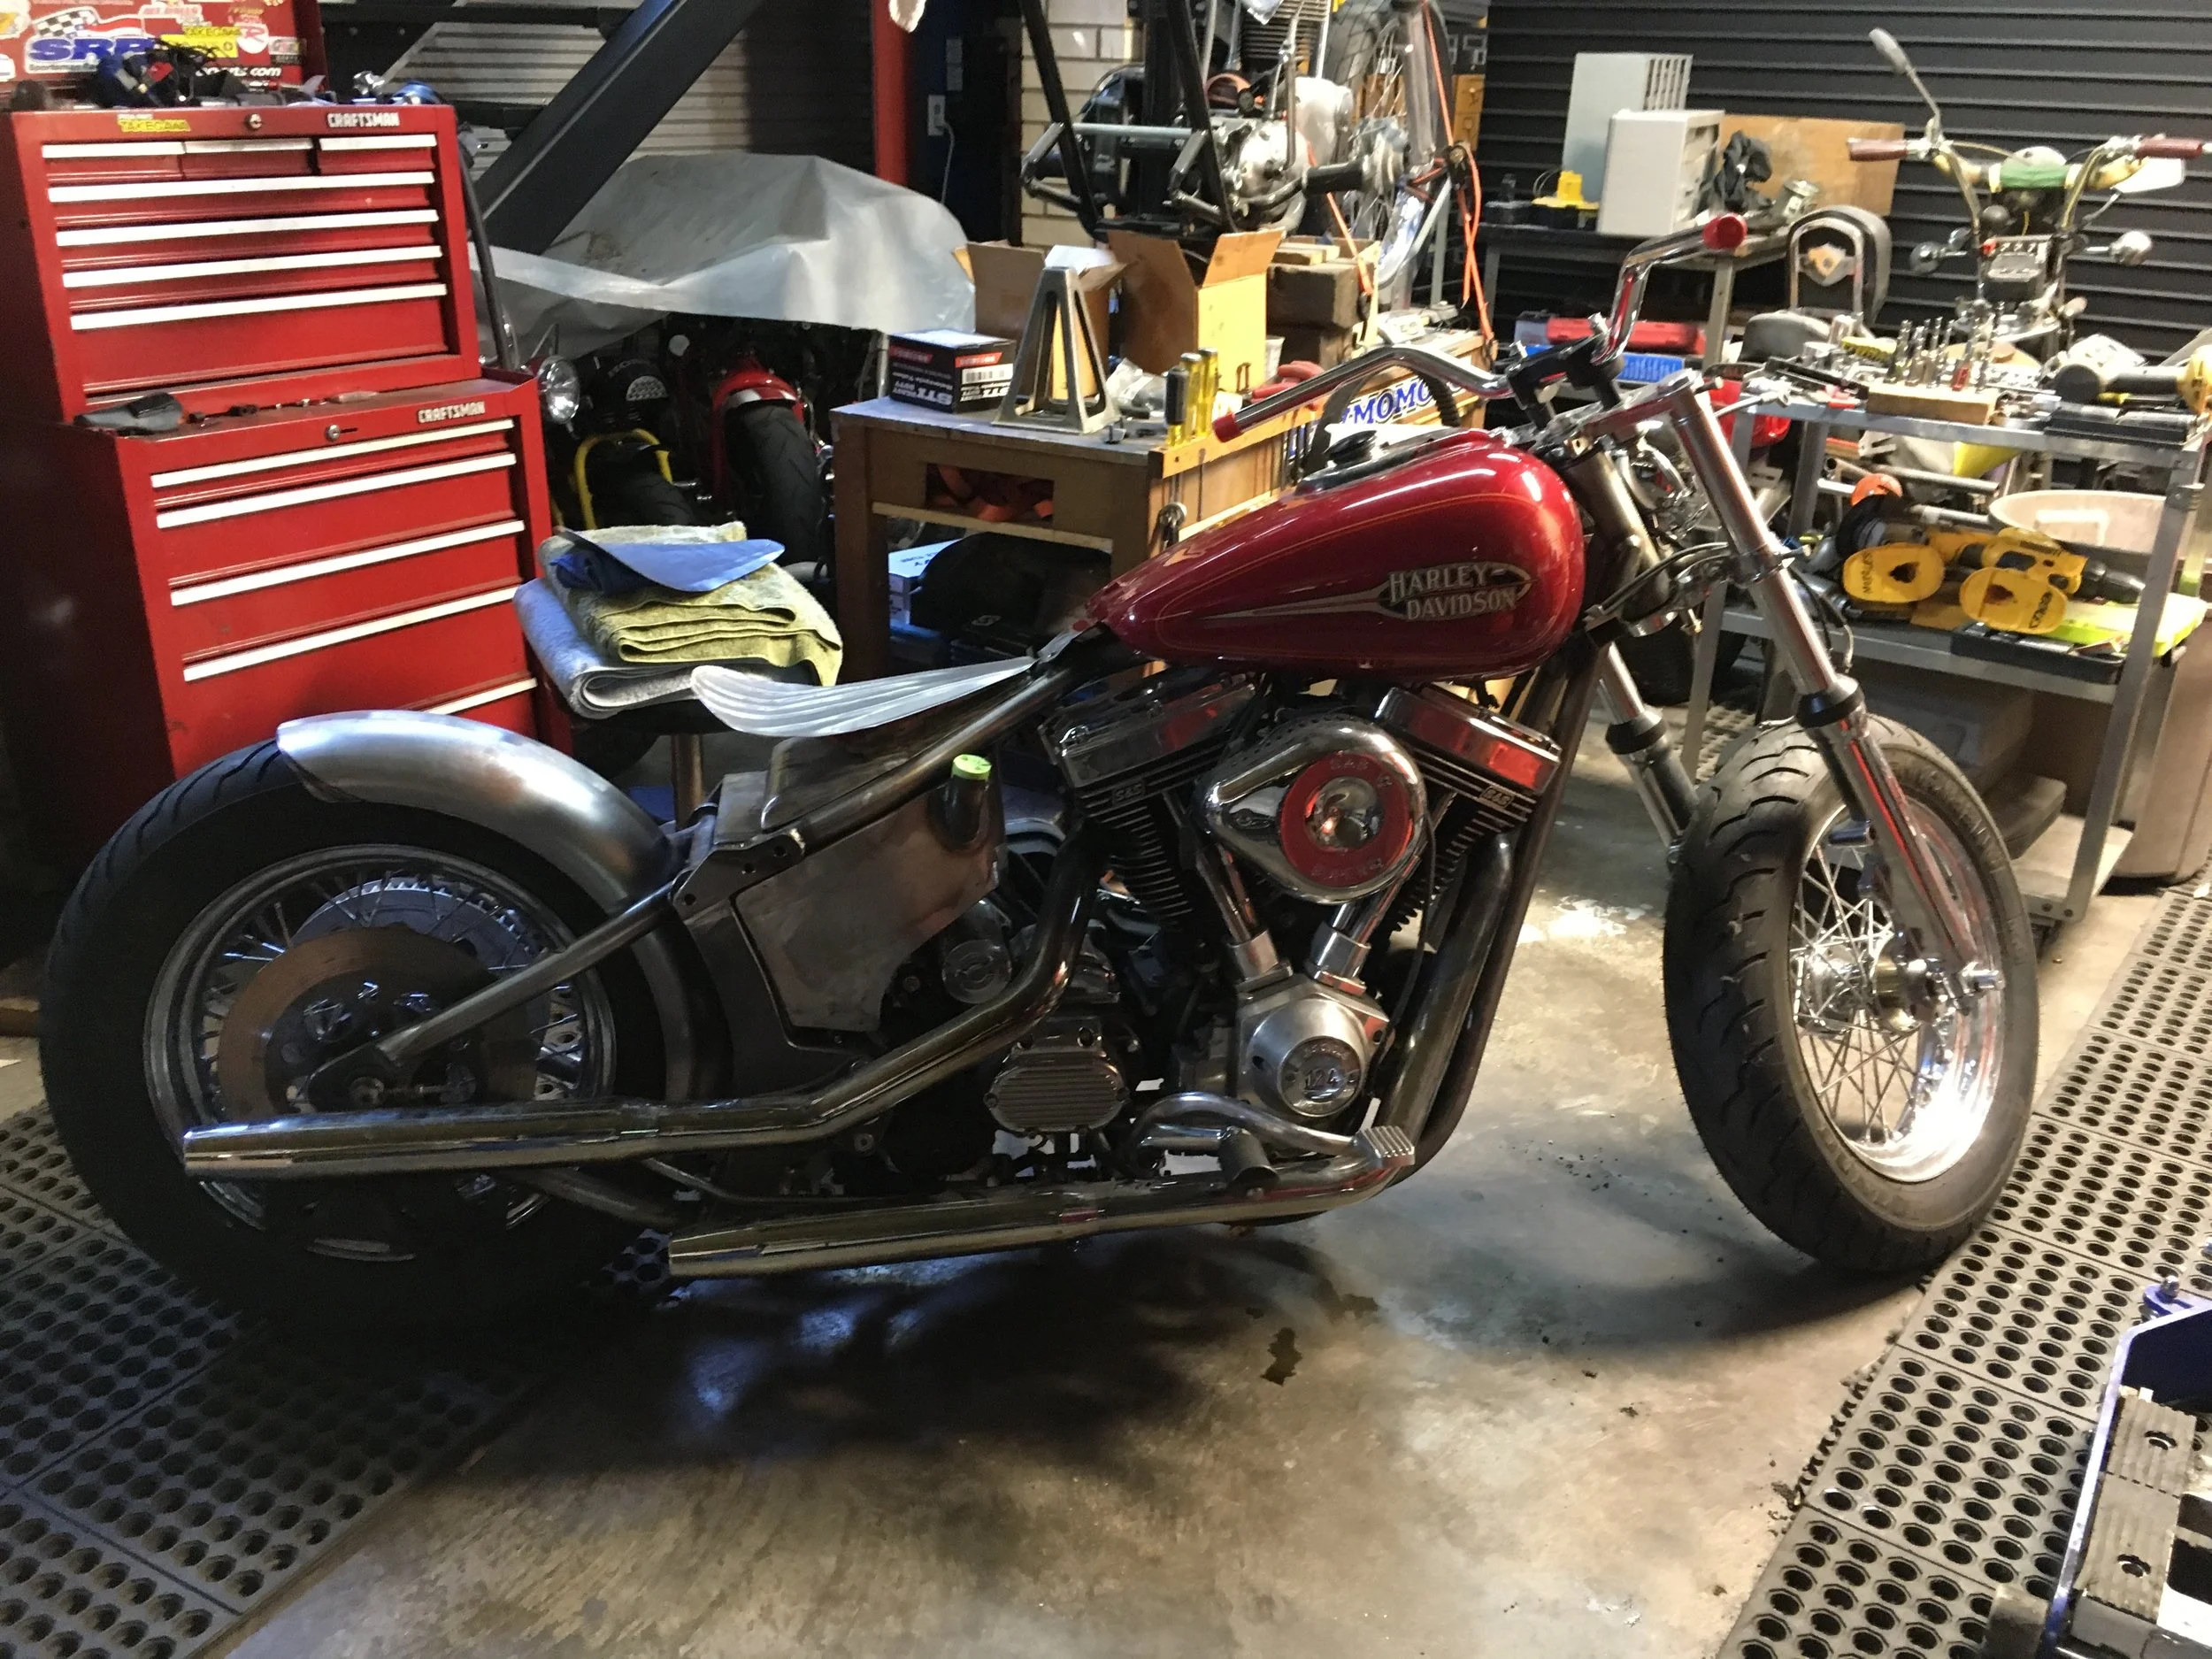
The fender is mounted and a longer seat pan is being worked out. There will be some springs under the tail of the seat to complete the look.

Some ribs were put in the pan using the Jet Tools English wheel. The shrinker/stretcher was run around the back edge to strengthen and smooth it out.

Another familiar bike, this 1974 Honda CL360 came in for a fuel delivery issue and points adjustment, and left running right again.