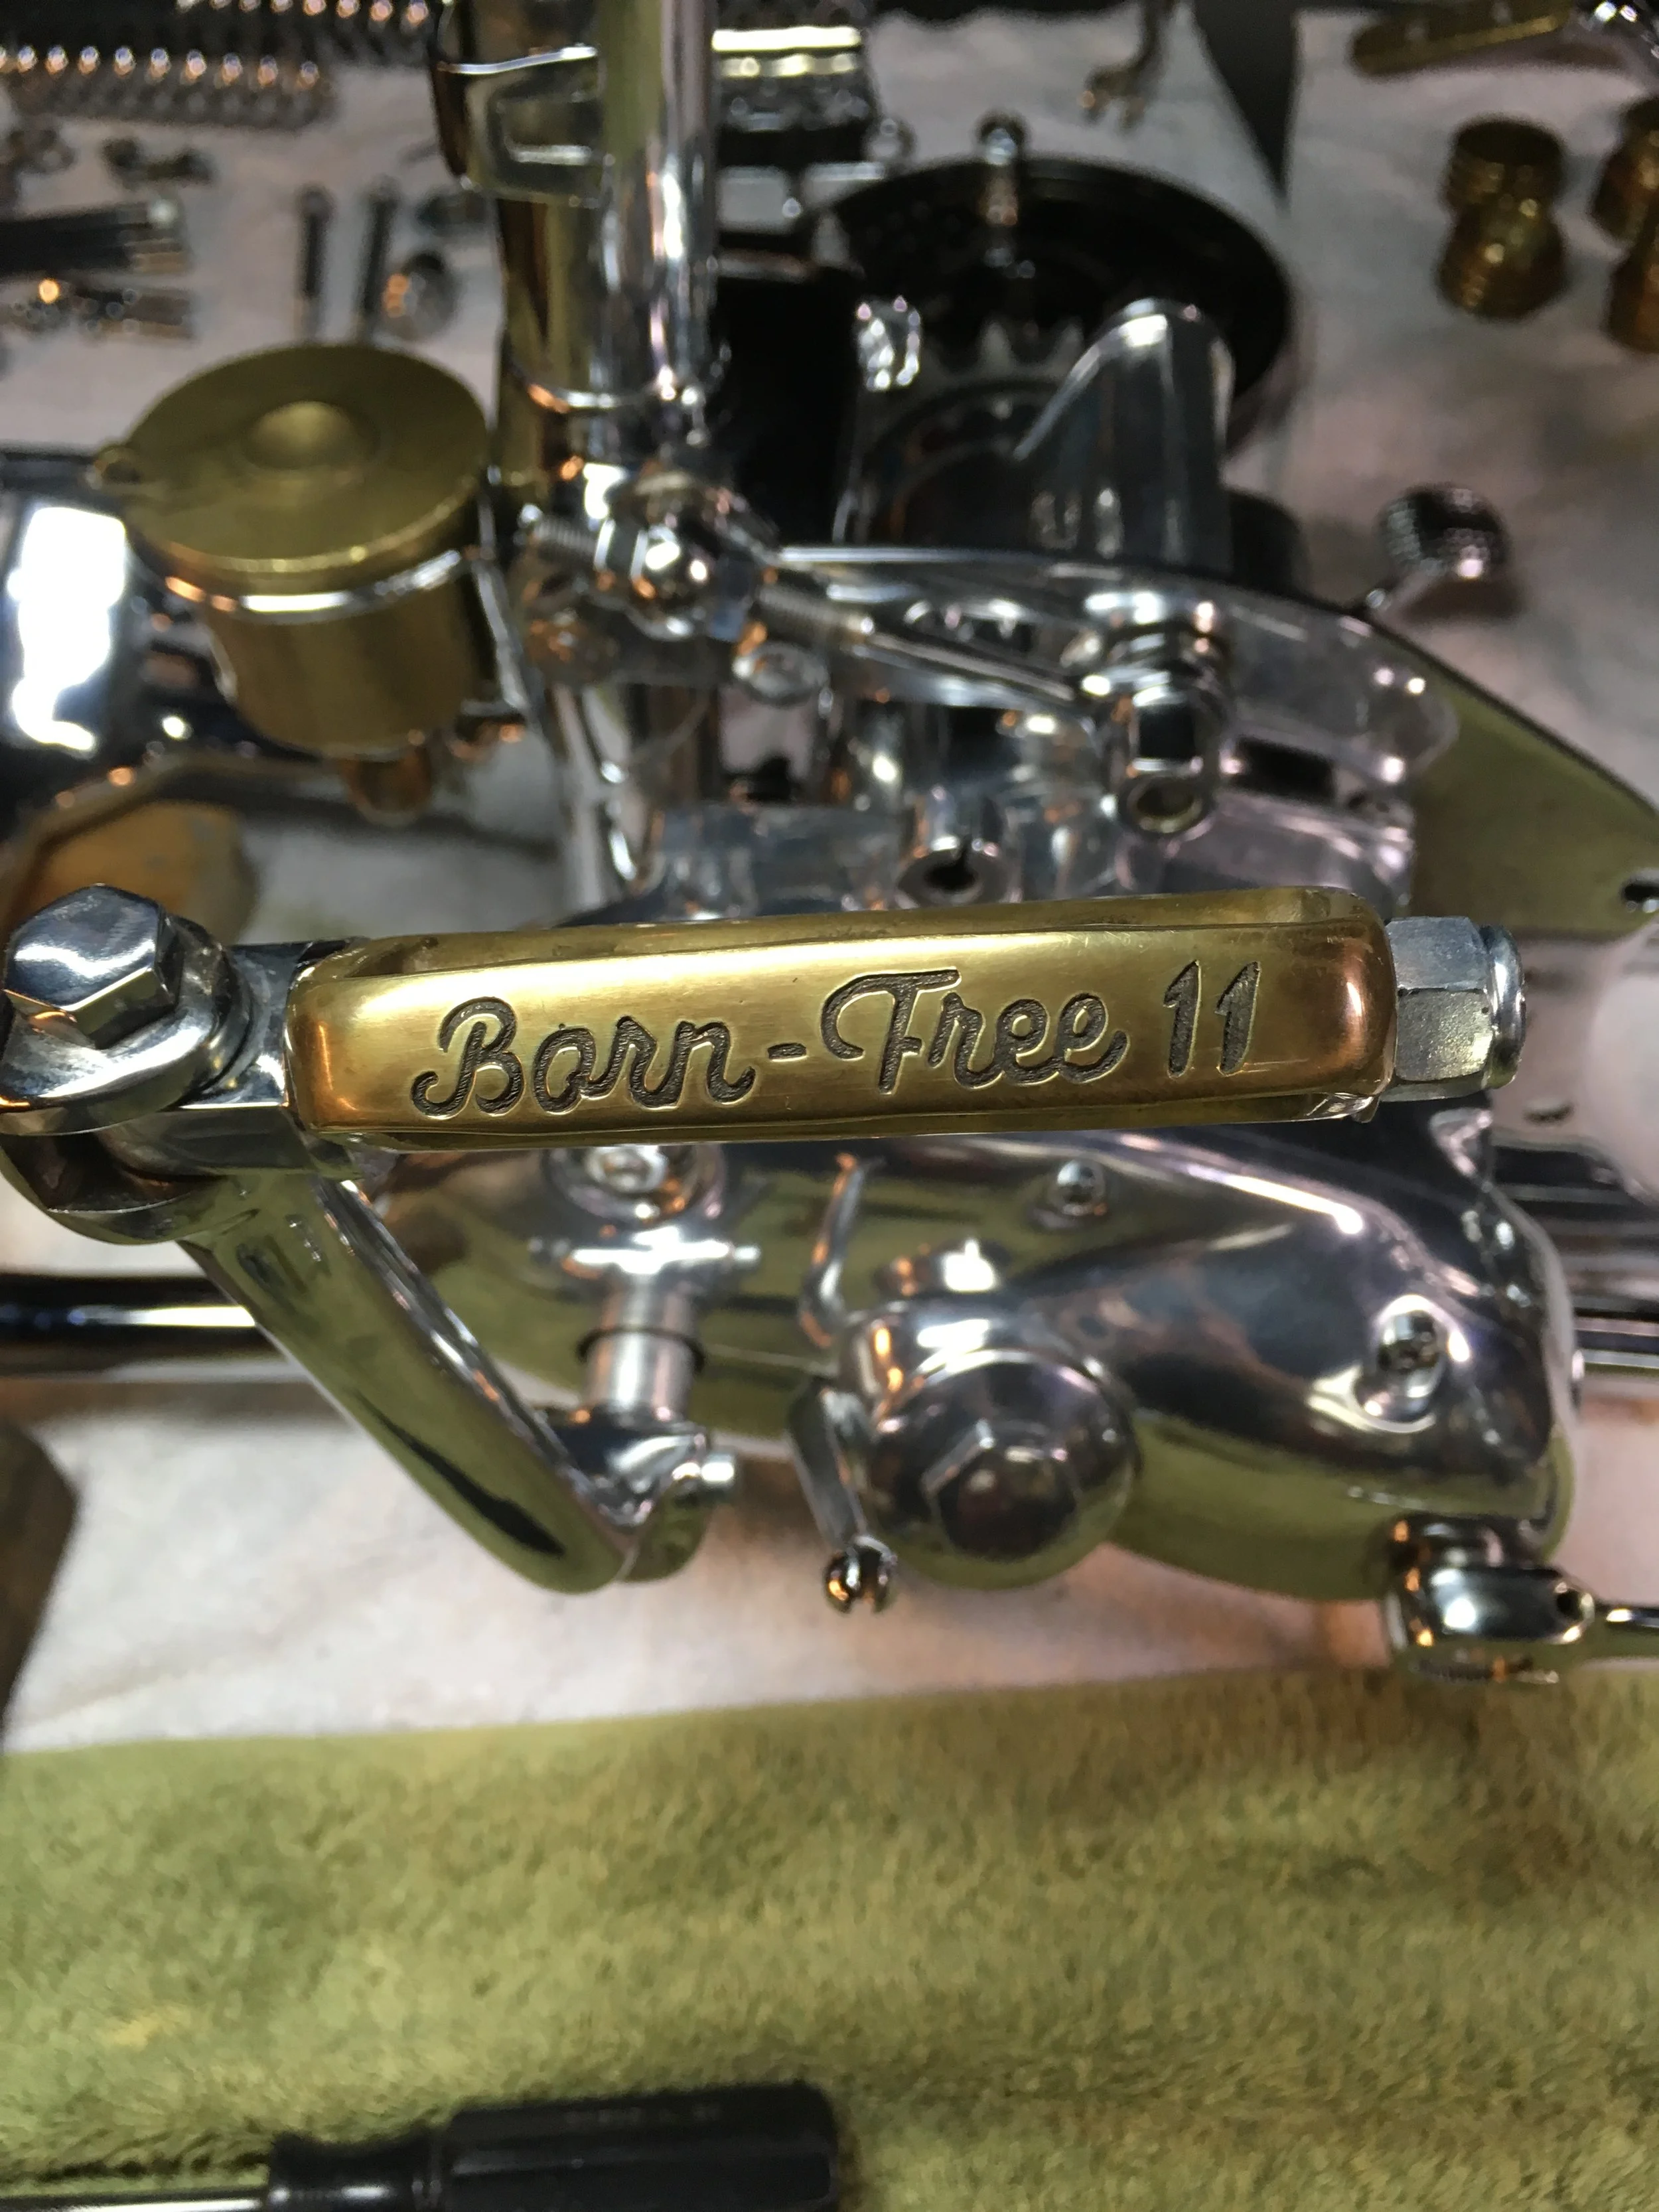
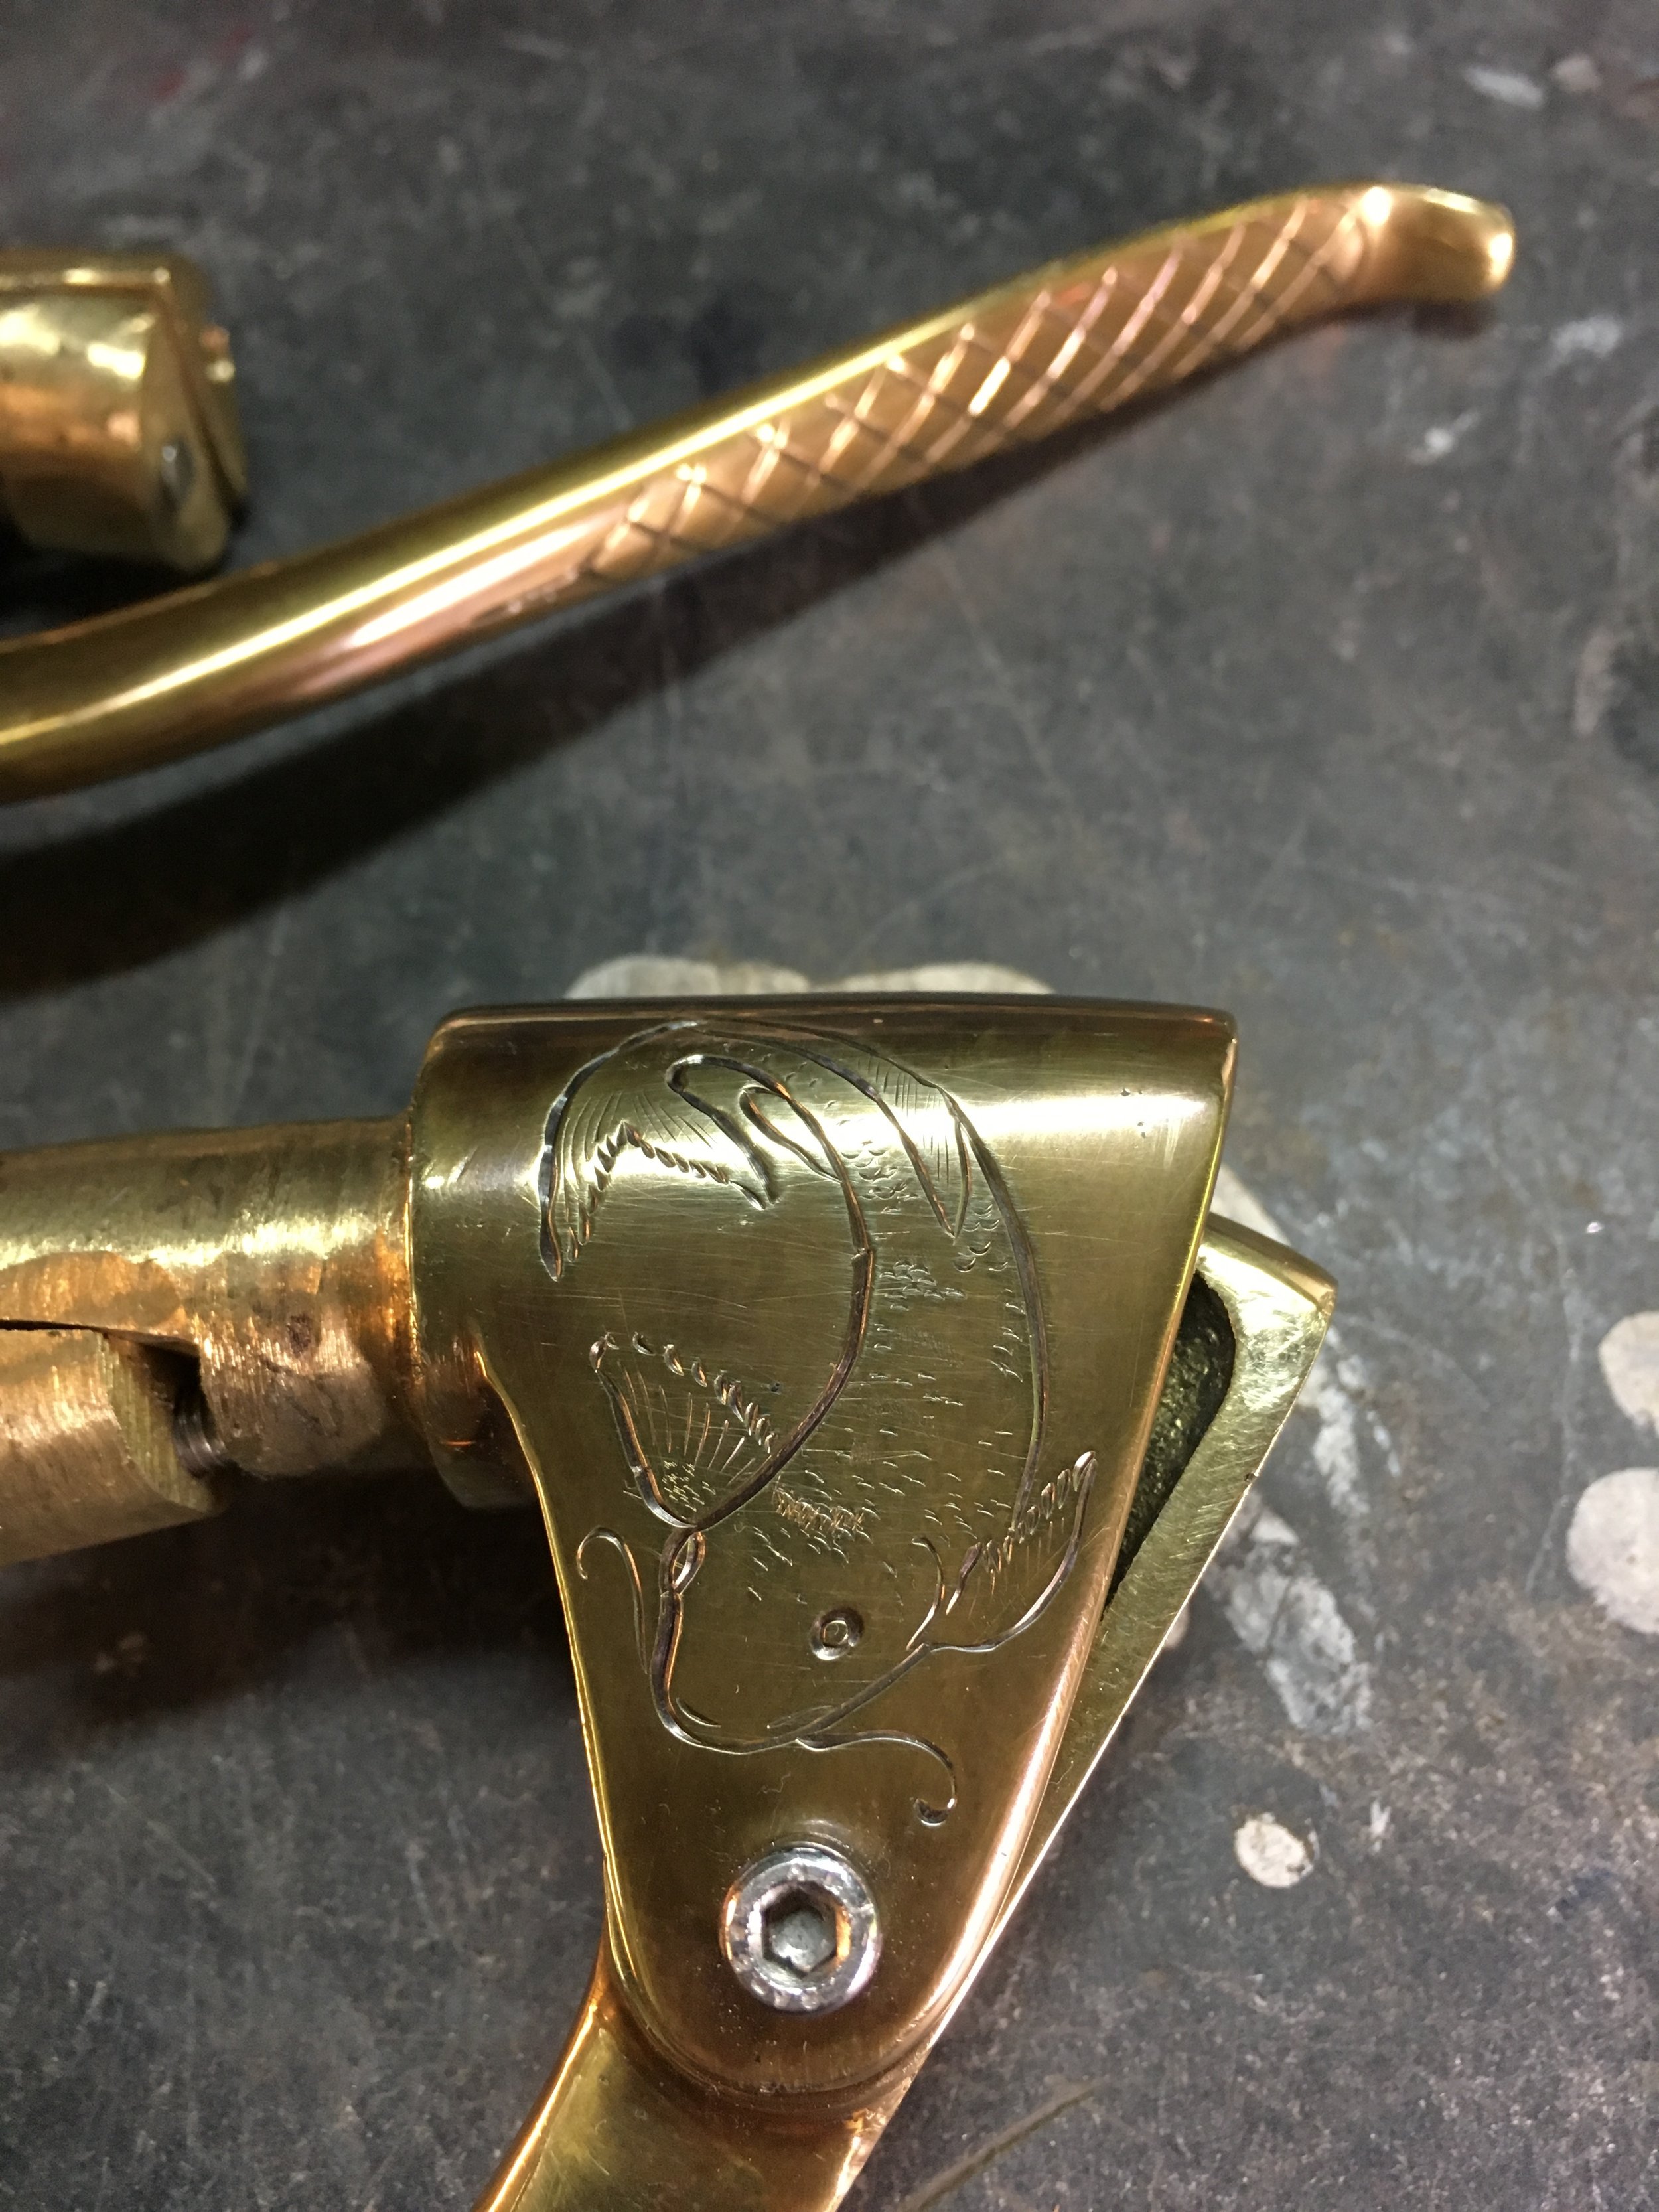
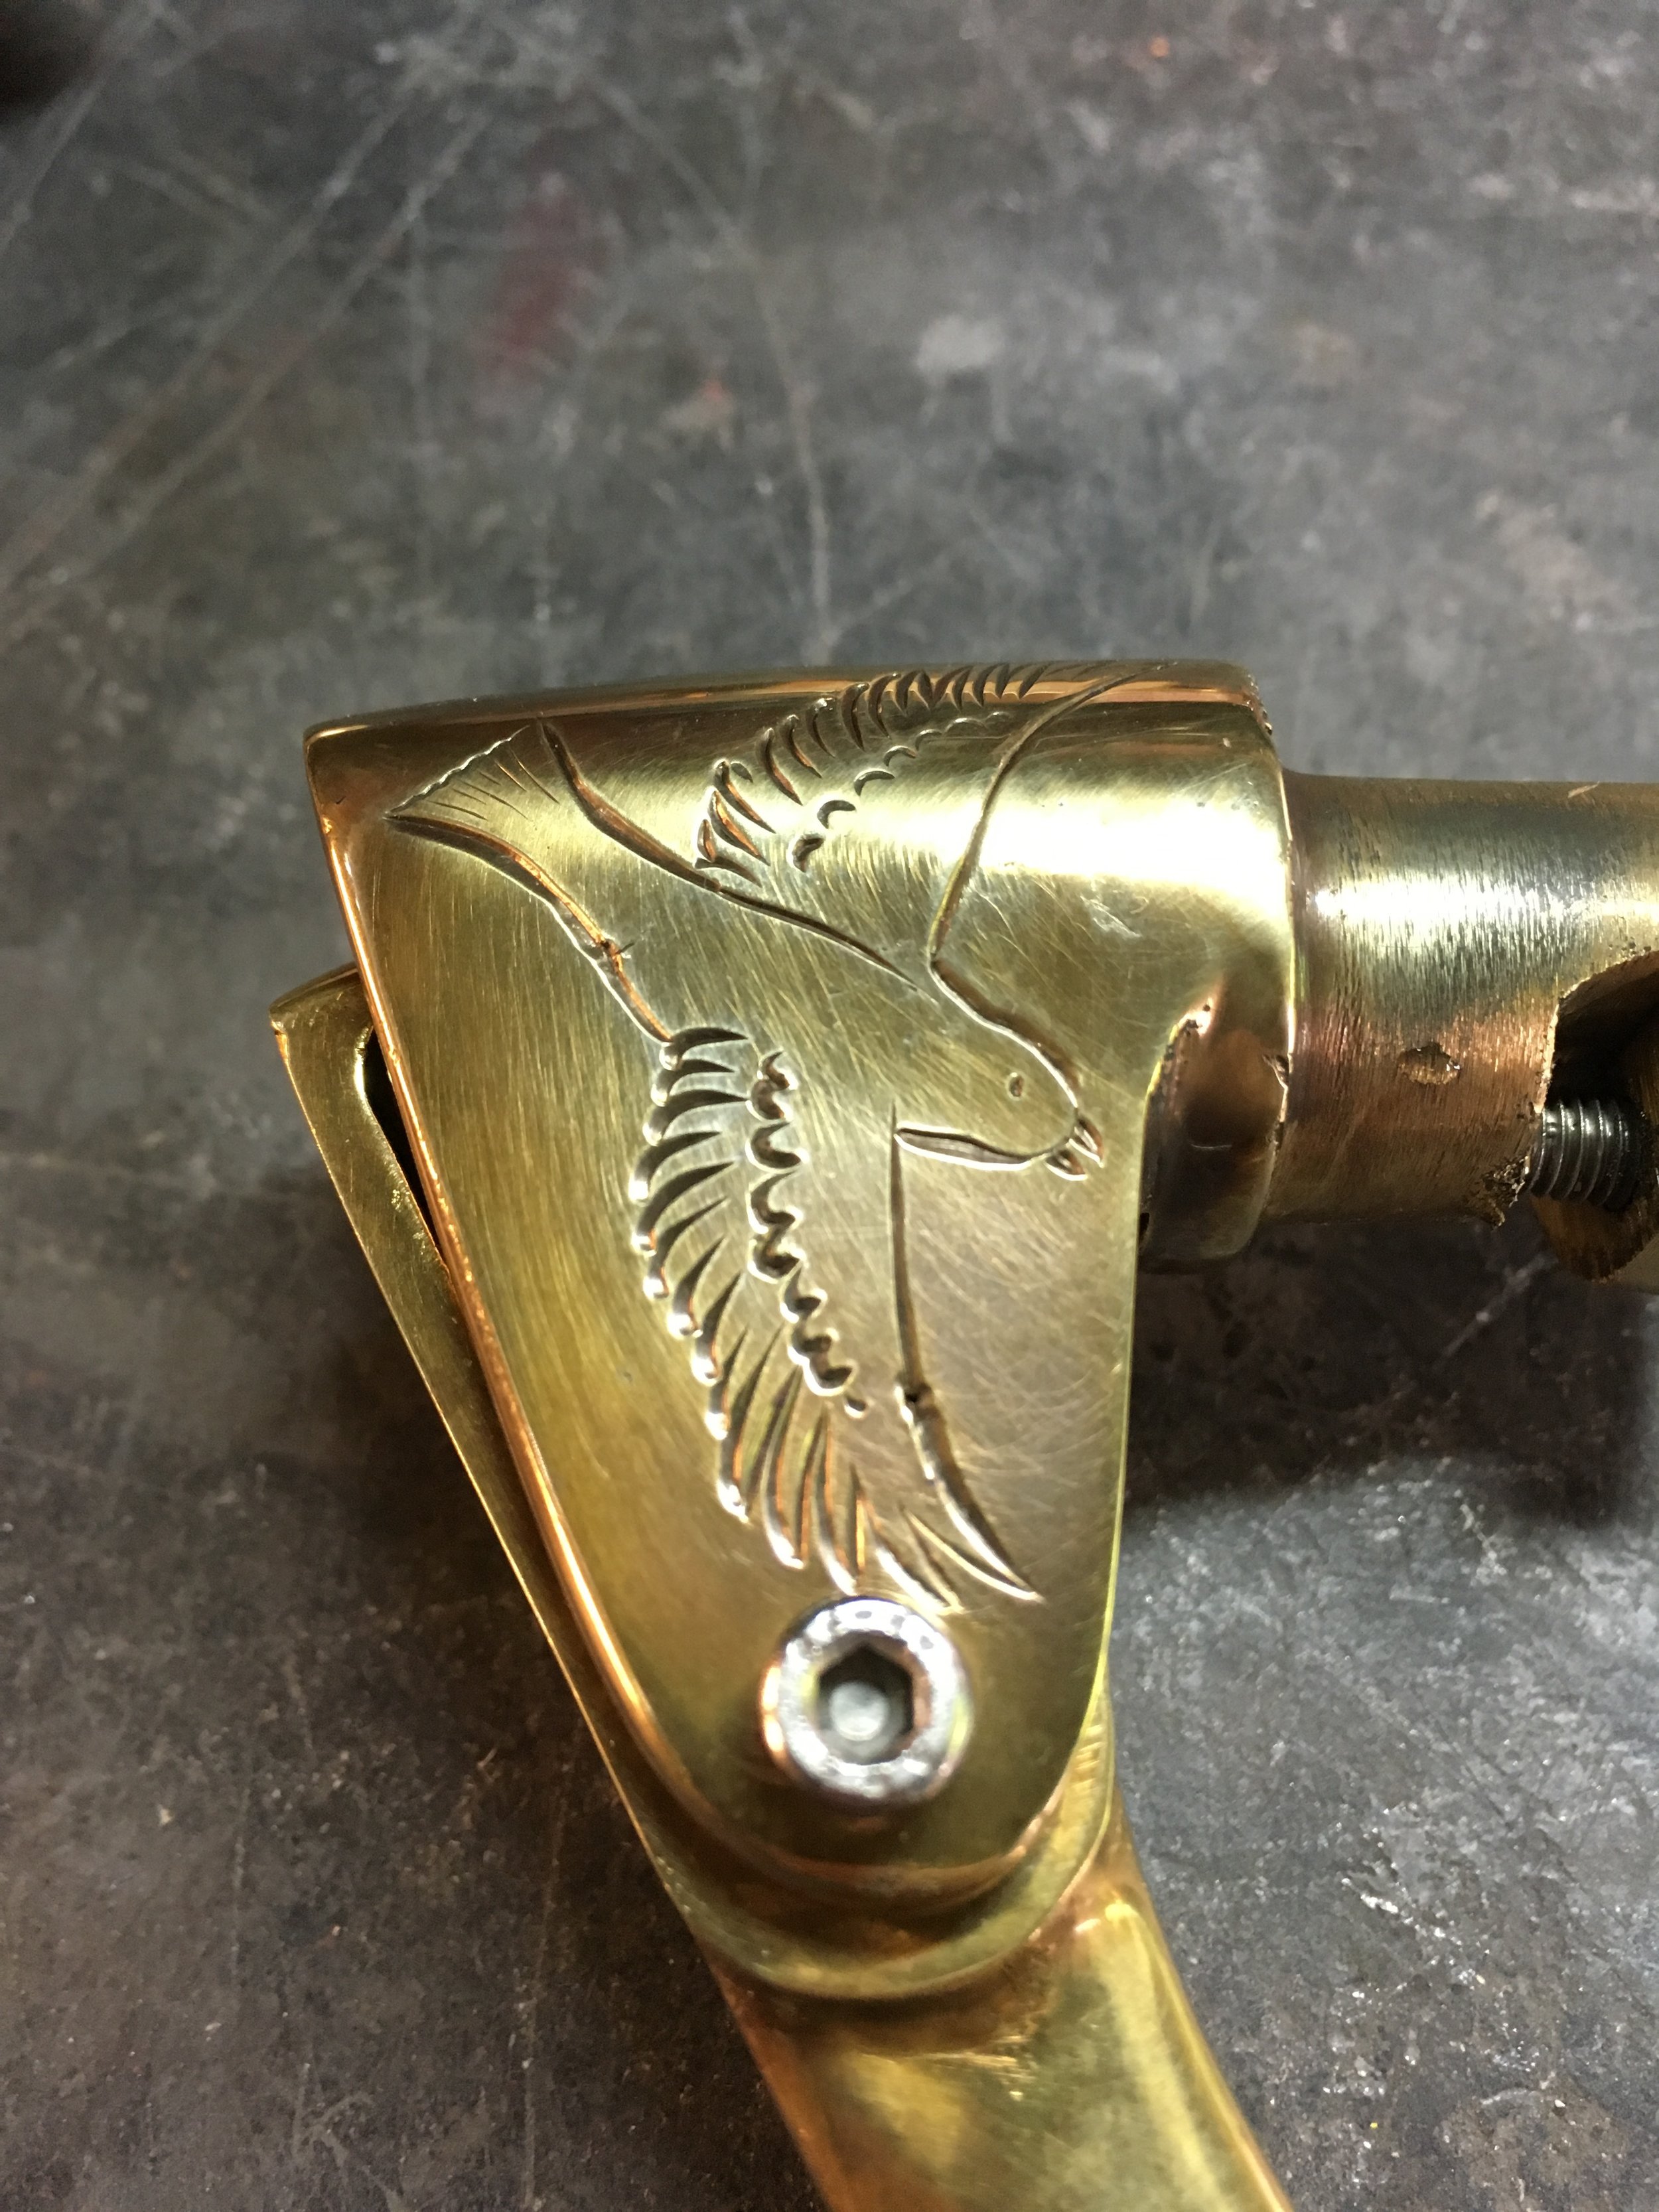
A mechanism to invert the choke lever. The carb being used is an Amal brand. Their chokes require a cable pull to turn them off, backwards from most choke actuators. Because the vintage Doherty choke lever that I am using would end up with the lever sticking straight up on the handlebar to turn the choke off, a fix was needed. It is made of brass and will be completed when the new carb gets here.

Here is the Doherty choke lever. The natural patina on this piece and the steering damper knob seen just behind it were the inspiration for the brass patina given to the hand-built parts.

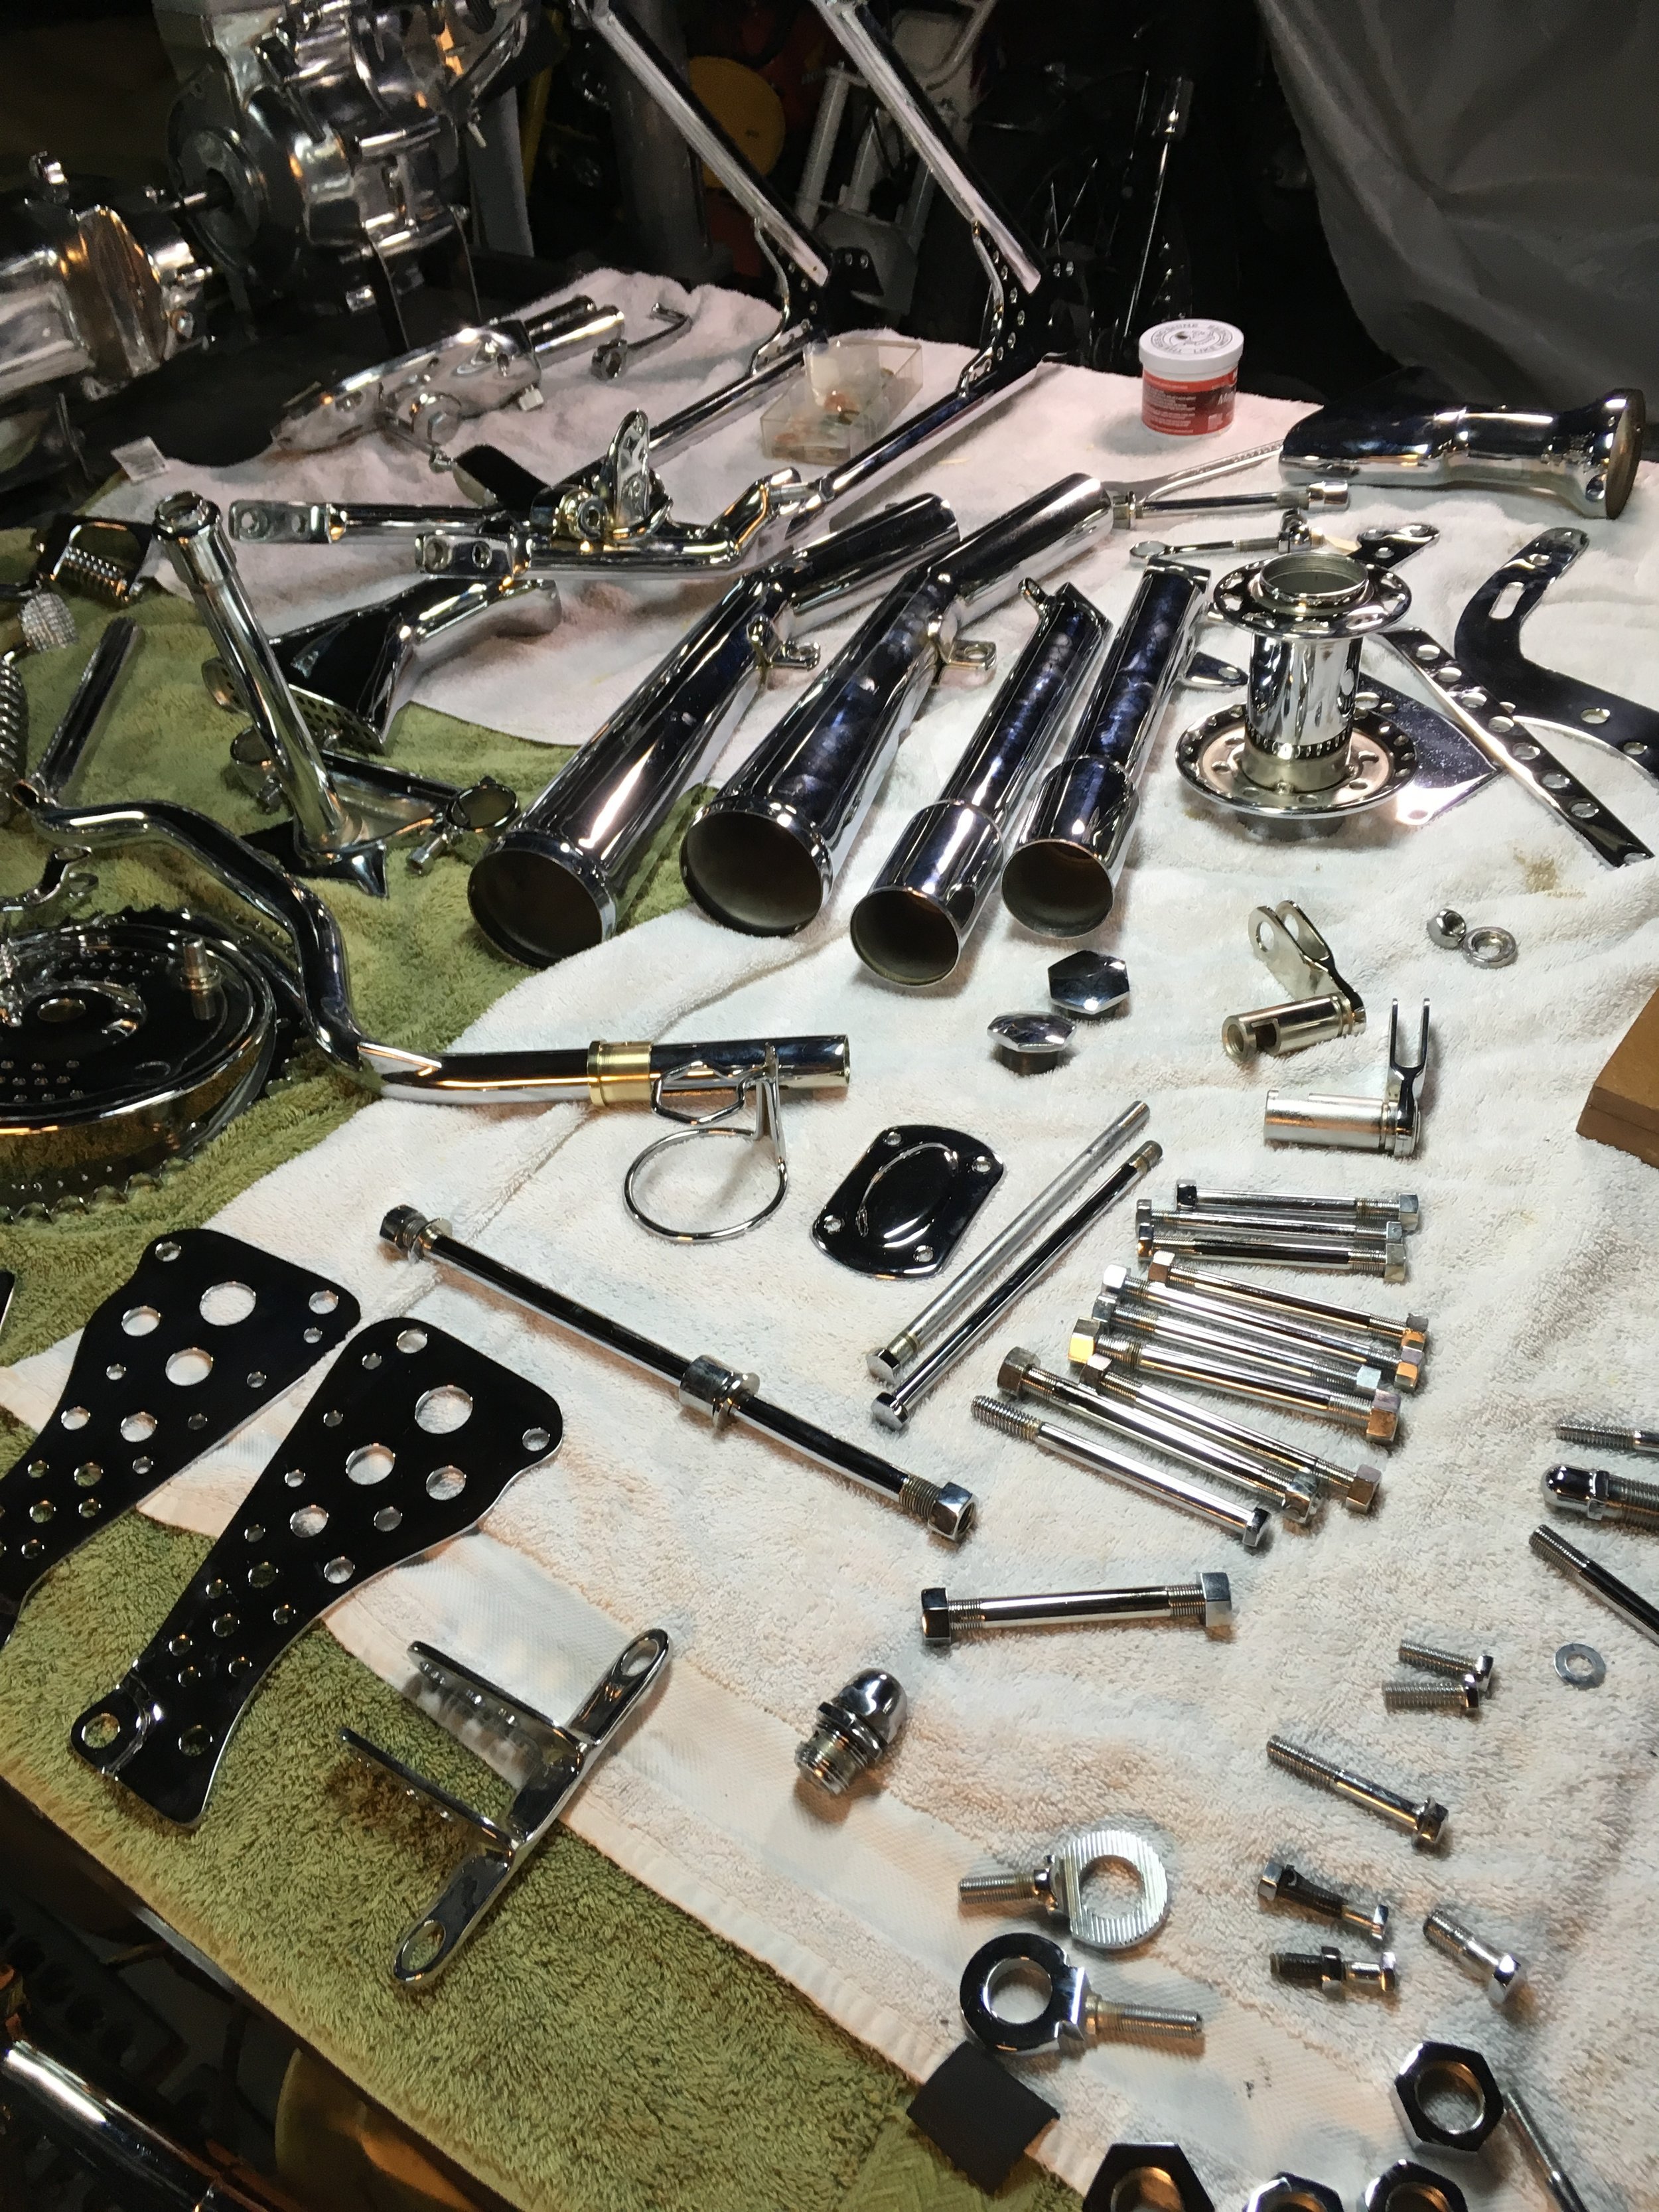
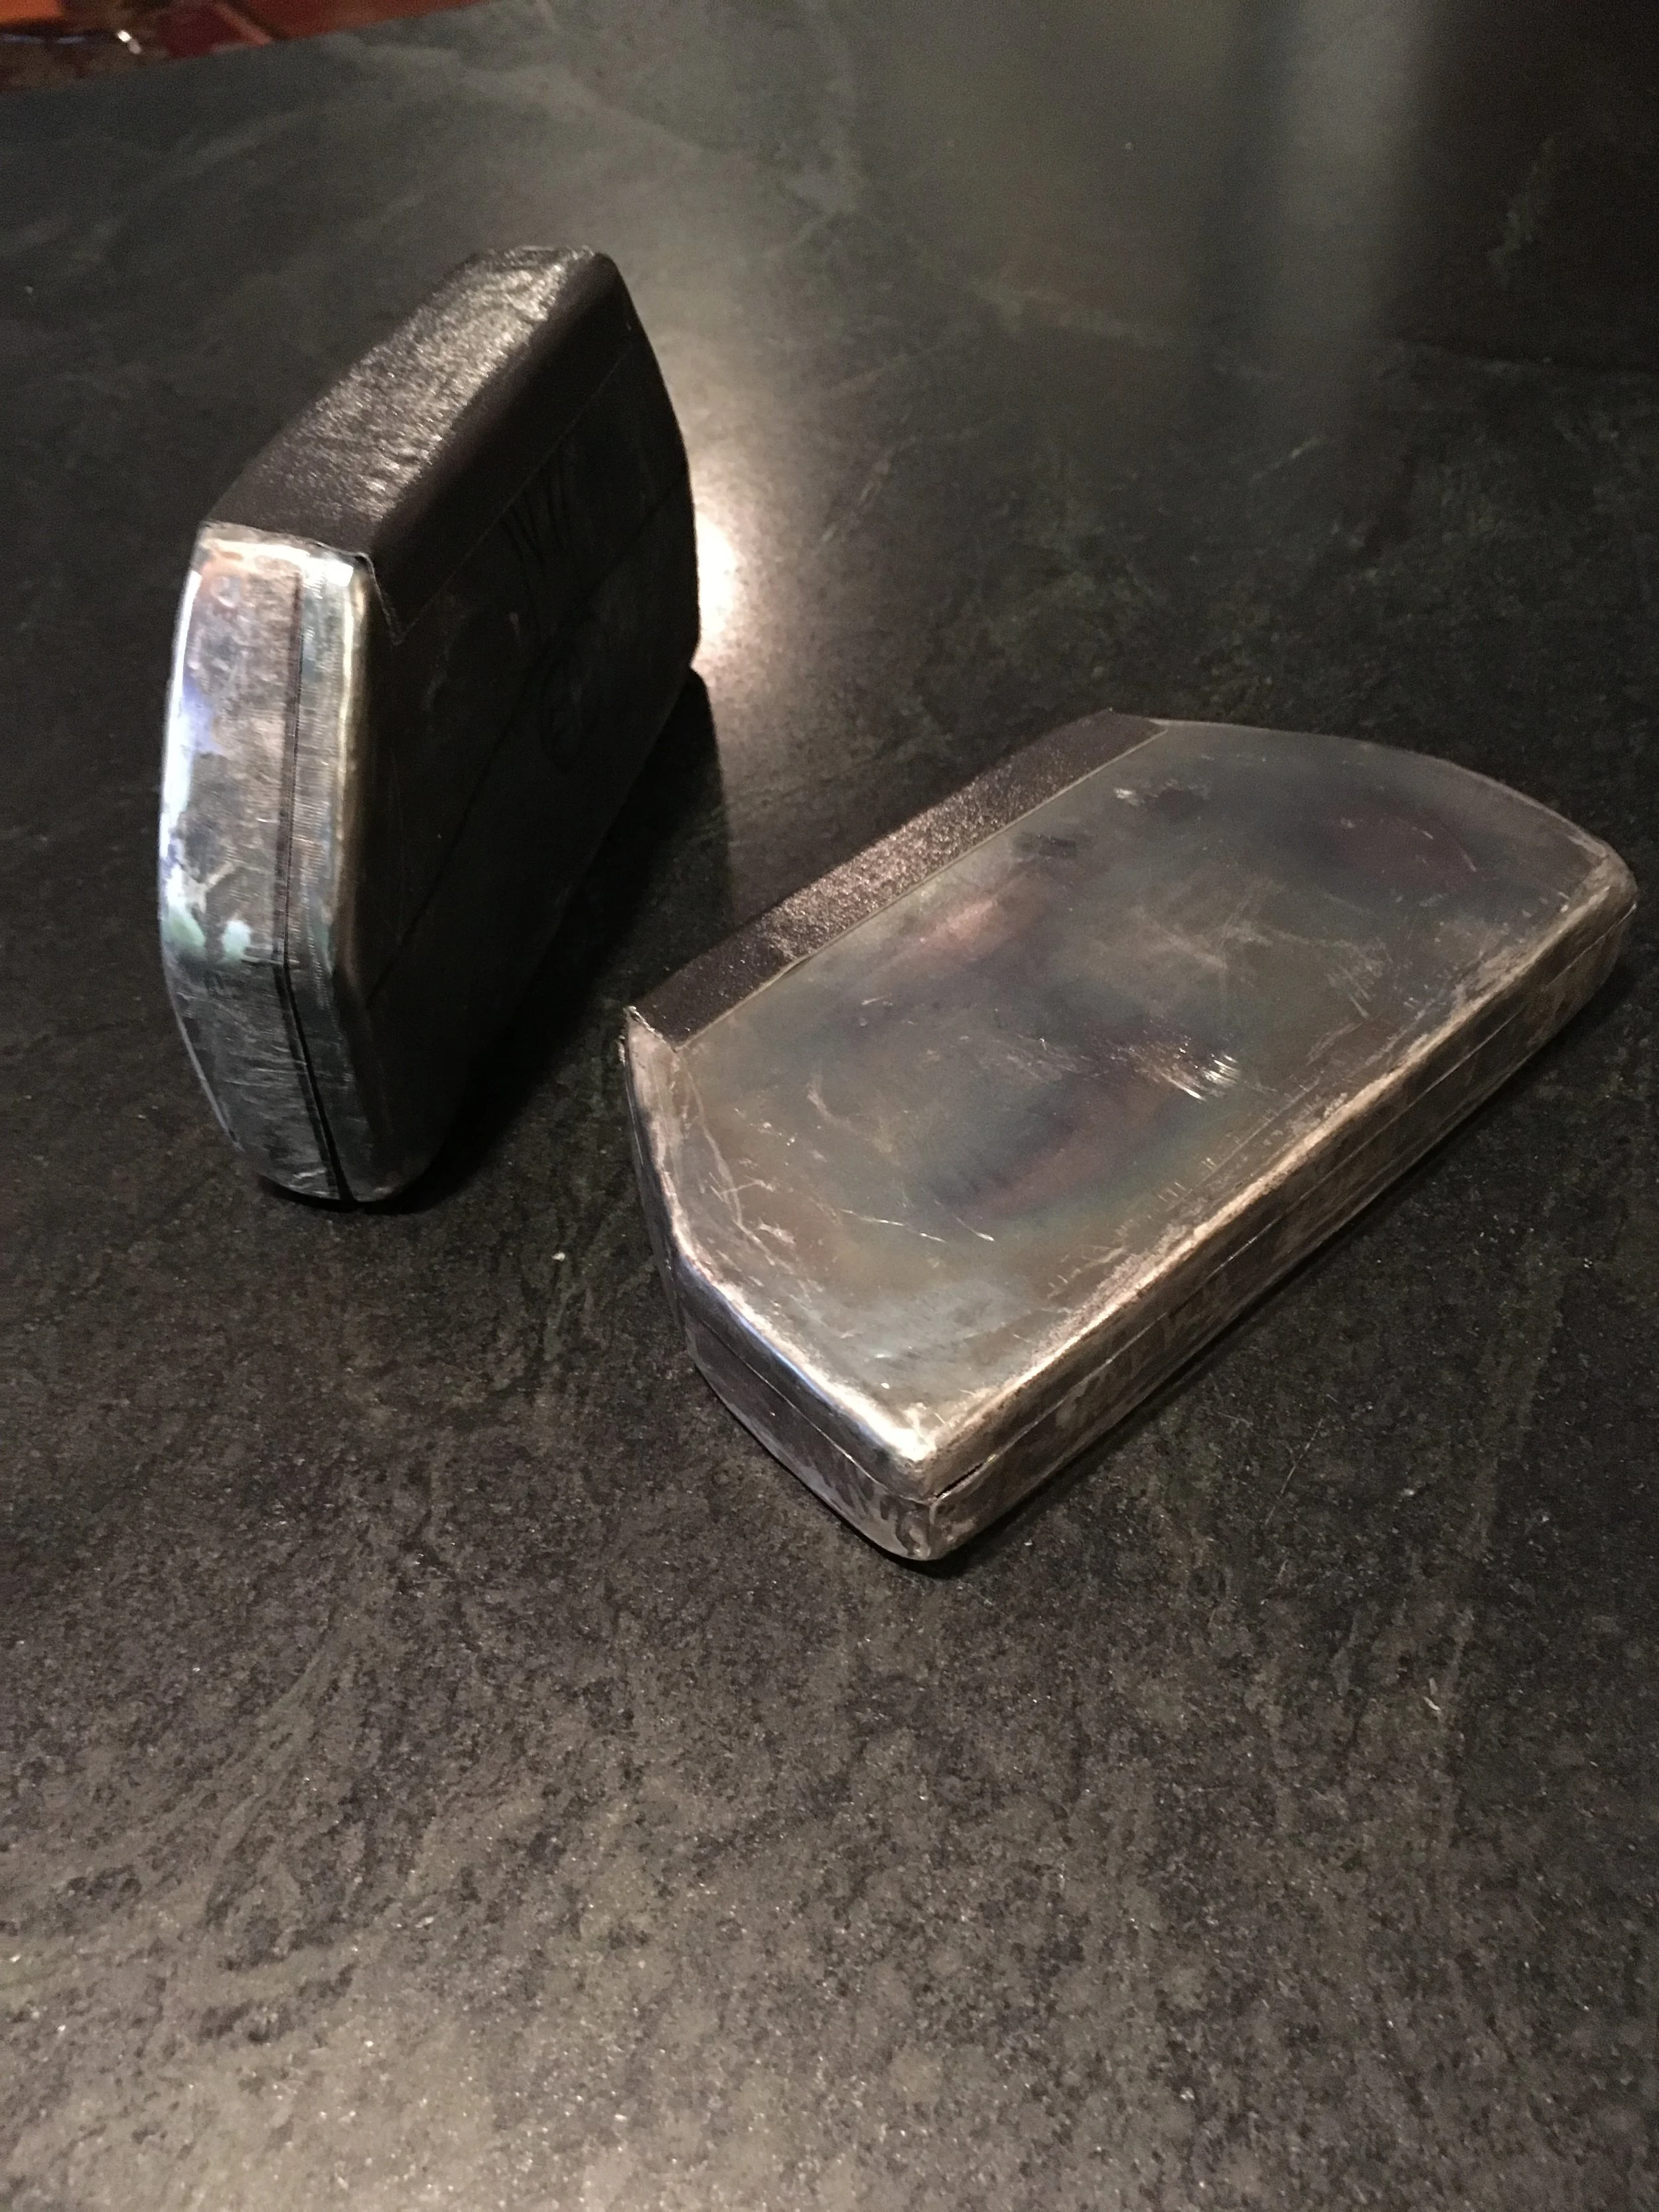
Some vintage alloy exhaust collars. I have been warned about their tendency to expand and loose grip when heated, but just going to have to make sure the exhaust is well tethered. They were sanded and shaped a little, buffed smooth then bead blasted.

Bright and satin finishes together. I love this look and have used it on a lot of my bikes. There is always a question as to when to go to one finish or the other, trying to keep it balanced.

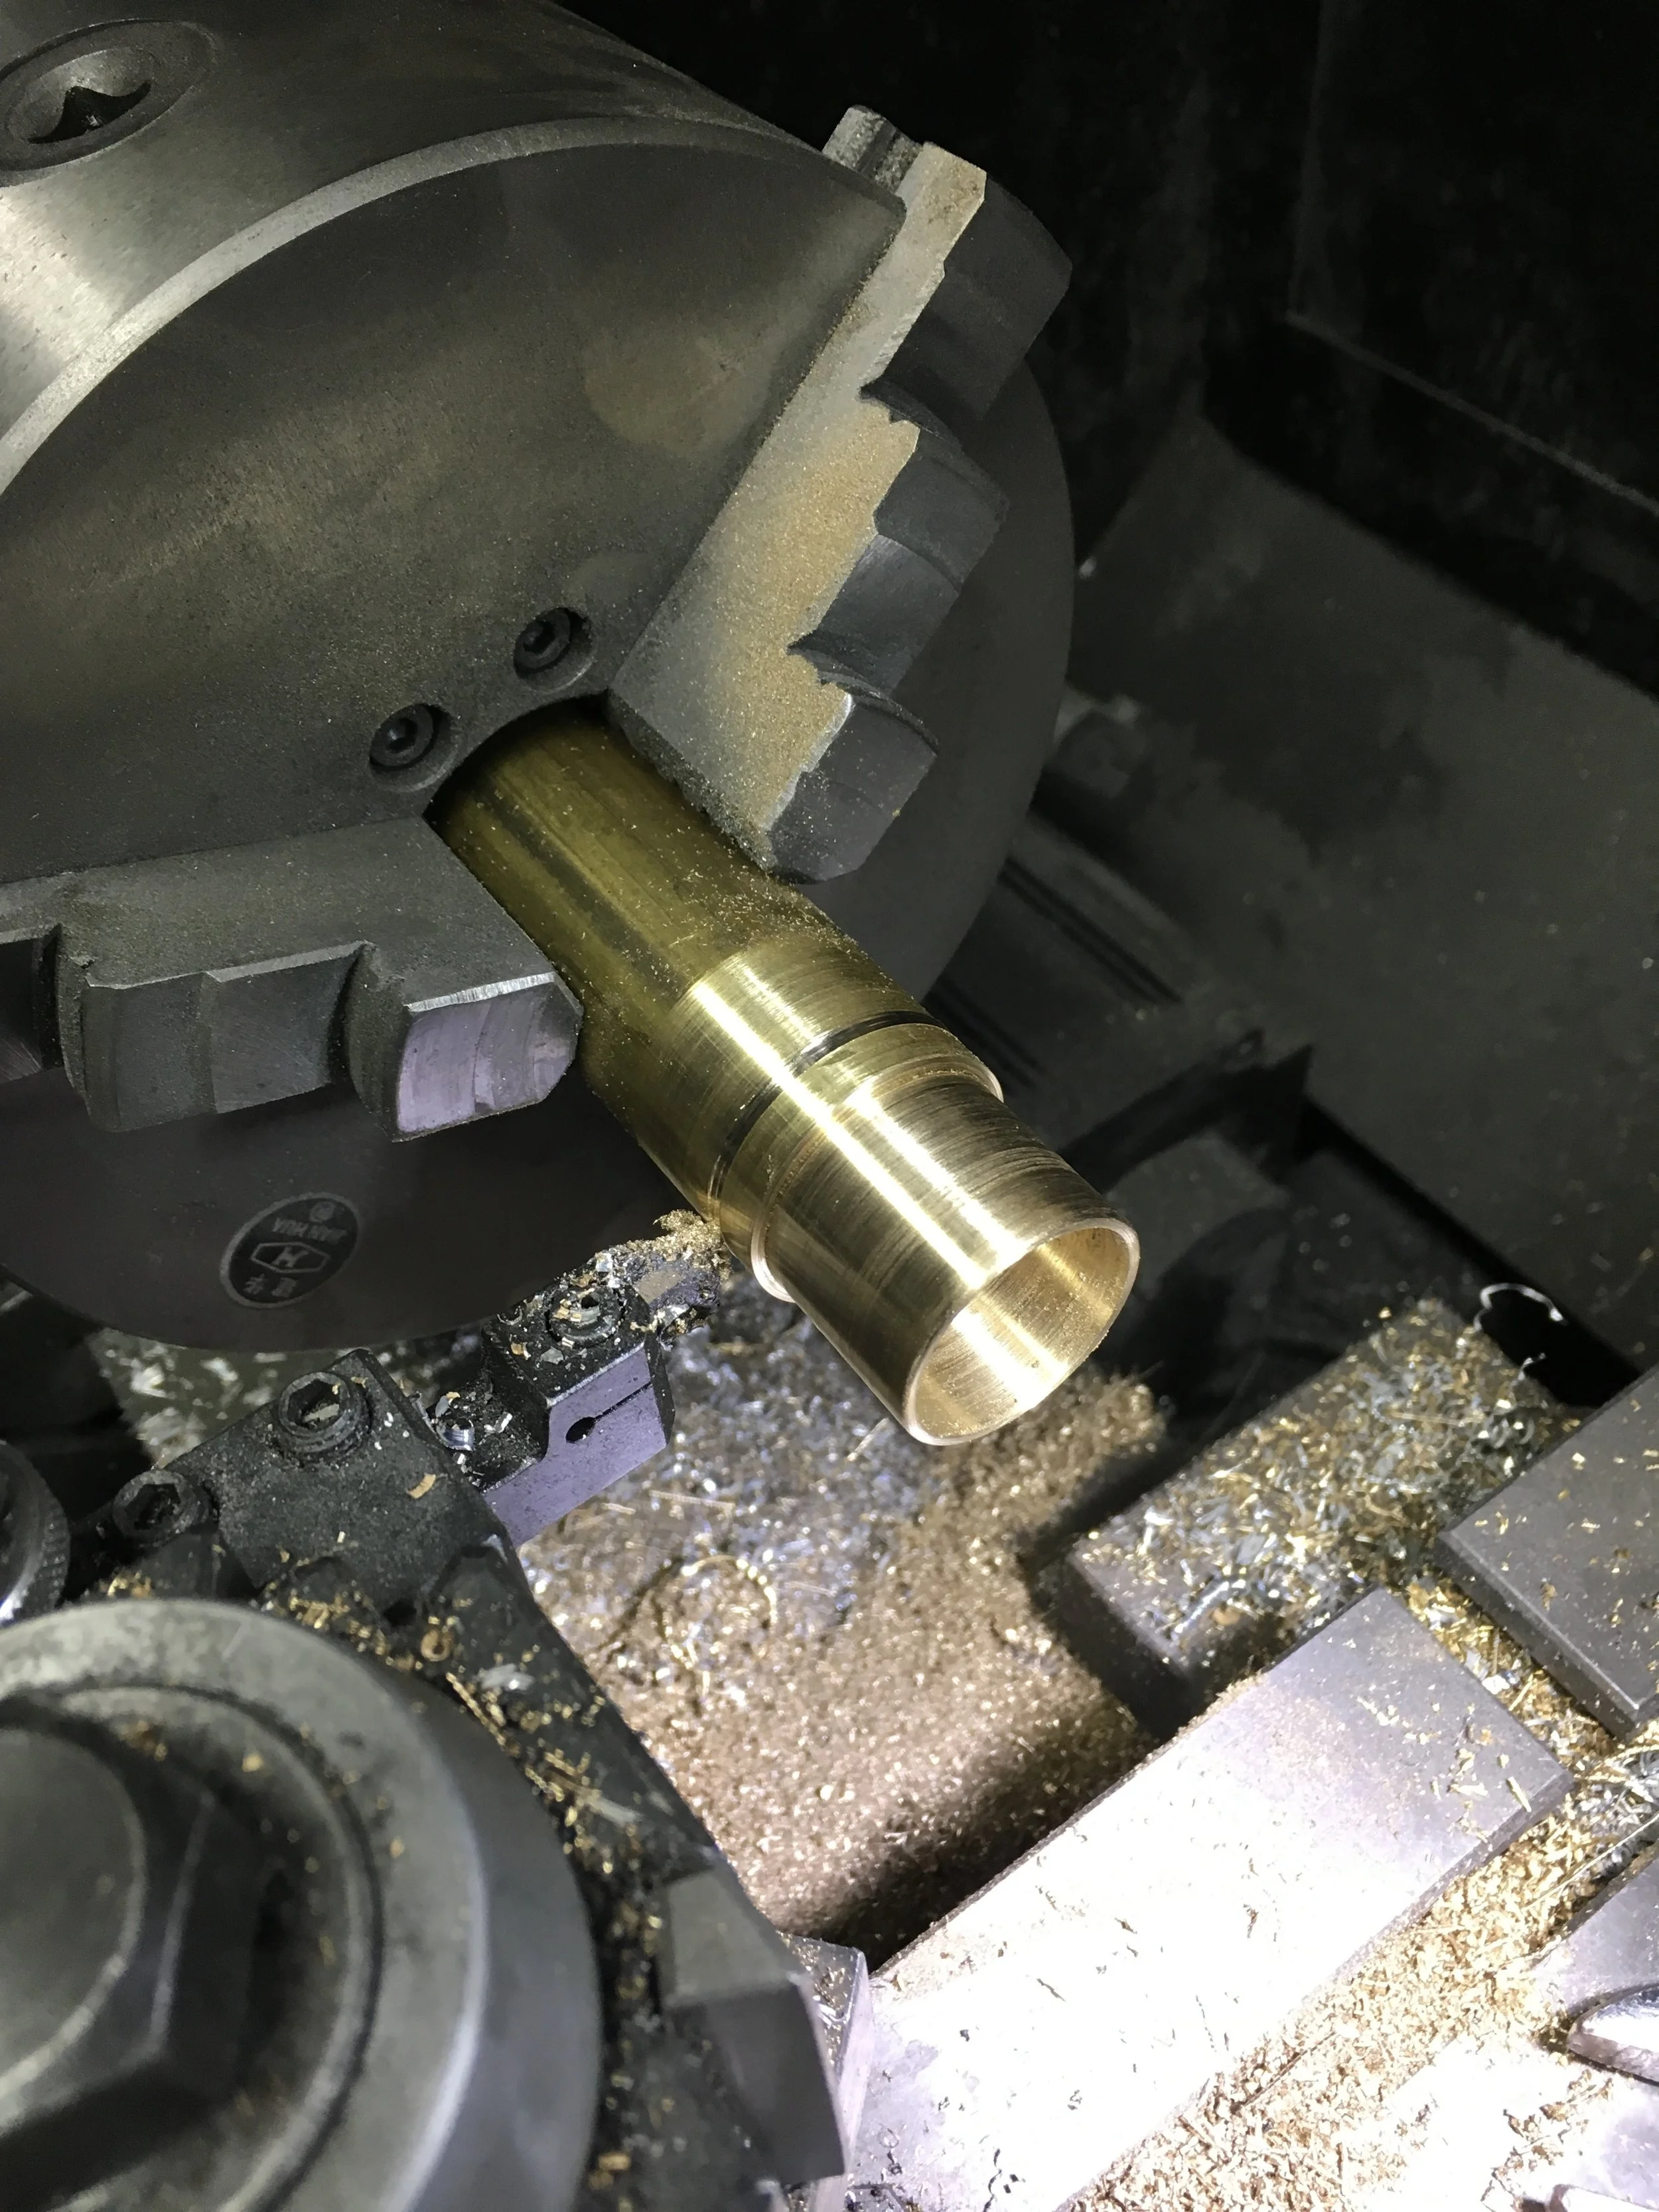
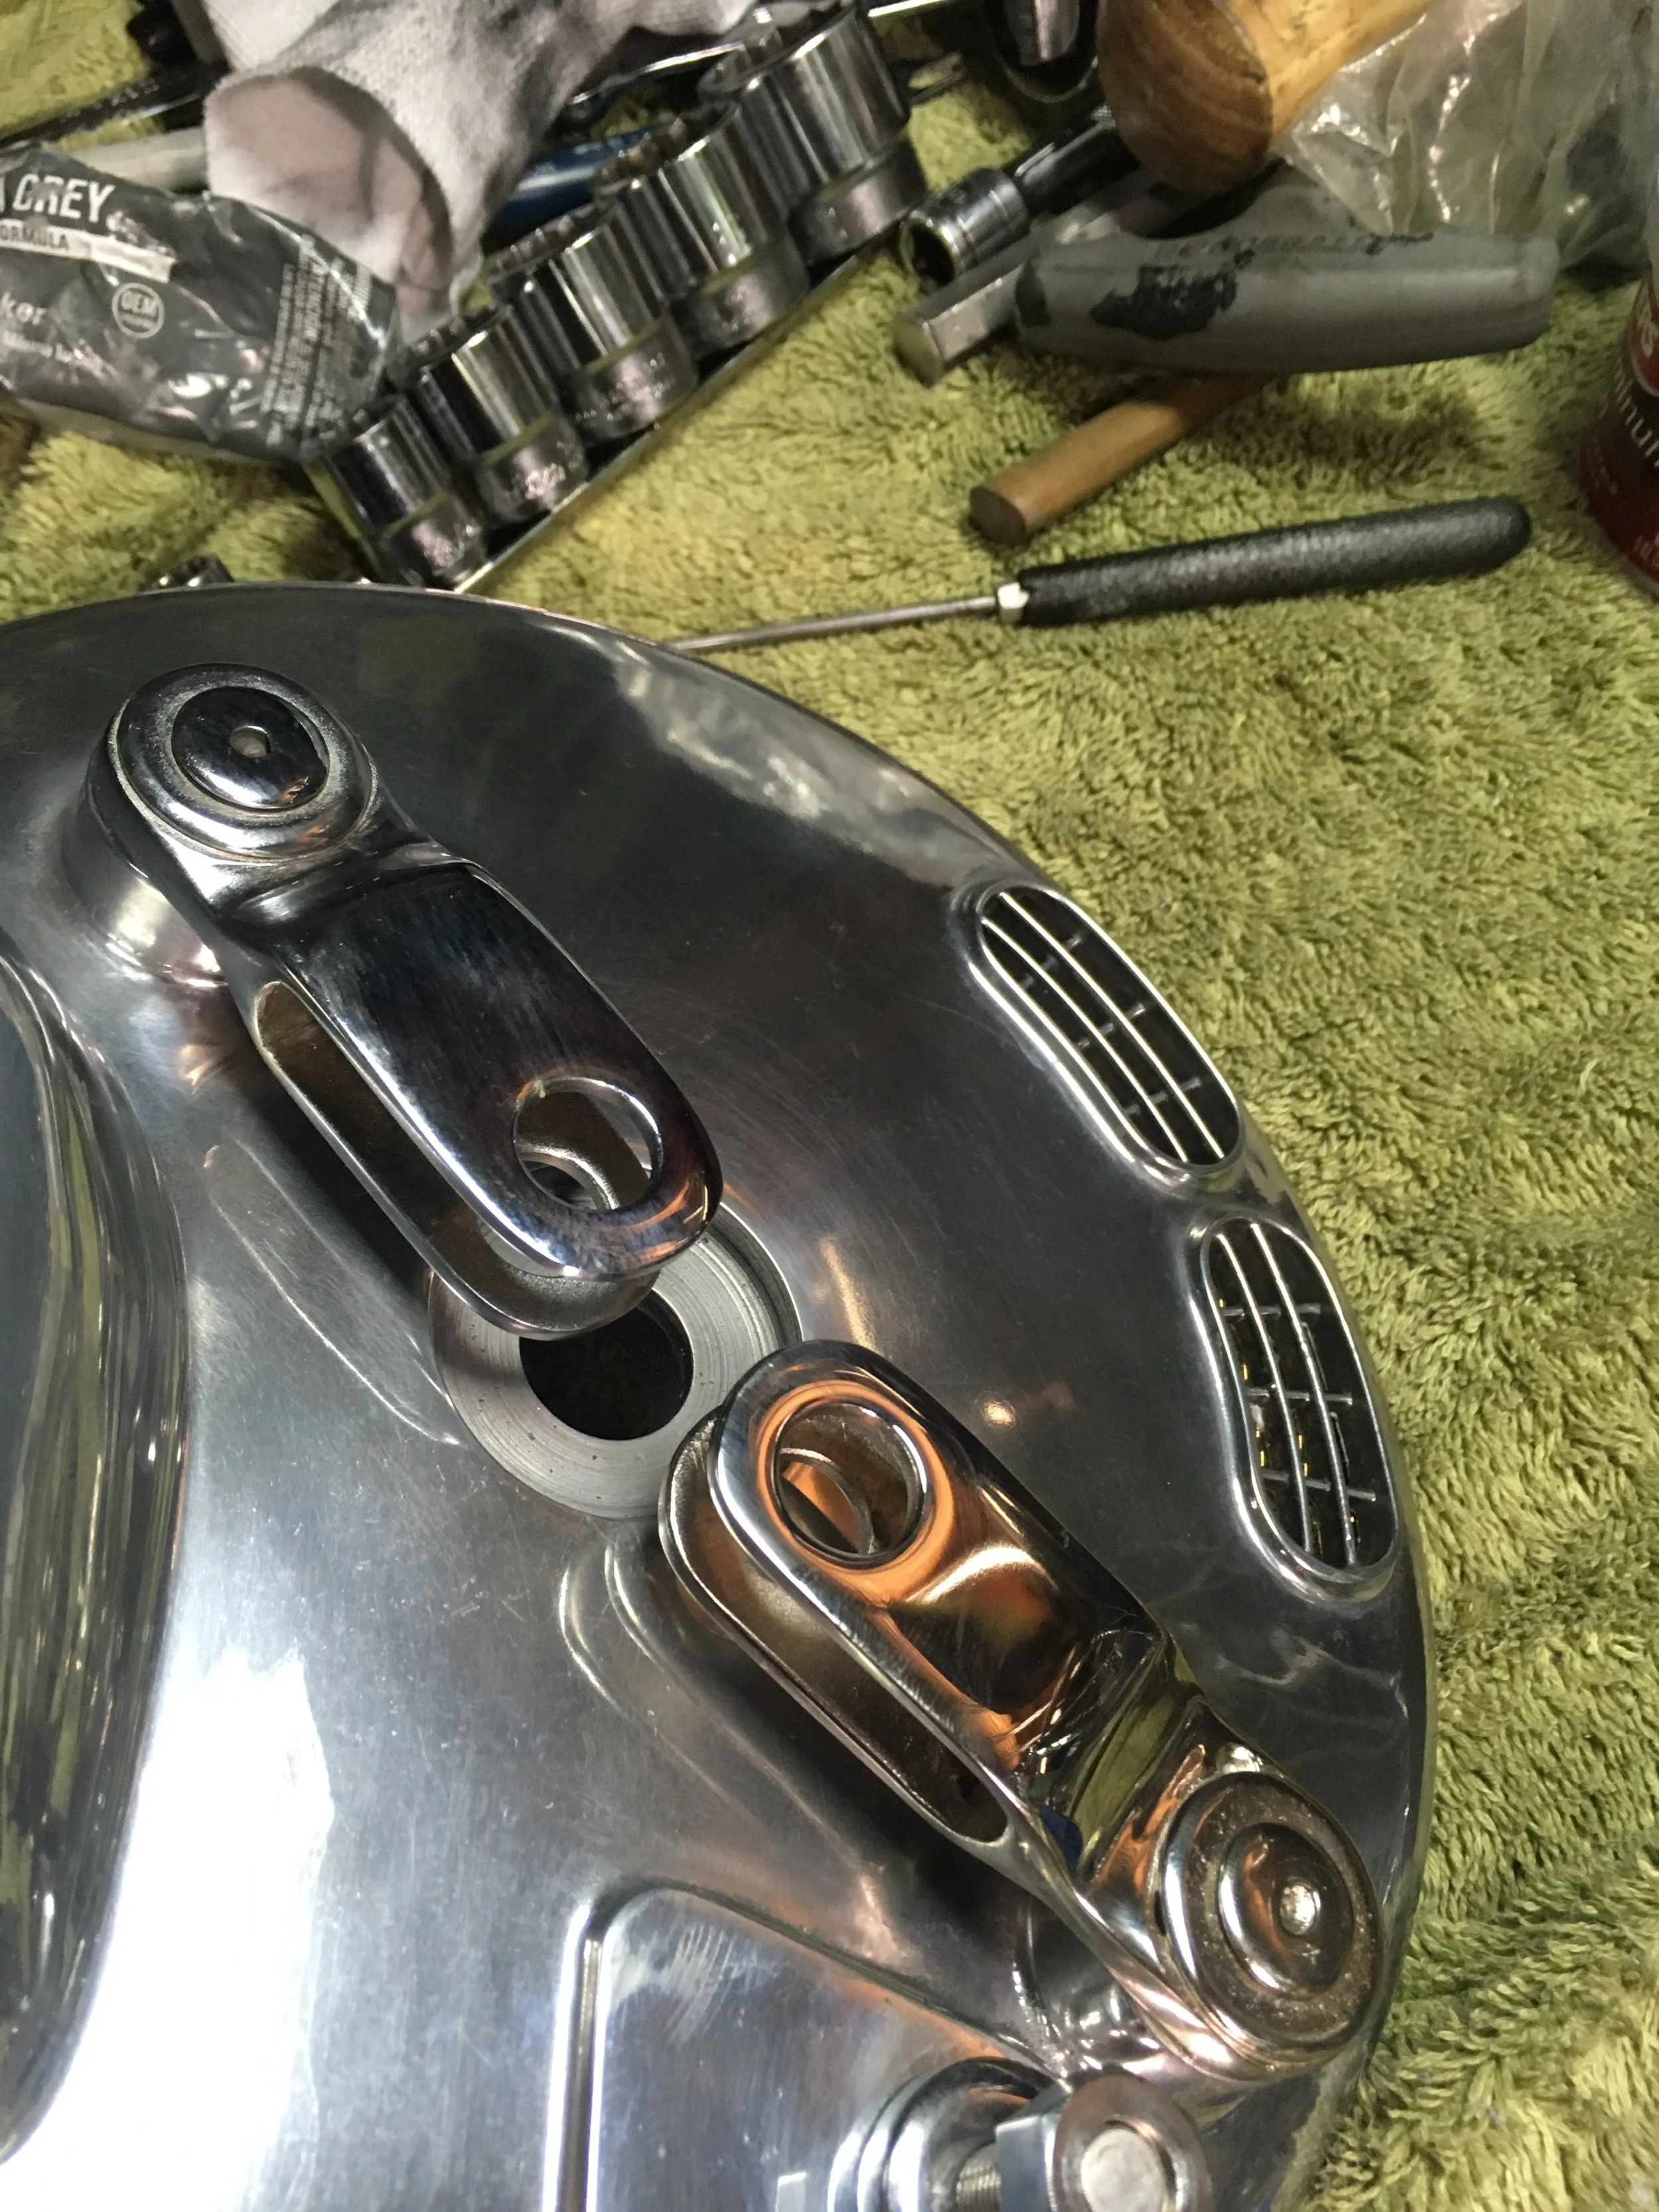
Alien mini-drone or voltage regulator? A brass cover was made for the Podtronics brand voltage regulator. The unit was shaped a little to contour it and make it a little smaller. This picture was while it was being worked on. The final version is finished with the same patina as the rest of the pieces.

The regulator has a brass tube that comes out the back and allows the wires to pass cleanly to the battery box.

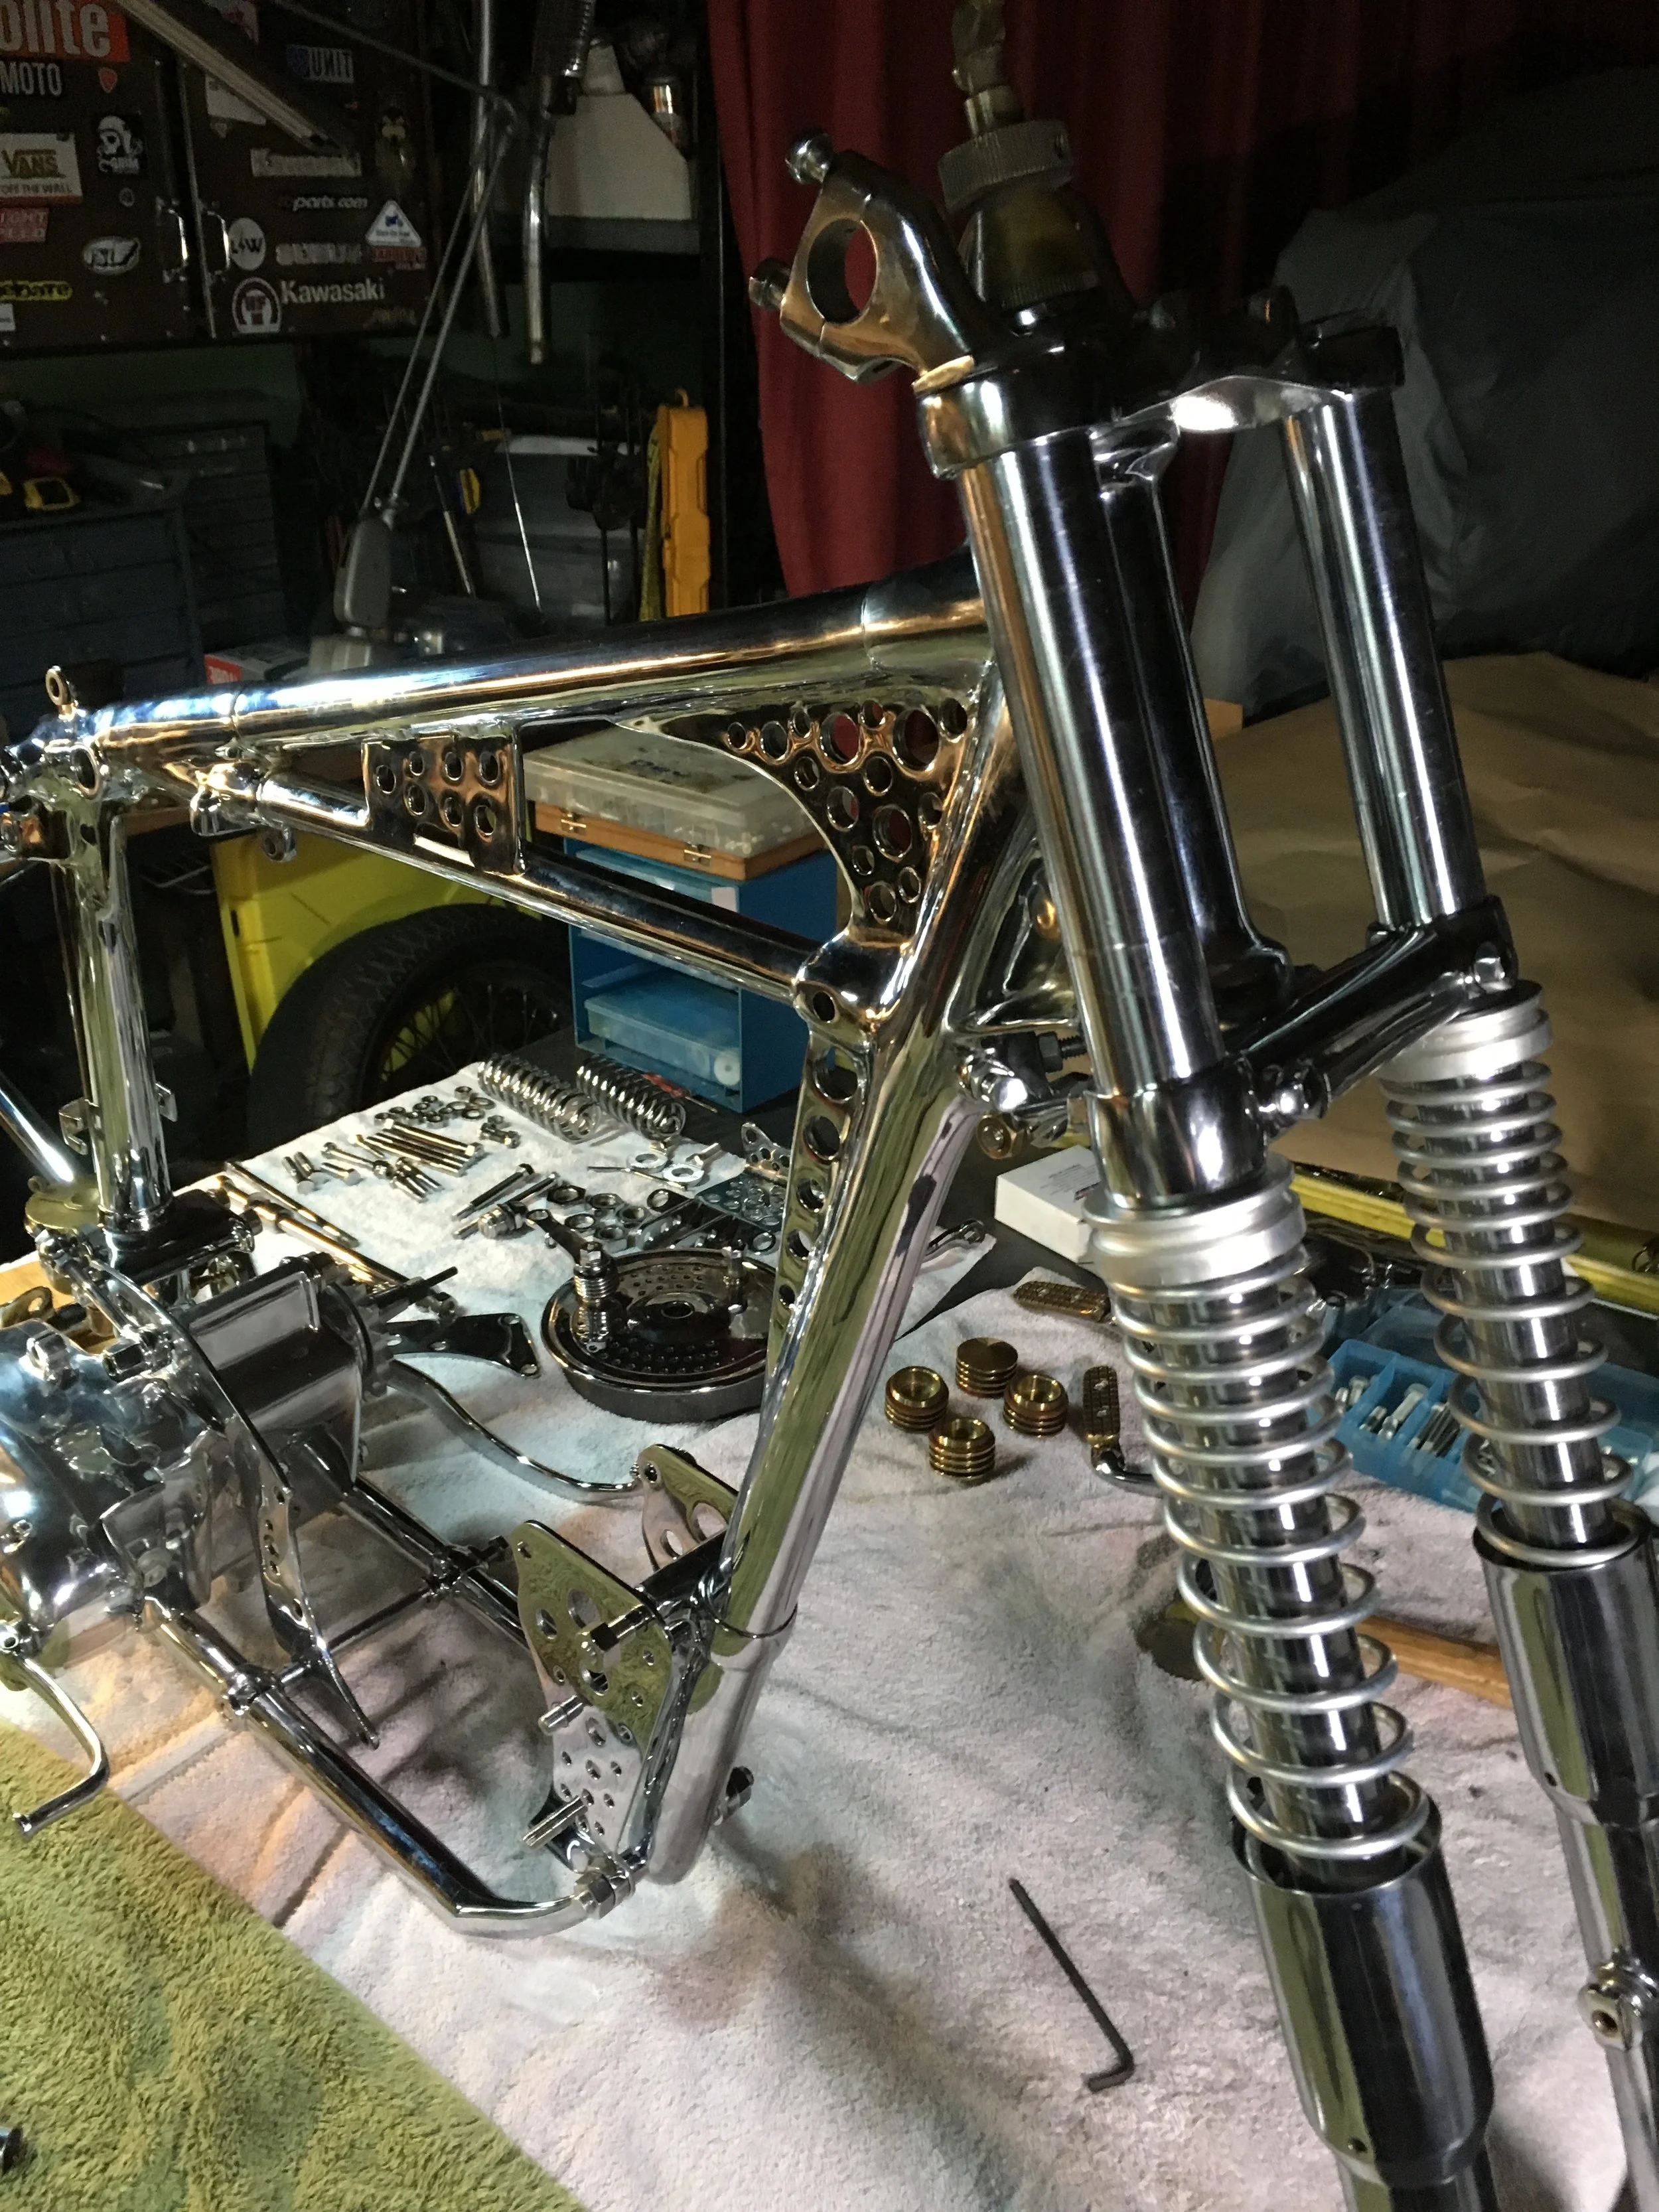
Inching along. The colors were chosen to soften the look of the bike and be a backdrop for the more blingy parts.

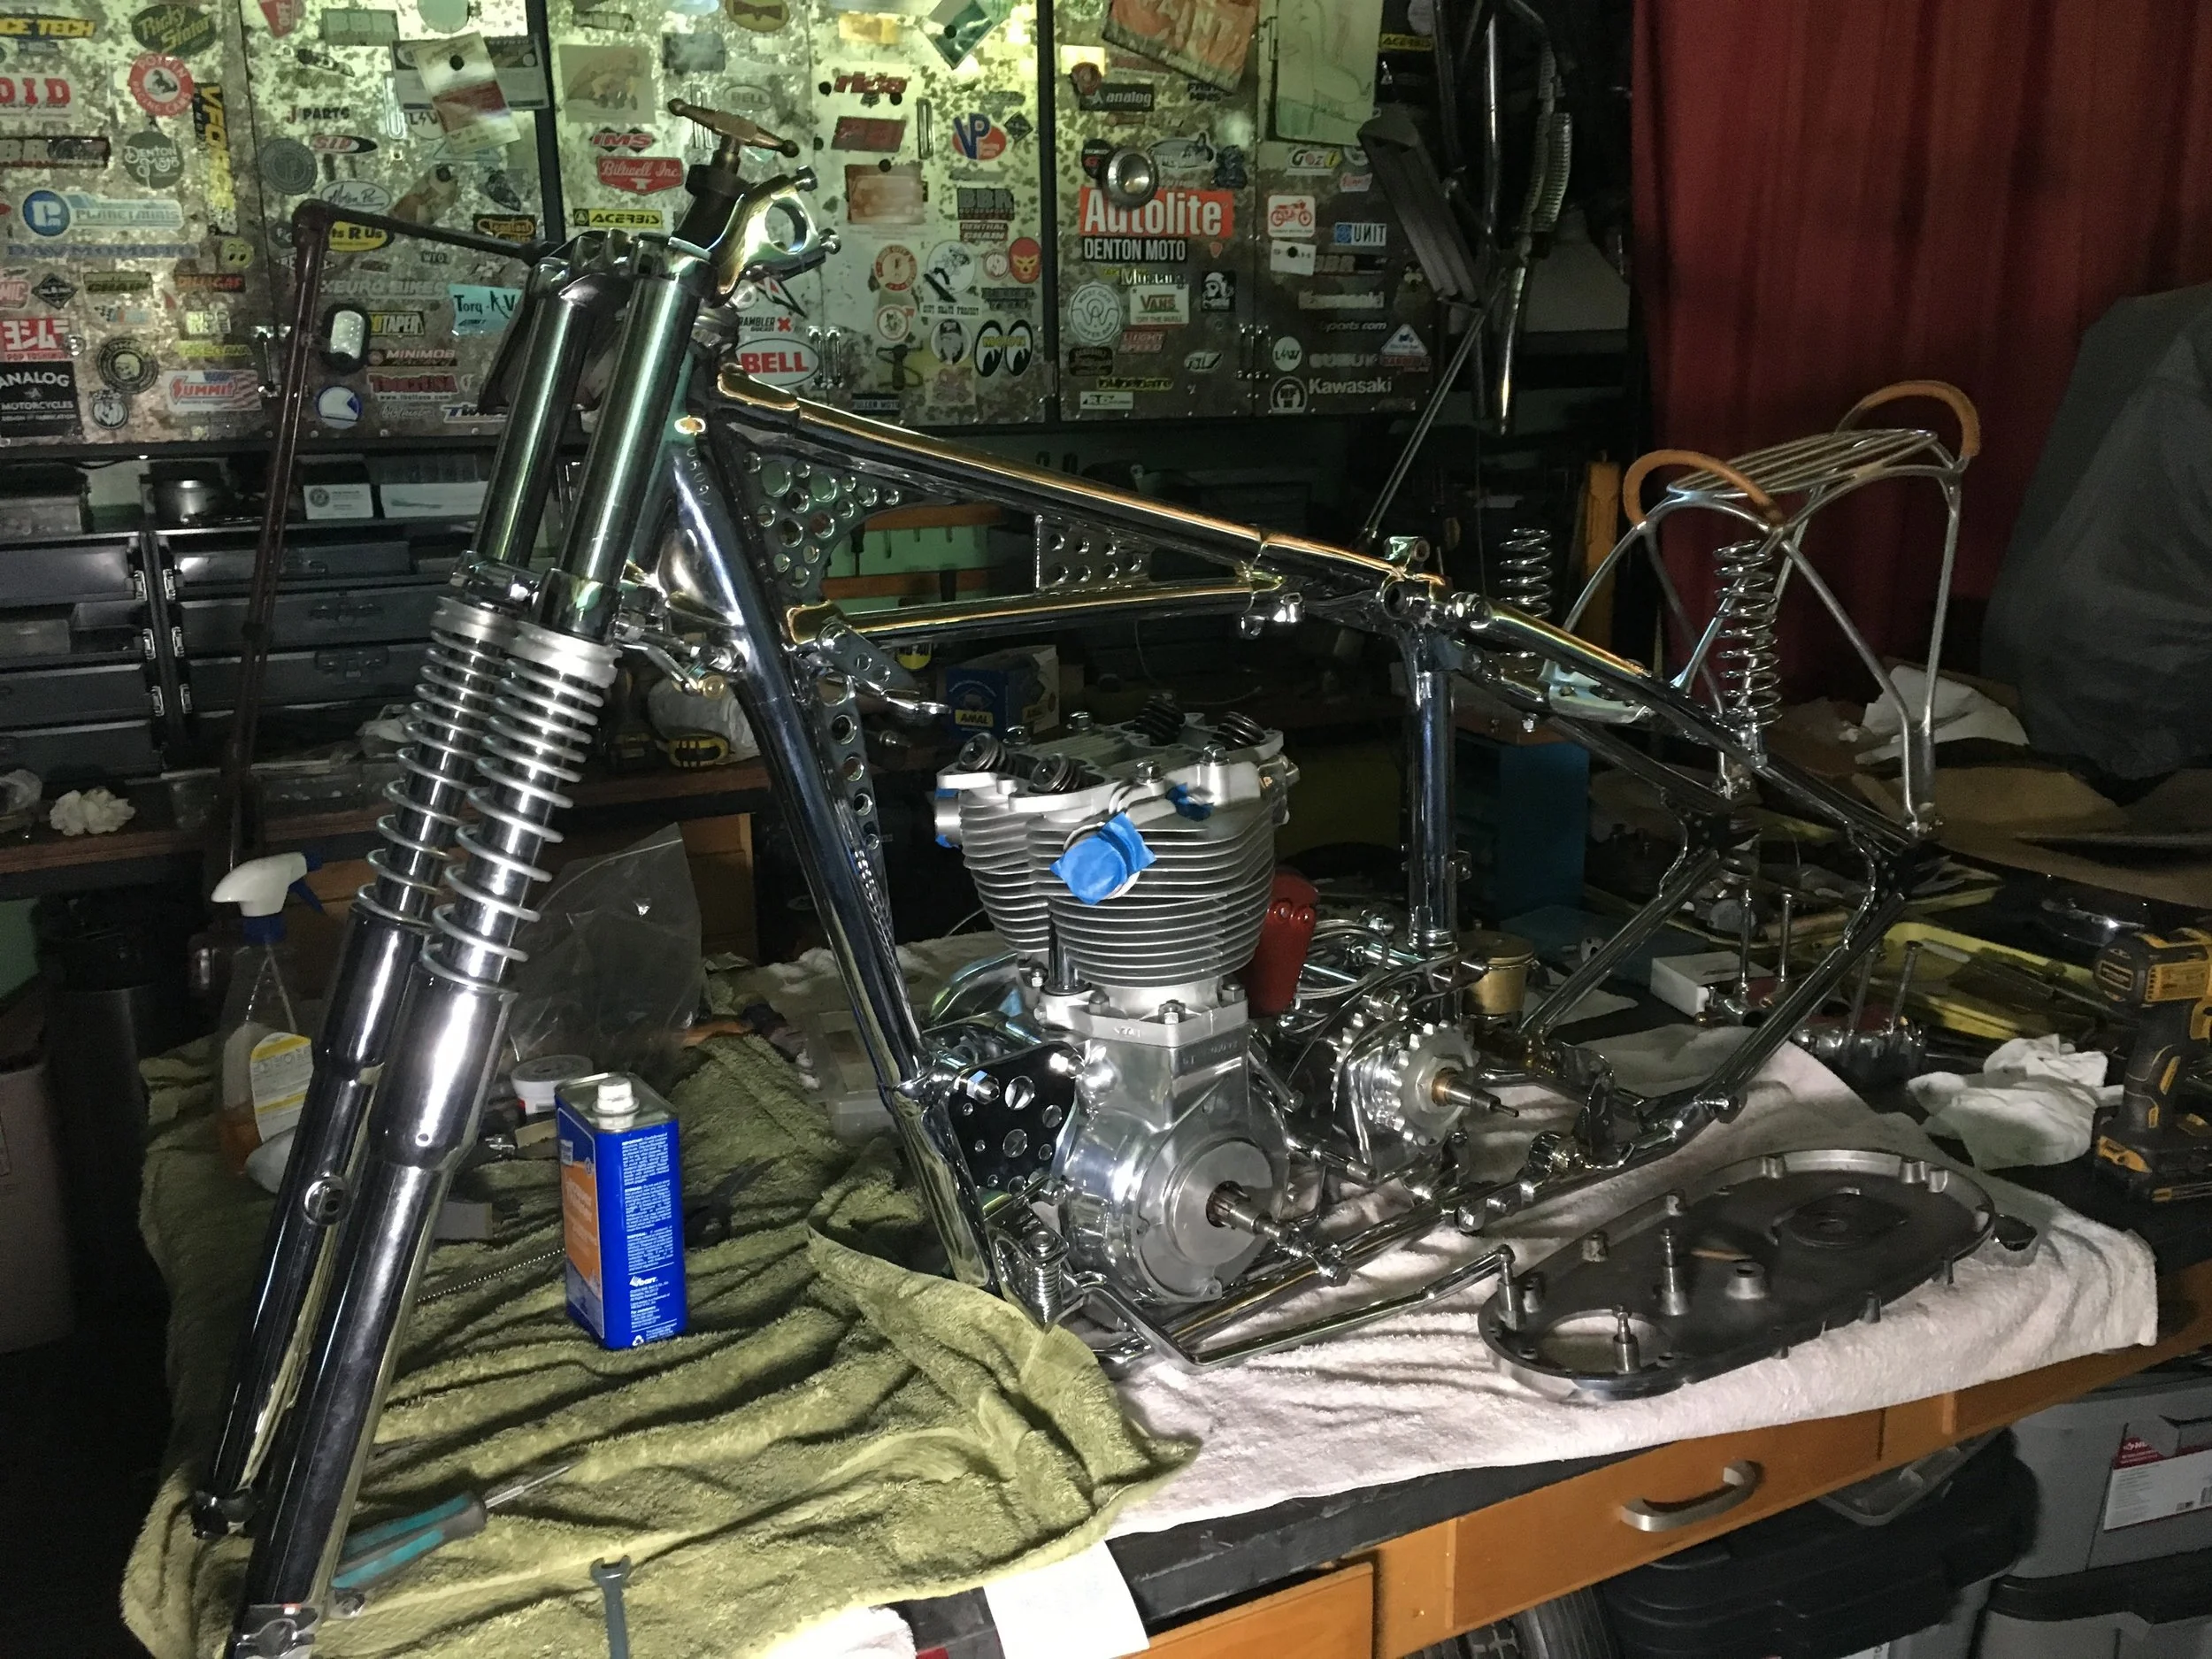
Test fitting parts. Some of these parts have been on and off the bike a couple of times as the final tweaks on electrical and plumbing are worked out.

At this point, the wheels and covers could be slapped on and it would look finished, but still more to go to get it right. This needs to be a fully functioning and ridable bike when it gets to California.

Cam timing. The head-steady mount makes a great mount for the feeler gauge, but long ramp quieting cams are a little odd to deal with.

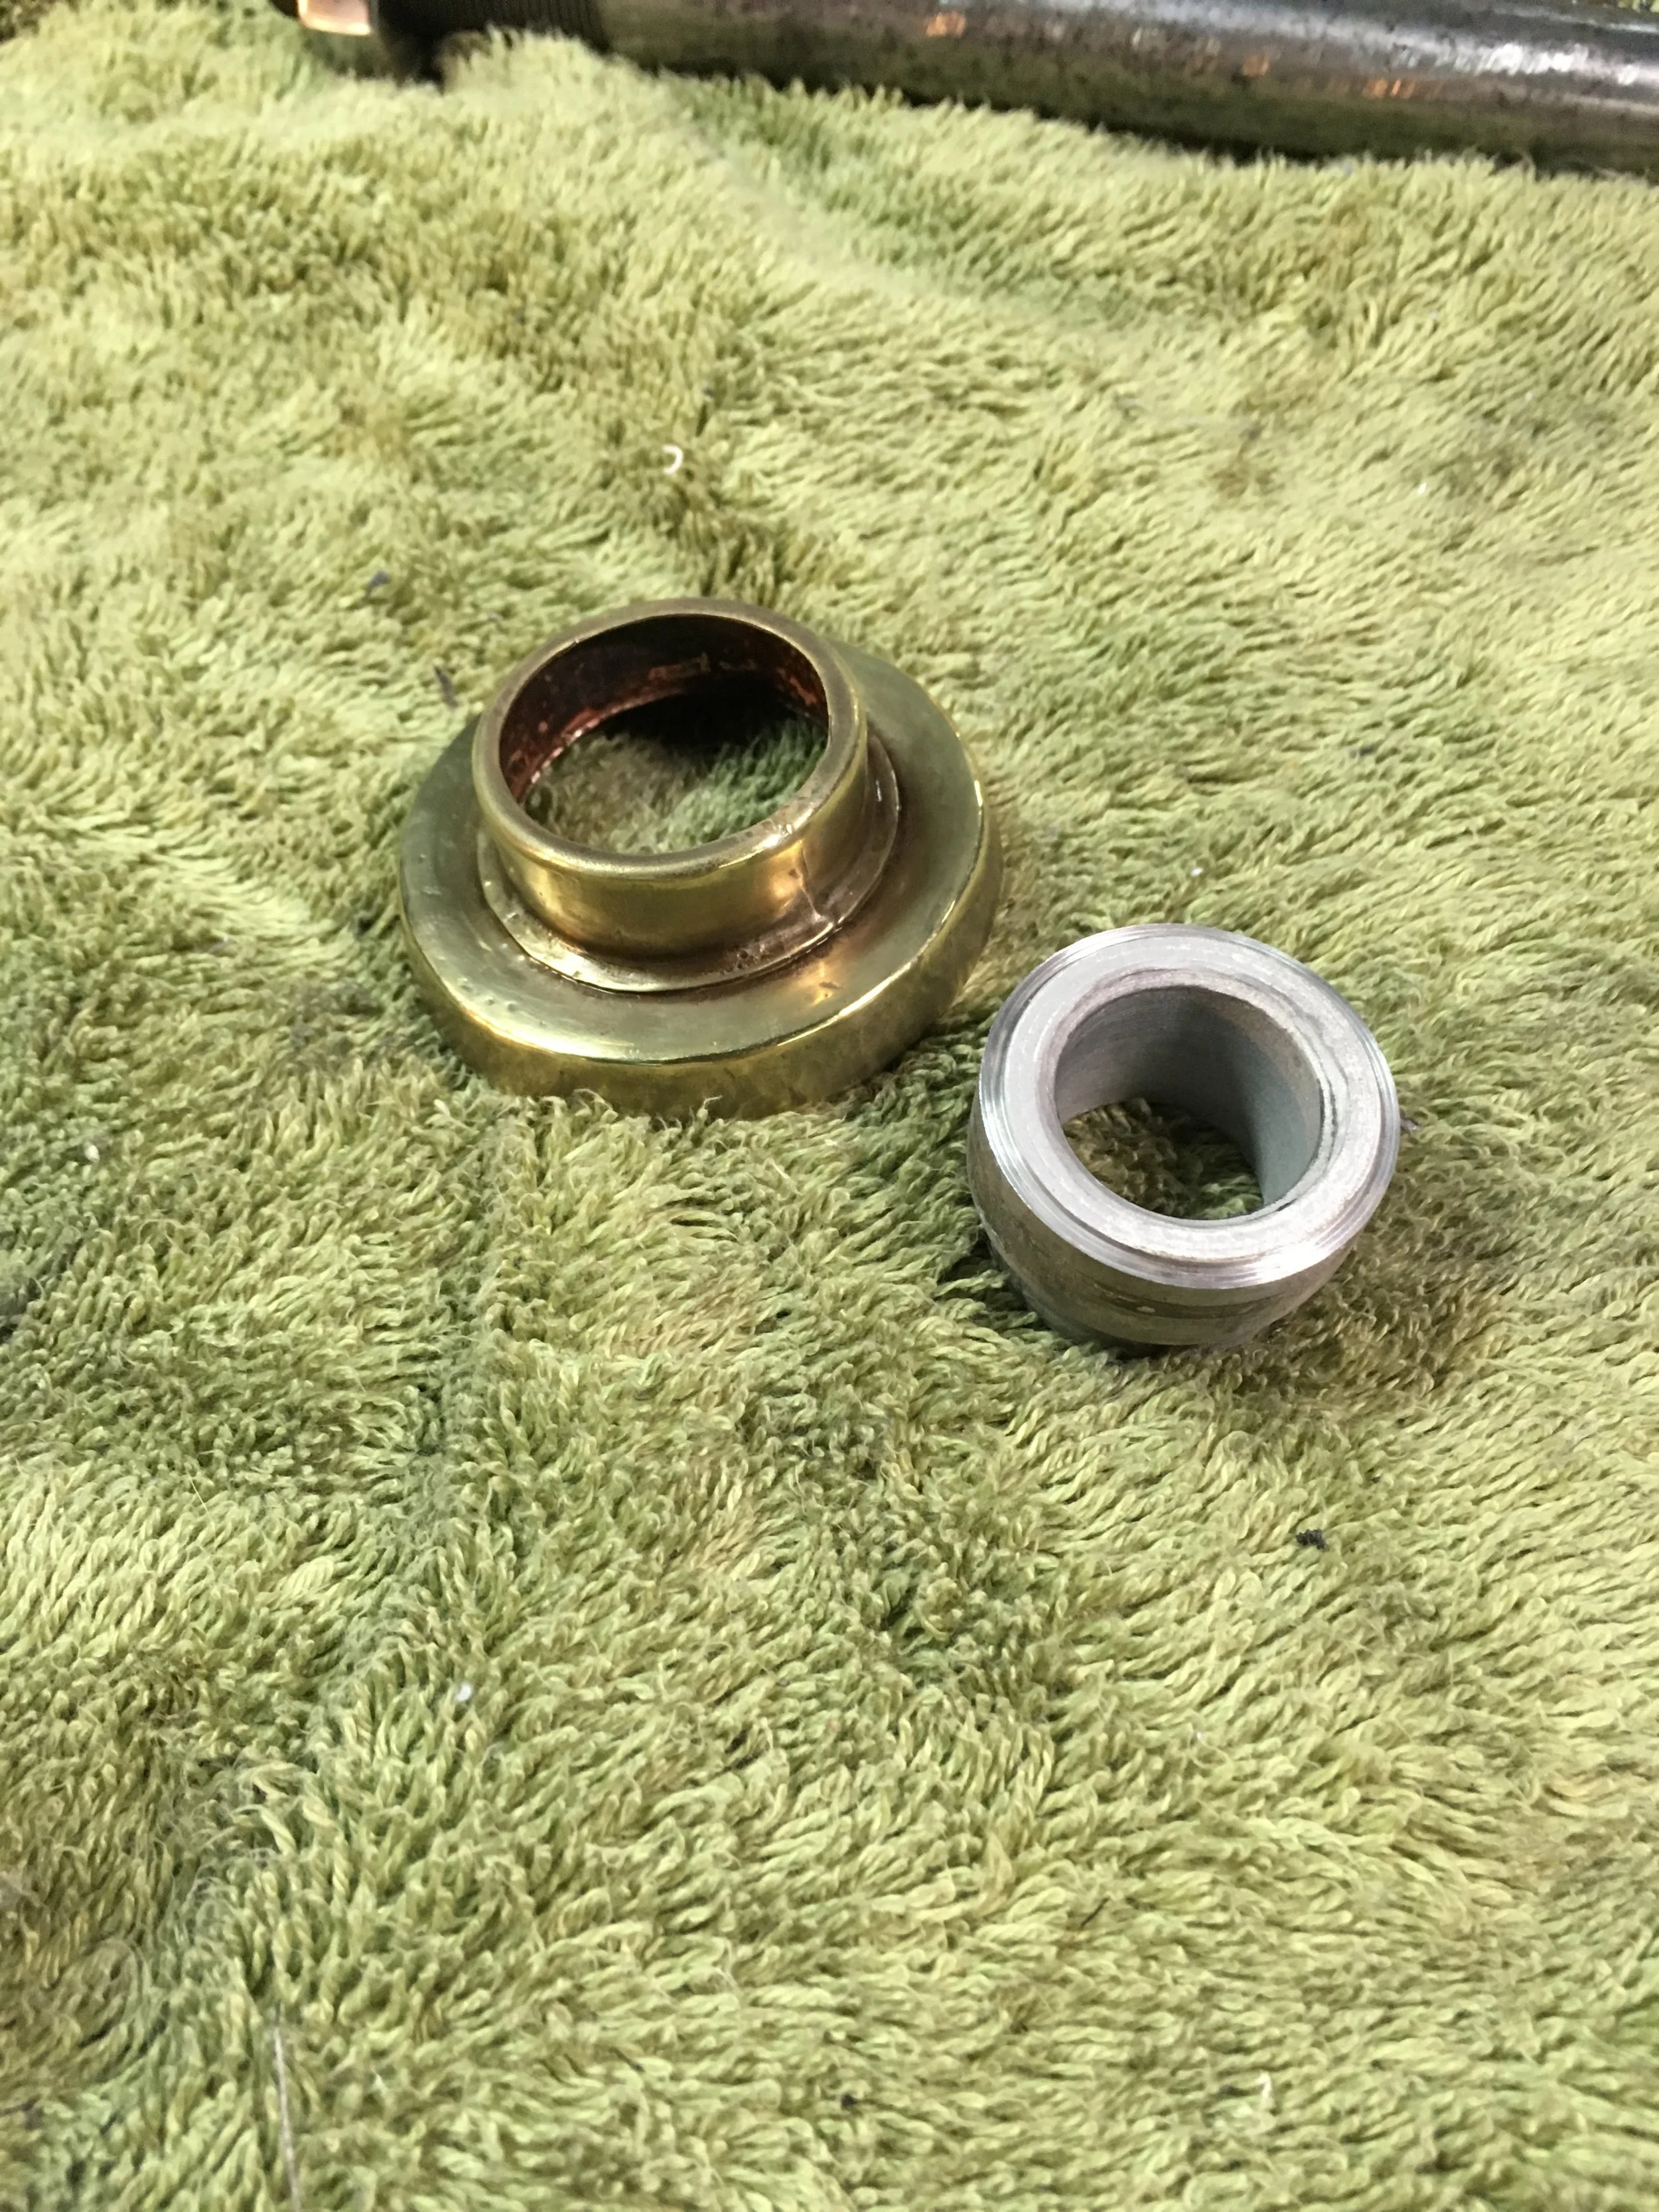
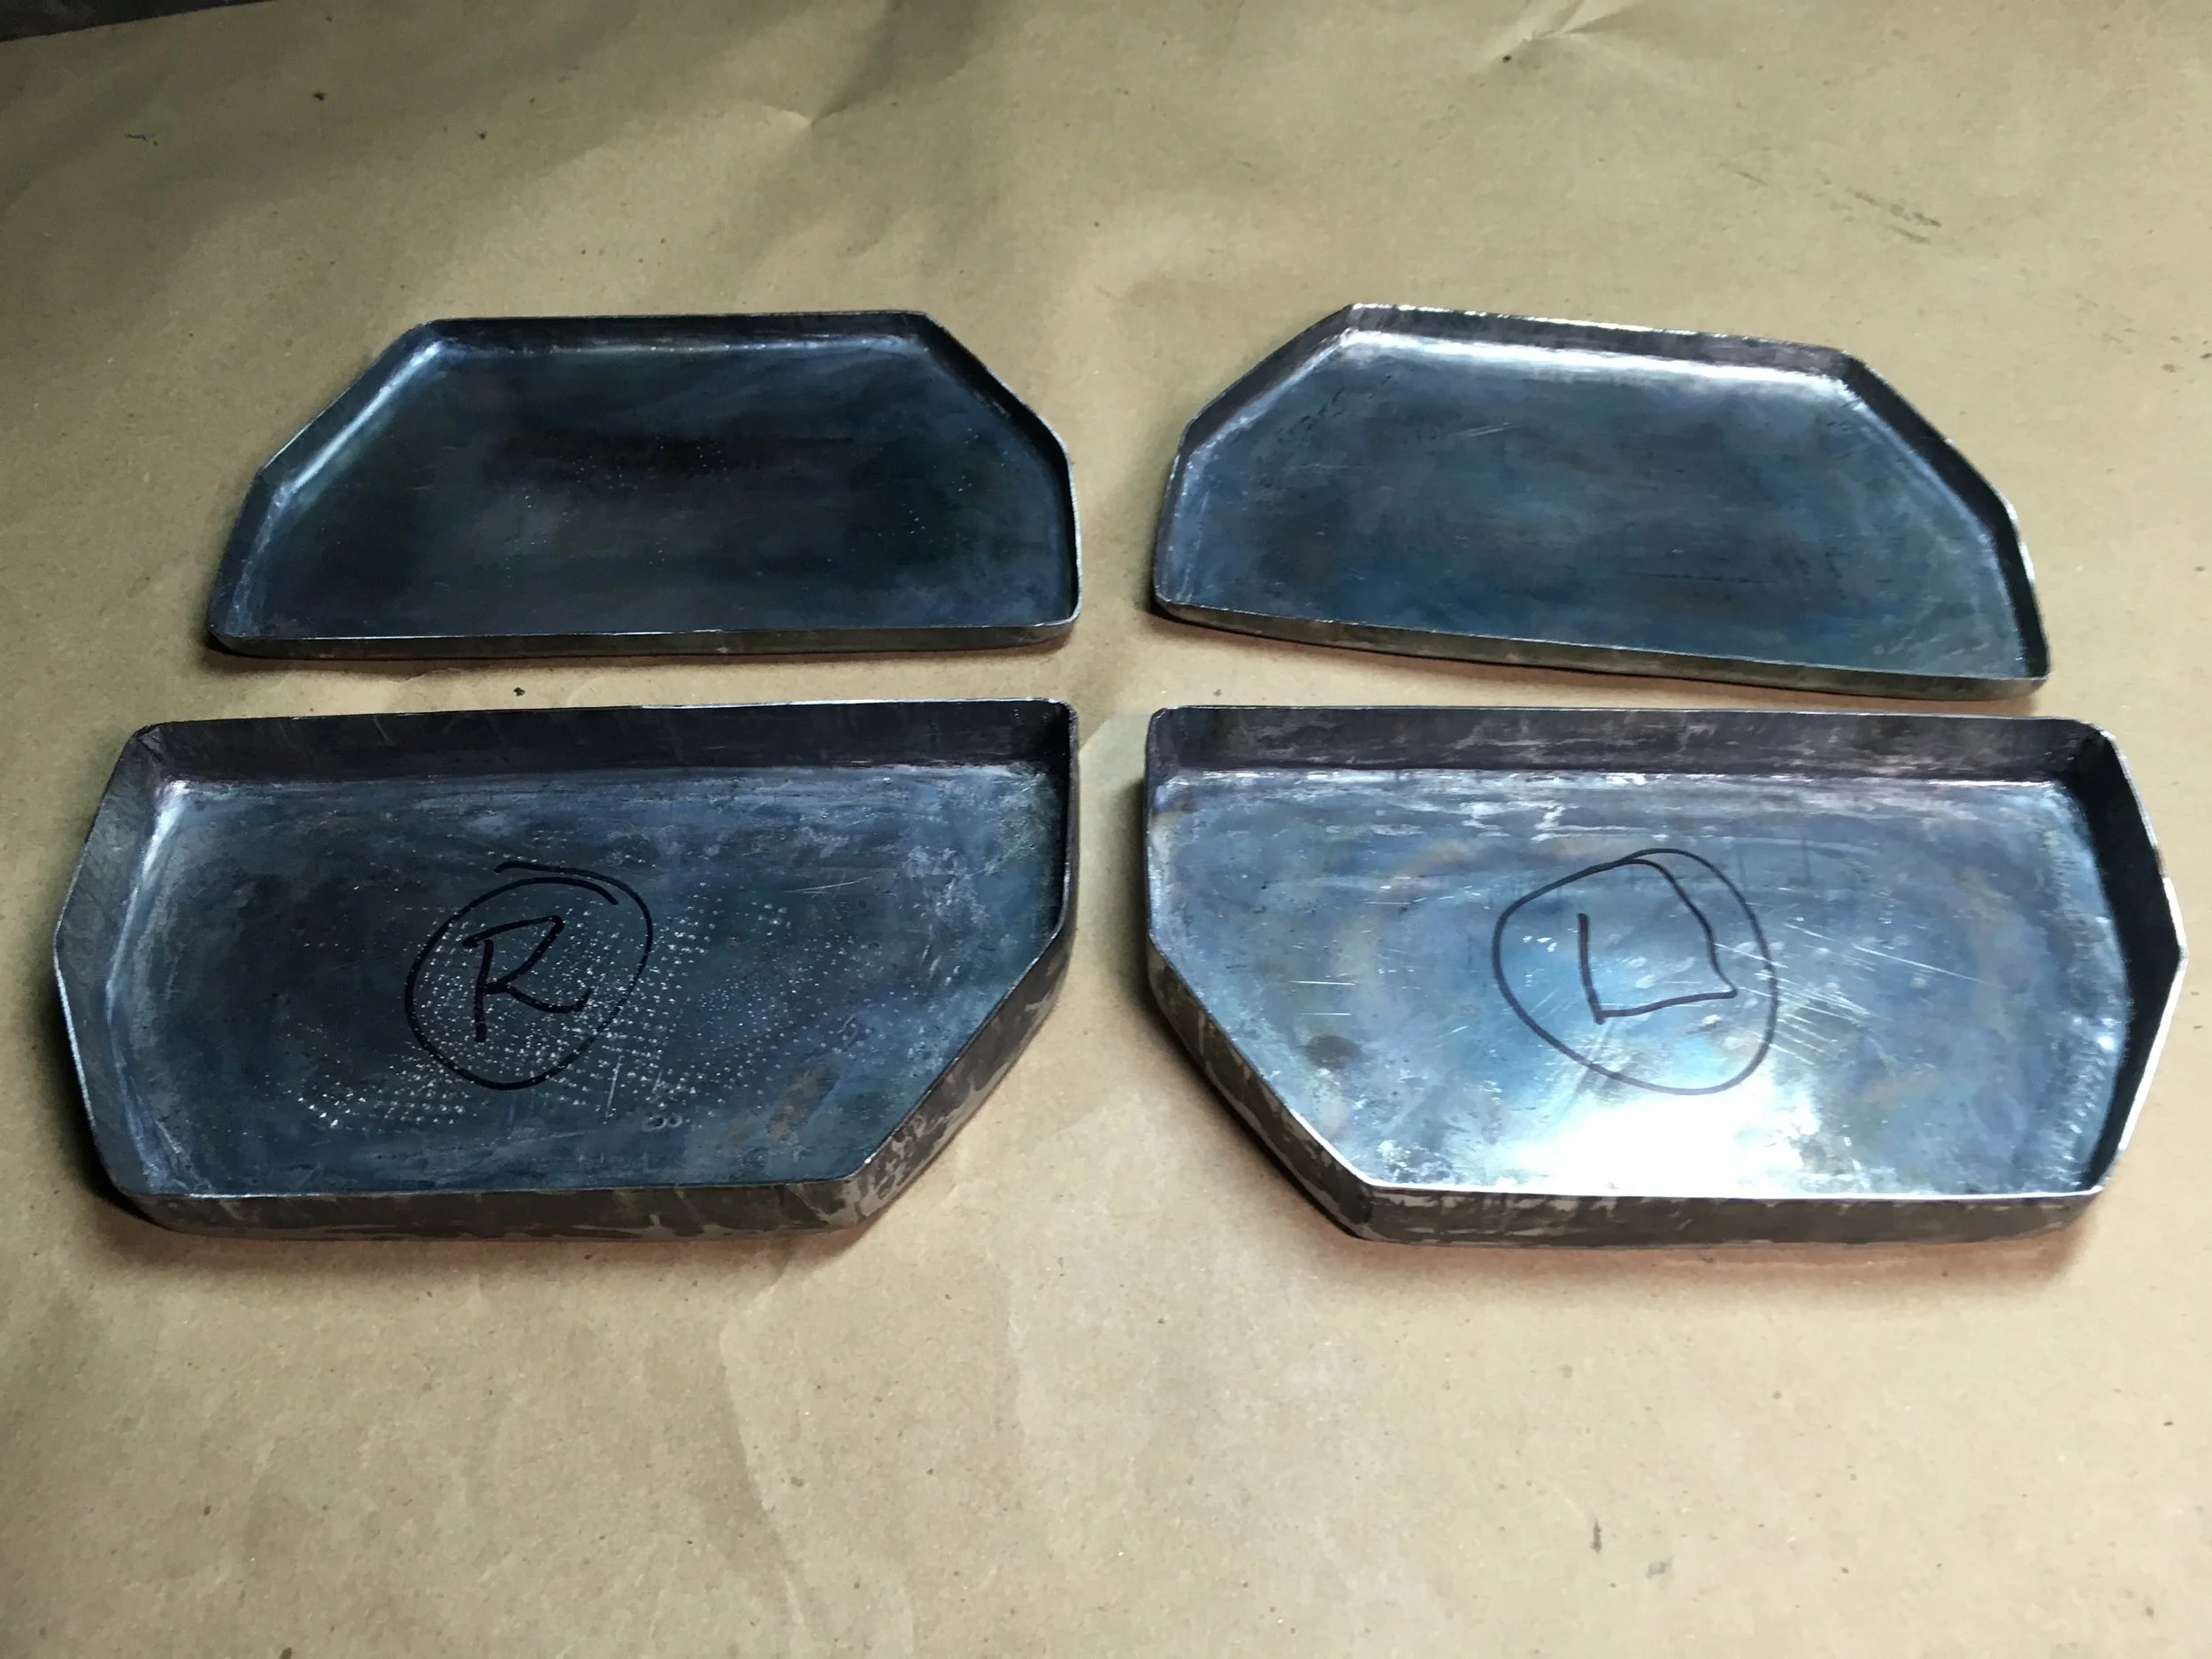
An alloy spacer made for the footpeg mount.