Getting some more body parts finished. The battery box latch and hinge are on and just waiting on the frame to come back from chrome. The latch was made from some one-eighth inch brass plate and an antique skeleton key.

Easy to open with one finger, but still tight enough it can’t accidentally open.

This latch was made a couple years ago and has sat in a box until this build was revived for the Bornfree Show. Nice to see it finally in place.

The hinge is also handmade from 20 gauge brass and tubing.

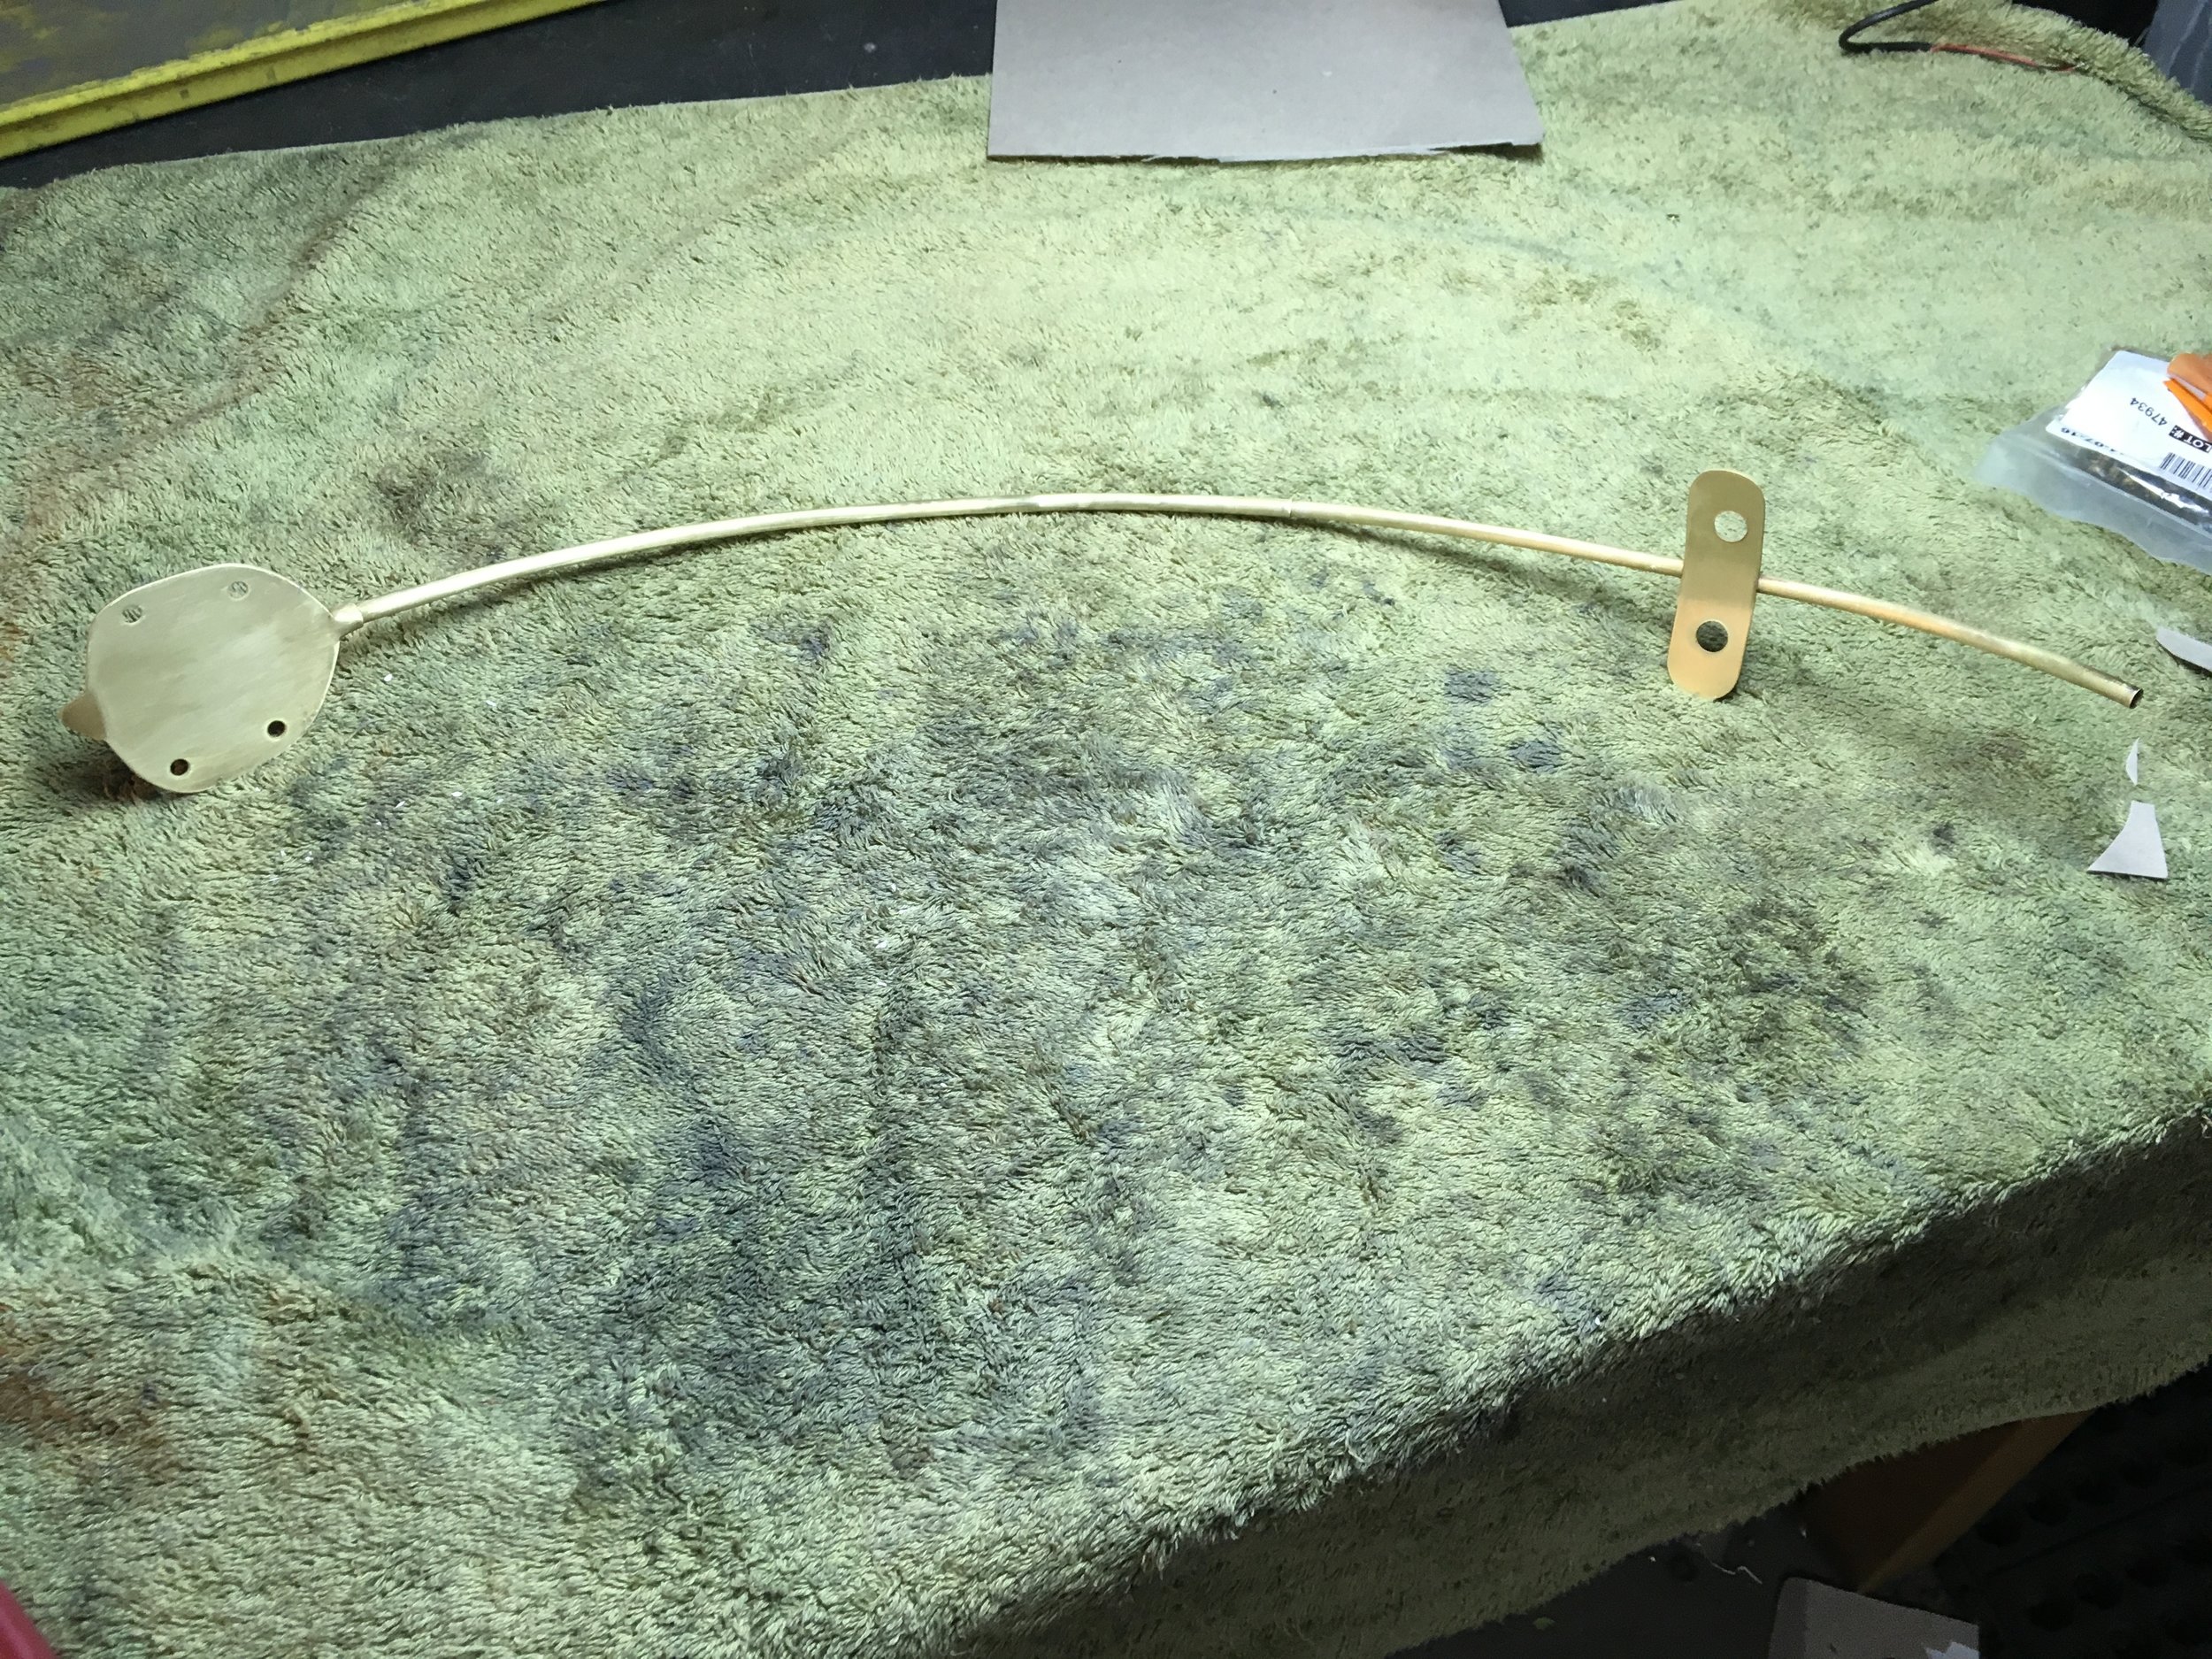
Details, details, details. The rear tank mount was worked out, using brass rod and nuts drilled for safety wire and rubber mounting on all sides.

Getting the headlight assembly wired up. The indicator lights are lit by neon bulbs taken from some military surplus fixtures.

Still feels strange using a positive ground, but really it is just getting used to the wire color difference.

Coming up with some brass fittings for the fuel hoses. The 1/4 BSP fittings were an online purchase and along with some clear 5/16” tubing, look a lot like the stock Triumph hoses. The brass thin wall tubing came from the hobby store, and slipped over the tubing snugly. It would probably been tight enough to keep the barbed fitting in, but a little crimping would probably be a good idea.

To do the crimping, a simple tool was made from scrap steel.

The finished hoses after the crimping and the patina was applied.

Not having the frame is not all bad as it has forced me to work on the components on the bench opposed to on the bike.

The Seven bike was moved into the house. Yeah, my wife is alright.