The 1957 Triumph Freebird build is moving along, with paint done and parts starting to go back together. Jason Small of Small Time Motors did a flawless job on the paint. He was easy to work with and possesses a wealth of experience and knowledge on the subject of vintage paint colors and schemes. I have seen dozens of his paint jobs on finely restored British and Italian bikes, and the work is always impeccable. When I was sixteen, I had a 1963 Ford Econoline van that I customized and took to a local paint shop. Because the body work I had done was pretty sad, the paint job thrown on top of it sucked too. It took me forty-plus years to finally let someone else paint one of my customs again, but there is so much going on around the shop, it makes sense now. Given the quality of Jason’s work, don’t know if I will ever be able to justify painting one again myself.
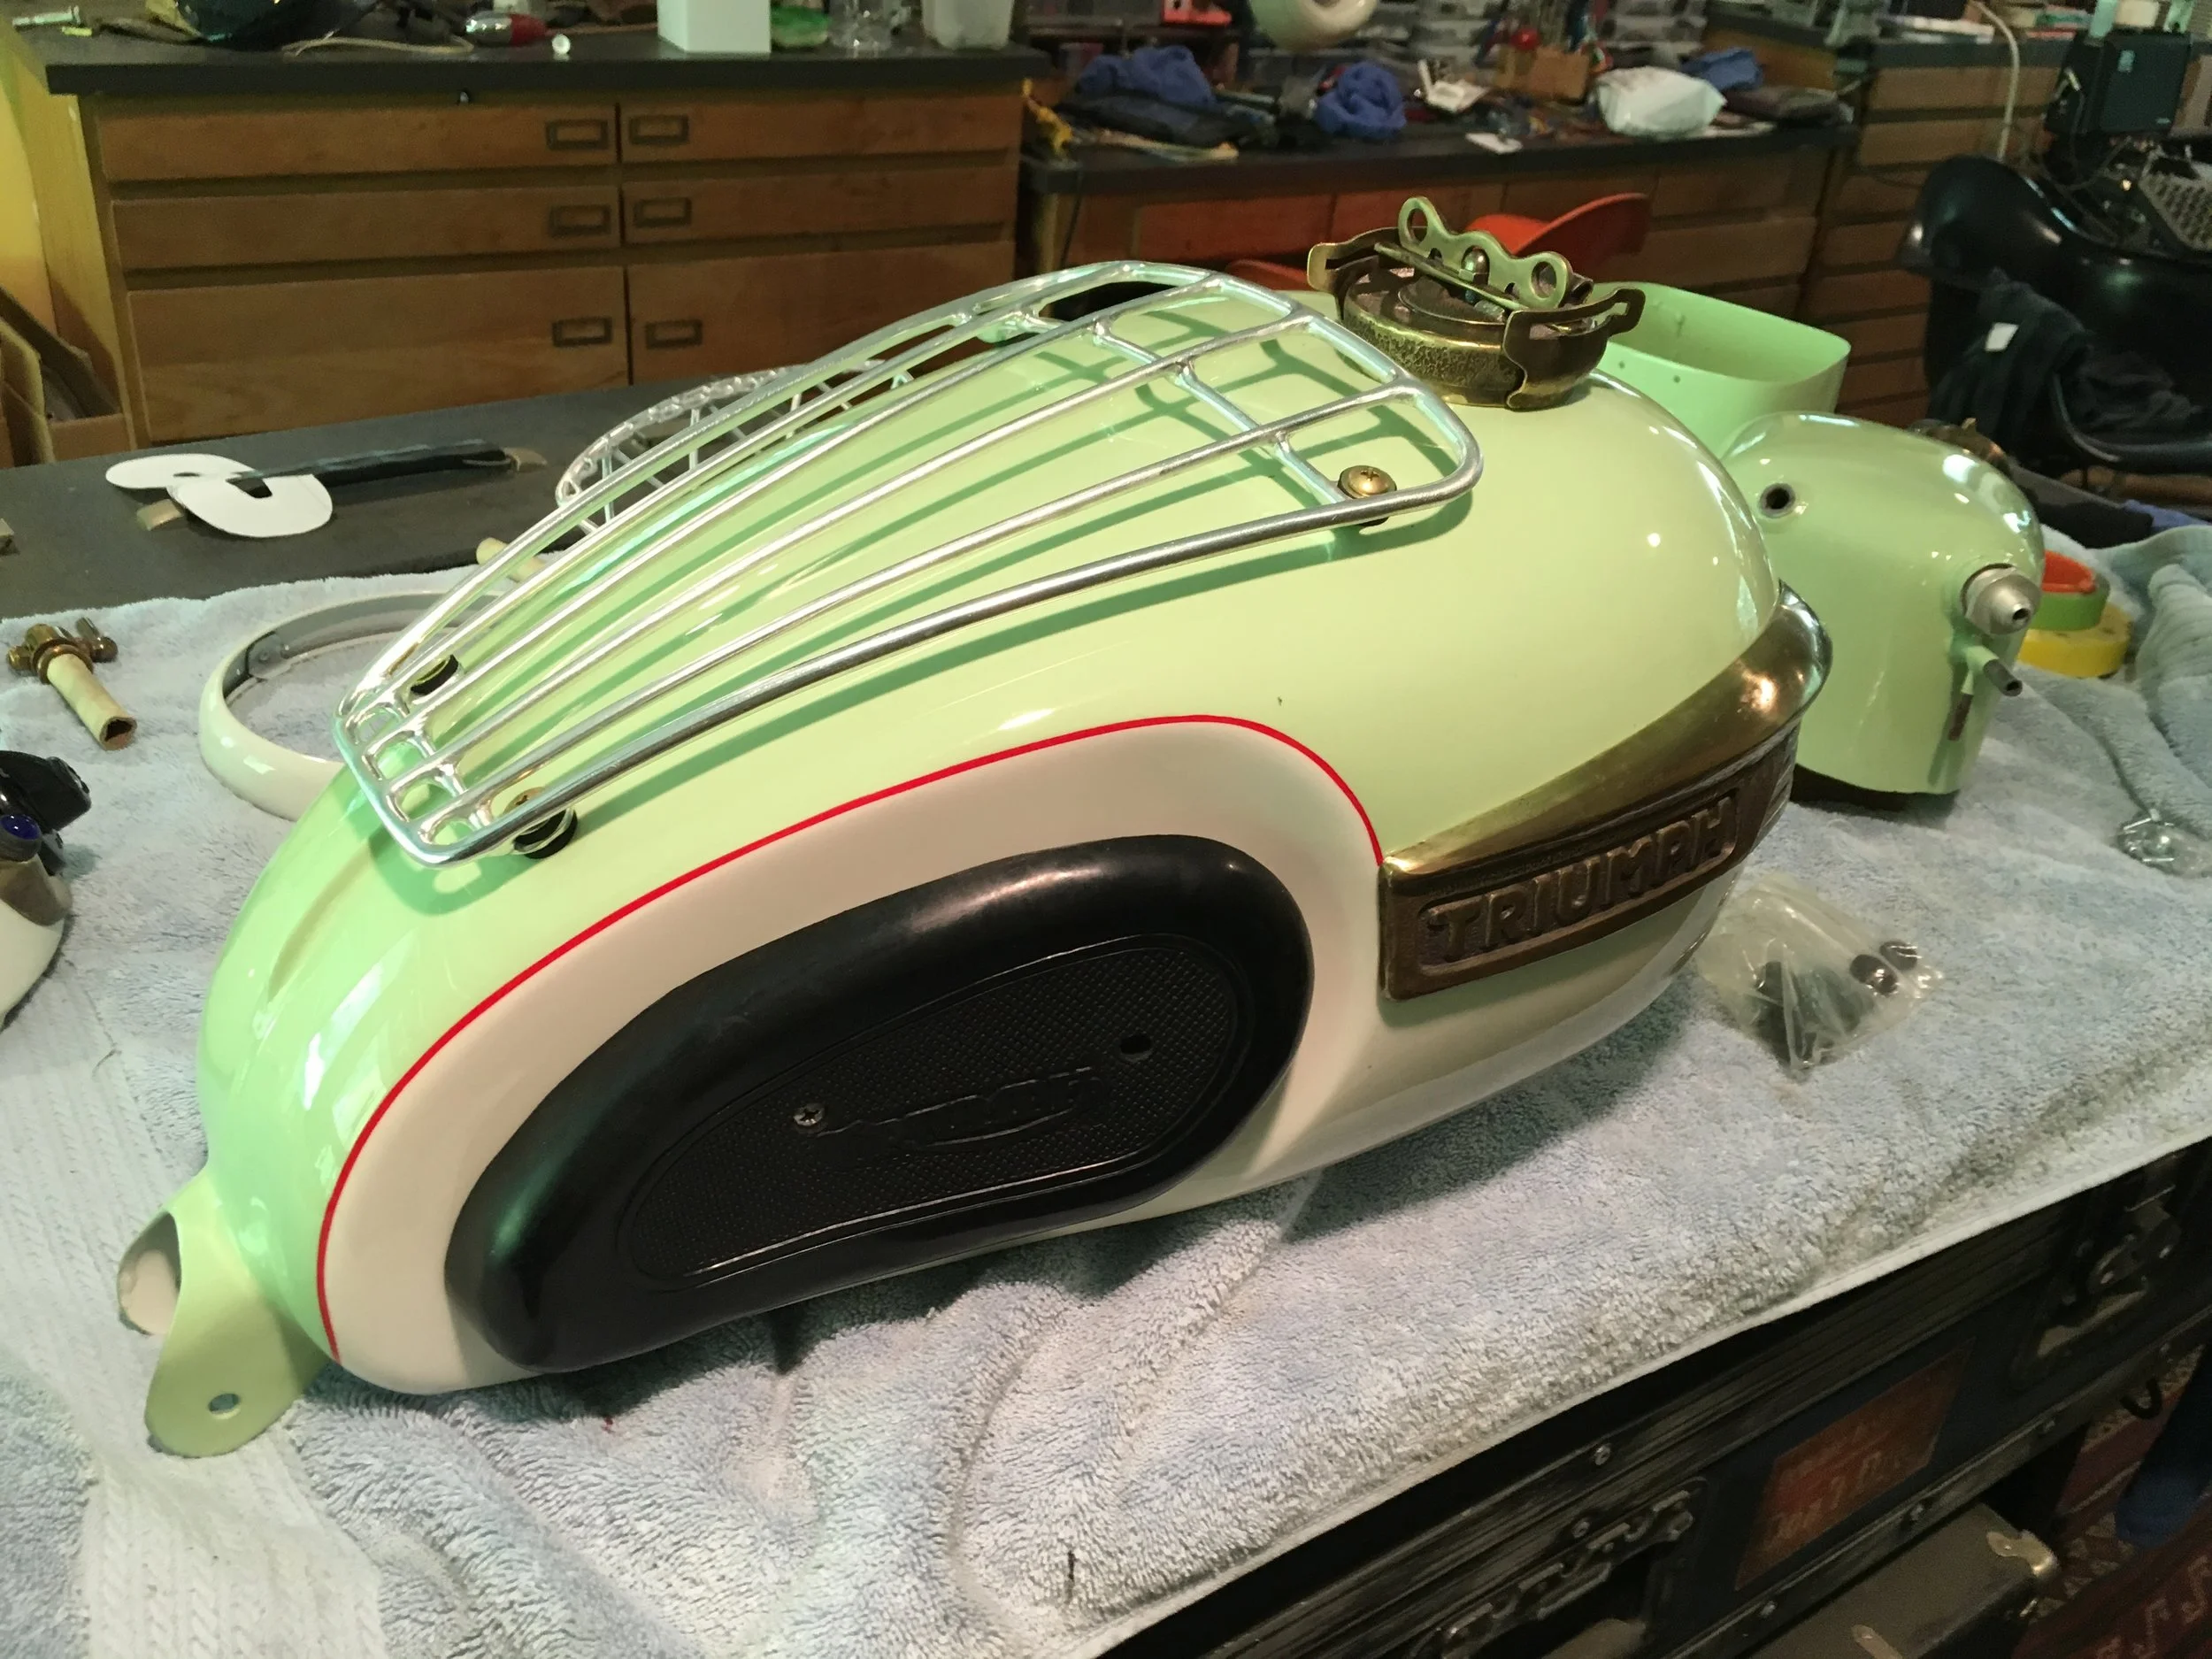
Getting the badges mounting tabs took a little time, but digging how they look with the paint. The idea was a vintage color to compliment the other colors, but still keep things minimal and light. There will be a lot of chrome and flake at the Bornfree show, and there is no way to out-flake or out-bling anyone, so this bike went the other way.
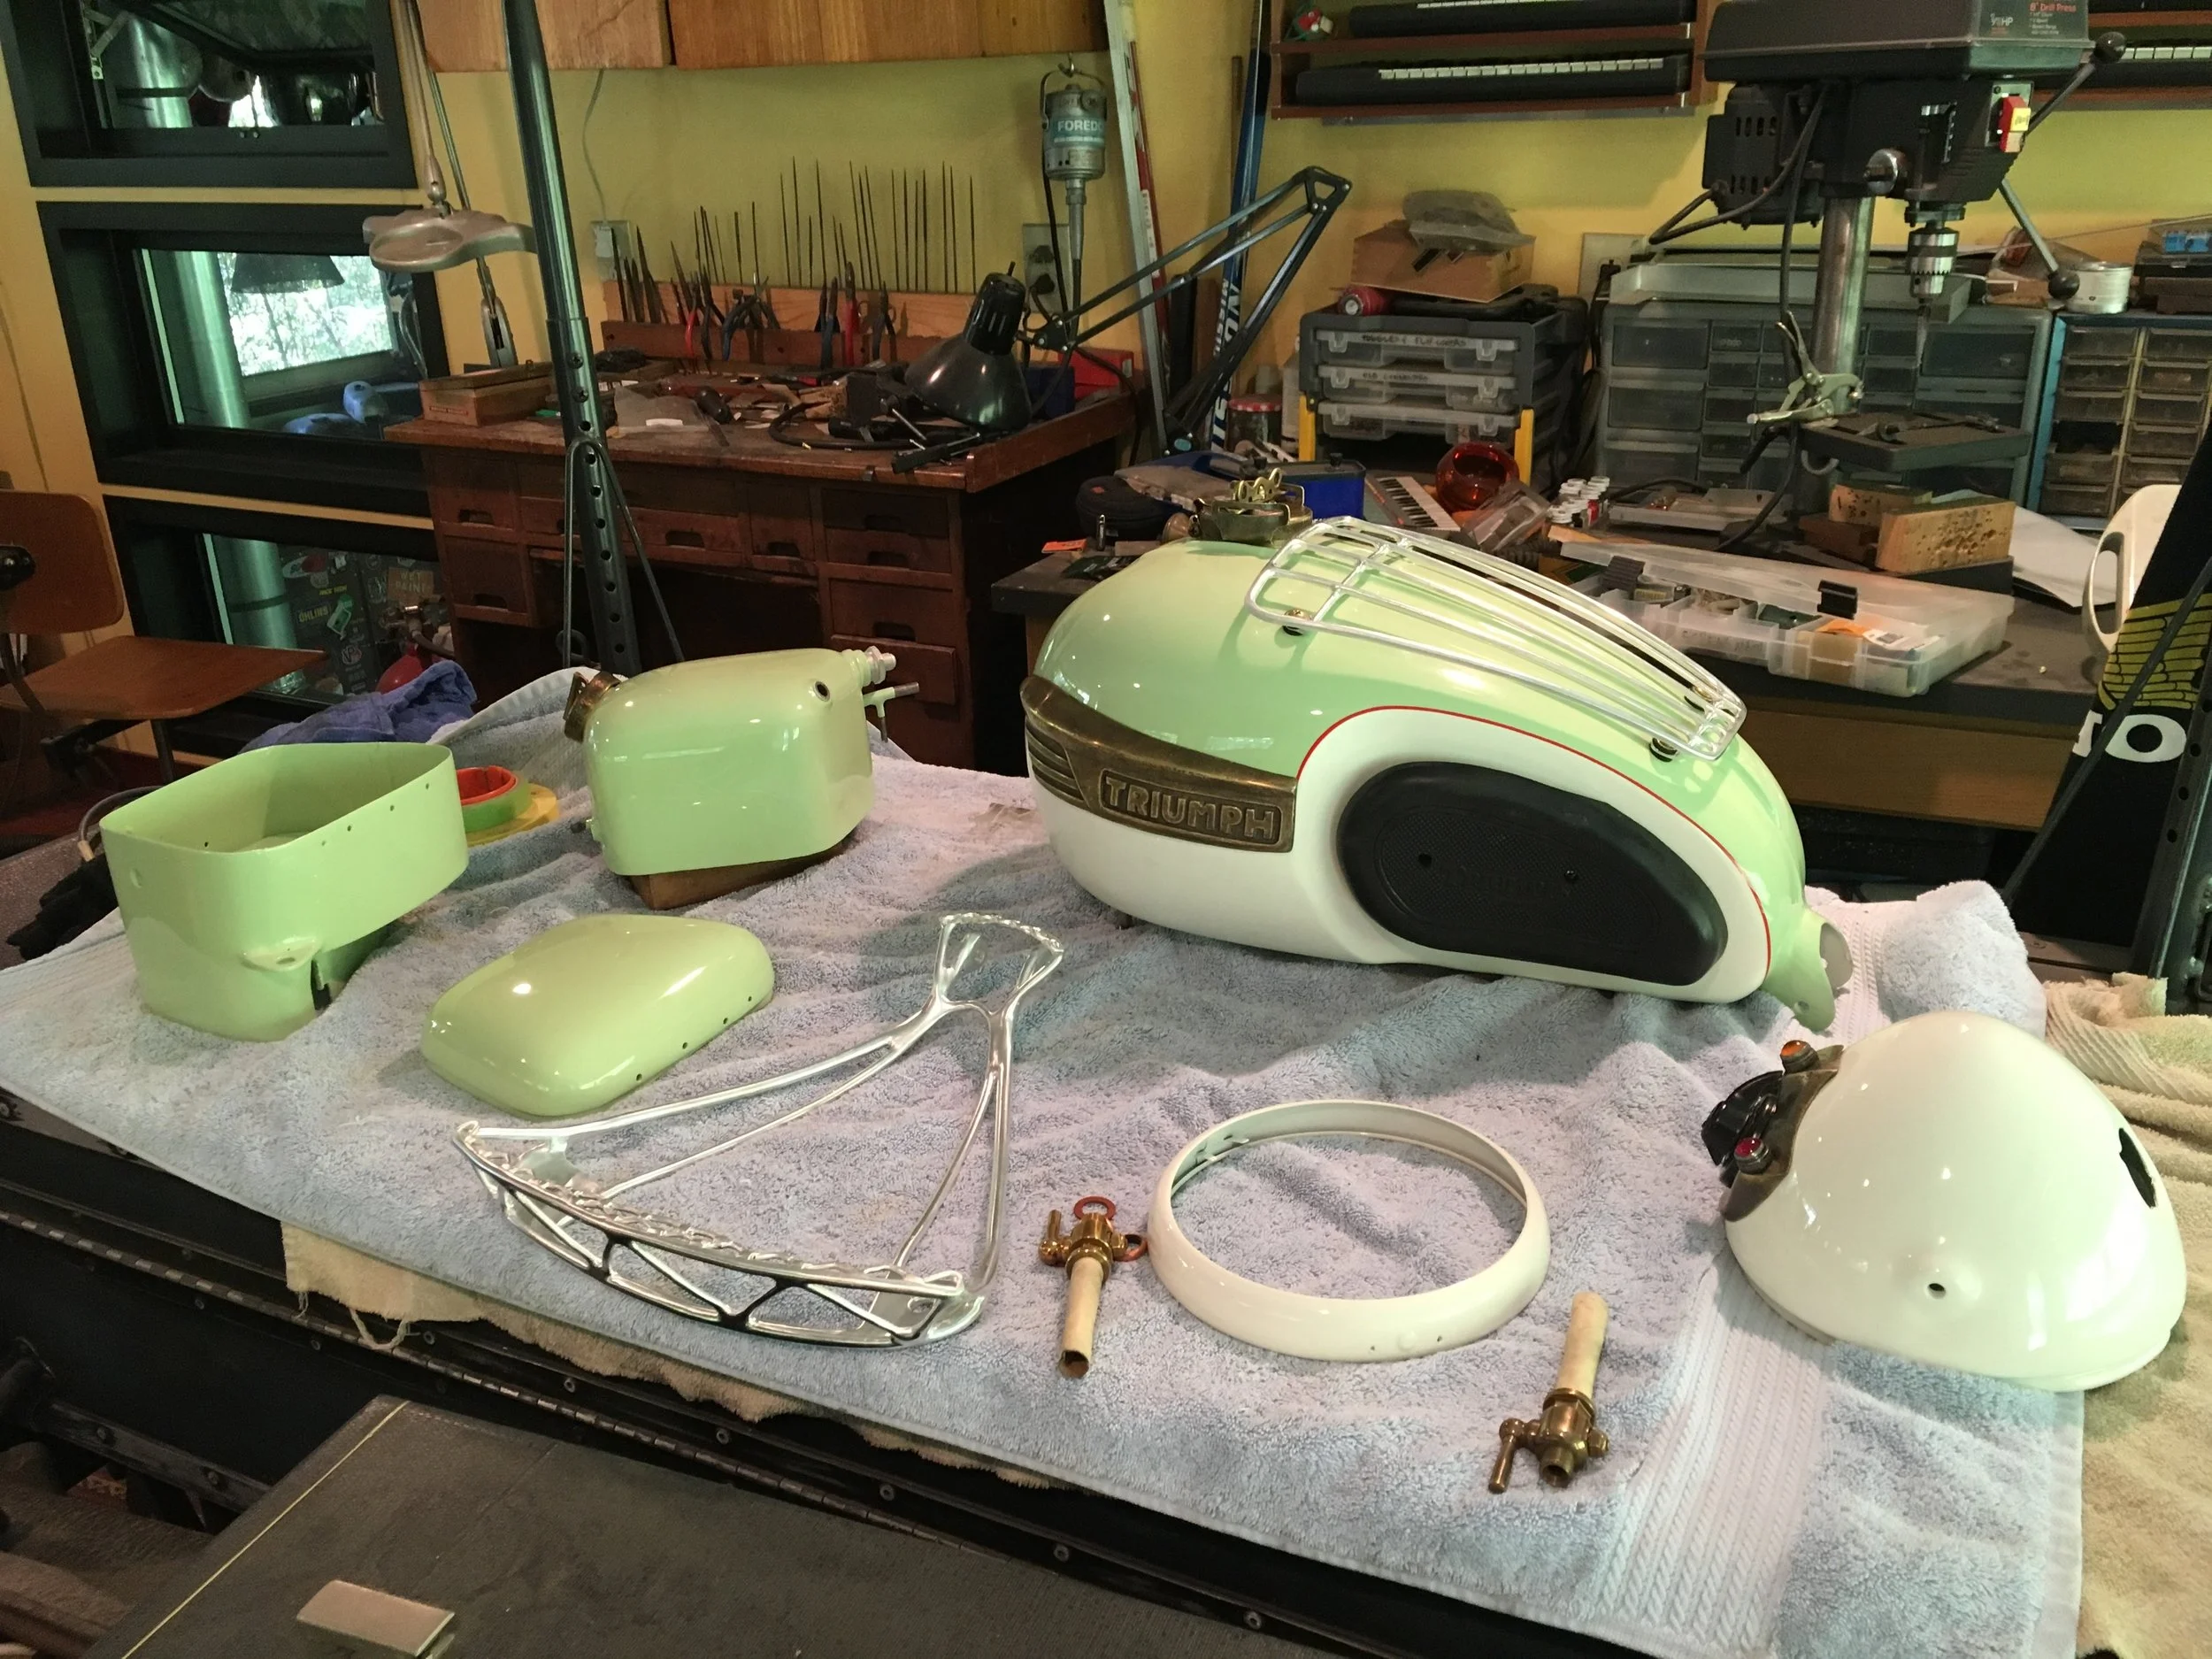
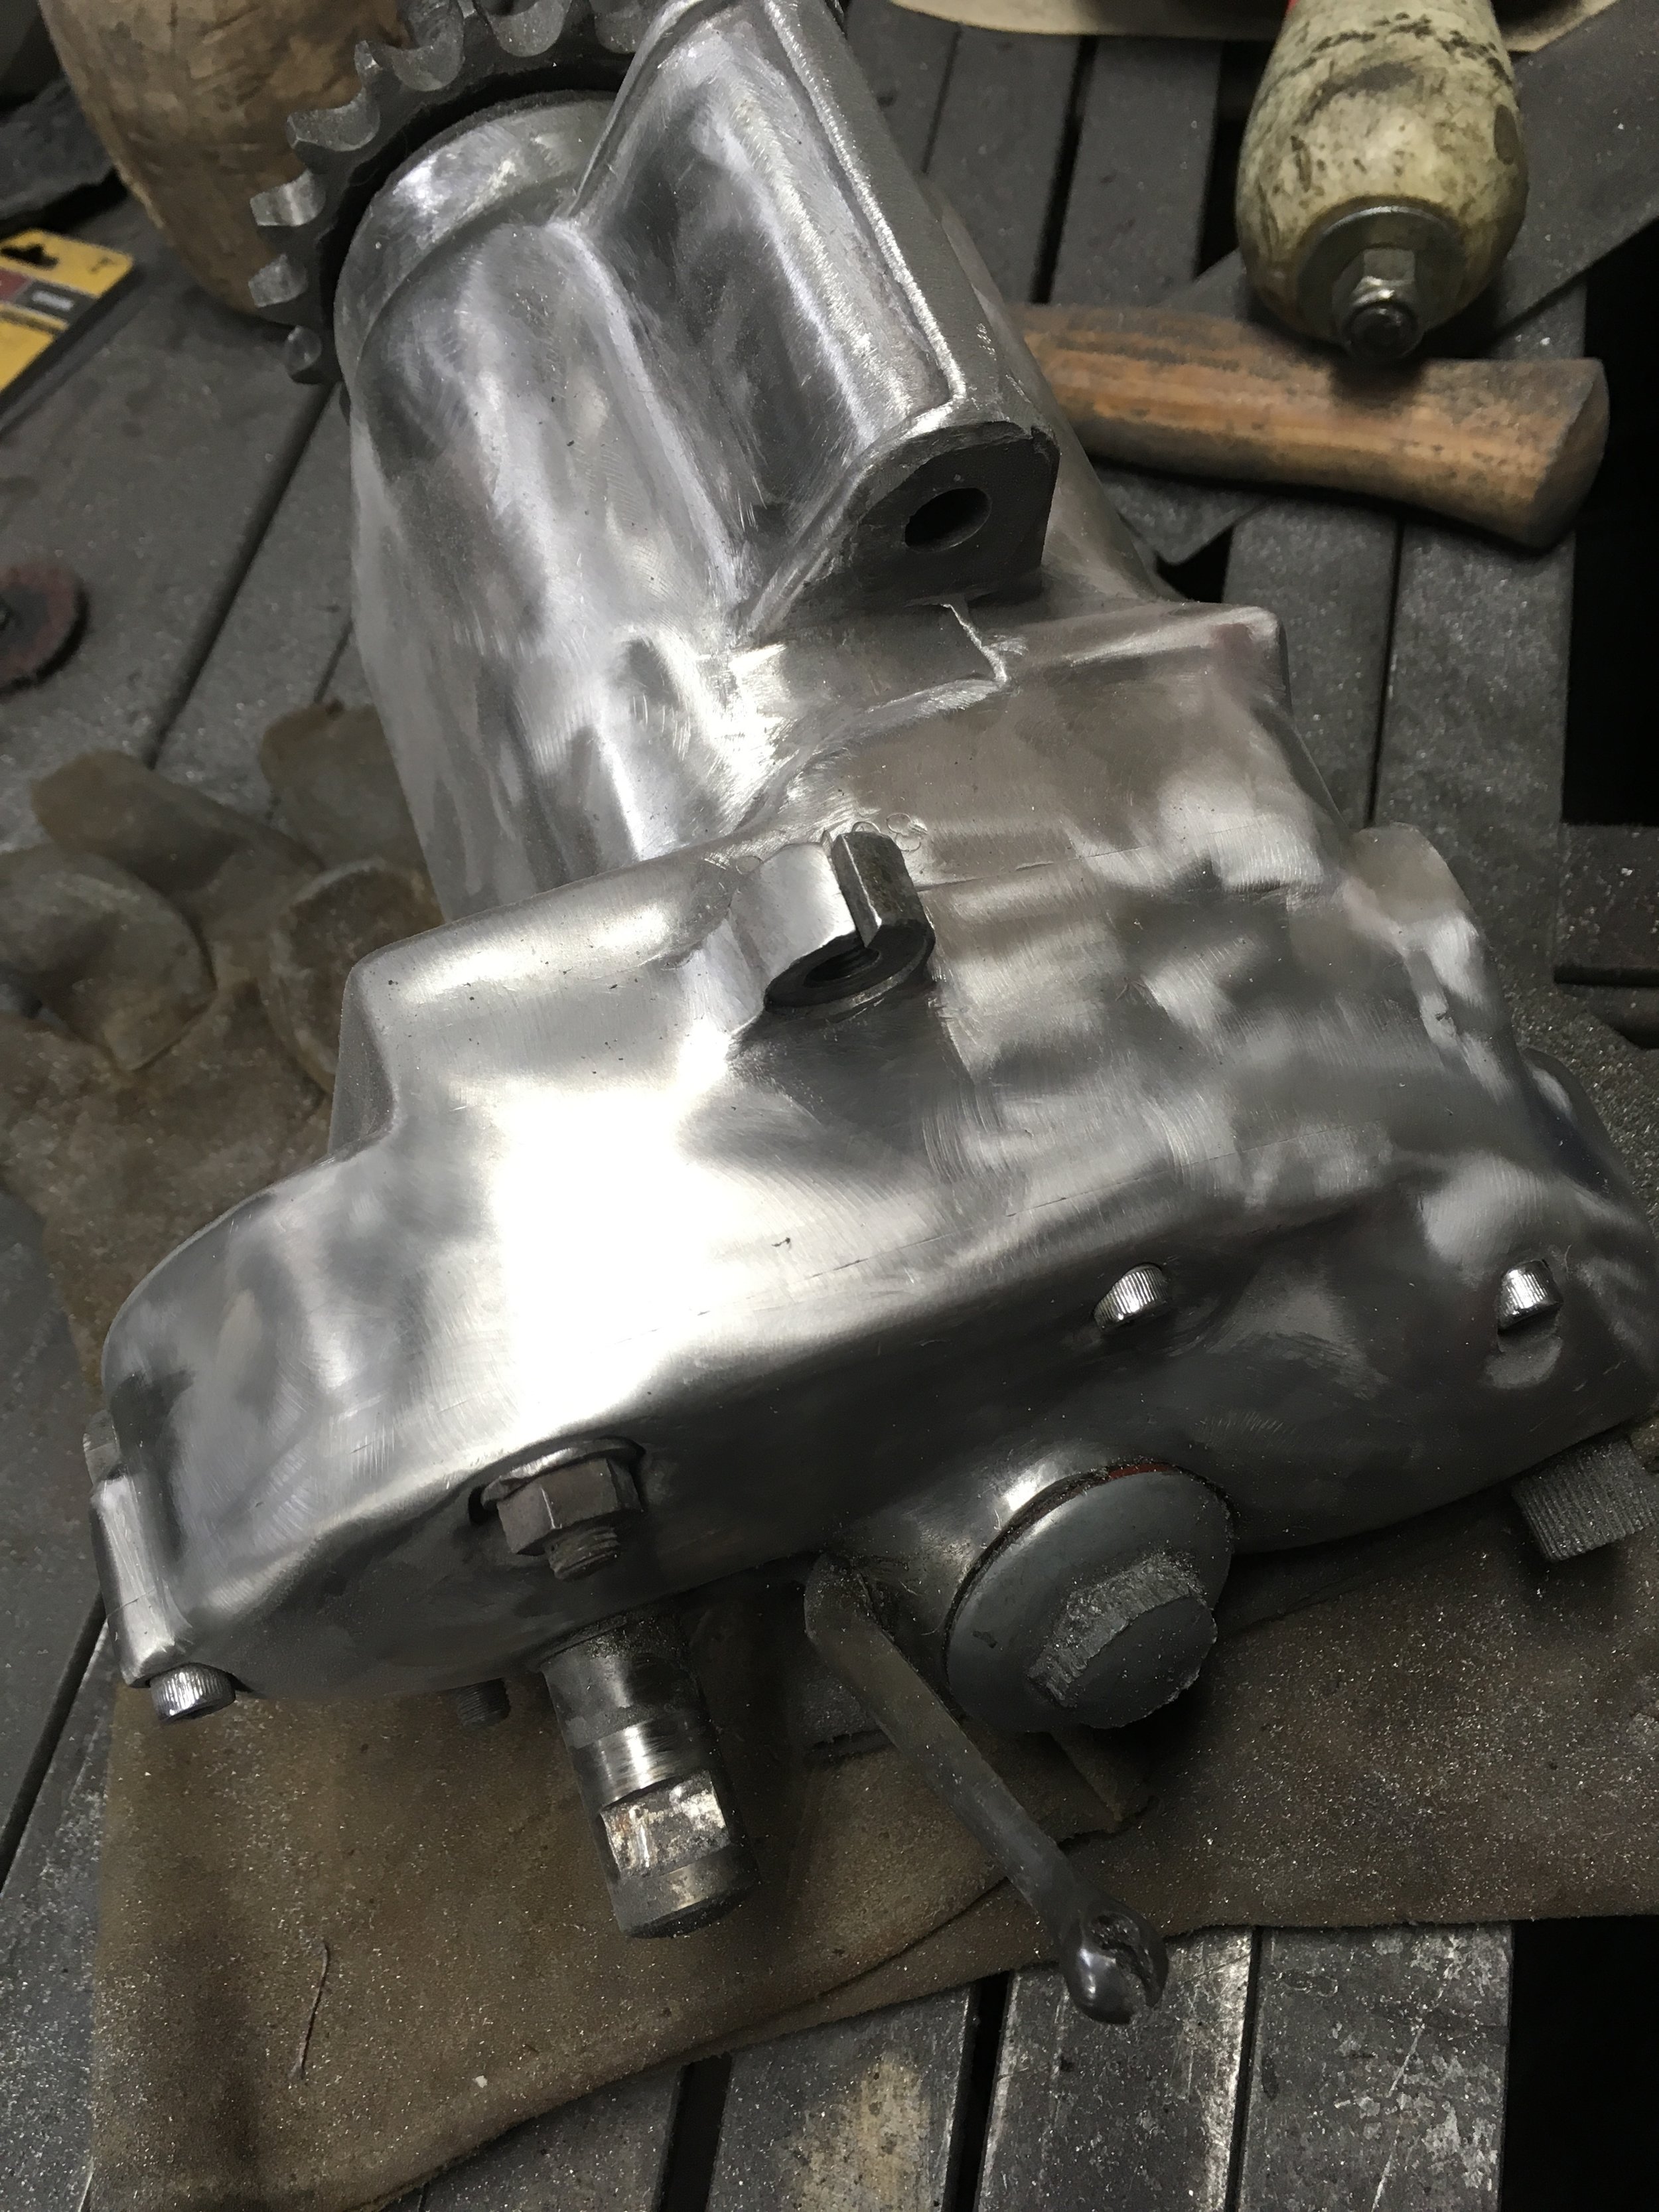
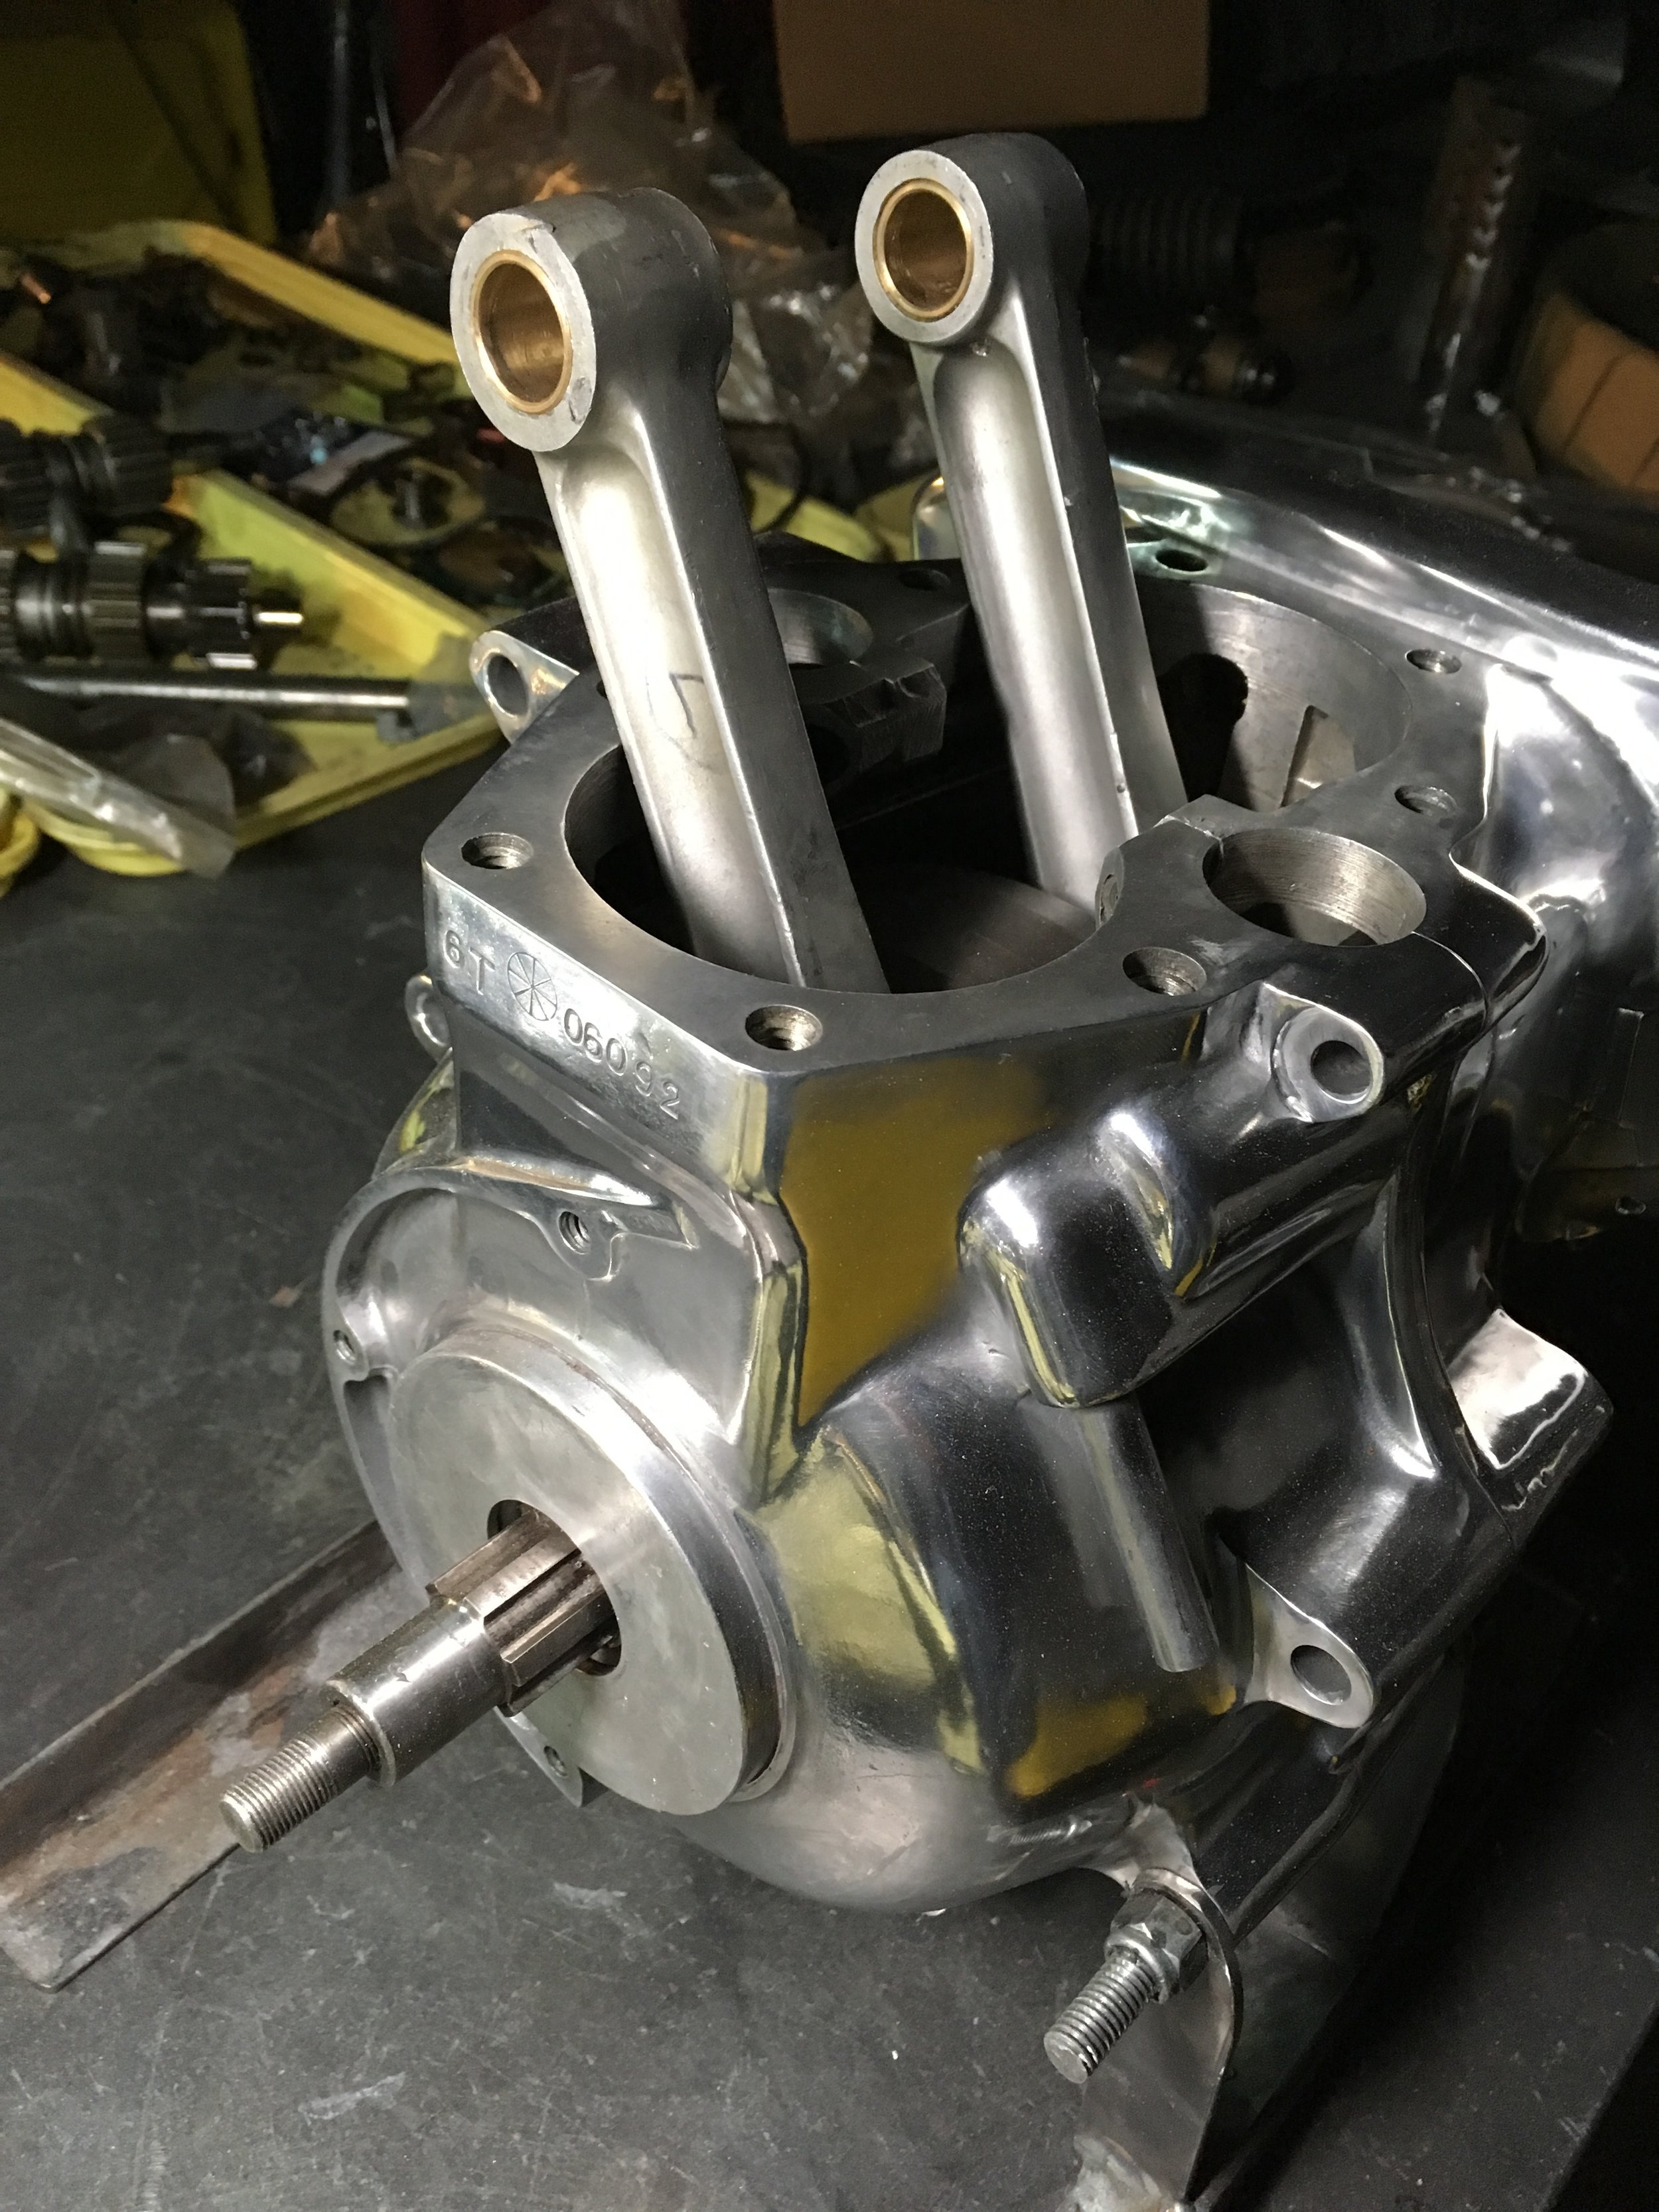
The table of finished pieces is growing.

Testing the fit of the tail light. The fenders were a reversal of the usual white stripe on green on traditional Triumph paint schemes.
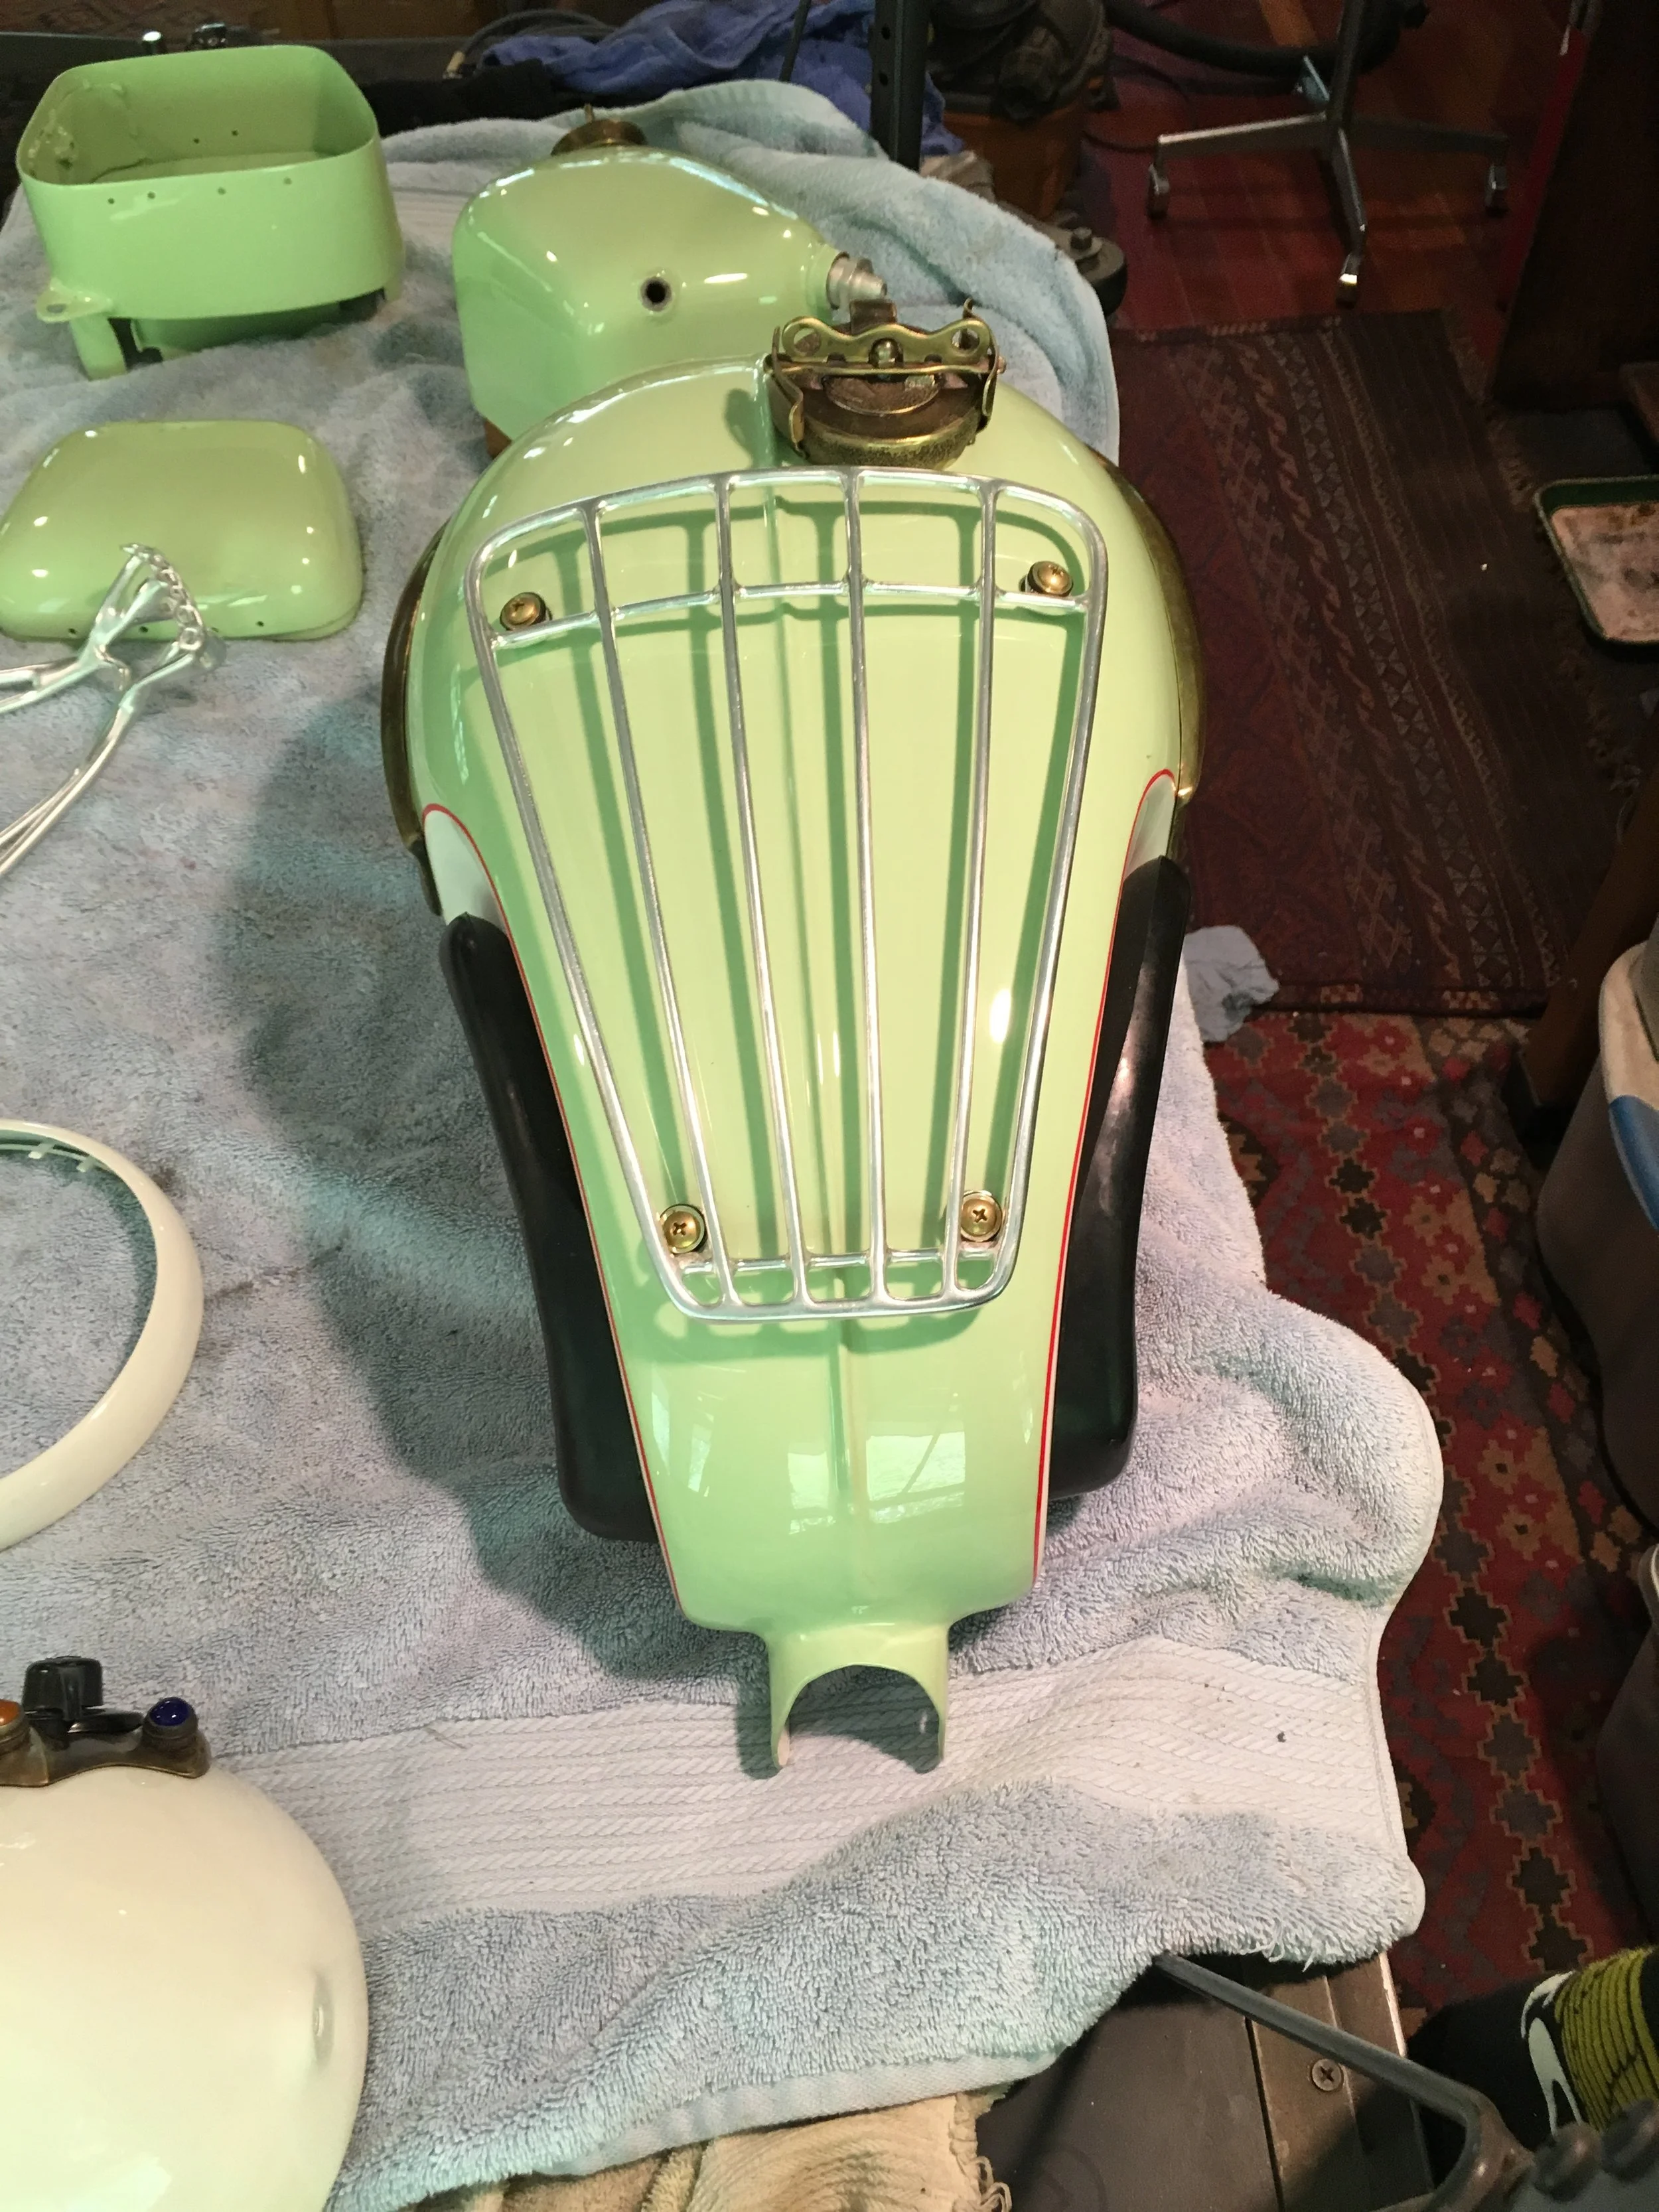
The rear taper of the tank sows how much it was cut down. Always a big fan of the Slim-Line Triumph tanks and the skinny waist they produce on a bike.
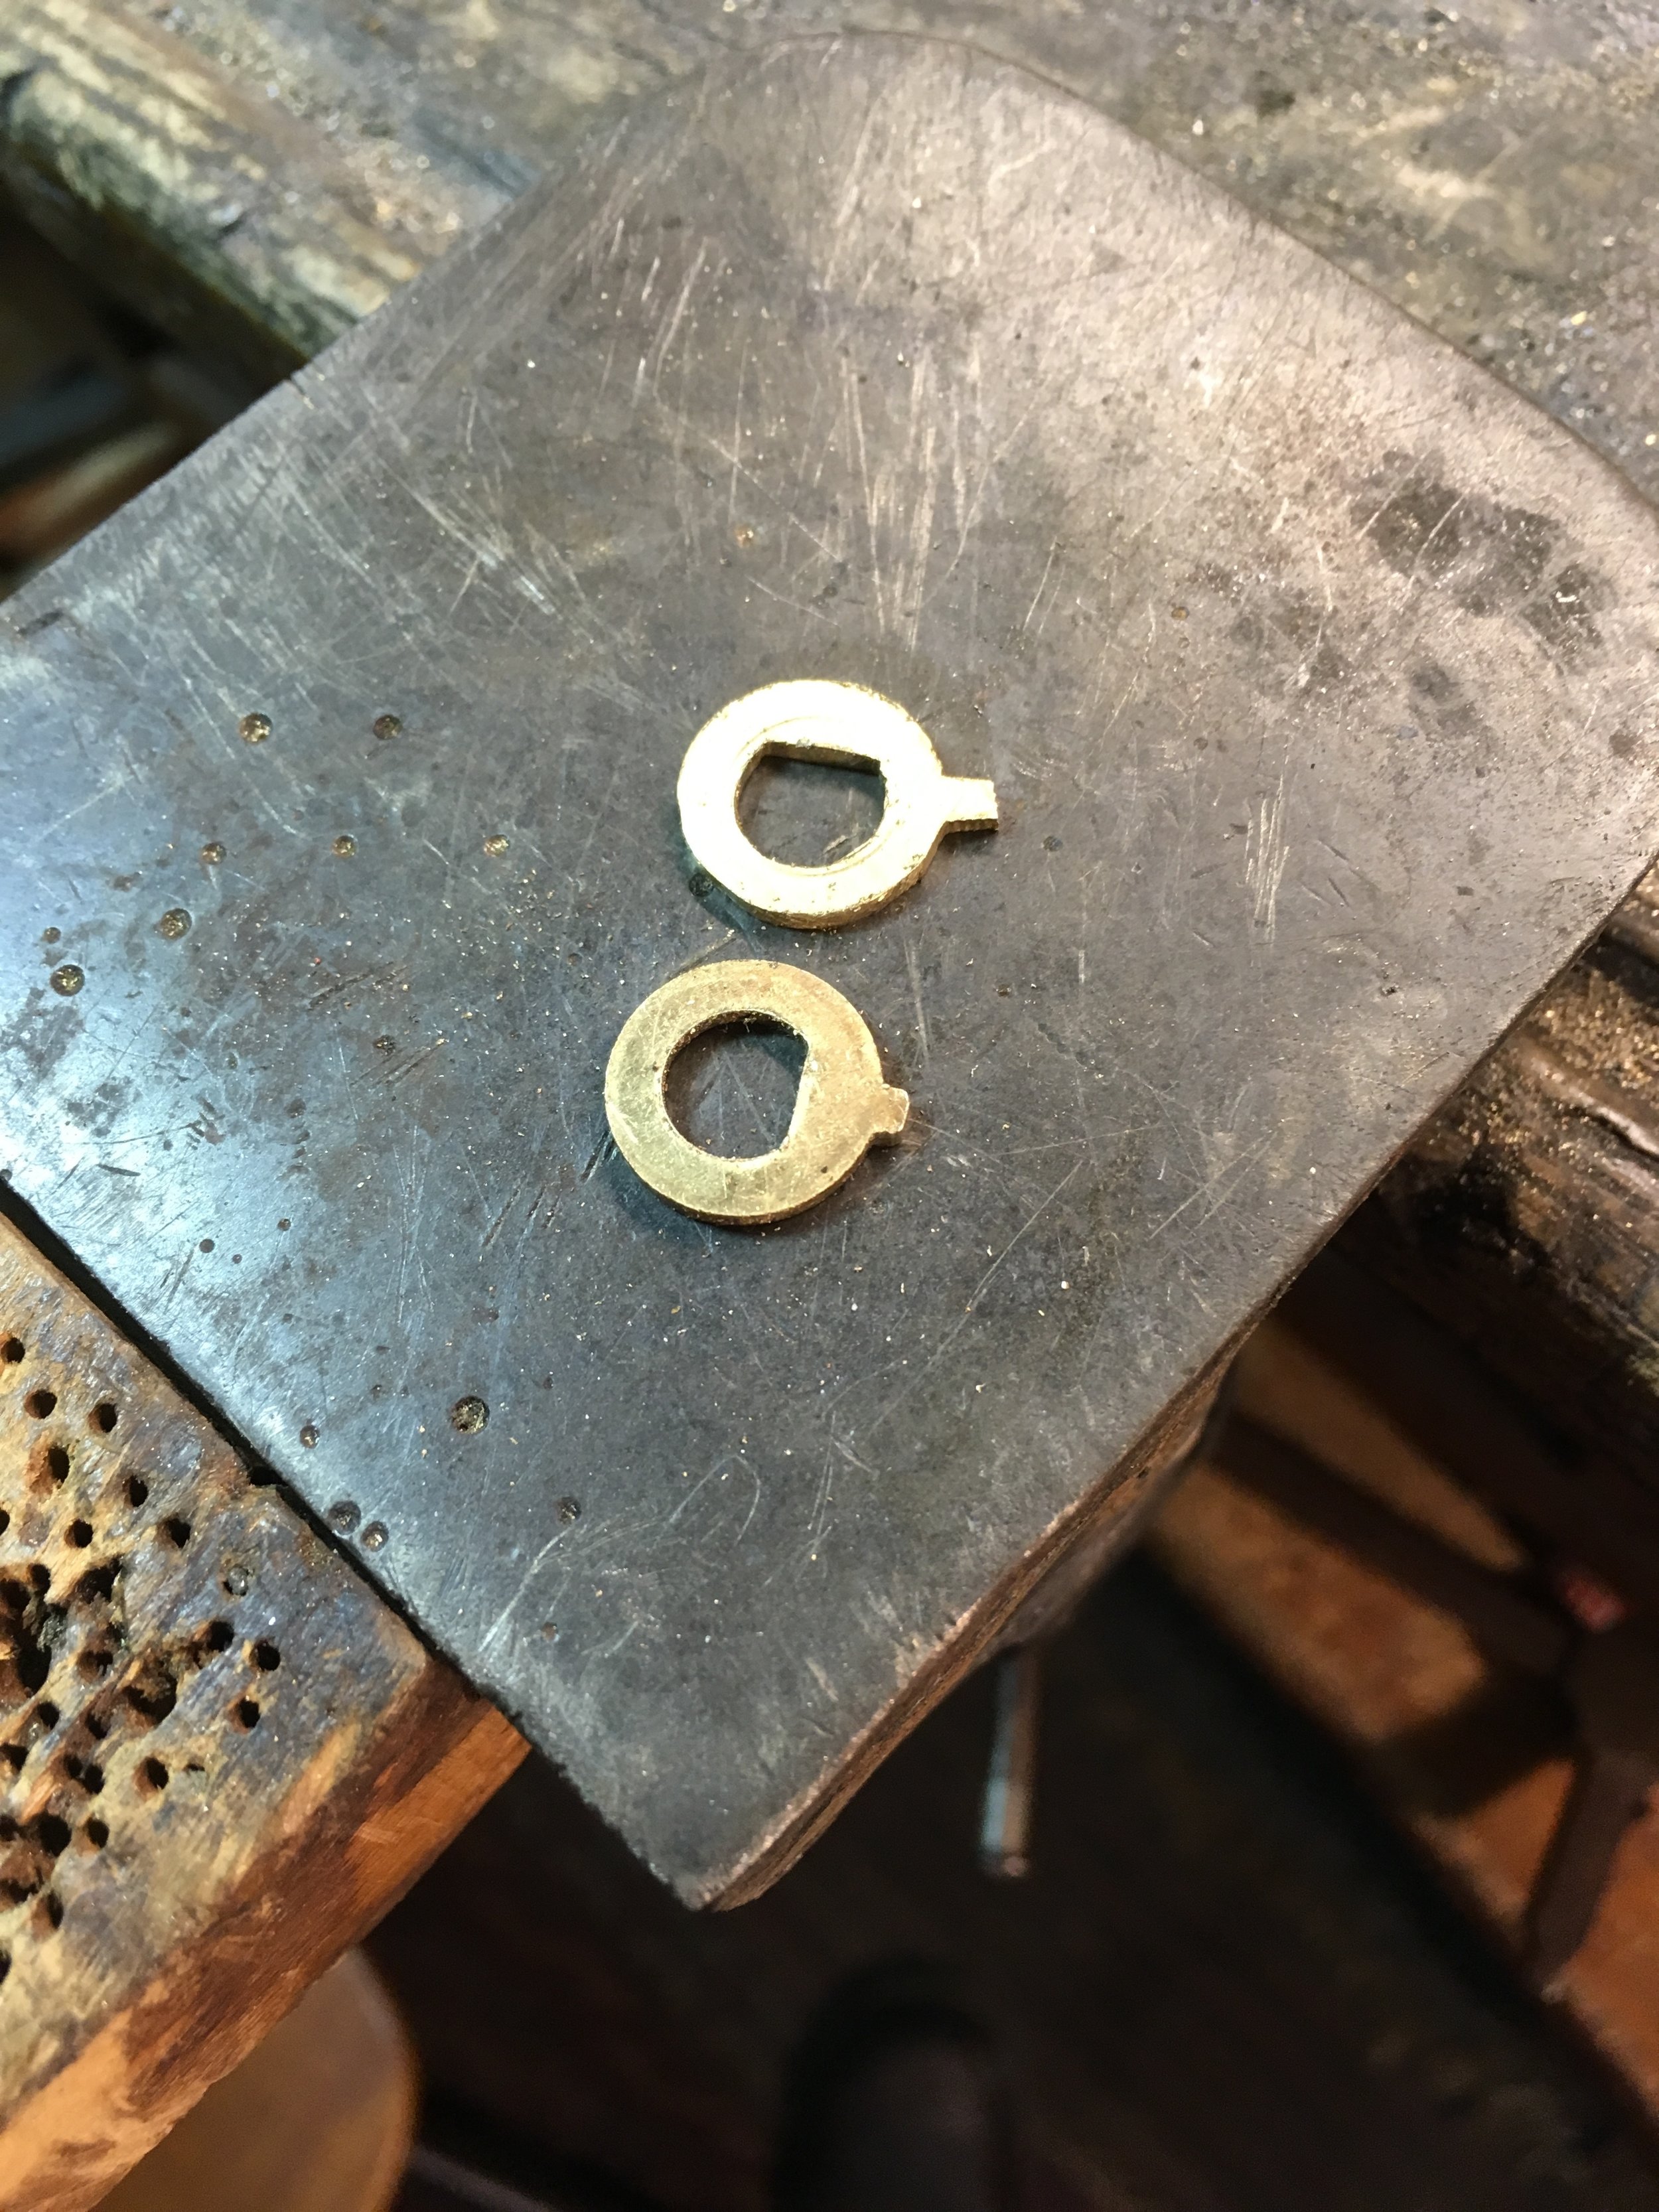
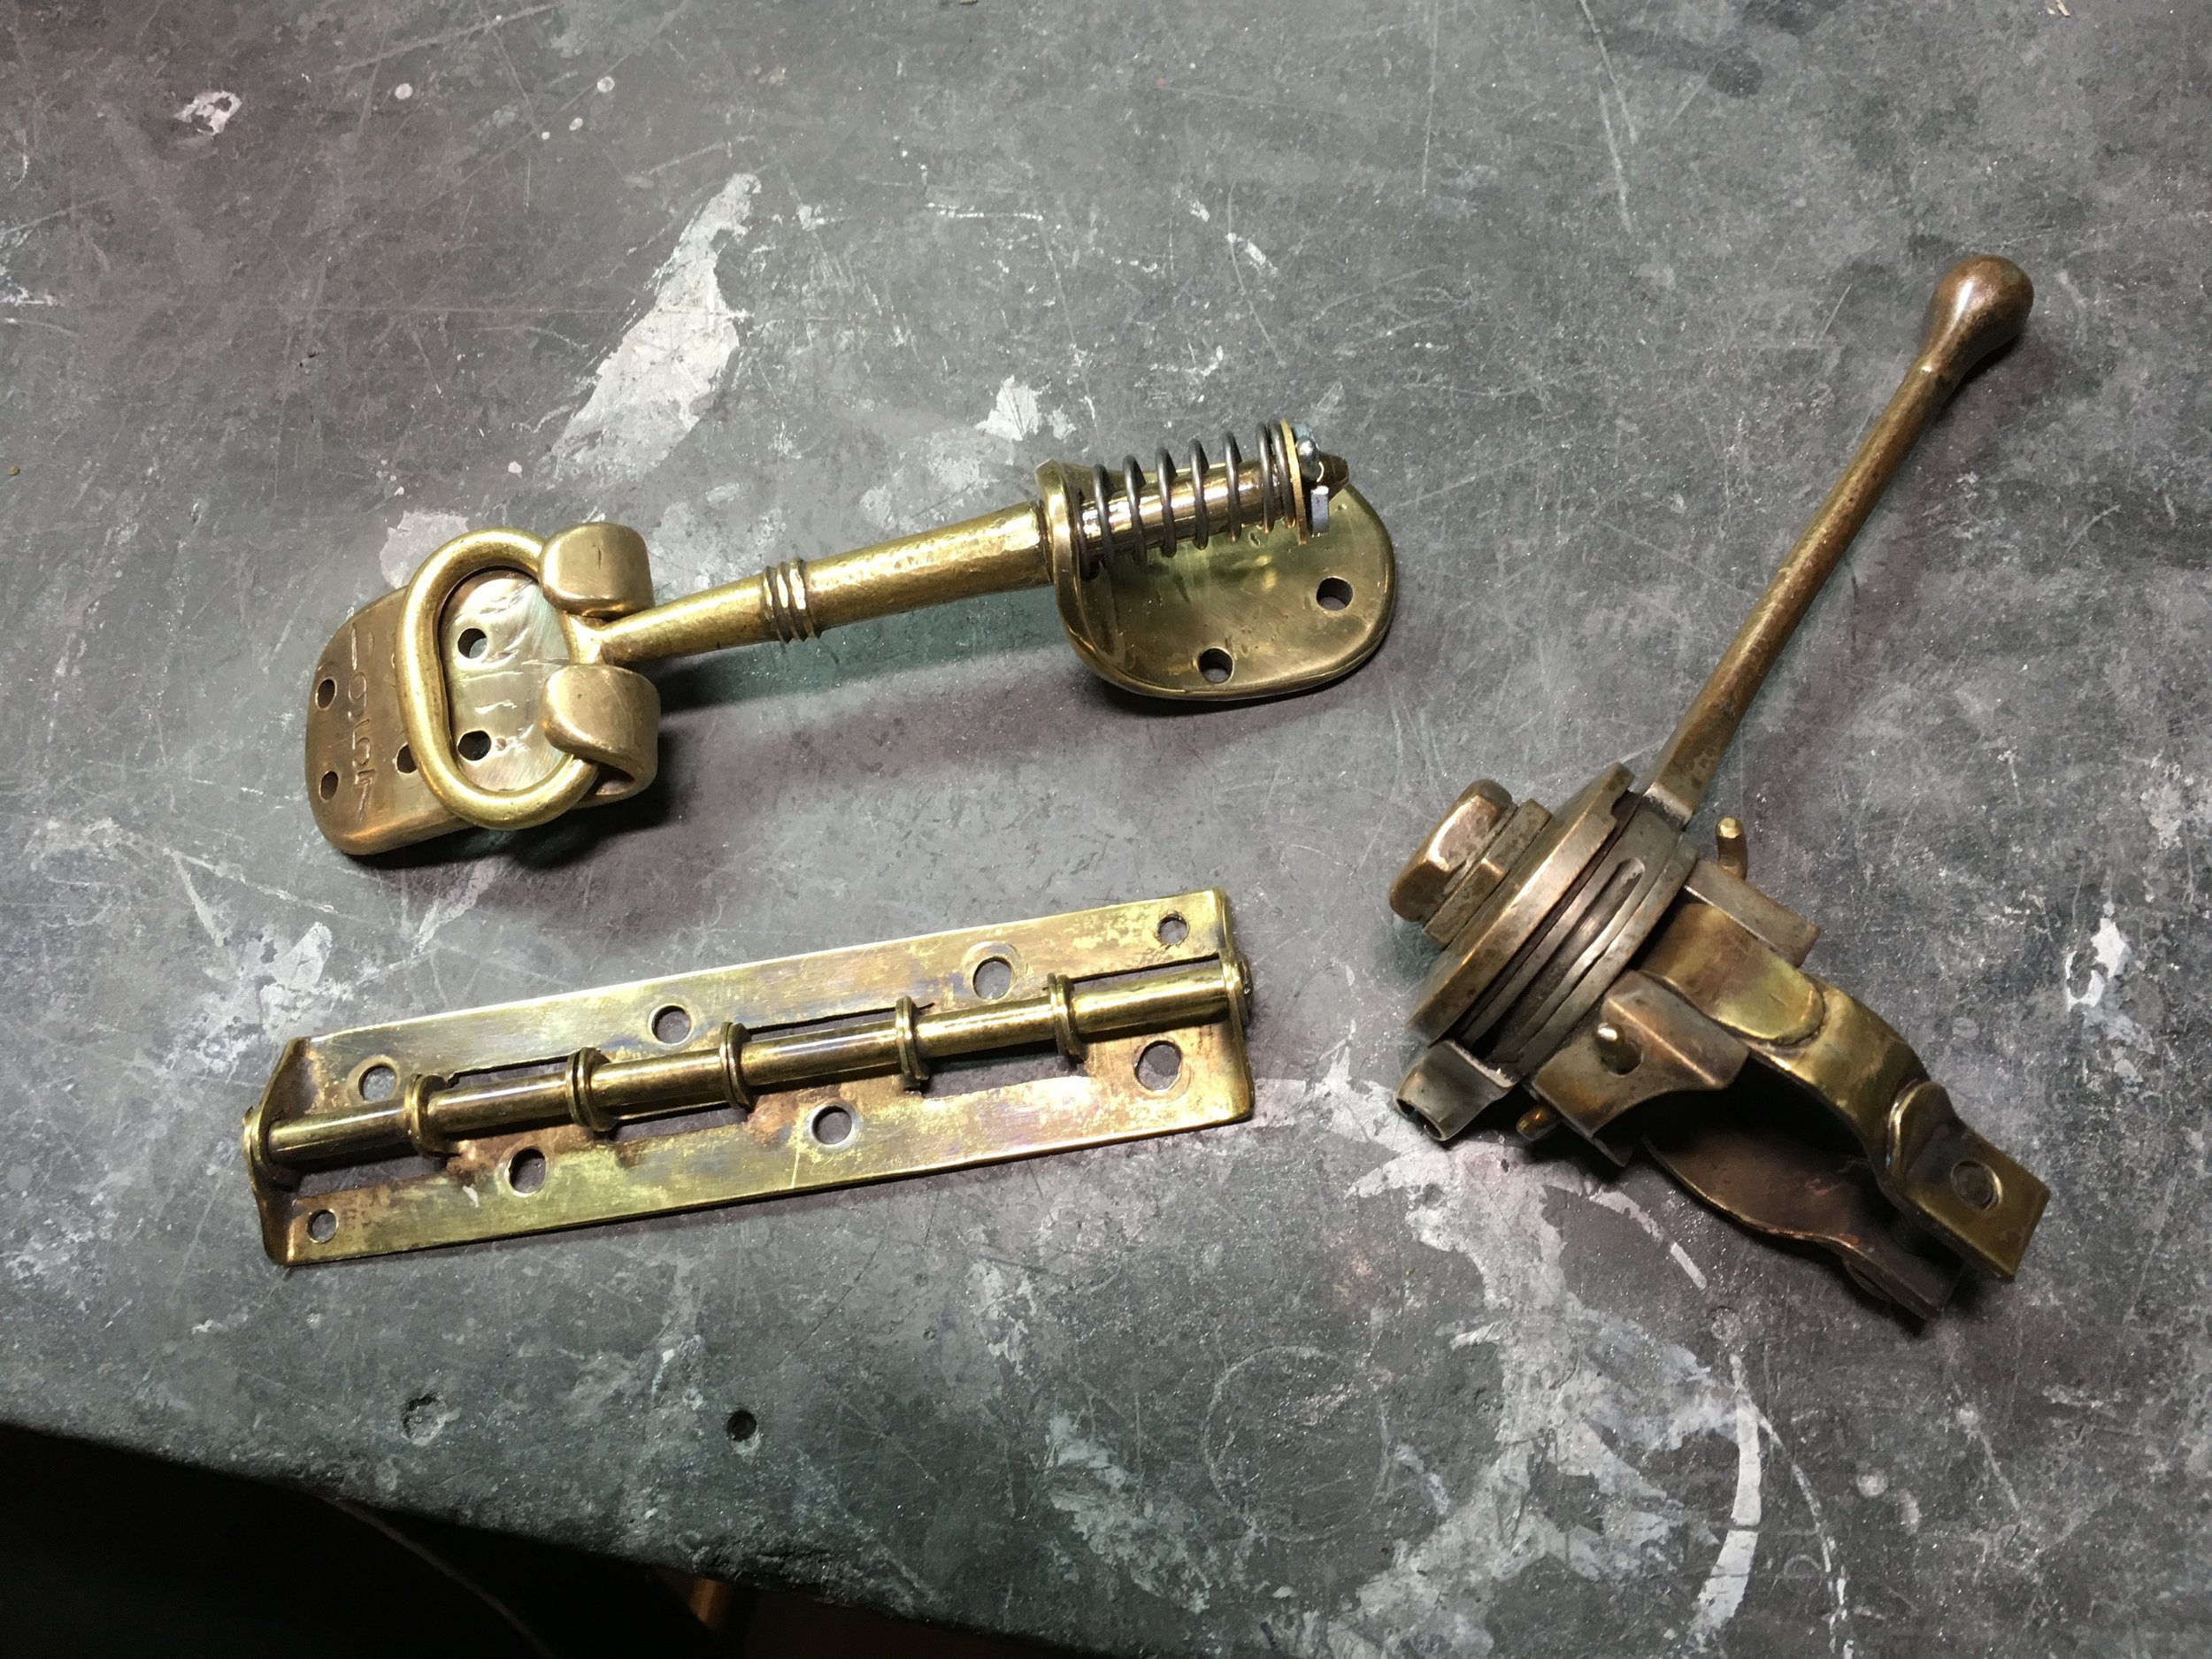
The small details of custom bike building. These are the detente plates for the left petcock, controlling how far and what direction the petcock handle turns. The one on top was made from .050 brass sheet to allow the petcock to open in the opposite direction from stock.

Changing the direction the left petcock opens made it where they could be mounted in a mirror image of each other without hitting the mounting bracket. Of note in this picture is the level of finish Jason routinely gives his paint jobs, with the underside finished as nicely as the top side.
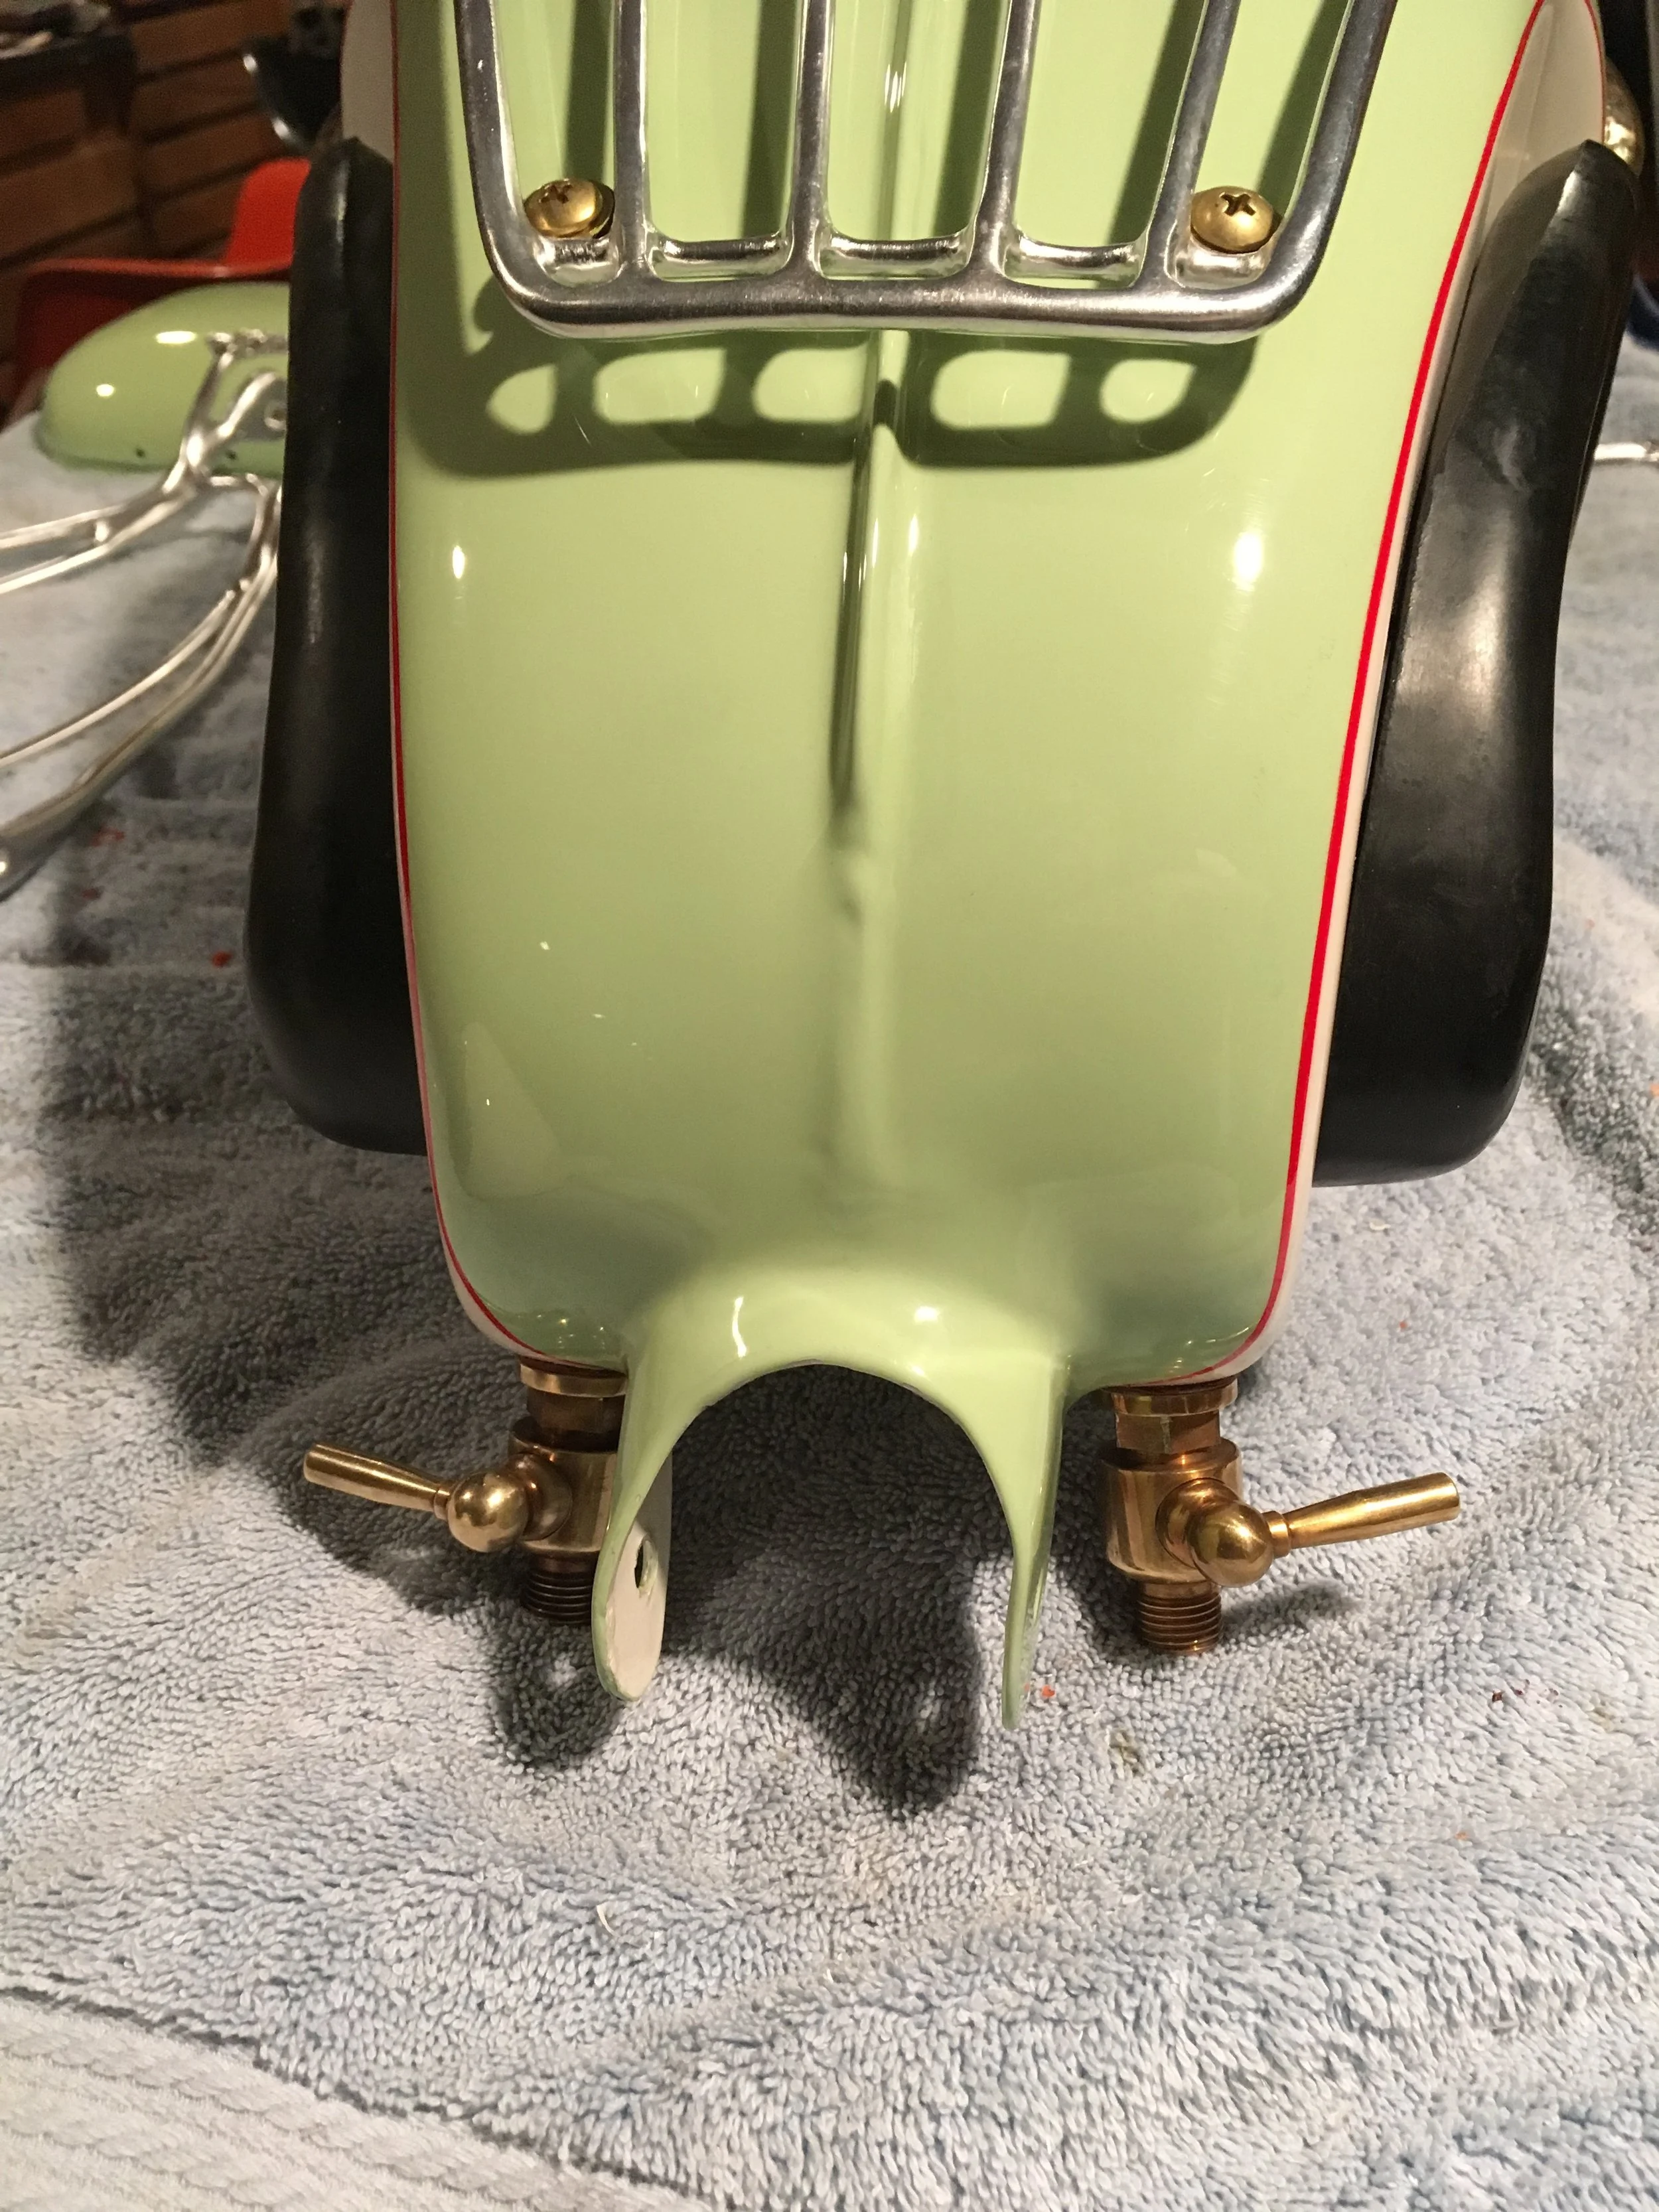
in place now, the opposed handles give a symmetry to the petcocks.
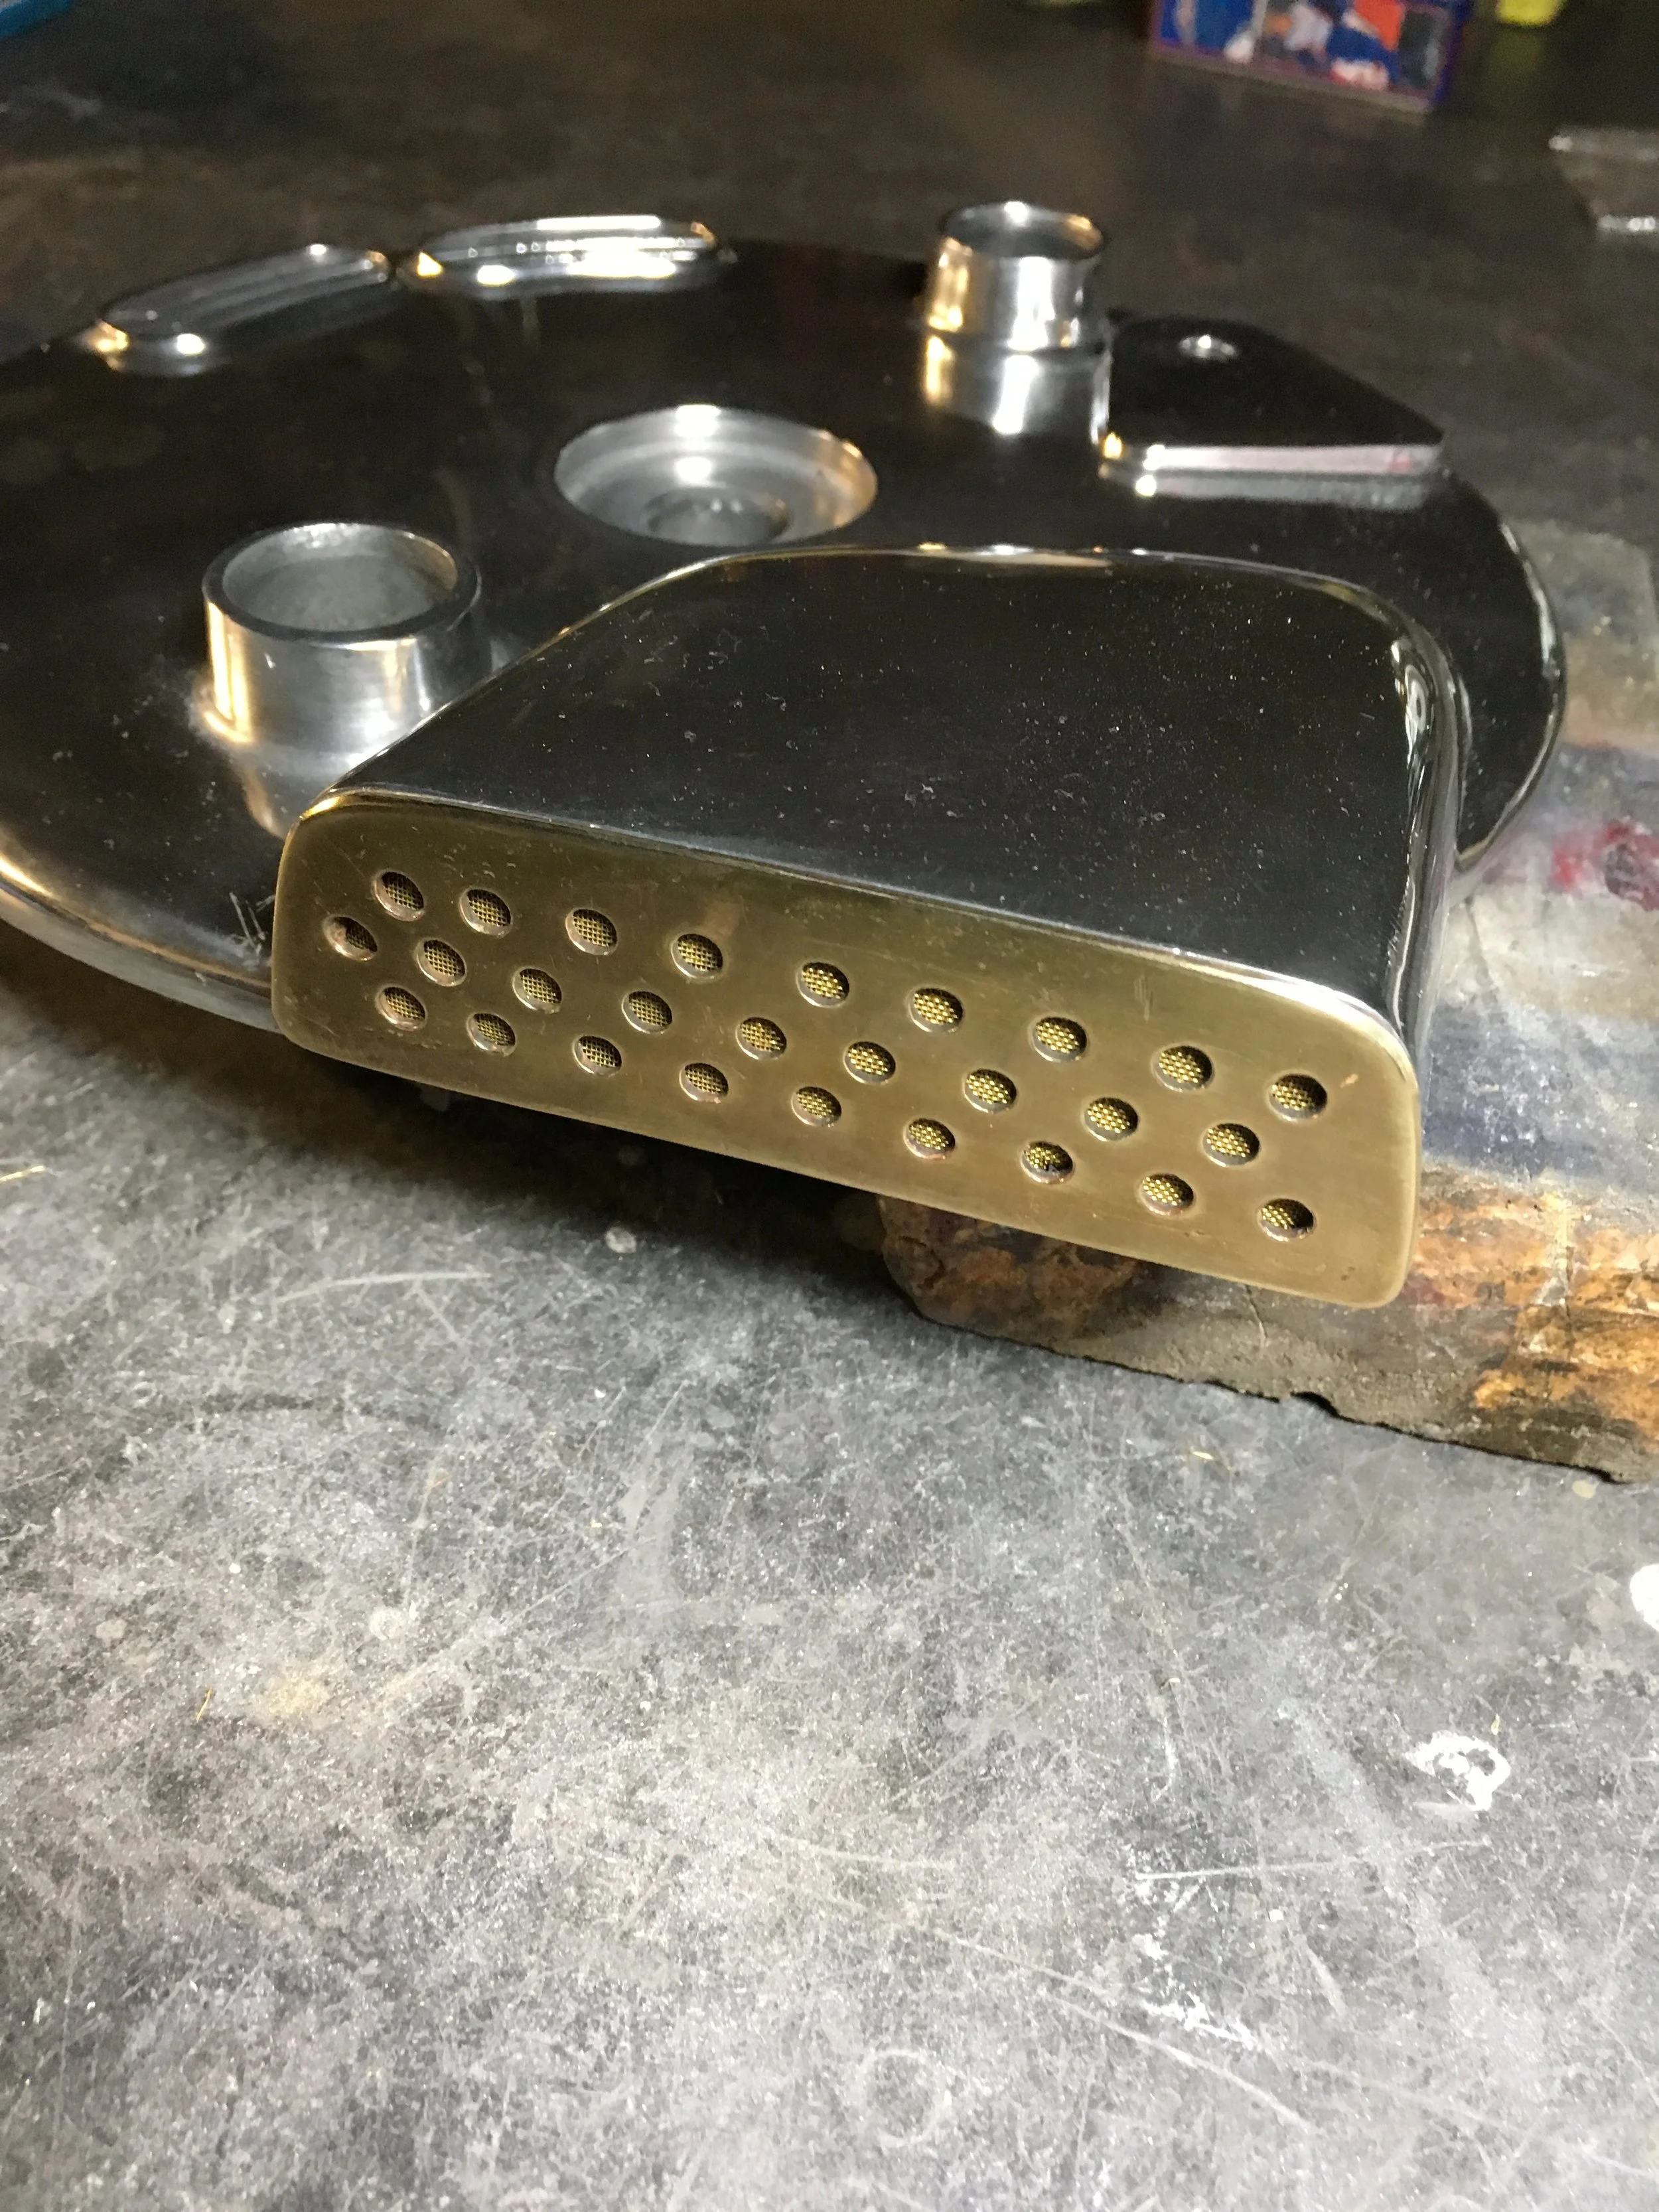
A grill for the front brake panel was made from brass sheet and screen.
Another polishing-shop fail, this Webco rocker box oiler had pitting that was made worse by simply polishing without sanding. This was after a little sanding.

The finished piece after some sanding and buffing. There are some very small pits, but since this is a hollow structure, don’t want to grind it too far. I always think of a saying from medicine” sometimes a good result is superior to an excellent one.” It means to stop while you are ahead.