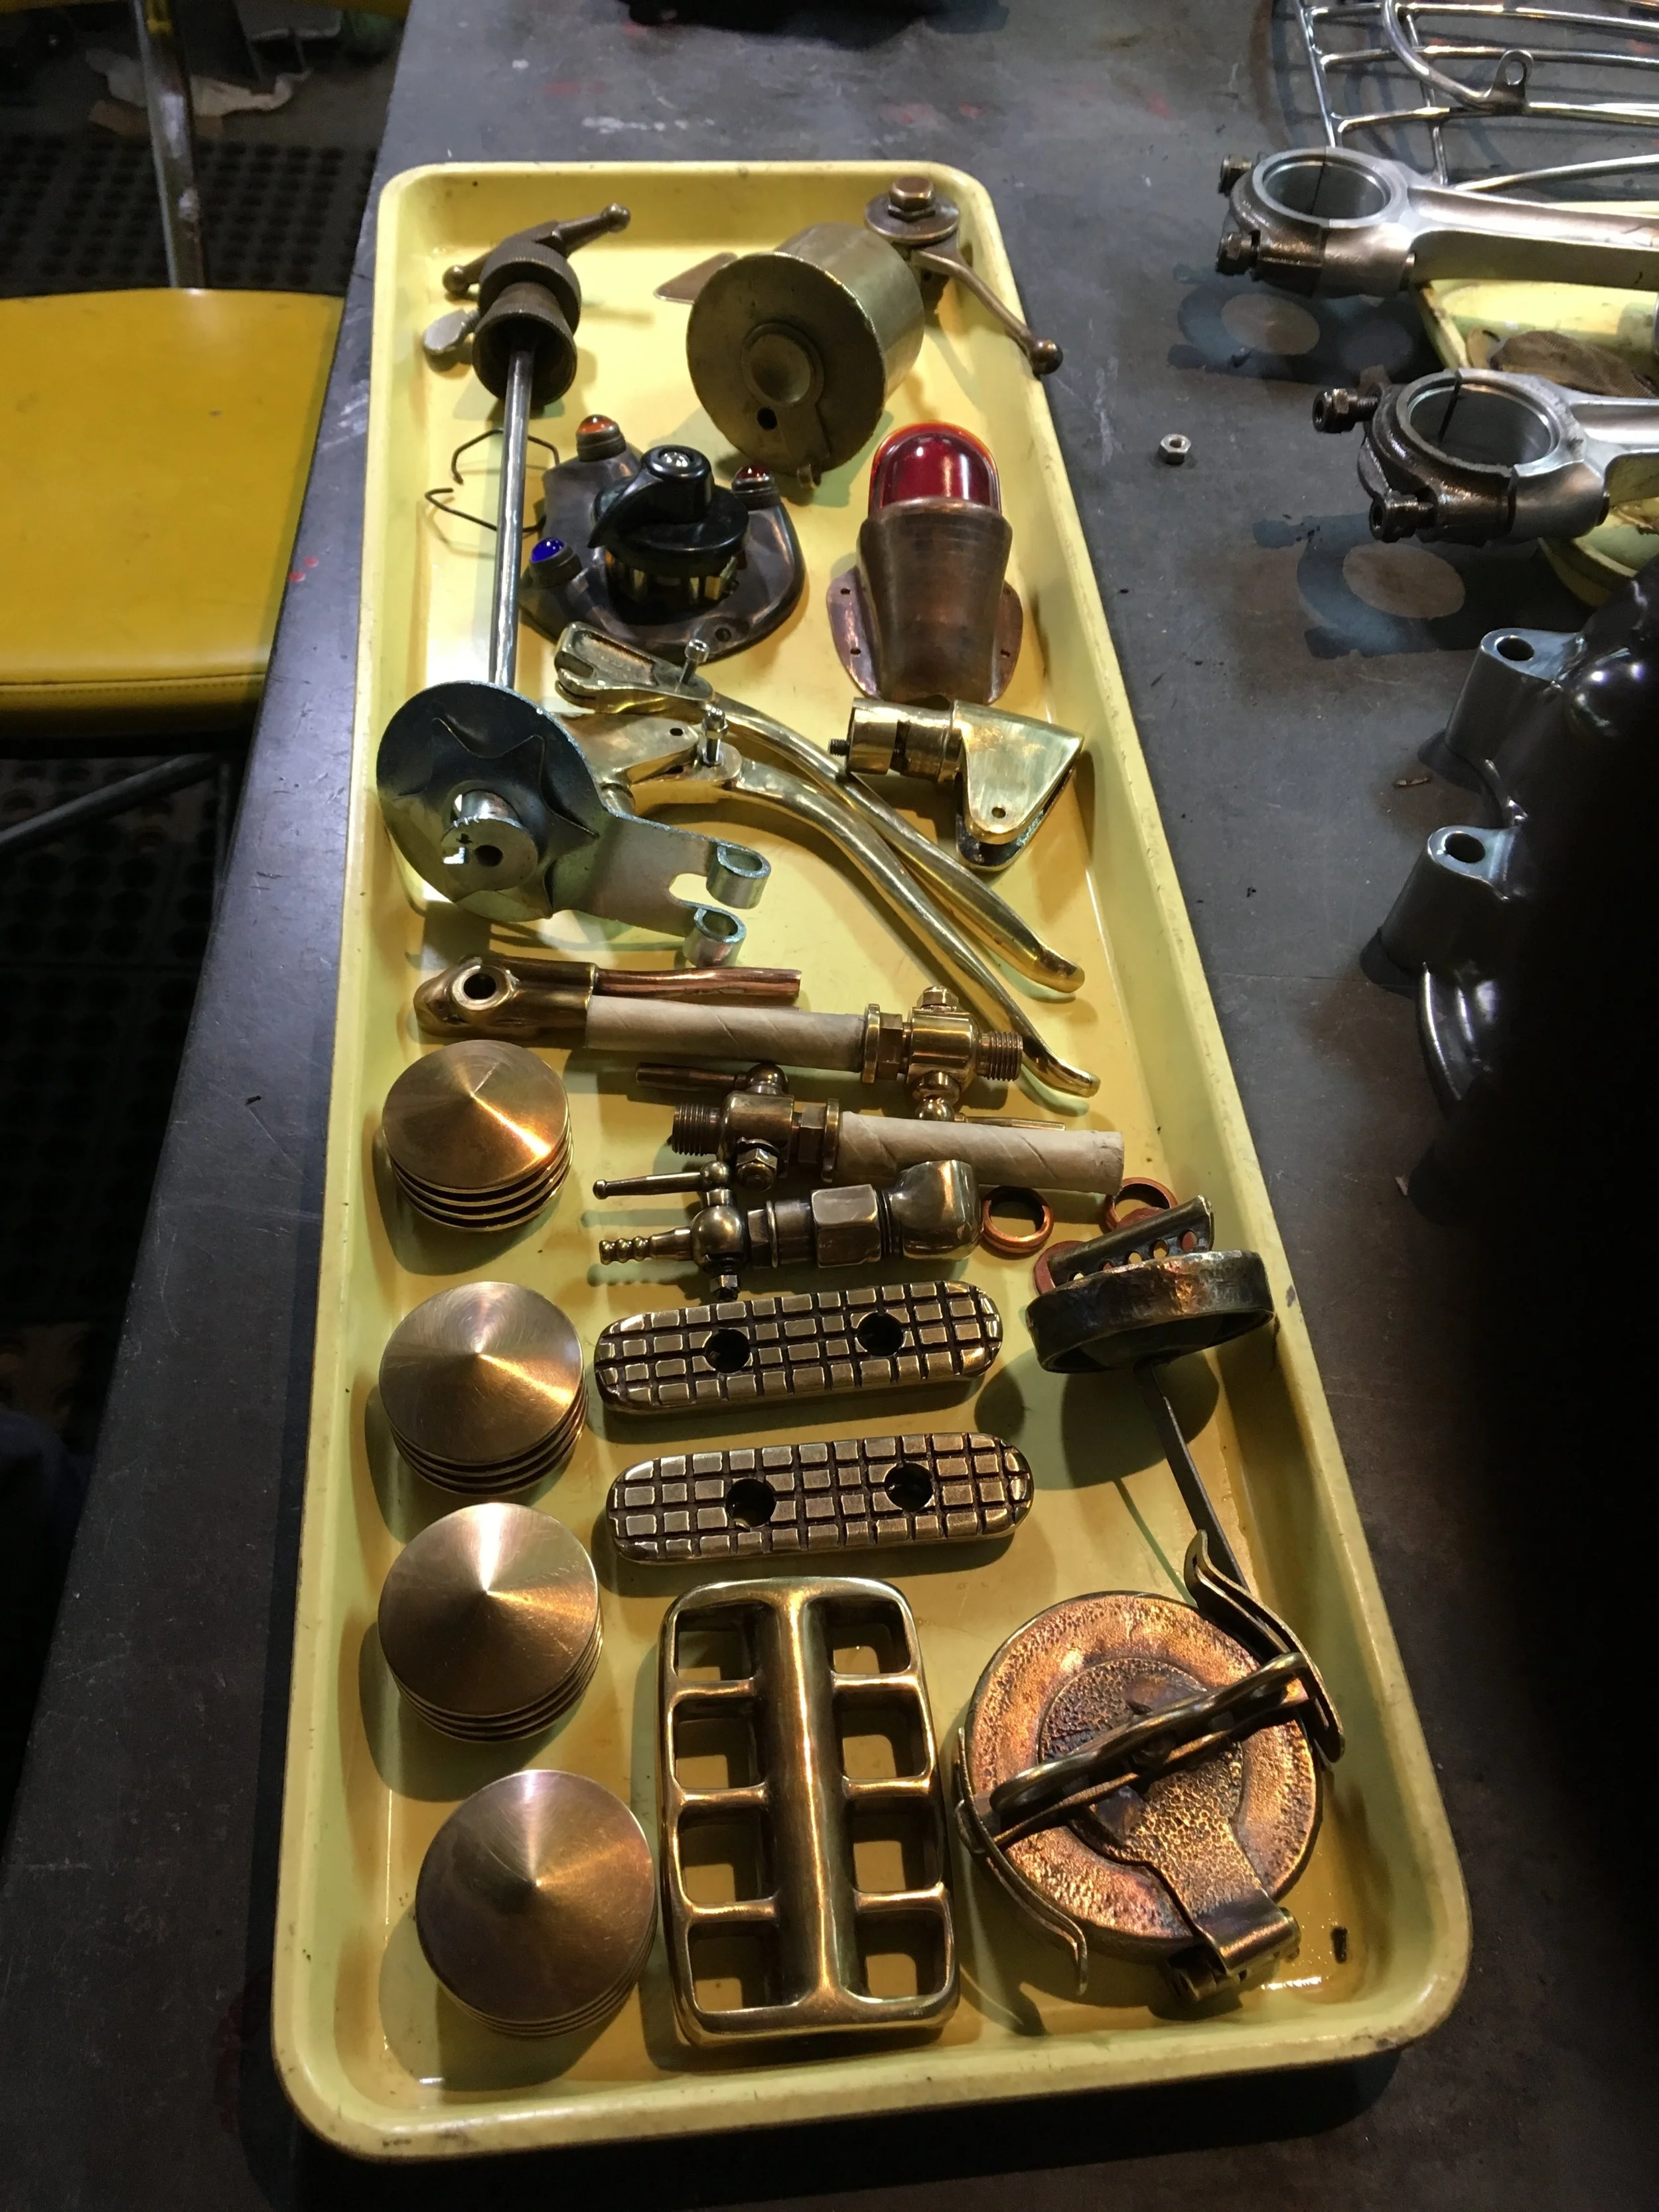
Getting the brass components ready while the other parts of the bike are out for chrome and paint. The patina is being worked on to get everything a little more uniform. The idea is to get everything into a range between amber and light brown.

The four pieces on the left are wearing their time-earned patina and will largely be left alone.

The rocker box covers were an online purchase that went through a good buffing to soften the edges and then darkened.

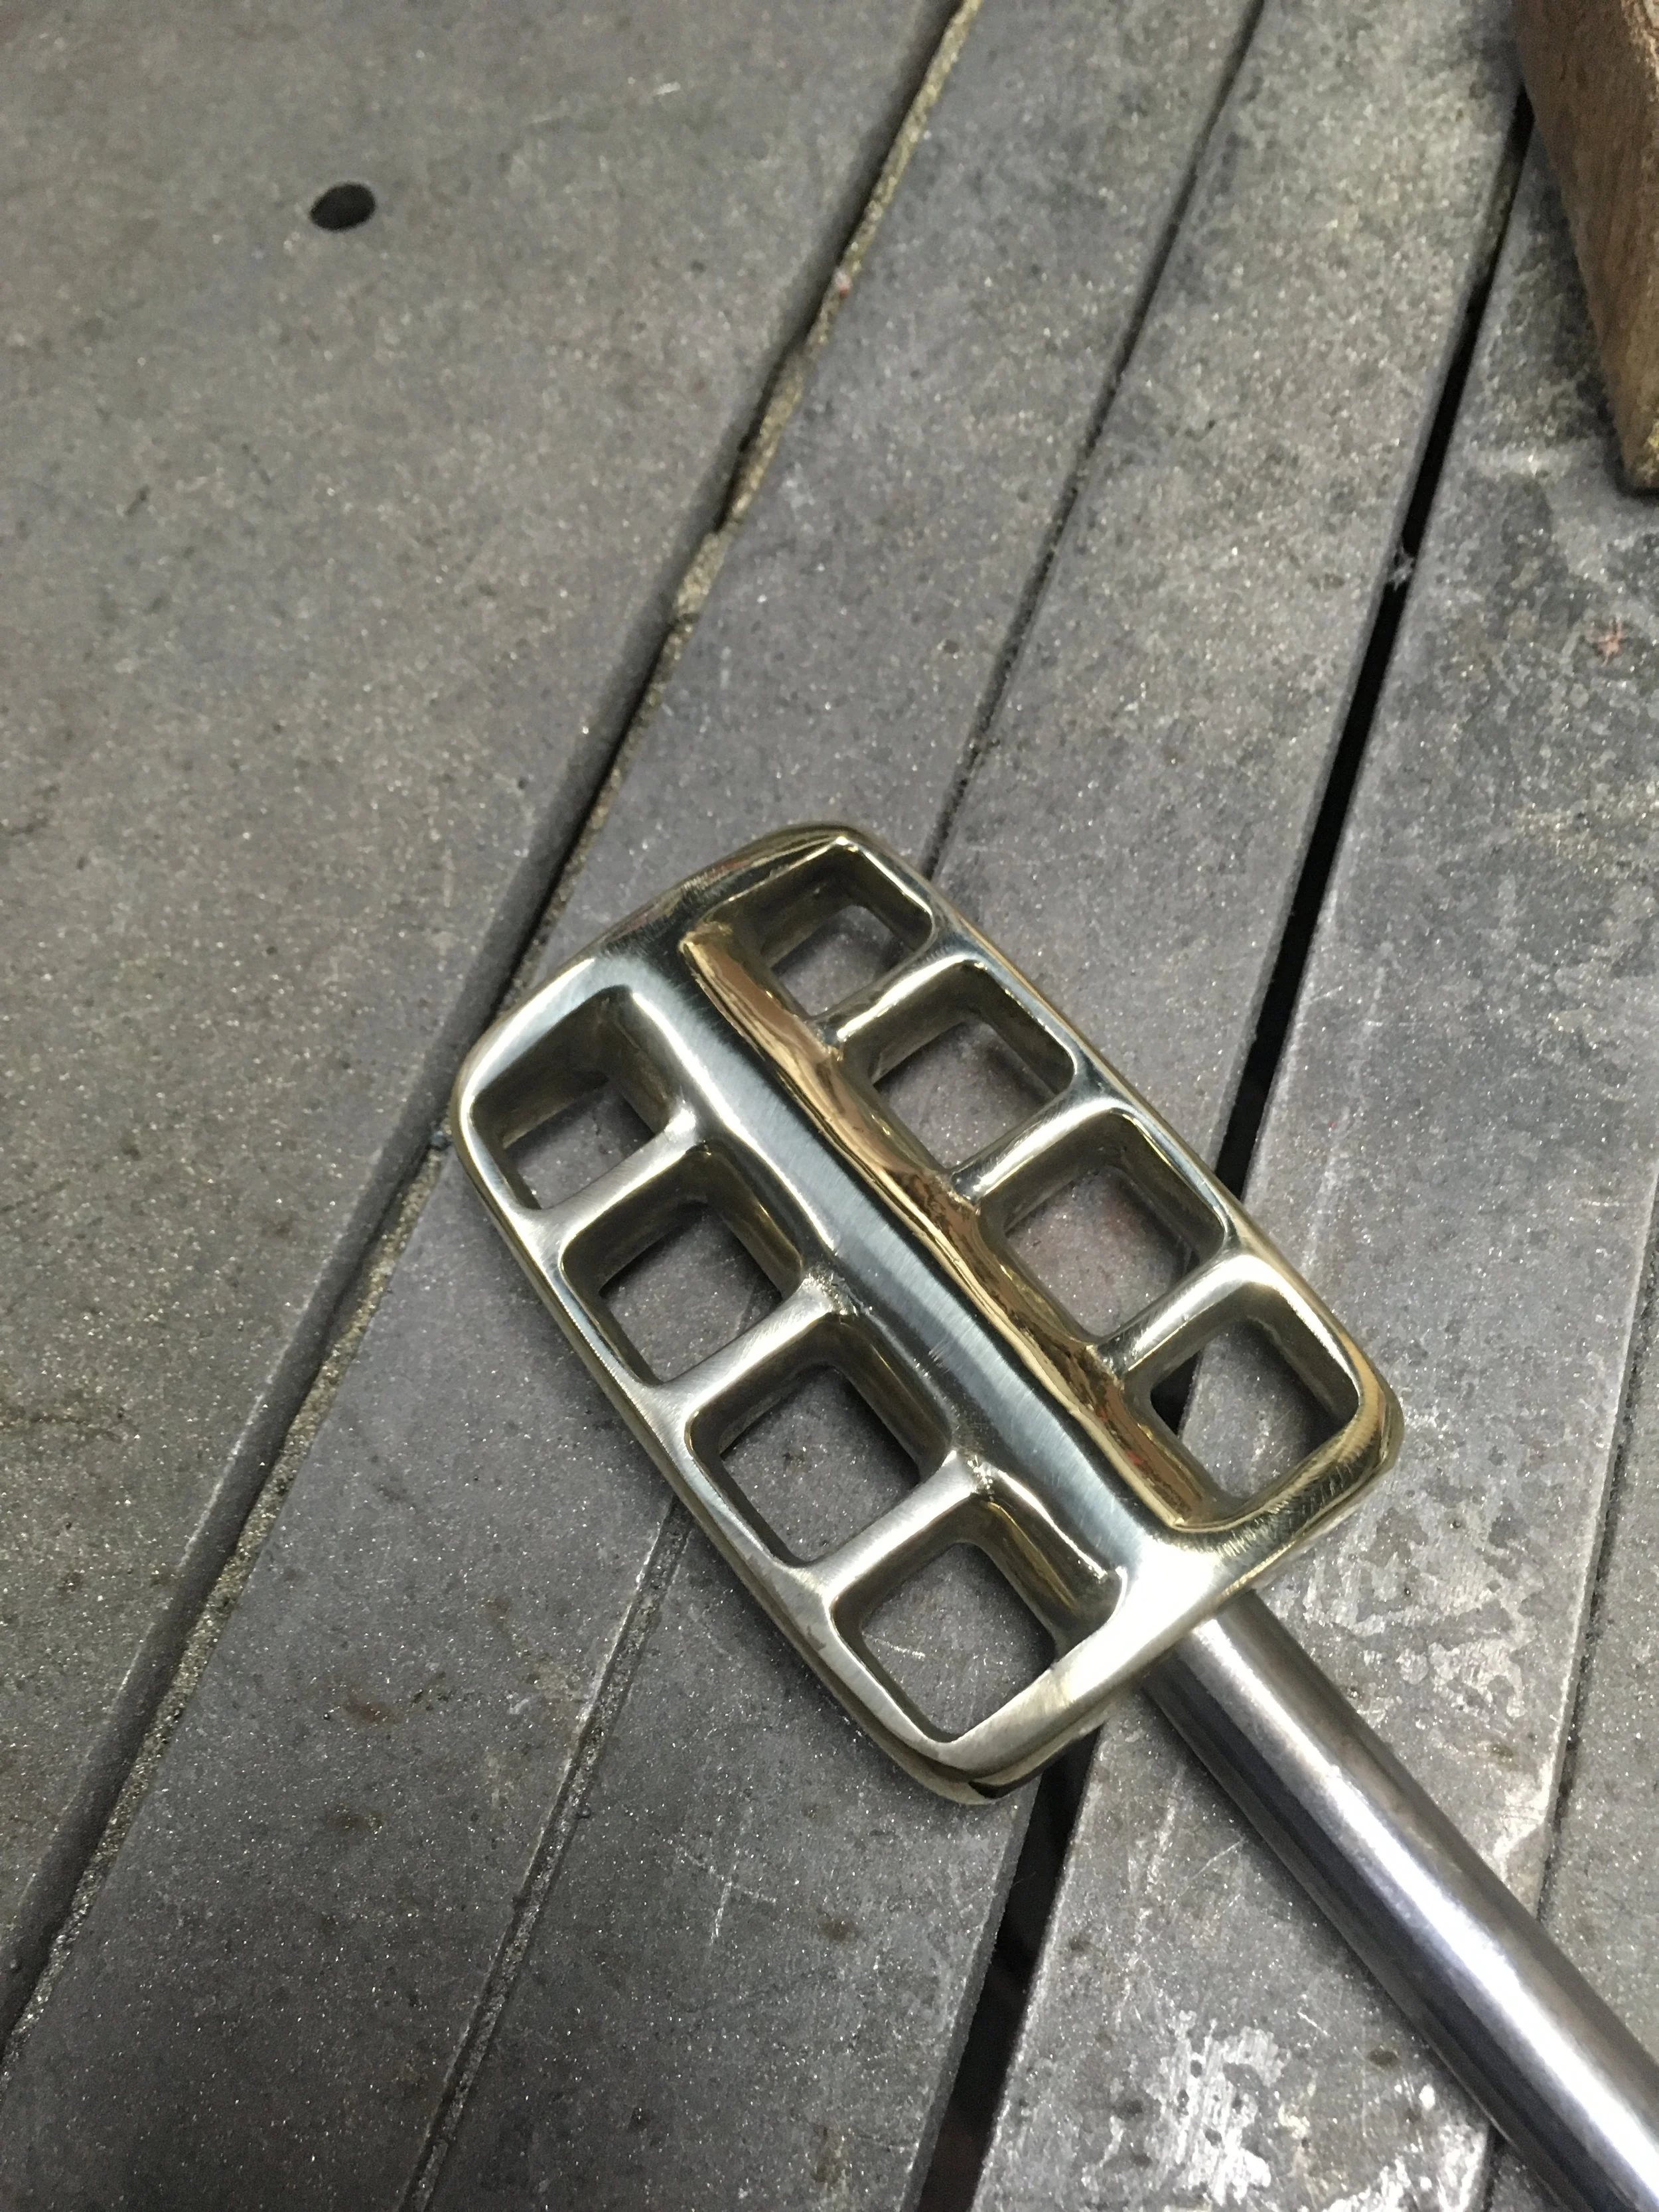
The foot rests were milled to give a little tread. I think these are going to be called the “peanut” treads. The way brass grabs a thin mill bit made for some wandering on the lines, but I like the way it looks.

Another online purchase, this kickstart pedal was ground down and contoured to clean the lines up.
Brass is soft and easy to work and shines up nicely.

This is where it started.

Finally getting some work done on the 1993 H-D FXR. The starter and primary were put back on and these exhaust pipes were fitted.

The new pulleys and drive belt are in place and look to be a good fit. This will allow the rear fender to be cut for belt clearance. The original kickstand was heated and straightened.

Going to modify the rear tank mount to make it follow the frame a little more.

Somewhere they sell a tool that does what this one does, but on a Sunday afternoon, the best solution was to make one. The Vise-grip style clutch tool I usually use does not grab the clutch basket tightly, but this one is very solid and will not slip off.

I forgot to get a picture of the tool in use, but had the chance to get this one after forgetting to put the starter shaft in first, making the primary drive removal necessary one more time.


