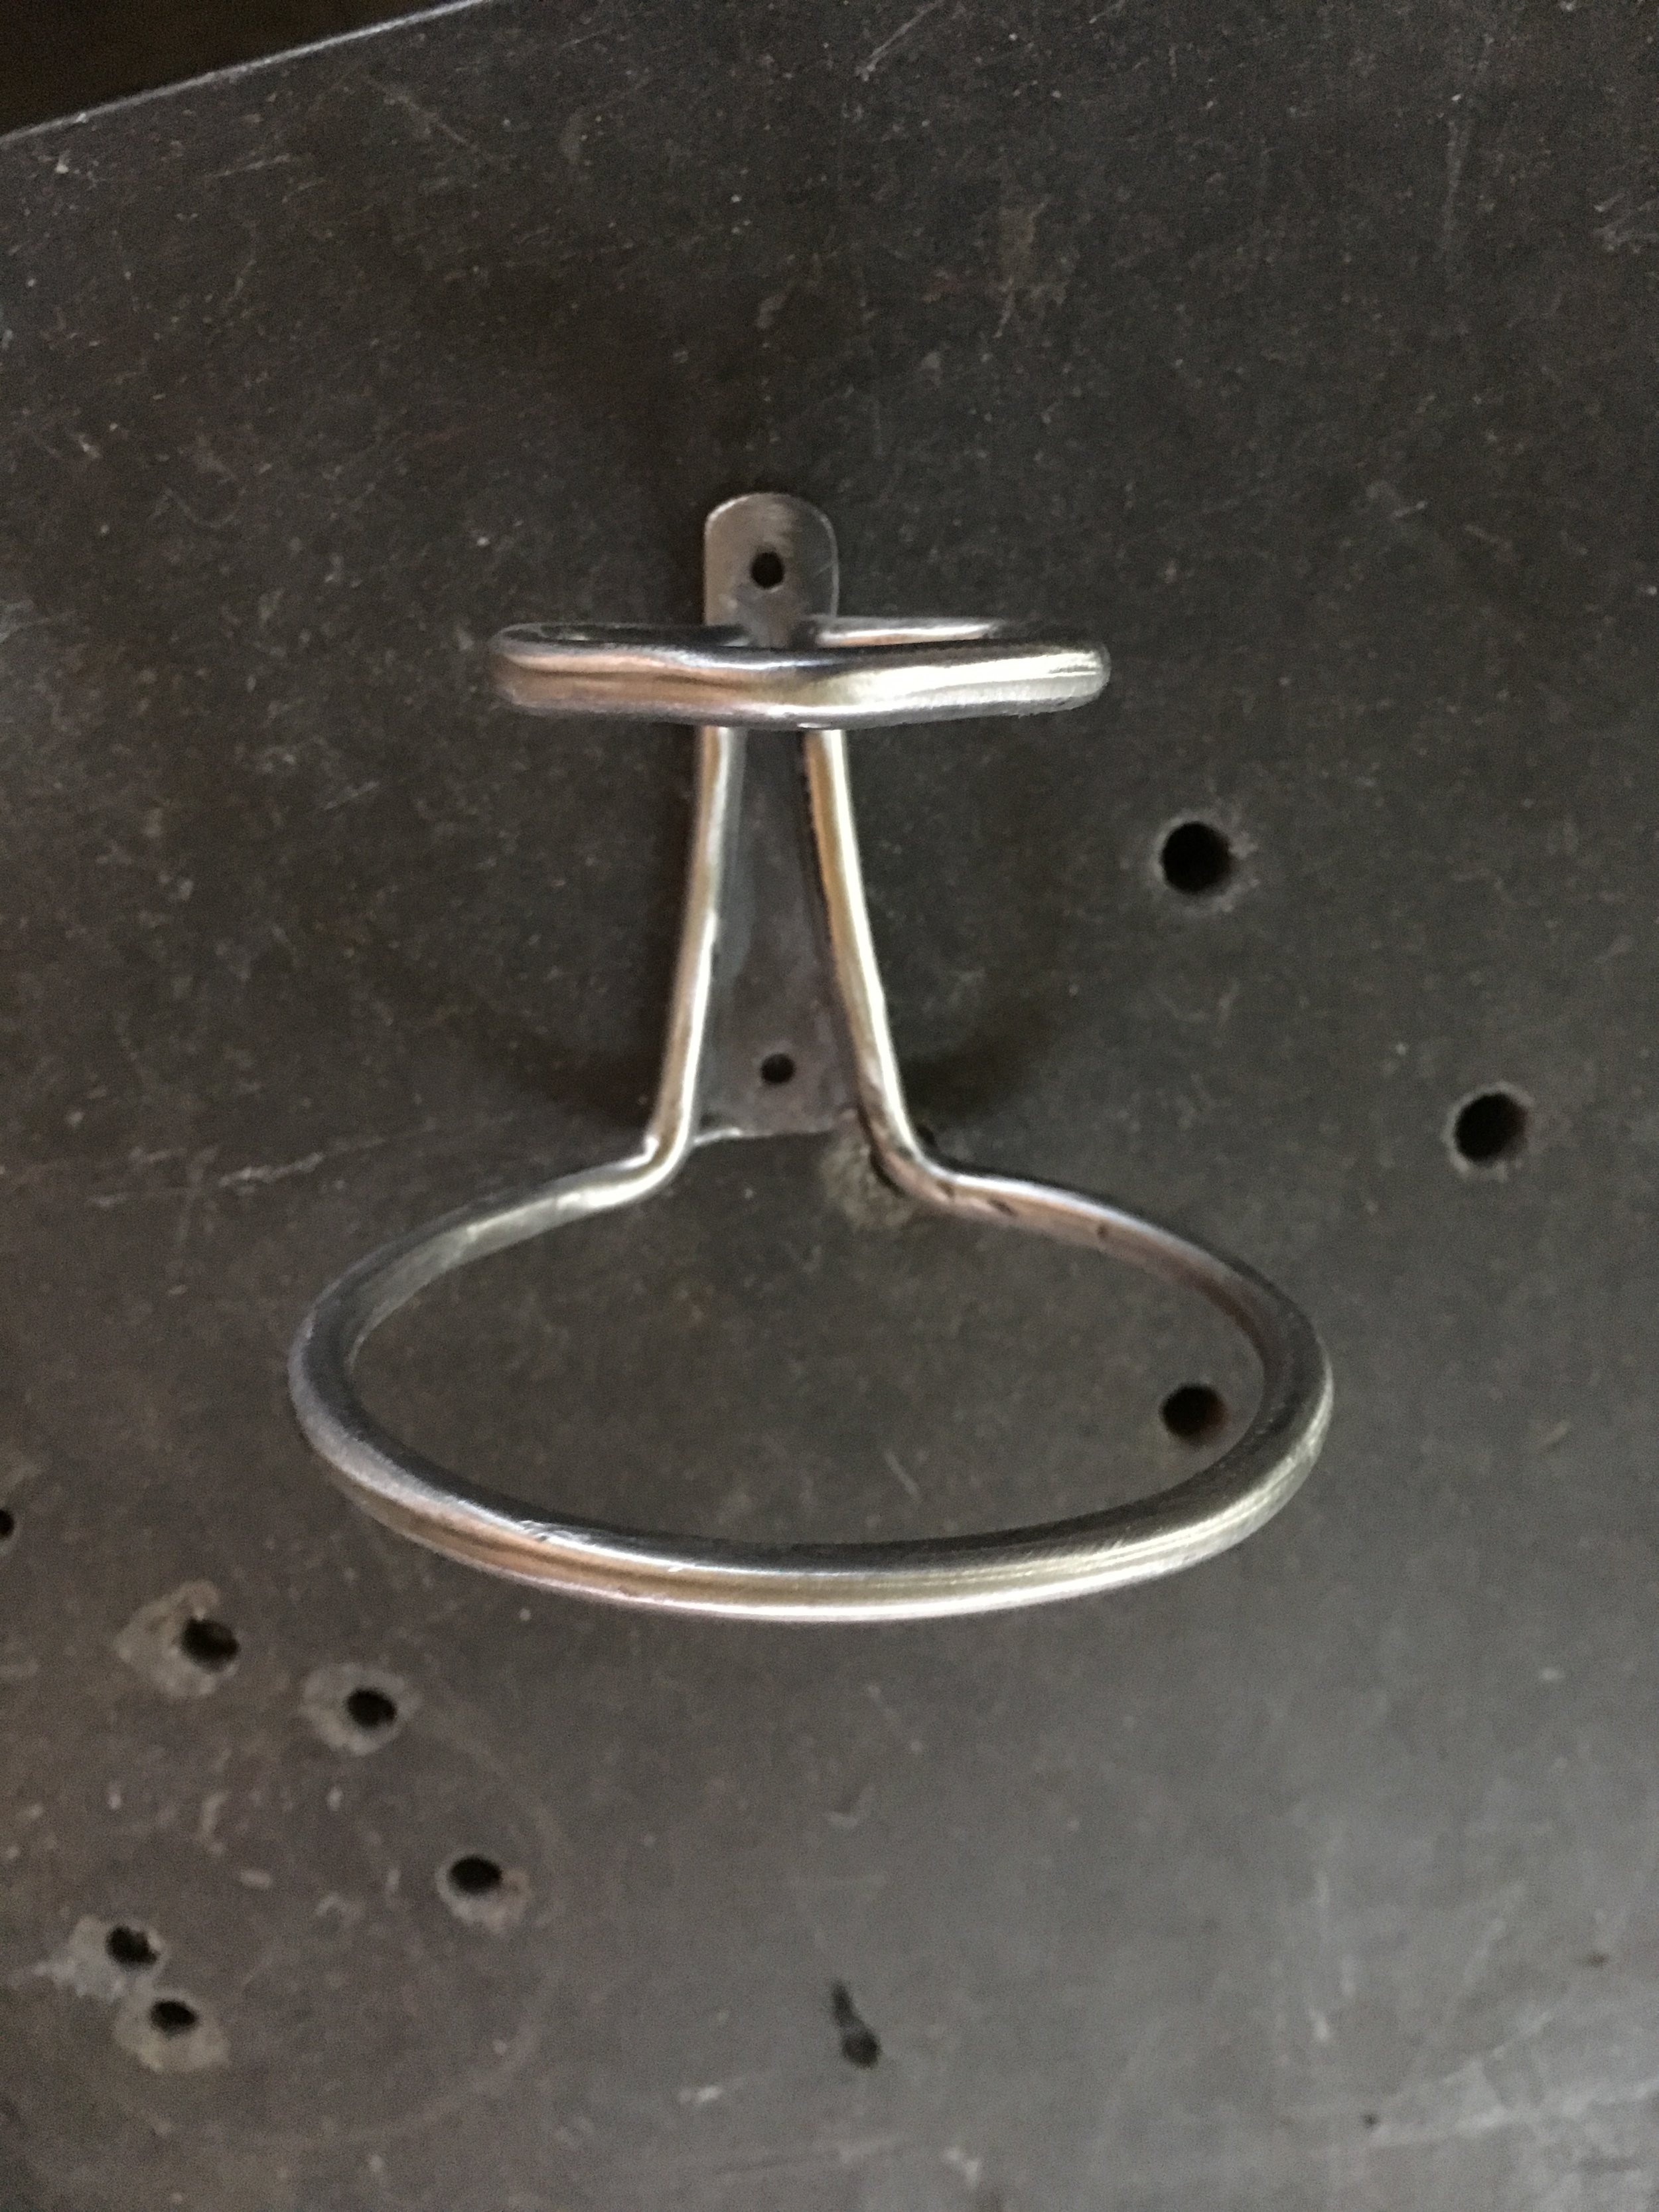
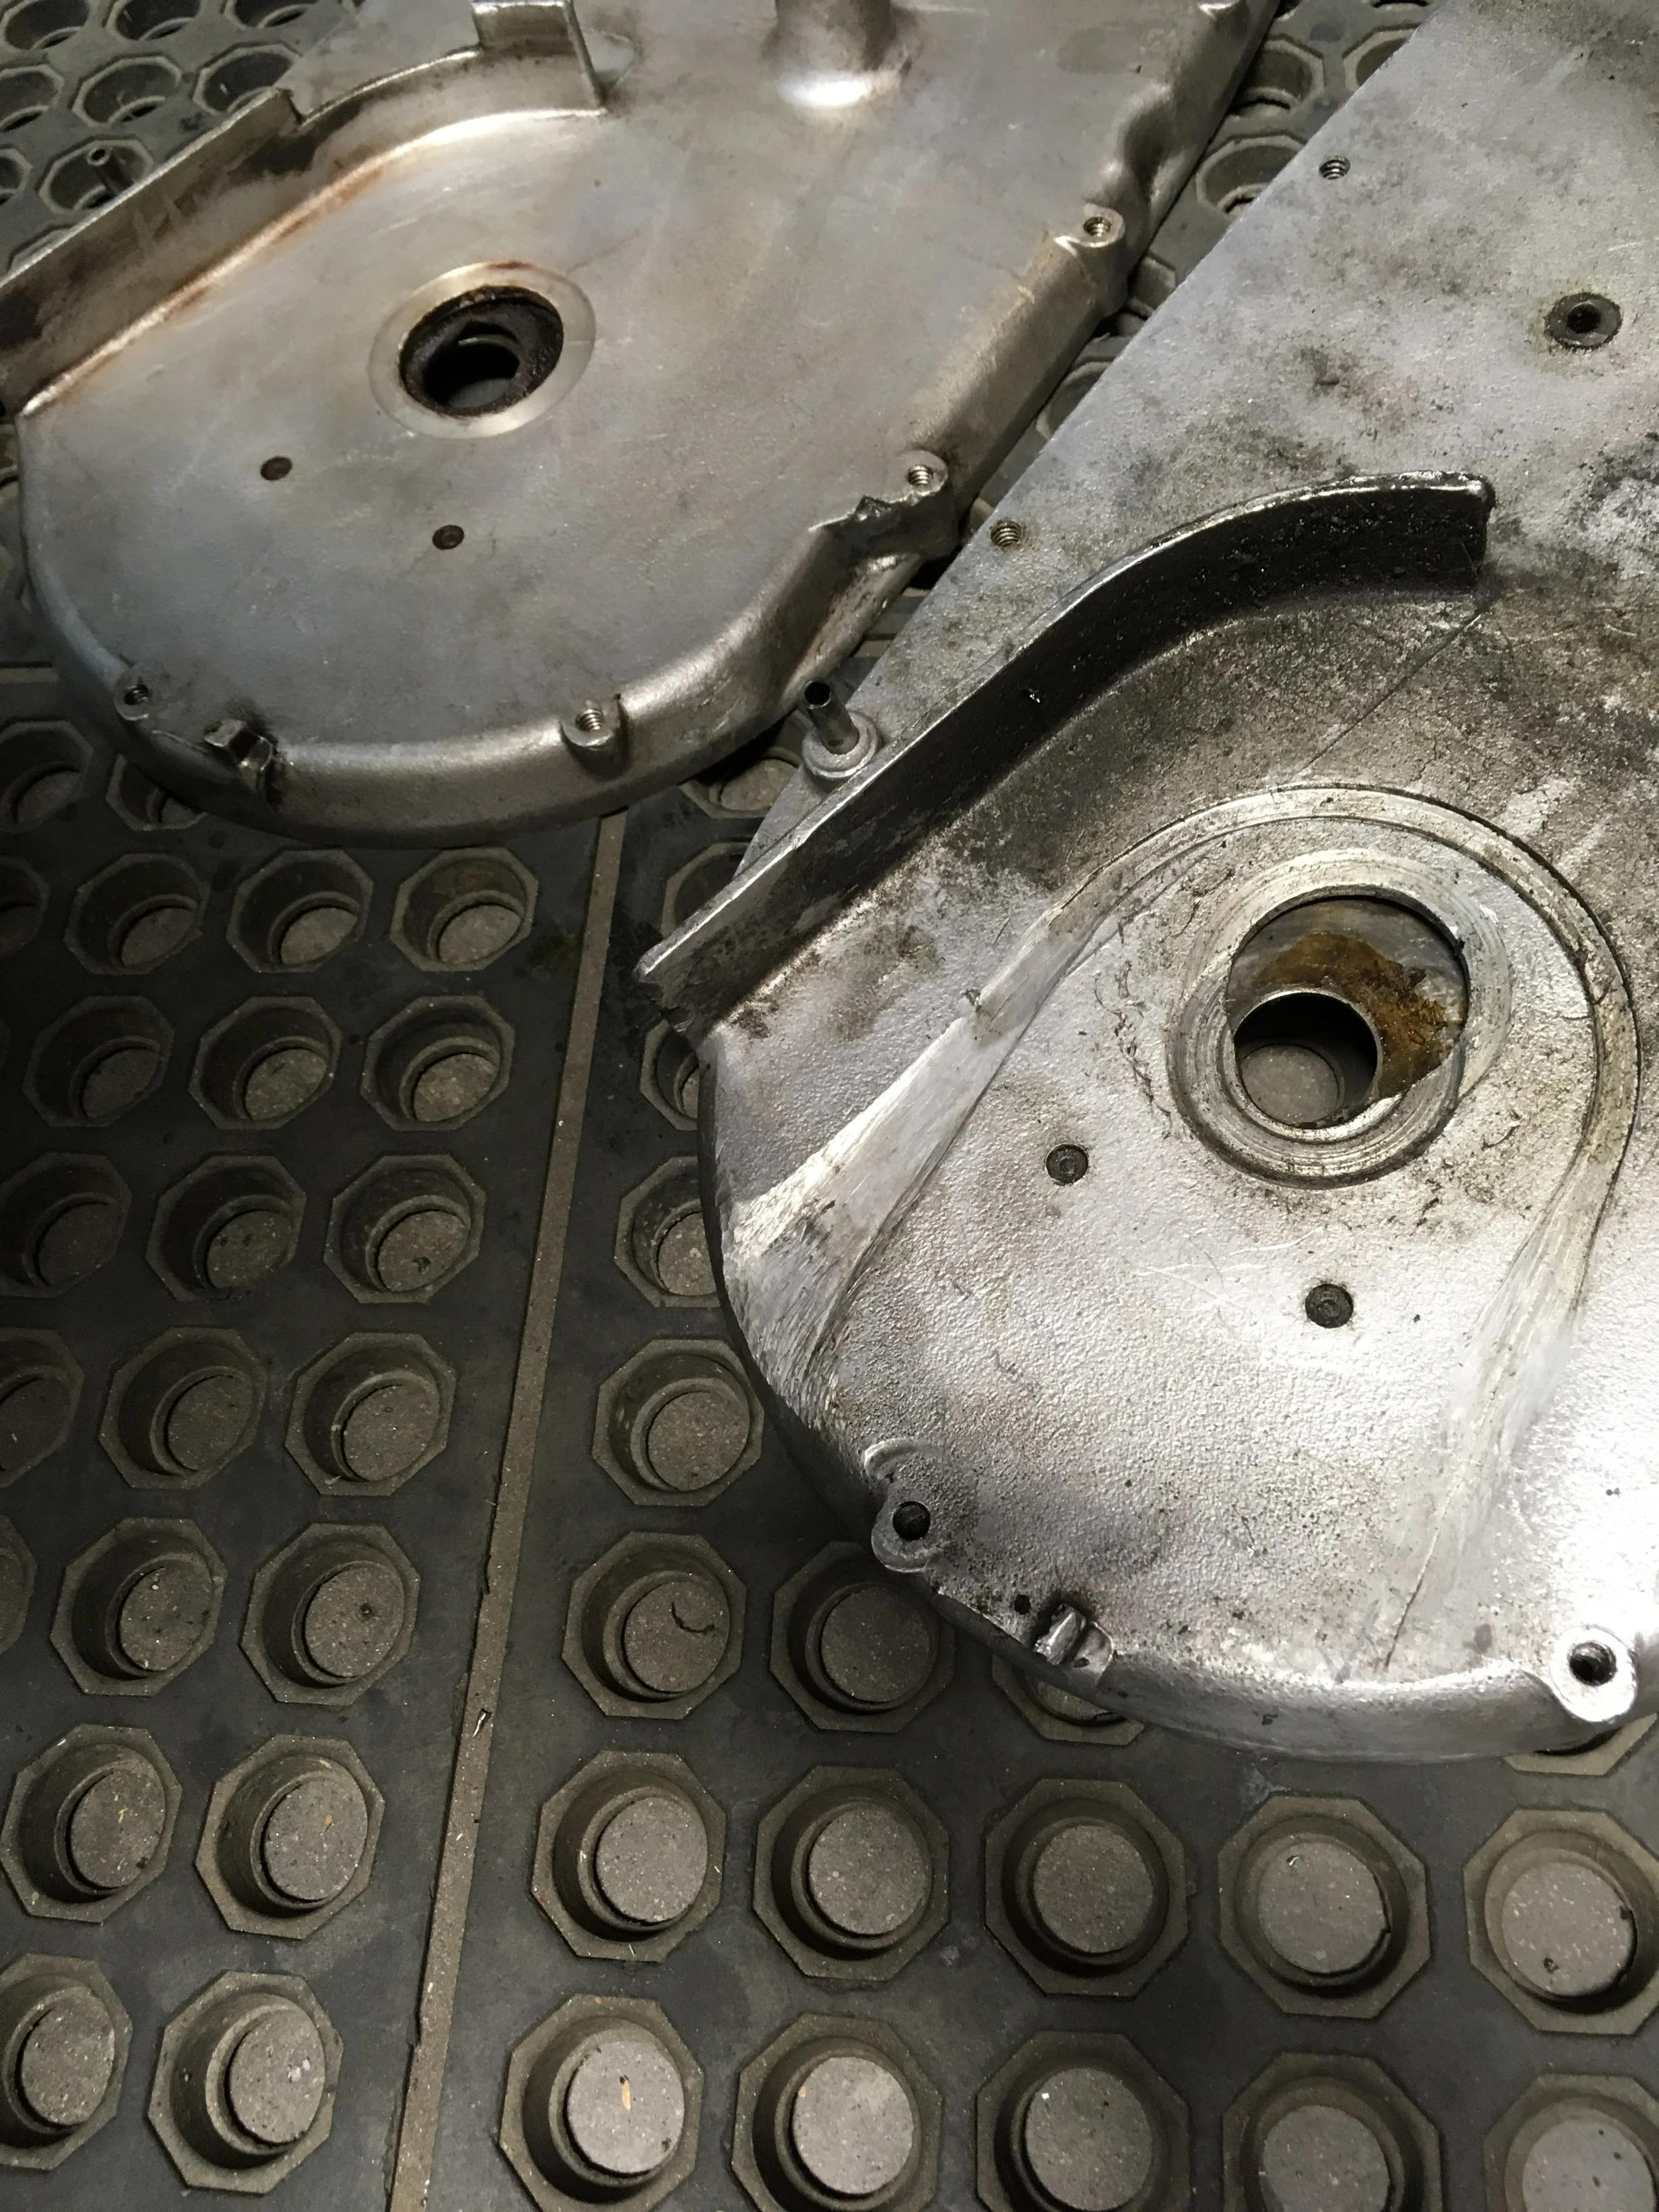
Getting close to having the metal finishing done on the 1957 Triumph Freebird bike. The majority of parts are at the chrome shop, but some last minute parts still need to be chromed. Because the rim on the rear wheel brake panel was a little banged up and had been plated before (the previous plater probably buffed the steel to the point it is thin and easily bent,) it was replaced with a new one. The replacement was an aftermarket new unit that came painted and appeared to be a decent reproduction at a price of $145.
After stripping and drilling it out, it was obvious that the wheel panel rim was poorly aligned. Perhaps if I had noticed this before touching it, I would have sent it back and searched for a nice original one, but at this point I was committed to figure something out. There is an arm that mostly covers this area to the point it is barely visible on the assembled bike, but it cannot be left like this when so much effort has gone into making the rest of the bike right. When the rim was separated from the plate, none of the surface texture appeared beneath the rim, meaning the texture was from blasting after the parts were assembled, probably to prep for paint.

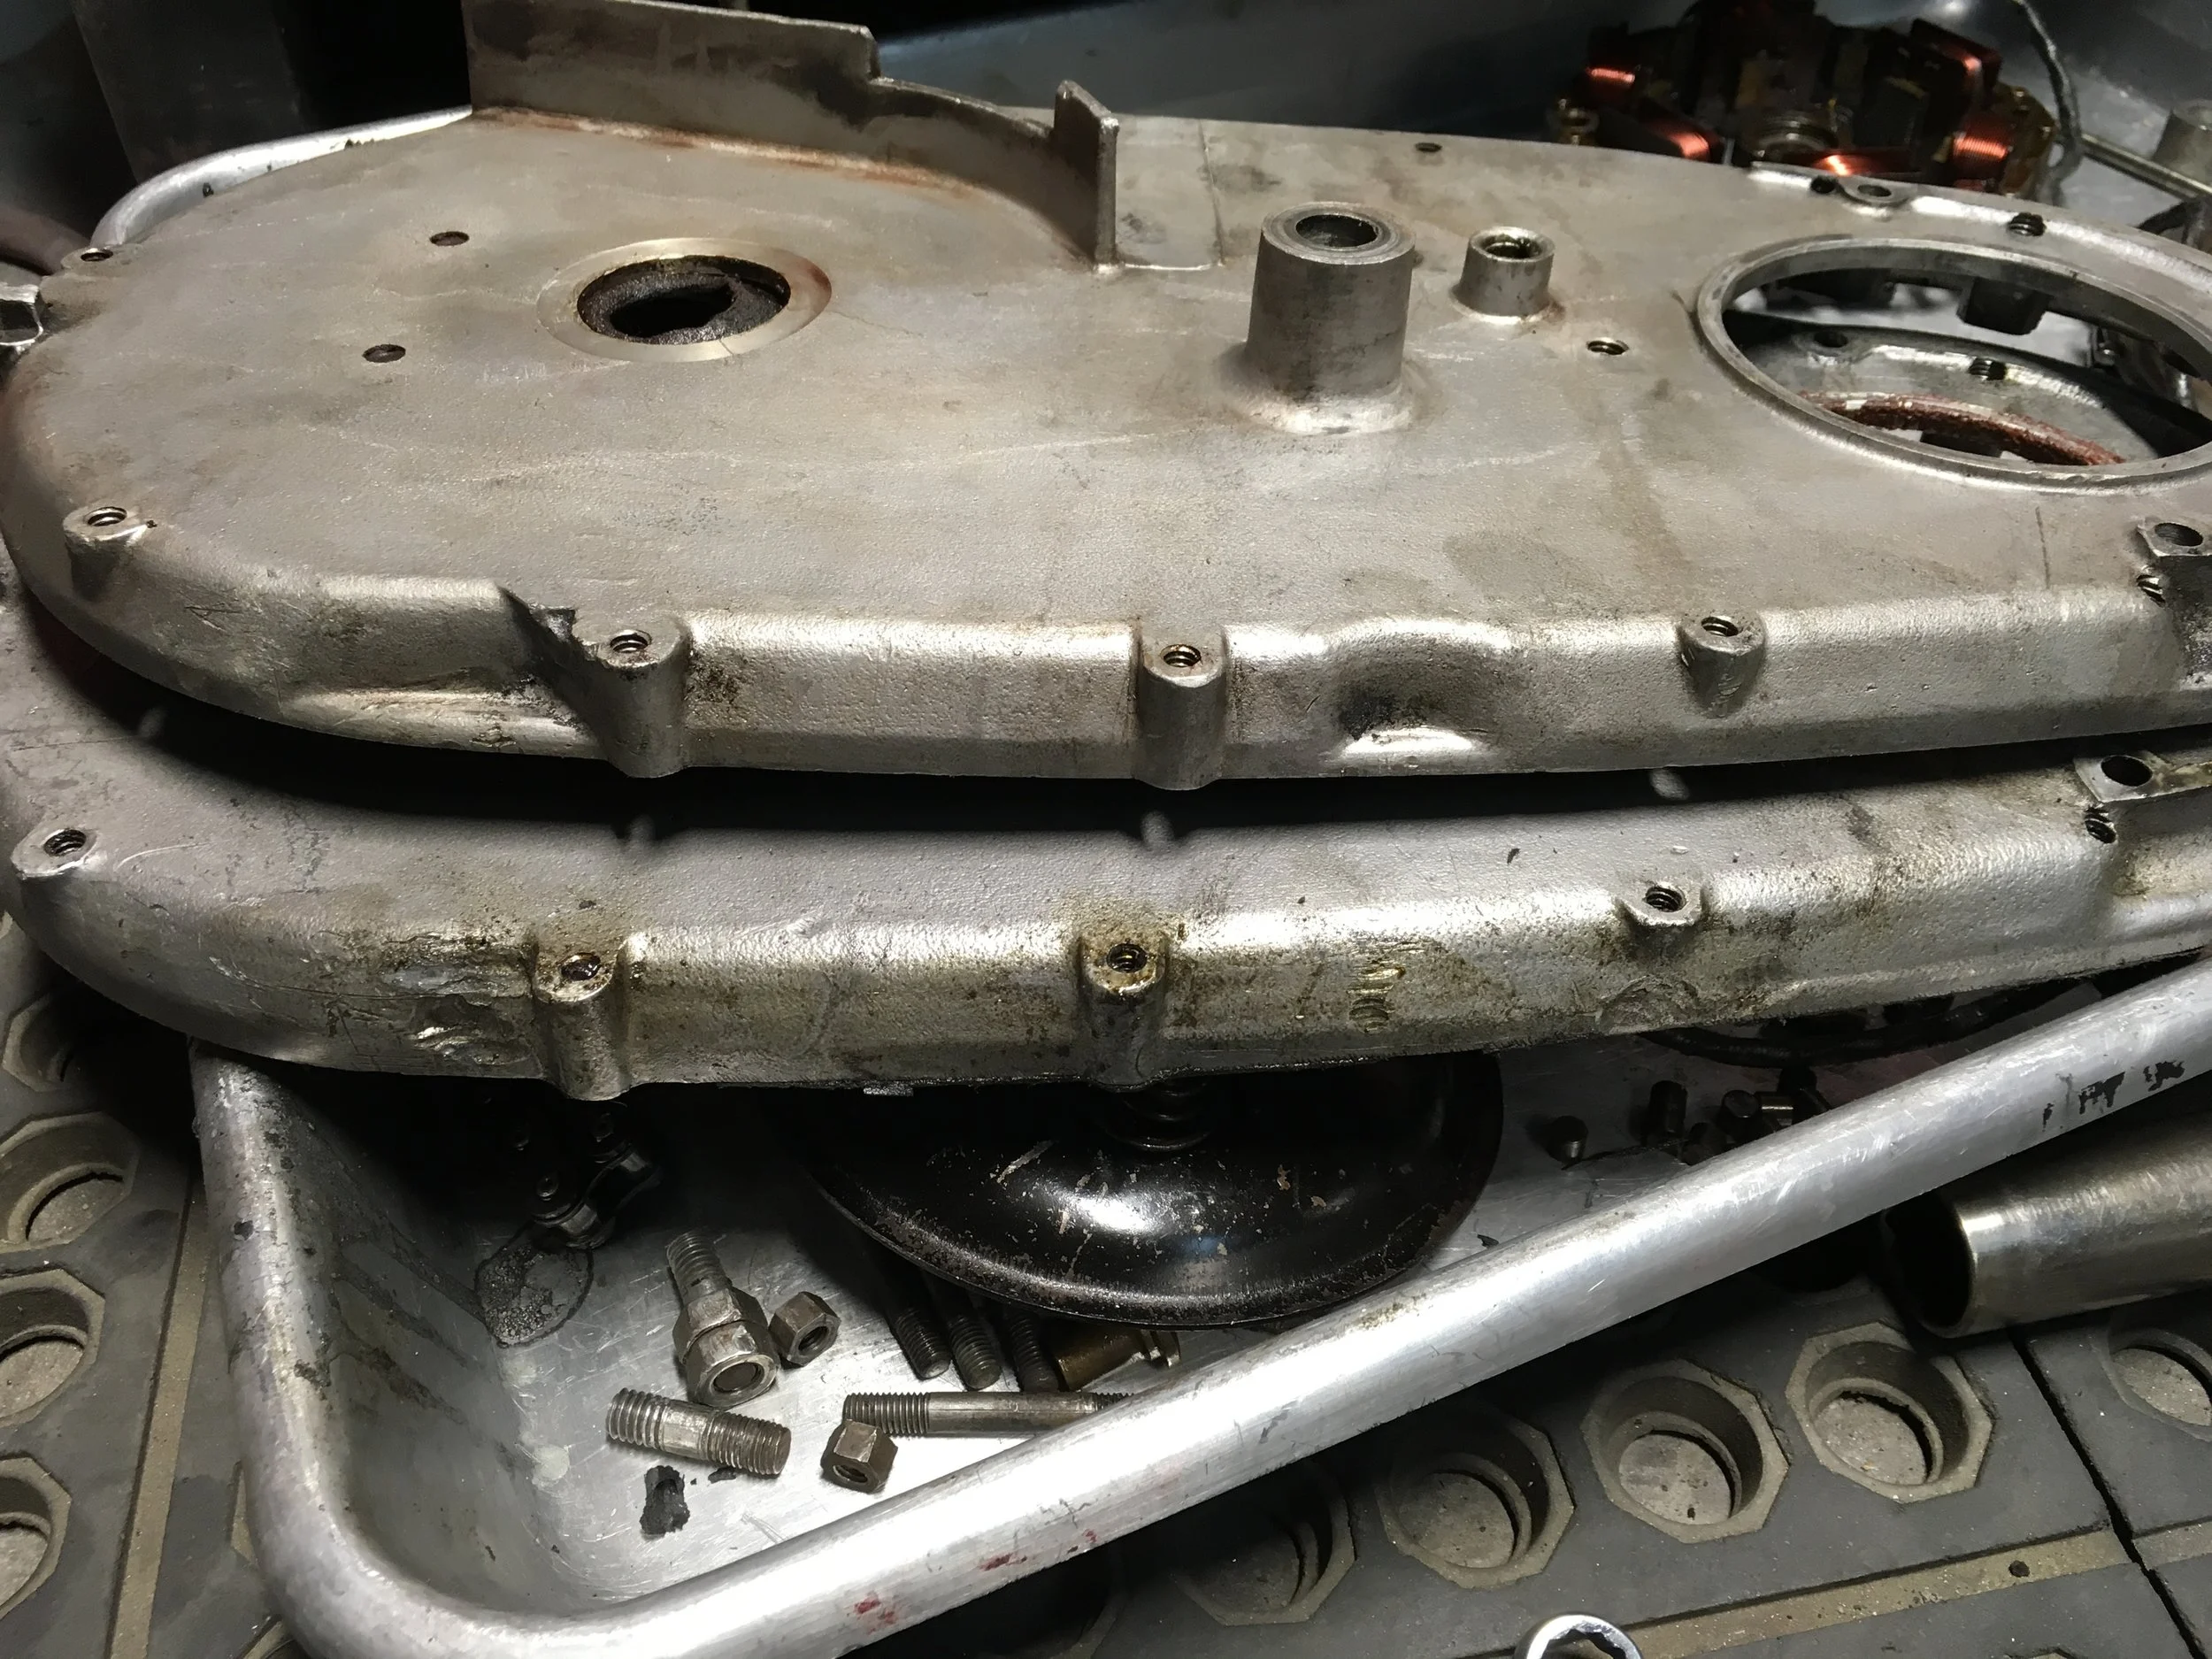
The spot-welds on the rim were drilled out and the rim rotated to align it better, but there was no way to make it fit correctly around all the posts, so the area around the threaded post seen at the top of the picture was ground a little to make it look right. Looking into the drilled holes on the rim, you can see how far off the rim was rotated from the backing plate.

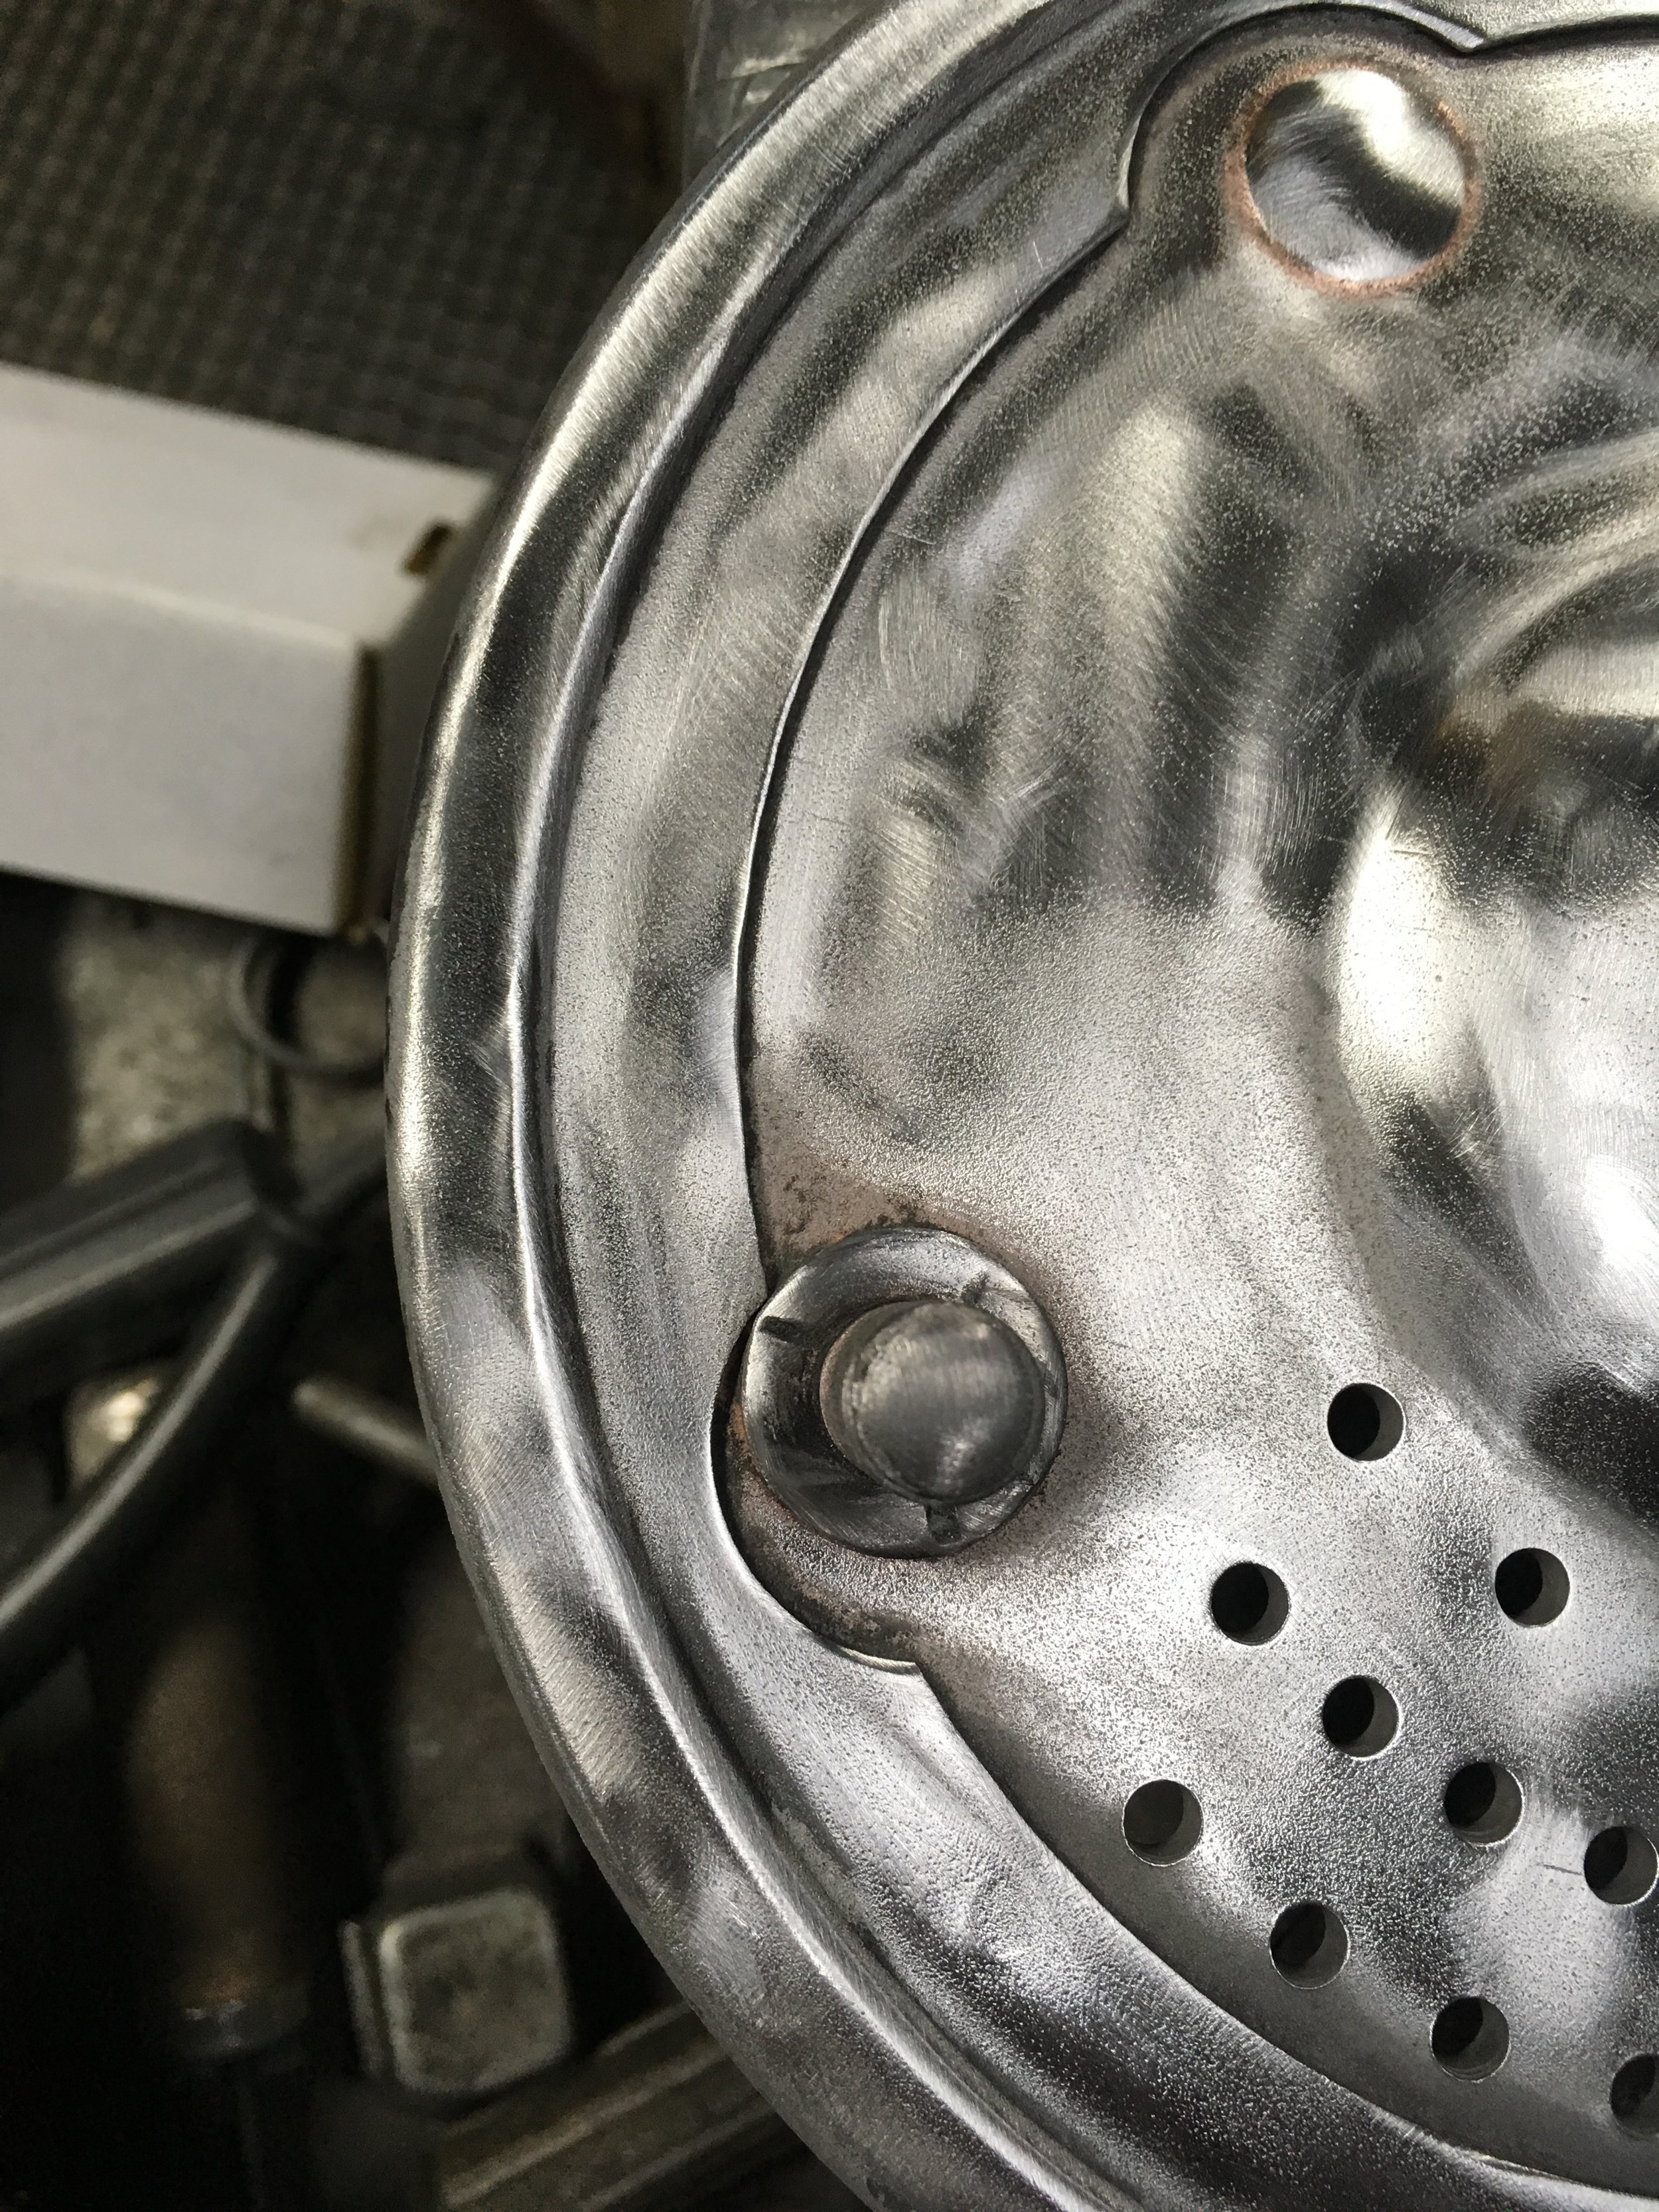
After welding and grinding, it is as if nothing was ever done. The added benefit to separating the ring from the plate was that it was easier to polish out the sand-blast texture with the ring removed, and that after welding, there are no divots from the spot-welds present.

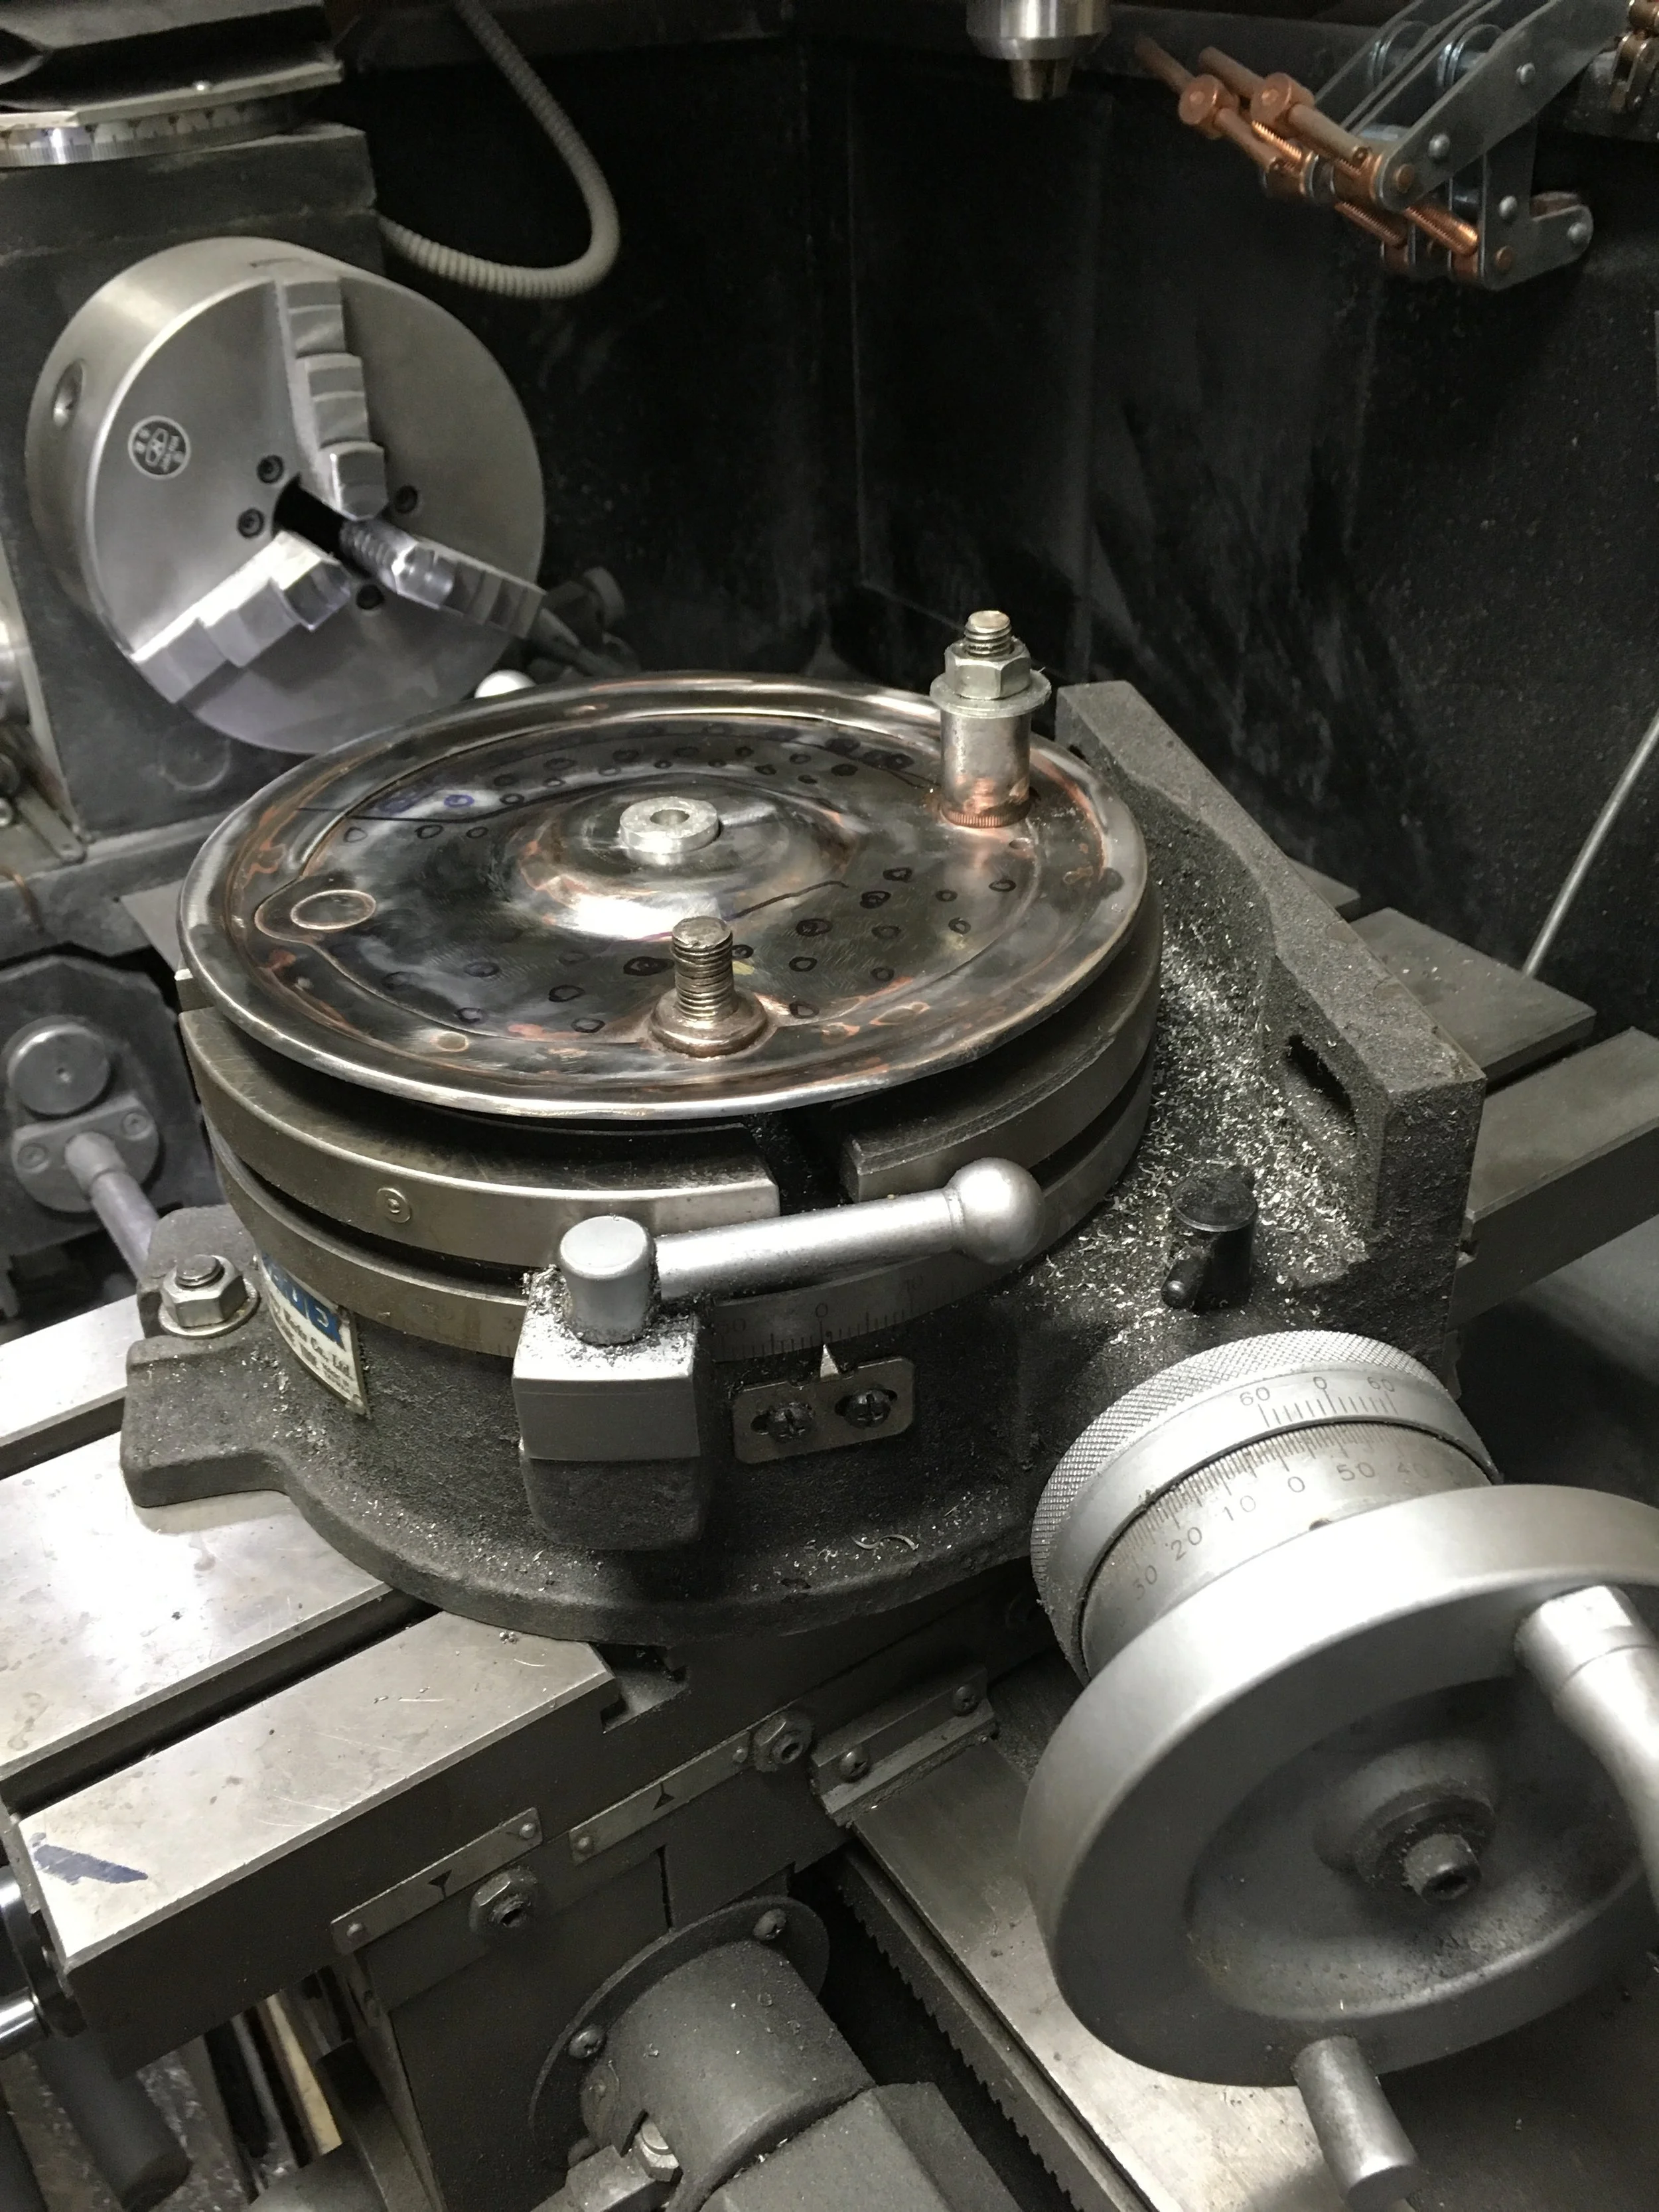
Once again, a brand new Triumph Bonneville rear wheel brake drum fresh out of the box. This will be sent to chrome, but needs polishing.

The drum was first put on the lathe, and a considerable wobble could be seen on the rear surface while the machined inner side ran straight and true. After it was evened up, the surfaces were worked to get the remainder of the drum smoothed out and polished. Around the five o’clock on the drum there is an area of casting inclusions that will need filling.

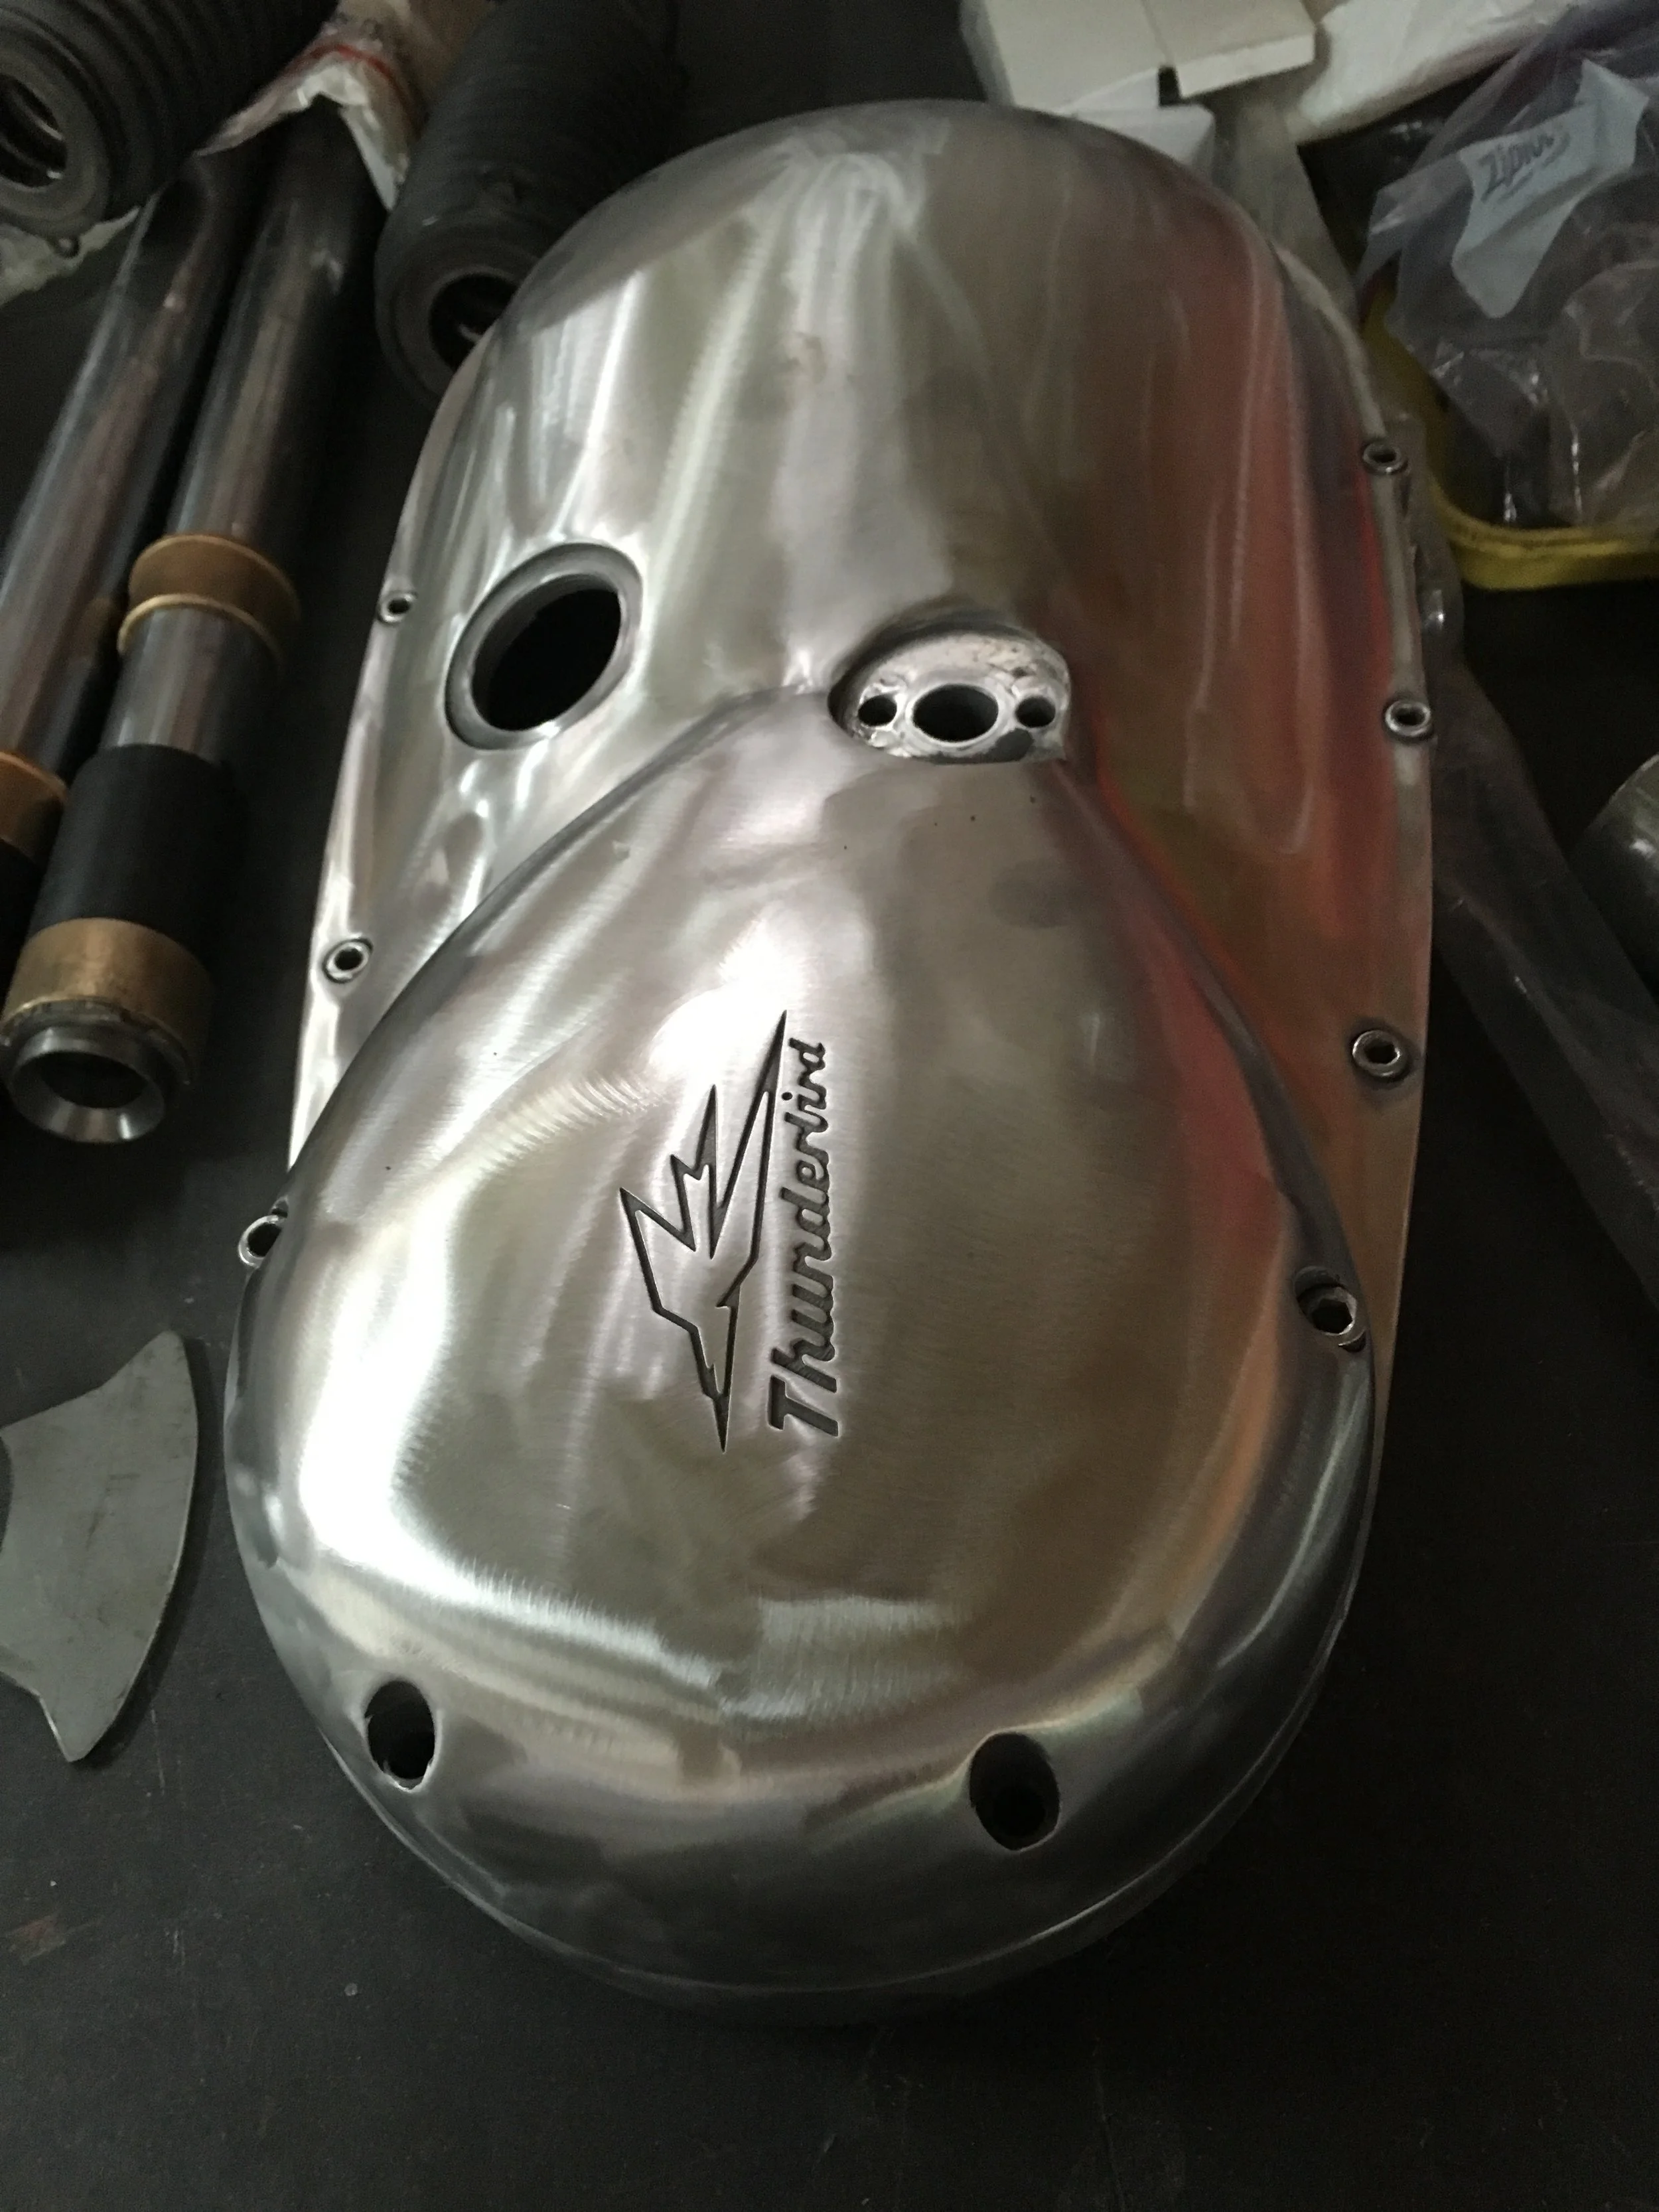
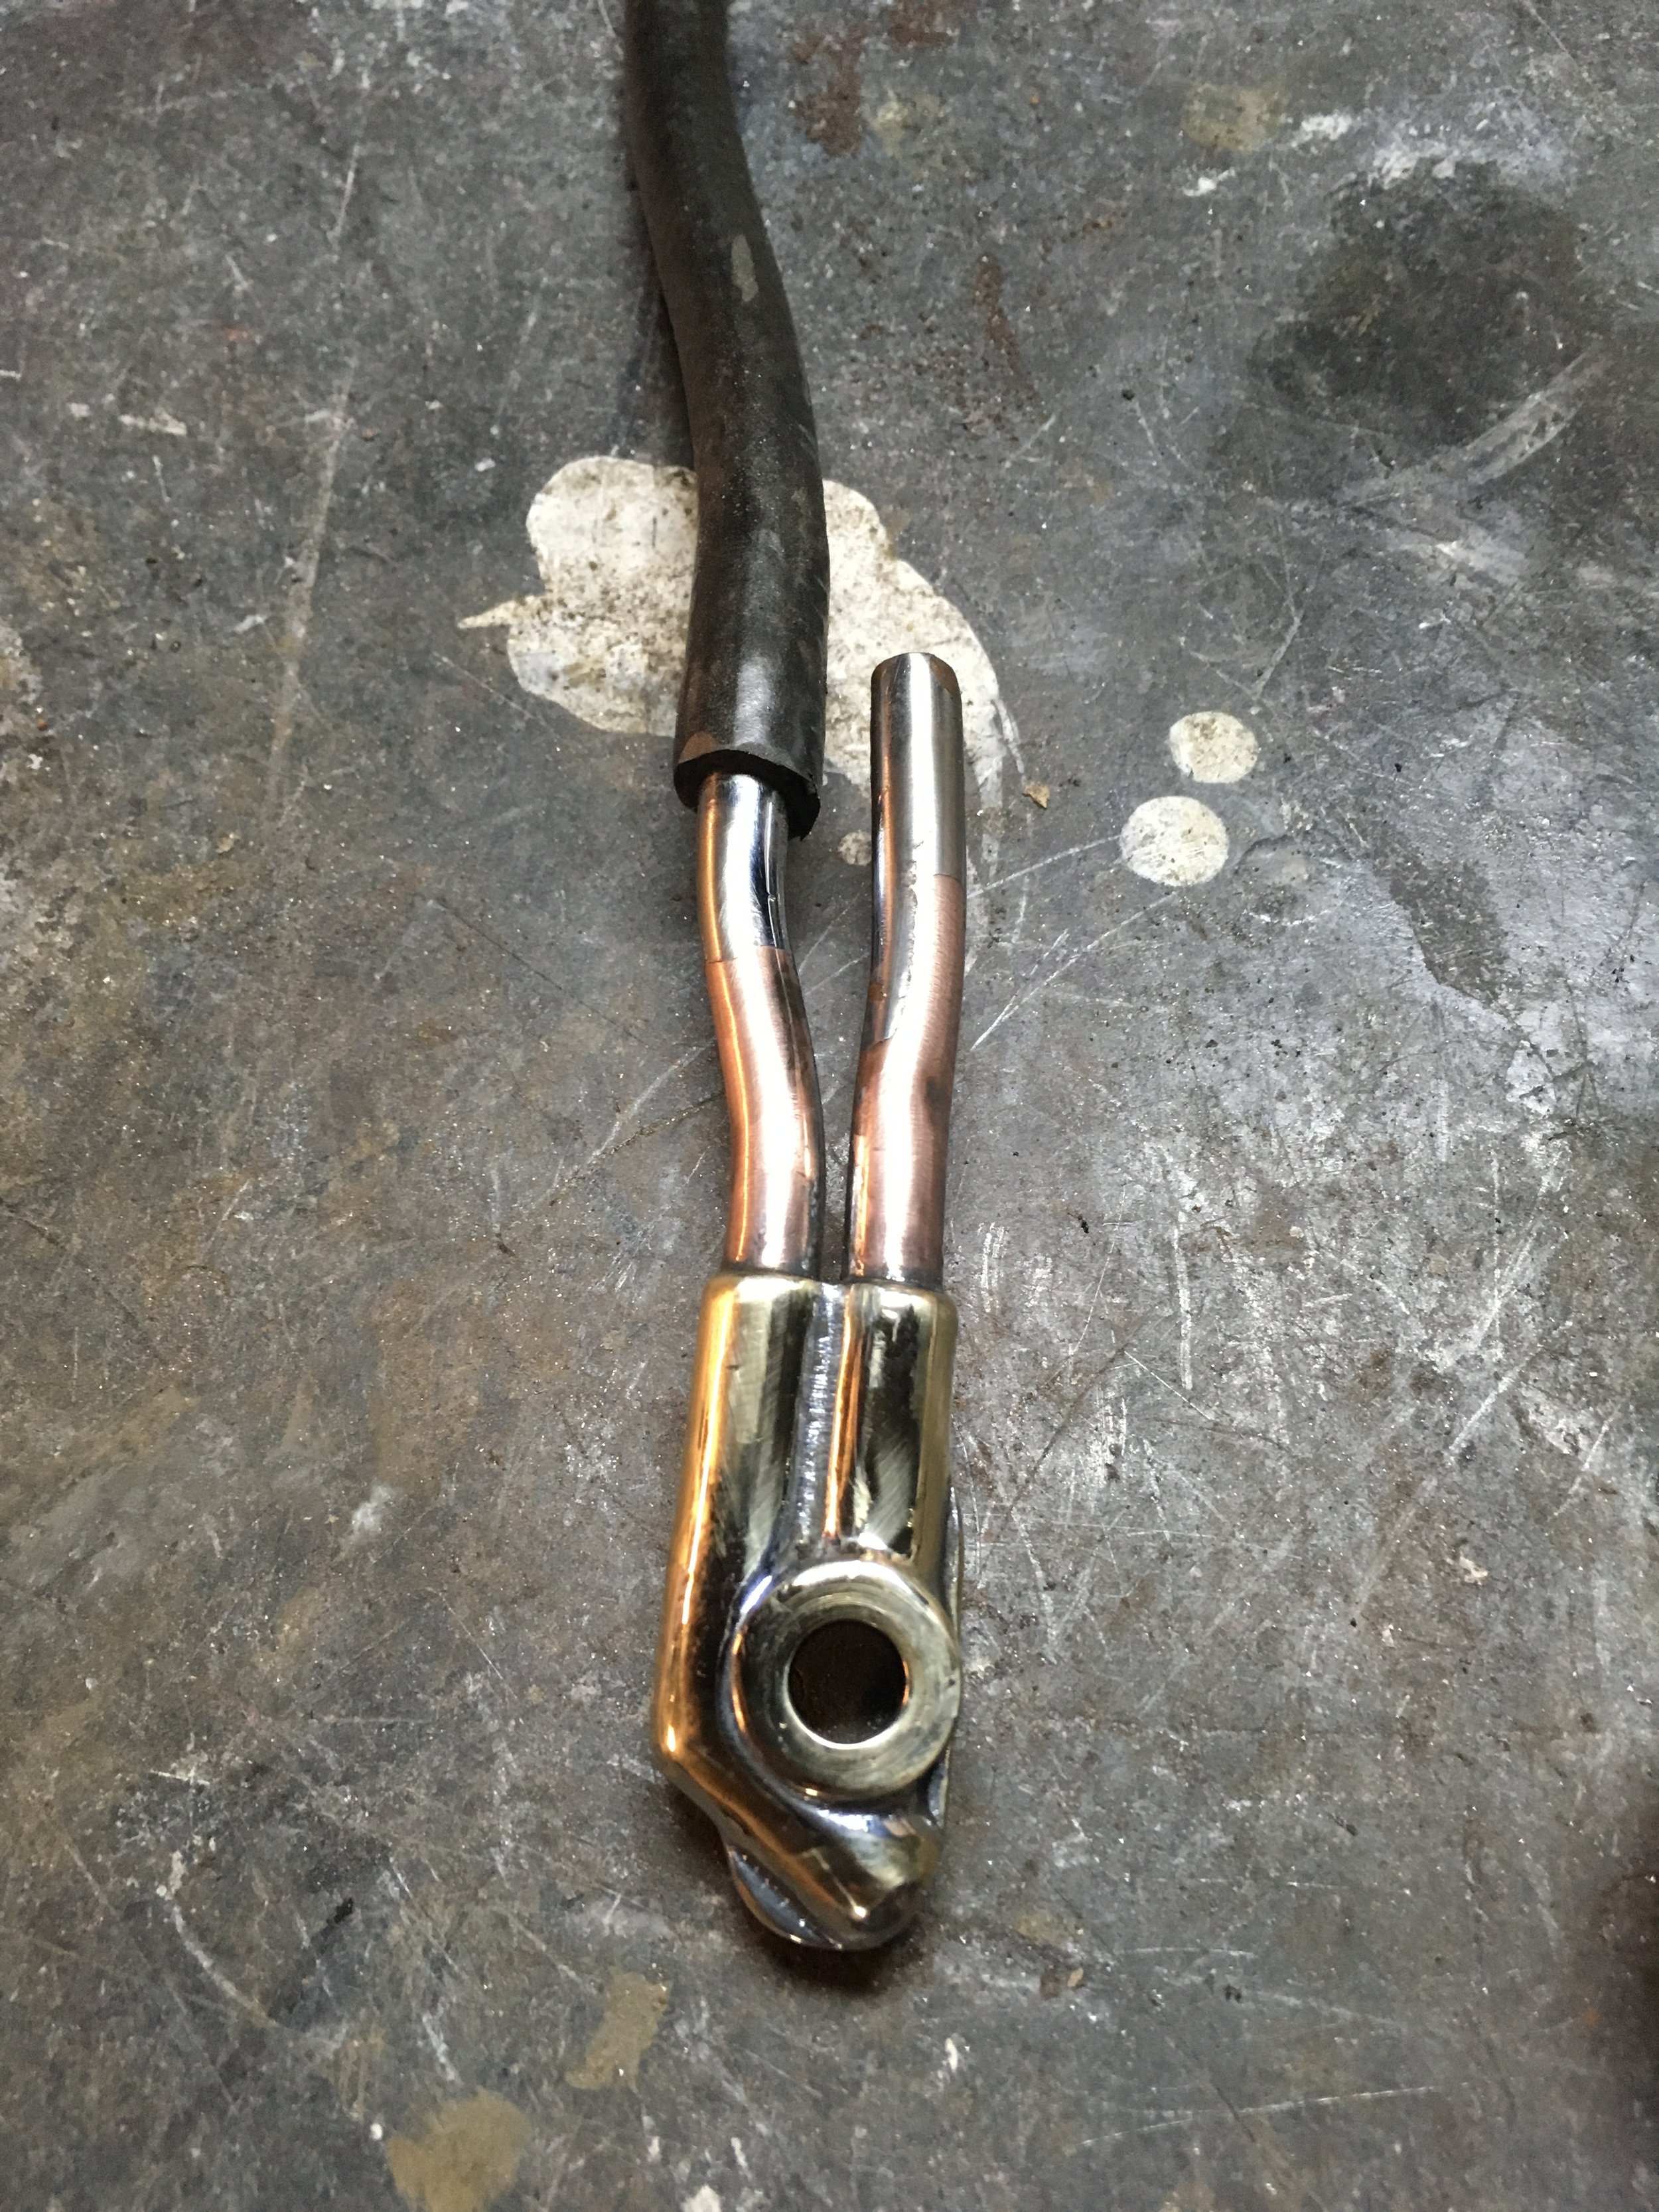
An alloy head from a 1962 pre unit is being rebuilt for this build, but a frozen exhaust spigot needed removing. After three weeks soaking in kerosene punctuated by half a dozen heatings with a torch, there was zero movement. The answer was to take a dremel cutting wheel and score the inner part of the tube. By going just deep enough, small pieces could be removed with a pounding from above without hitting the fragile threads of the head. This was tricky, taking a couple hours, but the only other methods would involve the possibility of thread damage and the need to machine them again…not something you want to do if you don’t have to.

The outer rim and first part of the port took a little damage, but that is easily dressed down. The threads are still crisp and the spigot screws in snuggly. The head was given a complete valve job with new guides pressed in.

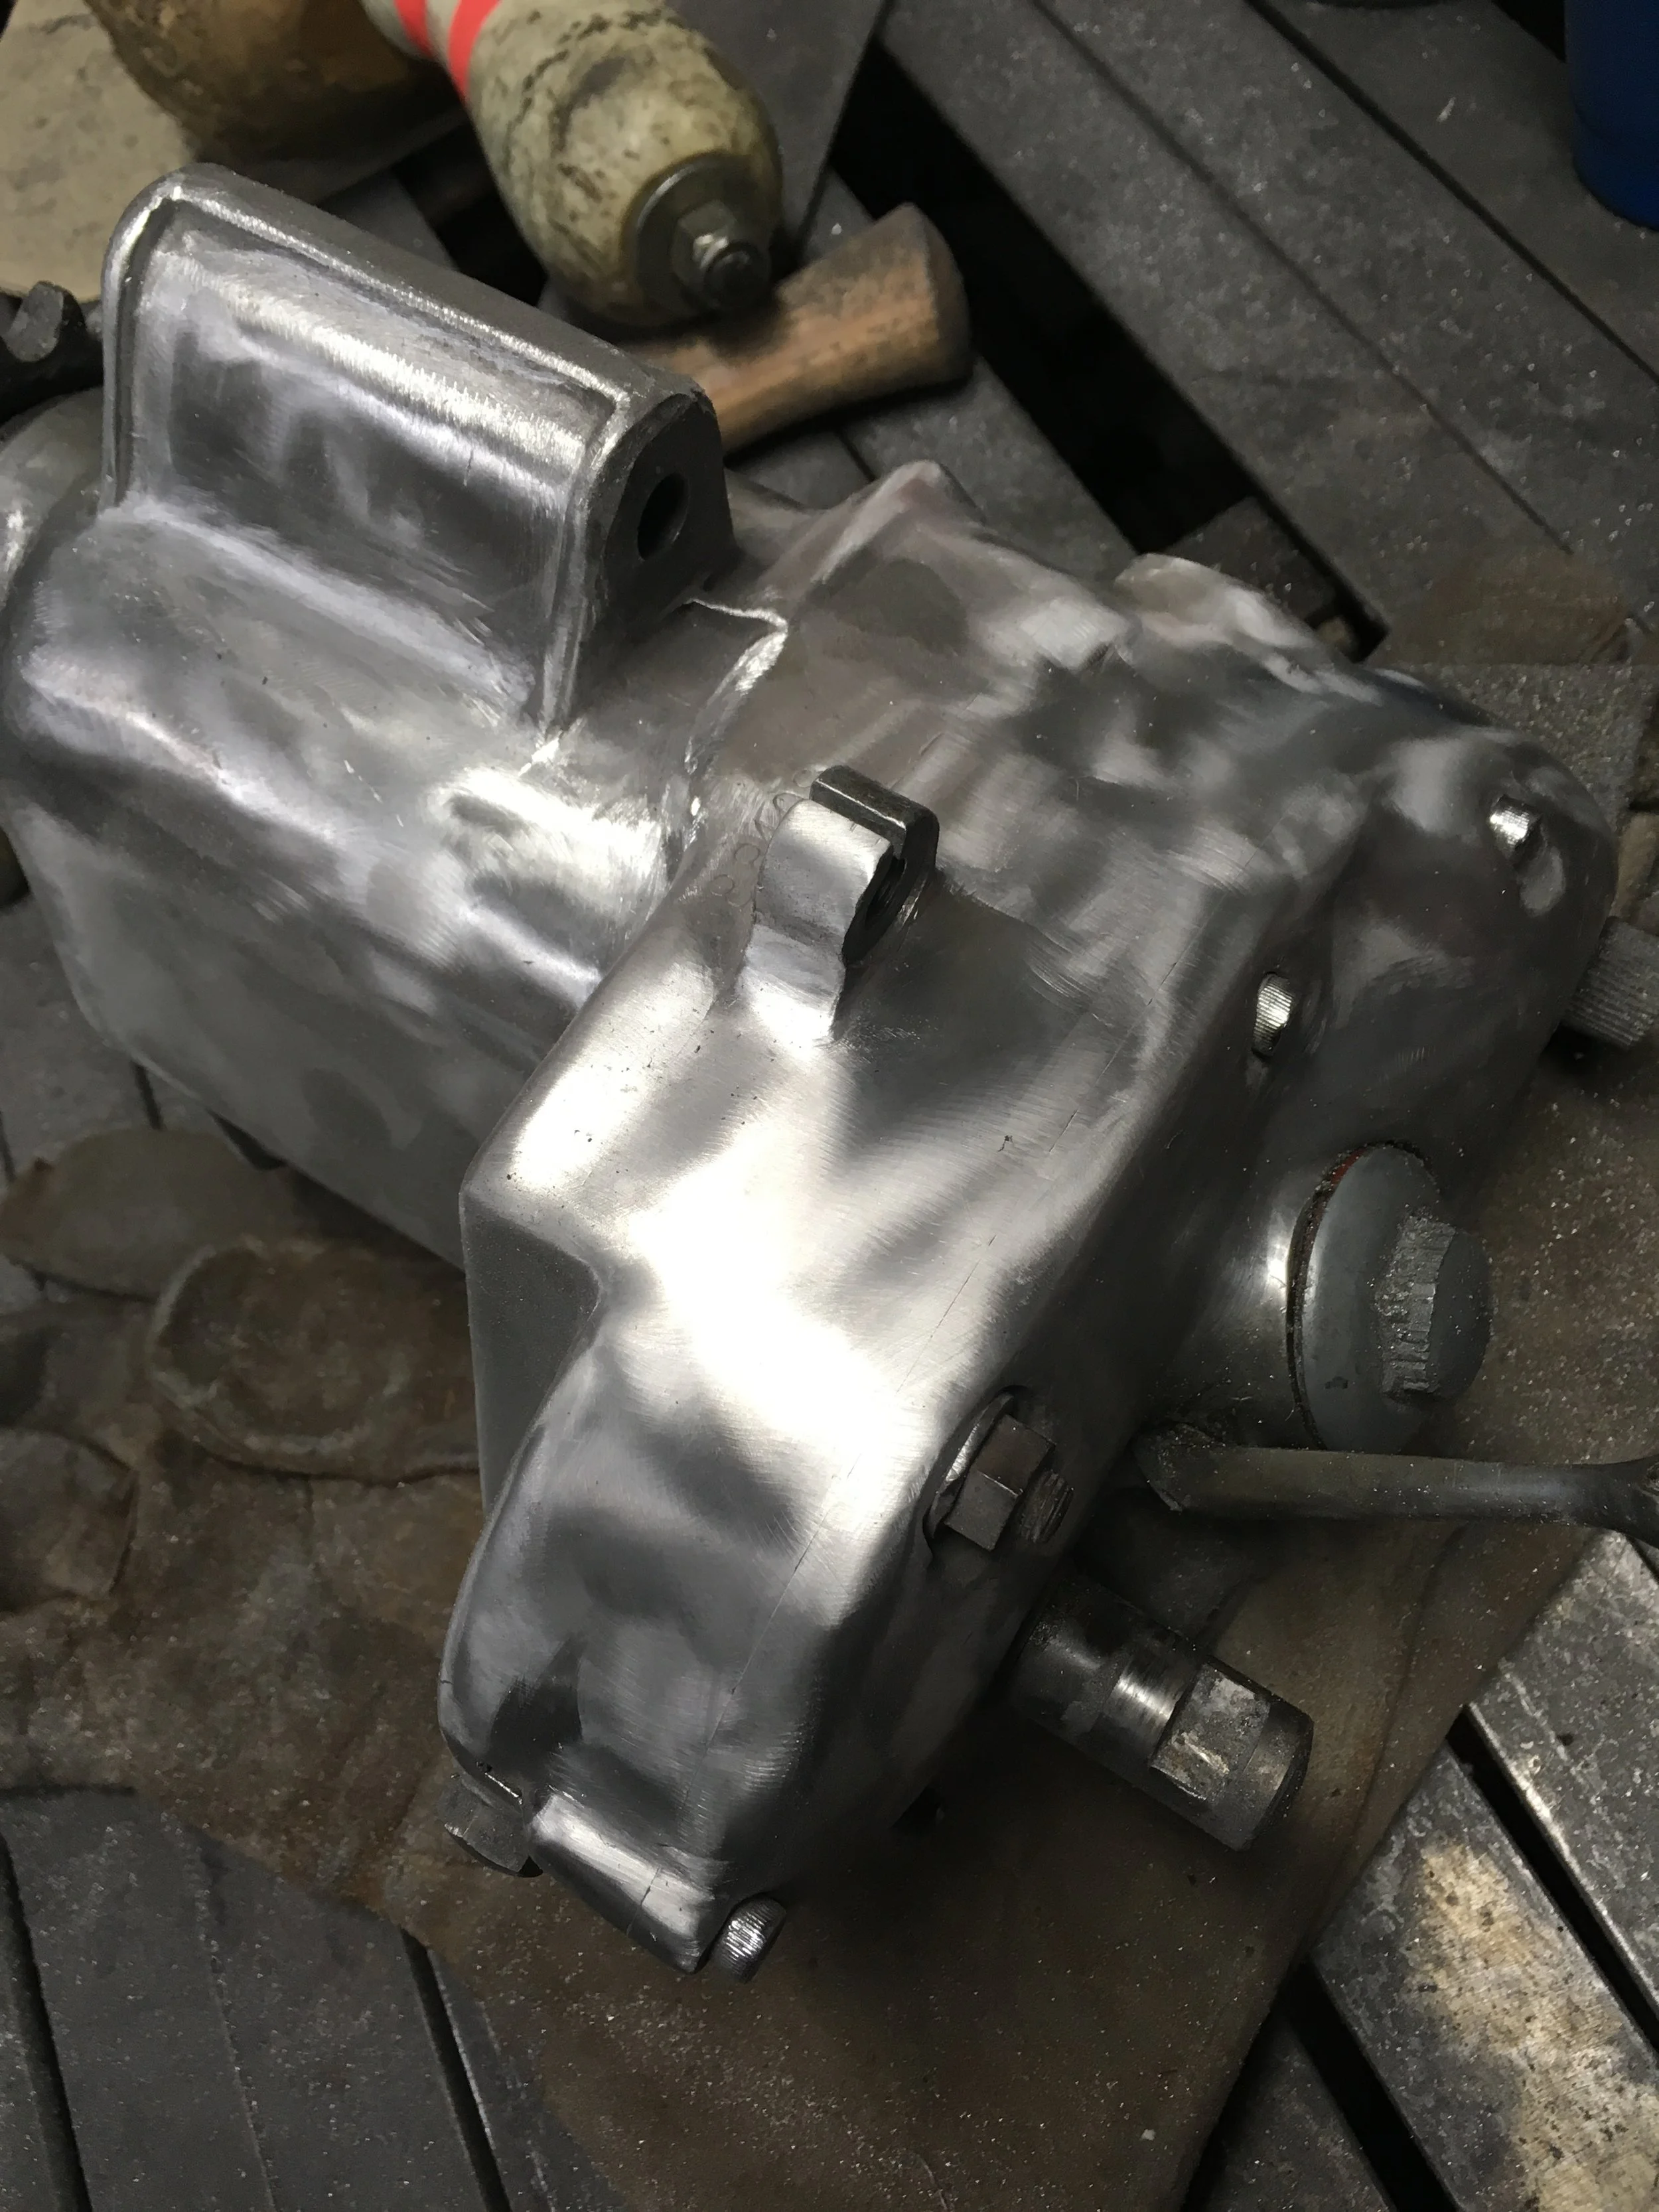
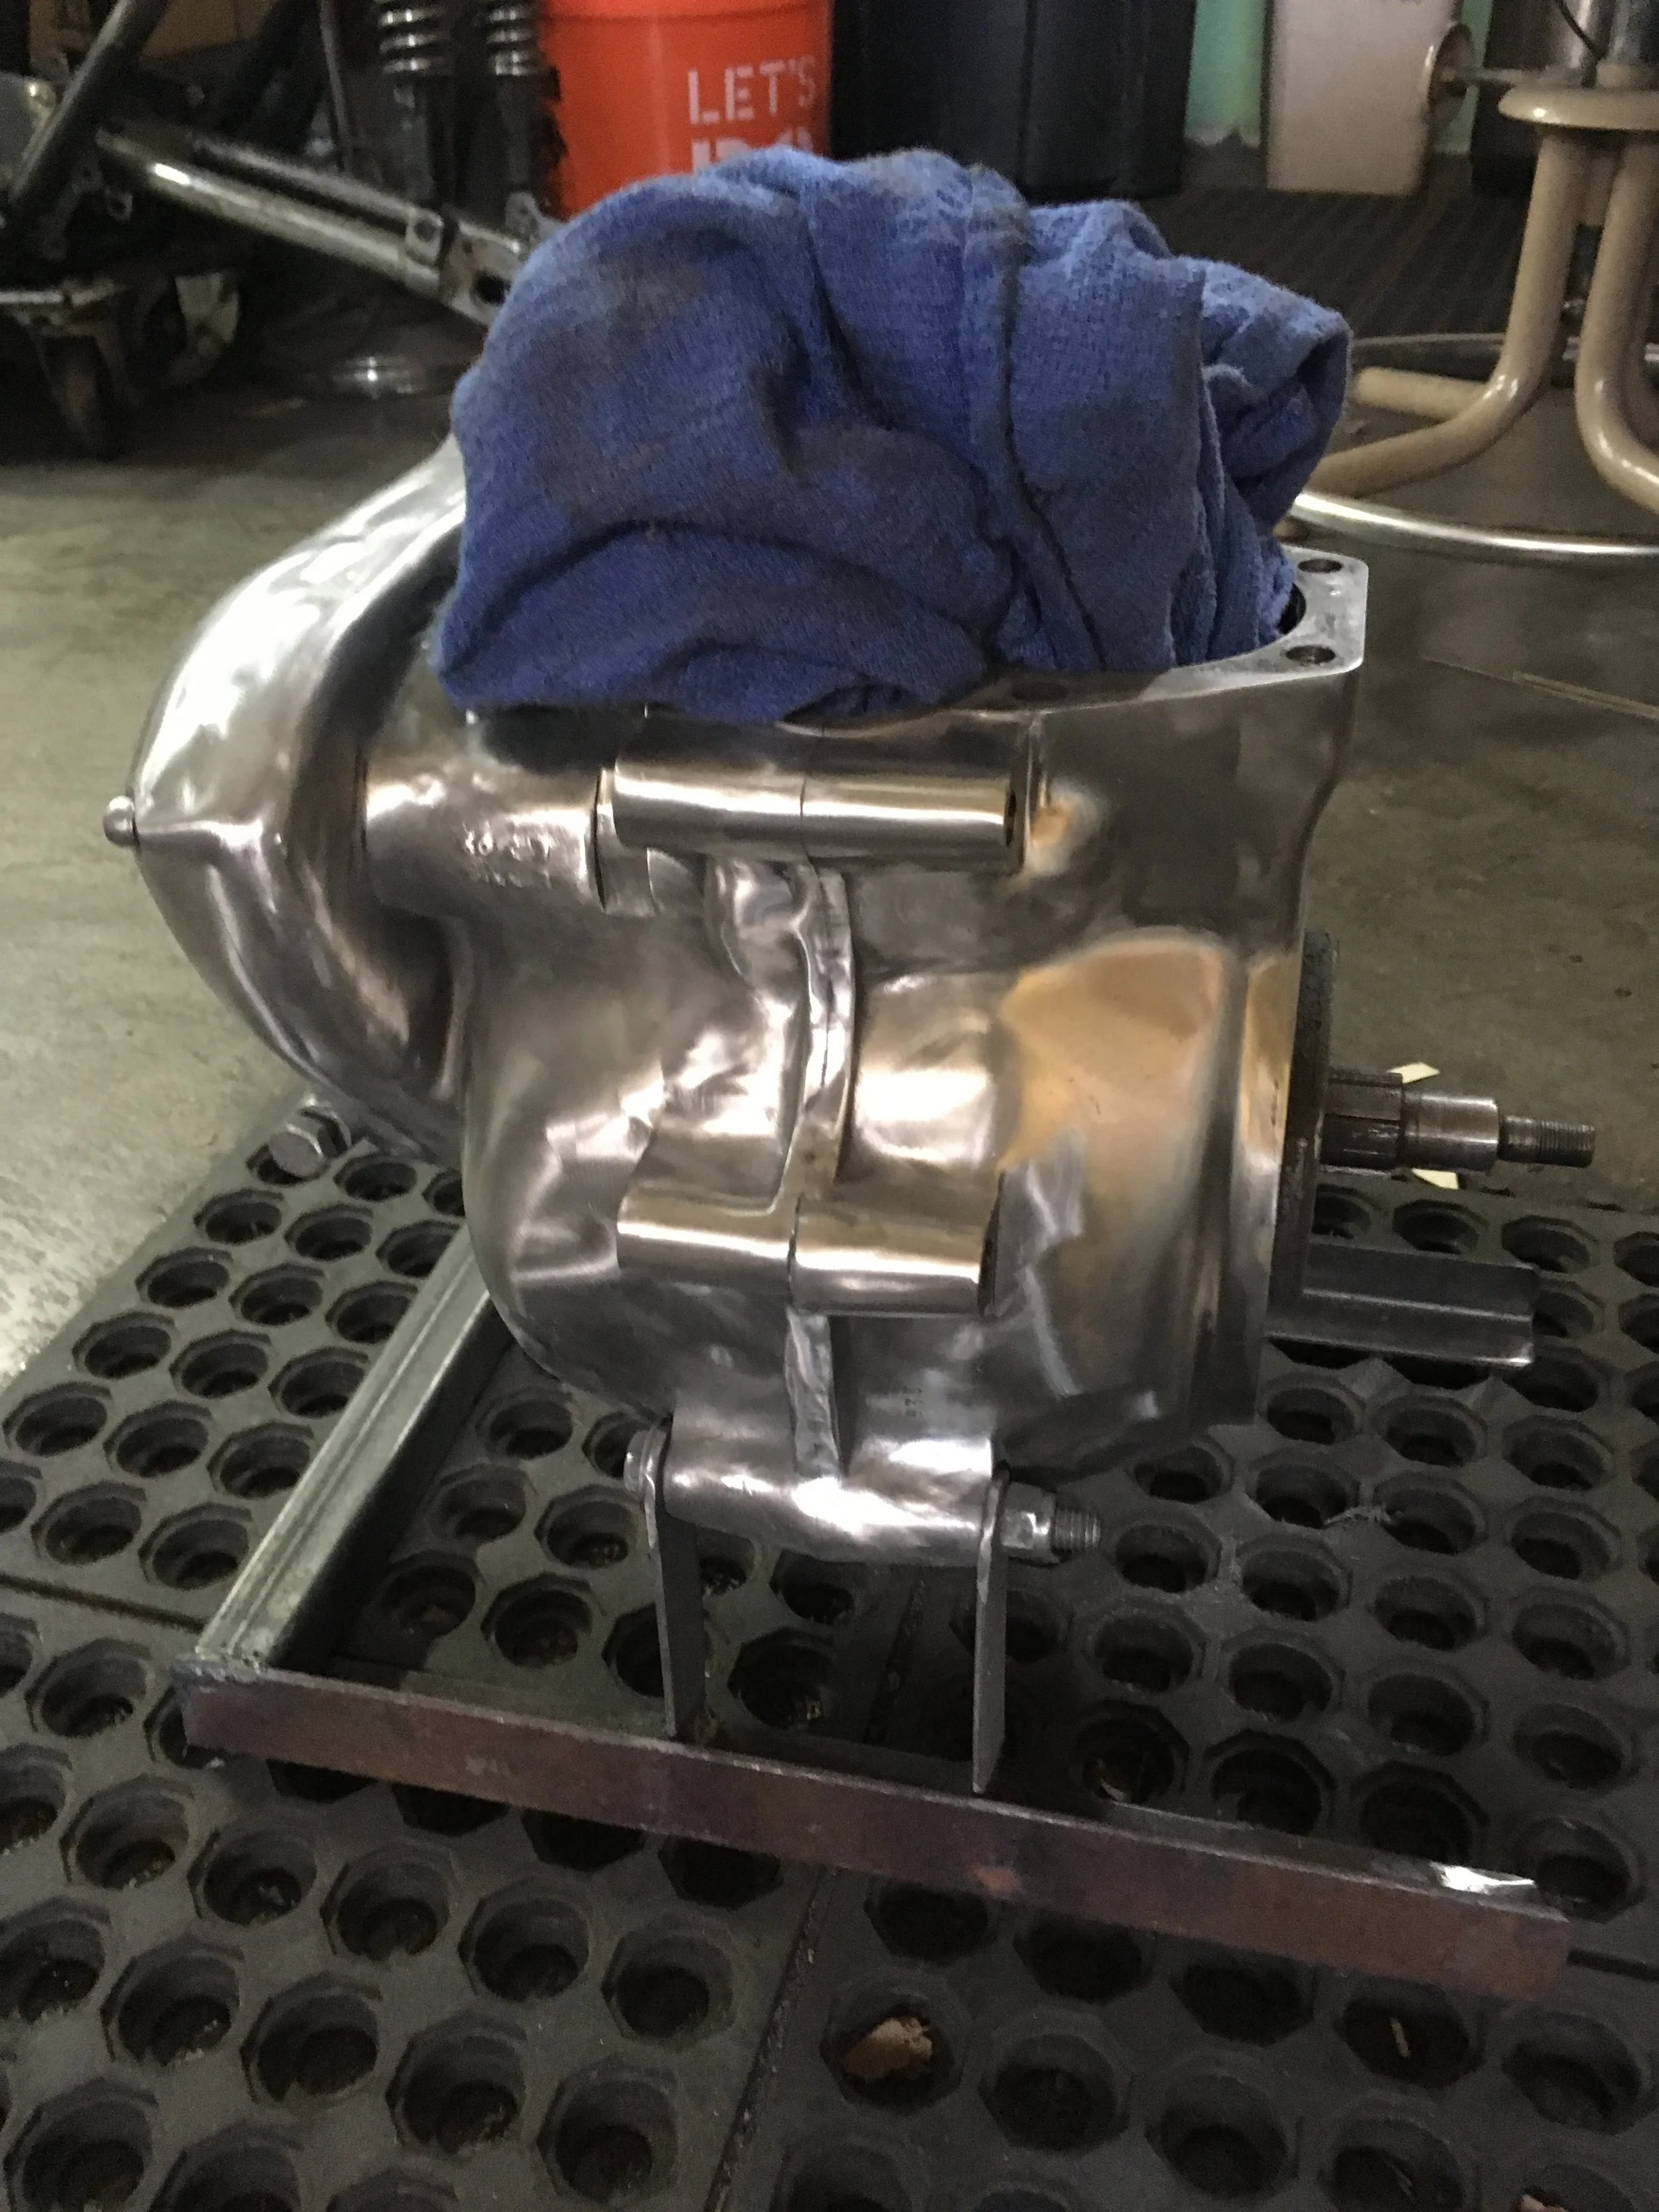
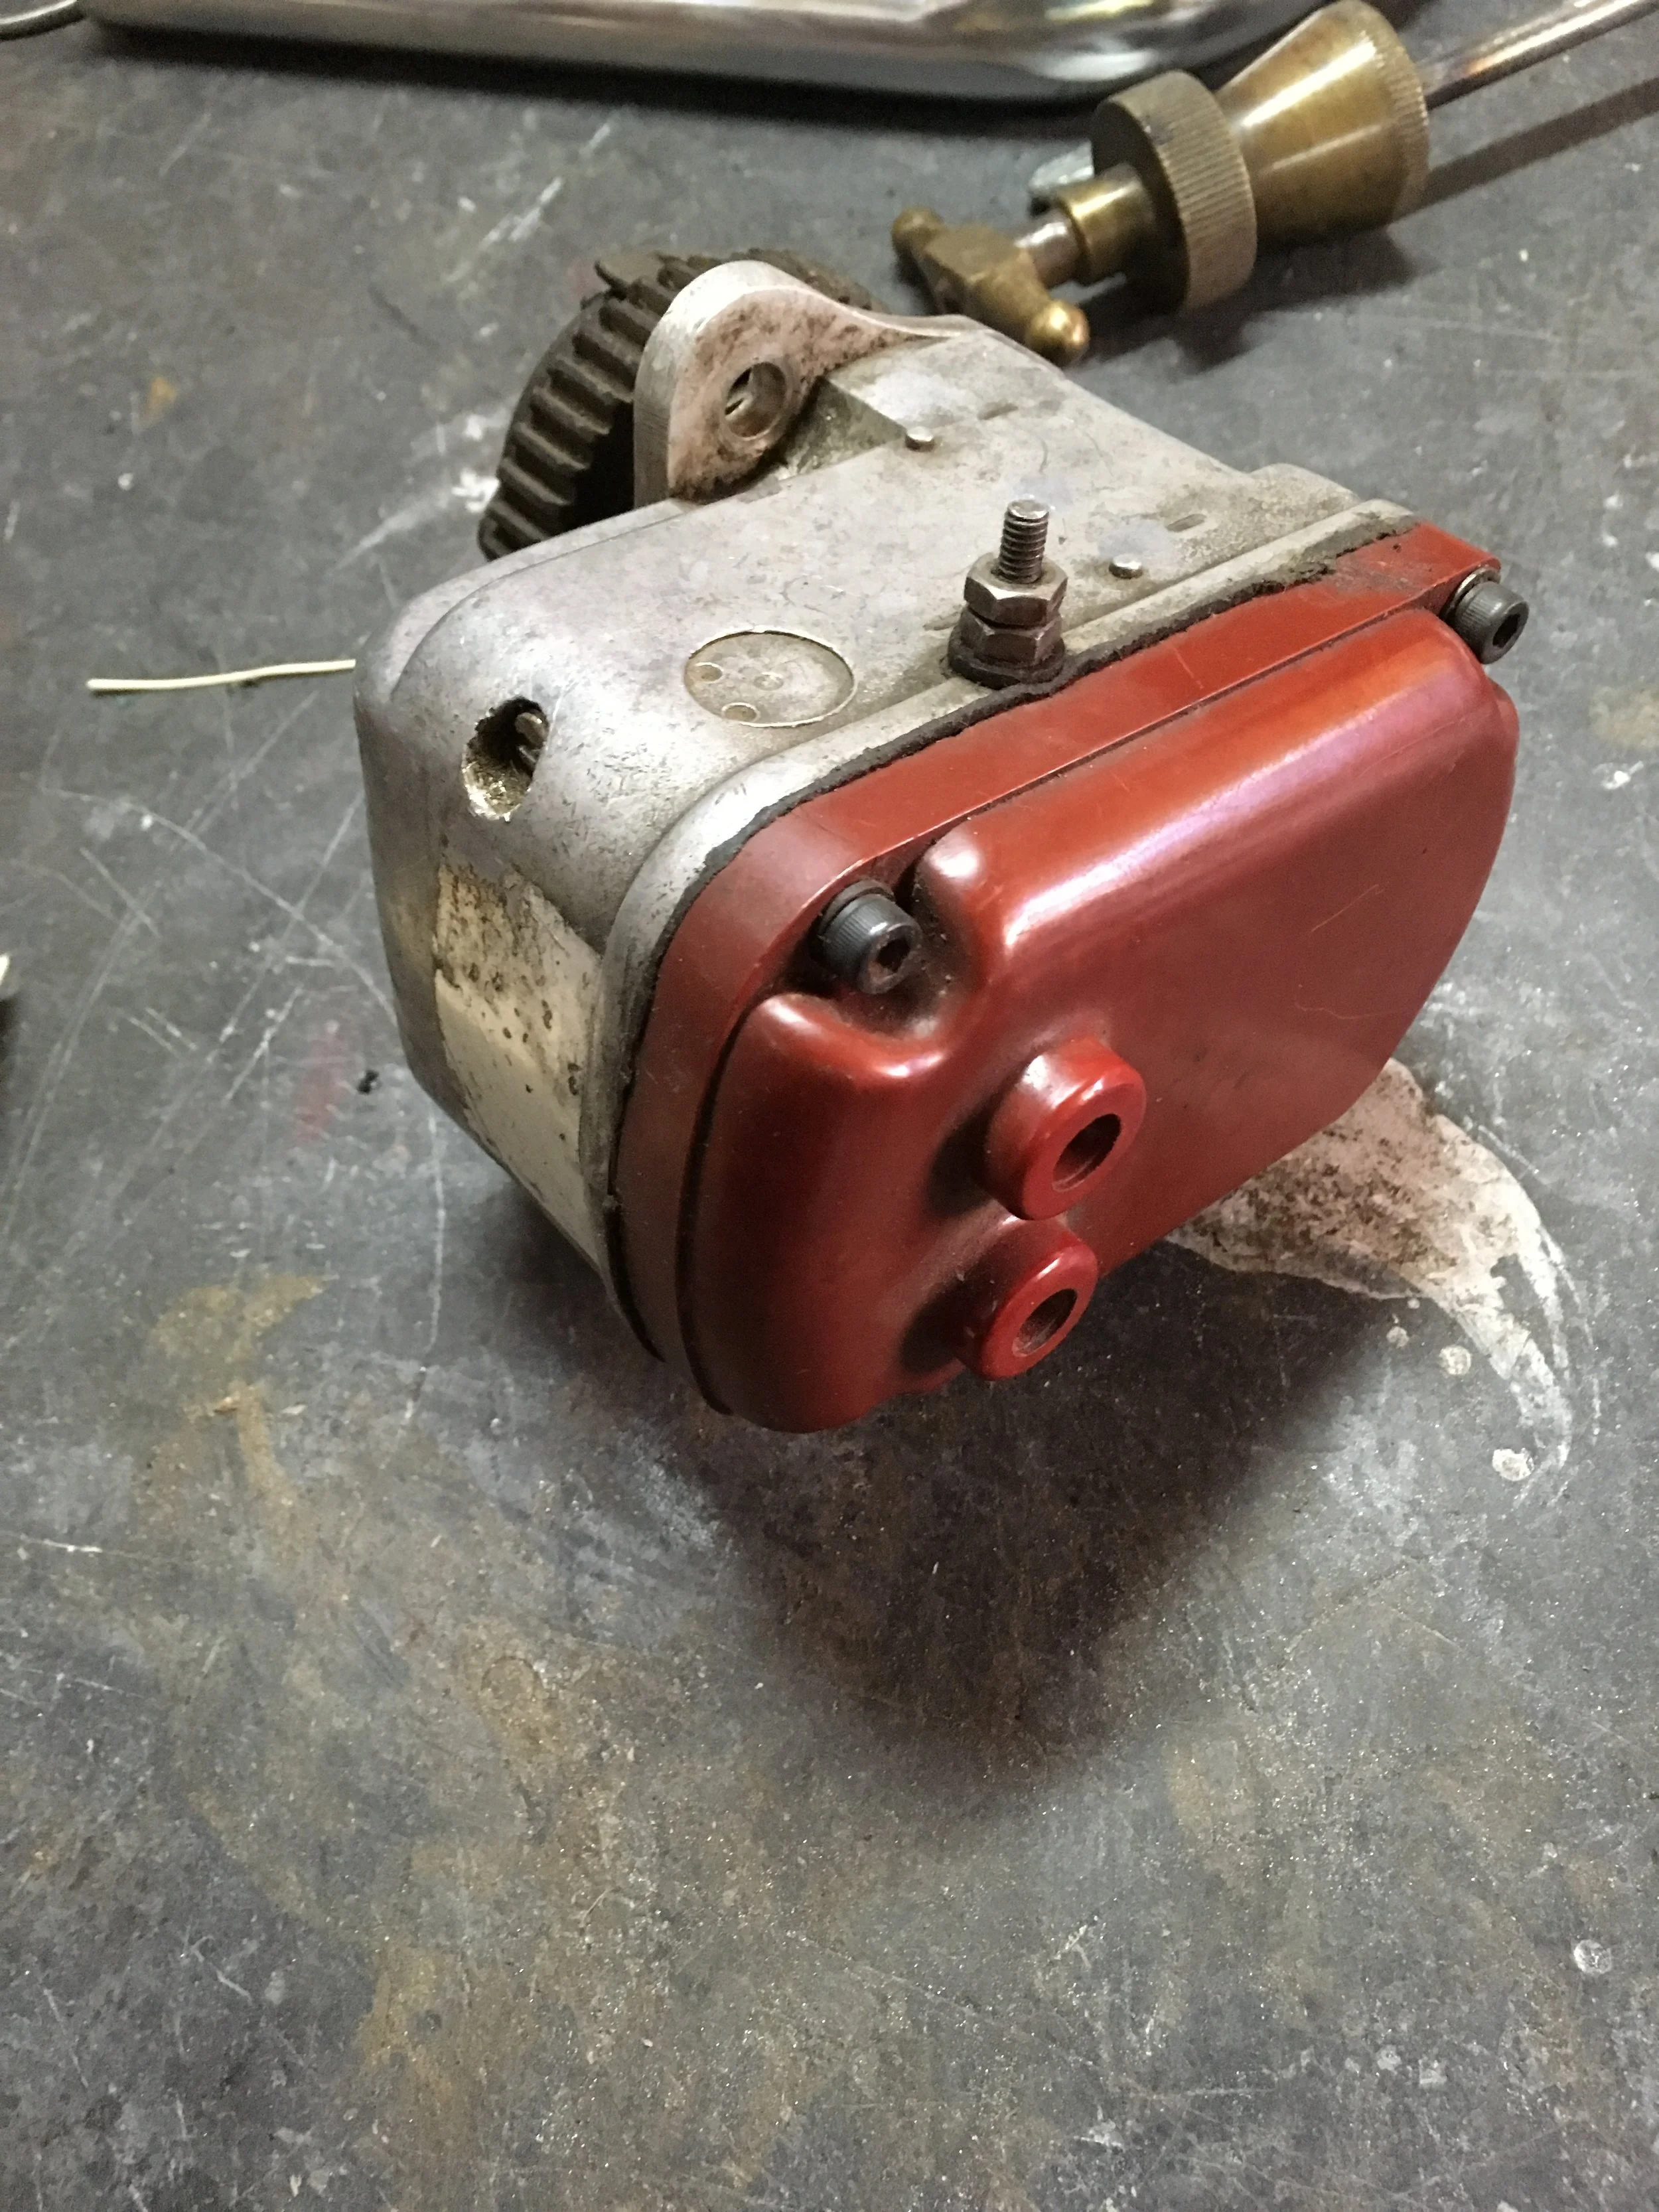
The gear box adjuster for tensioning the primary chain was missing on this bike, so an NOS set of the needed parts was purchased and polished up in preparation of chrome plating.

Wire brushing all threads, bead blasting bigger parts, all in preparation for cadmium plating.

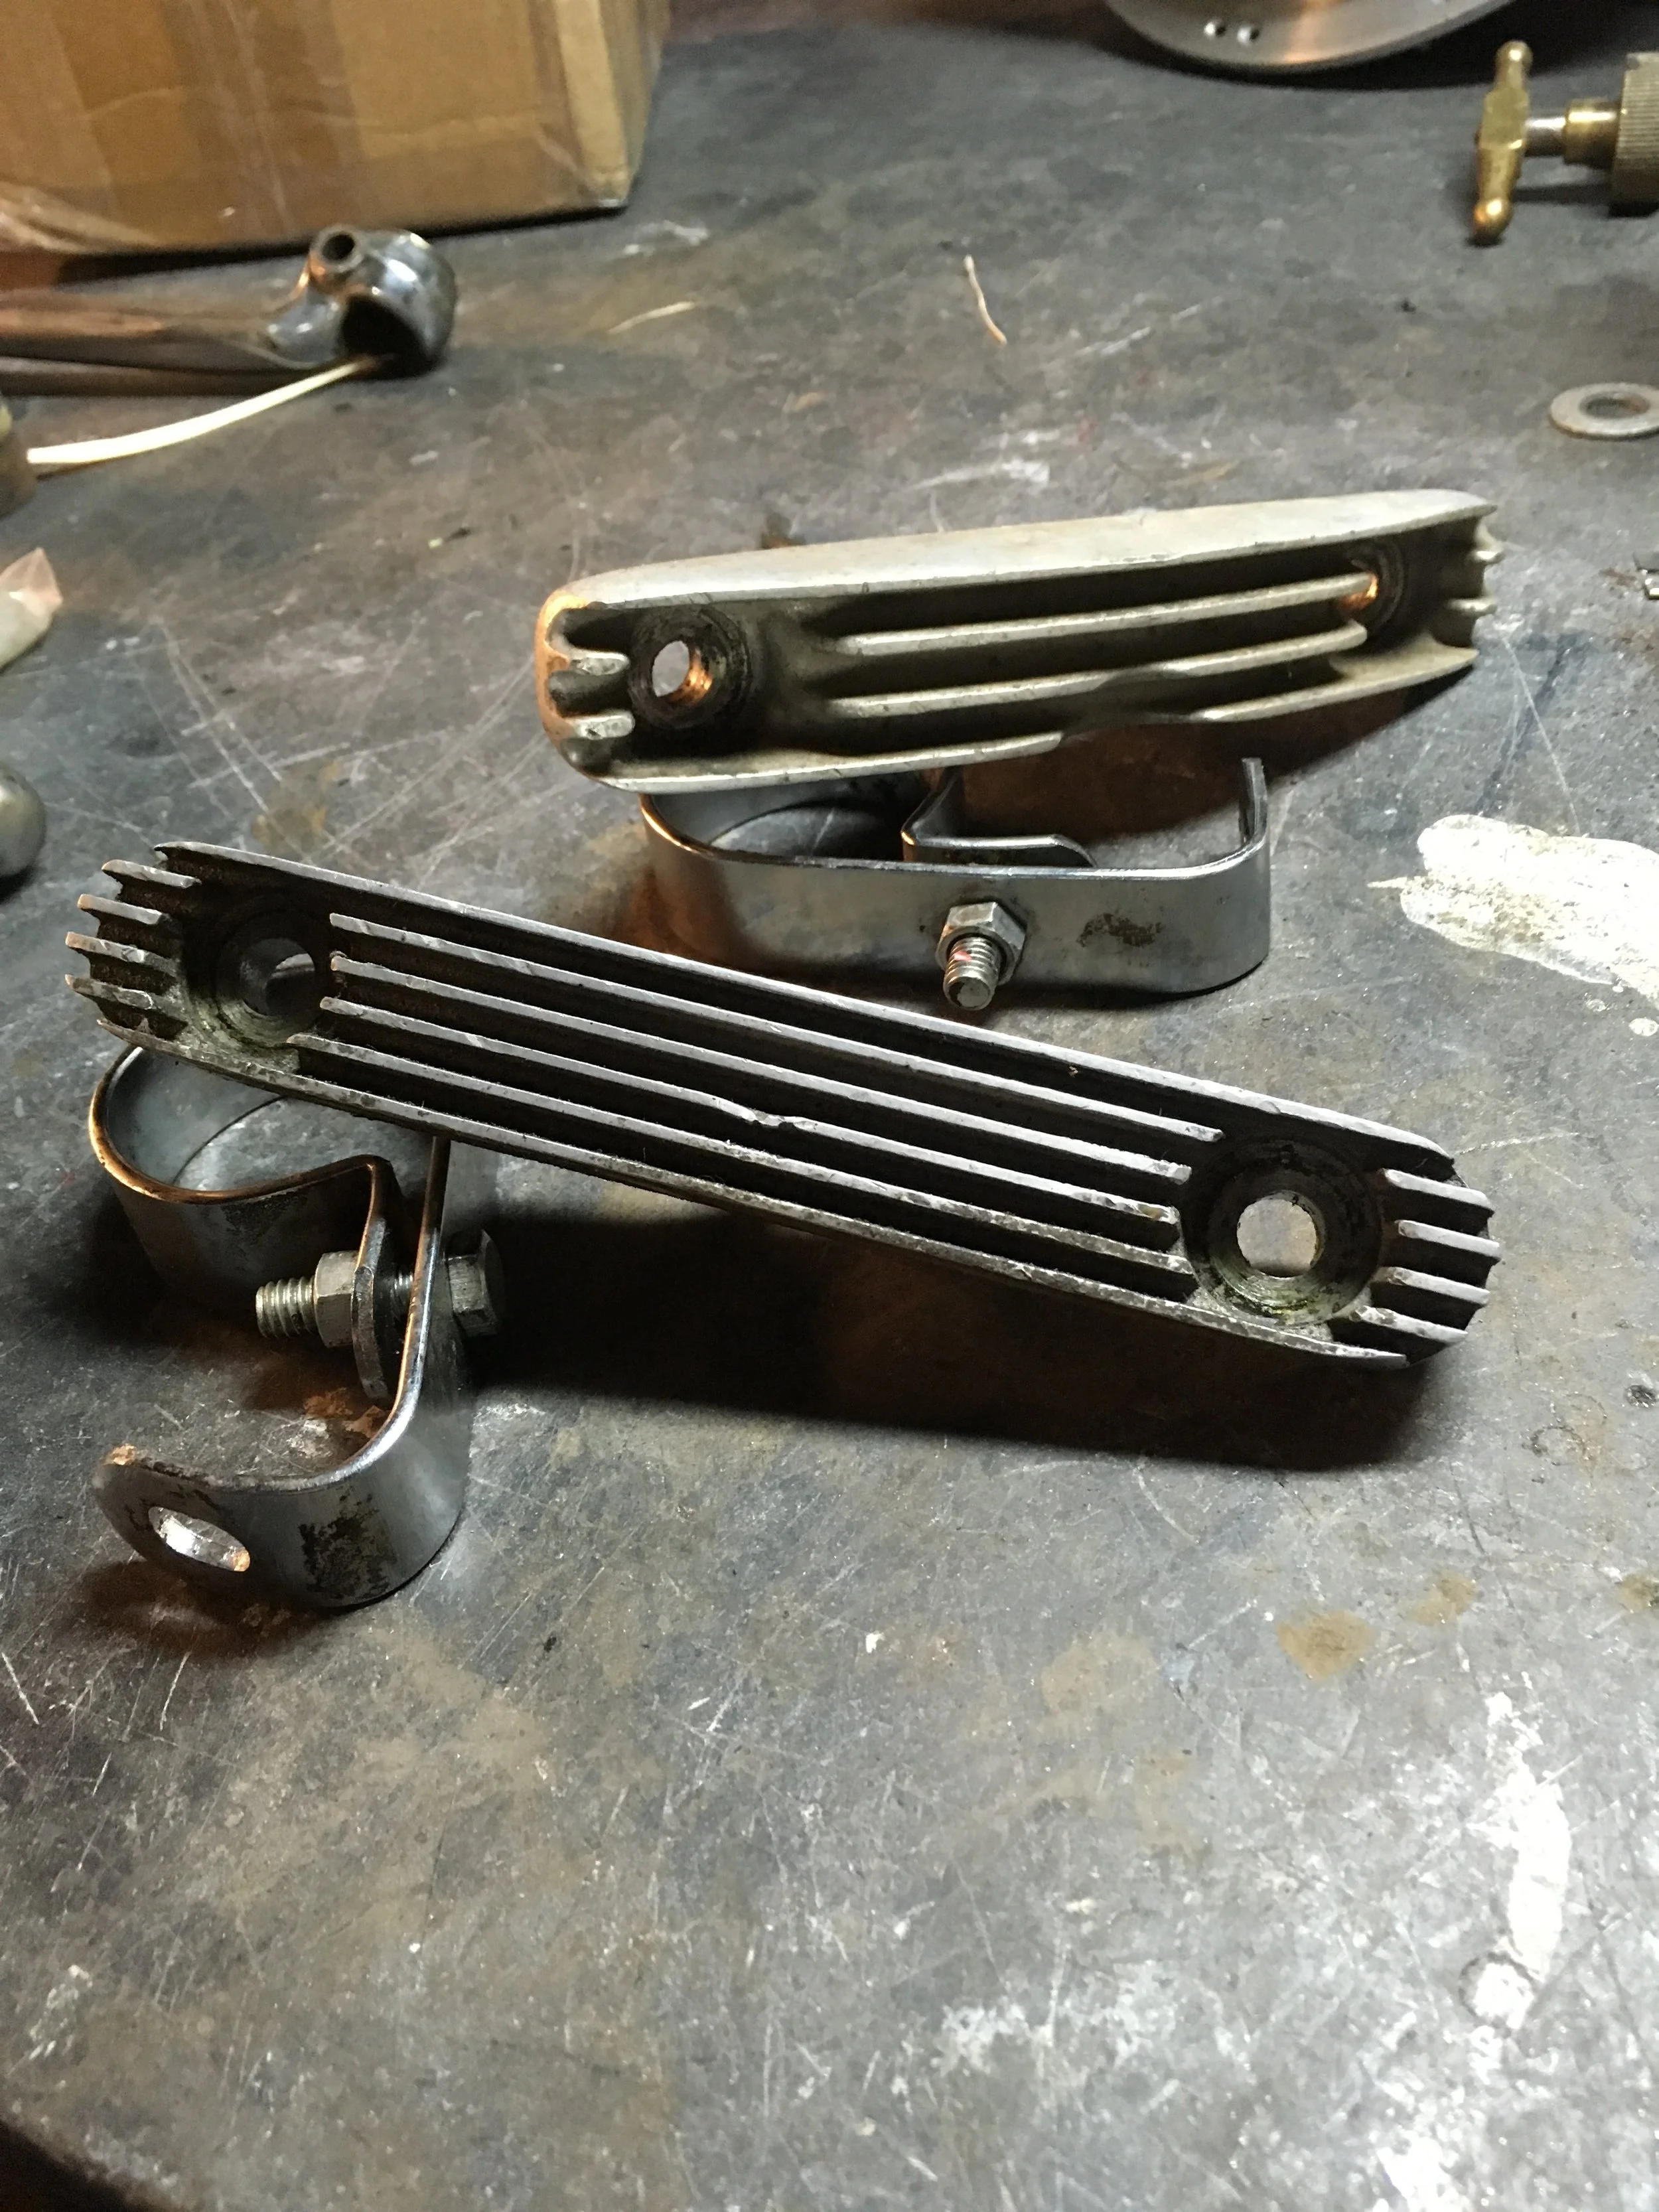
Just like the gear shift shaft seen in the previous post, there was a lot of rust and pitting on the shifter guide plate. In the search for a new one, a lot of used pre-unit transmission parts was found that had two shift shaft quadrants and a guide plate for the price of what you have to pay for just the repop plate. The original shift shaft quadrant also had some severe pitting where the springs are perched and some smashed splines. The shifter fit over the splines just fine, but appearance-wise it needed changing. The spring perches, shaft surfaces and splines look great on the new shafts and these are evidently from a later model than what was in the original tranny, with a groove for an o-ring cut into it.