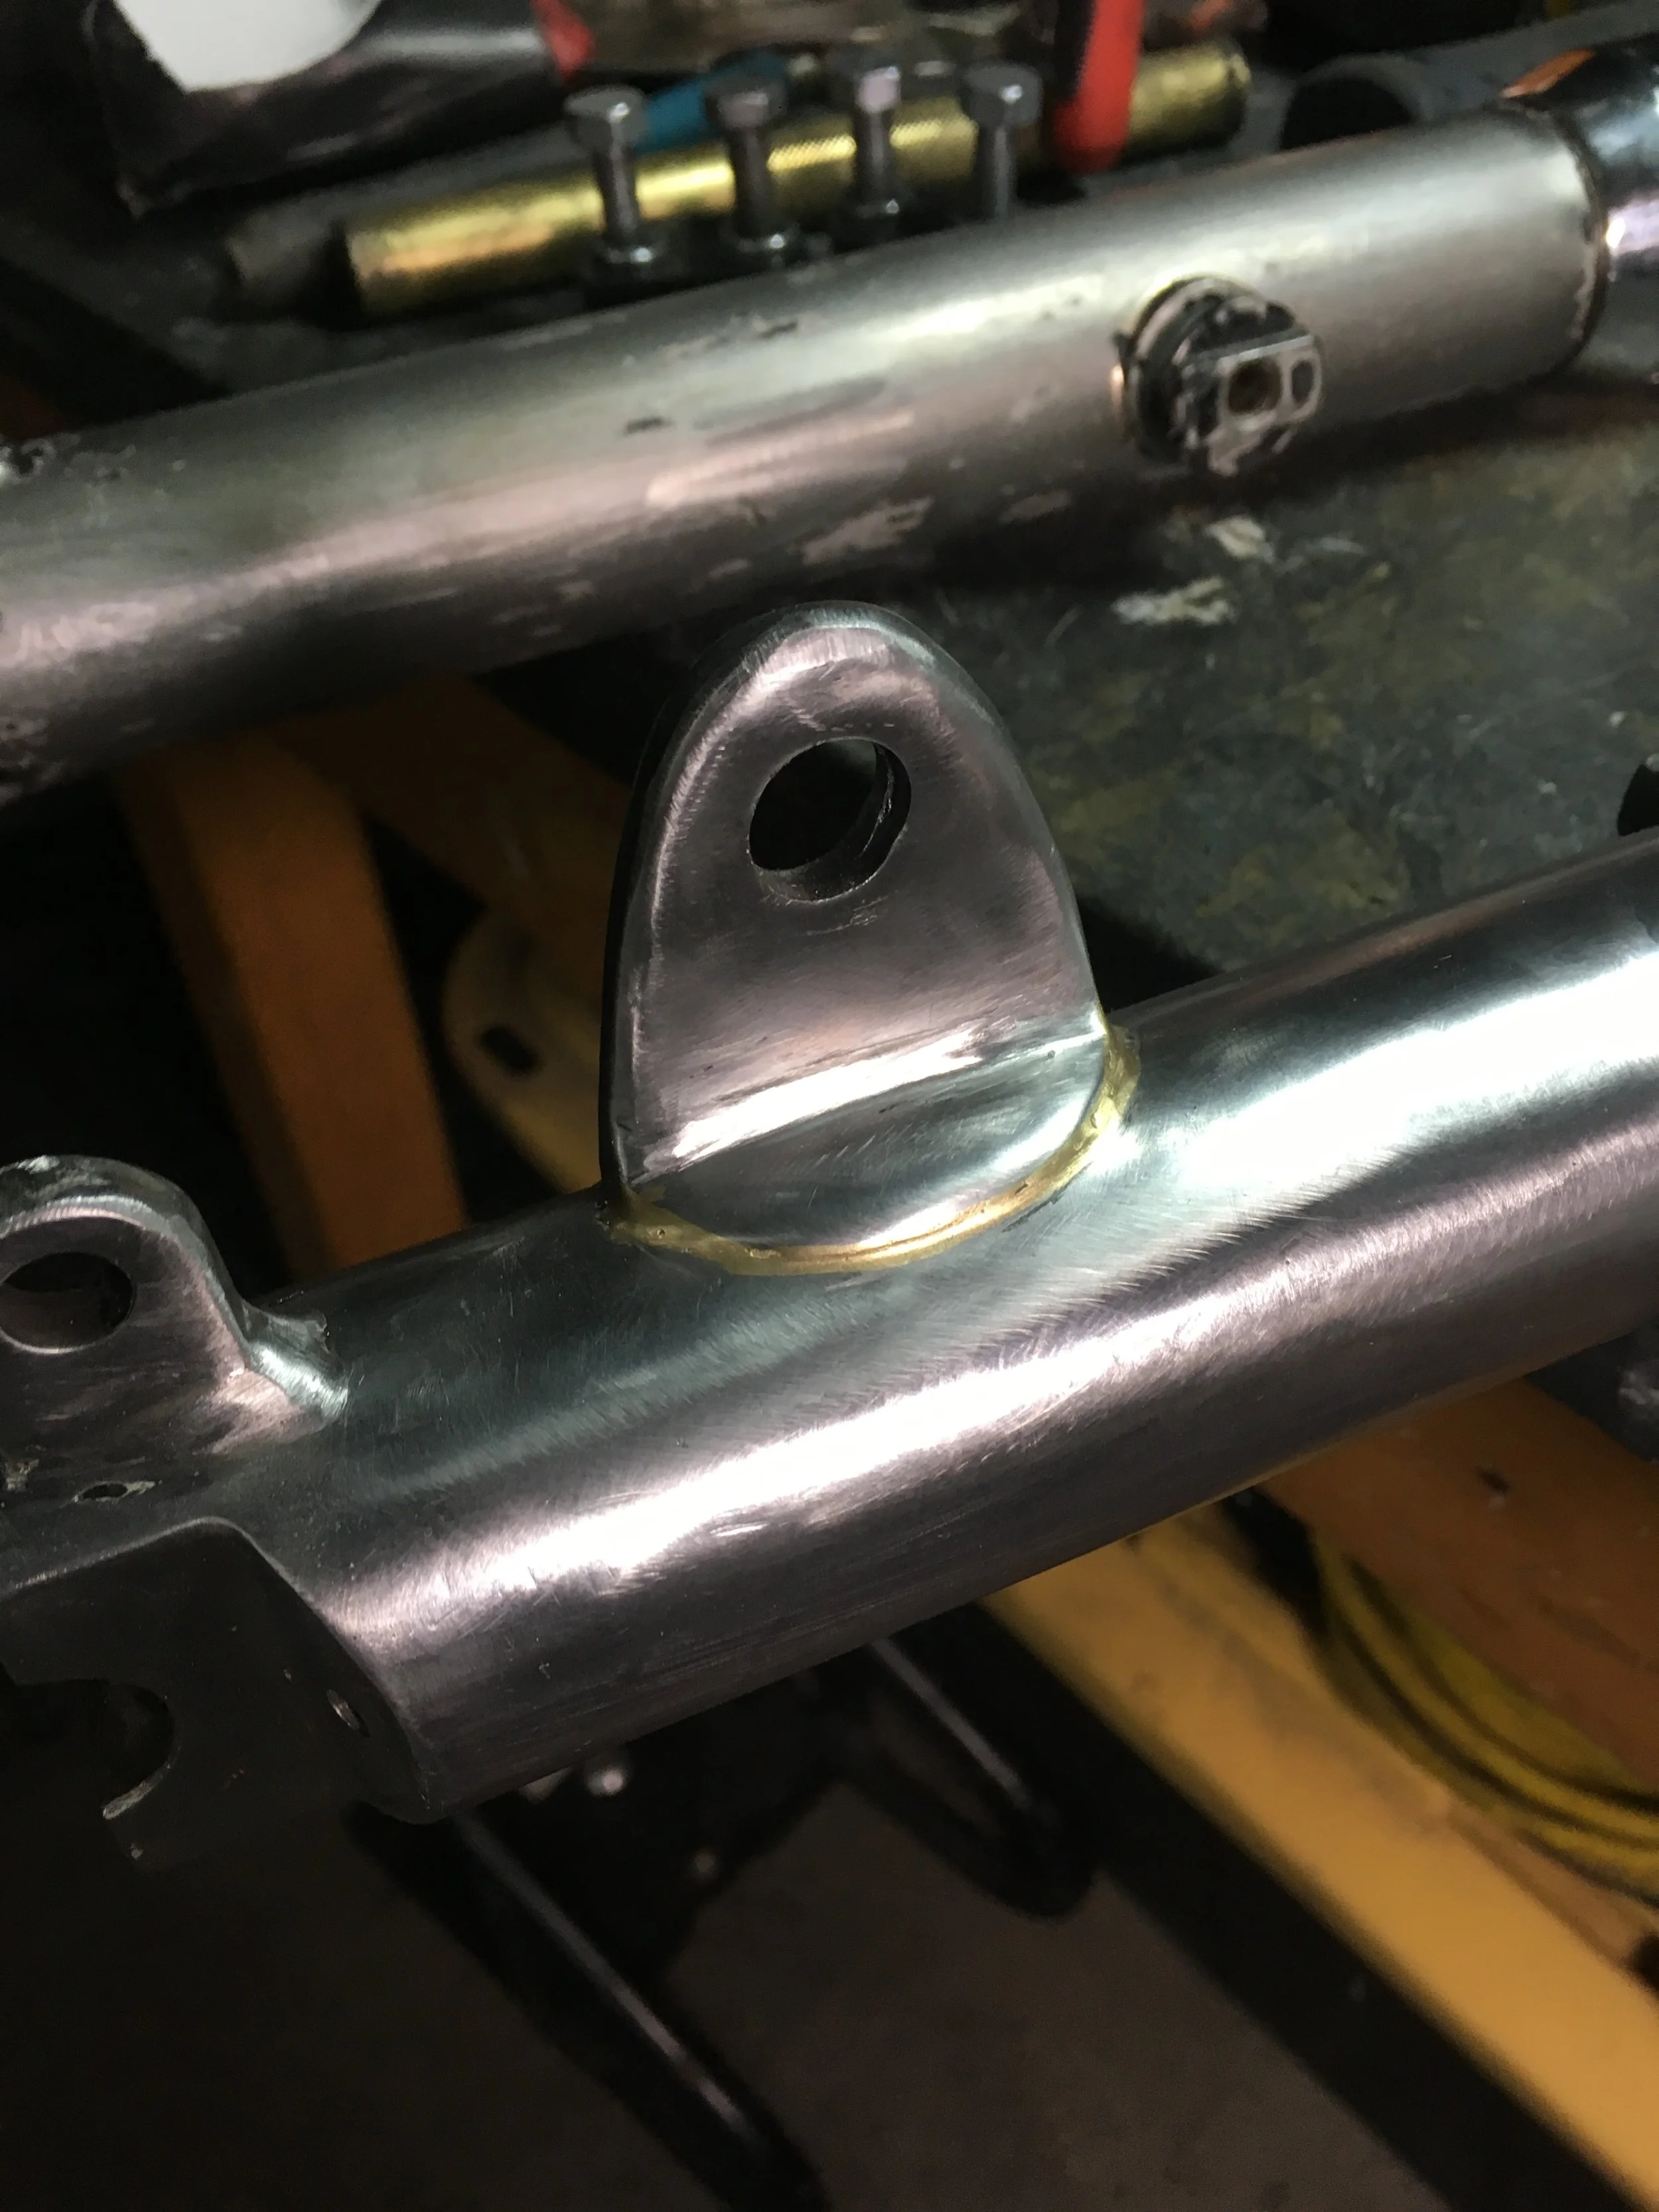
The tank mount was re-made, making it a mechanical mount opposed to a welded one. Removing it made it easier to work the tube around it.

The new tank mount in place.

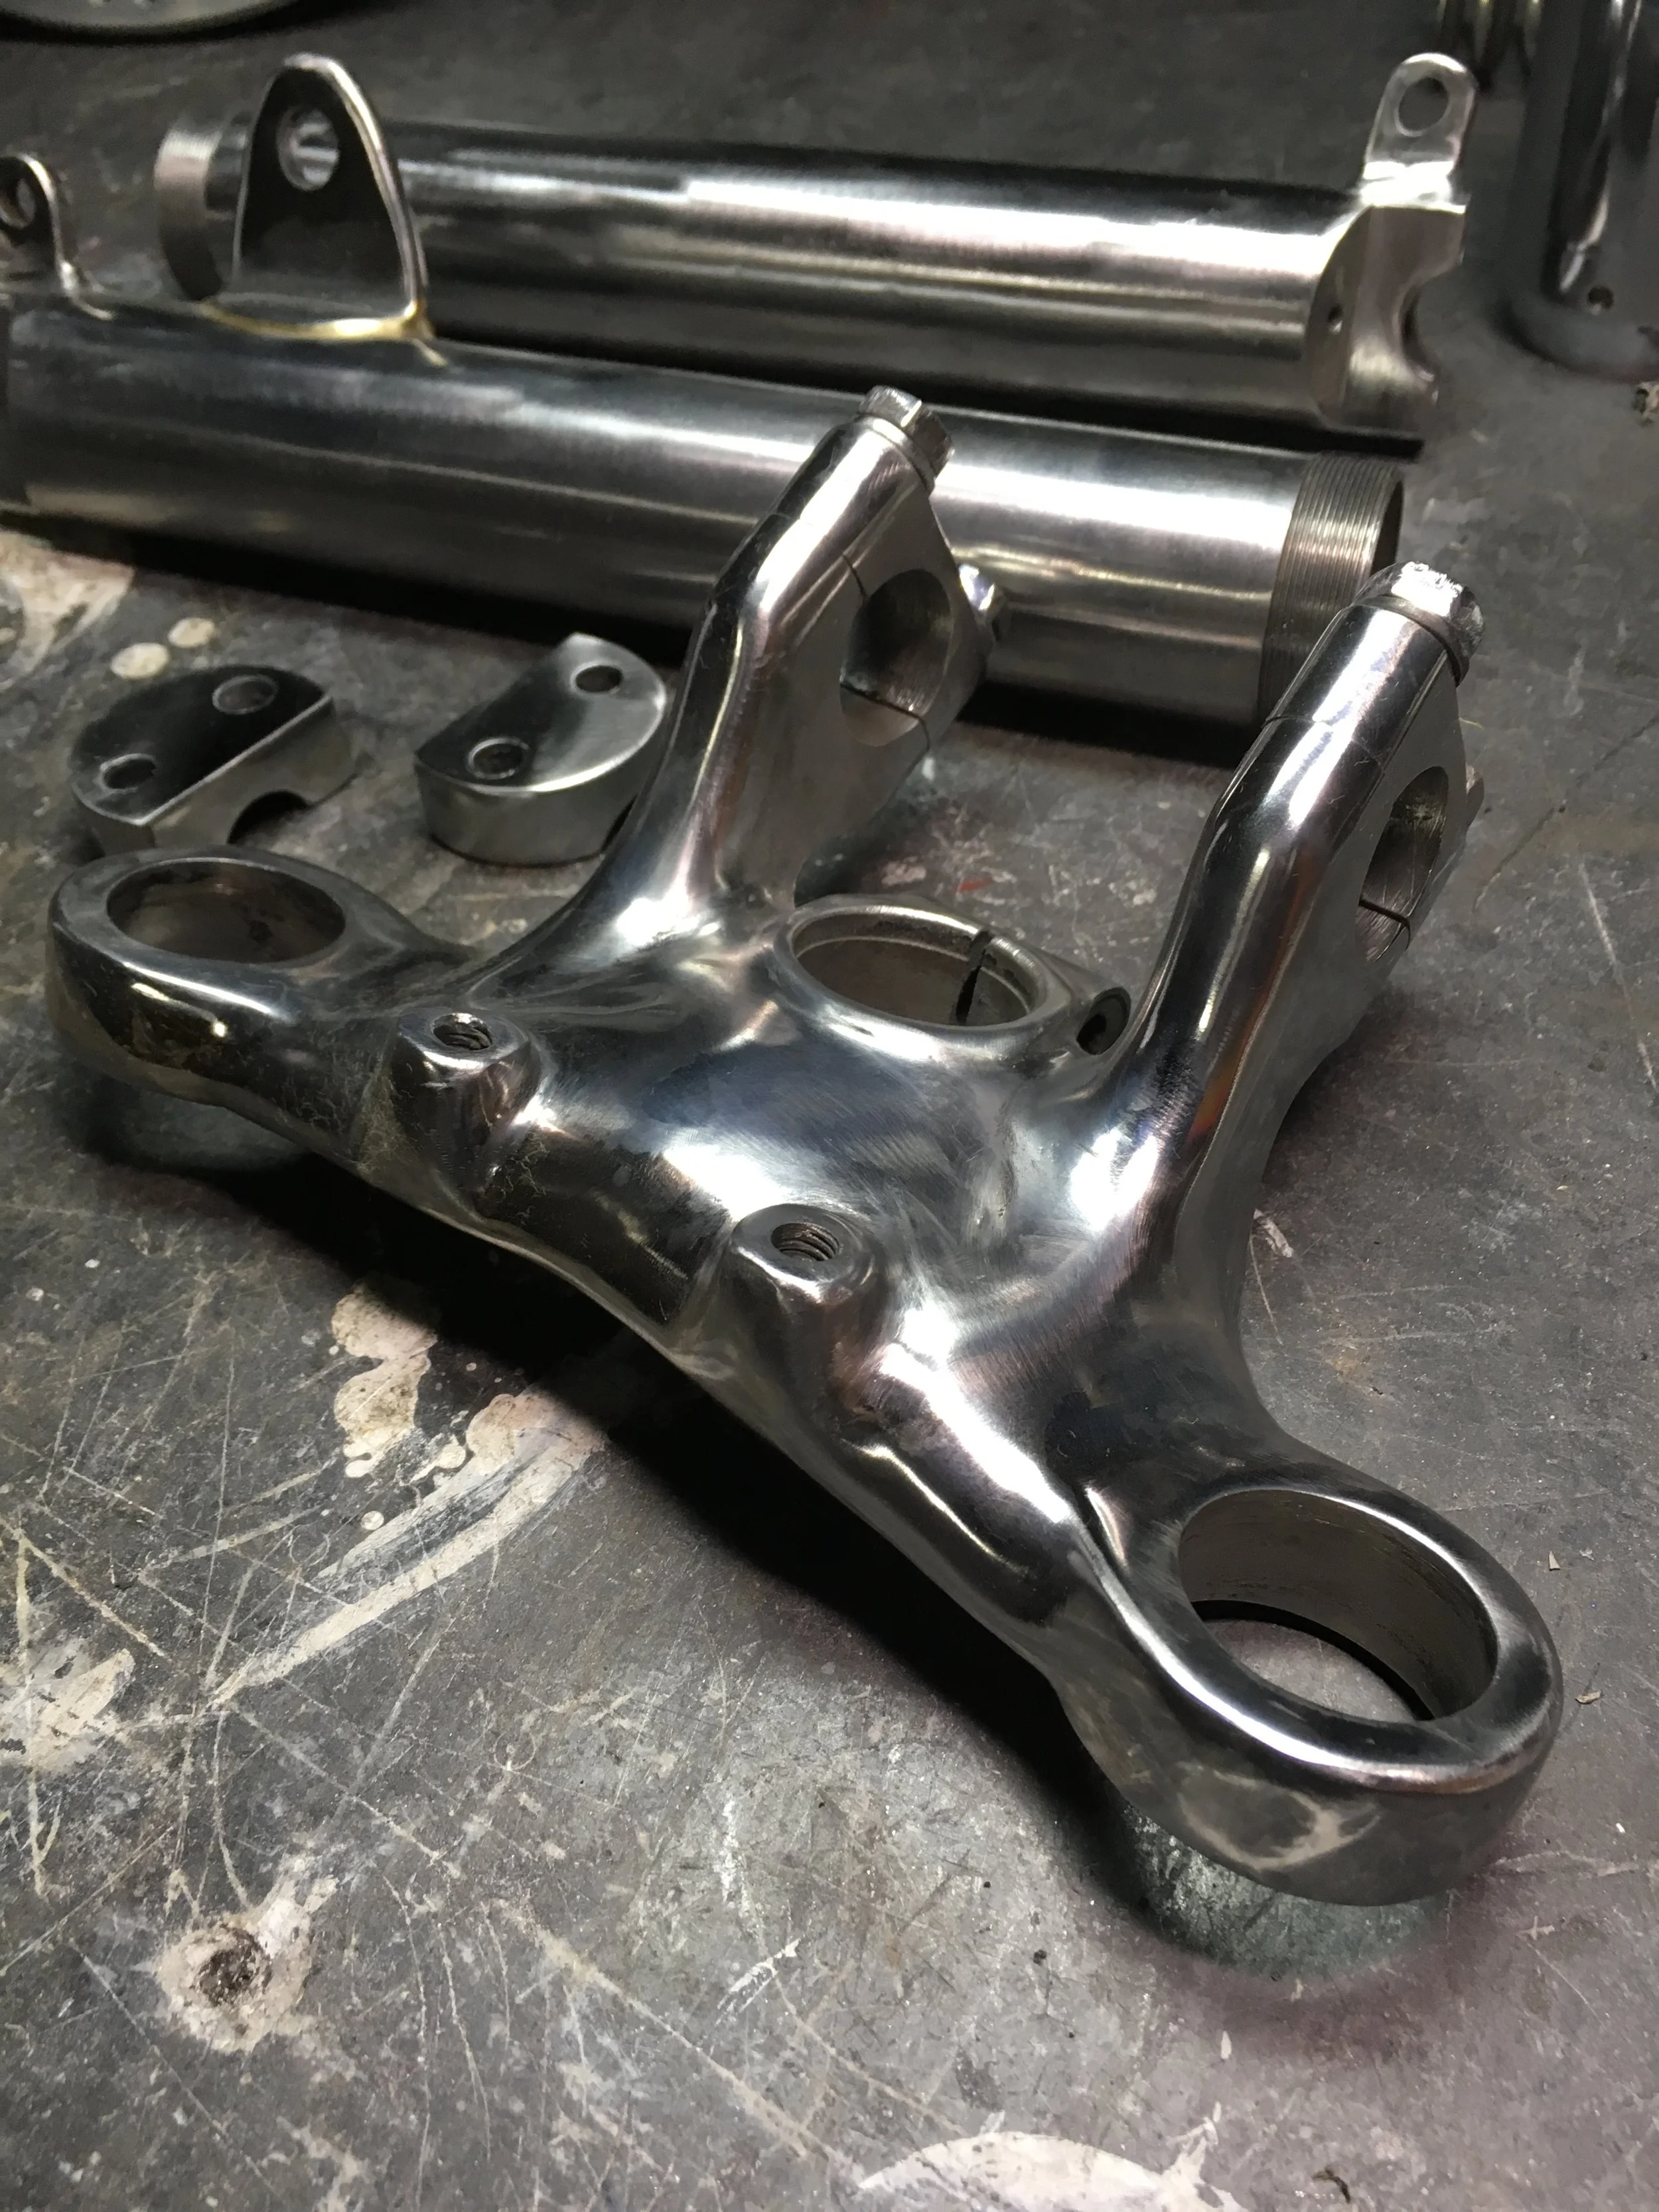
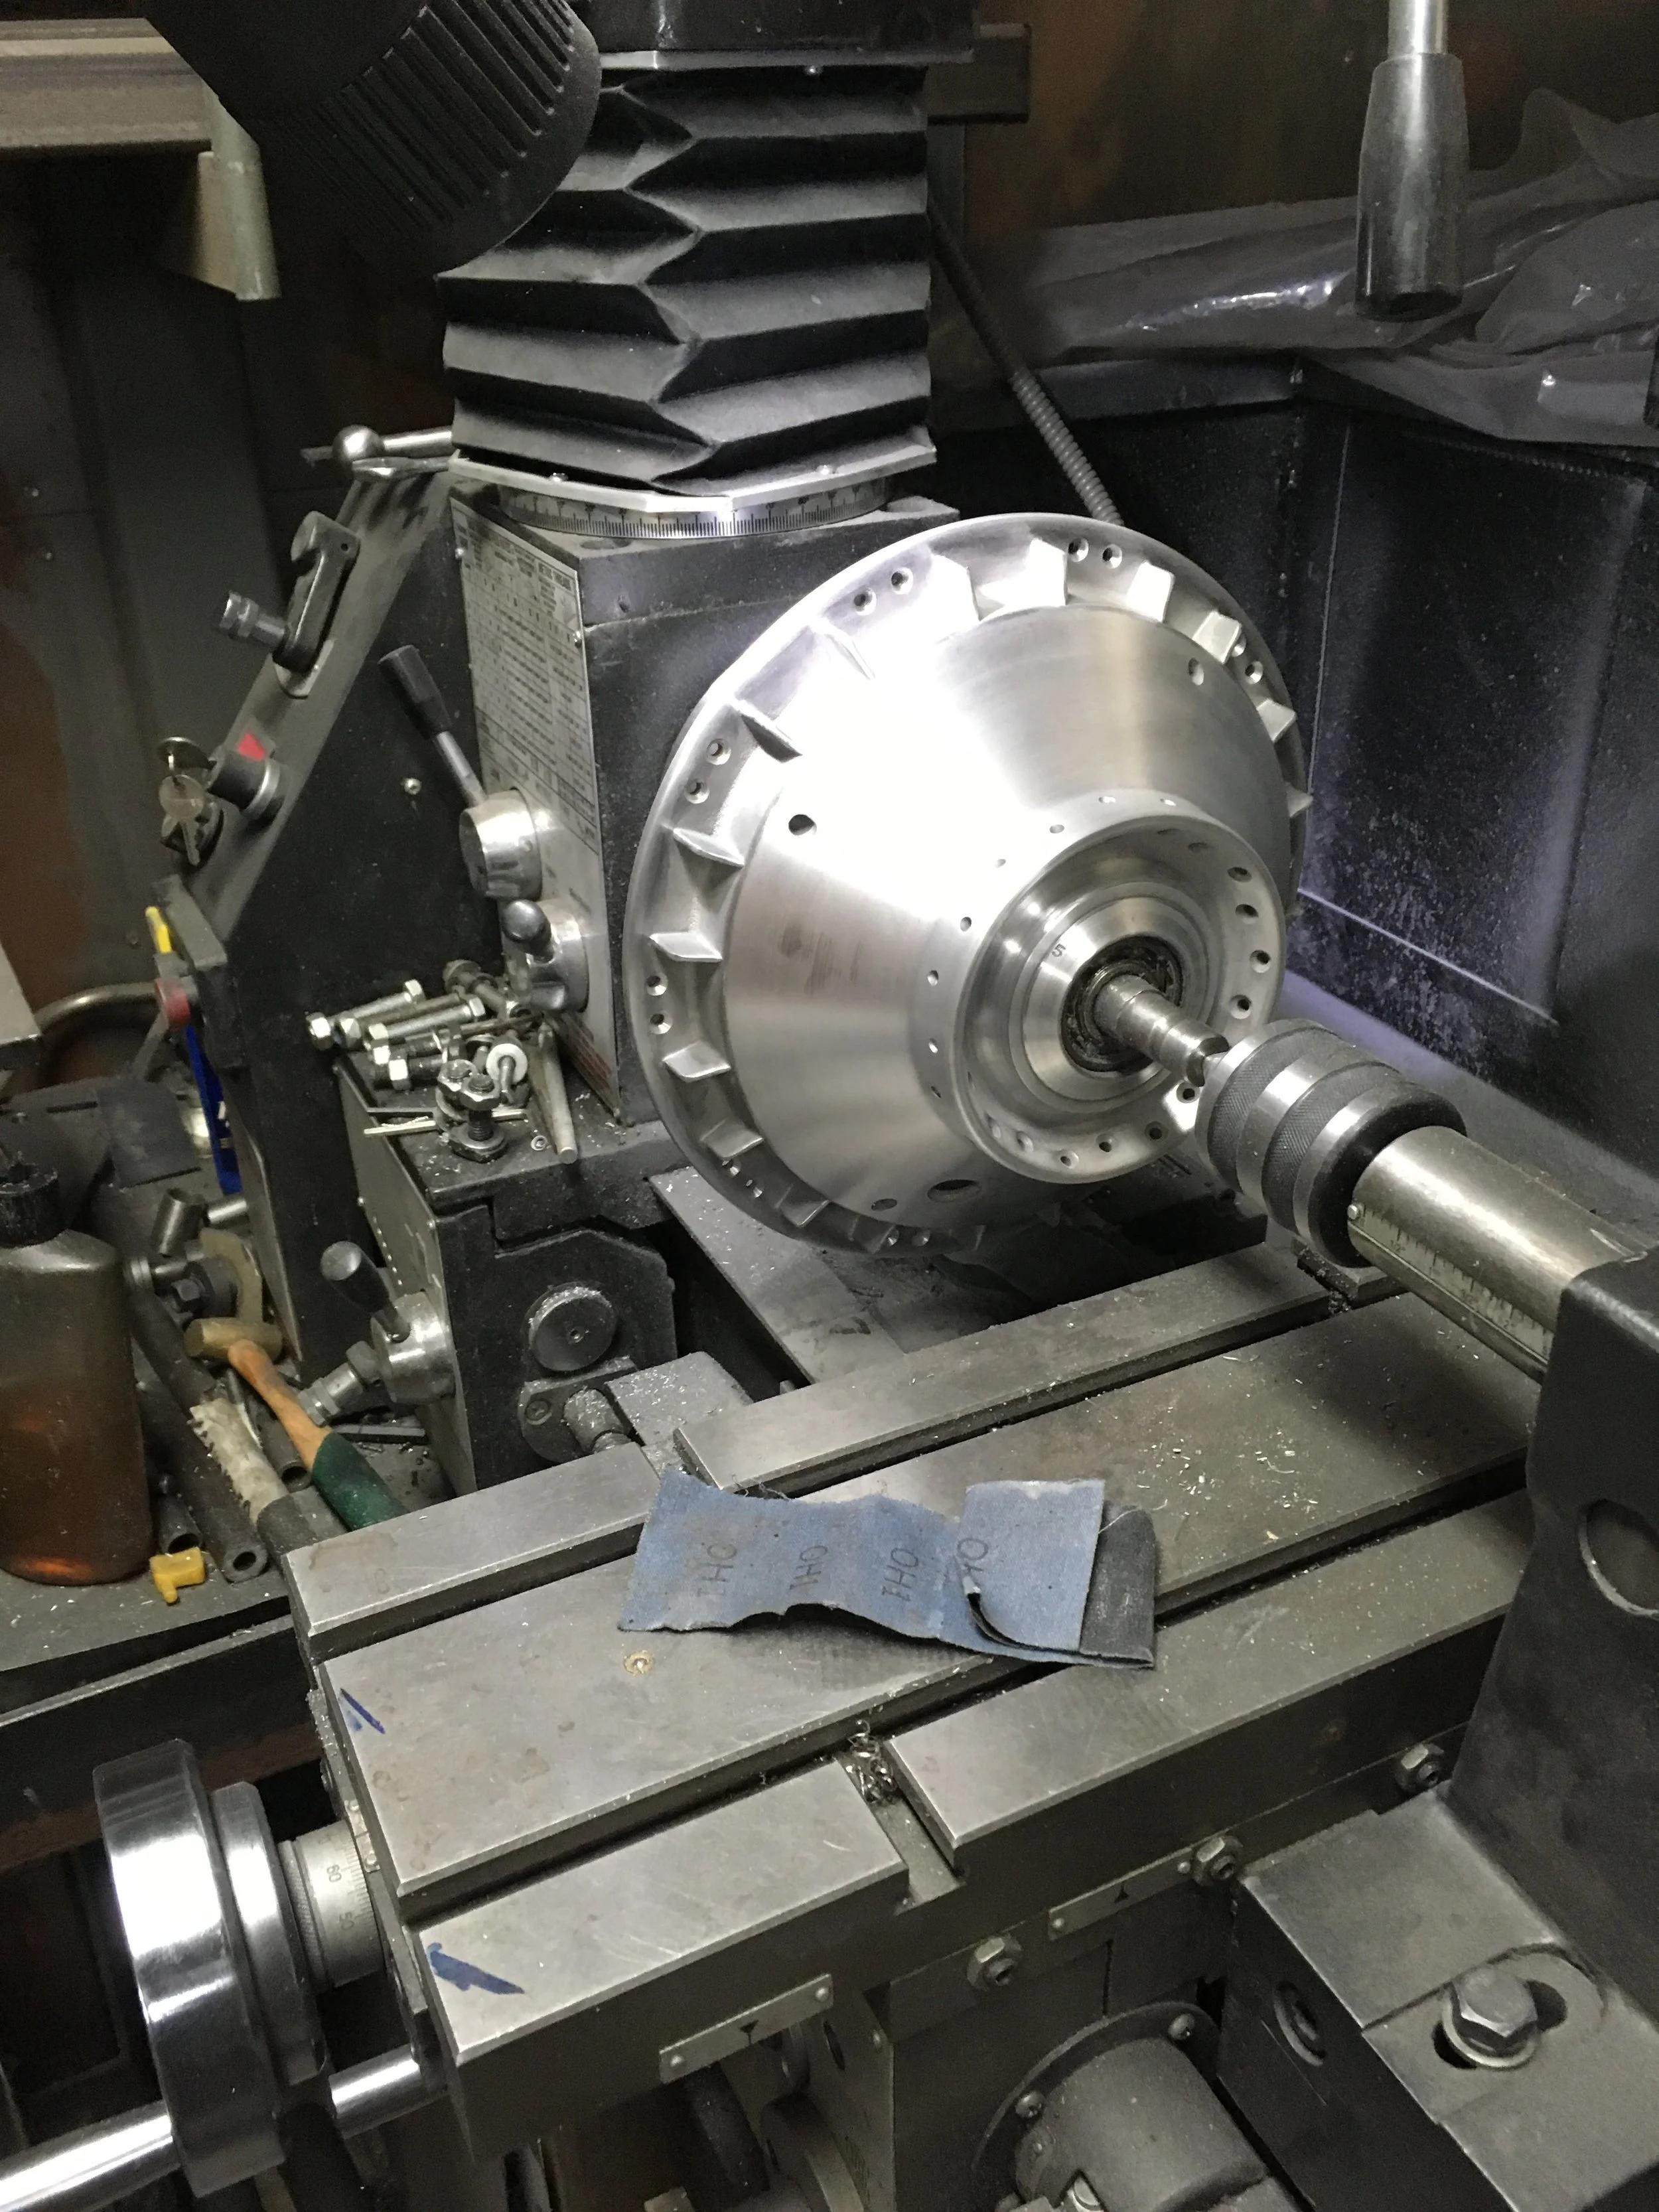
After some drilling and polishing. It will be chrome plated.

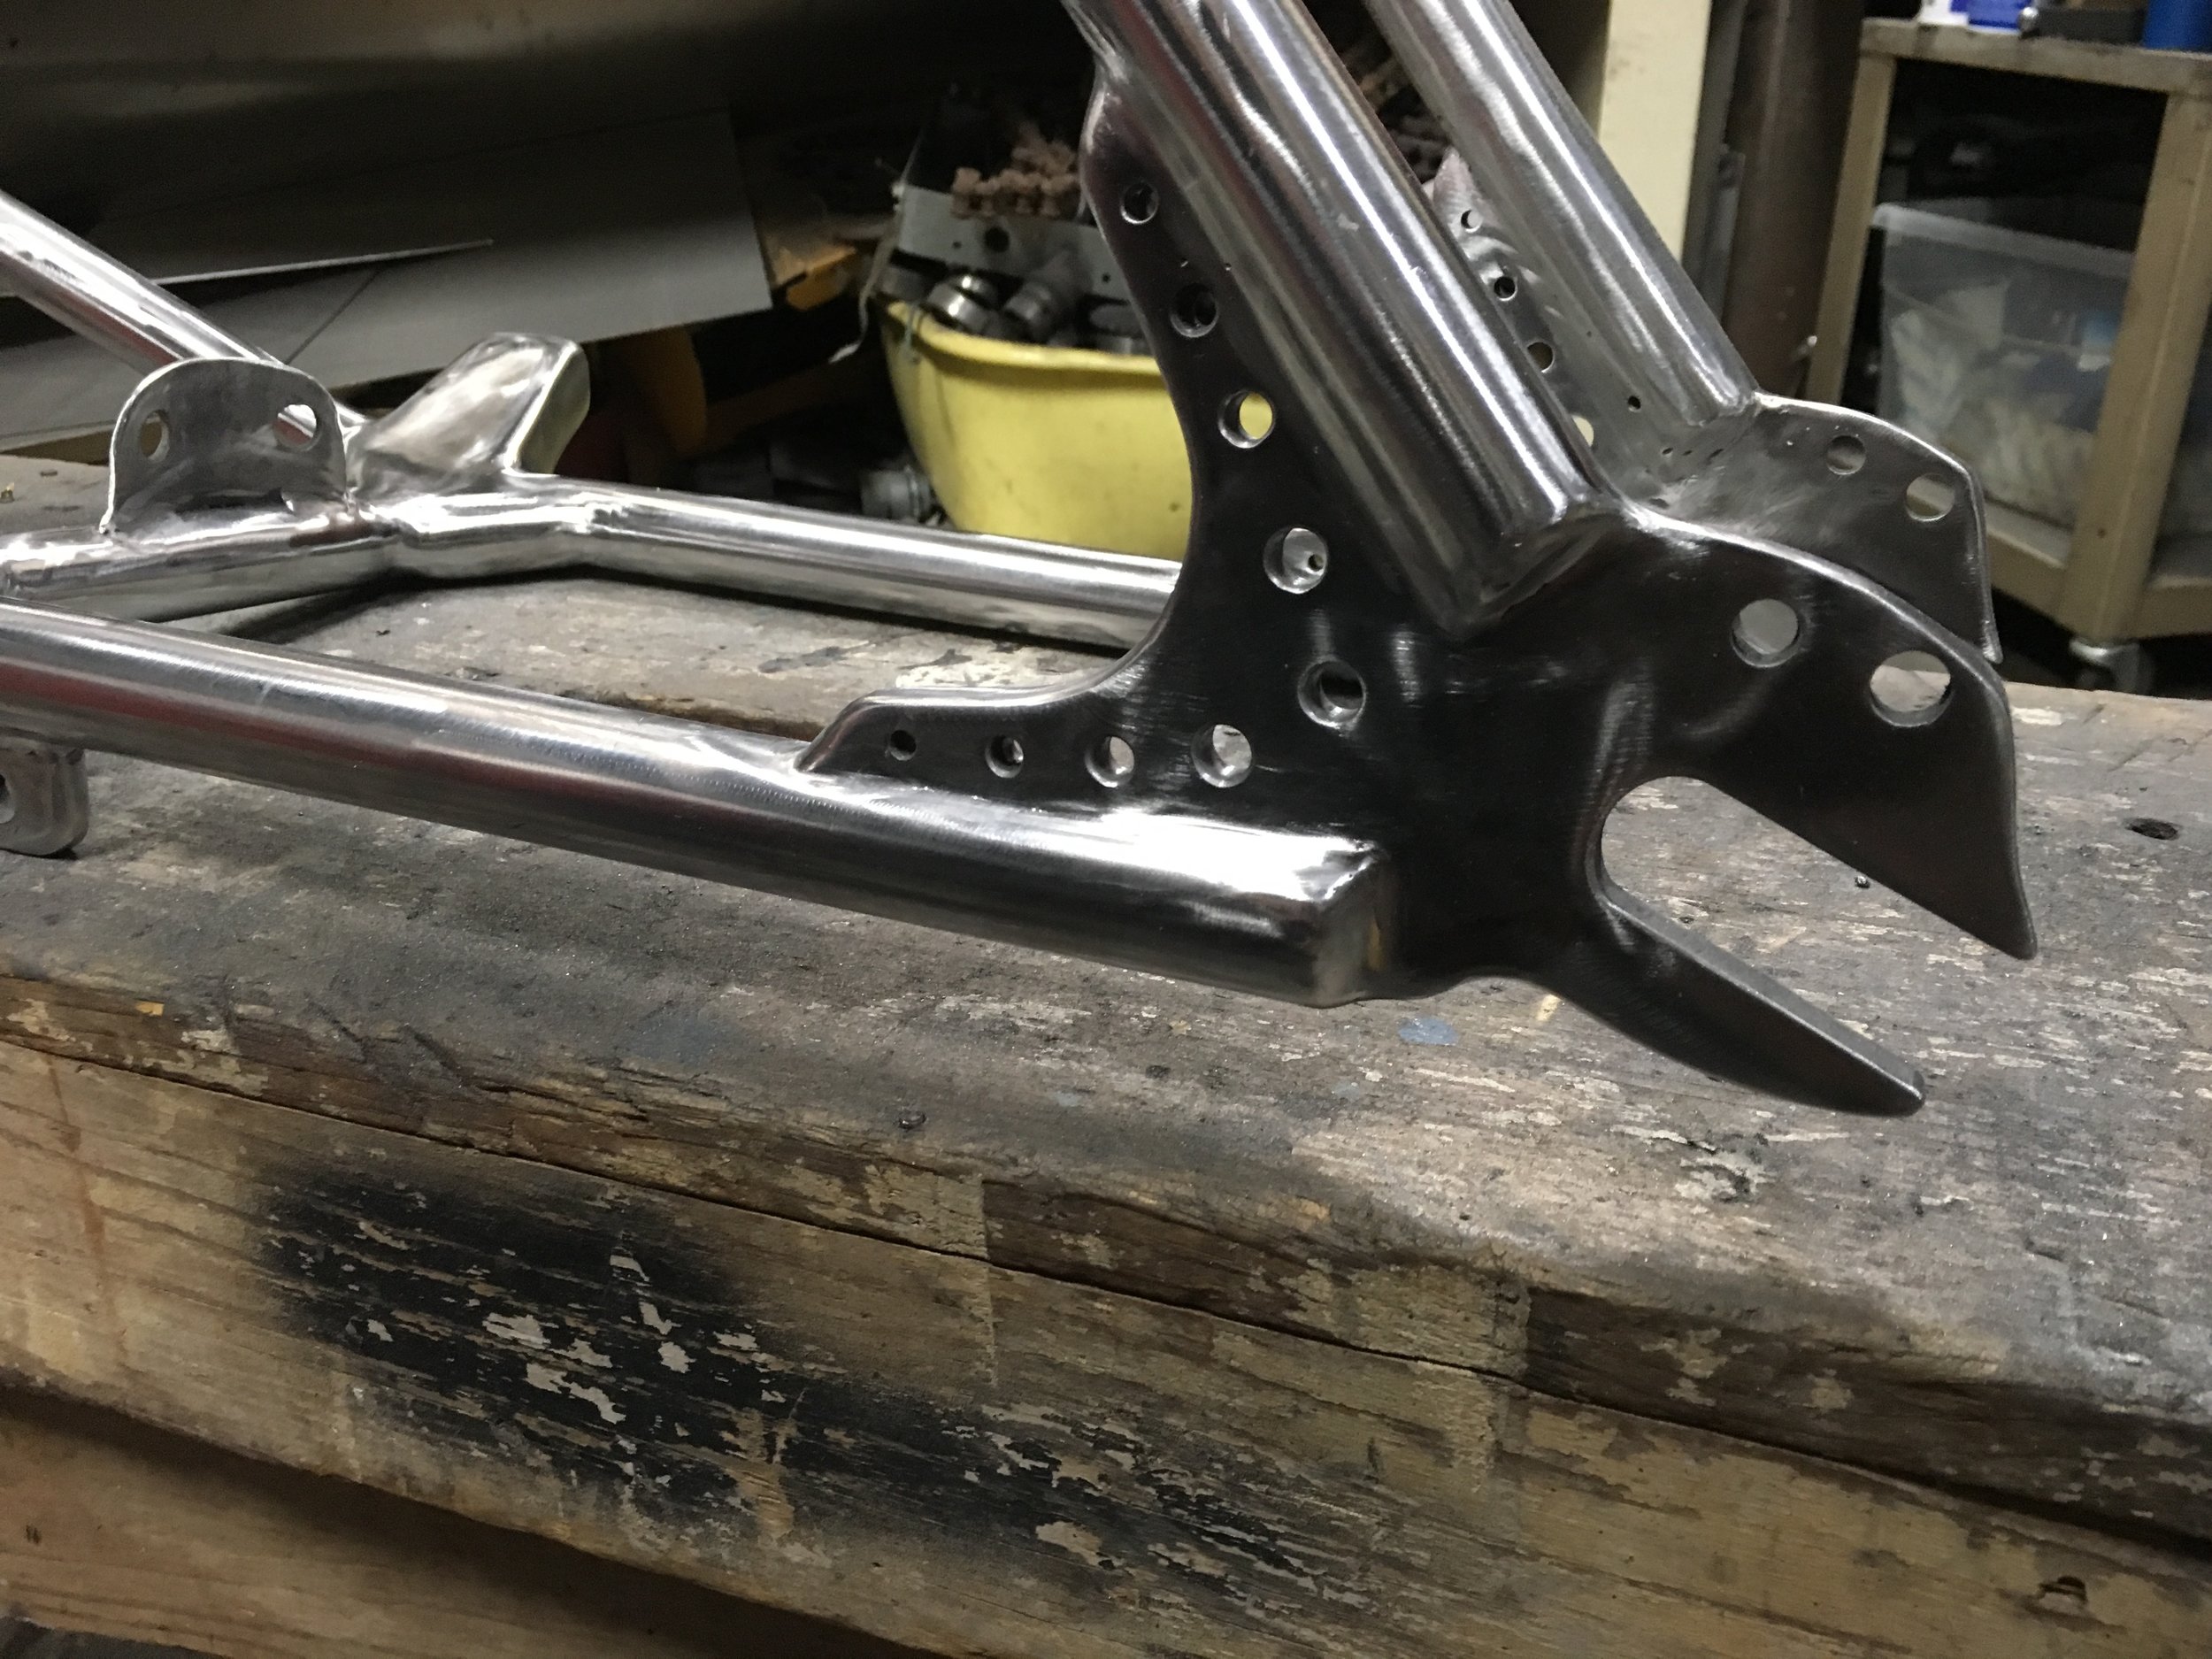
One of the reasons there was a longer than usual gap between this blog post and the previous one was because of the almost identical pictures despite the amount of time working it over (I figured there are only so many pictures of frame polishing that anyone wants to see.) Even though I thought it was near finished, as the rest of the frame got better, it was apparent there was more work necessary to blend in the joints.
More speed holes drilled in the rear frame.

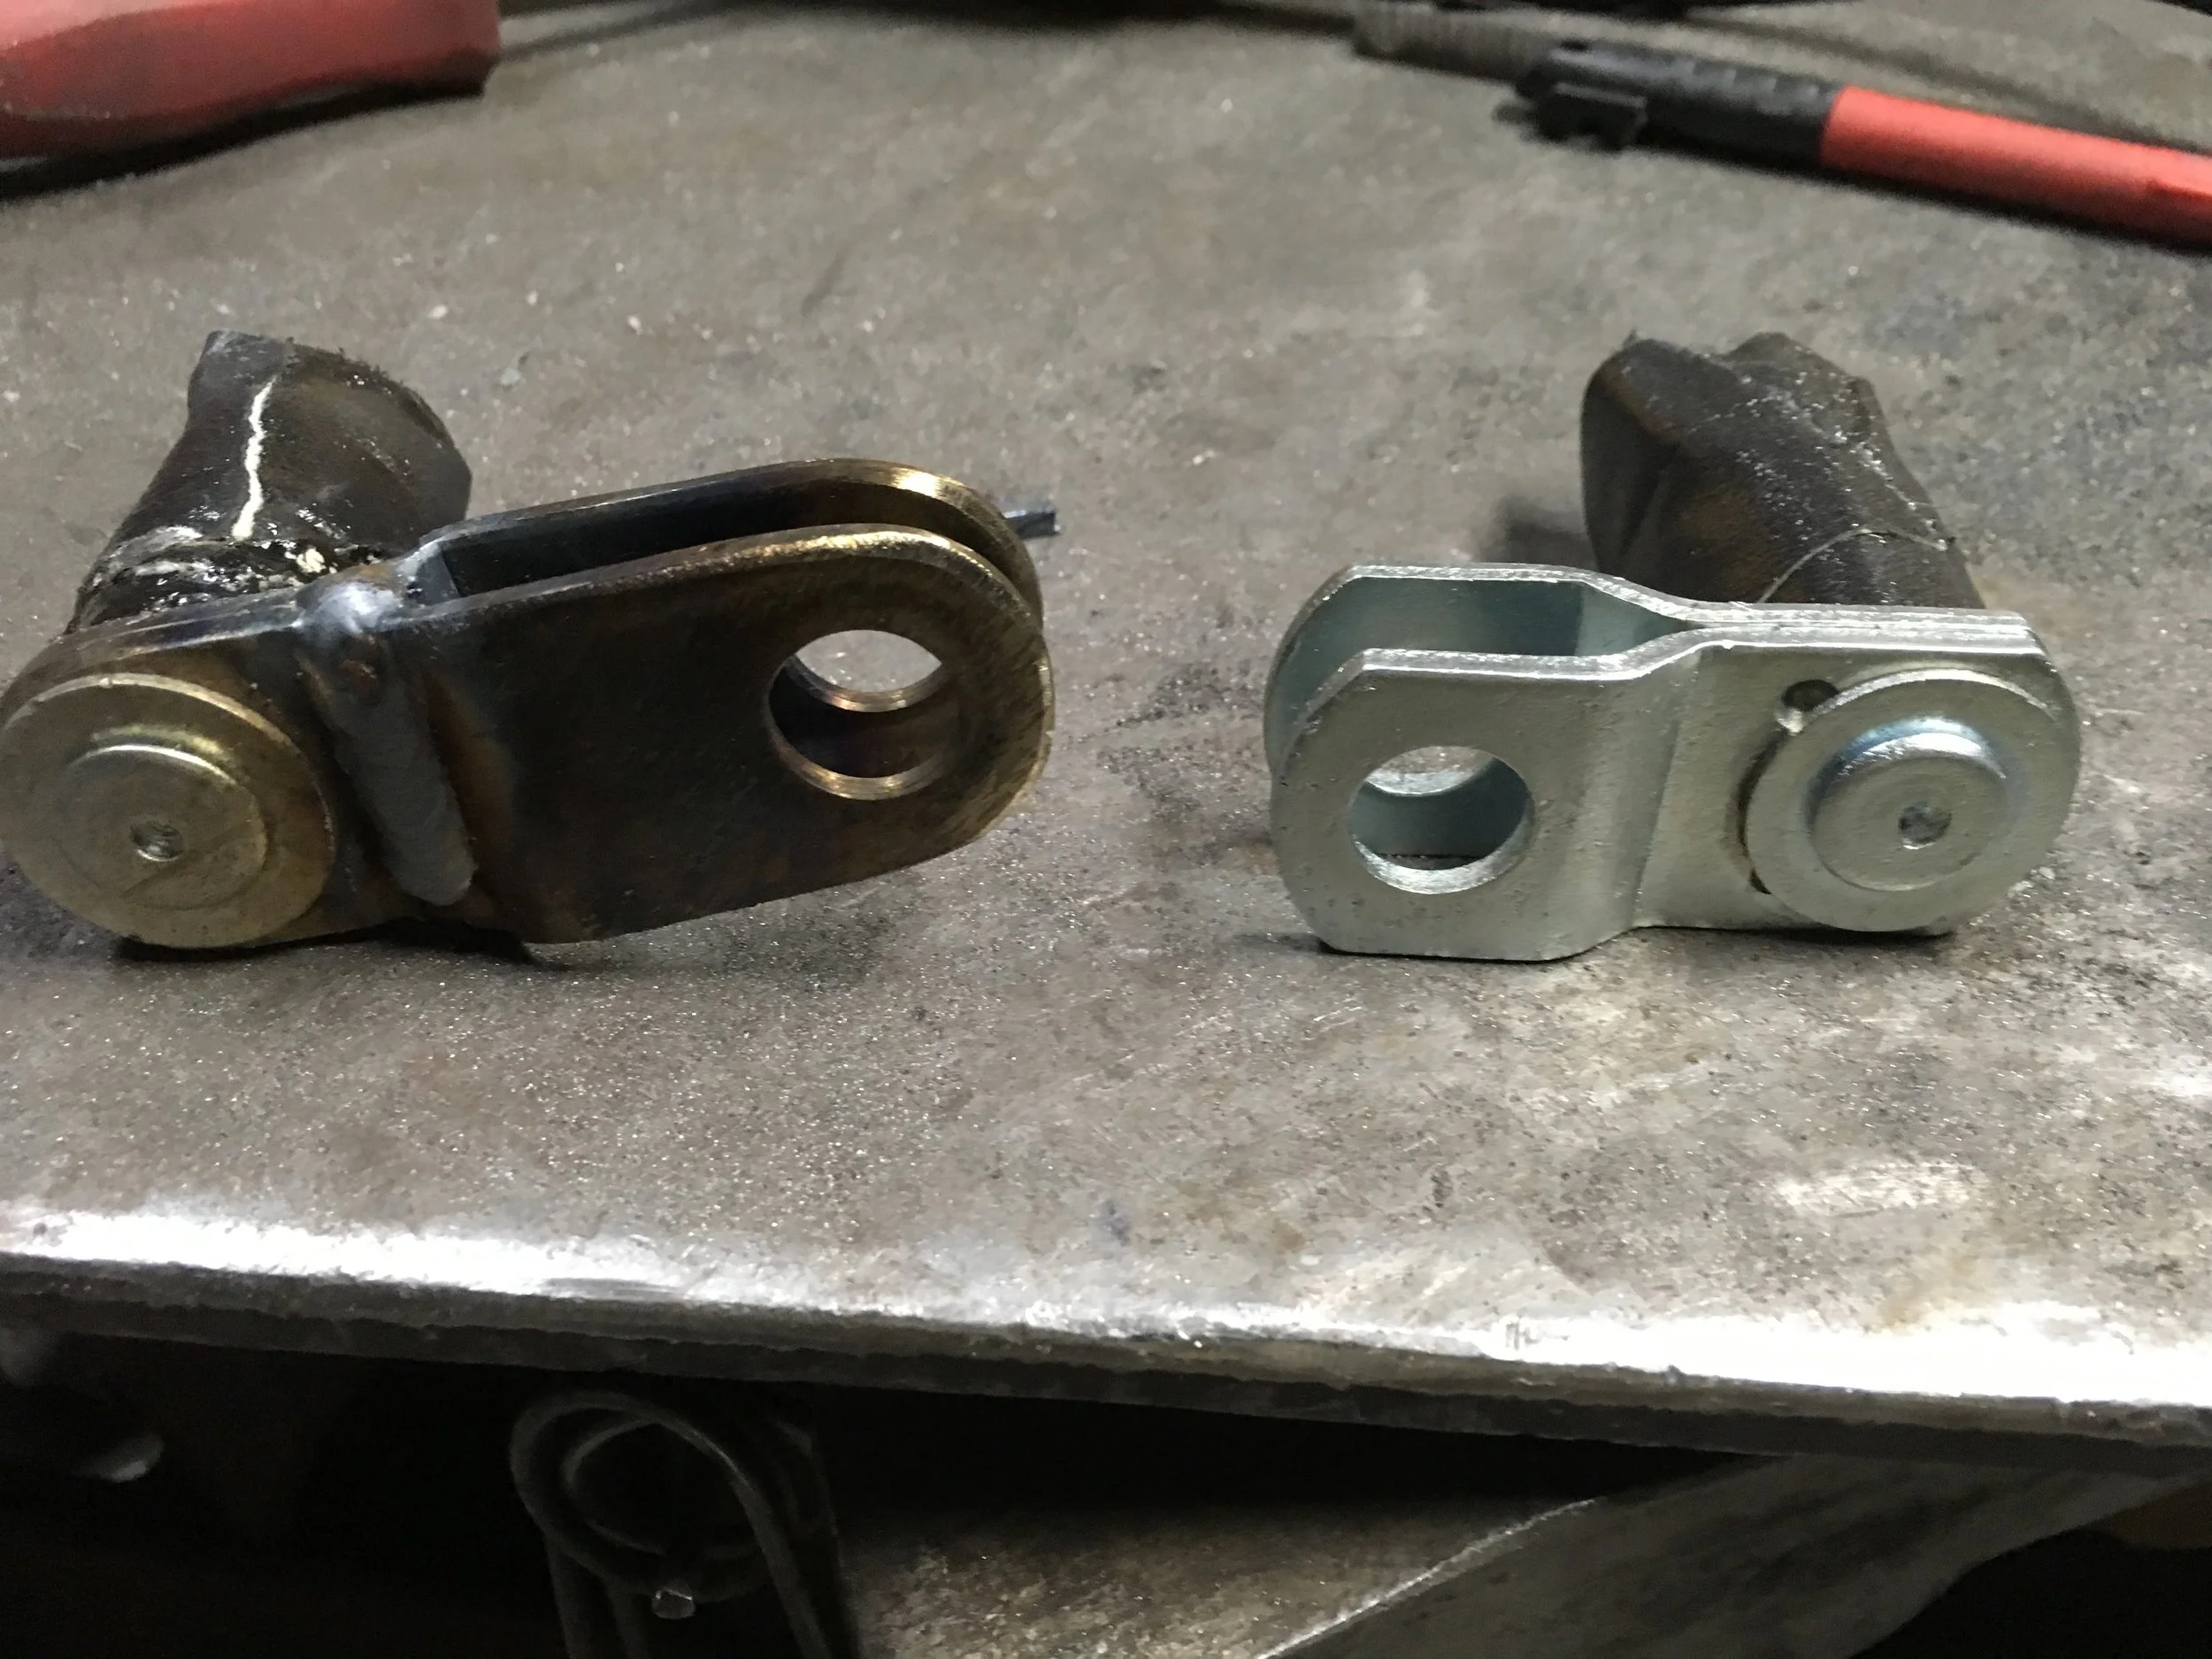
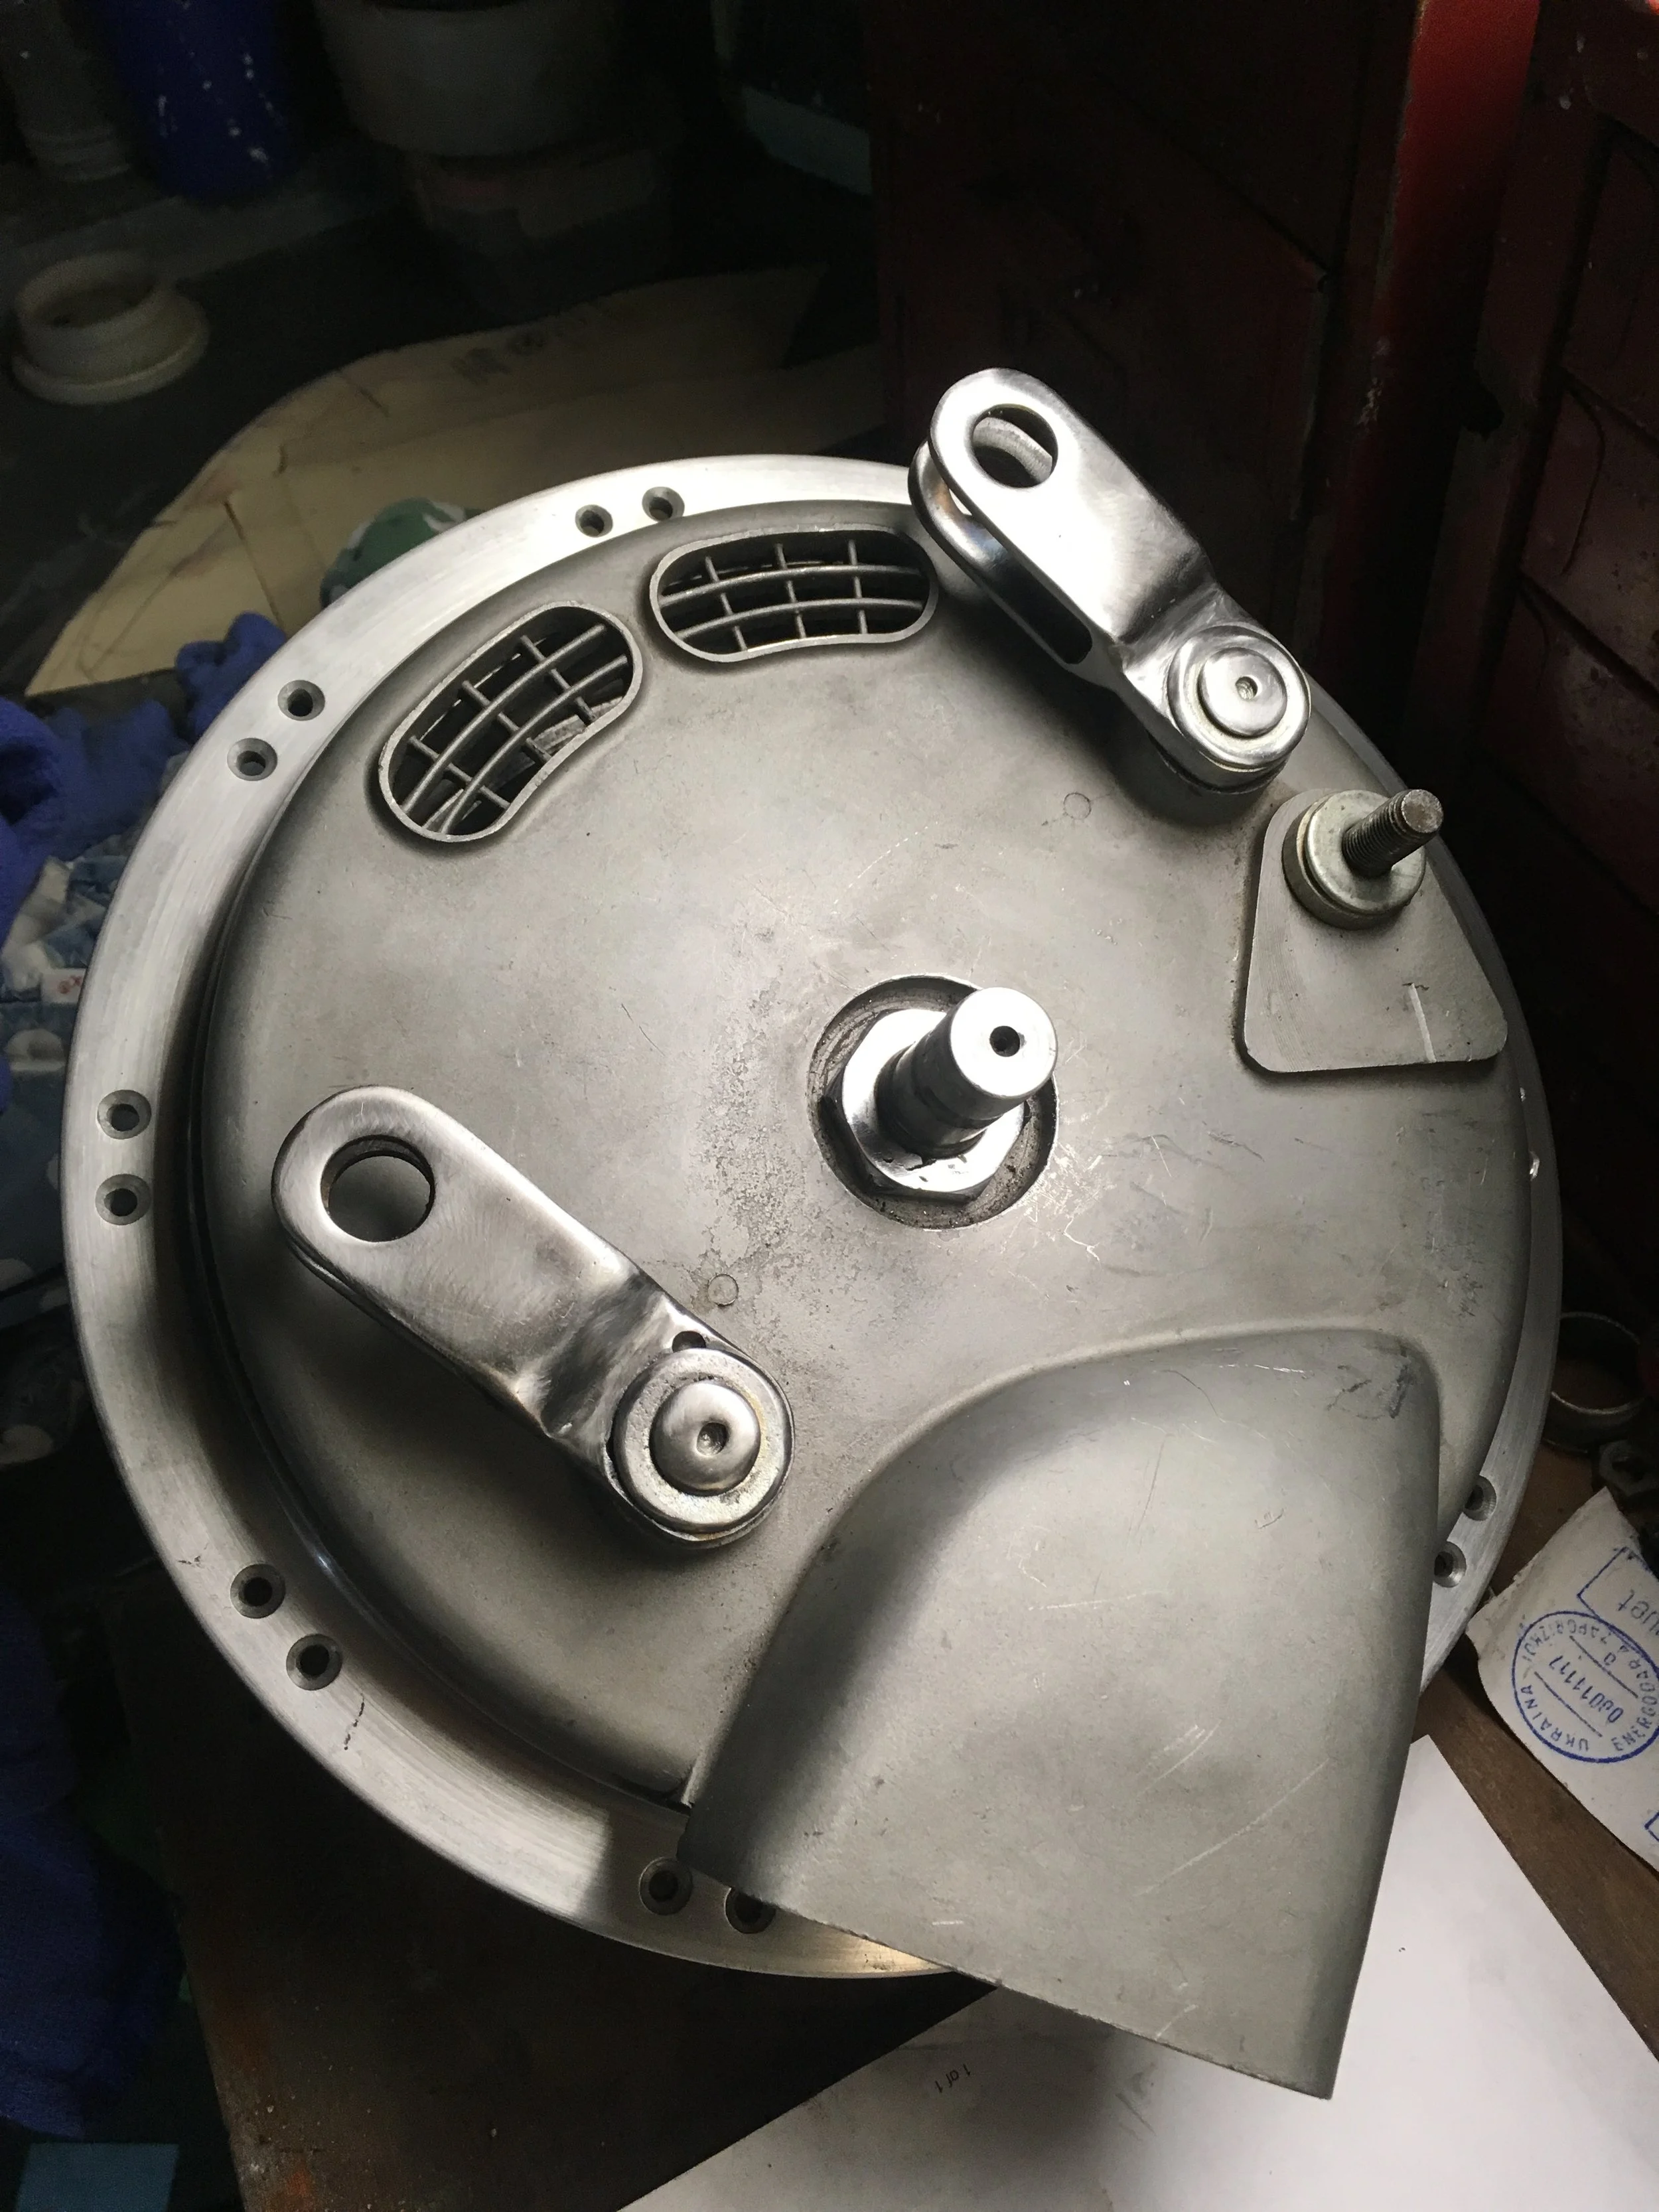
The front motor mounts were drilled out and the chrome stripped off.
Another picture that looks near identical, but another six hours of welding and grinding was done to get the joints smoothed out prior to sending it out for the cover.

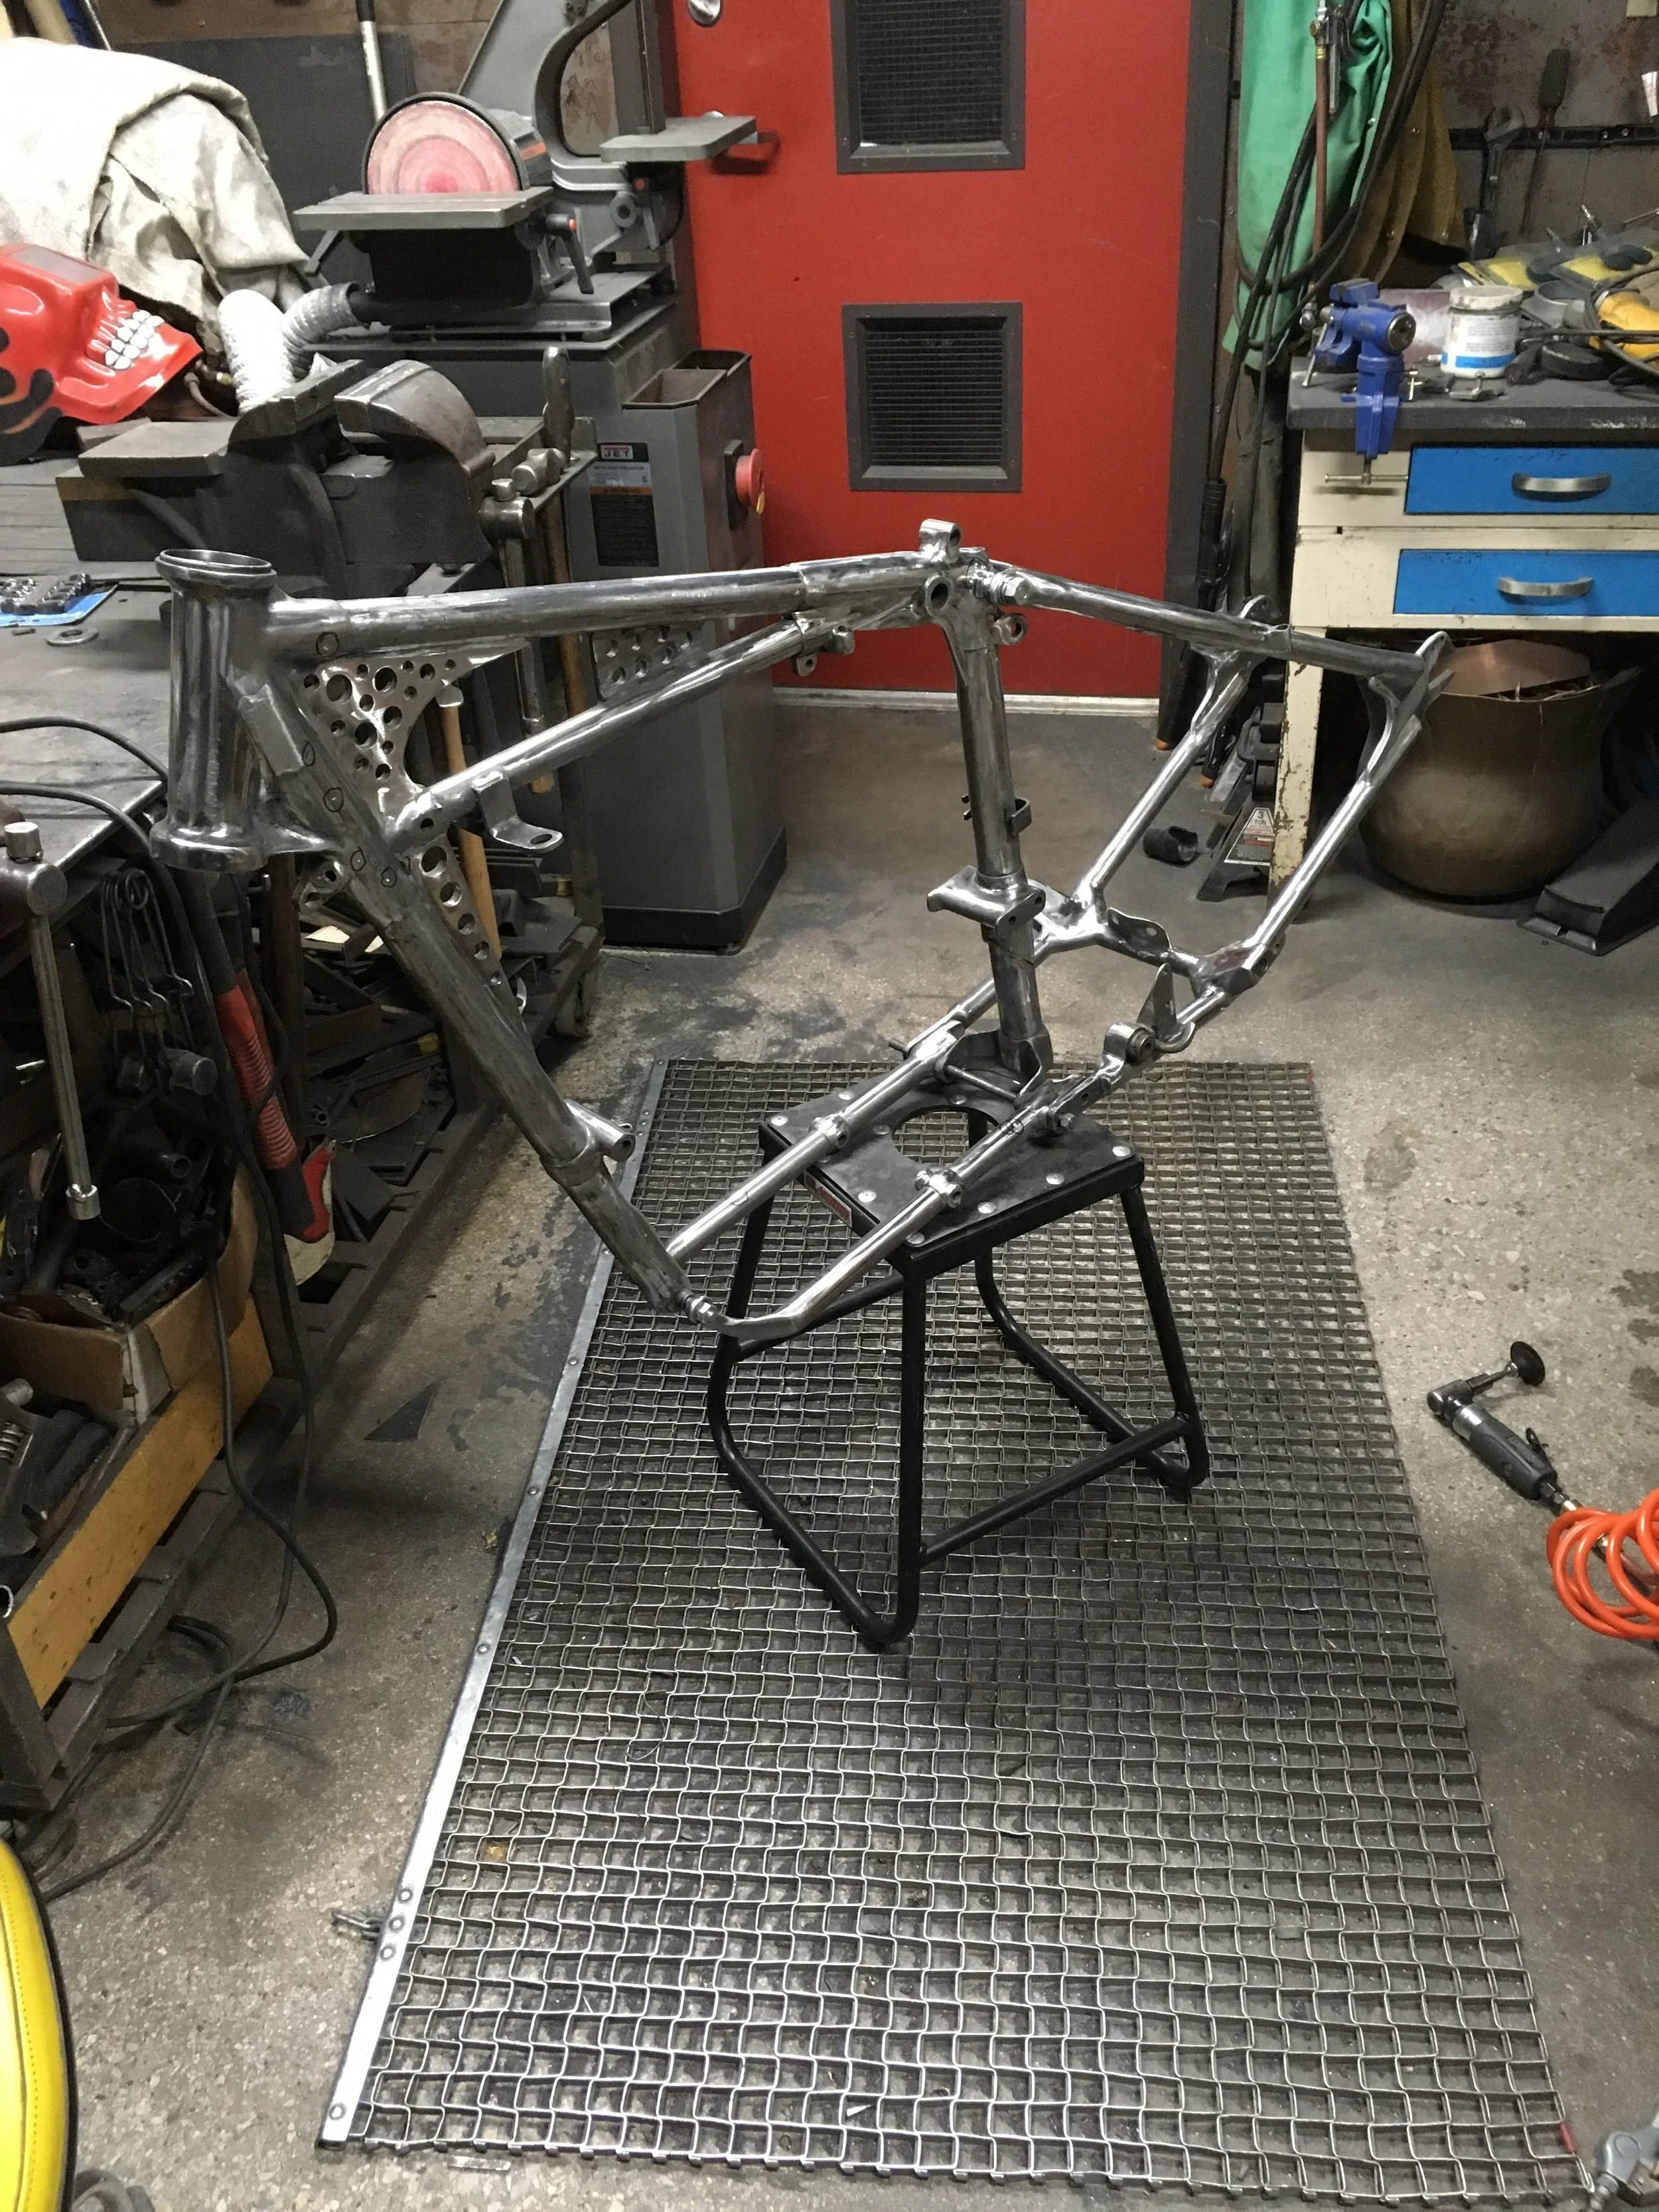
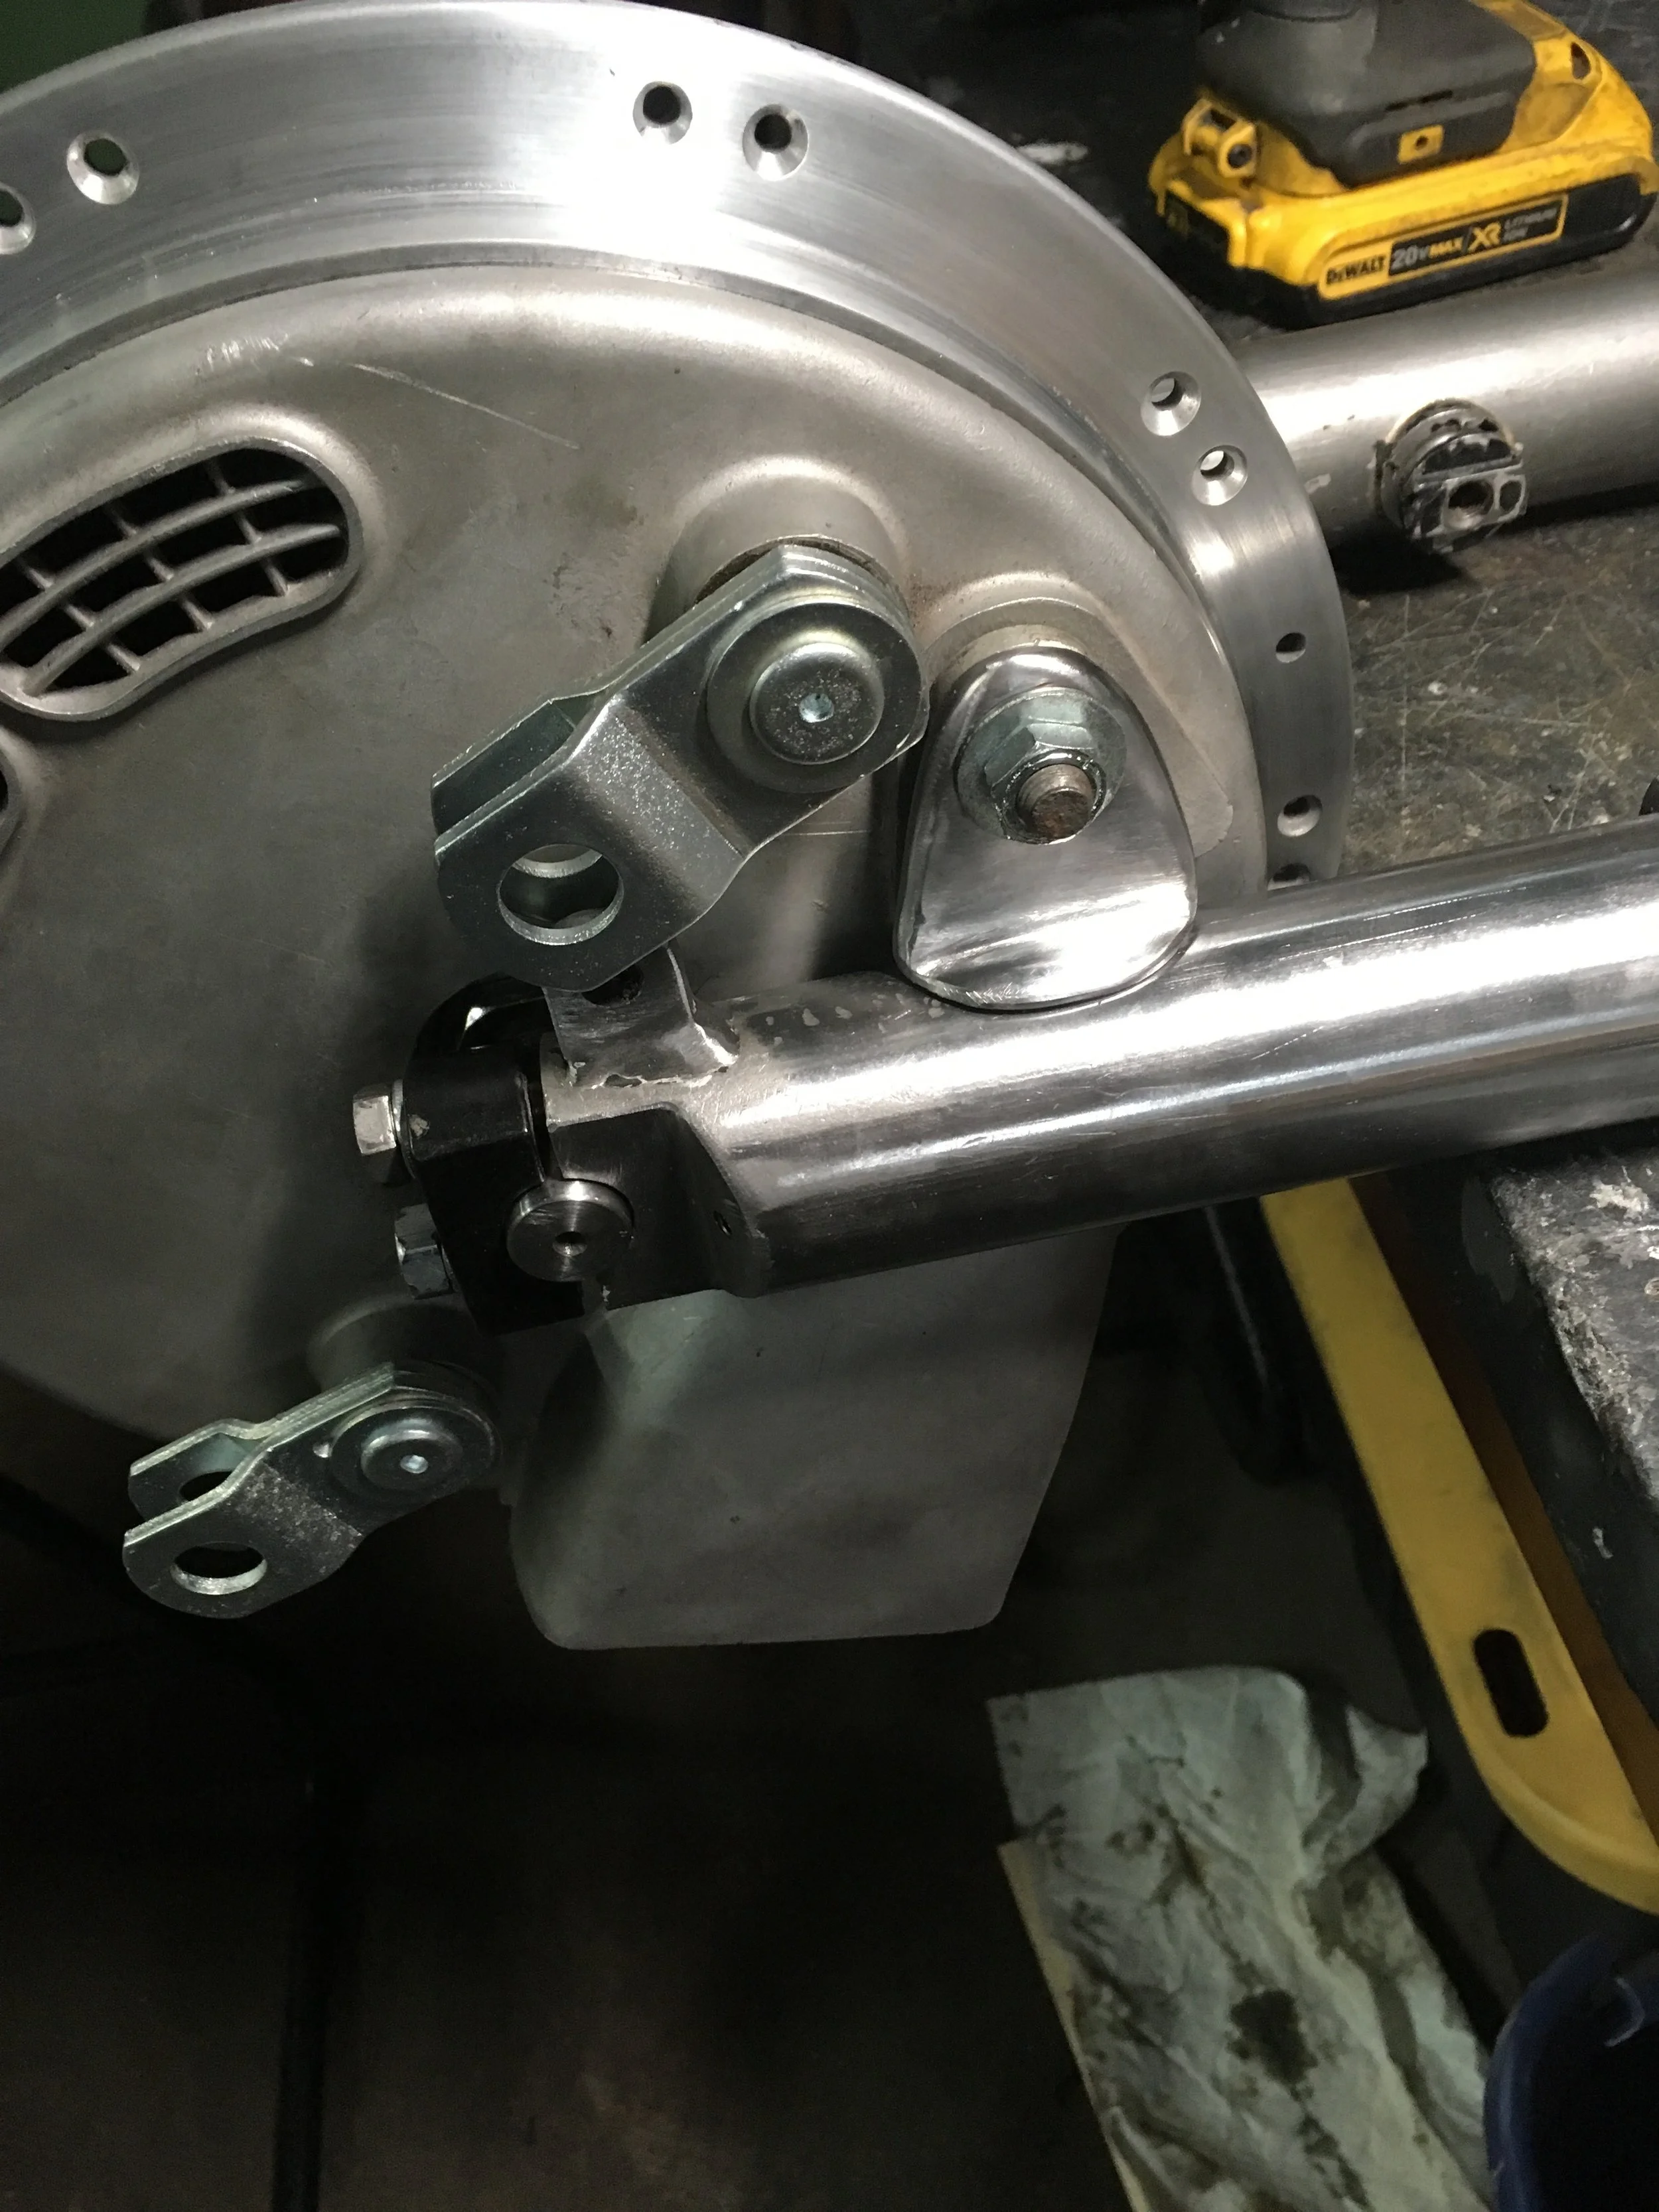
Assembling the frame again to make sure the tank fits correctly…looks good!

The 1993 Harley-Davidson FXR project is moving along as well. The rear fender and a second set of handlebars with a little more pull-back are on the bike, and the pipes are getting worked out. The rear pipe was part of a used set purchased online, but unfortunately, the front pipe could not be found by the seller! A second set was purchased and is on the way.

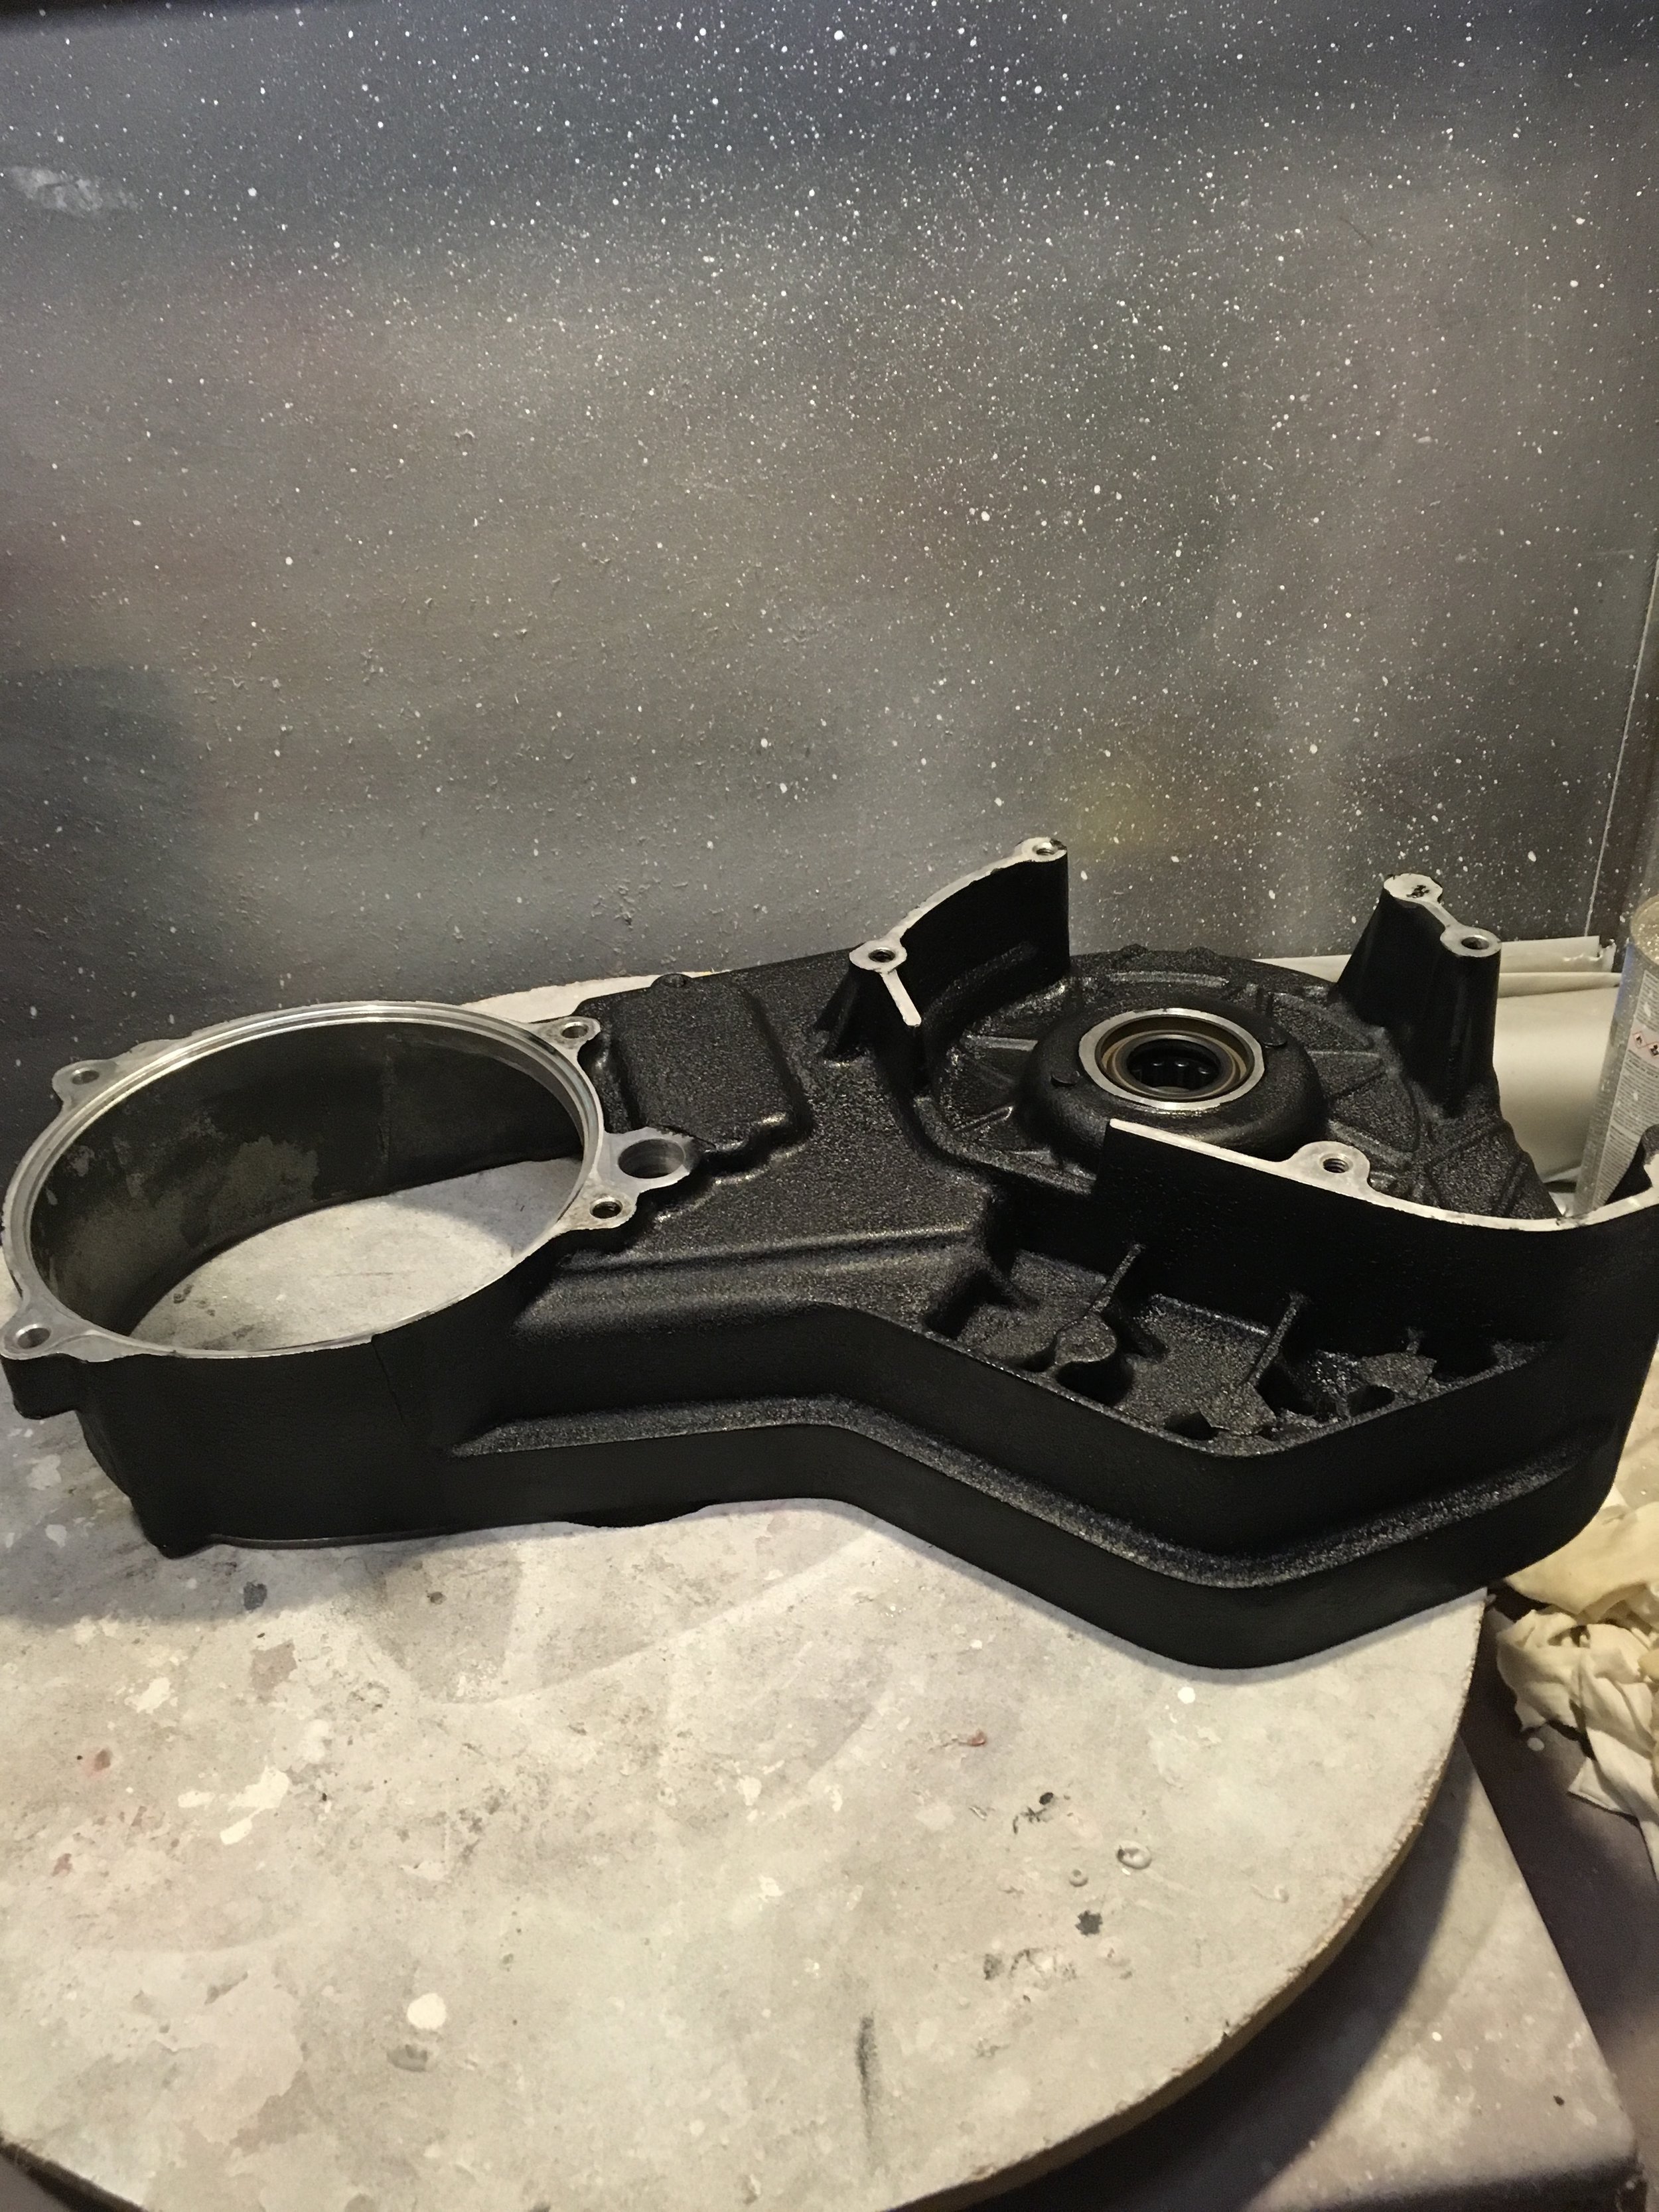
Another deja-vu moment. Round two of stripping and re-painting for the FXR primary case. The first job had some irregularities that were in visible places, so the process was repeated. This time it looks great!