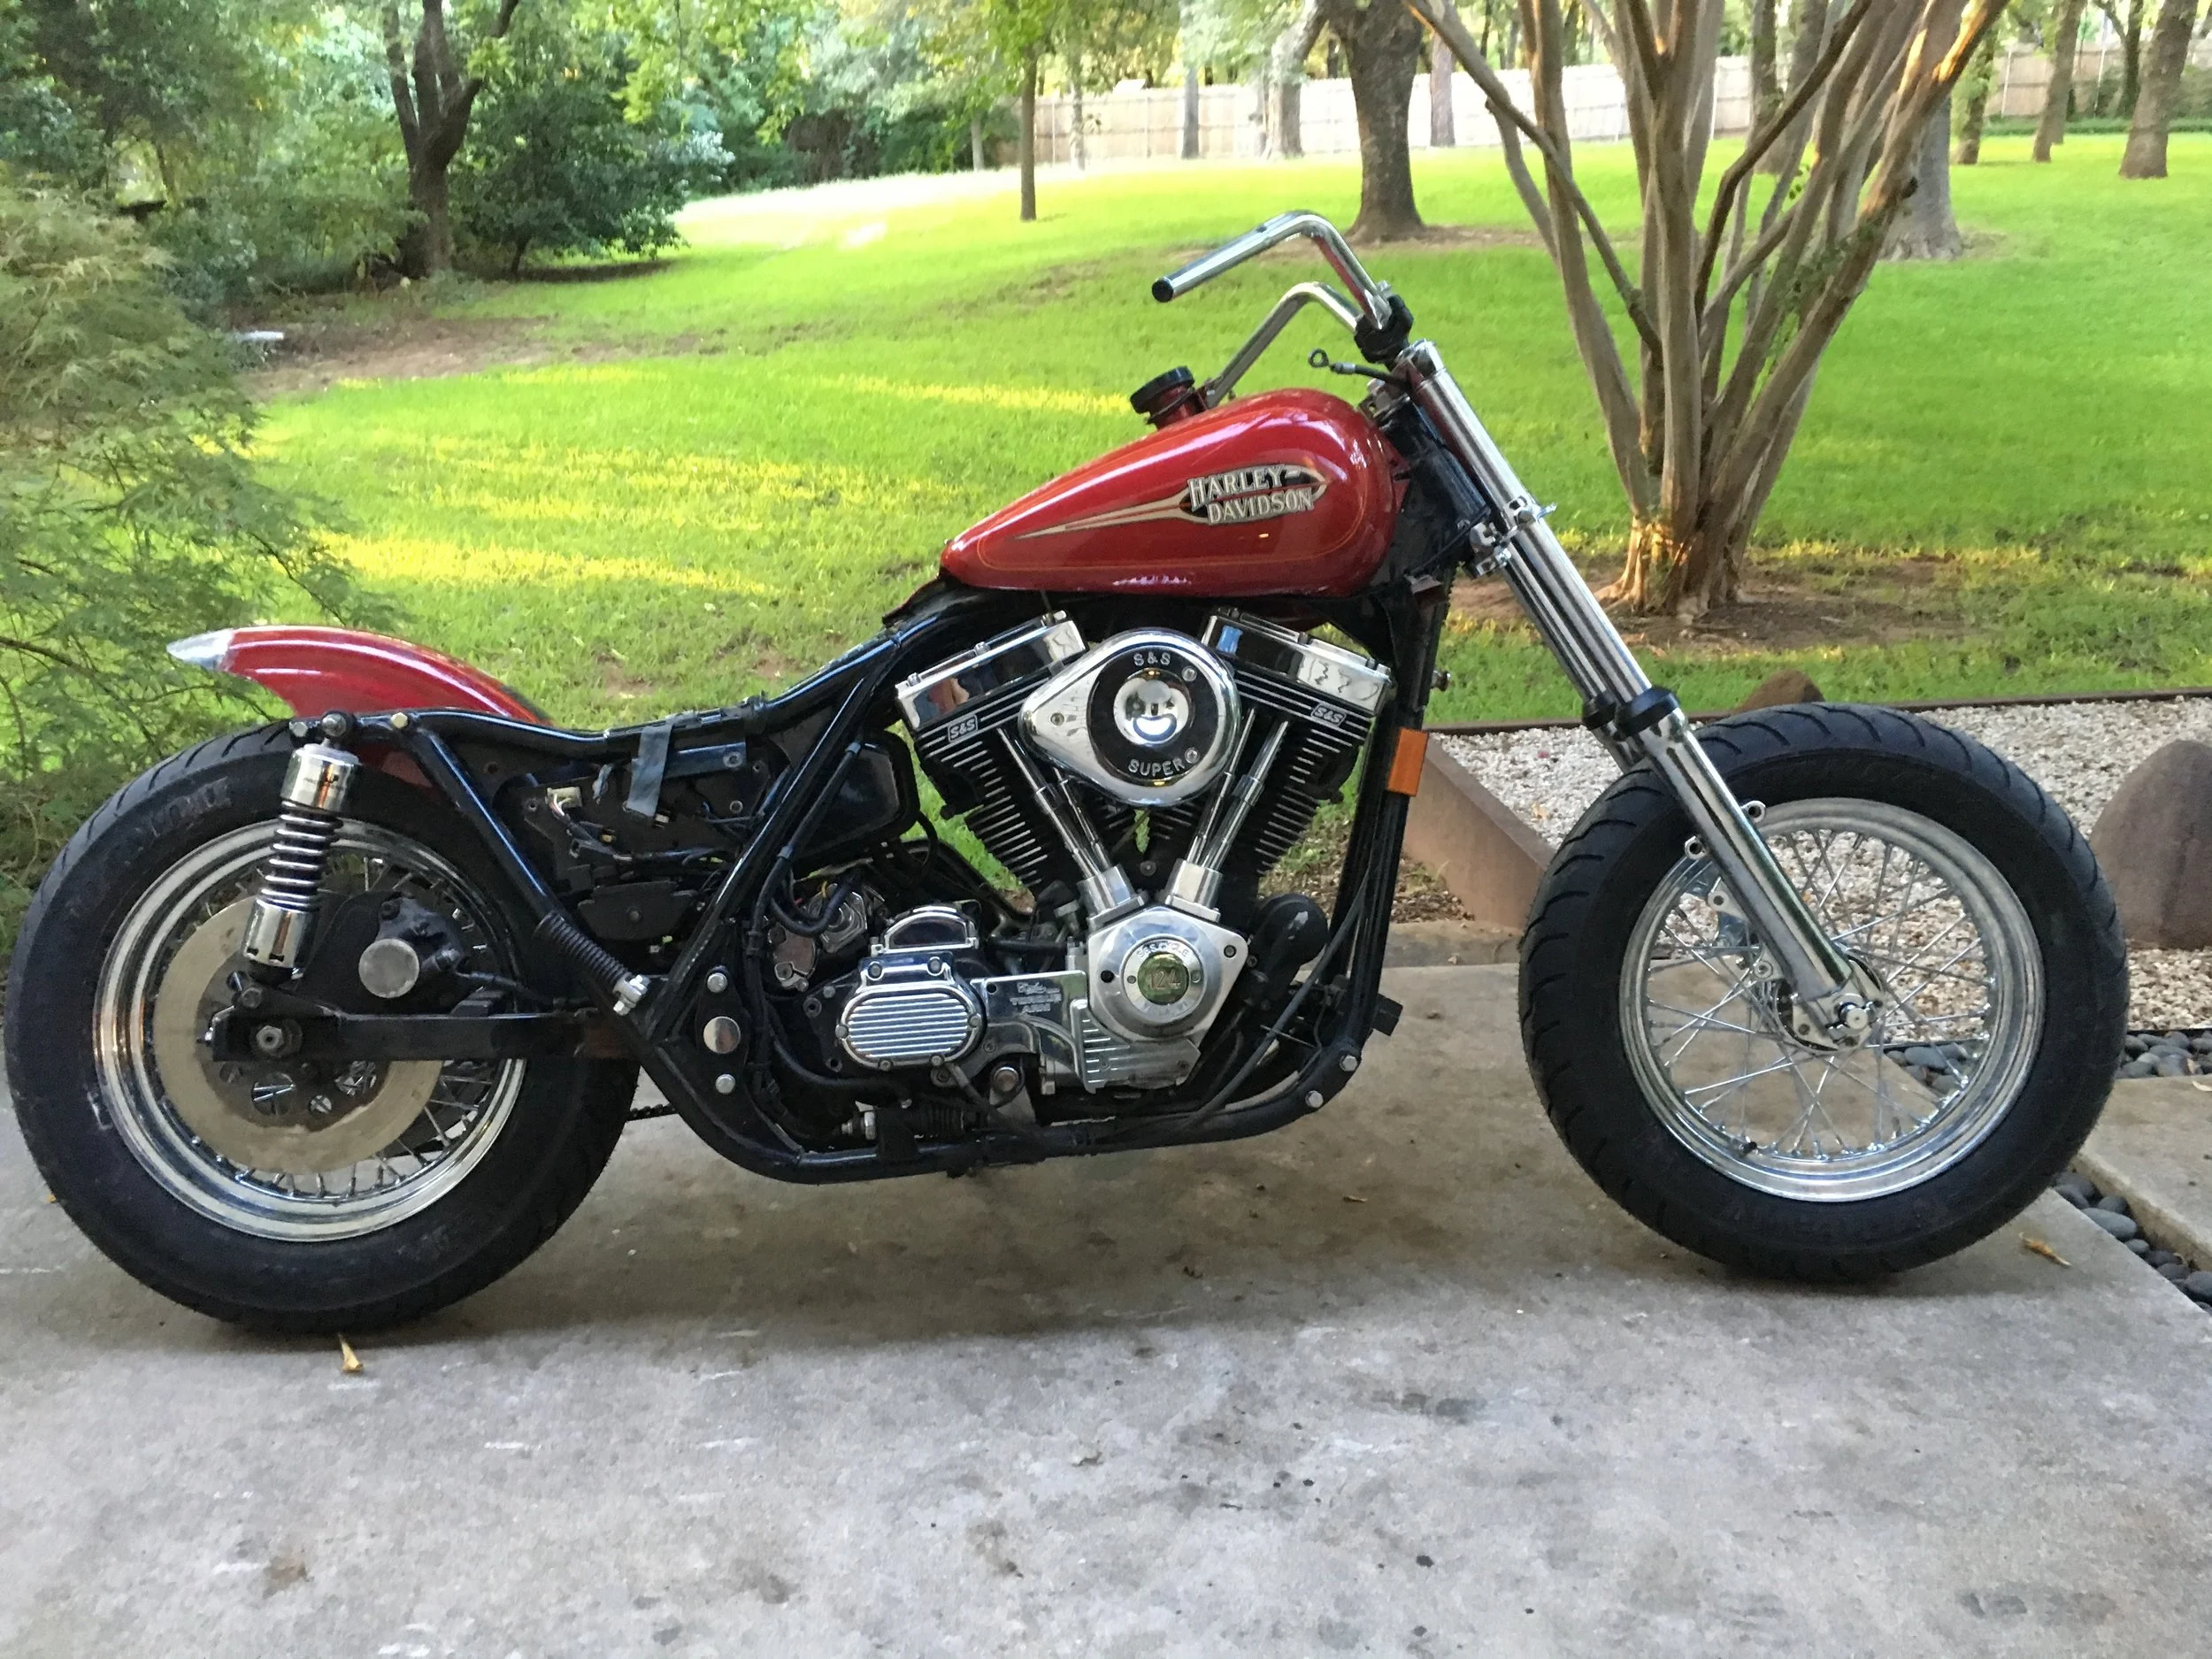
The look the client was wanting was a modern bobber, with a more compact appearance. The bike is a family legacy bike, and some of the original elements are being retained as a tribute to its original owner. The tank and fenders will be mostly black, saving the red side panels on the tank, and matching the fenders. The original rear fender was bobbed (a few times) and the front fender will be a shortened version of the original one. The handlebars are for mock-up only and will be replaced with some lower ones. The chrome on the wheels, shocks, and forks will be blacked out.
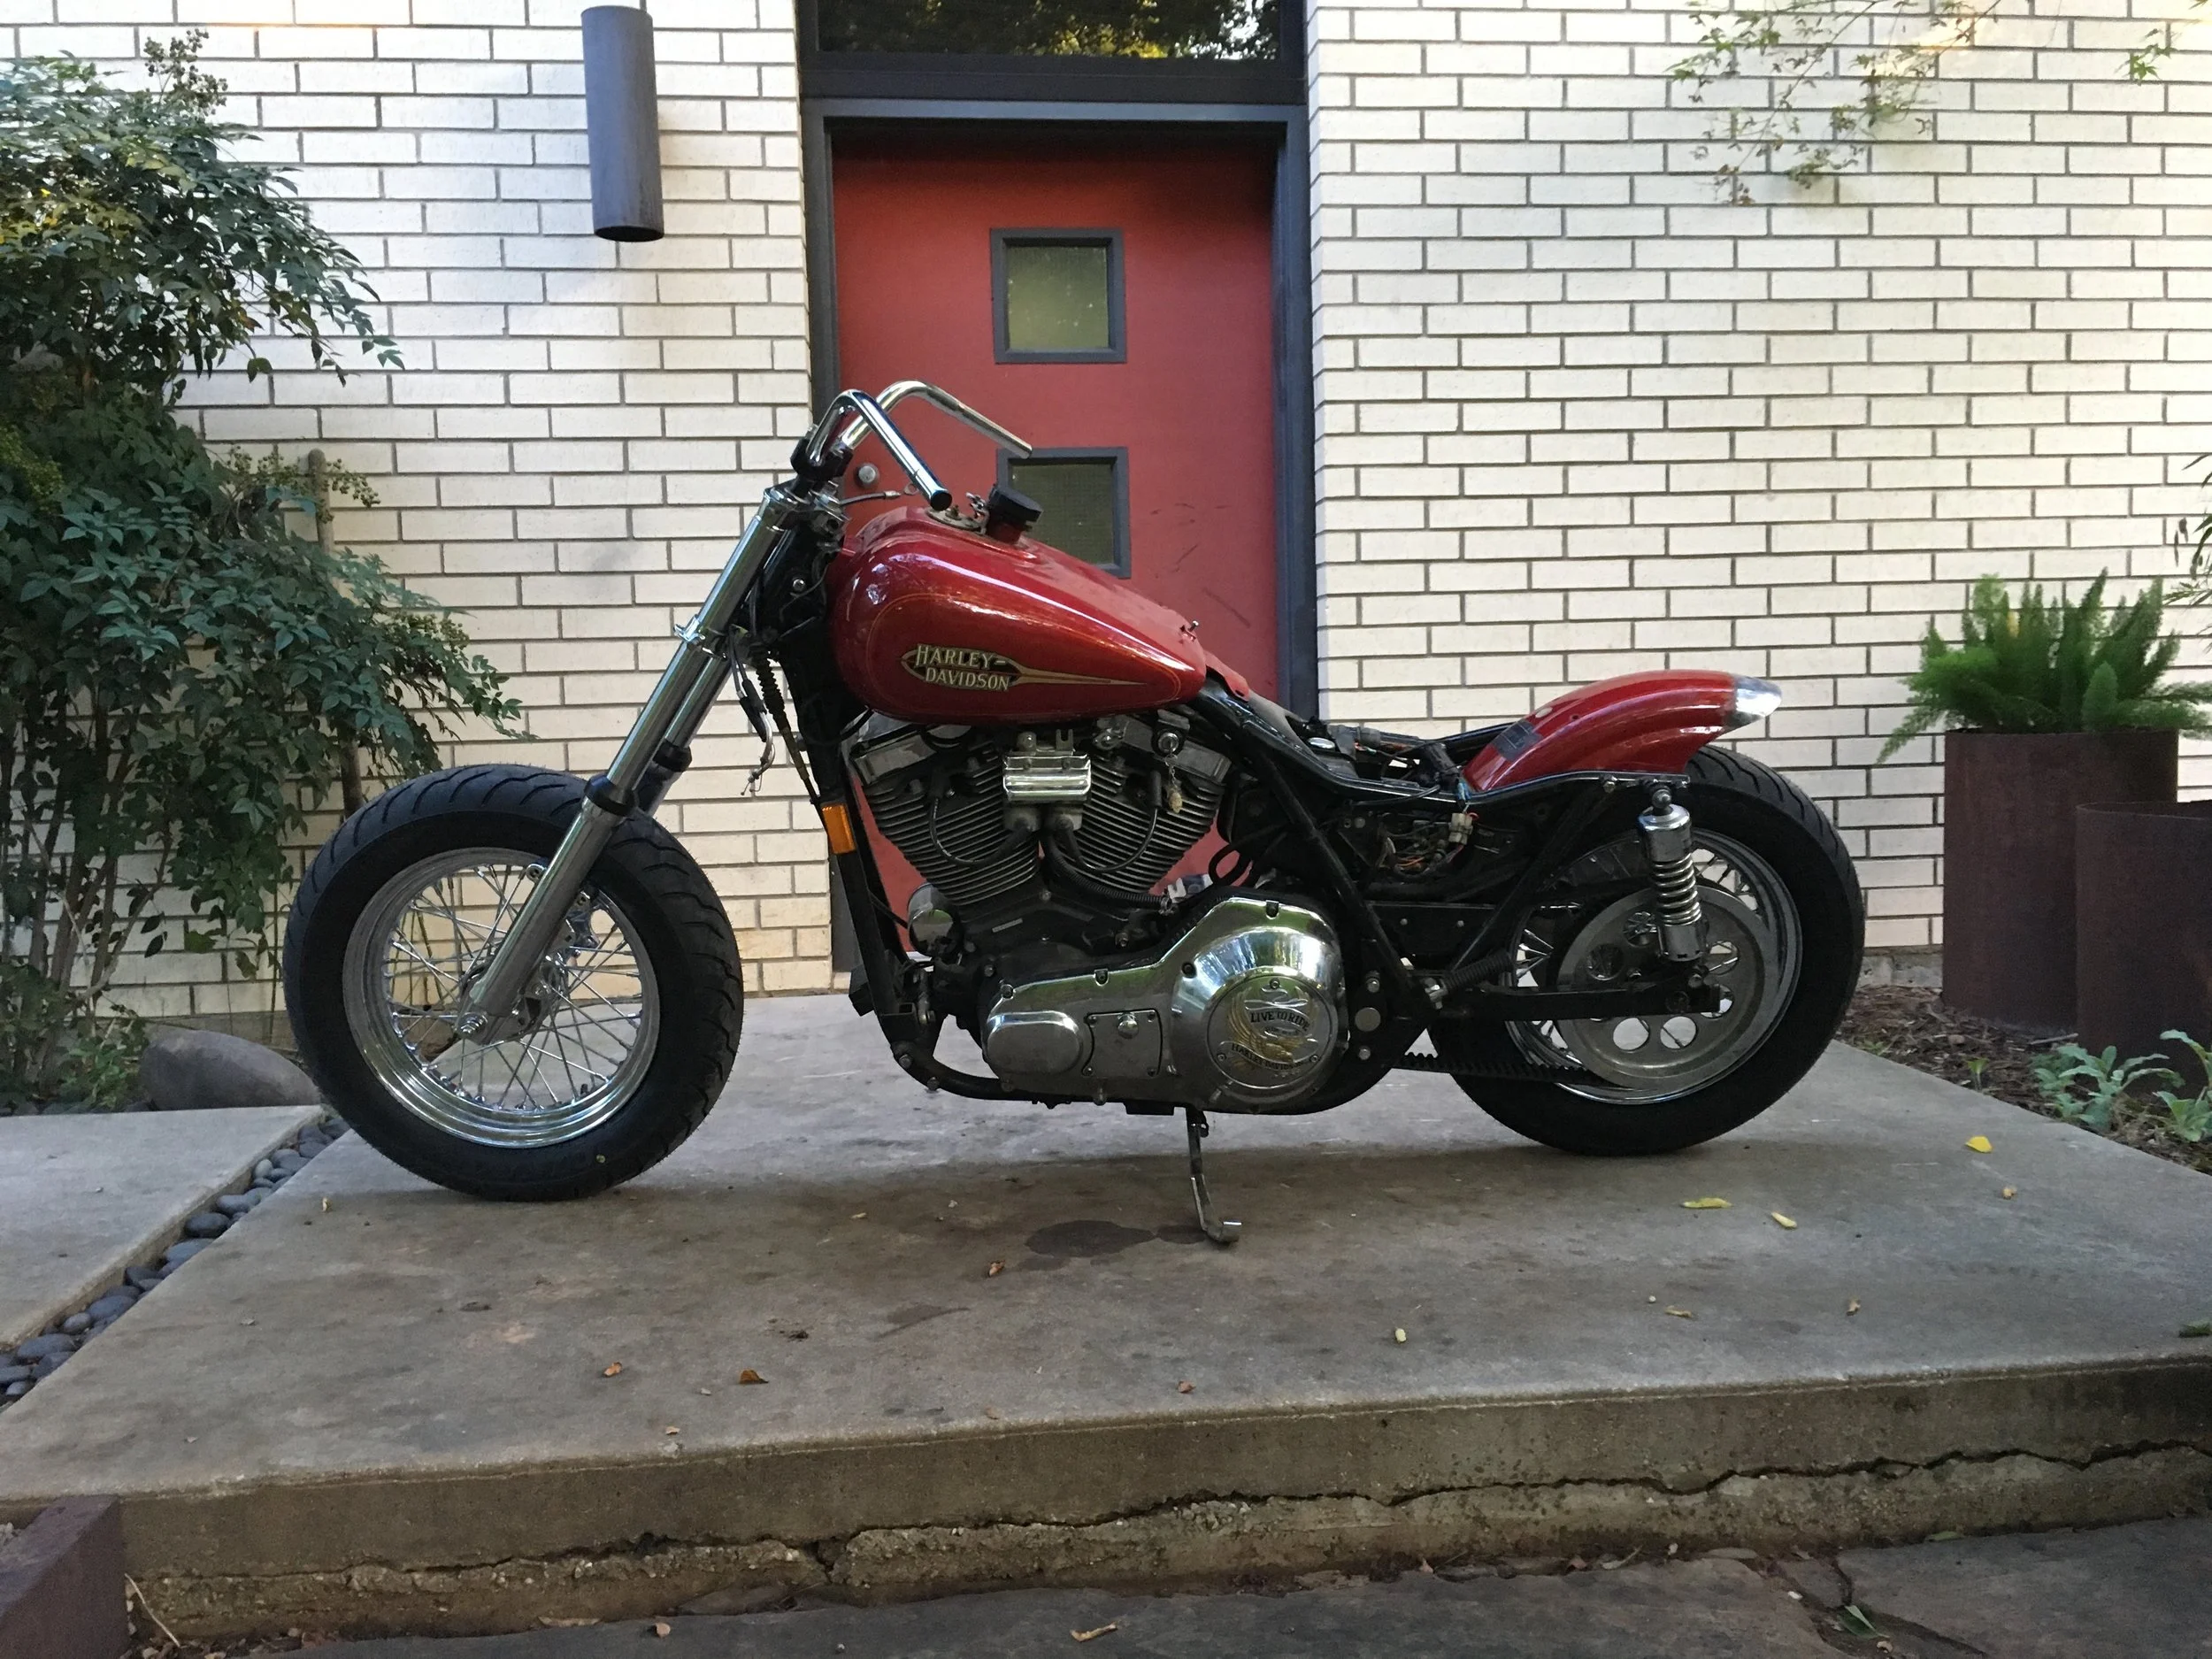
Without the foot and hand controls, the bike already looks a lot less cluttered. Mid foot controls will replace the factory forwards. The bars and cockpit will be kept minimal with Motogadget m-Unit controller, instruments, and controls. A solo seat and fender seat bump will be next.
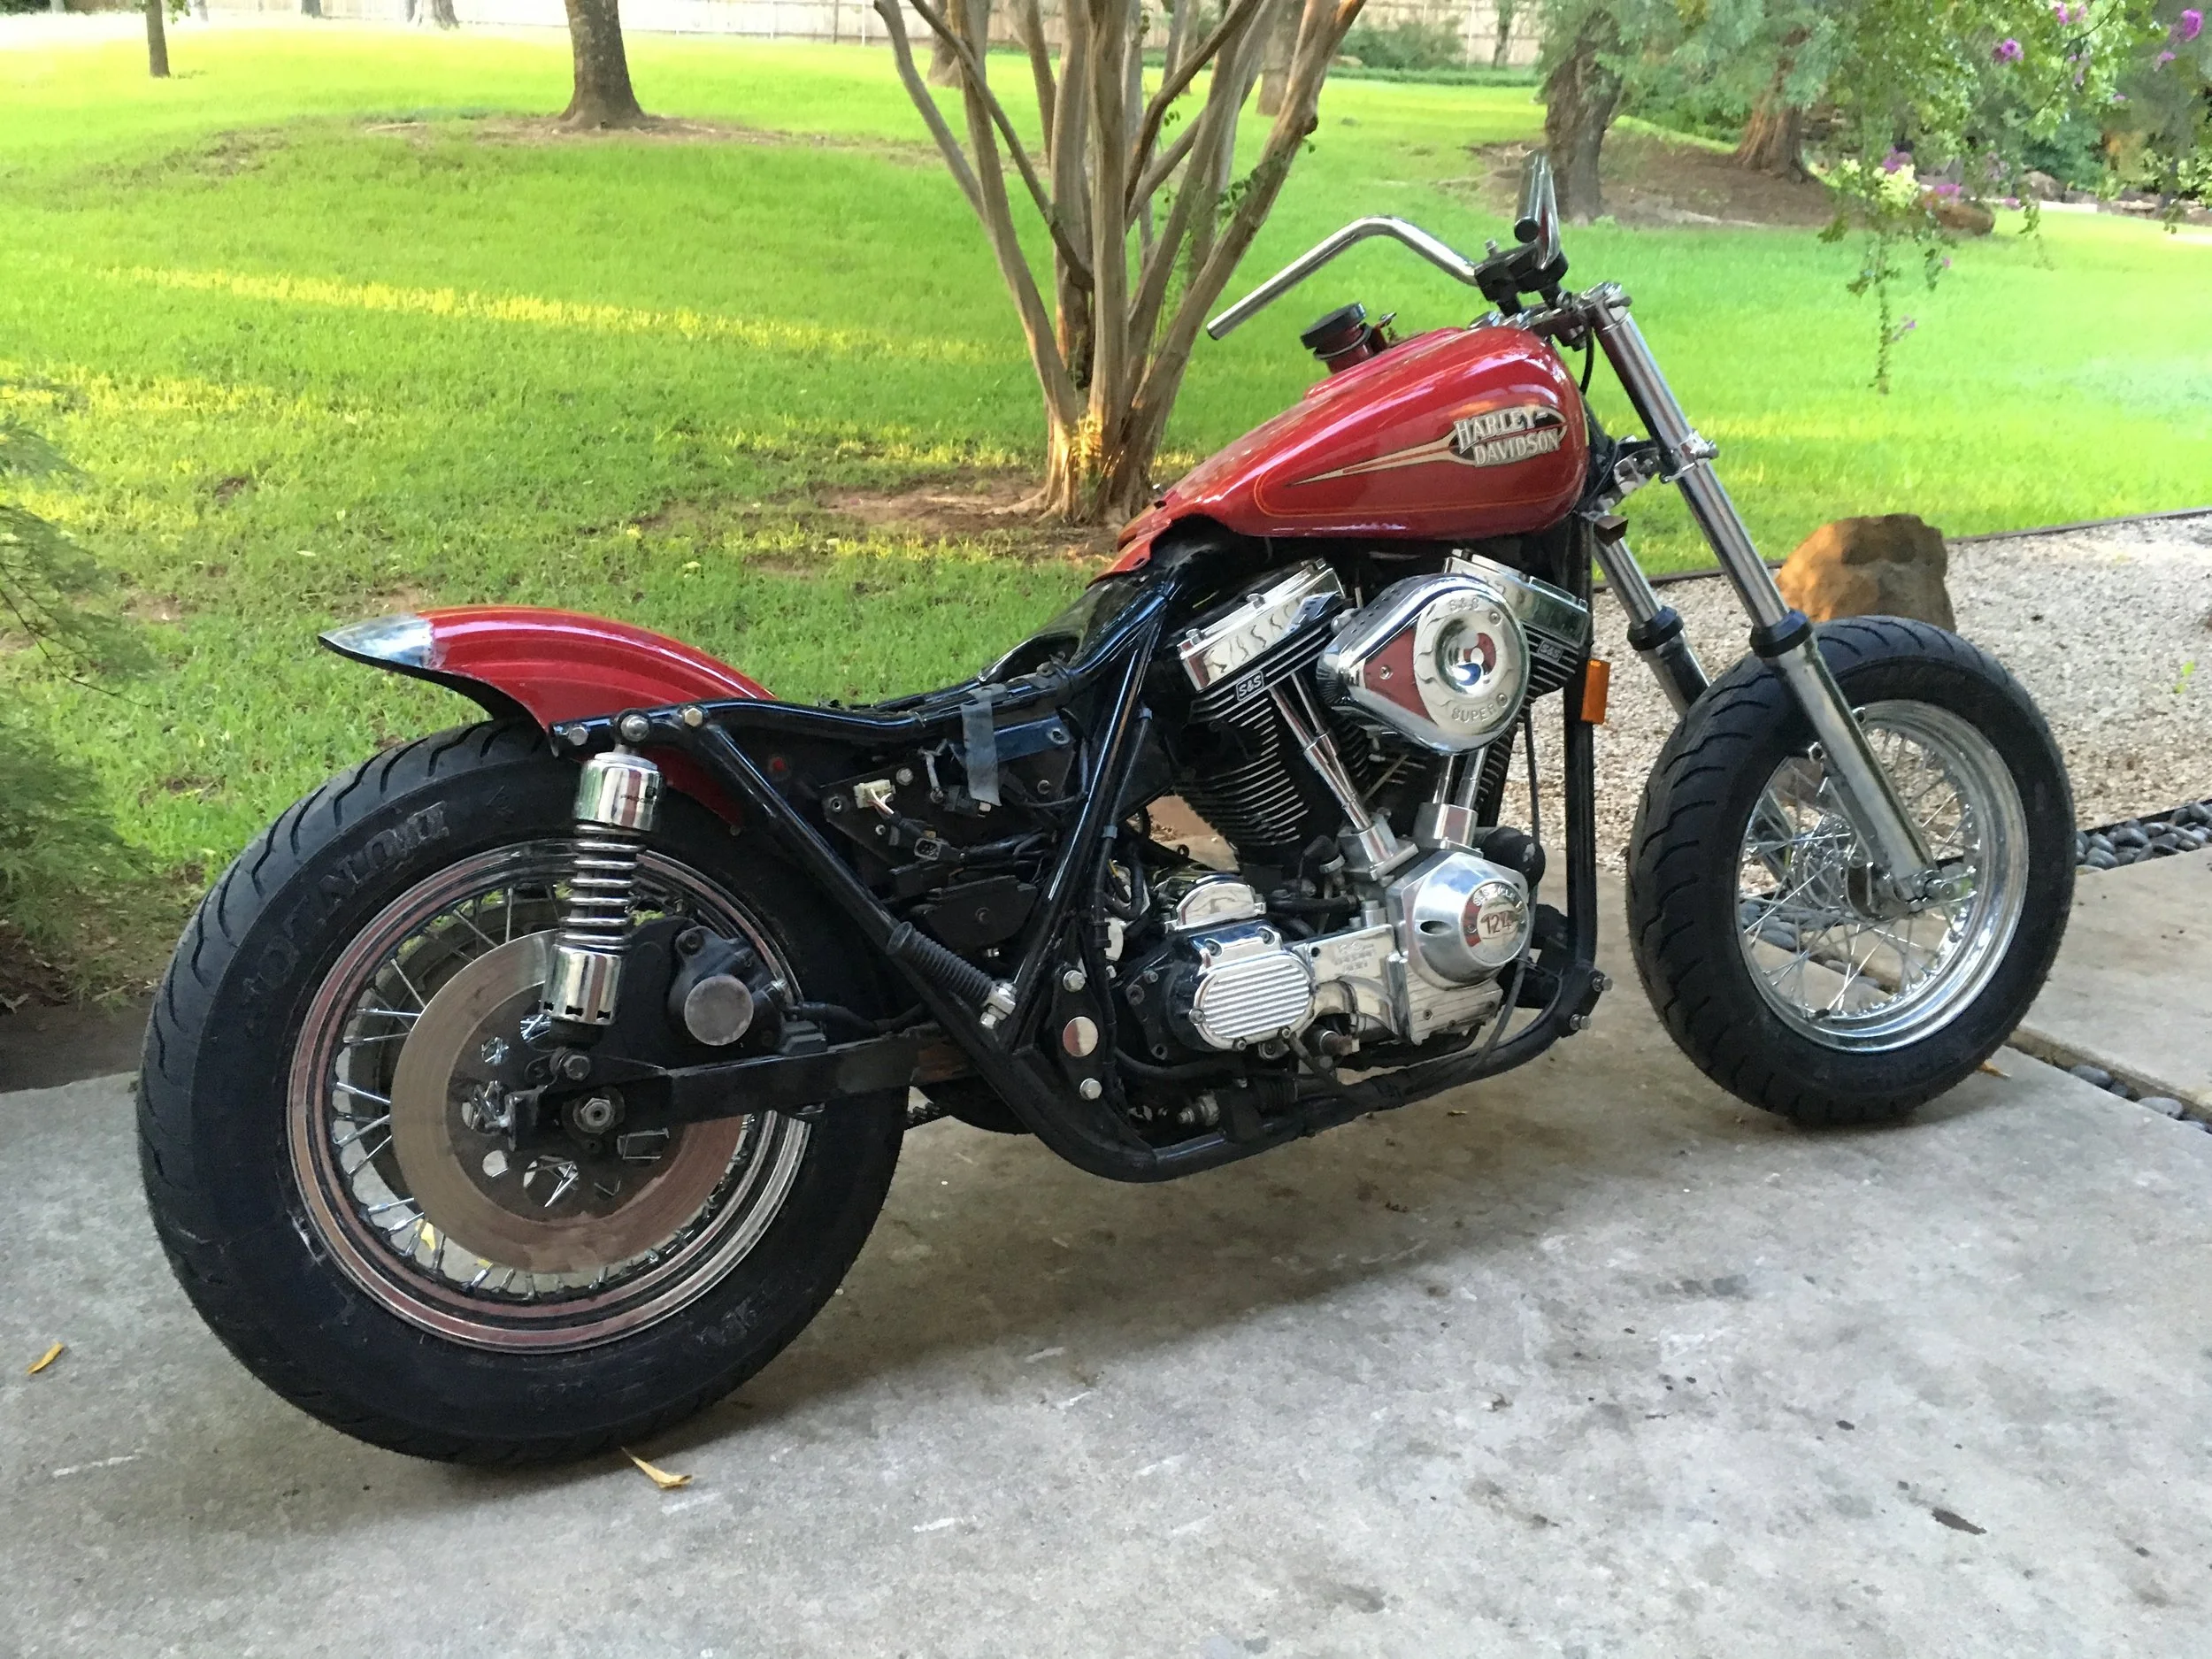
The S&S 124cu in. engine will be largely left alone aside from a new starter, decomp valves, new pipes, and some cosmetic touches. The shocks were put in a more upright position to raise the rear of the bike.
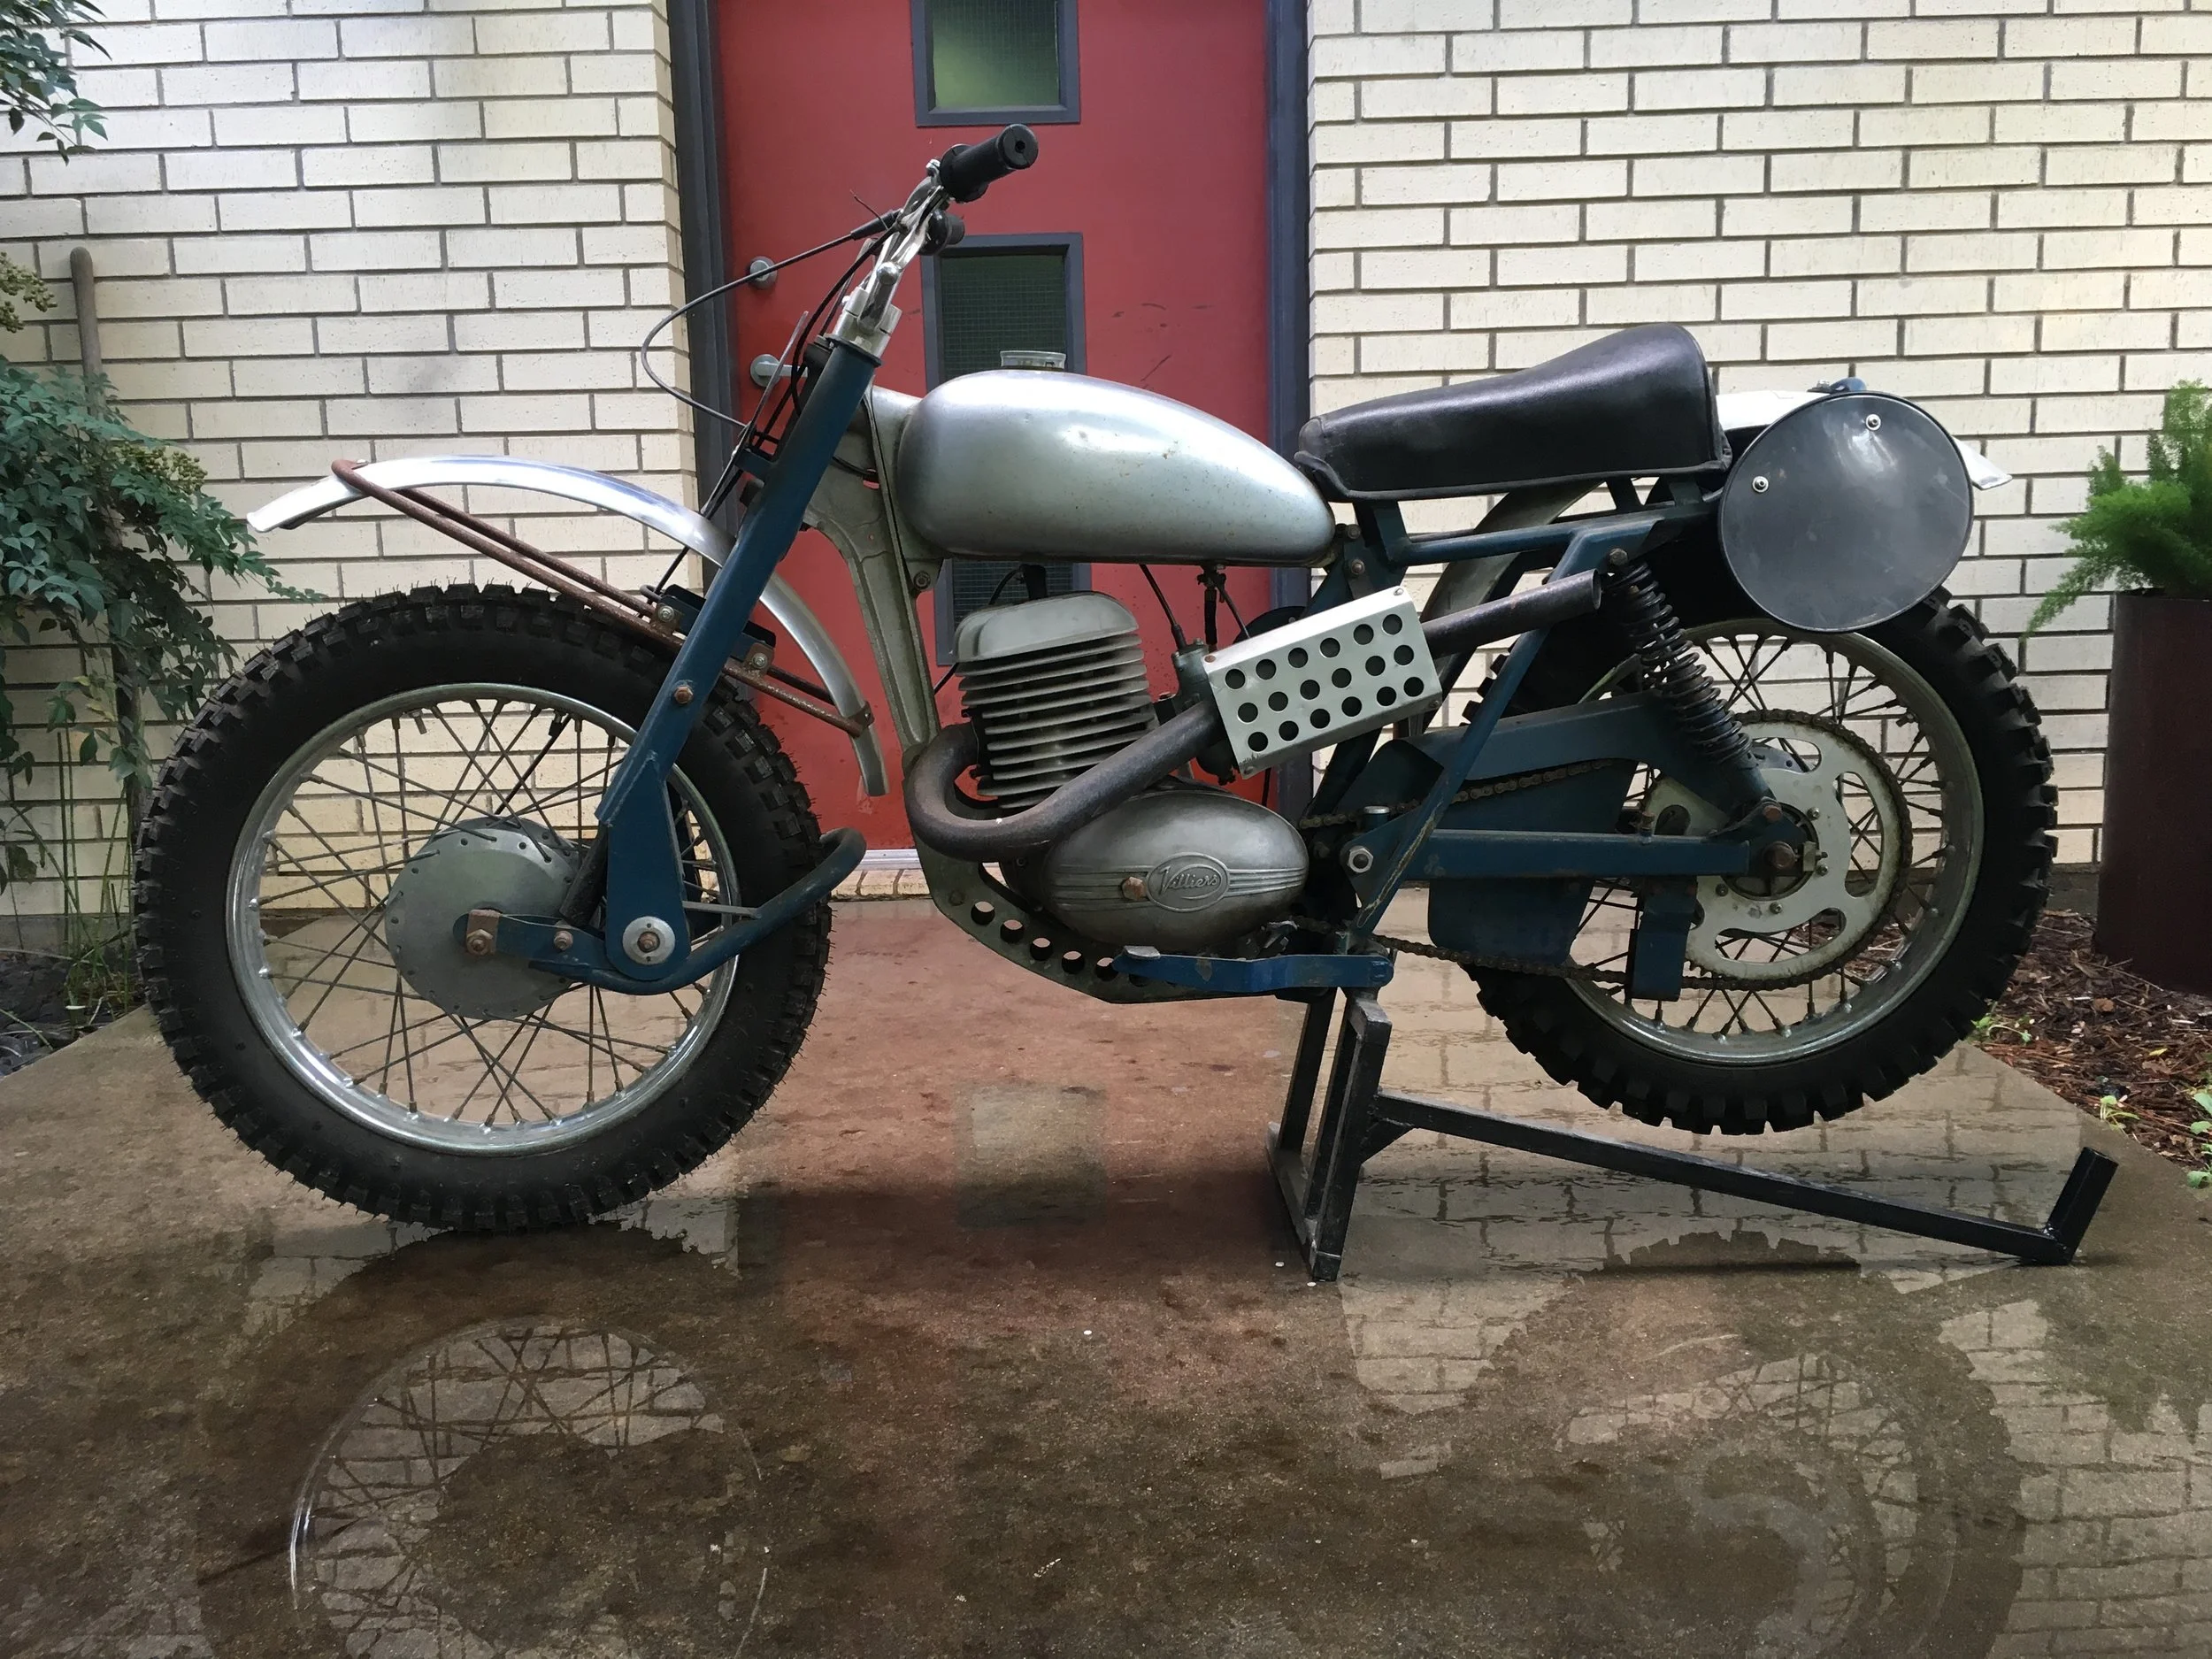
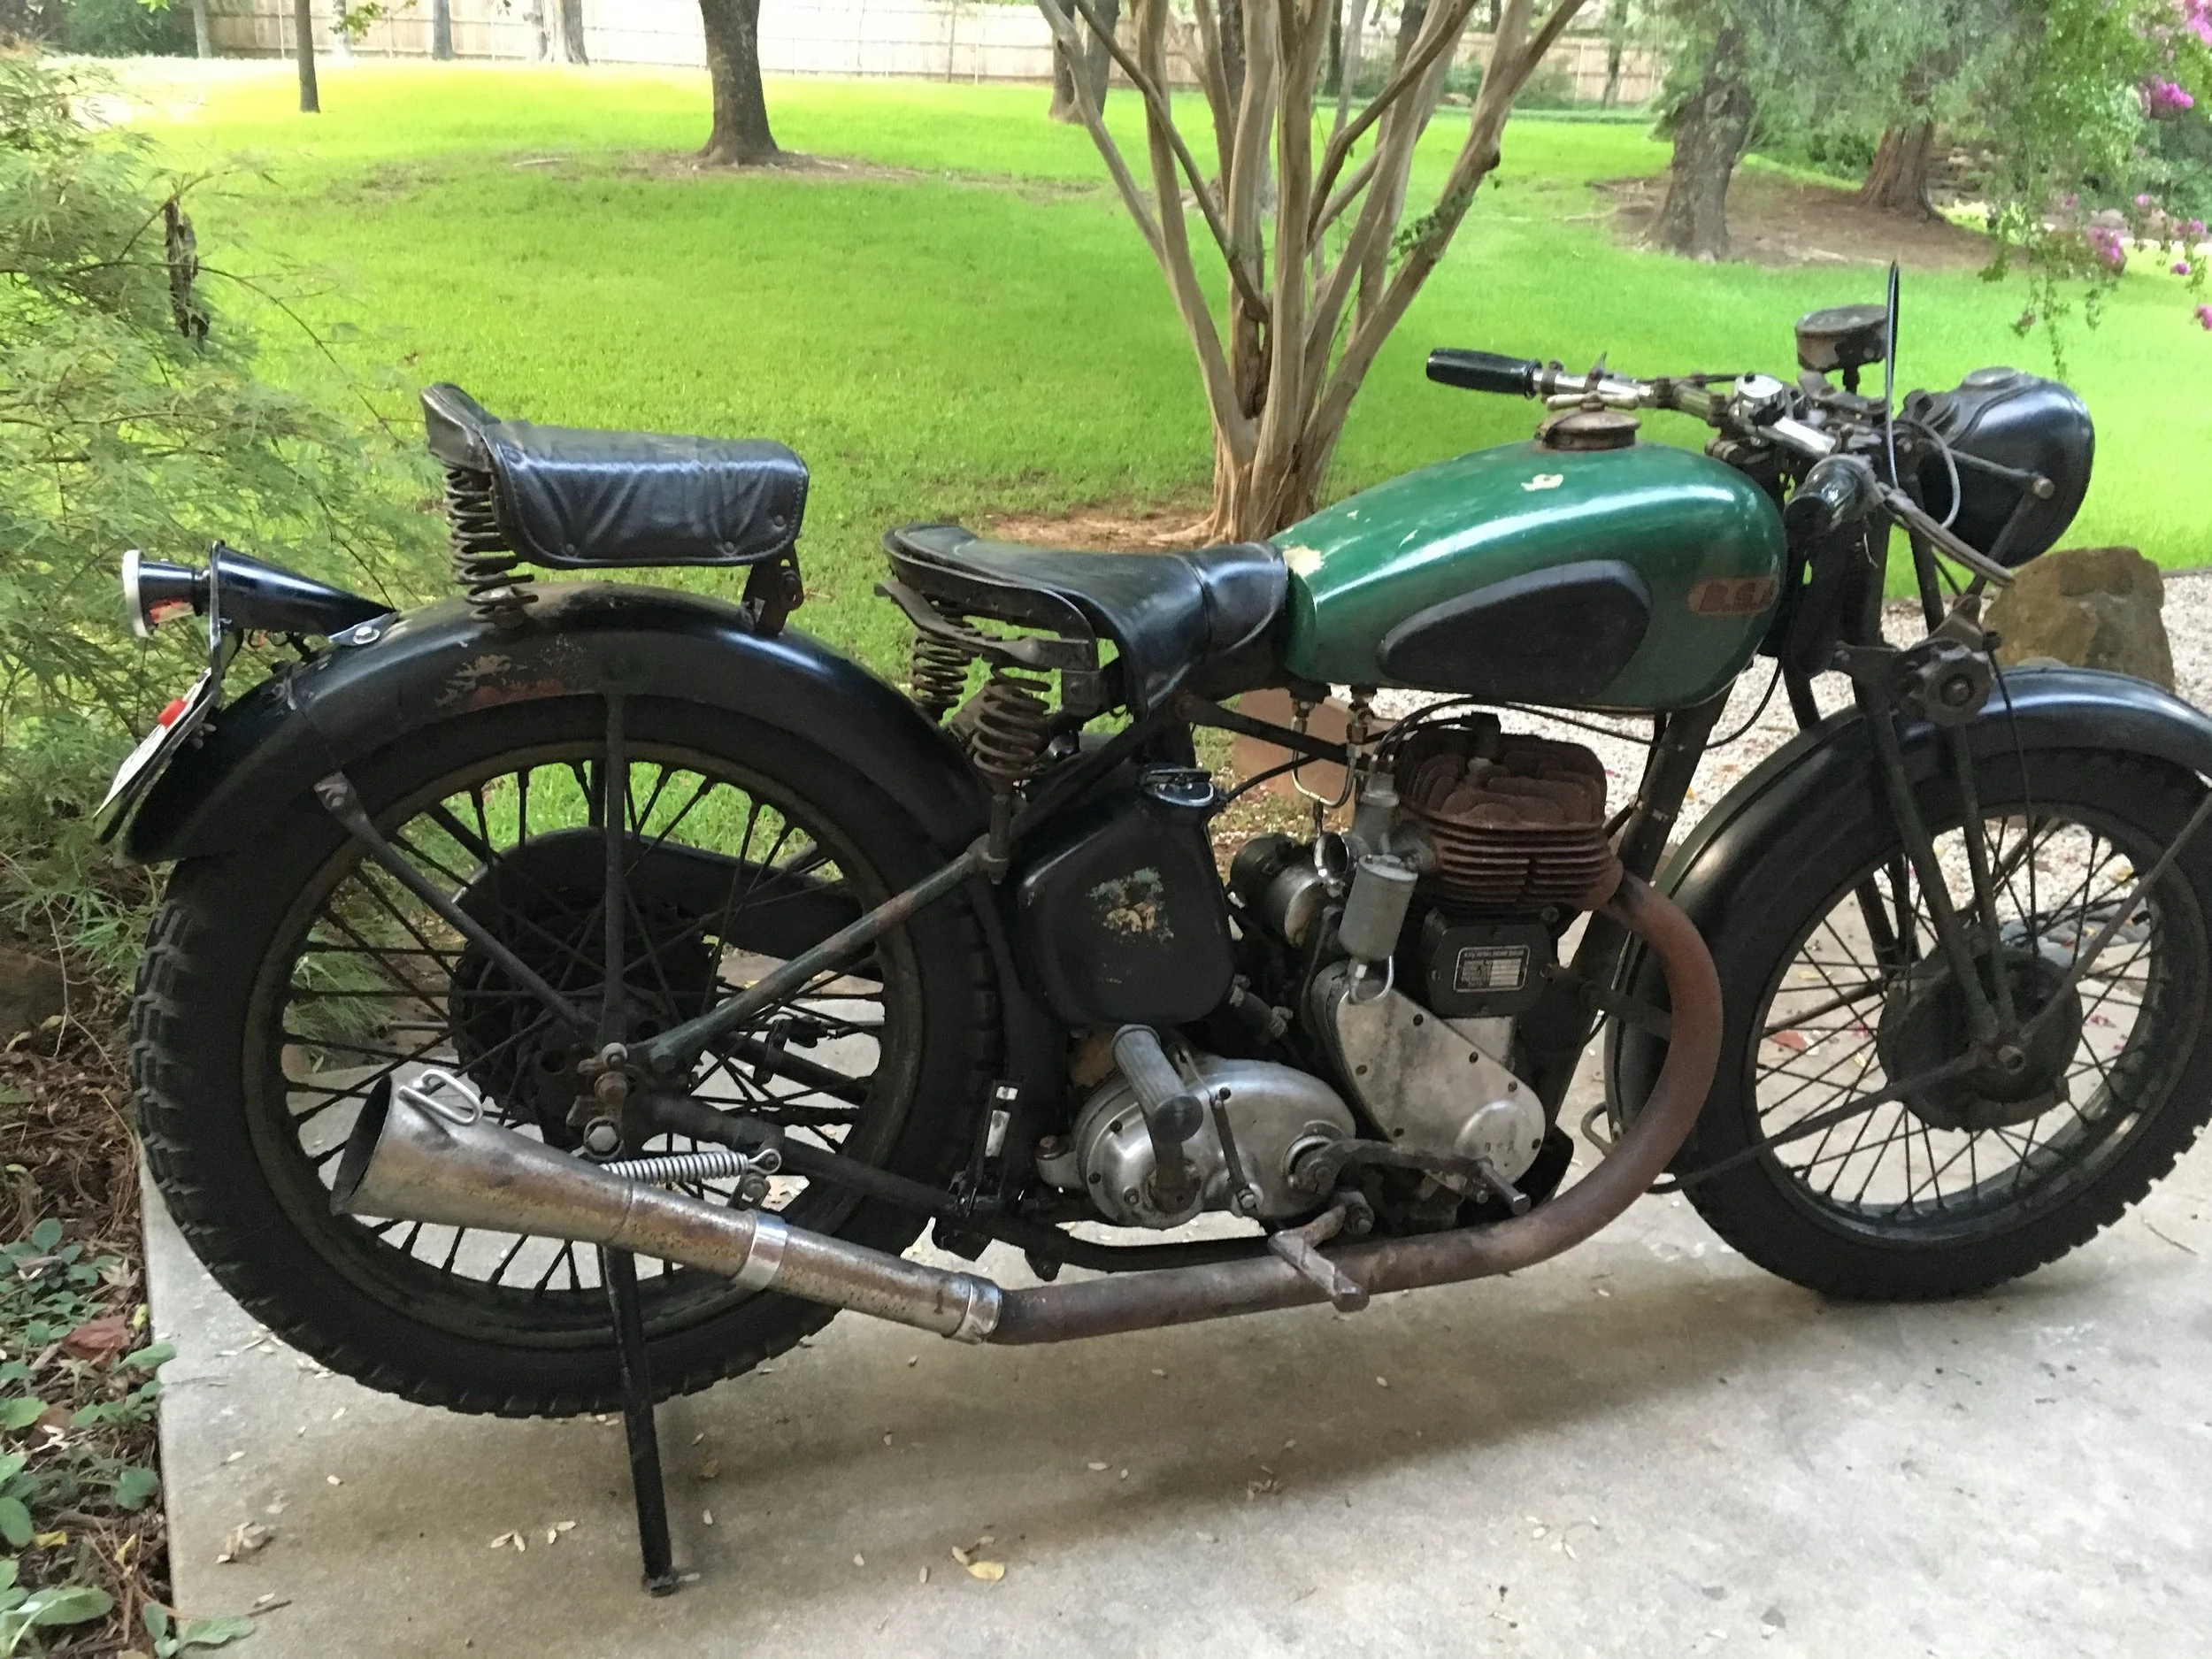
On the 30th of this month, DentonMoto is going to have some bikes for sale at our Movie Night. The showing is at Andy’s on the Square here in Denton, and this beautiful 1962 Greeves 250 motocross model will be one of the offerings. This is a picture fresh from the barn, but the bike is undergoing a good cleaning and revival.
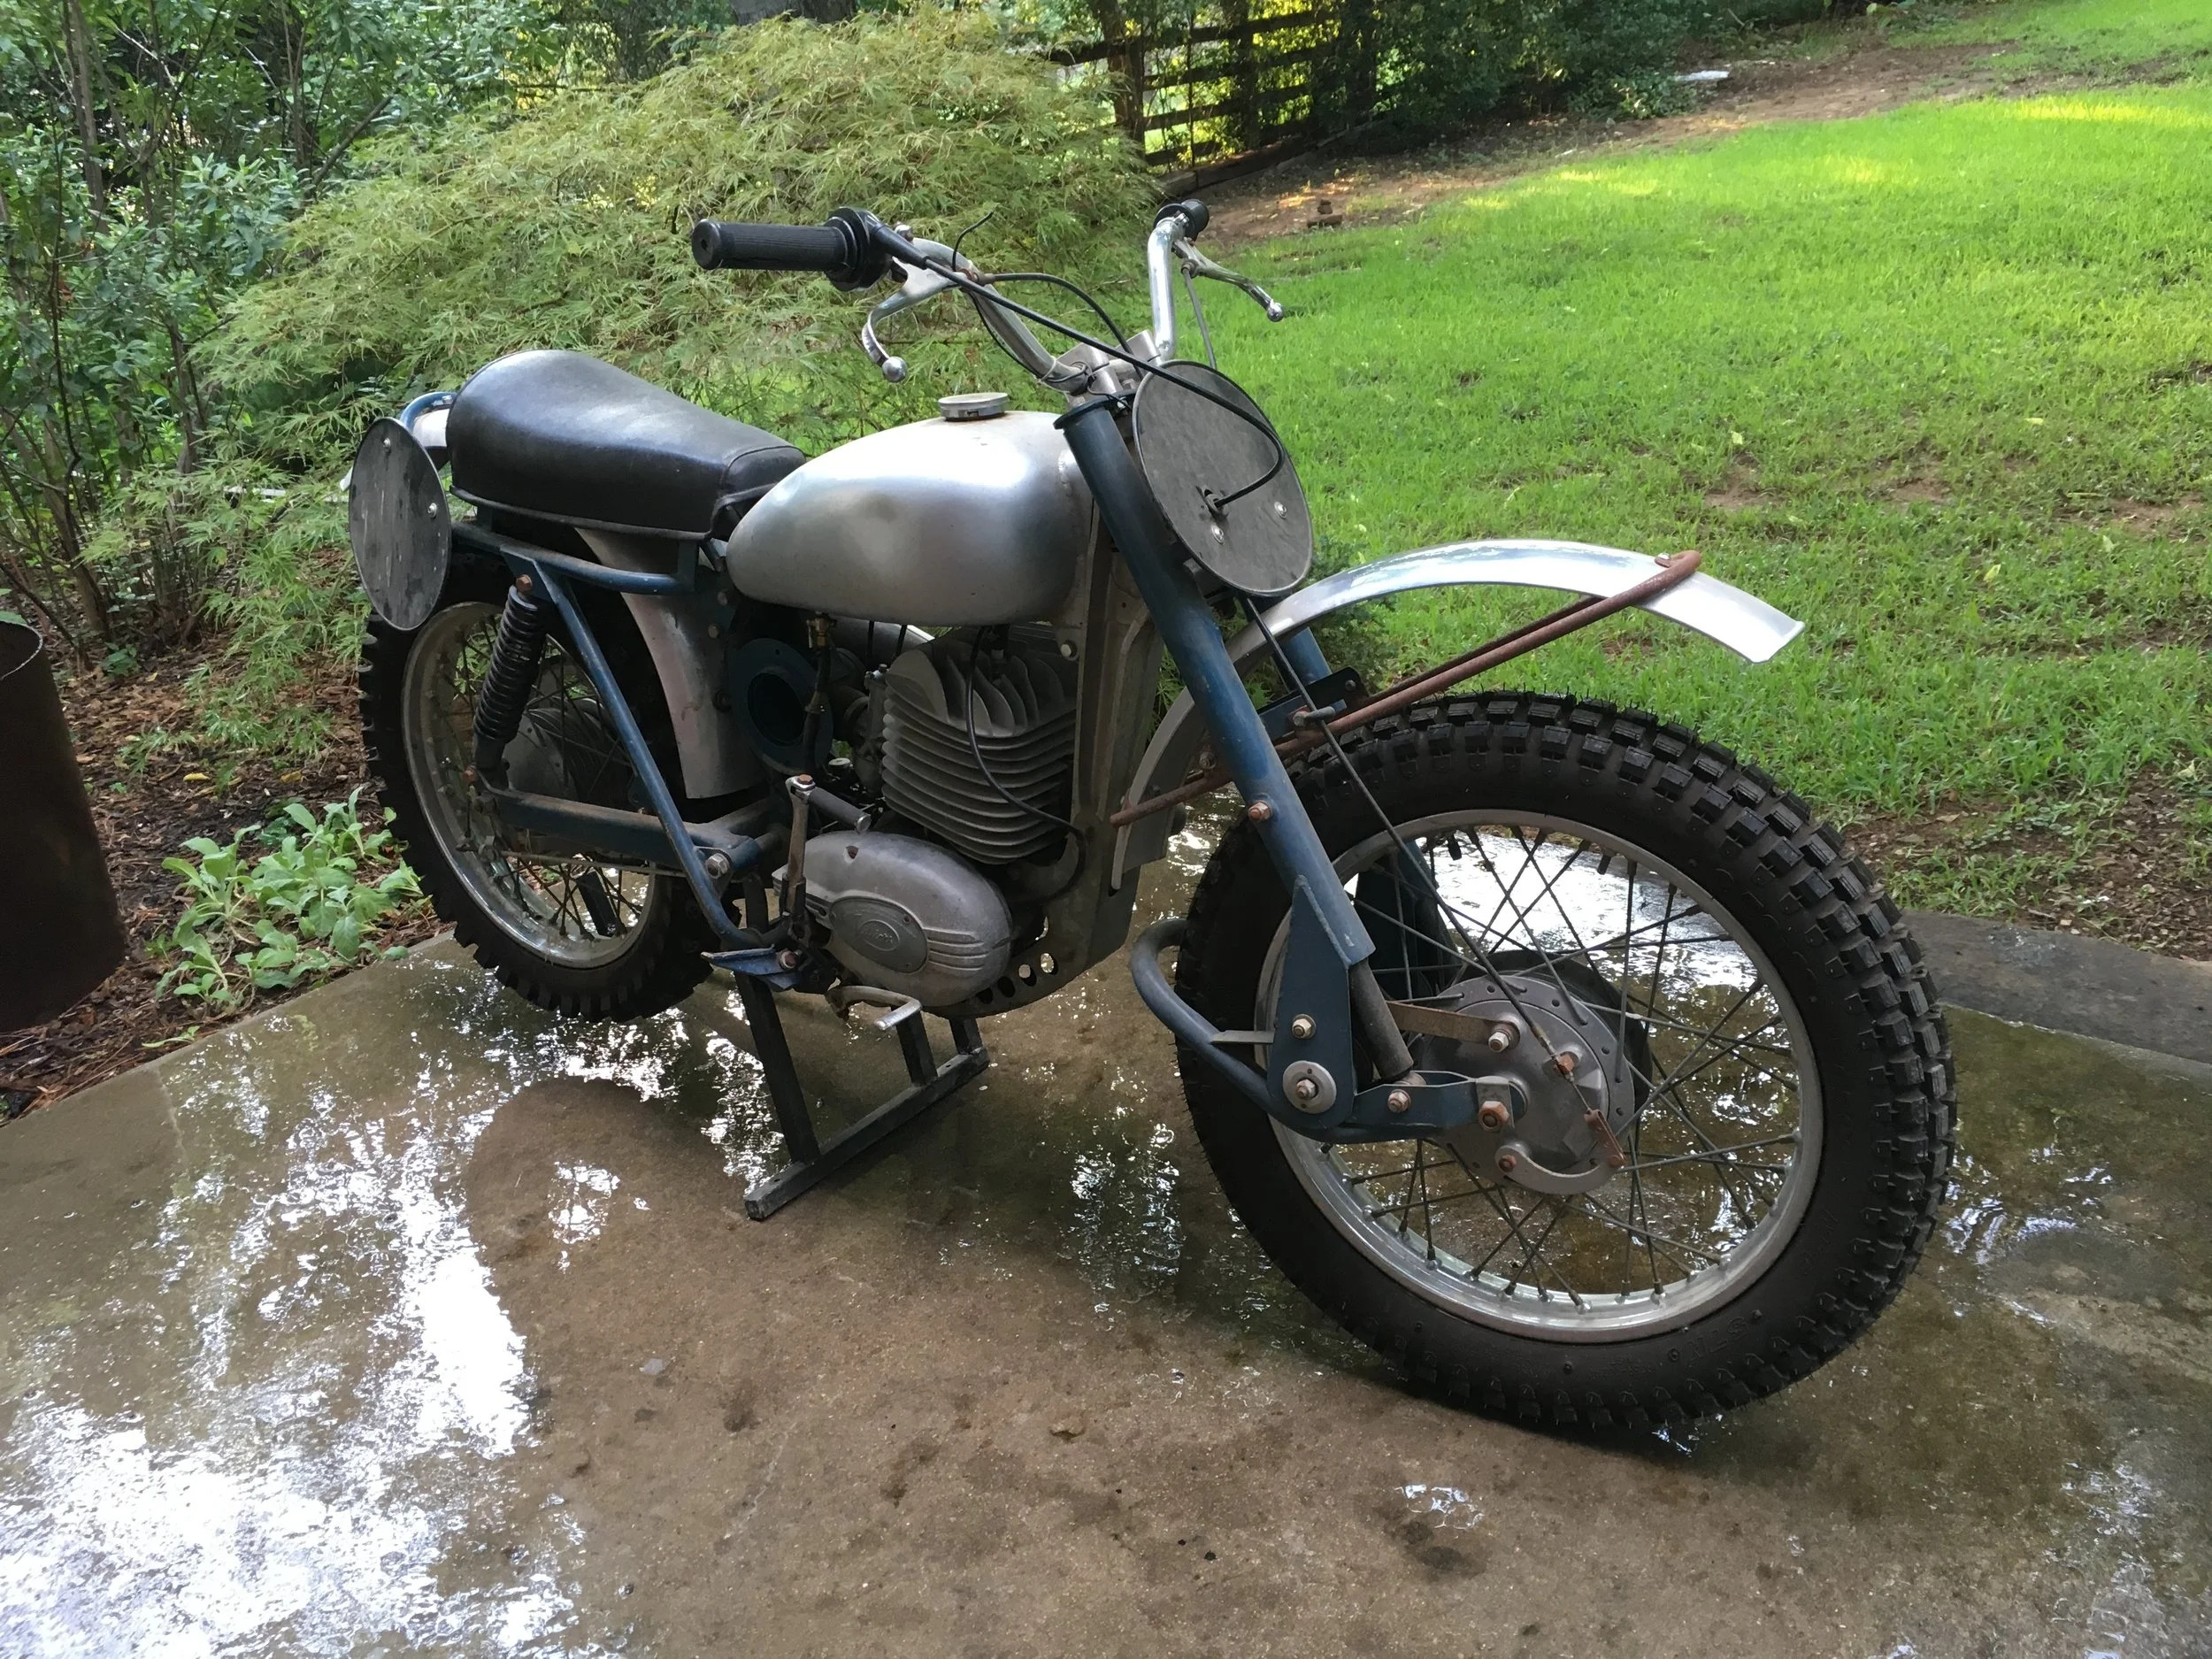
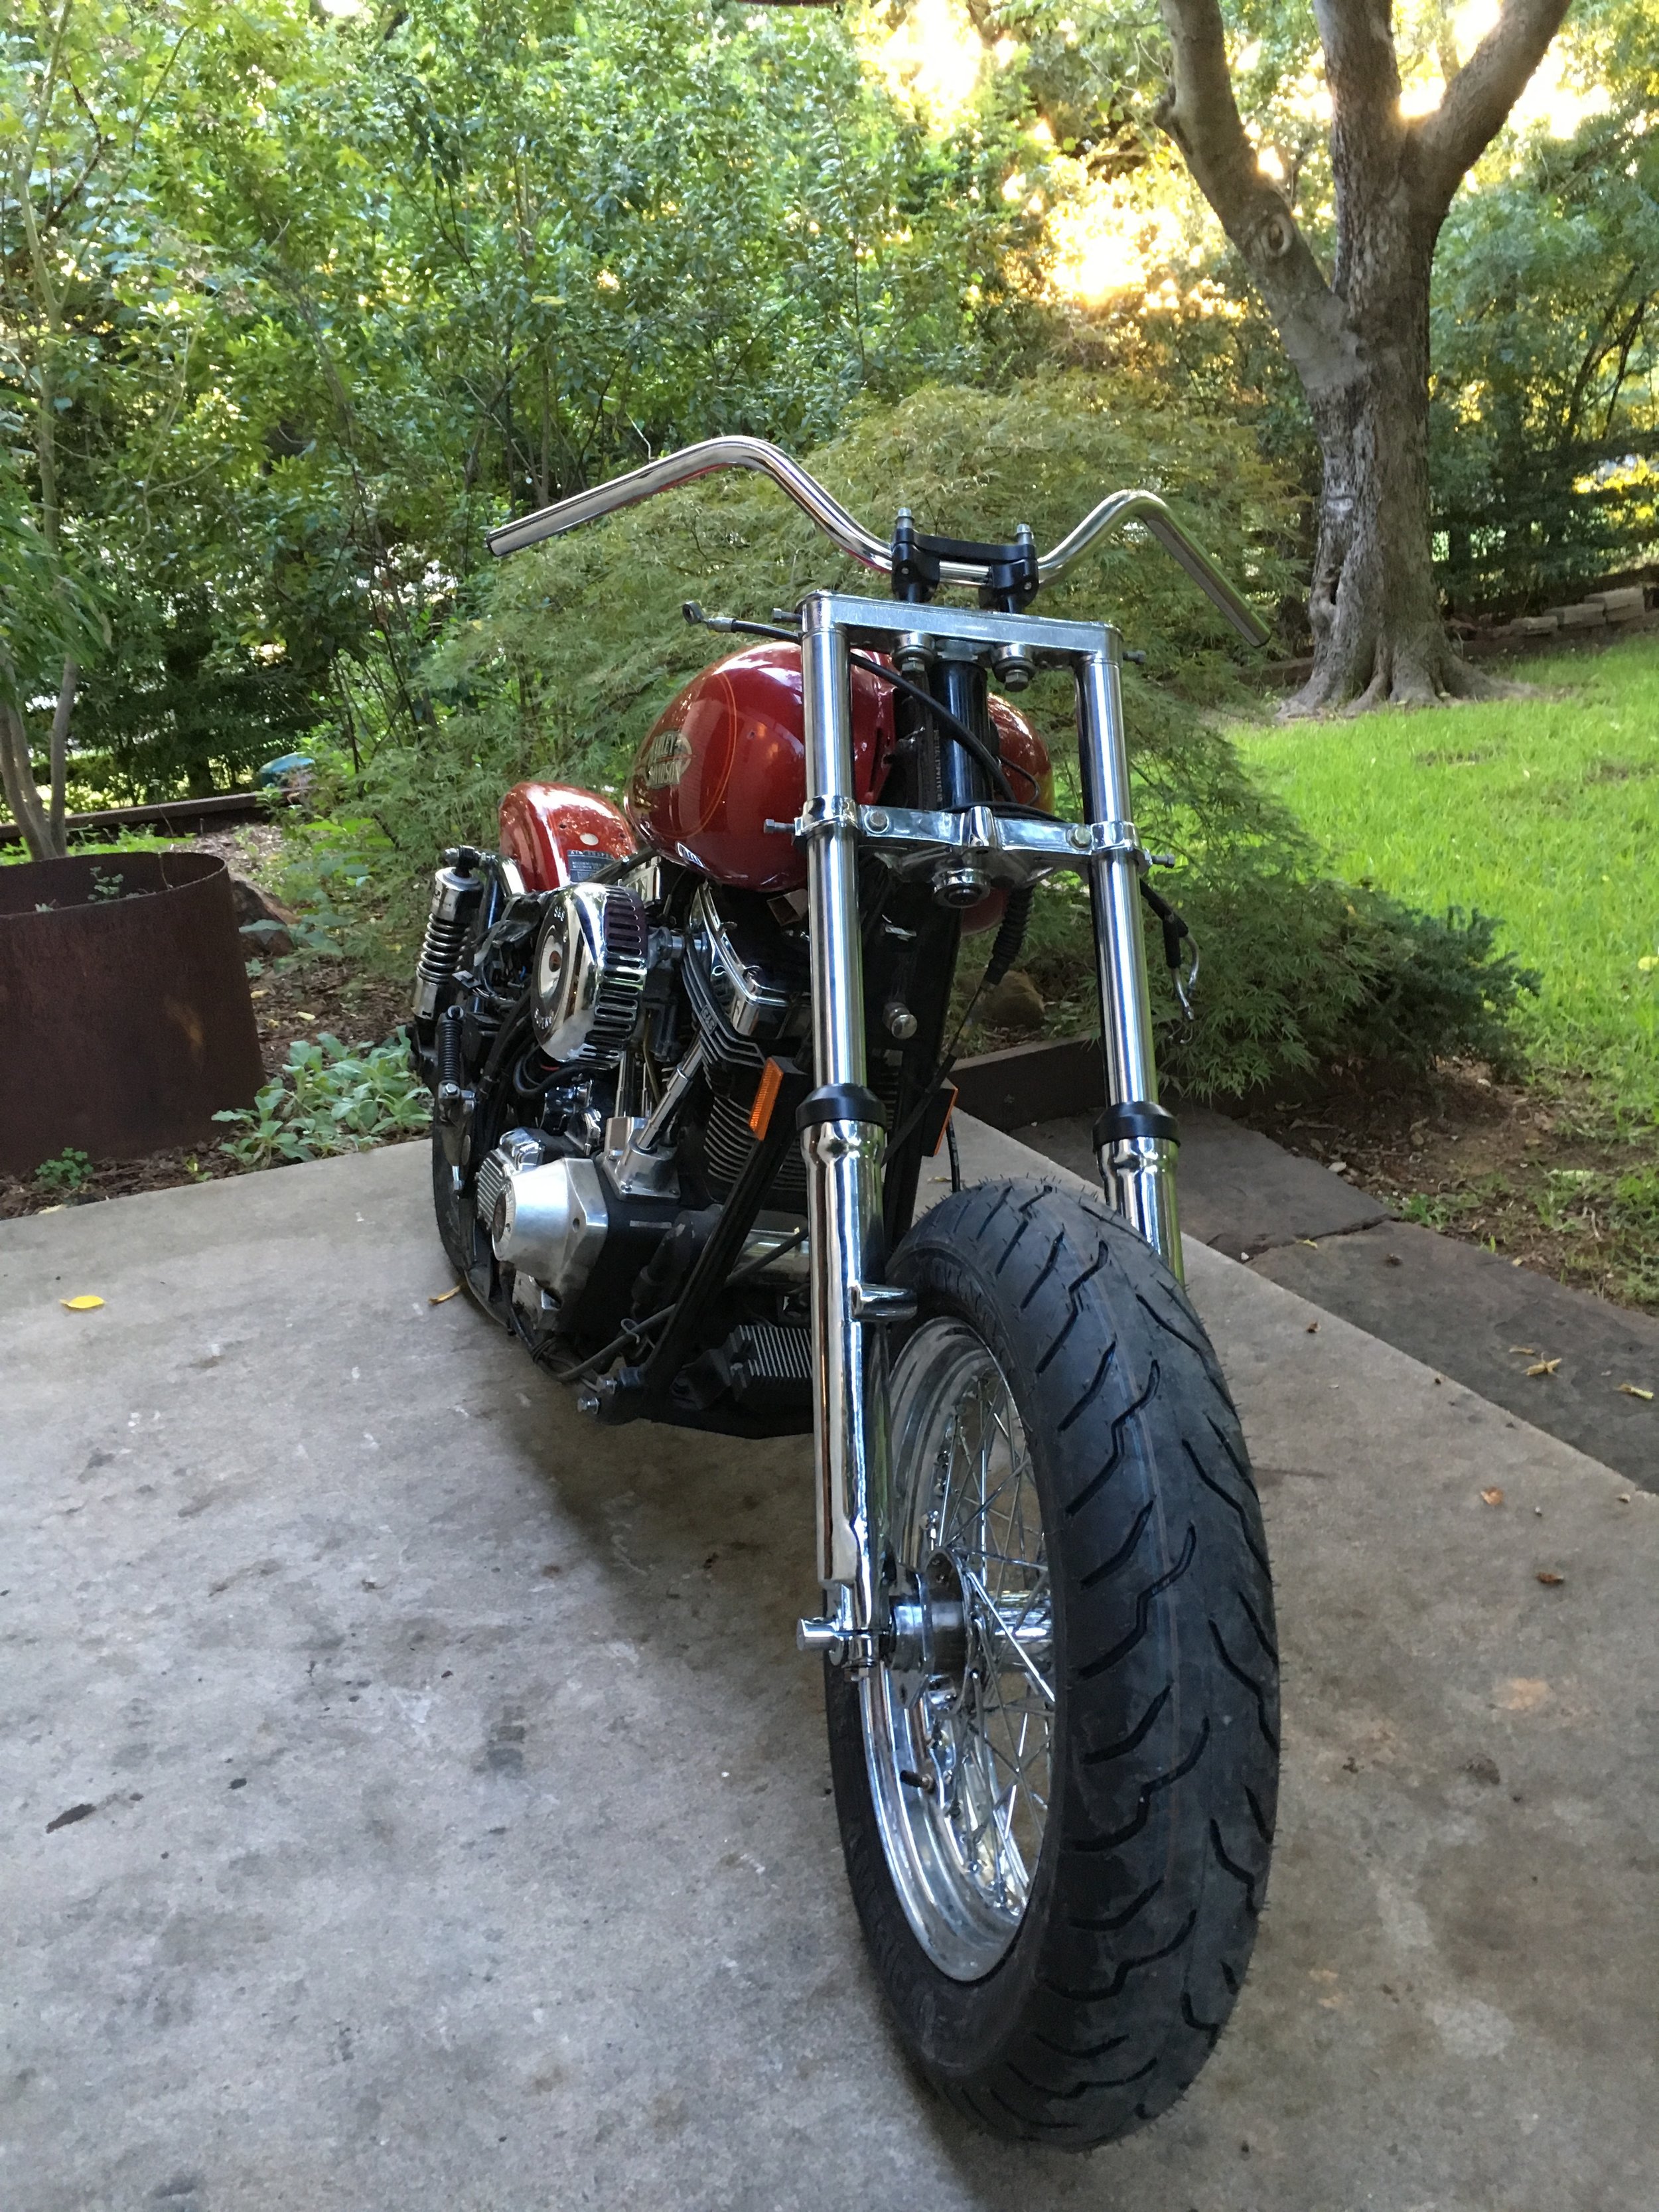
That front end!

Another one for sale will be this cherry 1973 Yamaha CT-1, with all the original finishes in great shape. 175cc’s of two-stroke sweetness.

A new rear tube is on the way to perk up the rear end.

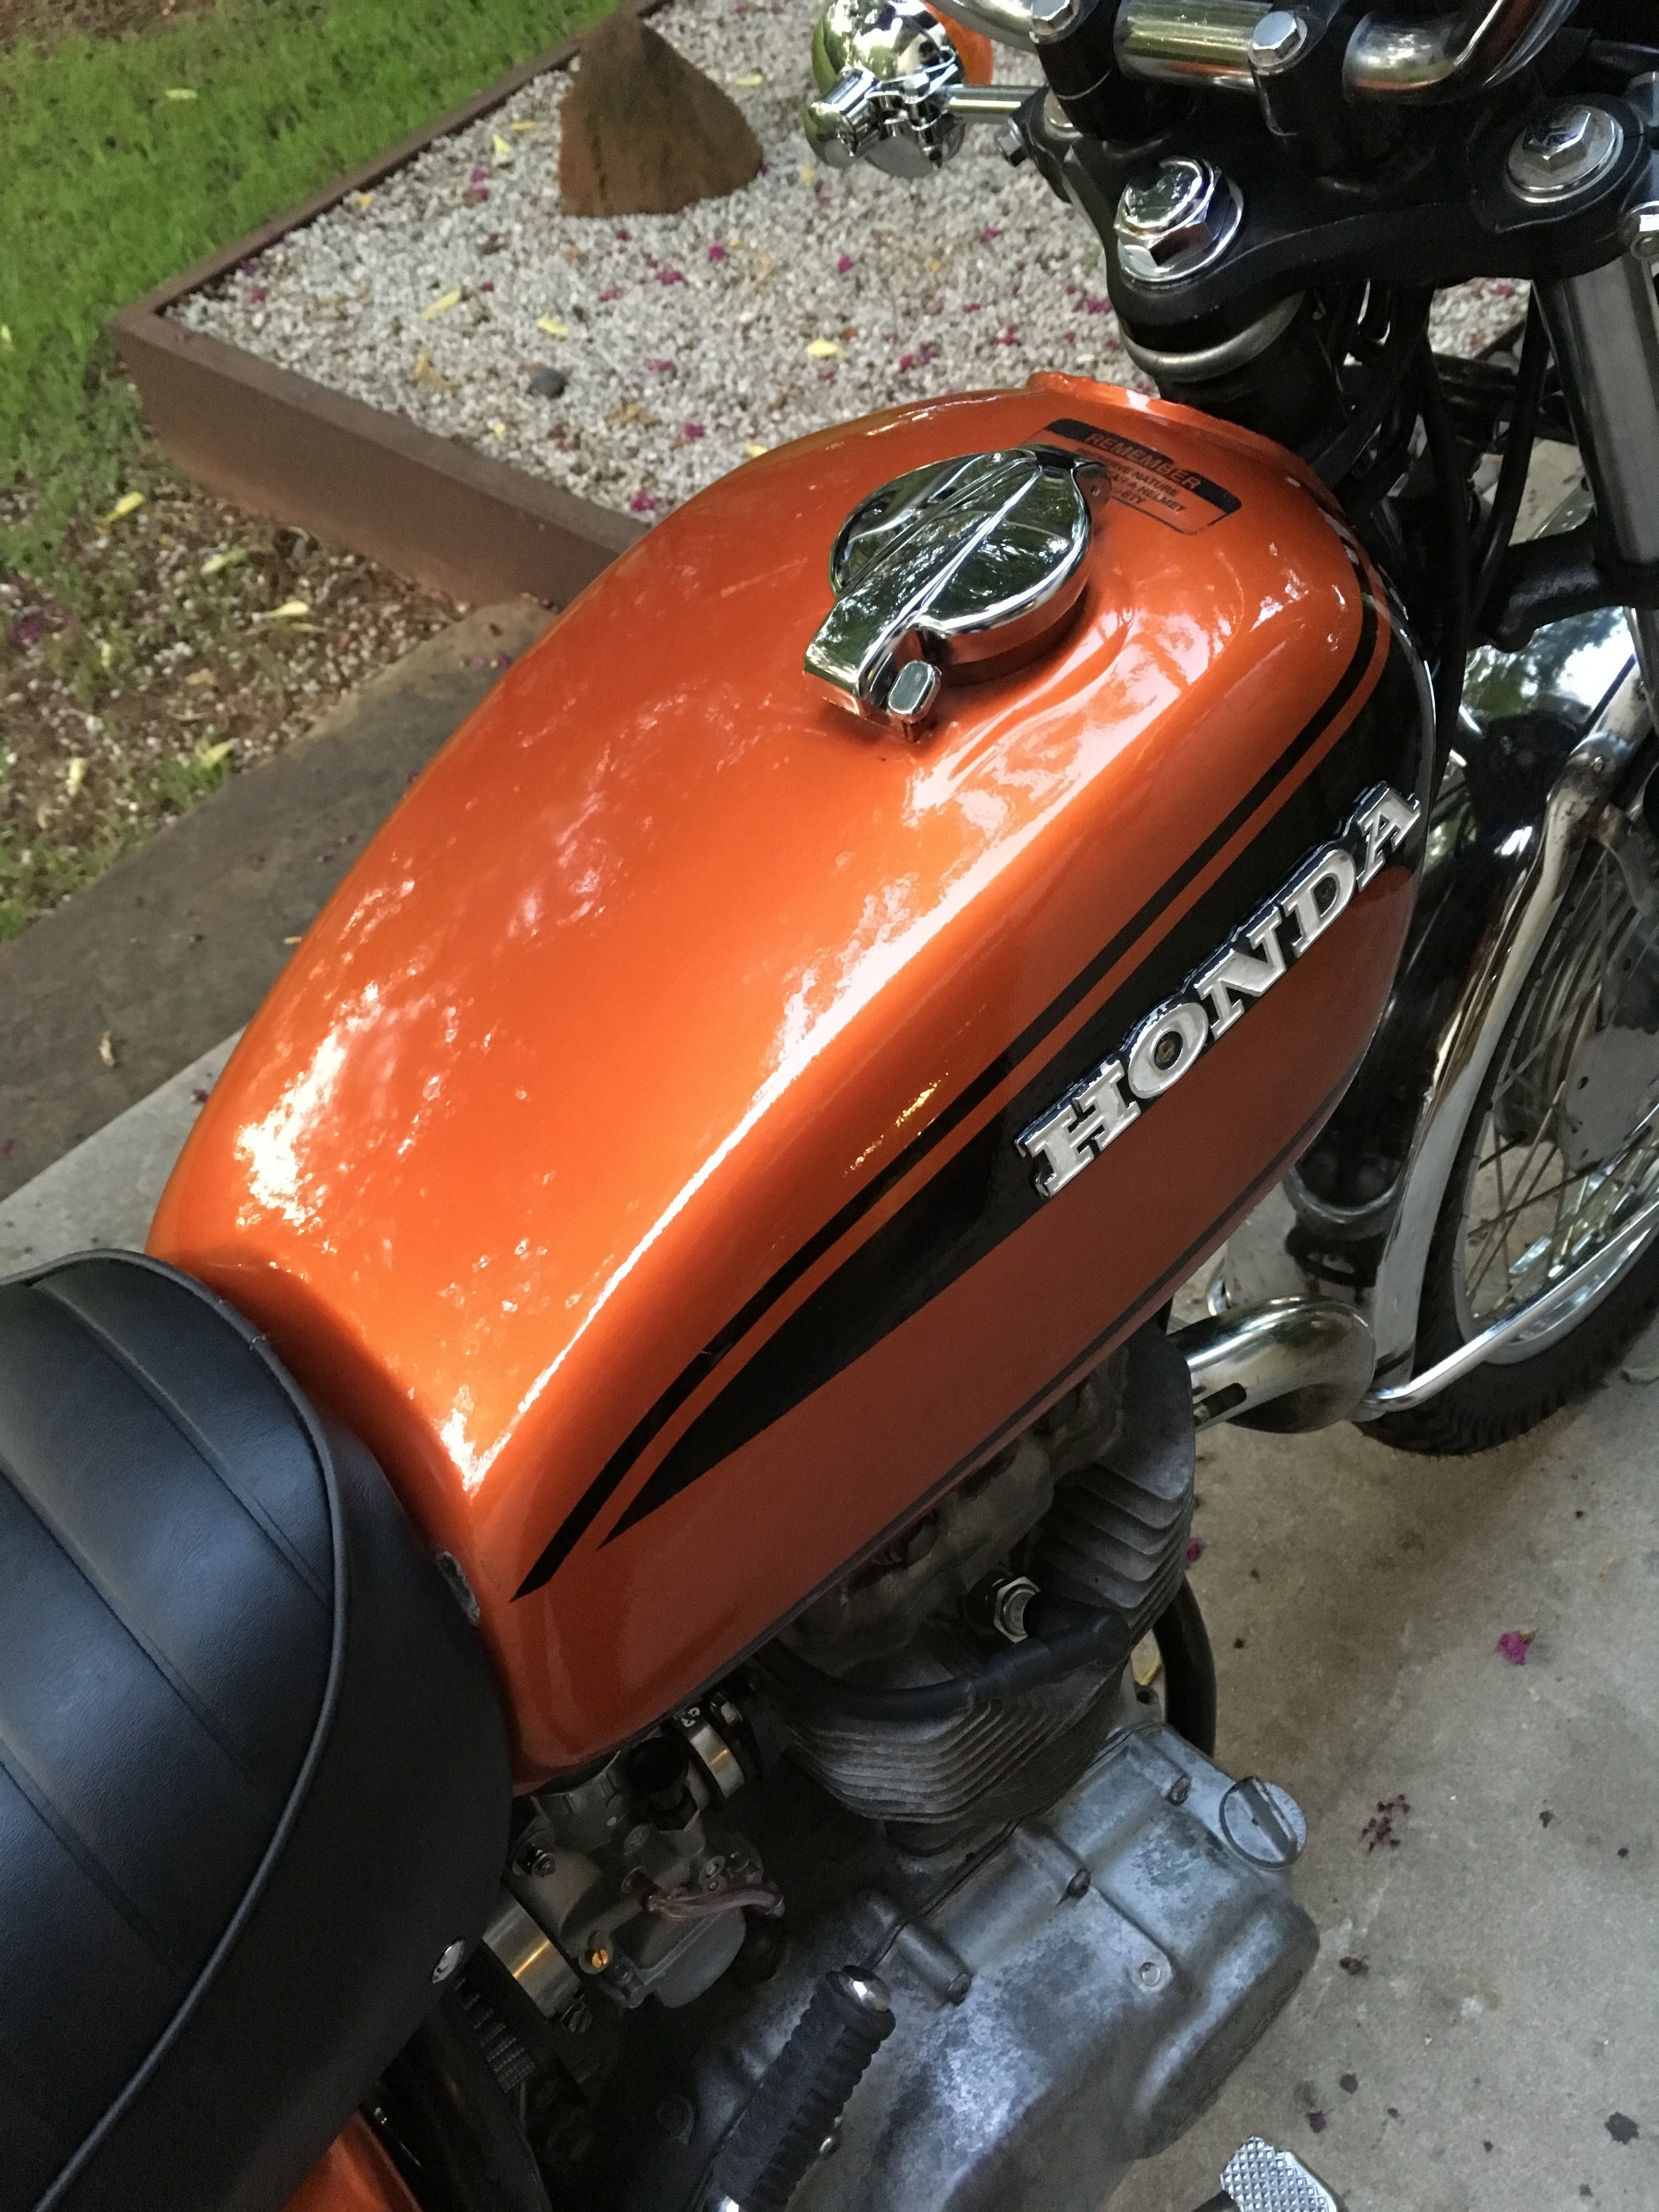
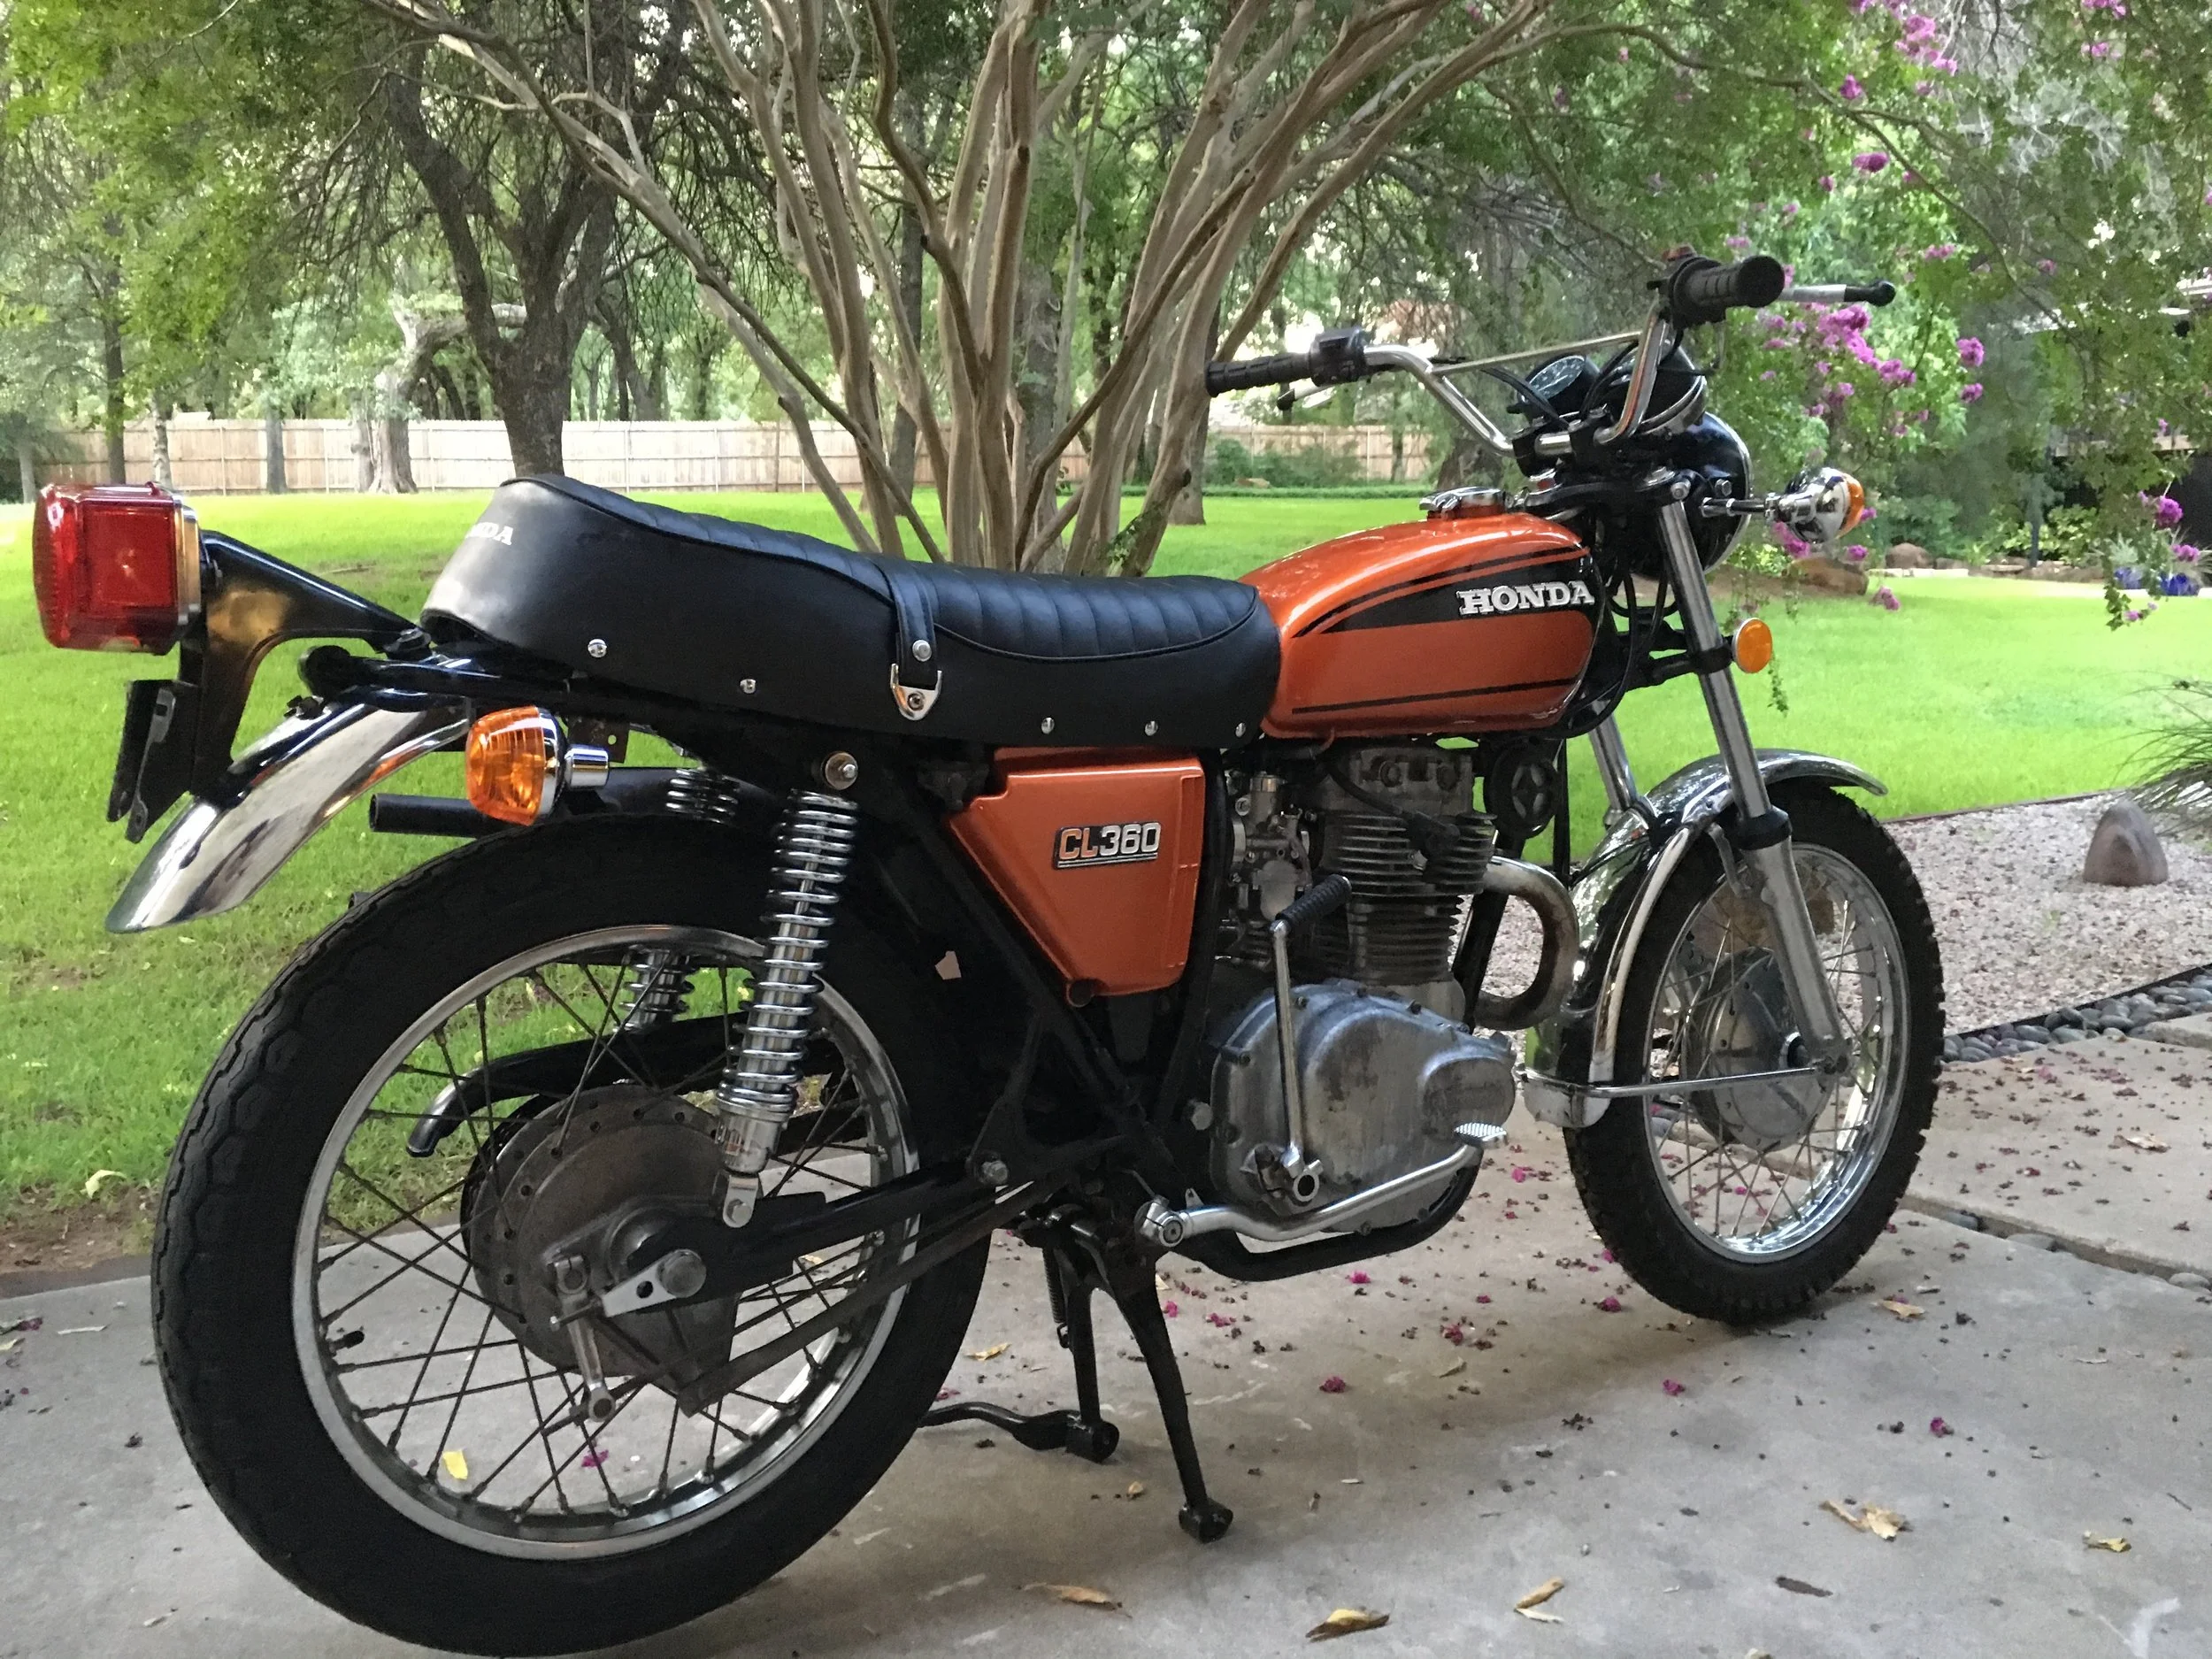
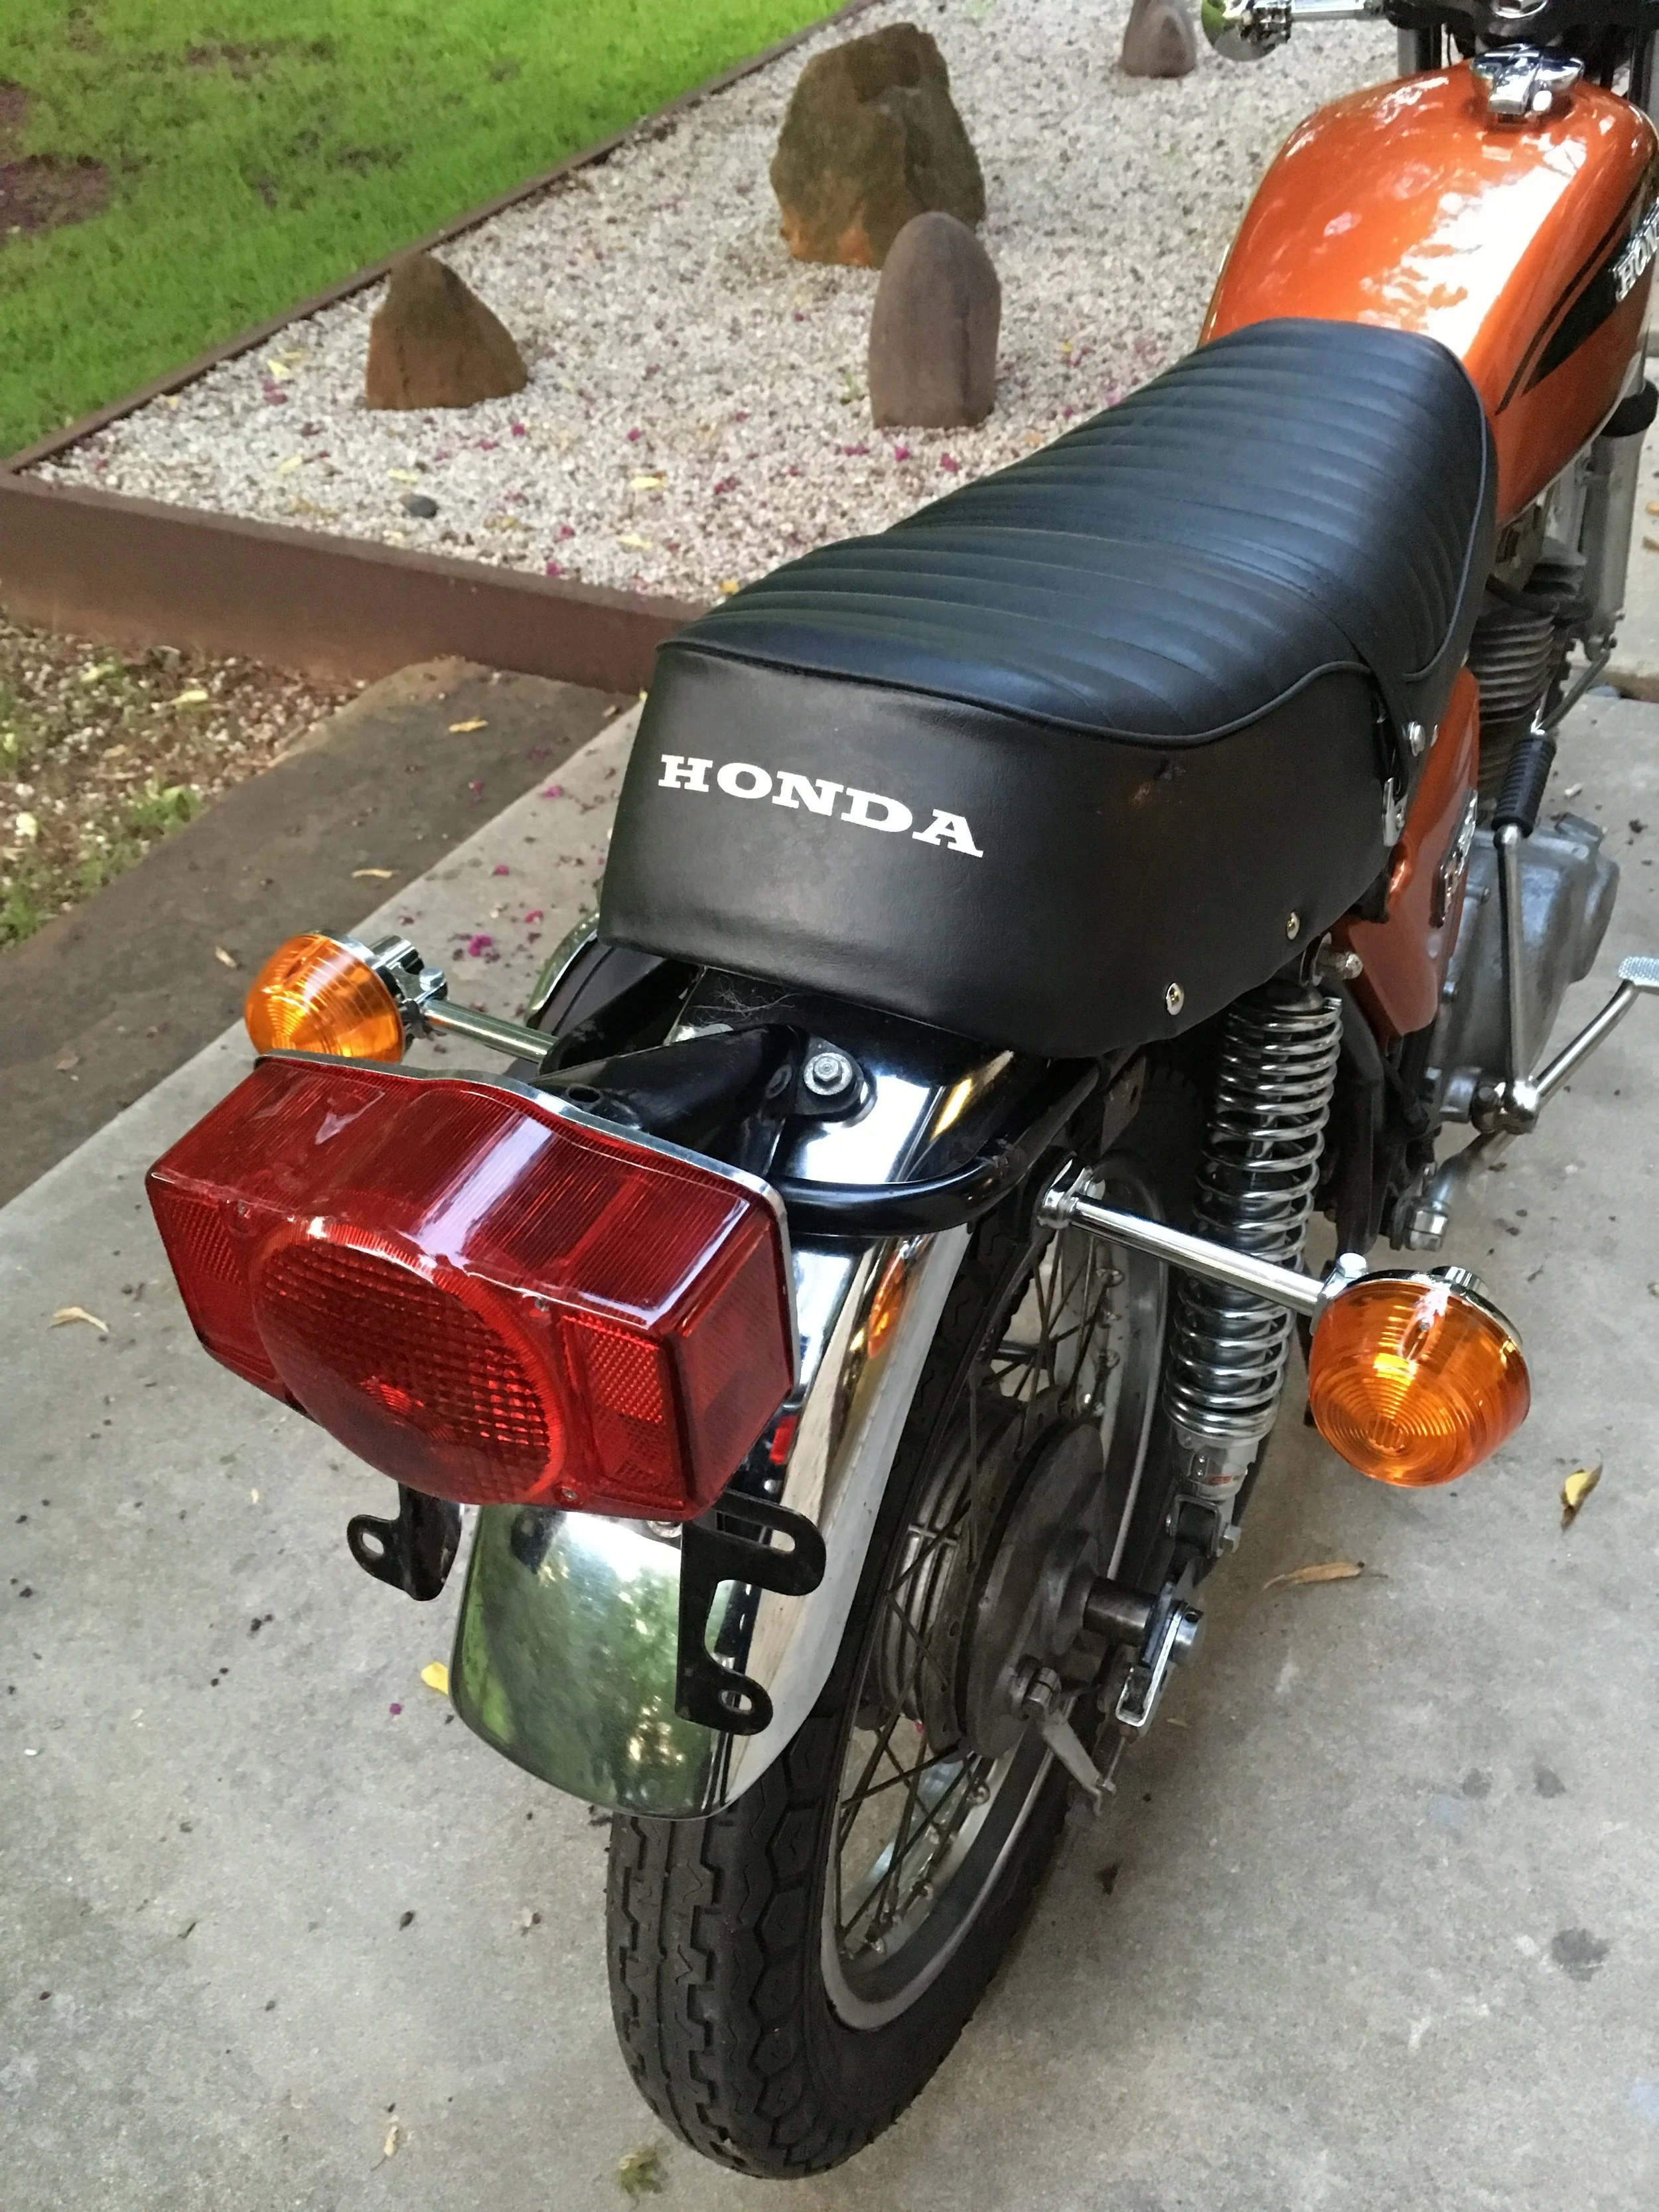
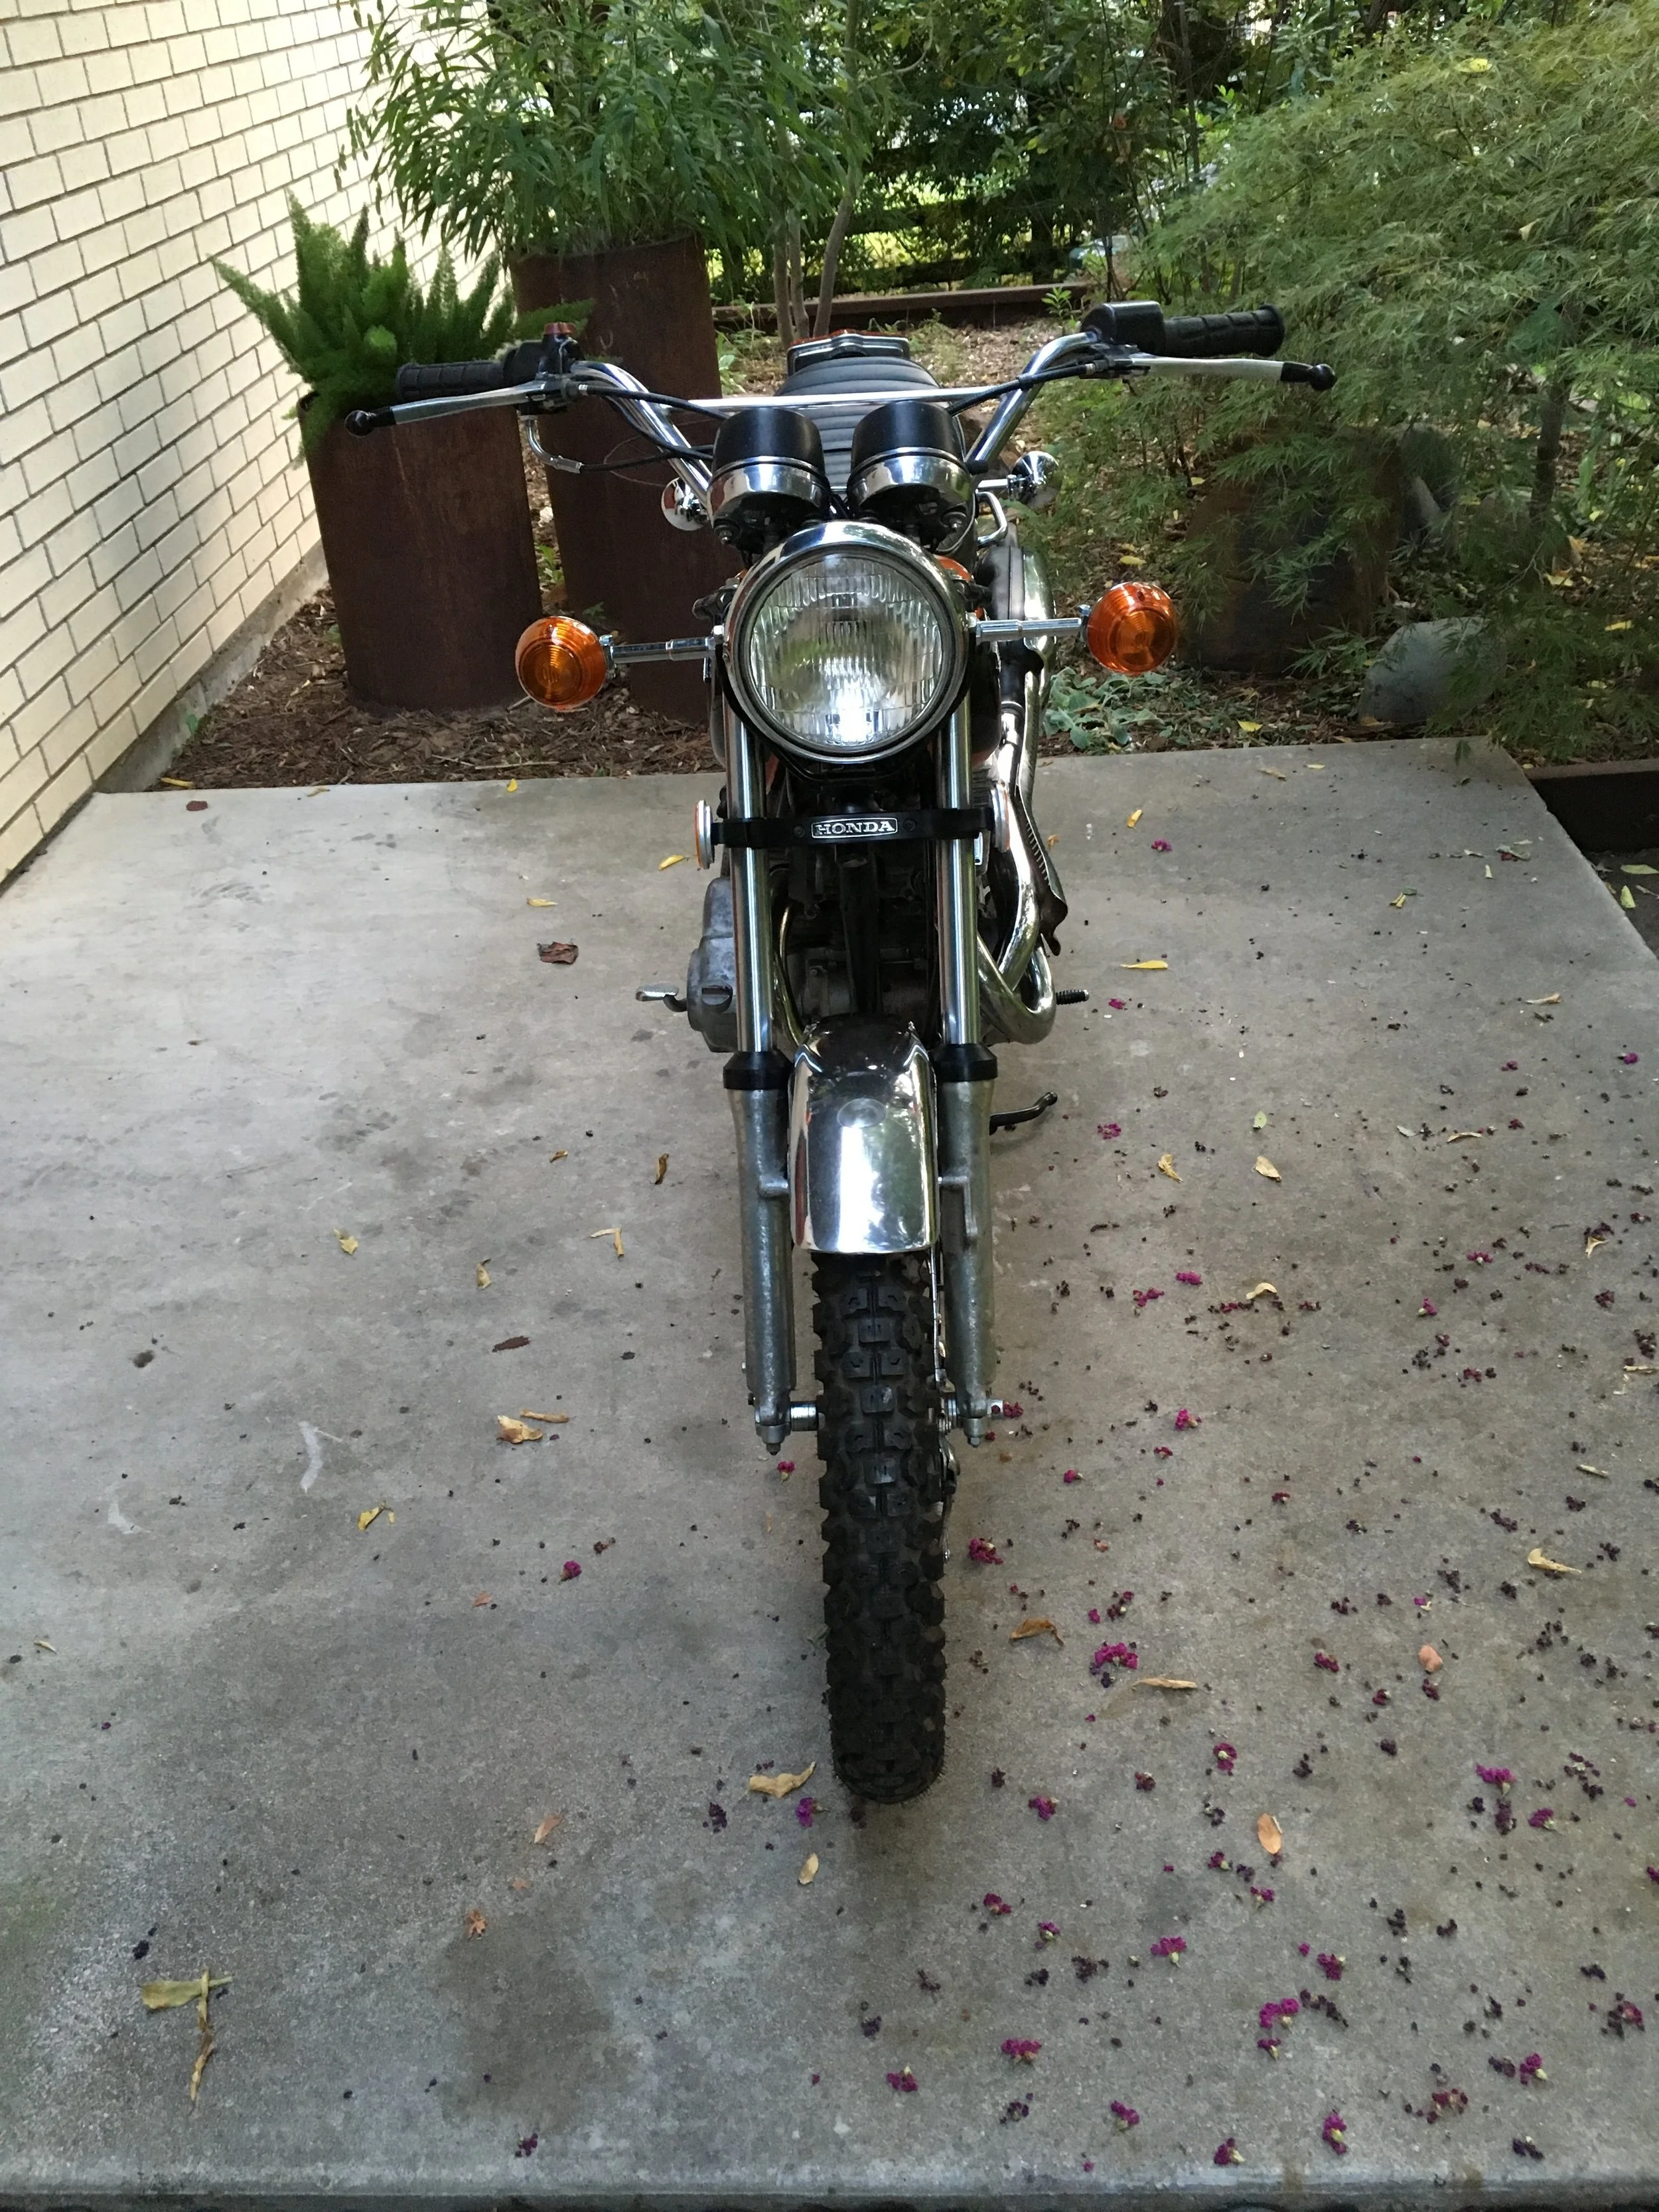
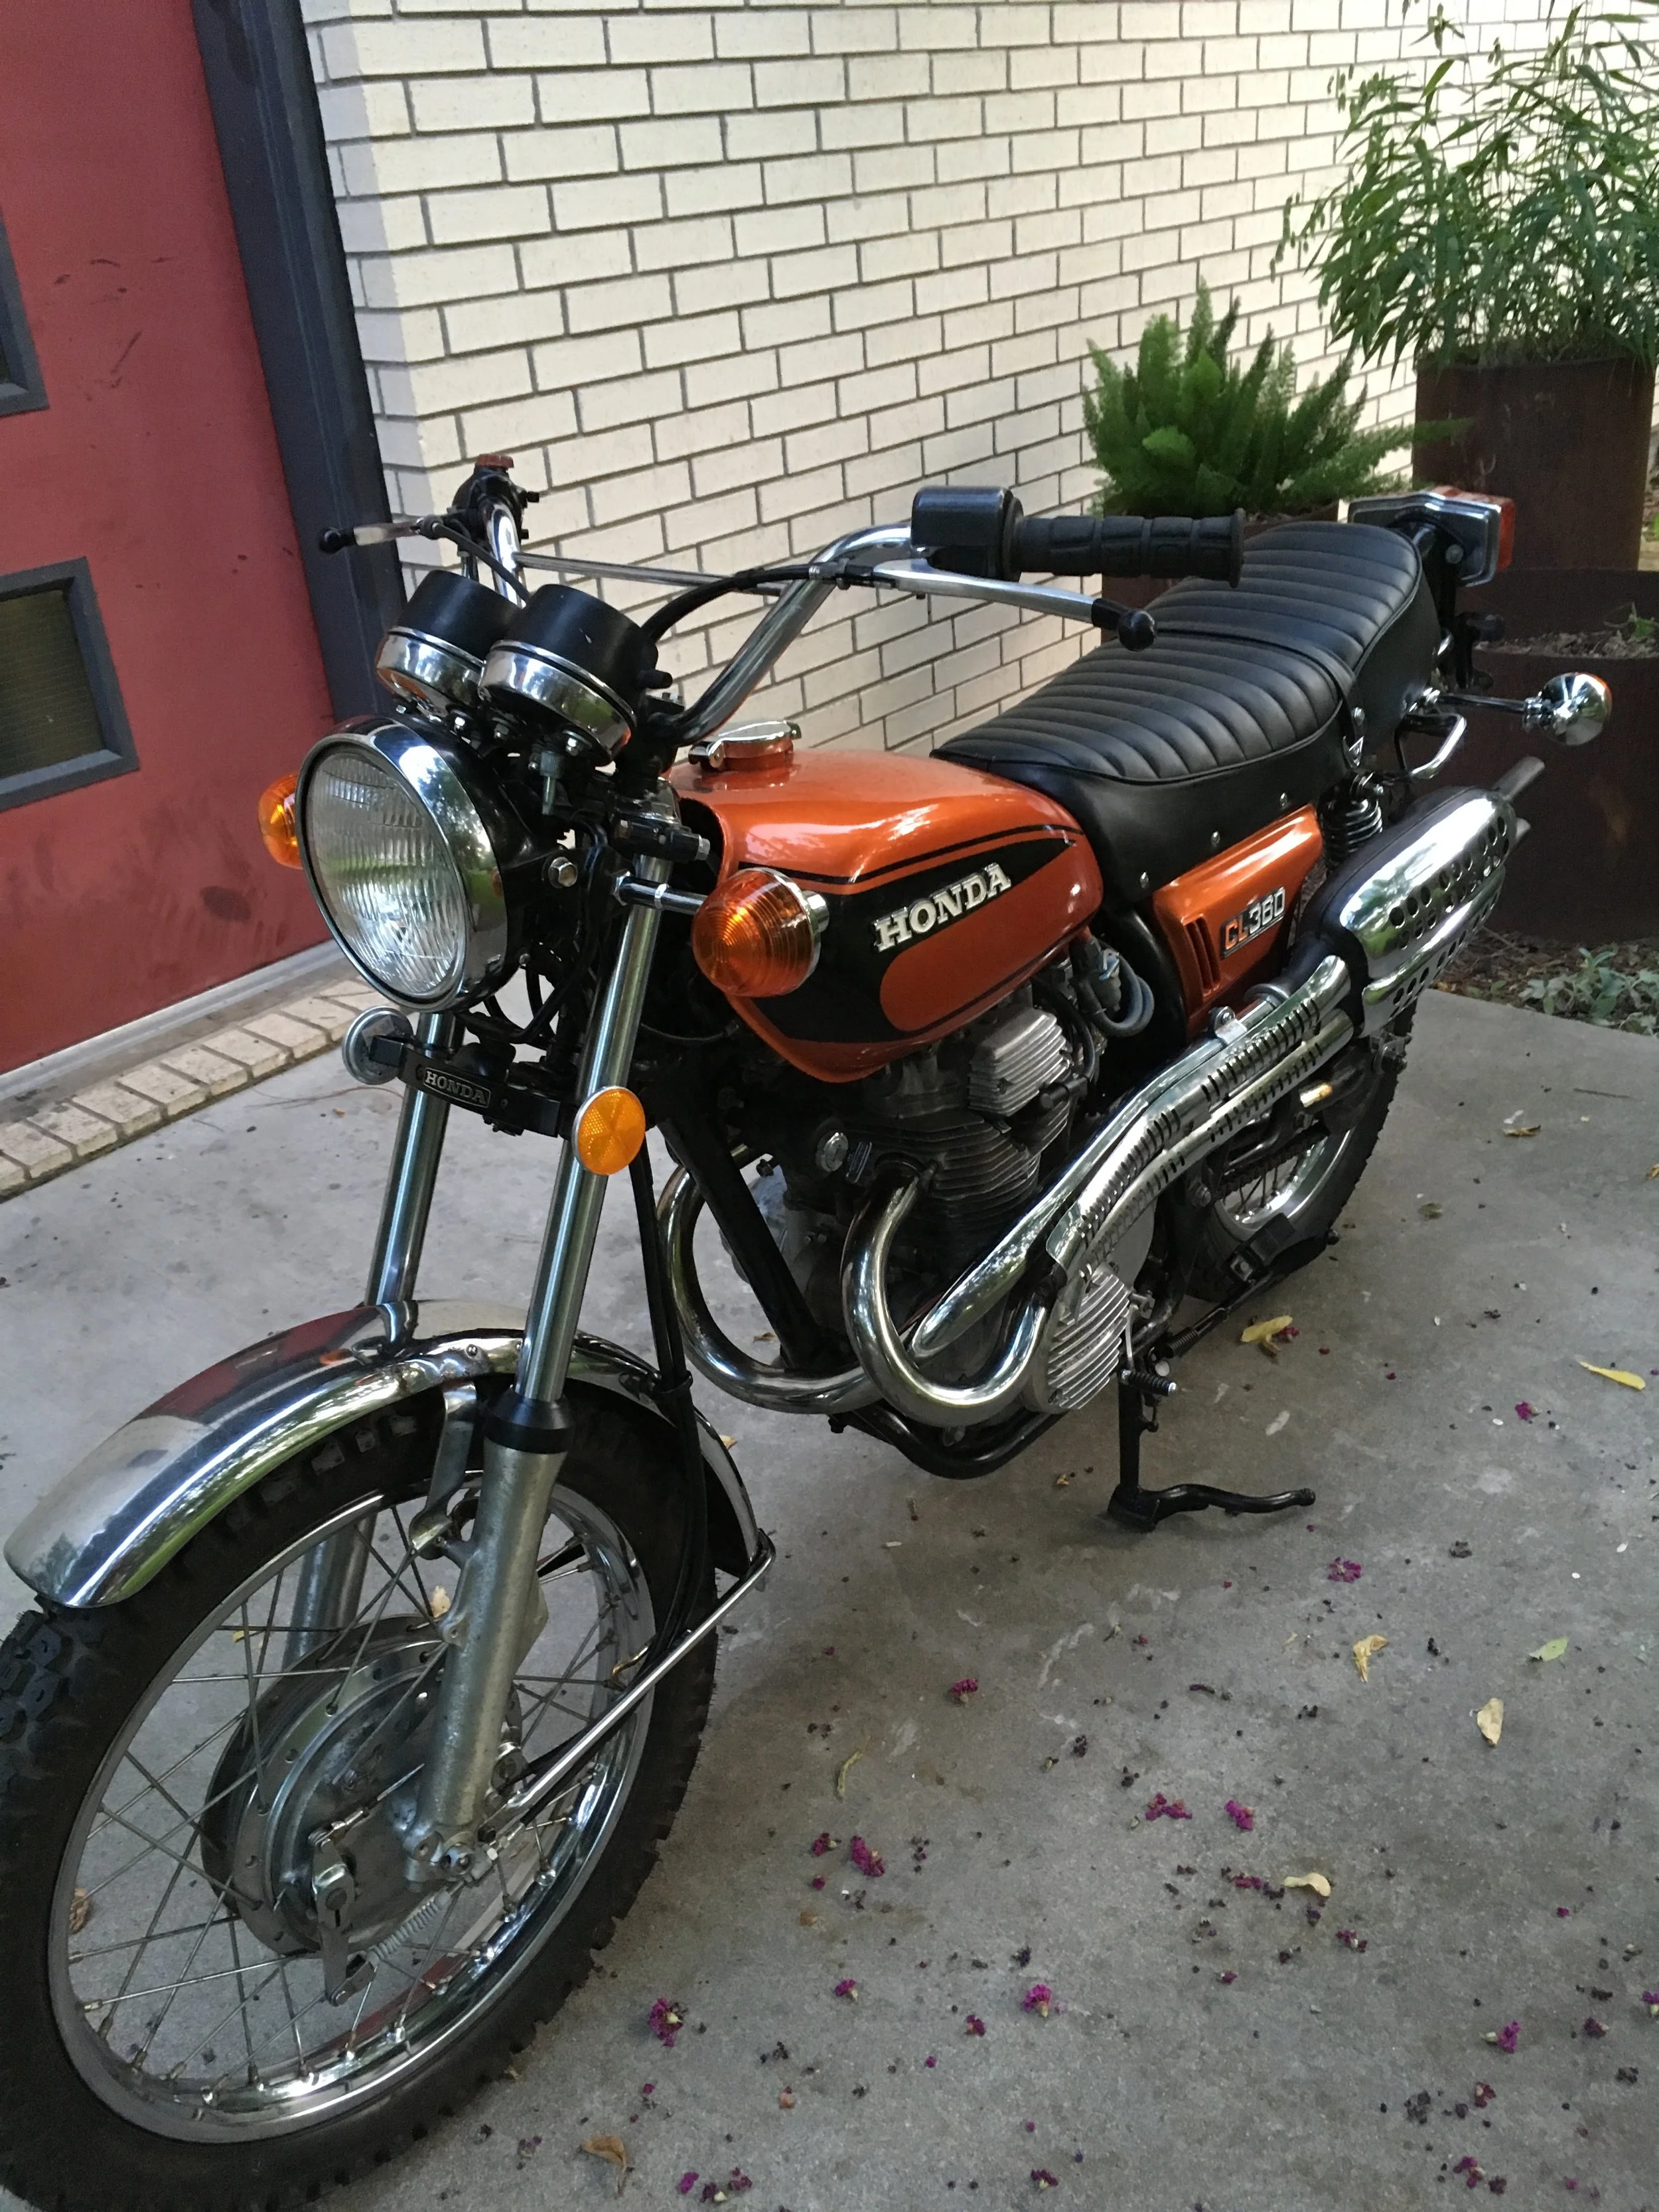
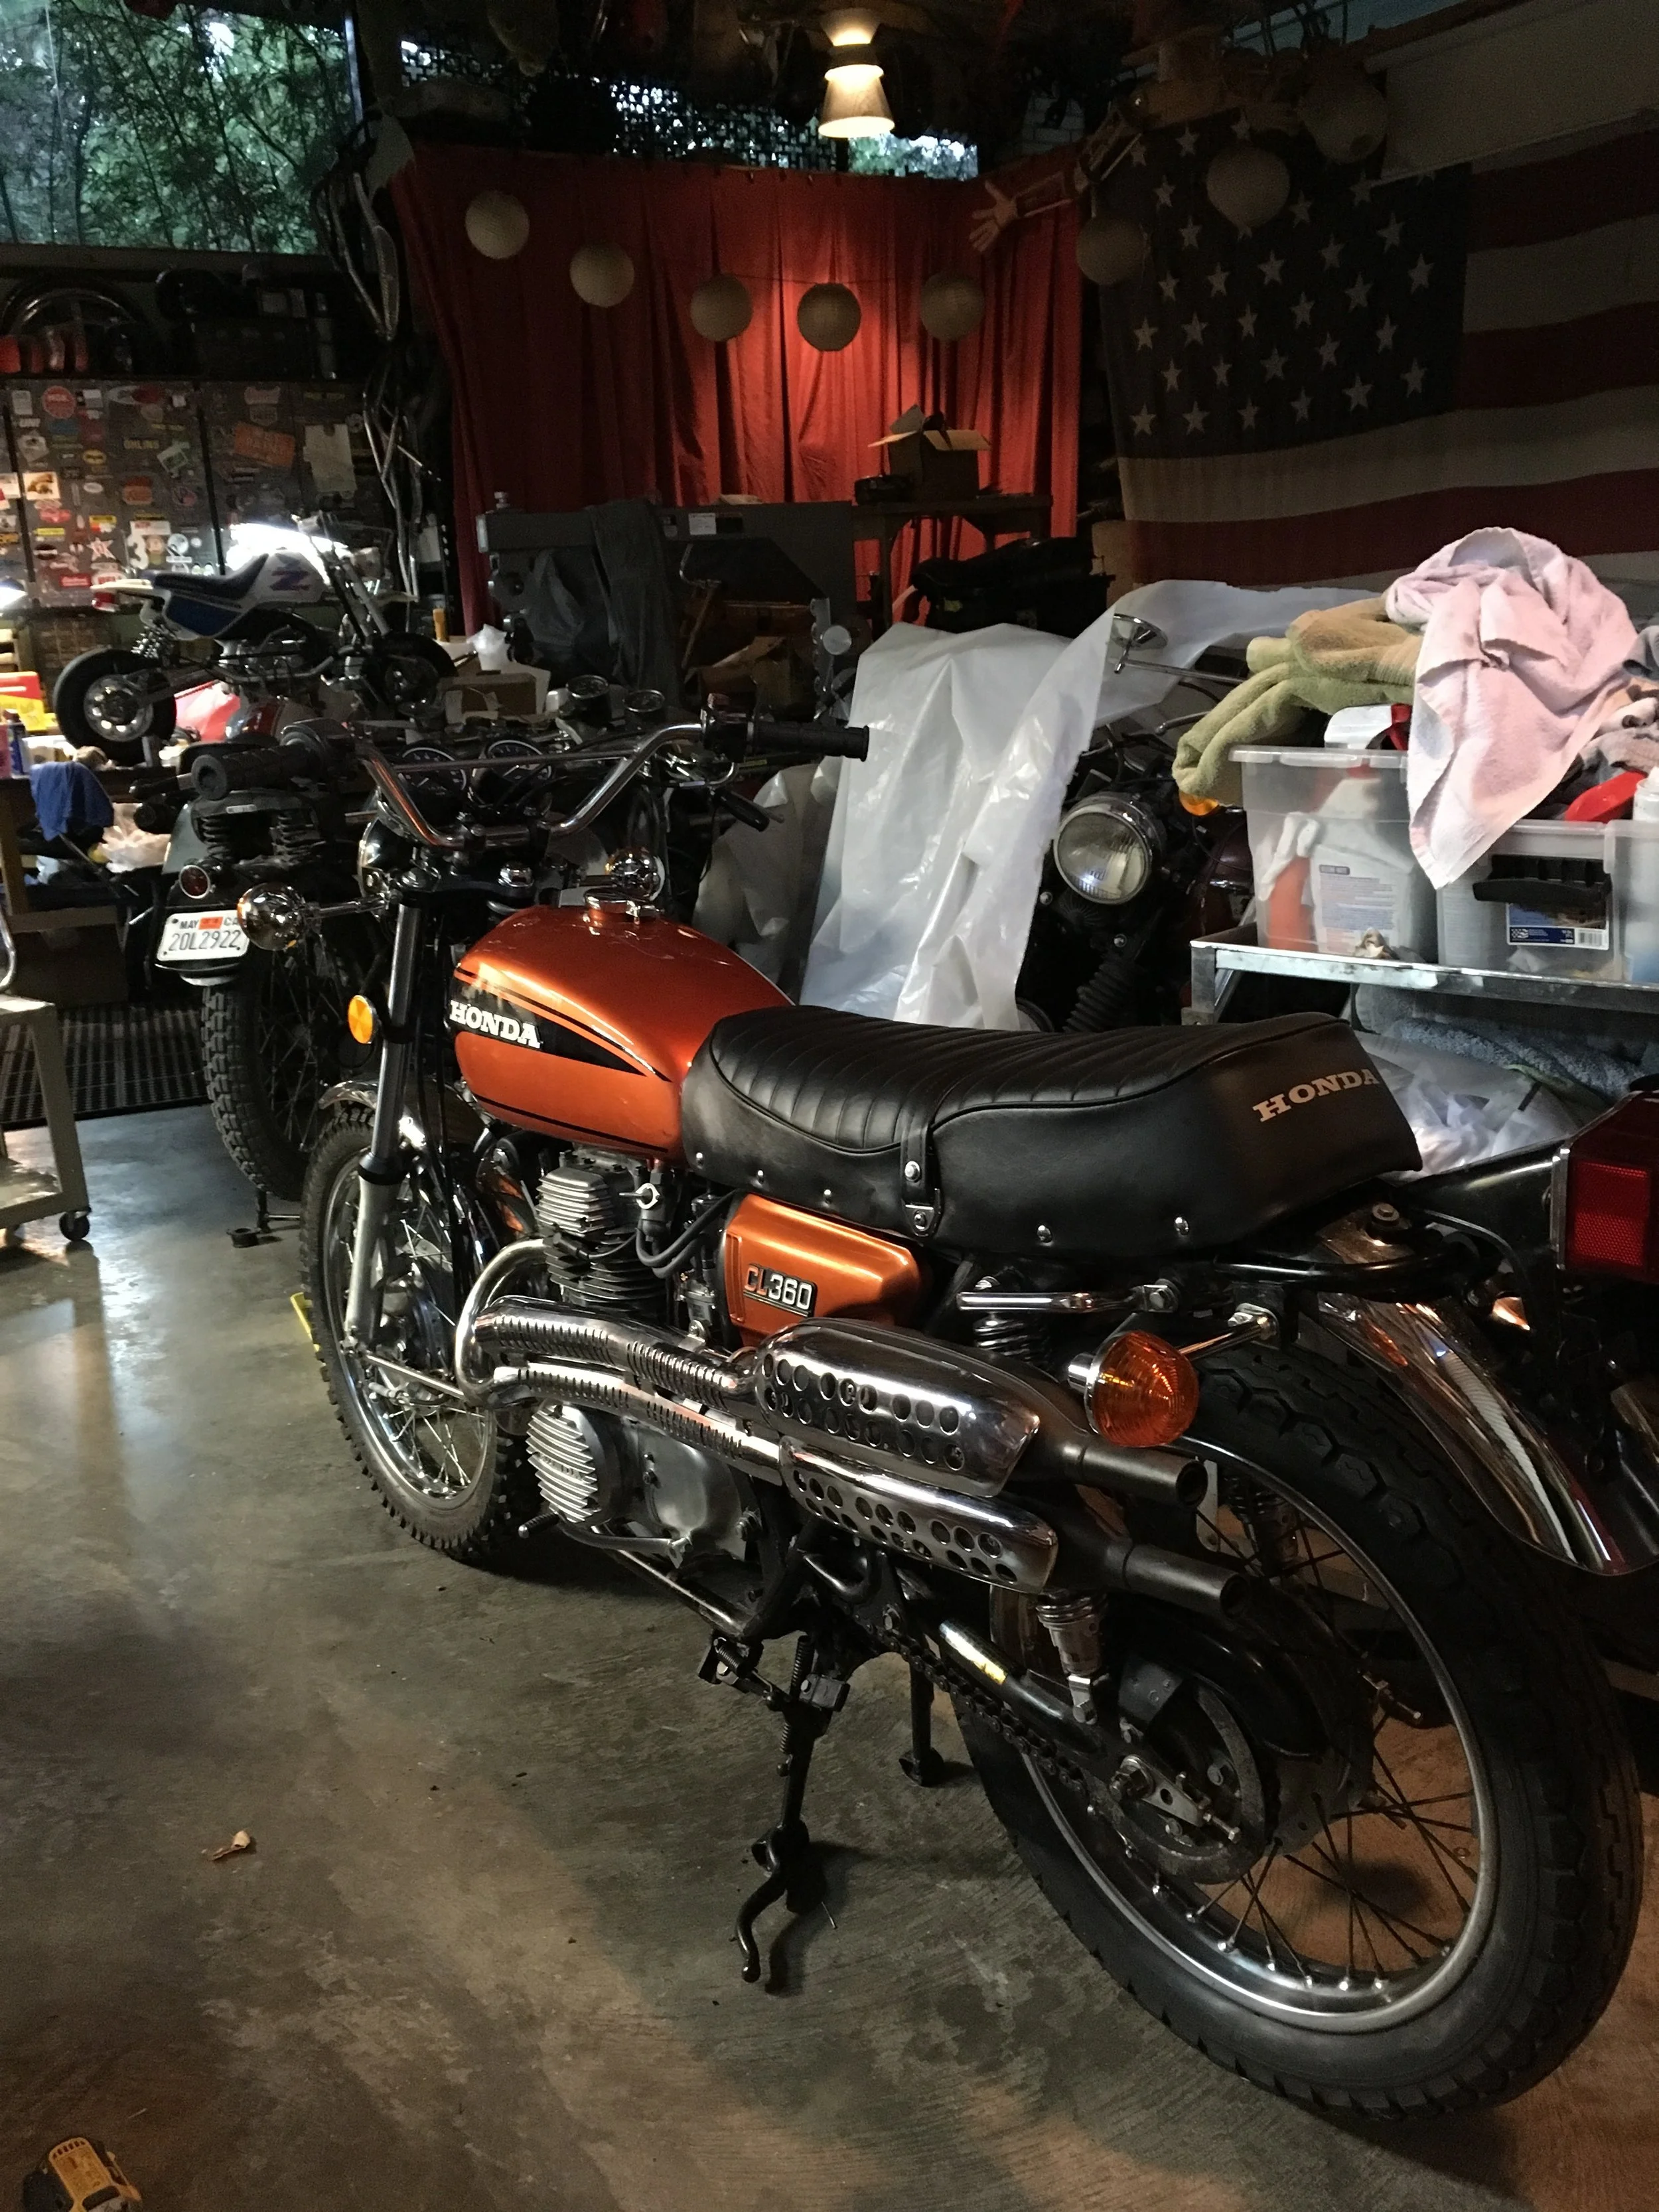
The 1975 CL360 will be looking for a new owner at the movie night.
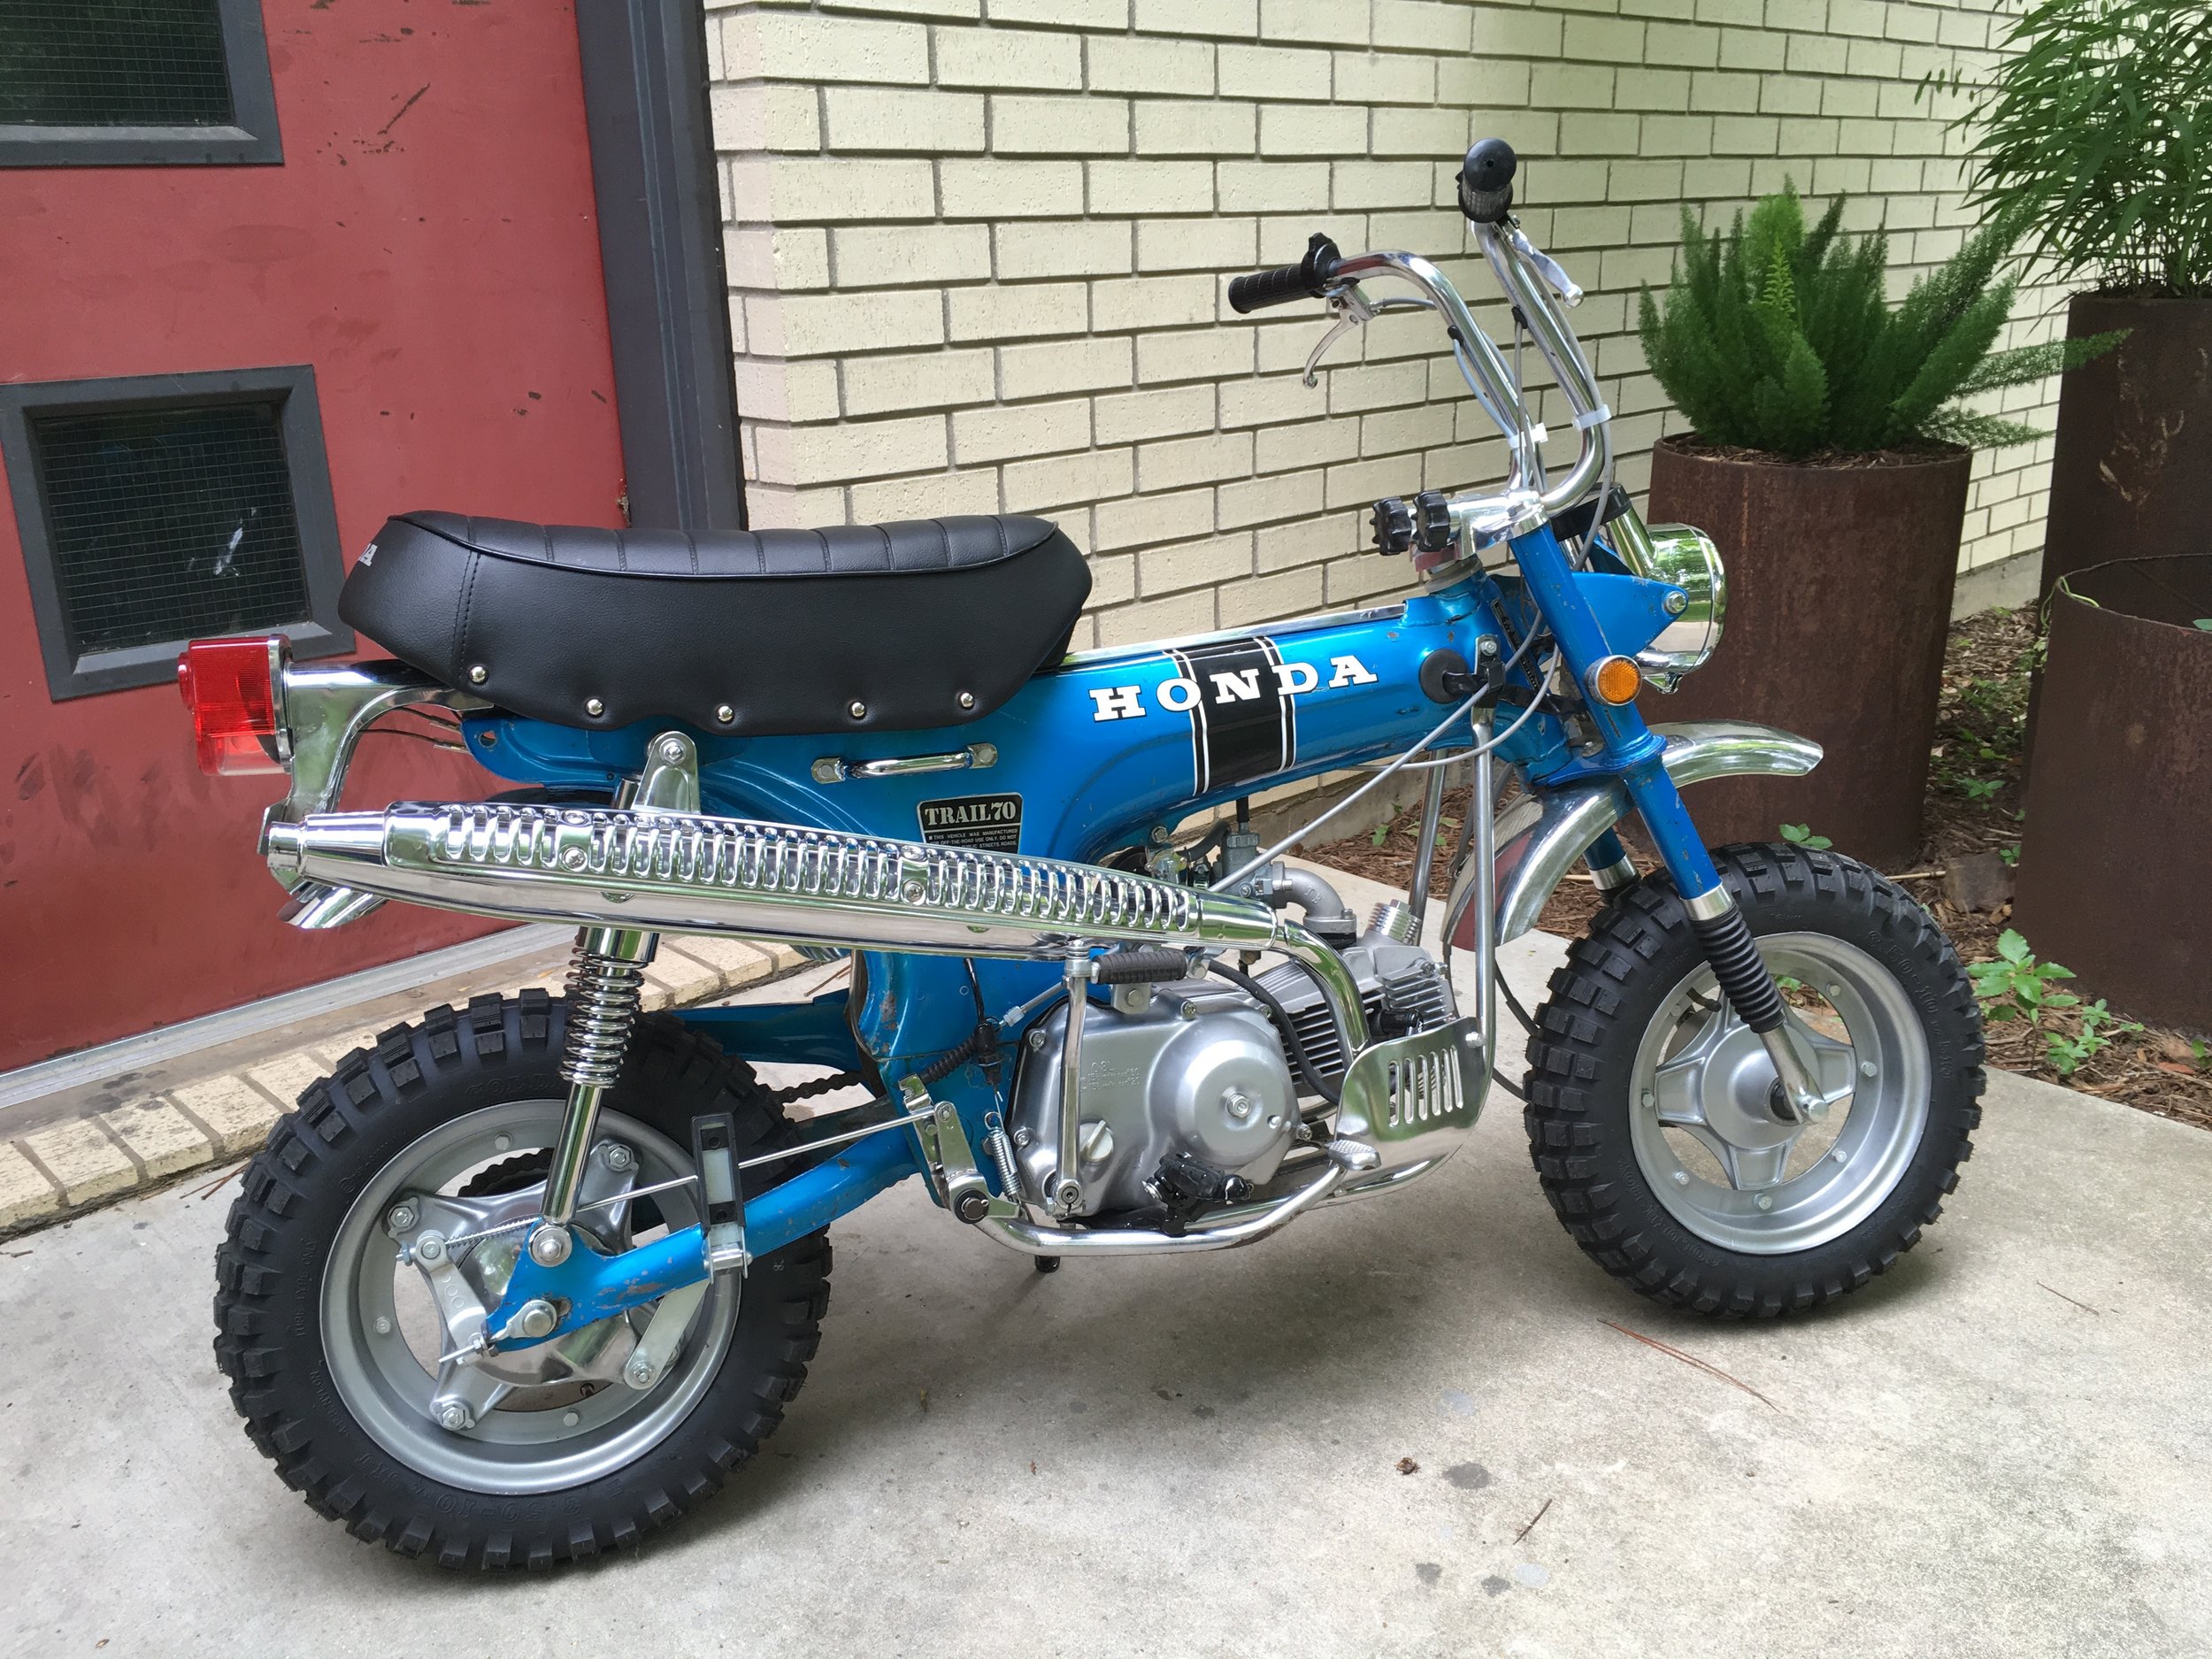
And finally, this 1971 CT70 custom with 108cc engine will be at the sale. Tons of new parts, but original paint and chrome.