The North Texas Norton Owners Fall rally at the Yellow Rose Canyon Camp in Mt Enterprise, Texas was a great time. With this being the first time for the club at this location, we weren’t sure what to expect, but the YRC turned out to be a very pleasant venue for the event, with plenty of space, a bar and restaurant, cabins, showers, riding trails, and much more. The club held field events on Saturday(more comical than serious,) the bike show, and the awards ceremony (with lots of door prize give aways) to keep things interesting. There was an area of the venue far away from the RV park and cabins, designed for tent camping, for anyone wanting a quieter camp, but most of the night time action was at the cabins or RV’s, and people would migrate from one to another.

Packed in tight and strapped down well, headed for East Texas. This time, heading out with the 1970 Trident, 1967 Mountain Cub, the trike, and of course, the 1999 Z50, known as the” Hater.” There have been various plans to build out the interior of the van, but getting all these bikes in comfortably make me reluctant to add any partitions that would keep it from hauling as many.
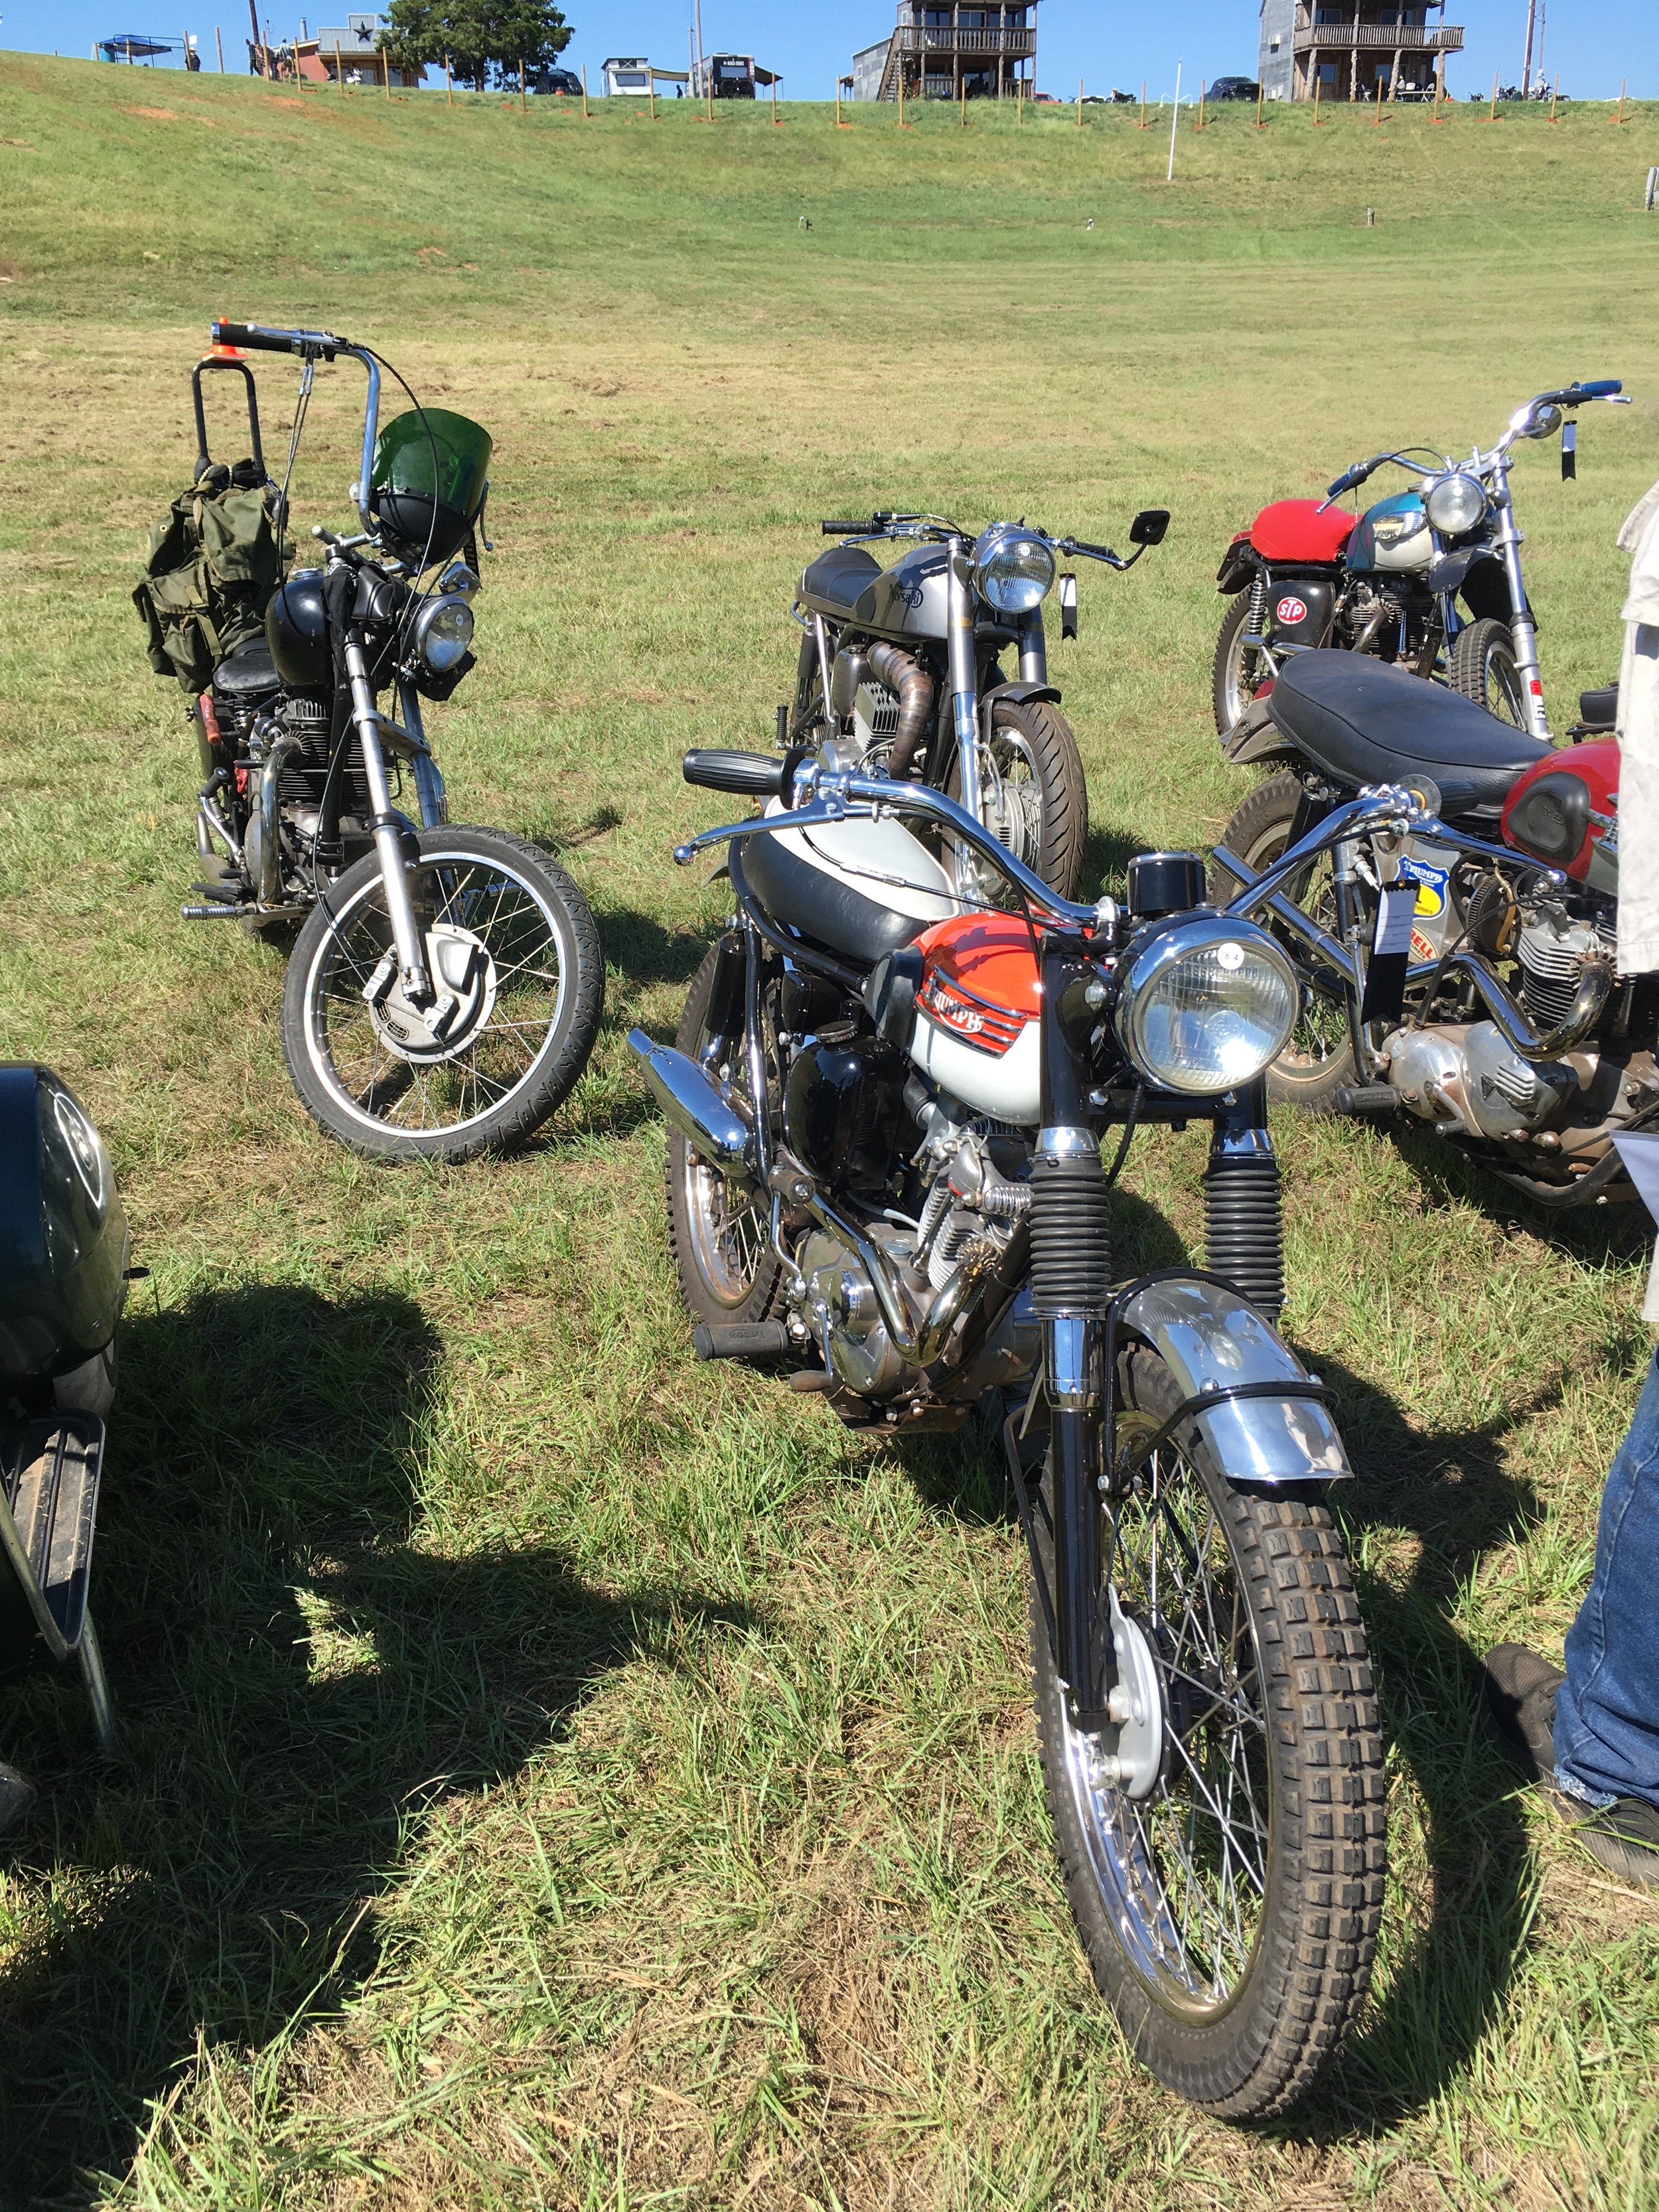
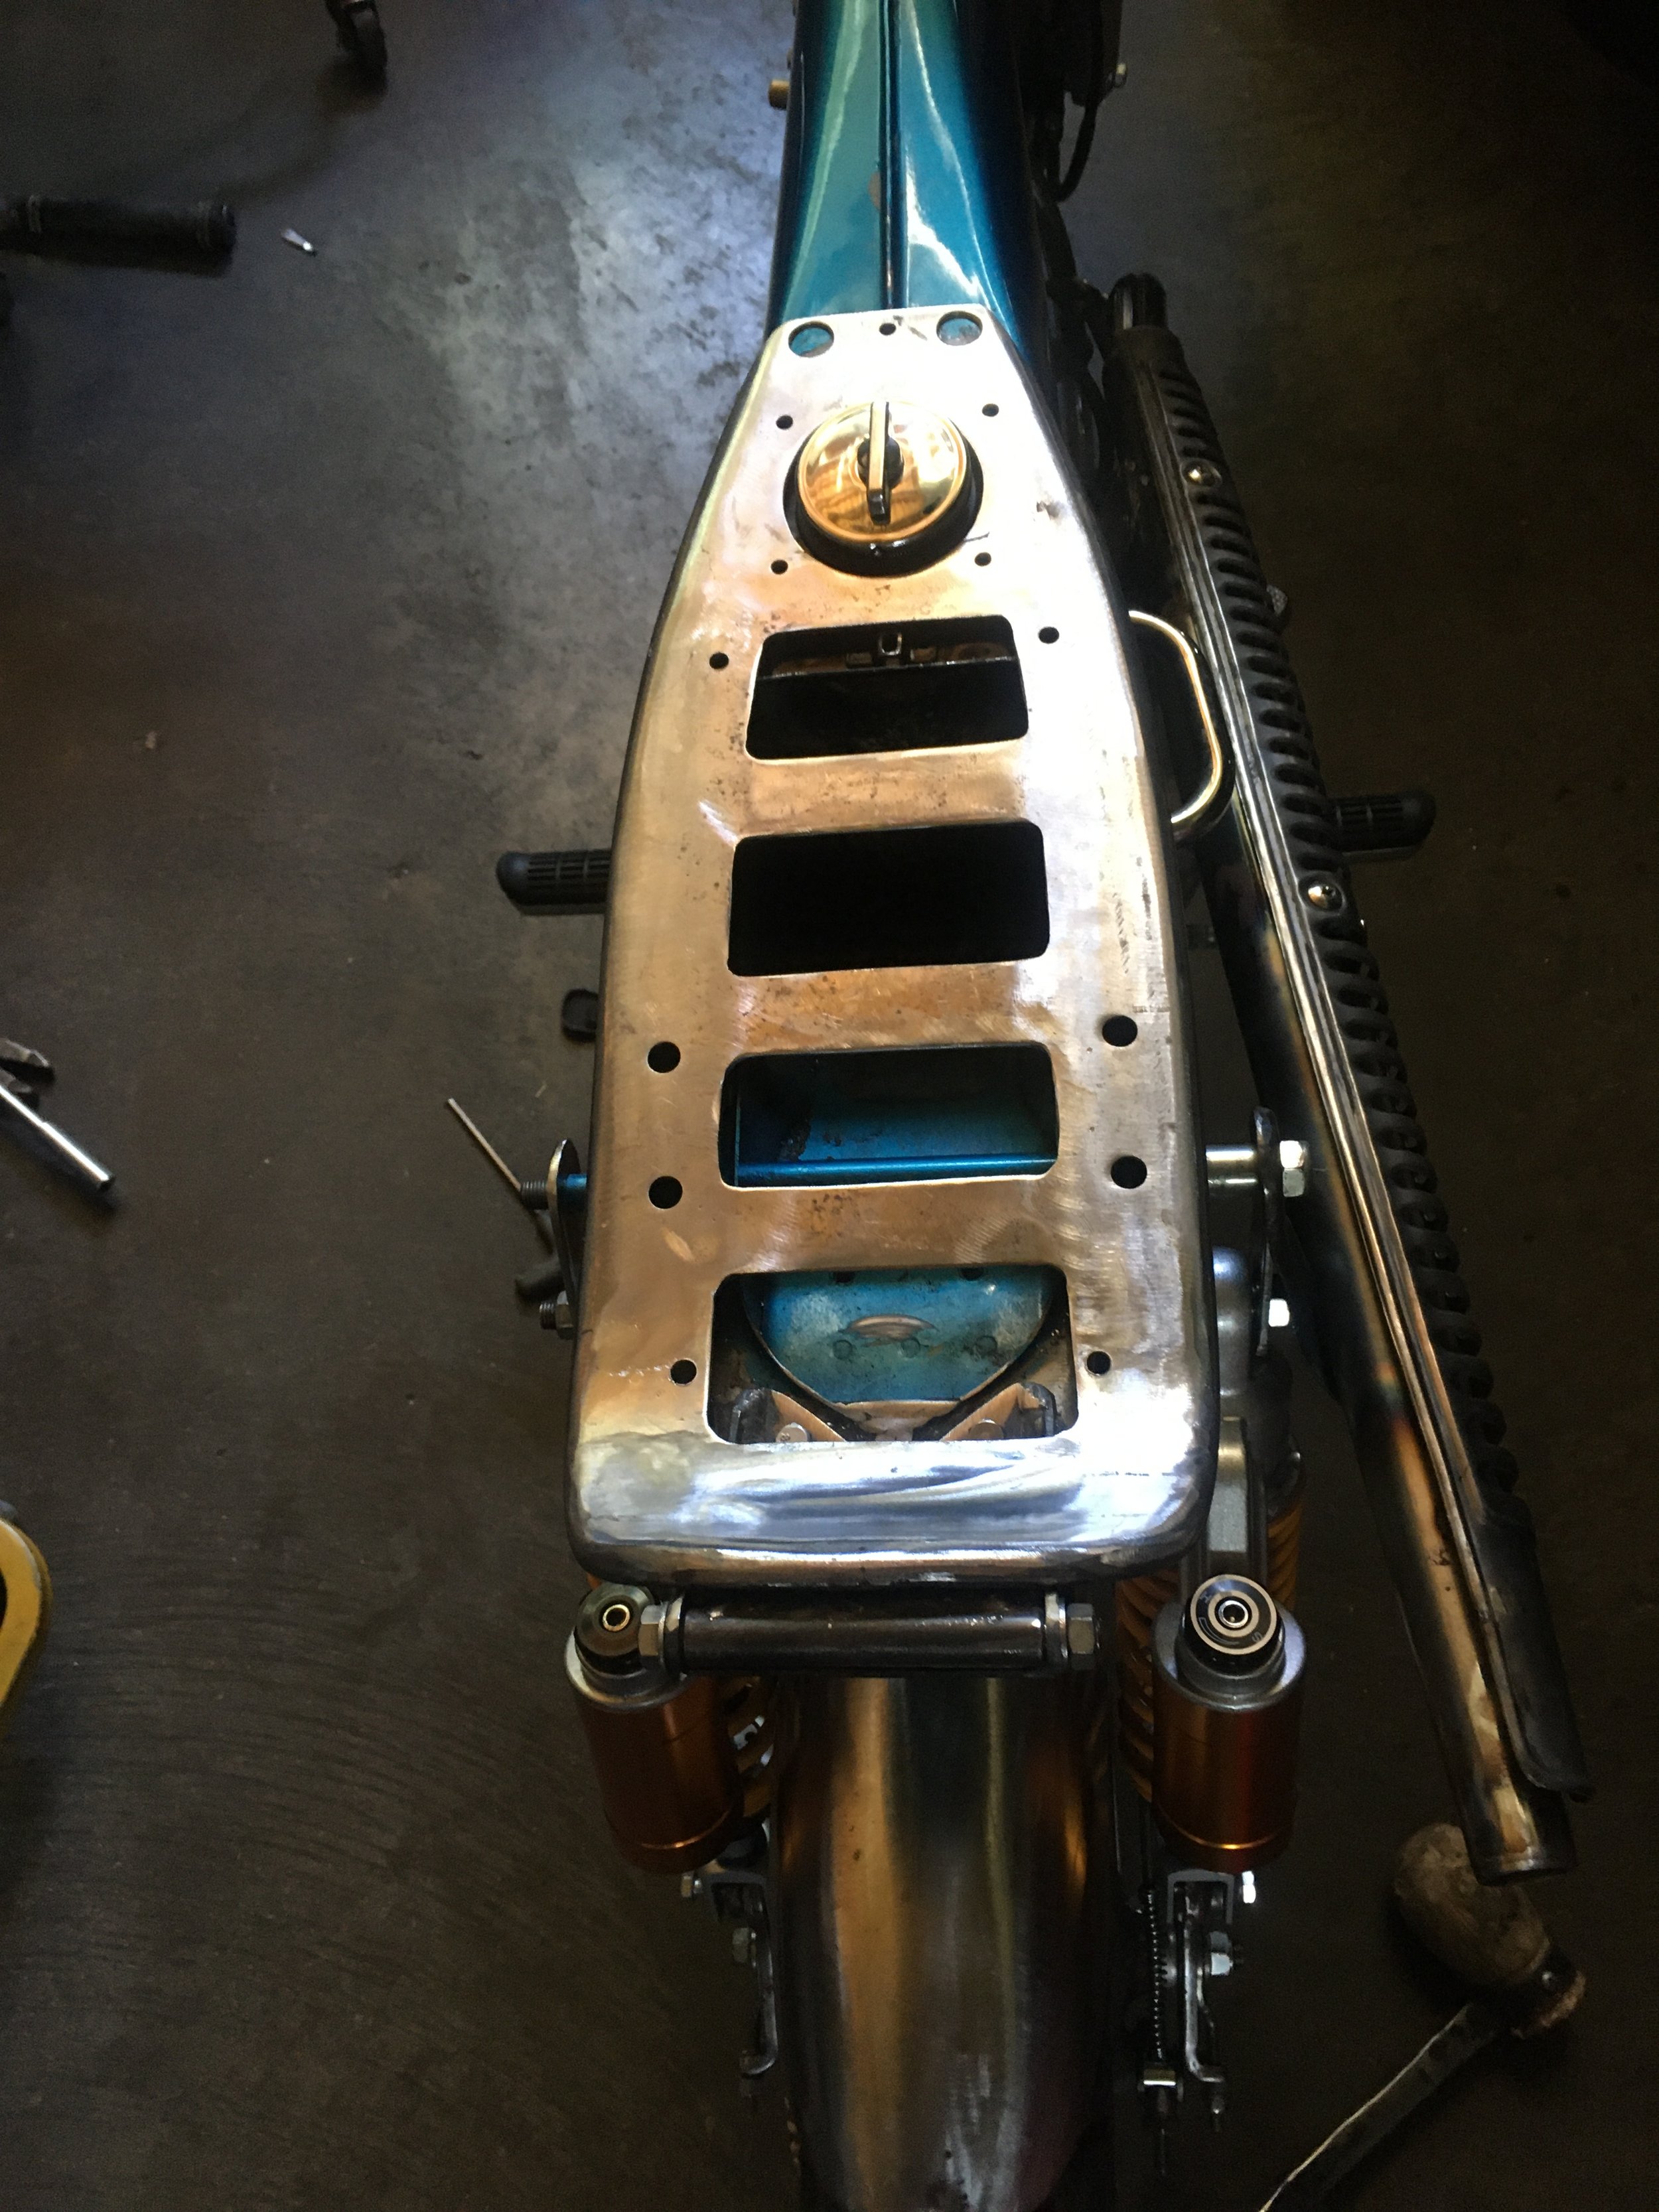
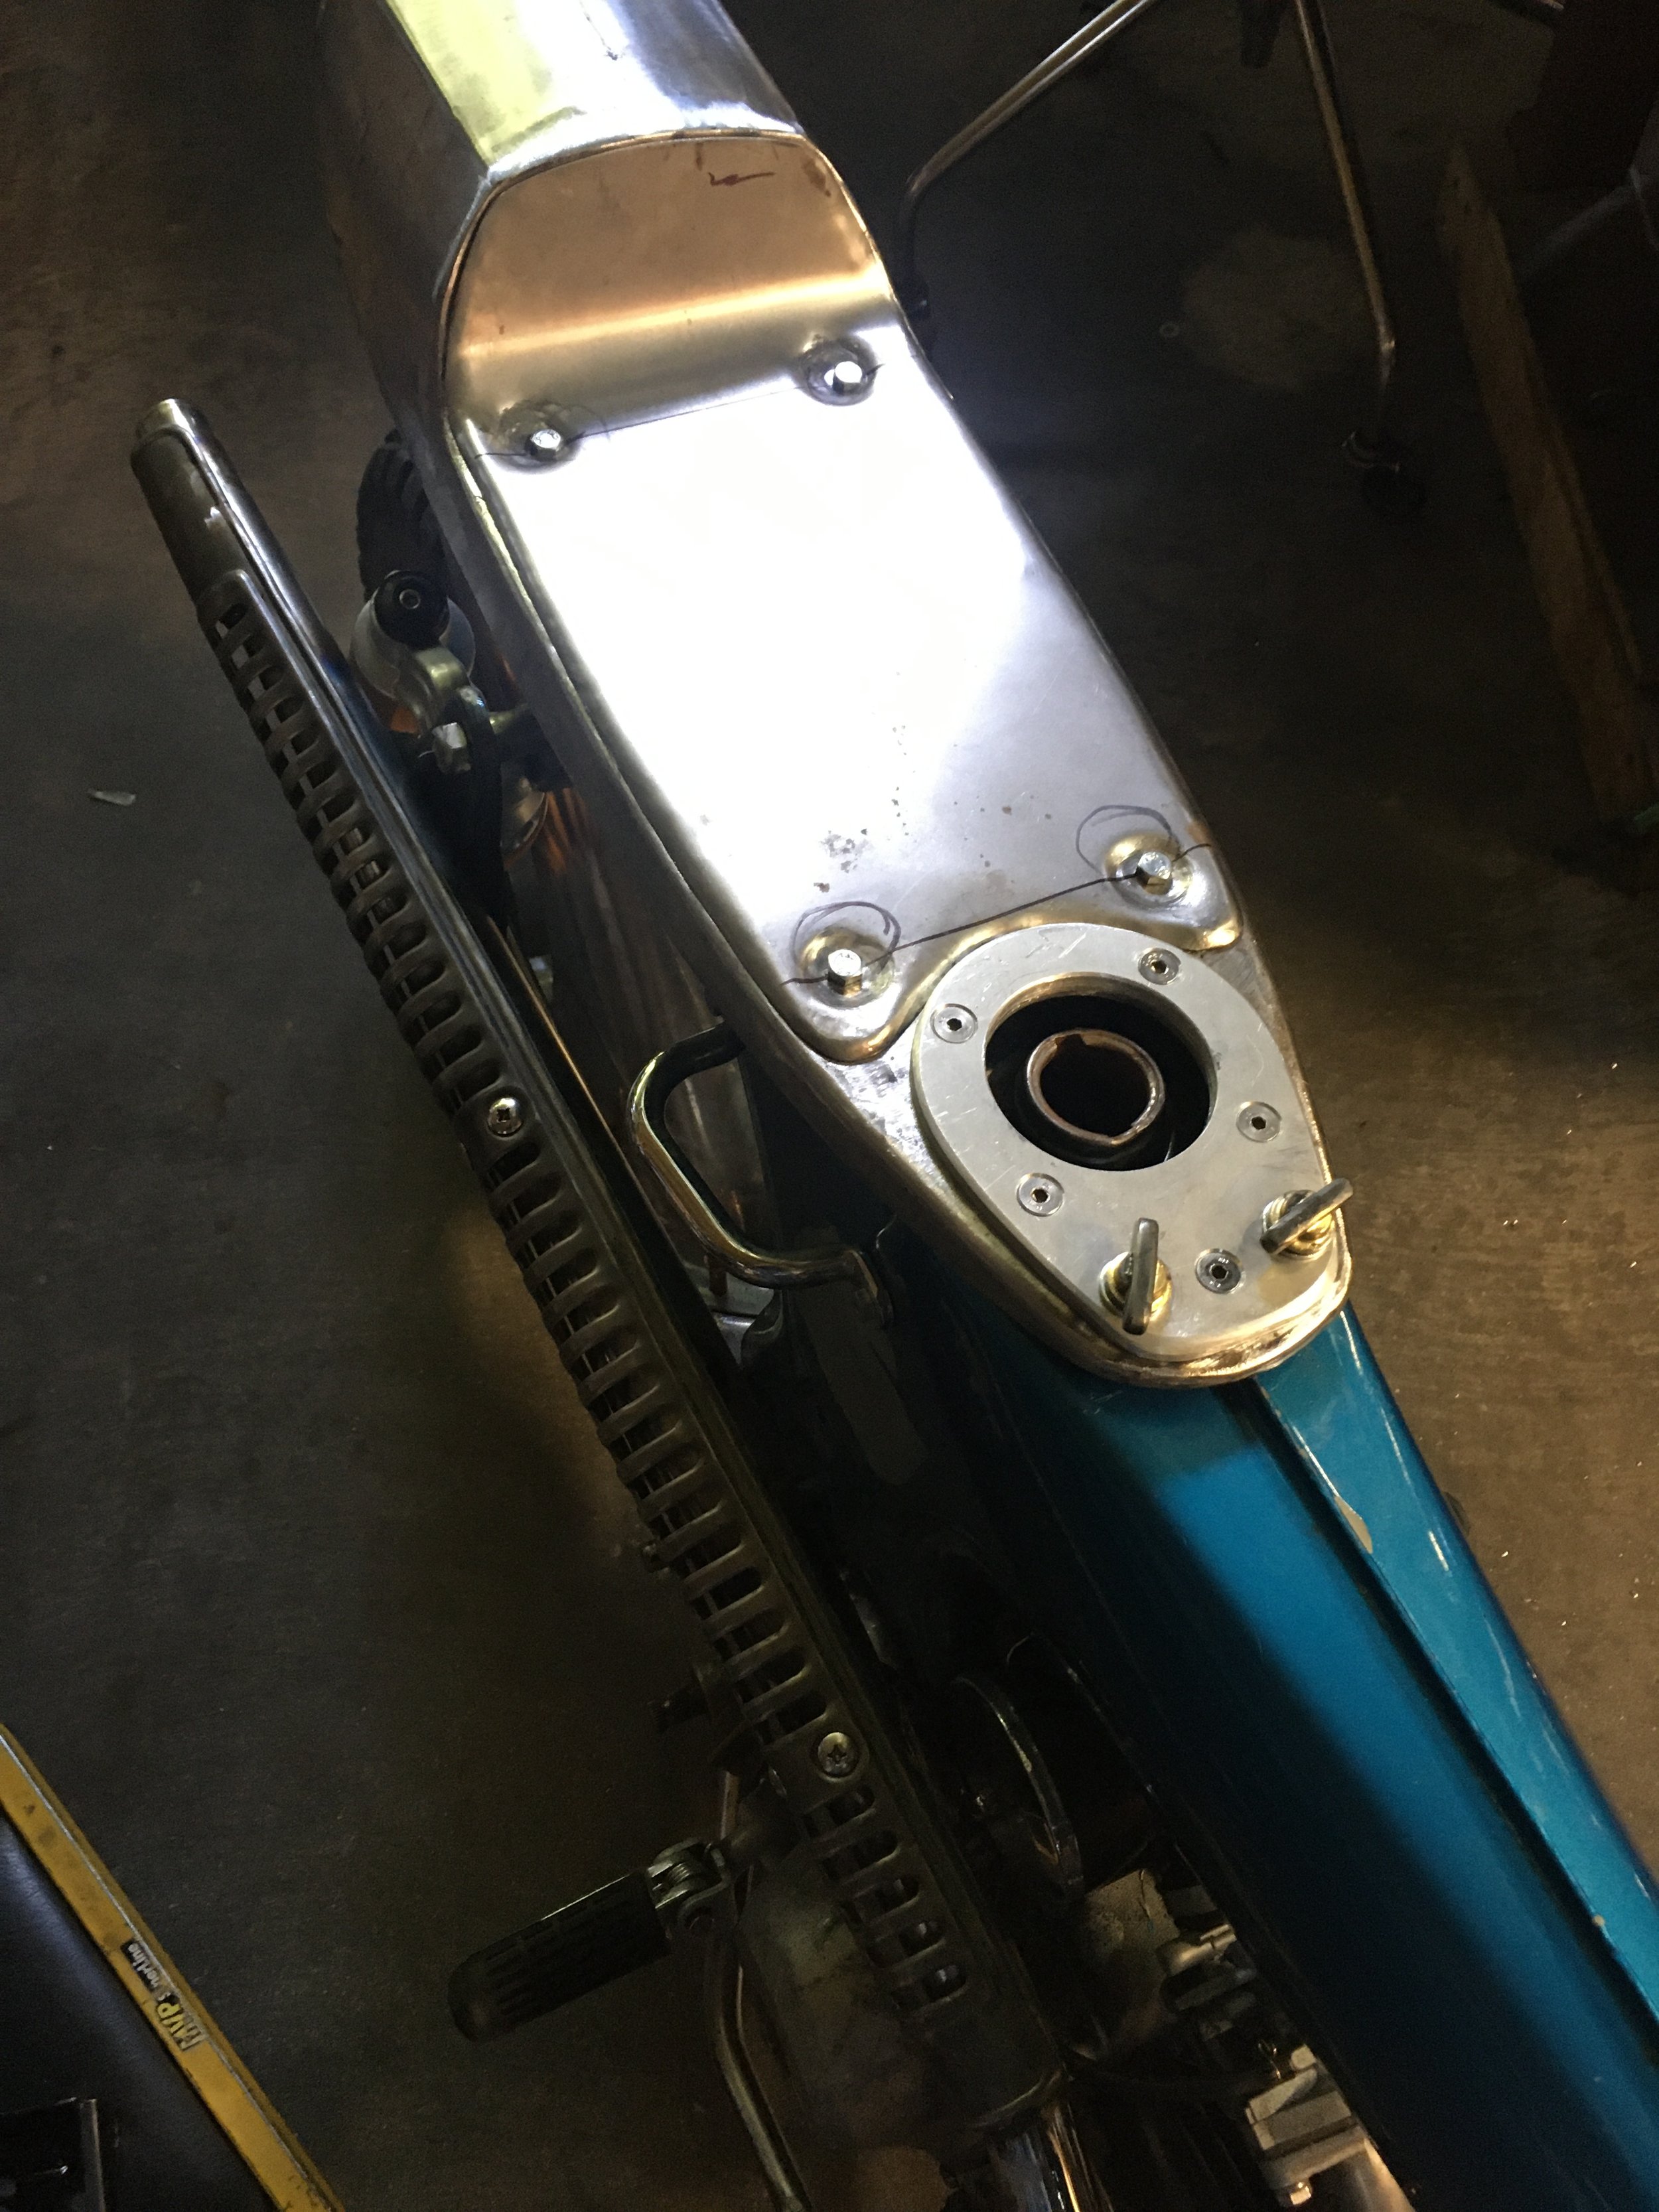
In addition to the Cub, the Norsaki 1955 Norton/Kawasaki 400 was there for the bike show. In the same “Custom Street” category as the Mountain Cub, they placed first and second, with the Norsaki taking the top spot. I was really satisfied with the result, but there was more to come…

The 1970 Trident drew some looks, but no prizes. There was a single category for Triumphs in the bike show this year, opposed to the four or five of previous meets, and it was well represented. There were a couple “Bathtub” 350’s in the show, one of which won first place in the category.
An old friend, the “Red Baron” bike showed up for the fun. Owned by my buddy, Ben, it was in good form, and the perfect bike show pit bike. The 1999 Z50 Hater is nearby.
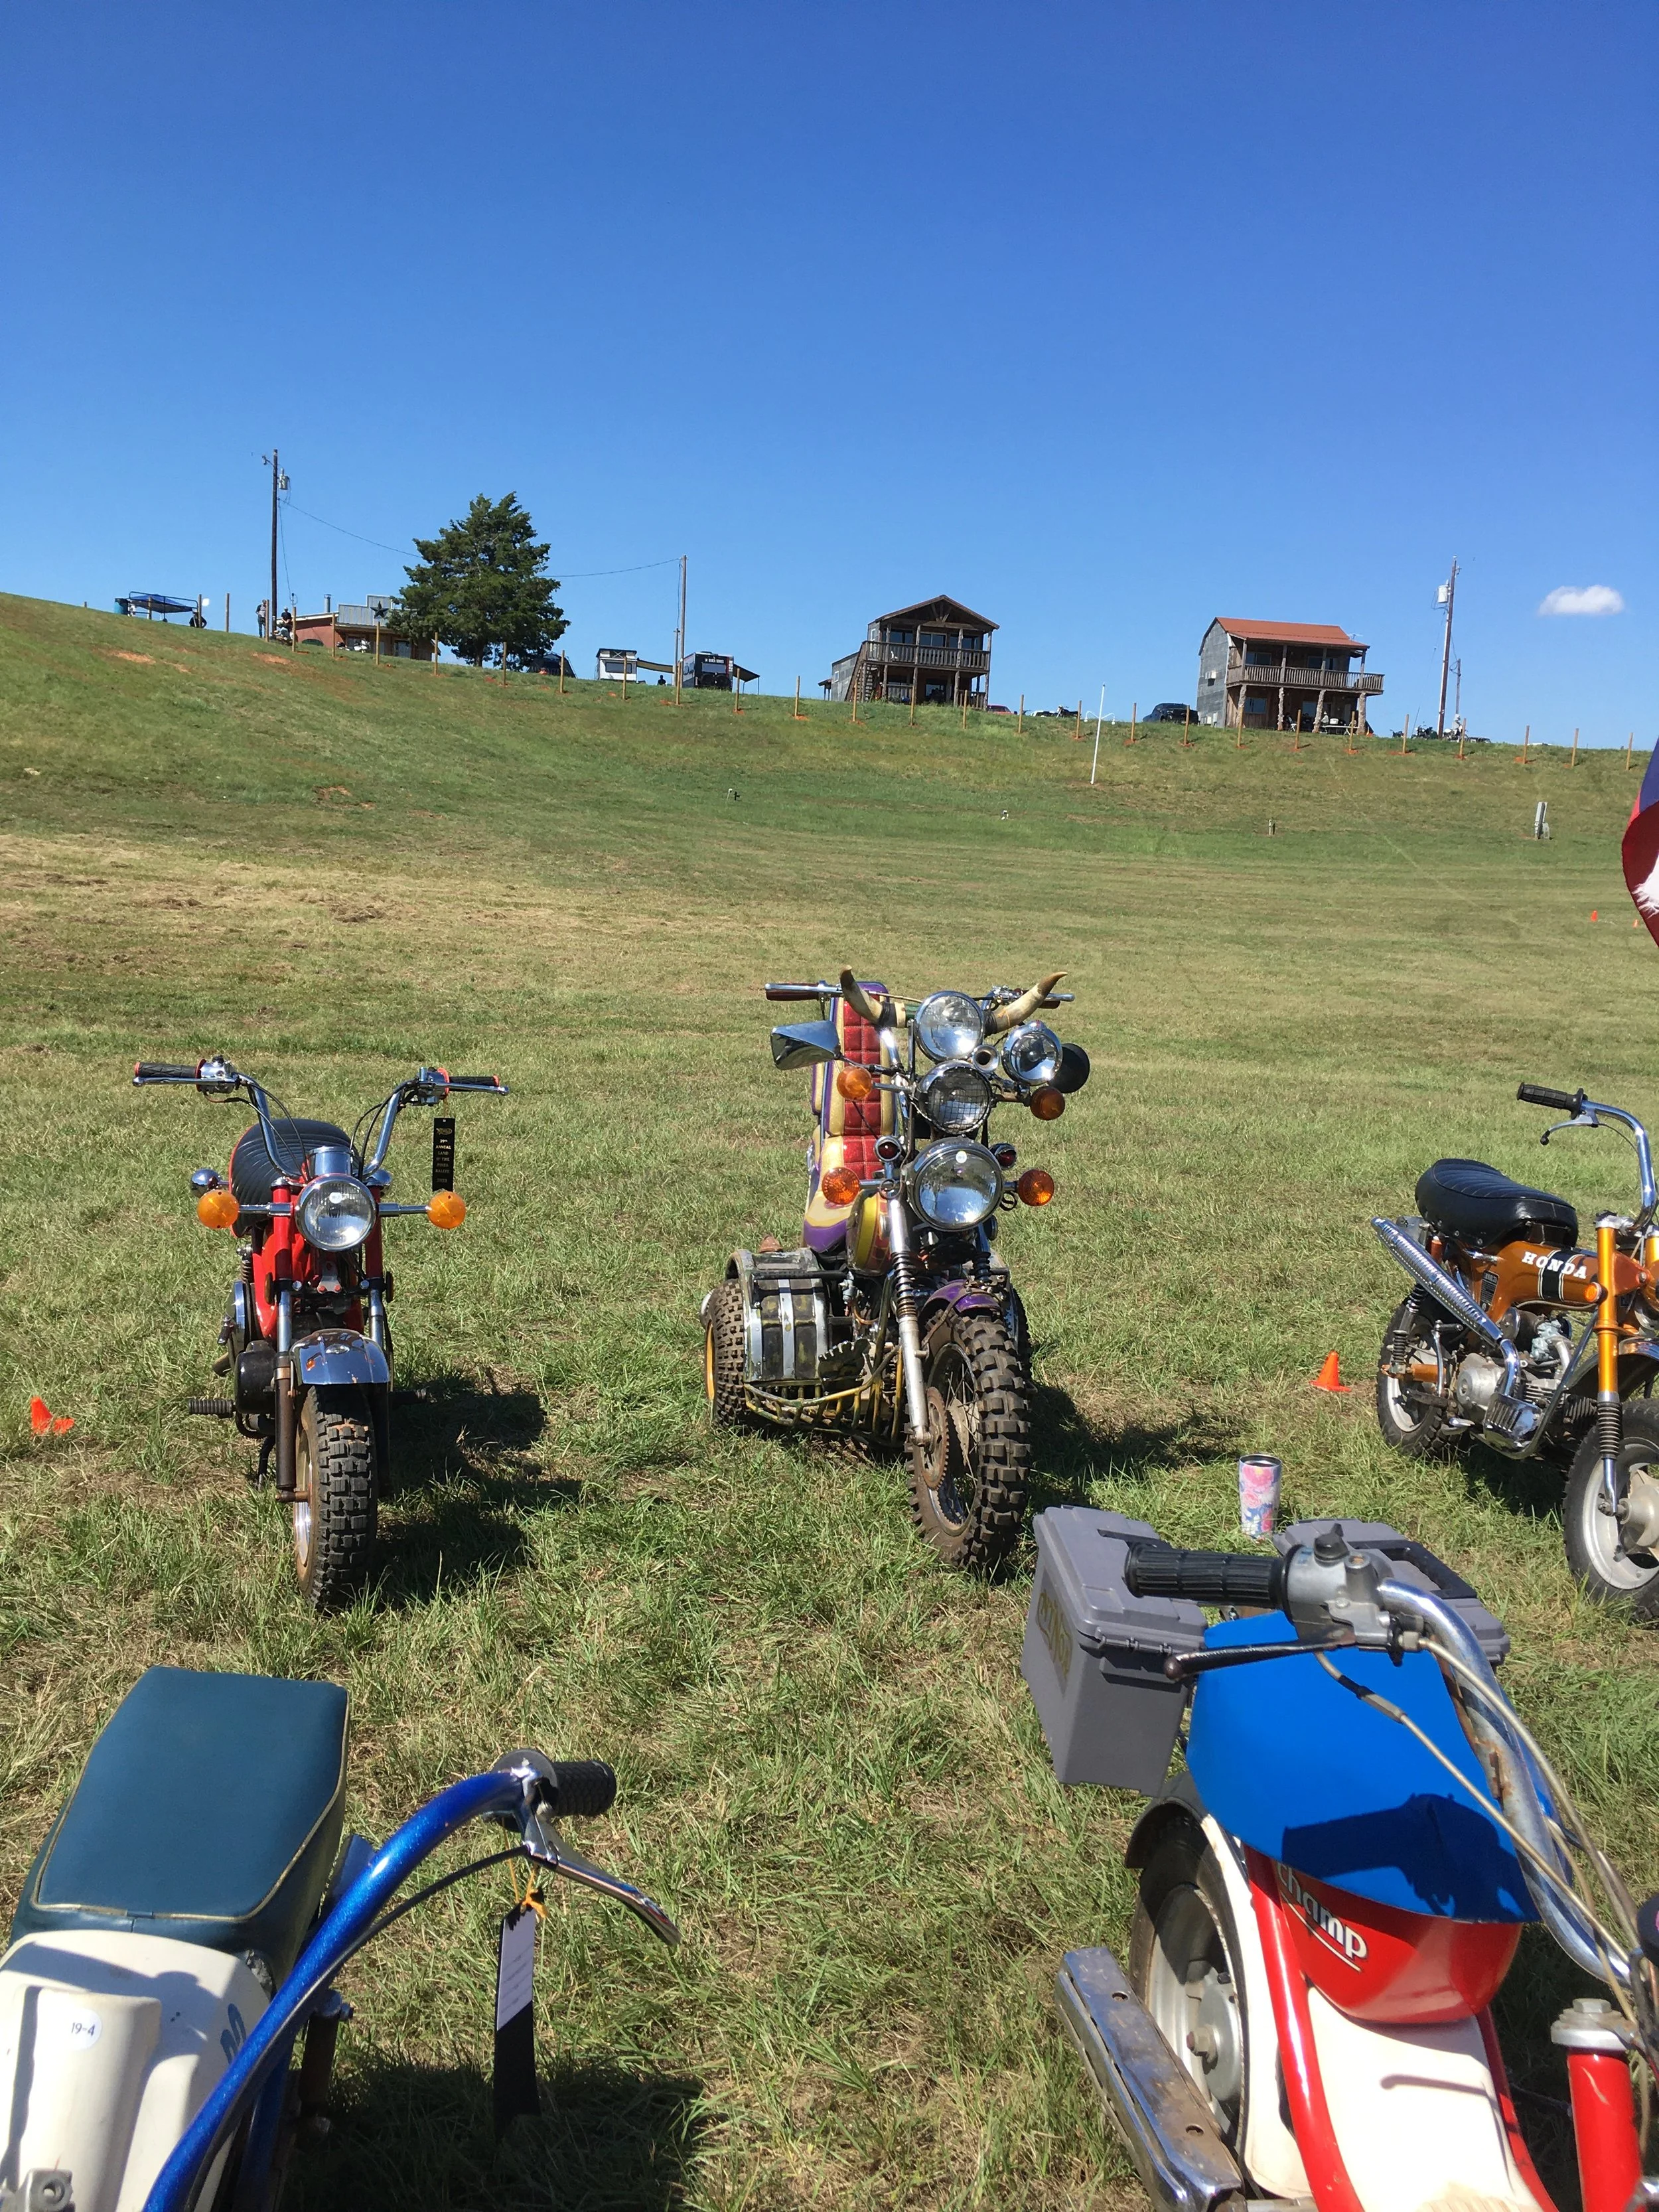
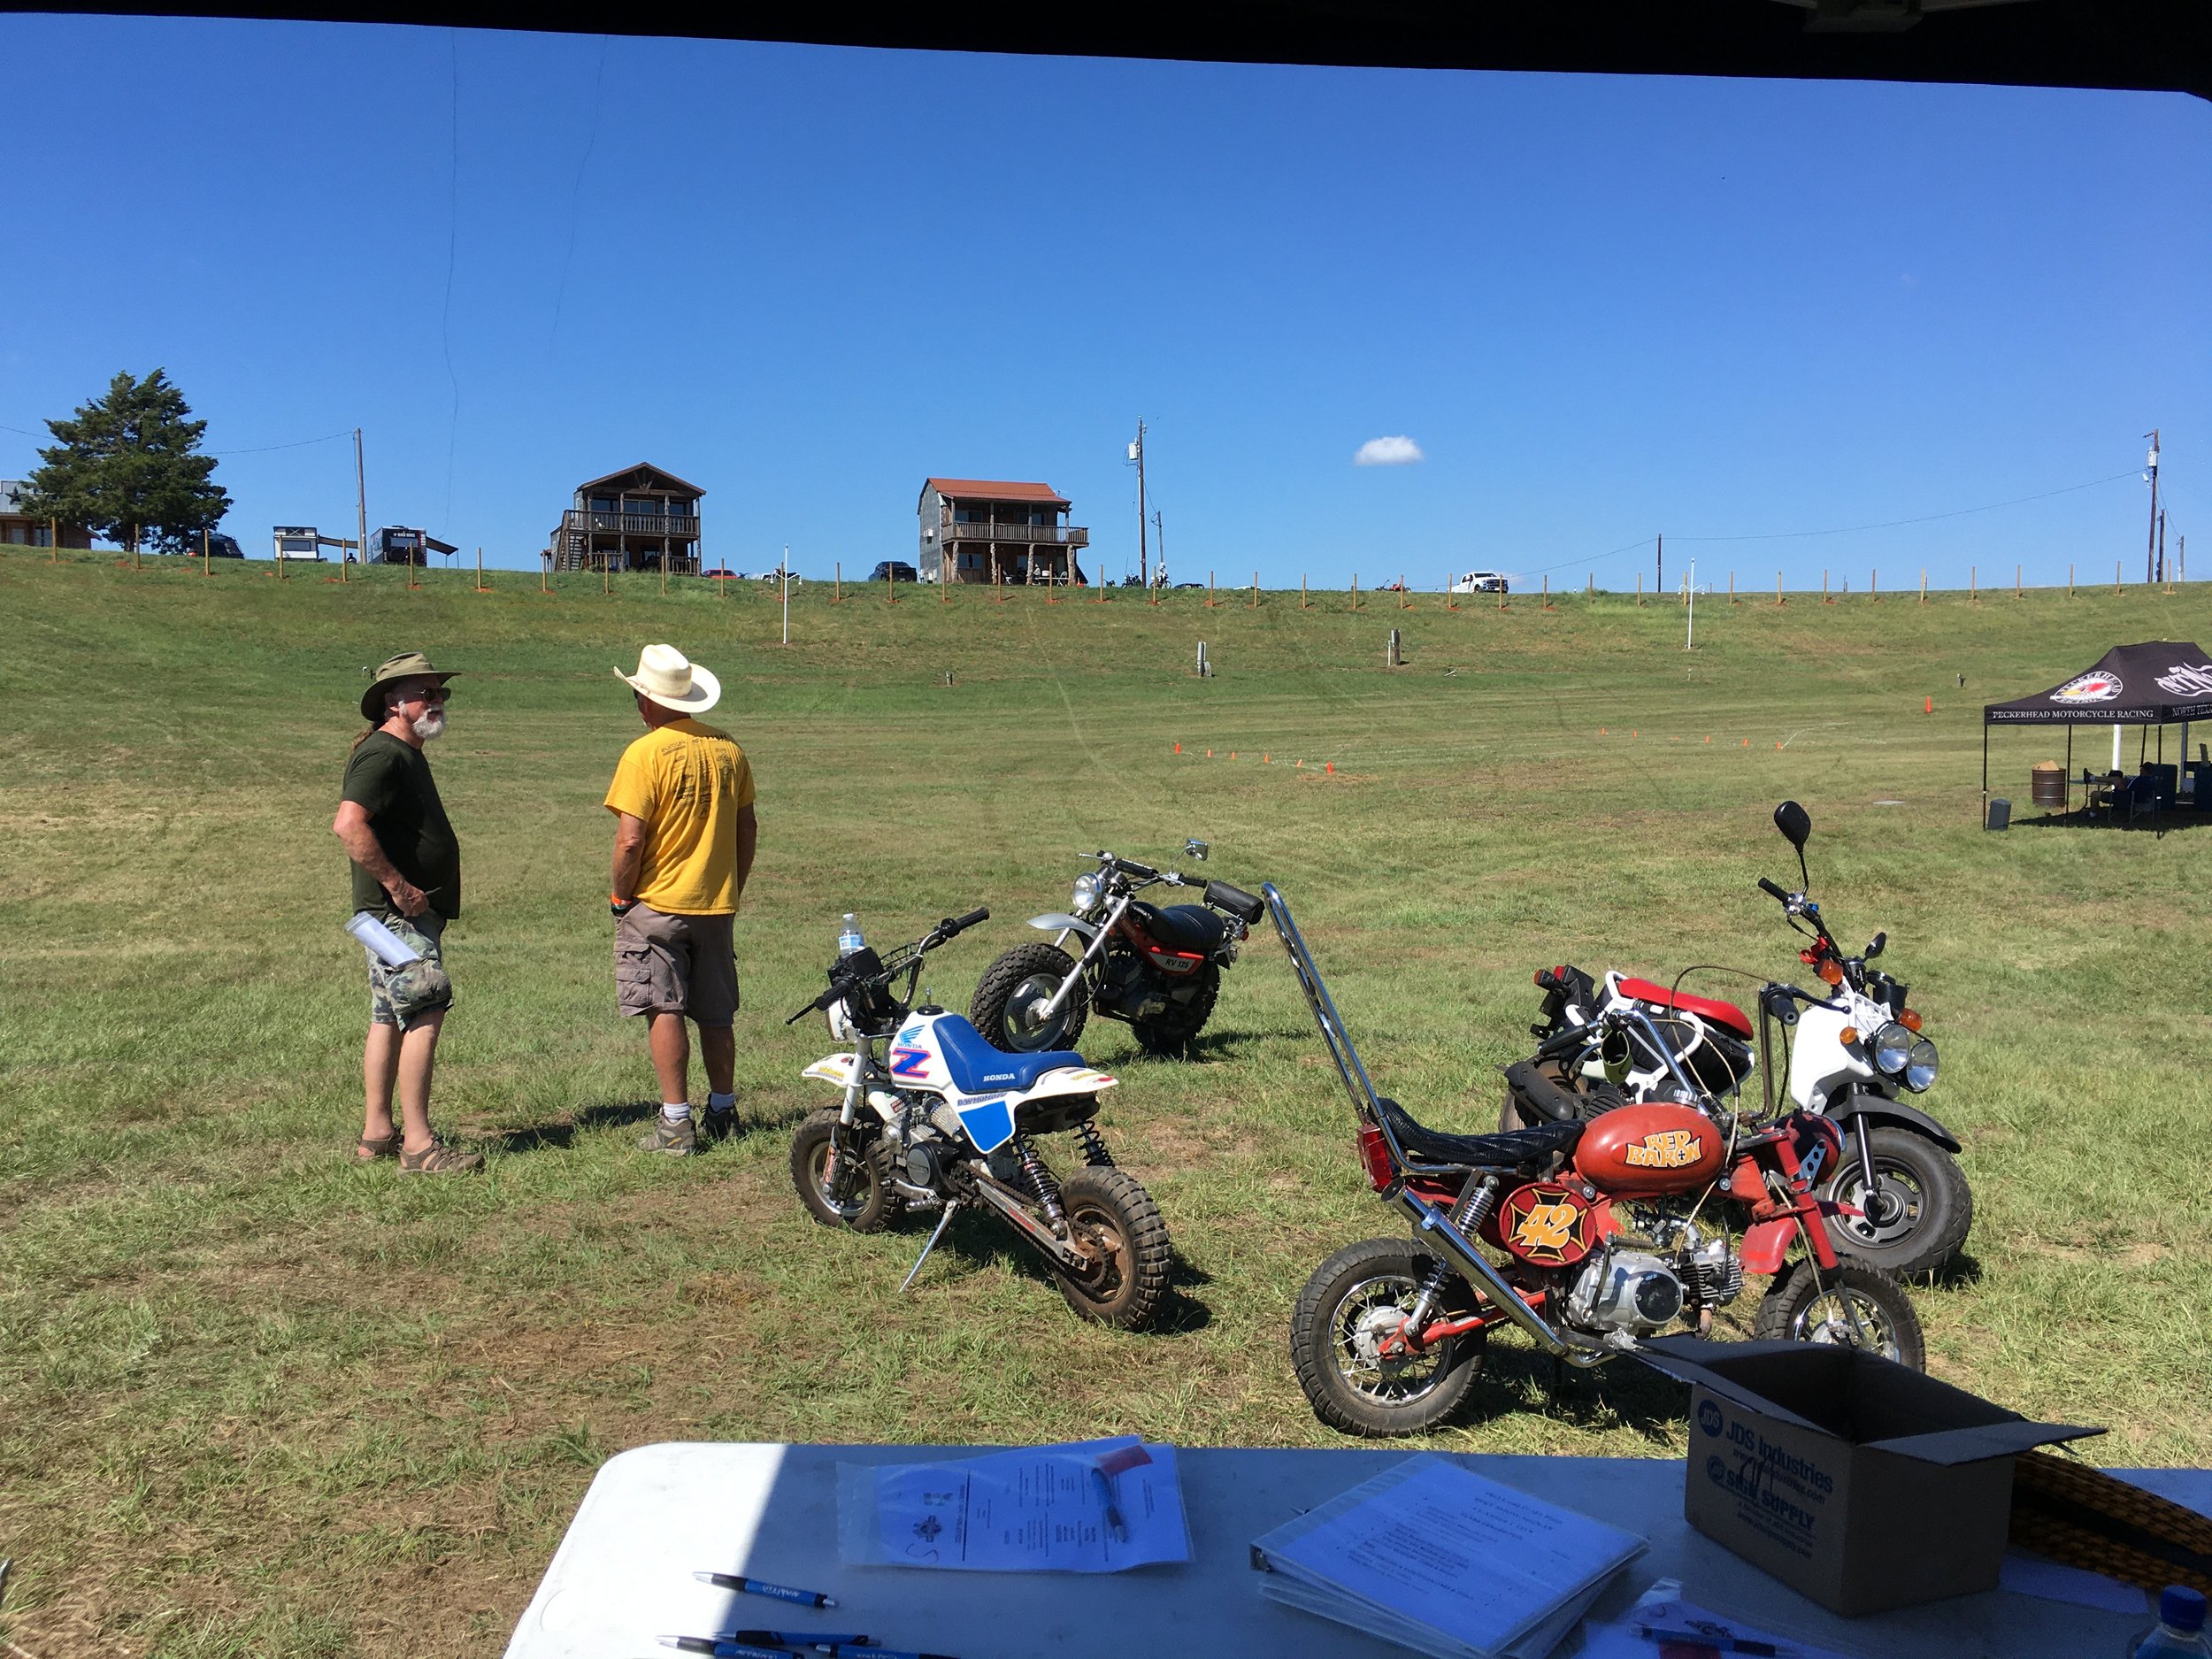
The Tijuana Trike took top honors in the Minibike class. For a club dedicated to Norton Motorcycles, we have a plethora of minibikes showing up for our meet. The bike show was held down near the main stage in a huge grassy bowl, with the cabins and restaurant on the edges of the upper rim.
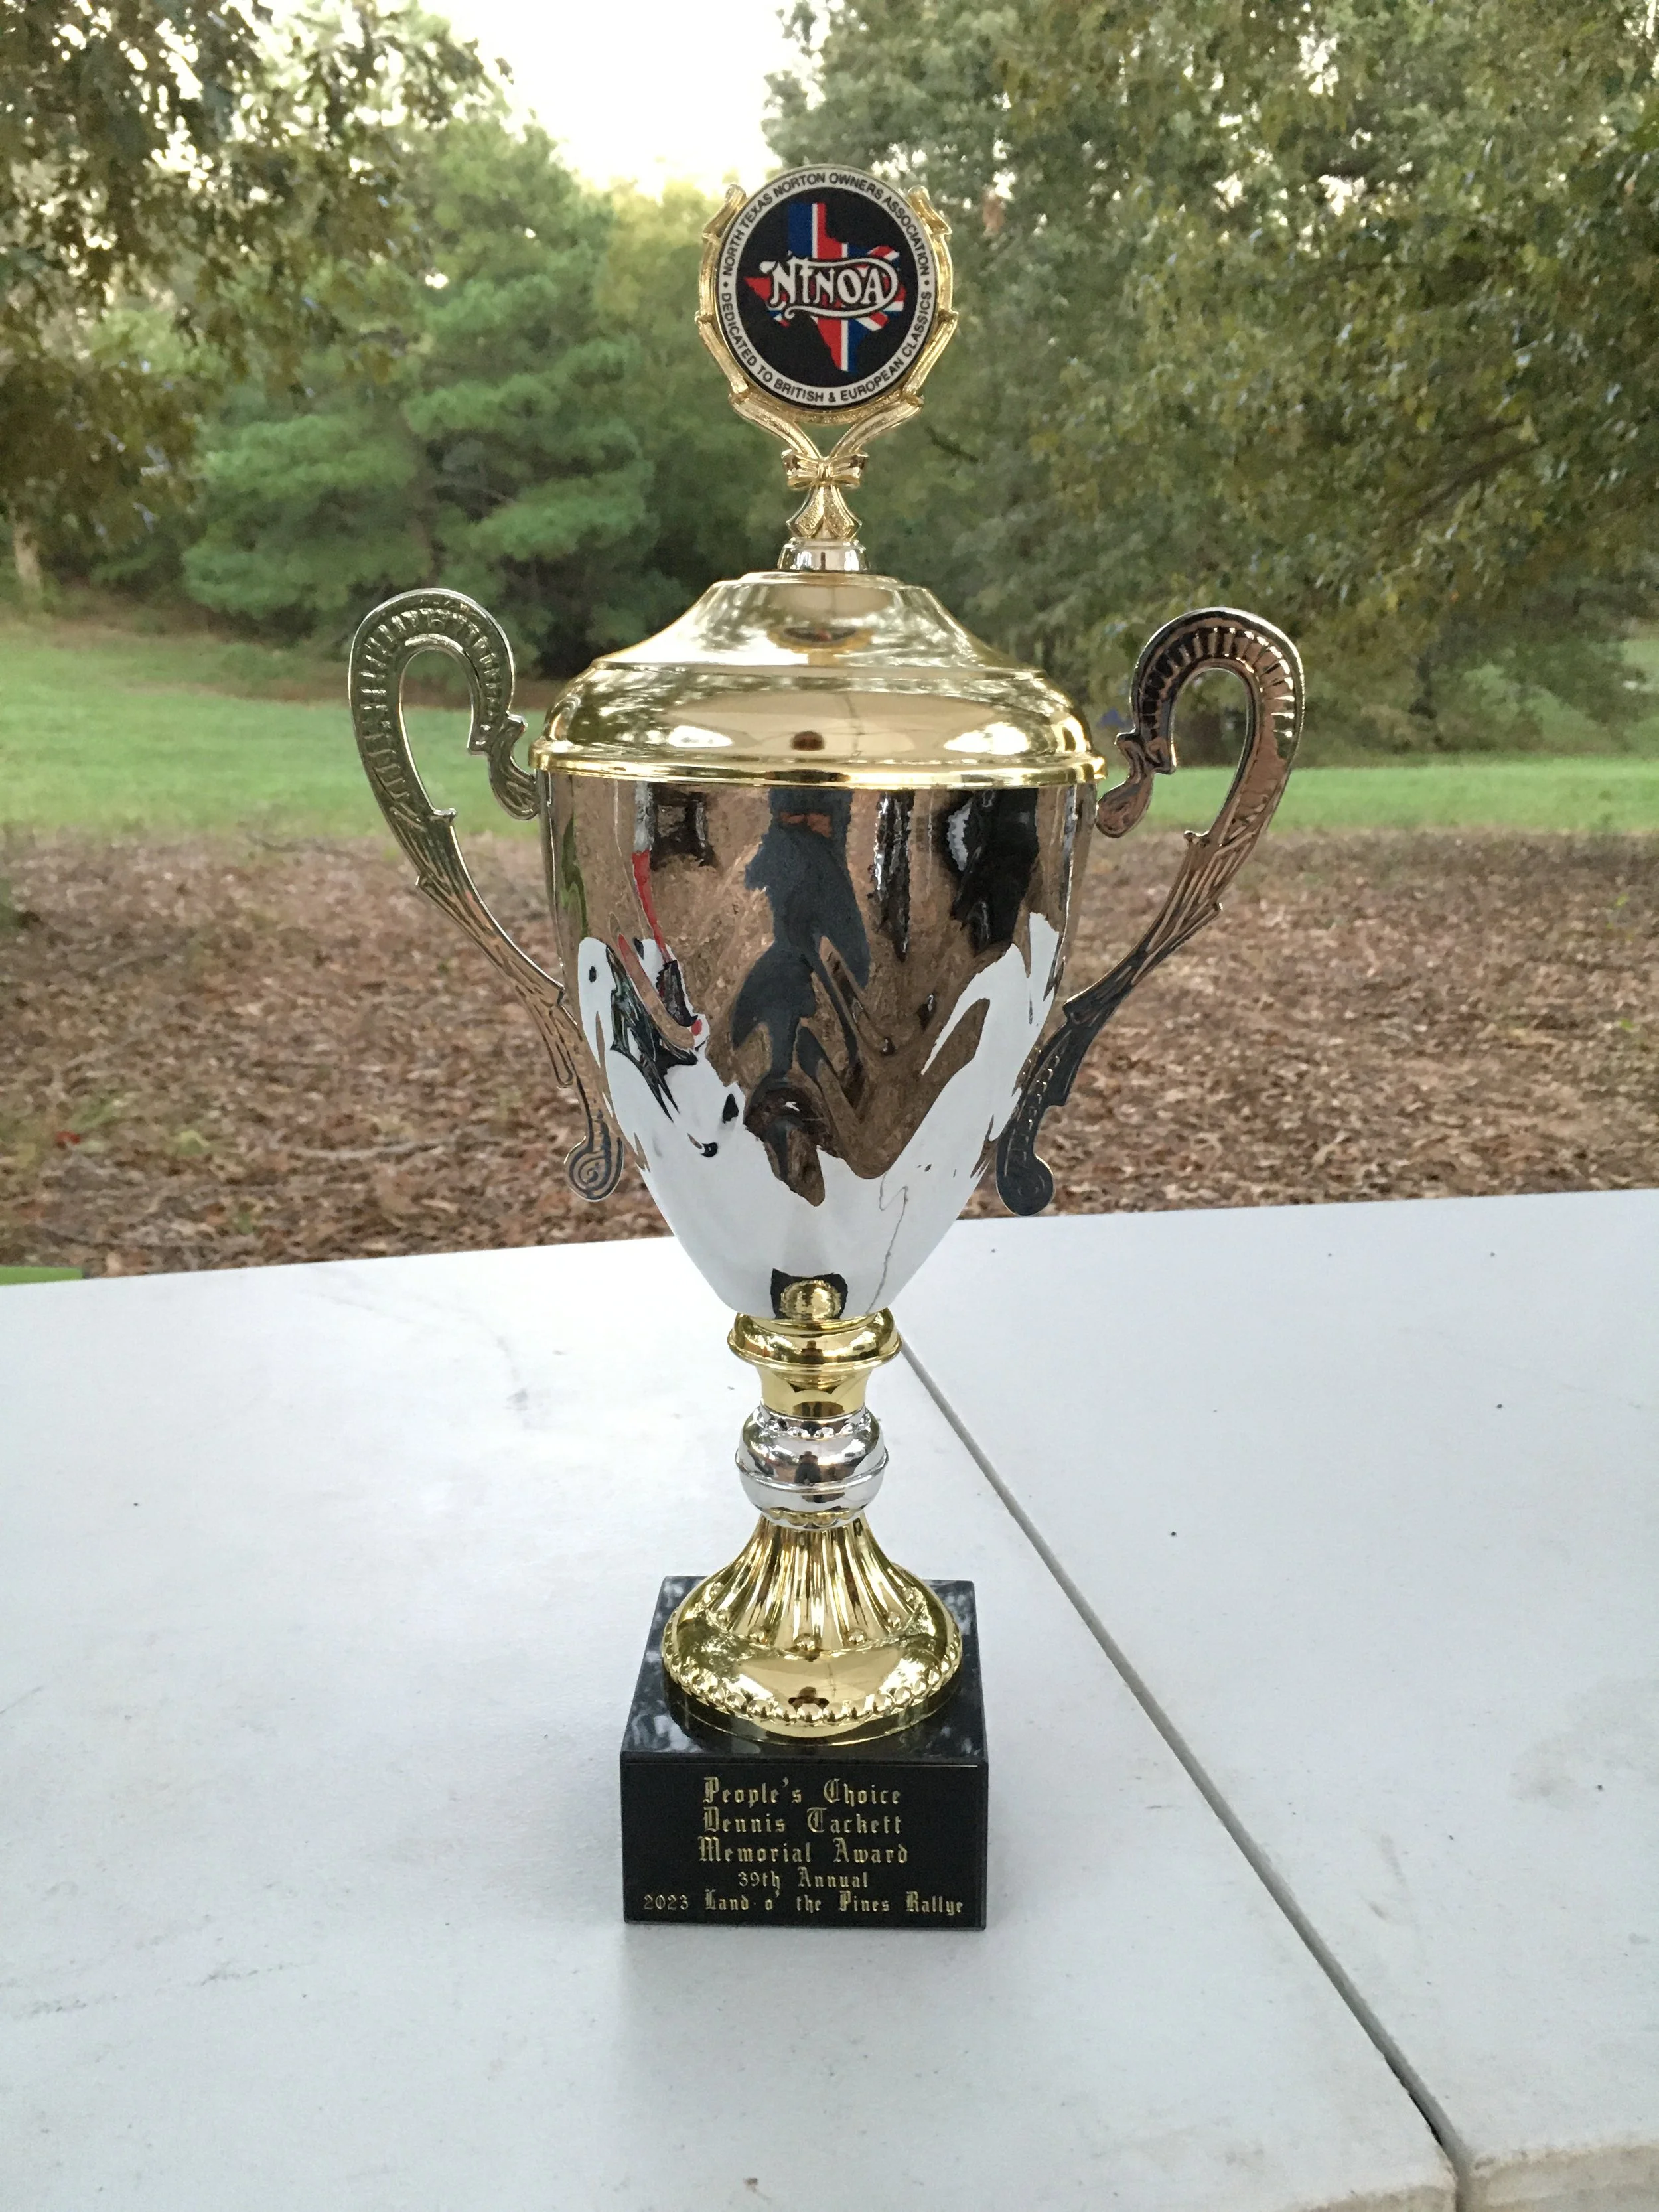
…And the biggest surprise to me was the Peoples Choice Prize, awarded to the 1967 Mountain Cub. The trike winning would have surprised me less. I was honored to receive it, especially given the quality of entrants. Perhaps the small, light nature of the bike is what people find appealing, but whatever the reason, thanks to everyone who voted for it.

In the field events, the trike bent the rules slightly, as the requirement for eligibility in the slow race was “anything on two wheels.” We took the gold medal on this one, but it was based more on pity than performance.

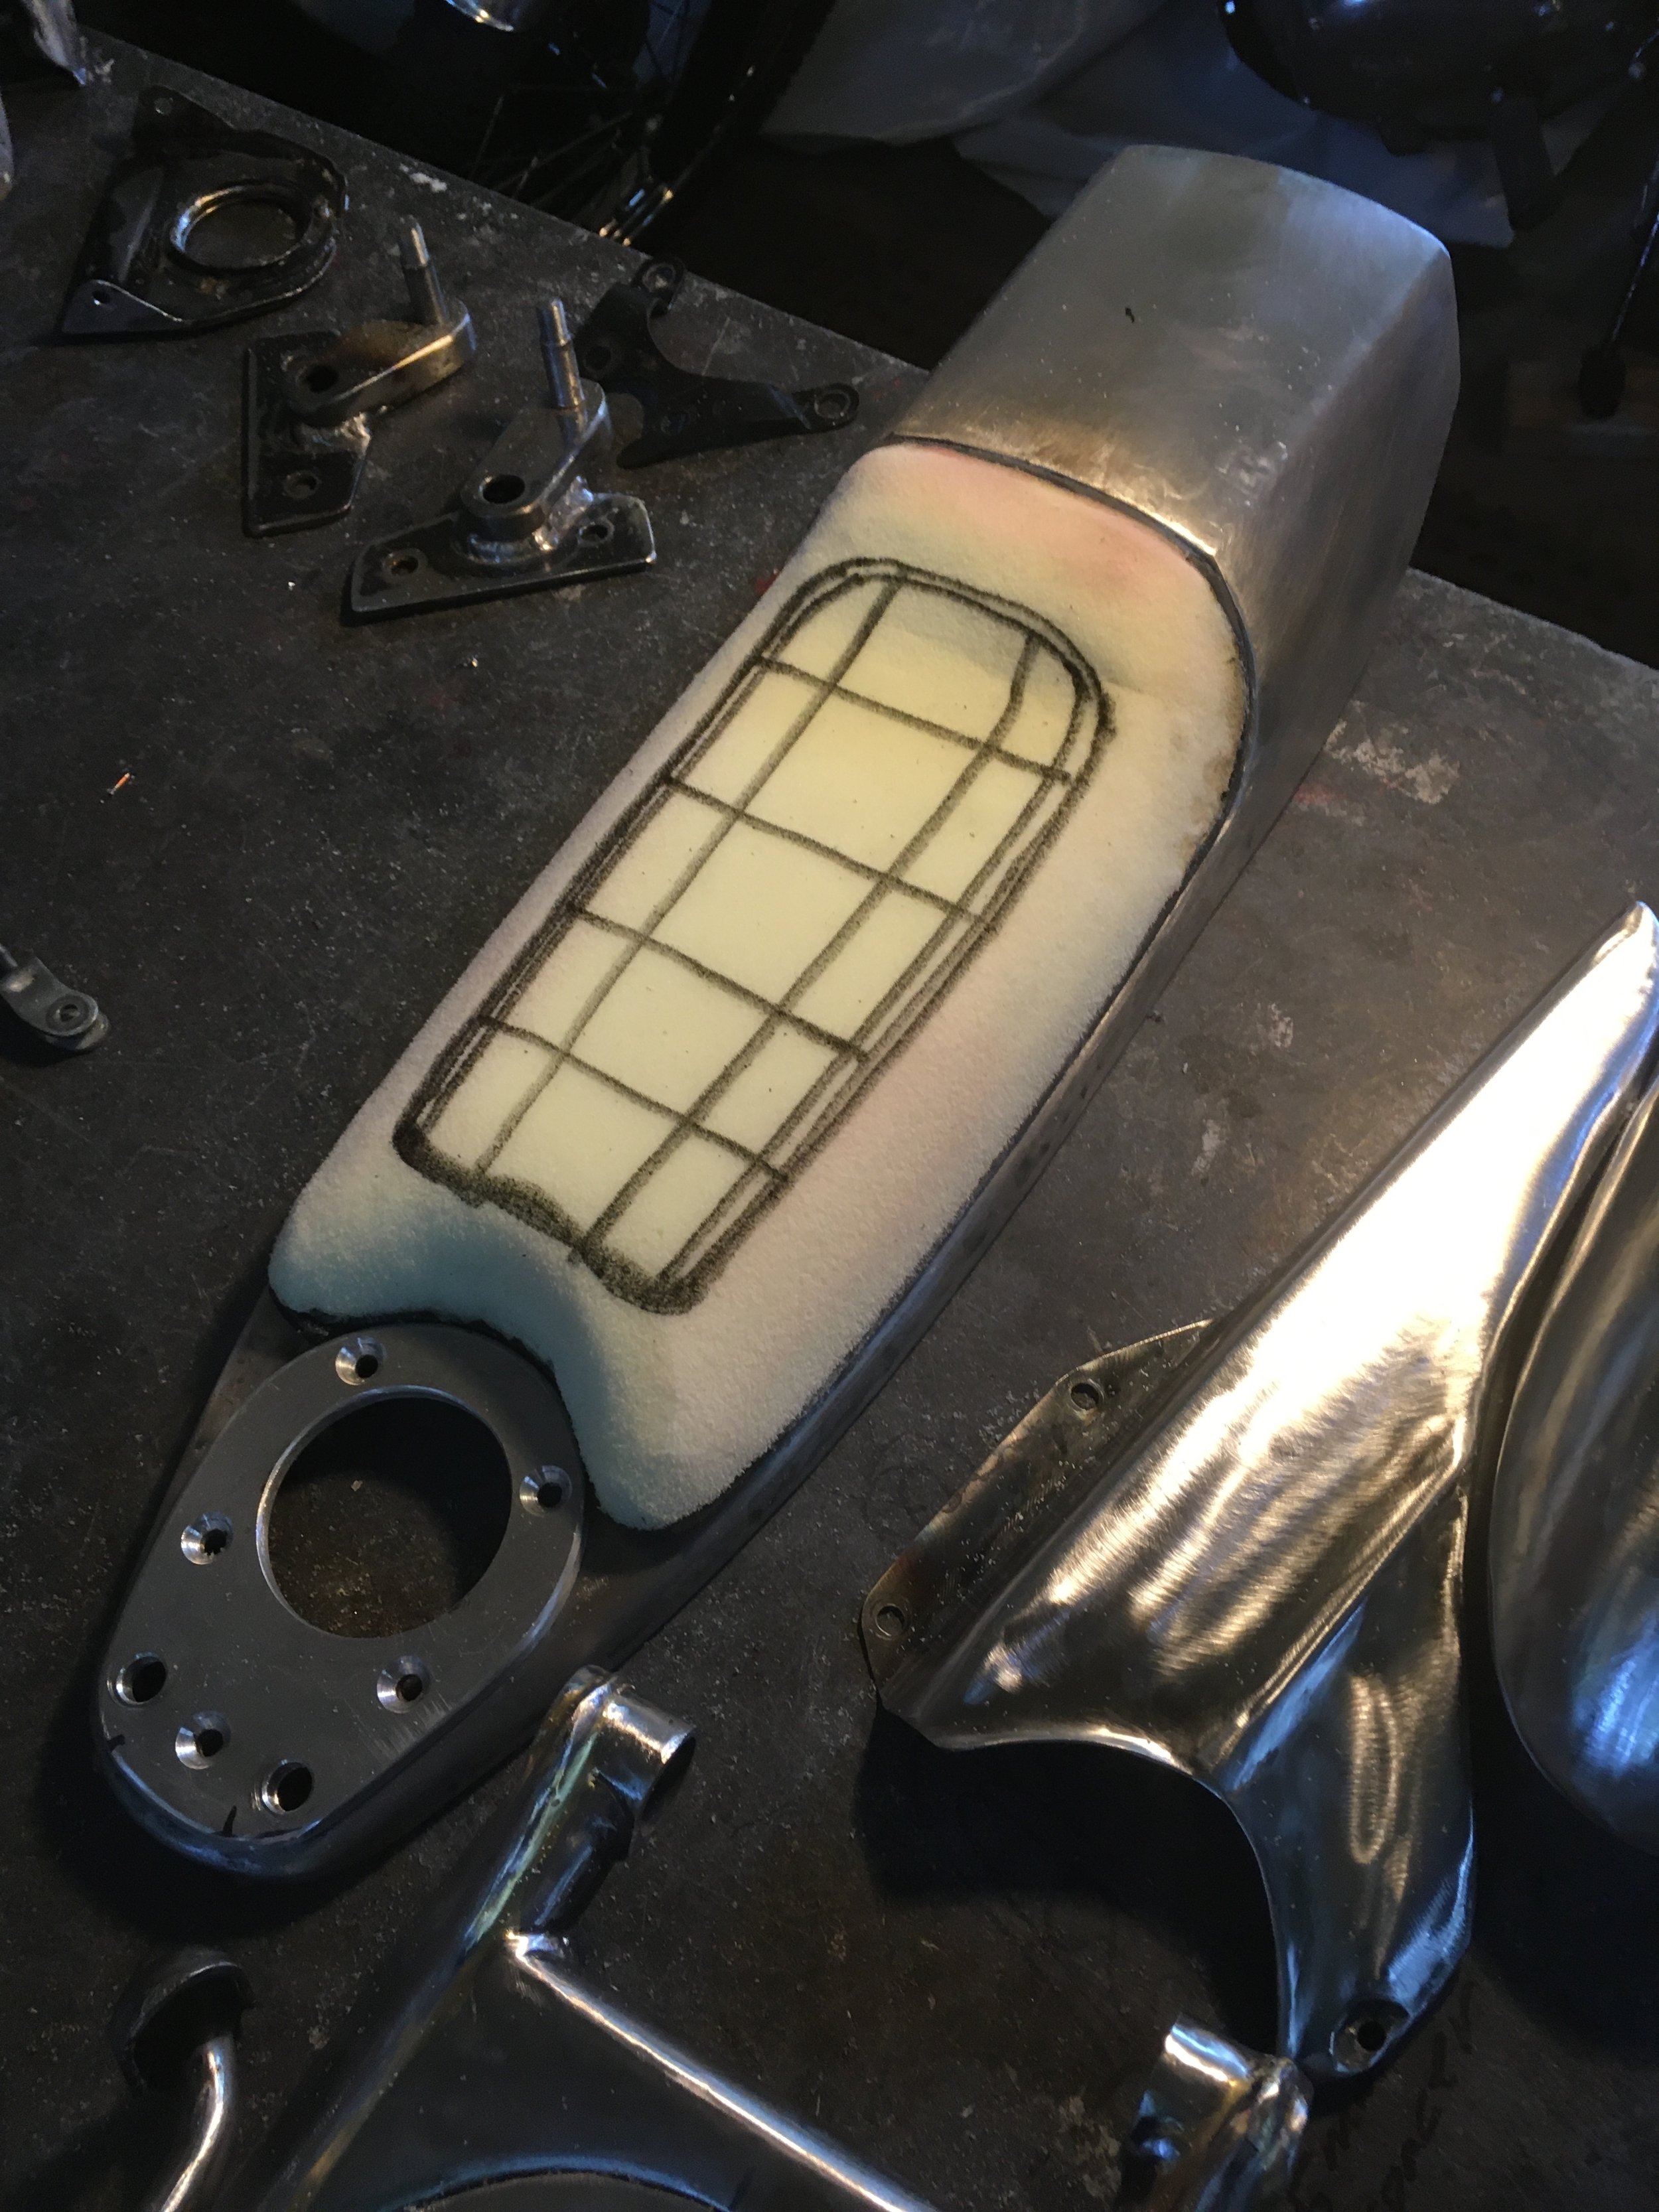
One of the last details done on the Cub before the show was the seat logo stenciling on the back. My buddy, Mobtown Mike Smith’s custom seat cover was well appreciated, keeping some of the vintage British vibe with the color scheme of the original seat.

The famous pinstriper, Alton Gillespie, was camped next to me in the trees, on the road I dubbed “introvert’s lane” (by next to me, I mean a good thirty feet apart.) Alton is an old friend, and laid down the missing stars on the red, white and blue panel of the trike. My intention was always to place stars in this space, just didn’t think they would look as nice if I did them. When Alton offered Sunday morning, I delayed leaving for home by some hours, to take the rare opportunity. The job was cut short halfway into the process, by an emergency call to pick up a trailer and driver from his company with a dead truck turbo, stuck on the side of the road. Alton and I reconnected a few days later, and he finished the job.

The finished product is a real throw of the eye, making the stars appear to rise out of the background. Amazing work! This seat is another Mobtown Mike creation.
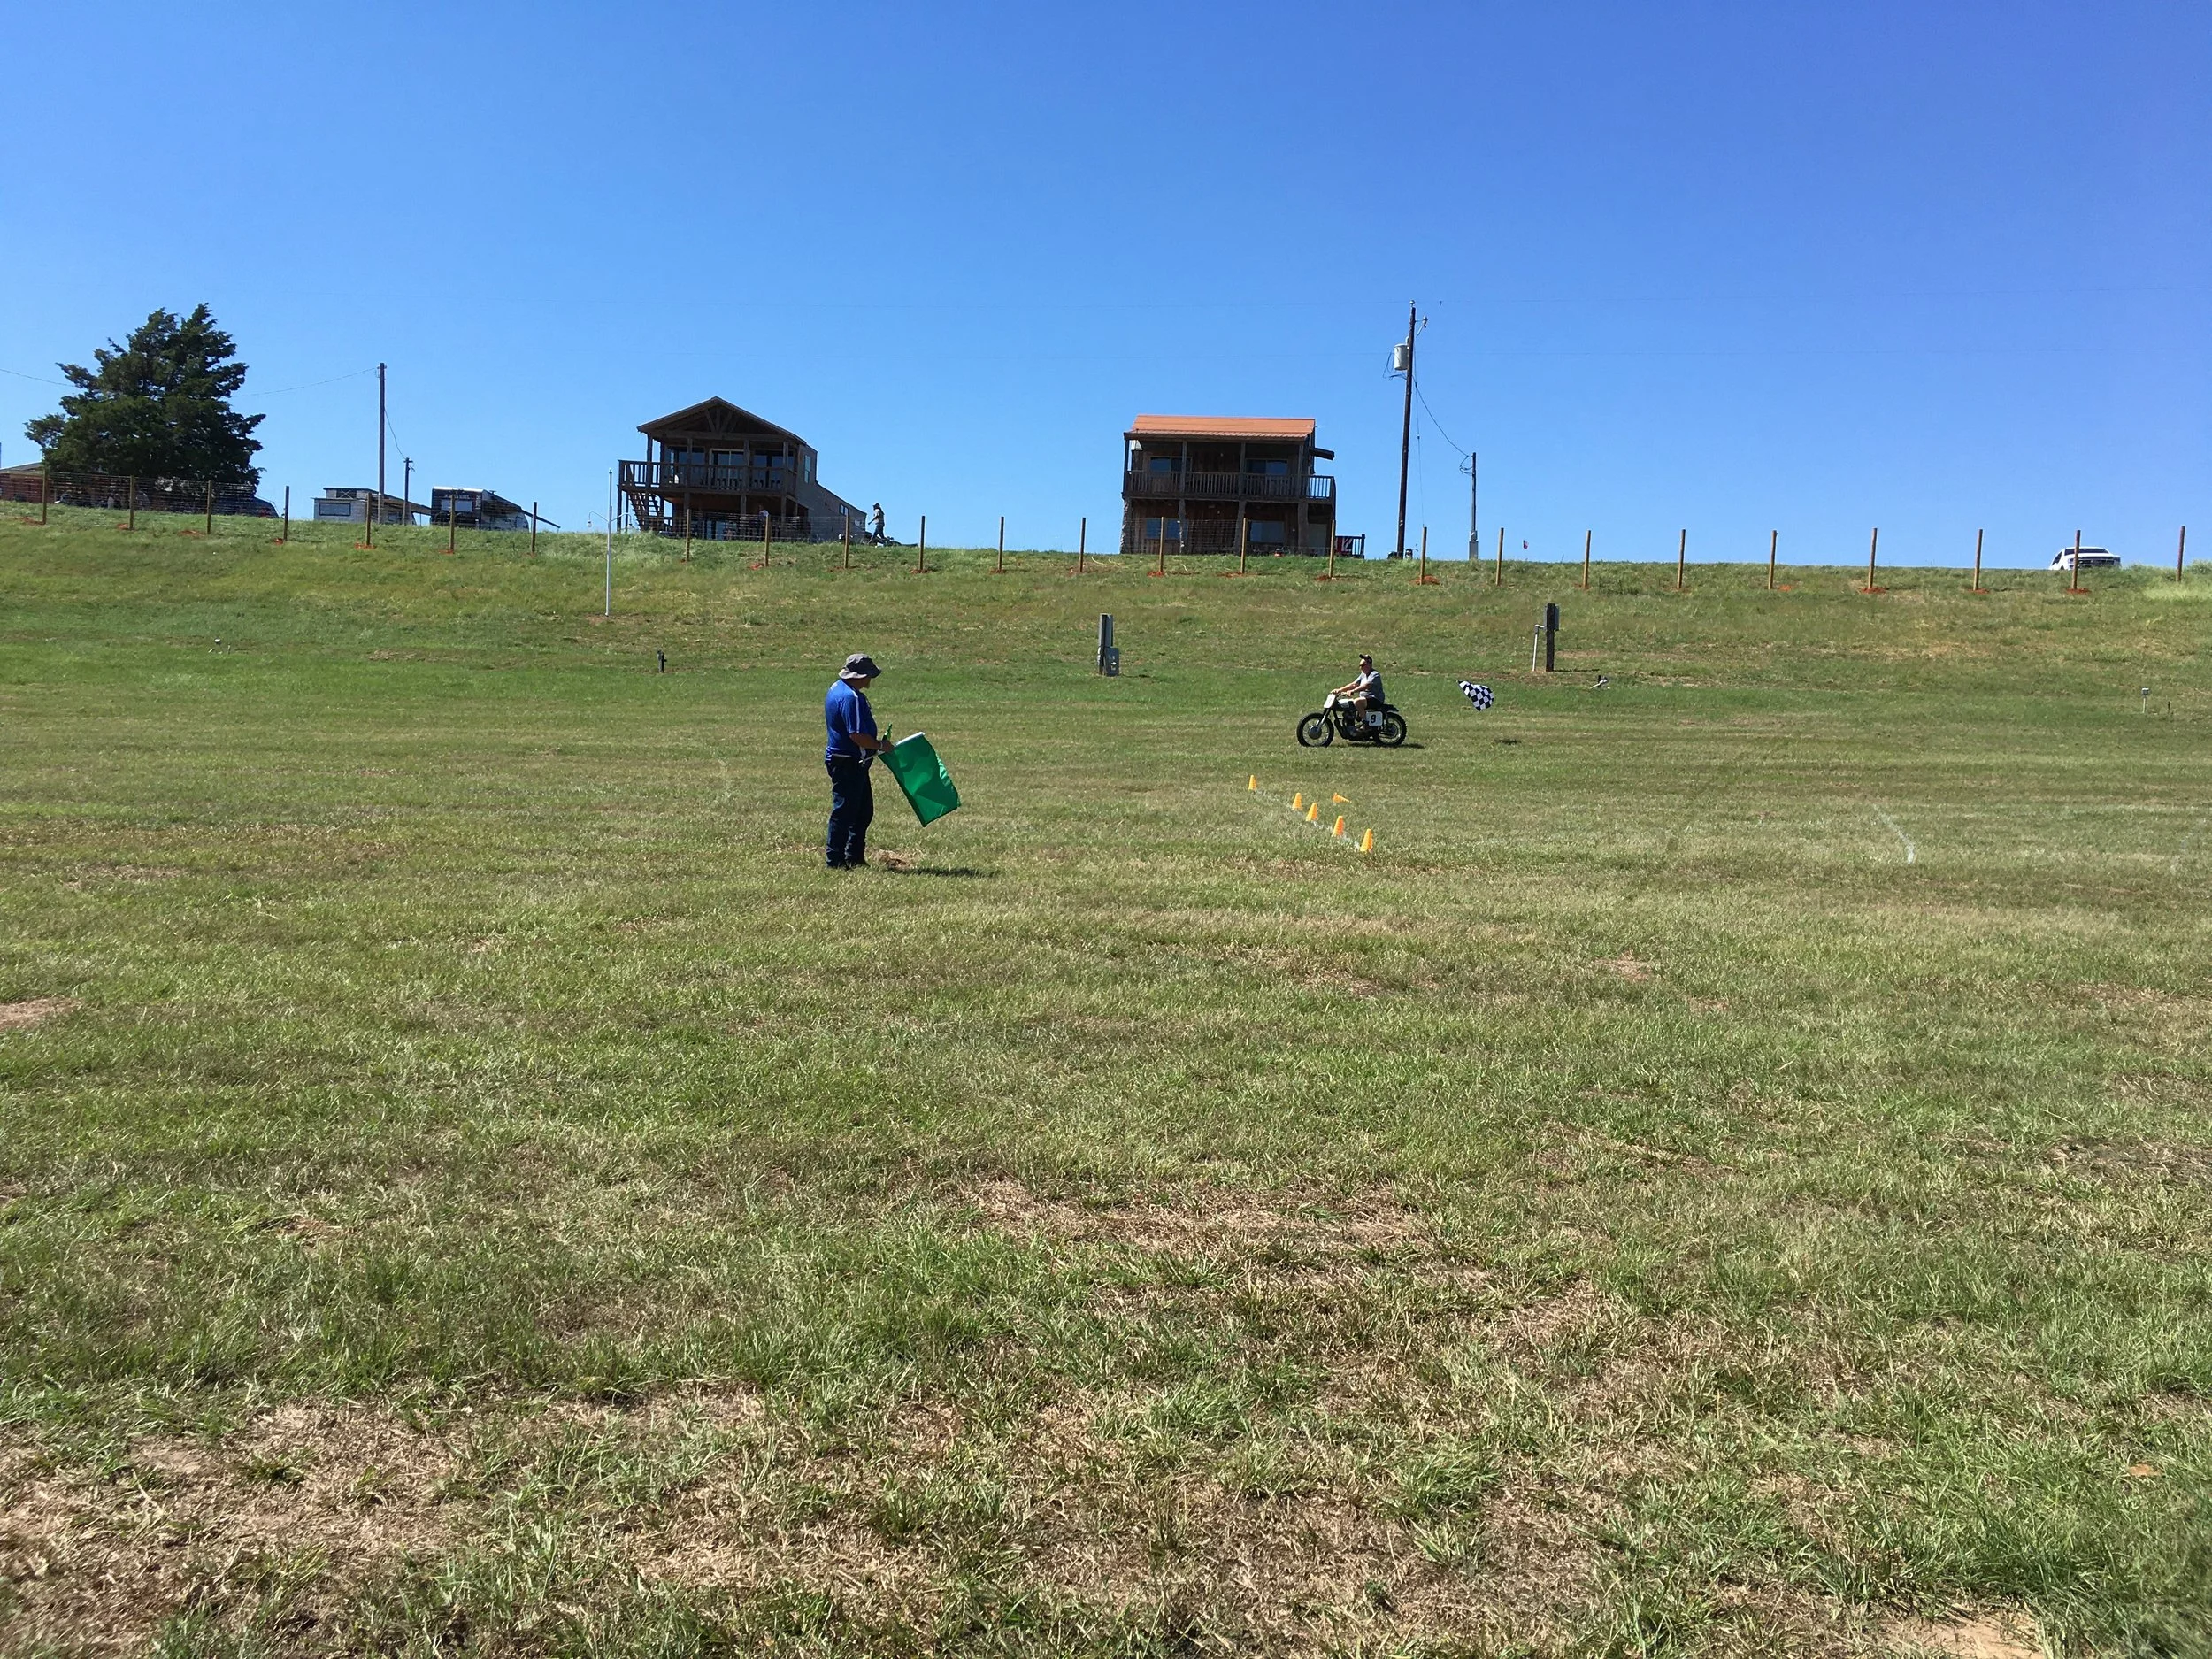
My buddy Chris, riding in the distance, letting loose of the checkered flag and his hat, on his victory lap following his drag race win.

Getting four bikes in the van was a new thing. So happy with the longer, larger space. This was the before picture. The van was even more full on return, with swap meet finds filling all the empty spaces.