An Airbox, Painted body parts, and getting the engine started on the 1955 Norton Norsaki project

Just when you think you are getting close to the end of a build…Some of the details as I sort through an engine that was supposed to be ready to go, add a custom airbox, reassemble the painted bike, and get it all running.

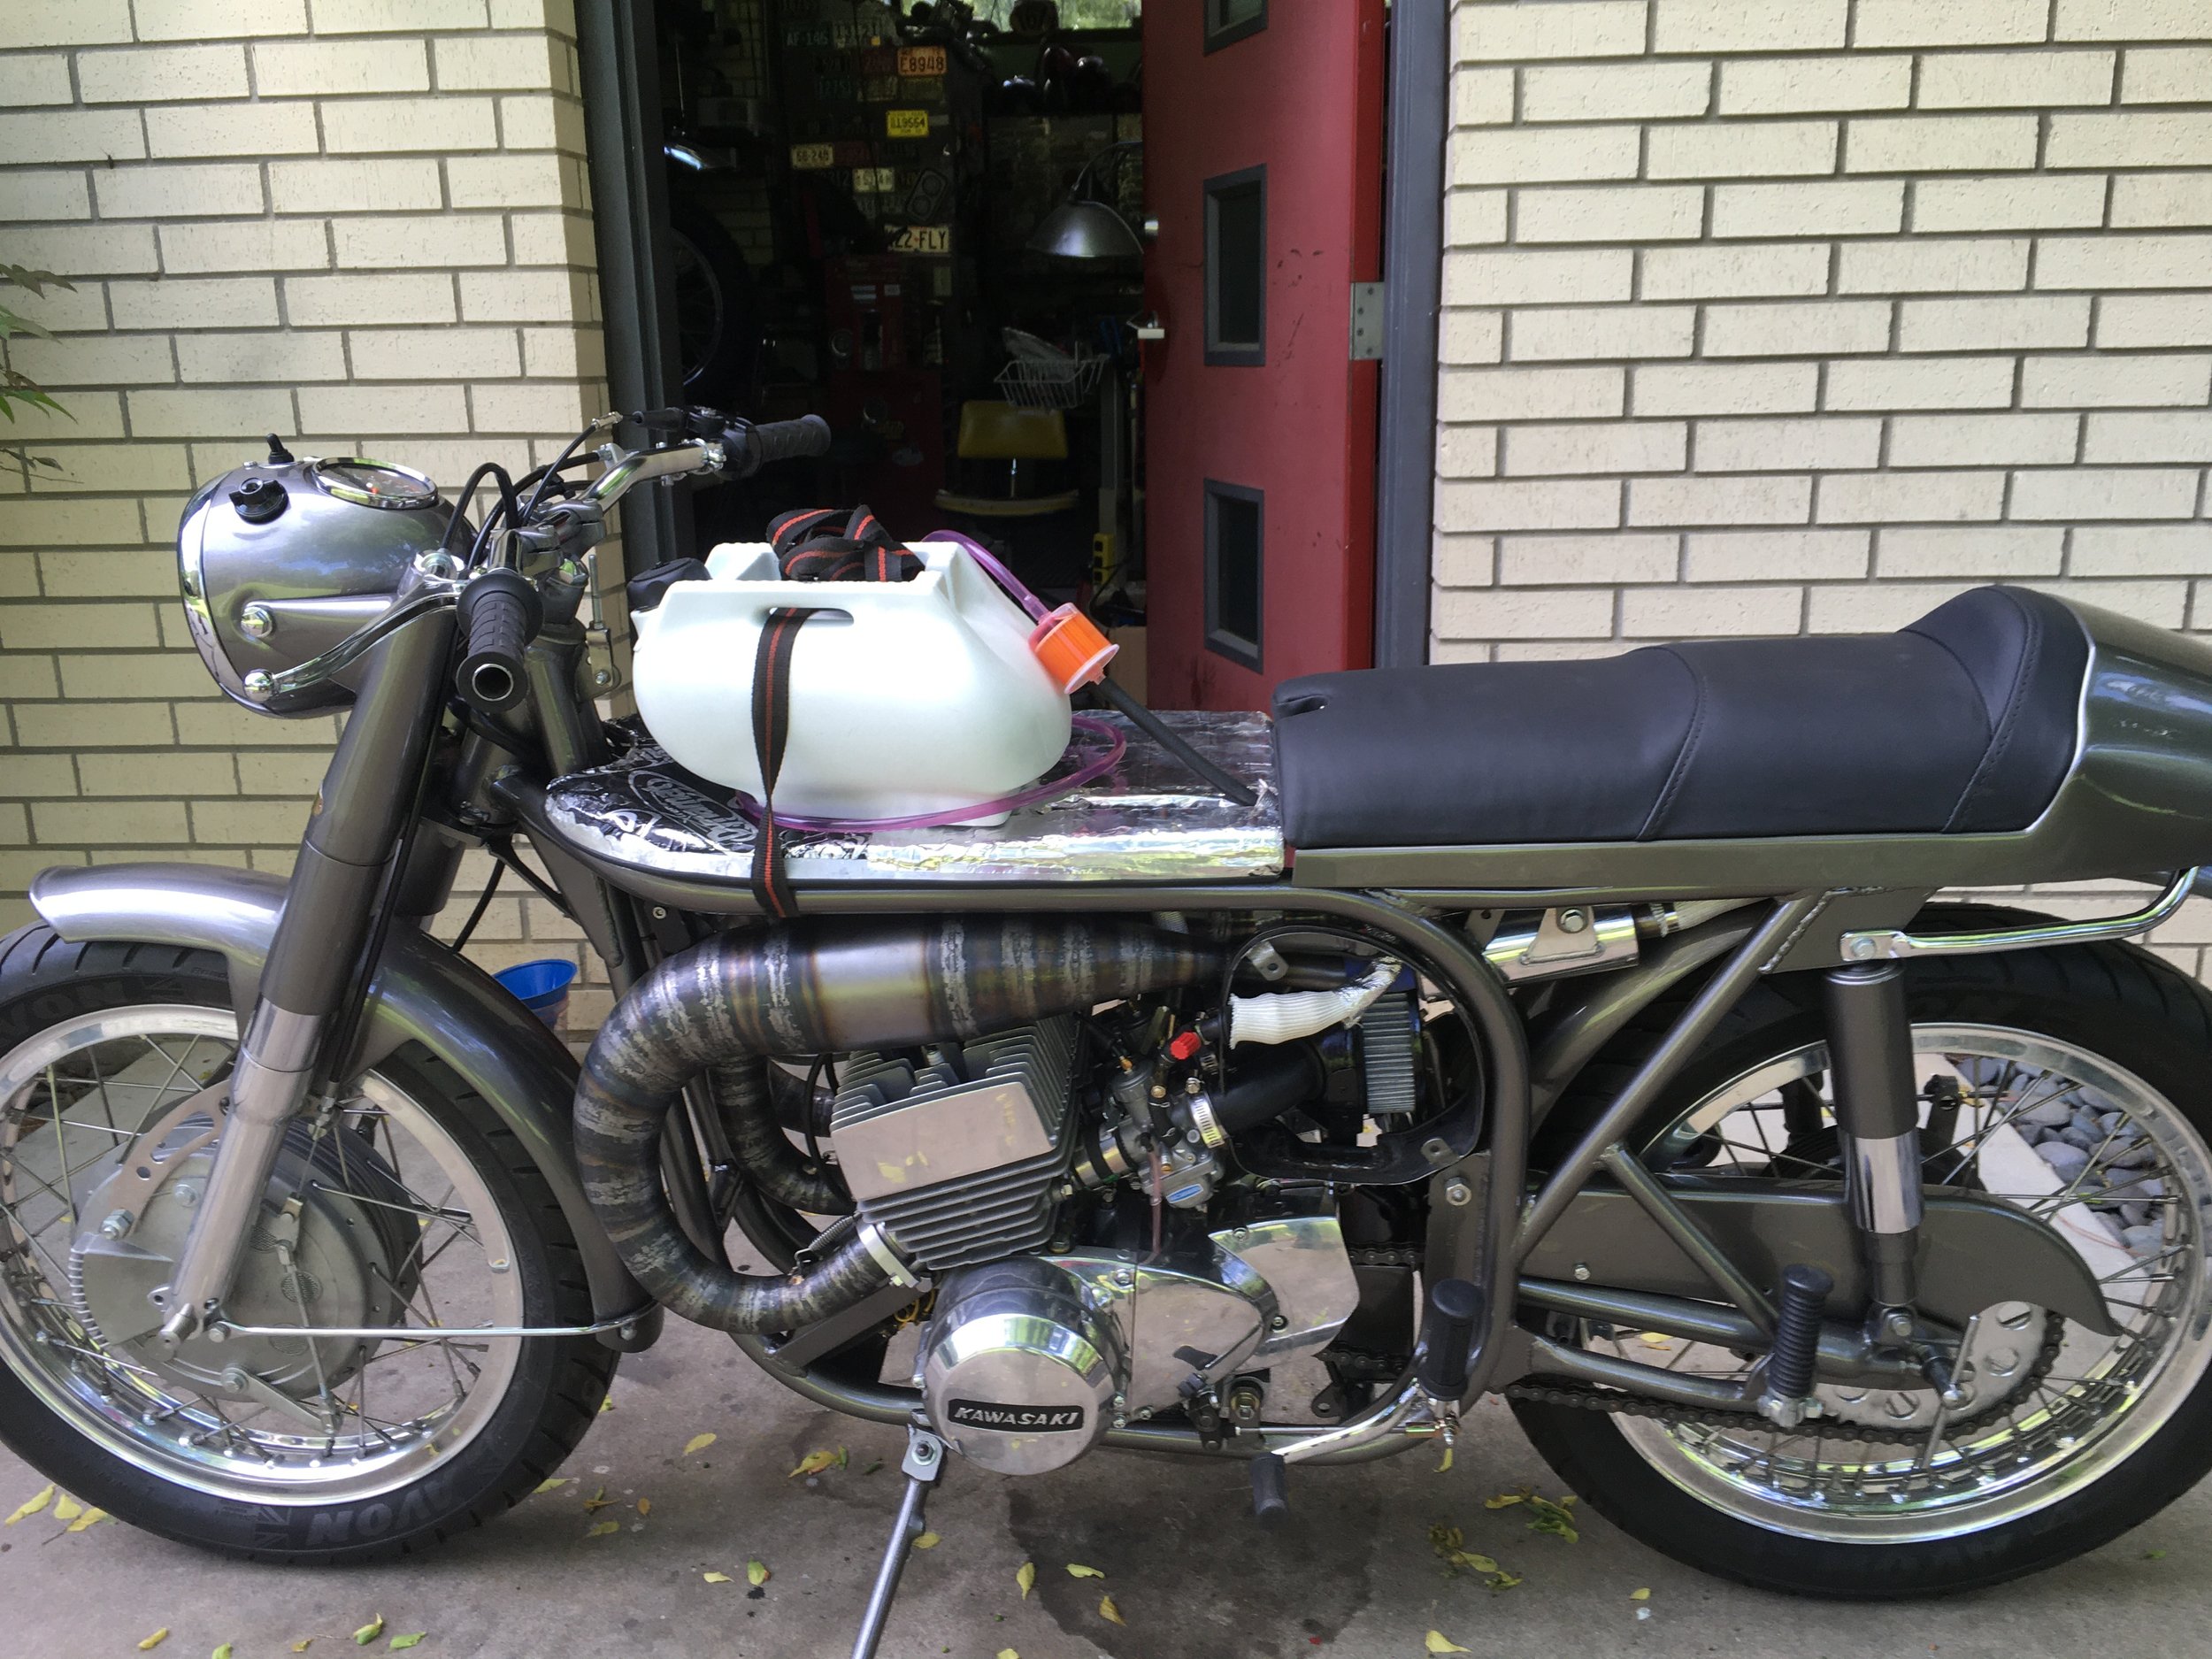
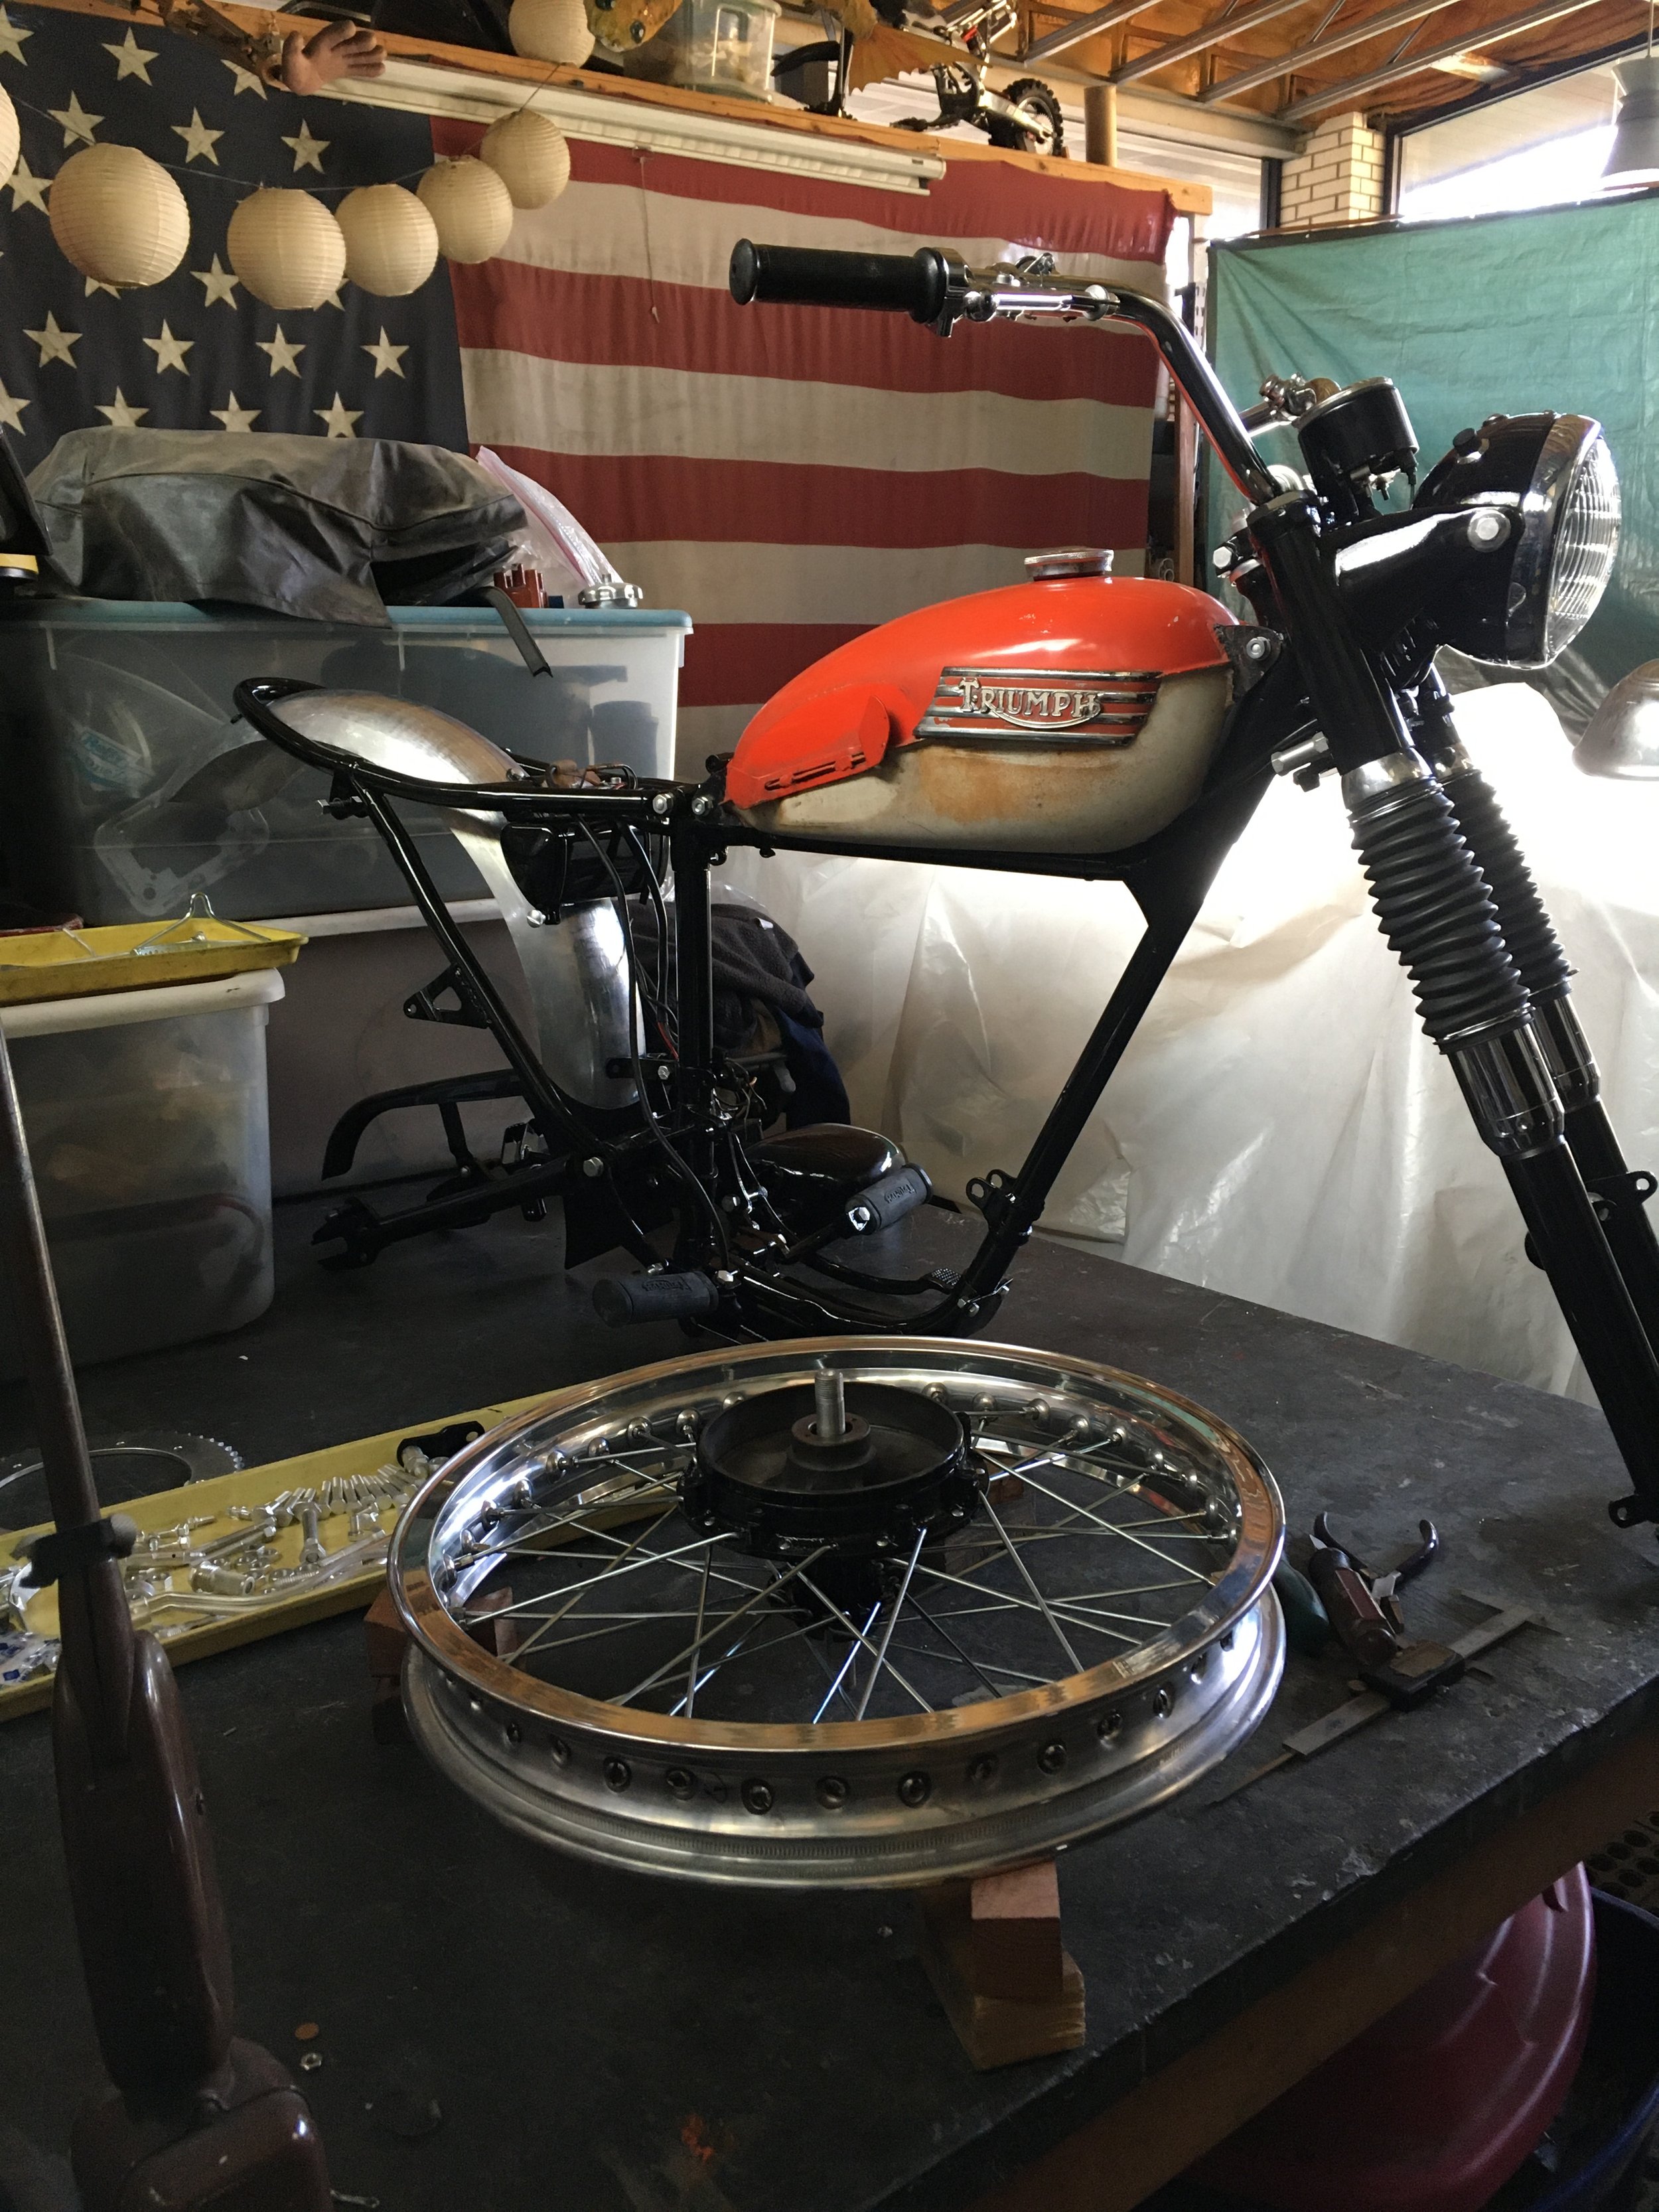
The test rig. A test tank because the pipes have to be removed a few times during the engine break-in. The naked airbox can be seen tucked in there. Once the engine is tuned, and the outer airbox painted and mounted, It will be finished.

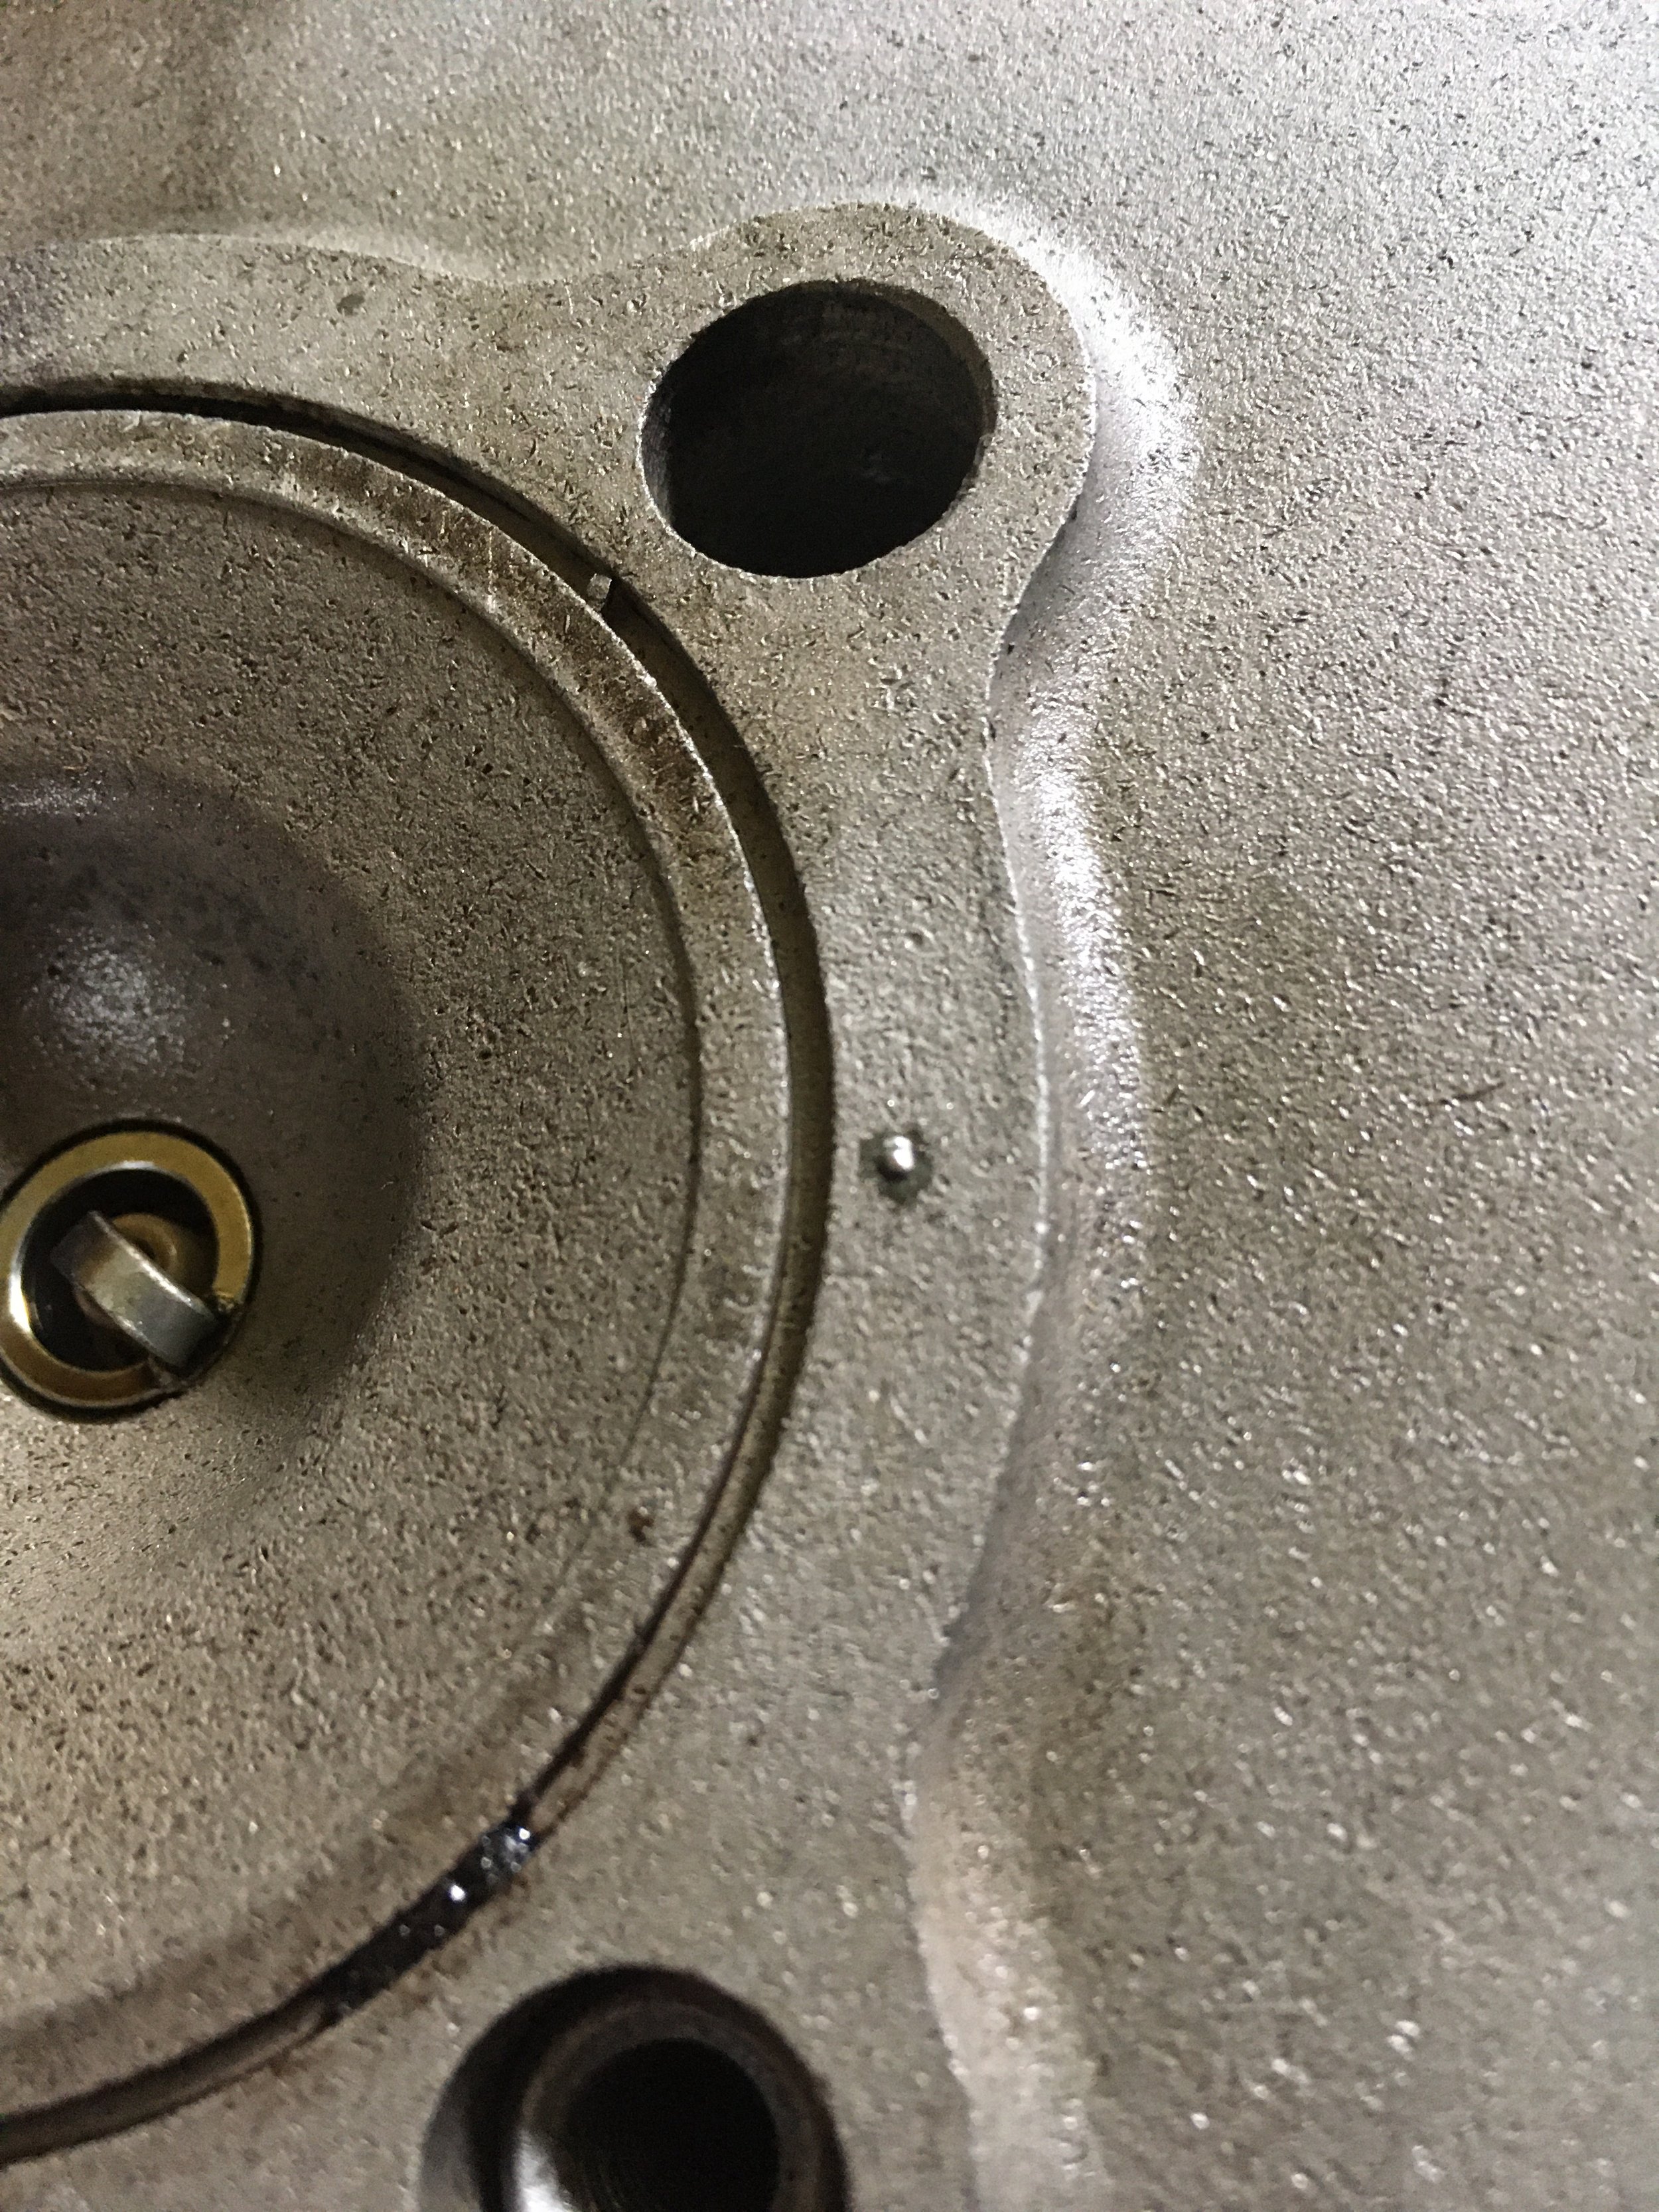
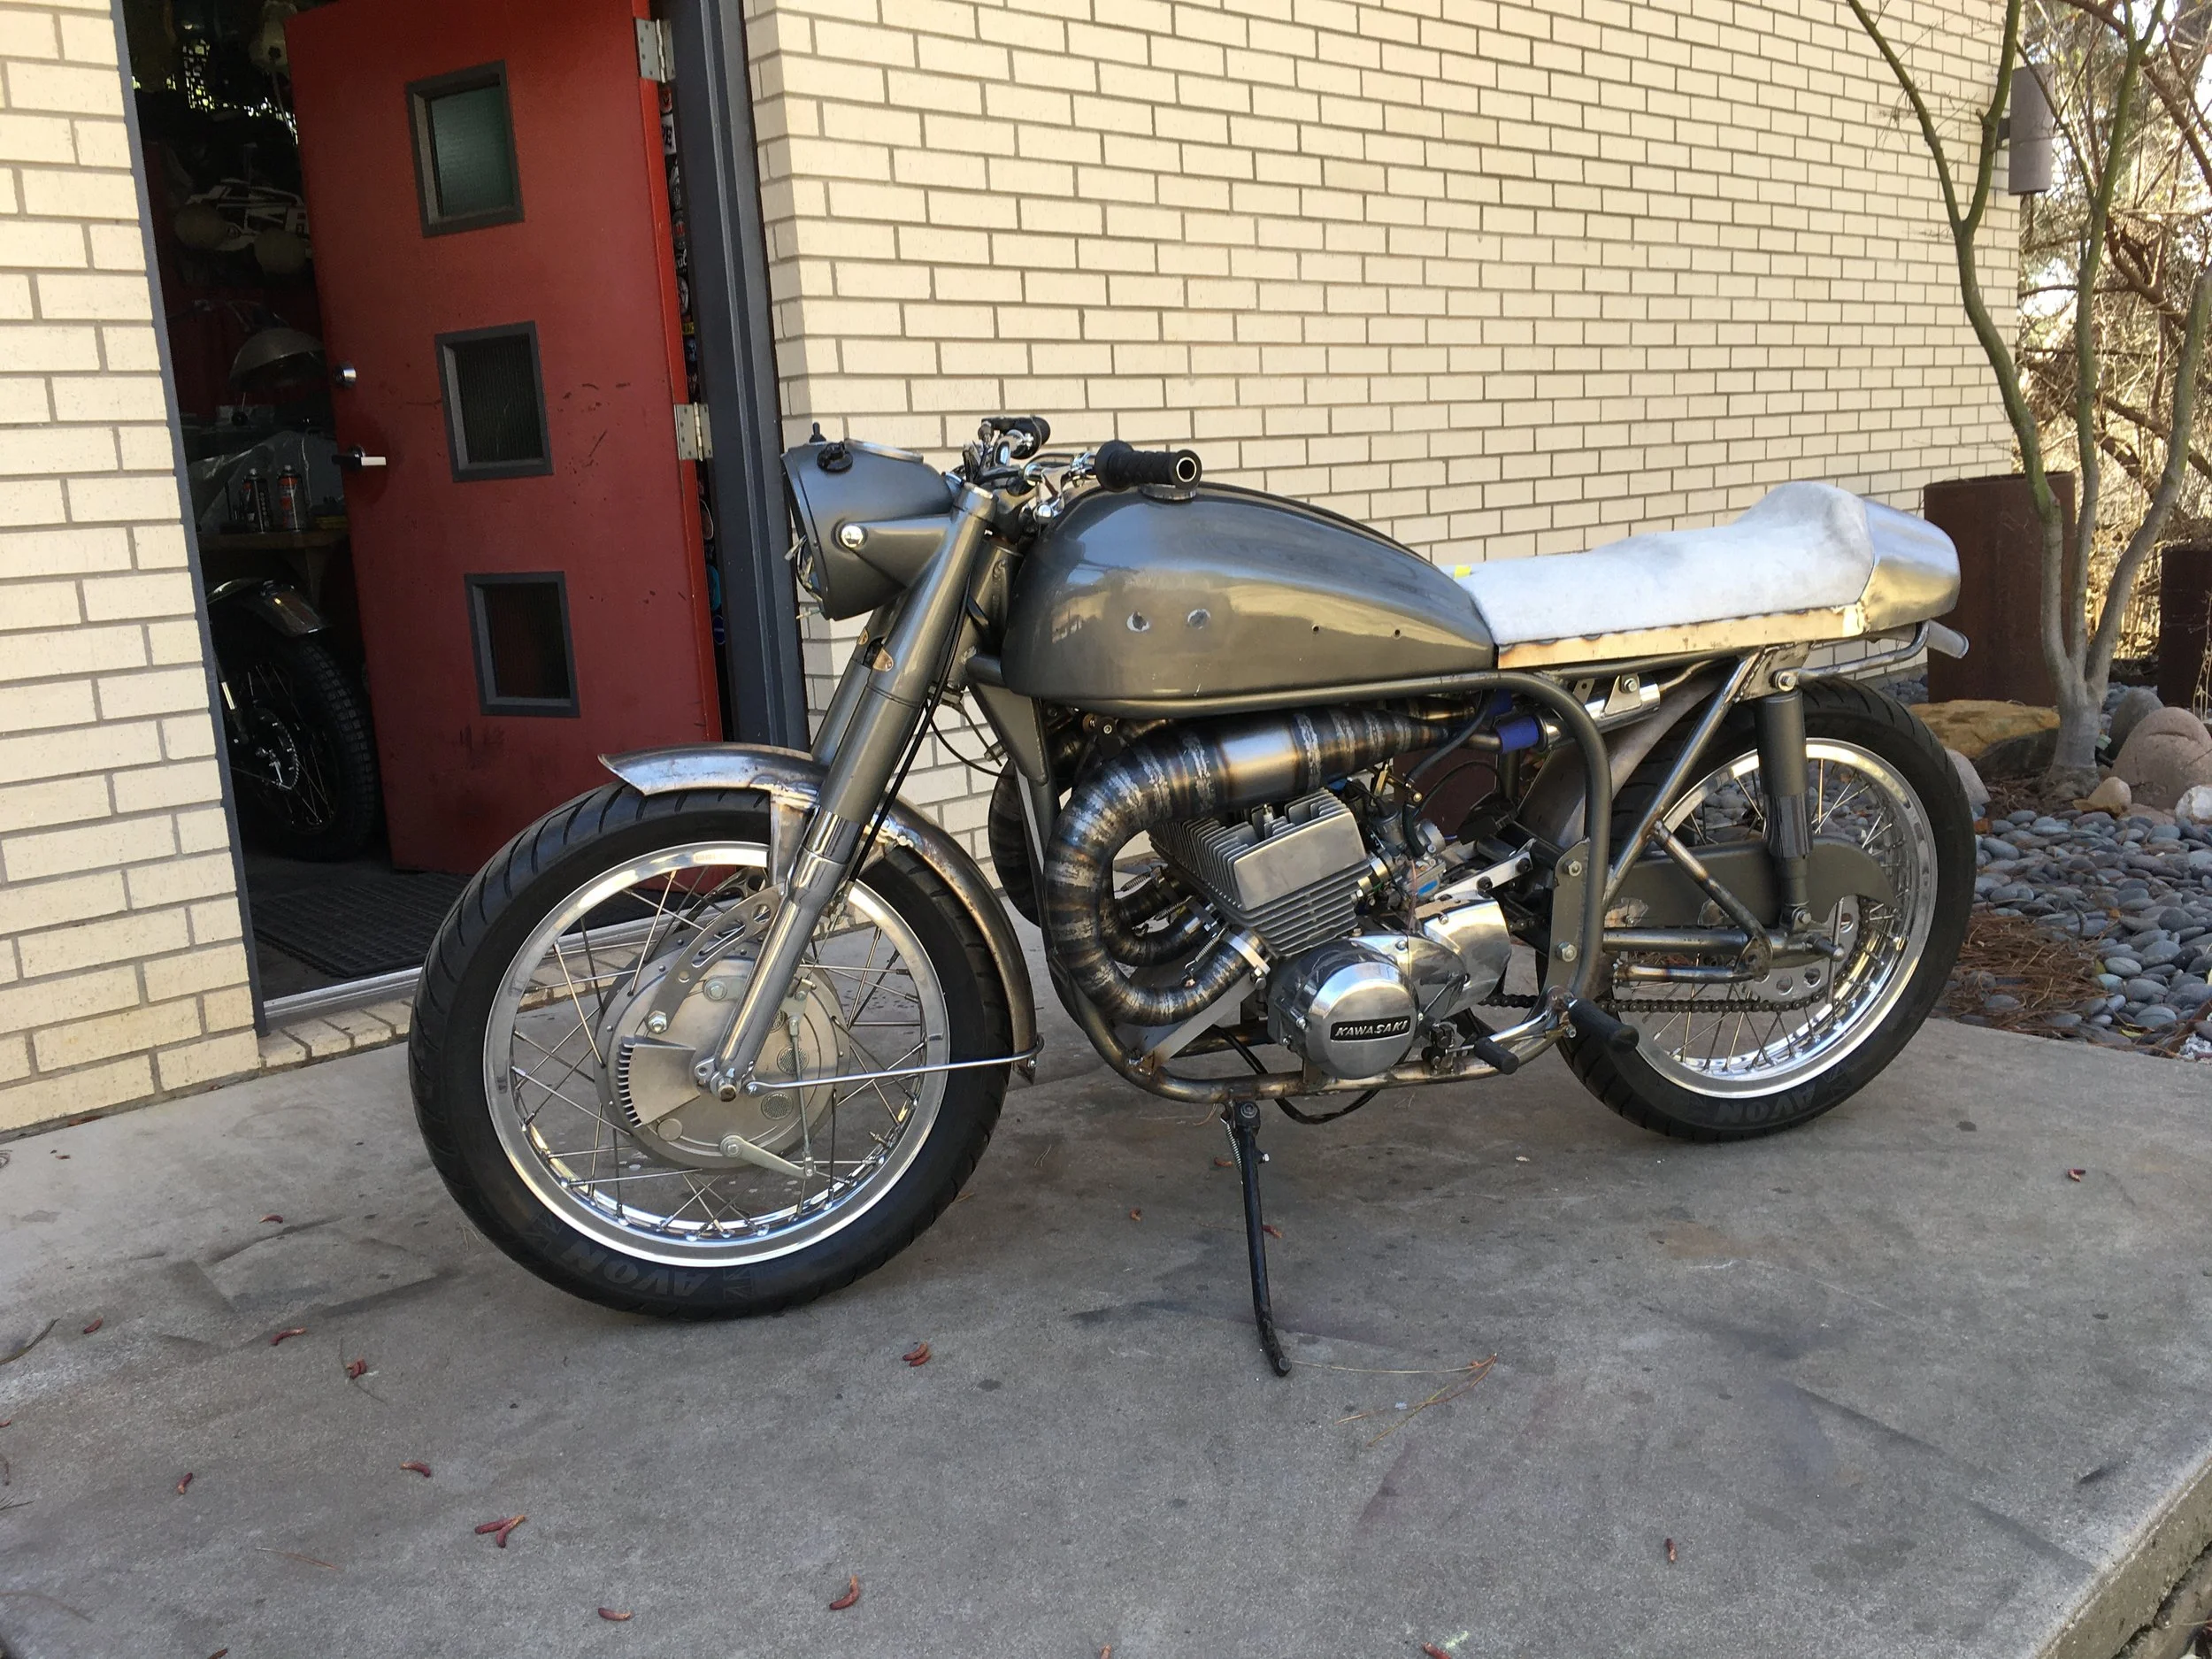
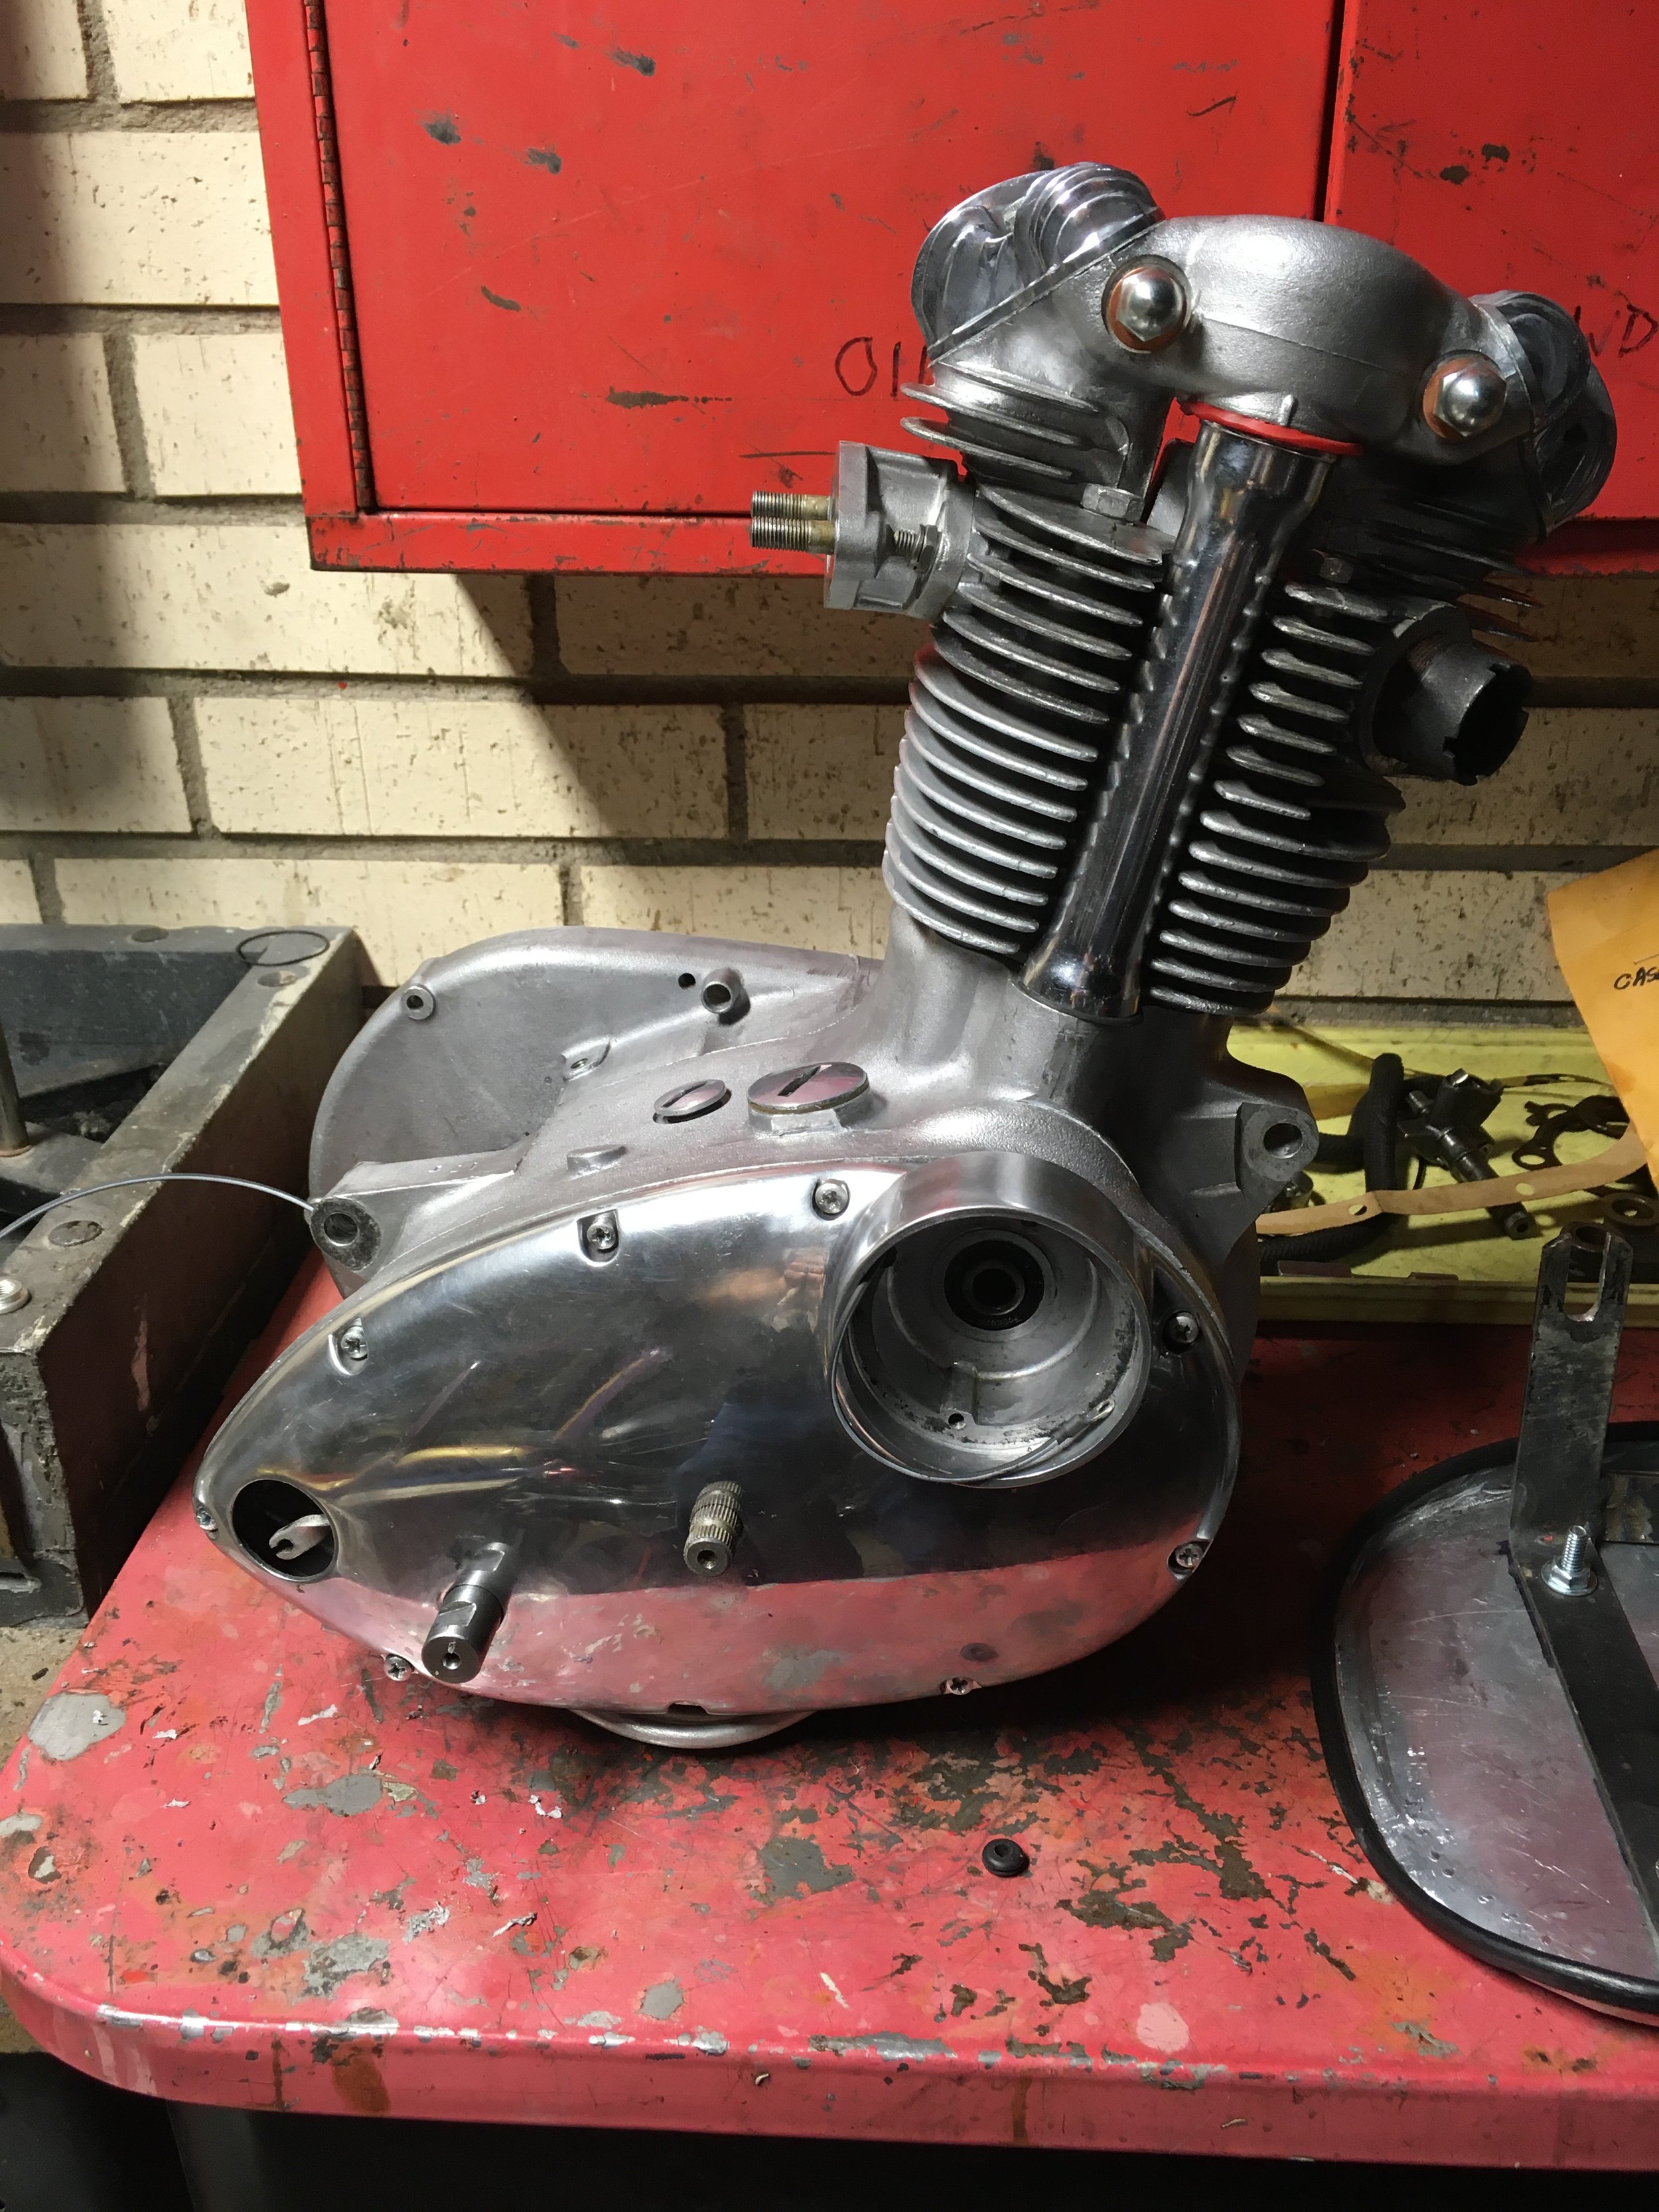
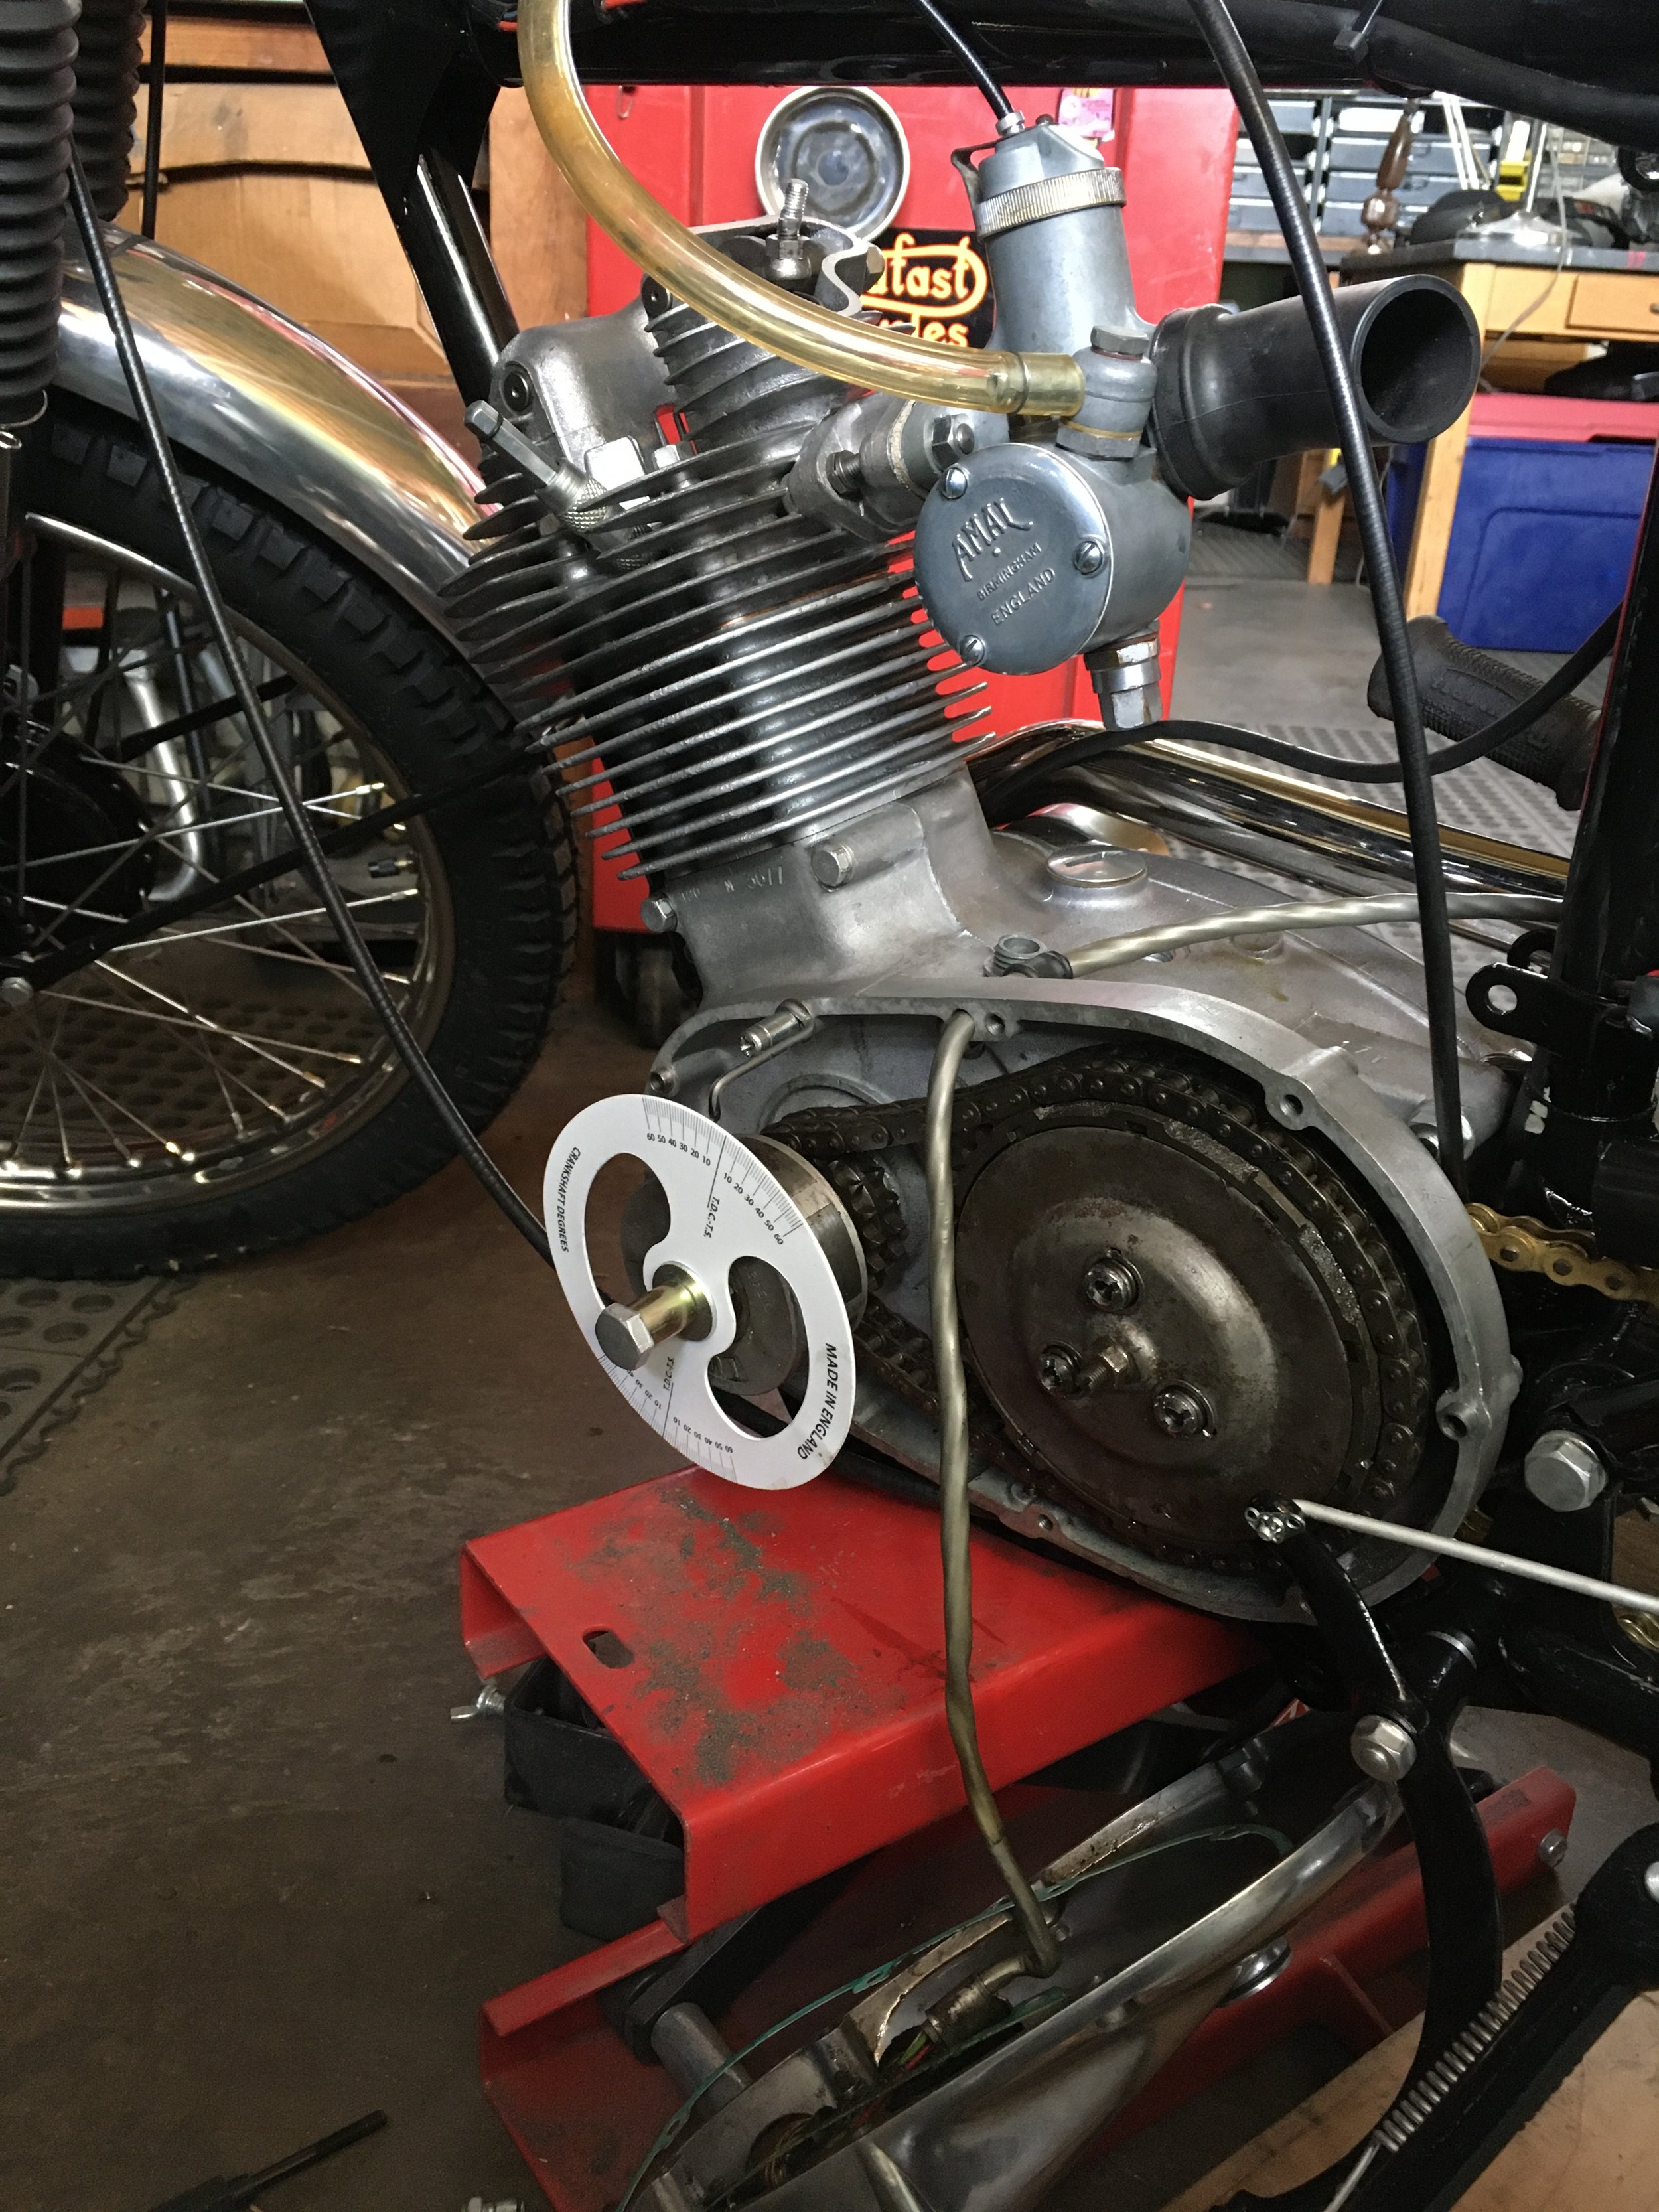
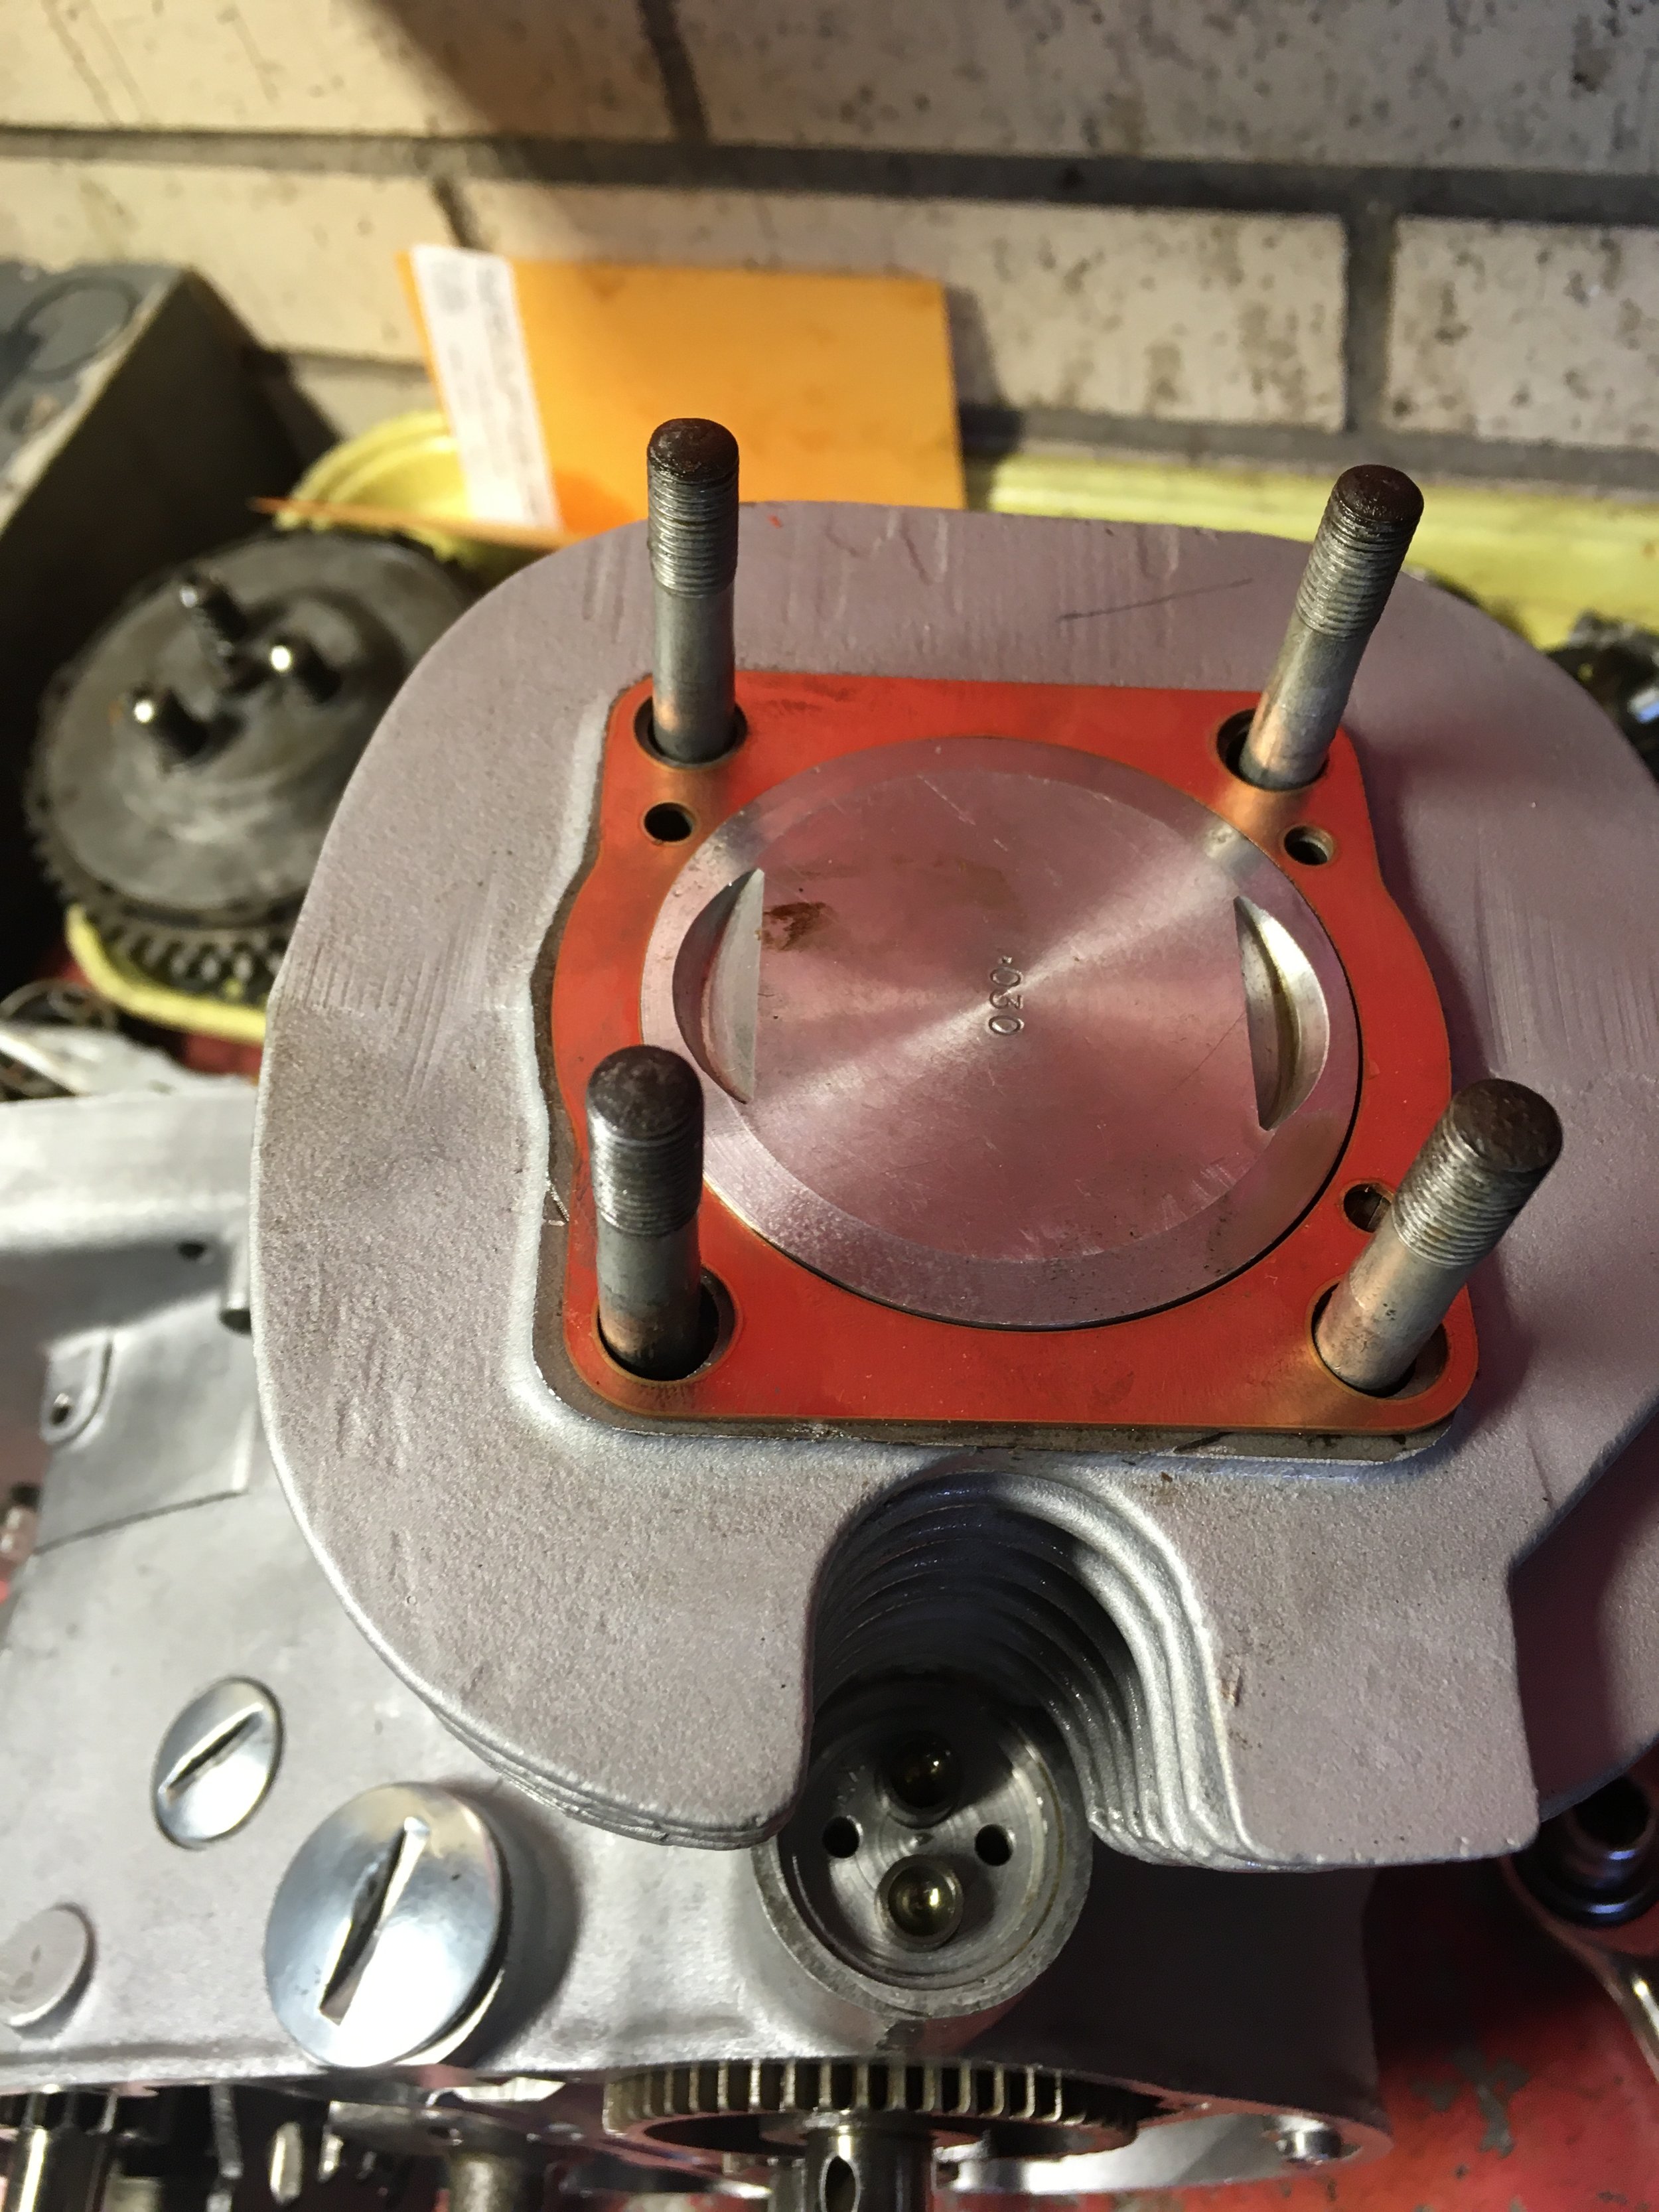
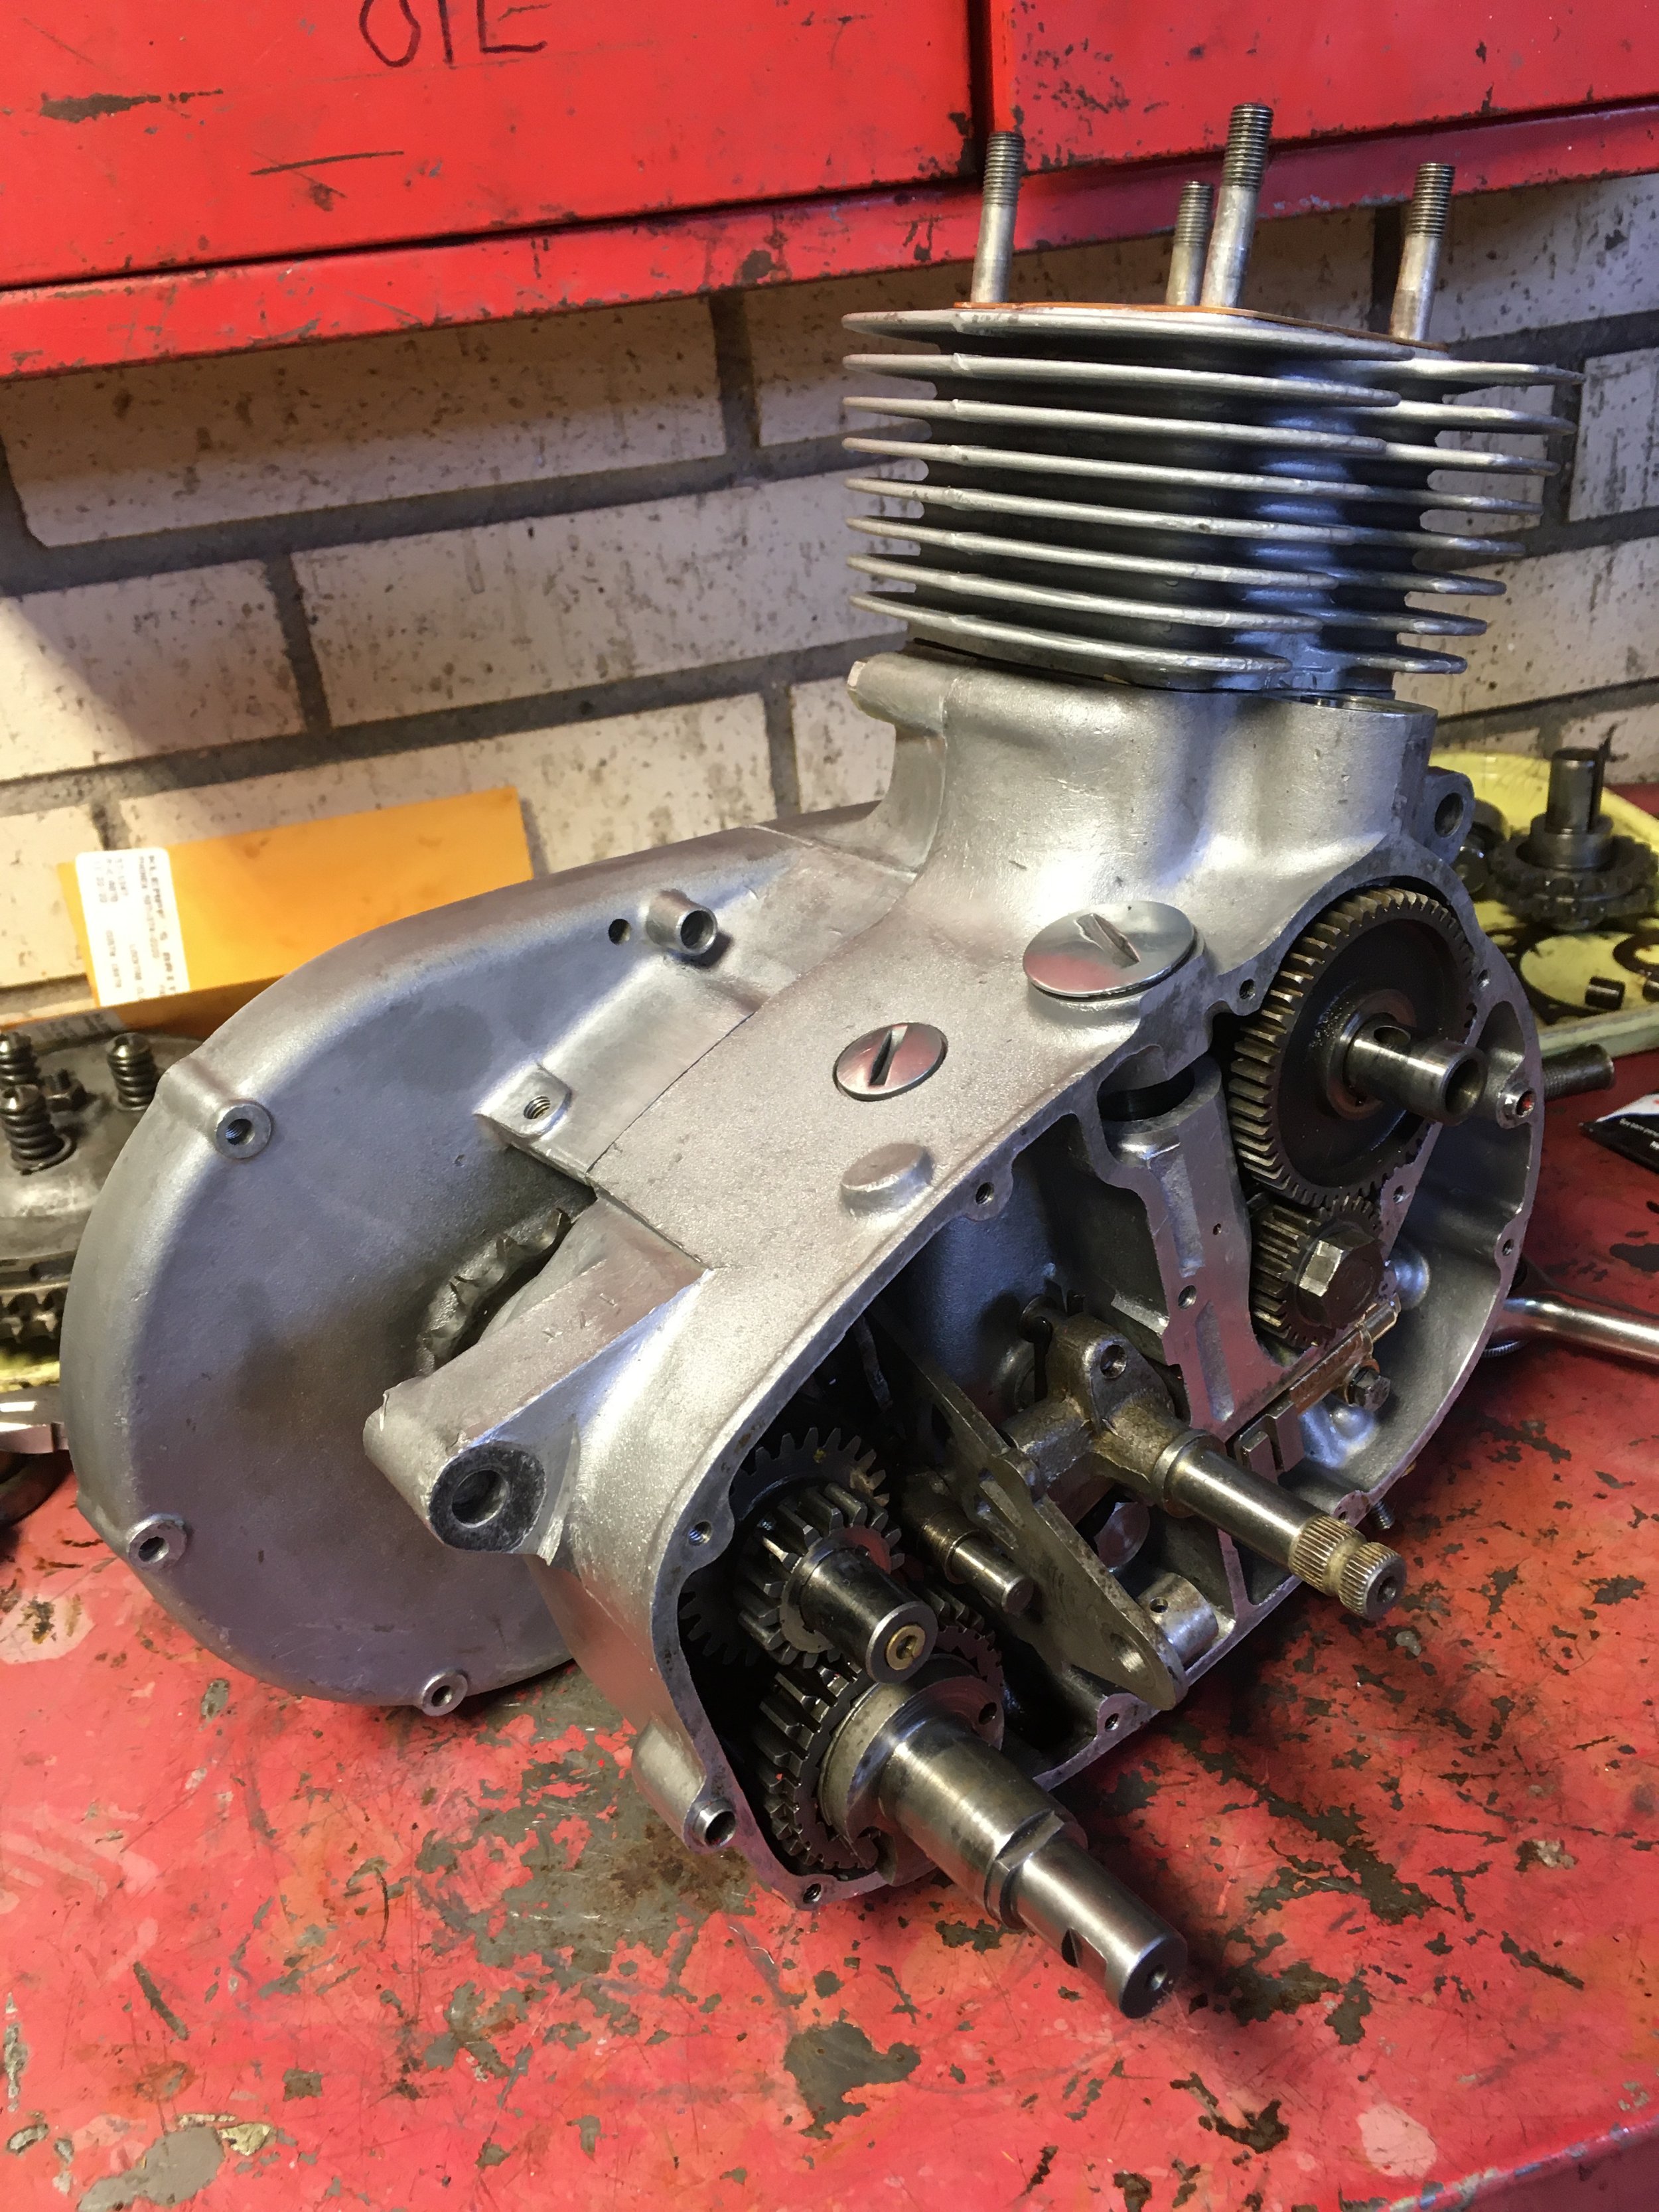
First of all, the bike is running. It starts easily, and was taken through six heat cycles, keeping the revs low. Once that was done, it was taken out on a ride to push it a little more. That produced head gasket leakage on all three cylinders. While disassembling the top end, a welding goober was found, apparently burned into the head. Since the sealing surfaces are a little rough, they will get a light resurface, new copper gaskets, and some high-heat silicone on reassembly. Other defects were a lock washer substituted for a sealing washer on one of the head bolts, and a broken piston ring. There was some debris washed down into the middle cylinder and sump that kept the crank from turning completely. Since new head gaskets, head bolt sealing washers, and exhaust gaskets are going in, some ignition points were also ordered. After a check, the ones in the engine are just in spec. When dealing with an unknown engine, it is best to check out the basic stuff. In this particular case, it may be a better idea to just start over on some of this.

After just a couple passes, it is obvious there is slight warpage and leakage by the tell-tale black burn marks. Not too bad for something fifty years old. The welding goober was knocked out with the tip of a three-sided scraper. There is a small divot seen in the lower burn mark.

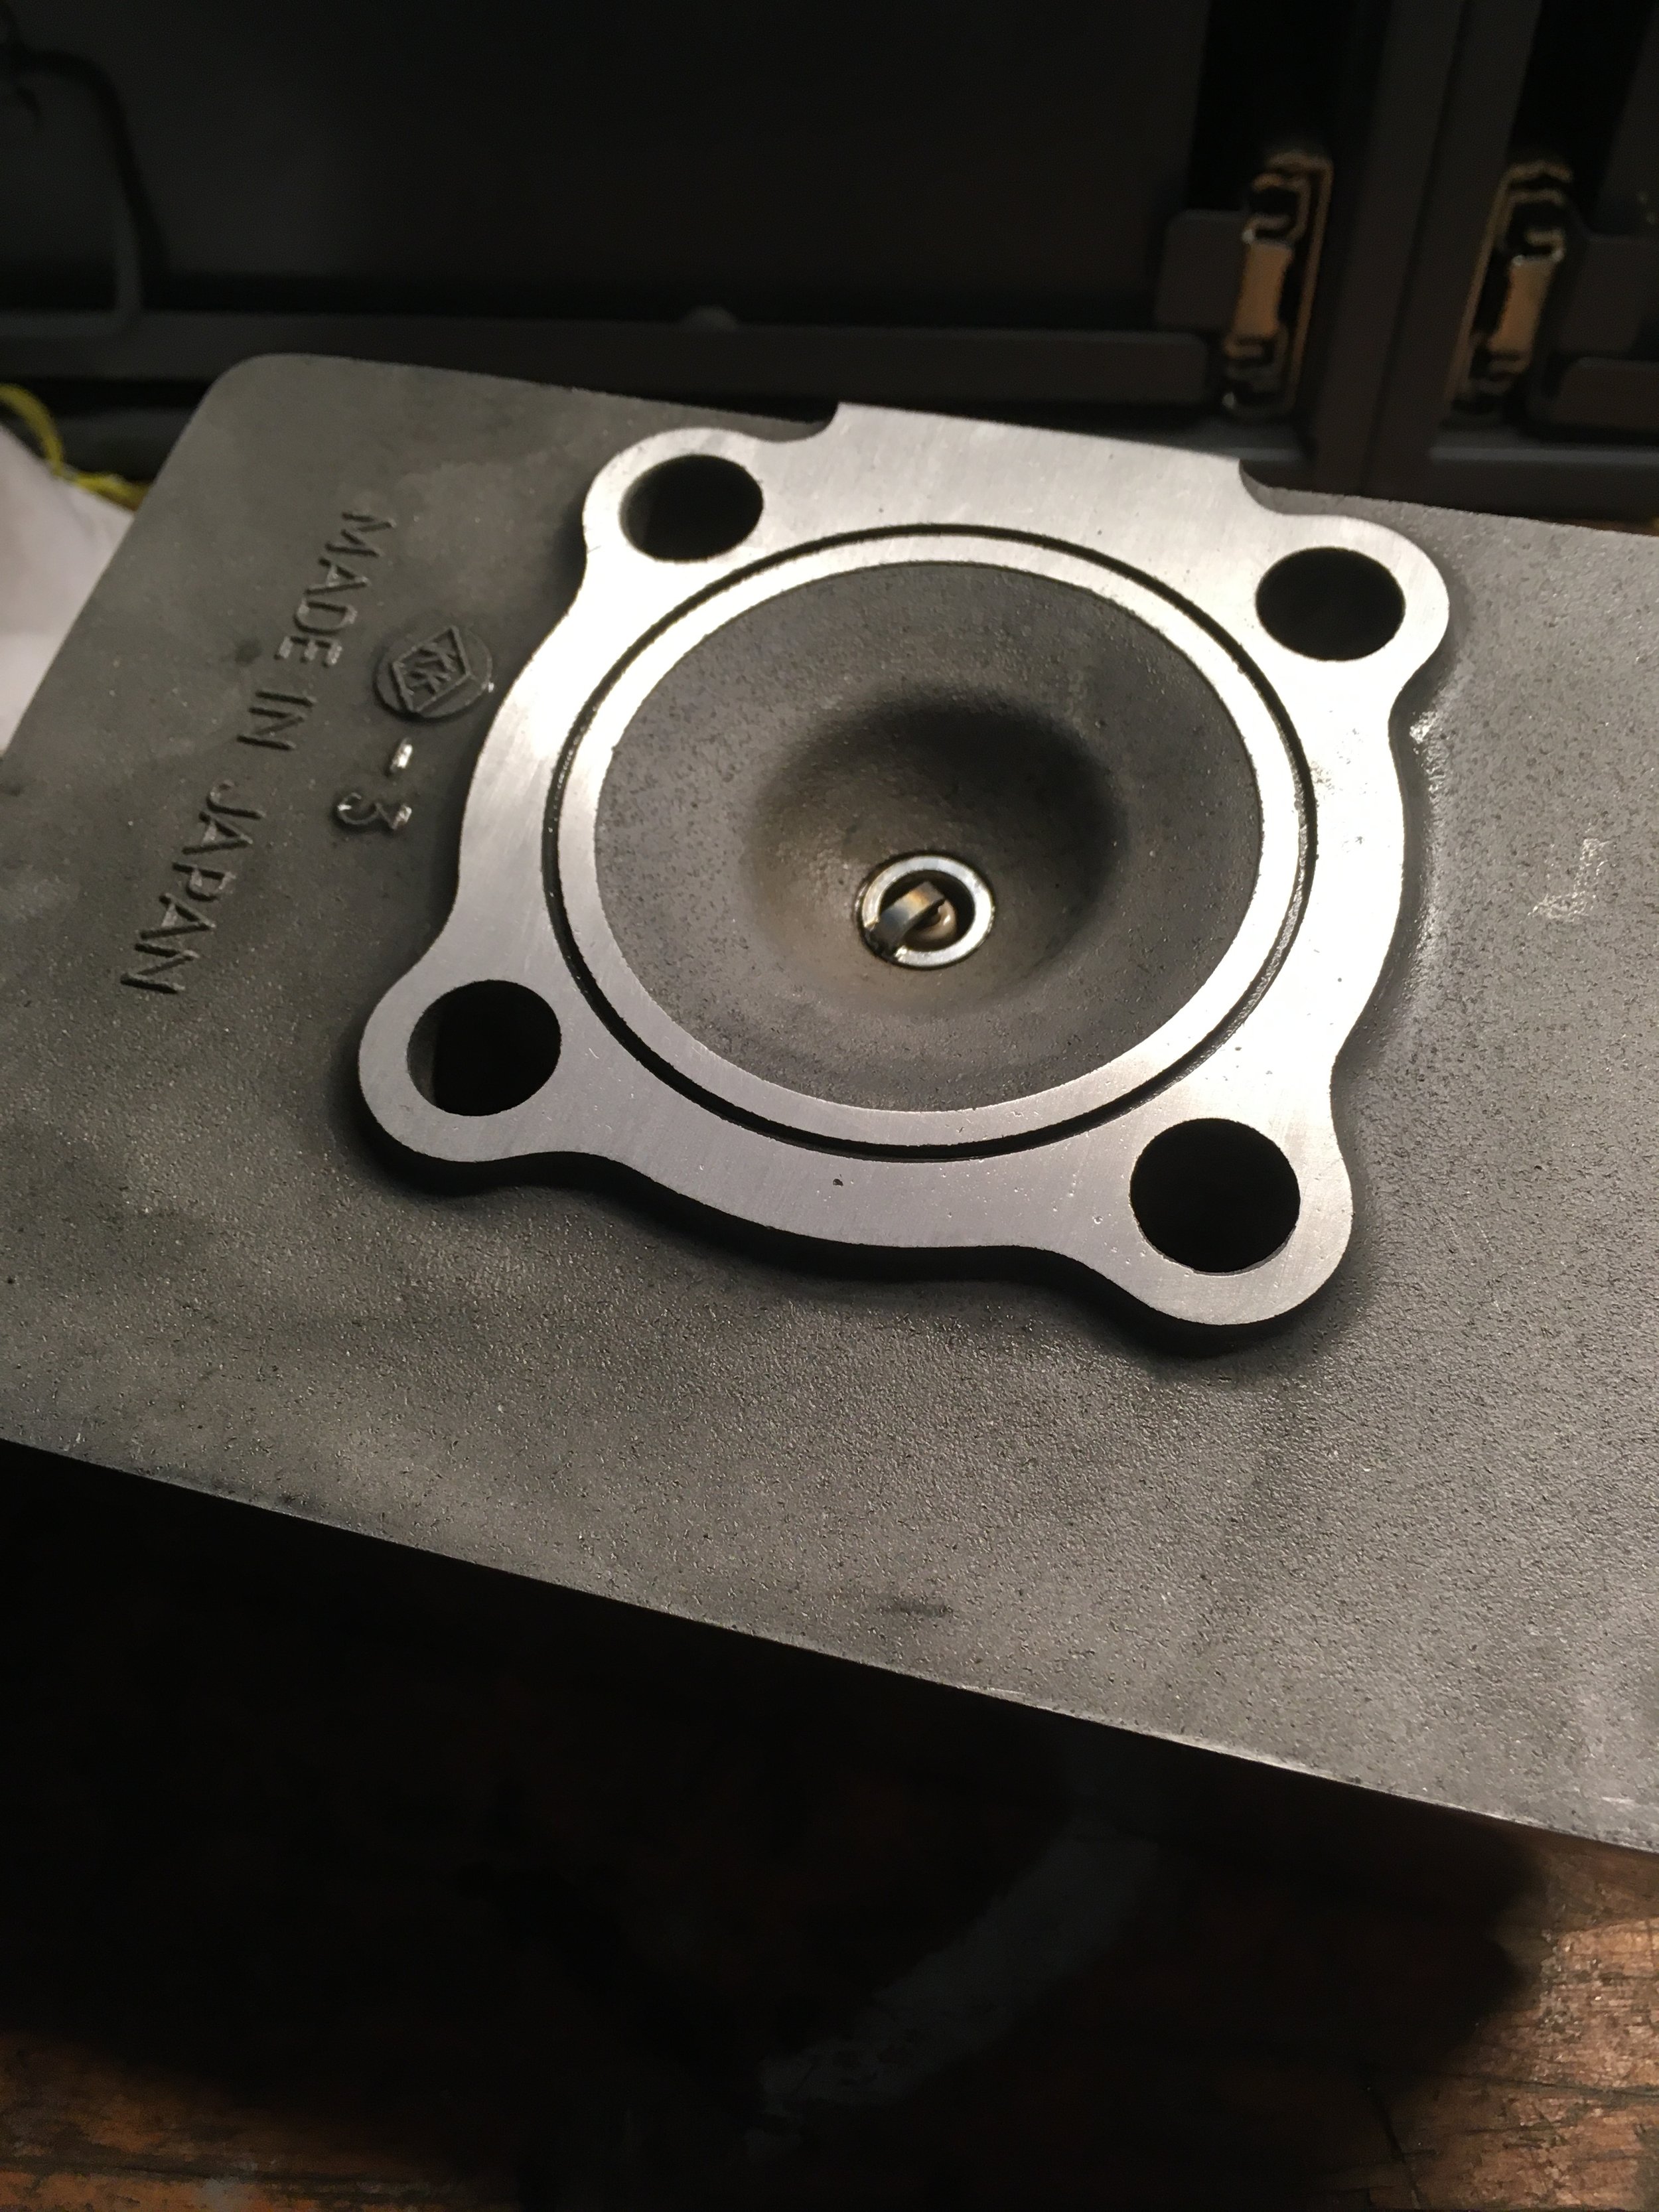
After resurfacing, the divot is barely visible, and burn marks are gone. The other two heads were given the same treatment.

Amazingly,a Kawasaki S3 airbox was located in one of my parts bins. It was given to me in a load of other parts by a mechanic friend.

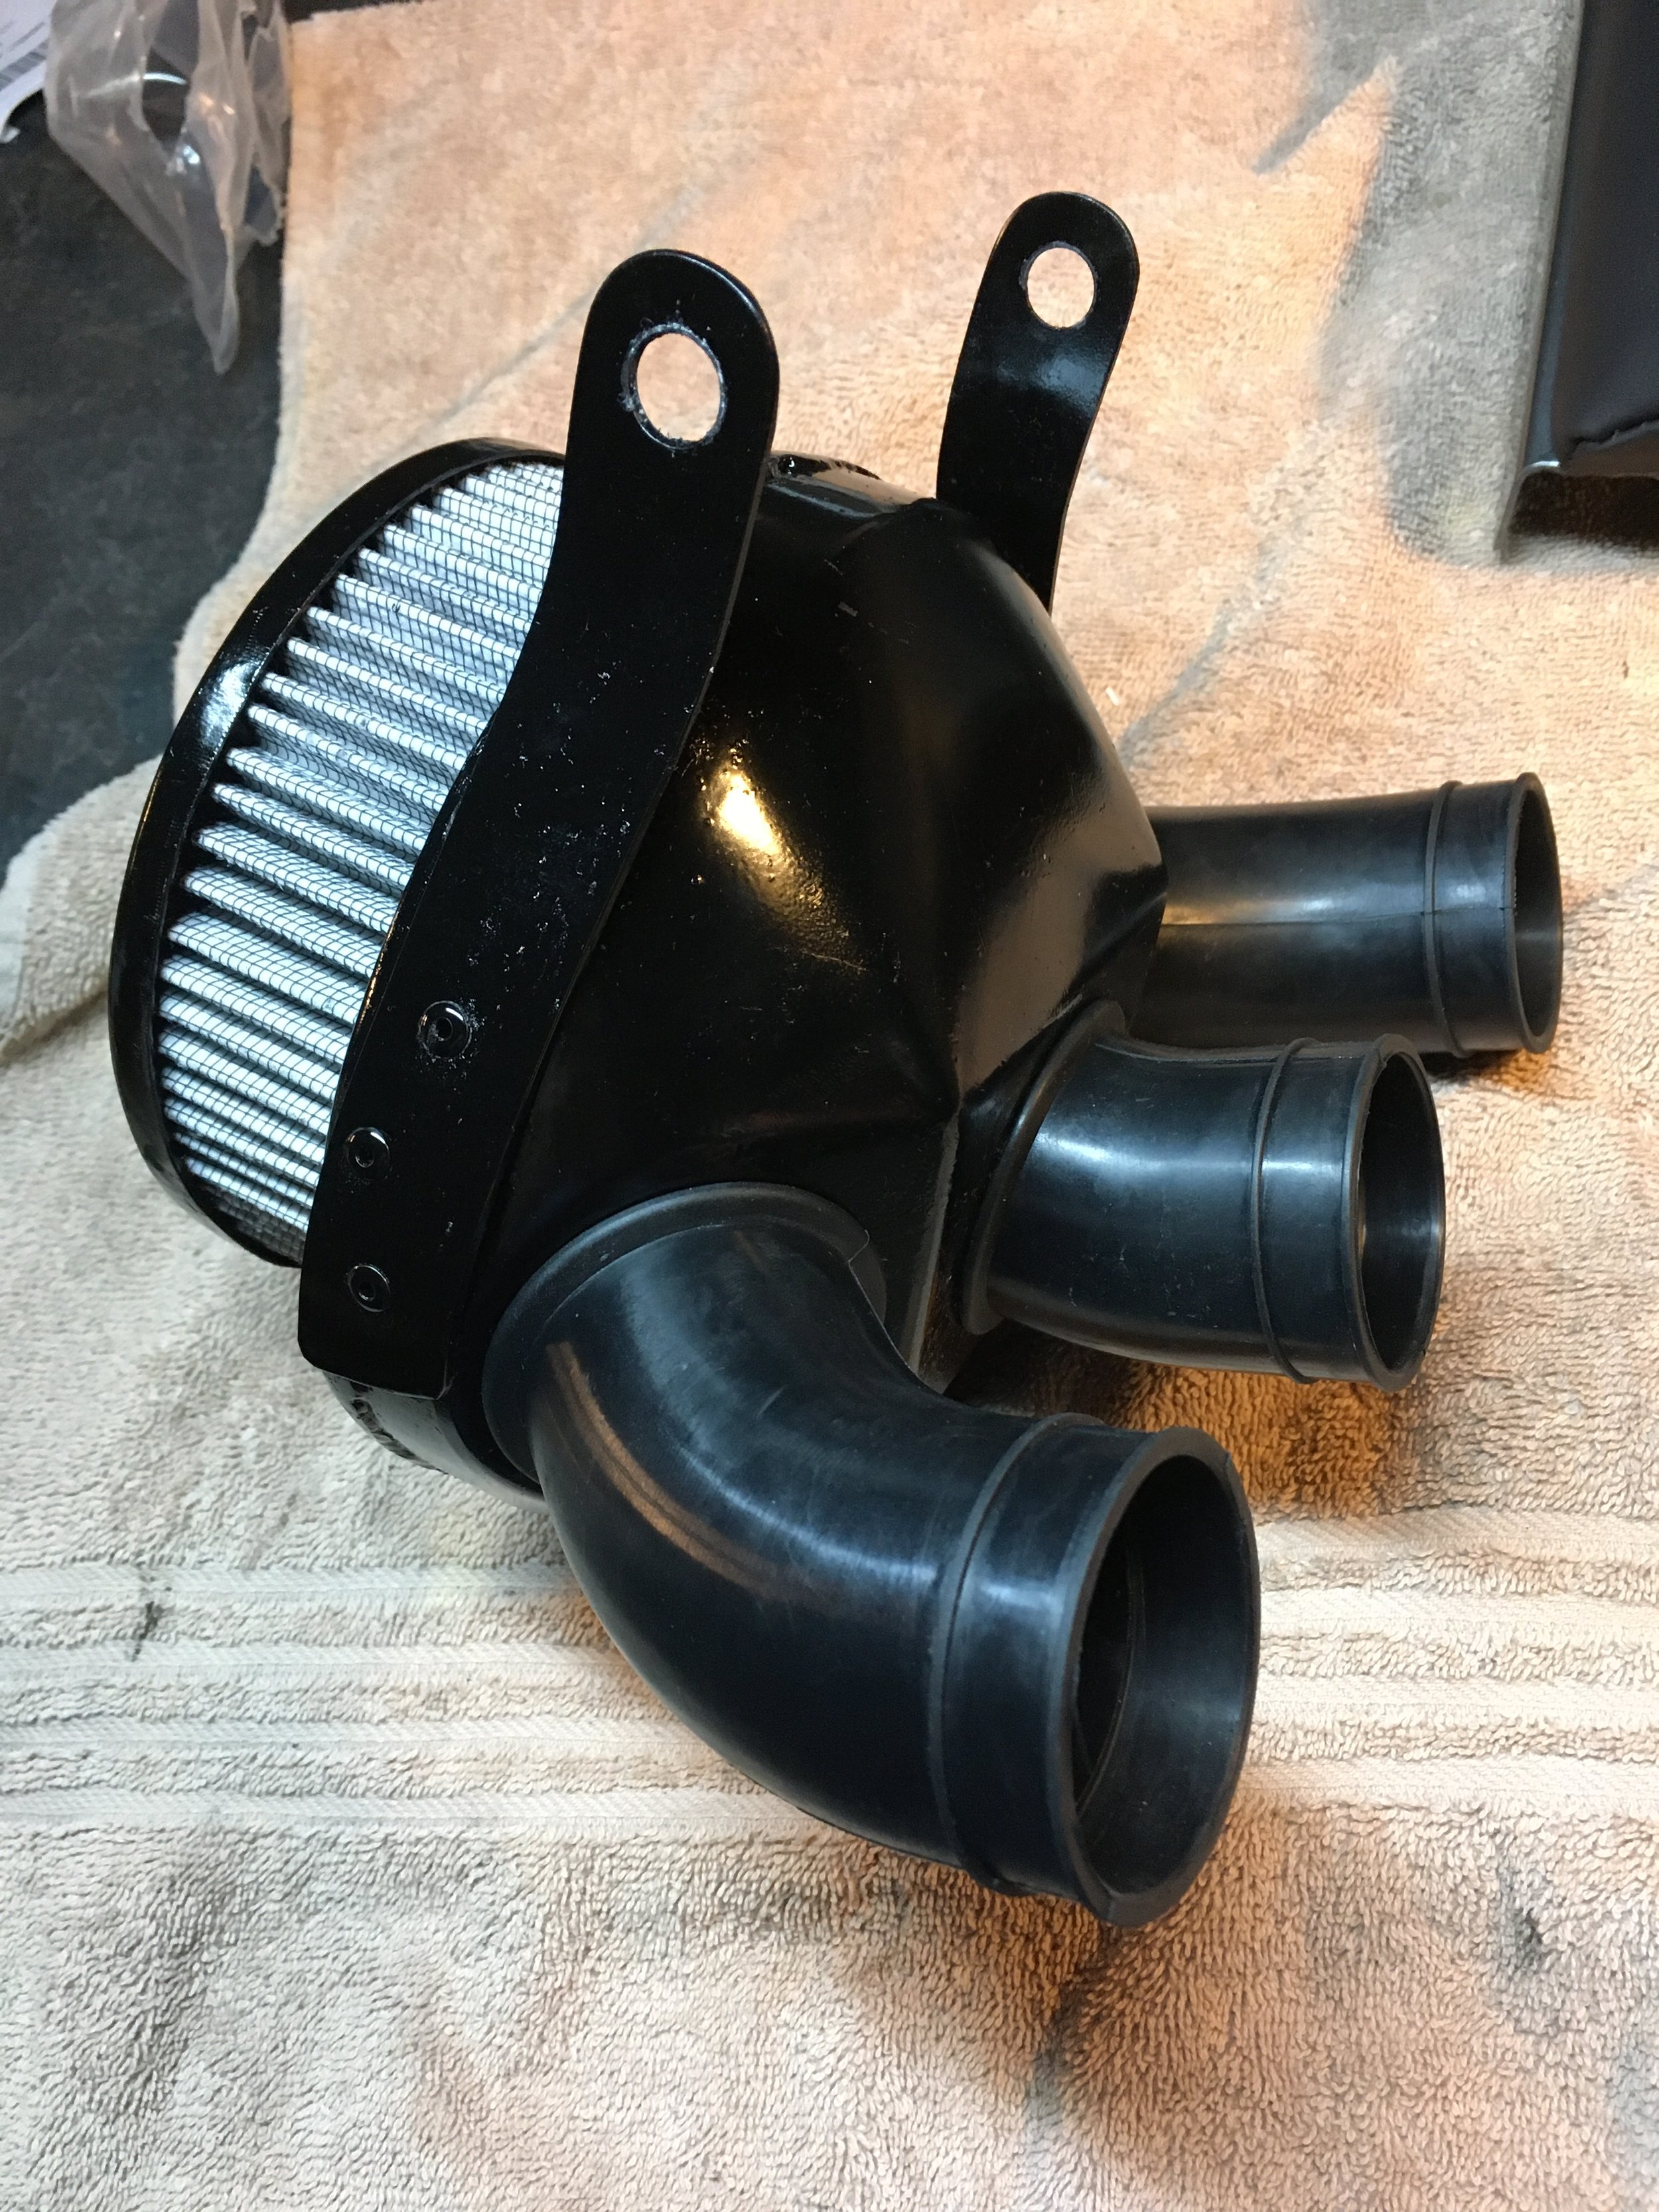
The box was cut apart, the mounting ears removed, and welded back together in a more compact configuration. Some mounting brackets and the stock rubber tubing then went on.

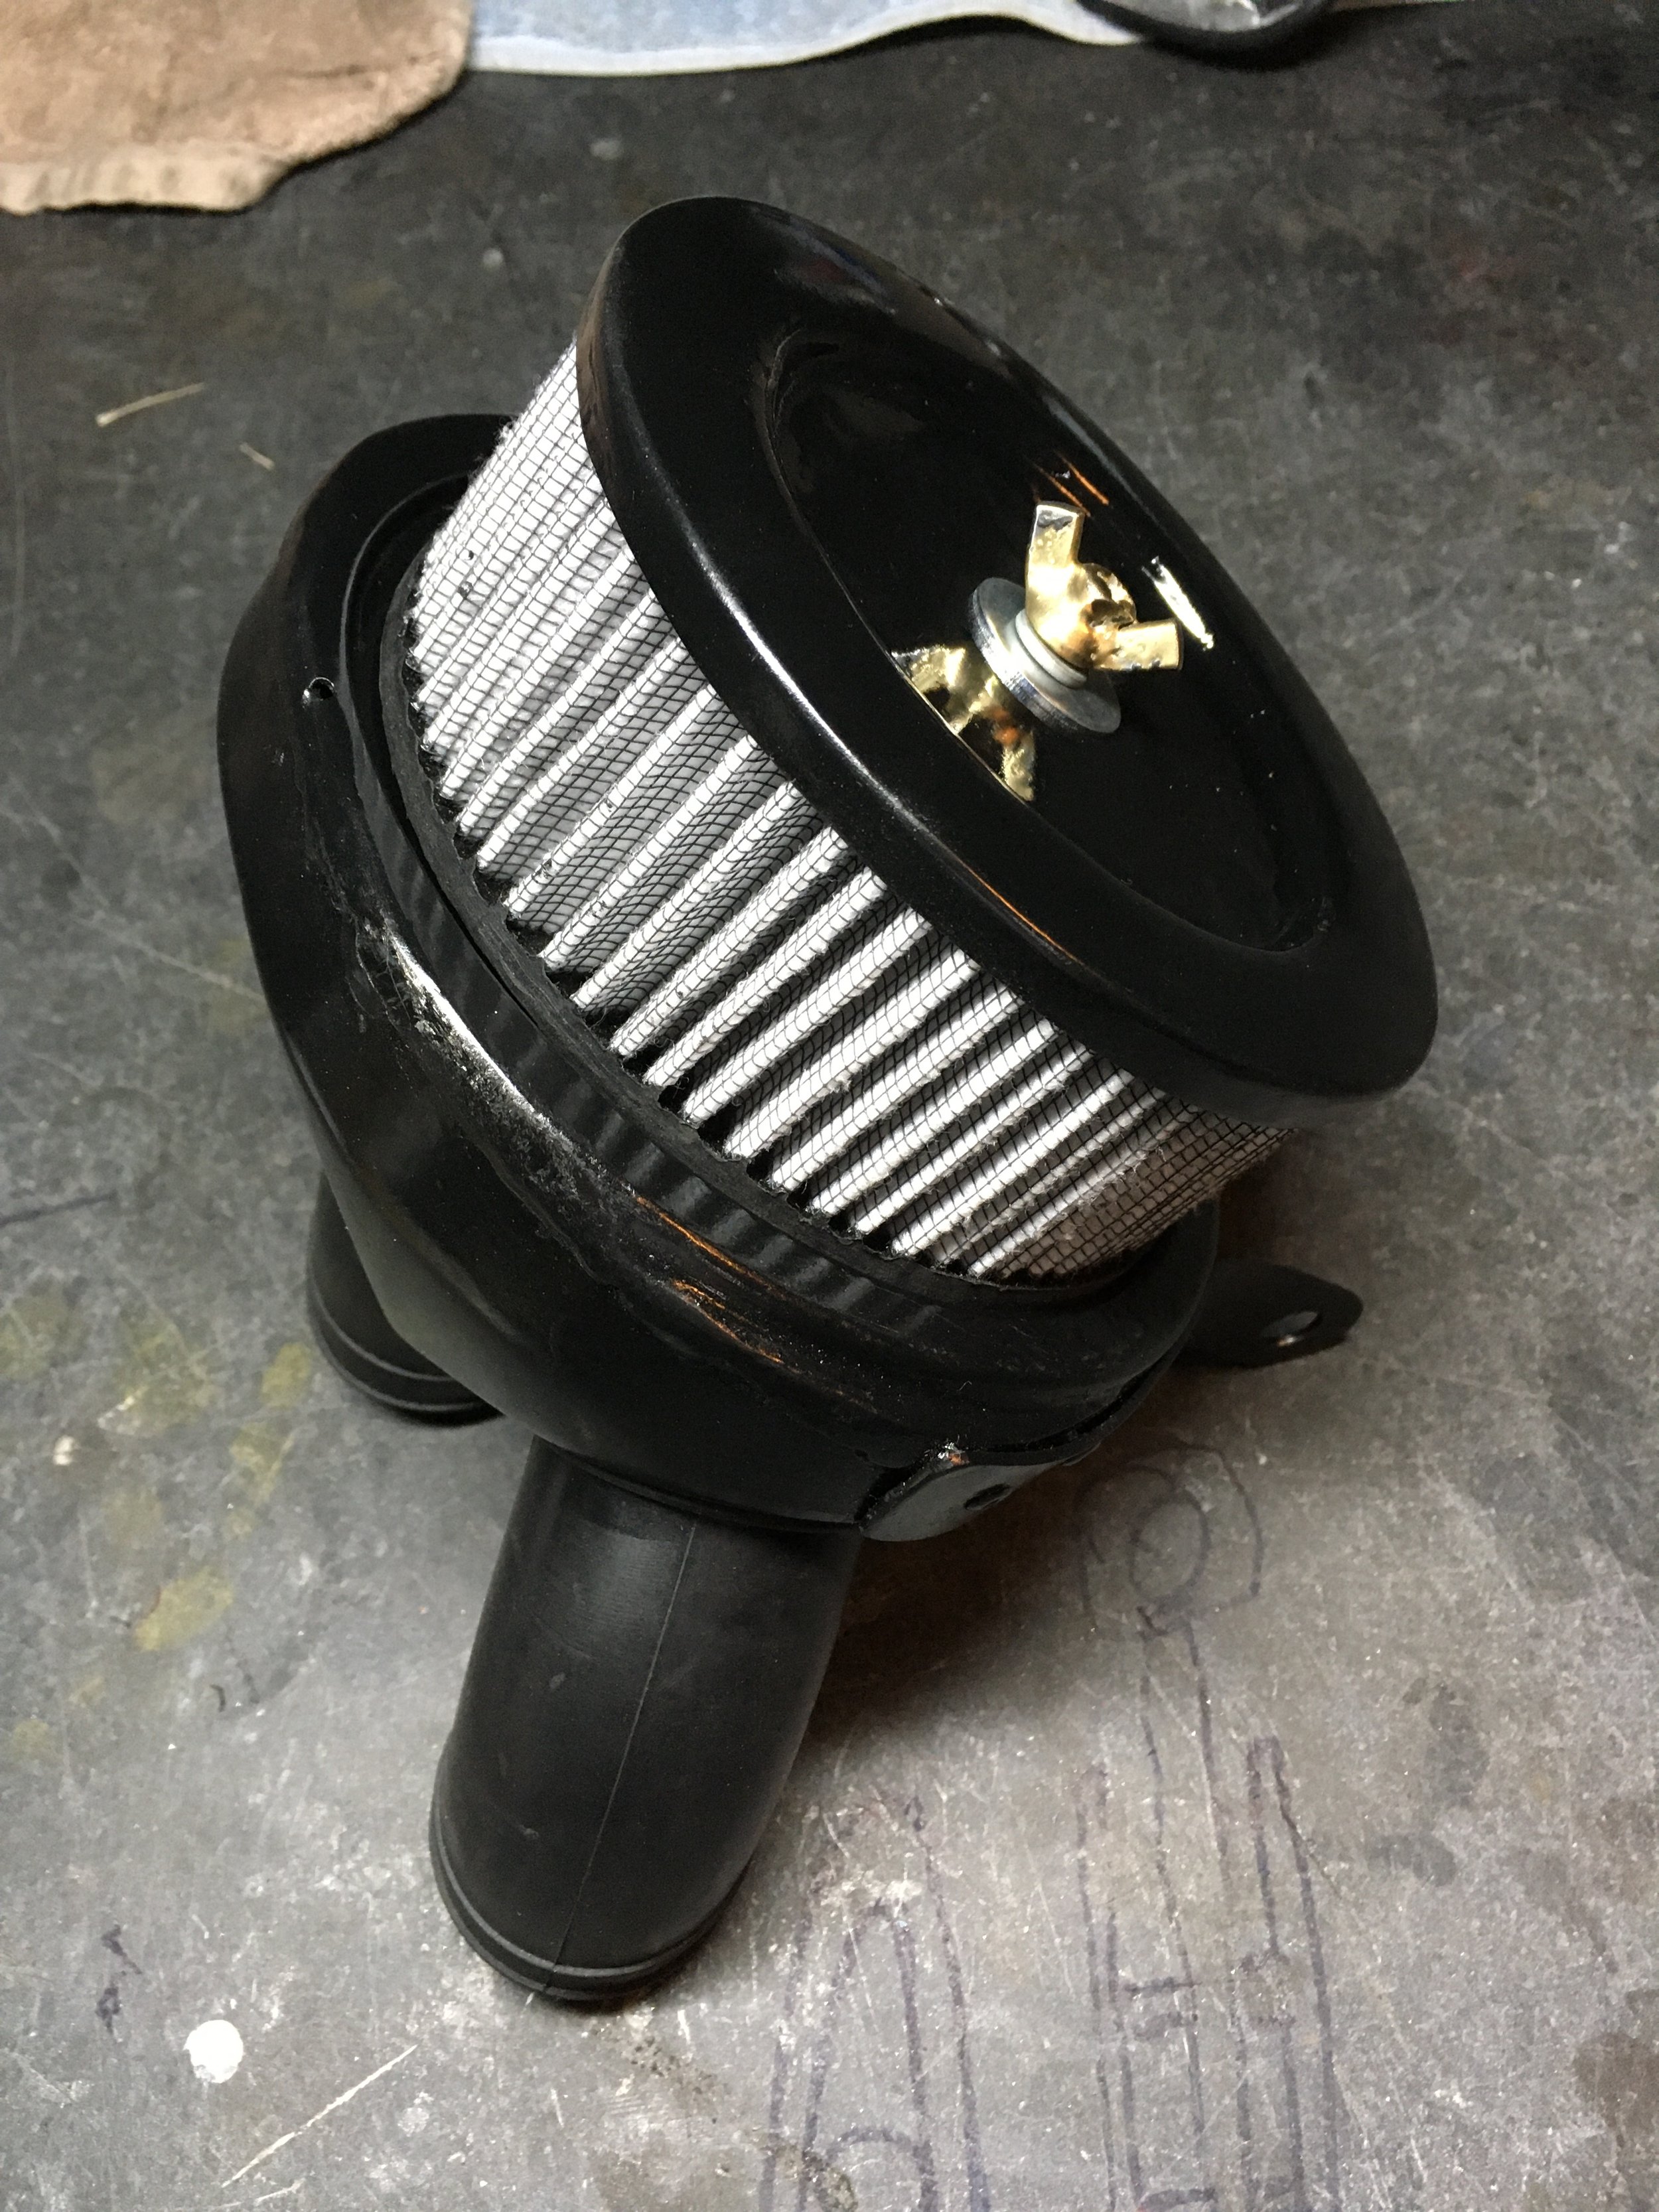
The top cover was hammered out in the shop along with the retainer bolt. The air filter element is a generic one.

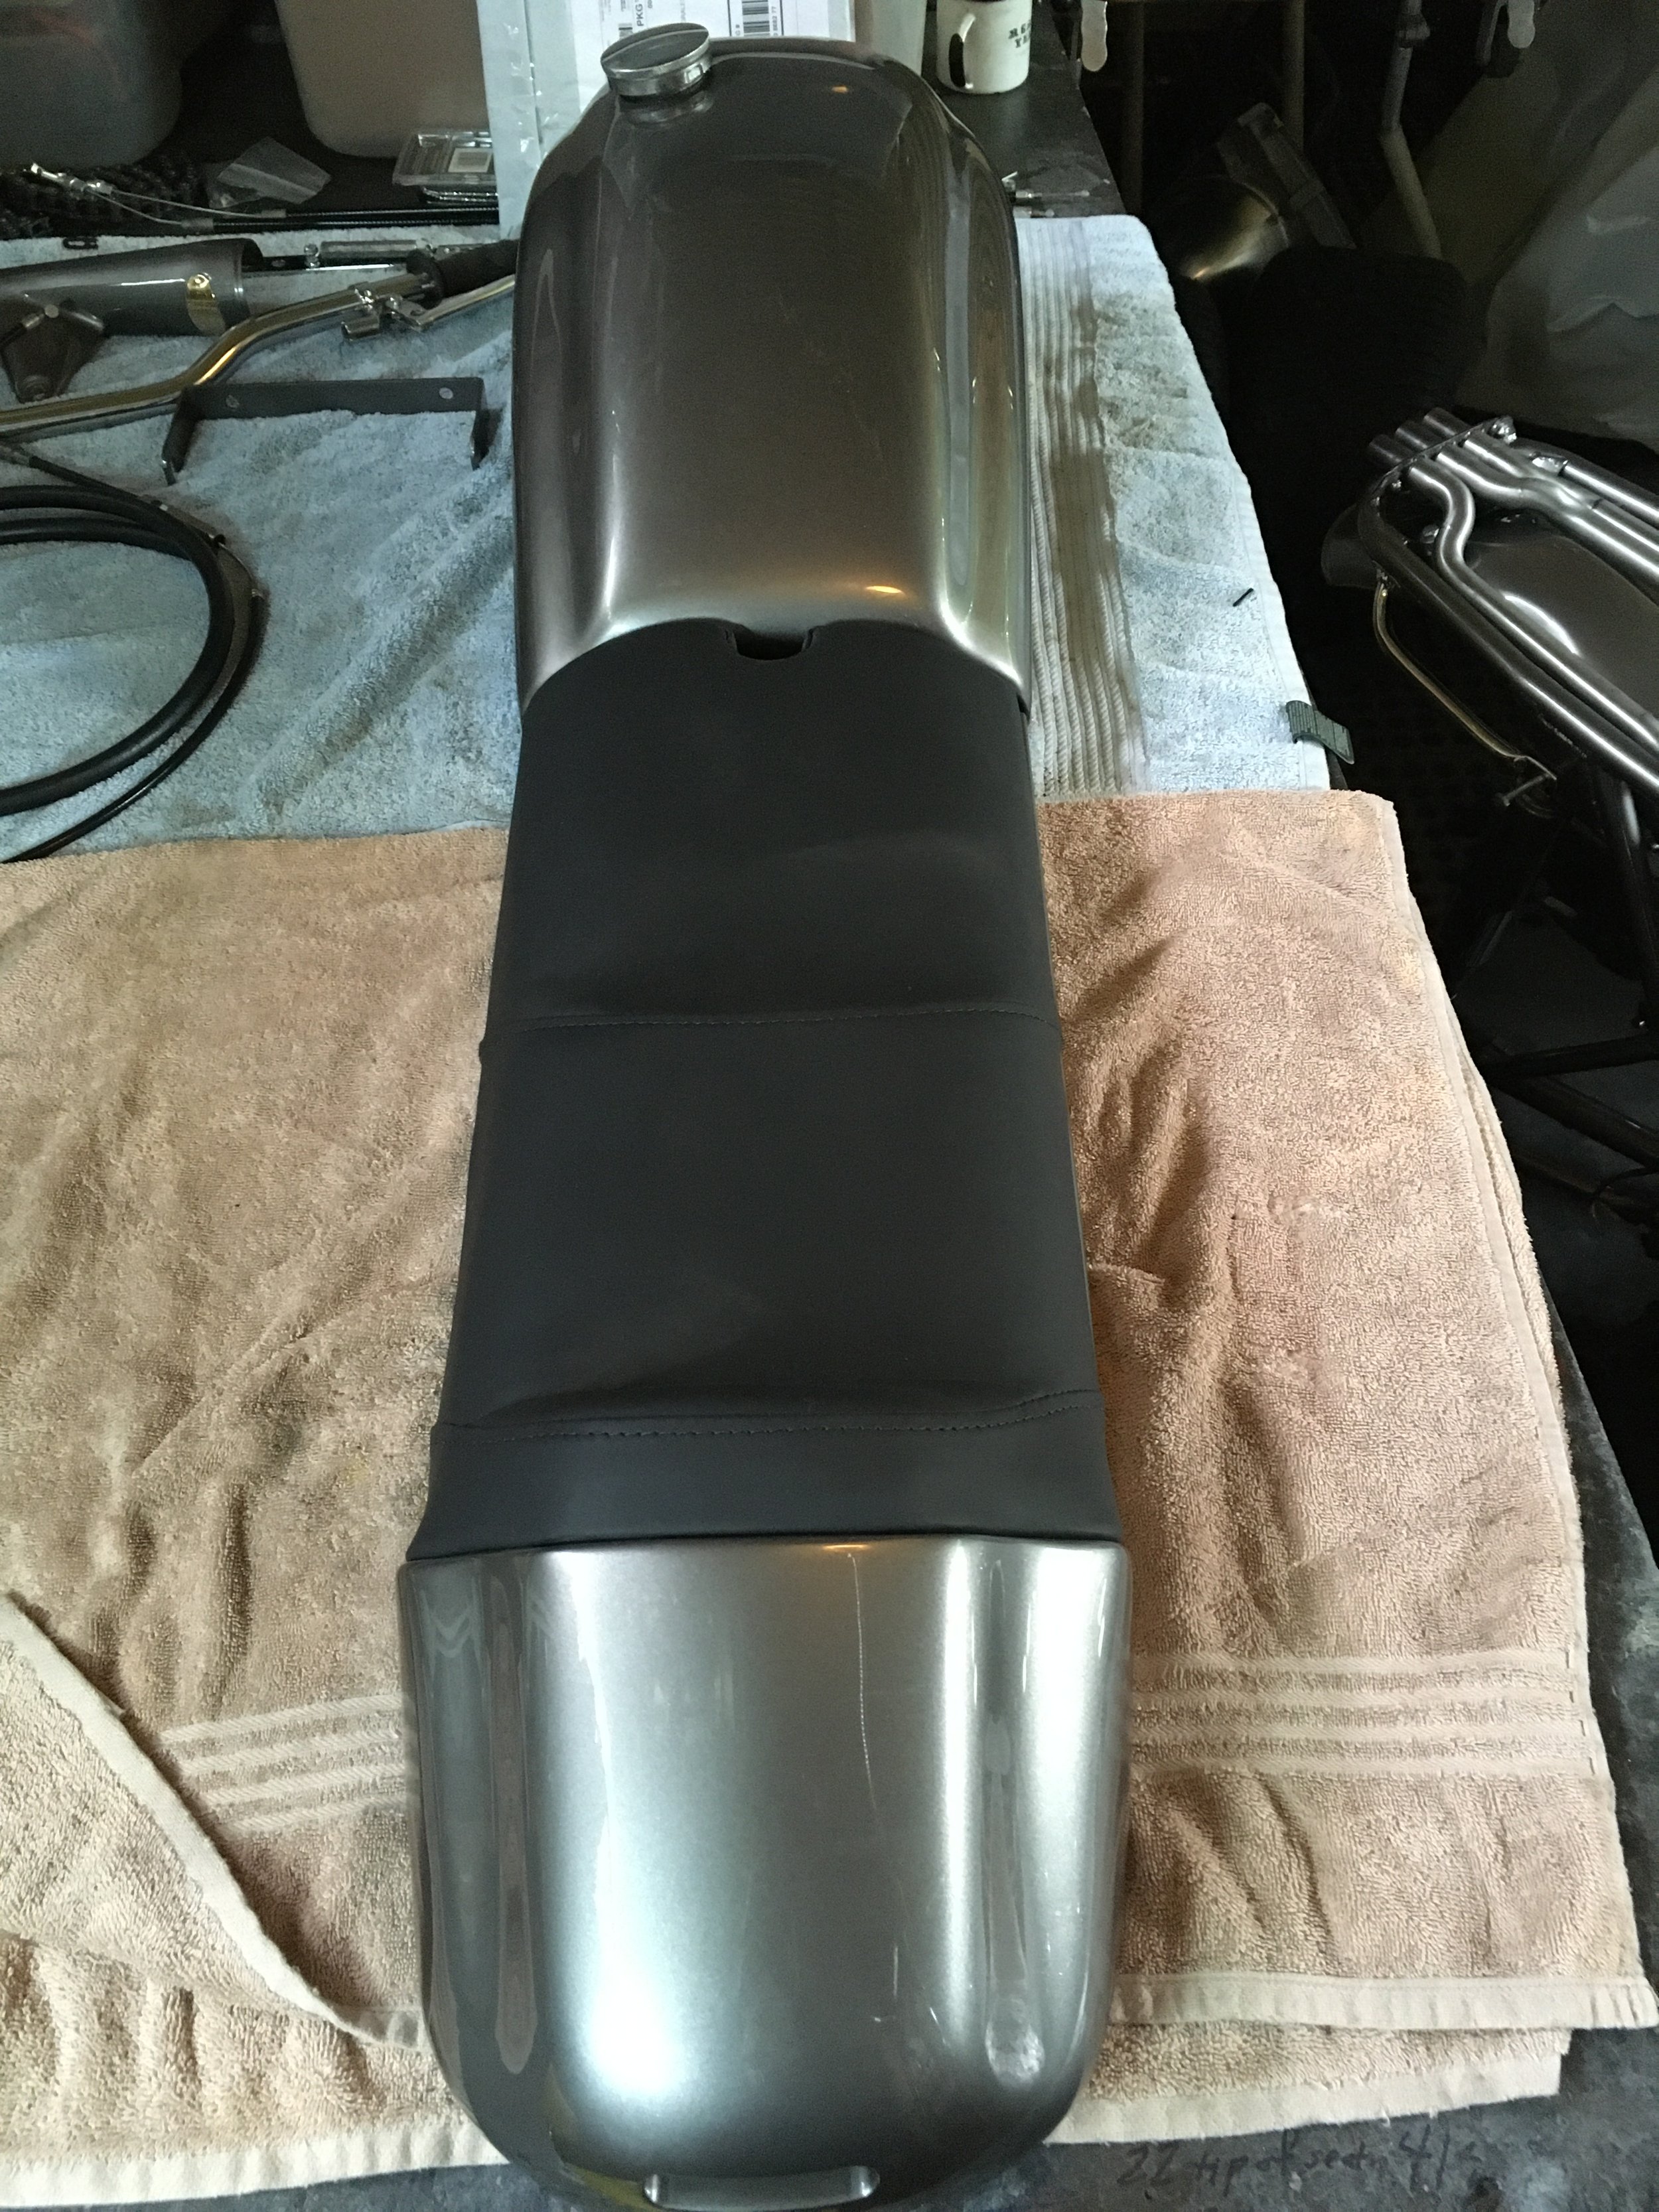
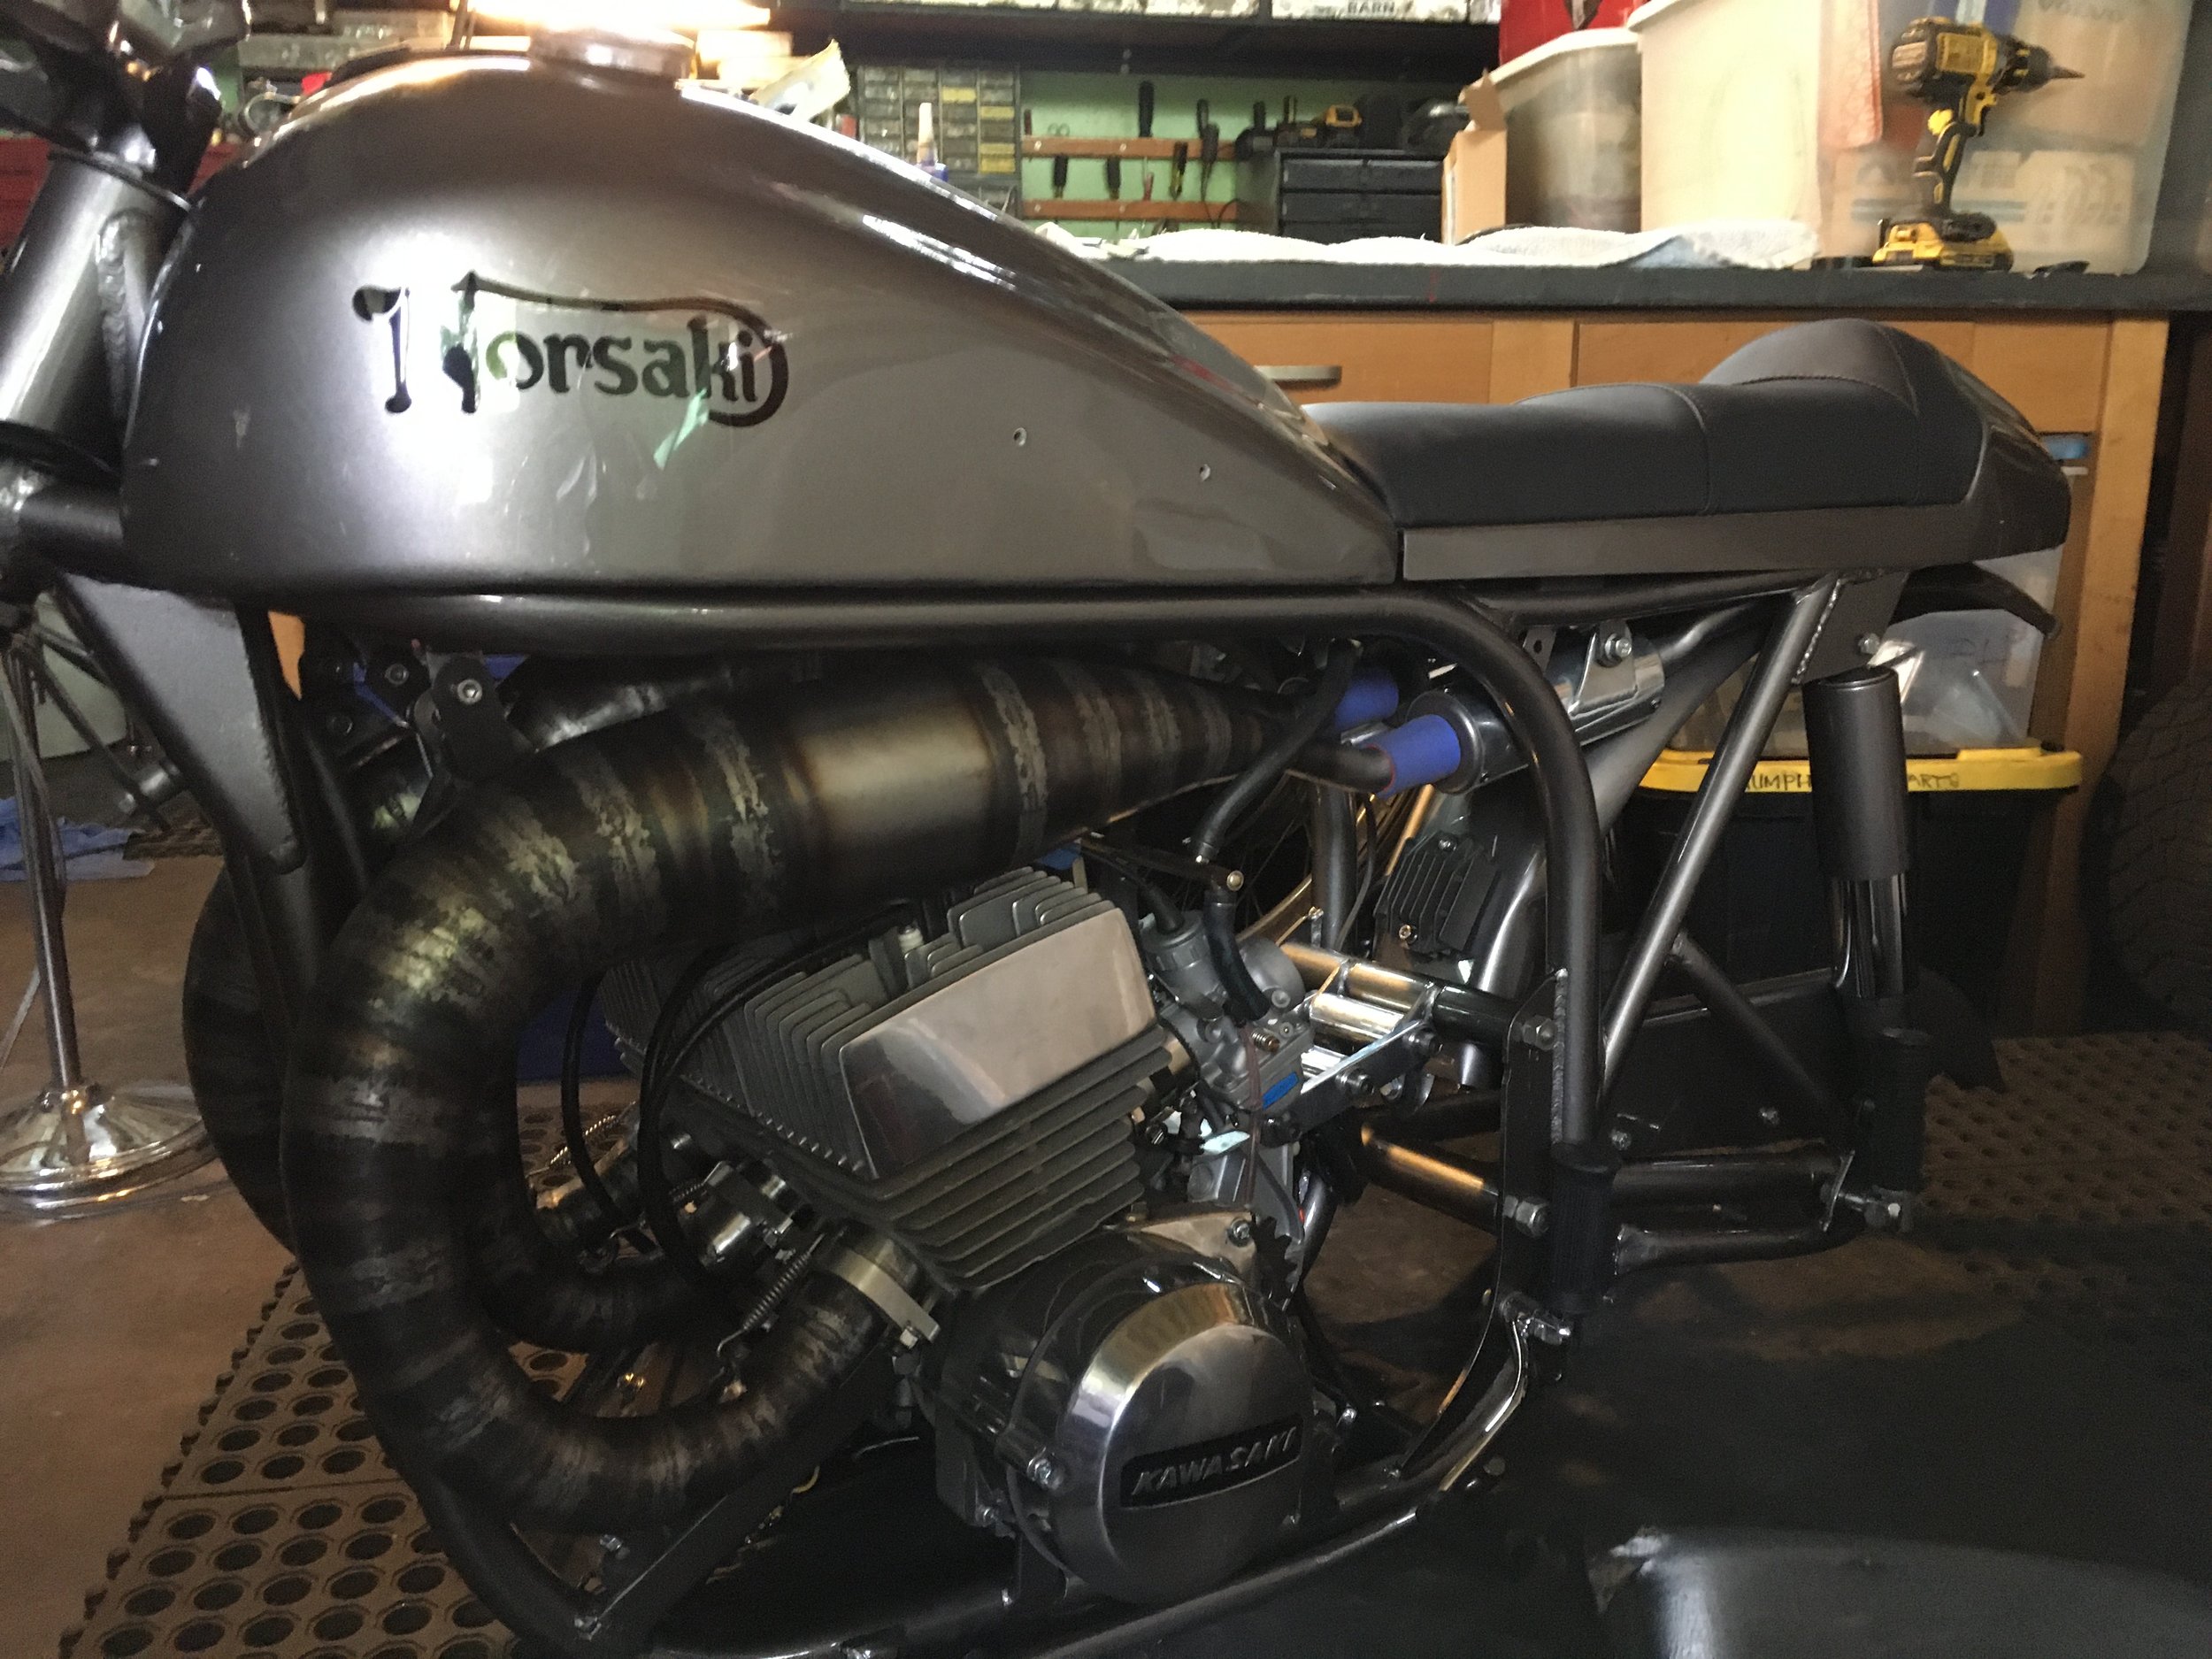
A late idea added to the build (actually, the rest of the bike was already being painted at the time) was an airbox made from the original Norton oil tank and tool box. They were joined with the Kawasaki airbox made to fit inside, and the tail-end of the expansion chambers passing through a carved-out section on top. The unit may still be split down the middle after paint to make removal easier. The air filter can be changed by taking off the left side cover.

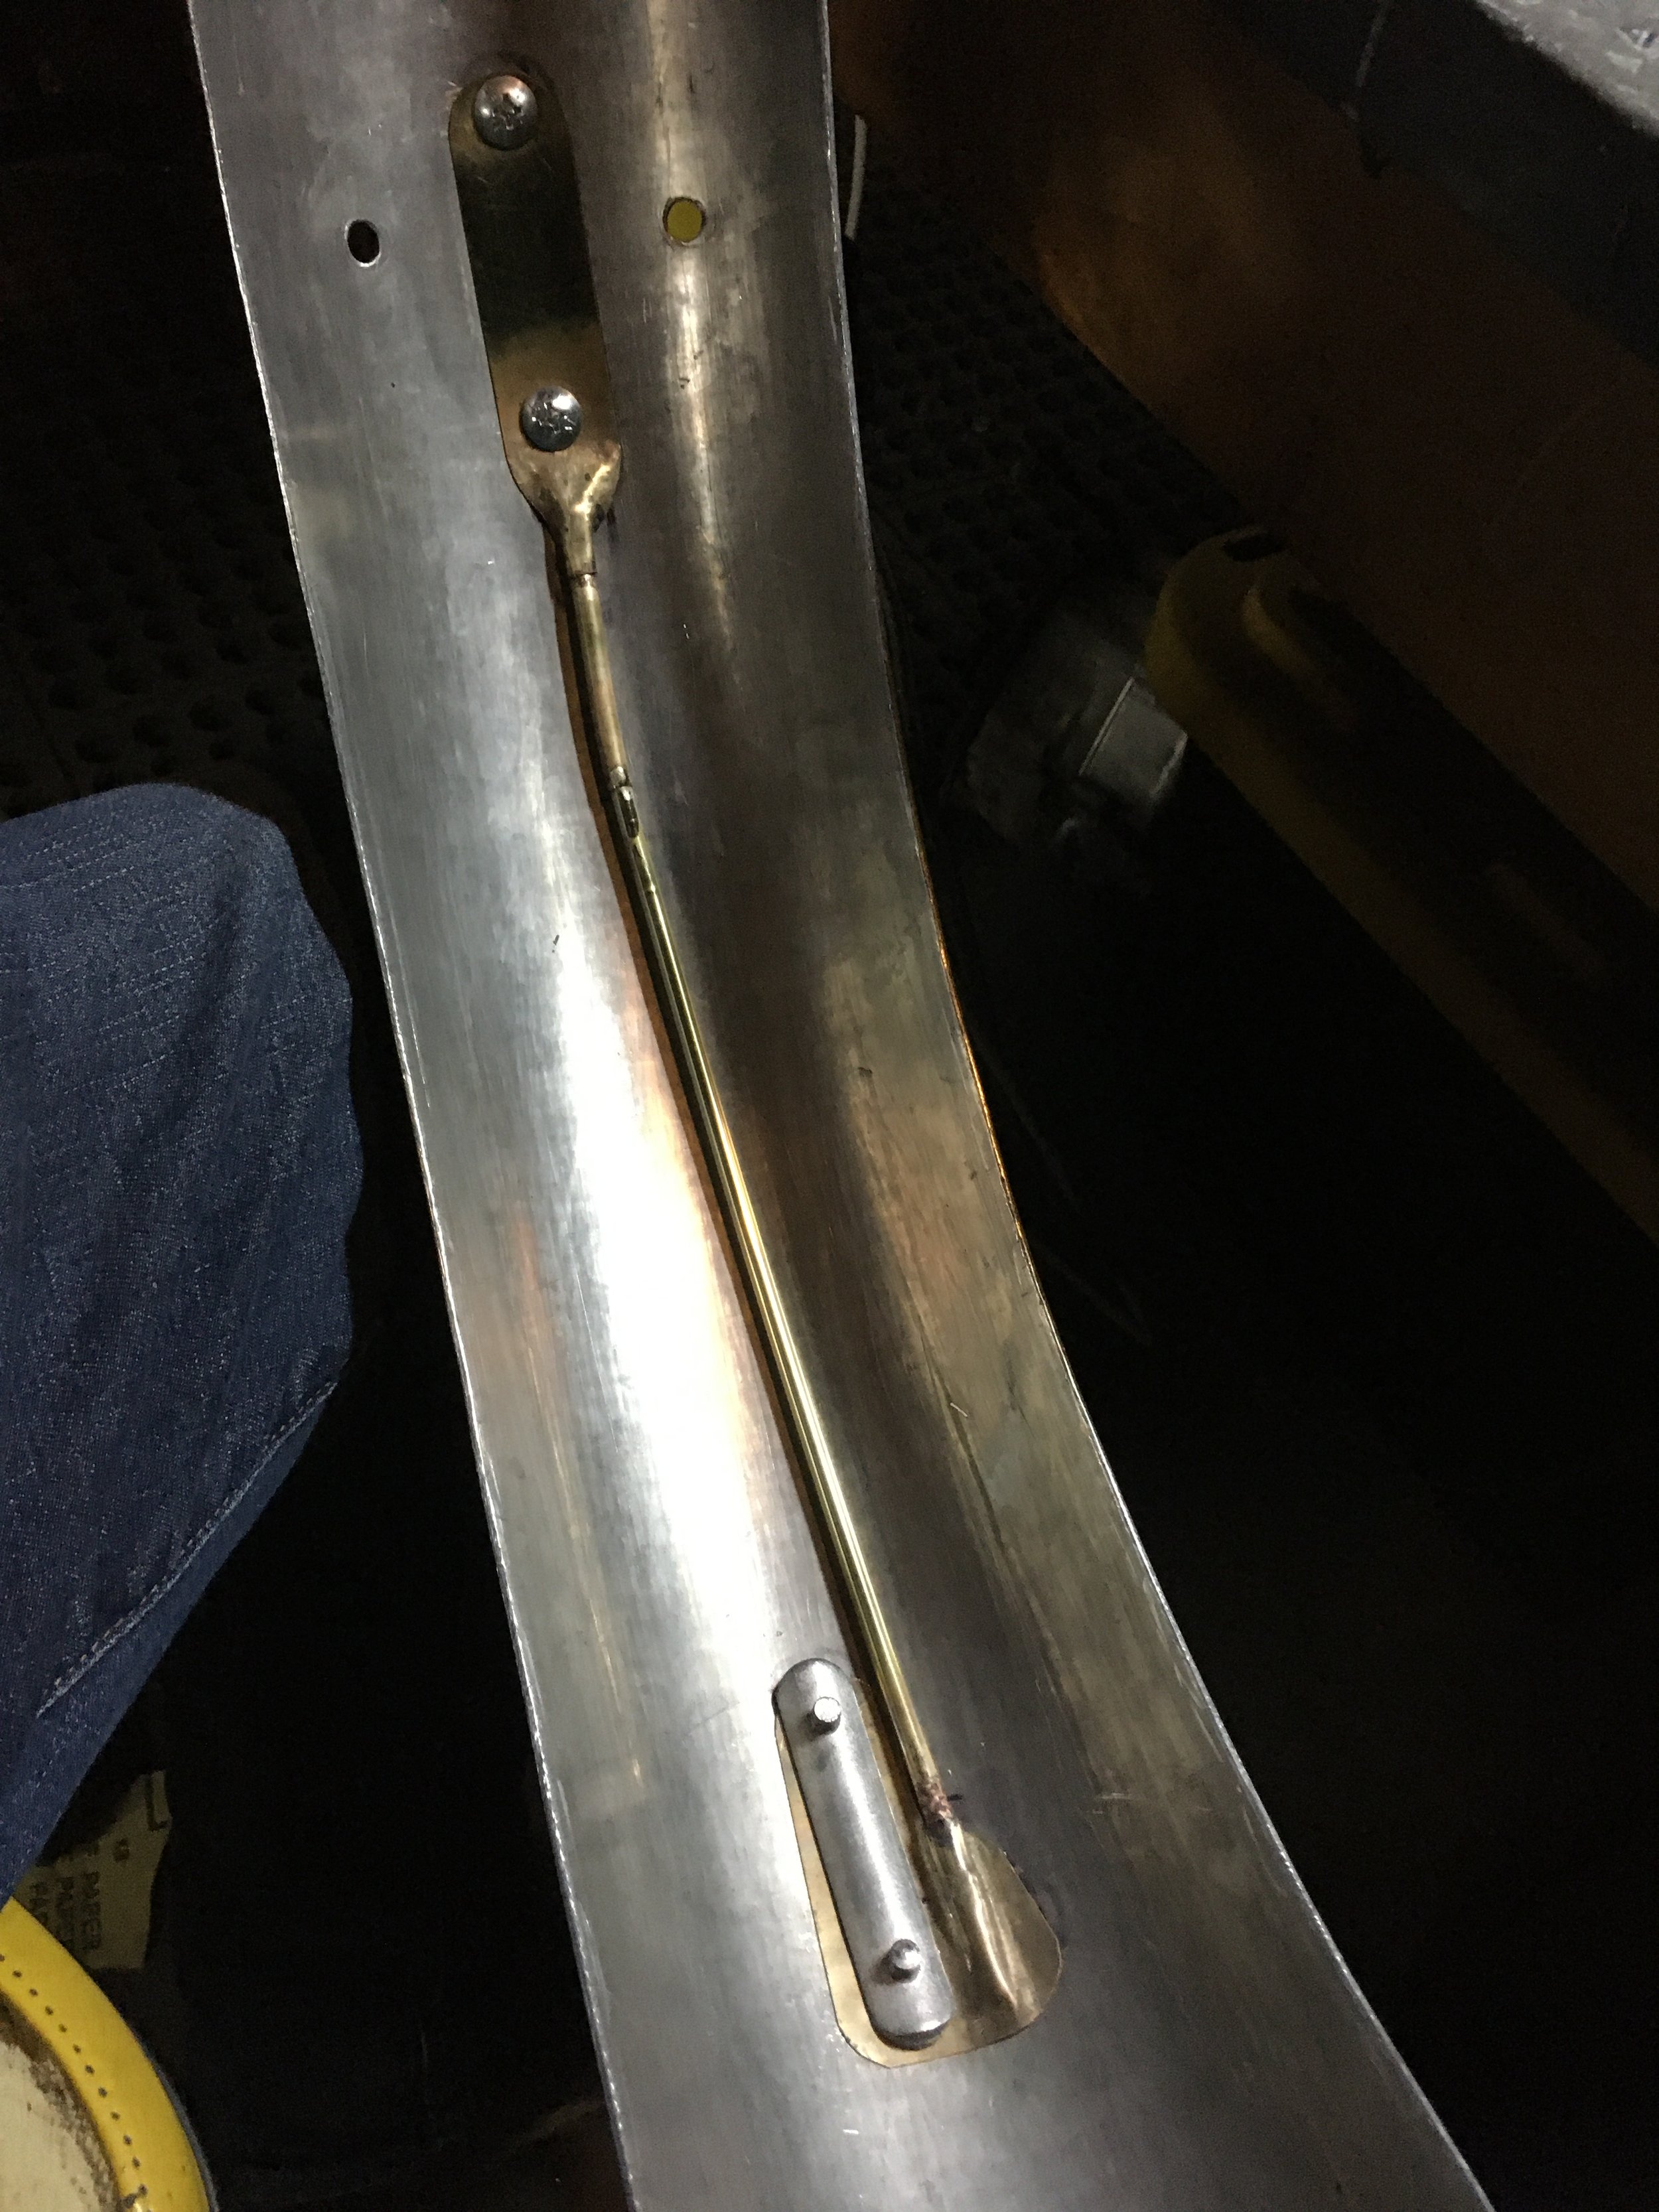
The left side cover was given a frenched-in place for the petcock, which was already passing through this spot.

The body parts lined up, waiting to get to their final spot.

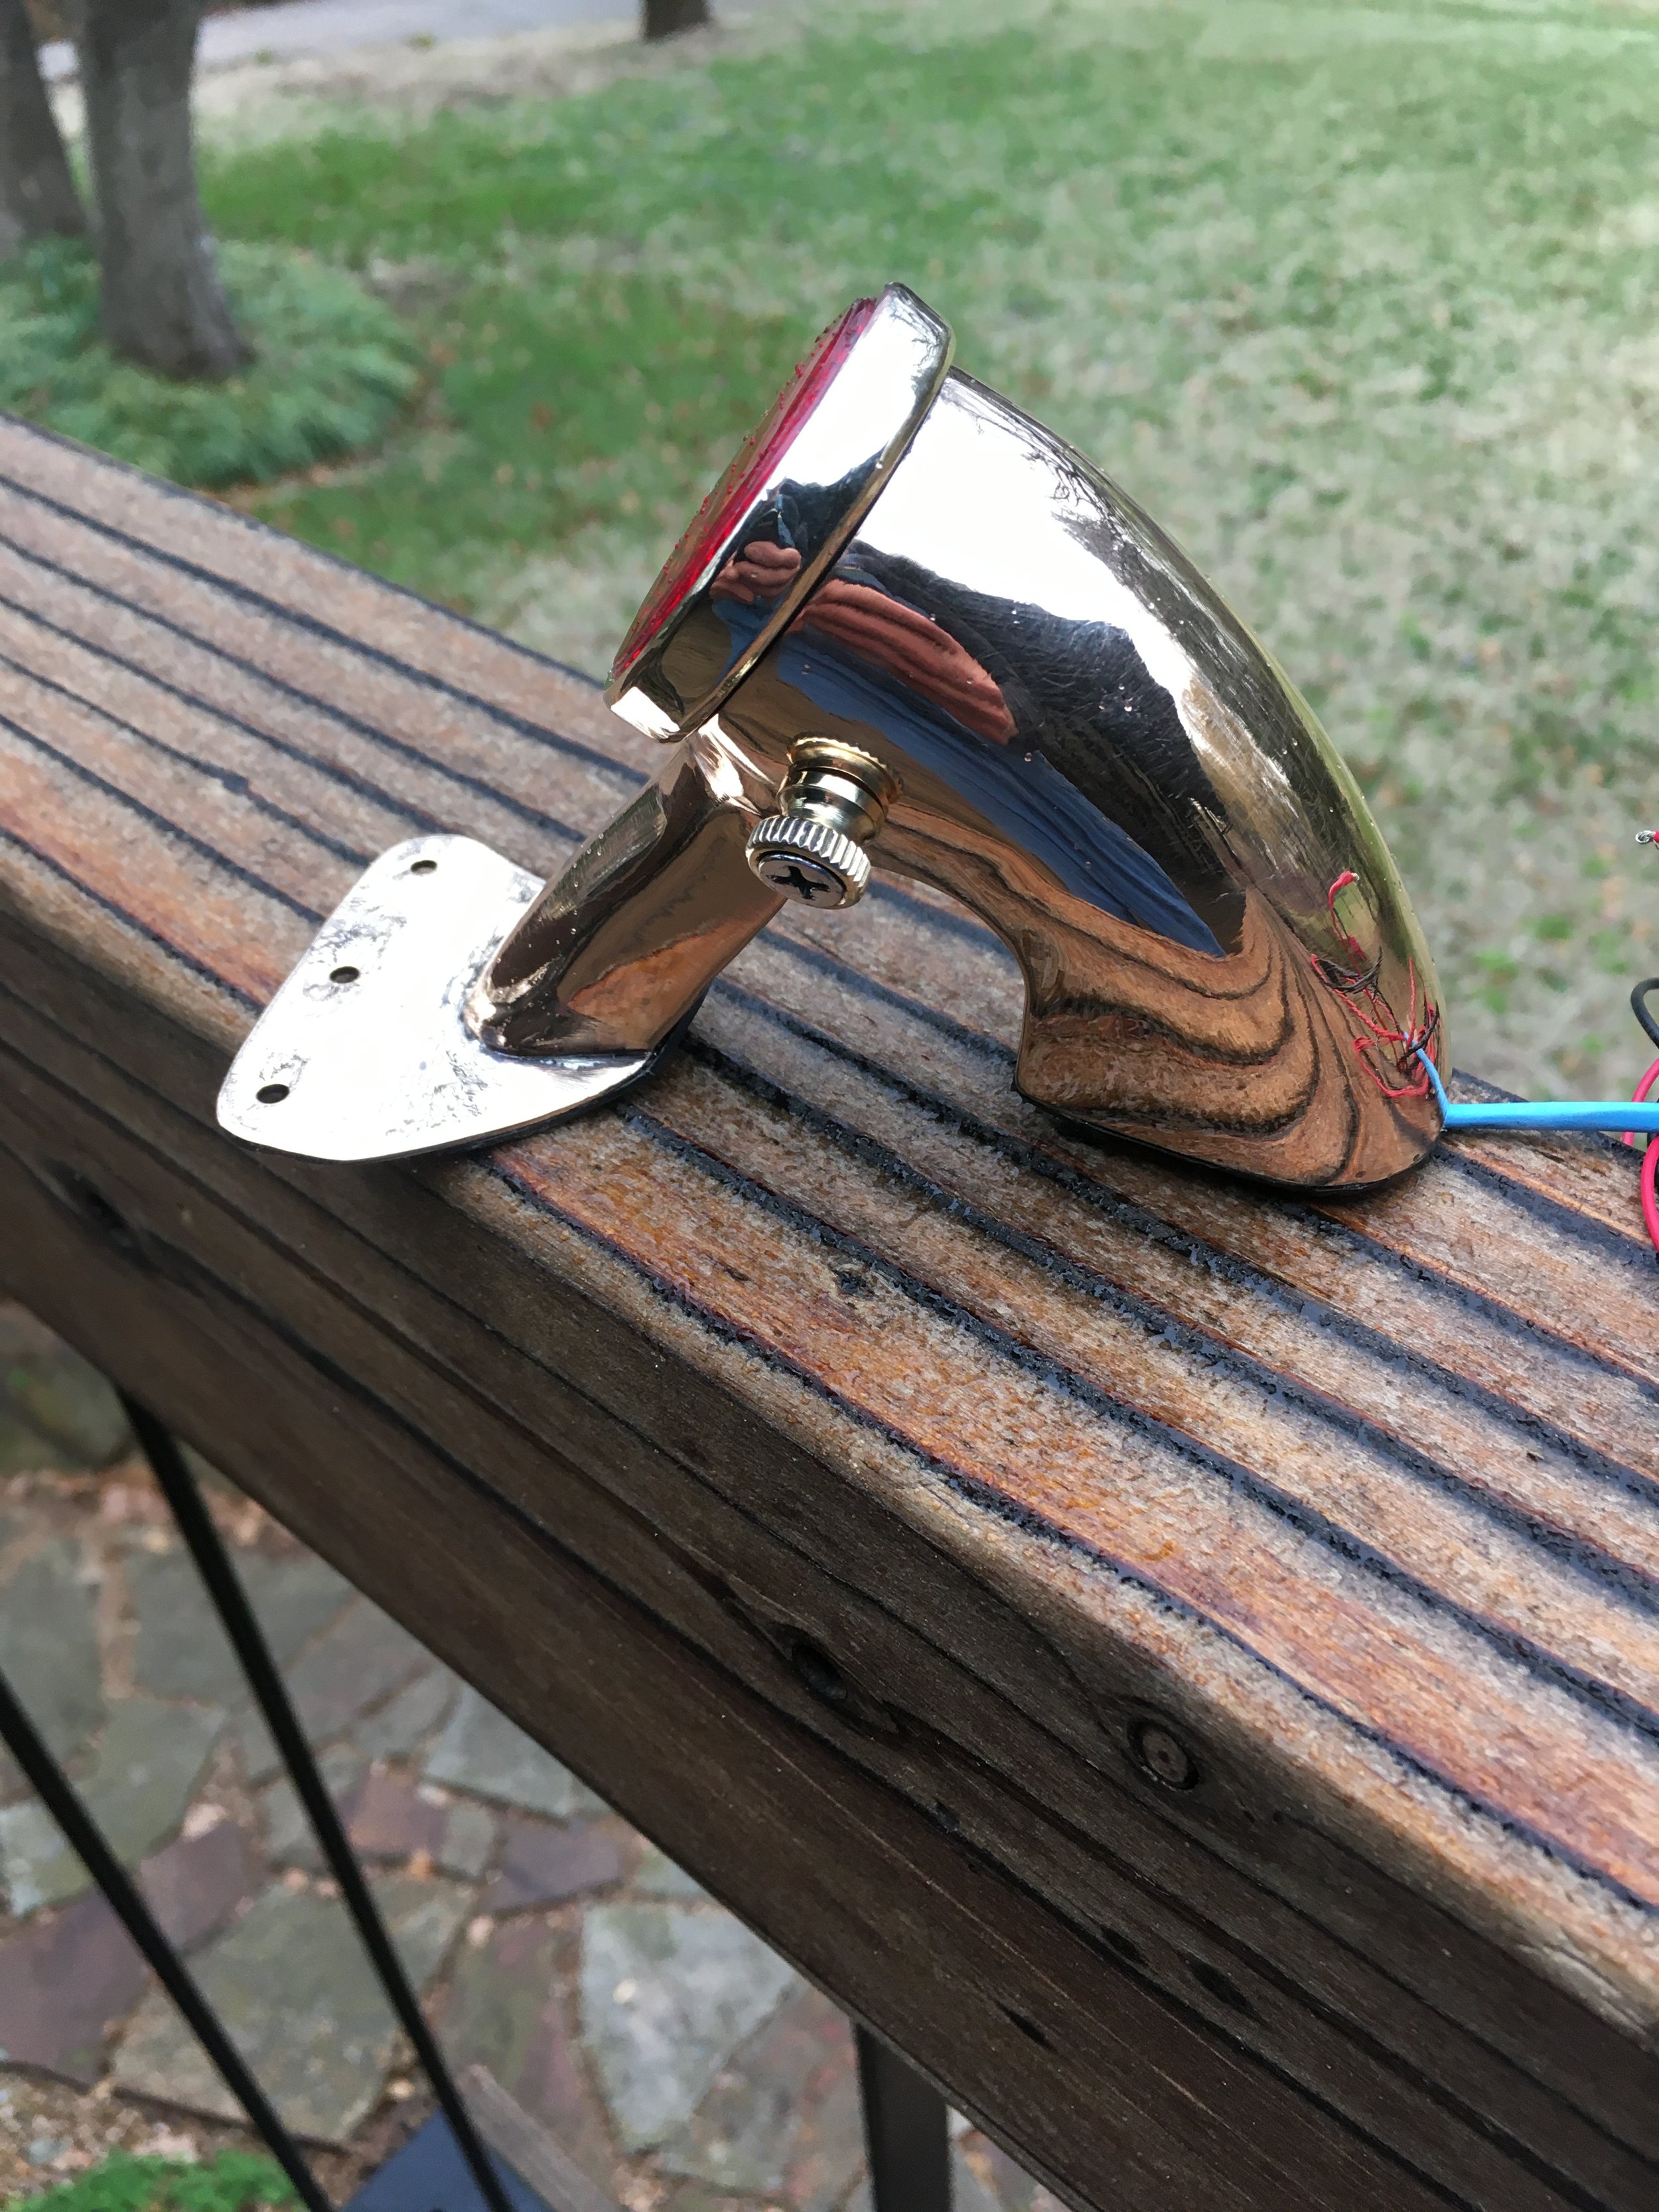
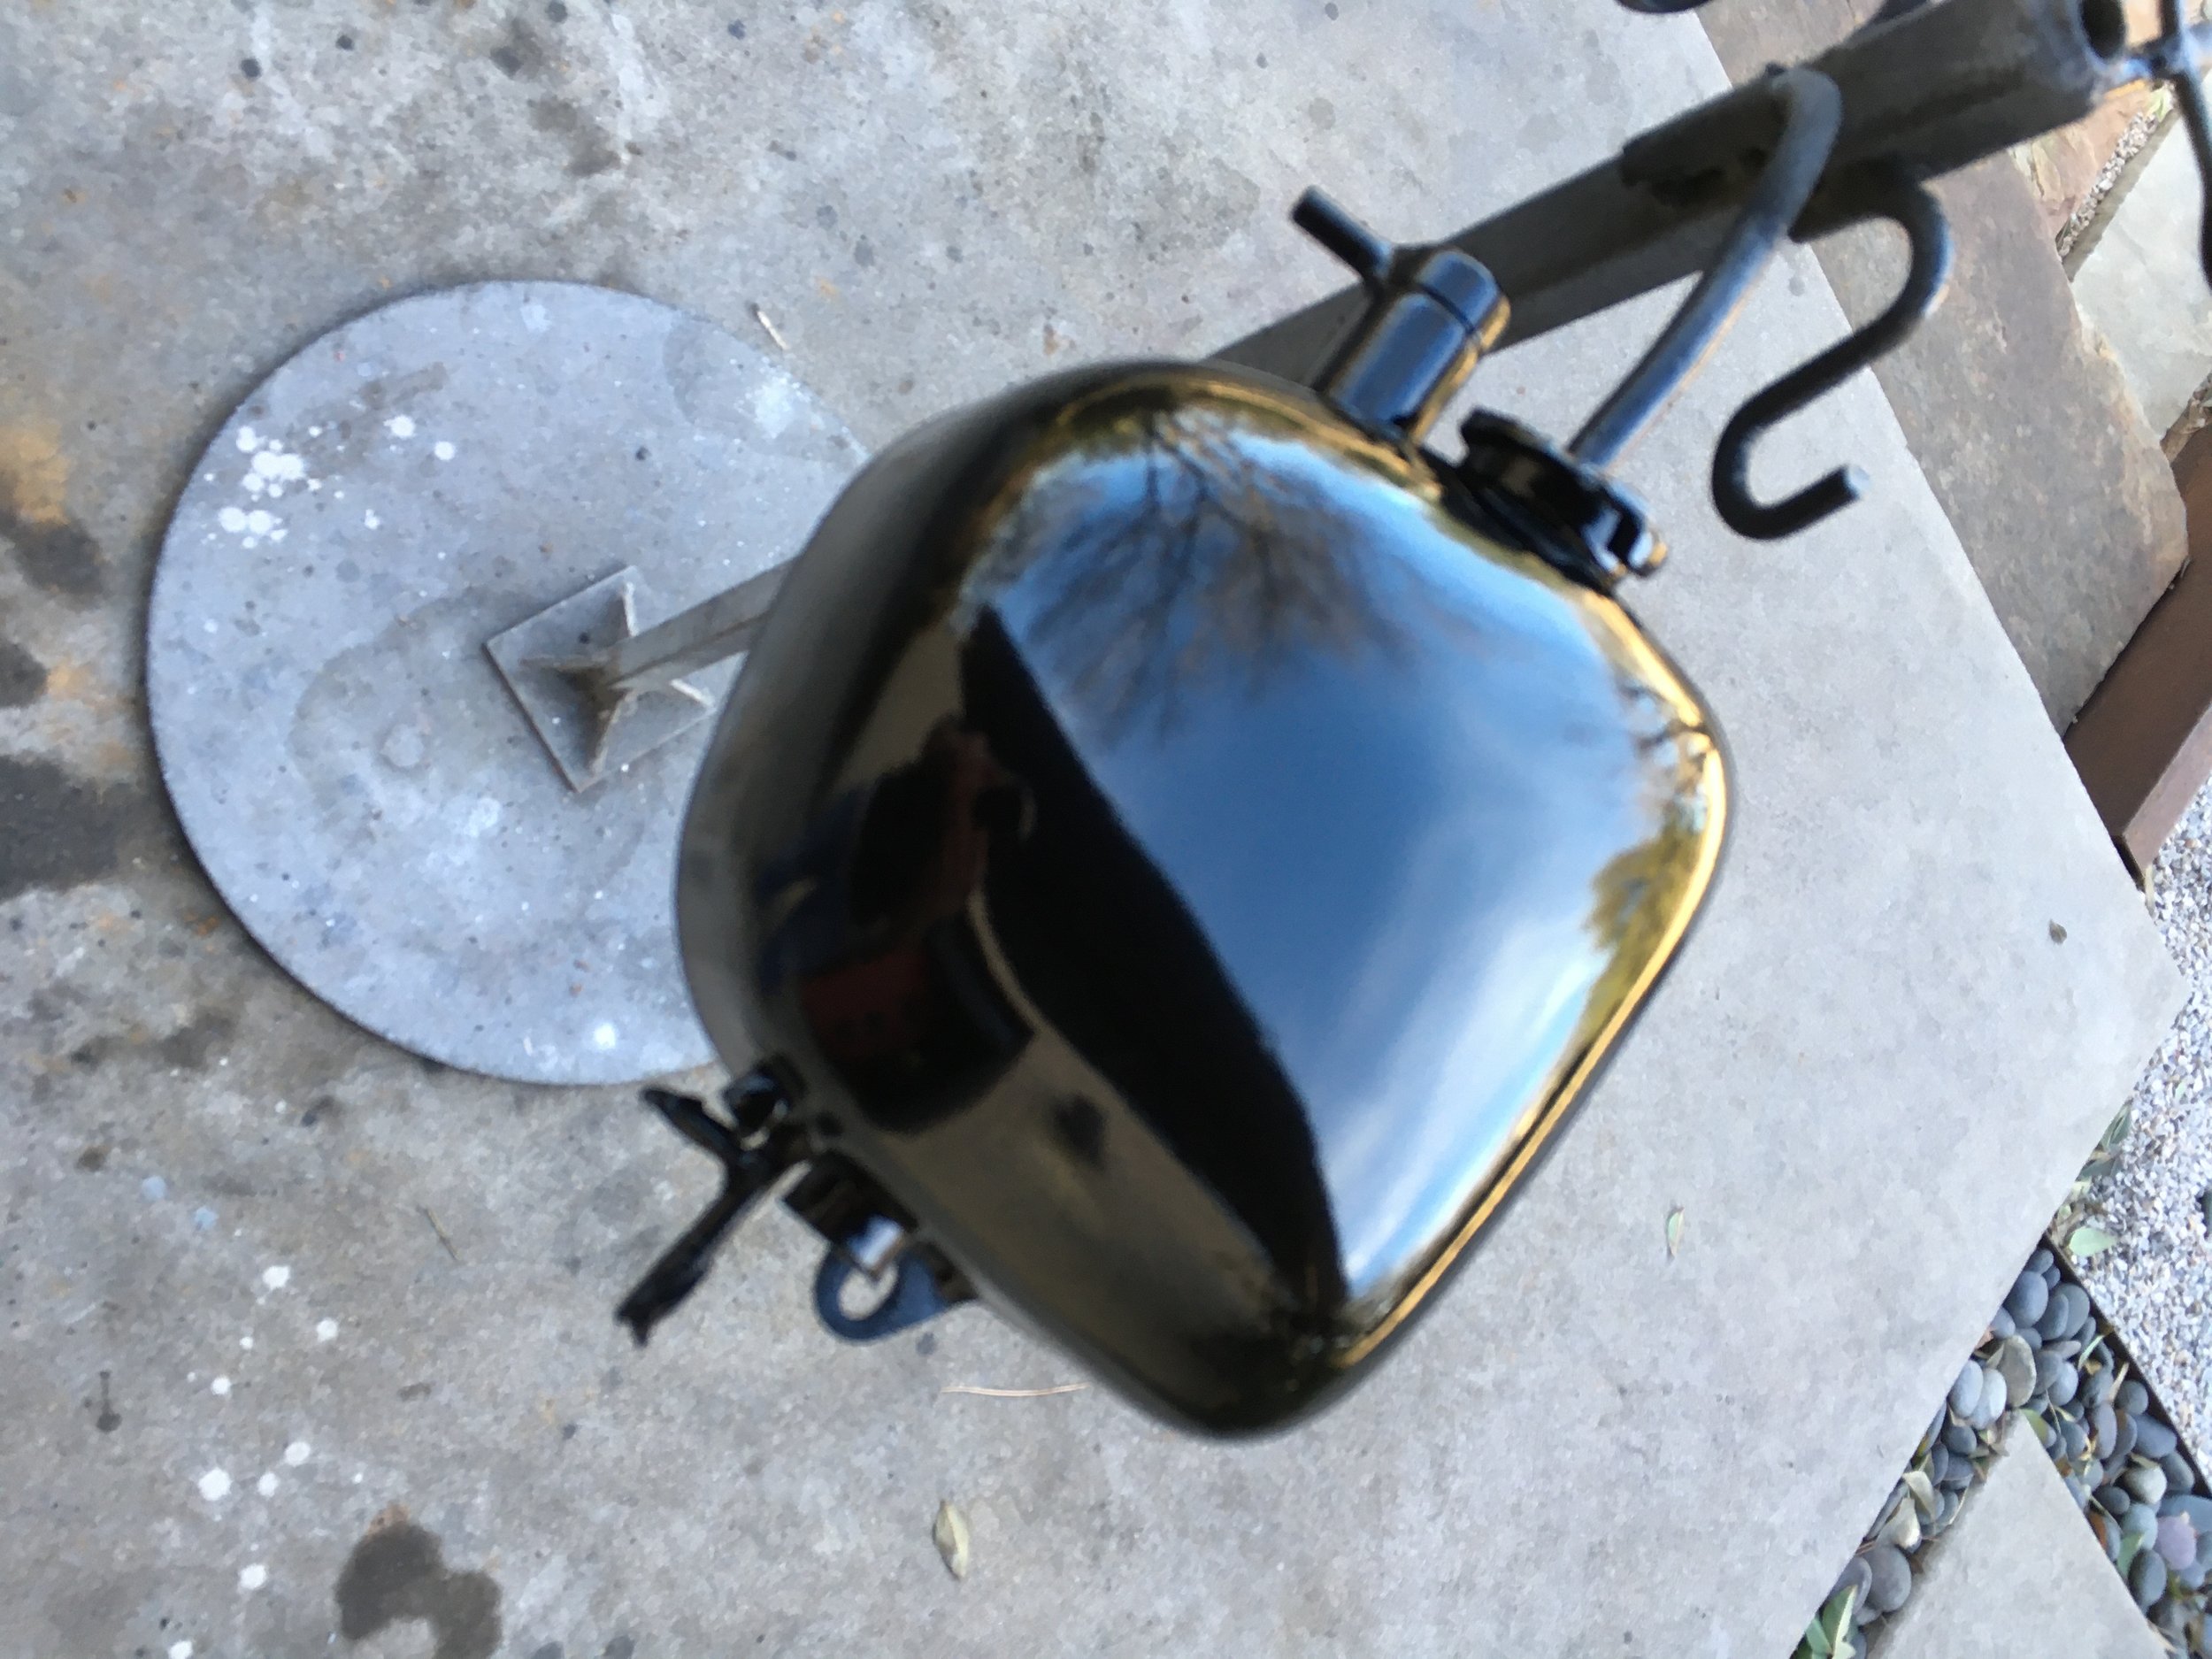
The Lucas light shell and custom parts filling all the holes.

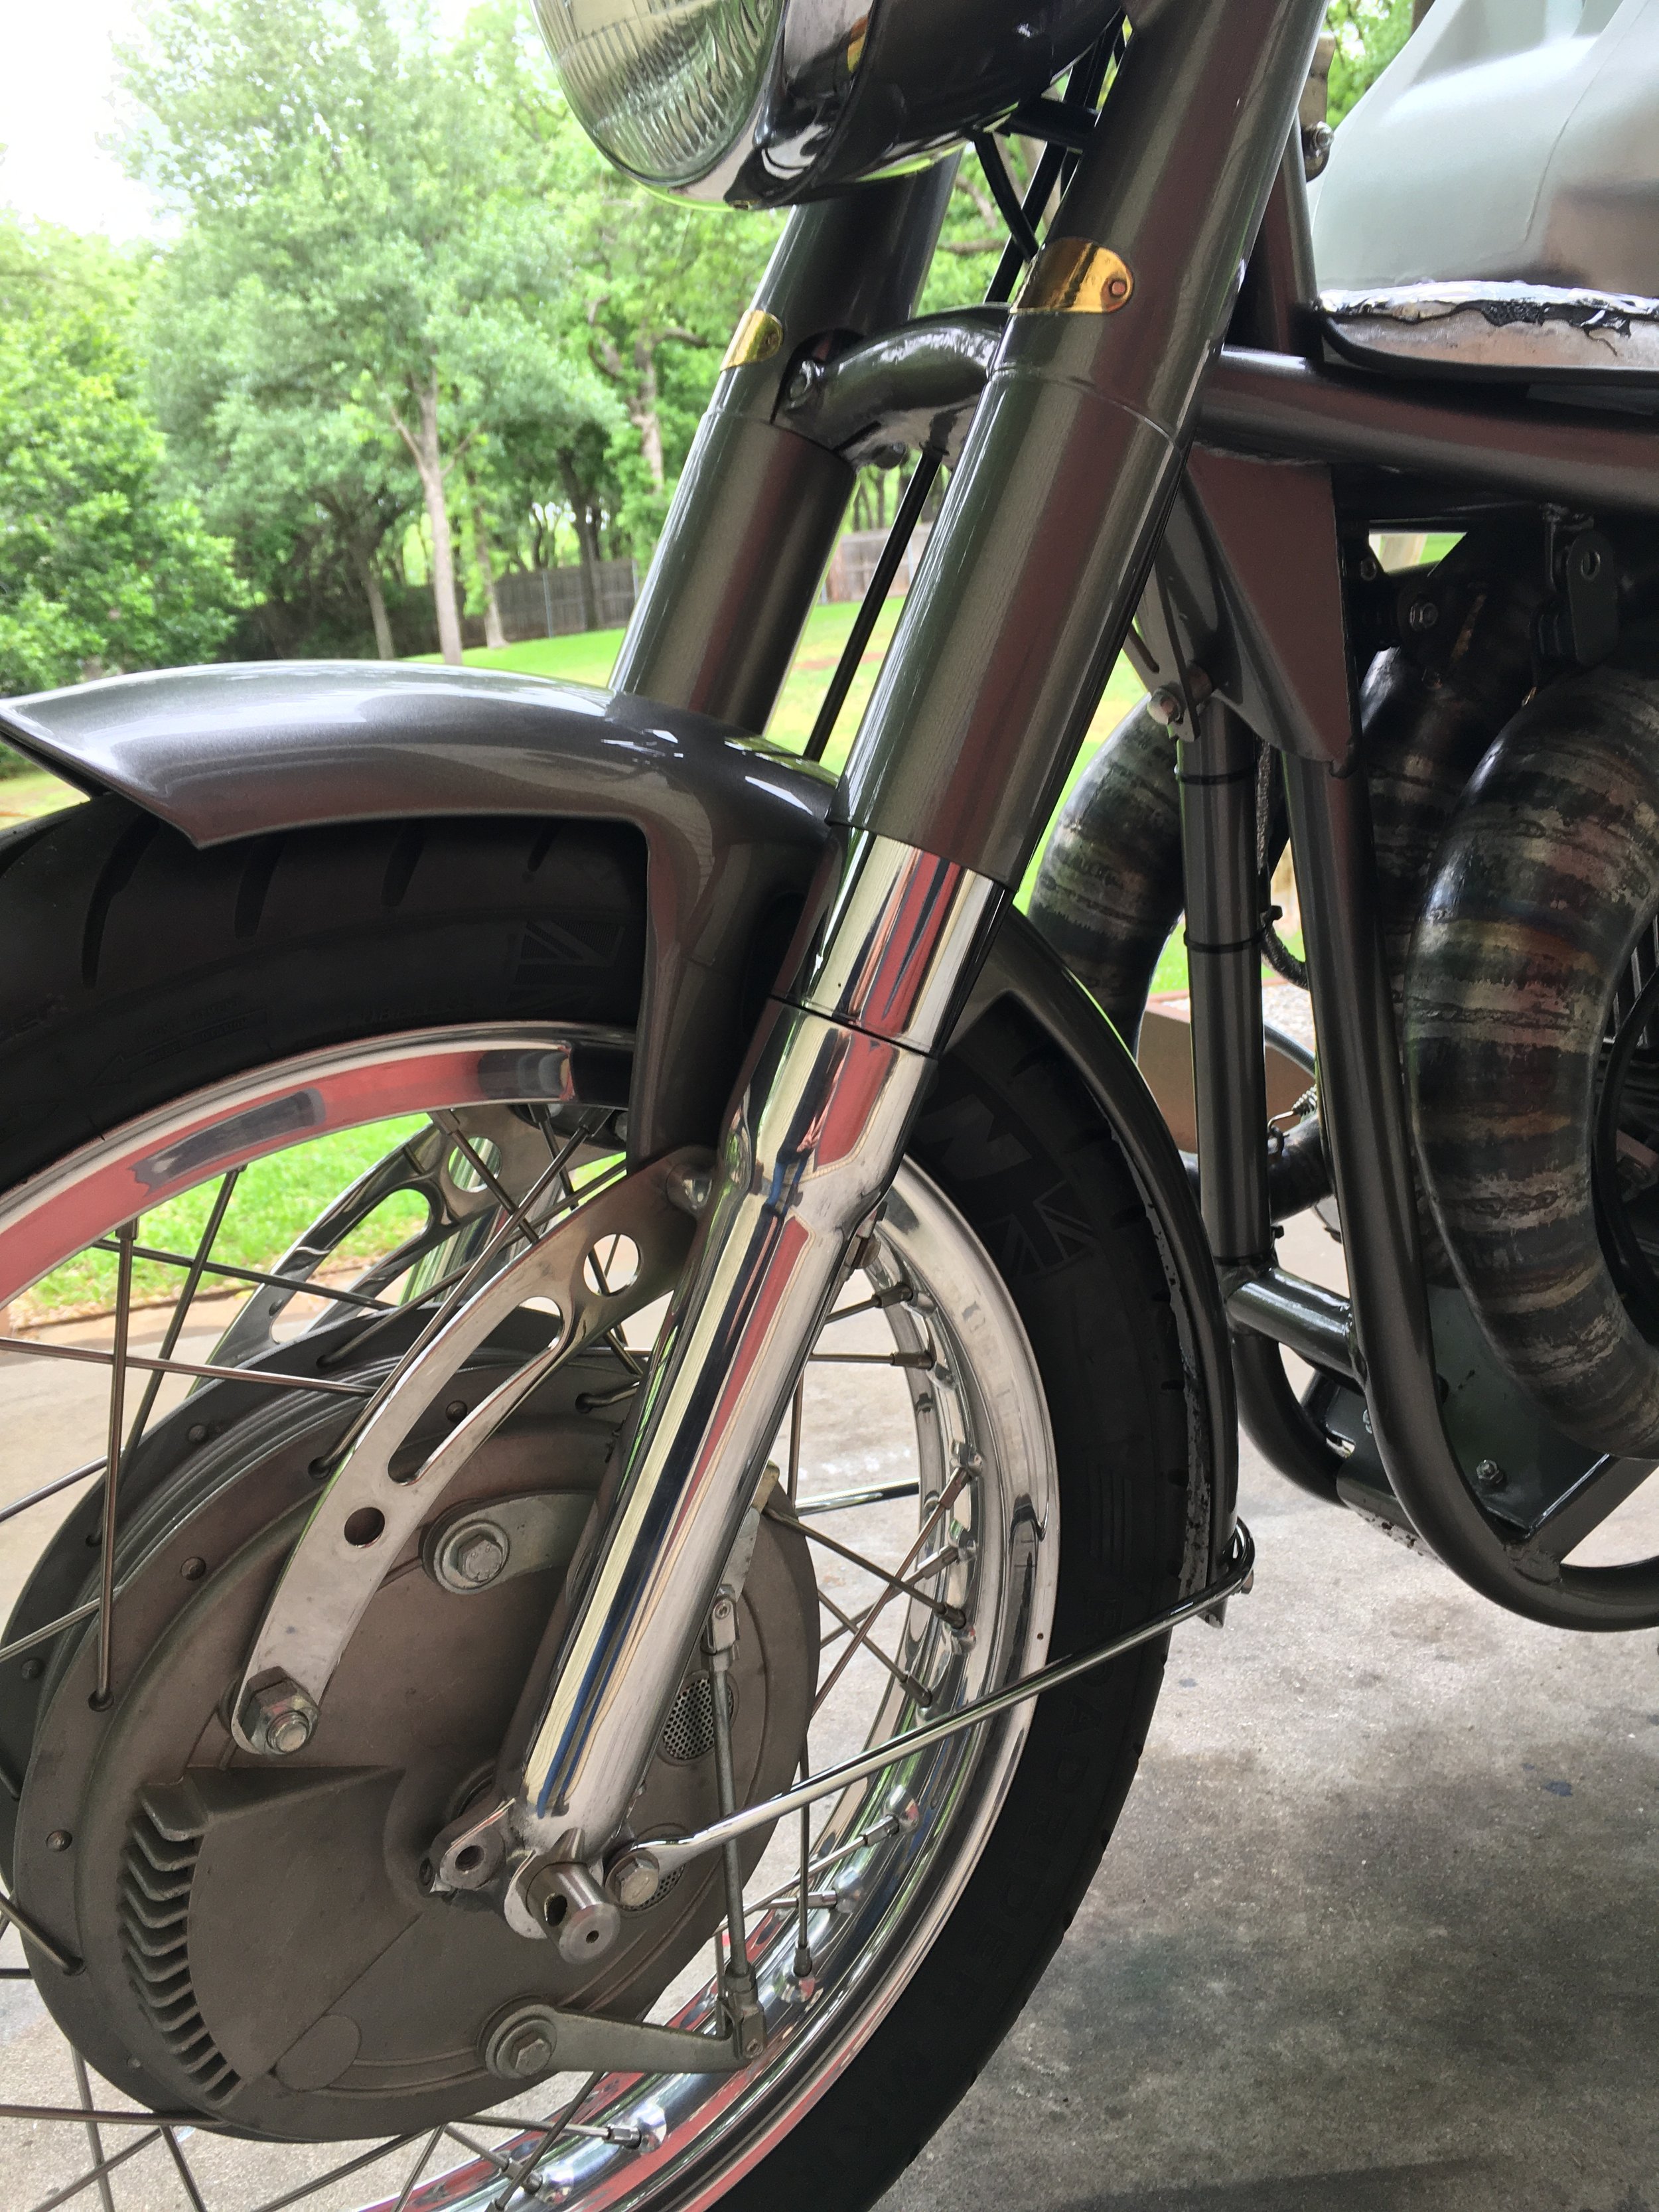
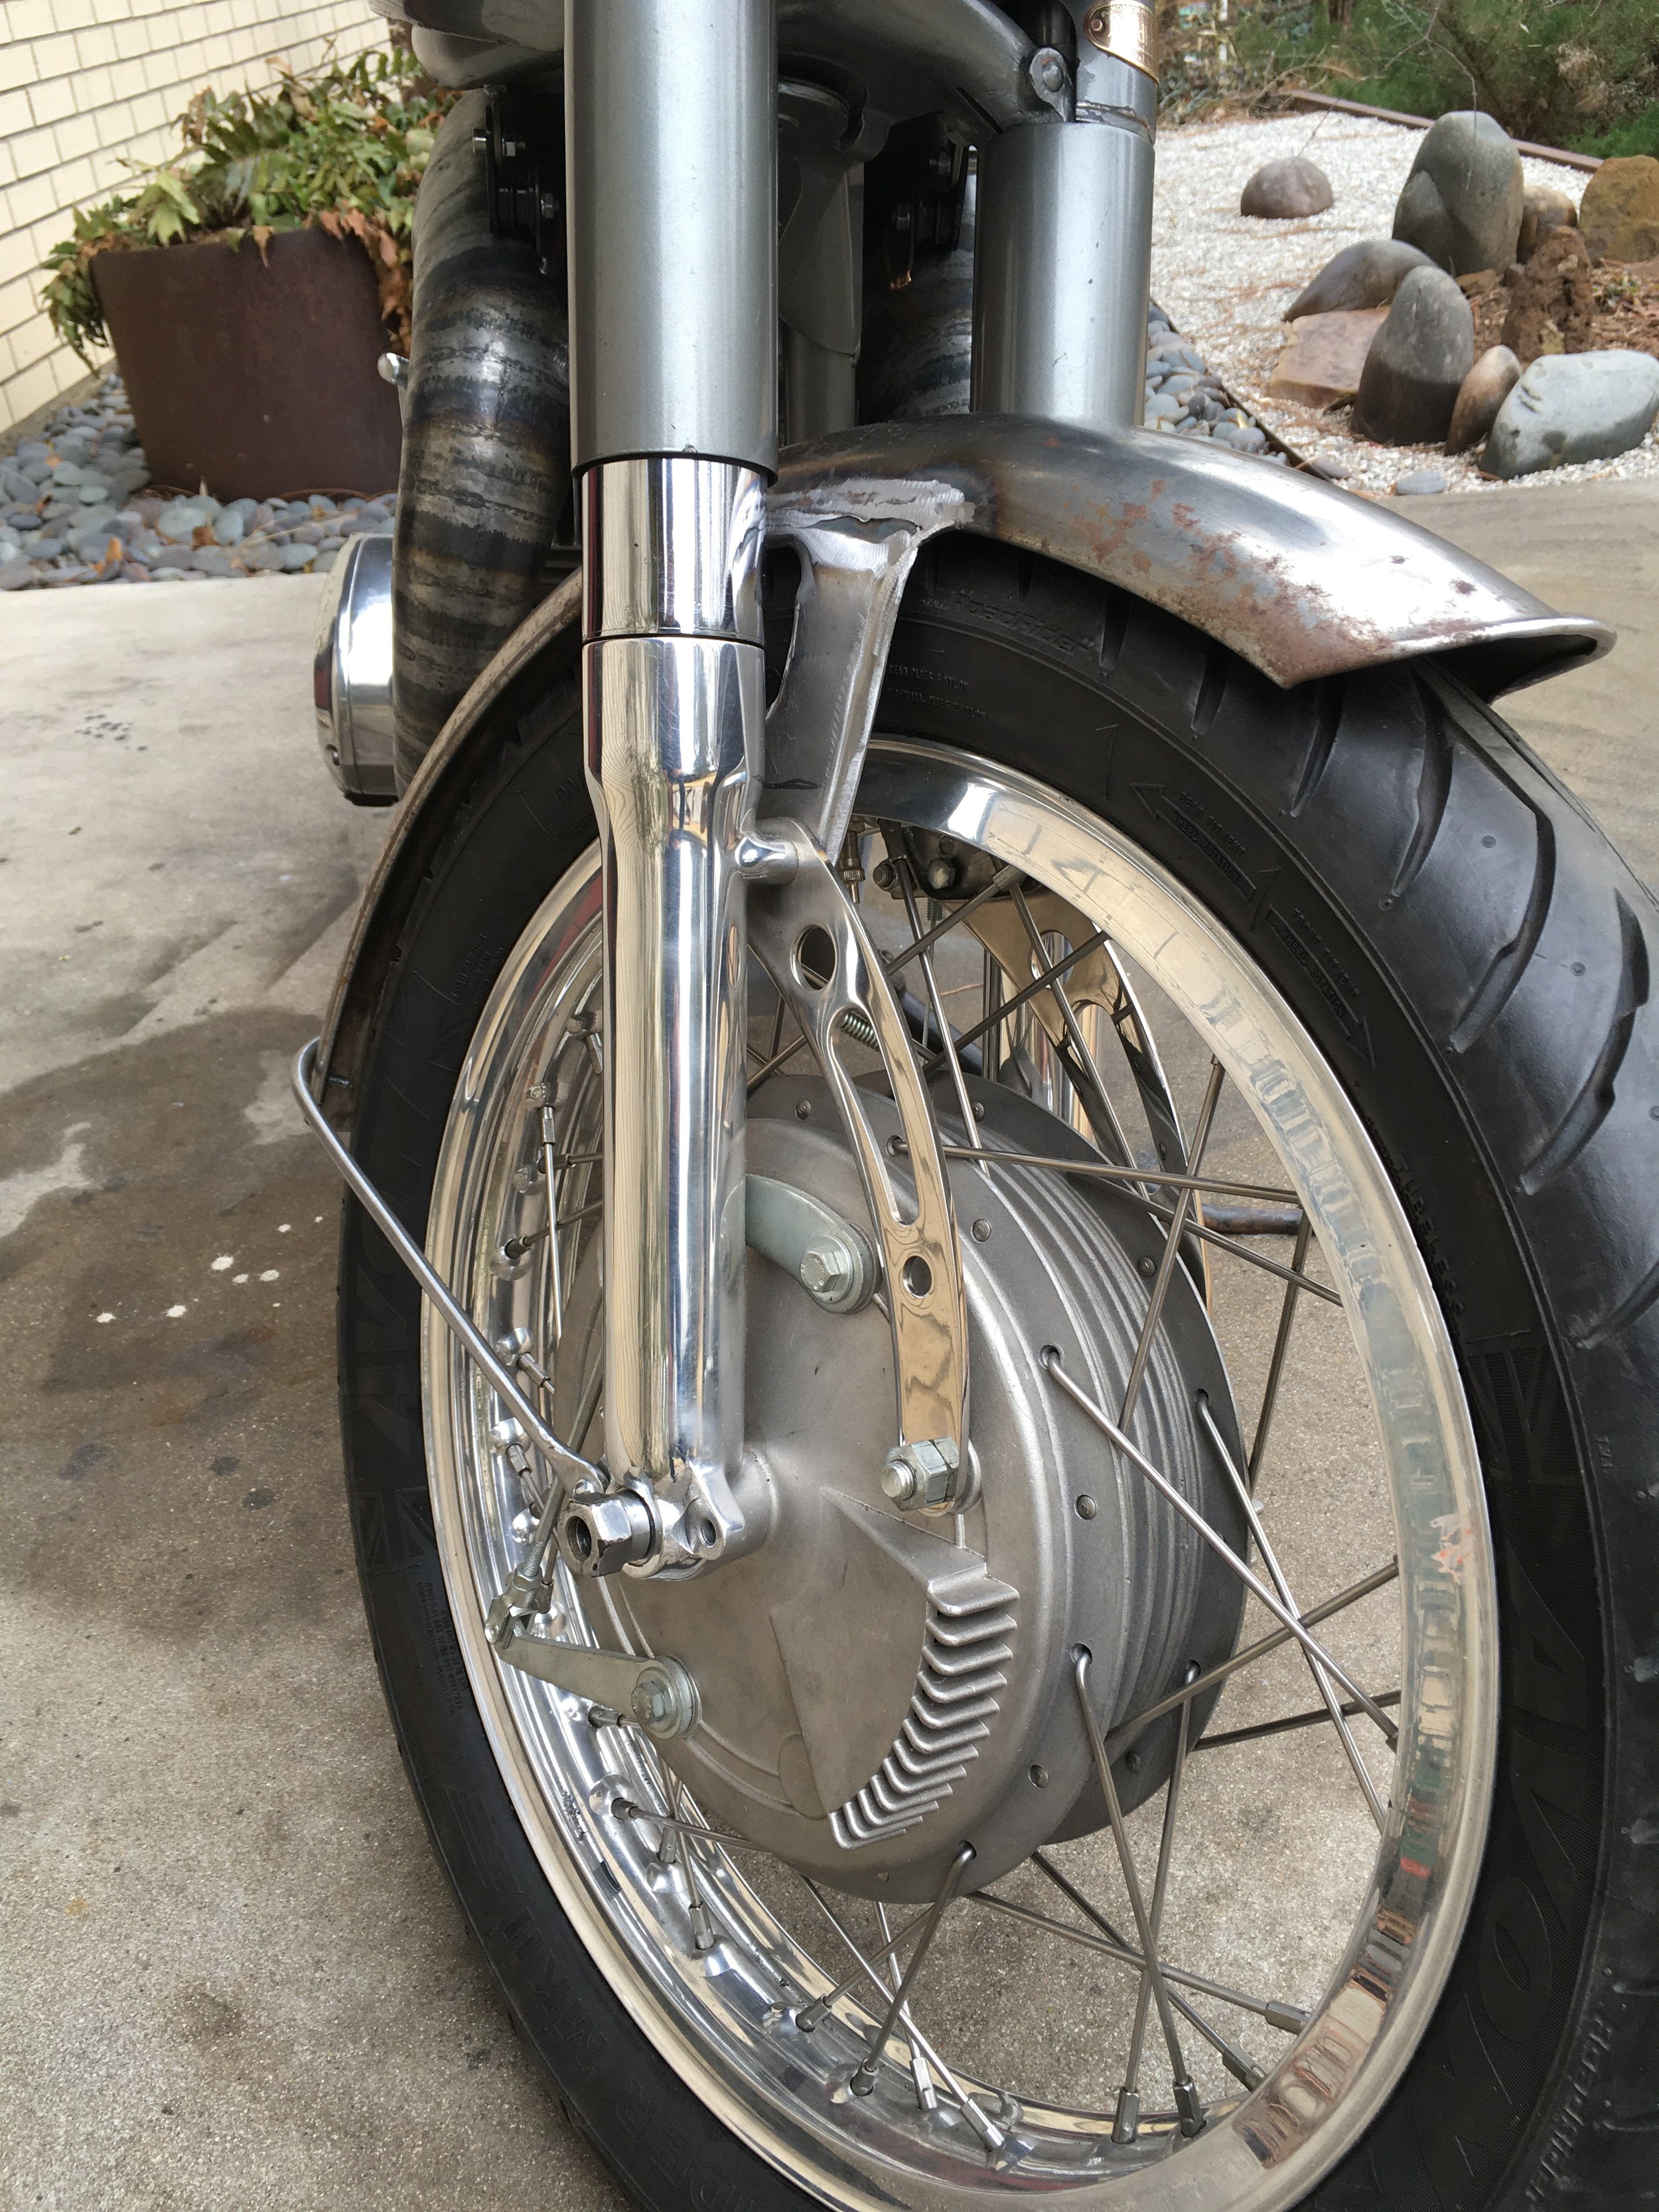
The front fender and bracket in place. Cosentino Engineering upgrades for Norton Roadholder shocks were used to give a more modern ride.

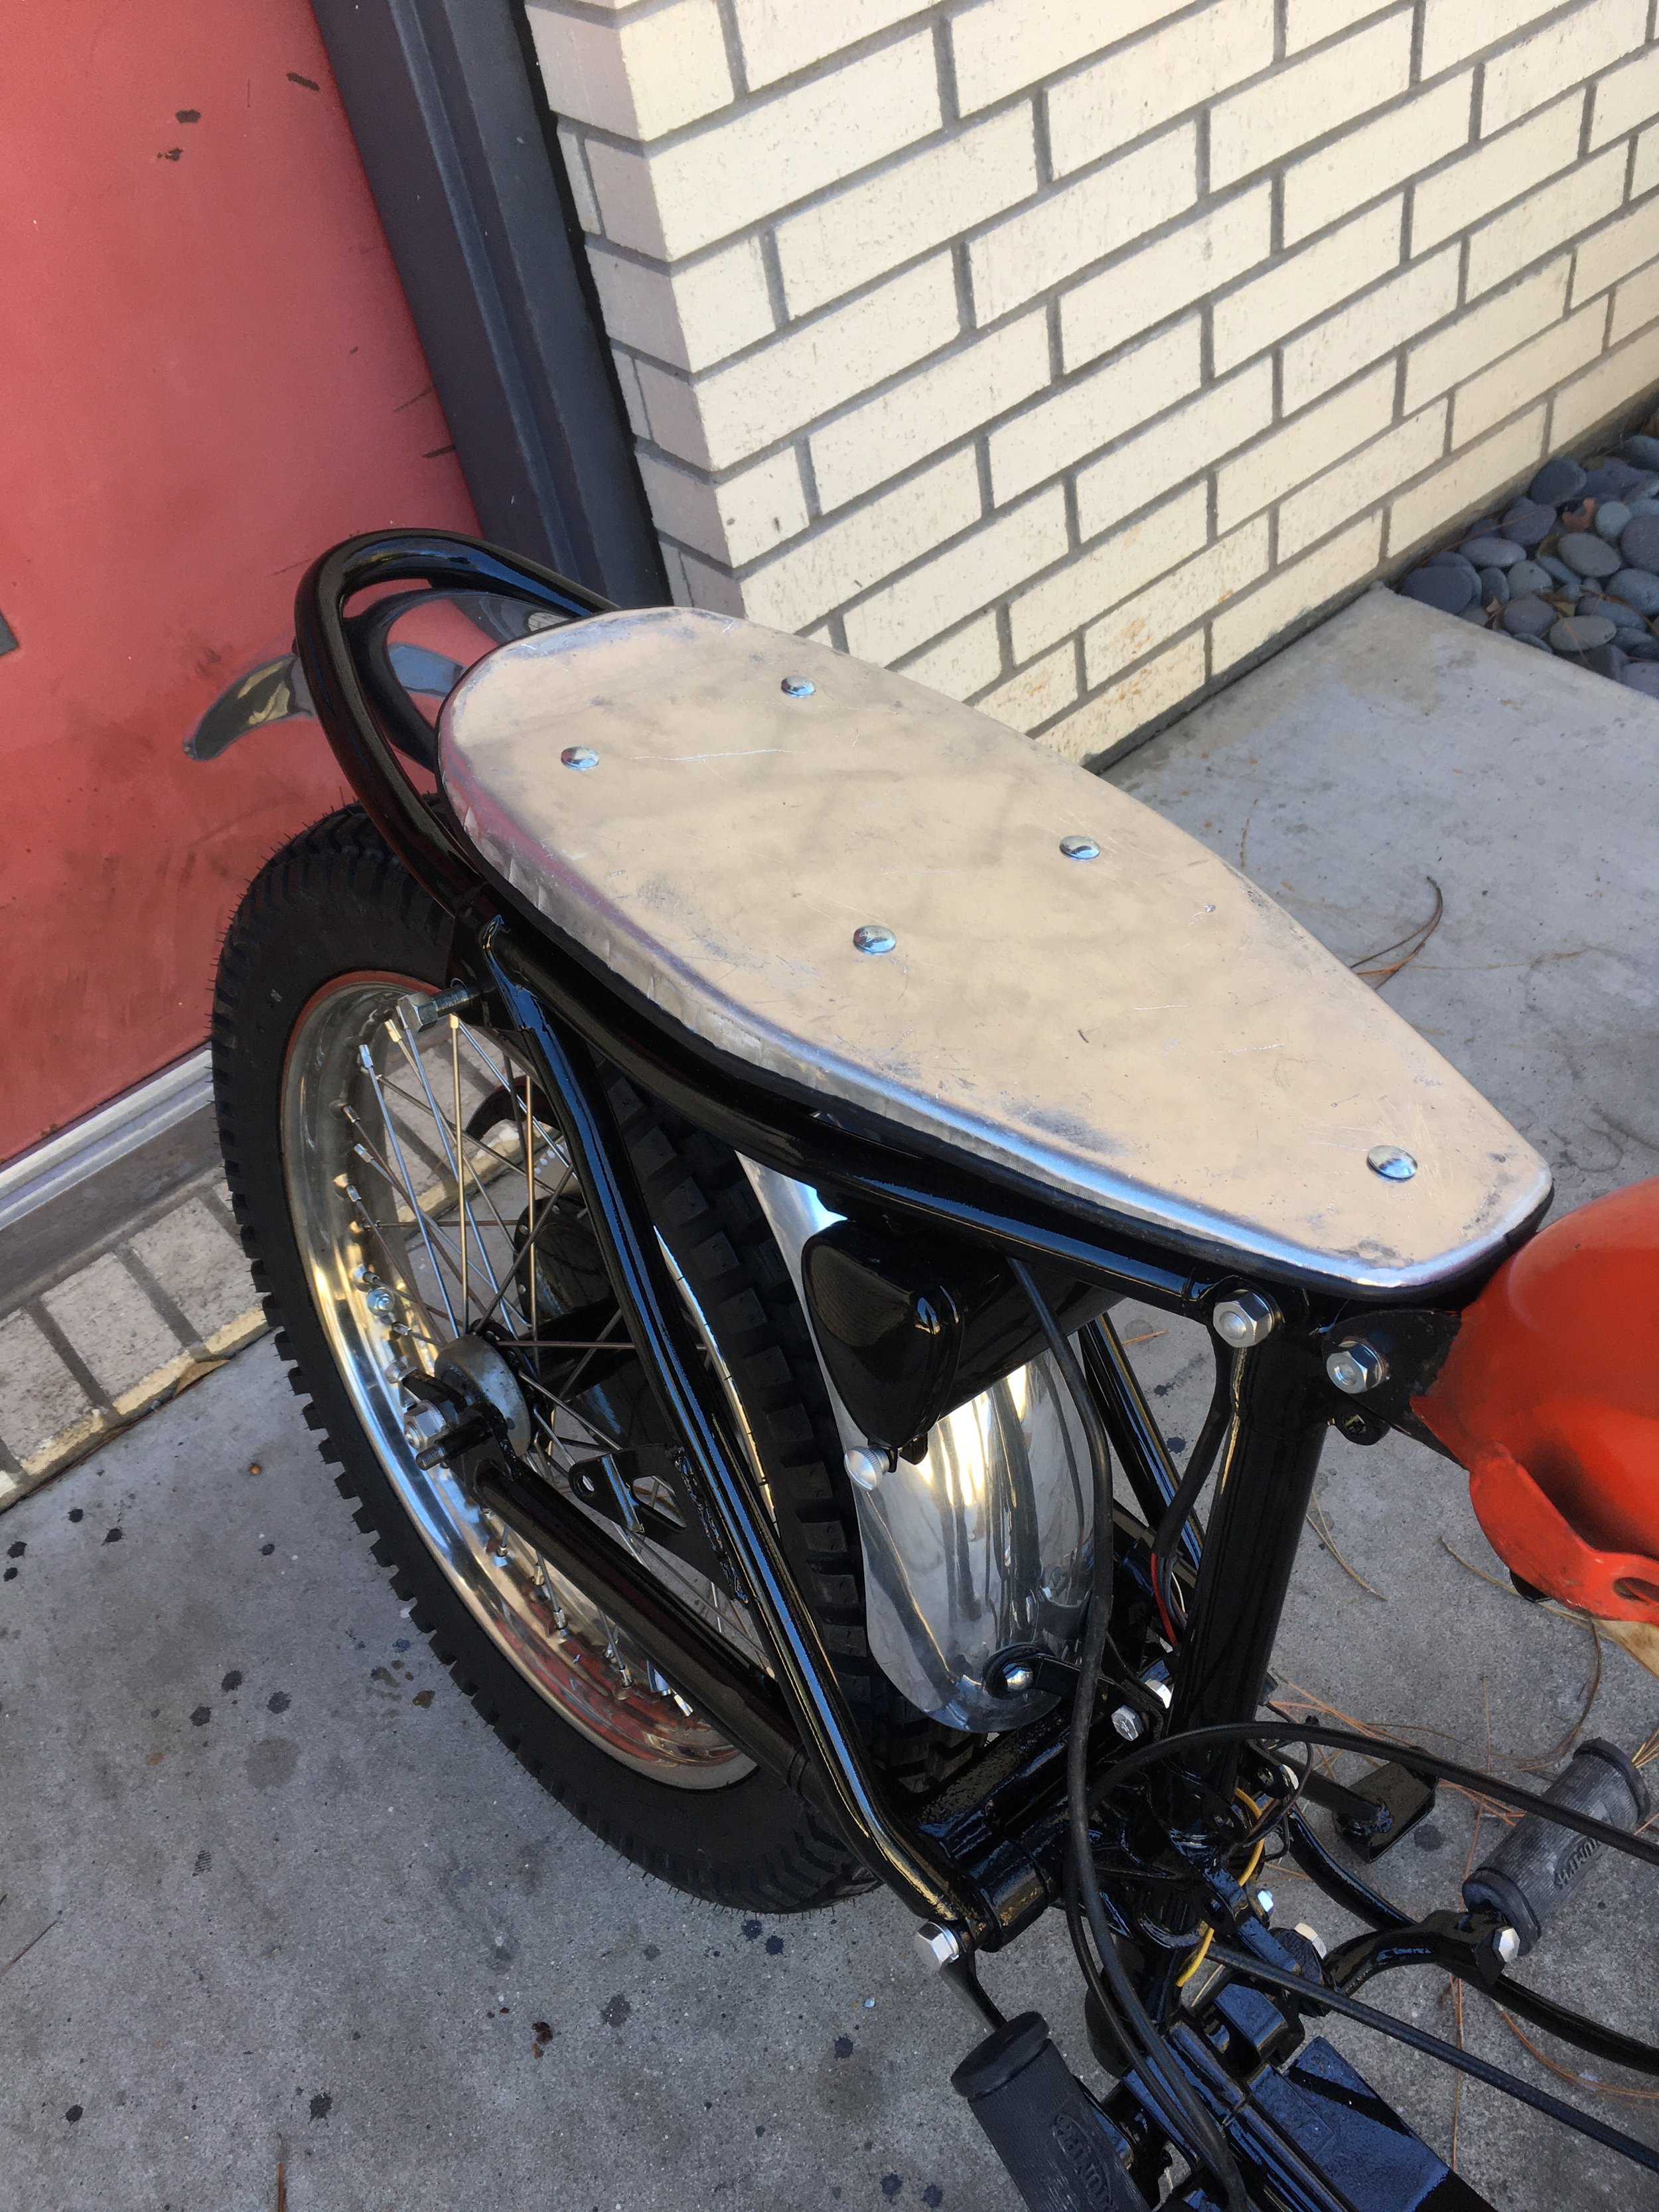
Tail view showing the brake light recess and exhaust pipe cut-out.

Achieving the flat’ straight body line on the seat and tank bottom was a little tricky on the Featherbed frame, requiring some elevation of both to overcome the dip in the center of the frame.

Too bad this lovely view will be obscured by the tank. The removable heat shield under the tank clears the center pipe by just a few millimeters.

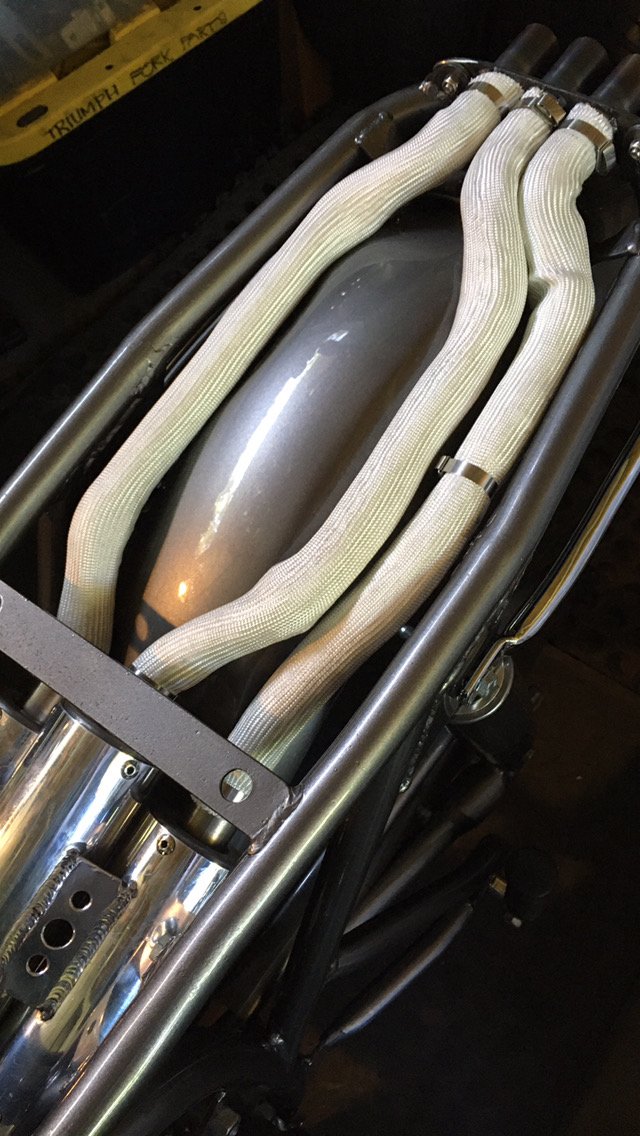
More heat mitigation, some woven fiberglass insulation on the pipes under the seat.

Early on in reassembly, the straight tank-seat line can be seen here.

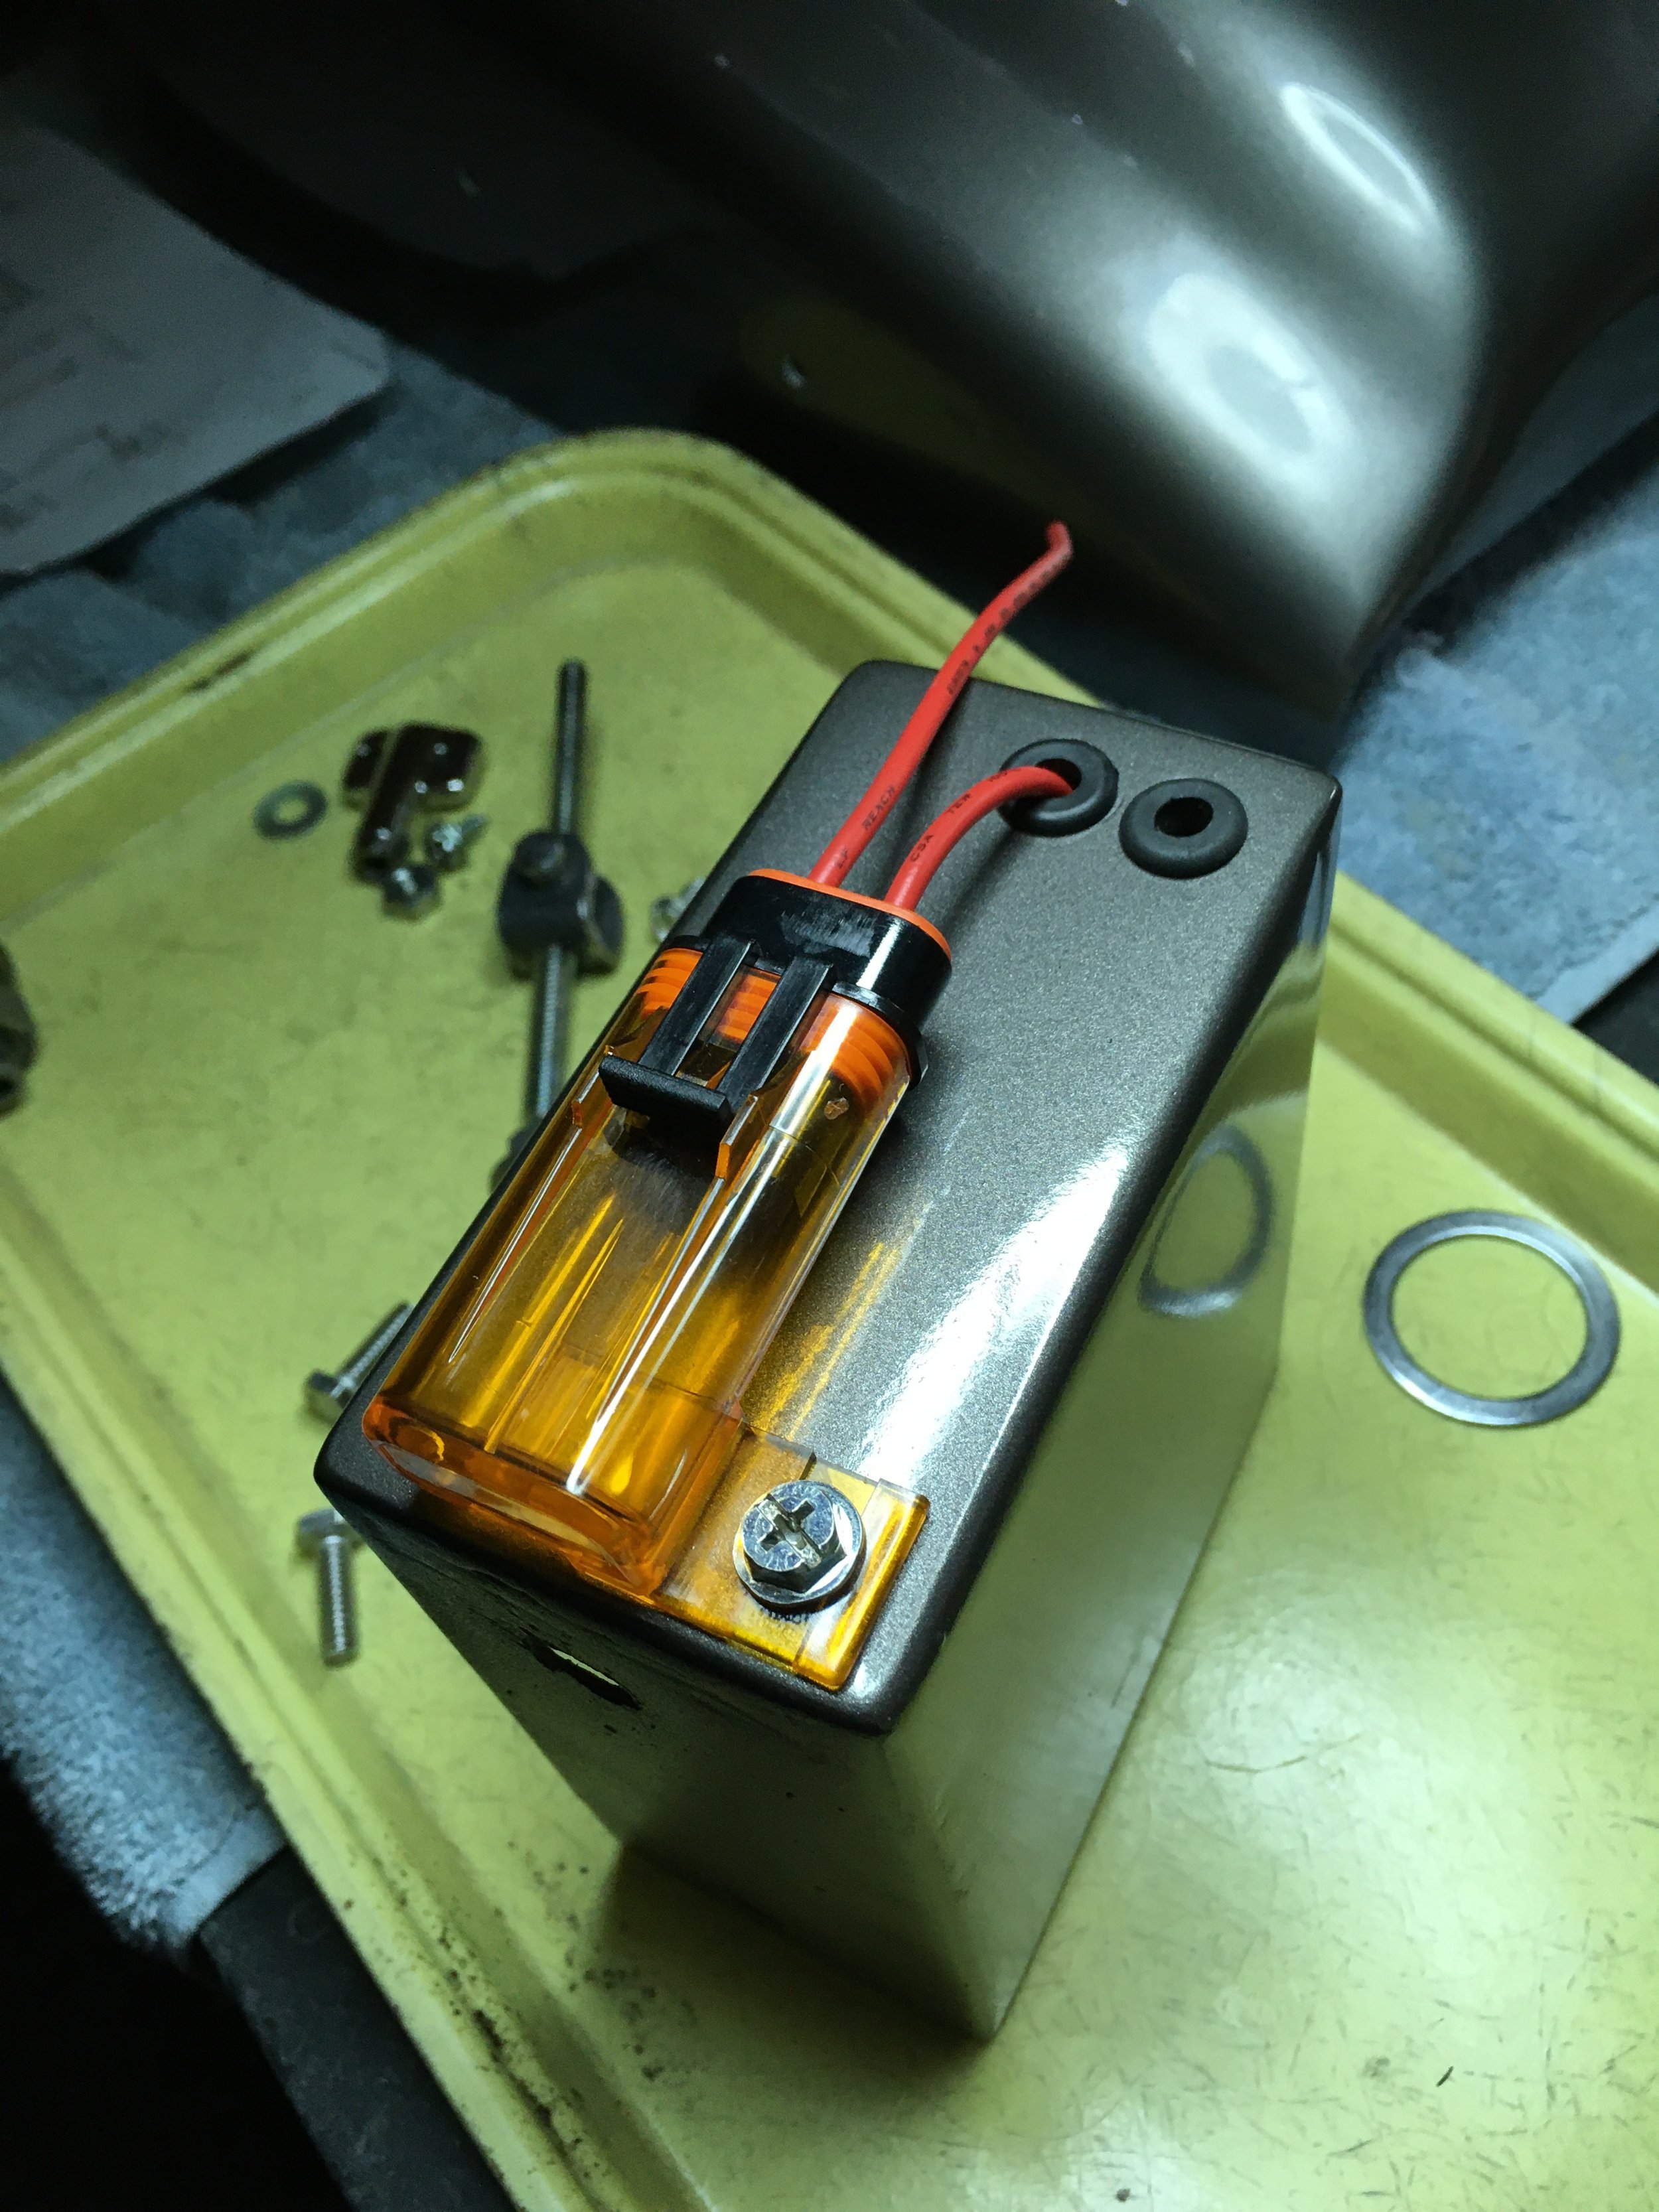
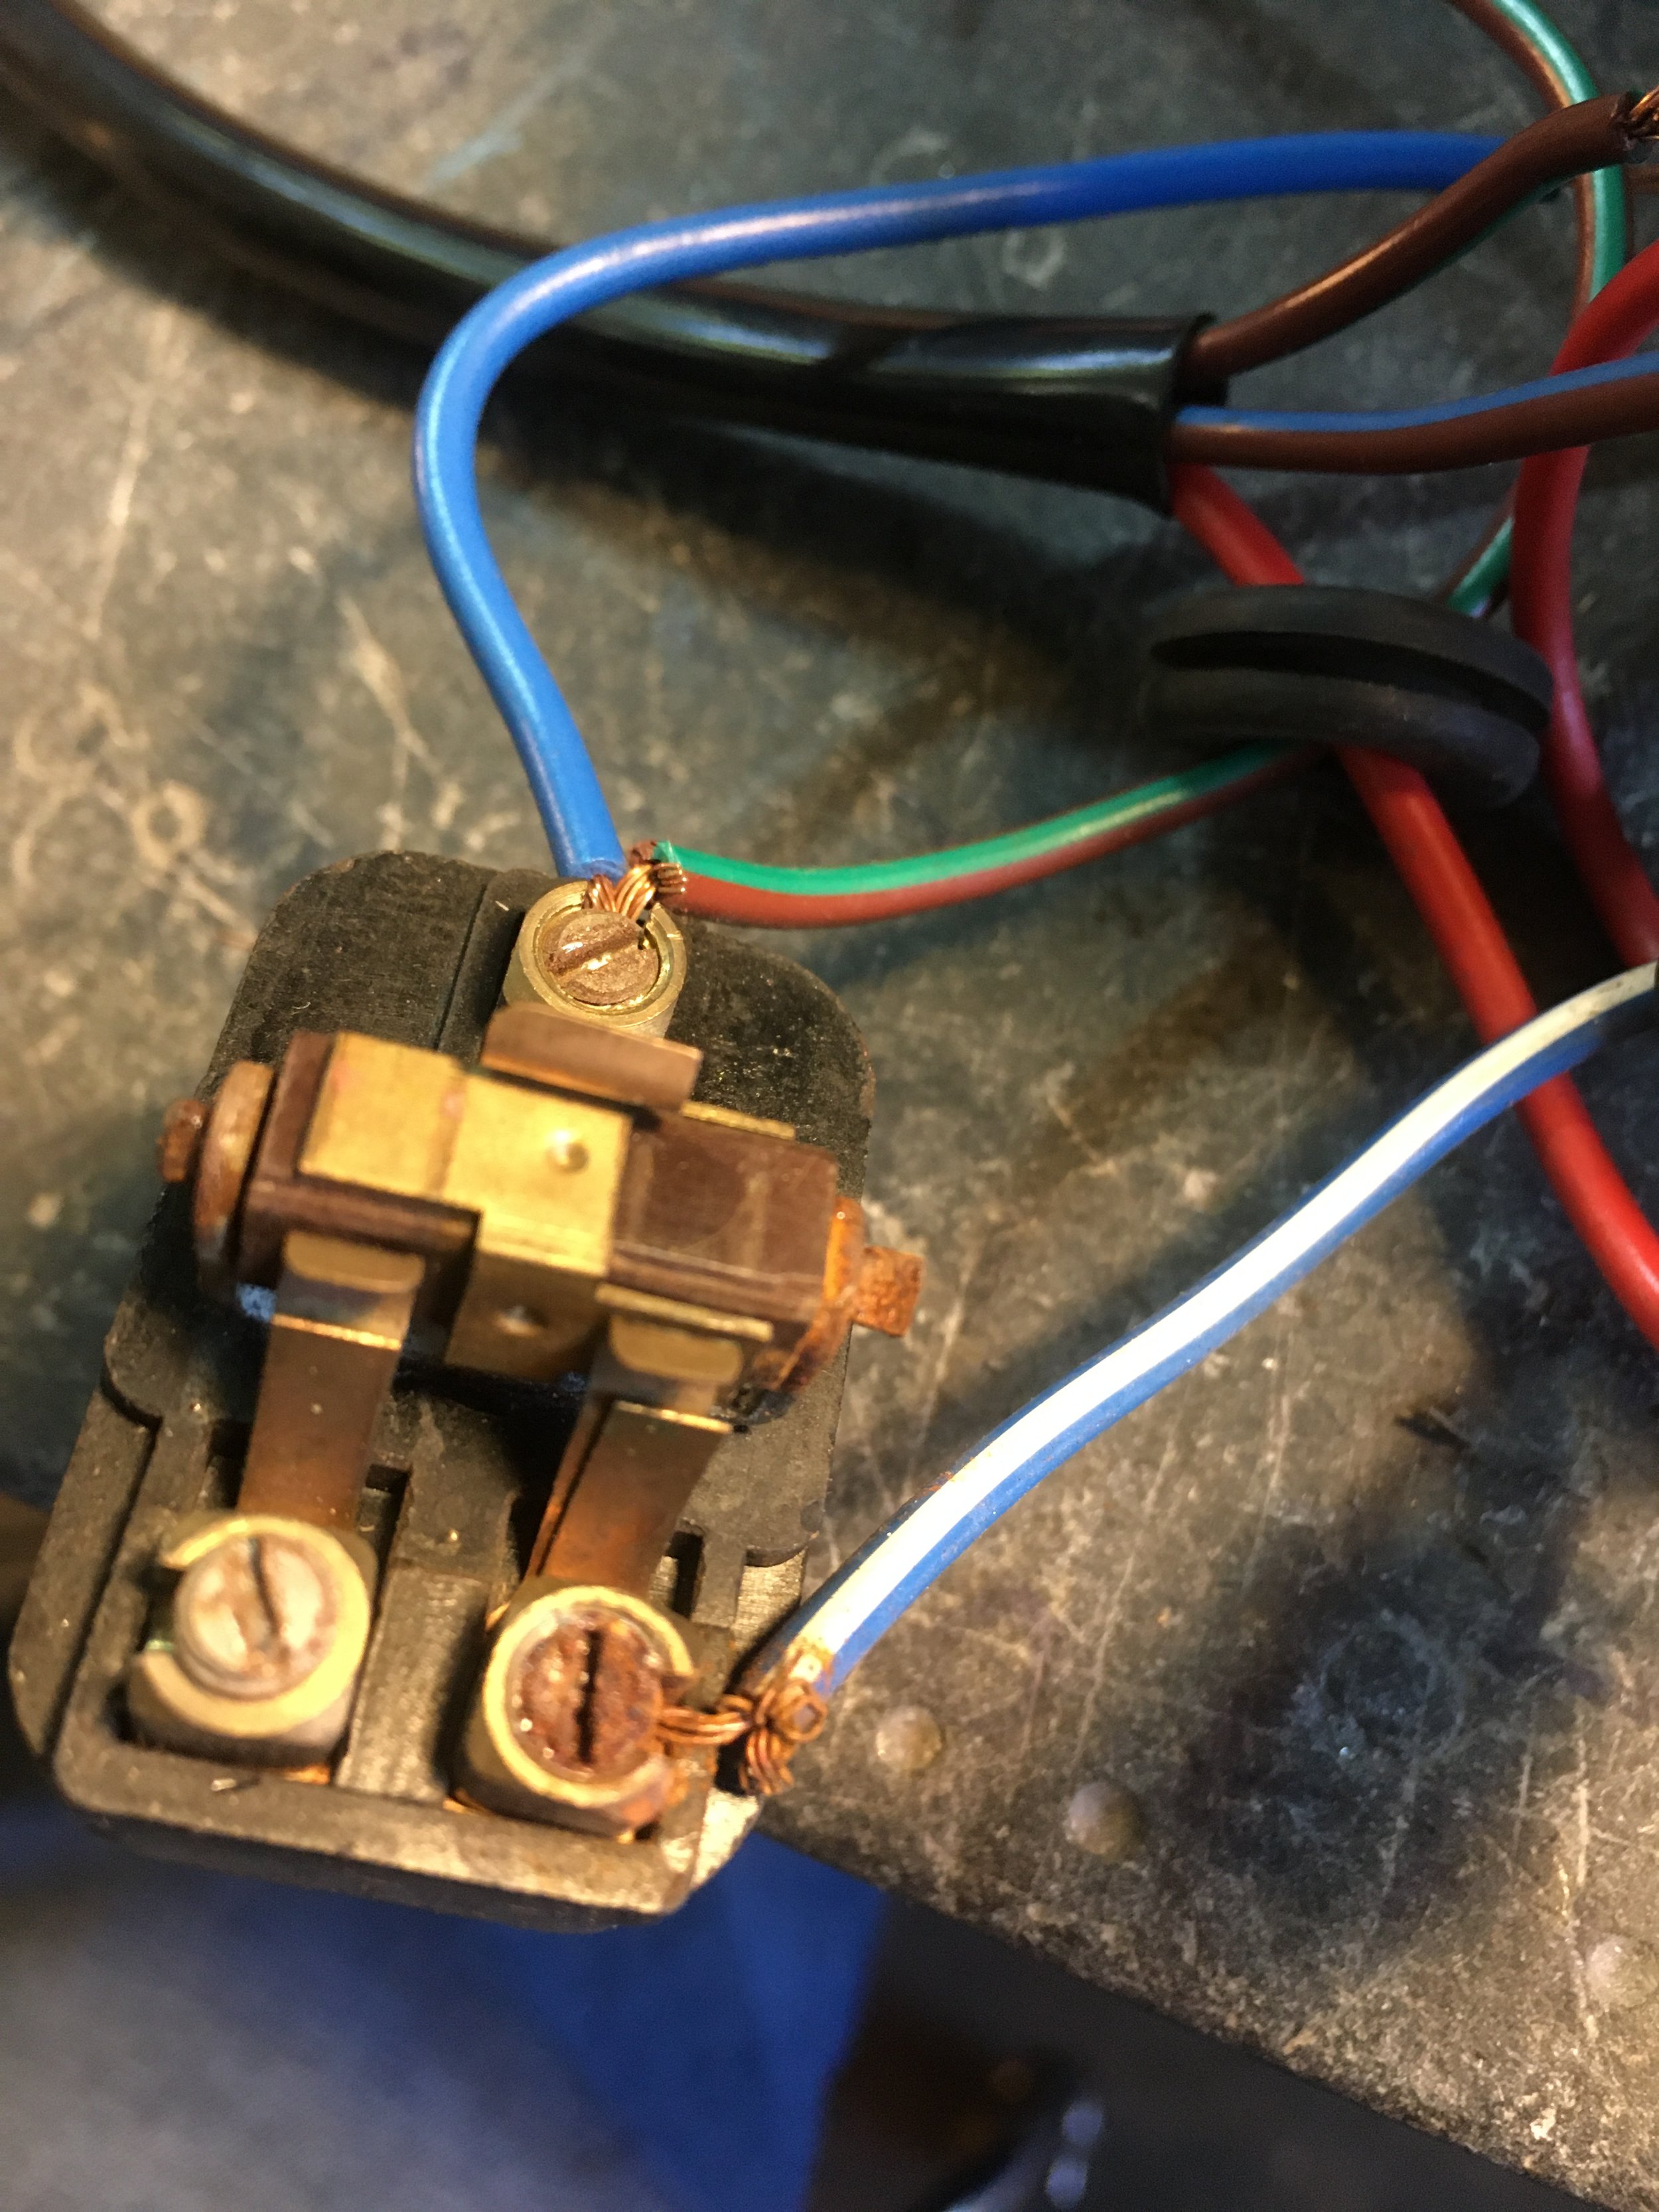
A box to hold a tiny lithium battery is tucked behind the engine. The fuse holder is seen on the side. The electrical system is completely functional. Now if we can only get the rest of the bike the same. As a side note, I was originally recruited for this project to build the seat. That of course led to designing the tank mounting/heat shield system and accompanying frame mods. The electrical system, plumbing, airbox, disassembly and final assembly, and most of all, engine start and tuning were mine by default, and not altogether expected. Not that I mind, as a good puzzle is always appealing to me, just a little out of the order I would have done things in, had I known.

The 1955 Norton Norsaki and 1967 Triumph Mountain Cub builds nearing completion

The 1955 Norton “Norsaki” build, a featherbed frame with a Kawasaki 400 triplets been painted, and assembly will begin shortly. The 1967 Triumph Mountain Cub is assembled and awaiting the oil and gas tanks to return from paint. The seat cover is done on the Norton, and the Cub seat is in the process of being upholstered in the original color scheme.

The seat and strap were done in Napa leather. A stainless thumb screw was carved for the tank strap anchor. Black sheepskin is sewn underneath, where it contacts the tank.

A simple pattern was chosen for the seat cover. Can’t wait to see it on the seat pan. The cover was made by Xtreme Upholstery in Denton, Texas.

The original Kawasaki S3 tach fit perfectly in the Lucas headlight shell, but finding a working one that was also presentable proved difficult. In the search, three seperate units were sourced (one was returned as defective,) and a single unit with a restorable bezel and an intact output shaft was built. There is also a custom face being printed.

The ammeter hole in the Lucas headlight shell needed filling, so this panel with original Lucas jewel indicator lights was machined from aluminum.

A special washer was made to mount the light switch, and another aluminum bezel was made for the ignition switch.

With everything mocked up, the lines are becoming a little more clear. The bike started life as a 1955 Dominator. When designing the custom parts, I tried to keep some of the original feel. The owner of the bike wanted a classic cafe racer style, with a straight tank-seat line, straight bars, and bobbed fenders (the original fenders are quite large and a little heavy.) Even with the cafe styling, the new seat is only slightly shorter than the original, retaining the ability to take a passenger.

The front fender mounts and lower stay were added to an un-drilled vintage fender. The front hub is said to be a Grimeca, with 4 leading shoe brake pads. It will have some stopping power.

The tail end is looking pretty tight. The large wheel T-nut seen on the left side, and the rest of the wheel hub are from a Vincent Black Lightning, a bike of which only thirty-some odd were made. The parts were found by Big D Cycles, in Dallas, who built up the wheels, shocks and handlebars. They decided to go with the hub to solve the brake/sprocket configuration, and because it was just so cool. There is also a brake panel stay that releases by a spring-loaded slide, making the rear wheel removable without tools.

The seat pan on the 1967 Triumph Mountain Cub was made up. The lower bracket is made from 1/8” flat bar, with an aluminum pan made from .090 sheet. Mobtown Mike Smith will be taking care of it.

I like this technique for concealing wires under the fender. A brass tube connected between the entrance and exit holes, with small plates on each end that utilize the existing fender mounting holes to keep it in place.

The tail light unit was made from an old cymbal, a busted minibike tail light lens, and a brass plumbing fixture. The design was inspired by the iconic Sparto “Limp dick” tail light mount that was on the original bike. With the bobbed fender, there was little room for the original, and it looked out of place. This one is scaled down, and crosses over the rear frame loop.

Such a beautiful engine, designed by Edward Turner. In this picture, the engine is awaiting the points assembly, prior to installation.

The timing degree wheel along with the spark plug gauge, feeler gauge, and a test light are all you need to time the engine. I think the JapaneseHonda system is a lot less complicated, and more precise.

Some of the grief of trying to rebuild a vintage foreign bike. This is a picture of the muffler sent to me after a nearly four month wait. Obviously the wrong one, it cannot be made to fit, and looks to be made for a dual low-pipe set up. Of course the vendor is unresponsive to emails. When it arrived, the muffler was in a plastic bag, with more than a little bit of rusty water inside the bag, covering the muffler. A sign of attention to detail and competence…not!

1967 Triumph Mountain Cub restoration update

Starting to assemble the 1967 Triumph Mountain Cub. Every nut, bolt, and body part has been taken down and addressed aside from the original tank paint. Still waiting on parts to get the engine back together. The wheels are another area of concern. The front fender needs to be worked out. Small touches like a light weight tail light assembly and solo seat are also planned.

Getting a little farther into the assembly. The rear wheel has been a headache. The Triumph Tiger Cub is a little harder to figure some of the part numbers if you do not know the actual model you are dealing with. The Mountain Cub variety is even harder to figure out because there is not a parts catalogue specific to it (at least that I can find.) Perhaps this is because the model was produced at the very end of the Tiger Cub run, or because it was a US only model, but whatever the reason, there is some guessing that I have had to do. The bike came with a WM-3 wide wheel. After checking the latest Sports-model parts catalogue from 1965, there were two different wheel possibilities, but only one for a WM-3 width. After purchasing that specific wheel rim and lacing it multiple times, there was no way to get the spokes to fit correctly. After more research and hunting, the correct rim turned out to be the WM-2 width one. It appears the rims of both wheels were switched out at some point, and the WM-3 rim was substituted. Fortunately the wider rim can be used elsewhere, as it fits 63-70 650’s and other models. The front rim spoke nipples were way too small for the rim holes, and were swimming around in them. A new set of front and back stainless rims and spokes is on its way.

After the body work, the tank looks nice and smooth. It was primed and painted with rattle can enamel.

Nothing like fresh finishes on everything. Still not decided on the tank paint, but that decision can wait till the front fender is made, as it will probably get some paint as well. All the switches were cleaned and greased, connections were freshened up, and the wiring harness was restored. Some new sheathing and some missing connectors were replaced. The handlebar switches were also restored, and the wiring hidden inside the bars. A mounting bracket for the horn is all but invisible hidden behind the headlight. It uses the handlebar mount bolts to secure it. Since the original bracket was absent, and pictures showing it look like it was made for a different horn than the one with the bike, I just made something that worked in the space allowed. The wiring harness was modified to have a single sheath of five wires passing from under the tank to the headlight. Usually, there are connectors from the horn and kill switch that pass separately along side the main wiring harness. Instead, the ignition wire was added to the harness bundle, and routed to the headlight, where the horn and kill switch connections were made.

This tray was packed with hardware. As it dwindles in size, it makes me happier and happier.

Awaiting an oil level decal, and a final coat of clear on the oil tank. The air filter assembly and rear brake plate are ready to go. The air cleaner is another item that was different on the multiple Tiger Cub models. This one was also used on some pre-unit bikes. There are at least three different types used, as far as I can tell.

Only a few of the black parts were painted: the headlight bucket, horn bracket, speedo mount, and oil tank. The powder coating was done by Triad Product finishing in Lewisville, Texas, and is the best job ever! Not just hyperbole, the masking was impeccable, there were no runs, sags or bare spots, and the thickness was just right. In the past, I have used the powder coating as a base coat, and cleared over it, but this job was so good there is no need. The difference between the powder and painted parts is indiscernible.

An example of the wiring harness condition. Poor connections were cleaned, and the wire ends were freshened and tinned with solder. Dielectric grease was used on unexposed terminals as well as the bullet wire connectors on the wiring harness.

The wheel assemblies were taken down completely. The hubs and rear brake plate were powder coated, all the bearings were replaced, and the fresh hardware to finish it off.

The thirty-over piston is in place with new gaskets. Still waiting on the head.

A transmission main shaft bushing is back ordered from the UK, and the right side covers can’t be put on without it. The rest of the engine block is assembled. The clutch hub bearings and rubber cushions were replaced. The primary drive installation is waiting on the transmission assembly.

The crank shaft assembly was pressed together and then trued on a lathe. The roller bearing on the big end of the connecting rod ended up getting the nod after two successesive bronze bearings gave too much side play.

Making a rubber washer for the high beam indicator light, using an arbor press and punches.

And finally. My Buddy, Clinton rode up from Dallas, trying to get some miles on a fresh engine rebuild on his Norton Commando 850. Such a beautiful bike!