The 1967 Triumph Mountain Cub Restoration Begins.

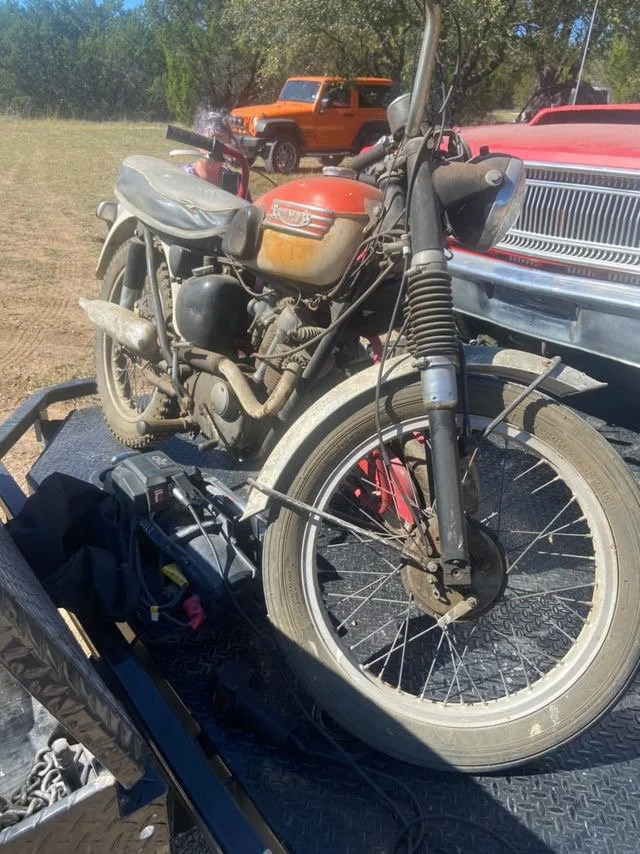
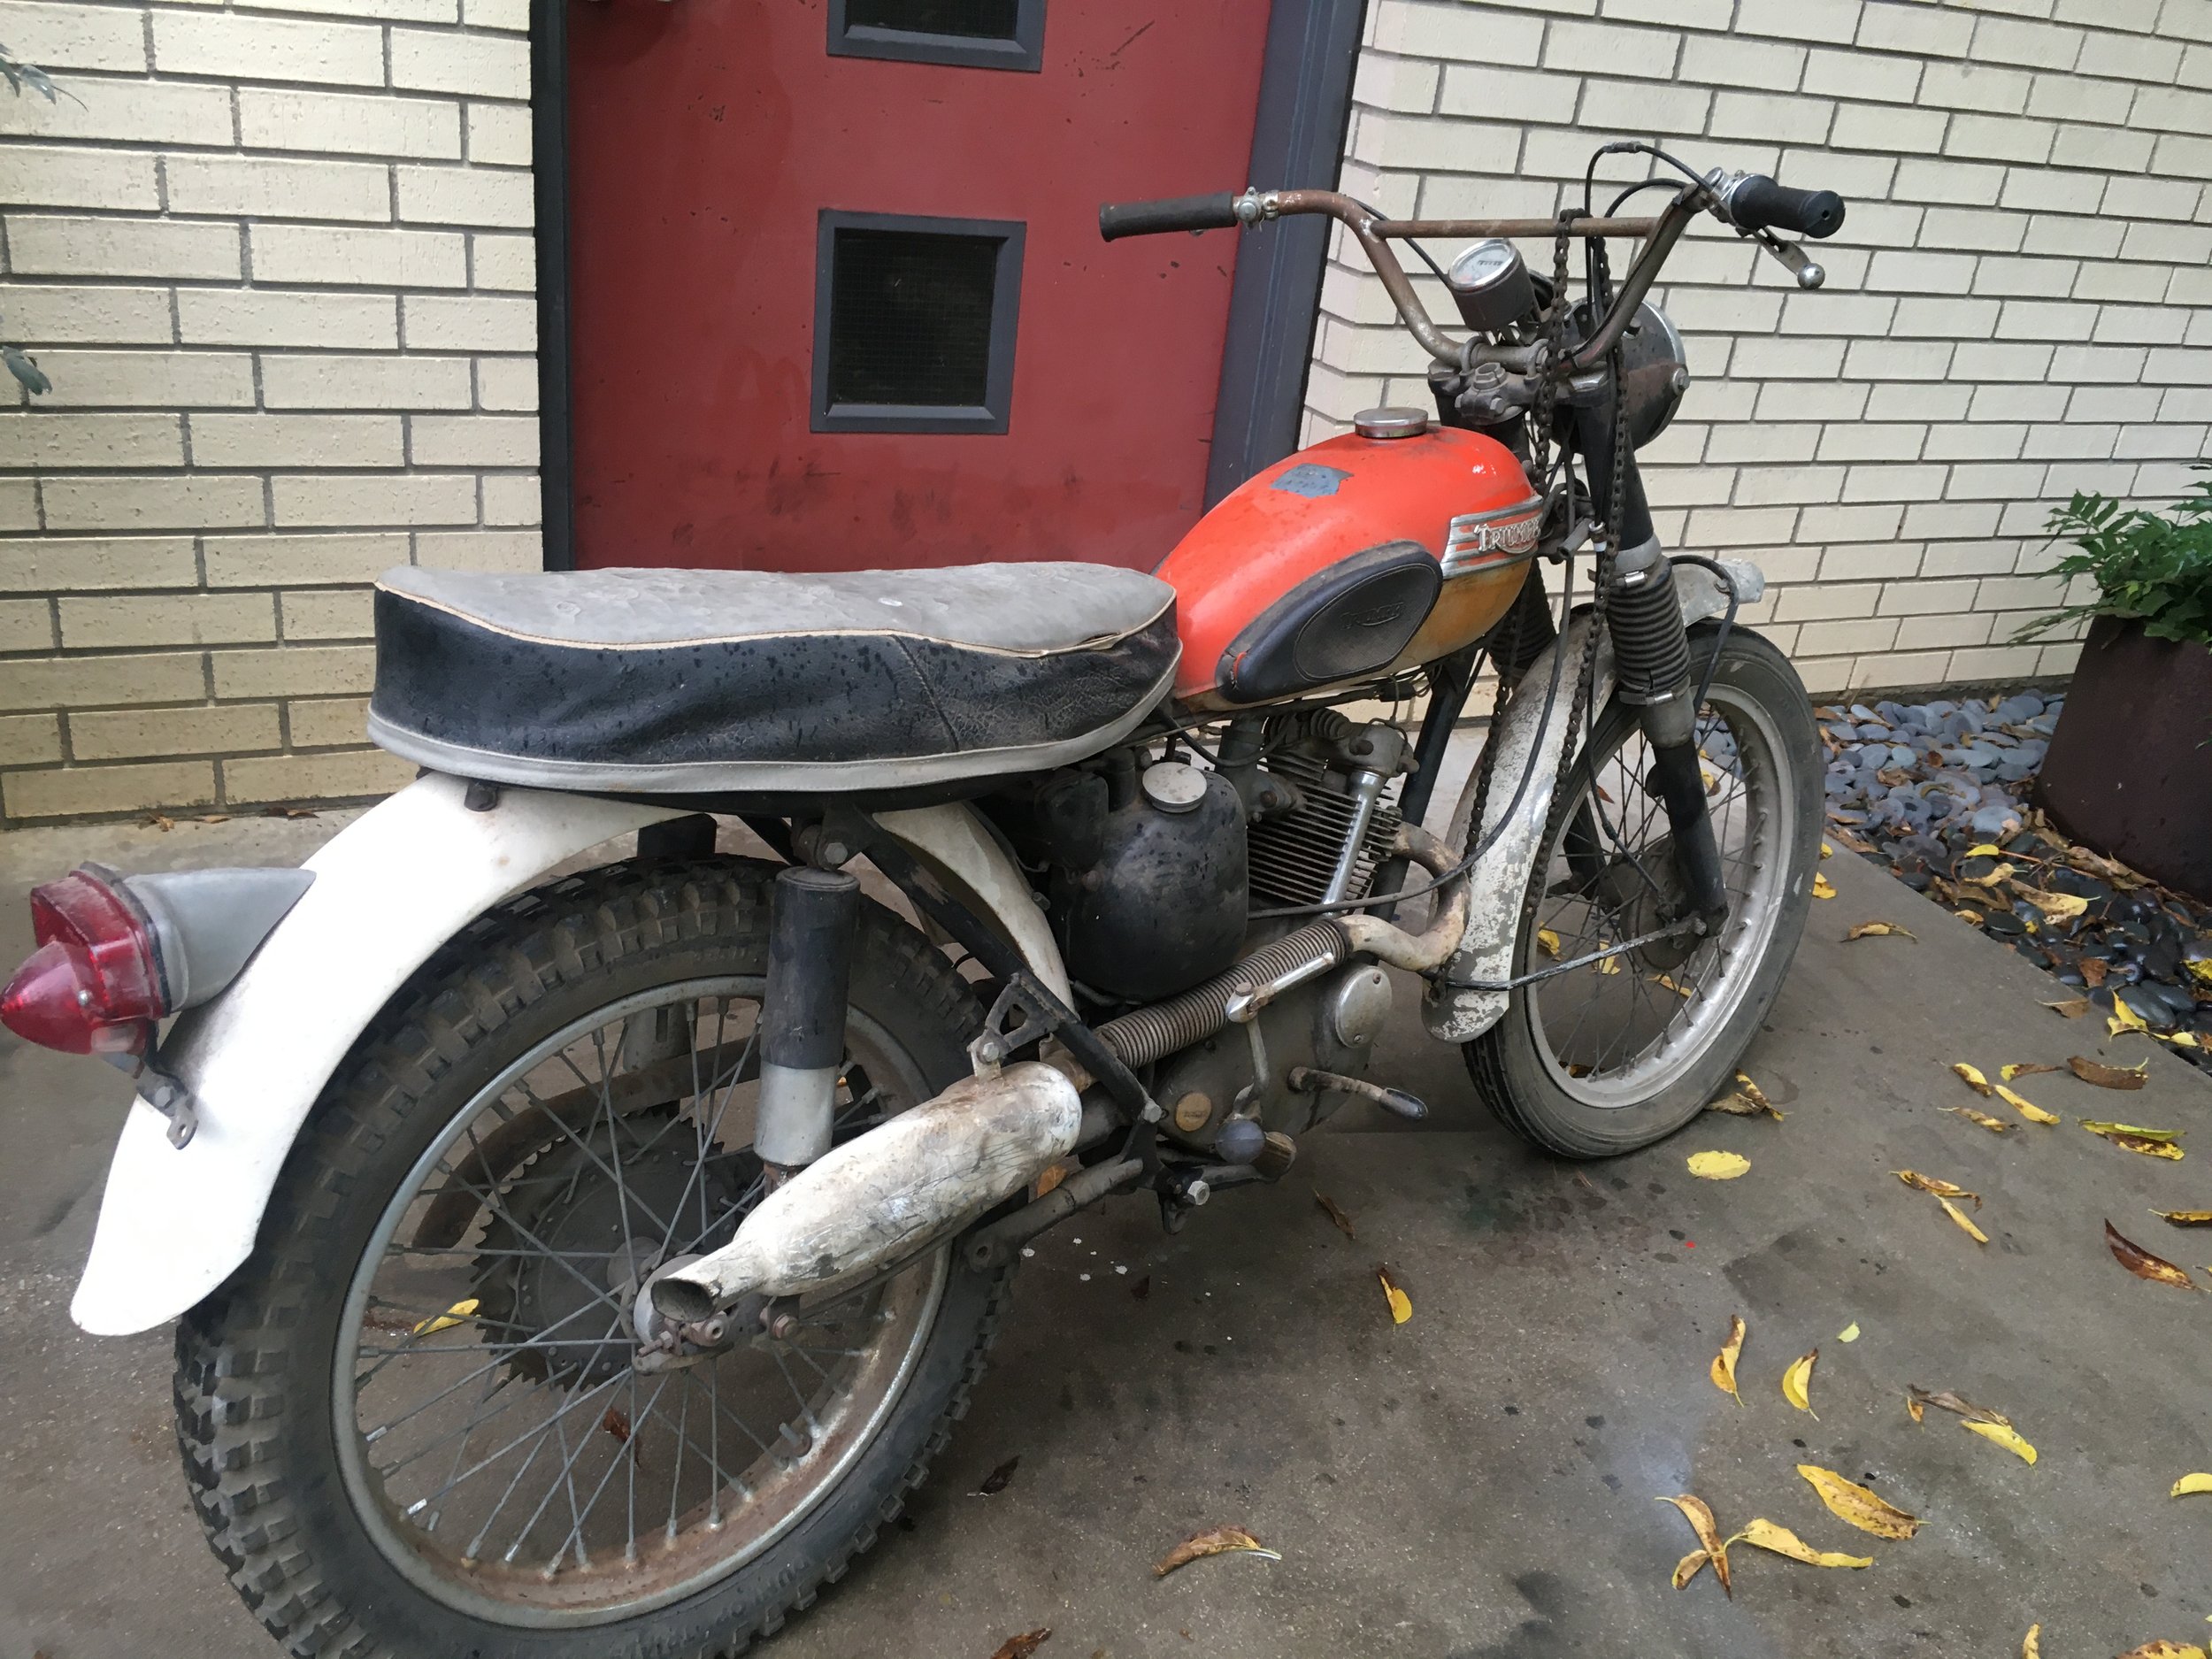
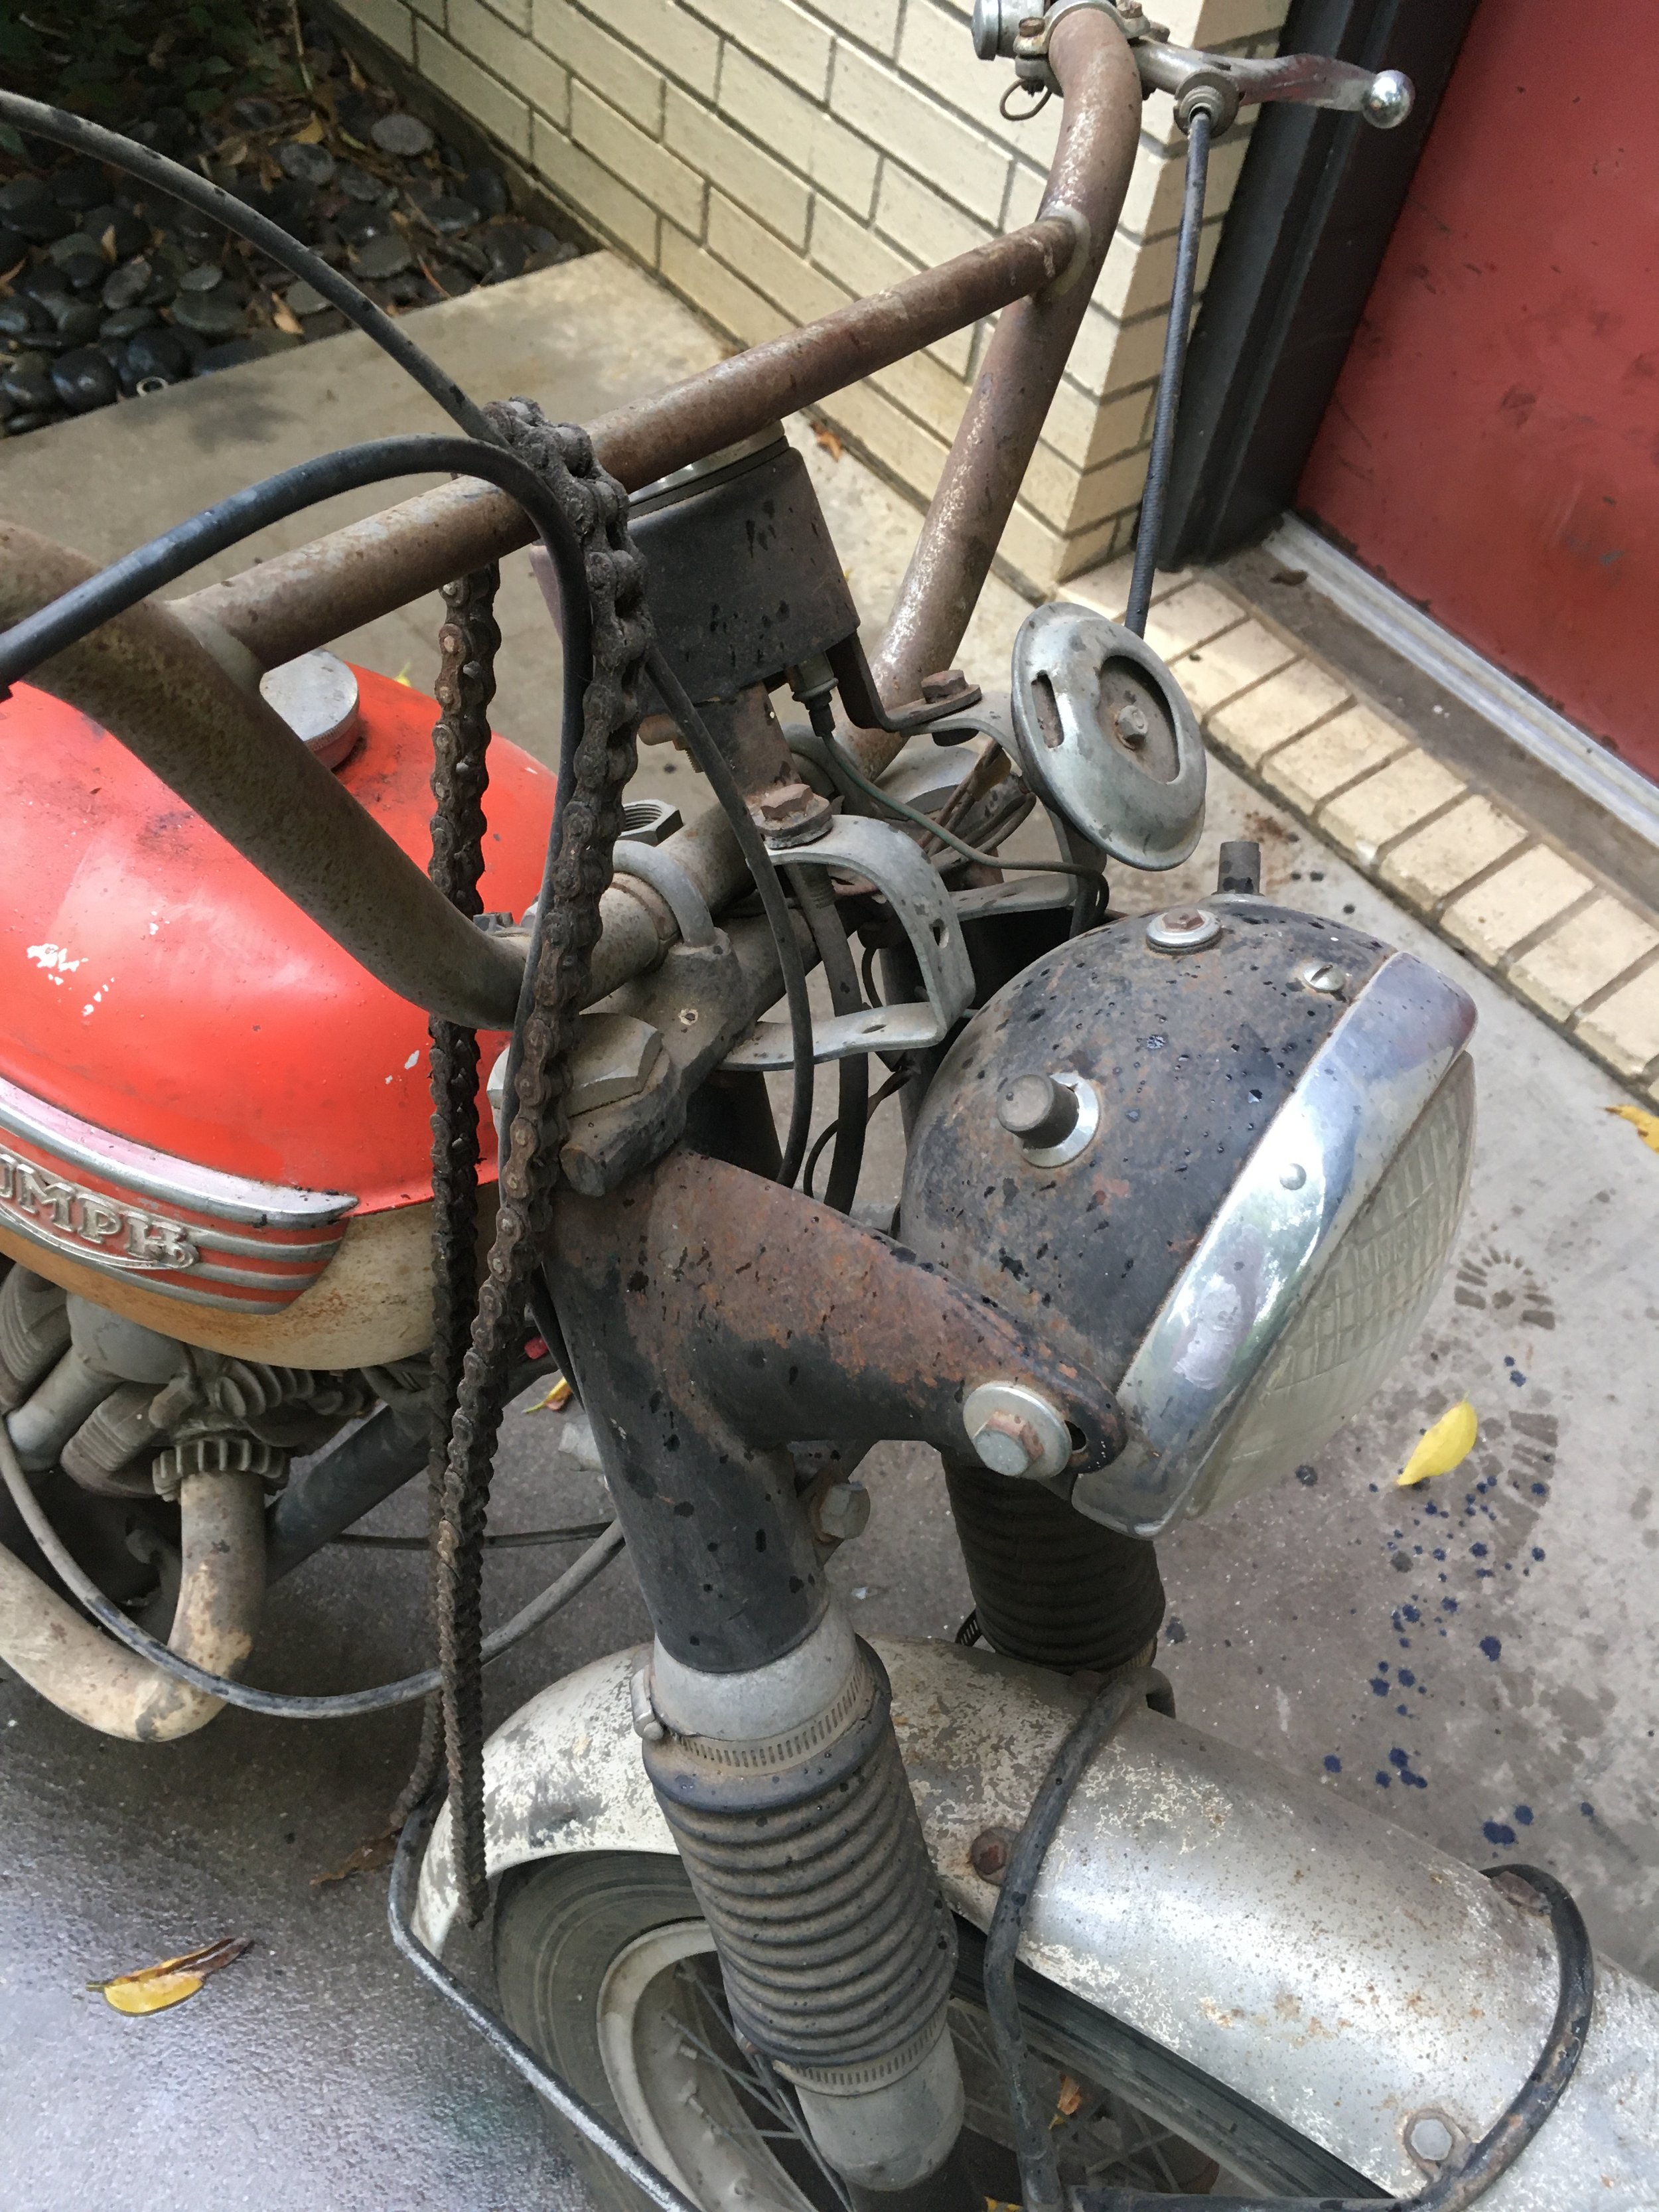
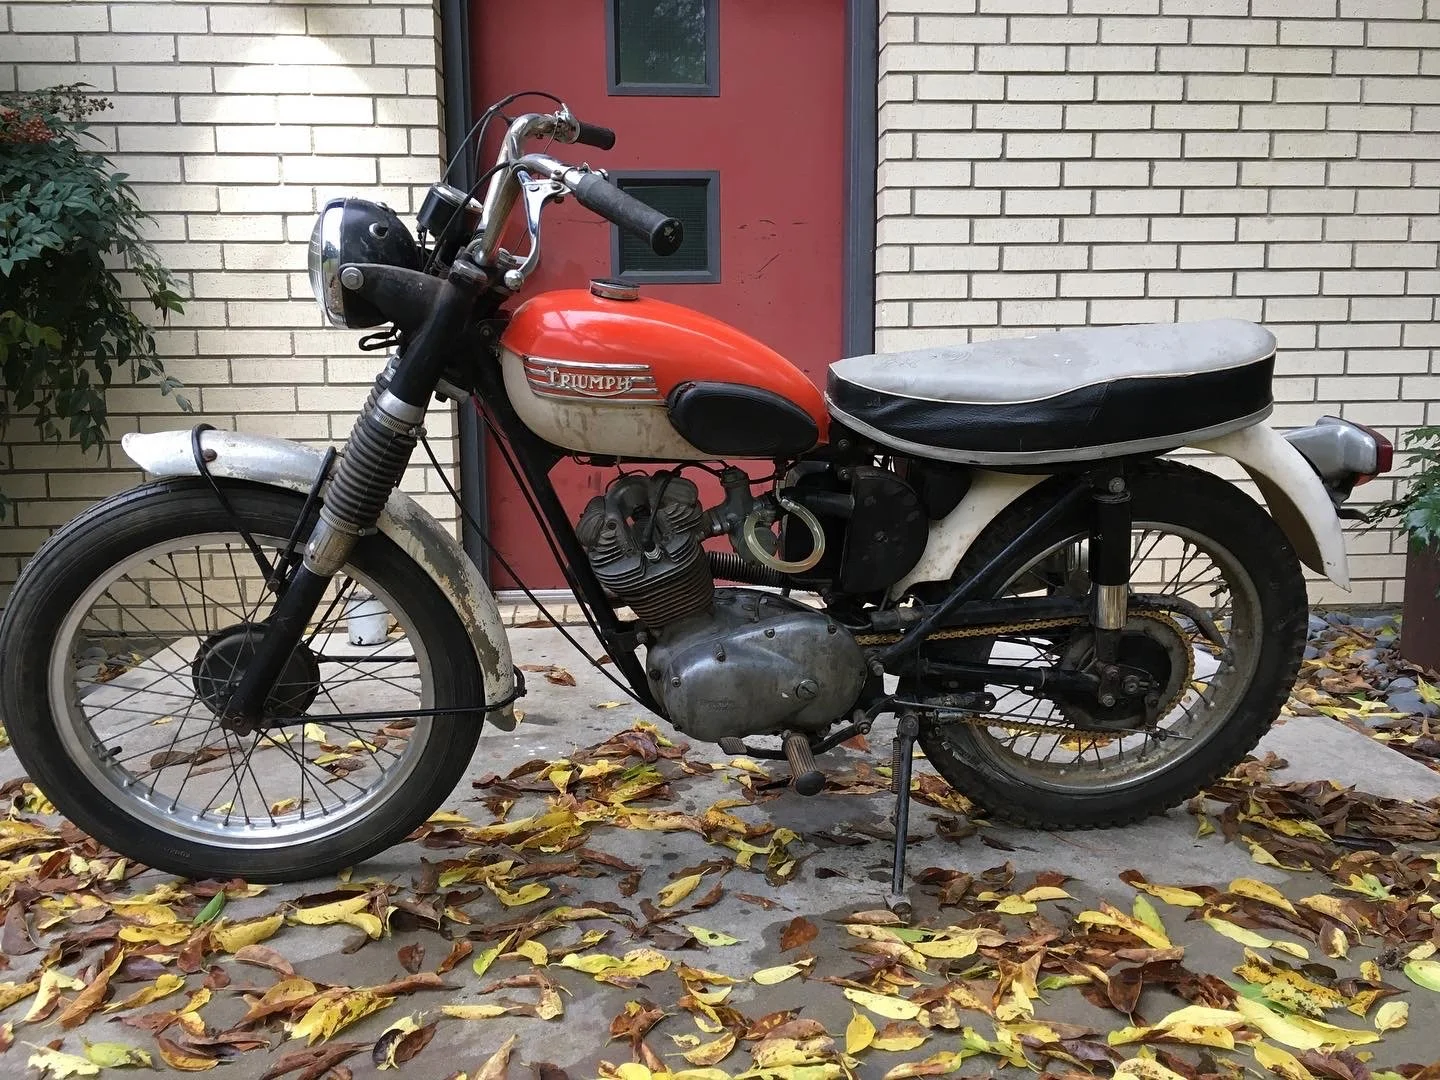
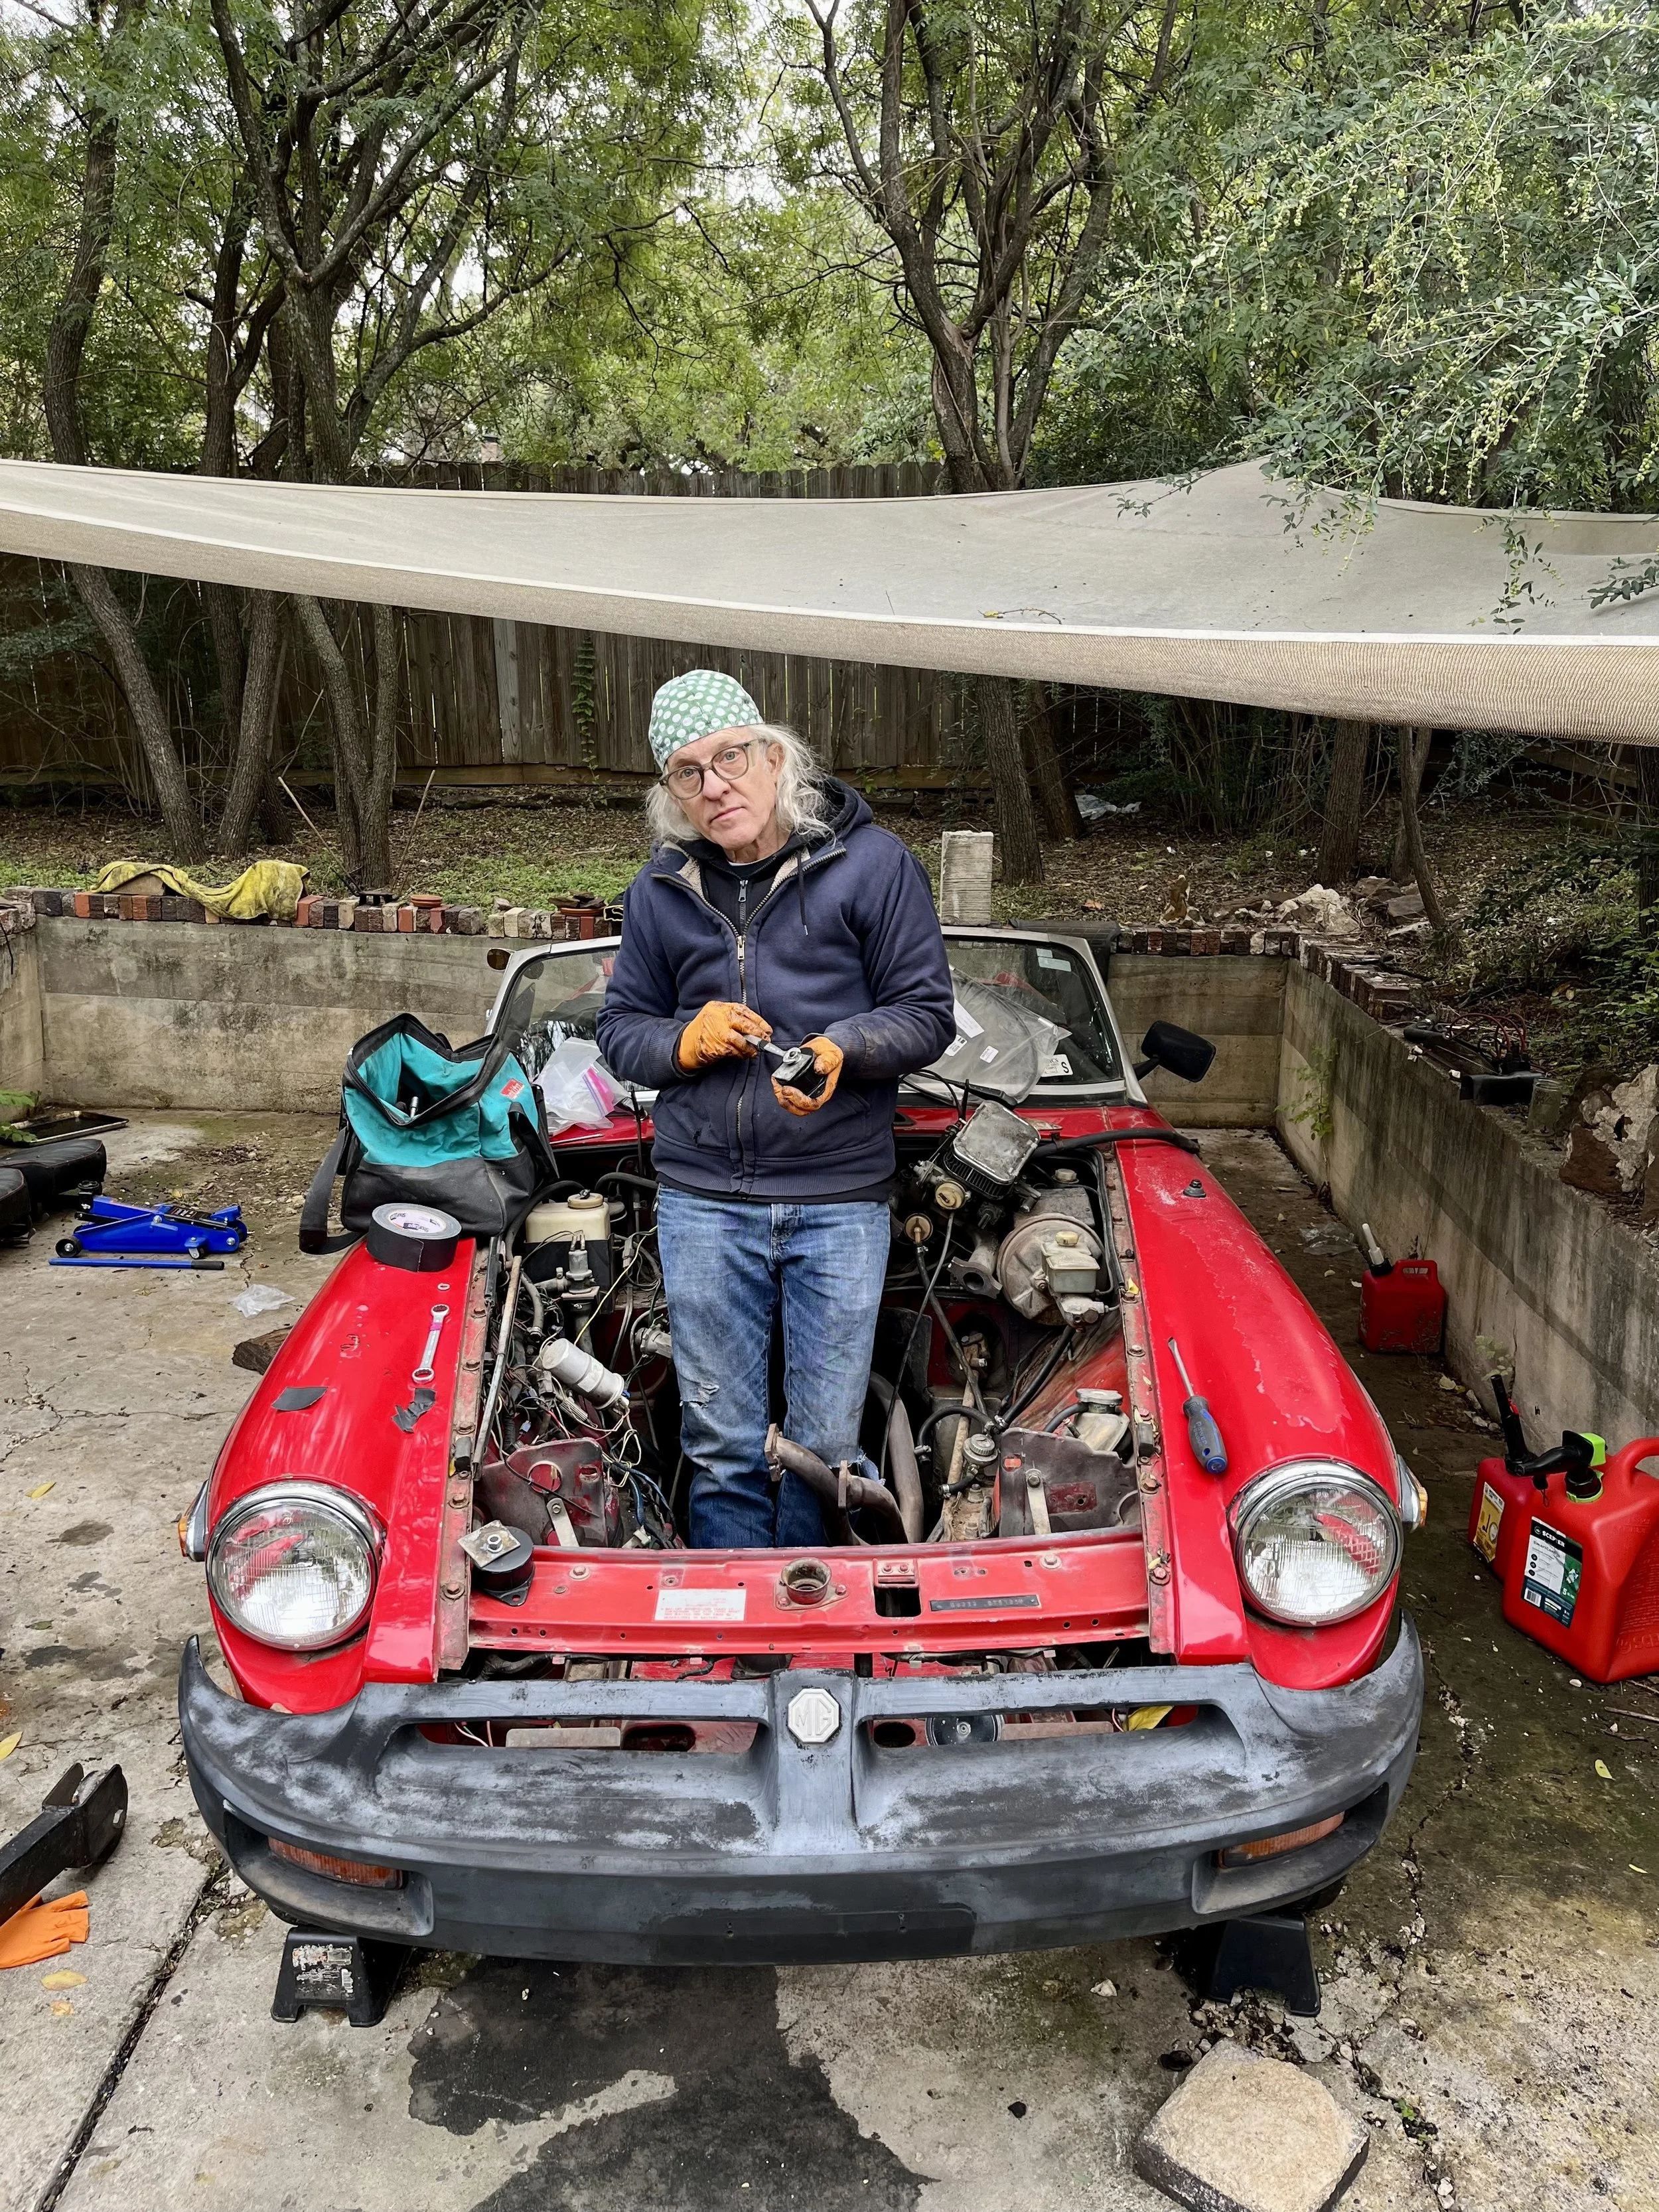
The Mountain Cub was broken down for restoration. Every part has been disassembled, cleaned, and inspected. New parts are trickling in. Mostly in a scattered state for now, with hardware out for cadmium plating, the head getting a rebuild, and the frame parts out for powder coating. A few aluminum parts have been polished, and dents were removed from the oil tank. There is always a learning process getting to know a particular bike. There is a lot of information available on the early years of the Cub, and more early used parts can be found as well. The information on the last two years of production (1966,1967) is scant, and things like the primary side cover are proving hard to find in good shape. The T20M Mountain Cub engine was produced during that last two years of the Tiger Cub run. There was a significant engine re-design in 1964 where the engine cases, crank, and side covers were modified enough that they are not interchangeable with later models. Other late model changes included a different connecting rod with a larger crank bearing and pin, something I found out disassembling the engine, as explained below.

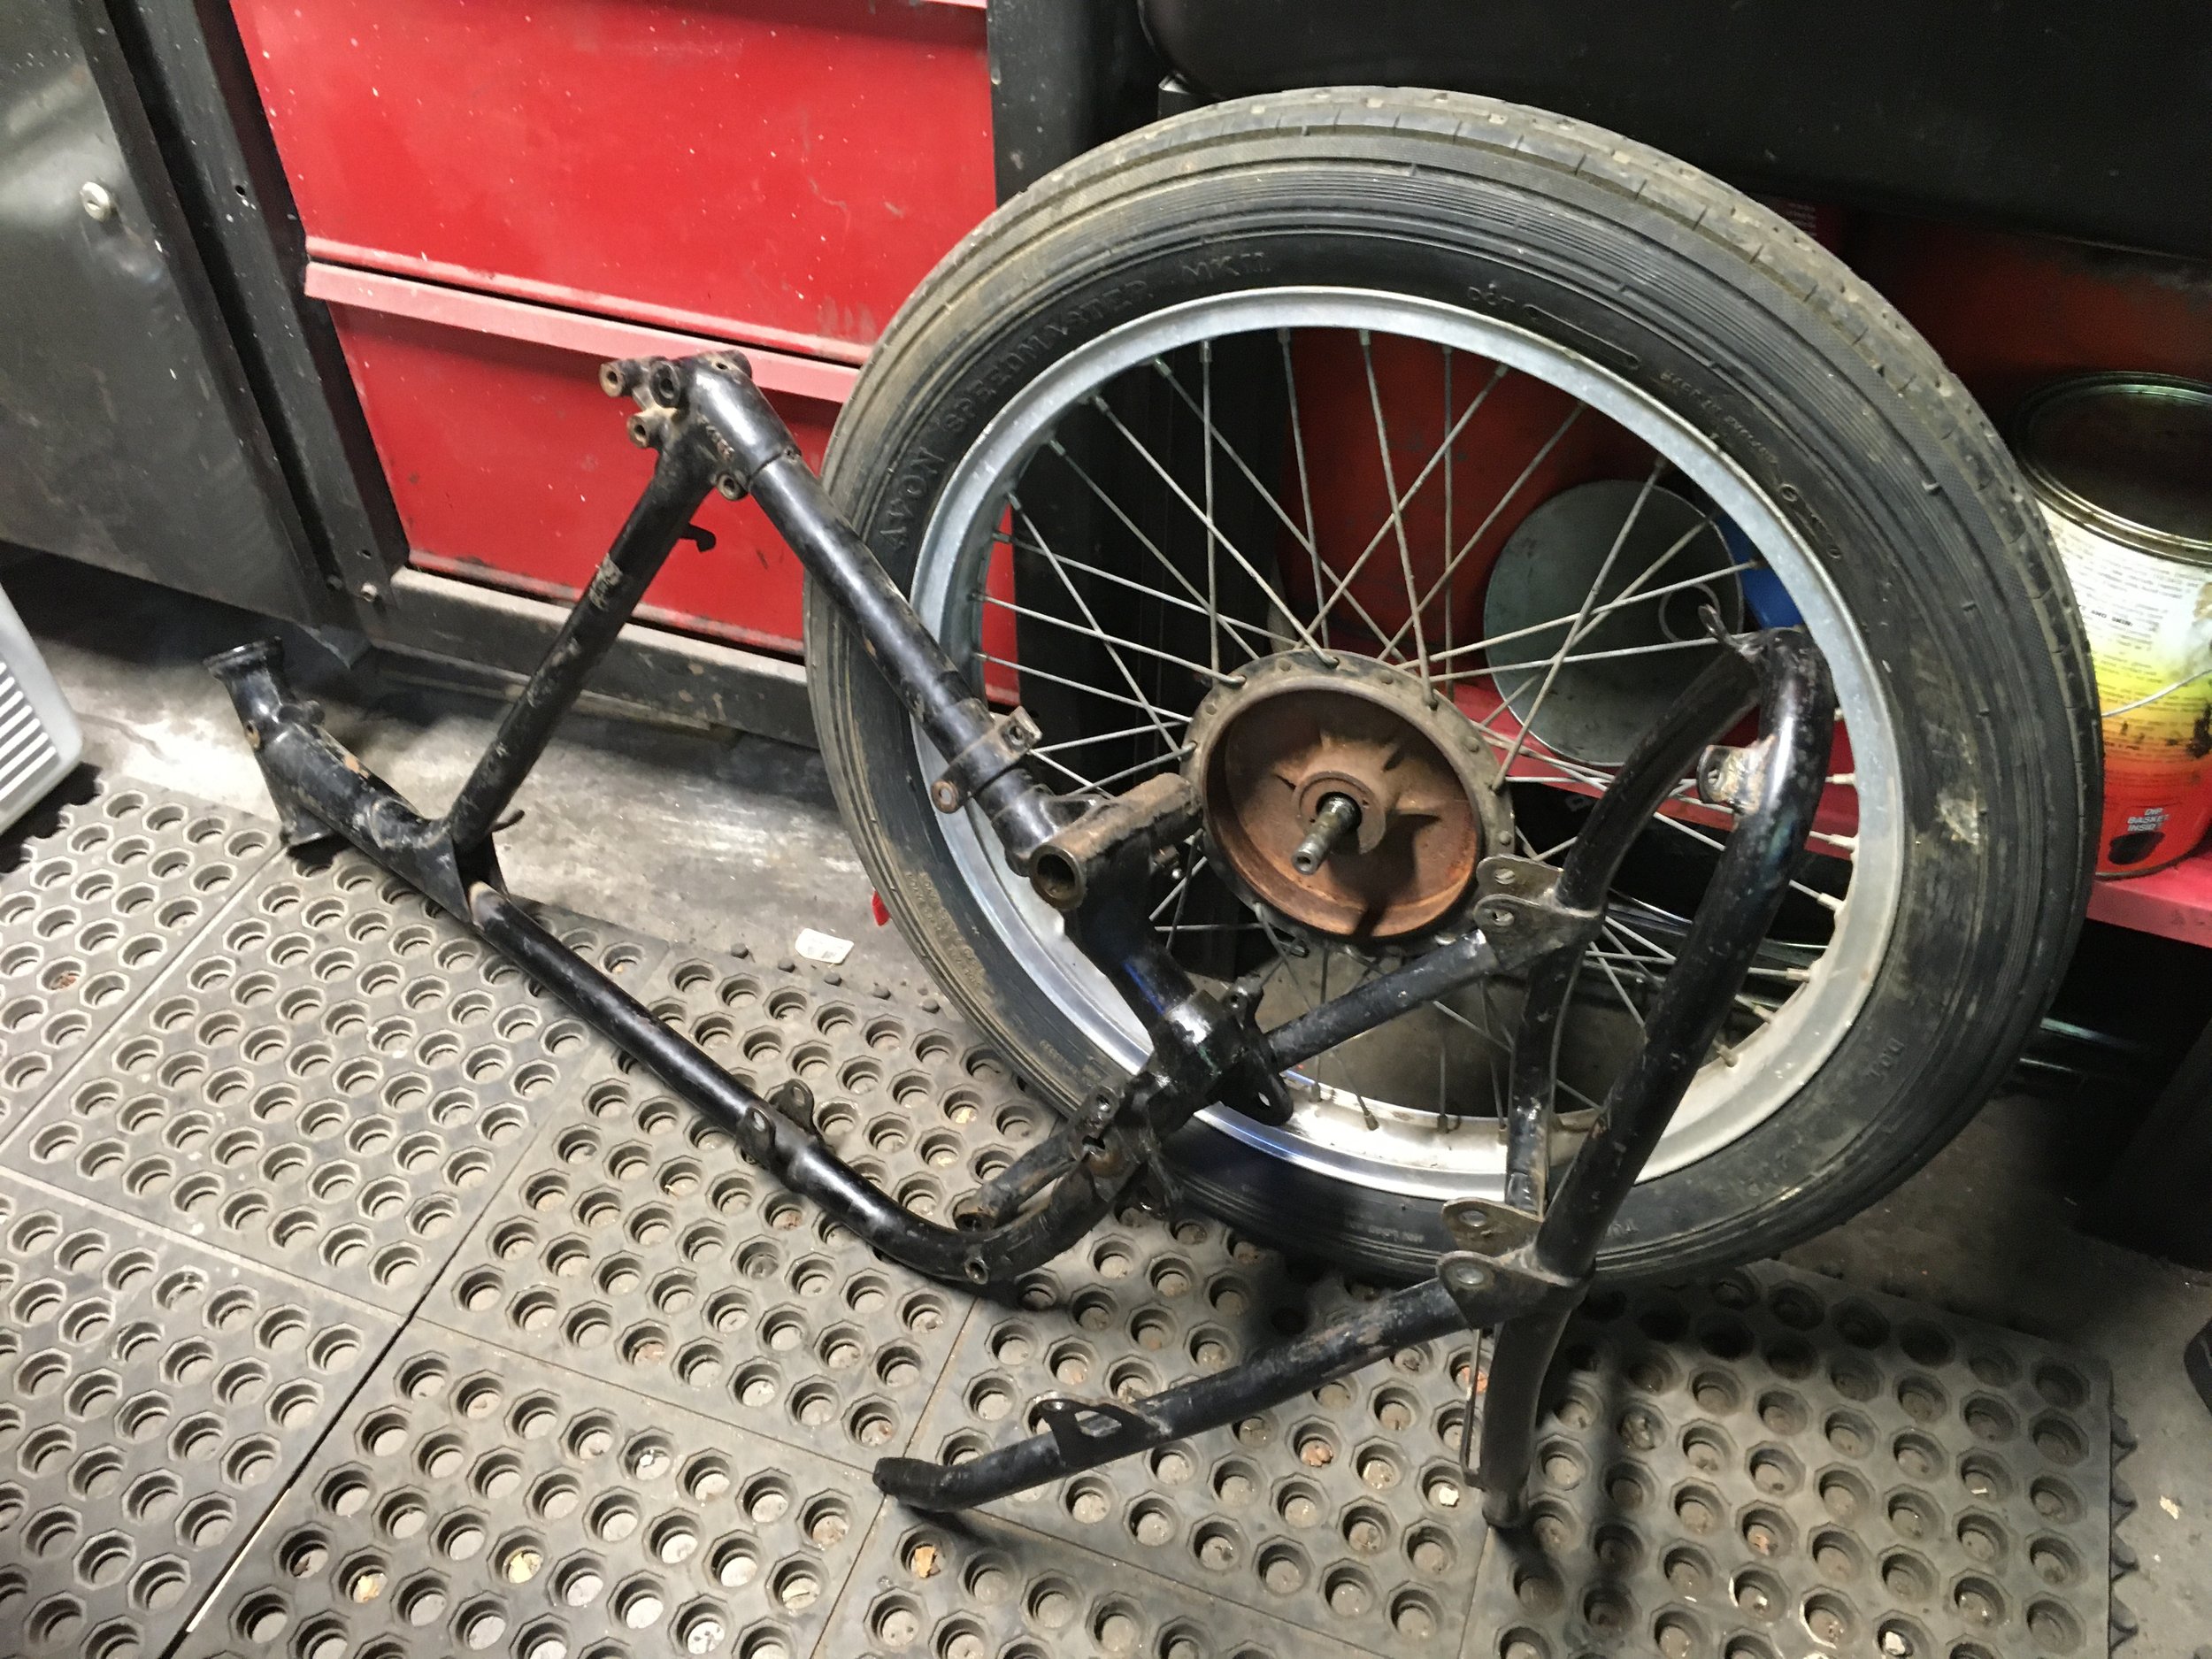
The rust on the wheel hub was superficial, without any pitting, and cleaned up nicely after ultrasound degreasing and bead blasting. New bearings will go into the hub rebuild.

The frame parts all disassembled and degreased, awaiting bead blasting. Since acquiring an ultrasonic cleaner, the parts are cleaned in a water-based degreaser, opposed to the kerosene parts cleaner used in the past. The results are superior, and the process is less labor intensive.

The bead blasting is done, and any stubborn paint will be scraped or wire-brushed away prior to powder coating.

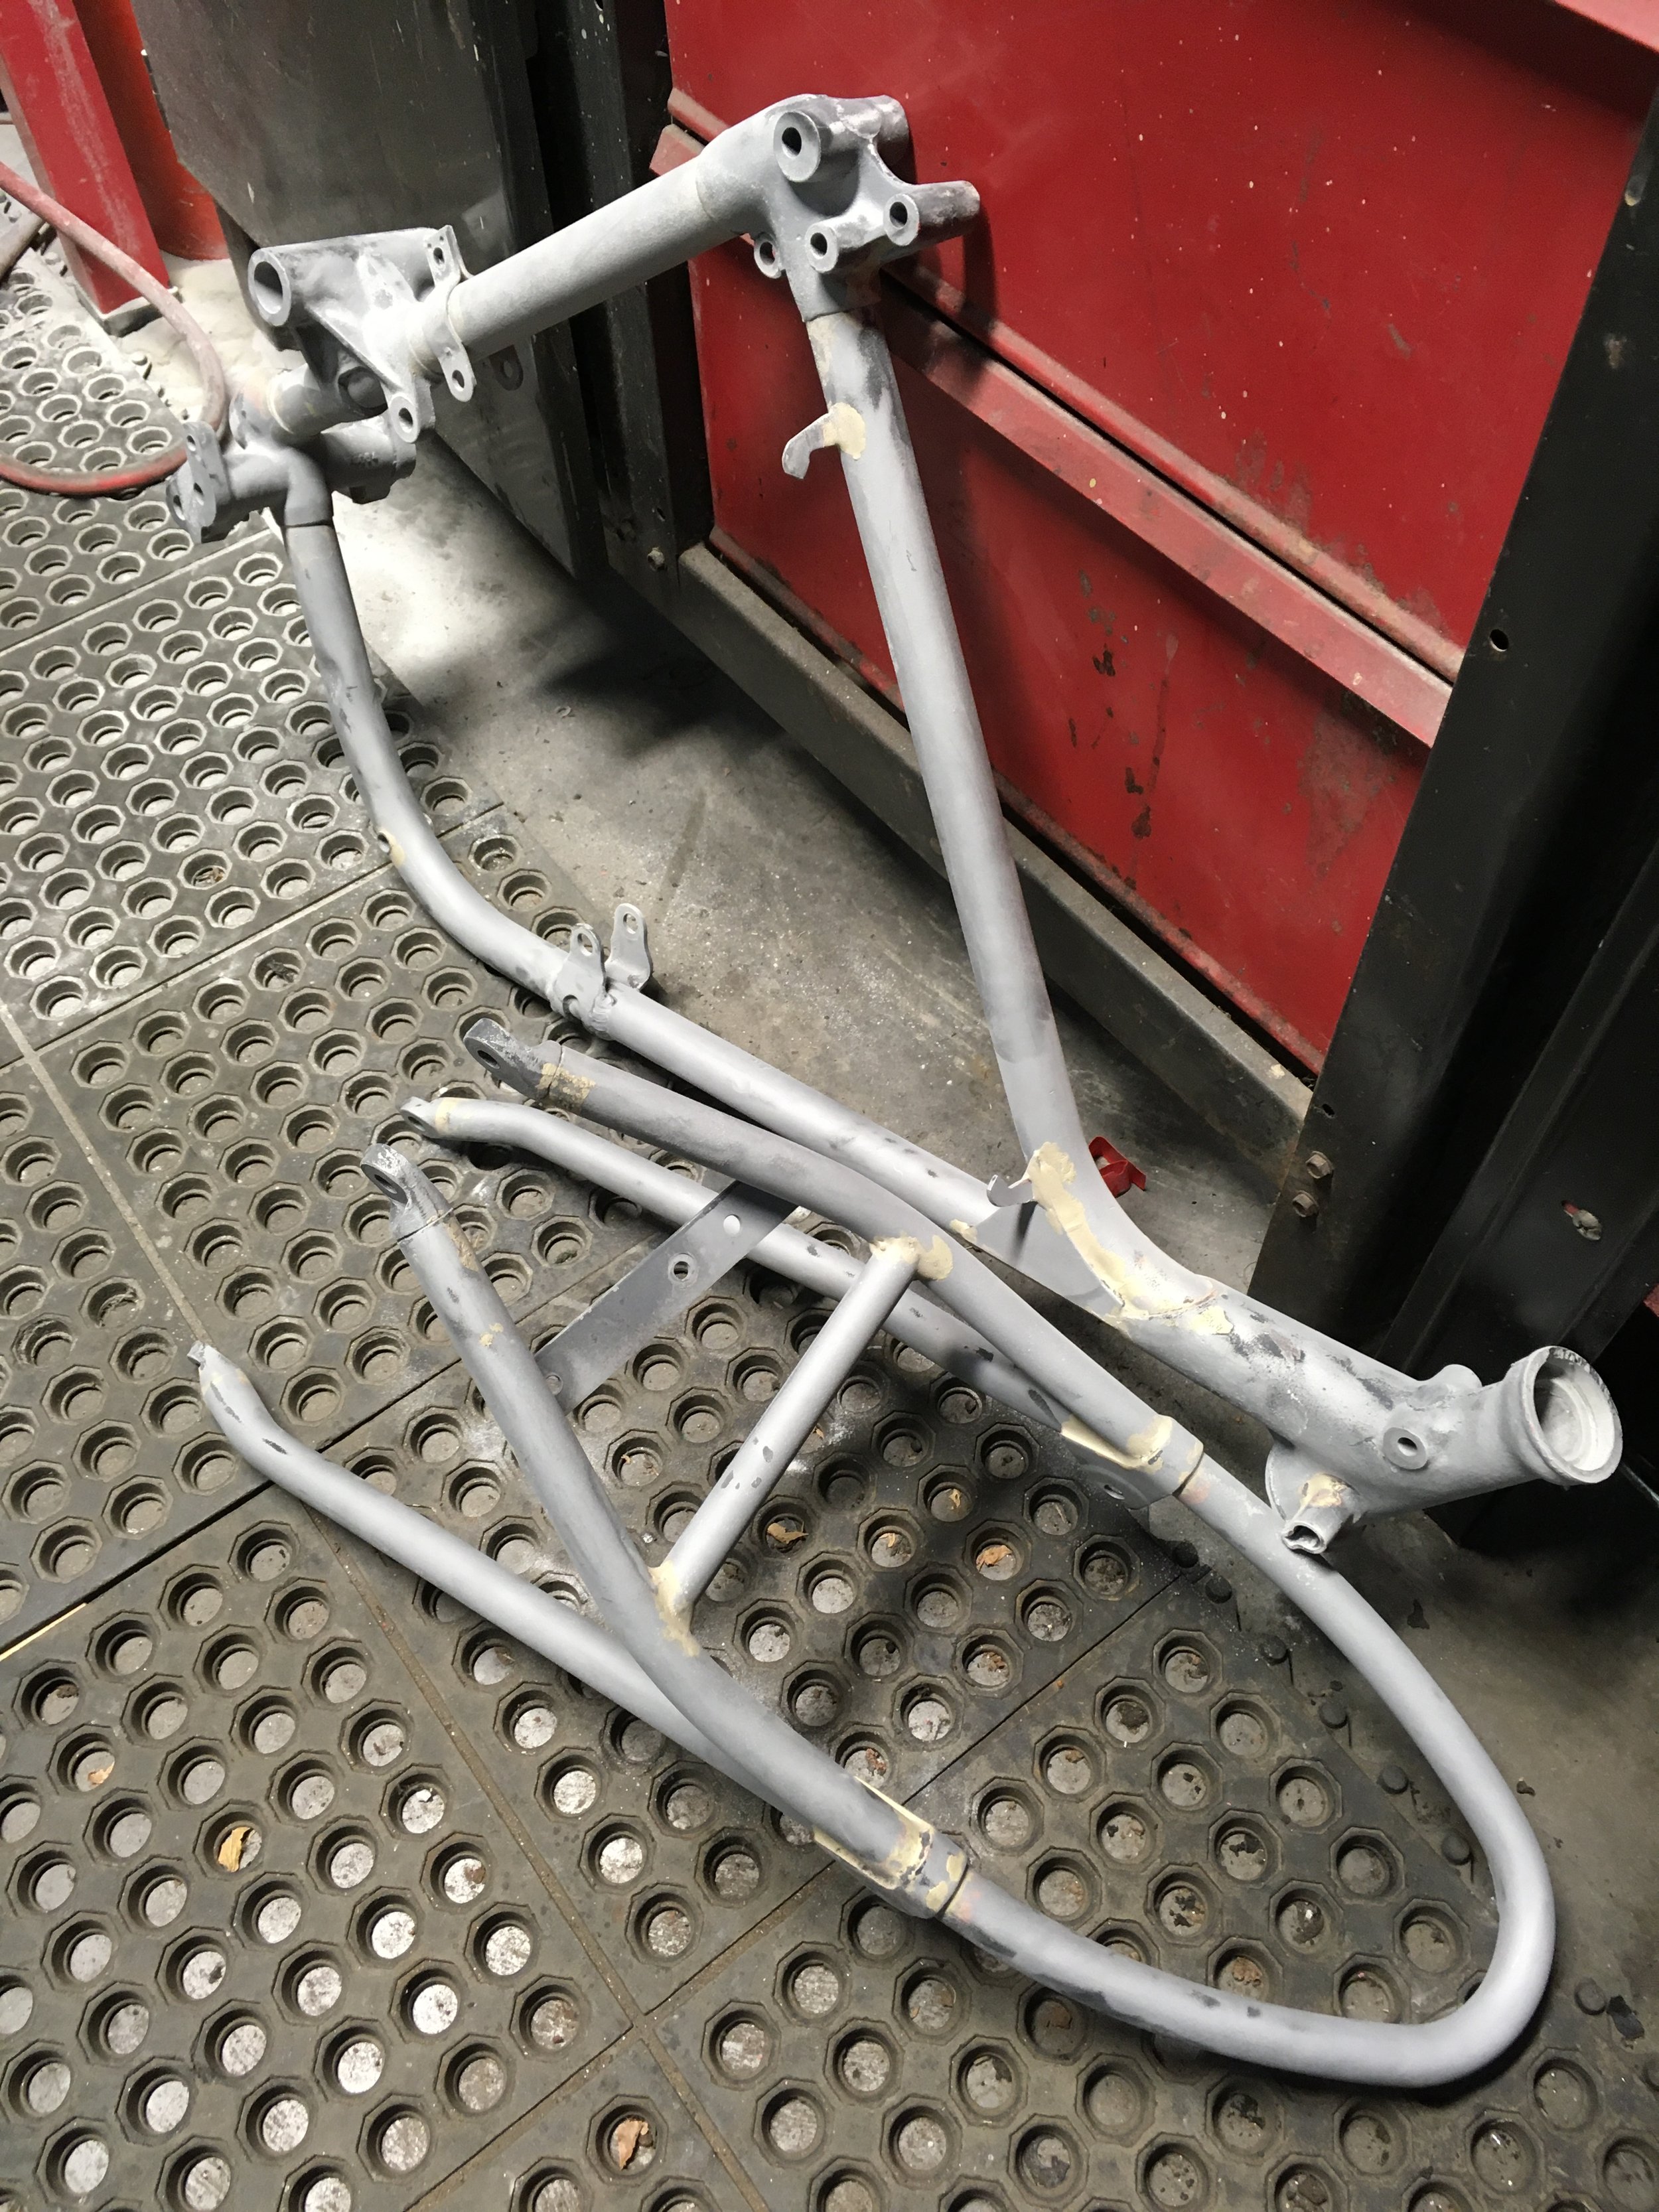
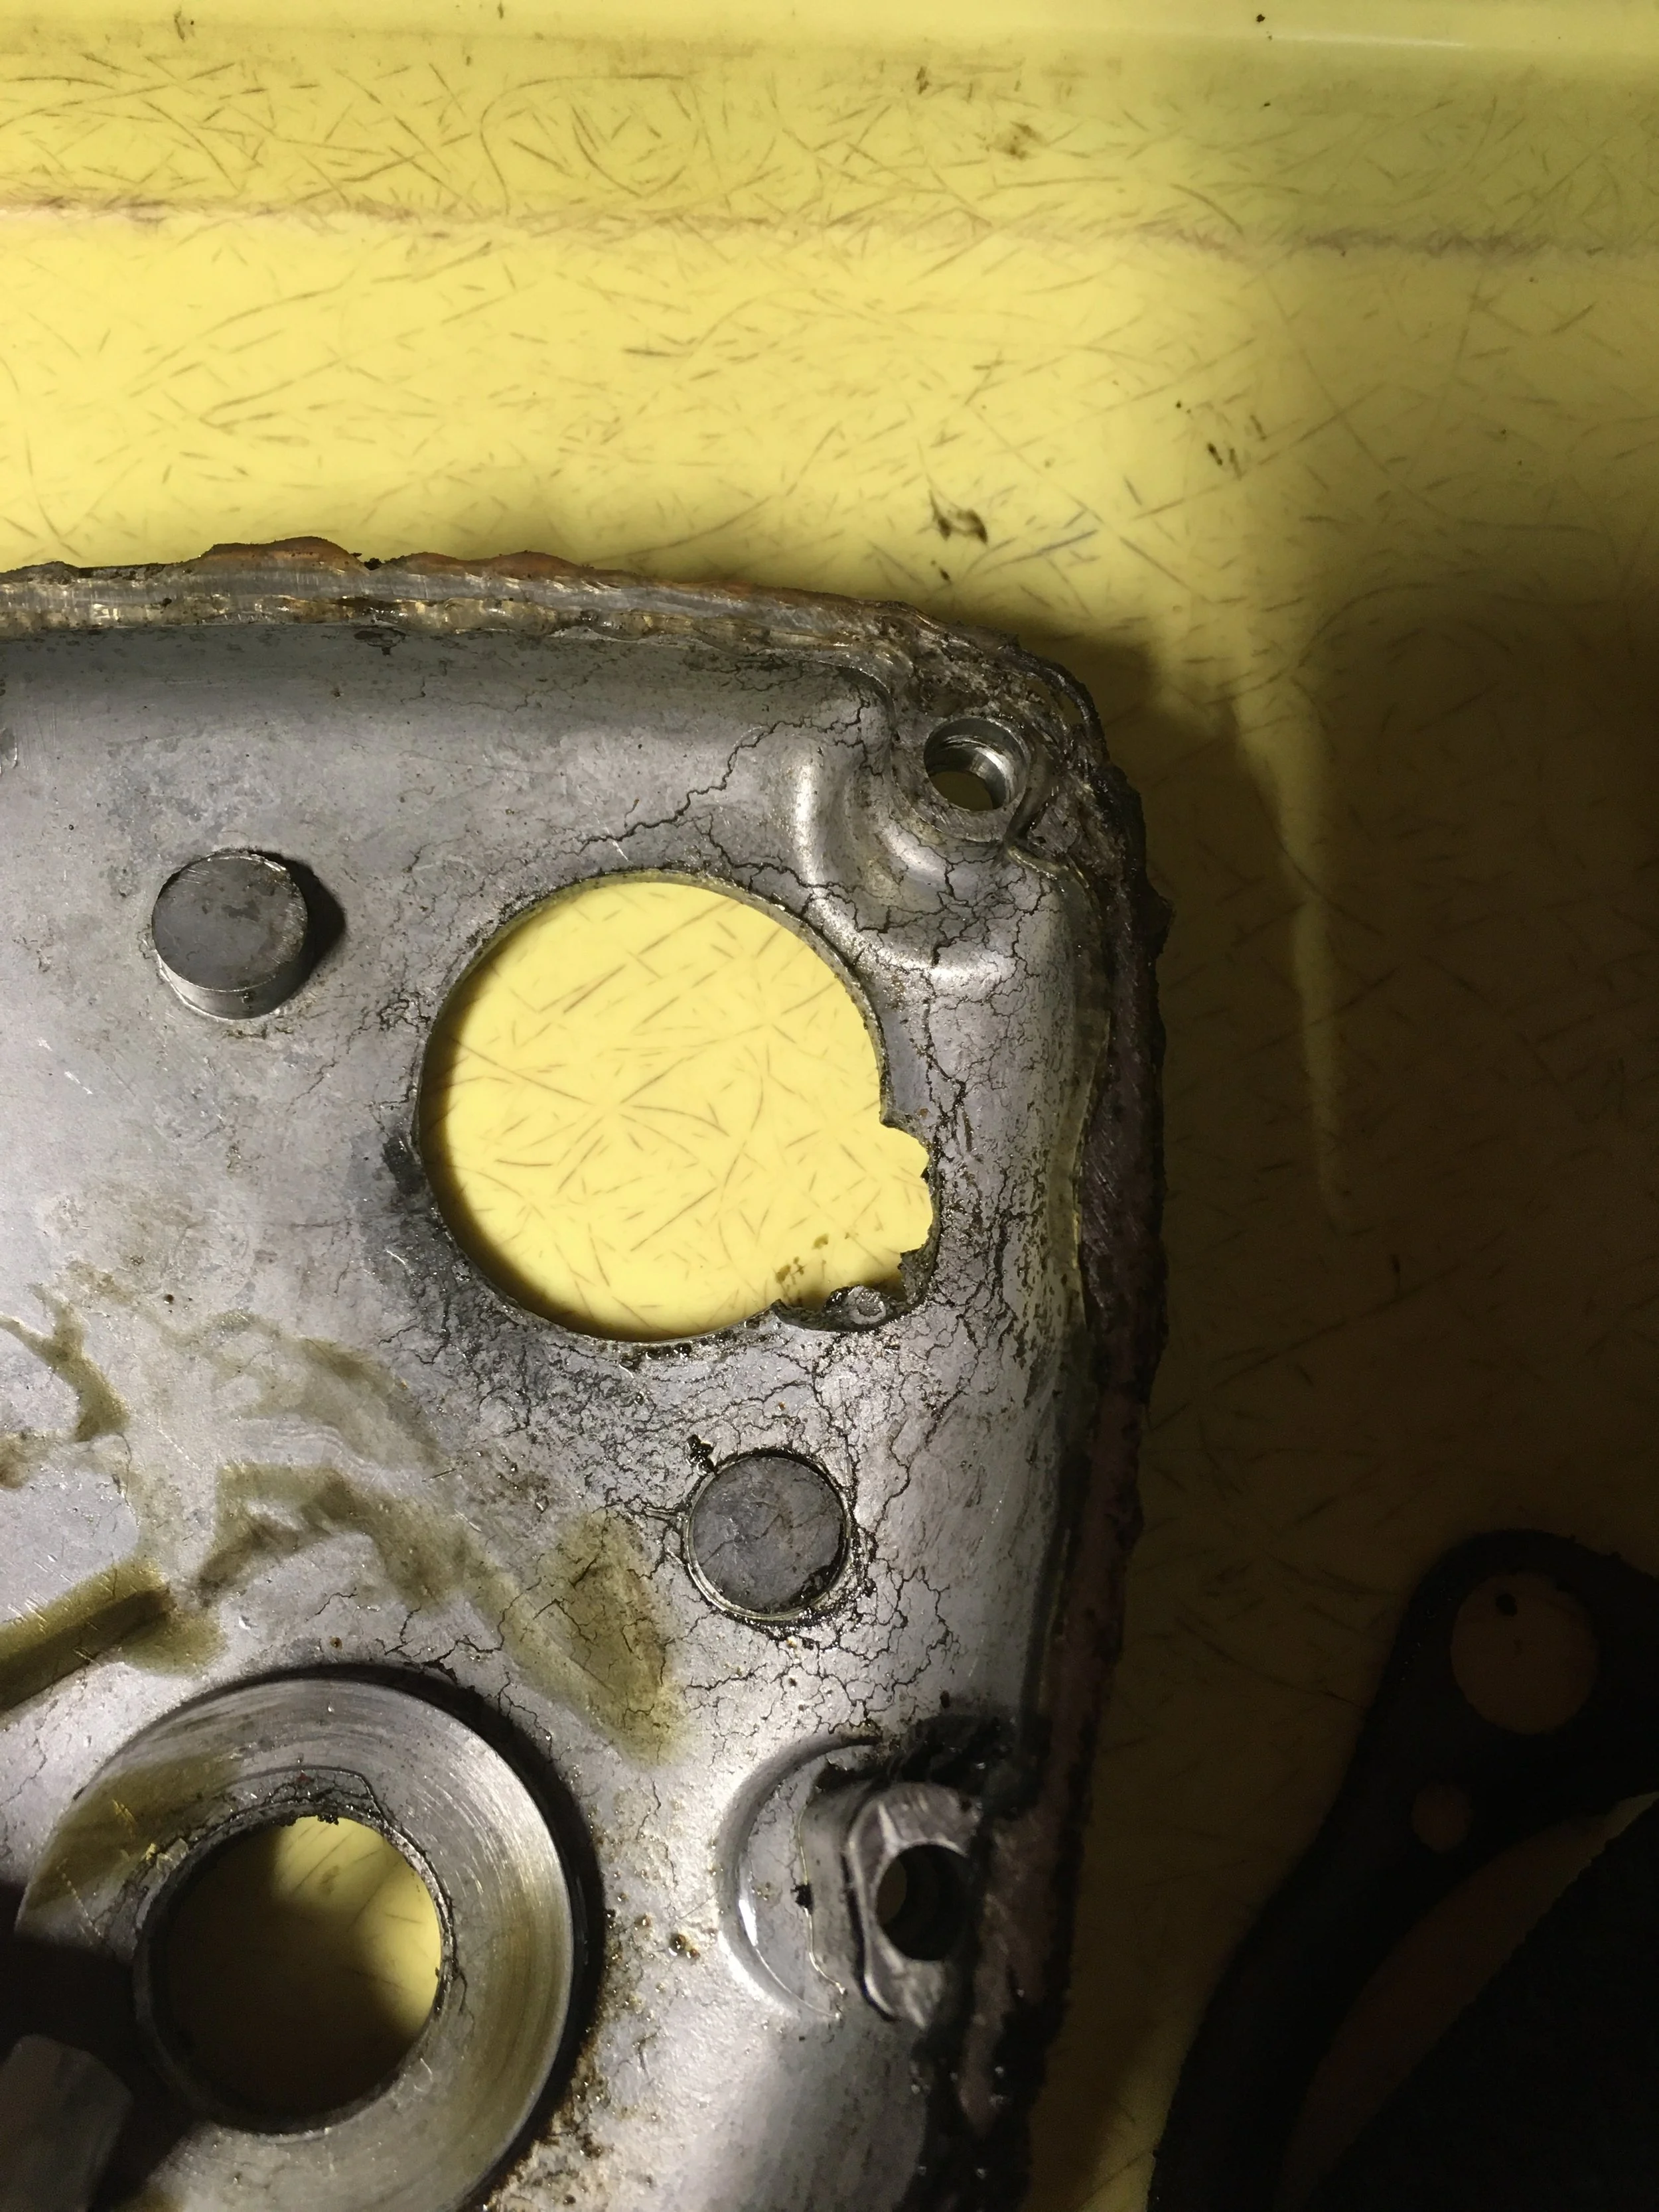
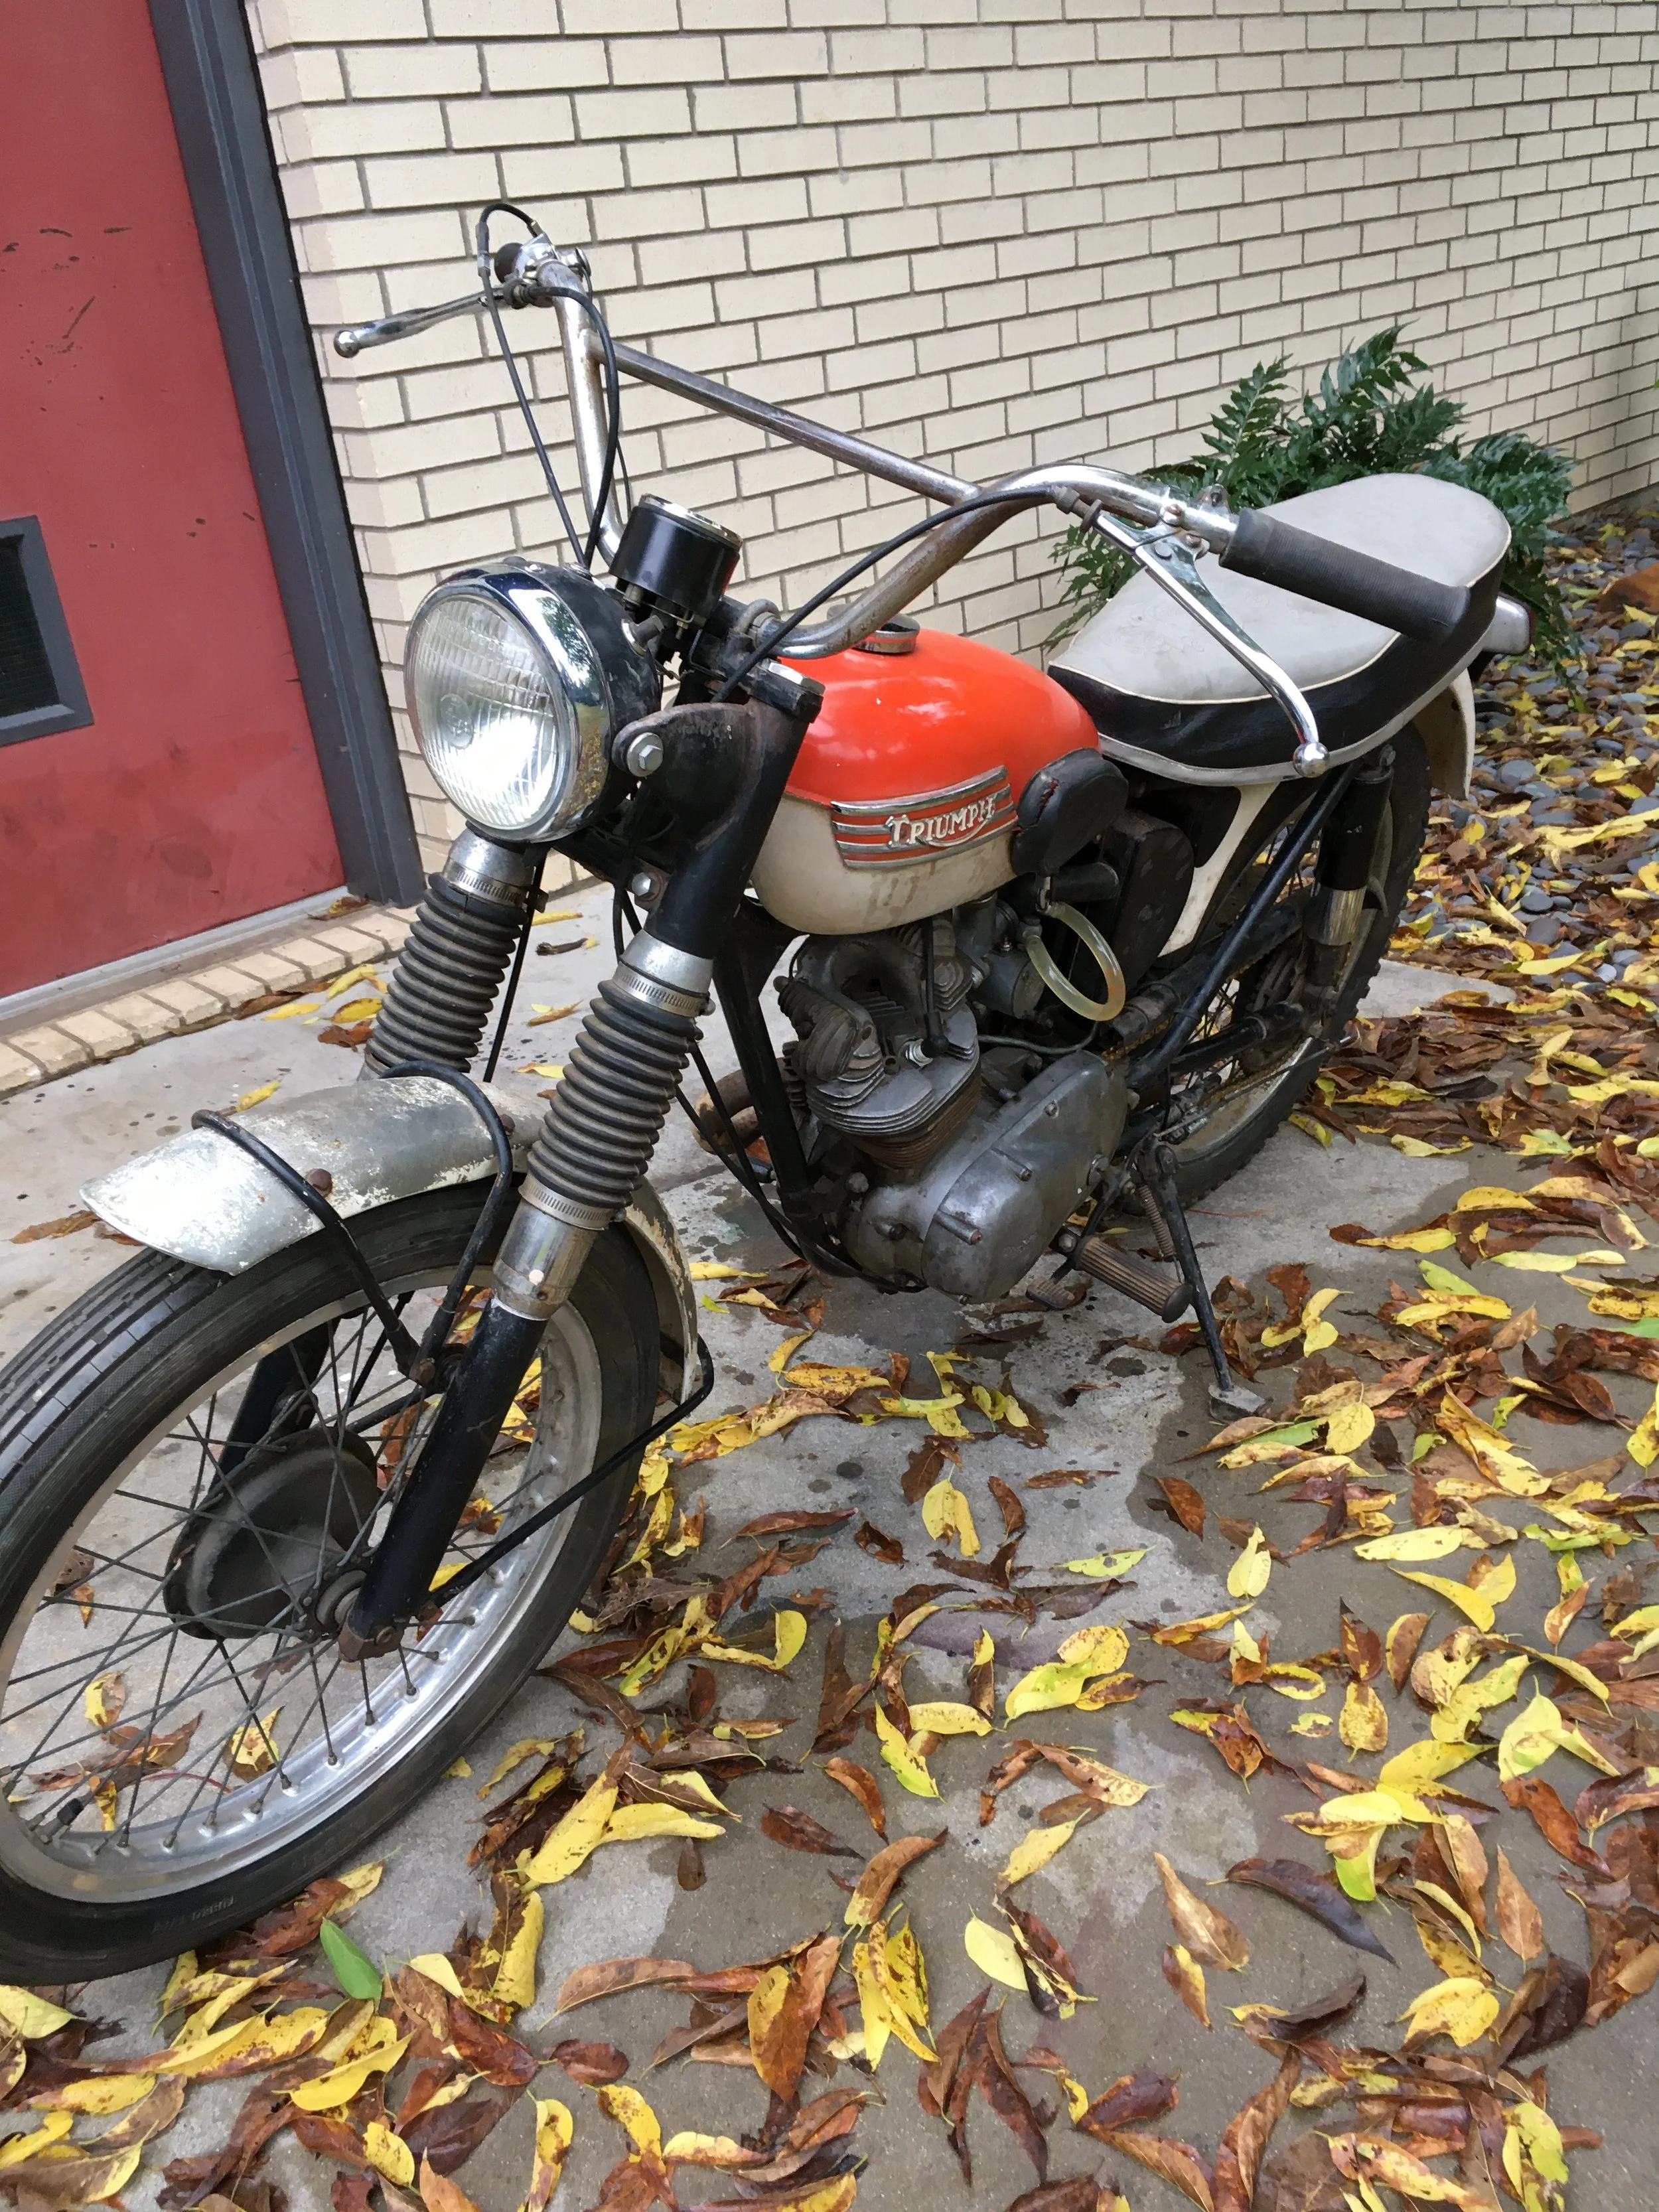
The factory brass-brazed frame joints are one of the cool things about Triumph frames. I have seen film of frames at the Meriden Triumph factory, where the frames are lying in a large bed of coals, being heated hot enough to apply the brass right there. While it seems a little crude, it is probably a pretty efficient way to get the job done. The frame was actually in very nice shape, without any significant alteration or distortion.

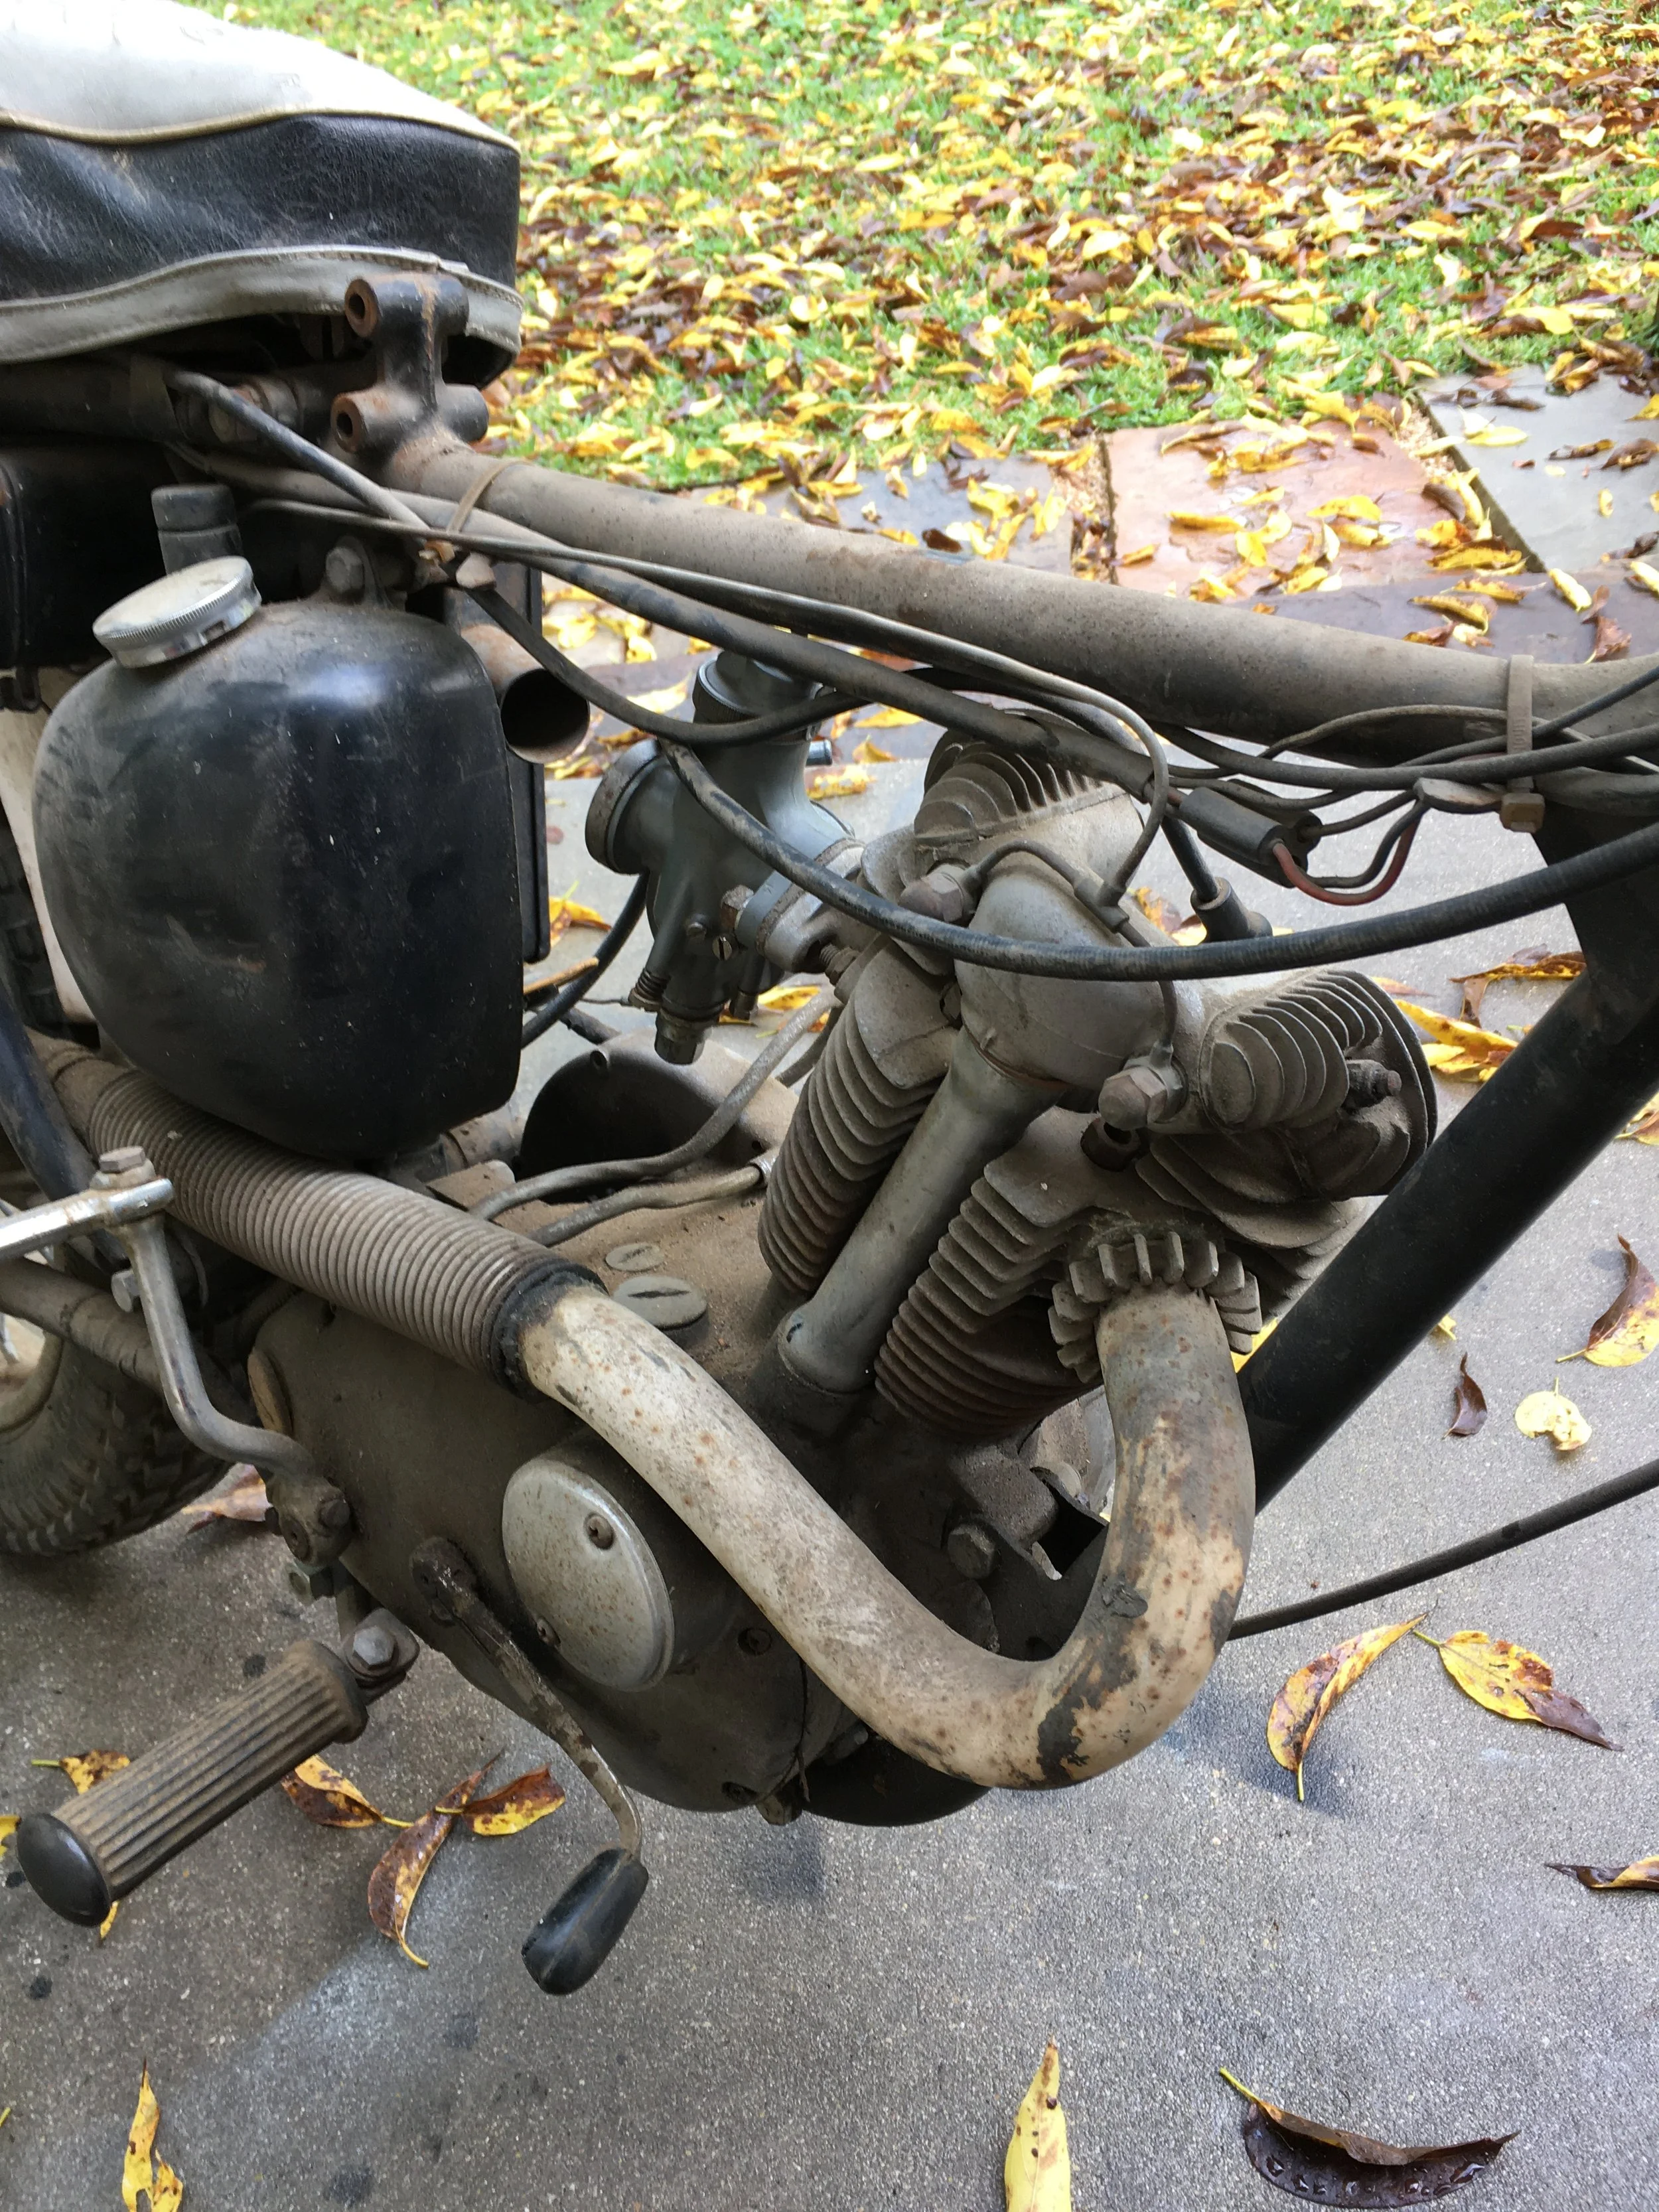
The crankshaft was disassembled, and it received a big-end roller-bearing conversion at some point. I have a new stock bearing and crank pin, but after disassembly, it seems the connecting rod is an early model with a small big-end bearing. A new rod has been ordered, with the bigger bearing found on the 1966-1967 engines. Given the copious smoke this engine produced when running, any non-stock parts are suspect as contributors, hence the conversion back to stock.

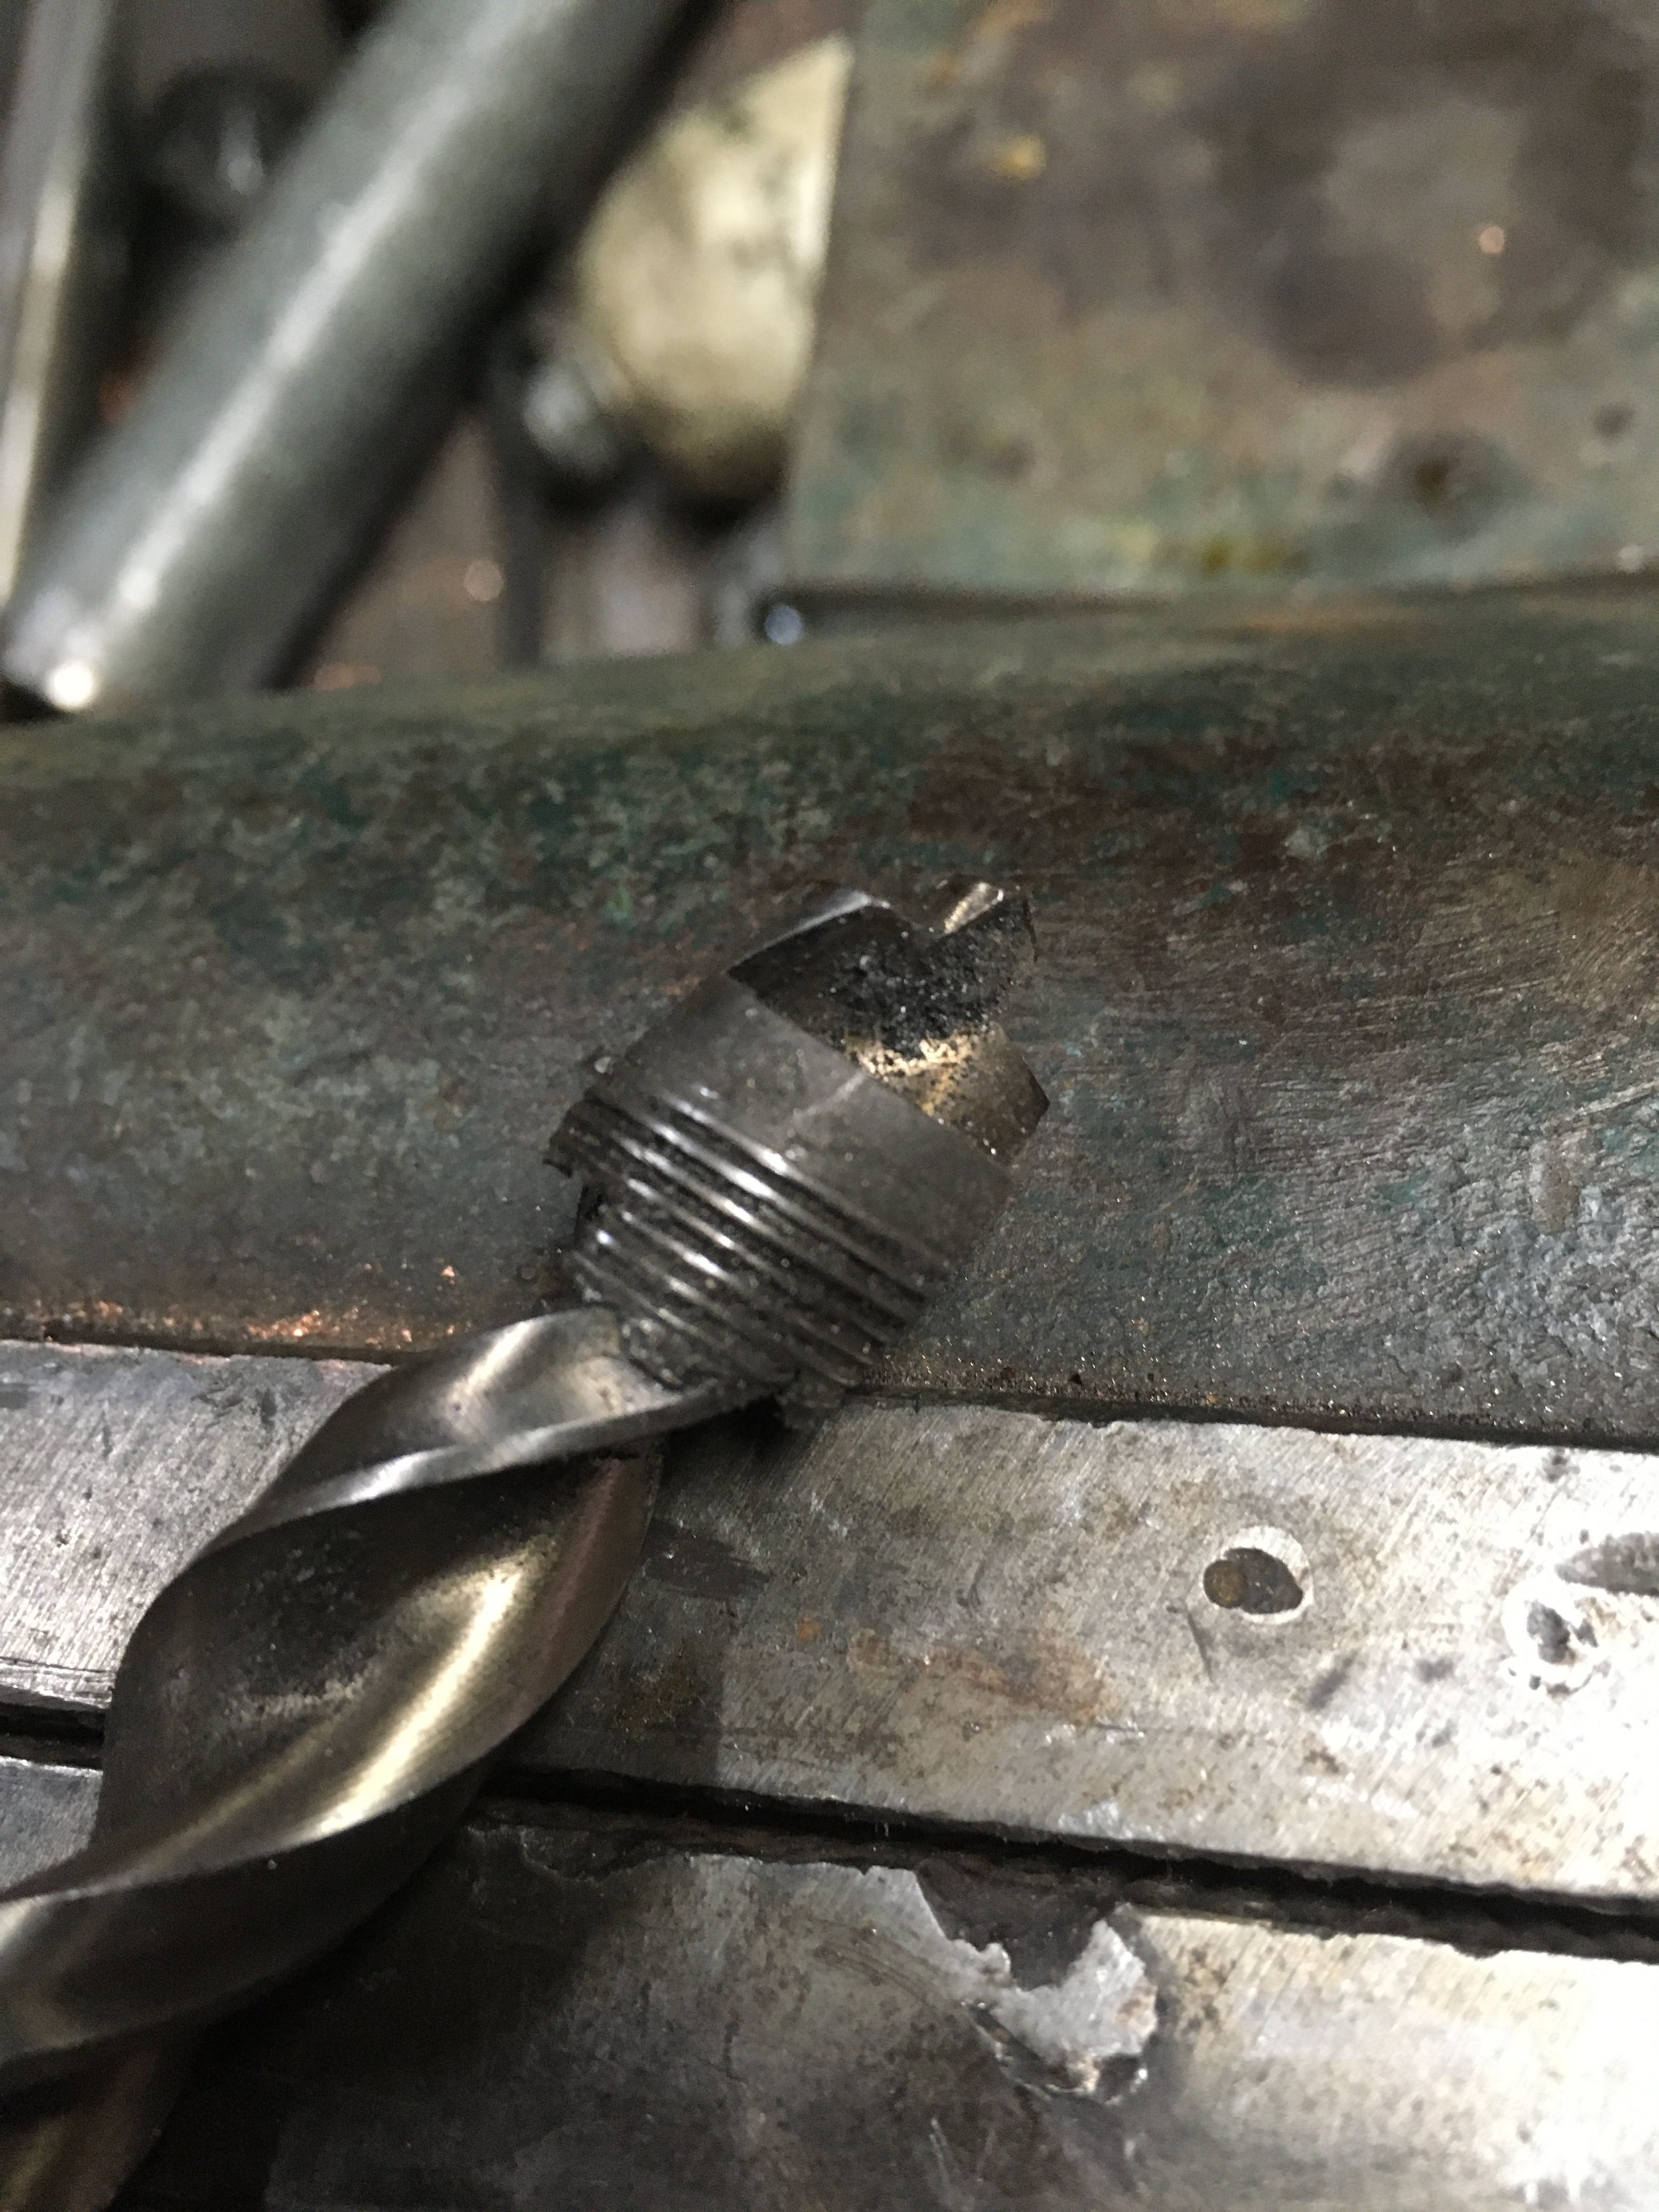
The sludge trap on Triumph cranks has always been a source of frustration. It is quite common for them to be badly chewed-up from previous removal (or perhaps, only attempts.) This one was no exception, and had to be drilled out. A 1/2” drill bit left just enough room to preserve the threads. This is the last little bit of the plug, wrapped around the drill bit. Fortunately, the threads were untouched during the process. Baxter Cycles had the new sludge trap replacement.

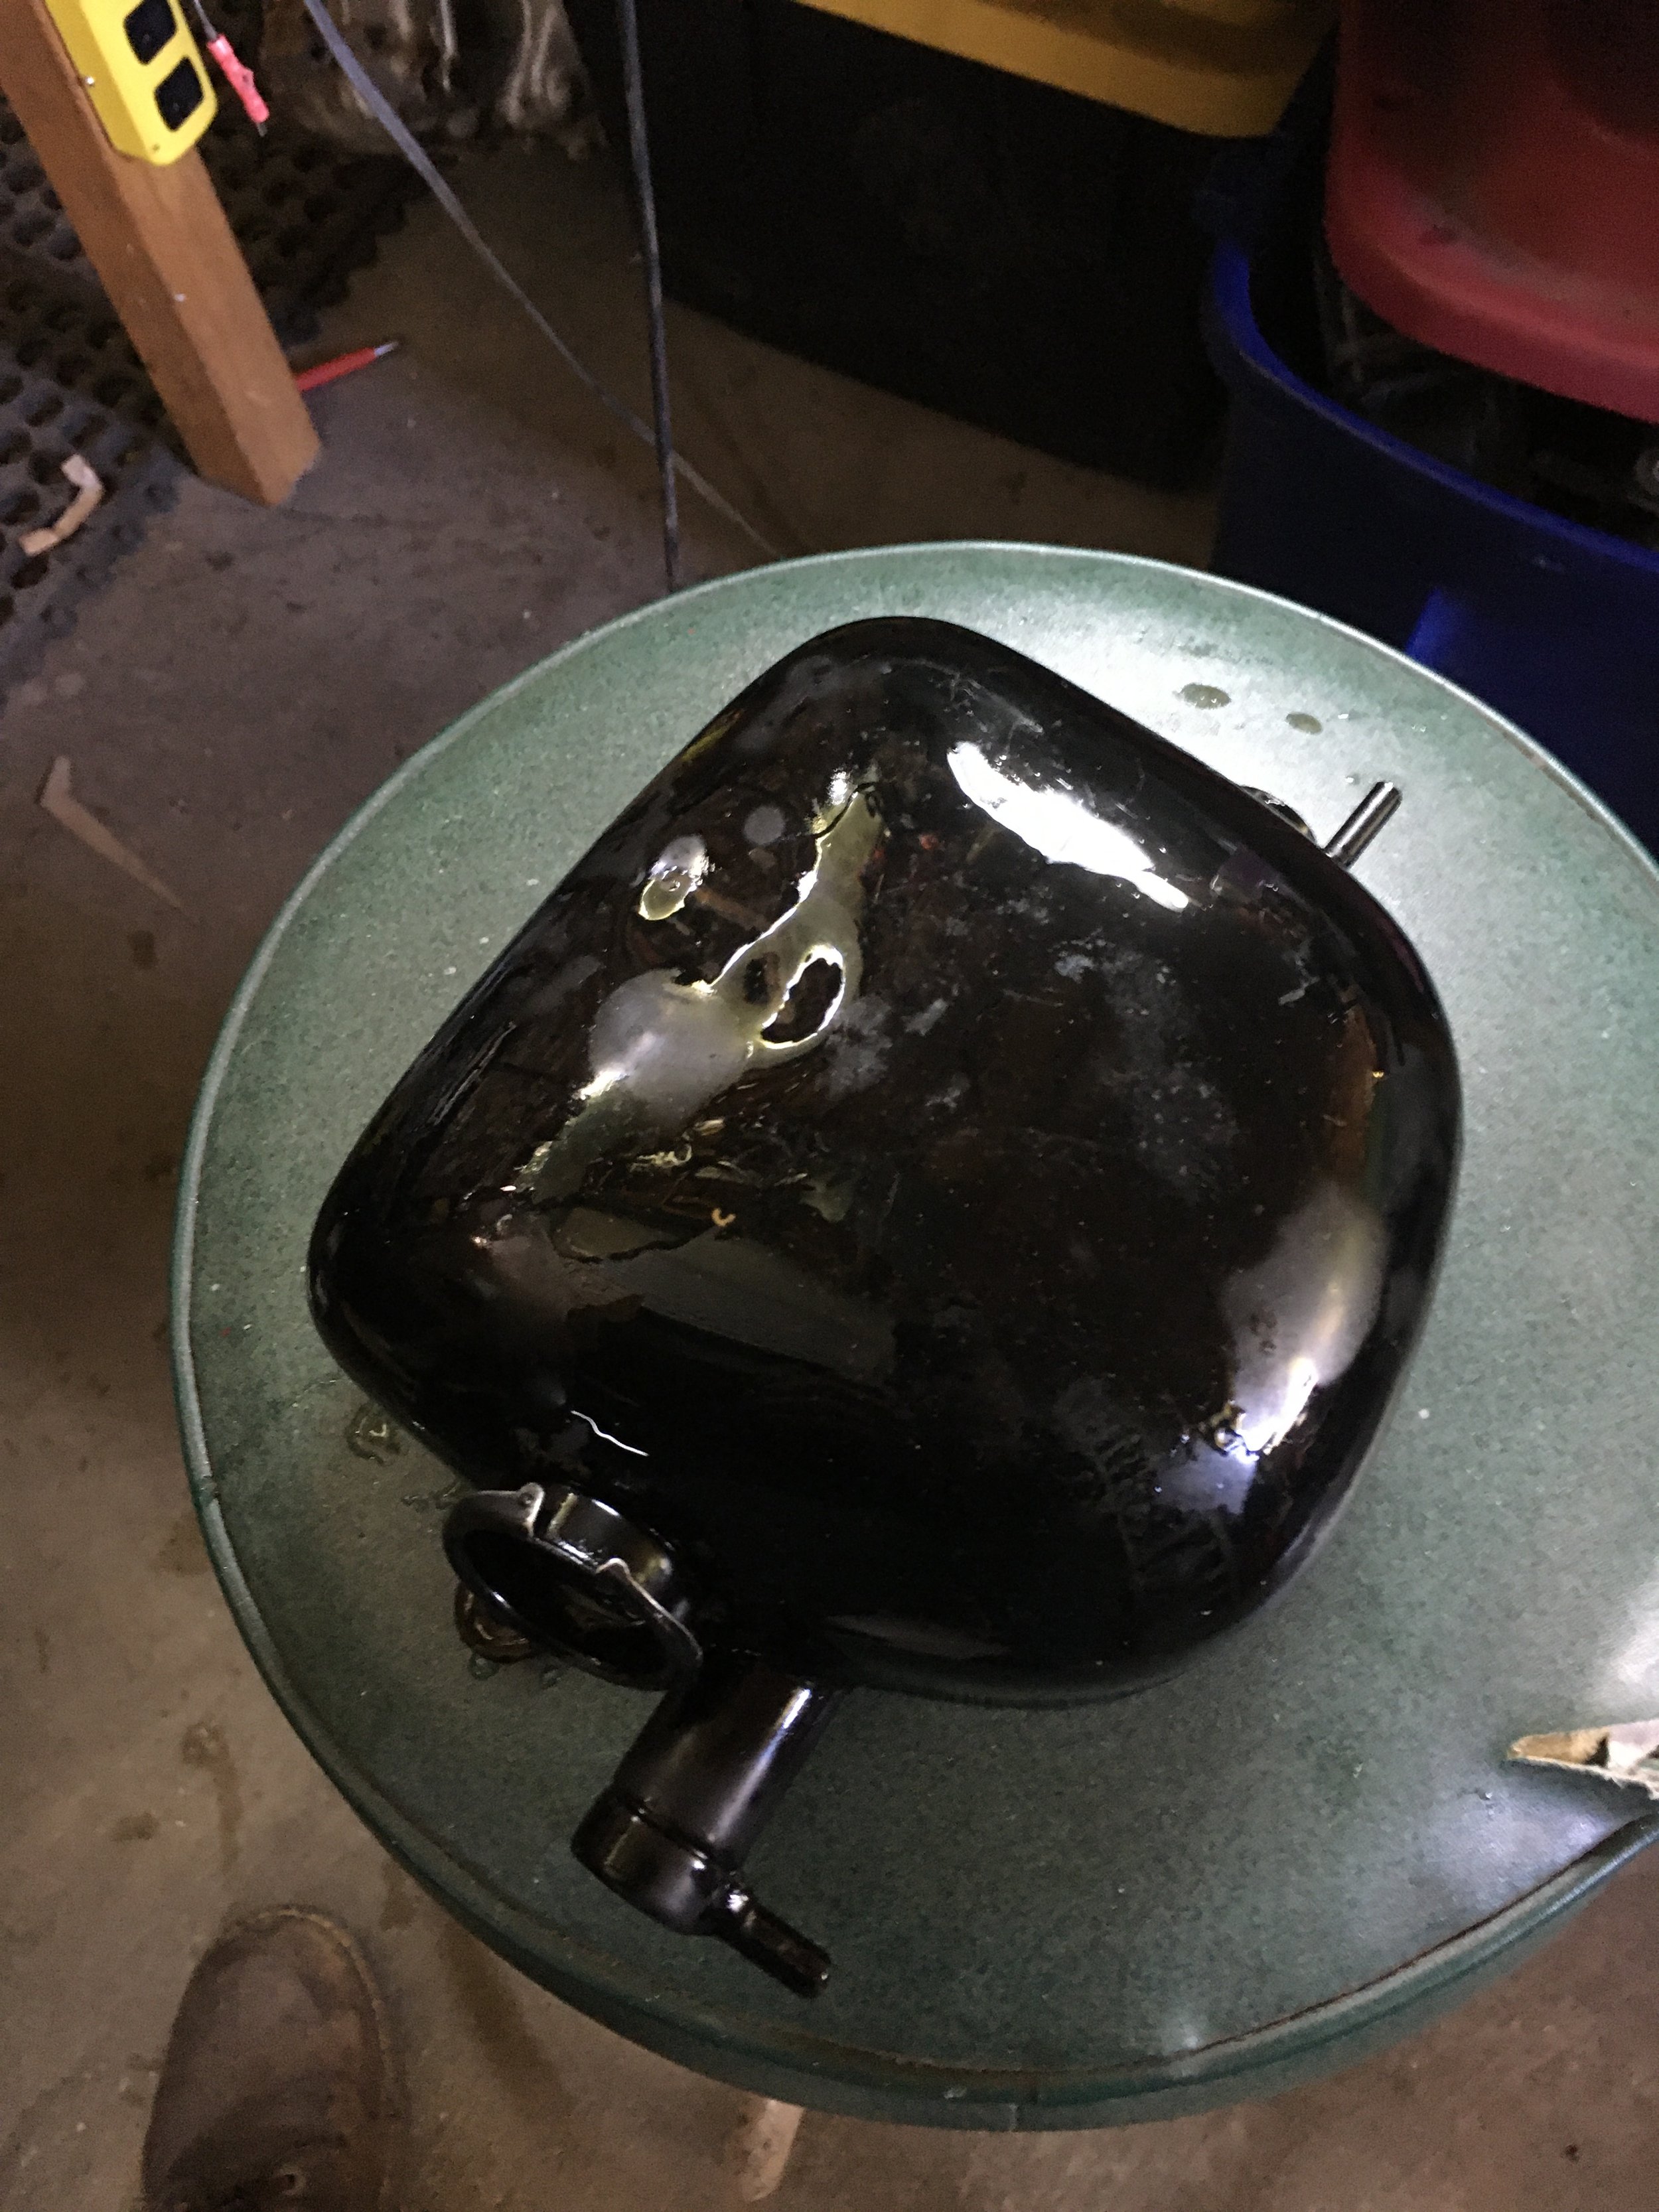
A couple of dents on the oil tank needed to be knocked out.

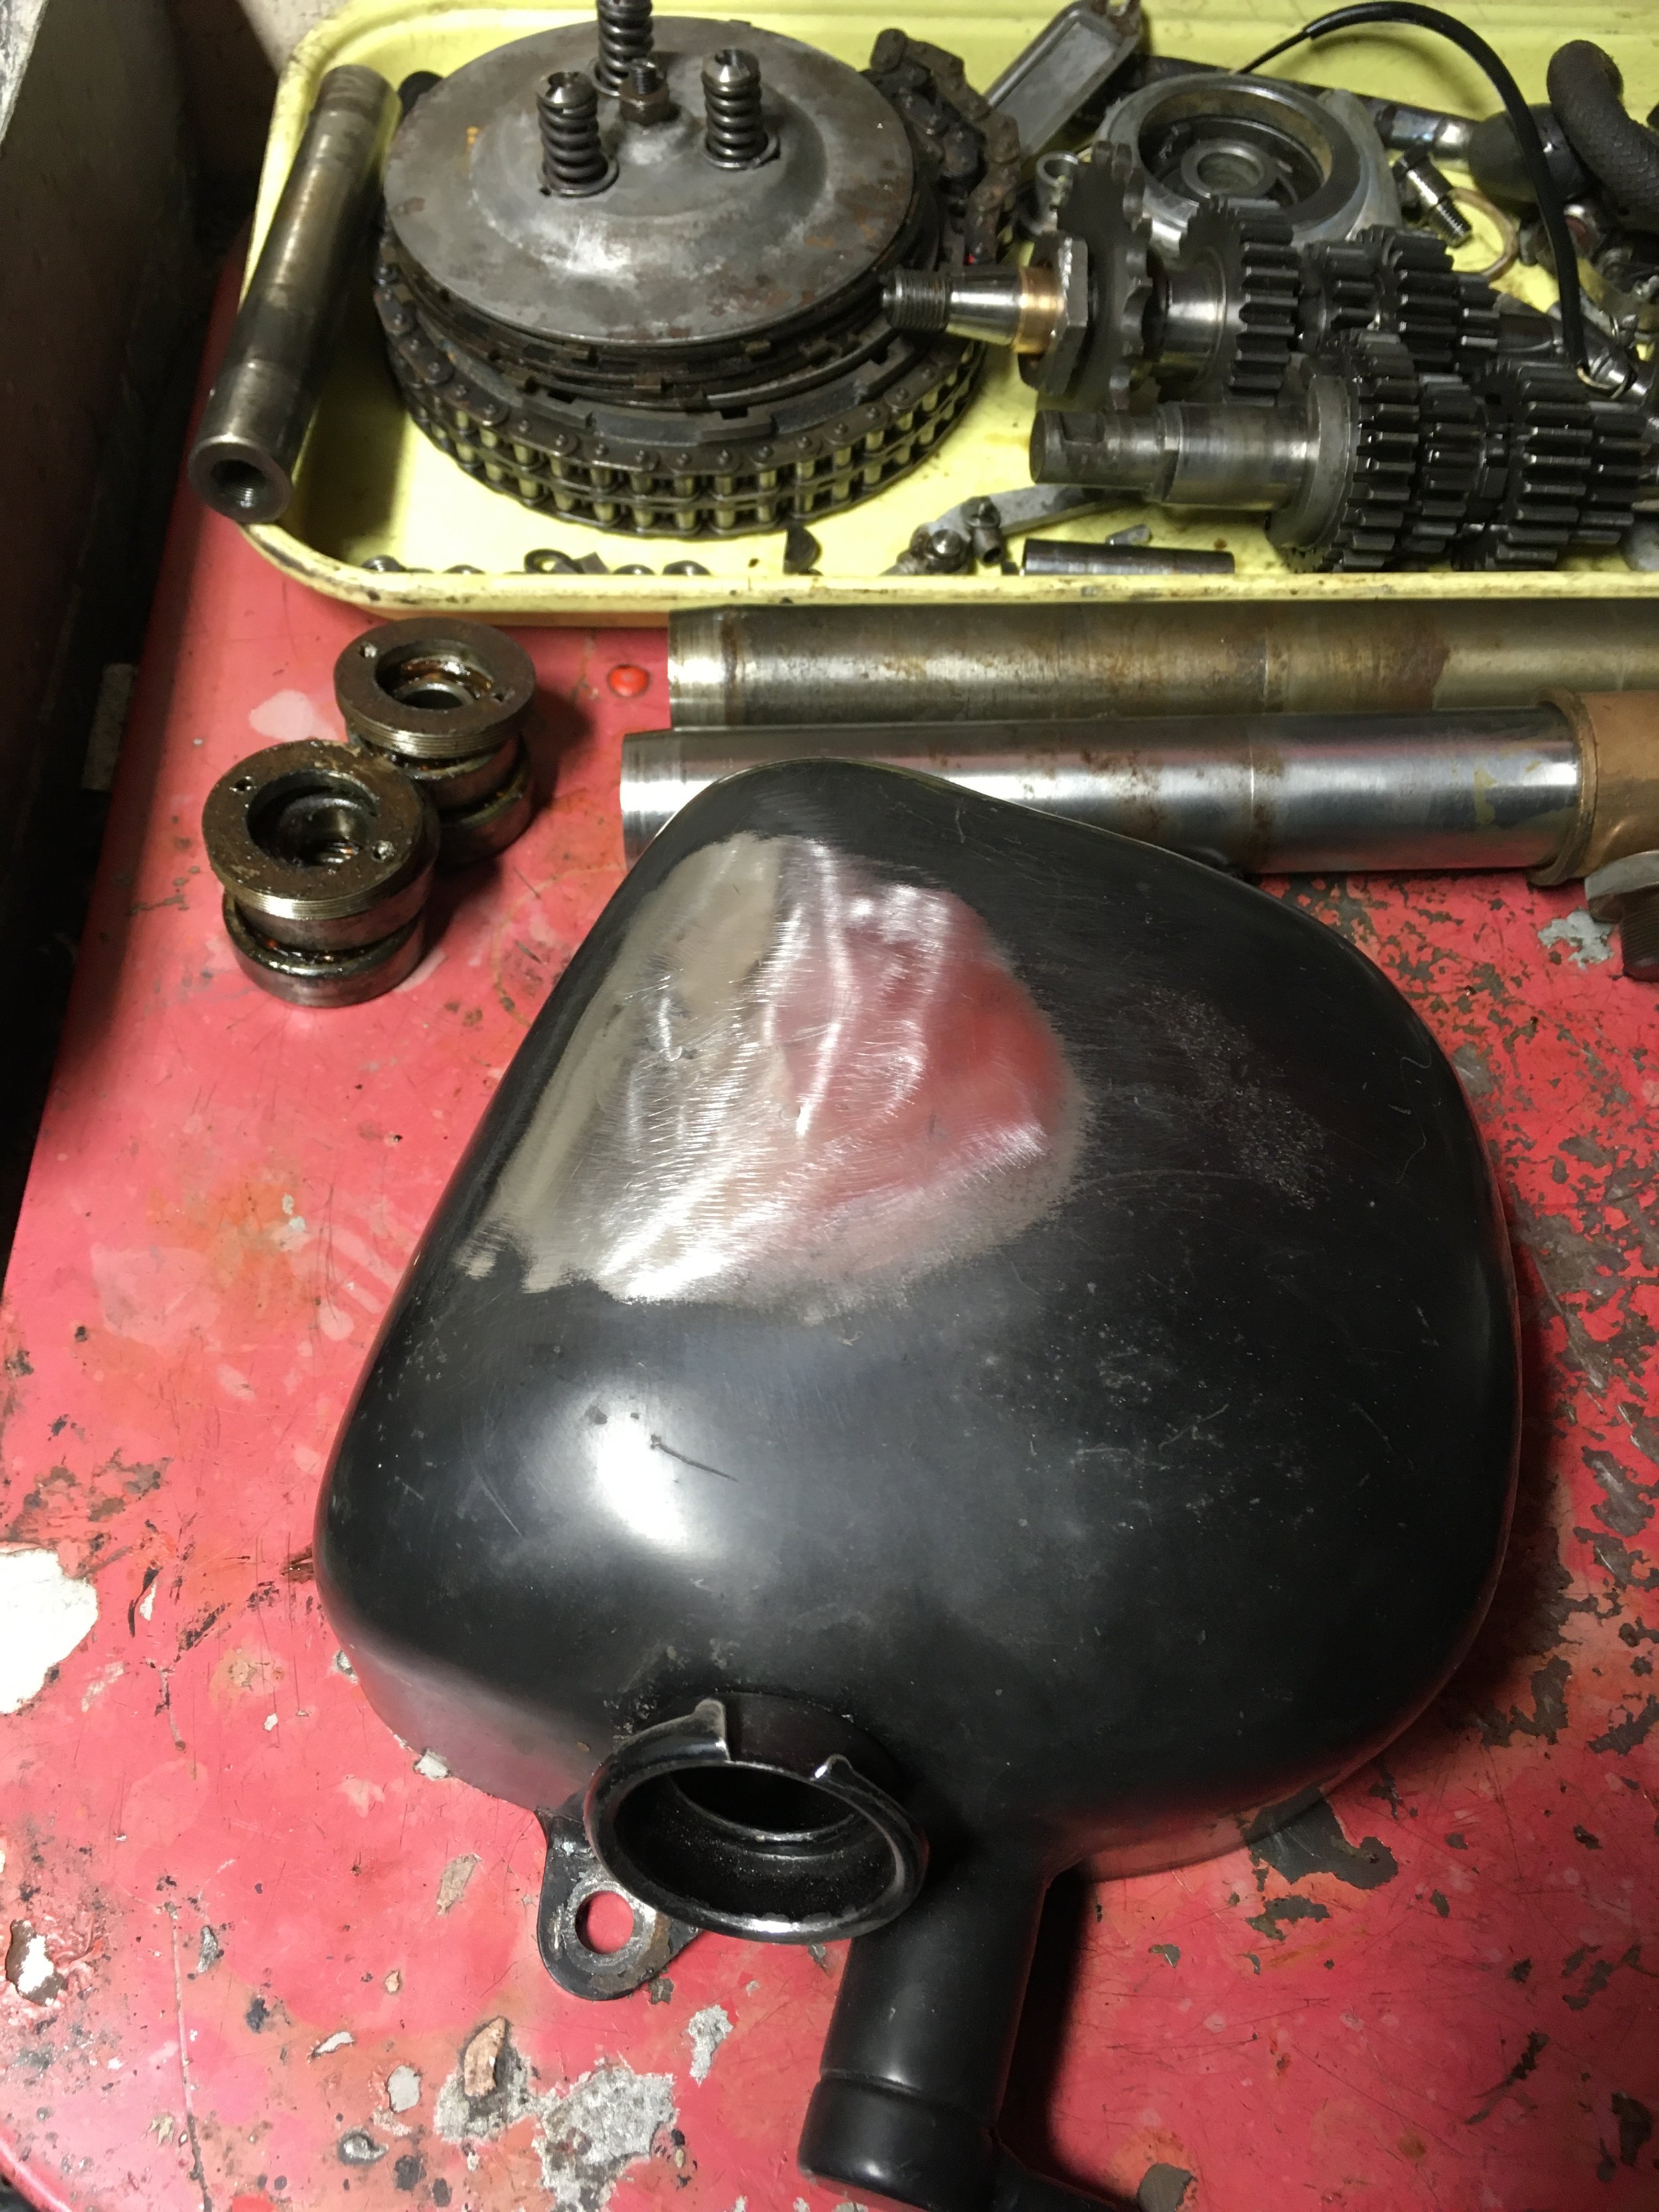
Some mandrels pressing the dents from inside of the tank through the filler hole, and a stud-gun to work out the rest, and its close enough for paint.

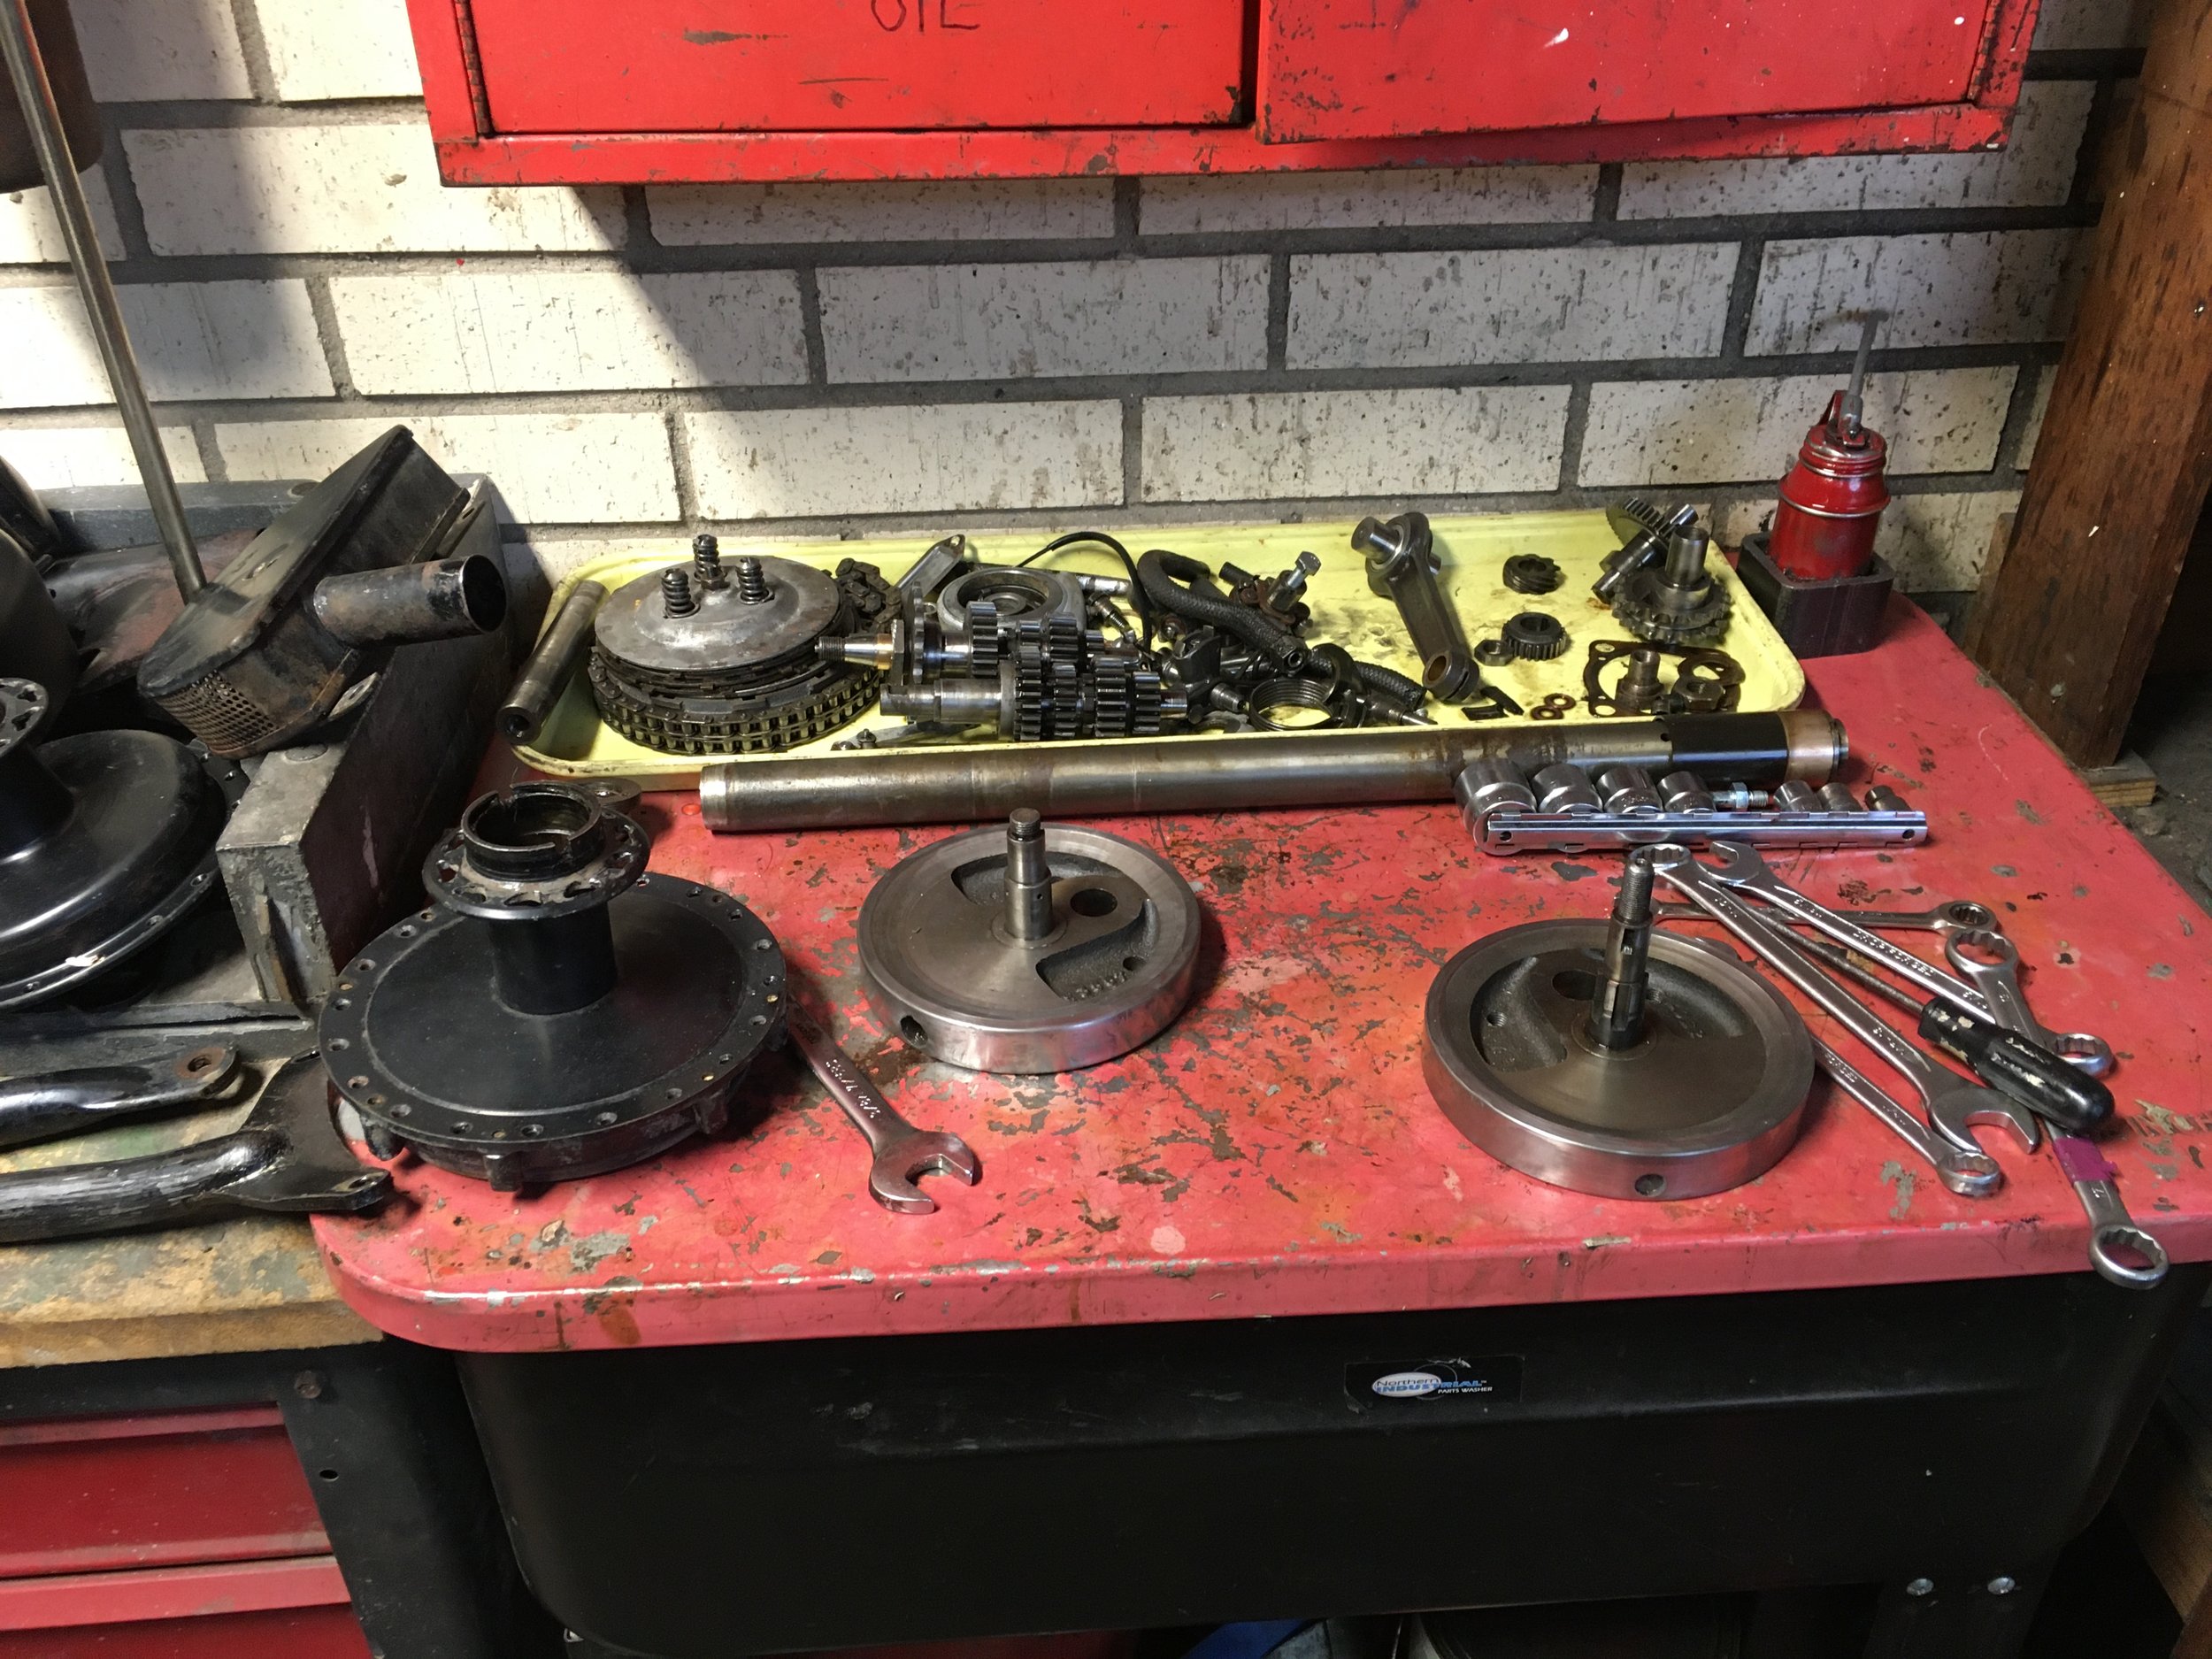
The replacement side cover was sanded and polished out. The case halves are clean, and all bushings and bearings have been replaced.

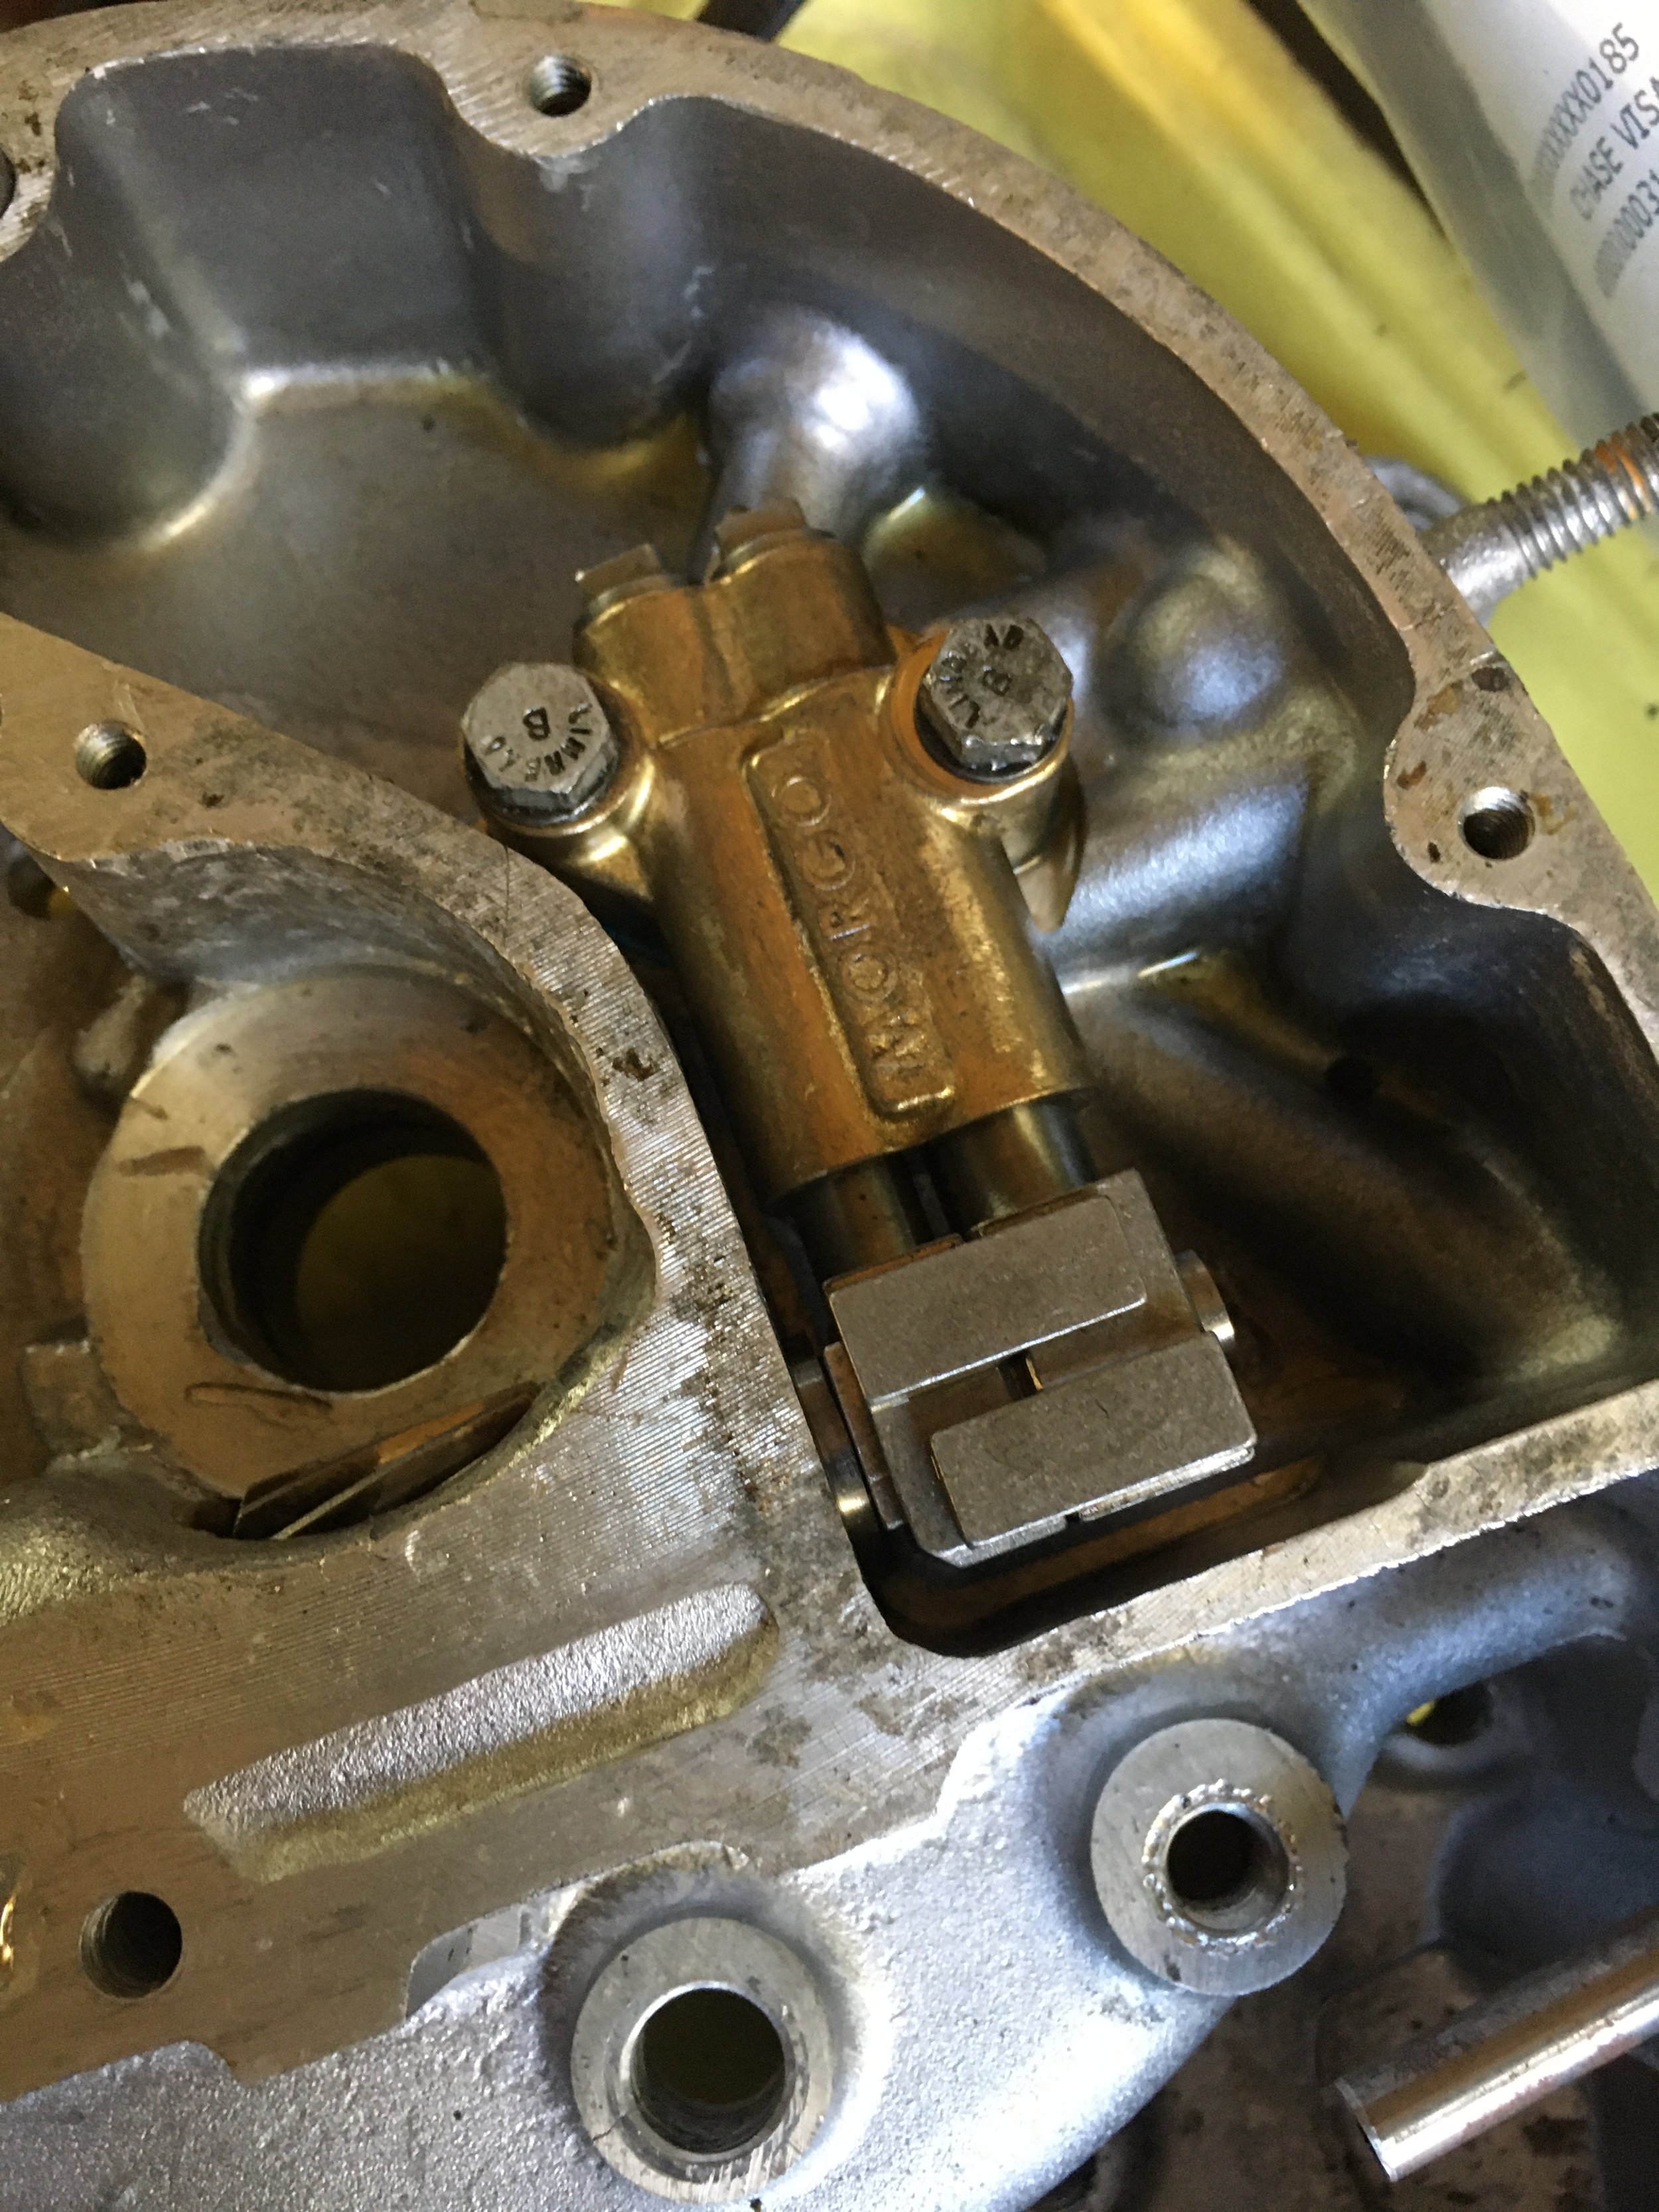
A new Morgo oil pump went in.Extra time was spent making sure that all the oil passages were super clean in the engine block, crank, and tubing, and especially the oil tank. There are many stories circulating amongst British bike owners about crankshafts and cams ruined after a rebuild because of a a dirty tank or sludge trap.

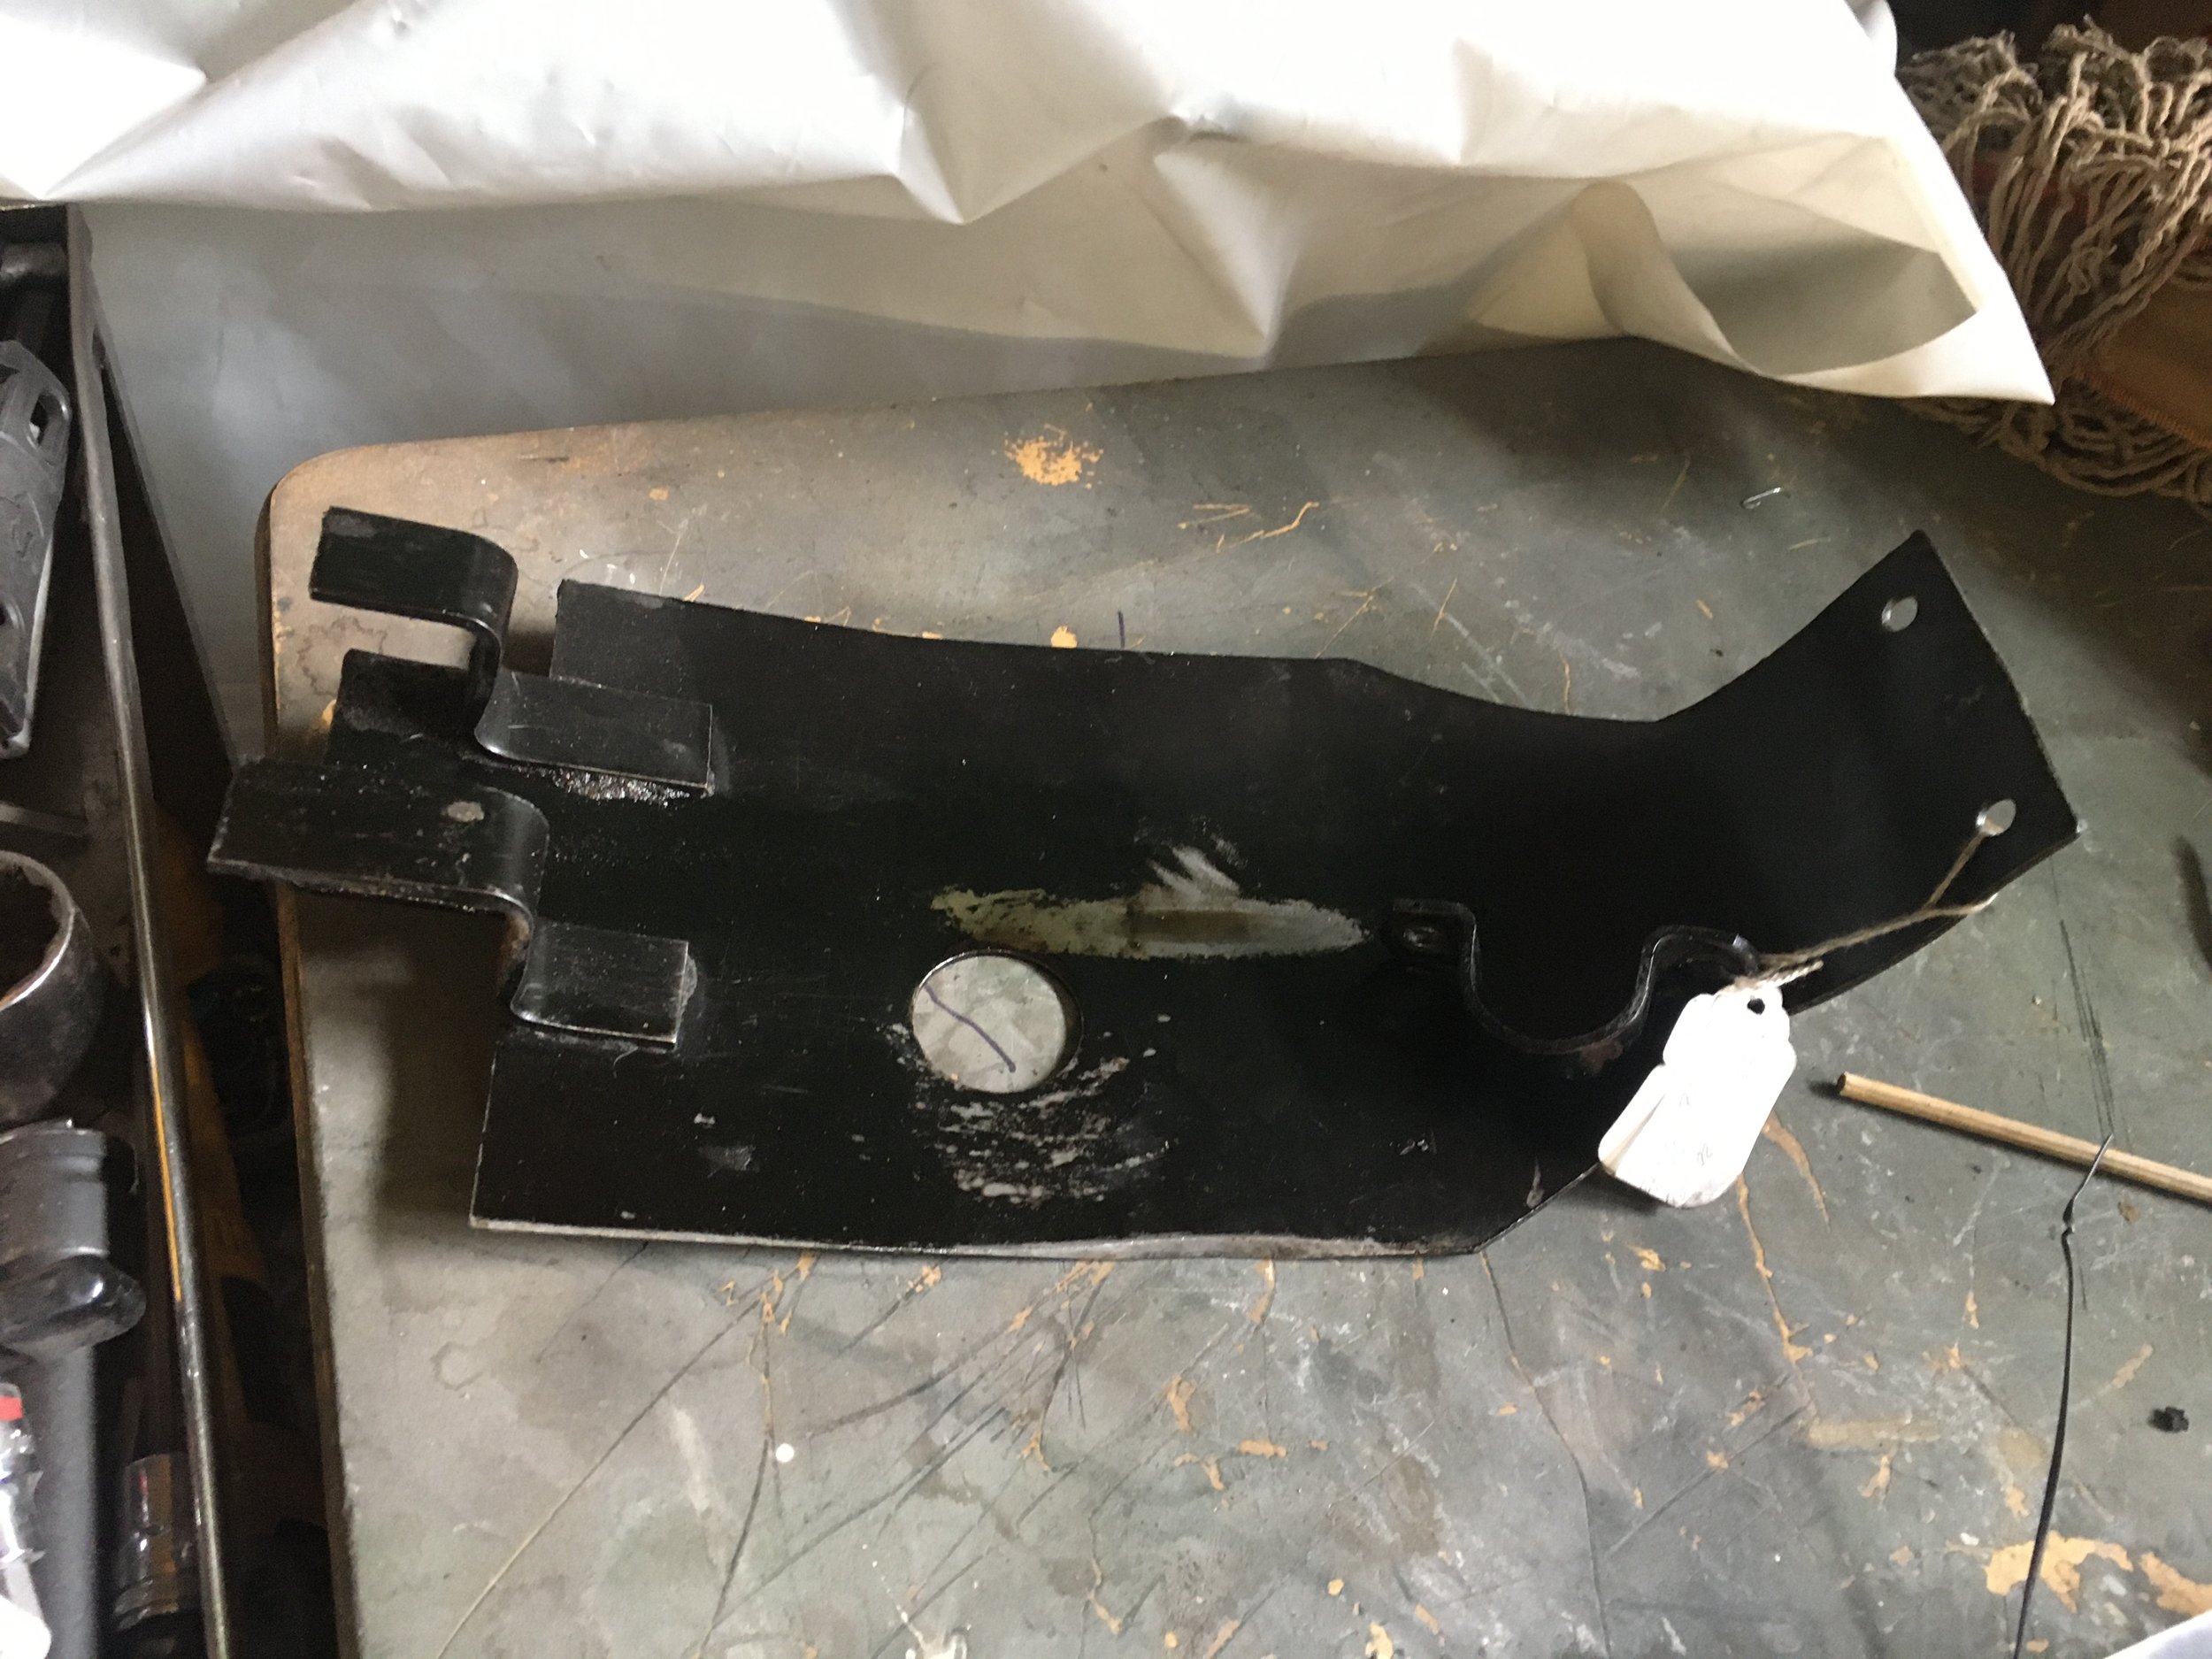
I left the head with Big D Cycles in Dallas, Texas, for new valve guides and valves. Once again, with everything else getting restored, and all the smoke it produced, it seems like it has to be done. This is the first time using an ultrasonic cleaner with a heavy-duty degreaser to clean parts. The finish was in surprisingly good shape on the engine center cases, given all the oxidation and wear on the side covers. There is a skid plate that goes on the bottom of the frame, and evidently it does a good job protecting the bottom (the thick layer of grease probably didn’t hurt either.) The new main bearings for the crank and tranny are in place, along with all the bronze bushings.

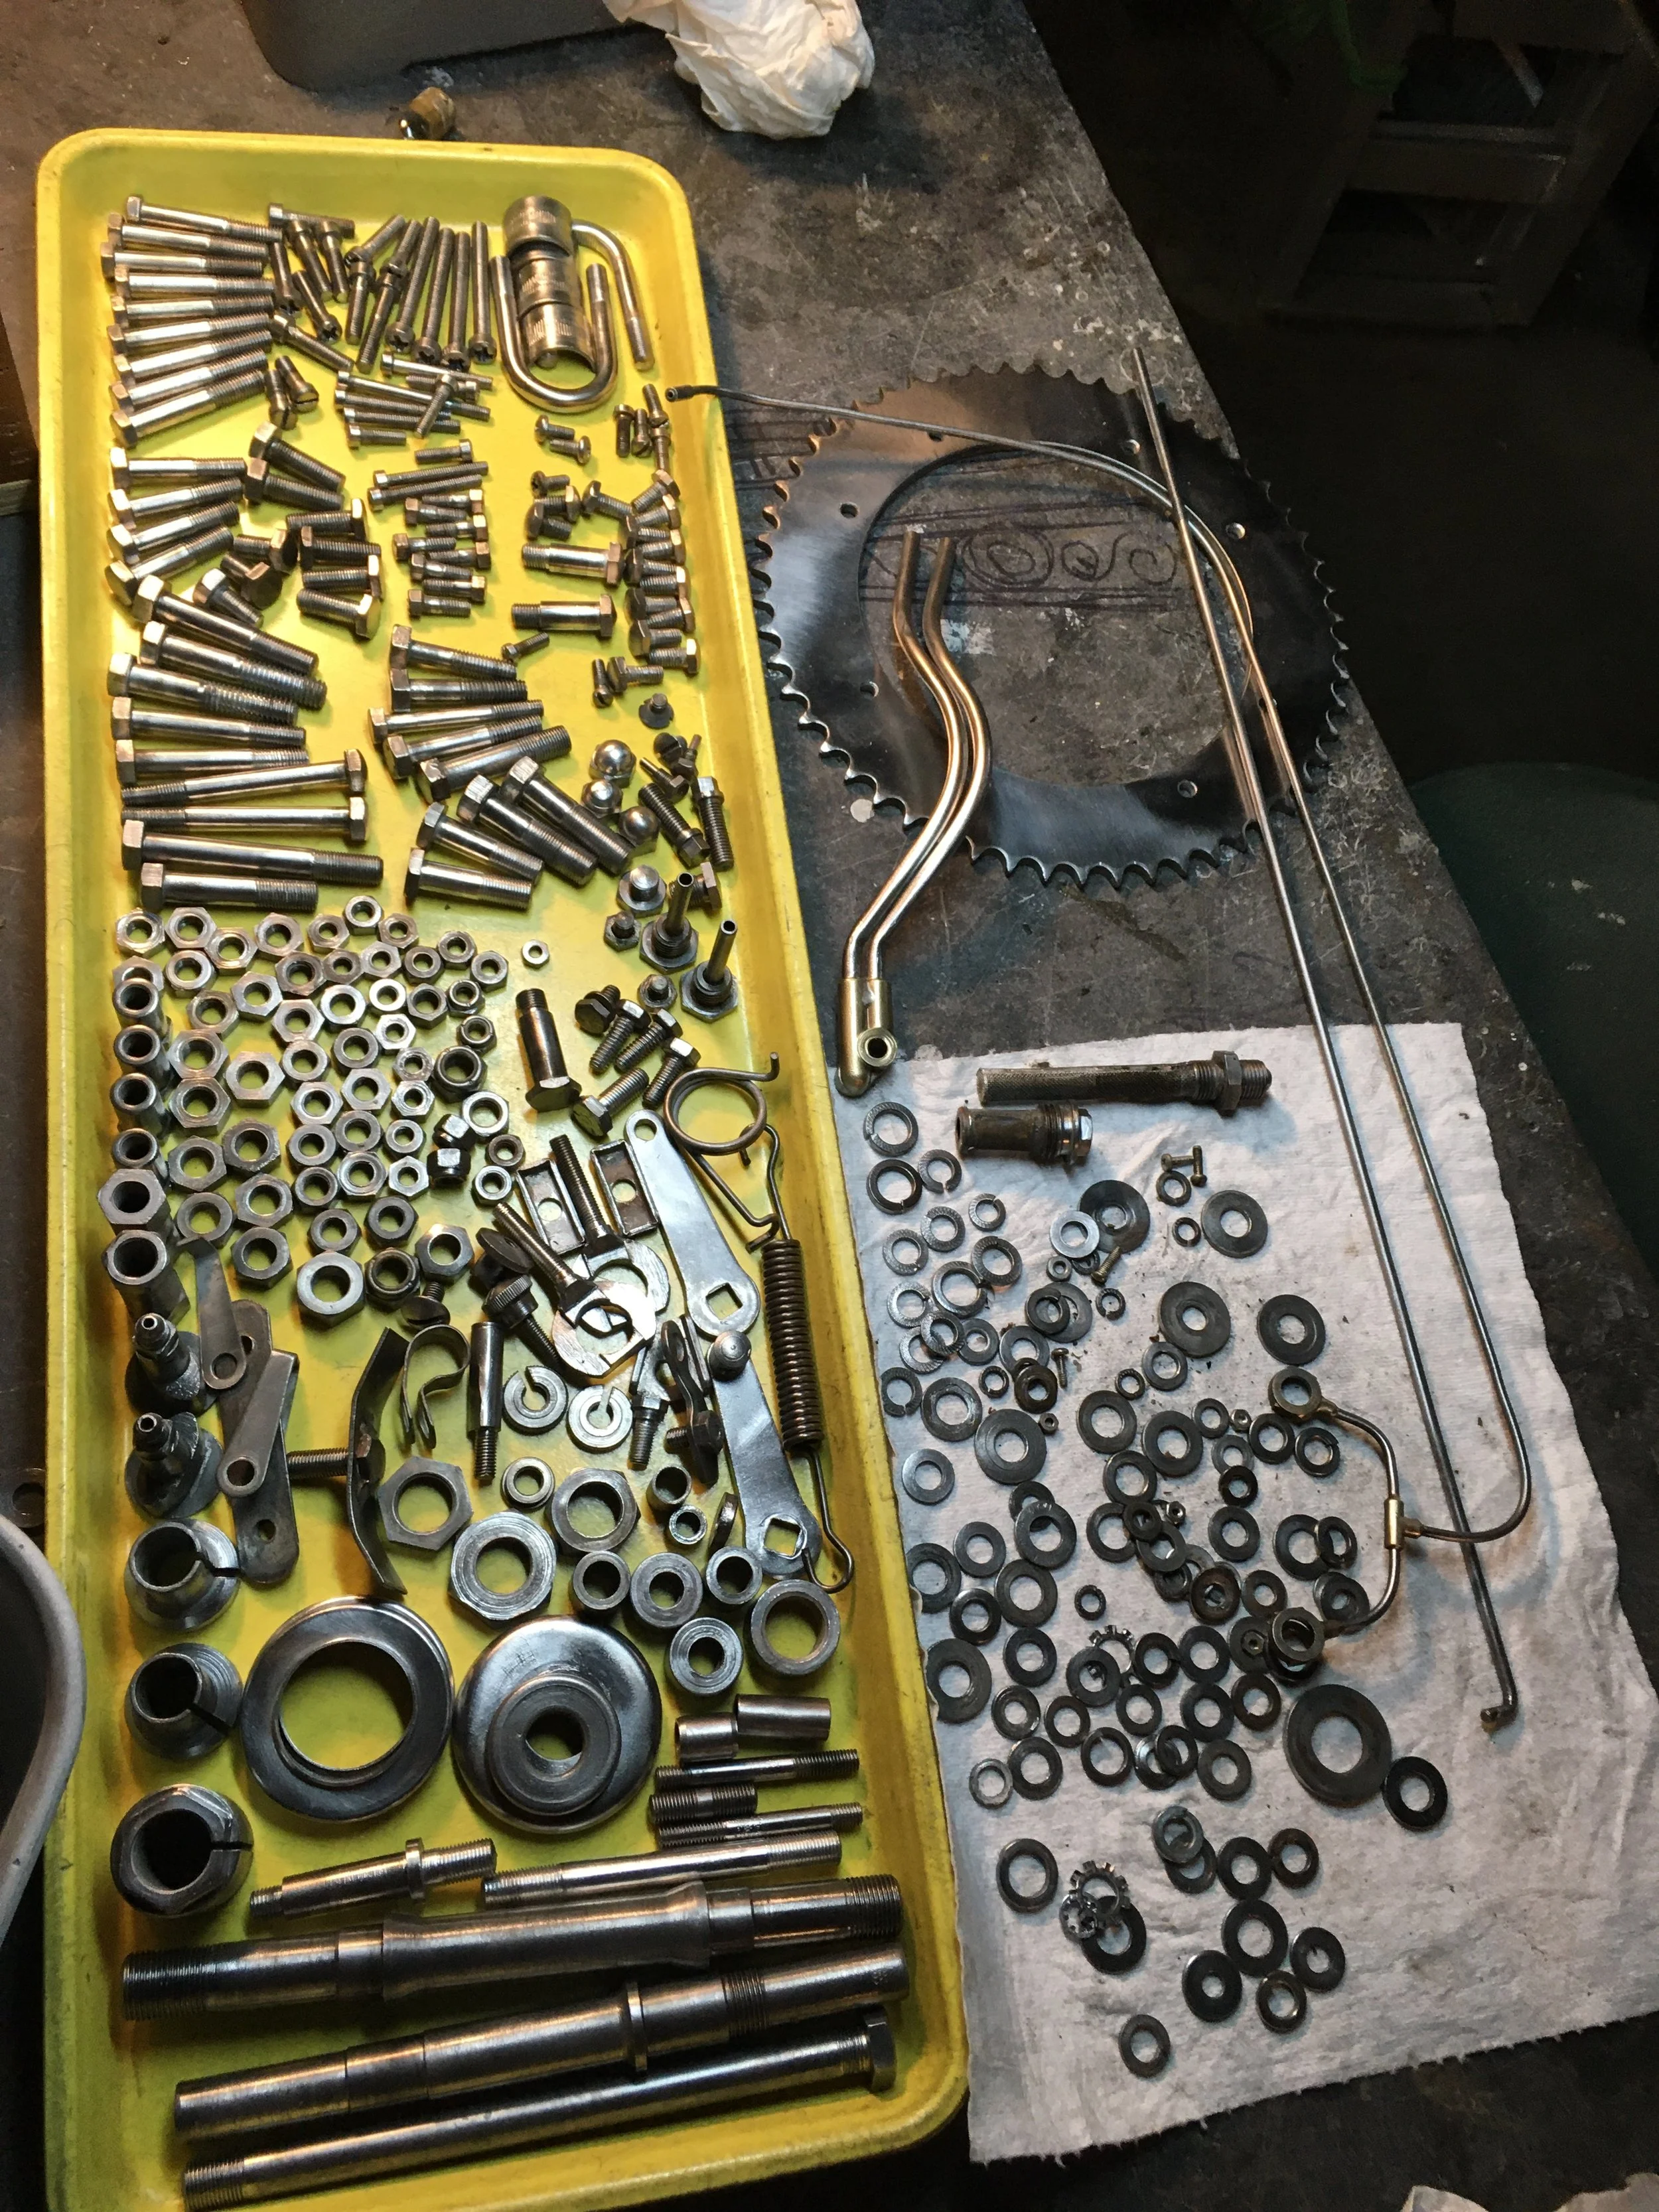
It’s a tedious process cleaning and working over the hardware prior to cadmium plating, but using the original hardware makes a big difference in the final product. Everything gets ultrasonic cleaning, degreasing, and wire brushing. Threads are chased and bends and nicks are repaired as well as possible Though there were some missing and incorrect pieces of hardware on the bike, a majority of the parts were there and in decent condition. The engine cheese-head Filson case screws had been boogered up a little, and were replaced with NOS ones. The heads of those original screws get hammered out enough to use again, but are still irregular enough to keep them out of this build. After all the prep, Texas Precision Plating in Garland, Texas does the cadmium plating.

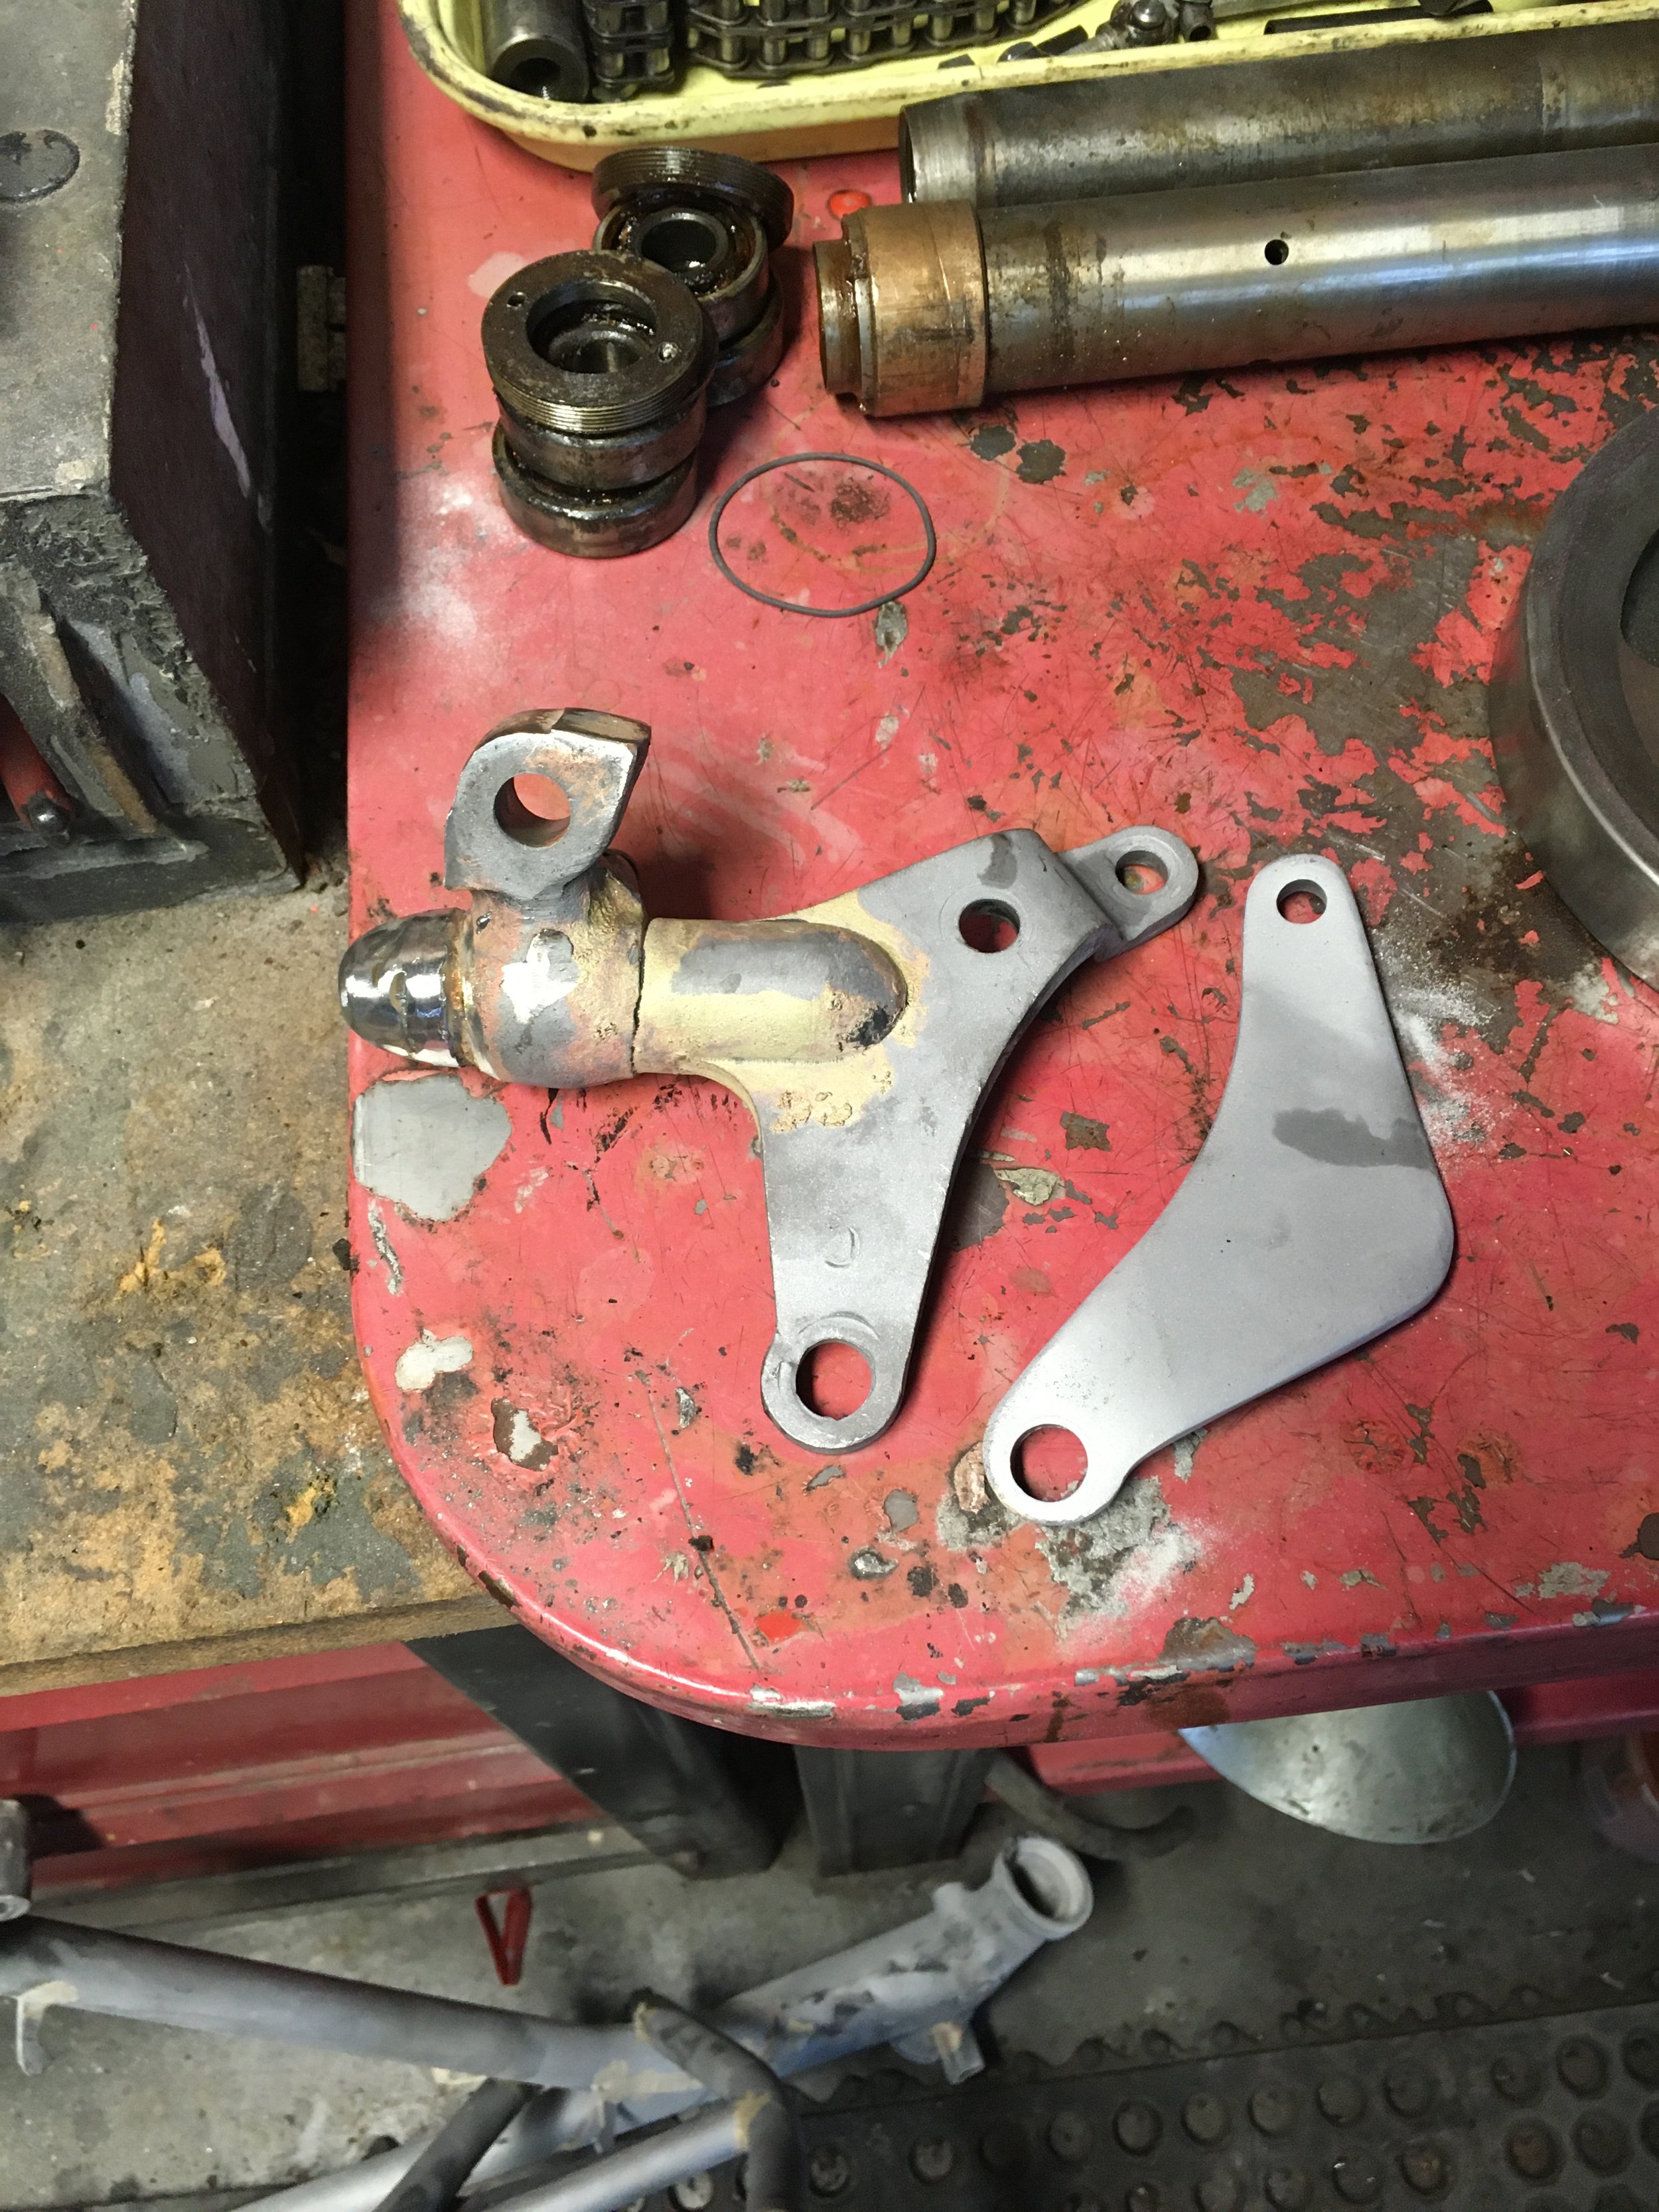
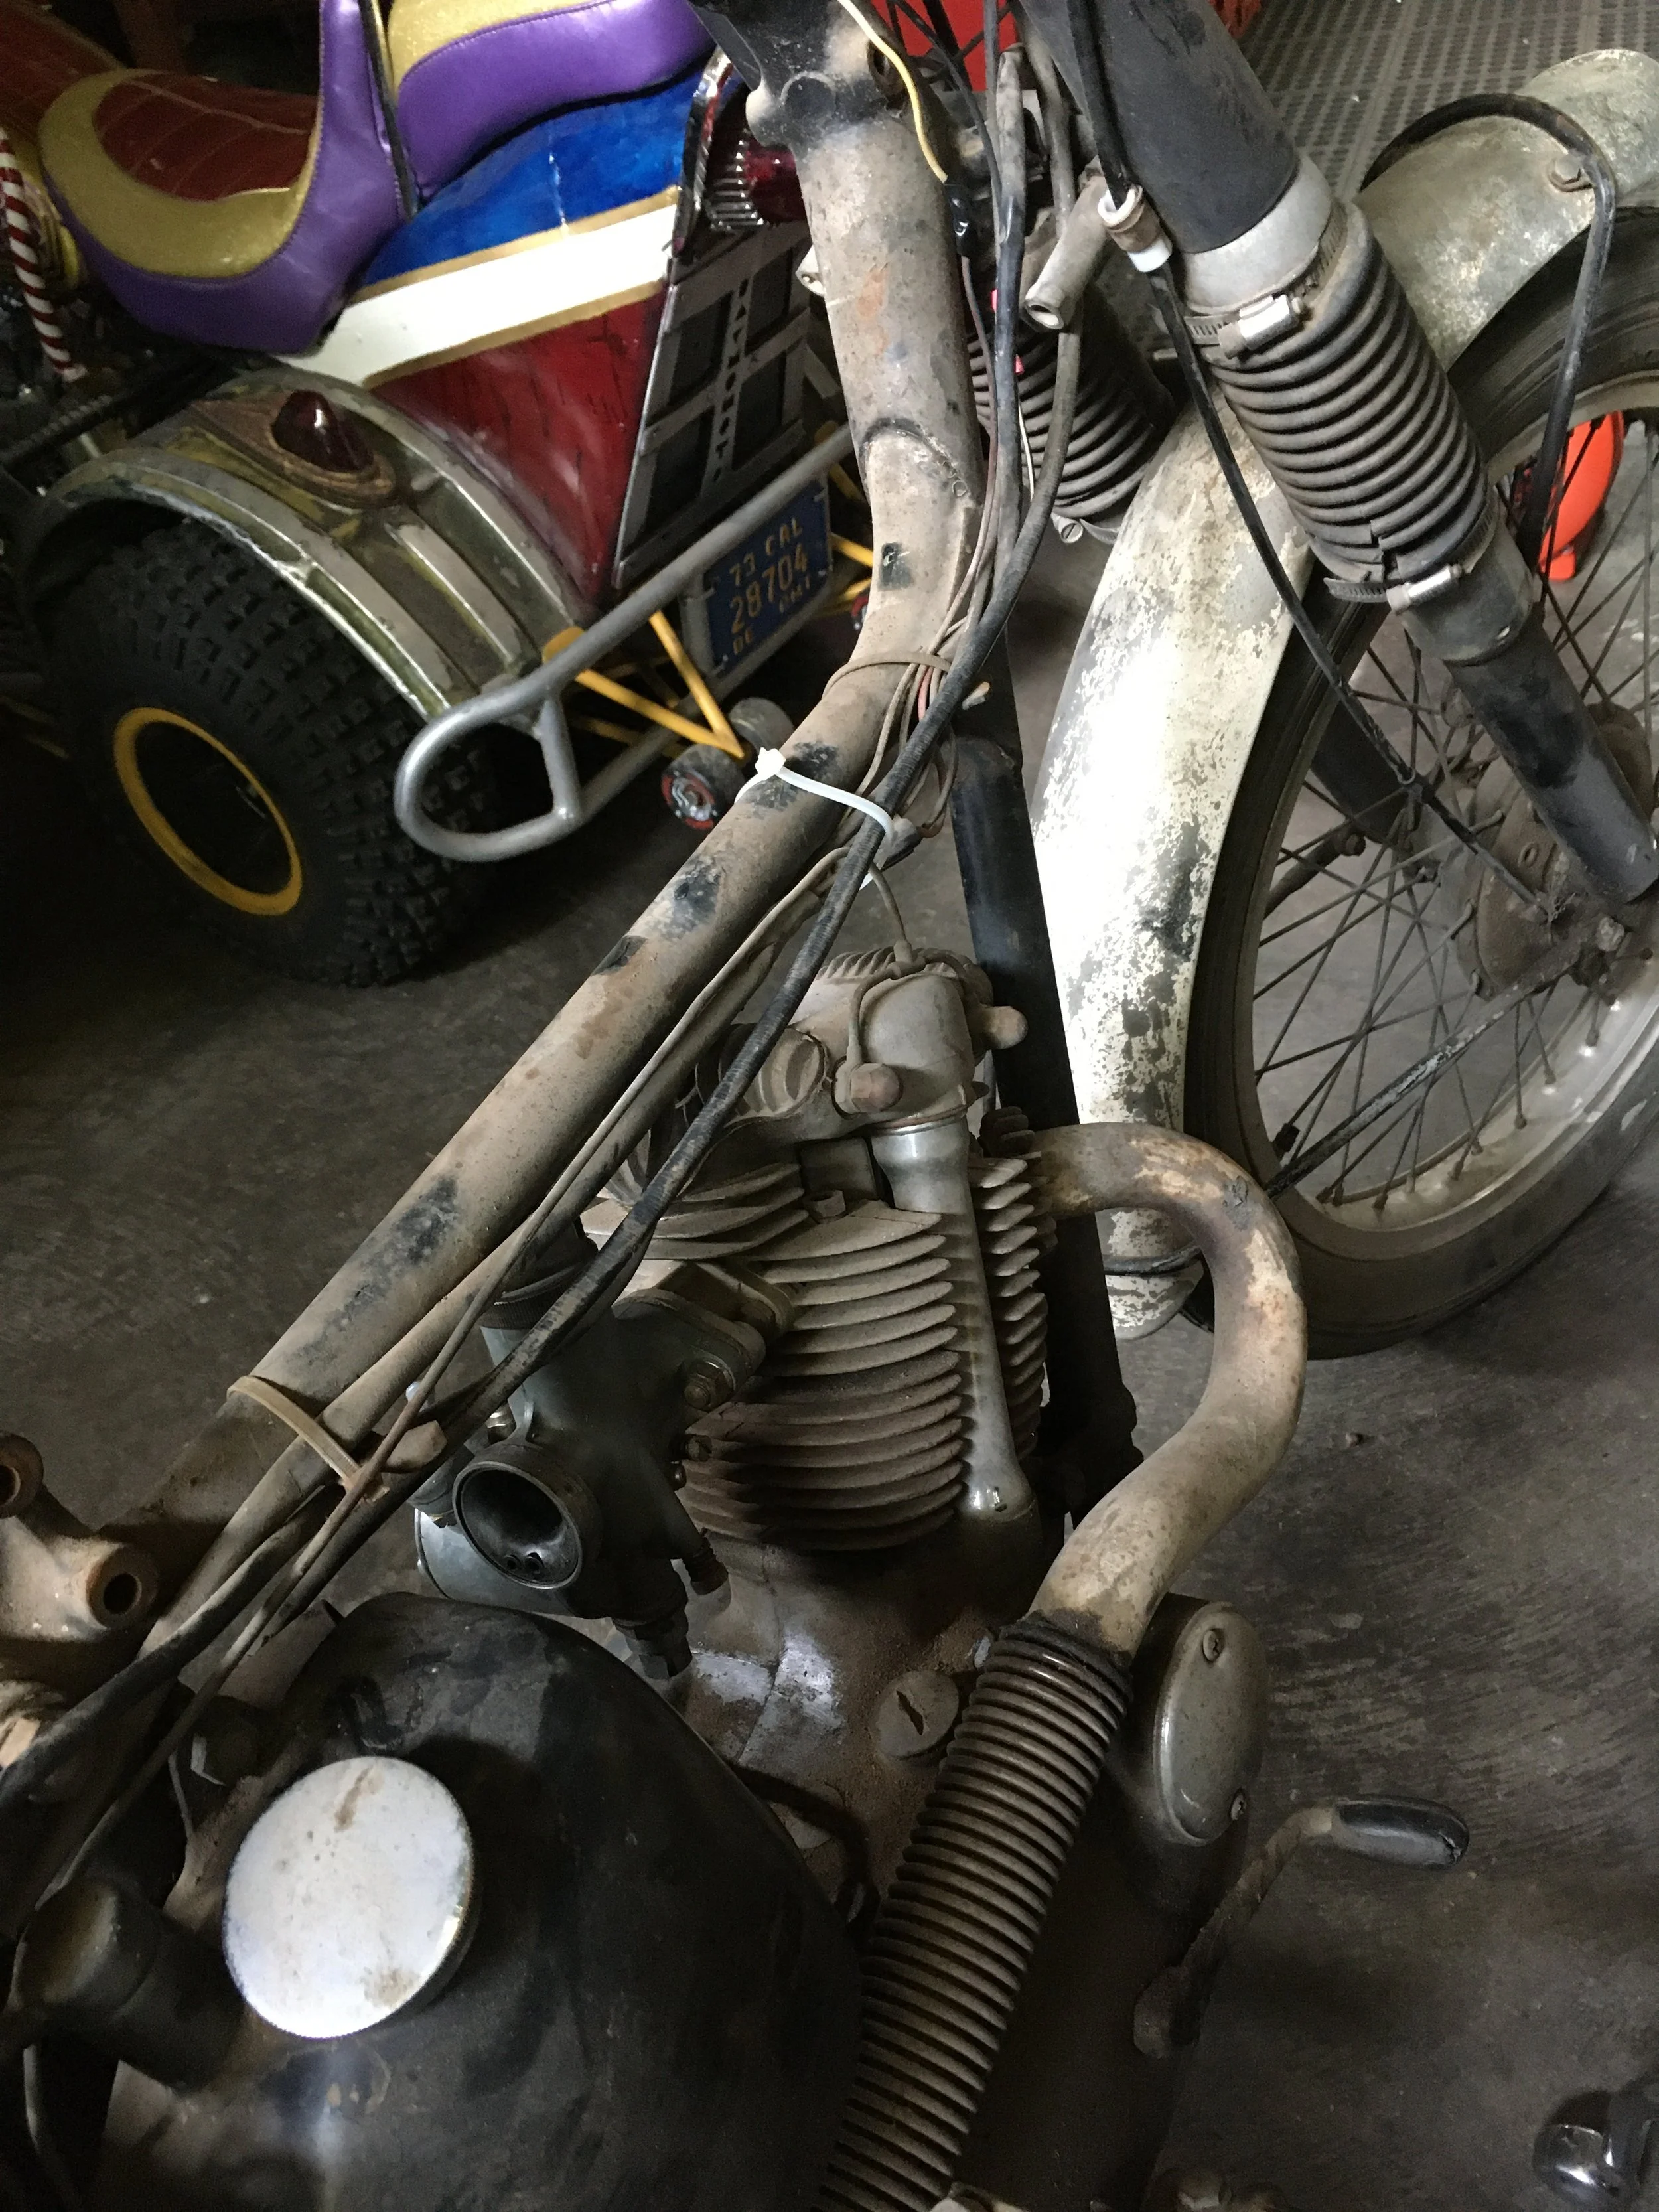
The passenger pegs were removed by a previous owner, so the brackets were trimmed off to finish the job. The lug for the kickstand was kept, and a dome from the rear of a Norton feathered frame finishes off the end of the tube. There will be a solo seat on this bike, so the rear pegs are not needed. A new location for the brake light switch will have to be worked out. The location for the switch down low on the frame seemed a little vulnerable anyway, and could benefit from relocation.

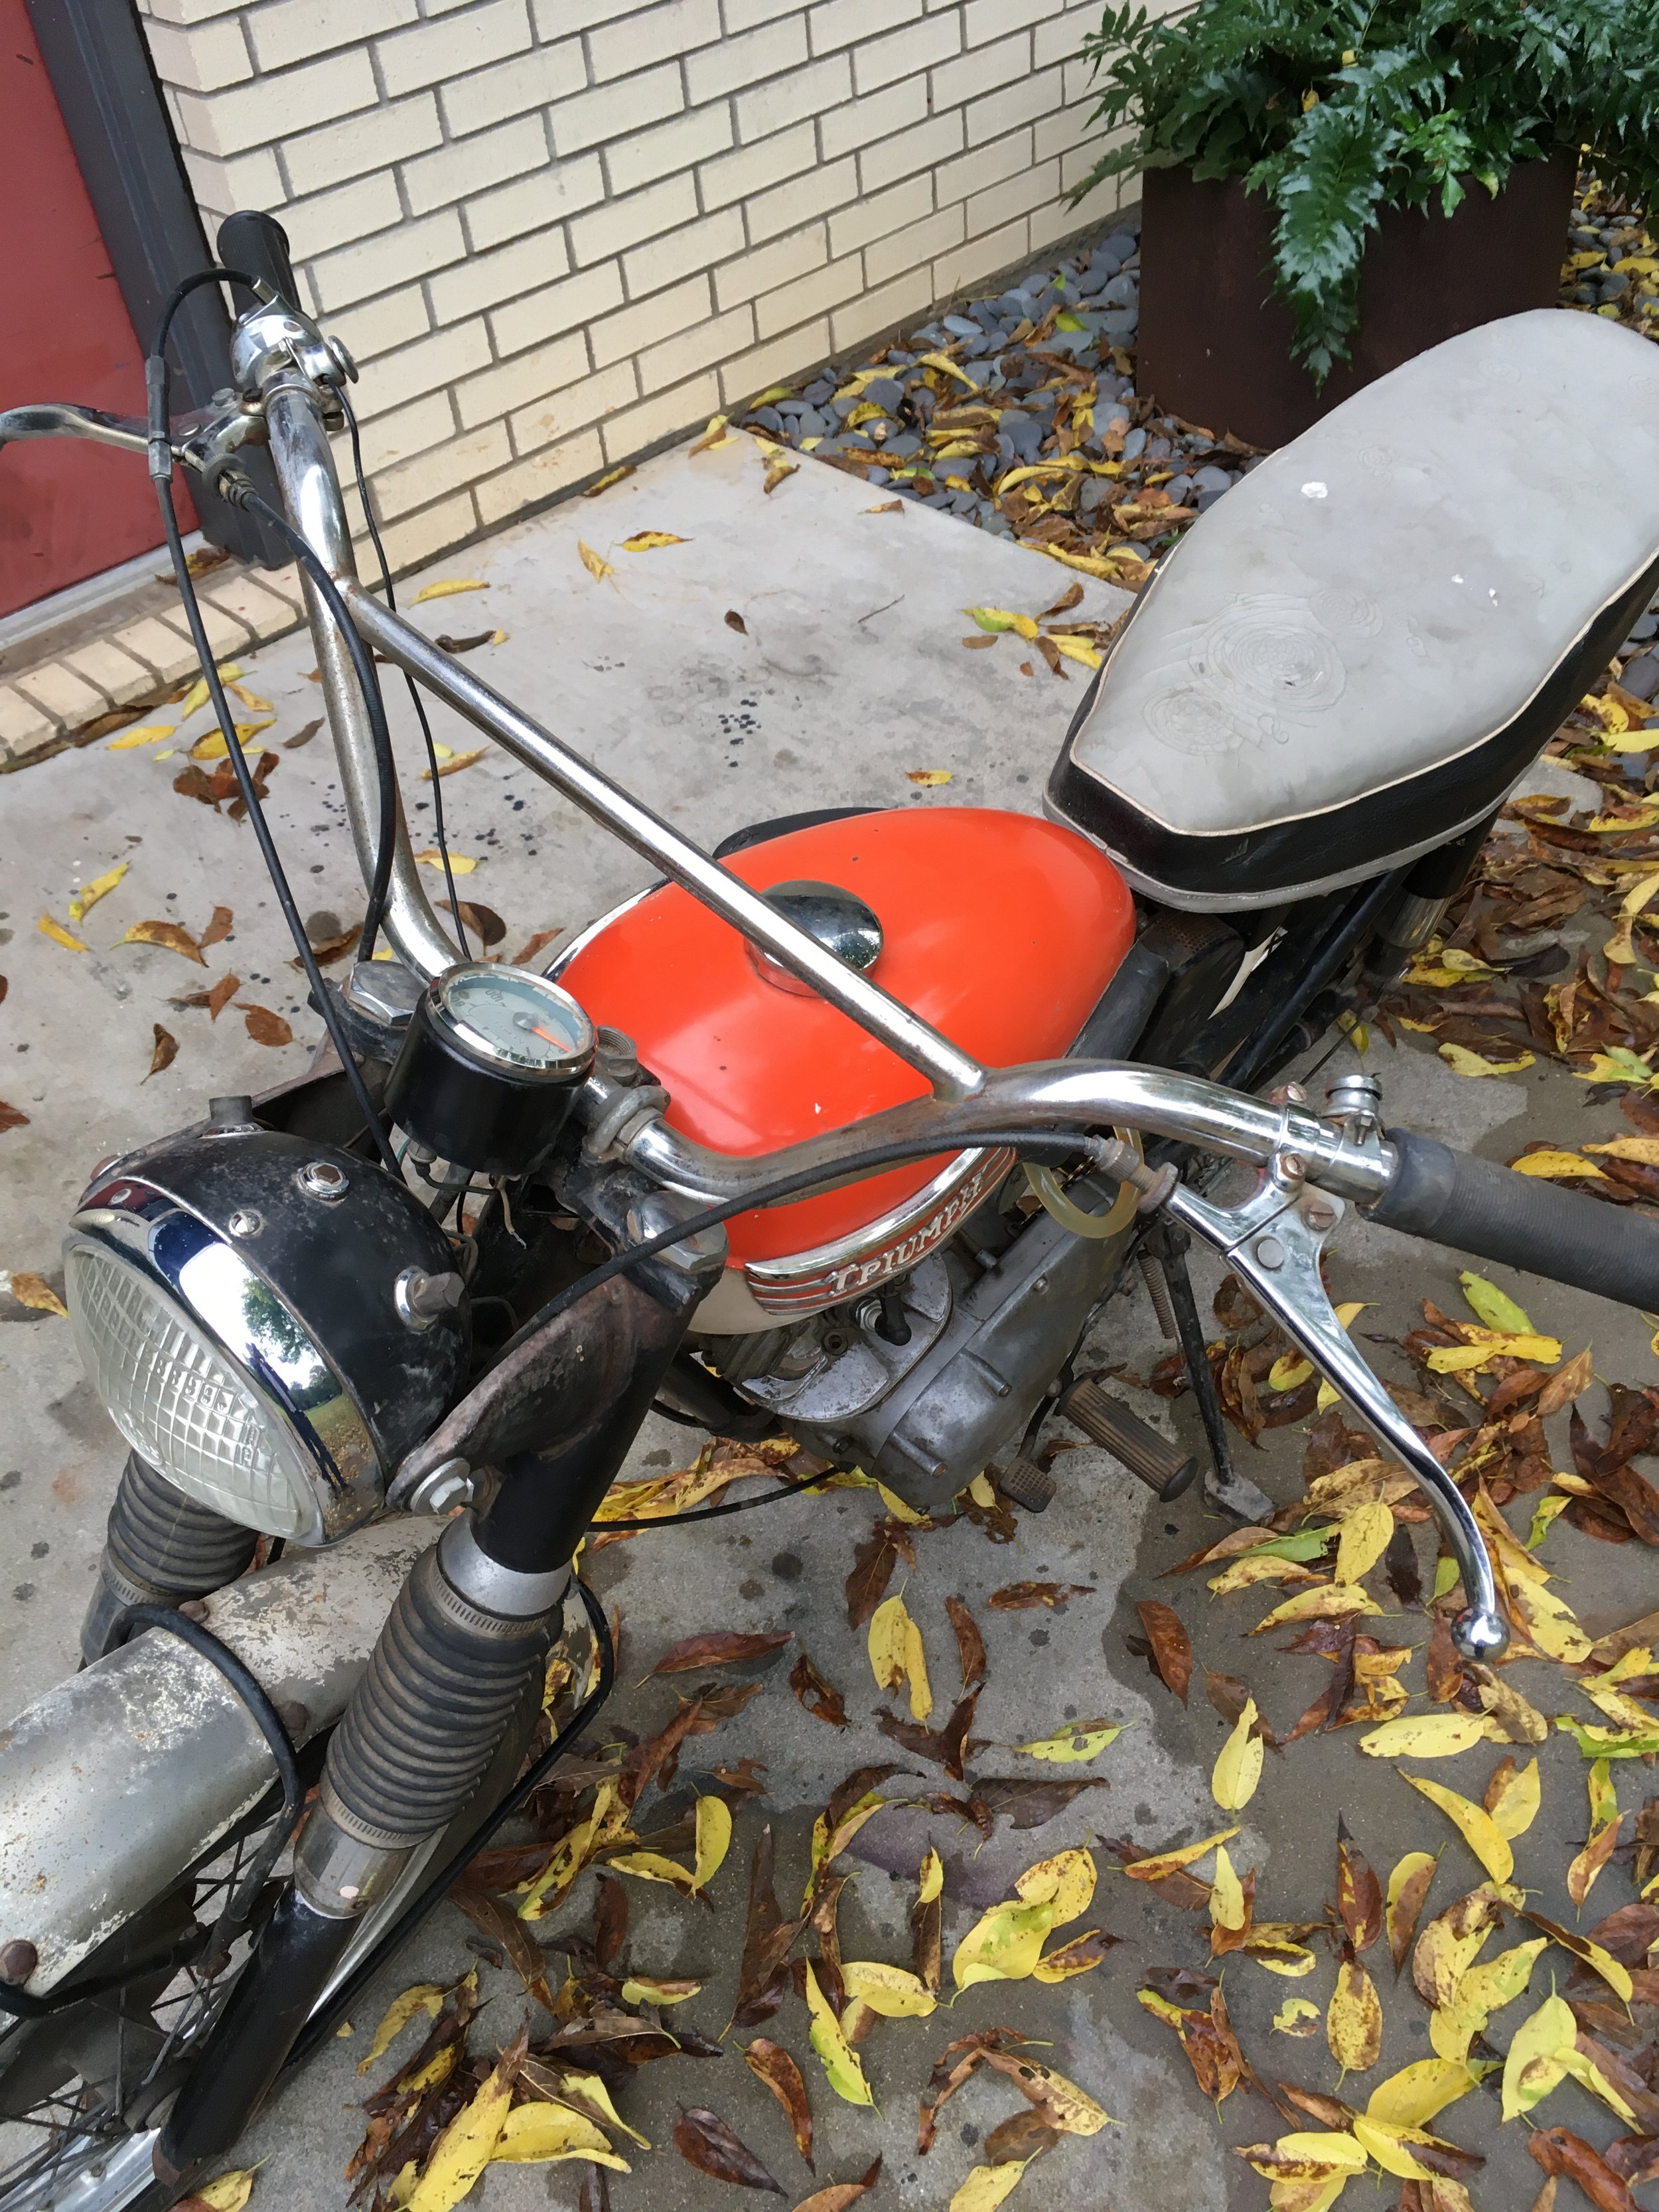
The original white steel fender on the bottom, and an aluminum one to replace it. The fender was a clearance model from Lowbrow, that was sitting on the shelf. A little hammering and English wheel, and the crown was raised to more closely match the deep original. When the bike starts to go back together, the plan is to make a custom aluminum front fender as well. The modifications to the bike are all reversible. The old seat, fenders and tail light will be preserved should anyone want to restore it to original in the future.

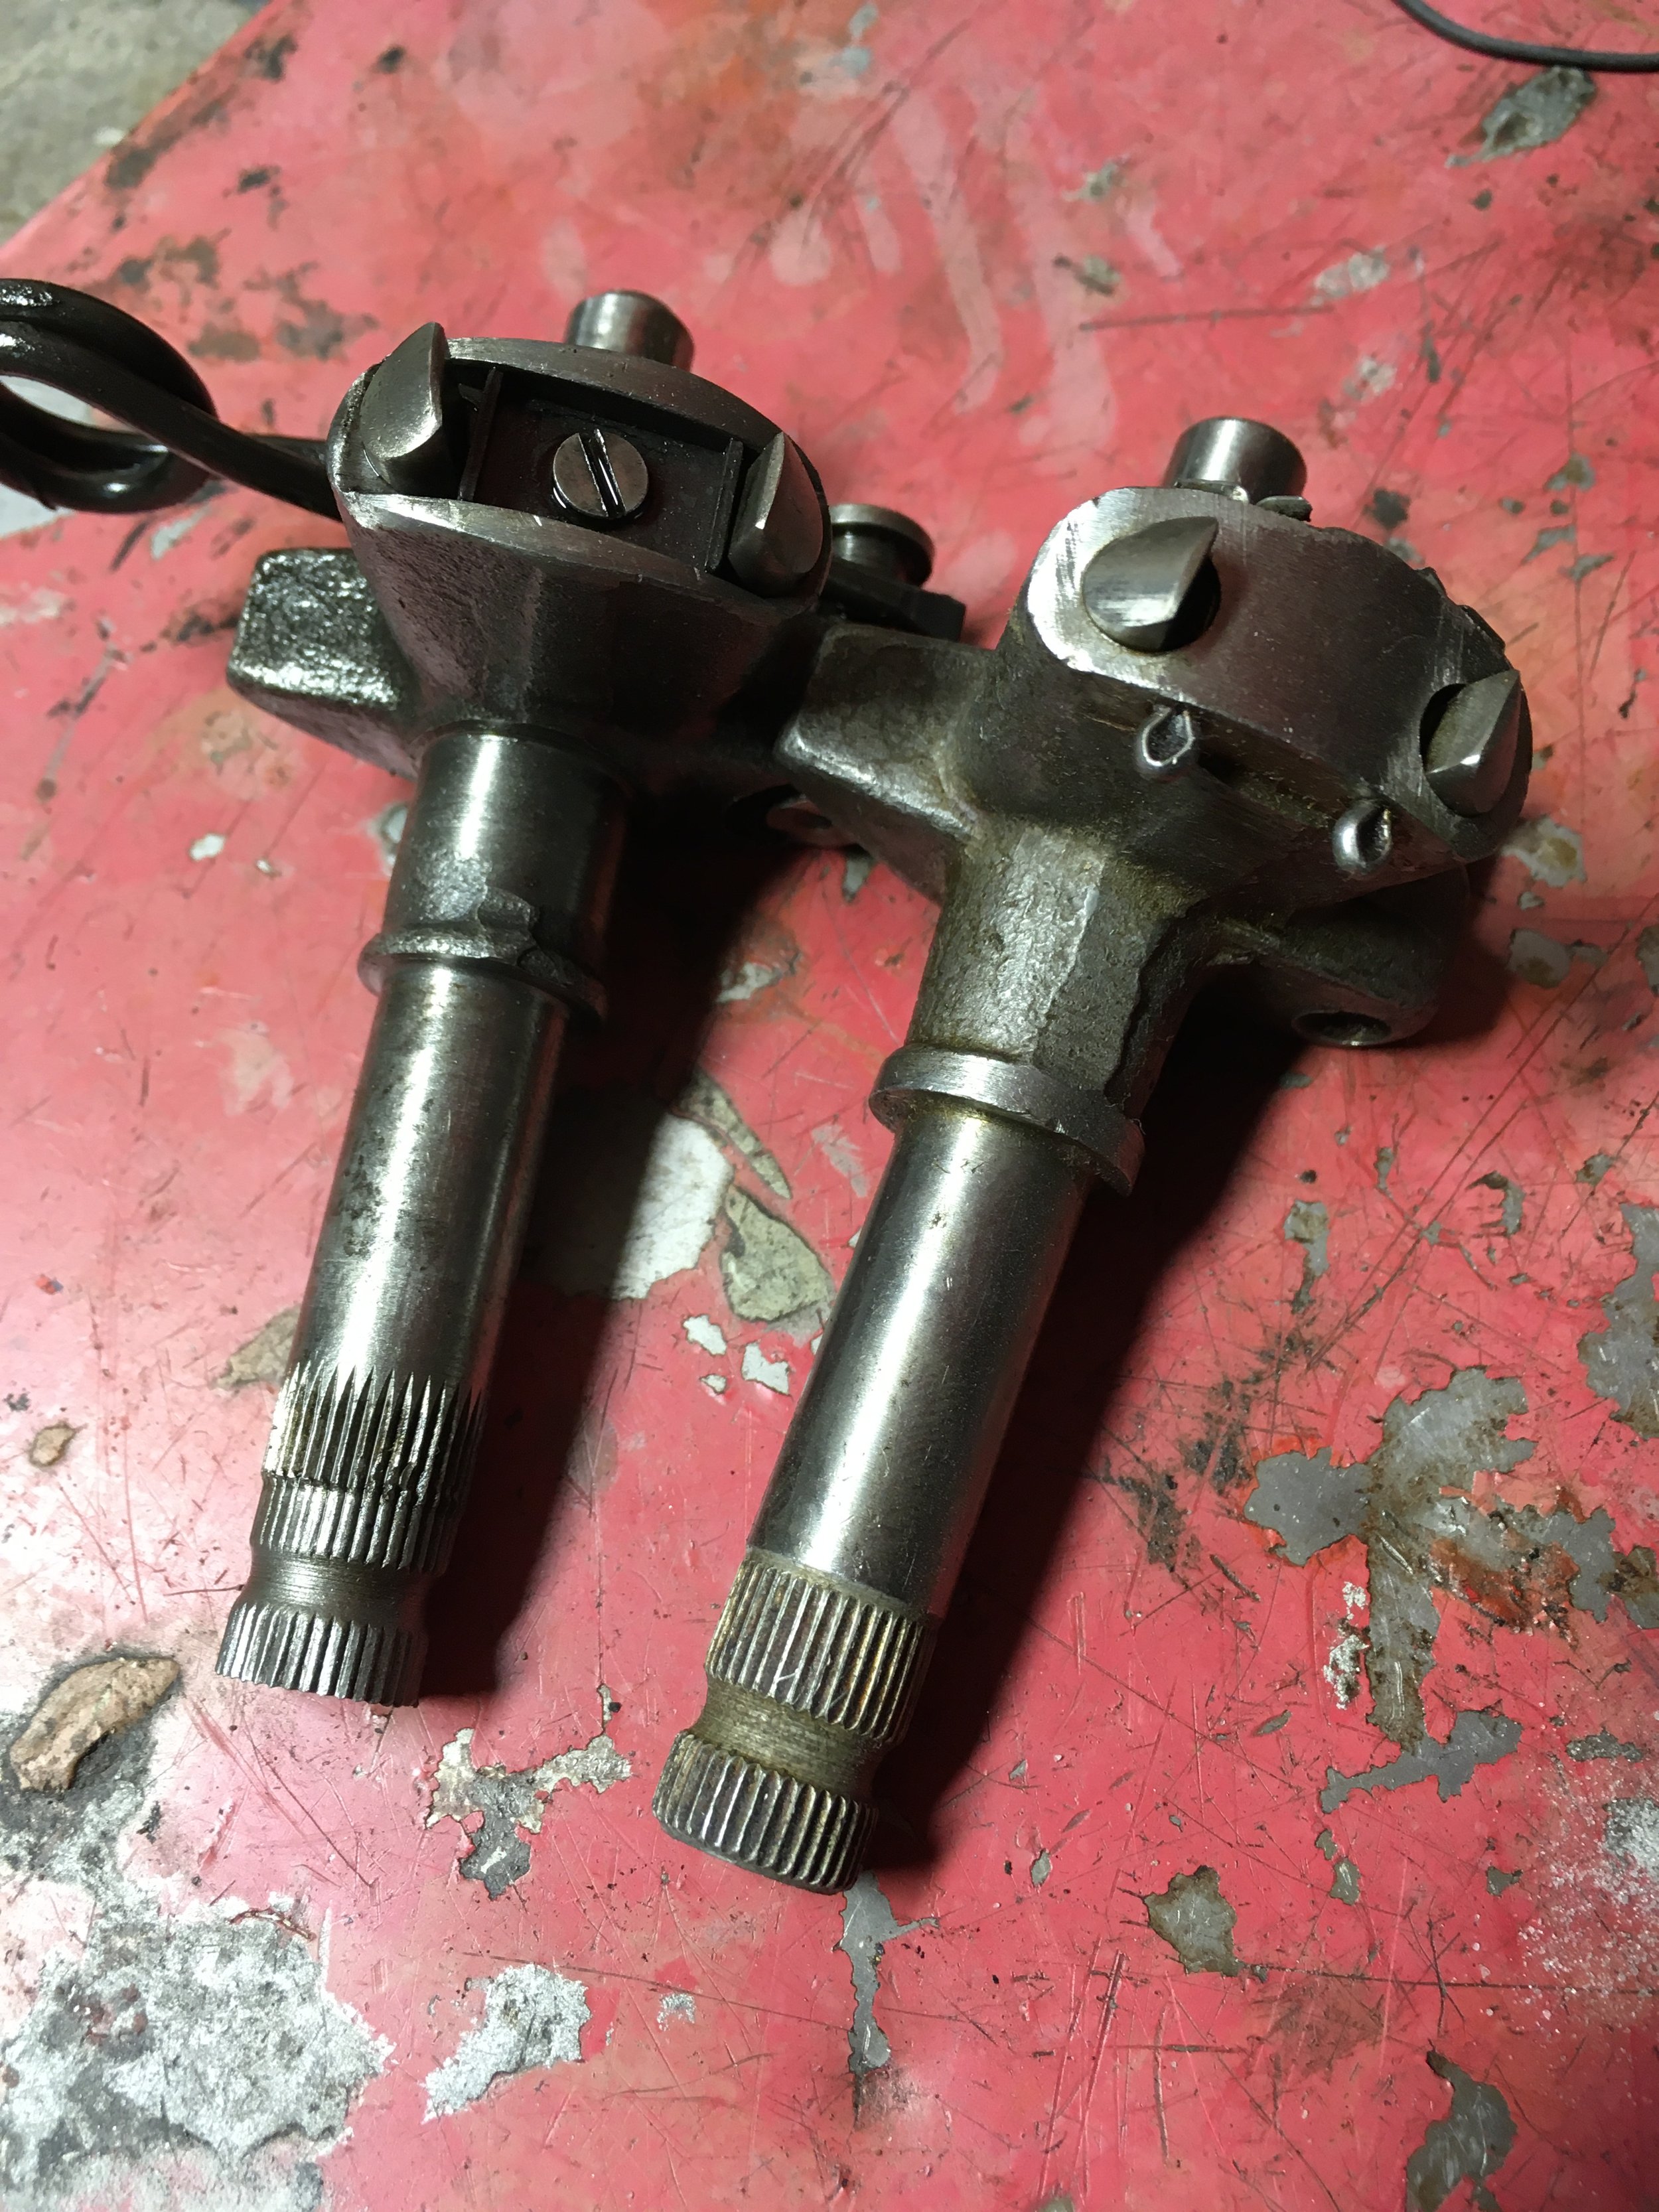
The splines on the gear shift shaft were a little hammered. They worked, but look like a future failure waiting to happen. Baxter Cycle had a replacement for three bills, seen on the right. I was thinking a single-cylinder restoration might be a little less expensive than a twin or triple, but so far, that is not the case. A new shifter pedal will be used to keep everything as tight as possible.

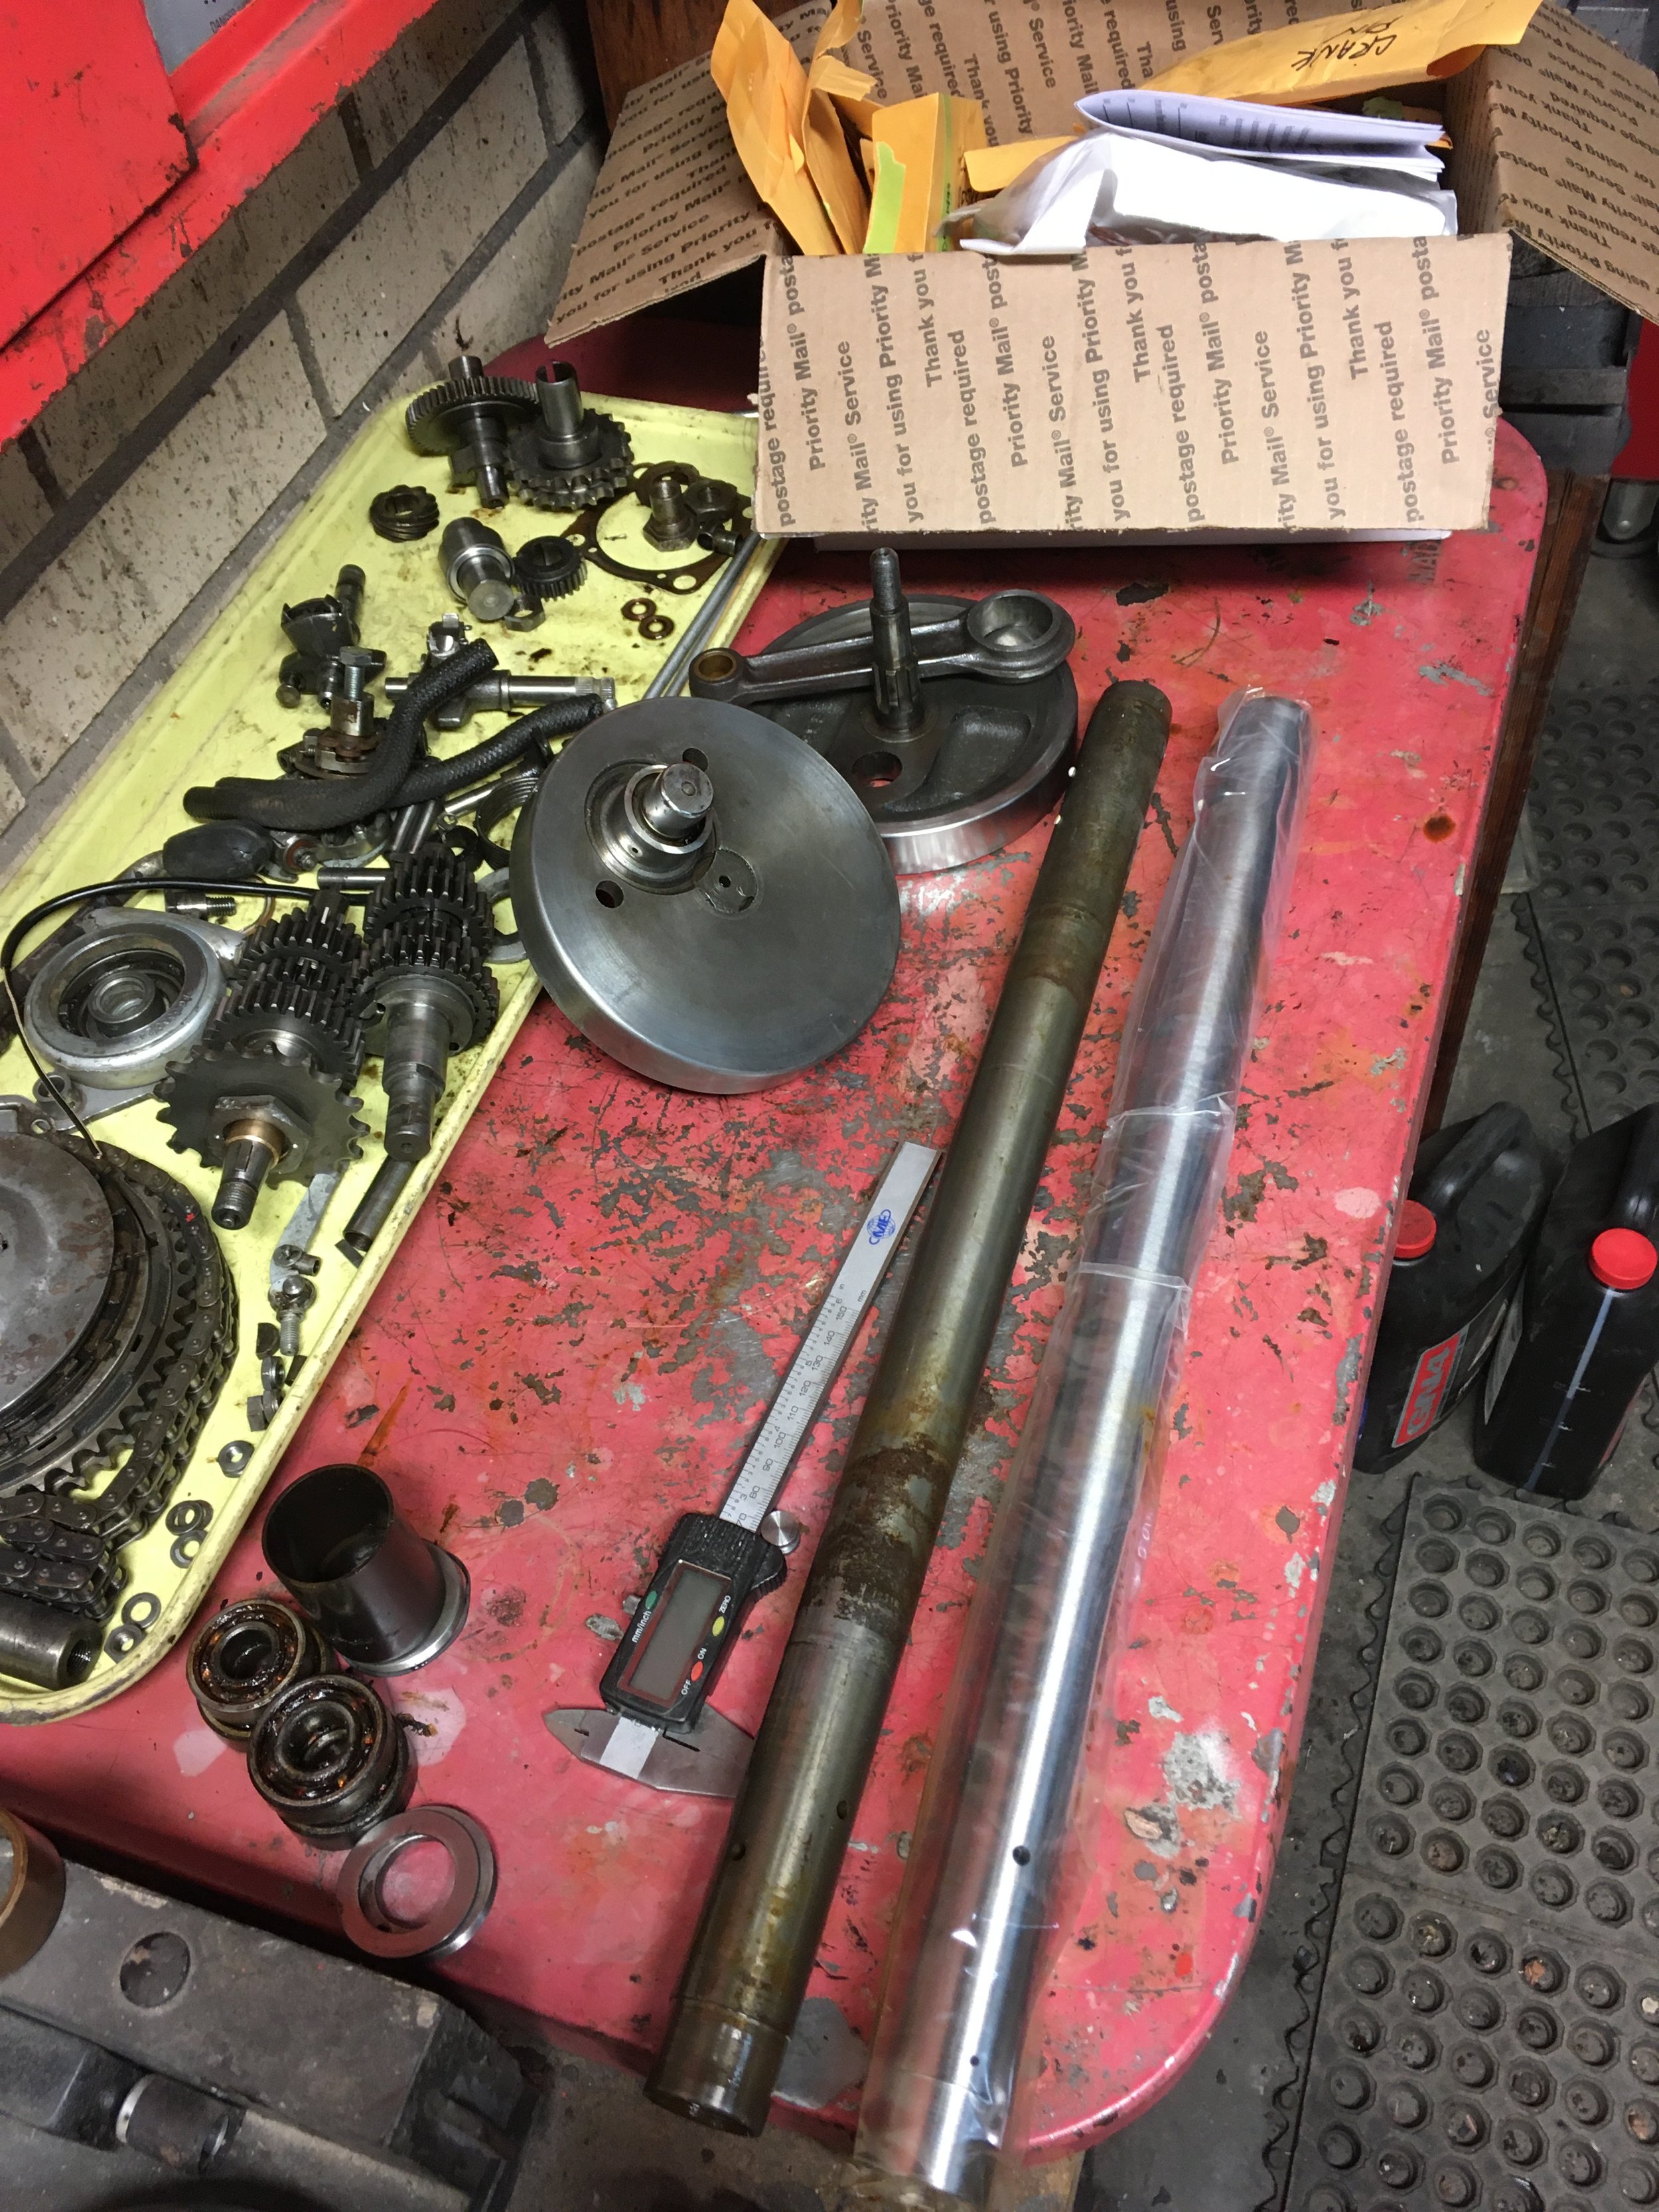
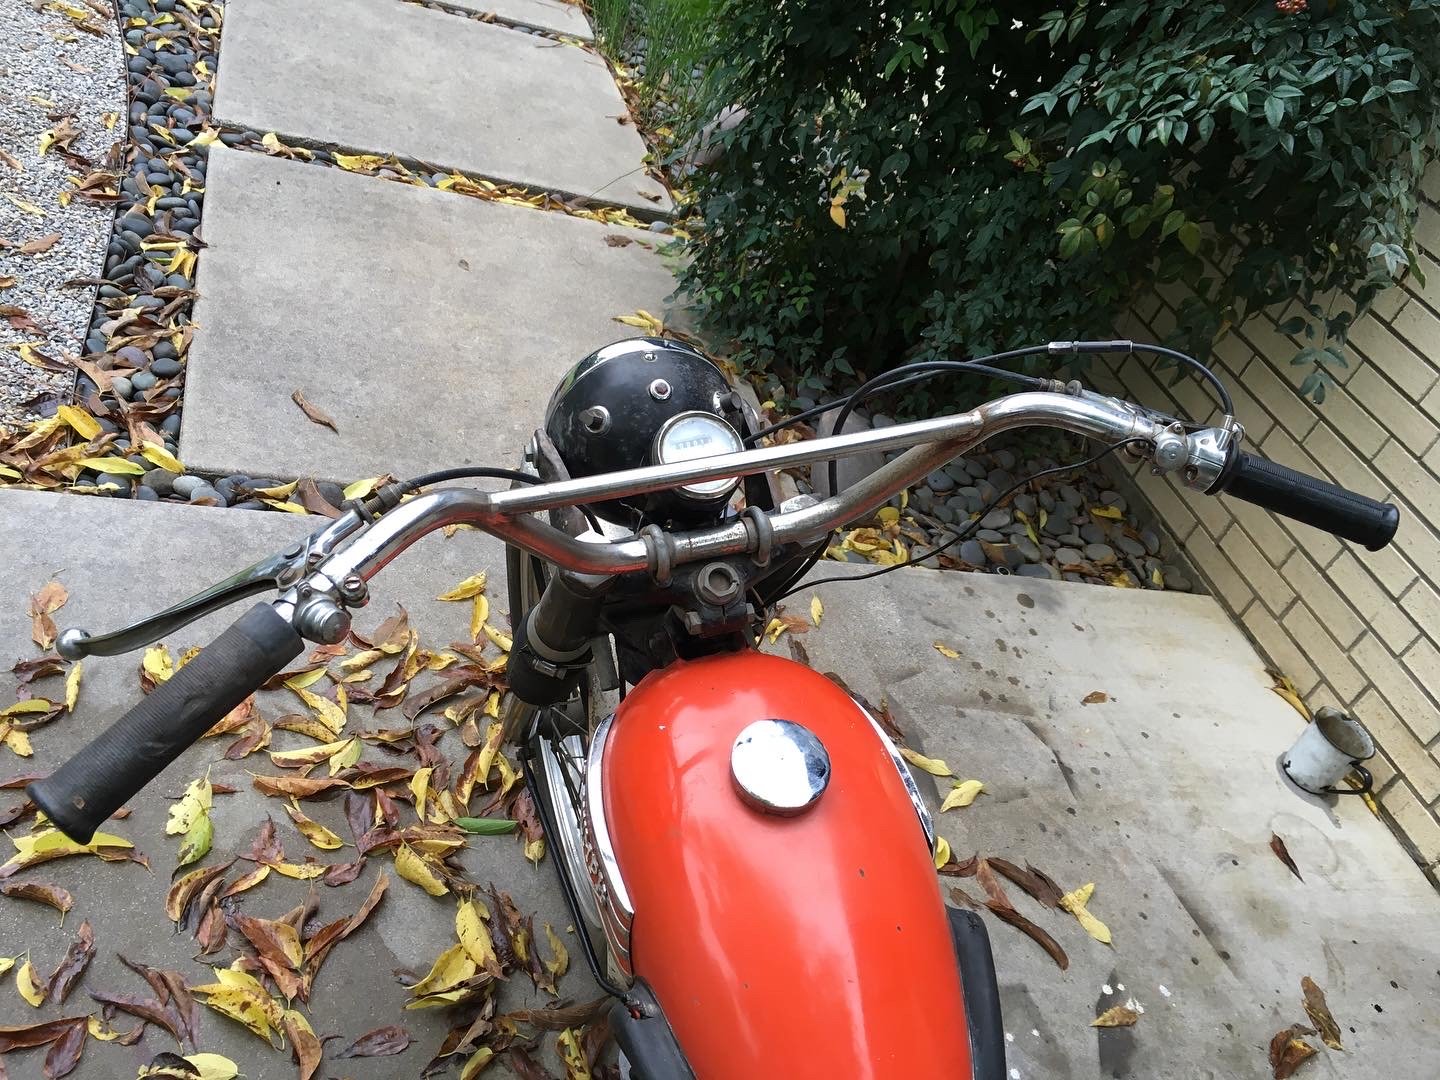
New fork uppers are going on the bike along with new chrome locking collars, seals, gaiters, and bronze bushings. The restrictor cones are also being replaced, leaving the fork lowers, upper beauty rings, and tripletrees as the only original parts. Aside from the engine, suspension is one of the areas that I like to get worked out as well as possible, as it make so much difference in handling and comfort, and ultimately, safety.

1967 Triumph Mountain Cub in the shop for a revival.

The Triumph Mountain Cub was a late sixties iteration of the Tiger Cub. The Tiger Cub, with 200cc’s was dubbed the “Baby Bonneville,” and was well received because it stayed within the 250cc limit for learners permits in England. It was produced from 1954-1968, with street or off road versions. The Mountain Cub was a US only model, produced in 1967 and 1968, intended to compete with small Japanese bikes in the consumer market. It was set up for street or off road, with some models including aluminum fenders, trial tires, tall bars, and stripped down so much there was no side or center stand. This particular Cub has MX-style high handlebars, knobby rear tire, folding pegs, deleted tach, passenger pegs and center stand, a high pipe, battery-less ignition, and a light front wheel with the small hub and an alloy shouldered rim. Not a bad start on an off-road set-up. The front tire, long seat, lights, and steel fenders, however, are more suited for street riding. It is not clear what parts of the bike are original factory parts, or those added by previous owners. The first order of business is to return the engine to original running condition.

Here it is, shortly after being pulled from the barn. A 1967 Triumph Mountain Cub motorcycle in Grenadier Red and White. This was a legacy bike, found by Skratch at Skratch’s Garage in Haltom City, Texas. The daughter of the owner wanted it to go to someone who was going to take care of it rather than flip it. That will certainly be the case. She asked for a chance to ride it again, once running. That is surely the intention, but as bad as it smokes, it needs tear-down and rebuild before it can be ridden.

A number of changes had been made to the bike by the previous owner(s.) The exhaust had a section of flex pipe welded in the center, there were some dents, cracks, custom paint, and copious quantities of oil inside the muffler. The oil was from the engine, which smoked furiously, once started. The tank and carb cleaning were enough to revive it, but the smoking was bad enough I only kept it running a few minutes for fear of engine damage. The engine was wet-sumped, with a quart of the 1.5 liter capacity sitting in the engine. Even with it removed, the engine did no better.

A couple of deep gouges were found on the side of the cylinder bore. A new .030 over piston and rings is on the way. It was easy to find higher compression (9:1) domed pistons, but the flat-top 7:1 CR pistons proved a little harder to find. Because these engines have a reputation for running hot, the lower compression piston was chosen.

Other creative changes made by a previous owner include remounting the speedo and horn on some hardware store brackets. I have my doubts this set-up was used, as the odometer is still set to zero. The speedo cable had been re-routed through the frame to make the cable reach, with a number of bends along the way. It has since been returned to the factory location along the bottom of the engine. The original 415 chain was hanging over the handlebars. A new Pro-Taper gold MX chain was purchased to replace it. New fork components are being gathered in preparations for a total rebuild.

Mmmm. Barn fresh. Mud dauber nests were fond in a number of locations on the bike. Pretty common in Texas.

Hard to believe a fuel system clean and some fresh oil is all it needed to run. The Lucas ET ignition does not require a battery, and starts the bike easily. The lights were operational, as are the brakes and clutch. The scavenging side of the oil system appears to be dry, with no significant oil being seen in the rockers. A new Morgo pump has been ordered to replace the original. All the passages and oil tank will be checked and cleaned.

The right side engine cover has a significant chunk out of the edge of the clutch adjuster inspection hole. A used one has been purchased to replace it.

The frames and tank on these models are unusual in the way the frame slopes down from the steering tube, and uses the tank as a stressed member. There are steel bars running through the inside of the tank, that have the external tank mounting tabs on each end, which bolt to the frame. This bike was designed by Edward Turner, accounting for some of the Bonneville-like styling.

After a bit of elbow great and some wrenching, the speedo is back to the original location, and the bars are a bit cleaner. The tank has been cleaned inside and out at this point, and is in good shape, overall. It will be repainted at some point. A new set of knee pads are on order. The front brake cable was repaired, and is operational now. The wiring for the kill switch and horn needs to be addressed, but there is likely to be some restoration done on the handlebars first.

As cool as it looks at present, some custom touches are planned for the rebuild. The engine will be left mostly stock. The original seat is rock-hard and the plan is a shorter trials-type seat to replace it. The steel fenders may also get traded out for some alloy models, along with a smaller tail light assembly. The wheels will be rebuilt with rubber more suited for off road riding, and perhaps a rear alloy rim to match the front.

A new chrome plated exhaust system is on its way from England. Even though there were thoughts of just get the bike running, and leave it funky, there are enough things wrong with it that it has to go.

Just the clean-up and re-mounting the speedo return some of that classic Triumph styling.

I read that Gary Nixon won short-course races on a cub. Not planning to race this one, but a lighter race style looks great on this bike.

A skid plate was found online to replace the original one that was missing. Wear marks on the the oil feed pipes that rub the skidplate brackets indicate the bike was fitted with a skid plate previously.

Seems I can’t get away from UK brands. My buddy Peter, who has done the studio photos of my bikes, needed help on his 1979 MGB. The clutch had blown, and needed replacement. Here, I am feeling proud of getting the left motor mount on in ten minutes, after youtube videos said steering shaft and the whole rack and pinion rack needed to be removed to do the job ( it does not.) A lot of well-meaning people on there telling you how to get the job done like a total bung-hole. The solution is a slim 9/16” wrench with the nut and lock washer taped to it with gaff tape. The big flat washer that goes on before the nut and locker has to be put in place behind the mount first, but is easy to put in place because of the long slot the bolt passes through makes it easy to see and manipulate. The slim wrench and nut slipping by the shaft holds the flat washer in place

Completing the 1970 Honda CT90 restoration.

The sympathetic restoration of the 1970 CT90 is done. There might be a few things added to the build like a new dipstick to replace the original one, and the helmet holder lock that goes on the auxiliary fuel tank bracket. The engine is broken in after the top-end rebuild and service, usually starting on the first kick.

Original yellow paint, touched-up with a can of Honda touch-up paint, original chrome and seat cover. The engine side covers, plastics, and black parts like the footpeg assembly and battery box were re-painted,

The original foil badges on the air cleaner and frame cover were carefully removed and re-applied after the plastic parts were repaired and painted. A medium charcoal metallic was the closest match I could find, and was used on the auxiliary fuel tank in addition to the plastics.

The chrome on this bike is in exceptionally good shape. The wheel rims, brush guard, cargo rack, and muffler on these bikes are often pitted or worse on a bike of this age, but the only place with any visible damage was on top of the cargo rack. It looks like the optional seat pad was used on this bike, and may have caused a couple small spots where the chrome is worn through.

Not perfect, but she sure is a beauty. Honda had a way with color that still works as well today as fifty plus years ago.

The fender bracket for the auxiliary gas tank was also sprayed to match using Honda touch up paint. I am surprised how little fading has occurred on the original paint, and how well it matches. A correct cap for the auxiliary tank was found. The one under the seat has vent holes on the top, but the auxiliary one has holes underneath to avoid water getting in the tank.

Some of the small details like putting new vinyl sheathing on the handlebar control wiring and main wire harness make the difference on this type of restoration.

For years, these bikes did not appeal to me, but this one has changed my mind about them. A really strong running engine, easy to ride, and comfortable, with room on back for a full sized cooler…pretty close to the perfect fun bike.

The foil label on the swingarm and the clear one on the auxiliary fuel tank and the carb instructions are reproductions as well as some of the cables and wire sheathing. All other parts are either restored or OEM Honda parts.The tool kit is complete and was zinc plated. It fits behind the battery cover in the original vinyl pouch.

Some of the imperfection in the paint was left like on this side of the swingarm. Since this is not meant to pass for a complete restoration, its okay to leave some imperfections making it obvious.

New mirrors from Honda, replaced hardware and polished aluminum and original chrome have the cockpit looking fresh.

Only a couple small pits could be found in the wheel rims. Hard to believe it is fifty year old chrome. With the new spokes, seals, re-plated hardware, and polished aluminum hubs, the wheels are like new. The front forks , rear shocks, and tires were already on the bike when I got it, and appear to be in like-new condition. The front forks are not exactly like the originals on the lower portion, and are most likely aftermarket. They work fine and fit just like the originals.

The wear on the rear rack can be seen in this picture.