Completing the 1970 Honda CT90 restoration.

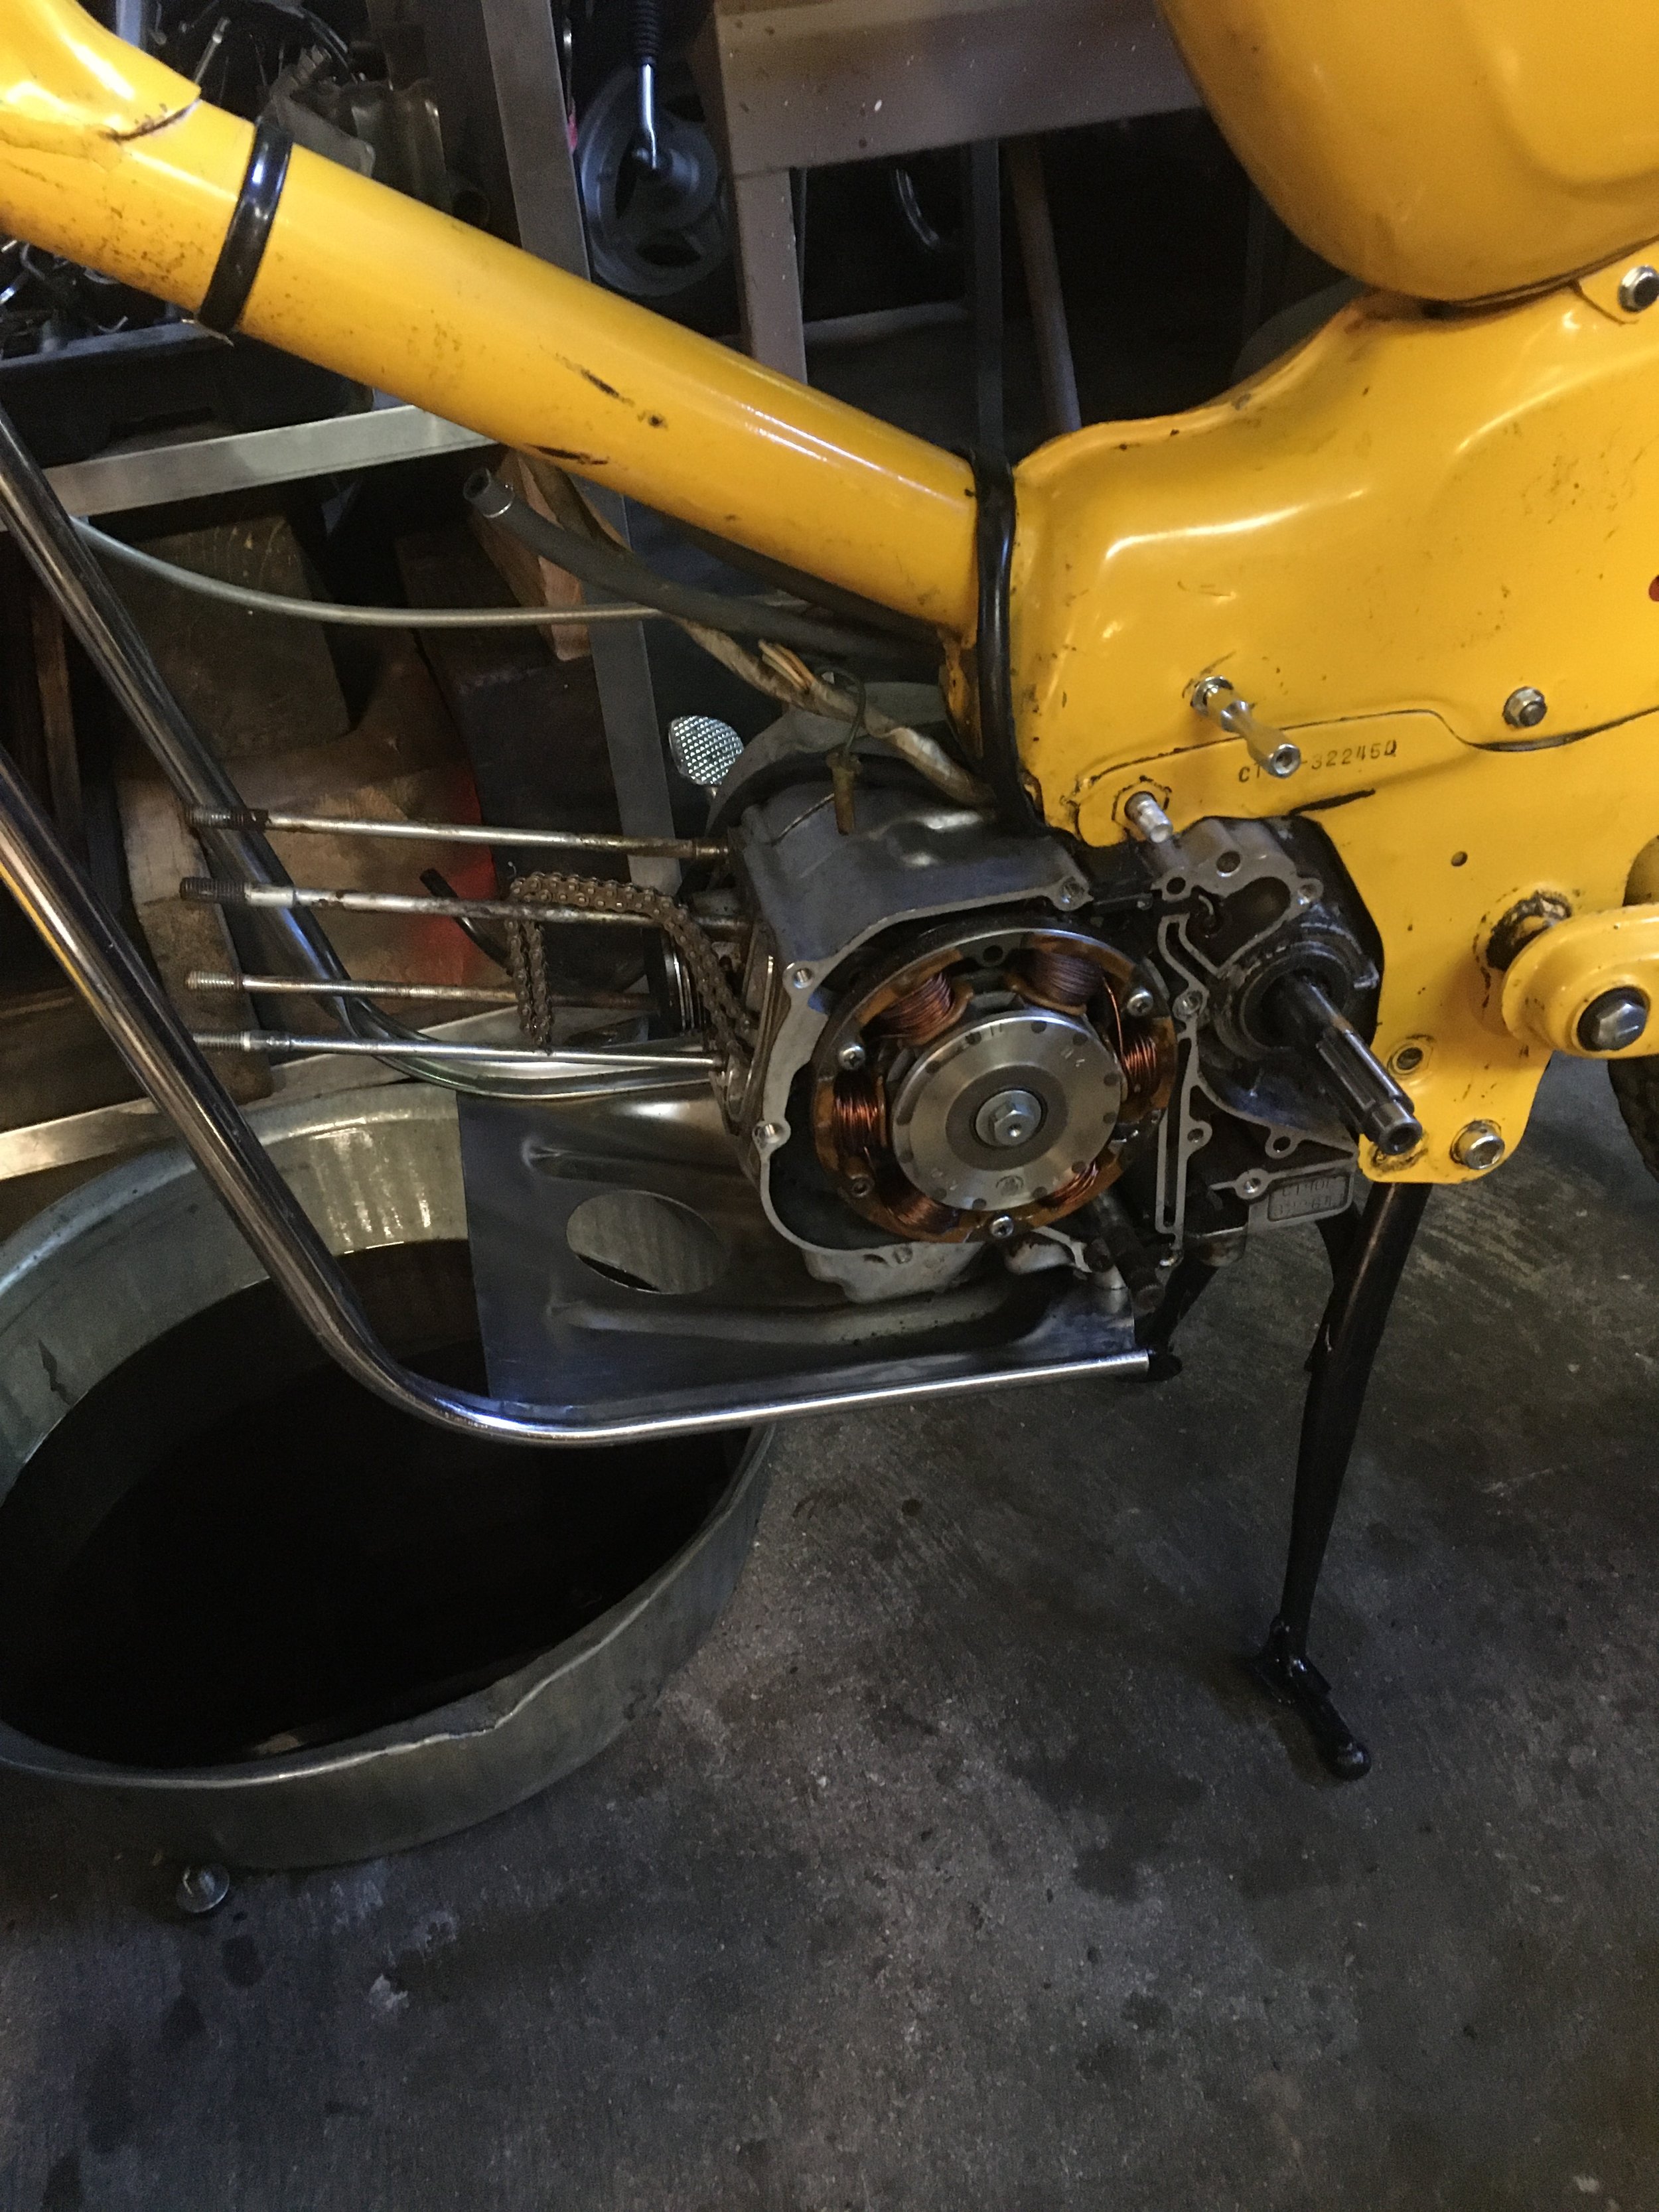
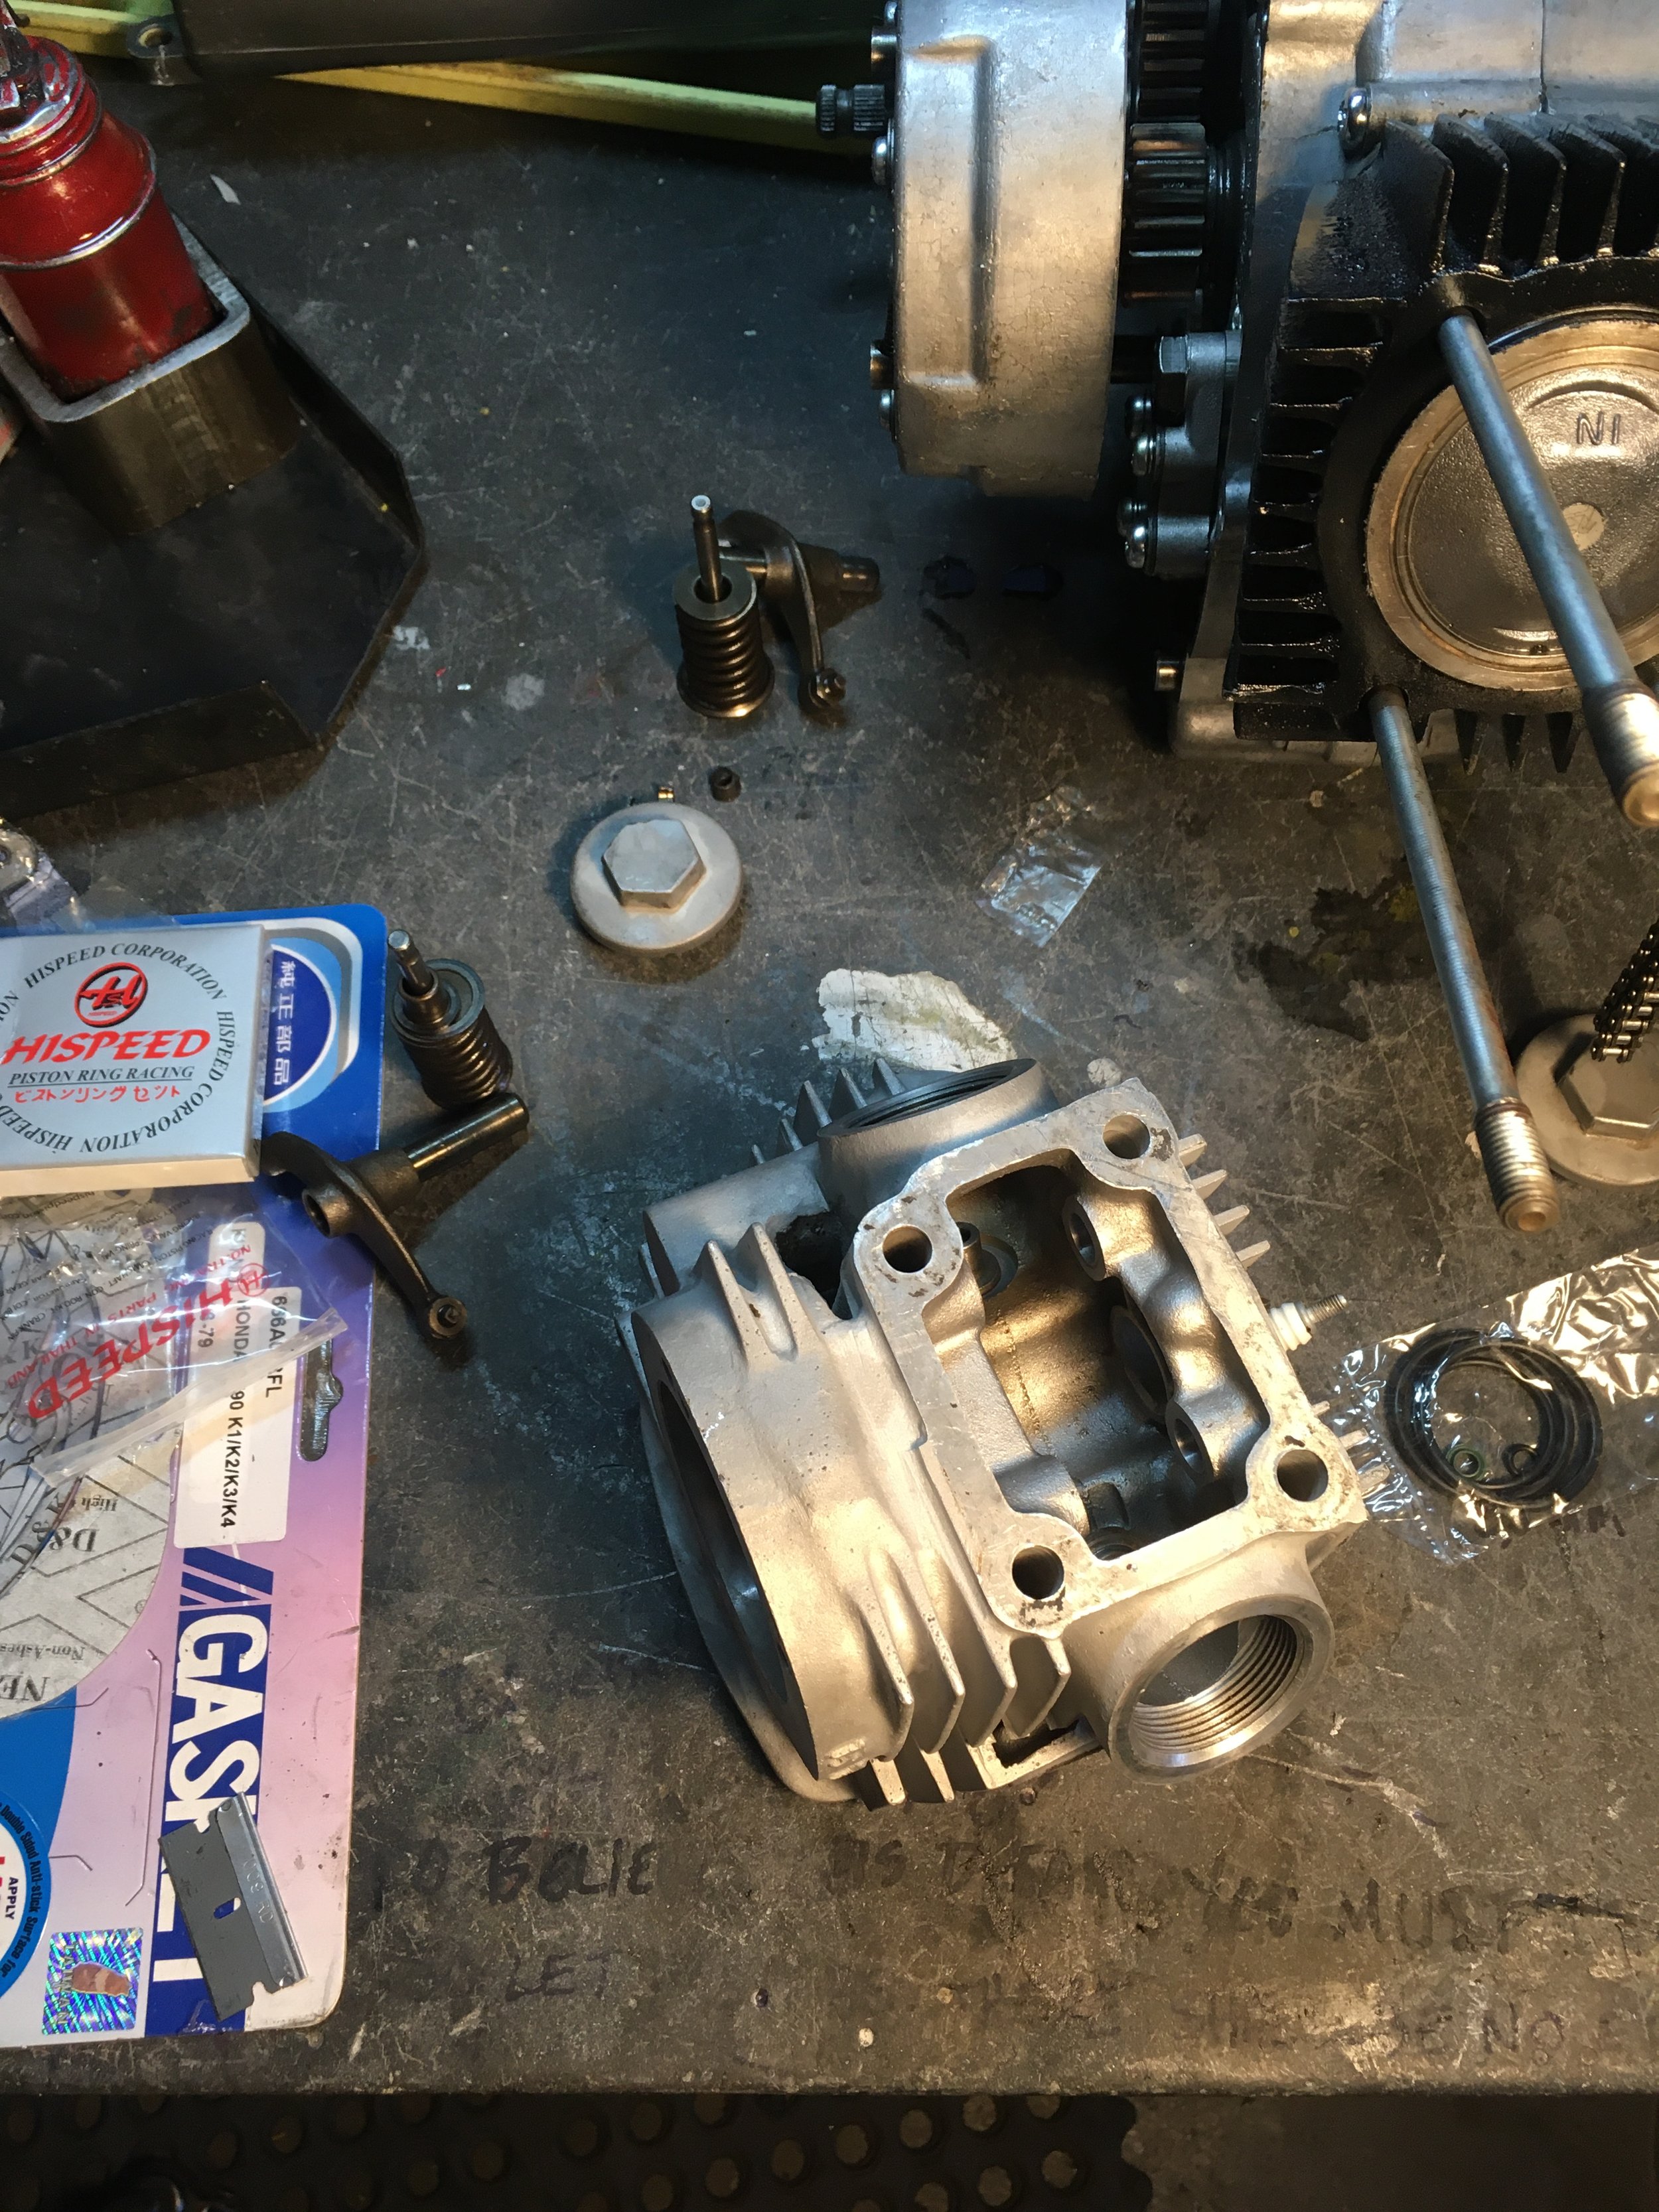
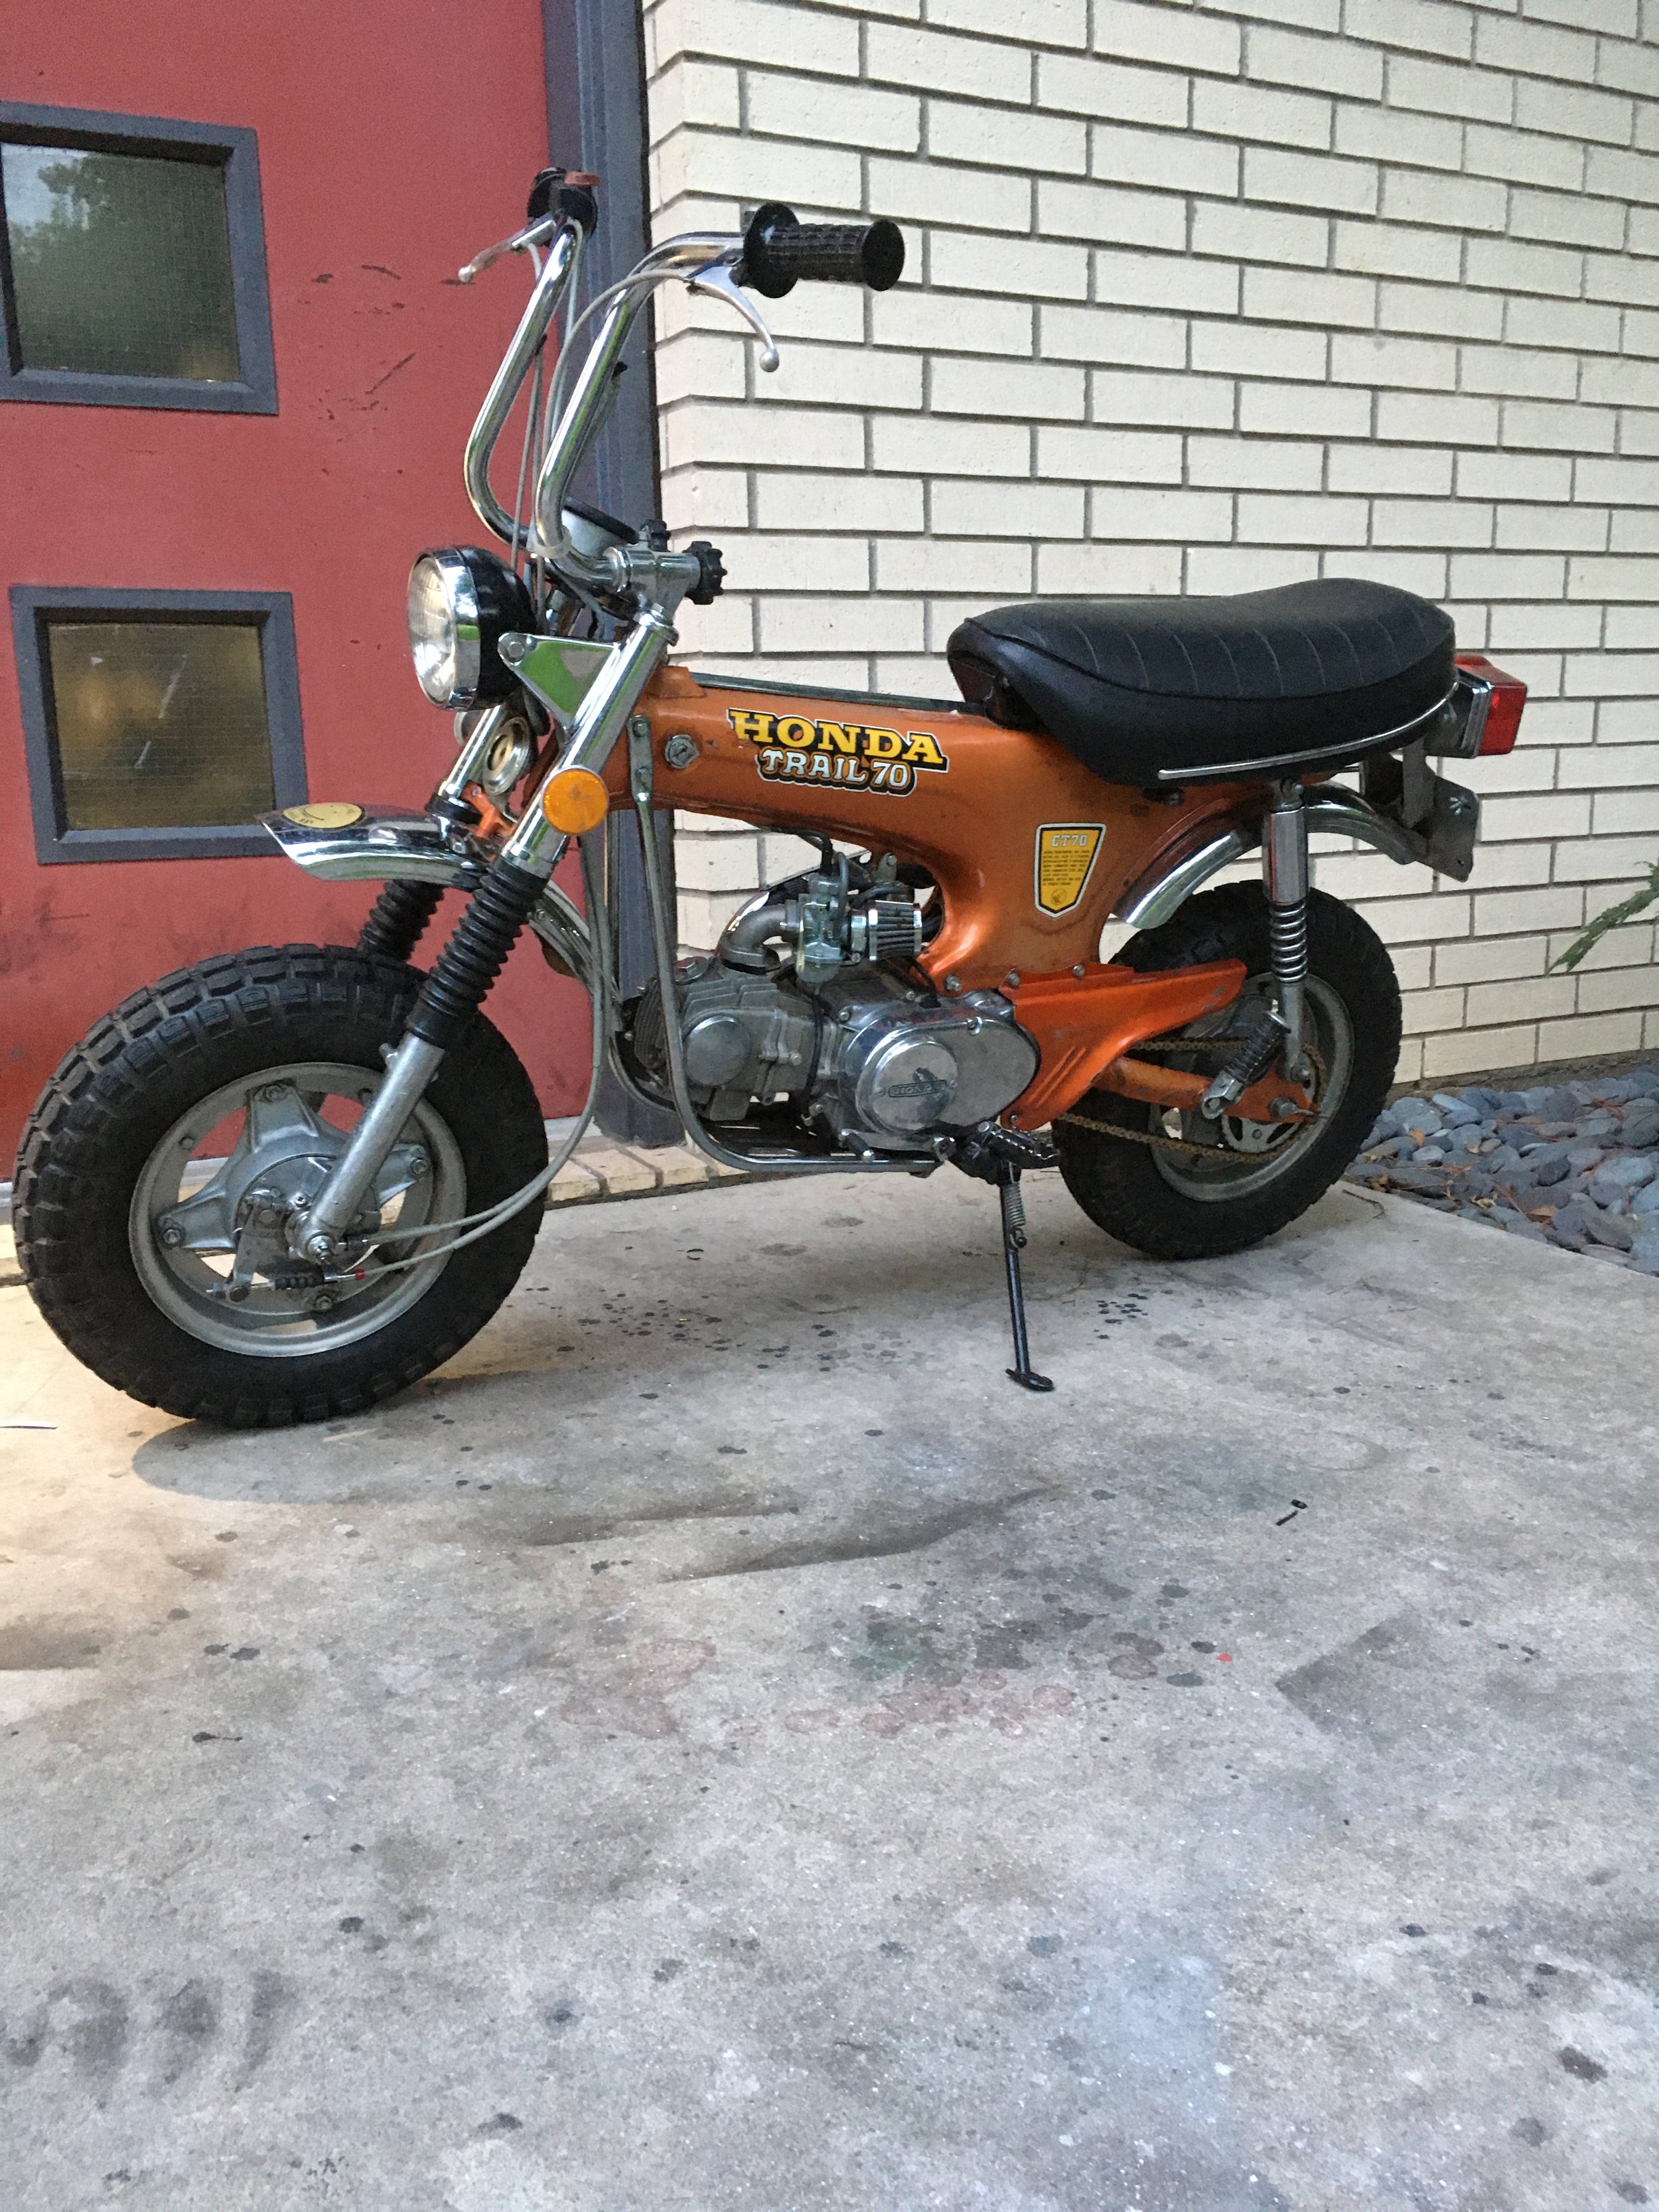
The sympathetic restoration of the 1970 CT90 is done. There might be a few things added to the build like a new dipstick to replace the original one, and the helmet holder lock that goes on the auxiliary fuel tank bracket. The engine is broken in after the top-end rebuild and service, usually starting on the first kick.

Original yellow paint, touched-up with a can of Honda touch-up paint, original chrome and seat cover. The engine side covers, plastics, and black parts like the footpeg assembly and battery box were re-painted,

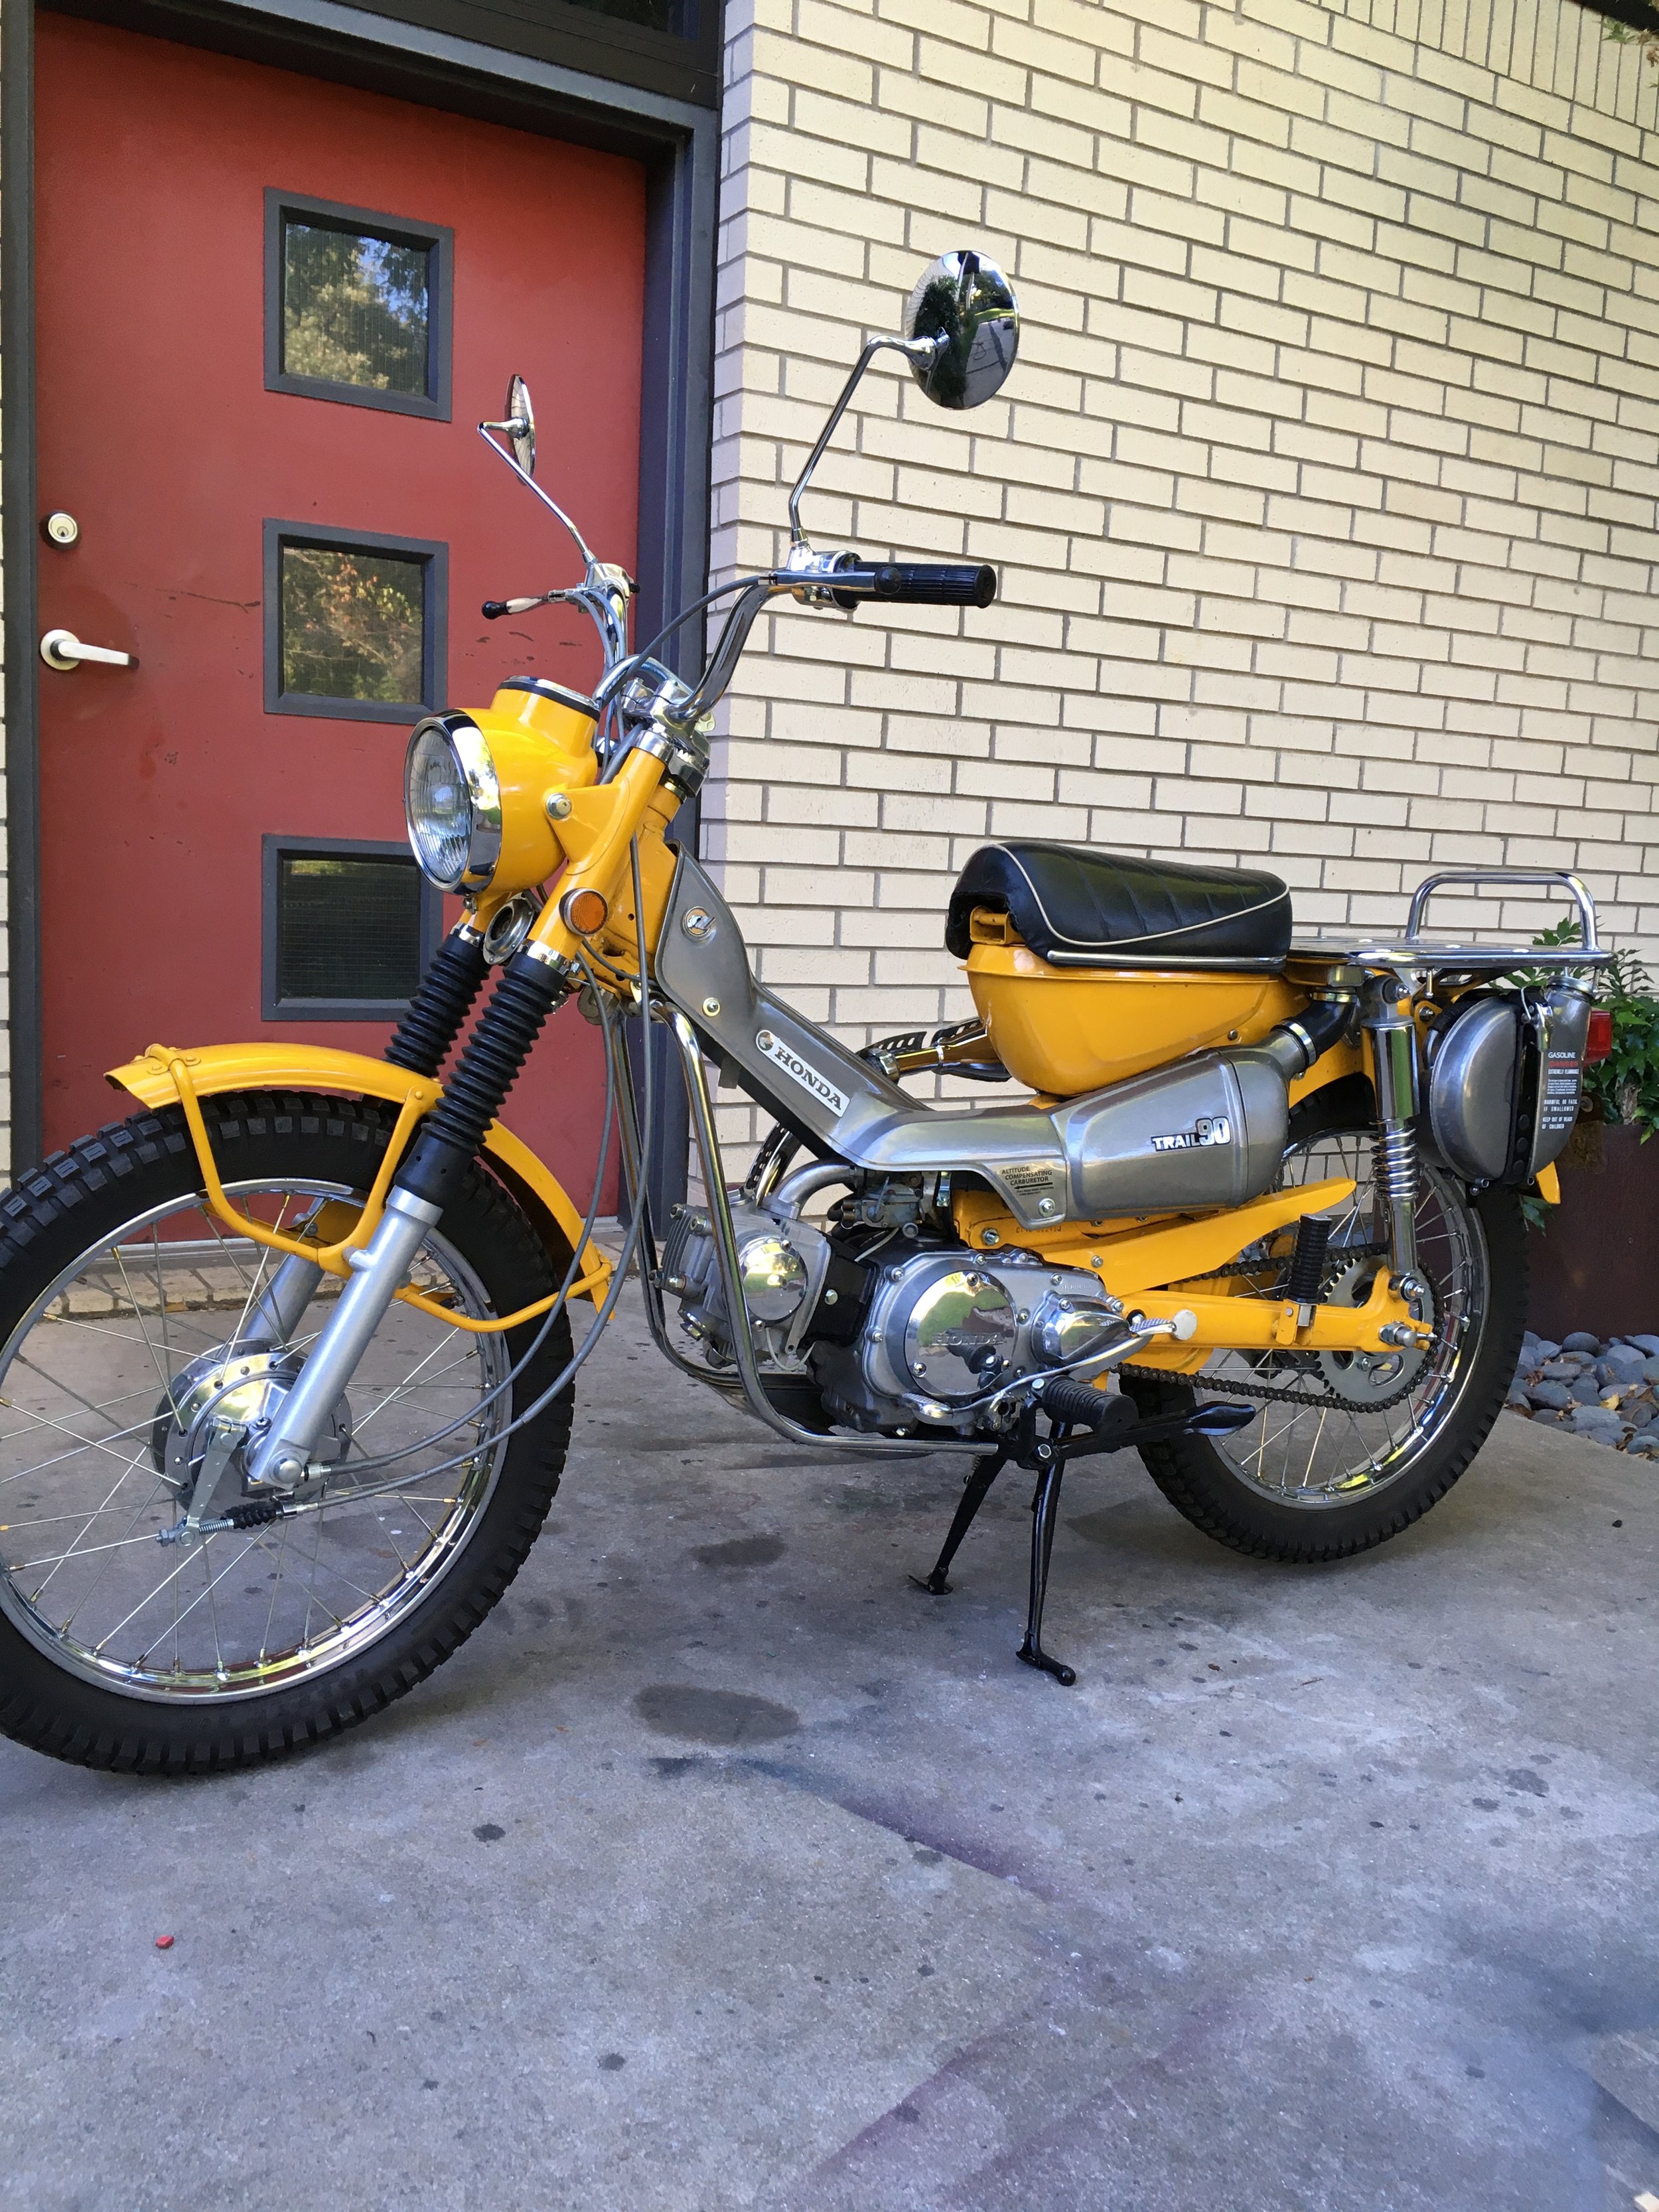
The original foil badges on the air cleaner and frame cover were carefully removed and re-applied after the plastic parts were repaired and painted. A medium charcoal metallic was the closest match I could find, and was used on the auxiliary fuel tank in addition to the plastics.

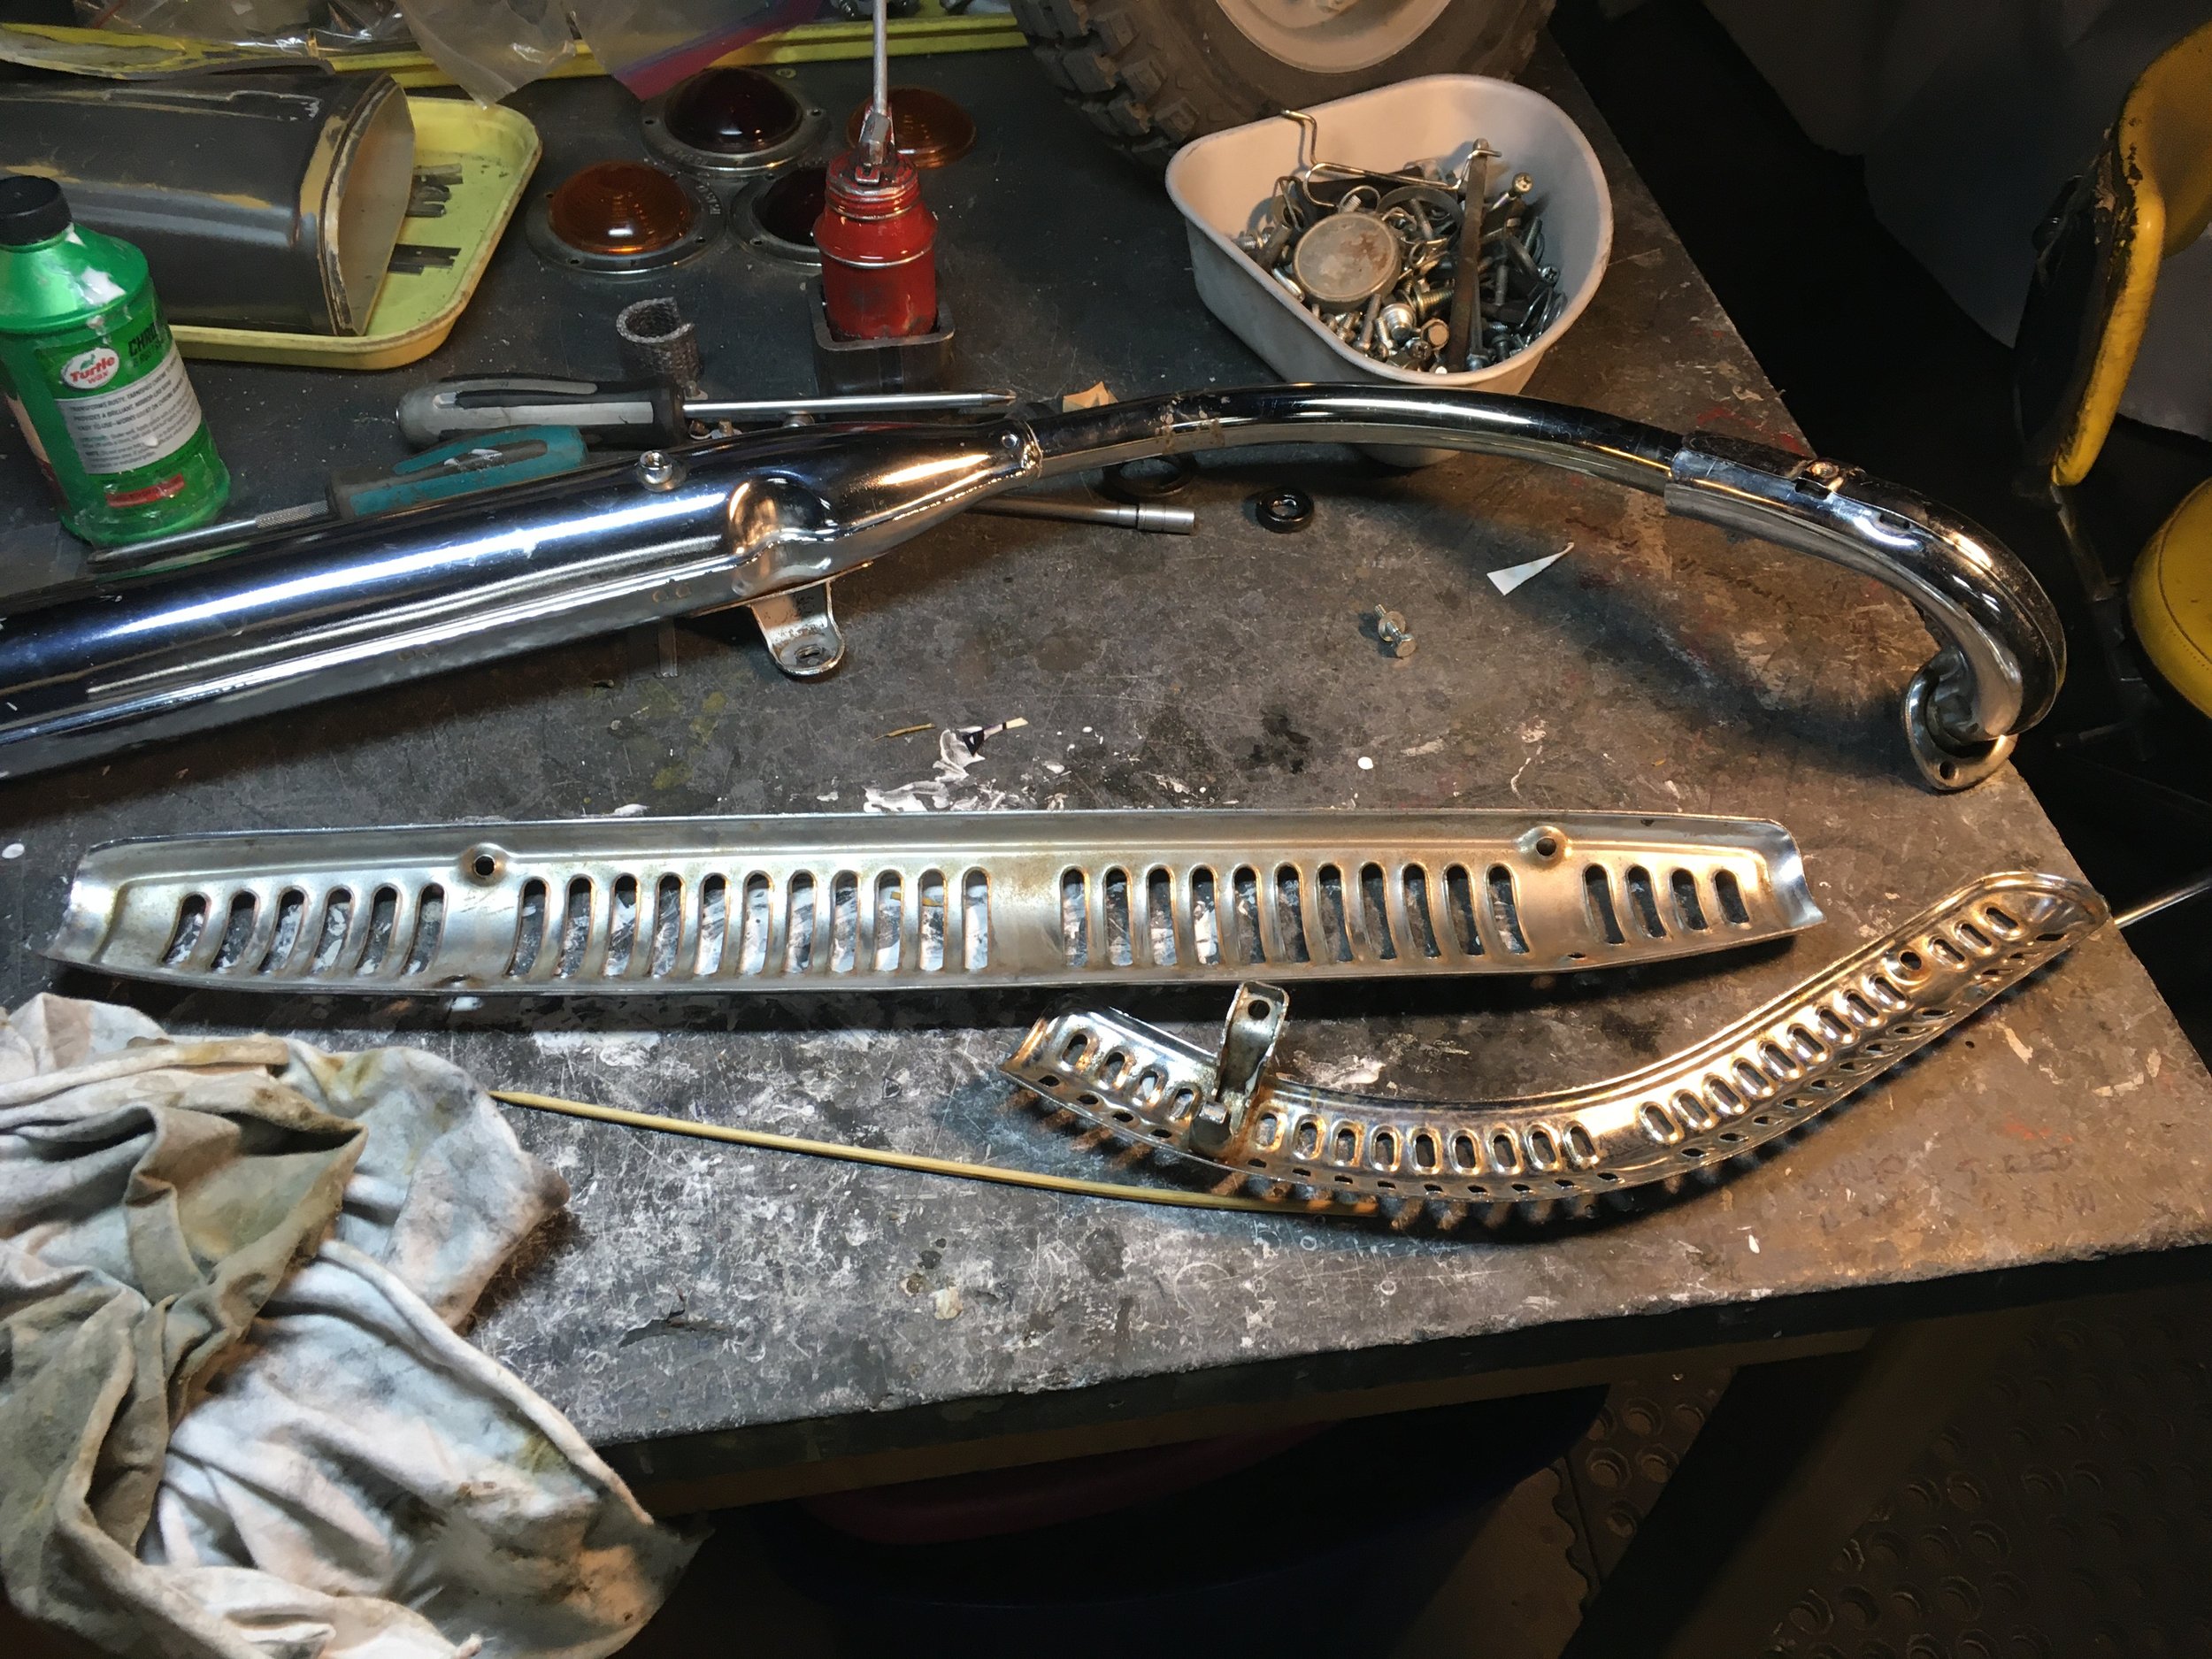
The chrome on this bike is in exceptionally good shape. The wheel rims, brush guard, cargo rack, and muffler on these bikes are often pitted or worse on a bike of this age, but the only place with any visible damage was on top of the cargo rack. It looks like the optional seat pad was used on this bike, and may have caused a couple small spots where the chrome is worn through.

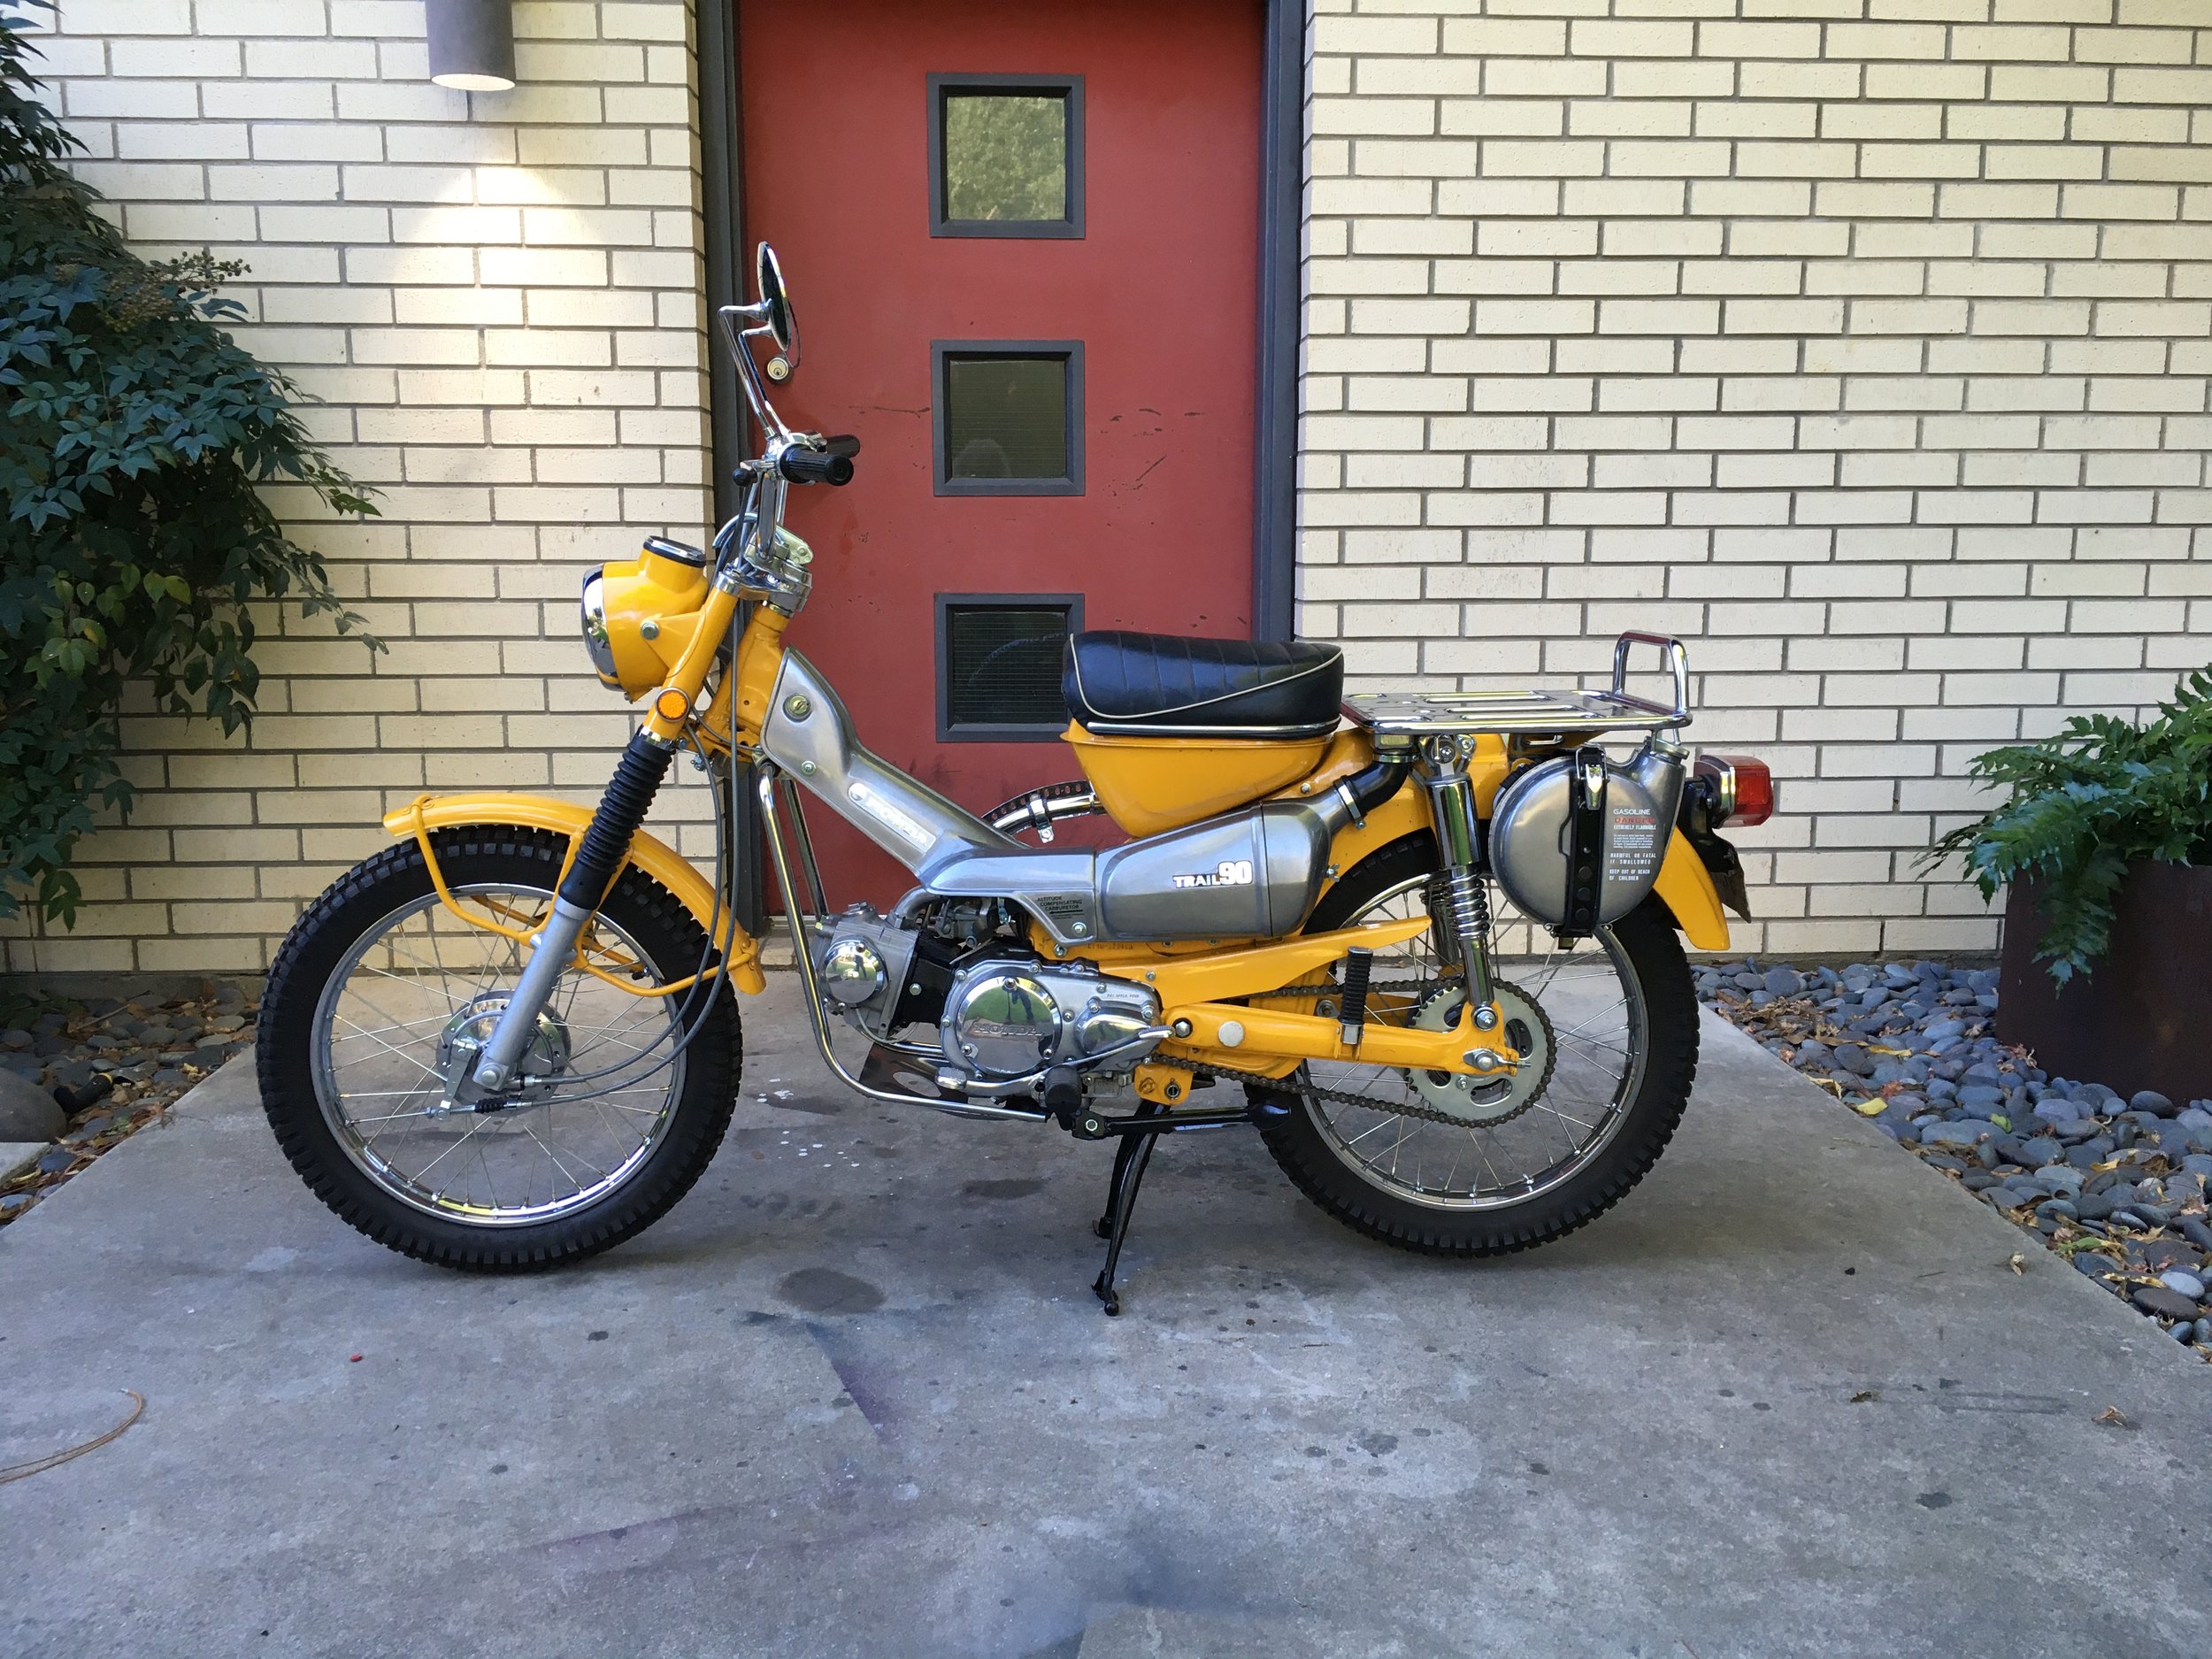
Not perfect, but she sure is a beauty. Honda had a way with color that still works as well today as fifty plus years ago.

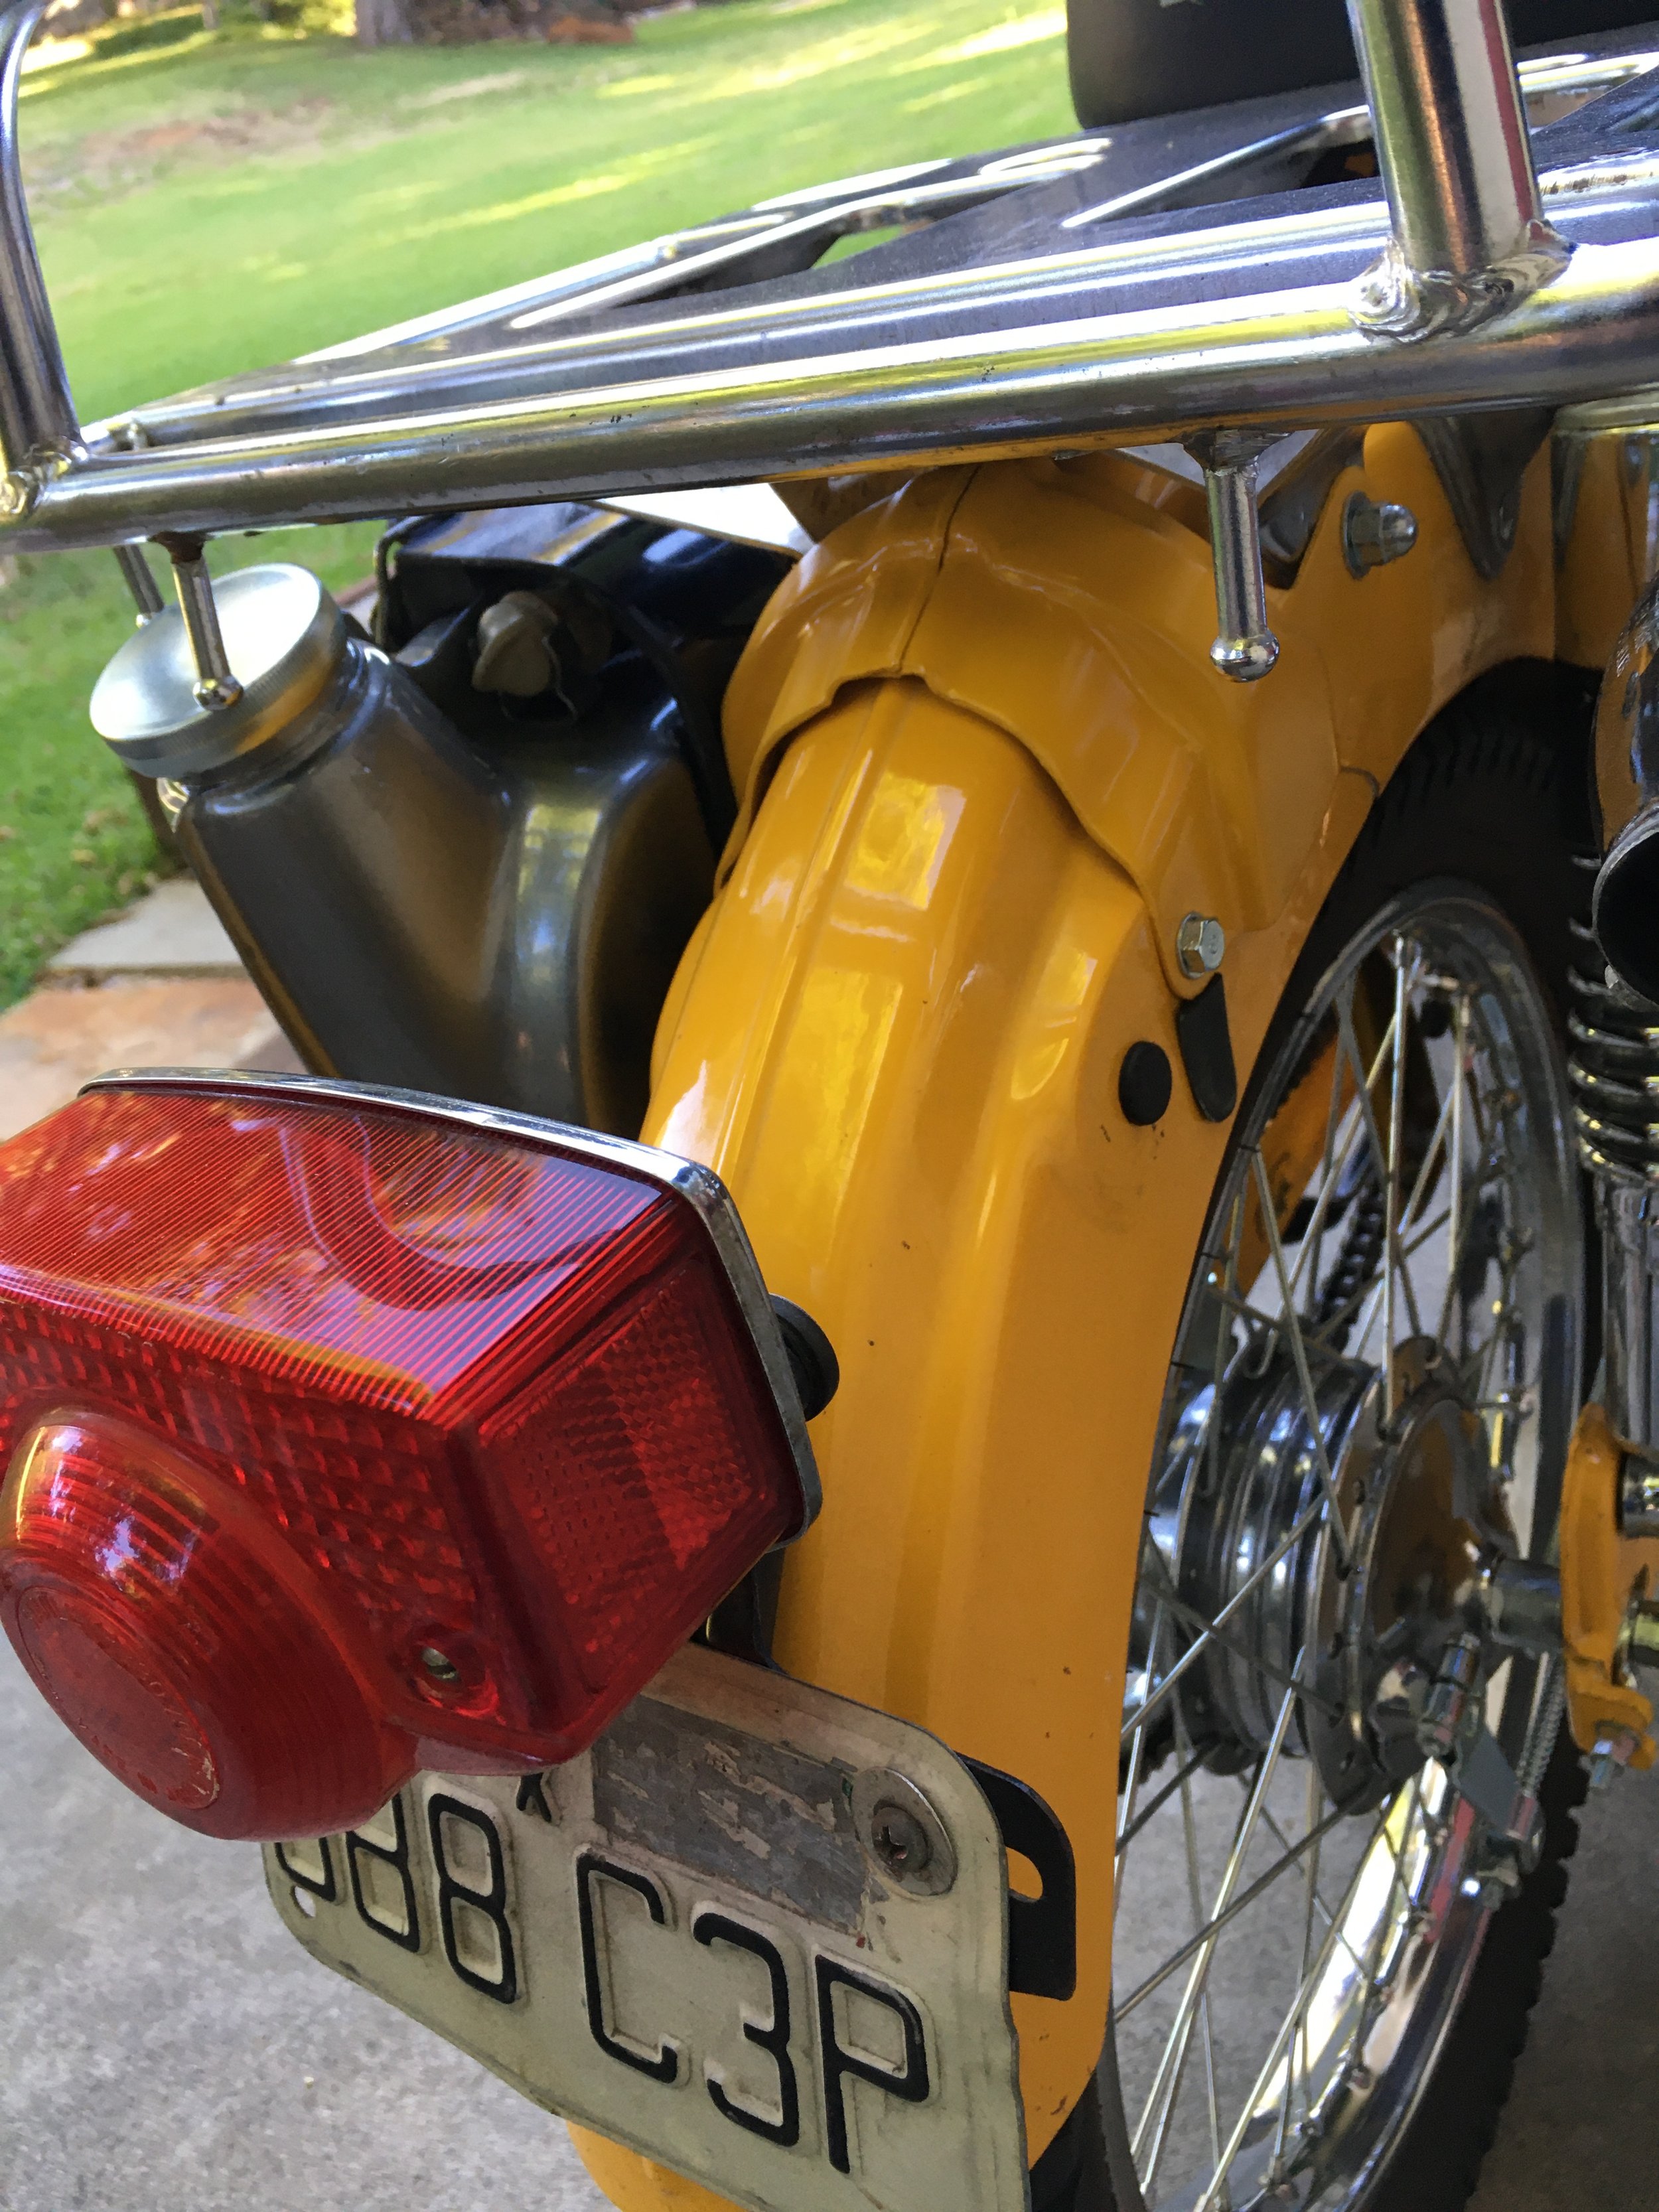
The fender bracket for the auxiliary gas tank was also sprayed to match using Honda touch up paint. I am surprised how little fading has occurred on the original paint, and how well it matches. A correct cap for the auxiliary tank was found. The one under the seat has vent holes on the top, but the auxiliary one has holes underneath to avoid water getting in the tank.

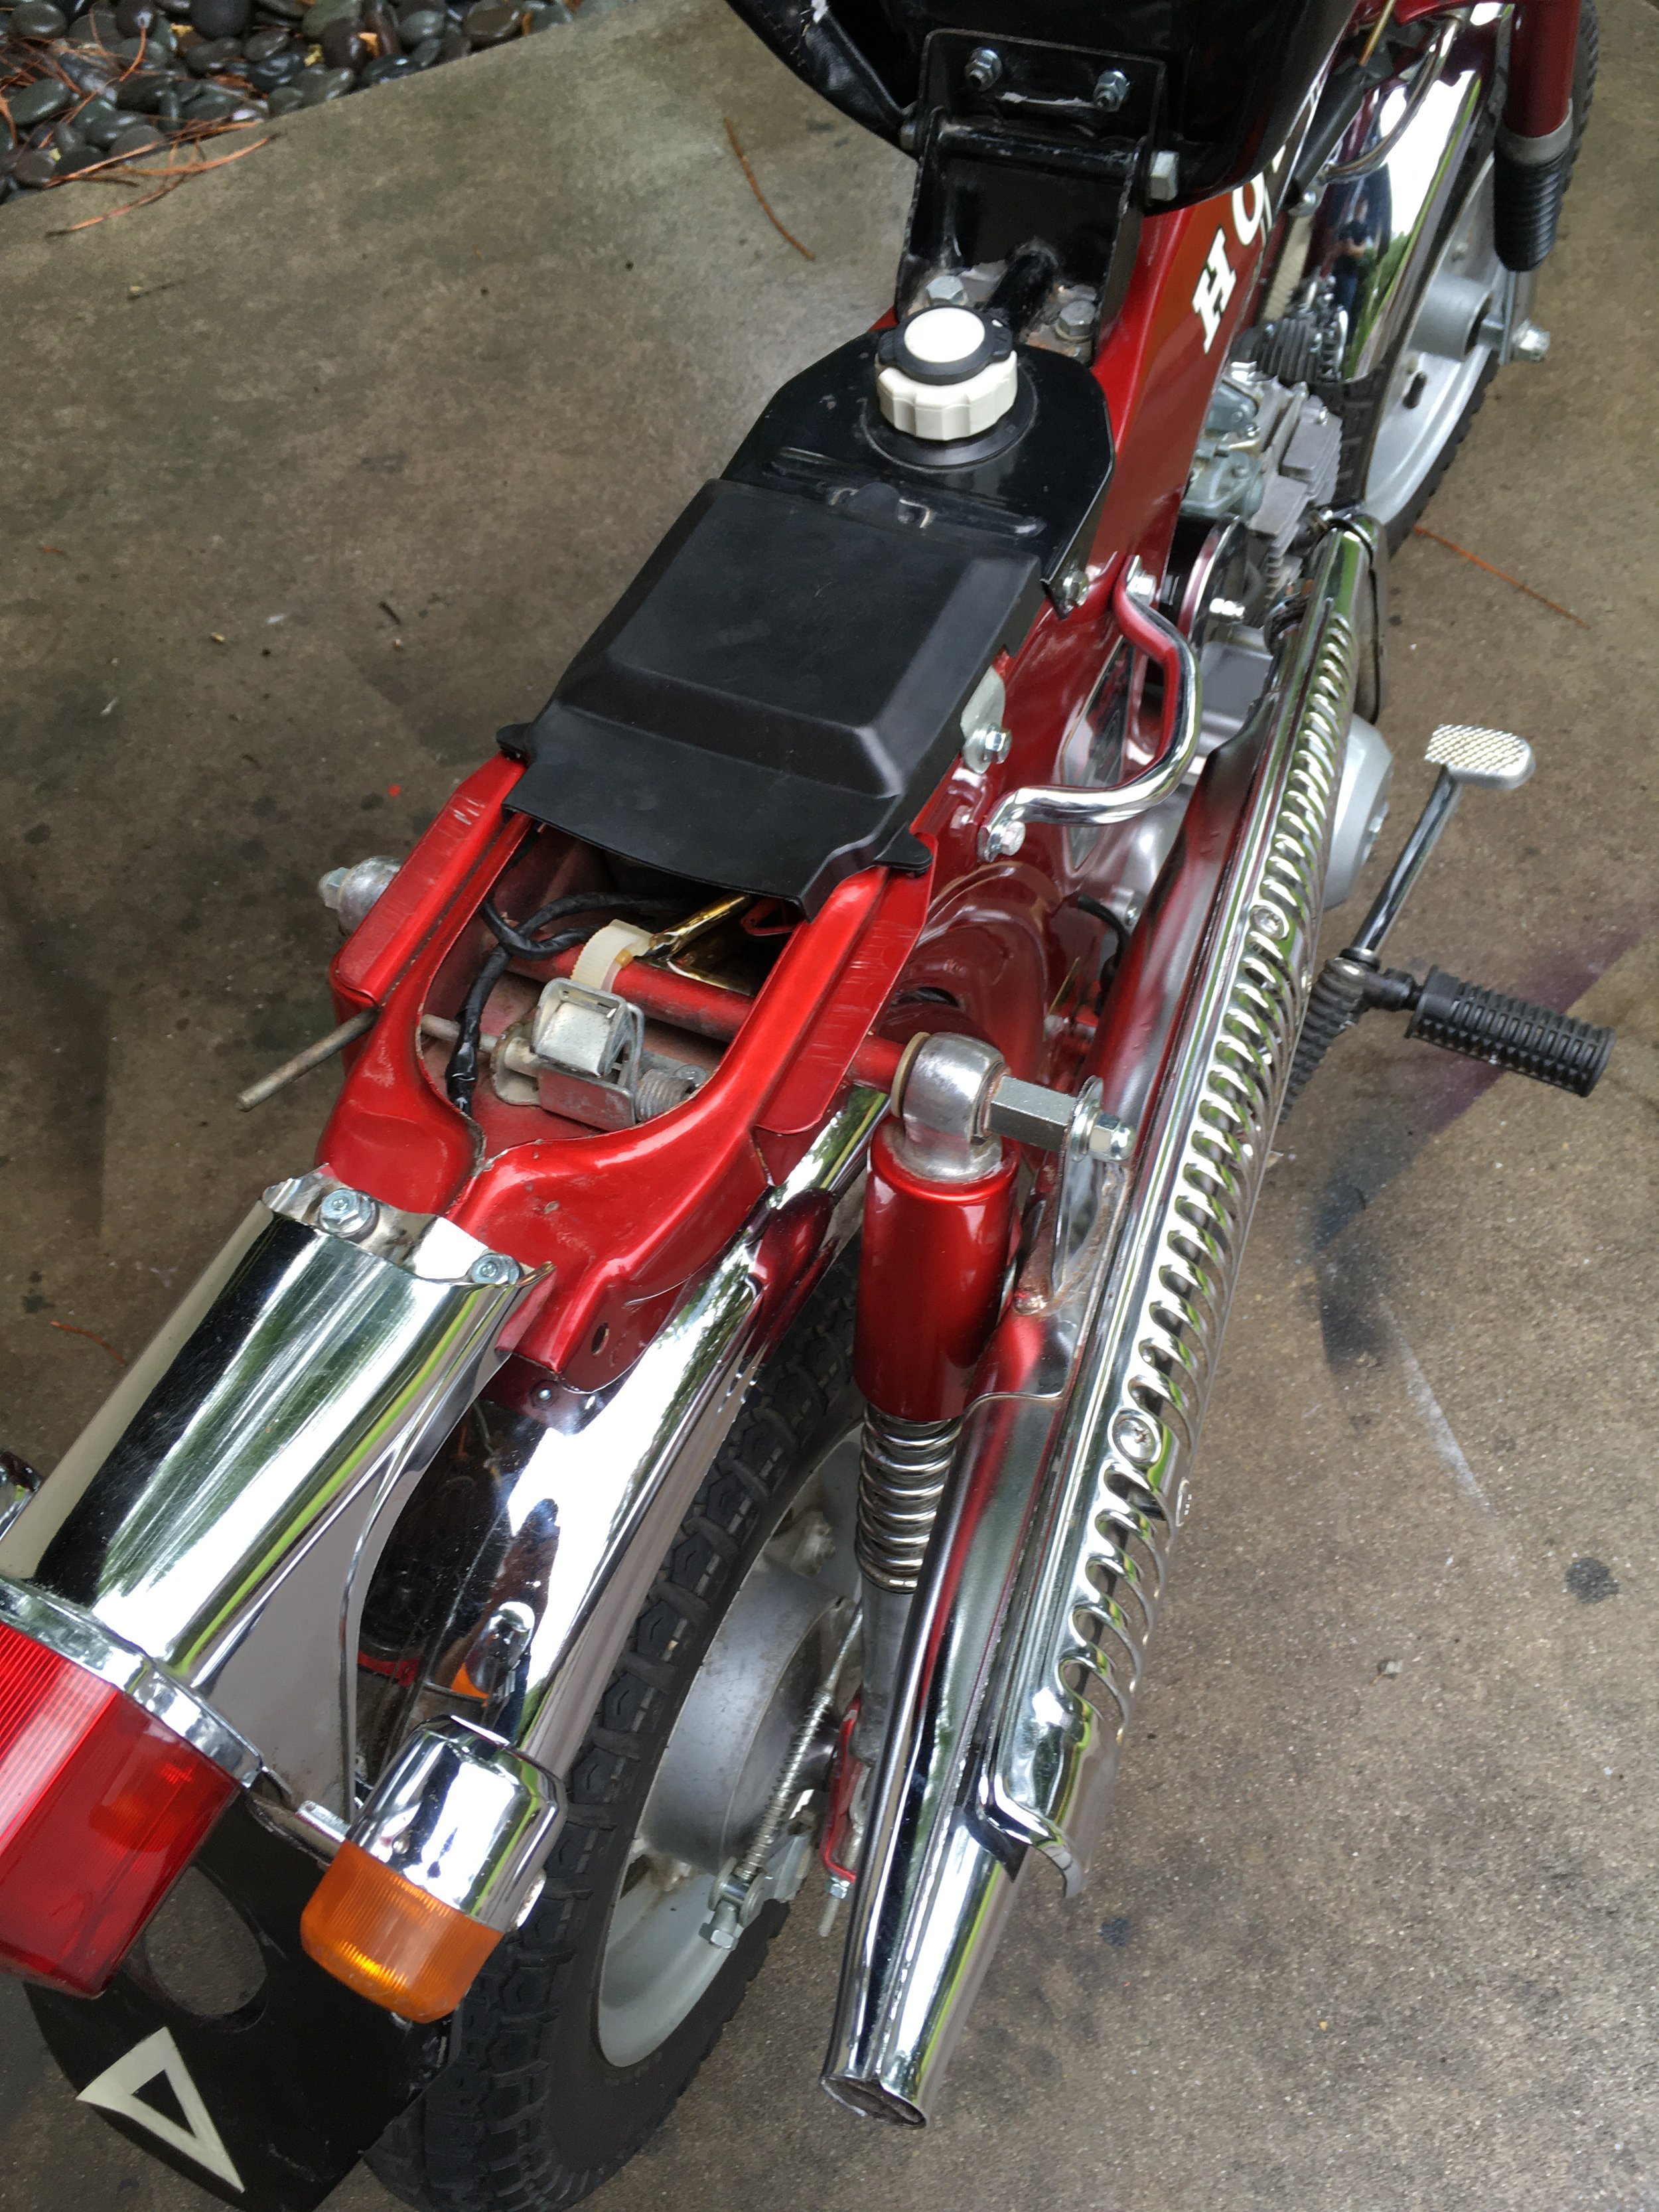
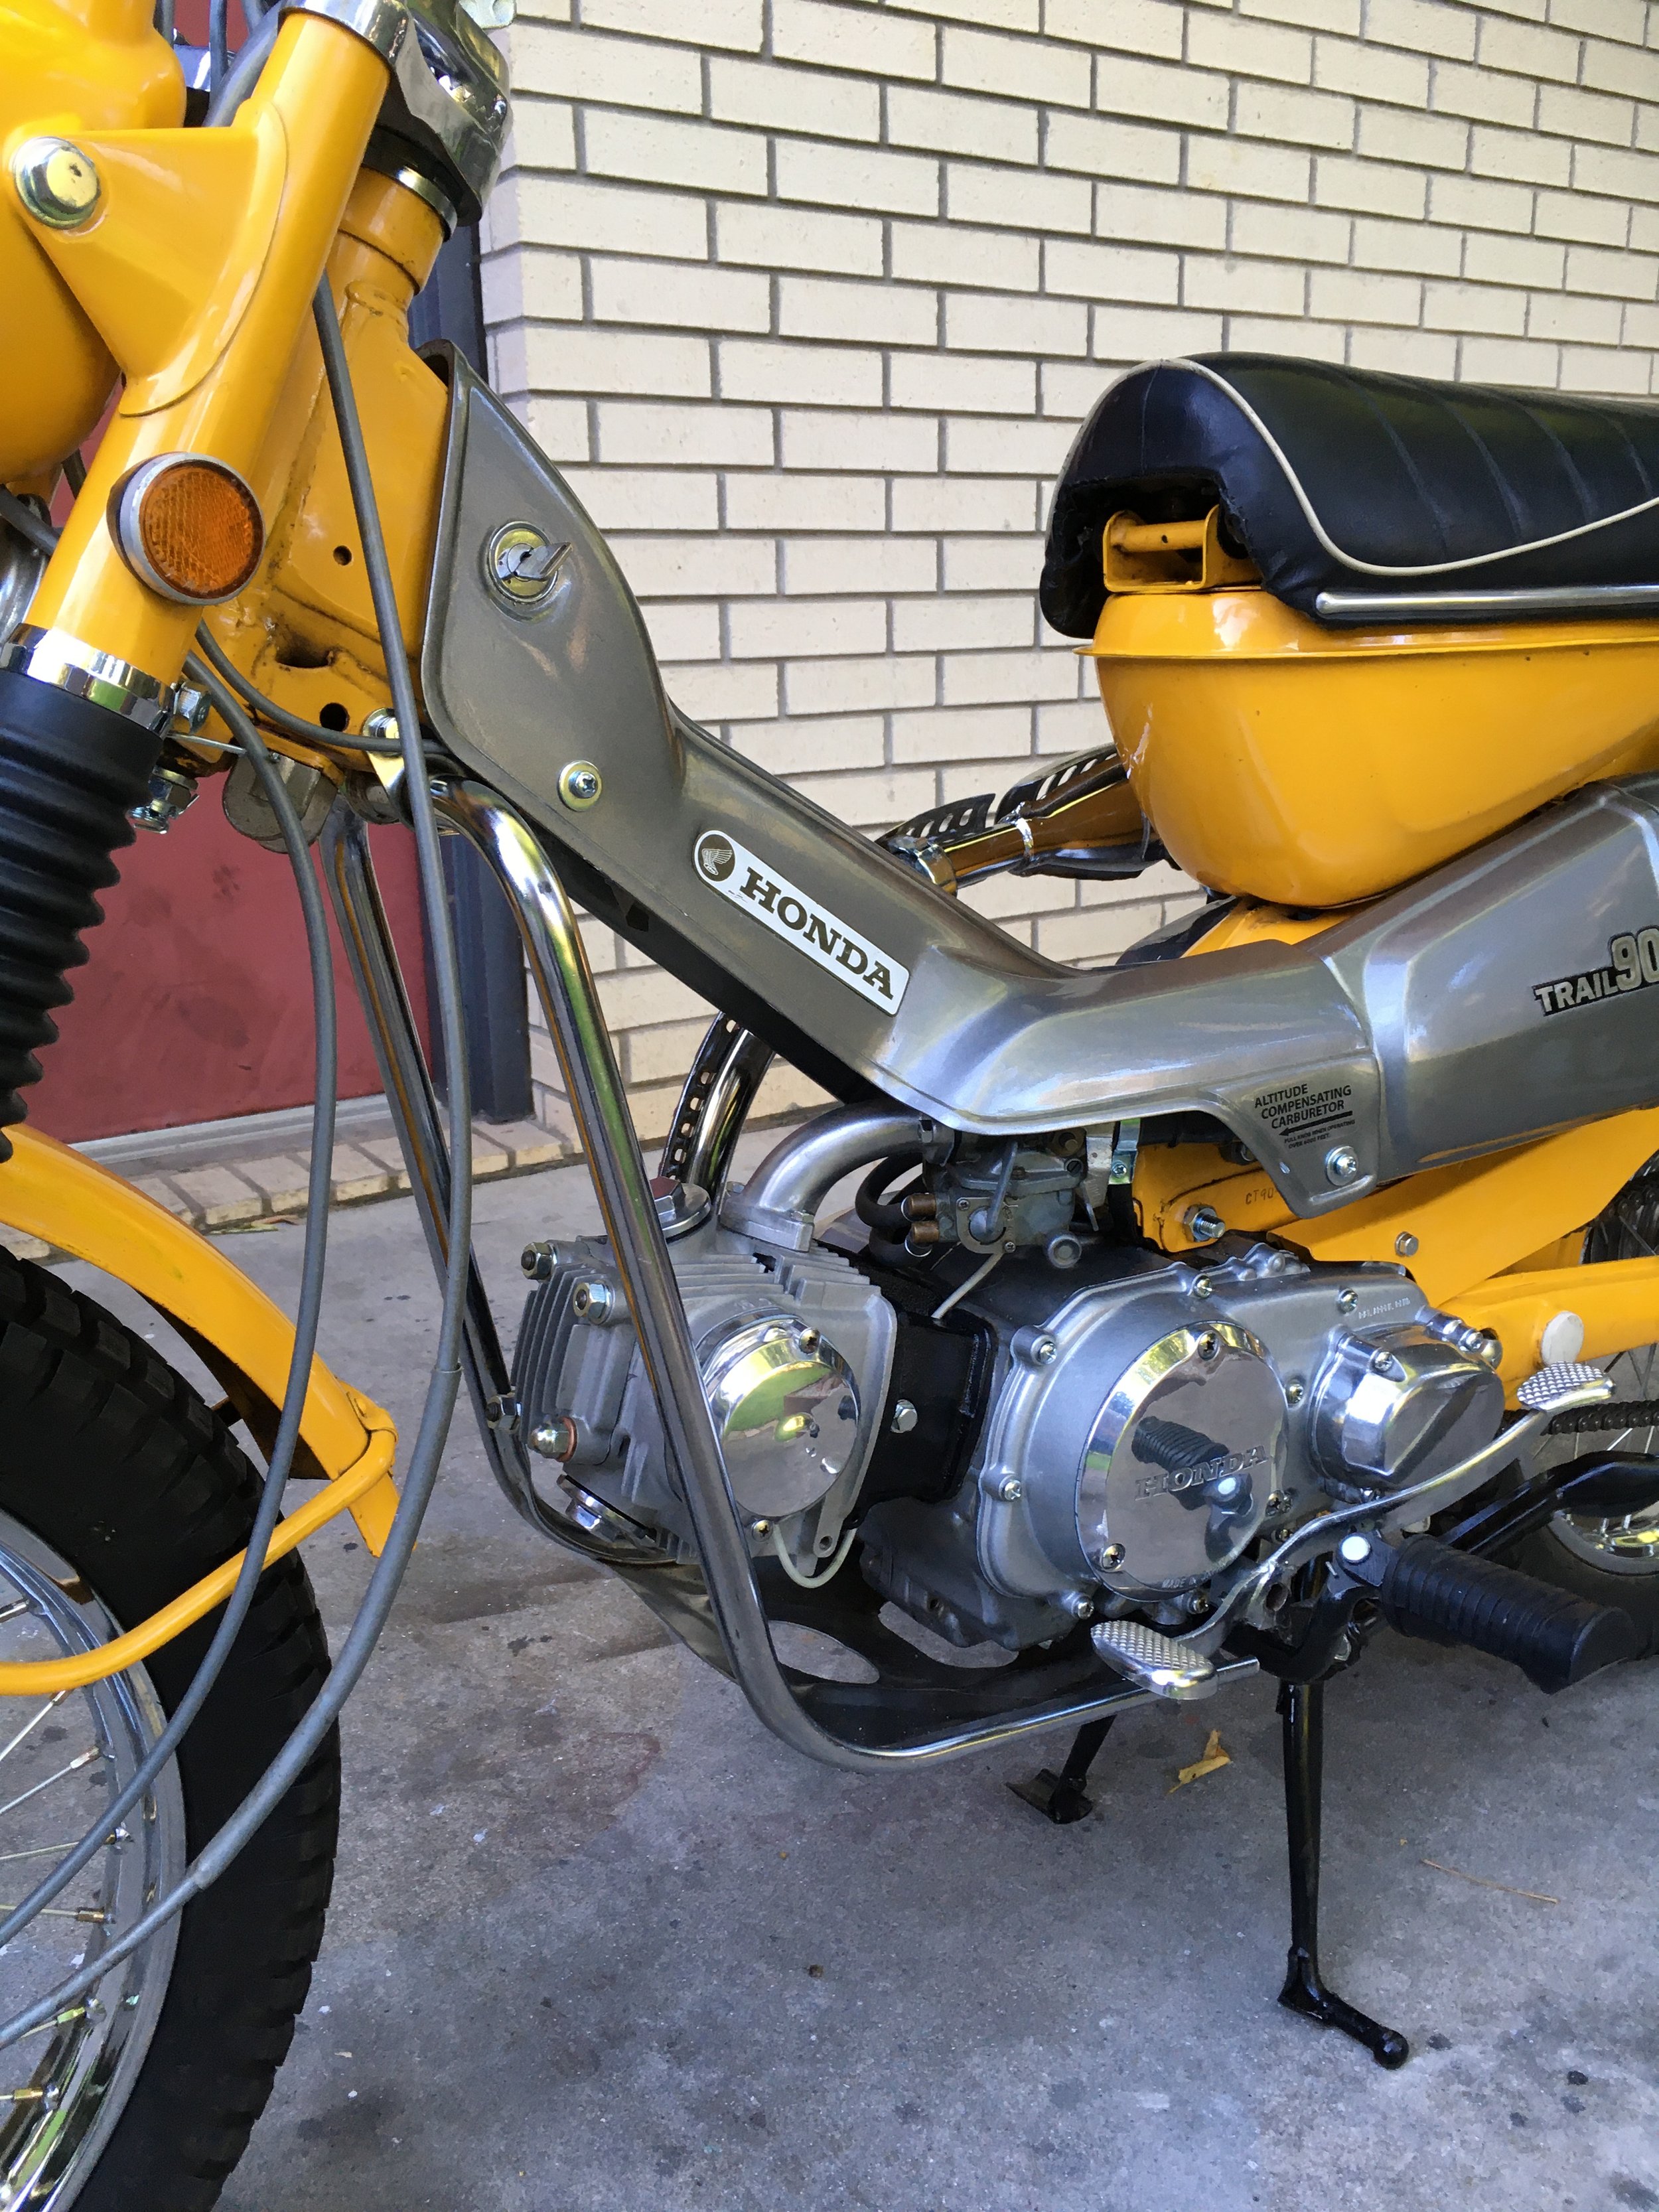
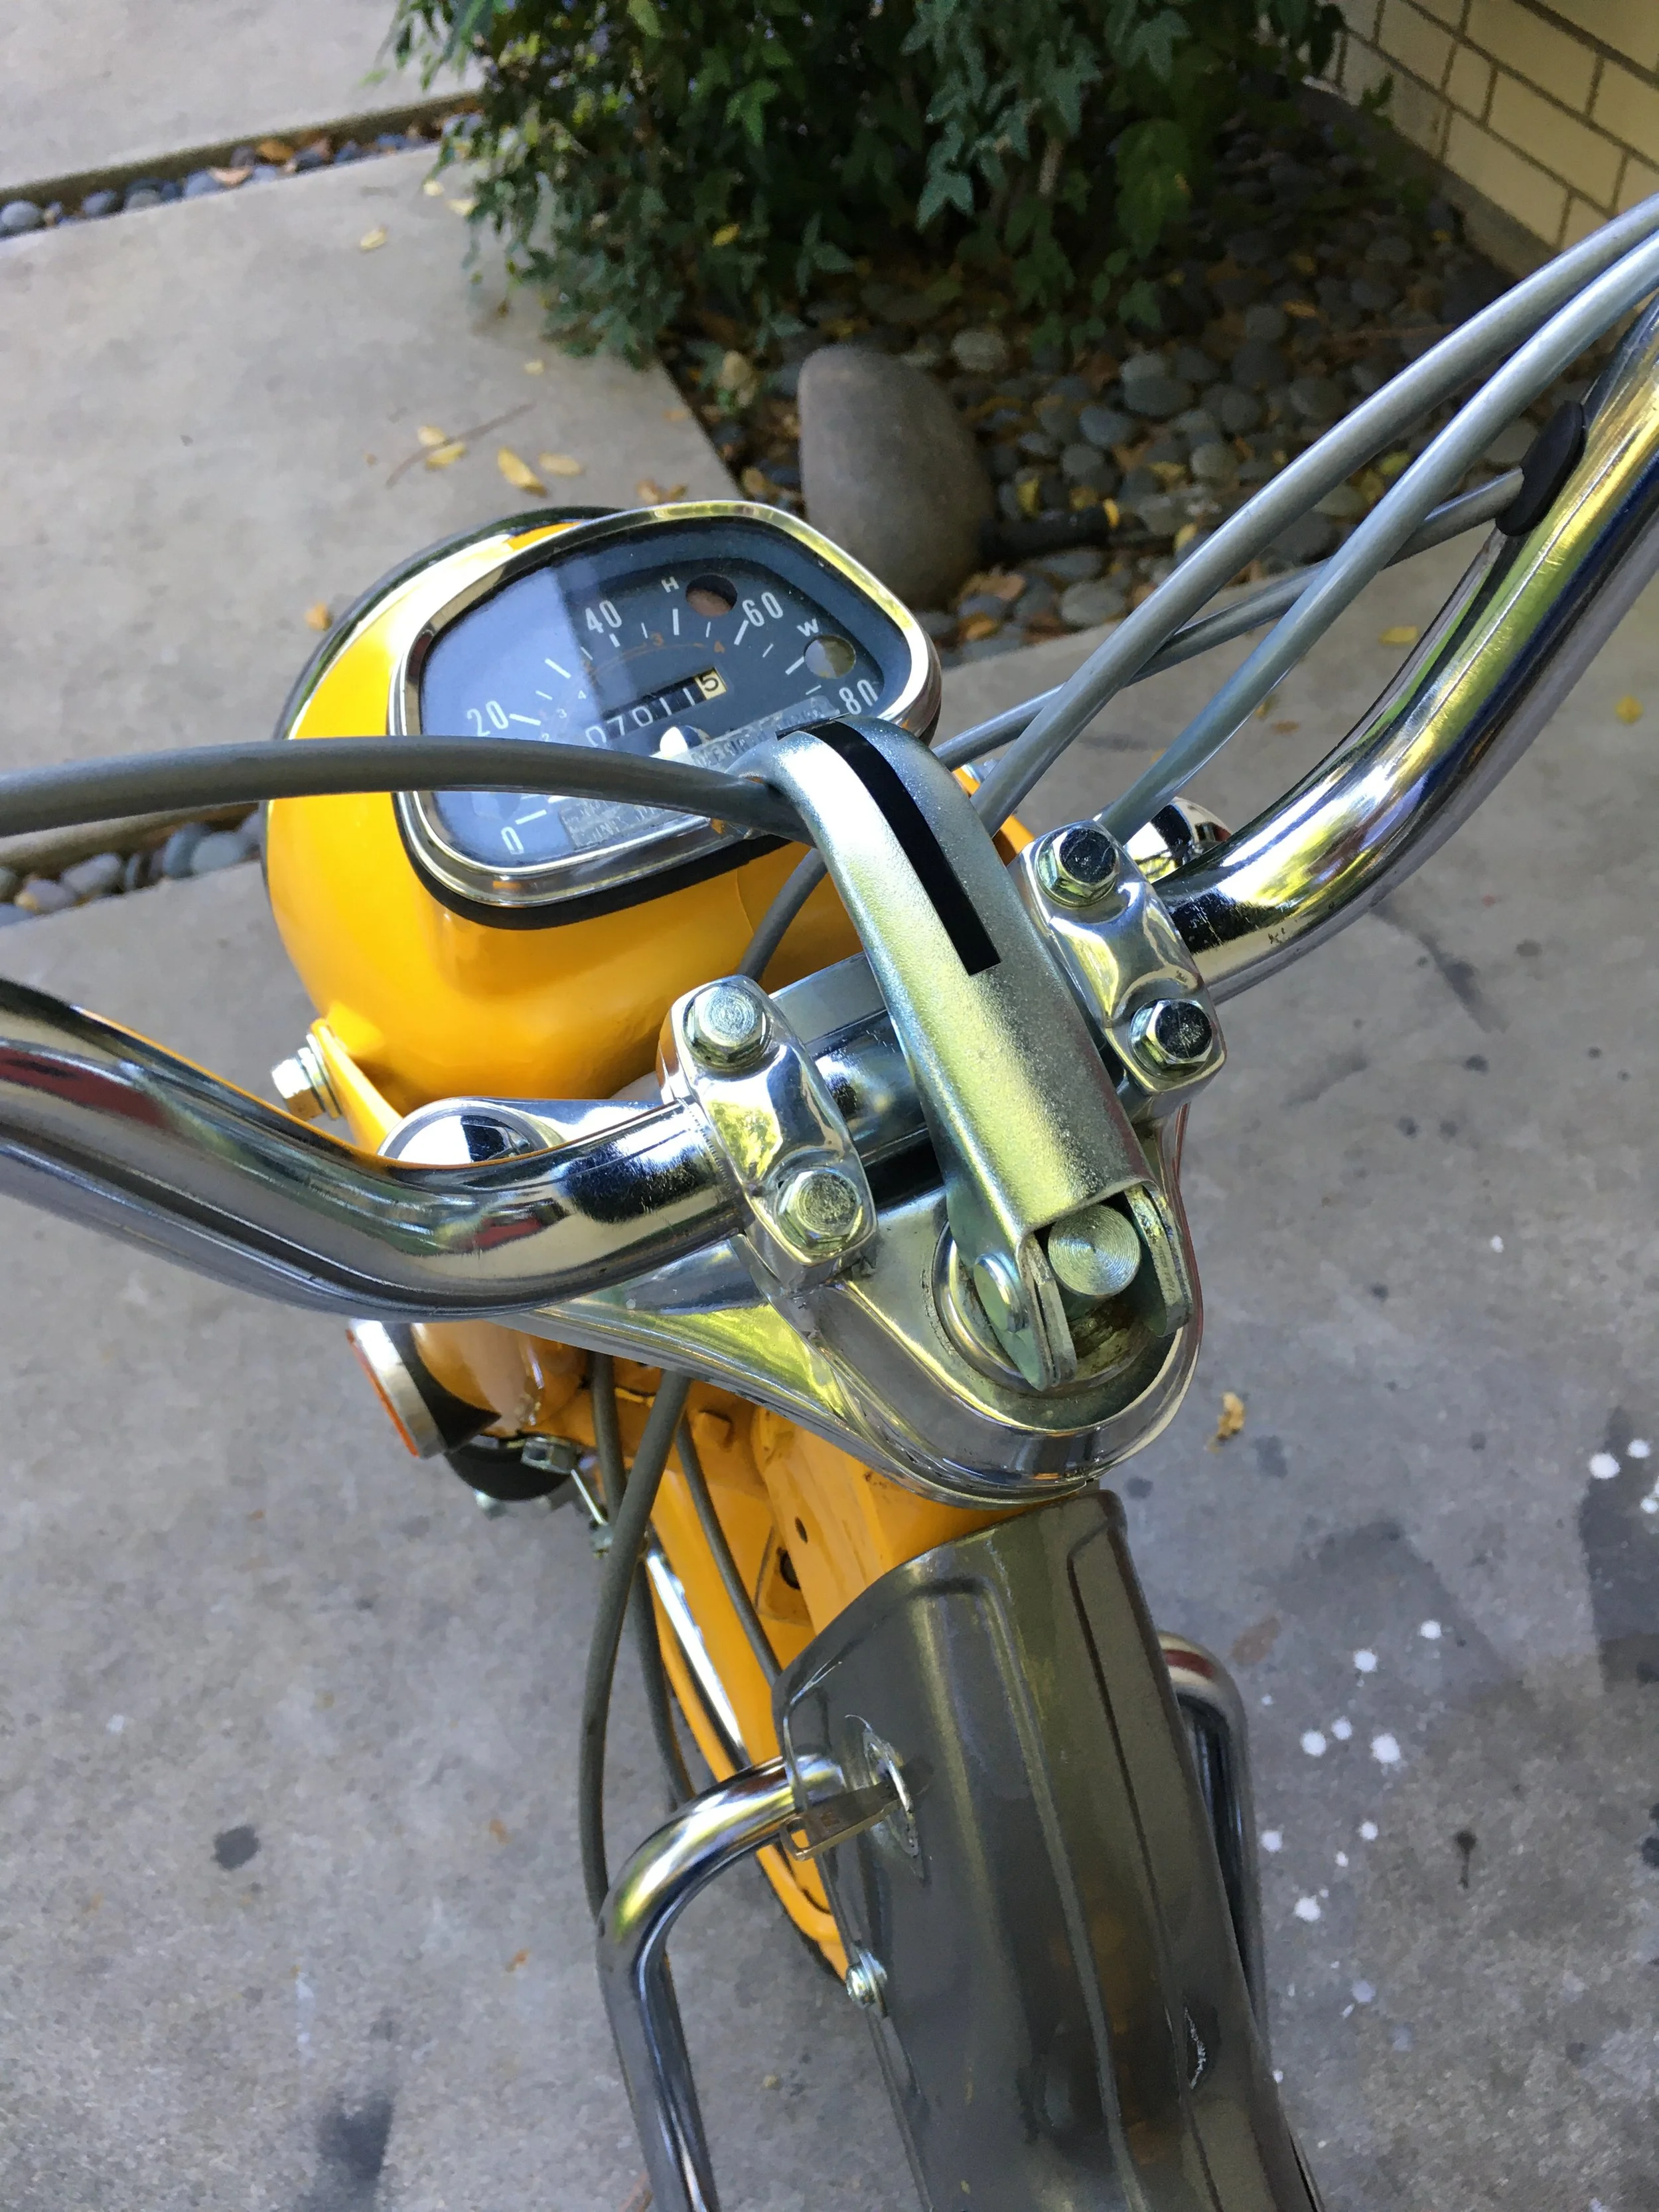
Some of the small details like putting new vinyl sheathing on the handlebar control wiring and main wire harness make the difference on this type of restoration.

For years, these bikes did not appeal to me, but this one has changed my mind about them. A really strong running engine, easy to ride, and comfortable, with room on back for a full sized cooler…pretty close to the perfect fun bike.

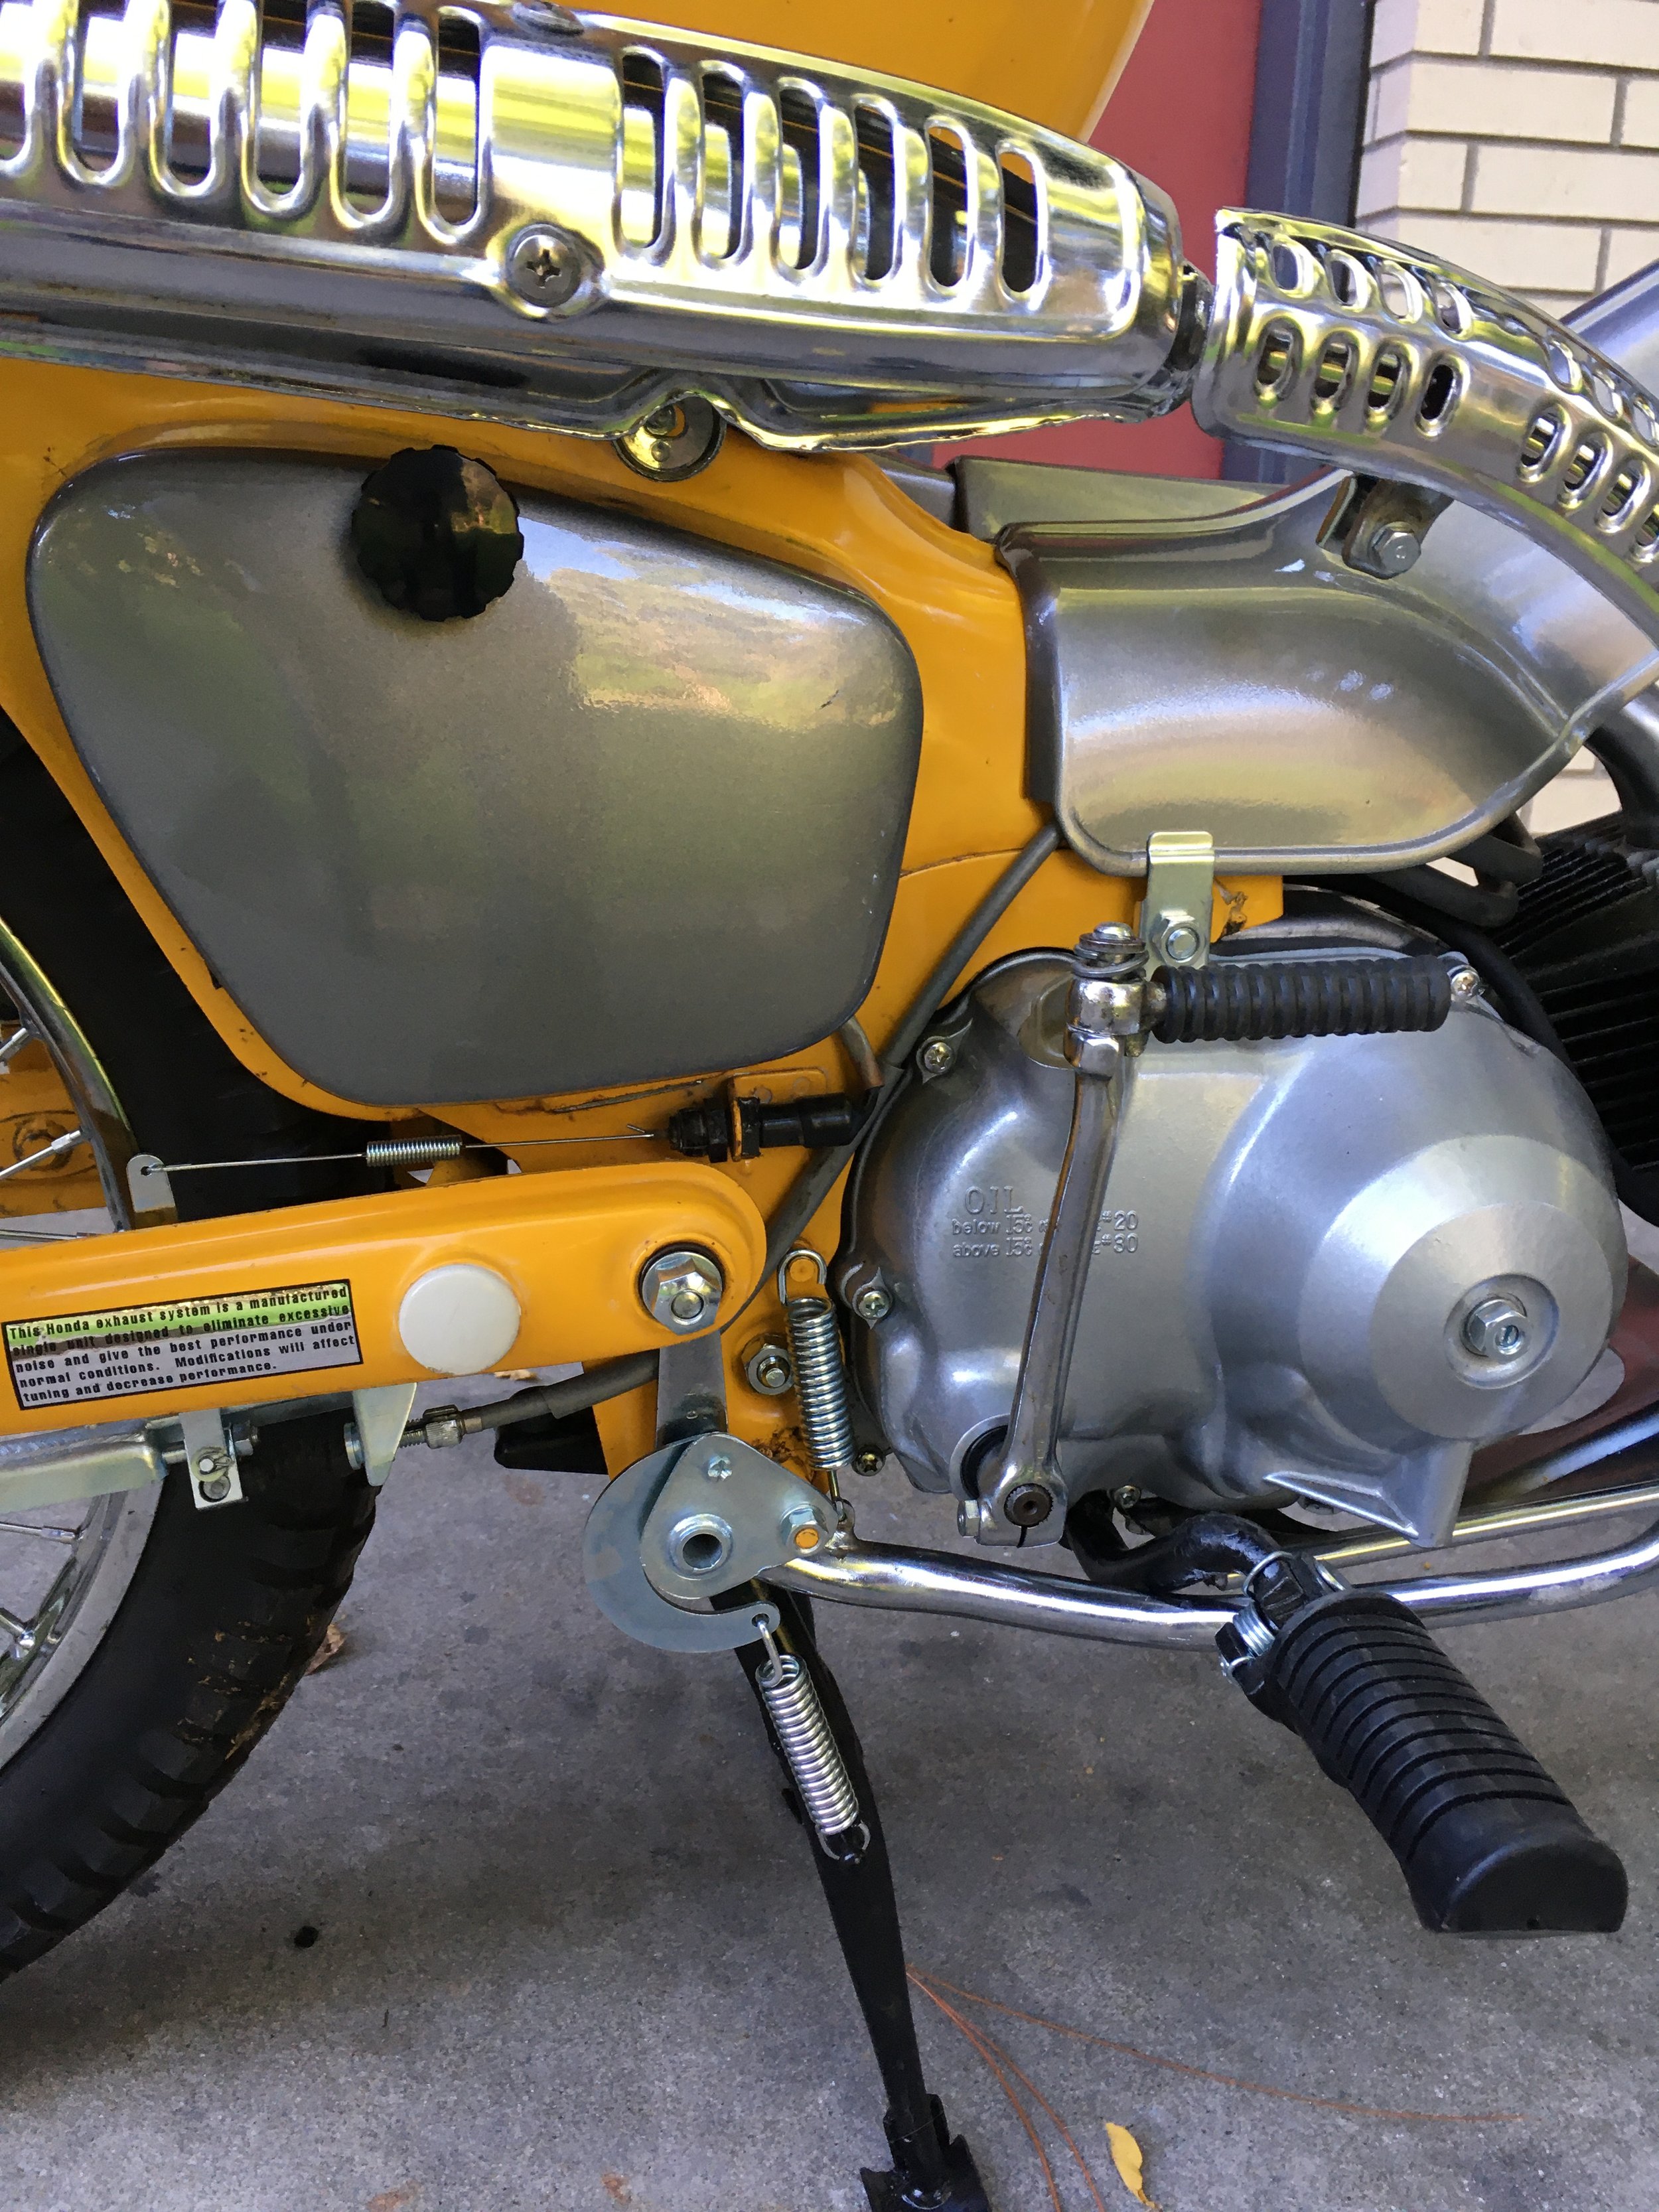
The foil label on the swingarm and the clear one on the auxiliary fuel tank and the carb instructions are reproductions as well as some of the cables and wire sheathing. All other parts are either restored or OEM Honda parts.The tool kit is complete and was zinc plated. It fits behind the battery cover in the original vinyl pouch.

Some of the imperfection in the paint was left like on this side of the swingarm. Since this is not meant to pass for a complete restoration, its okay to leave some imperfections making it obvious.

New mirrors from Honda, replaced hardware and polished aluminum and original chrome have the cockpit looking fresh.

Only a couple small pits could be found in the wheel rims. Hard to believe it is fifty year old chrome. With the new spokes, seals, re-plated hardware, and polished aluminum hubs, the wheels are like new. The front forks , rear shocks, and tires were already on the bike when I got it, and appear to be in like-new condition. The front forks are not exactly like the originals on the lower portion, and are most likely aftermarket. They work fine and fit just like the originals.

The wear on the rear rack can be seen in this picture.

The 1970 Honda CT90 gets an engine refresh.

An engine refresh is underway on the 1970 Honda CT90. The top end is being rebuilt with a new piston and bored cylinder. With the covers polished out, the engine didn’t look too bad, but there was a good amount of grime on the back and underside of the engine. The rest of the bike is coming together and looking pretty fresh. The engine needs some attention to get it to match. After a thorough cleaning of the entire engine, the side covers will be painted, the head will be bead blasted, the rebuilt cylinder will be installed, and freshly plated hardware will be used.

The engine side covers show the wear up close. The re-plated hardware really makes the difference in a sympathetic rebuild. The sidestand and center stand were painted. A lot of welding spatter from the factory welds was removed on the center stand prior to painting.

With the side covers and top end removed, the engine is pretty easy to remove from the frame. It is said the frame is the best engine holder. In order to bust loose Phillips-type screws that in some cases have been in place for fifty years, an impact driver is used. If the engine is not held in place tightly, it makes it hard to get the down force necessary to keep from stripping the heads of the screws.

A lot of time was spent on just degreasing the parts. The head was completely disassembled, bead blasted, and the valves lightly lapped in prior to reassembly with all new seals and gaskets.

The stock cylinder was bored .075 and a new piston and rings will be used. The cylinder was bead blasted and painted with medium gloss black engine paint.

The small side covers were polished out. Although the high-low gear cover is painted from the factory, it is often worn off by the foot of the rider, and looks like its half polished, so polishing it out the rest of the way seems like a better solution.

The oil slinger was pretty clean, making me think someone serviced the clutch not that long ago. The similarities between the 90cc engine and 70cc platform are many, but there are still slight differences that had me pulling out the manual.

Waiting on a set of engine shaft seals to get the engine buttoned up. A new sprocket went in to replace the worn original one. The valve inspection covers, points cover and points base were also polished out. Even though the engine block didn’t look too bad from above, there was a good layer of dried grime just about everywhere aside from the small exposed square just below the carb.

The exhaust is in excellent shape. There were small areas of surface rust that were removed, and the backsides of the heat shields were de-rusted. Because the chrome plating process does not deposit as much metal on concave surfaces as it does on convex or flat surfaces, the backside of the shields are often rusted. The rust was light enough on this bike that chrome polish and some elbow grease removed it. Not a super big detail, but the reflectivity of the muffler under the guard will reflect the rust, and the pipe will not look quite as nice as it could.

After the cleaning and a couple insulating washers were replaced, the muffler is back on, with a fresh exhaust seal at the head. Waiting on the left side of the engine to get buttoned up before the footpeg assembly can be installed.

The intake manifold was oxidized on the front, so it was bead blasted and wet sanded to reproduce the original finish. The air filter and the plastic parts are being re-painted, and will be the last big hurdle. There are some cracks that need to be repaired in the down tube cover before it can be painted. Another reason to de-rust the backside of the exhaust heat shields can be seen from this angle.

Detailing out the Tijuana Trike, ST70 Dax Export, and CT70 revivals.

A bunch of small details worked out on the Tijuana Trike. The rear seat backrest was slanted forward a little more, and the backrest raised up several inches. A new air cleaner cover was worked out on the engine, a front fender ornament was created, and some other small additions like the Cali license plate on the back.

A Cal-Custom Stromberg type air cleaner was adapted to fit over the cone air filter. A support bracket on the end keeps it from wobbling around. In this case, it is more than ornamental, as the splash from the front tire is aimed right at this area.

The more upright angle of the rear sissy bar, and the taller backrest can be seen in this picture. It makes for a little tighter quarters for the passenger, but the look of the bike is better, in my opinion.

A loop of 4130 moly steel tube was added to the backrest. The way it was before, the upper part of the backrest was sticking up past the sissy bar, and was unsupported. The backrest ends up being pushed and pulled when moving the trike around the shop and loading it in the van, so it needs to be strong enough to take it. The California Board of Equalization license plate blue and yellow plate fits perfectly. The yellow on the plate and sissy bar looks identical!

A morning romp on wet grass. Yes!

The overhead view.

Since there is some jet-age influence on the bike, a jet-like front fender ornament was built from brass to adorn it. Turned from solid brass and then silver soldered together. My drawings are always loose, more a styling representation than an actual plan.

With the tail section and base added, it looks at home on the fender. It is always amazing to me how pictures of the fender without the ornament now look naked to me.

My buddy Alan bought this 1973 CT70 from me a number of years back, and is now looking to sell it. It was given a once-over, with new inner tubes, a carb clean, and all new ignition components. It is a reliable starter and runner. The original paint is faded on the right side of the bike, but the rest of the bike presents nicely.

This bike has been great fun, giving my kids rides around the neighborhood years ago, going on camping trips, riding parades, and much more. When Alan said he wanted to sell it, I was tempted to buy it back, but I already have too many bikes.

Another one coming out of mothballs was this beautiful 1971 Honda ST70 Export model survivor. A lot of the hardware was replaced with new and replated pieces, a lot of the rubber was replaced, and a thorough cleaning was done.

A cab clean, oil change and oil slinger service, air filter, and the usual points, plug, and condenser replacement was done getting her up to speed. A low mile (866KM) example of this bike, she didn’t need much. one kick, and she starts and idles smoothly.

Nothing like pristine original shape, it is only original once.

The engine side covers were the only things re-painted. The candy ruby red paint is still vivid, with no fading detected. Usually, when the chain guard is removed, some fading can be seen between the covered and exposed frame, but not on this bike.