It did not take too long with so many of the parts on hand. Although mostly stock in appearance, there are custom touches that set it apart from the stock ride. The 108cc engine with race head and heavy duty clutch is the biggest modification, doubling the stock horsepower. Wider aluminum wheel rims, heavy duty rear shocks, tighter front fork internals, slotted brake pads, a grab handle, and the heel-toe shifter round out the list.

This bike is the same color and model my buddy had when I was a kid. Though I never got the chance to ride his, it was stuck in my memory like a first love. The Honda candy colors and chrome are still like jewels to me. The styling, while a little wonky to some, was smooth 1970 pop culture gold. A bike almost anyone could ride (and wreck) without too much trouble. The paint, while less than perfect, still looks fine for fifty years old!

With the small nicks and scratches, there is little fear of messing up a perfect restoration. The saying is; “a slice off a cut loaf is seldom missed.”

An online buddy, Kirrbby, set me up with a nice used speedo, some fork extensions, and a side stand. Some of these parts are getting really hard or at least, expensive to find. So many parts in this picture are still available from Honda, like all the throttle parts, triple tree hardware, reflectors, top beauty trim, knobs, grommets, straps, and electrical parts. Even the horn is a brand new Honda piece.

Even with the custom parts, the rest of the bike was put as close to stock form as far as the parts selection. All the rubber and hardware was replaced with OEM Honda parts.

Honda knew how to make a sexy little bike!


The front forks were slightly bent, binding the forks enough that straightening was needed, This is the rig that did the job. No paint was disturbed in the process.

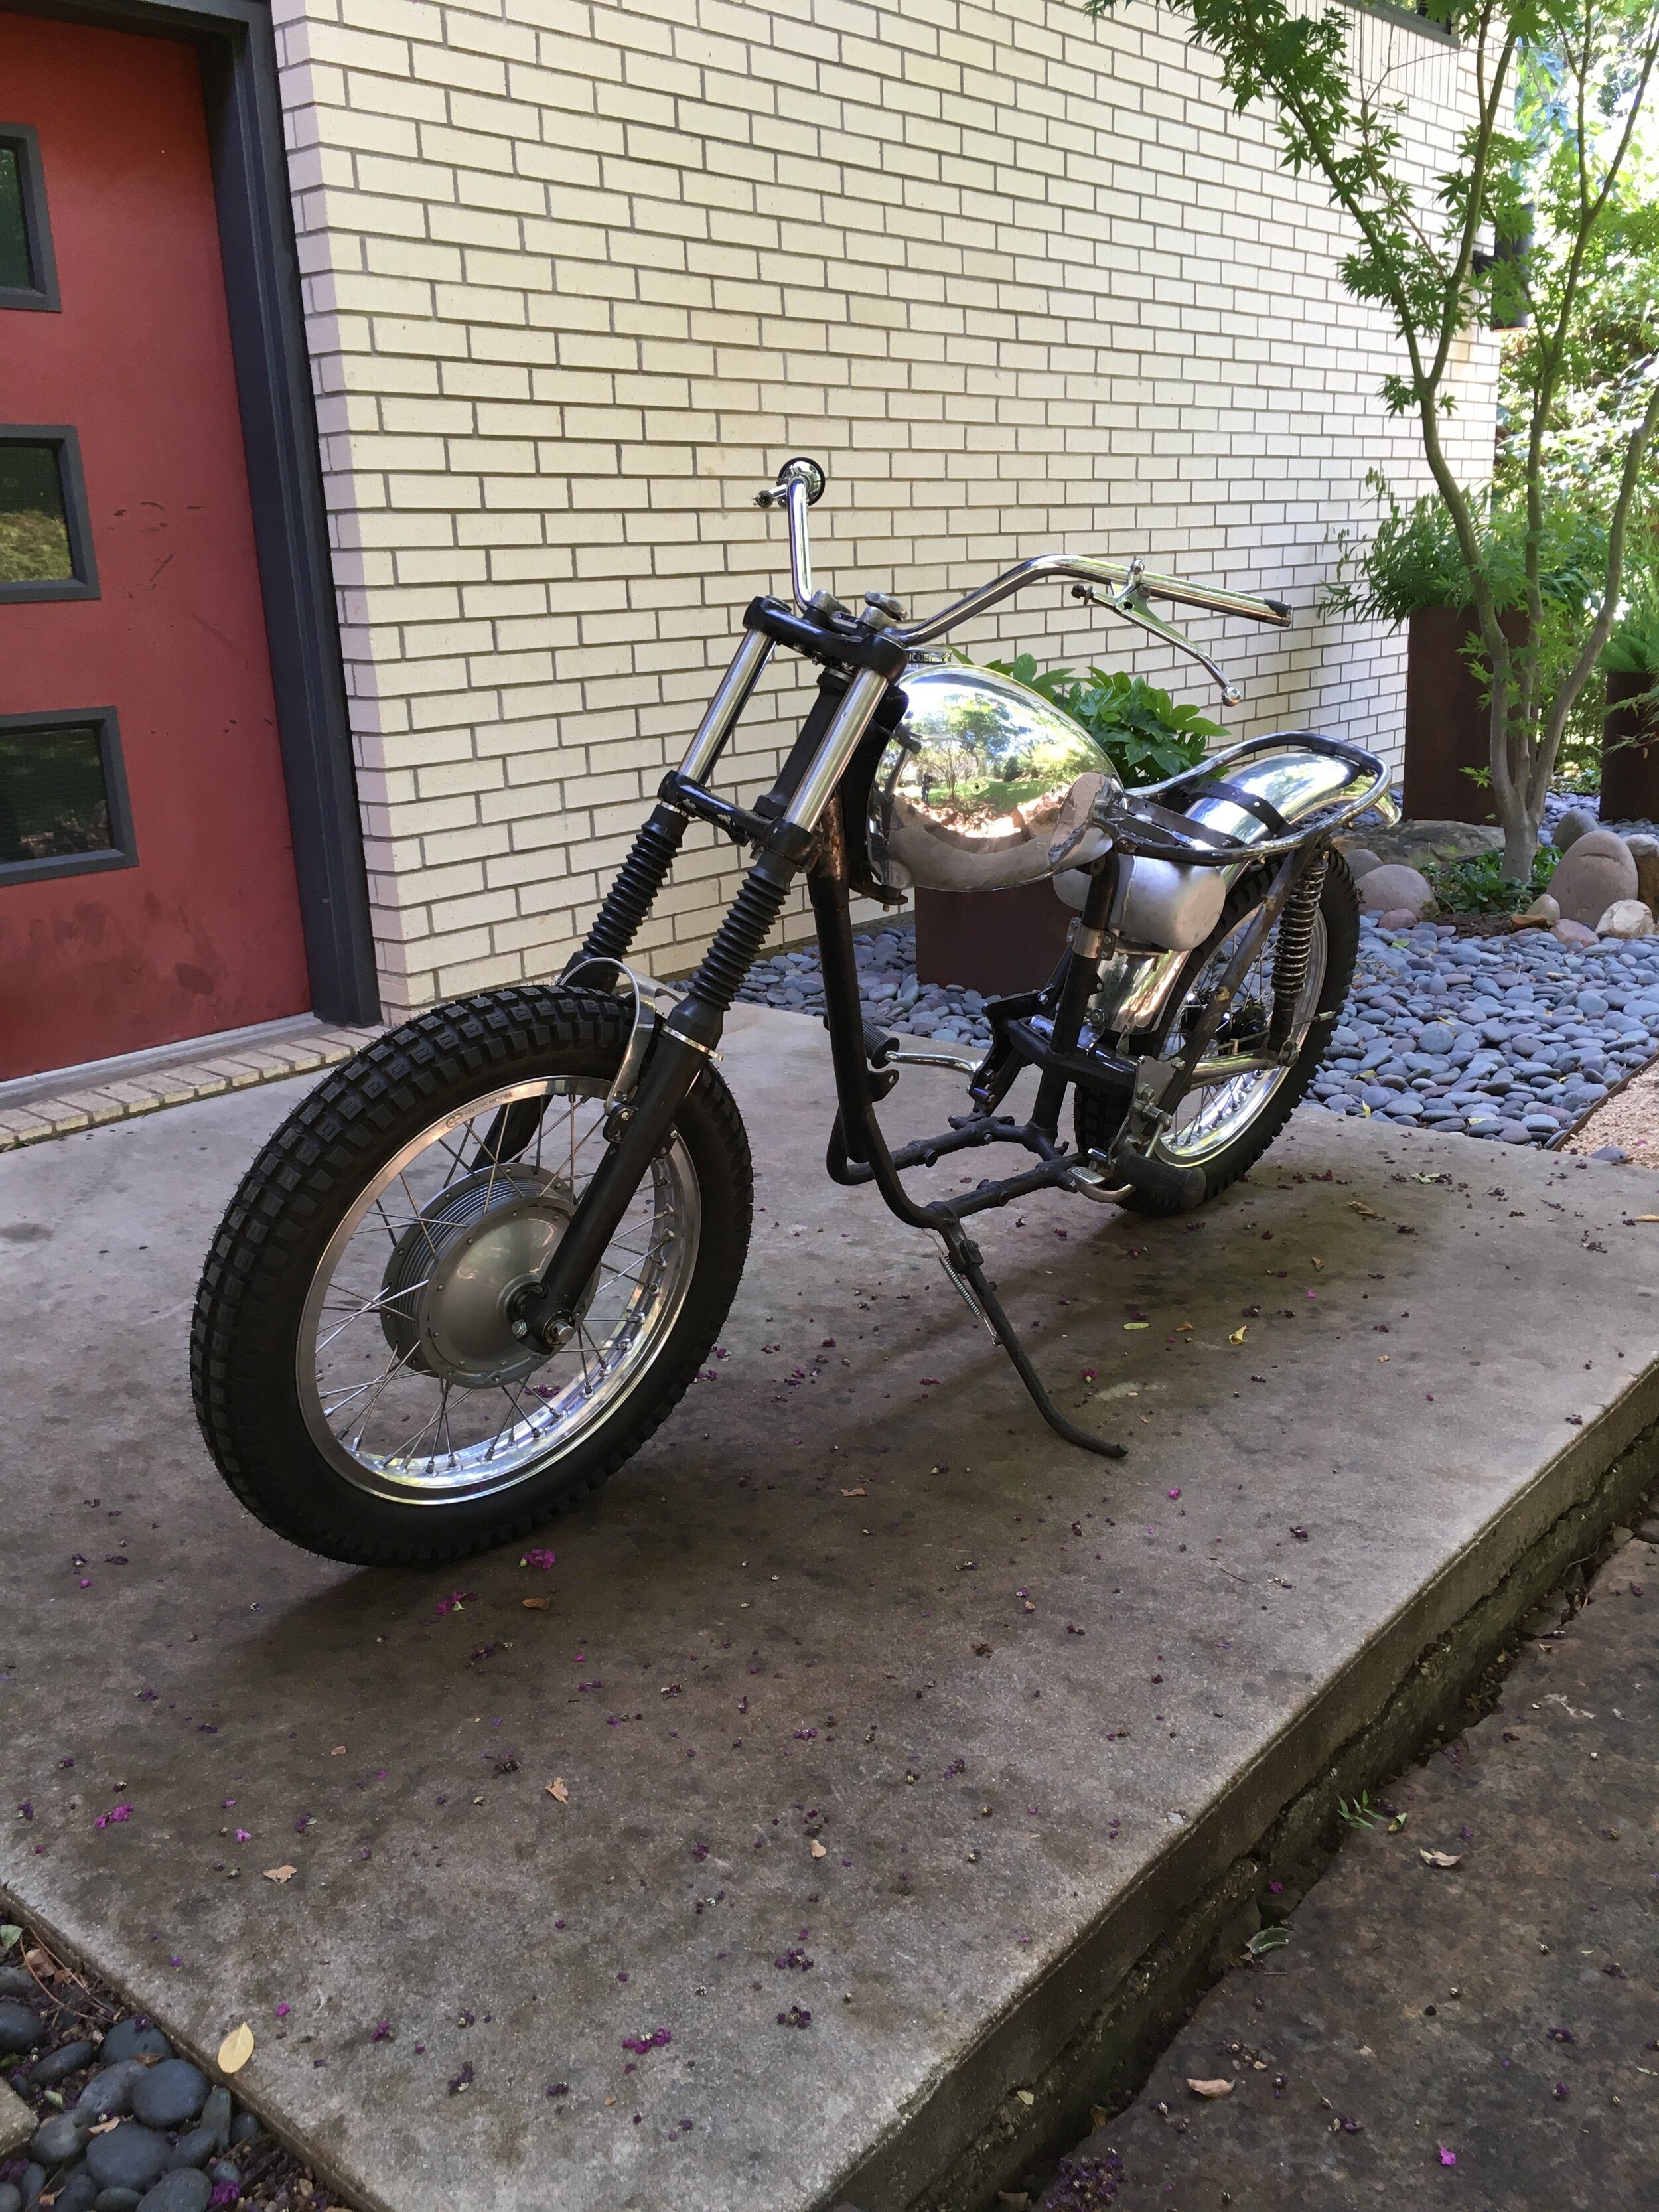
The last moments on the assembly table. There is always a little excitement when one finally moves from the table to the ground.

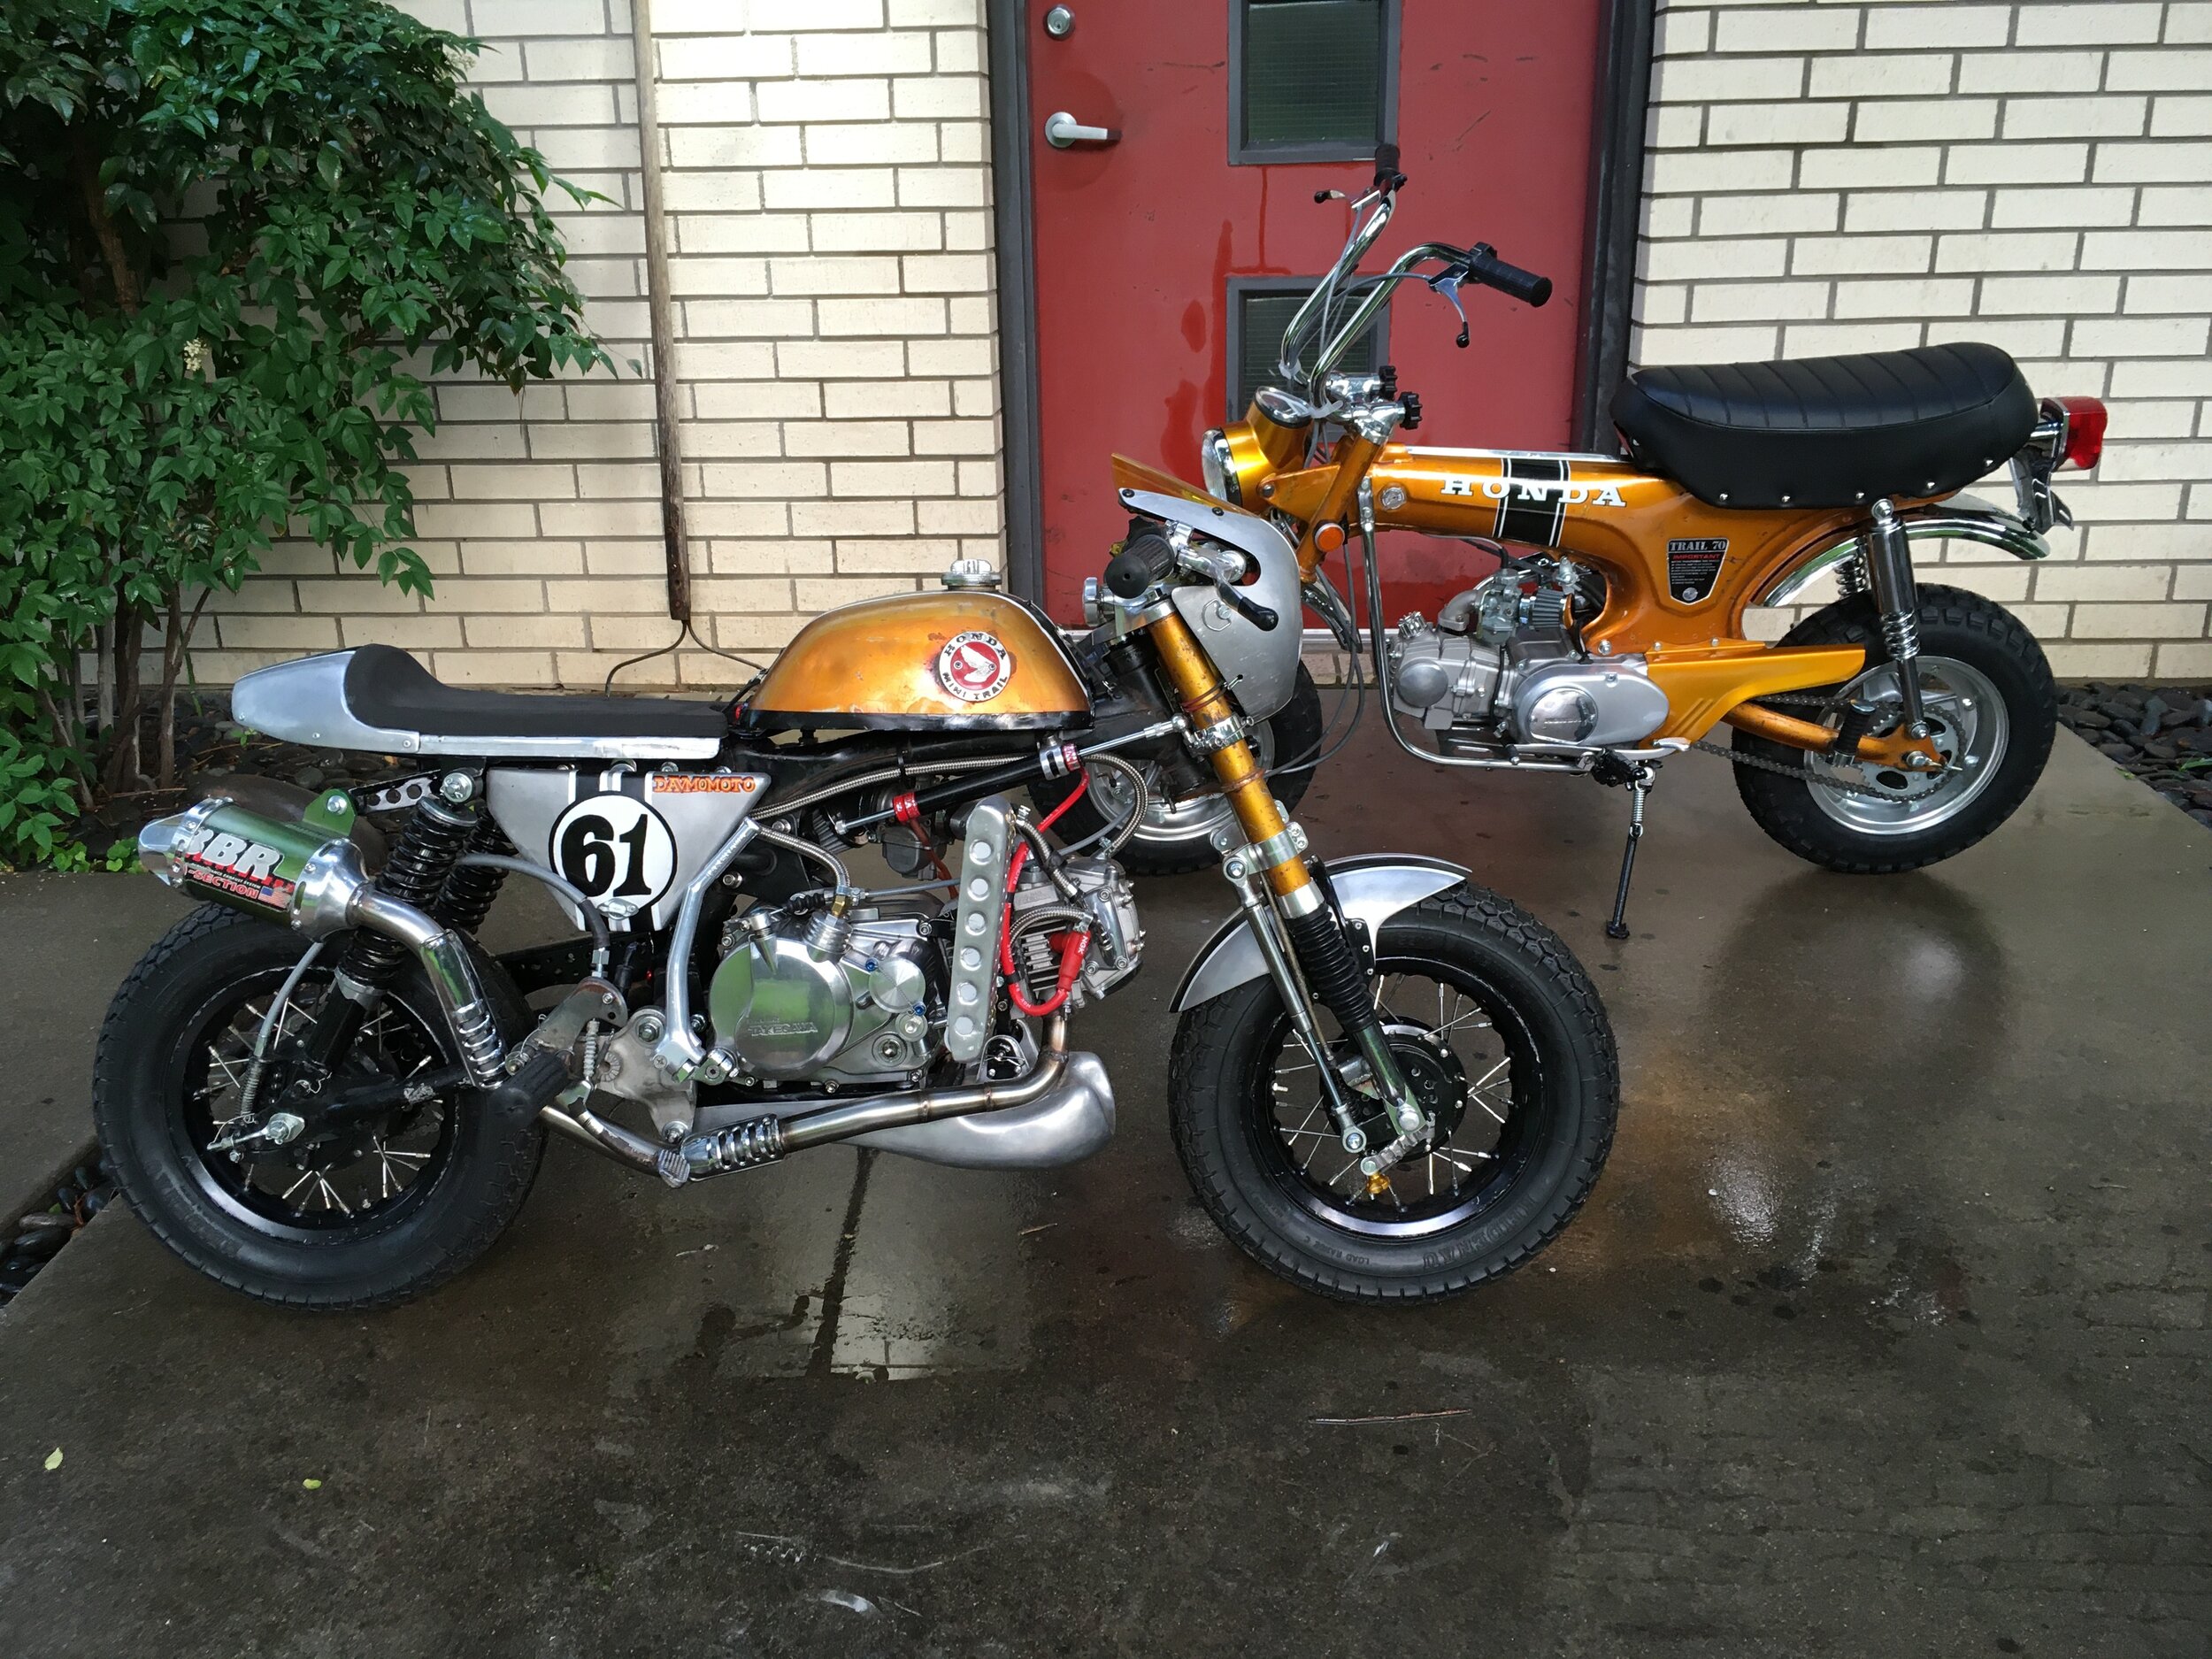
The “Golden Boys.”

Since we are doing gold, it seemed appropriate to trot this one out.
Stay Gold.