The 1965 Triumph TR6 SRT Scrambler build starts.

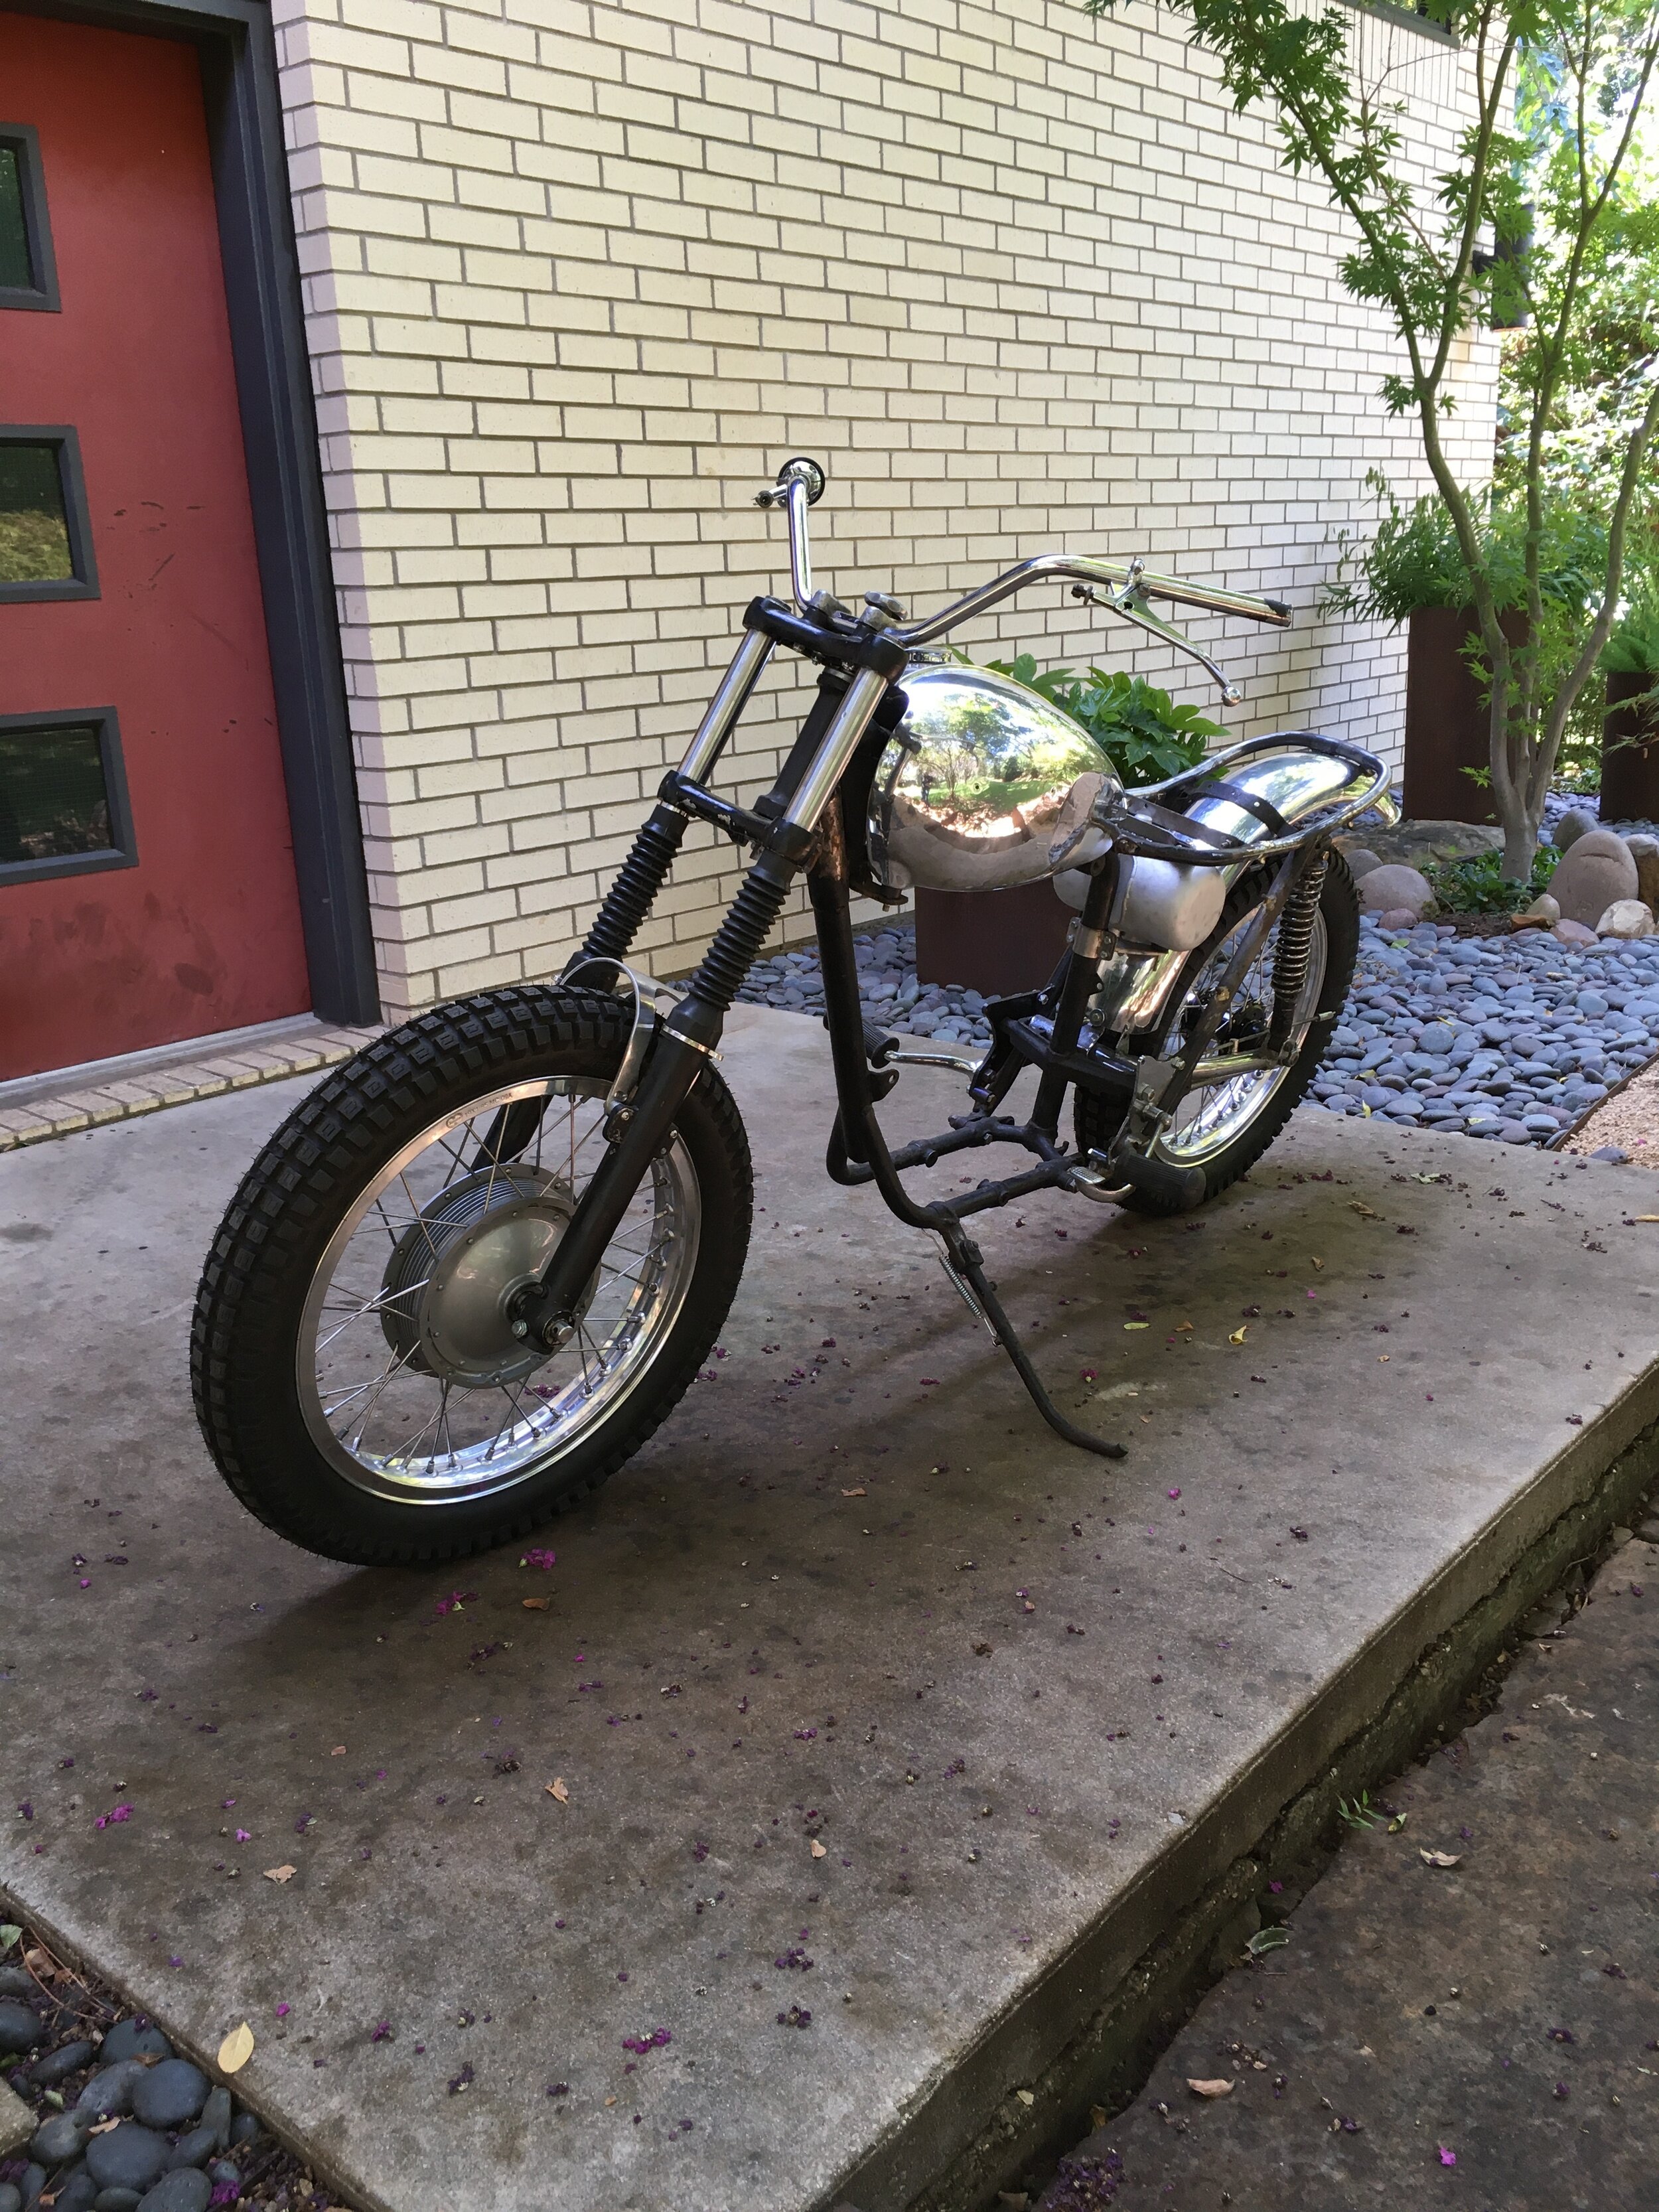
A mock-up picture from last August, when the forks and wheels were worked out. The forks and triple trees are Ceriani, with a vintage Cal-Customs fork brace. The frame needed some work at this point, and the engine needed to be taken out of the coff…

A mock-up picture from last August, when the forks and wheels were worked out. The forks and triple trees are Ceriani, with a vintage Cal-Customs fork brace. The frame needed some work at this point, and the engine needed to be taken out of the coffee cans and boxes it came in, rebuilt and pieced back together.

The rear shocks look like they could use another 2-3cm. There are some reproduction competition folding pegs that will replace the originals. The wheel rims, gas and oil tanks and fenders are aluminum.

The rear shocks look like they could use another 2-3cm. There are some reproduction competition folding pegs that will replace the originals. The wheel rims, gas and oil tanks and fenders are aluminum.

A side-stand repair that was working okay, but stuck way out to the side. Not too sure about the weld quality, as the original lugs were brazed with brass, and the brass flows everywhere, inhibiting welding, making for crappy welds. I took the block…

A side-stand repair that was working okay, but stuck way out to the side. Not too sure about the weld quality, as the original lugs were brazed with brass, and the brass flows everywhere, inhibiting welding, making for crappy welds. I took the block off with a cutting wheel in an angle grinder, and got the rest of the bung off using a propane torch and hammer.

A new lug was tacked on and then brazed, like the originals were. This is a reproduction lug that comes with squared edges that I sanded down to look a little more like the original. The angle for the lug was taken from a 1970 model frame here in th…

A new lug was tacked on and then brazed, like the originals were. This is a reproduction lug that comes with squared edges that I sanded down to look a little more like the original. The angle for the lug was taken from a 1970 model frame here in the shop.

The head has the seats ground,  new valves, guides, and springs. One of the exhaust spigots had to be repaired as well, but it is now ready to go. Still waiting on a carb moun stud to get plated.

The head has the seats ground, new valves, guides, and springs. One of the exhaust spigots had to be repaired as well, but it is now ready to go. Still waiting on a carb moun stud to get plated.

A Morgo oil pump just went on. There are new bearings, bushings, and thrust washers on the transmission. Waiting on seals to get the covers on, tappet blocks to get the top end on, and then it will start to look a little like something.

A Morgo oil pump just went on. There are new bearings, bushings, and thrust washers on the transmission. Waiting on seals to get the covers on, tappet blocks to get the top end on, and then it will start to look a little like something.

Rockers are rebuilt.

Rockers are rebuilt.

Hand reaming the cam bushings. The exhaust cam initially was a little tight while turning, but is fine after reaming. There is a “half race” cam set-up in the engine with new R grind followers going with the 3134 intake cam, and a 9989 exhaust cam a…

Hand reaming the cam bushings. The exhaust cam initially was a little tight while turning, but is fine after reaming. There is a “half race” cam set-up in the engine with new R grind followers going with the 3134 intake cam, and a 9989 exhaust cam and followers. Still waiting on tappet blocks to get the top end on. The crank was turned .010” and balanced with the rods and pistons. New main bearings, wrist pin bushes and shell bearings were used. The cylinder was bored .020” over and new pistons and rings are waiting to go in..

This was a true basket case bike, with bunches of disassembled parts. Unfortunately, some of it is junk like this  chainwheel. The inside grooves for the clutch plates are so chattered out it, it is better to just replace it. A new UK made one is on…

This was a true basket case bike, with bunches of disassembled parts. Unfortunately, some of it is junk like this chainwheel. The inside grooves for the clutch plates are so chattered out it, it is better to just replace it. A new UK made one is on the way along with new discs, plates ,springs, and center hub.

Every last piece…A crapped-out chain wheel, spent clutch discs and plates, broken primary front sprocket, I thought maybe the damper could be rebuilt, but halfway into the process, I found this monster crack. There was already a new primary chain, s…

Every last piece…A crapped-out chain wheel, spent clutch discs and plates, broken primary front sprocket, I thought maybe the damper could be rebuilt, but halfway into the process, I found this monster crack. There was already a new primary chain, so every last piece of the primary drive will be new.

Alloy shouldered rims, Buchanan heavy duty spokes, a new brake drum and bearings along with re-plated original hardware.

Alloy shouldered rims, Buchanan heavy duty spokes, a new brake drum and bearings along with re-plated original hardware.

An original front hub with the same treatment as the rear. The brake plate is also rebuilt and waiting.

An original front hub with the same treatment as the rear. The brake plate is also rebuilt and waiting.

Some of the polishing for this build, plus the fork lowers for a T140 Triumph. The tail on the original transmission cover is broken off, so a 1967 cover was used.

Some of the polishing for this build, plus the fork lowers for a T140 Triumph. The tail on the original transmission cover is broken off, so a 1967 cover was used.

Some of the rear backbone had been ground deeply on the frame, and needed to be filled with weld. When welding it up, the deepest ground portions blew through, exposing a section that appeared about a sixteenth of an inch thick. Some more grinding o…

Some of the rear backbone had been ground deeply on the frame, and needed to be filled with weld. When welding it up, the deepest ground portions blew through, exposing a section that appeared about a sixteenth of an inch thick. Some more grinding on the backbone near the steering tube will need filling to a lesser extent.

The frame before stripping.. The side stand lug has been removed at this point. The ground spots on top of the backbone can be seen.

The frame before stripping.. The side stand lug has been removed at this point. The ground spots on top of the backbone can be seen.

It took a couple full days to strip this frame and make repairs. The seat hinge pivots were missing, but the holes were still there, so replacements were brazed in. The lower mounts for the rear engine plates were also missing from the sub-frame, an…

It took a couple full days to strip this frame and make repairs. The seat hinge pivots were missing, but the holes were still there, so replacements were brazed in. The lower mounts for the rear engine plates were also missing from the sub-frame, and new ones were fashioned and welded on.

The sub frame lower plate mounts. Don’t know exactly how they went missing, but it looks like they were ripped off. I didn’t have a model to measure the dimensions on these mounts when they made, but estimated based on online pictures…they are a lit…

The sub frame lower plate mounts. Don’t know exactly how they went missing, but it looks like they were ripped off. I didn’t have a model to measure the dimensions on these mounts when they made, but estimated based on online pictures…they are a little less than one eighth of an inch too long, comparing to the 1970 frame now in the shop..

The rear alloy fender and  mount.

The rear alloy fender and mount.

Still not 100% on the oil bag. It will either be this one or a custom aluminum one. The mount is custom and is completely rubber-mounted on top and bottom.

Still not 100% on the oil bag. It will either be this one or a custom aluminum one. The mount is custom and is completely rubber-mounted on top and bottom.

Some brackets being made from stainless to mimic the early 1970’s originals.

Some brackets being made from stainless to mimic the early 1970’s originals.

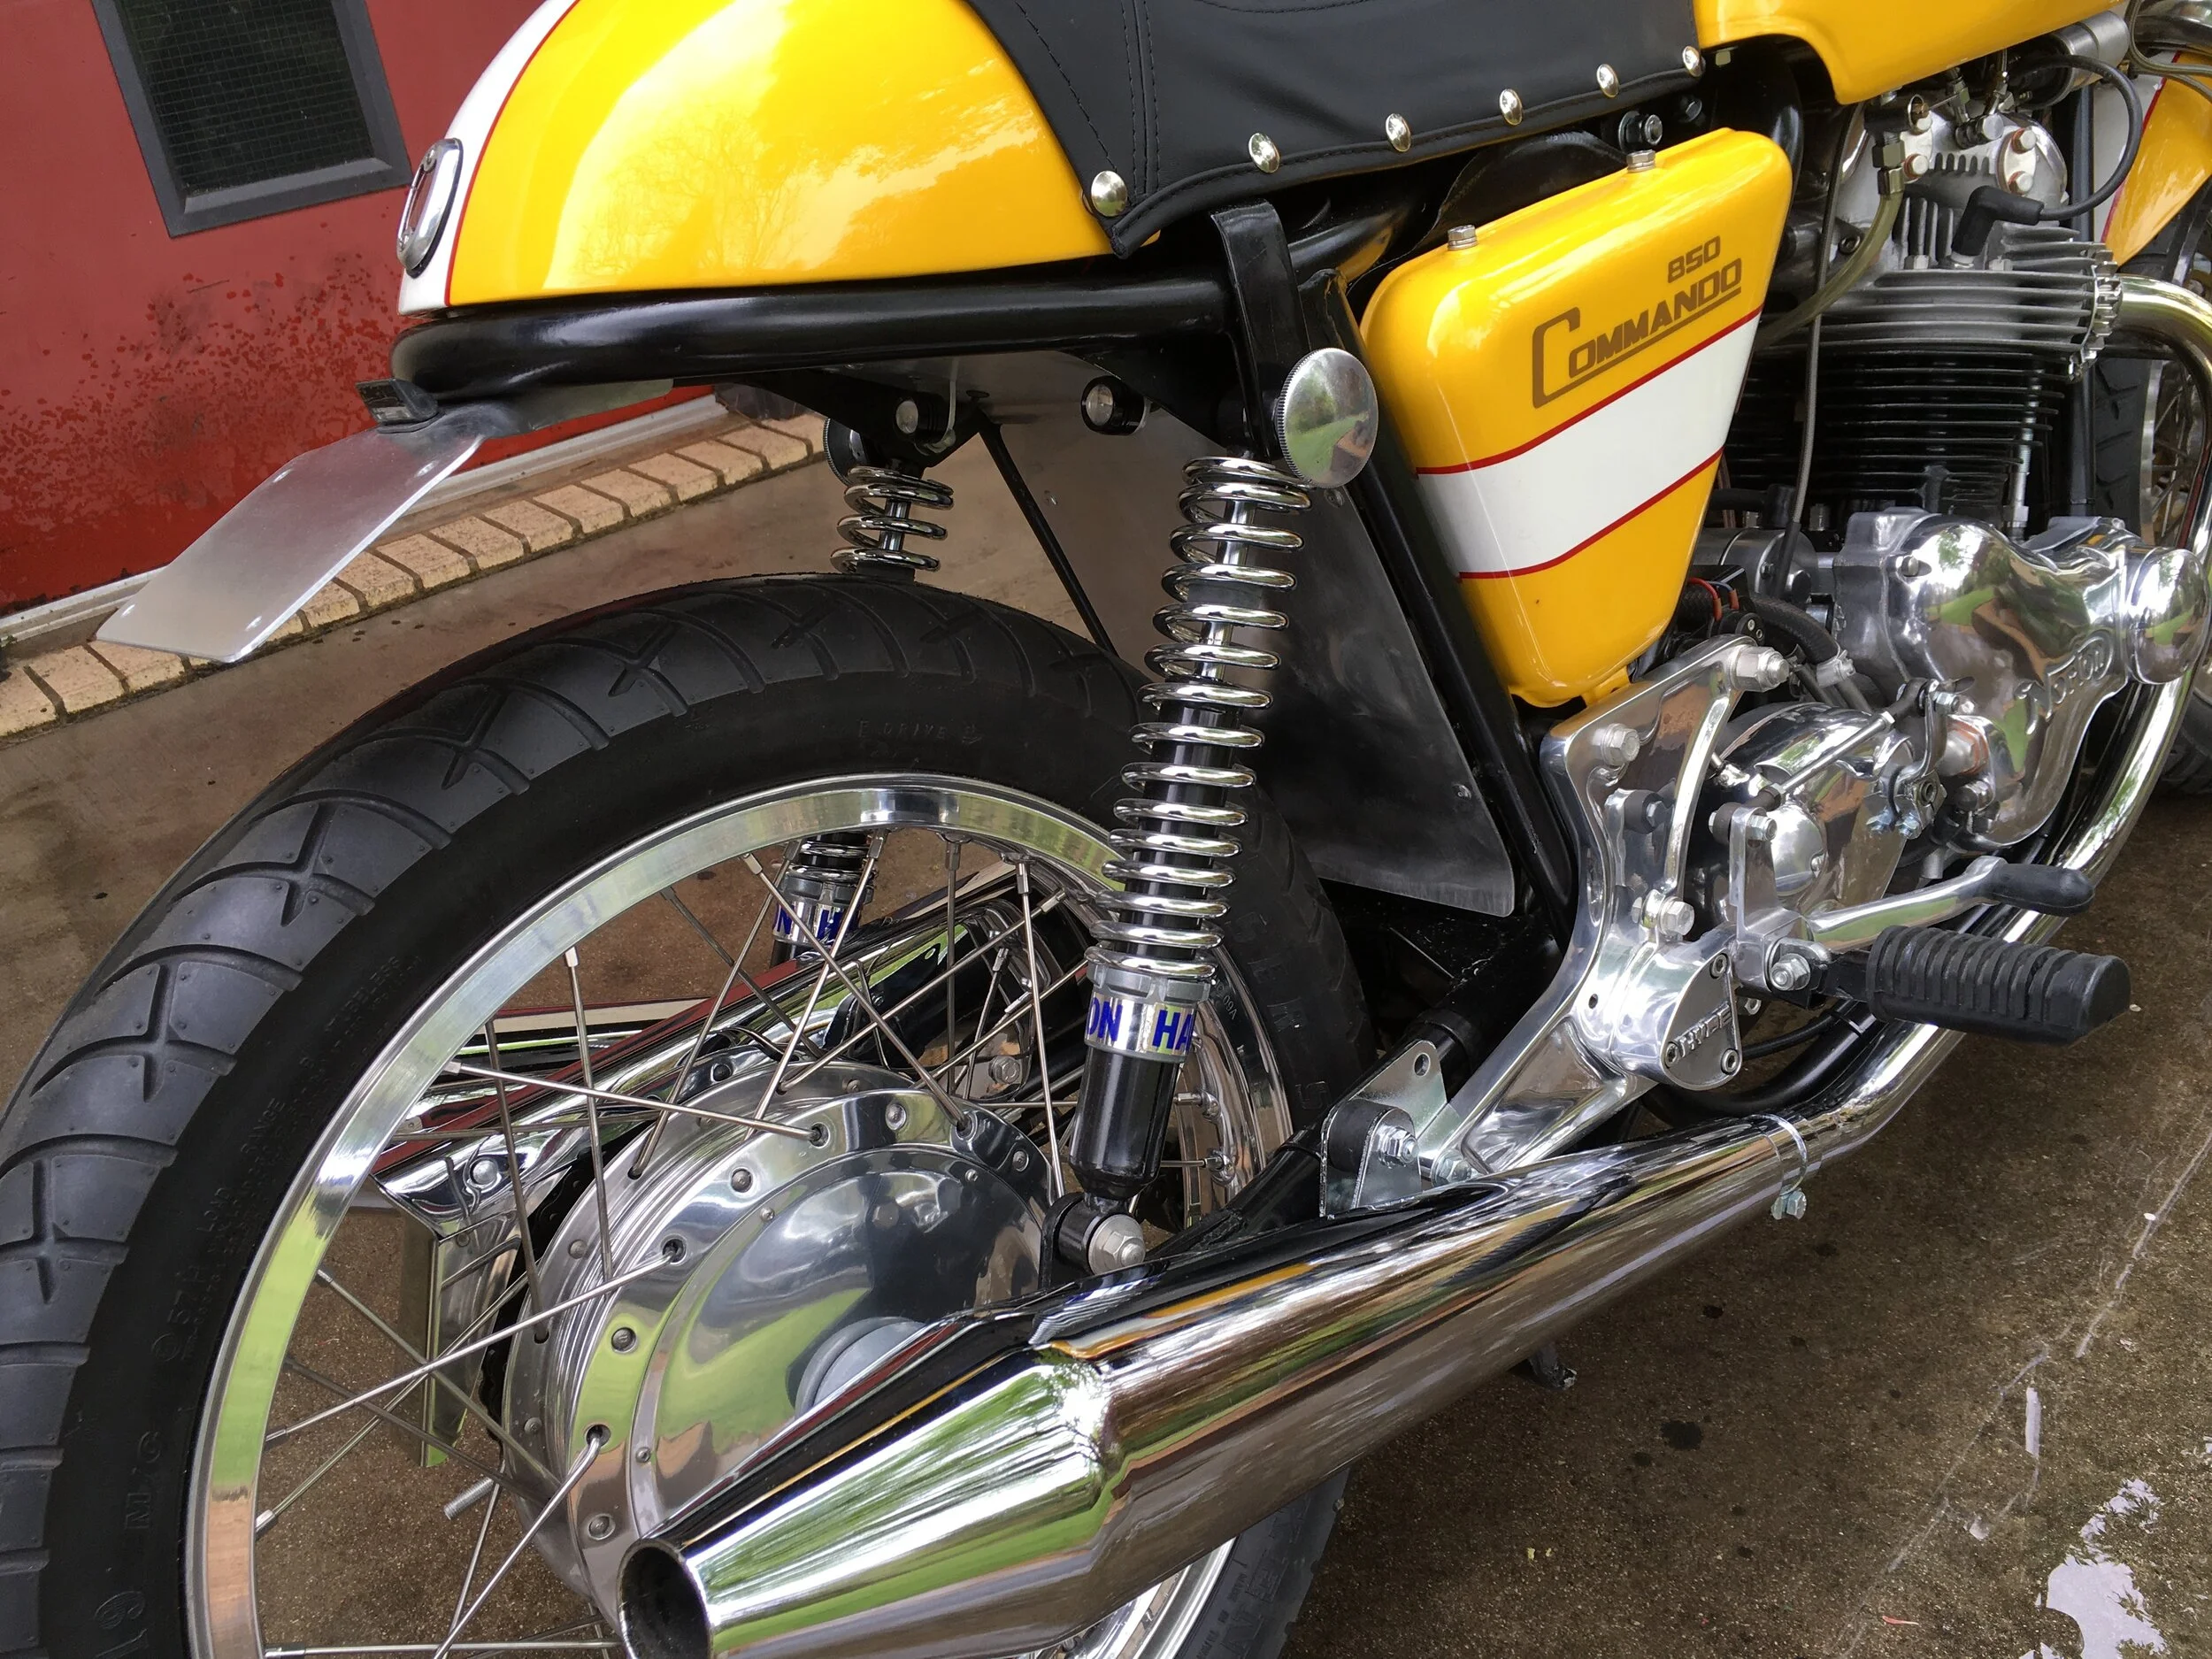
Some of the aluminum polishing for the recently finished Norton Commando 850.

Some of the aluminum polishing for the recently finished Norton Commando 850.

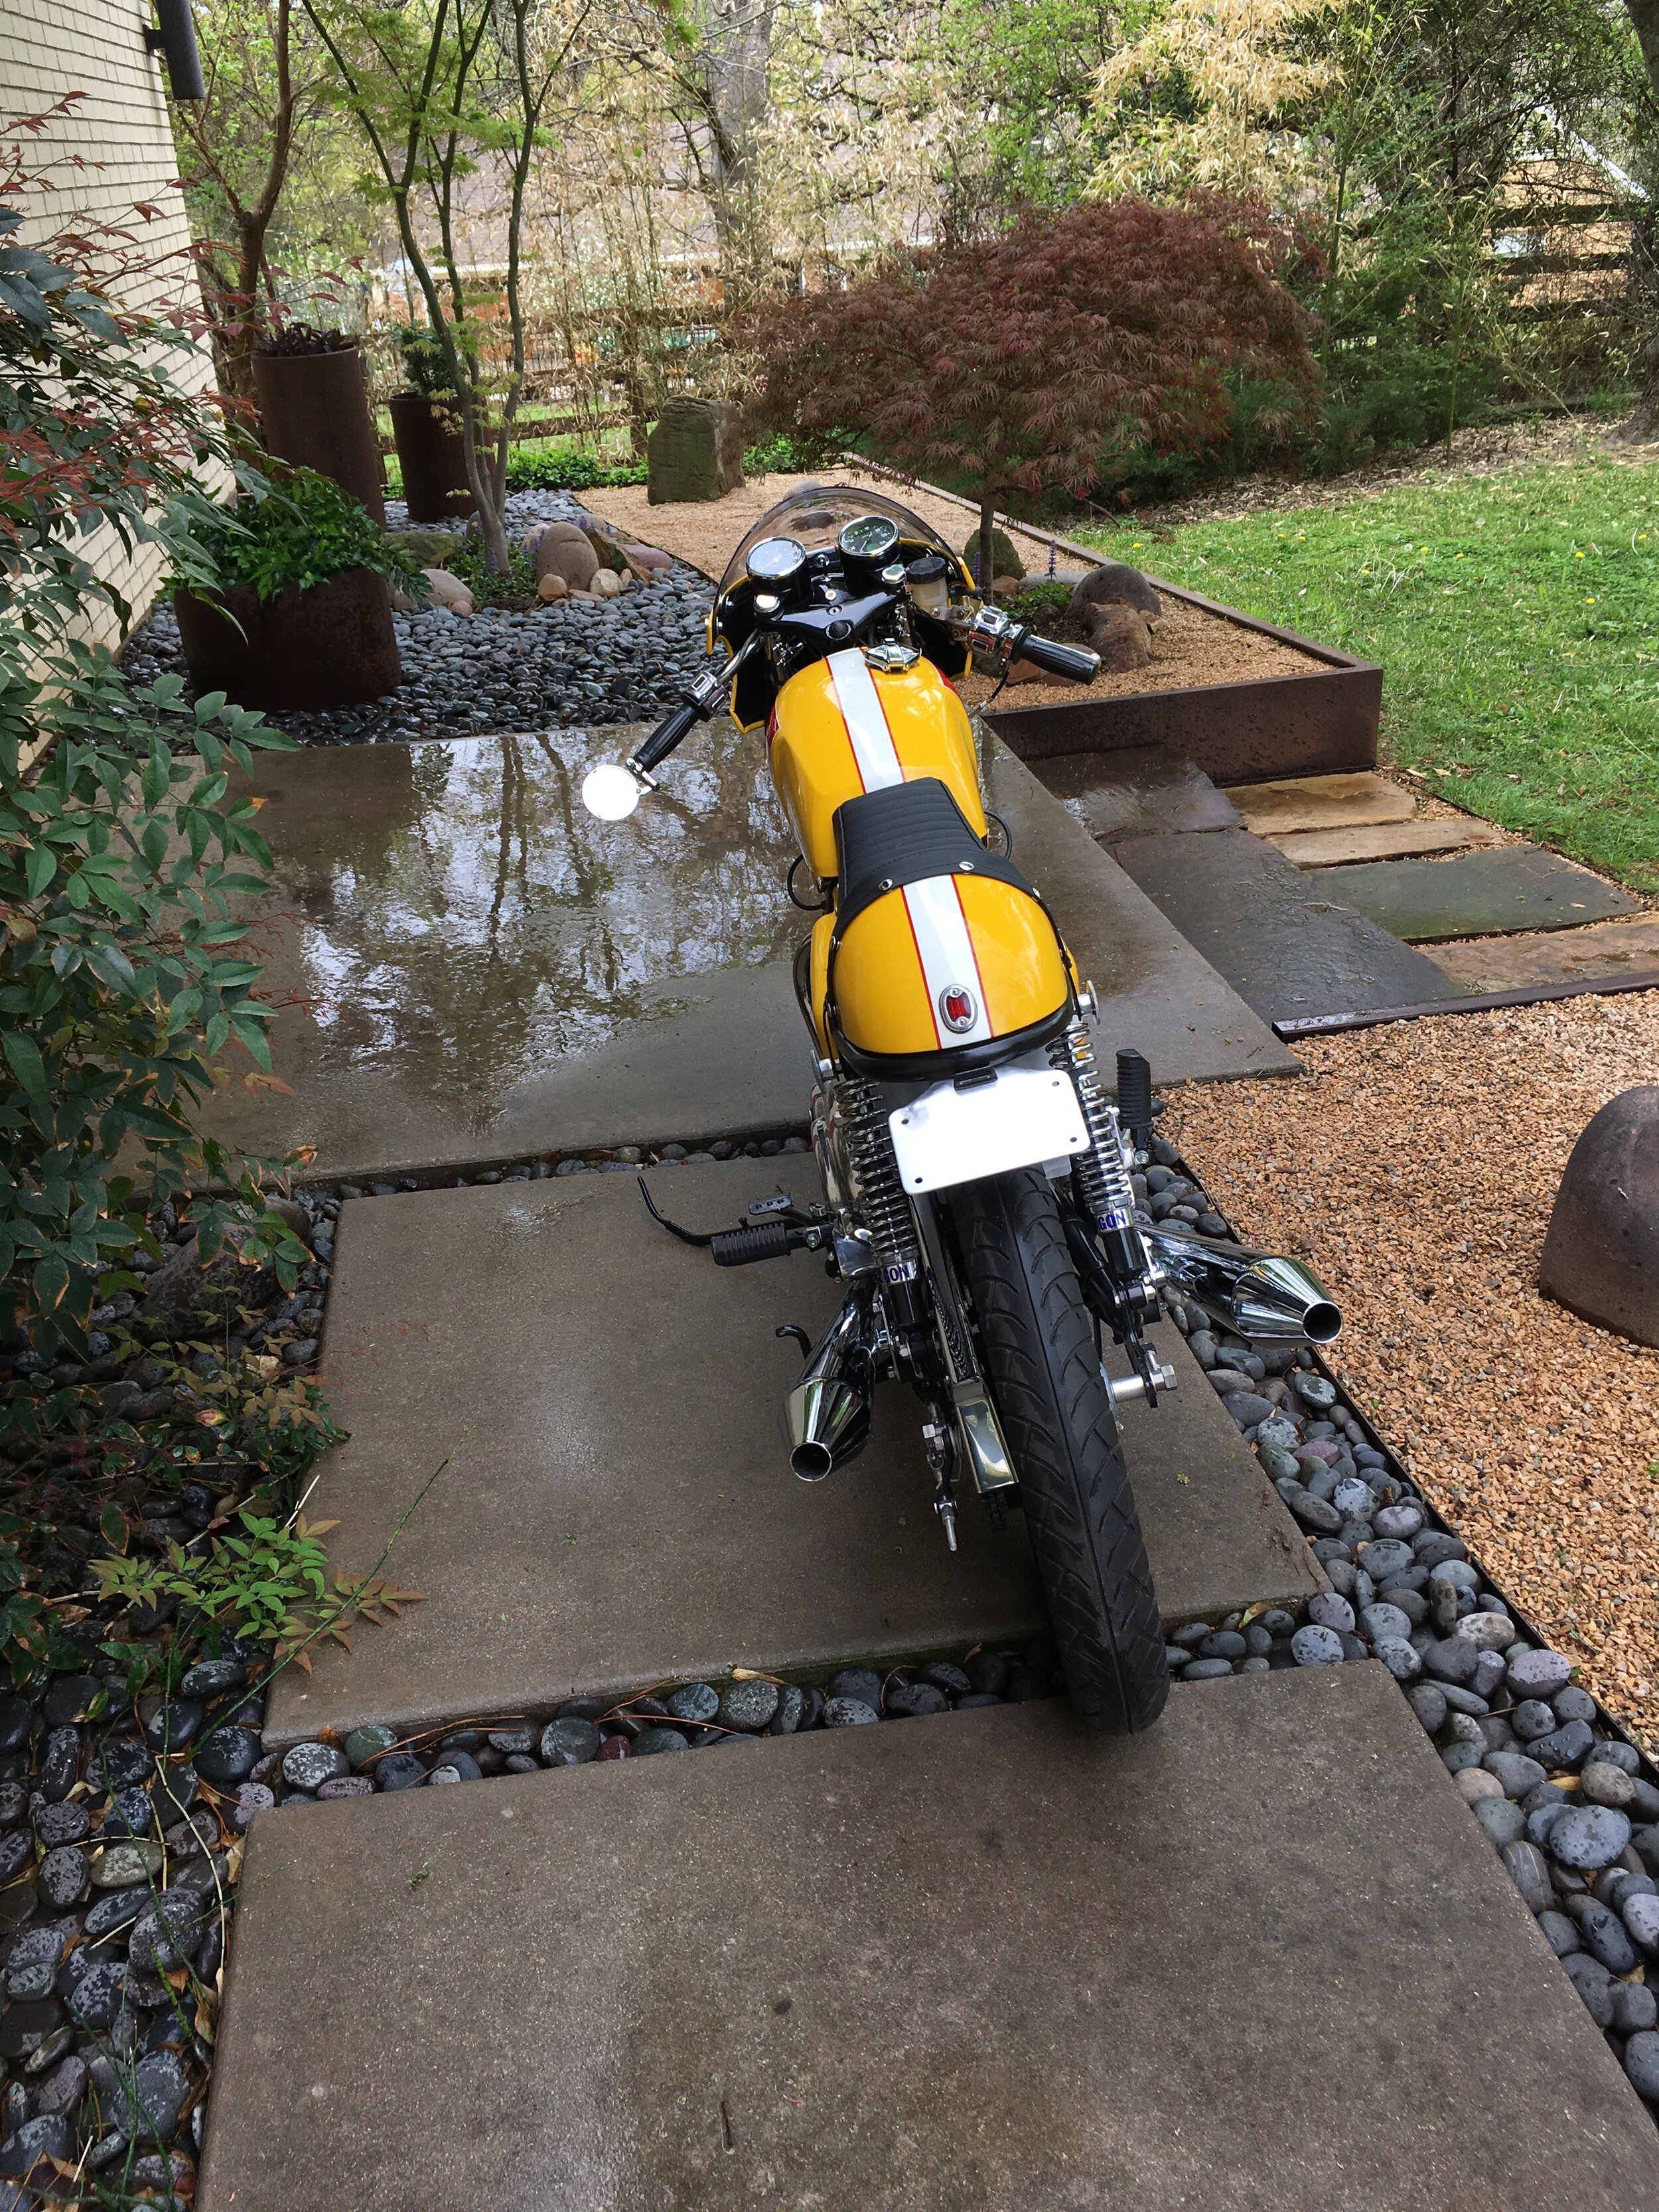
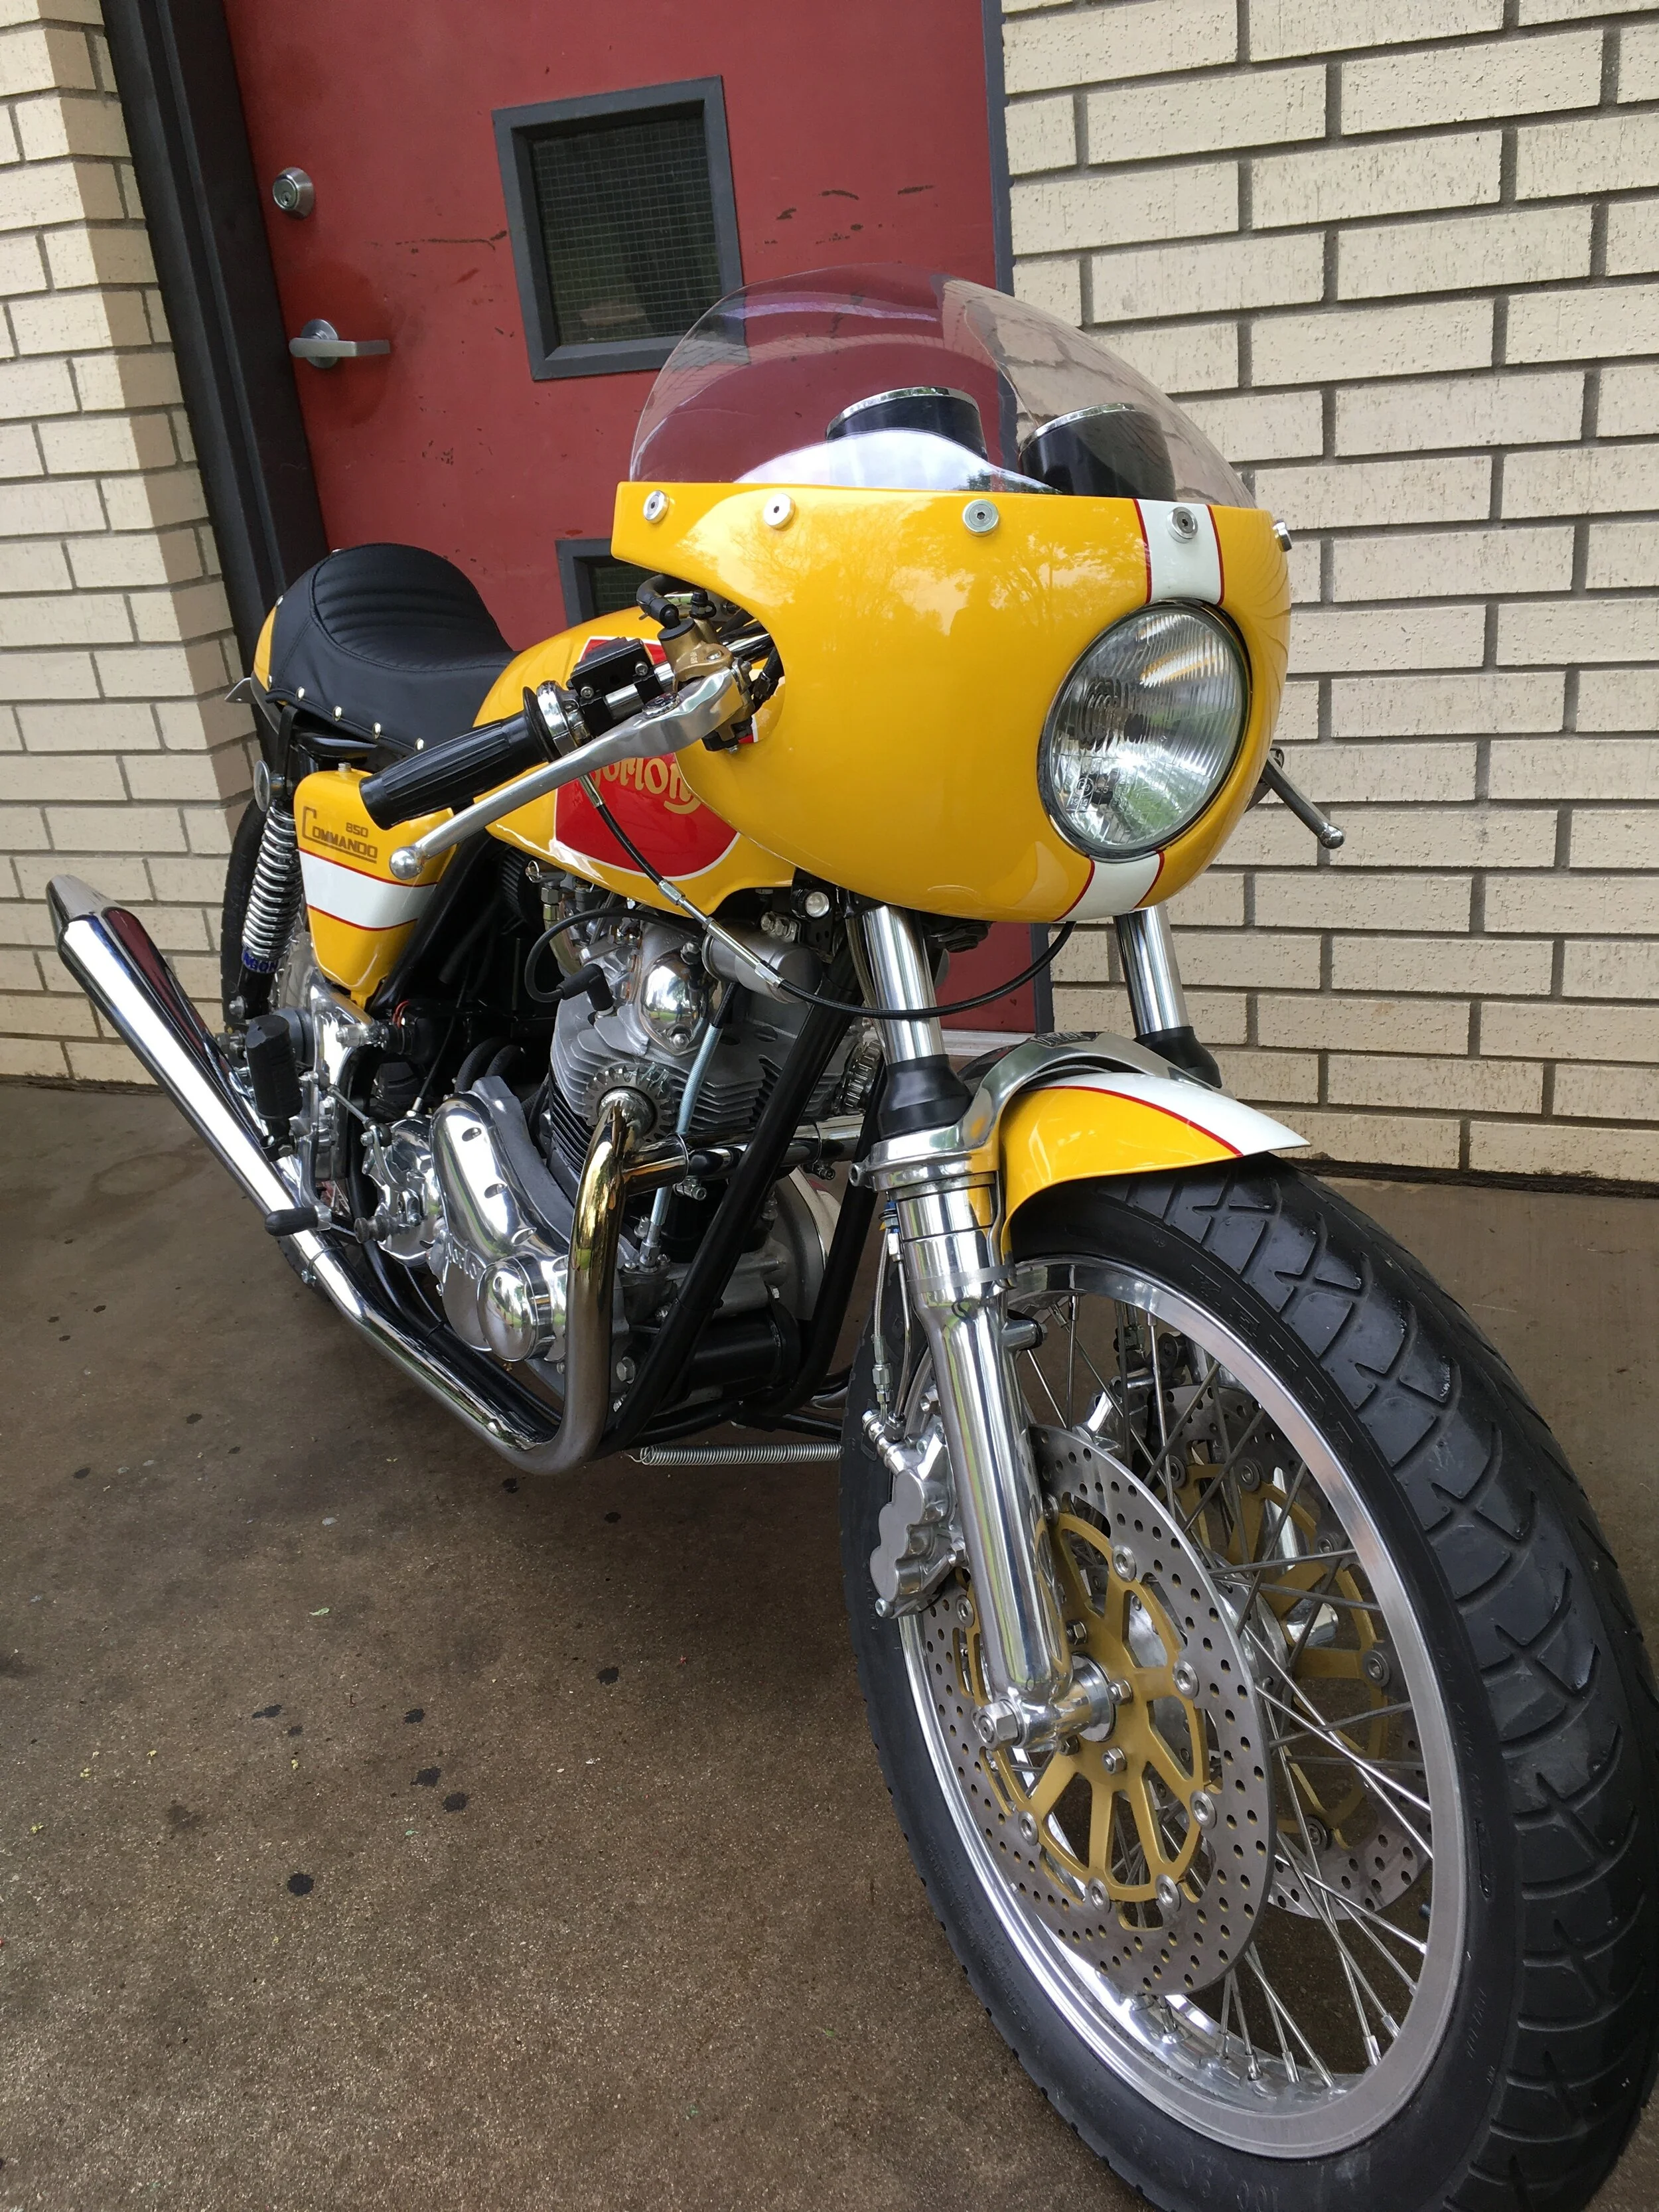
1974 Norton Commando Cafe Racer completion.

Norton Commandos are a beautiful piece of engineering in stock form. Hopefully, the additions compliment the original bike.

Norton Commandos are a beautiful piece of engineering in stock form. Hopefully, the additions compliment the original bike.

Finally wheeling this beauty out into the light on Easter Sunday. Looks like an Easter egg.

Finally wheeling this beauty out into the light on Easter Sunday. Looks like an Easter egg.

The entire seat assembly is hand-made, including the tail light. There are LED’s used for the tail light and license plate light.

The entire seat assembly is hand-made, including the tail light. There are LED’s used for the tail light and license plate light.

The Norman Hyde fork brace was added to the Don Pender dual-disc front brake set-up. The fender is made from aluminum.

The Norman Hyde fork brace was added to the Don Pender dual-disc front brake set-up. The fender is made from aluminum.

When building a bike, I can’t help but look at the project with a mental list of the steps needed to finish. As it gets closer to the end, there is almost a disbelief that all the steps are done, surely, there must be something left to do. In the ca…

When building a bike, I can’t help but look at the project with a mental list of the steps needed to finish. As it gets closer to the end, there is almost a disbelief that all the steps are done, surely, there must be something left to do. In the case of this bike, there are a couple small details still left, but they are cosmetic.

IMG_3072.JPG
IMG_3081.JPG
IMG_3089.JPG
IMG_3092.JPG
IMG_3088.JPG

The 1972 Z50 Cafe Racer nears completion: new windshield, belly pan, and more.

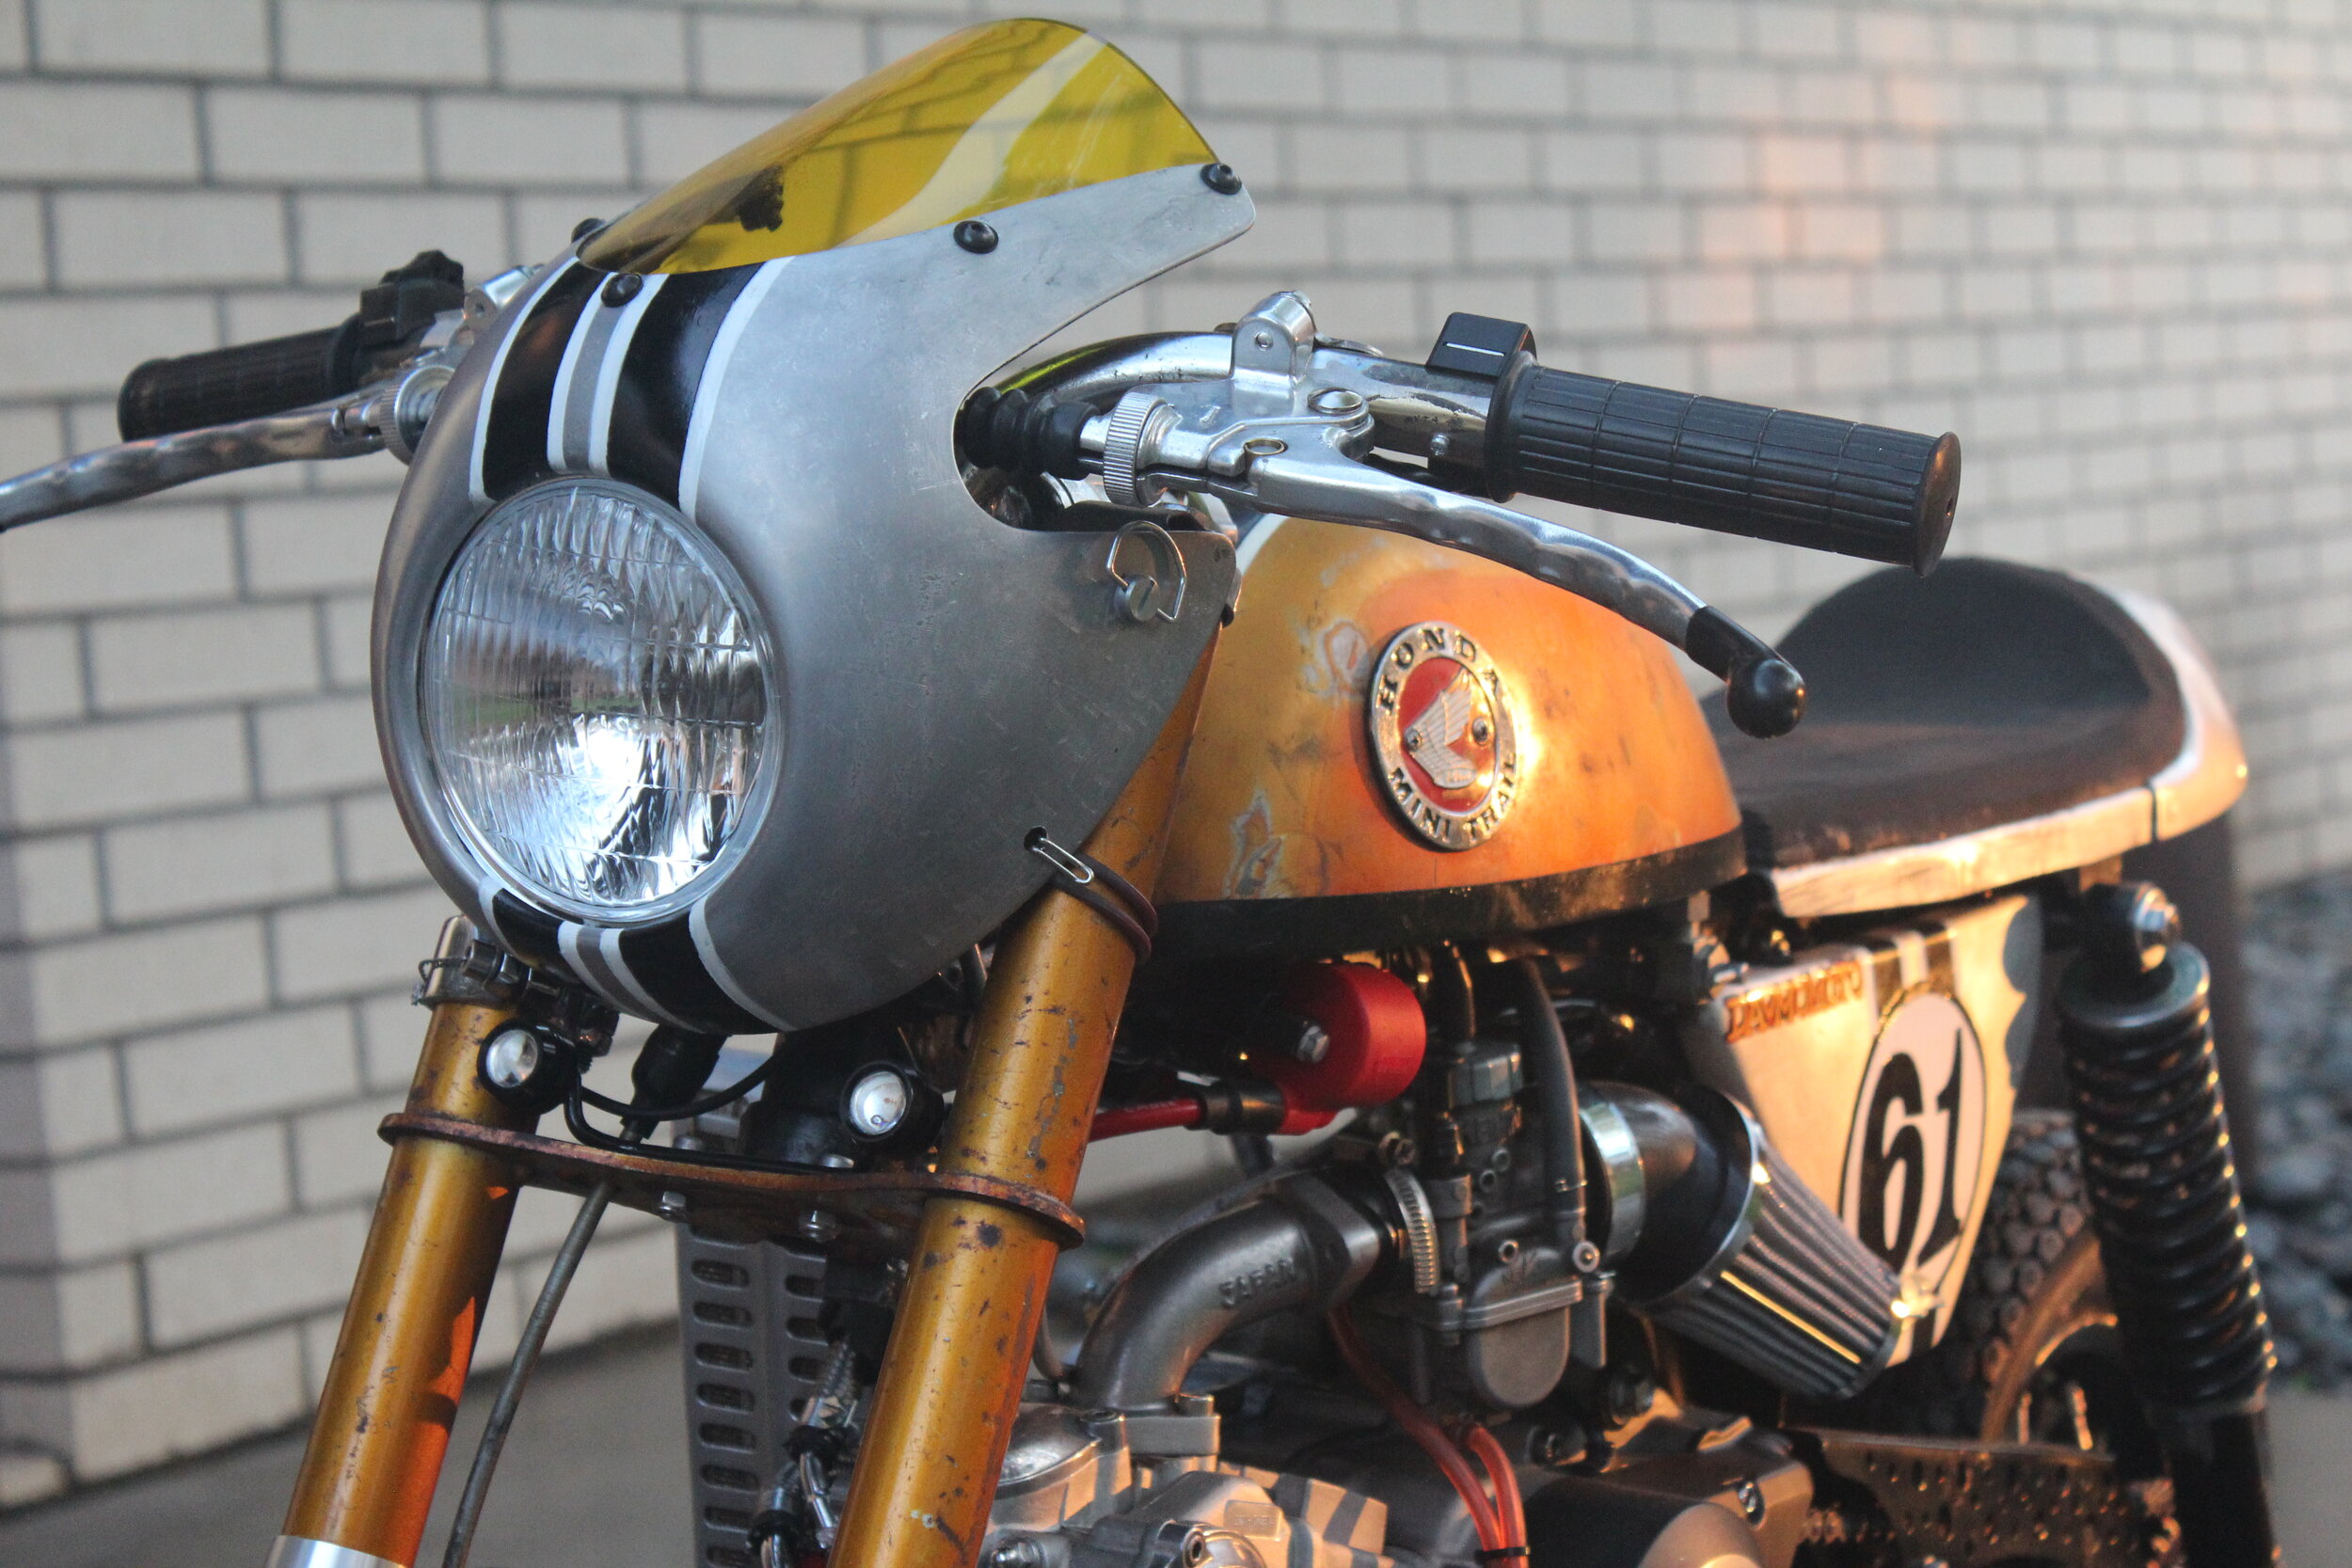
The neon yellow windshield is gone. Originally, I was looking for a green one, but could not find the right shade. Yellow was a second choice, but once again, finding the right shade was the key.

The neon yellow windshield is gone. Originally, I was looking for a green one, but could not find the right shade. Yellow was a second choice, but once again, finding the right shade was the key.

A cover was made for the oil cooler  from .050 aluminum, and the belly pan was made from .090 . There is brass mesh under the cooler guard.

A cover was made for the oil cooler from .050 aluminum, and the belly pan was made from .090 . There is brass mesh under the cooler guard.

The belly pan is a requirement for most vintage racers, and must have the capacity to hold all the oil in the engine. Looking at picture of the bike before the pan and fender were made now look unbalanced.

The belly pan is a requirement for most vintage racers, and must have the capacity to hold all the oil in the engine. Looking at picture of the bike before the pan and fender were made now look unbalanced.

Engine oil has to be able to find its way into the belly pan, hence the dimple-die holes under the cylinder..

Engine oil has to be able to find its way into the belly pan, hence the dimple-die holes under the cylinder..

The bike also got safety wire or cotters on the footpegs, handlebars, axles, shocks, and other parts.

The bike also got safety wire or cotters on the footpegs, handlebars, axles, shocks, and other parts.

A quick release mechanism uses a single red  bolt in front and a quarter turn clip in back to secure the pan.

A quick release mechanism uses a single red bolt in front and a quarter turn clip in back to secure the pan.

Some of the safety wiring can be seen on the handlebars and fork bolts.

Some of the safety wiring can be seen on the handlebars and fork bolts.

The oil cooler cover is secured with safety wire and brass brackets. The side profile of the bike shows how the muffler is tucked in tight around the rear shock.

The oil cooler cover is secured with safety wire and brass brackets. The side profile of the bike shows how the muffler is tucked in tight around the rear shock.

IMG_4222.JPG
Sunset in Texas.

Sunset in Texas.

IMG_4205.JPG