
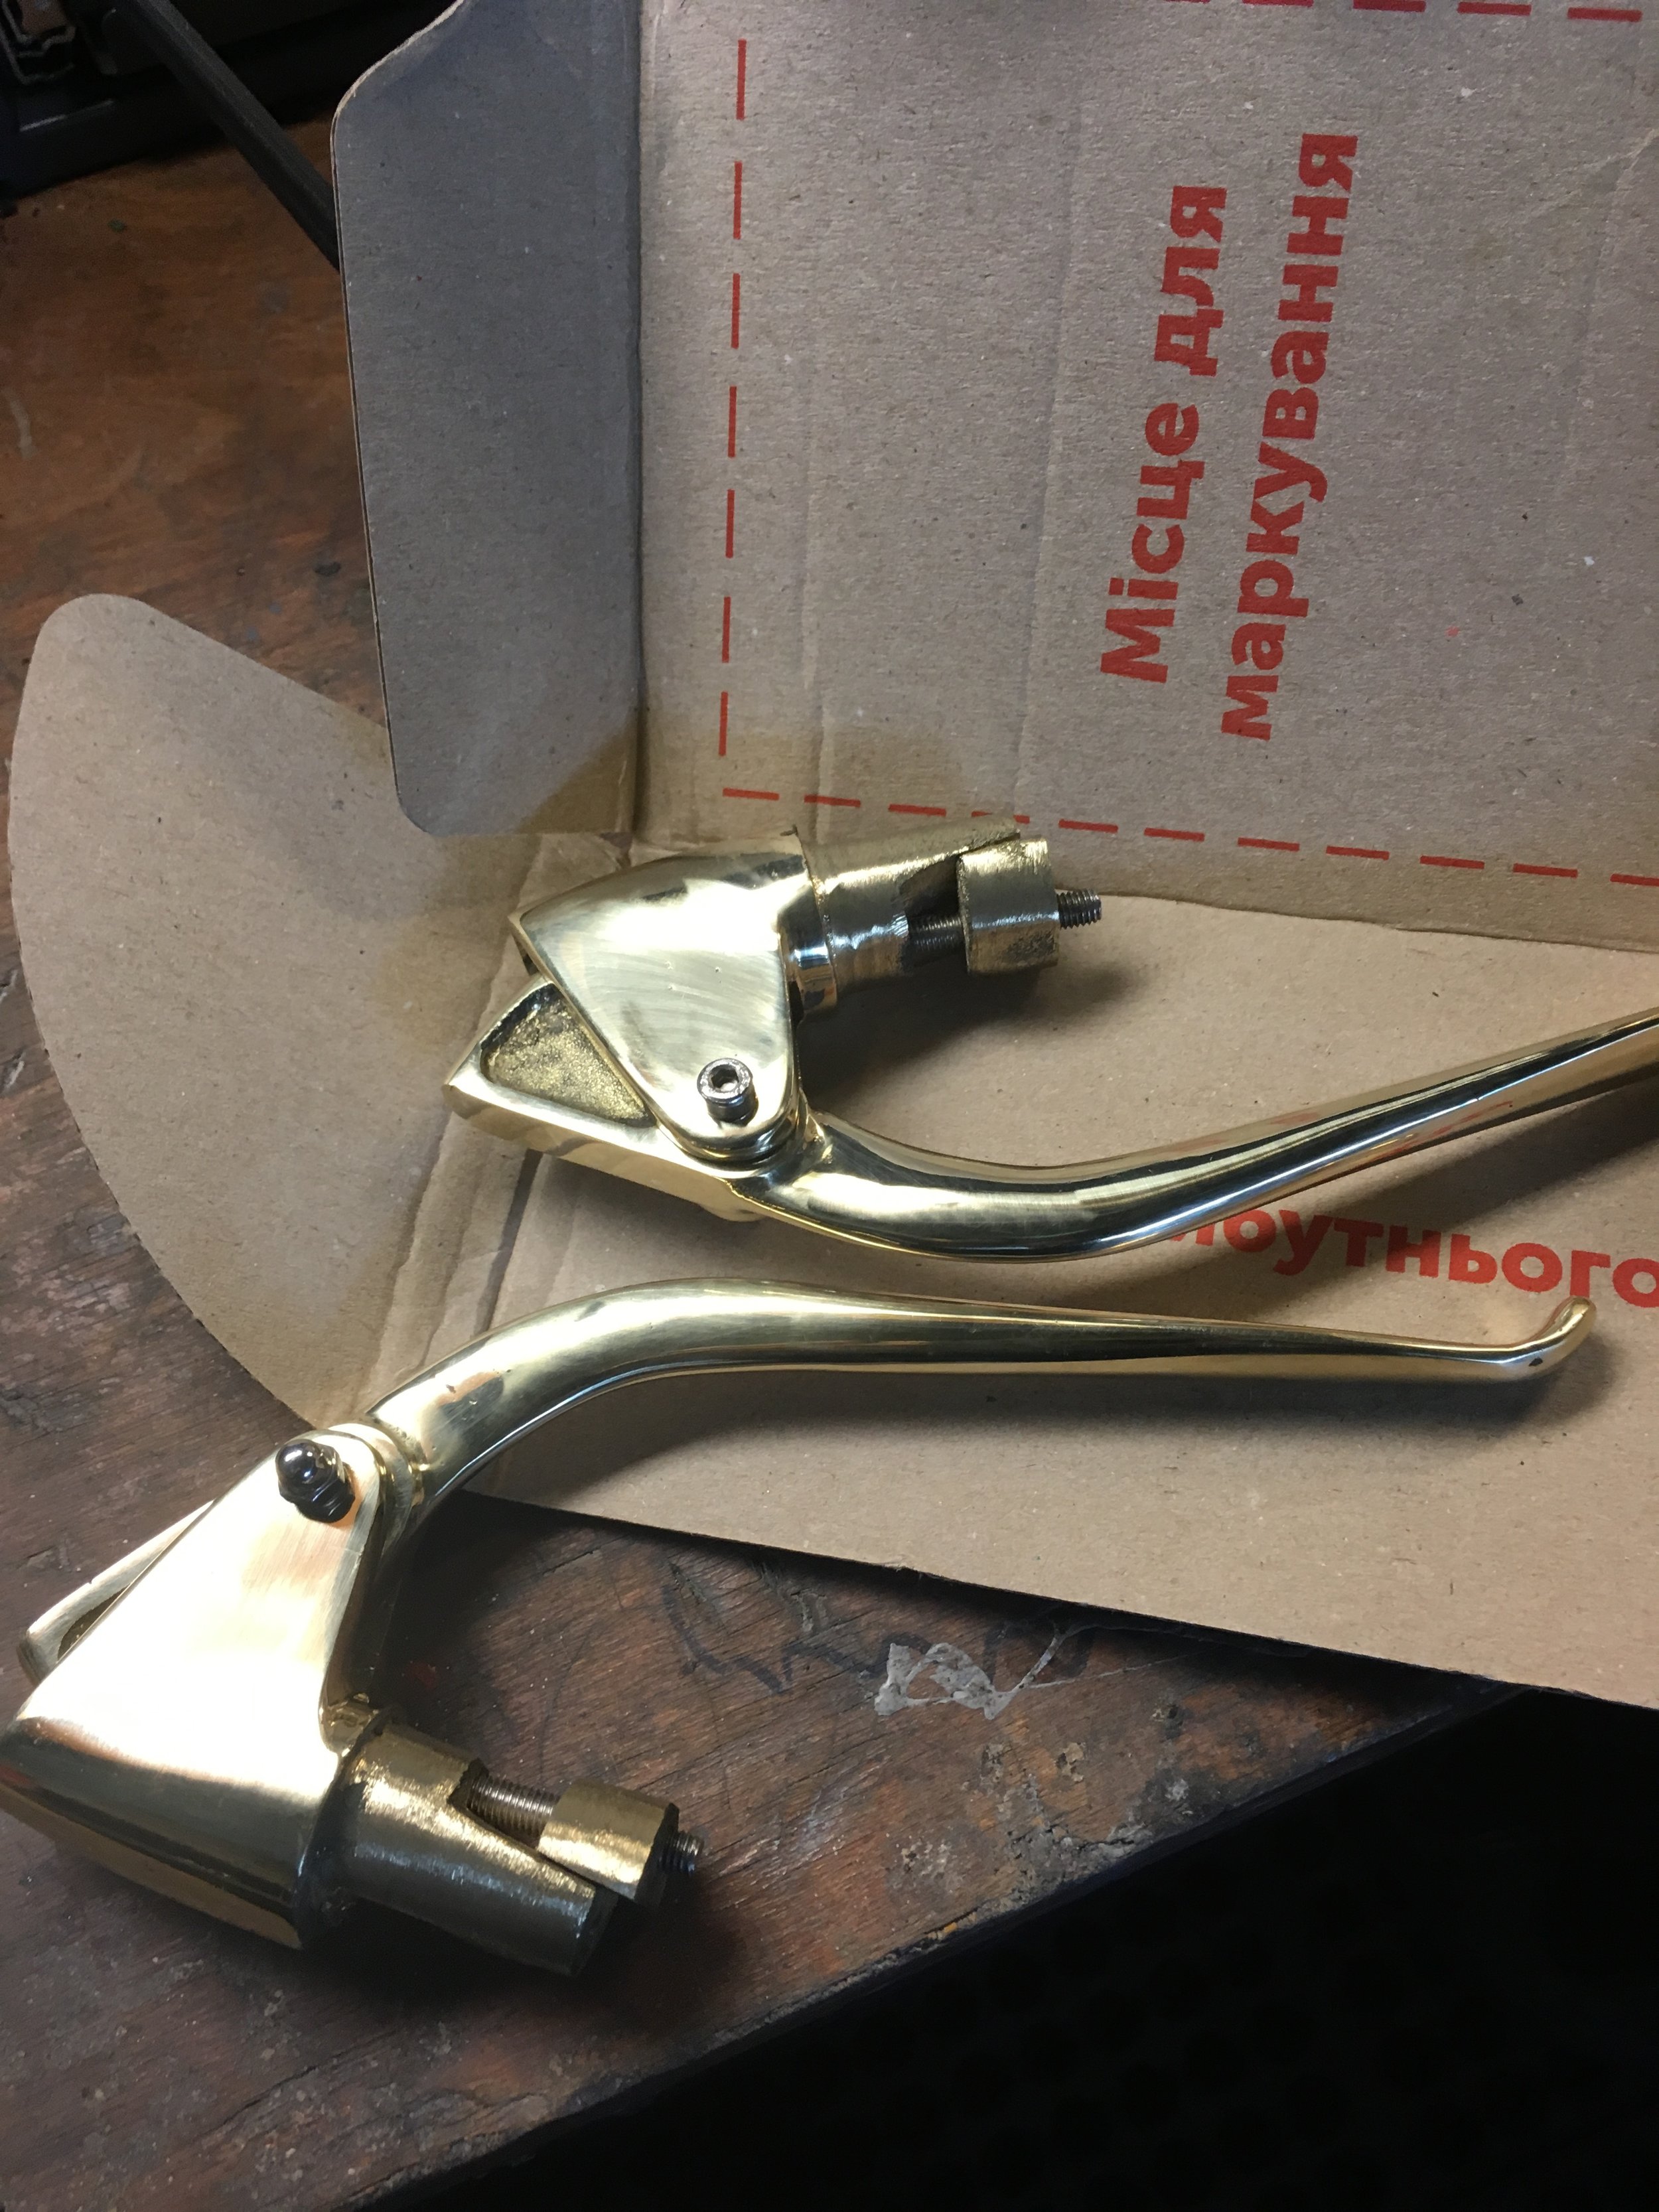
These are the brass reverse levers going on the bike. They are made by hand in Ukraine and are a BMW knock-off. The holes for the screws had to be enlarged to allow the cams to slide enough to tighten them up and the cable perches needed filing out, but hey are otherwise strong serviceable units. This particular pair was chosen because the cable exits toward the back wall of the inner handlebar, allowing room for the throttle mechanism.

The Honda components that make up the internal throttle cable mechanism. Made for a 1969 Z50 minibike, they were chosen because they leave the interior of the handlebars clear enough to get the brake cable through. The longer piece at the top of the pic is the slide that pulls the cable end, and the other piece is the cable sheath holder. The cable sheath has a threaded end that screws into the holder, making for a solid joint that can’t back out like most cable holders.

The hardest part to make was the internal spiral that drives the slide.. getting the angle of the slide was not hard, but getting the spiral to lay down perfectly flat and getting the right tolerance between the bar was tricky. Although the throttle is based on the Honda design, it was changed a little by adding the ring at the bottom to act as the flange that rides against the bar. A thinner outer tube will cover the spiral.

The inner workings of the throttle mechanism can be seen in place. The cable holder is held in place a couple of different ways. There is a round keyed portion at the top of the slot that keeps the top located correctly, then a flange that slides over the bar and keeps it from being able to come out the top, and finally a screw that secures it from the bottom. The slot for the slide was cut by hand and made a few millimeters longer than the stock Honda one to accommodate the longer travel of the Amal carb slide.

This is the flange that slides over the cable holder. It also is the spacer the outer throttle tube rests on, and the ring at the end keeps it from sliding inward on the bars. A stopper screw was turned from a hex bolt. In addition to anchoring the bottom of the cable holder, it keeps the throttle tube from being able to slide off the end, and limits the range of the throttle twist. The exit hole for the cables can be seen on the underside of the bars. A shroud (seen below) was made to go around the hole to support the cable and keep it from resting on the edge of the hole.

Other than the cable for the brake, this is all that will be on the right side.

That is about as clean as it gets on the handlebars.

The exits for the cables were given some shrouds that were brass-brazed on.

Because there are two cables exiting the handlebars on the right side and they are not as fat as the left-side clutch cable, a thinner, taller shroud was made.


