The contacts and rotor feeler contact have been resurfaced and reassembled. So cool these older parts can be serviced and refreshed. Lucas electrics sometimes referred to as "the Prince of Darkness," are hopefully in good working order now.

There was a rat's nest of wires around the battery box, with a lot of redundant and non-original wiring. Most of this was stuffed in the battery box, but still did not look very professional. Because of a parasitic drain on the battery, it was decided that a battery key switch was needed as well.

More of the loose hanging wires. One of my other passions is circuit bending electronics, and this sort of dodgy mess makes me cringe.

A small cylinder was fabbed up from 22 gauge steel to hold the battery disconnect switch. An existing bolt was used to mount it behind the battery box.

The after picture with the key switch fully mounted and wires tucked away. Some of the wiring was wrapped back into the wiring harness, some shortened, and some straps added to hold everything in place. Inside the battery box the wiring is more compact and tidy as well.

Once again, it is the small details that need attention. This is the bottom of the fiberglass tank on the 1971 Triumph TR6C dirt bike. The petcock bungs on both sides had weeping leaks that needed addressing. An inspection revealed several faults. First thing wrong is that a layer of paint was left on the mating surfaces. This will naturally turn to goo and funnel fluid under the paint layer, destroying the surrounding paint. On each side there were two steel washers used to seal the petcocks. It is a wonder it did not leak more than it did.

After the paint was removed, an even worse problem was the deep gouges on the brass bung mating surface. Don't know whether to blame the painter of mechanic, but this is not what I would consider attention to detail on the part of either. Ultimately, whoever put these petcocks on should have taken care of these problems.

The bung on the opposite side was gouged even worse, concealed by a layer of paint. Clearly not just an oversight, but a consistent fail. There was a lot of red residue from gas that wicked up under the tank.

After several minutes with 320 wet sand paper and a honing stone, most of the gouges have disappeared. The remaining ones were removed and the other side dressed down as well. Super important to keep the honing device flat and perpendicular to the bore.

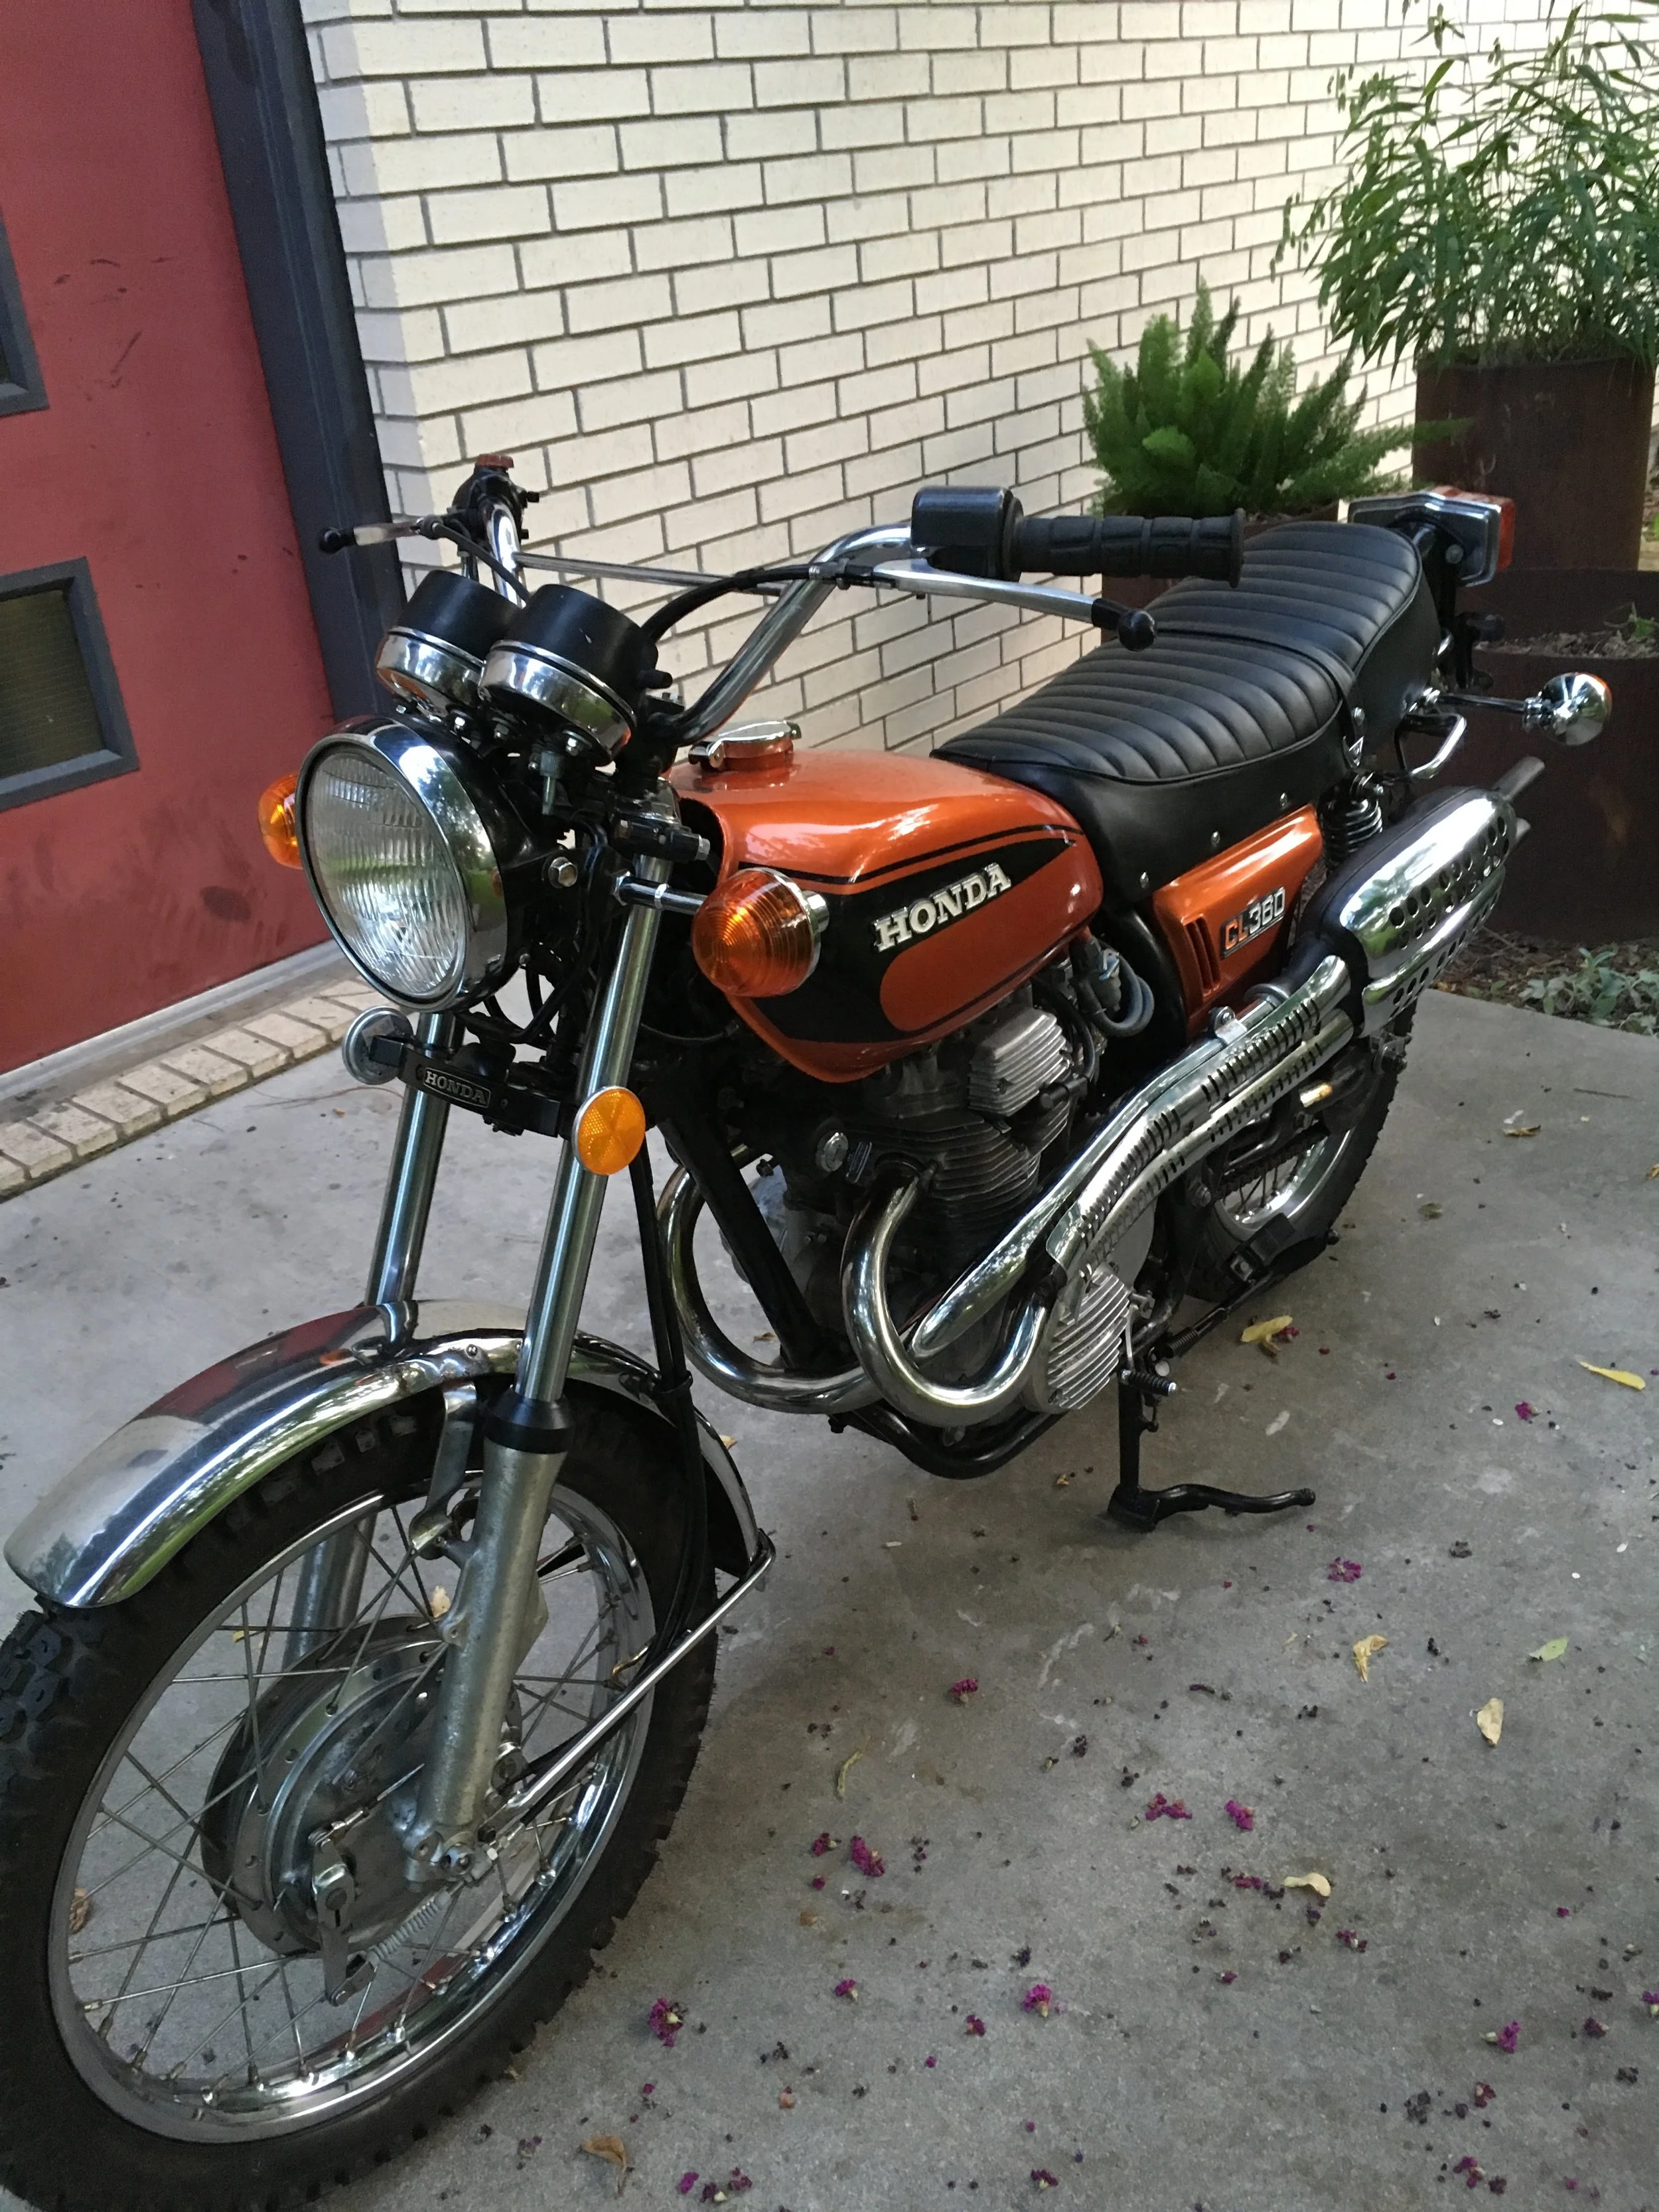
Lastly, the footpegs for the 1975 CL360 arrived and got fresh hardware and paint to spruce them up.